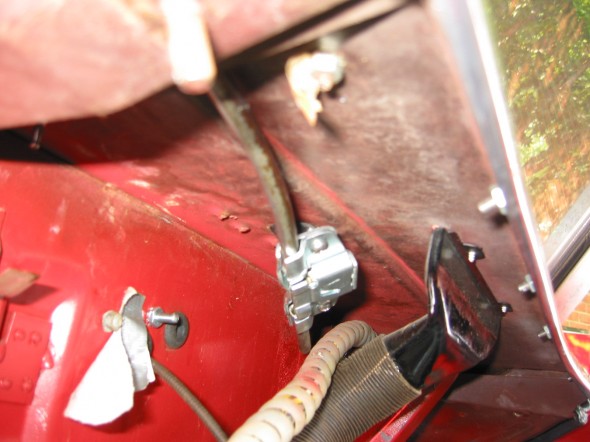
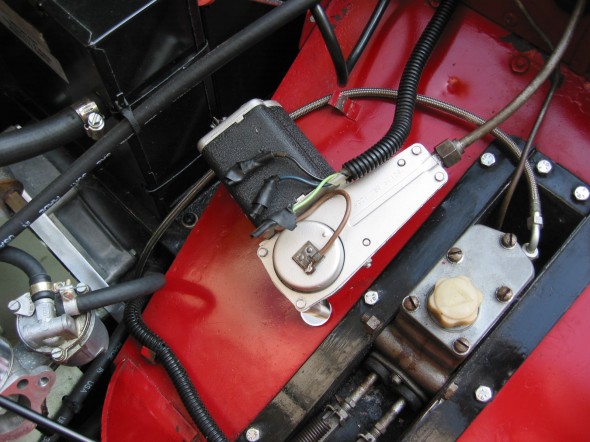
A Functioning Horn

The Horns

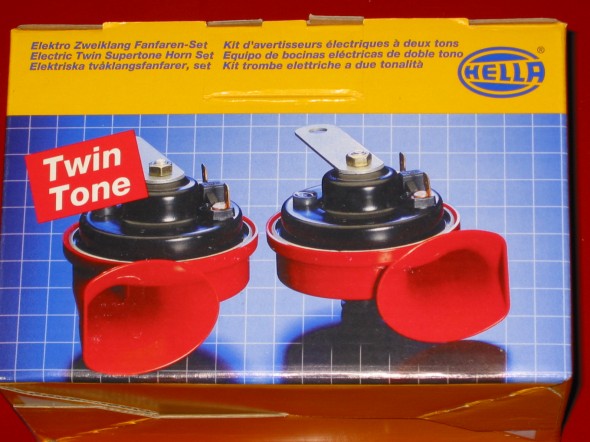
The horn had not worked in the Bugeye since we bought it – not very safe since the bugeye is one of the smallest things on the road. It was time to fix it. The horn itself when tested sounded very weak so I ordered a Hella twin tone horn kit. It came with mounting brackets and a relay for the price of $23.00!

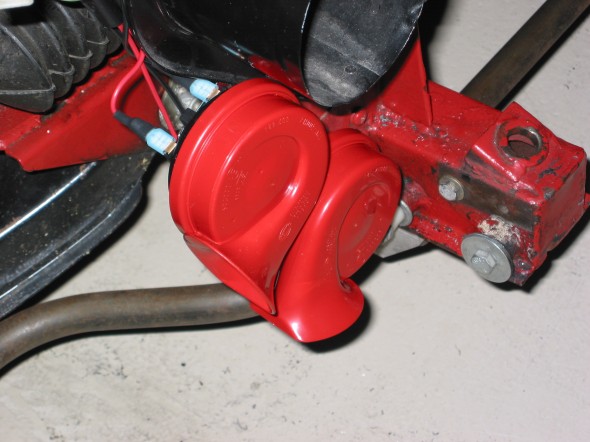
Hella twin note horns

Hella Twin Note Horns

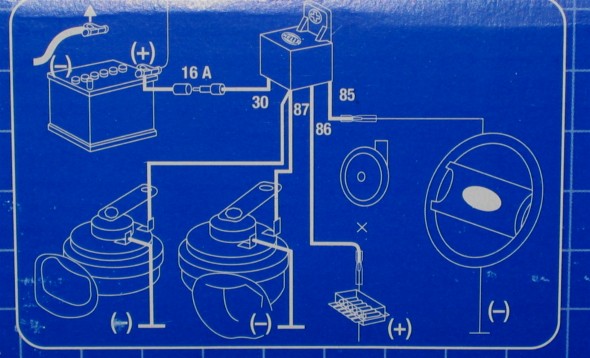
Horn wiring diagram

Horn Wiring Diagram

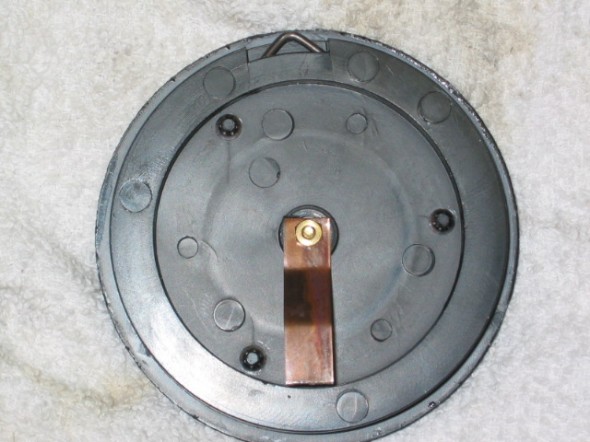
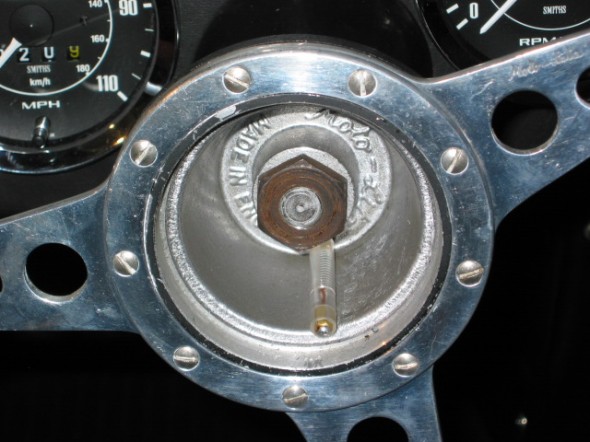
My horn button is a little different from the original since I have a Moto-Lita wheel, but I ordered a new push pin for it – the 948 Bugeye variety. The pin needs to go into the wheel with the plastic end toward the dash so that the pin is insulated from the body of the aluminum wheel hub. Then the brass sprung pick up on the back of the horn button needs to line up with the pin. The entire assembly then pushes into the wheel hub. A brown wire from the brass contact ring on the dash cone runs to the horn relay.

Horn Button Contact

Horn Button Contact

Steering Hub and Push Pin

Steering Hub and Push Pin

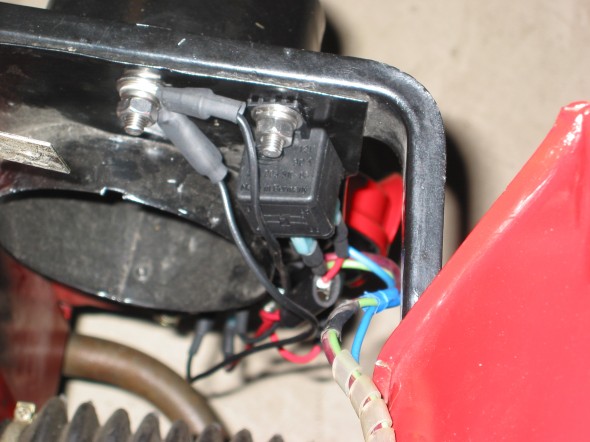
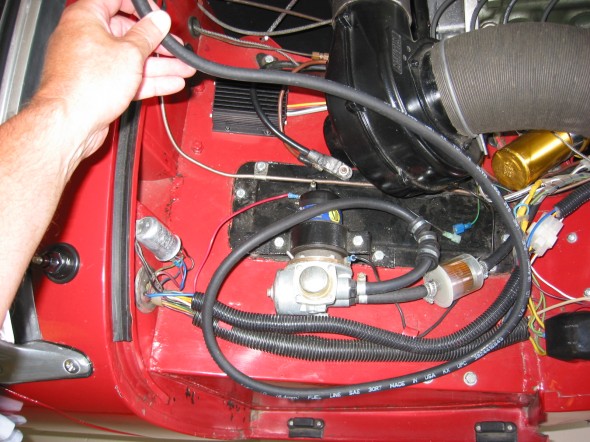
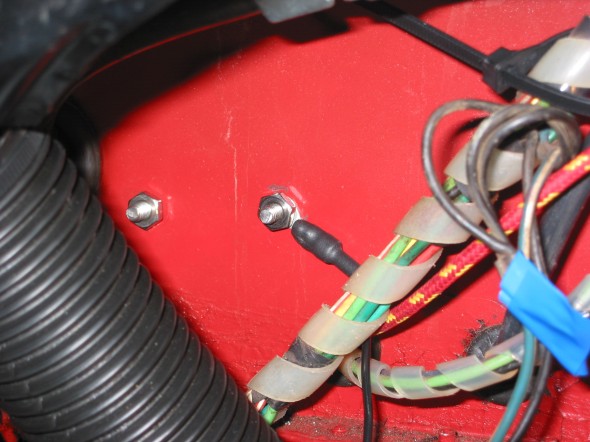
I decided to mount both of the horns on the right front lower side of the frame. That way it was not necessary to run wiring across the frame below the radiator. On one horn I used the original mounting bracket, and on the other I used the supplied brackets and drilled two holes into the fresh air hose mounting assembly. I mounted the relay just above the horns.

Hella Horns Mounting Location

Hella Horns Mounting Location

Horn Relay Mount

Horn Relay Mount

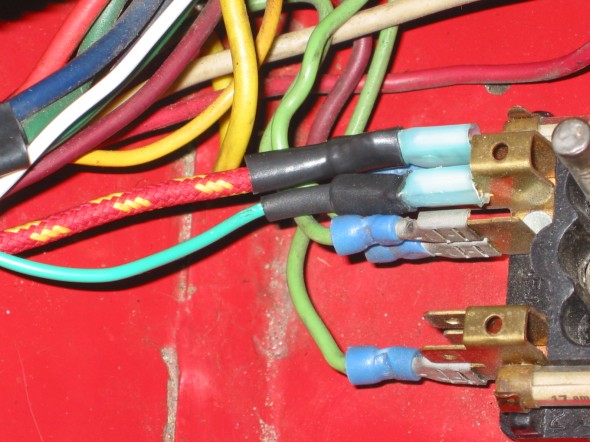
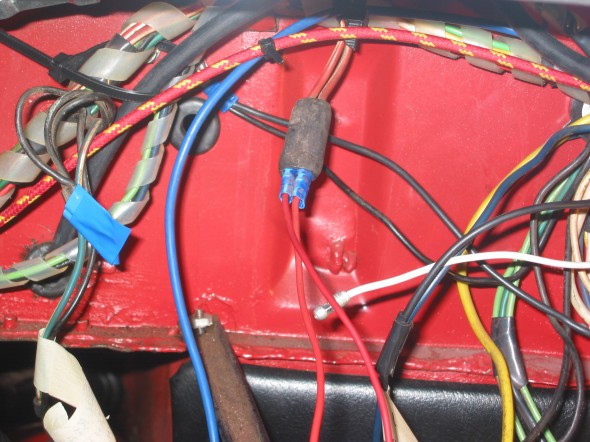
The wiring diagram provided on the box of the horn was helpful. I provided a separate ground wire for each horn. The brown ground wire from the wheel  was connected to terminal #85 on the relay. The green wire form the fuse panel was connected to terminal #86. A red wire was used to connect terminal #87 on the relay to the positive terminal on each horn. This required putting a twin bullet connecter on the wire from the relay to splice a second wire to go the 2nd horn. Finally, a blue wire was run from the non-switched side of the fuse block to the relay terminal #30 to complete the circuit.

The horn now works great! It sounds like the biggest car on the road.

The Rear View Mirror

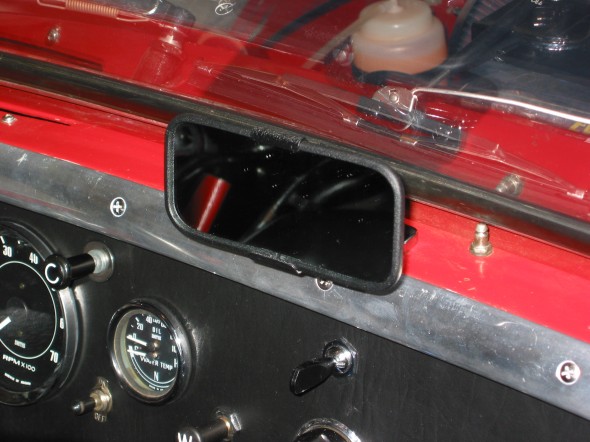
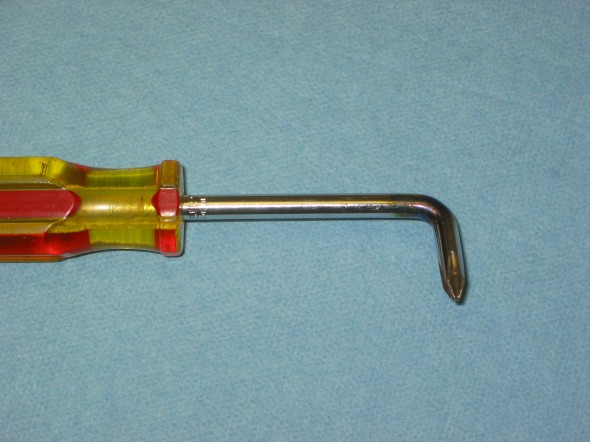
The rear view mirror in the Bugeye wasn’t the original and it looked a little worse for wear so I replaced it with a new one from Moss. It wasn’t easy to get to the mounting screws because of the rake of the windscreen, so I bent a screw driver with a torch to make a tool that would do the trick. Worked like a charm!

New Rear View Mirror

New Rear View Mirror

New Tool

New Tool

Flashlight

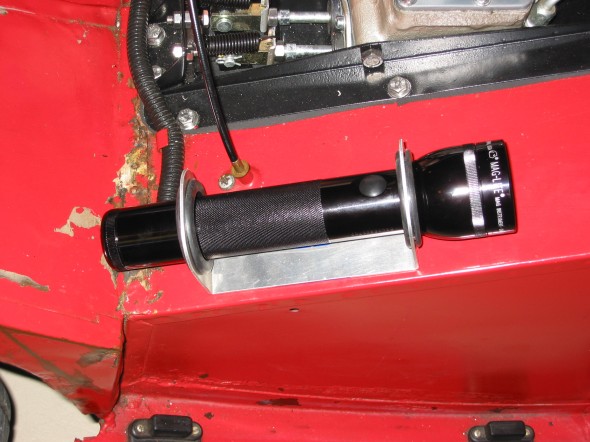
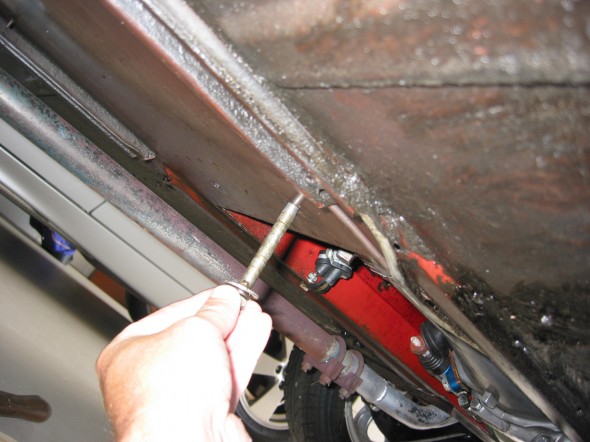
We used to carry a magnetic mounting flashlight under the cowl, but it never stayed very well. We picked up a mounting bracket for a light at VIR and I finally got around to installing it in the car. I selected the left rear mudguard as the location.

Flashlight Mounting

Flashlight Mounting


Dash Fascia and Gauges

When we bought the Bugeye, it came with a working tachometer and a dead speedometer. After thinking about having the original instruments refurbished or buying new ones I decided to buy new Smith’s gauges. Keeping the original tach would have involved installing the guts of an electric tach into the casing of the old gauge since we had previously installed an alternator making the original worthless since it had a mechanical drive off the back of the dynamo.

So the new gauges were ordered from APT Instruments, but it would be terrible to install them in the old dash so replacing old vinyl with new naugahyde was the only thing to do! I began the removal of the dash and proceeded slowly, carefully labeling the wiring to each instrument or switch.

I initially disconnected 2 orange/yellow braided wires to the wiper washer pump. Using a micro switch, my dad had previously converted the manual pump for the windscreen washer to an electric pump. Next was the heater switch. I disconnected a green/brown wire from the harness from a black wire to the heater switch. Then I disconnected a black wire from the heater switch body from a double bullet connector into a light green wire.
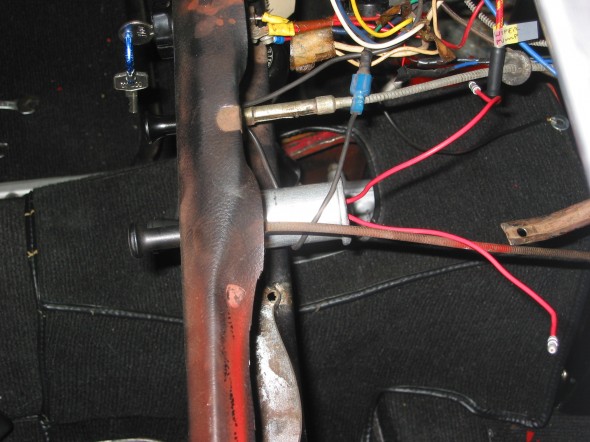
Washer Wiring
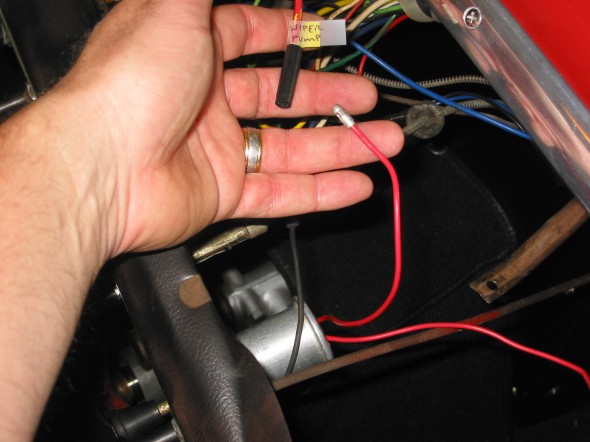
Washer Wiring
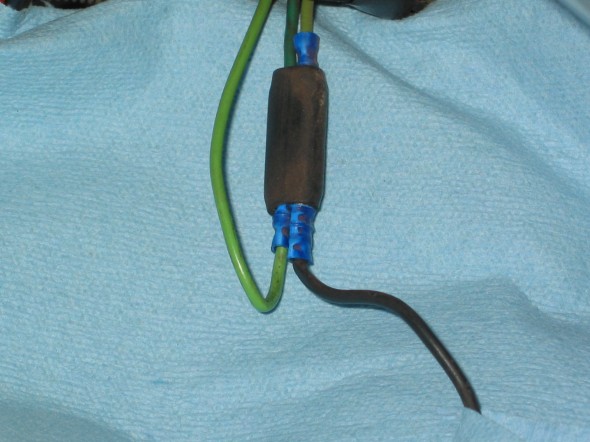
Washer Wiring

Washer Wiring

Heater Wiring
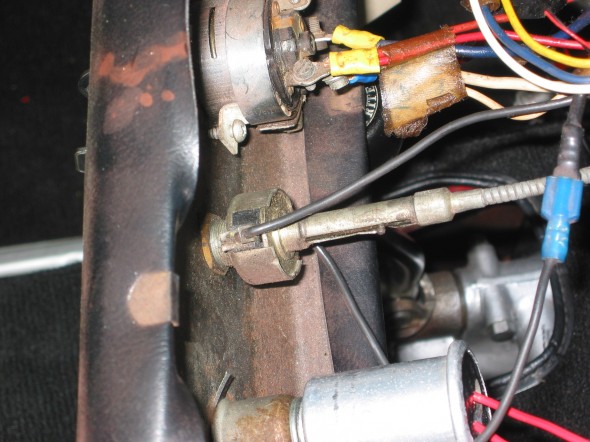
Heater Wiring

Heater Switch Wiring

Heater Switch Wiring

The turn signal wiring was next. The switch has three spade connectors. On the side with tow spades, a yellow wire attached to one and a blue wire to the other. A white wire was disconnected from the side of the switch with the single spade.
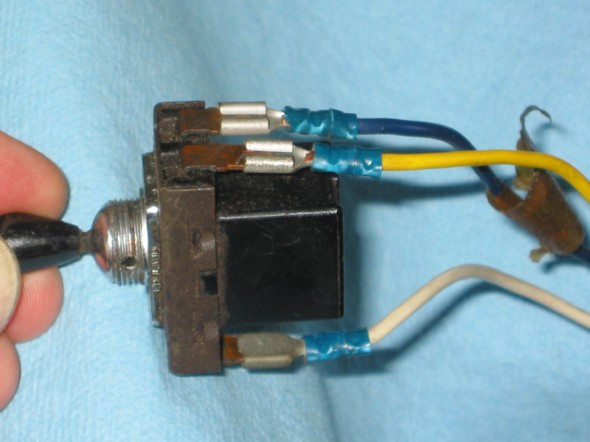
turn signal switch

turn signal switch

The Ignition Switch followed. The switch had four screw terminals. The top right terminal had 2 red wires joined together. The top left terminal had 1 heavy gauge yellow wire. The bottom right terminal had two white wires joined together and an red fused wire from the the electric fan switch that had been added. Finally, a large blue wire was disconnected the bottom left terminal. A previous owner had fabricated a clamping system to hold the ignition switch in place, that while primitive, did work. It will be replaced later.
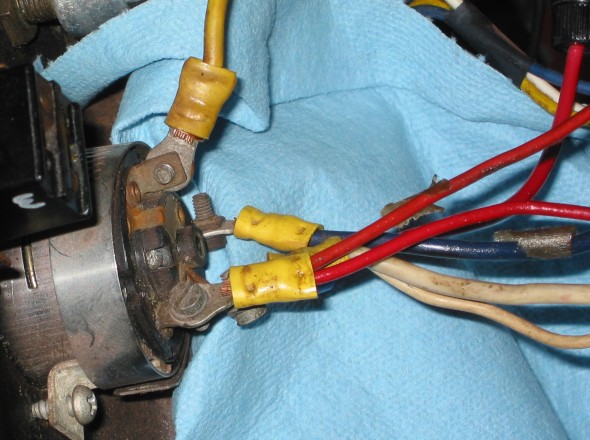
Ignition Switch Wiring
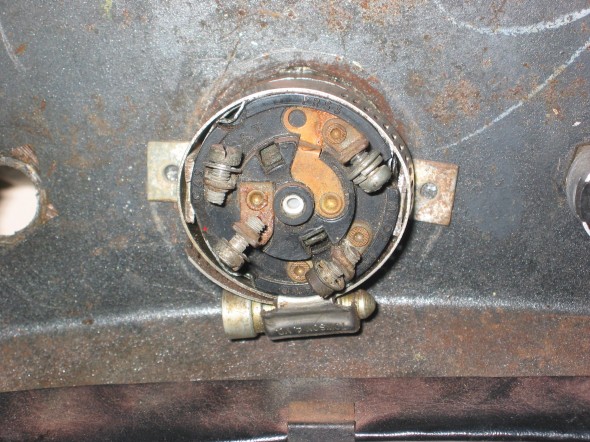
Ignition Switch Wiring

Ignition Switch

Ignition Switch

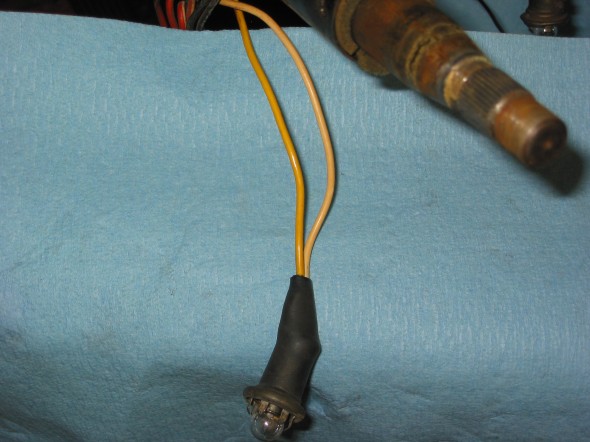
Gauge Lights. Wiring for most gauges is red. The oil/water temperature gauge light fit into the retaining bracket sleeve. The tach light was also red, but this wire was ultimately discarded as it was not needed for the lighting for the new tach.
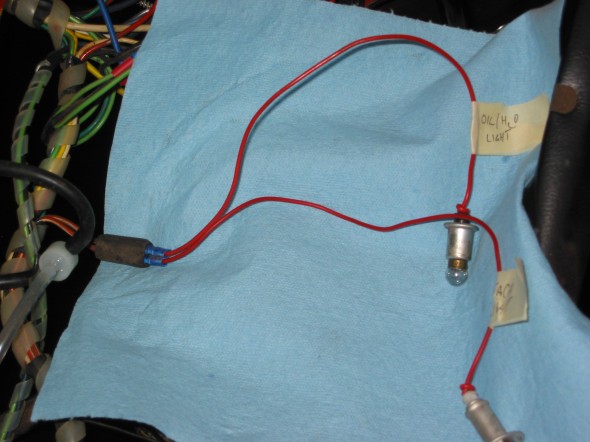
Oil and Tach Lighting
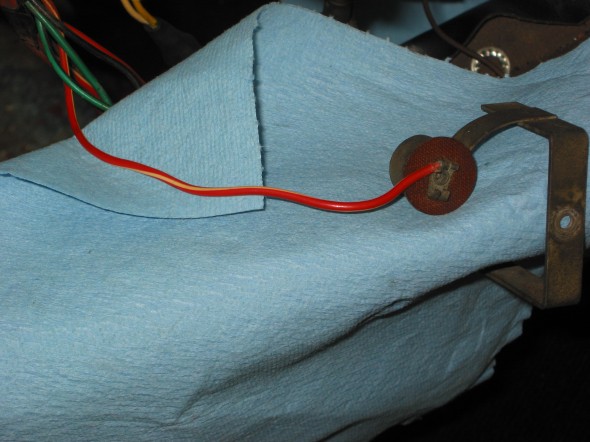
Oil and Tach Lighting

Oil & Water Temp
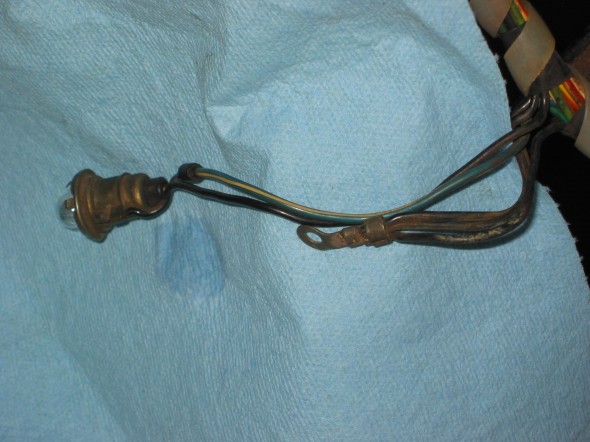
Oil & Water Temp

Tach lamp wiring

Tach Lamp Wiring

Speedometer Lamp Wiring

Speedometer Lamp Wiring

Wiper Switch. Disconnected the dark blue wire with a soldered tip from the right screw terminal, and the black wire from the left terminal.

Fuel Gauge wiring. One black ground wire was removed from the retaining bracket. A red/white wire for the lamp to the retaining bracket, a green wire to the left terminal and a green/black wire to the right terminal were all disconnected.
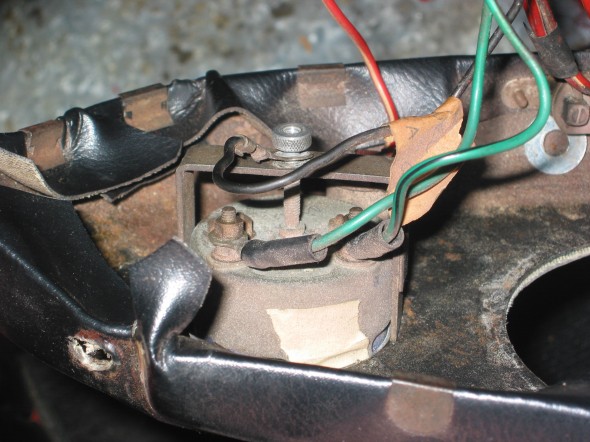
Fuel Gauge Wiring

Fuel Gauge Wiring

Panel Lamp Switch.

The panel lamp switch had three wires. Two red/white wires were joined and connected to the right terminal and 1 red wire was disconnected from the left terminal.
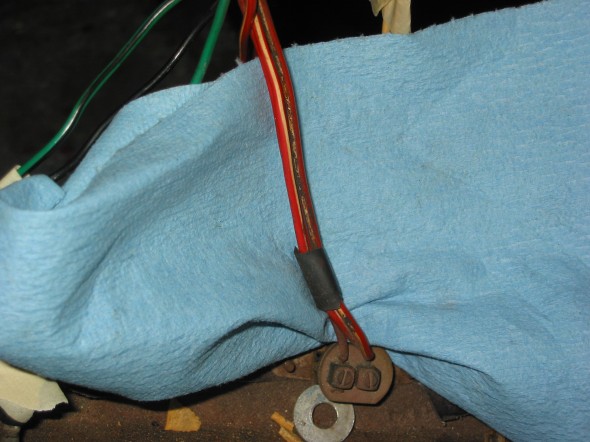
Panel Lamp Switch
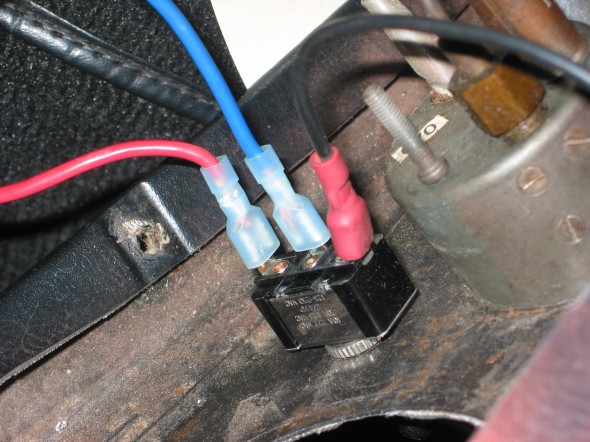
Panel Lamp Switch

Radiator Fan Switch

Radiator Fan Switch

The radiator electric fan switch

Has three wires: the black ground wire was removed from the top spade terminal, the blue power wire from the switch to the fan itself was removed from the middle spade and the red wire with fuse to the ignition was also disconnected.

The Horn

Had one brown wire from the horn trim ring to the horn itself. The wire was disconnected at the bullet connector.

After removing the starter button and cable, the choke cable and the heater air control assembly cable, and the grab handle, the dash was removed from the car. Two ¼” hex head bolts secured the dash to the body on the left and right side. Two chrome phillips head screws fastened through two brackets from the firewall to the dash and finally one nut is fastened to a stud located centrally at the top of the dash.

Recovered Dash

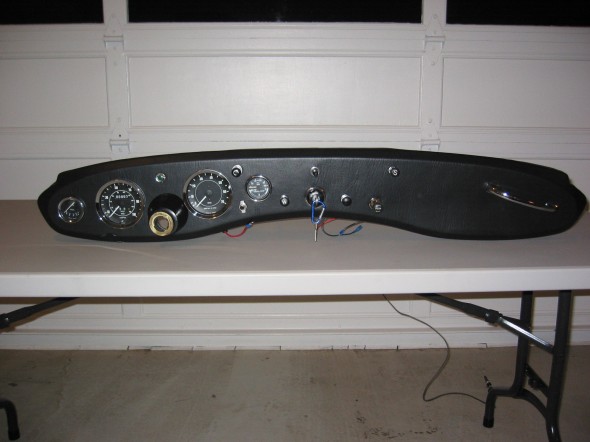
Then it was time to recover the dash. I purchased some naugahyde at a local fabrics store and some contact cement and went to work. This is the result:
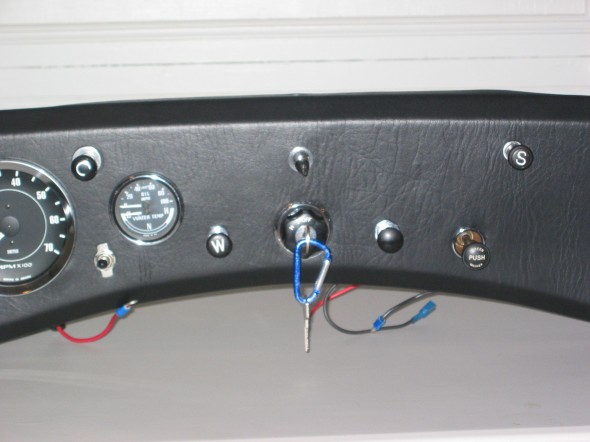
Fresh New Look
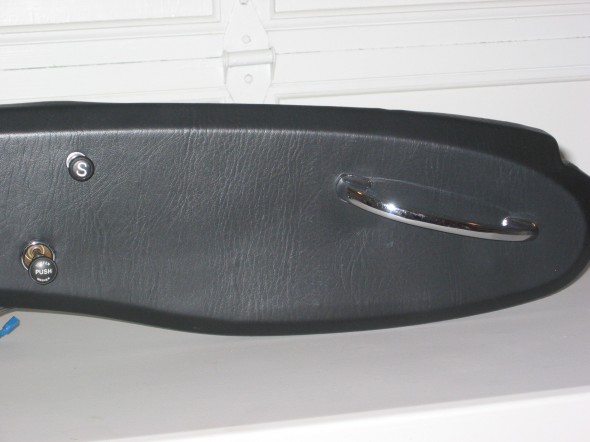
Fresh New Look

Reupholstered Dash

Reupholstered Dash

Horn Ring

Horn Ring

Reupholstered Dash

Reupholstered Dash

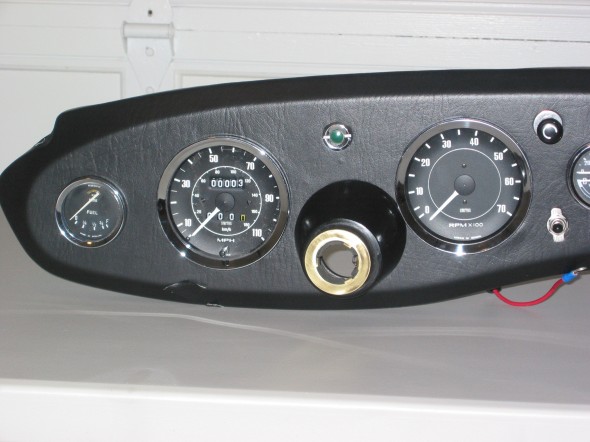
The new tach and speedometer

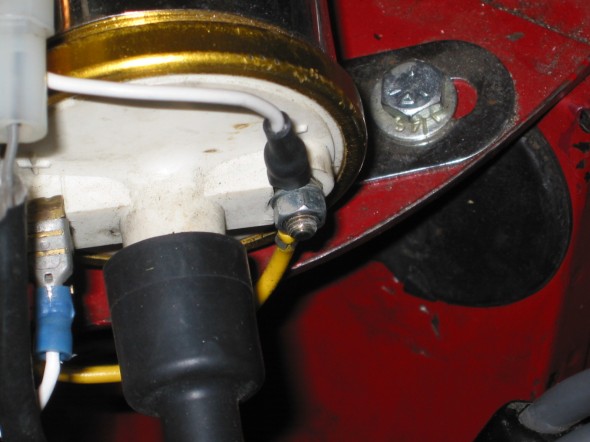
While not original design, the new tach certainly looks period. The tach required some new electrical connections.  One wire connected to the coil, another to the fused power block and one to ground. These are the installation instructions:Electronic Tachometer Installation Instructions
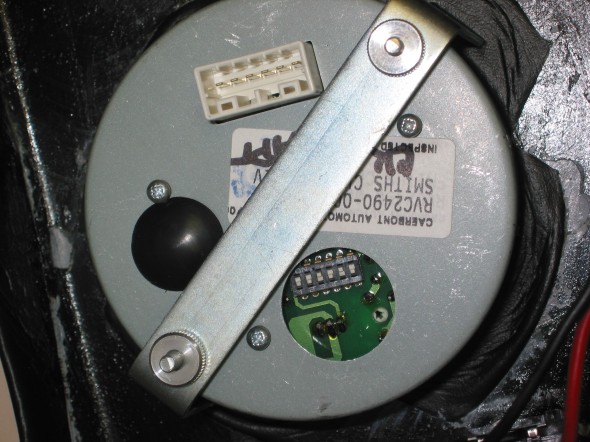
Smiths Electronic Tach
Smiths Electronic Tach

tach coil connection
tach coil connection

Tach Fused Power
Tach Fused Power

Tach Ground

Tach Ground

Coil White Wire

Coil White Wire

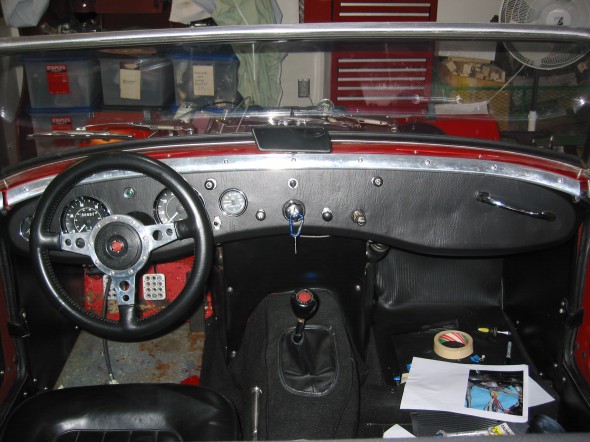
Finished Dash Installed

Finished Dash Installed

Demister Hoses

The old paper demister hoses had holes in them and obviously did not work well. With the dash off it was the perfect time to install some new hoses.
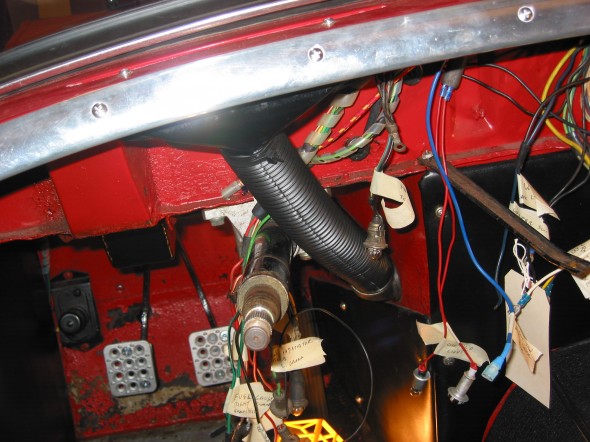
Left Side Hose
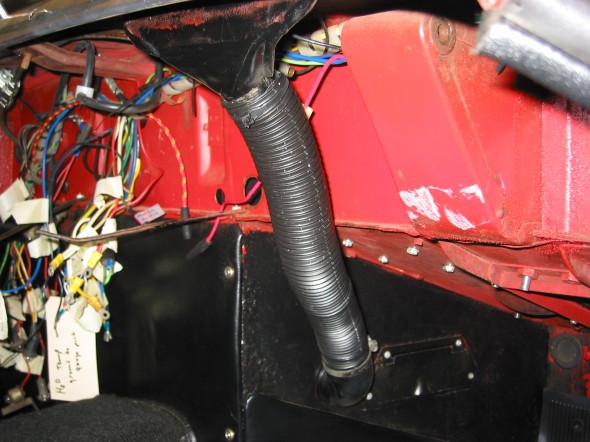
Left Side Hose

Right Side Hose

Right Side Hose

Aluminum Racing Pedals

My dad had installed racing pedals in the Big Healey and thought they did give a better pedal feel in addition to looking cool, so I bought a set for the Bugeye as well. They do look nice. I did not use the racing pedal for the accelerator pedal as it was just too close to the brake.

Engine Clean-up and Reinstall

Engine Install

Engine Install

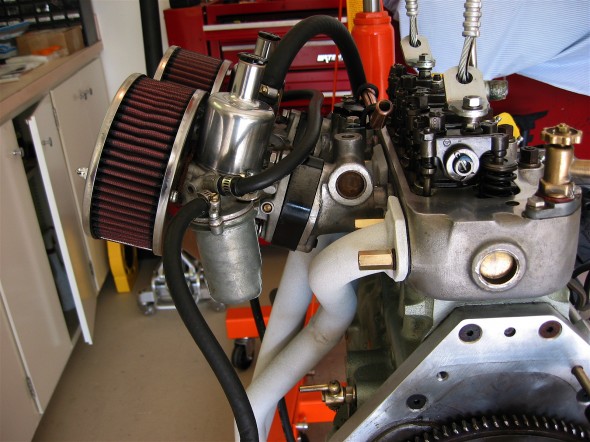
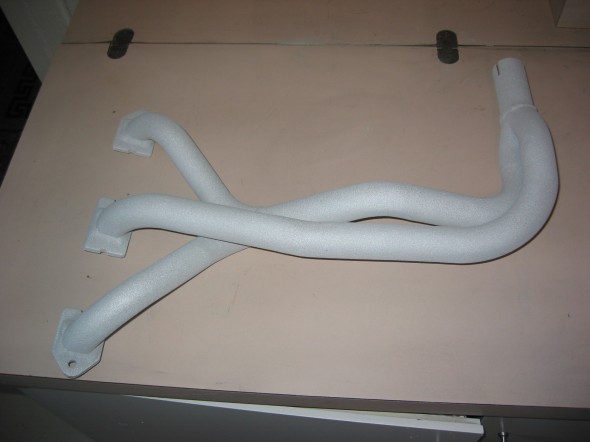
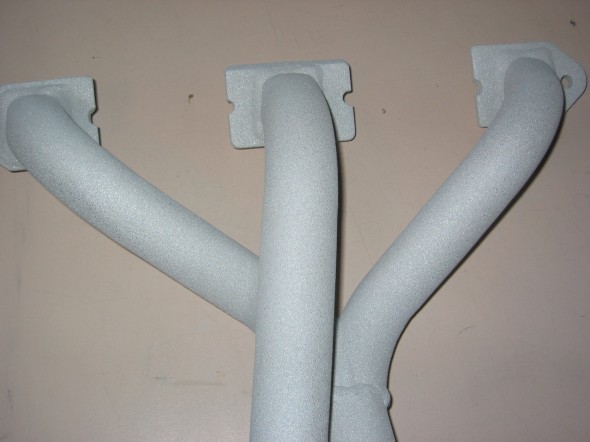
One of the things I wanted to accomplish with the engine clean-up was to have the  exhaust header coated to reduce heat in the engine compartment and interior. I used Swain Coatings. The header came back looking great. Time will tell if the coating holds up and is effective in reducing heat.

Swain Coat Header

Swain Coat Header

Swain Coat Header

Swain Coat Header

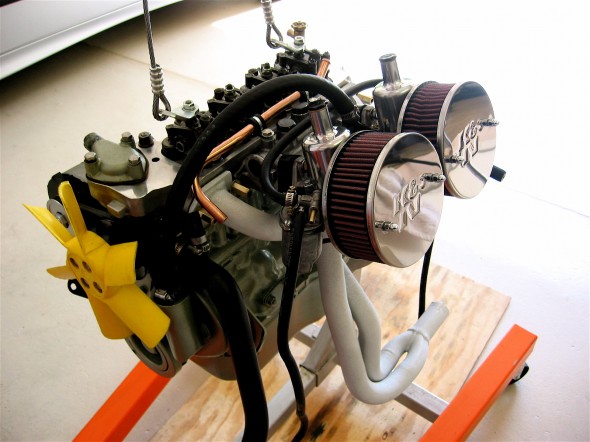
I also did a general cleaning of the engine including a new paint job while the gearbox was being worked on by Jack Harper. I replaced the oil sump gasket and the rocker cover gasket, too. I tested and reinstalled the gear reduction starter. The air cleaners were cleaned and oiled with K&N products.

Clean Motor Assembly

Clean Motor Assembly

Clean Motor Assembly

Clean Motor Assembly

I developed the following list of items for reinstalling the engine and gearbox into the Bugeye:

Reinstalling a Bugeye Engine and Datsun 5-speed Transmission

  1. Grease the shaft splines on the engine and the yoke before installing the engine.
  2. Set the exhaust header in place so that it will be positioned to install once the engine is tightened into its mounts.
  3. Guide the motor into place with the lift so that the yoke on the driveshaft lines up with the transmission. If this does not work then remove the driveshaft and install after the engine and transmission are in place.
  4. Loosely secure the engine to the front motor mounts. The mounts themselves should be loose then tightened after all bolts/nuts are in place.
  5. Install the long bolts up through the crossmember into the rear transmission mount and tighten.
  6. Tighten the front engine mounts.
  7. Center the transmission in the rear mount, then push it as far to the right as possible, and tighten the transmission pad mounts on the bracket.
  8. Install the bolts in the sides of the transmission rear mounts from inside the car with the self locking nuts inside the tunnel. (Hint: tape the nuts in the wrench to make starting the threads easier.)
  9. Replace the gearshift lever.
  10. Connect the ground strap to the frame of the car.
  11. Replace the rocker cover and connect the breather hose.
  12. Install the intake and exhaust manifolds.
  13. Install heat shield and carbs.
  14. Connect throttle and choke cables.
  15. Connect breather hose.
  16. Connect hot water hose to copper tube and connect to radiator hose. Tighten clamps. It is easier to put the clamp on the hose/copper pipe when the copper pipe clips are loose from the manifold.
  17. Connect the short hot water hose from the water control valve to the heater.
  18. Connect the electrical cable from the gear reduction starter to the starter solenoid.
  19. Connect the oil pressure pipe to the fitting on the engine block by the banjo bolt.
  20. Reconnect the white/black line from the electronic ignition to the distributor.
  21. Connect the high tension line from the distributor to the coil.
  22. Reconnect the plastic terminal (3 wires) to the alternator.
  23. Connect the fuel line from the fuel pump to the carbs.
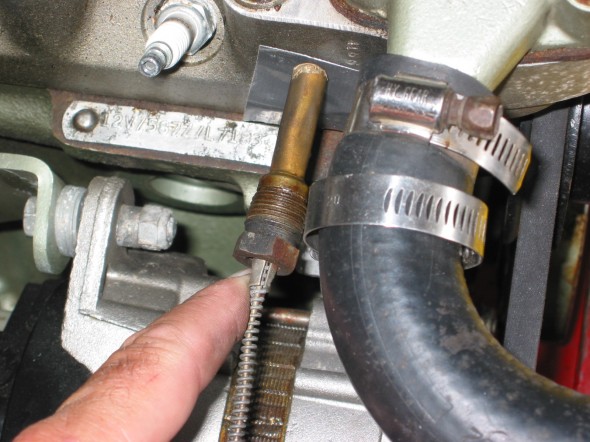
  24. Reattach the water temperature sensor to the engine head.
  25. Remove the banjo bolt where the oil line exits the rear of the block. Pour motor oil down the hole in the block to prime the oil pump. Reinstall the bolt.
  26. Remove the oil filter and pour it full of motor oil and reinstall.
  27. Fill engine with oil – Castrol GTX 10W-40.
  28. Fill the gearbox with Gear lube – Redline MT90. 2 1/4 pints. Use long clear plastic tube. Try pump.
  29. Connect the stainless steel flex line from the master cylinder to the slave cylinder.
  30. Bleed the clutch slave cylinder. (See Page 9 of Rivergate’s manual)
  31. Install radiator and fill with 50% coolant and 50% distilled water.
  32. Fix the carb drain lines to the mounting clamp at the lower rear of the engine compartment.
  33. Insert the 1 ½” connecter pipe (with sealant) for the exhaust system into the header pipe.
  34. Install the exhaust and muffler assembly.
  35. Tighten clamps on the exhaust connecter pipe.
  36. Reconnect the battery cables.
  37. When ready to start the engine, pull the spark plugs and spin the engine with the starter until the oil pressure goes up to normal on the pressure gauge, and stays.
  38. Check for any oil, coolant and fuel leaks.
  39. Reinstall the spark plugs and start engine.
  40. If engine does not start turn distributor 180 and try again!
  41. Install 4” fresh air heater hose and clamp.
  42. Install the leather shifter cover and surround.

Start It Up And Have Some Fun!

I Know It Fits!

I Know It Fits!

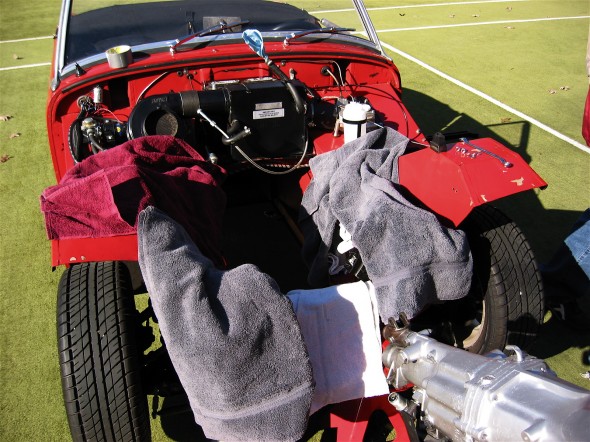
Motor Protection!

Motor Protection!


Engine Install

Engine Install

Pulling the Engine for Minor Repairs

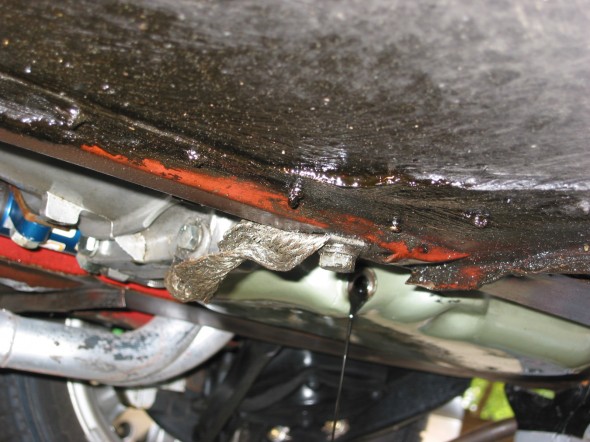
July 2006 Bugeye It is time to fix some of the problems we have lived with for a while and to make a few improvements. The oil leak we caused when we failed to seal the oil sump properly, the gear grinding in 2nd and 3rdin the gearbox, jet coating the headers among other things will improve the car for the future. These improvements require pulling the engine. We bought a cherry picker and an Oberg tilt lift rather than continuing to rent at $45 a pop. The following details the process to get ready to lift out the engine: Disconnected the battery positive lead from the terminal. Drained the engine oil, tried the gearbox, but couldn’t get the plug out so will return to that. Disconnected the ground strap and removed the two gearbox mounting bolts from the bottom of the car.

ground strap

Ground Strap

Gearbox Mount Bolts

Gearbox Mount Bolts

Disconnected the fuel line at the carbs and pulled out of the way, and disconnected the temperature sensor from the head.

Fuel Line

Fuel Line

Temperature Sensor

Temperature Sensor

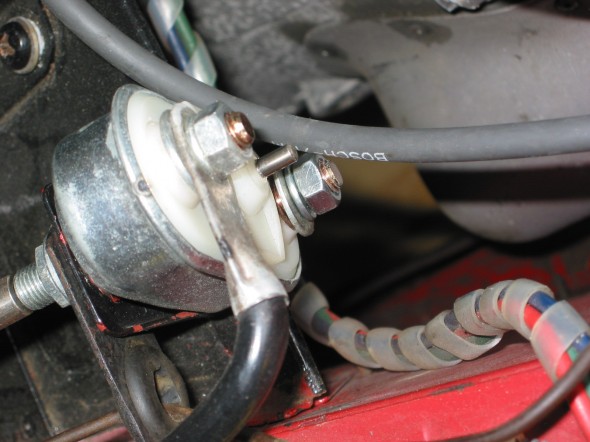
Disconnected the oil pressure gauge line and the oil feed line from the engine block, and disconnected the cable from the starter solenoid to the starter.

Solenoid Connection

Solenoid Connection

Oil Temp Connection

Oil Temp Connection

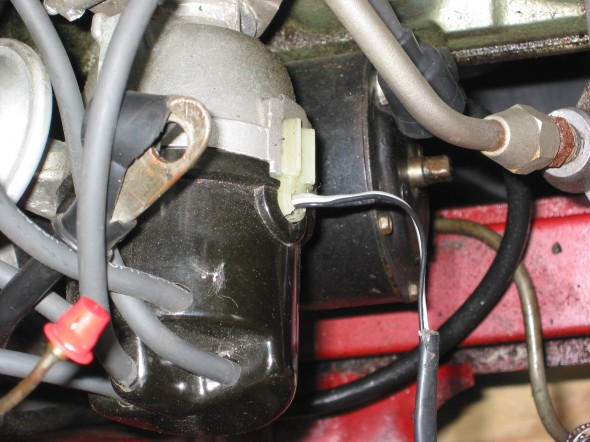
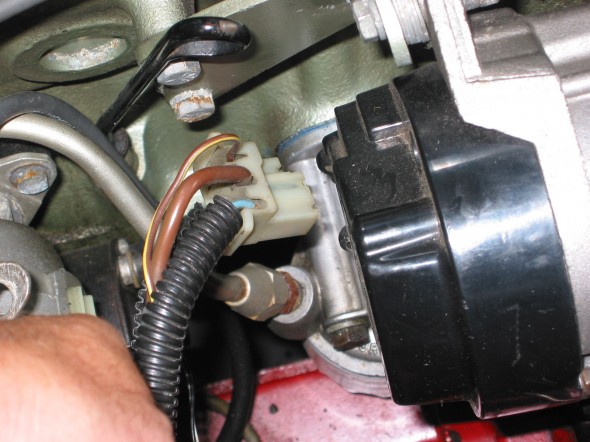
Unsnapped the plastic connector for the white/black line to the distributor from the electronic ignition device, and disconnected the plastic terminal (3 wires) to the alternator.

Ignition Wiring

Ignition Wiring

Alternator Wiring

Alternator Wiring

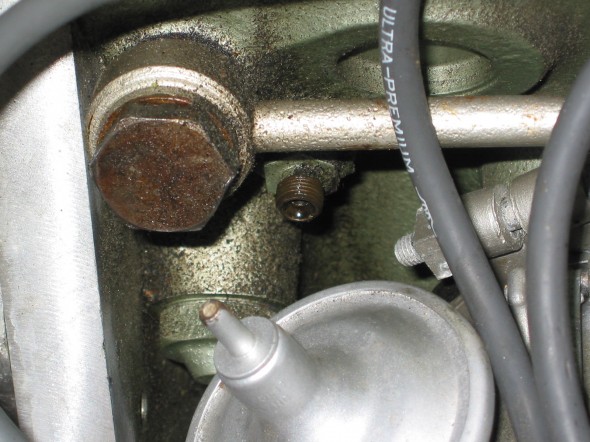
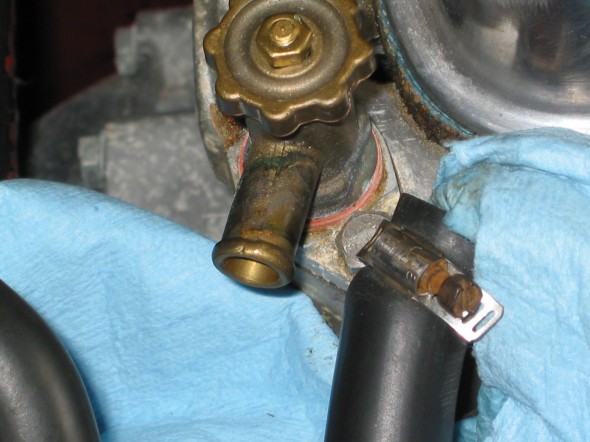
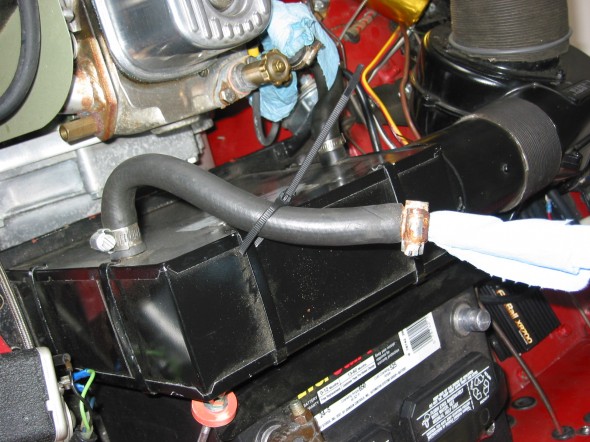
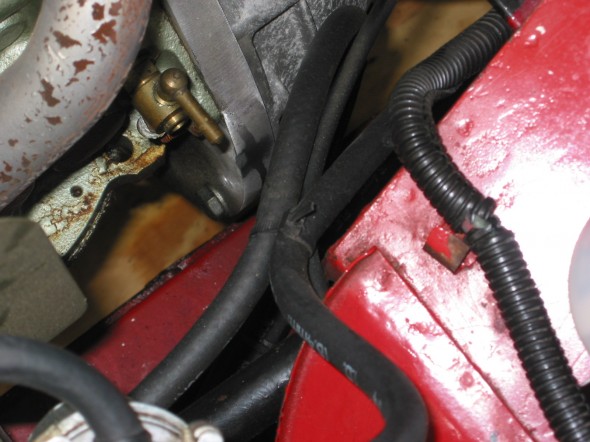
Disconnected the high tension line from the distributor to the coil. Disconnected the short hot water hose from the hot water valve control on the head and then the longer line on the other side of the engine to the copper tube. It is easier to put the clamp on the hose/copper pipe when the copper pipe clips are loose from the manifold.

Water Valve

Water Valve

Heater Hose

Heater Hose

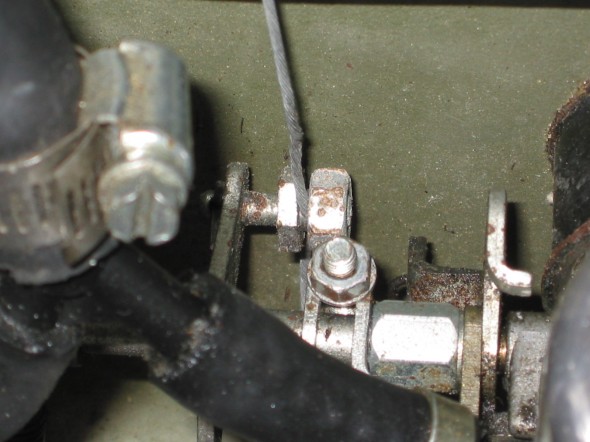
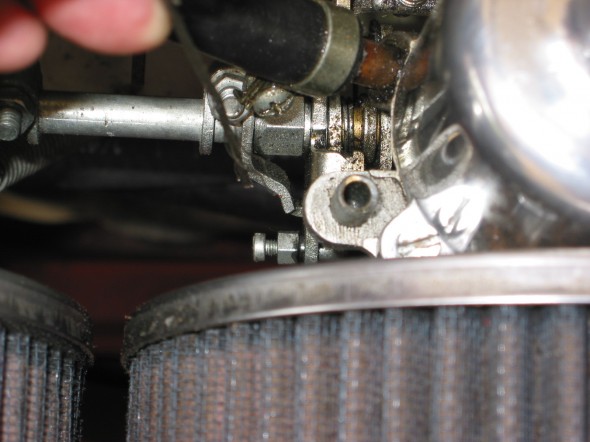
Disconnected the throttle cable at the carb linkage and pulled it out of the way, and then also disconnected the choke cable at the carb.

Throttle Cable

Throttle Cable

Choke Connection

Choke Connection

Disconnected the fitting at the slave cylinder (and got brake fluid everywhere).

Fuel Drain Line

Fuel Drain Line


Intake Manifold

Intake Manifold


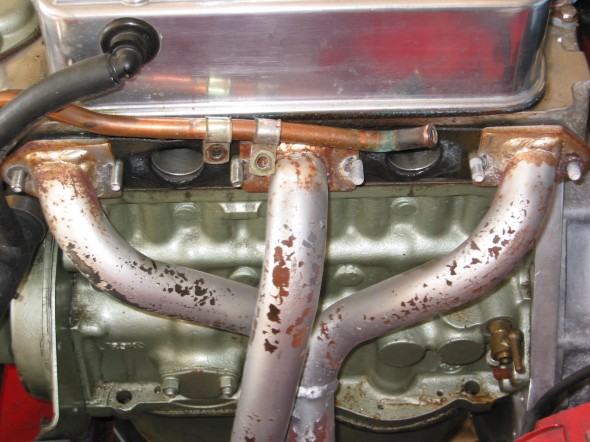
Very Ugly Header

Very Ugly Header

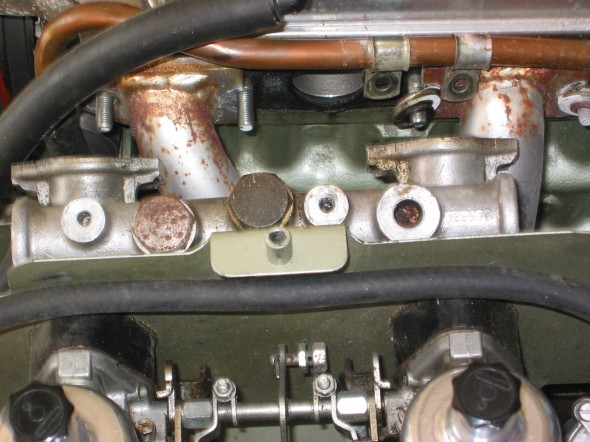
Removed the manifold brass nuts from the head and lifted the intake manifold and carbs free of the engine. The carb drain lines tied together with plastic straps will need to be rerouted to the retainer clips upon installation again. The headers will not come out of the engine bay until the engine is pulled or the heater is removed. Need to set the headers in place prior to the engine install.

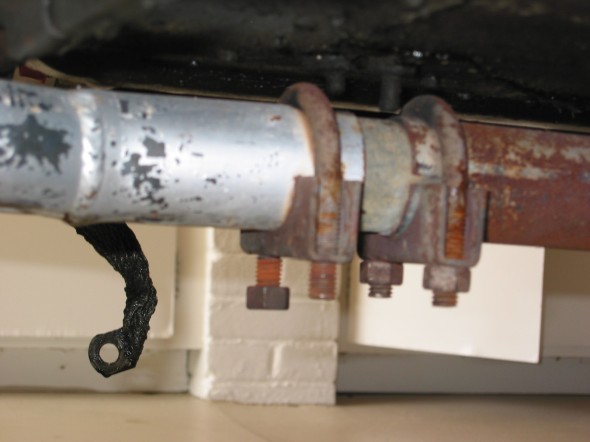
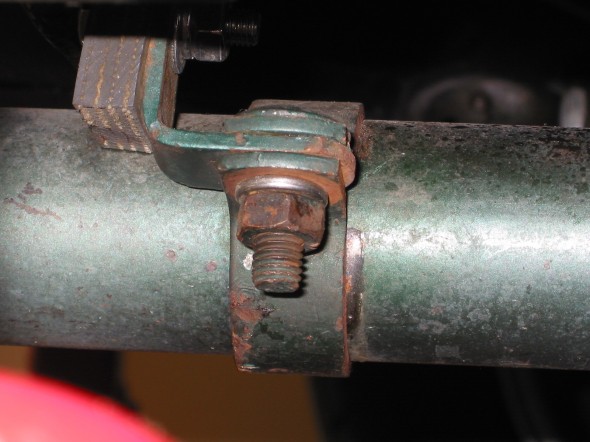
Exhaust Clamps

Exhaust Clamps

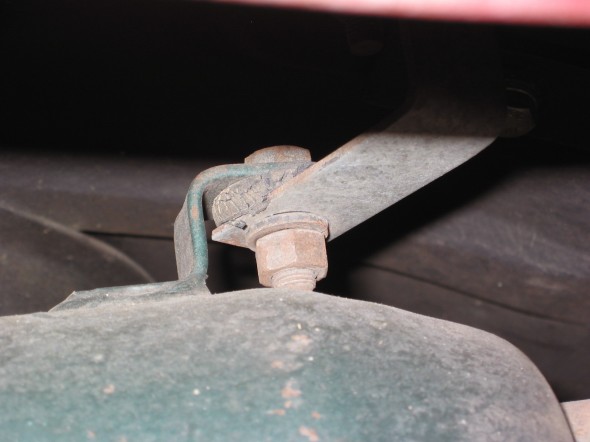
Exhaust Mount

Exhaust Mount


Exhaust Clamp

Exhaust Clamp

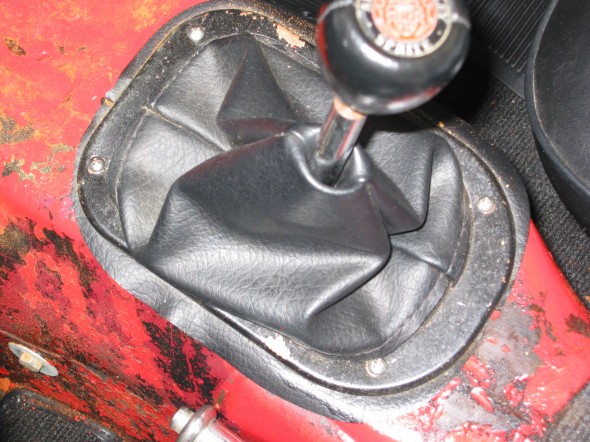
Removed four Phillips screws attaching the shift boot to the gearbox tunnel, the shifter knob, and removed two bolts on each side of the tunnel securing the gearbox bracket to the car. Use of the offset wrench made this an easier job.

Shifter Trim Ring

Shifter Trim Ring

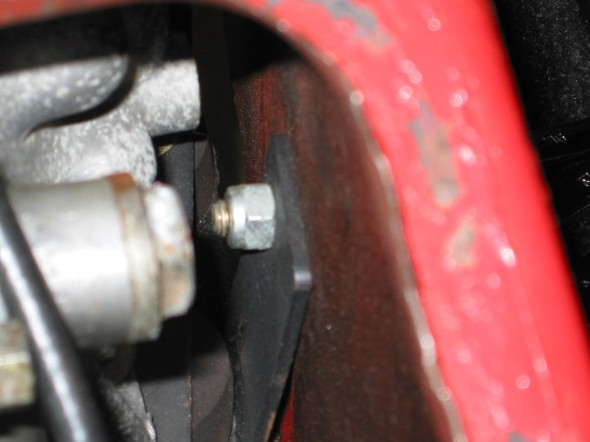
Gearbox Rear Mount

Gearbox Rear Mount


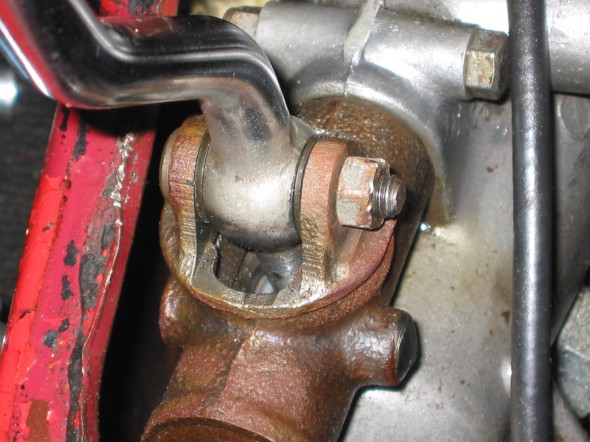
Shifter Connection

Shifter Connection

Loosened the right hand motor mount from the car so that it will lift free with the engine, but will not completely disconnect until the engine lift has the pressure off of the mounts. Loosened the screws to the engine at the mount on the left side of the car. The left mount will stay in the car.

Removed the cardboard heater hose to have it out of the way from the engine when it is lifted.

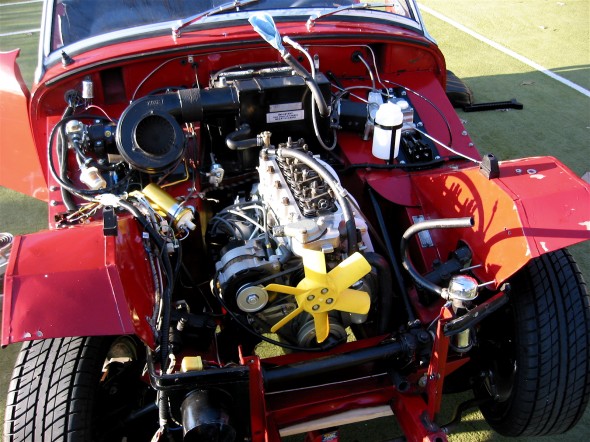
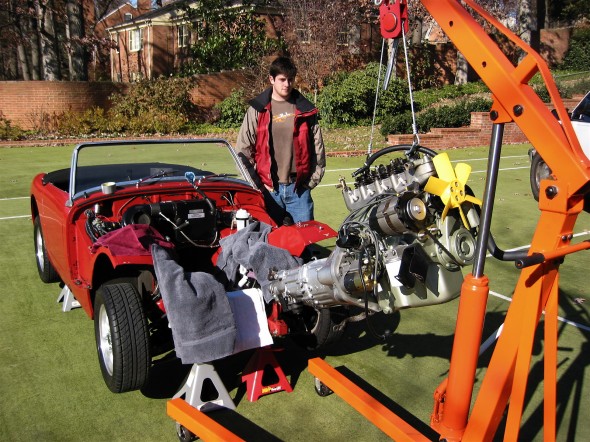
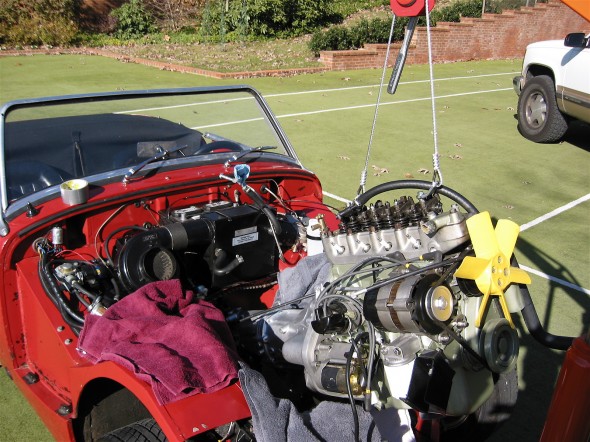
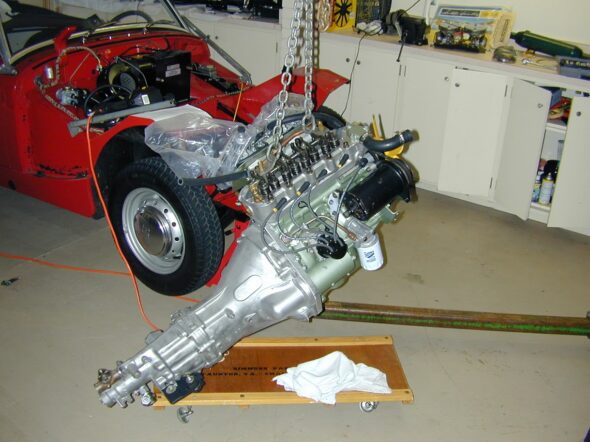
Connected the Lift Chain to the Rocker Shaft mounting studs and lifted the engine from the car.

Conversion to 1275 Engine & 5 Speed Gearbox

I am creating this post after the fact. Twenty-one years after the fact to be precise!

Unfortunately, I don’t have precise records, but in 2000-2001 we decided that the 948 cc engine just wasn’t powerful enough to provide the driving fun that I had hoped to experience. After shopping around a bit and doing some research my Dad and I decided to purchase a 1275 motor from Bill Perry at Rivergate. Bill completely rebuilt a 1275 that he had and added a new aluminum head. We also purchased a Datsun B210 5 speed gearbox conversion and had Bill assemble everything as one unit, crate it, and send it to us, essentially ready to install.

The engine numbers 12V/587Z/L7183. This engine was sourced from either an Austin-Healey Sprite, MK4 or from an MG Midget, MK3. The 587 engine was produced for North American Sales and was apparently rather rare in the States, so it may have been a Canadian car. The “L” stands for low compression, that is 8.0:1. The engine was produced  from 8/1971 to 8/1972. The engine, as produced at the time, would have been painted black.

Bill recommended using a Crane “Fireball” XR700 optical trigger ignition system and we installed one shortly after receiving the engine/gearbox package. We also purchased and installed the speedometer adapter kit available from Rivergate.

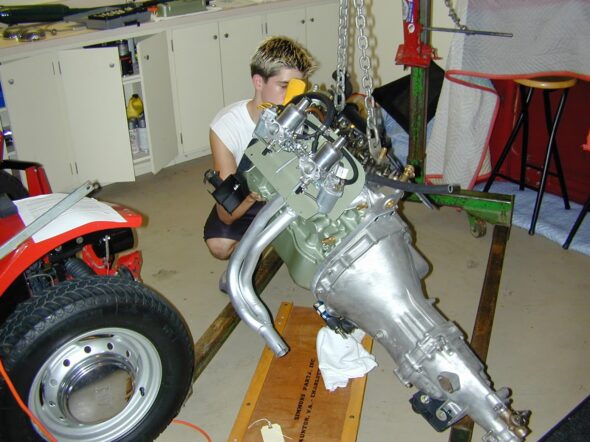
Rivergate Prepared 1275 Engine and Datsun 5 Speed

1275 Engine and Datsun 5 Speed

Before too long we also converted the original starter to a high-torque gear reduction starter and the generator to a Lucas alternator.


Coolant Recovery System

Coolant Recovery System

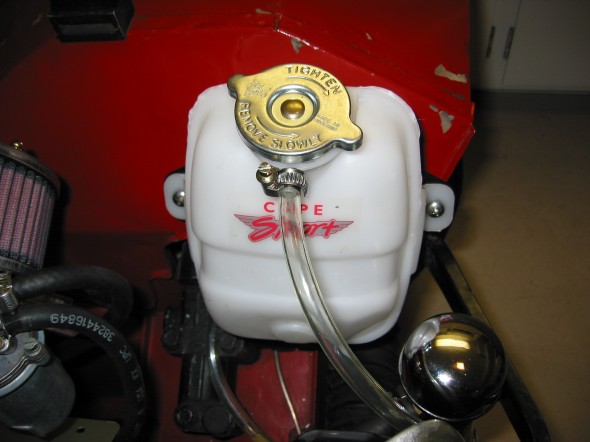
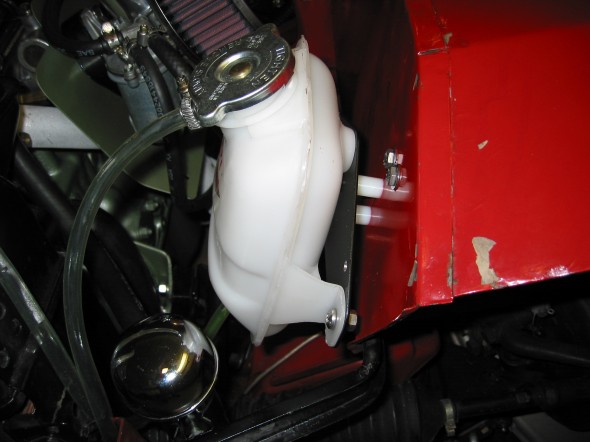
To help with water temperature cooling we decided to add a coolant recovery tank. Purchased a tank from Cape International. Installed it on the left front inner fender in the engine compartment. A new clear hose was used to connect the radiator to the coolant tank and the original drain hose was used to provide a line from the coolant tank. The drain line was run through the clips on the side of the radiator.

Coolant Tank

Coolant Tank

Coolant Tank Mount

Coolant Tank Mount

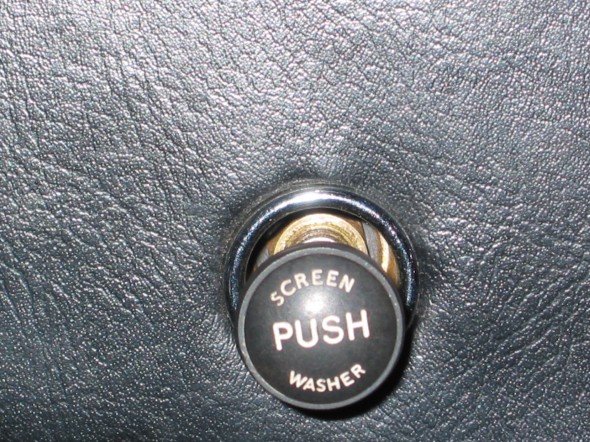
Electric Windscreen Washer Pump

Electric windscreen washer

My dad read a technical article by Stu Brennan, an owner of a Sunbeam Tiger, who had converted his hand activated pump windscreen washer to an electric washer. He liked the idea because he put the electric switch in the aluminum pump canister thereby eliminating the need to install an additional switch somewhere. Since the washer in the Tiger is the same as the one in both the Big Healey and the Bugeye he decided to give it a try.

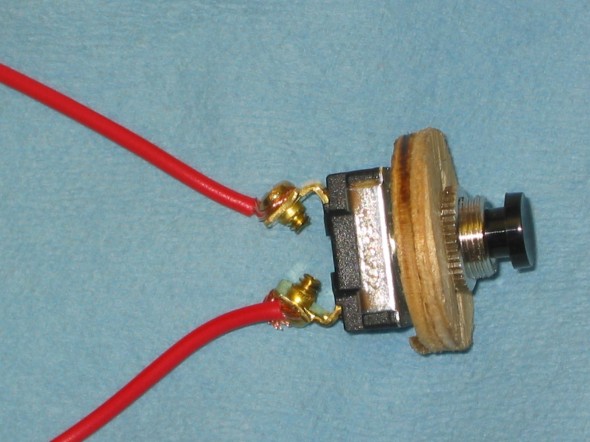
Two items needed to be purchased for the conversion. An electric pump typically used on later Sprites was ordered from Moss Motors.  A Home Depot switch was purchased, Gardner-Bender, Push Button, GSW-22, SPST always-off.

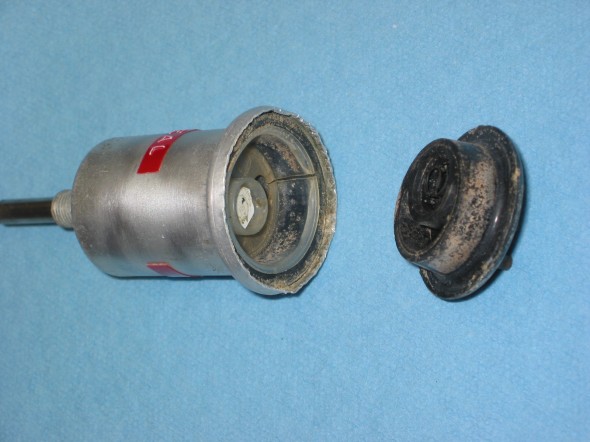
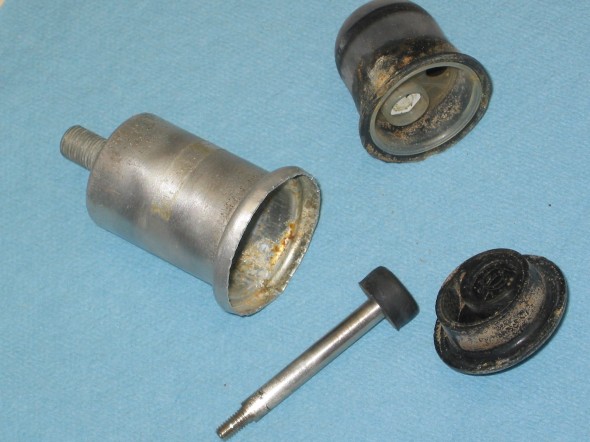
The old pump was easily disassembled by un-crimping the lip from around the plastic bottom. The metal is relatively soft, so it unfolds easily. The bottom and the old rubber bellows came right out, leaving only the plunger within the shell of the pump.

Washer Pump Open

Washer Pump Open

Windscreen washer pump

Washer pump

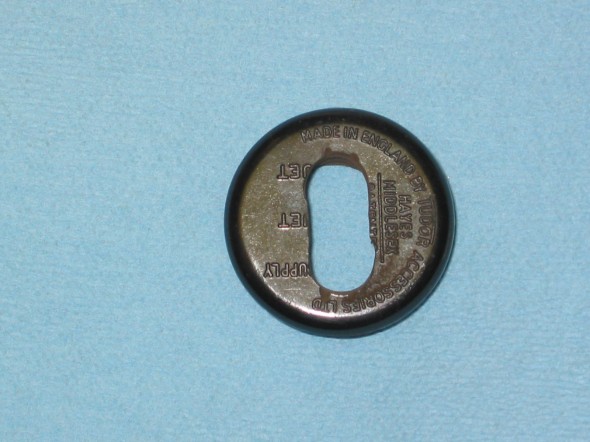
To provide enough depth for the switch in the canister a slot was cut in the plastic face plate. The slot also provided space for the switch wires to exit the canister. To provide stability for the switch in the canister and to use as a spacer a circle washer was cut of 1/4” wide plywood that fit tightly in the canister and placed it on the switch secured with double nuts.

New Pump Switch

New Pump Switch

Washer Pump Modification

Washer Pump Modification

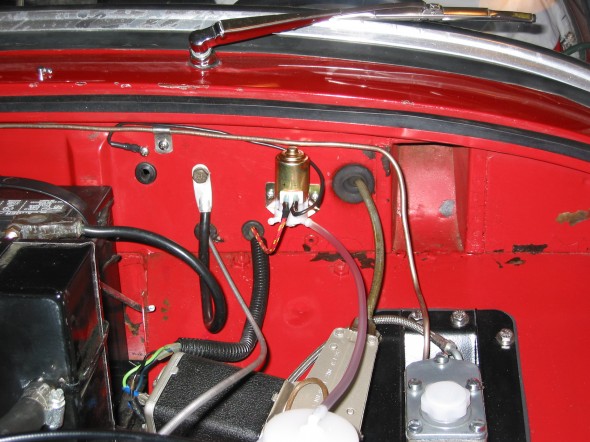
Power comes from a switched terminal on the ignition switch, and is connected to the new red wiring through an in-line fuse holder. From the other side of the switch, a new red wire carries power to the white wire on the pump. The “negative“ side – black wire –  of the pump is grounded at the mounting bracket.

The pump was secured to the left side of the firewall and the appropriate hoses were connected to the water supply tank, the pump and the two jets.

Pump on Firewall

Pump on Firewall

Now it is Electric!

Now it is Electric!

Bugeye Brakes Improvement

We have never been very happy with the brakes on the Bugeye. We installed front disc brakes but the pedal travel was way too much and the master cylinder always seemed to leak slightly. We were going to replace the master cylinder with the correct one for the 1098 car, but others suggested that the original 948 MC would work fine if everything else was working properly. Having the rear brakes adjusted properly and using aeroquip stainless steel brake lines were the primary suggestions for brake improvement.

We installed the stainless brake lines, and fitted new green stuff disc brake pads in the front, with new shims also. Purchased and installed new copper alloy brake lines throughout the car. Paul Asgeirsson was a big help on the proper process for adjusting the rear brakes.

Put the springs on the brake shoes from the back plate side BEFORE putting in the adjuster. Lots easier.

To put in the adjusters with the springs in place, just pry down the bottom shoe away from the wheel cylinder with a screwdriver.

Disconnect the parking brake cable from the cylinder brake arm.

Put the drum on over the shoes and put on the 2 drum holding screws.  These originally are pozi-drive screws and the phillips head screwdriver just chews them up.  Get some new ones that are phillips head.  They are 1/4 X 28 X 3/4″  flat head machine screws.  Readily available.

Now adjust the brakes up as tight as you can.  Press on the brake pedal pretty hard to seat the shoes.  Check the shoe adjustment by rotating the drum if you can.  If you can tighten up the adjuster nice and snug and back off one click.  Do both sides this way.  Should be able to rotate the drum OK, but typically not freely.

Hook up the parking brake clevis.  If it’s too short, loosen the adjuster inside the car.  5/8″ deep socket and hold the cable with a 1/4″ wrench on the flat spot.  Loosen until you can hook up the clevis.  Do both sides this way.

Now you need to final adjust the parking brake.  Take up the slack on both cables until they are just beginning to affect the rear brakes.  Make both cables equal tension.  Easy to check when you pull on the handle like you are parking the car.
Now the parking brake handle should only go up about 15 to 20 degrees.  Now this is important.  Never change the adjustment inside the car again until you reline the rear brakes again.

As the brakes wear, the handle will come up to maybe 45 degrees or so. That’s a signal to readjust the rear brakes.  When you do that, the park brake handle will only pull up 15 or 20 degrees again.

Paul also provided some brake adjusters for the rear drums that were in good shape and we used those. New brake shoes were also installed. Speed bleeders were used on the front calipers and the rear wheel cylinders. While working on the rear axle it seemed that the time was right to add new seals and gaskets.
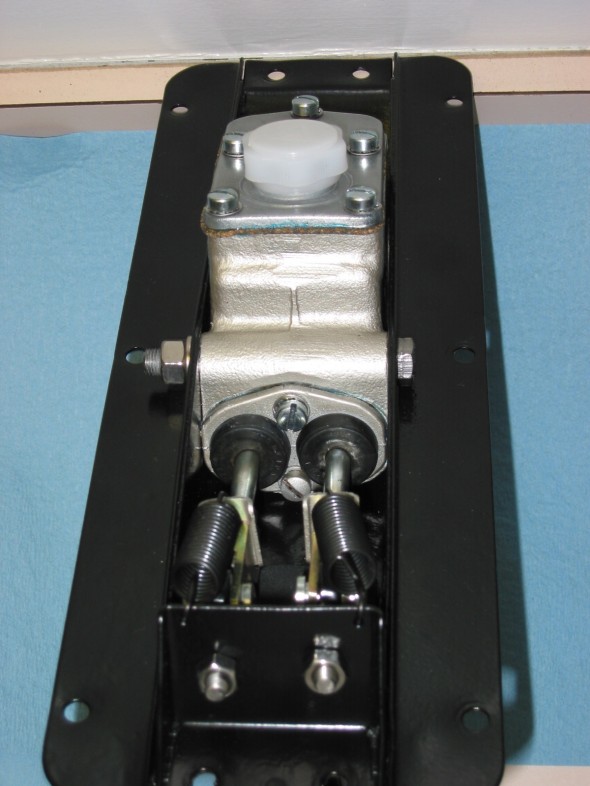
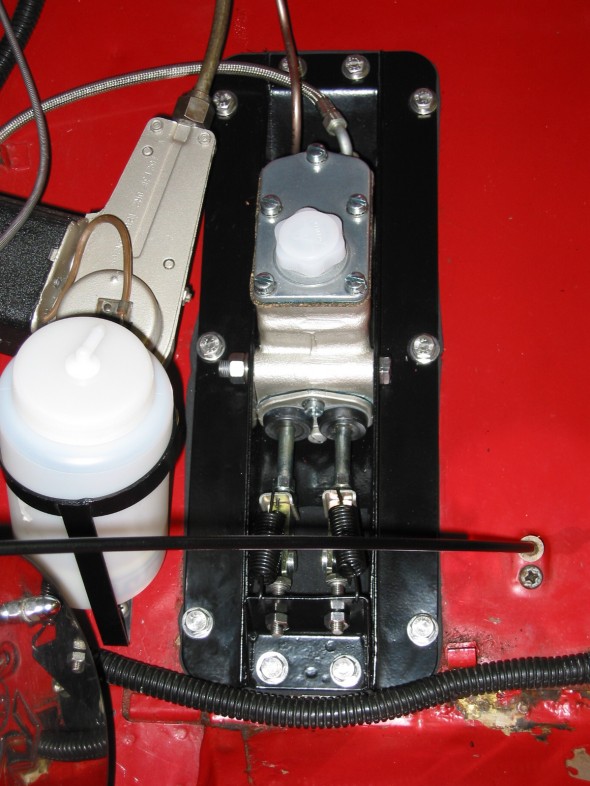
The old pedal box was a mess from leaky brake fluid so the box was pulled, cleaned up and powder coated for a more permanent finish. New gaskets were added to the master cylinder along with new push rods, clevis pins and etc. Also added new aluminum racing pedals to the brake and clutch pedals.

Finally, the system was bled and all the hard work was worthwhile!! Improved brake pedal and now we eagerly await actually putting the car on the road.

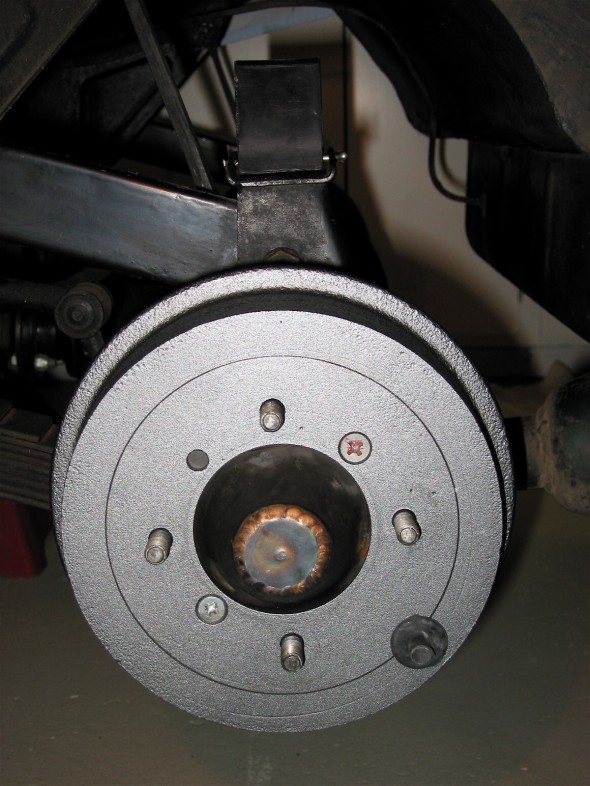
Powder Coated Drums

Powder Coated Drums

Ugly Pedal Box

Ugly Pedal Box

Powder Coated Box

Powder Coated Box

Pedal Box Restored

Pedal Box Restored

A Little Wiper Work

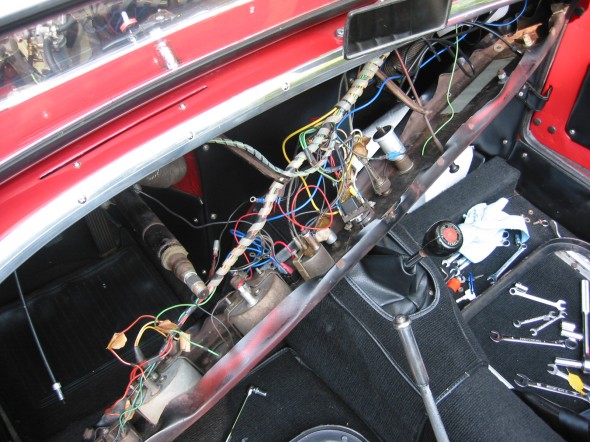
Planning on attending The British Car Fest in Buckeystown, MD on Sunday the 27th, so we needed to get a few maintenance items taken car of on the Bugeye. We had never reinstalled the wiper motor when we finished restoring the car so that was the first job. We pulled the dash off the car which may not have been required but it did make access much easier. After much trial and error with fitting it was figured out and the motor and wipers were installed and made functional. The sweep doesn’t seem to be sufficiently wide so a little more research is needed to determine how to adjust.

Dash Wiring!

Dash Wiring!

Wiper Box Left

Wiper Box Left

Wiper Box Right

Wiper Box Right

Refurbished Wiper Motor

Refurbished Wiper Motor

The brake lights were not working. I connected the two brake switch terminals with a wire and the rear lights functioned, so I determined that the switch was faulty. I put a little brake fluid in the new switch, quickly removed the old one and reinserted the new one. Voila! Brake lights returned.