Scuttle Ventilator Assembly
Ventilator Concept
My fellow MK2 restorer Eric Kriss has a very nice diagram and explanation of its workings on his Blog. With all credit to Eric, this is an excerpt from his post on the topic:
Jag Scuttle ventilator
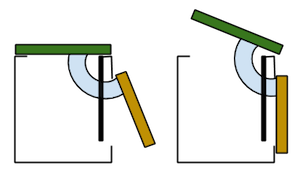
“The beloved Jaguar scuttle ventilator, probably designed by Rube Goldberg himself, works in a somewhat counter-intuitive way. The vent lever operates a dual lid system.
When the top (horizontal, colored green) vent lid is closed, no fresh air enters the passenger compartment, but the vertical lid (colored tan) is open! When the top lid is open, the vertical lid closes, forcing fresh air into the scuttle plenum and out through the air distributor box.
Note that if the top vent lid is closed and the heater is running, hot air entering the plenum from the heater will also pass into the center instrument panel area. A rear ventilator shield (colored black) forces most of the hot air into the air distributor box, but this still warms the instruments … probably not a really great idea. Rain water can leak in the same way.”
Assembly Sequence
I did a trial installation of the Scuttle Ventilator Assembly in July 2014. The following sequence was used to install components:
- Two door hinges
- Weather shield
- Torsion bar assembly, vertical race first
- Operating arm
- Scuttle lid
- Lid mesh grille to lid
Scuttle Plenum
The plenum on my car was very rusty and given the location of the plenum it cannot be repaired in place. I was fortunate to locate a good used plenum and John Stefanik installed it for me. This effort also required some repairs to the firewall, and John accomplished all beautifully.
Plenum Firewall Repairs
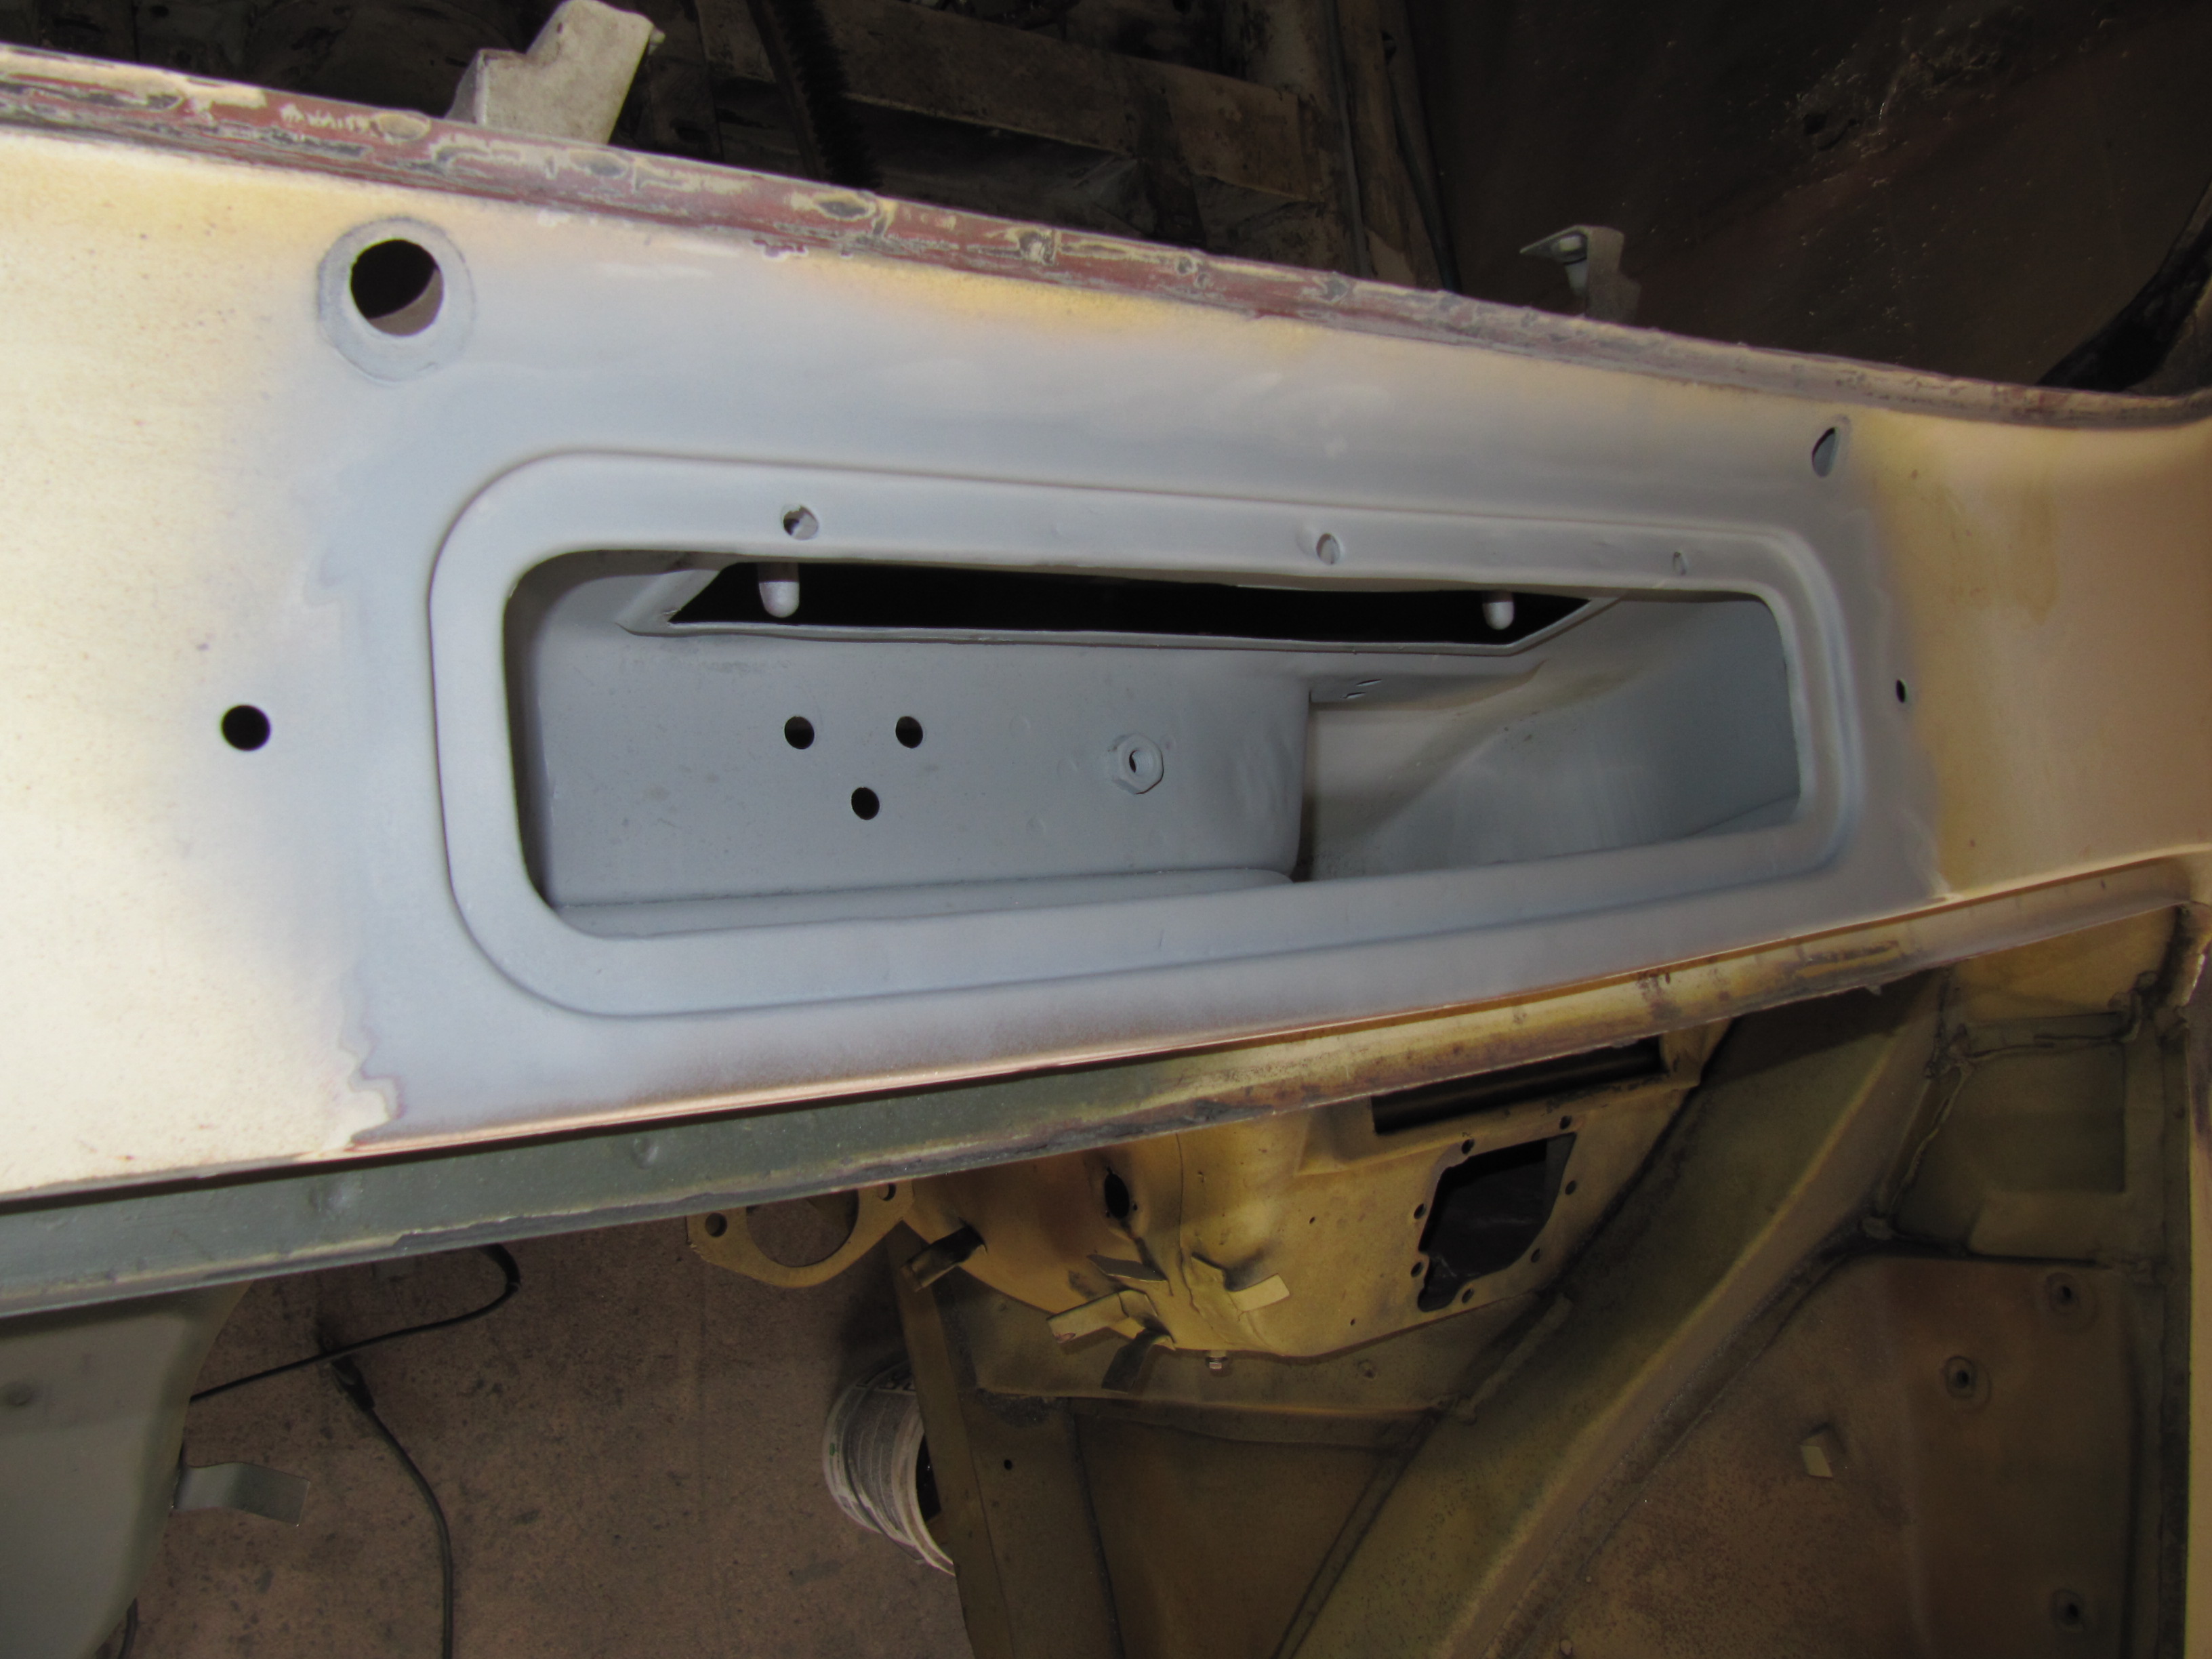
New “Used” Plenum Installed
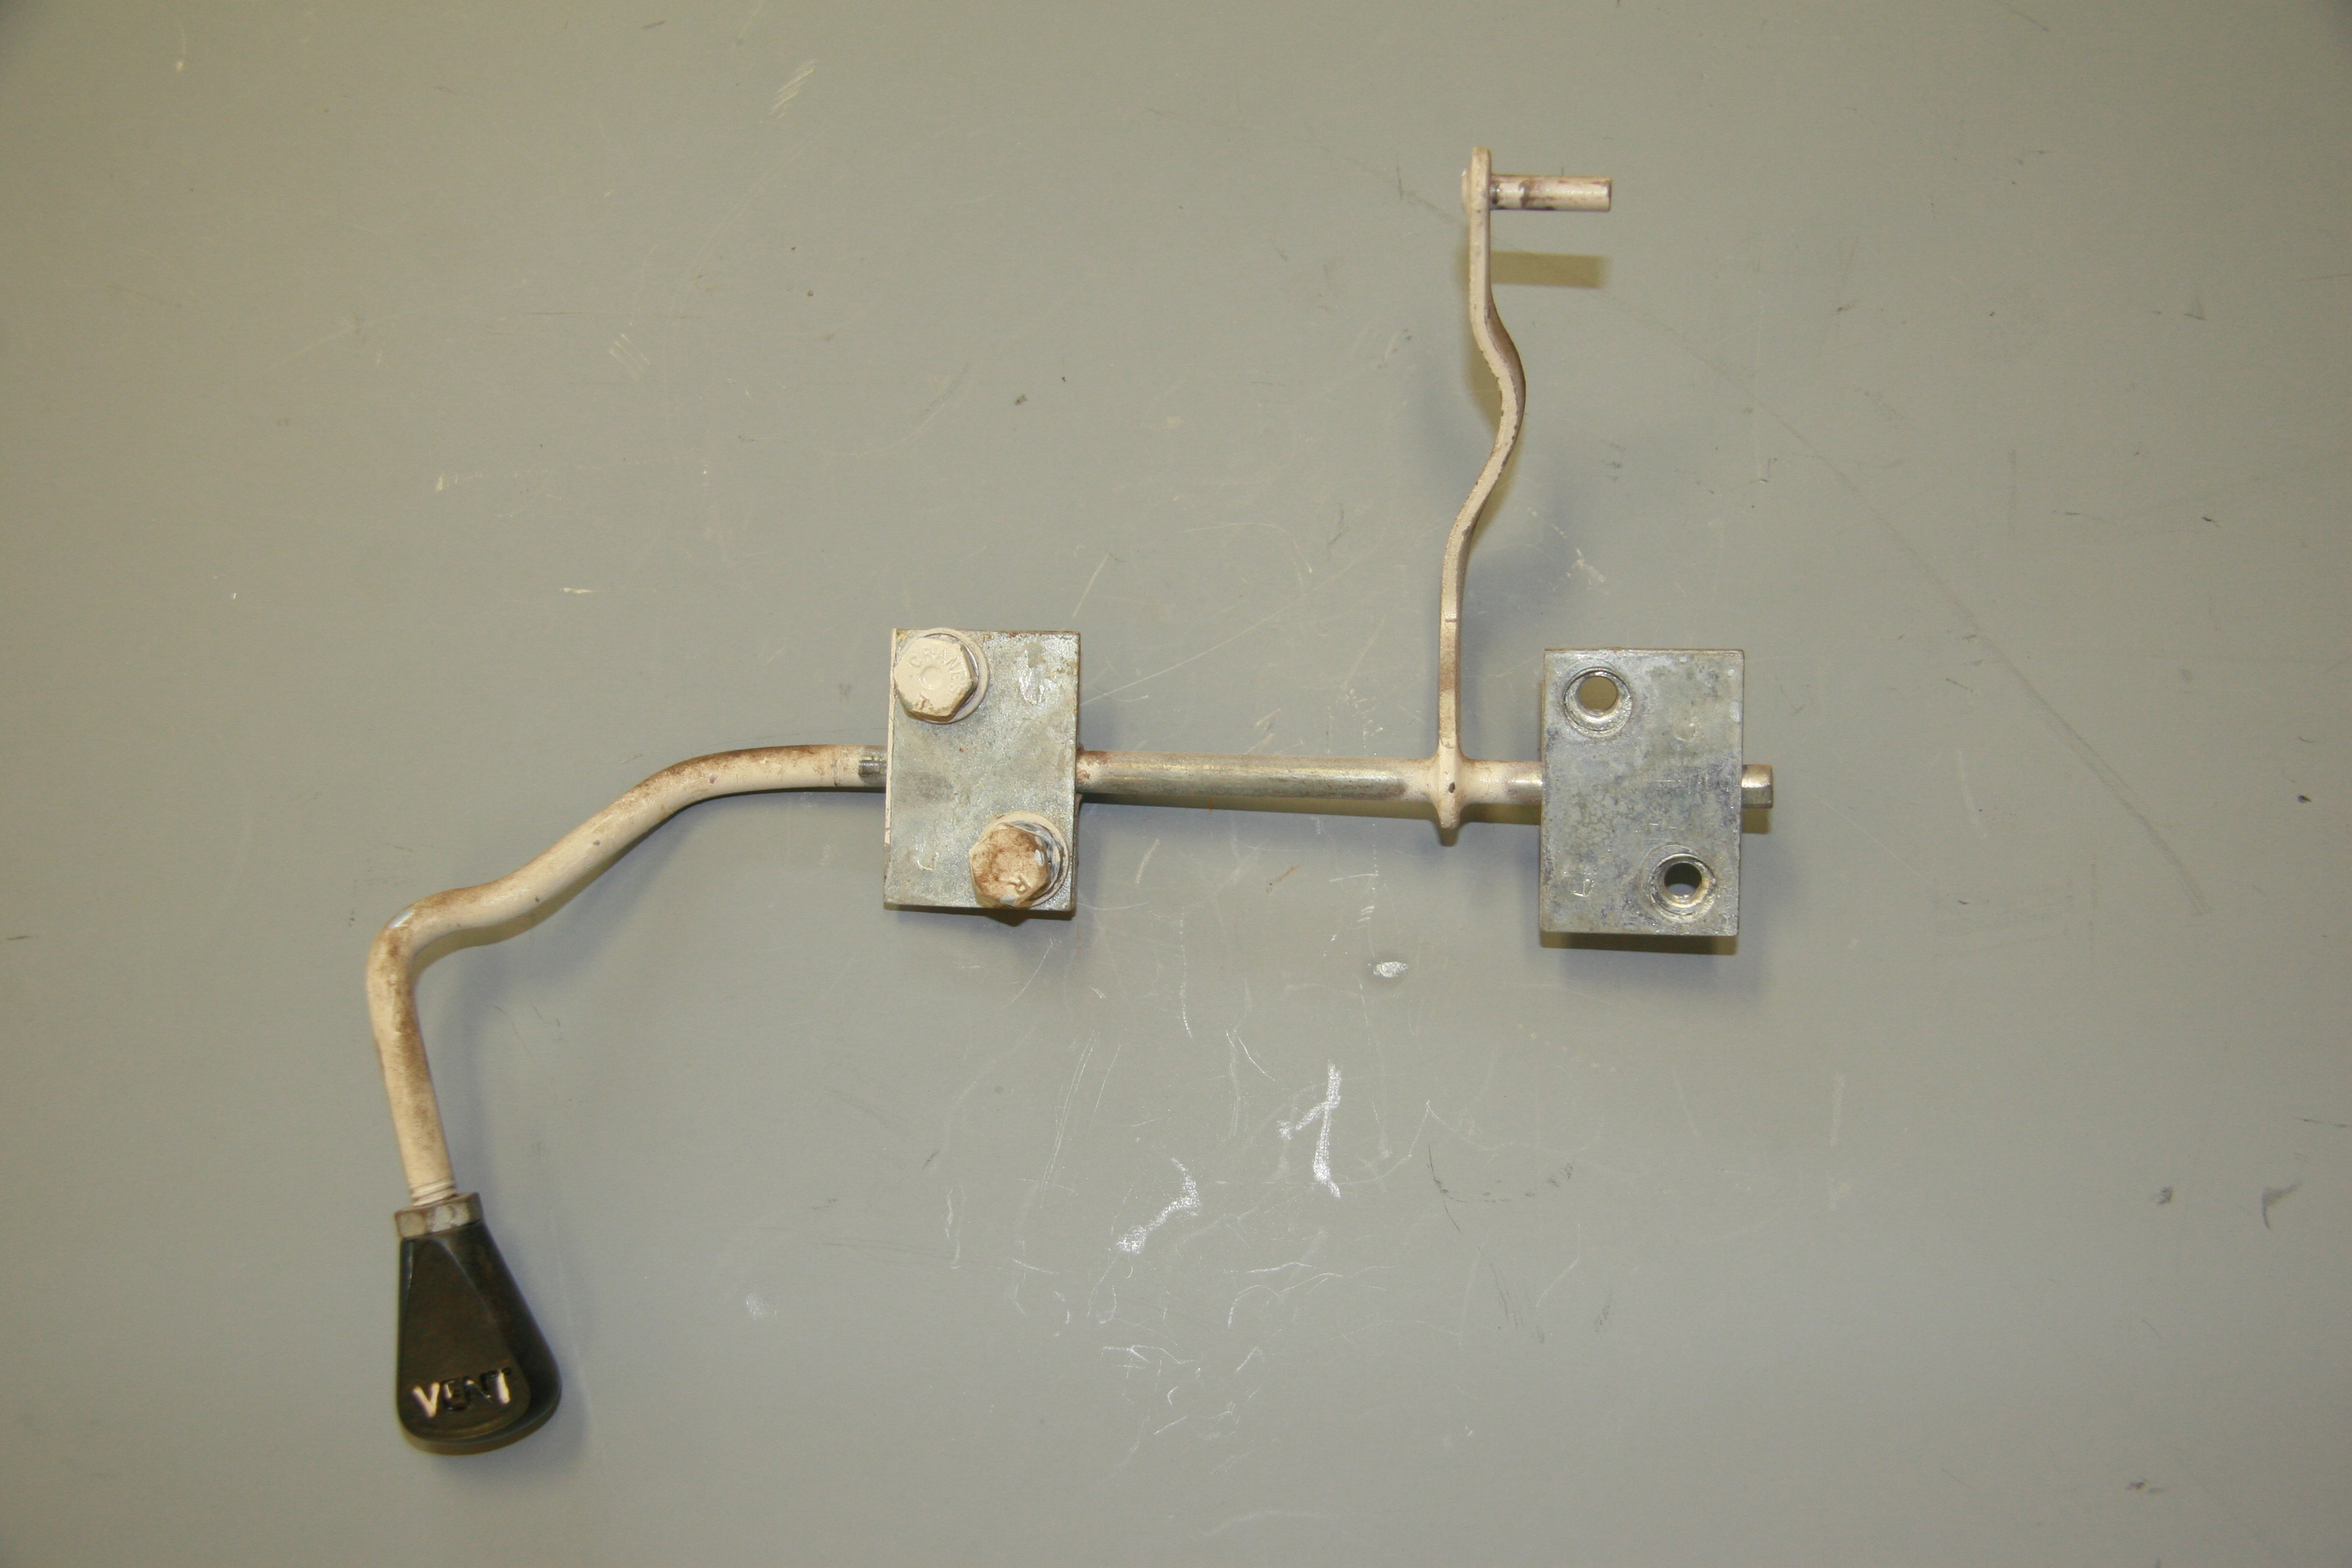
Operating Arm Assembly, for Scuttle Ventilator
The Operating Arm Lever and knob were in great shape. It appeared that the car was painted at the factory after the Lever was mounted as the exposed parts of lever were body white, while the rest of it was zinc. The Lever cleaned-up nicely and was zinc plated. The Arm assembly mounts to the body shell with four 1/4″ – 28 x 1/2″ hex head bolts with split washers. The knob polished well and I repainted the “VENT” lettering. It’s position is adjusted using a 1/4″ – 28 lock nut.
I assembled the Scuttle Ventilator and installed it as a trial for fit and operation. Everything worked beautifully.
Operating Arm Assembly, for Scuttle Ventilator Lid
After a little polishing and a lettering “touch up” with some white modeling paint, the knob for the operating arm assembly looked as good as new.
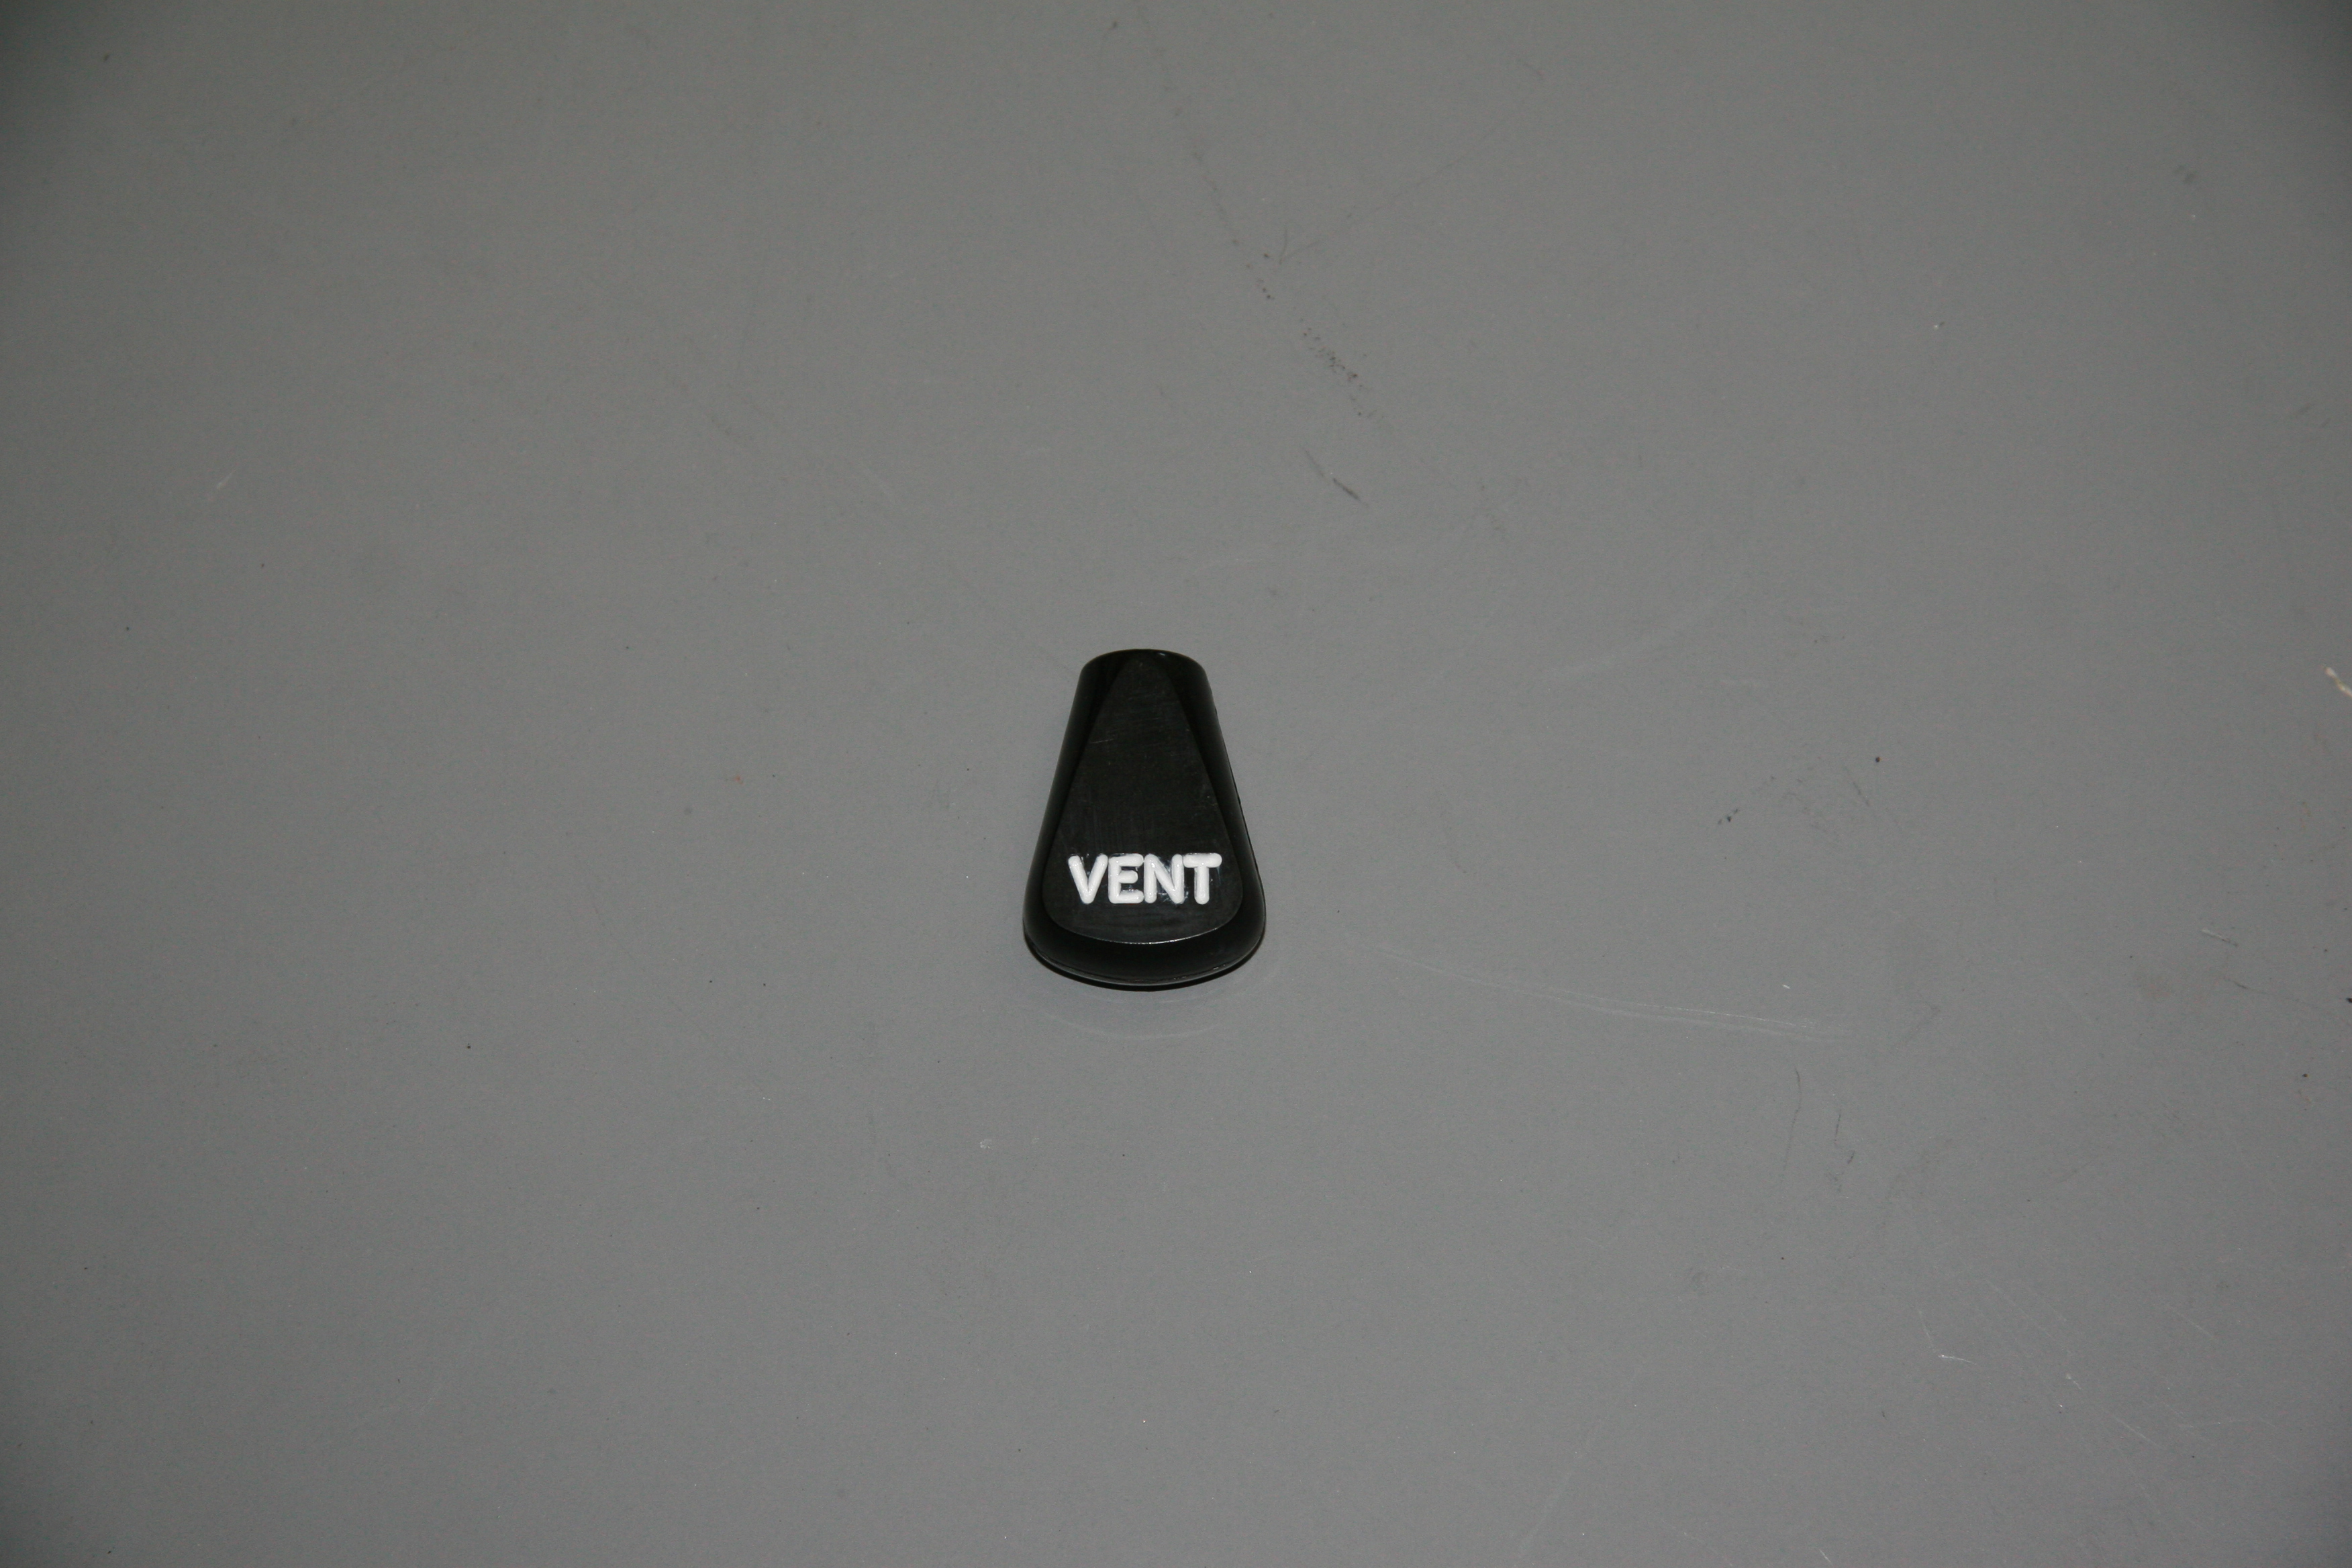
Scuttle Vent Operating Arm Knob
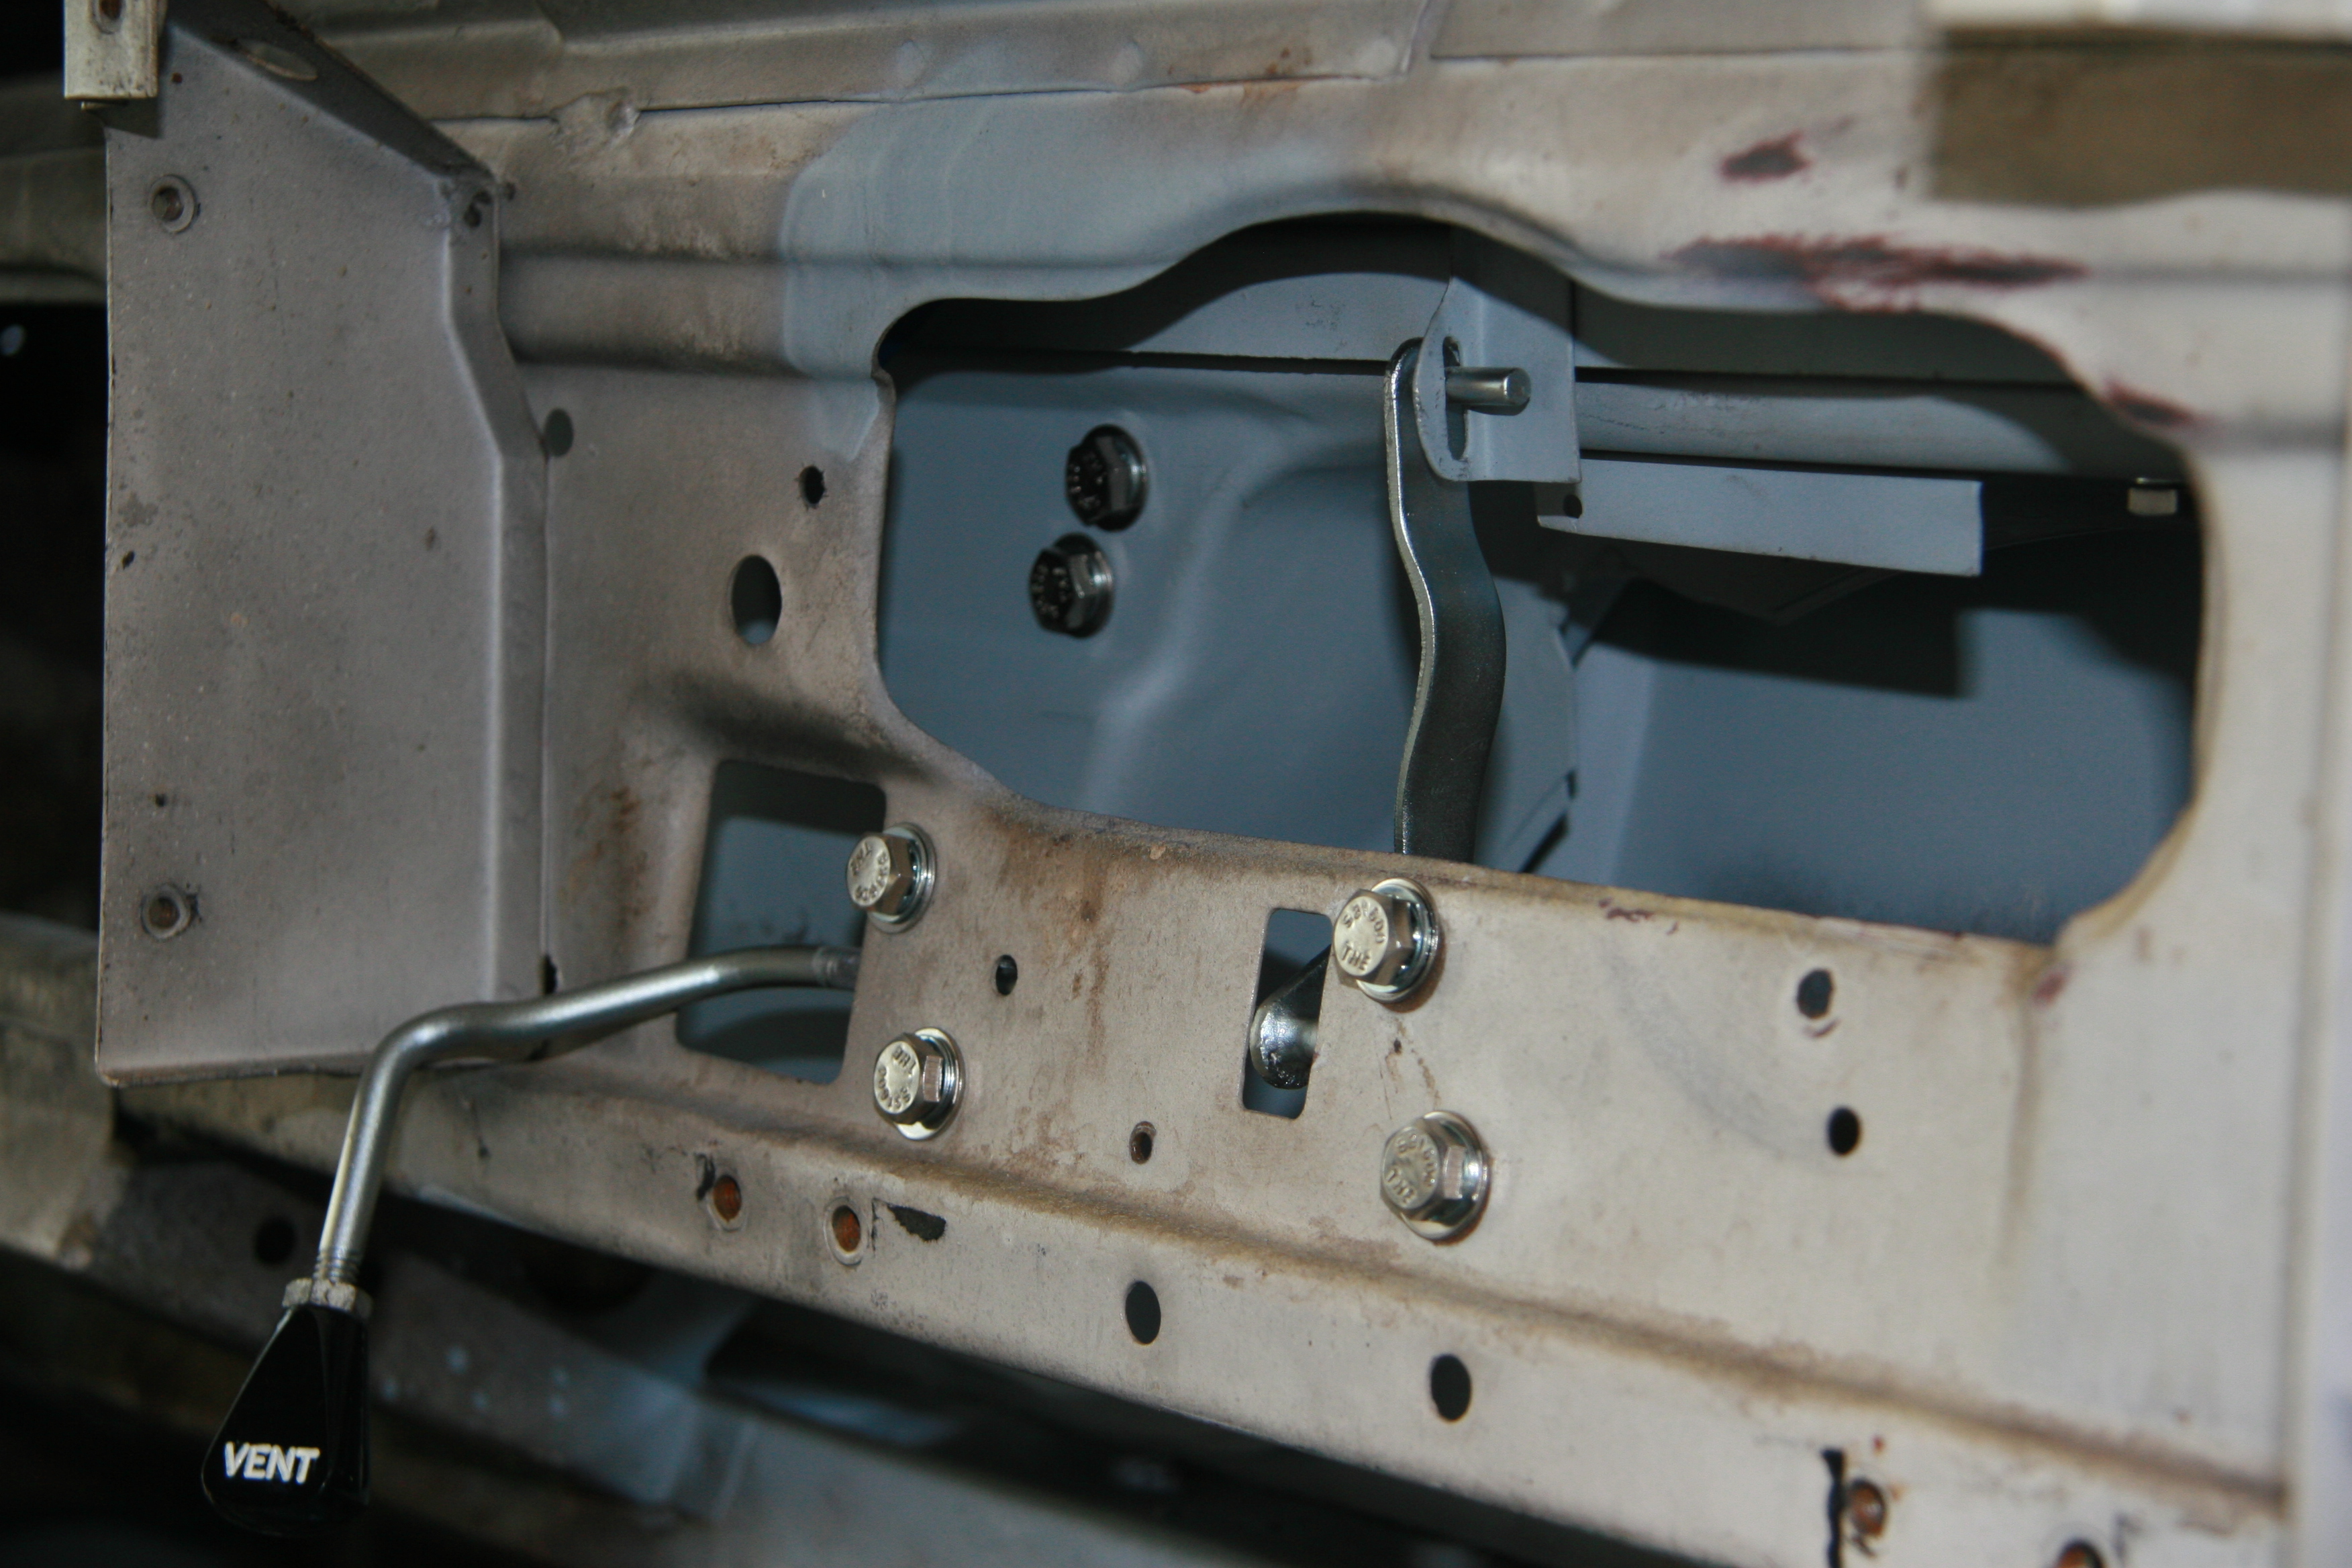
Operating Arm Assembly, for Scuttle Ventilator Lid Trial Fitting
Torsion Bar Assembly for Ventilator Lid
This piece was very rusty but after soaking in a rust treatment, blasting with aluminum oxide, and the application of heat with a torch to the pivot points, I got it operational and I believe that it is strong enough to be used as is. I painted it with POR-15 and will hope for the best. The part is not available from the usual vendors.
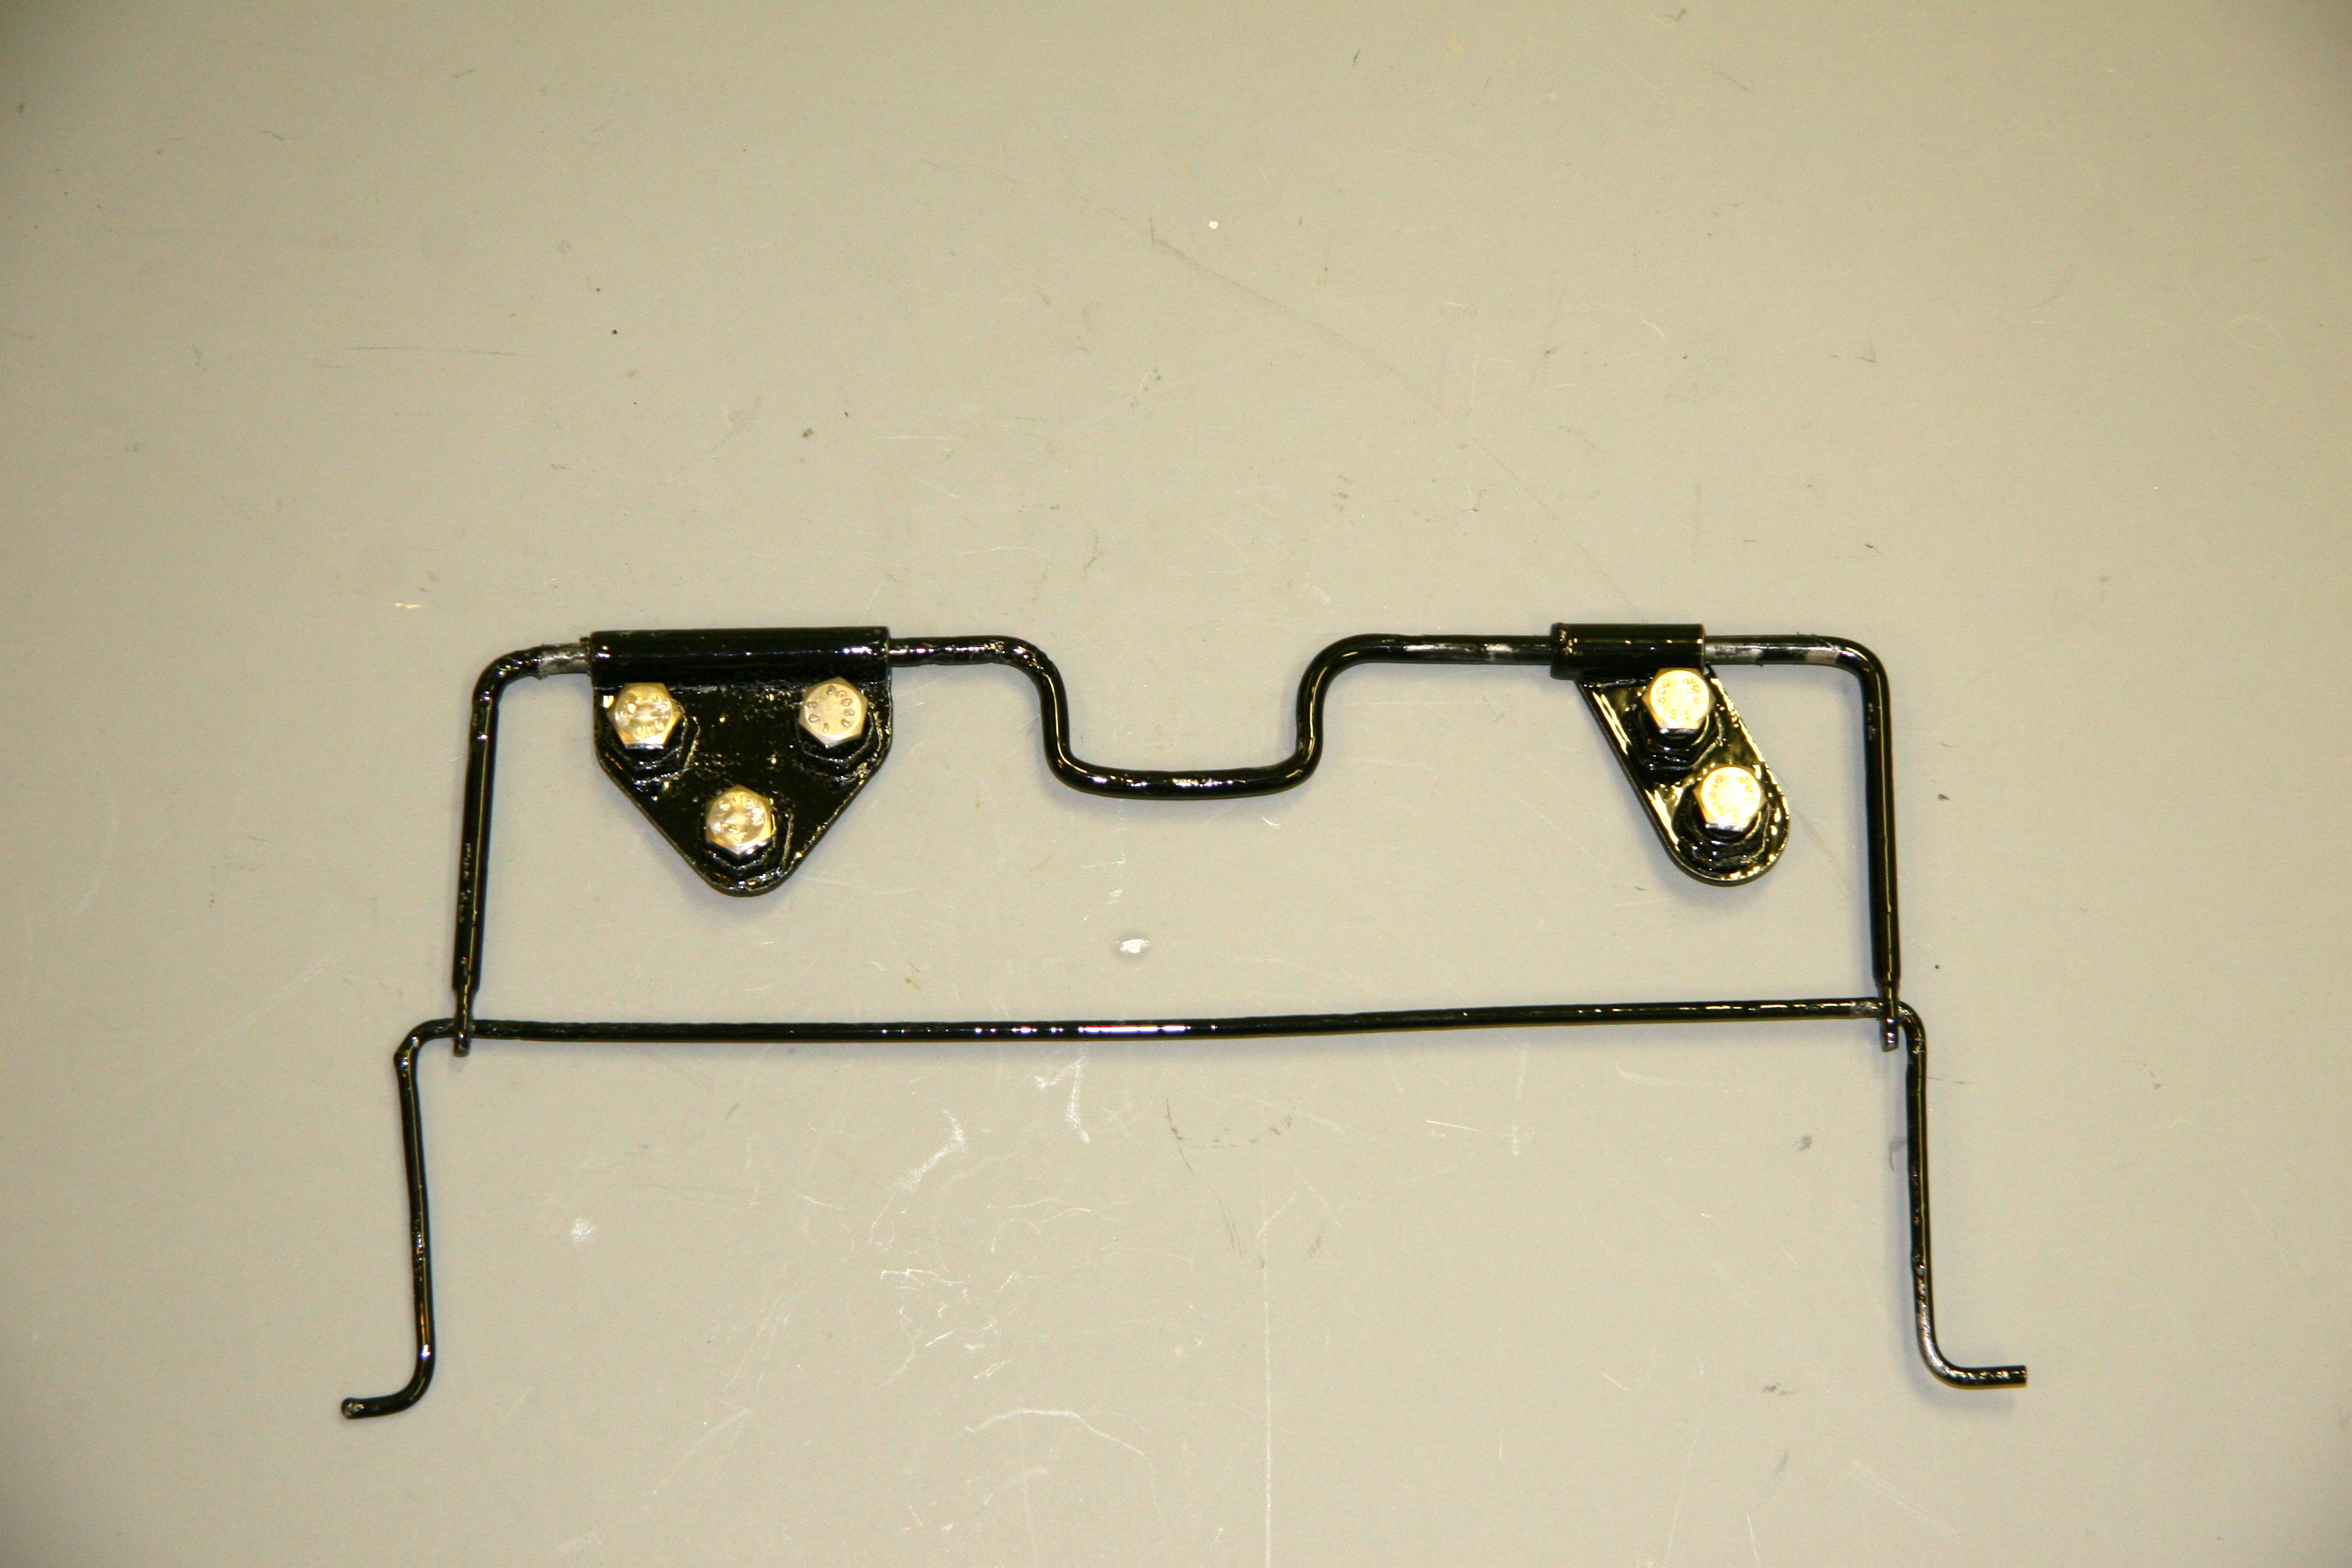
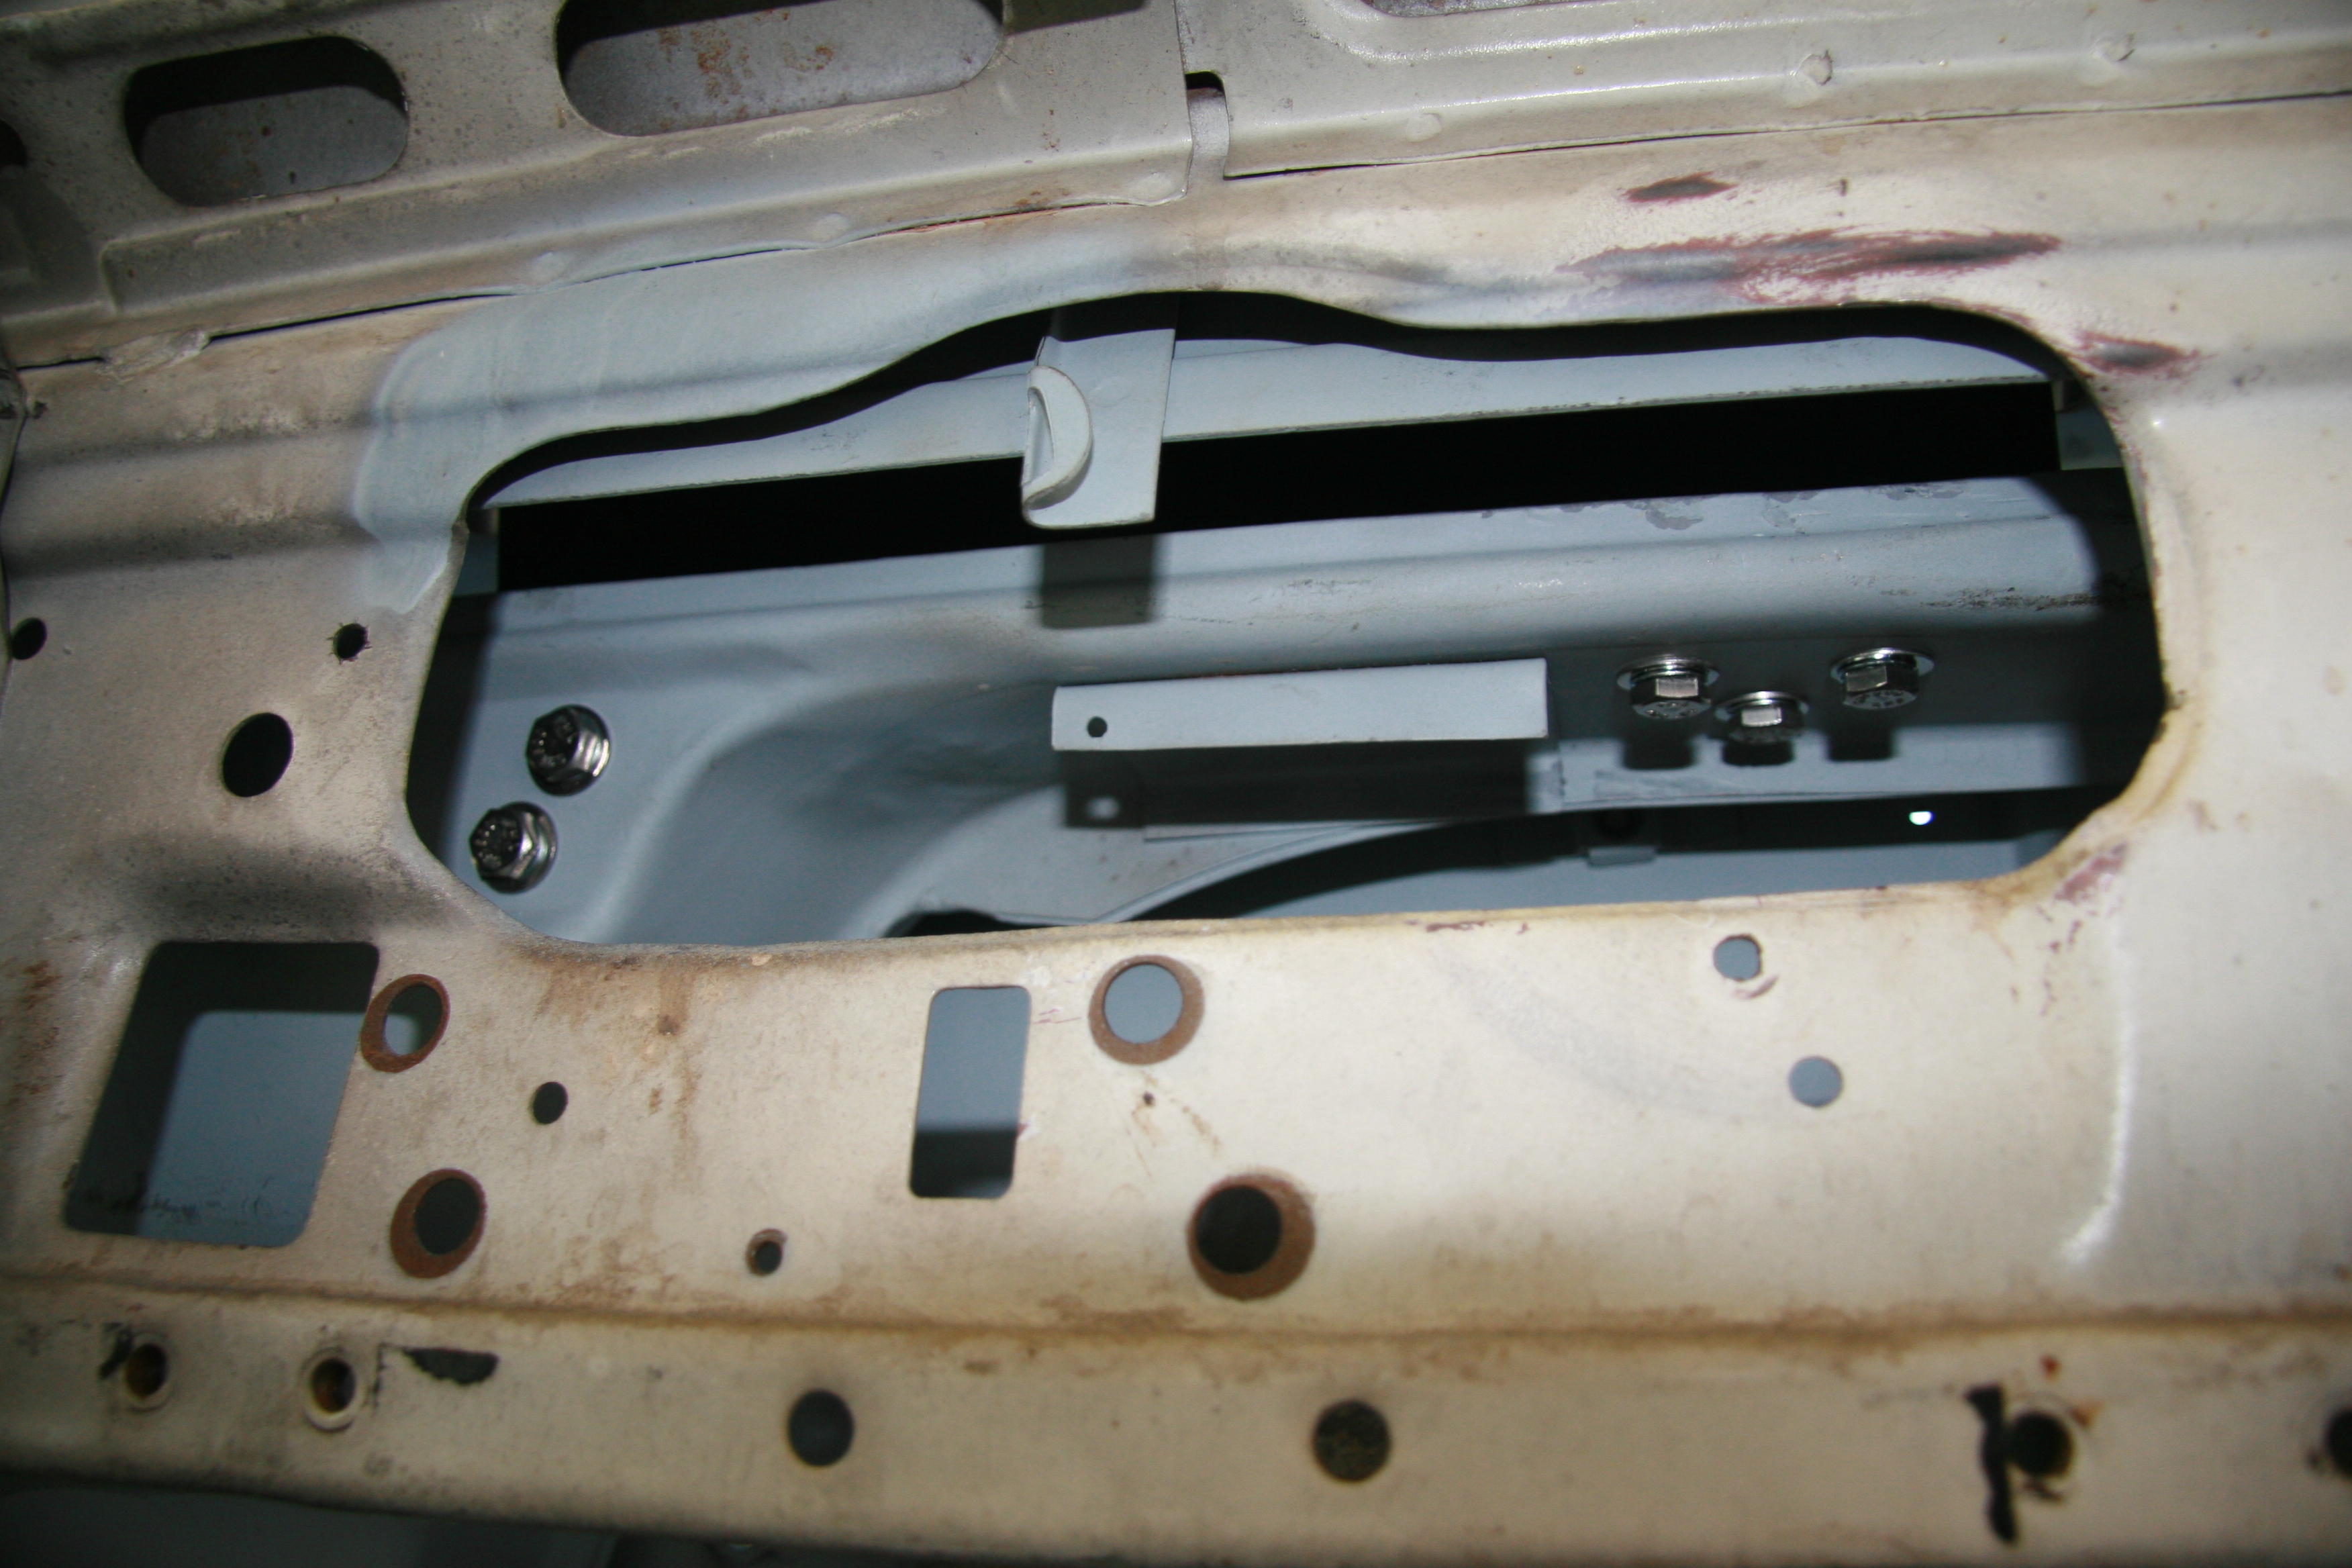
I installed it as part of the trial fitting of the scuttle ventilator assembly and while it is not visually pretty, it appears that this part has been successfully saved. The Assembly mounted with five 1/4″-28 x 1/2″ hex head bolts, shake proof and flat washers. It is easiest to mount the vertical brace (to the left in the image below) first and then the piece with the three bolts.
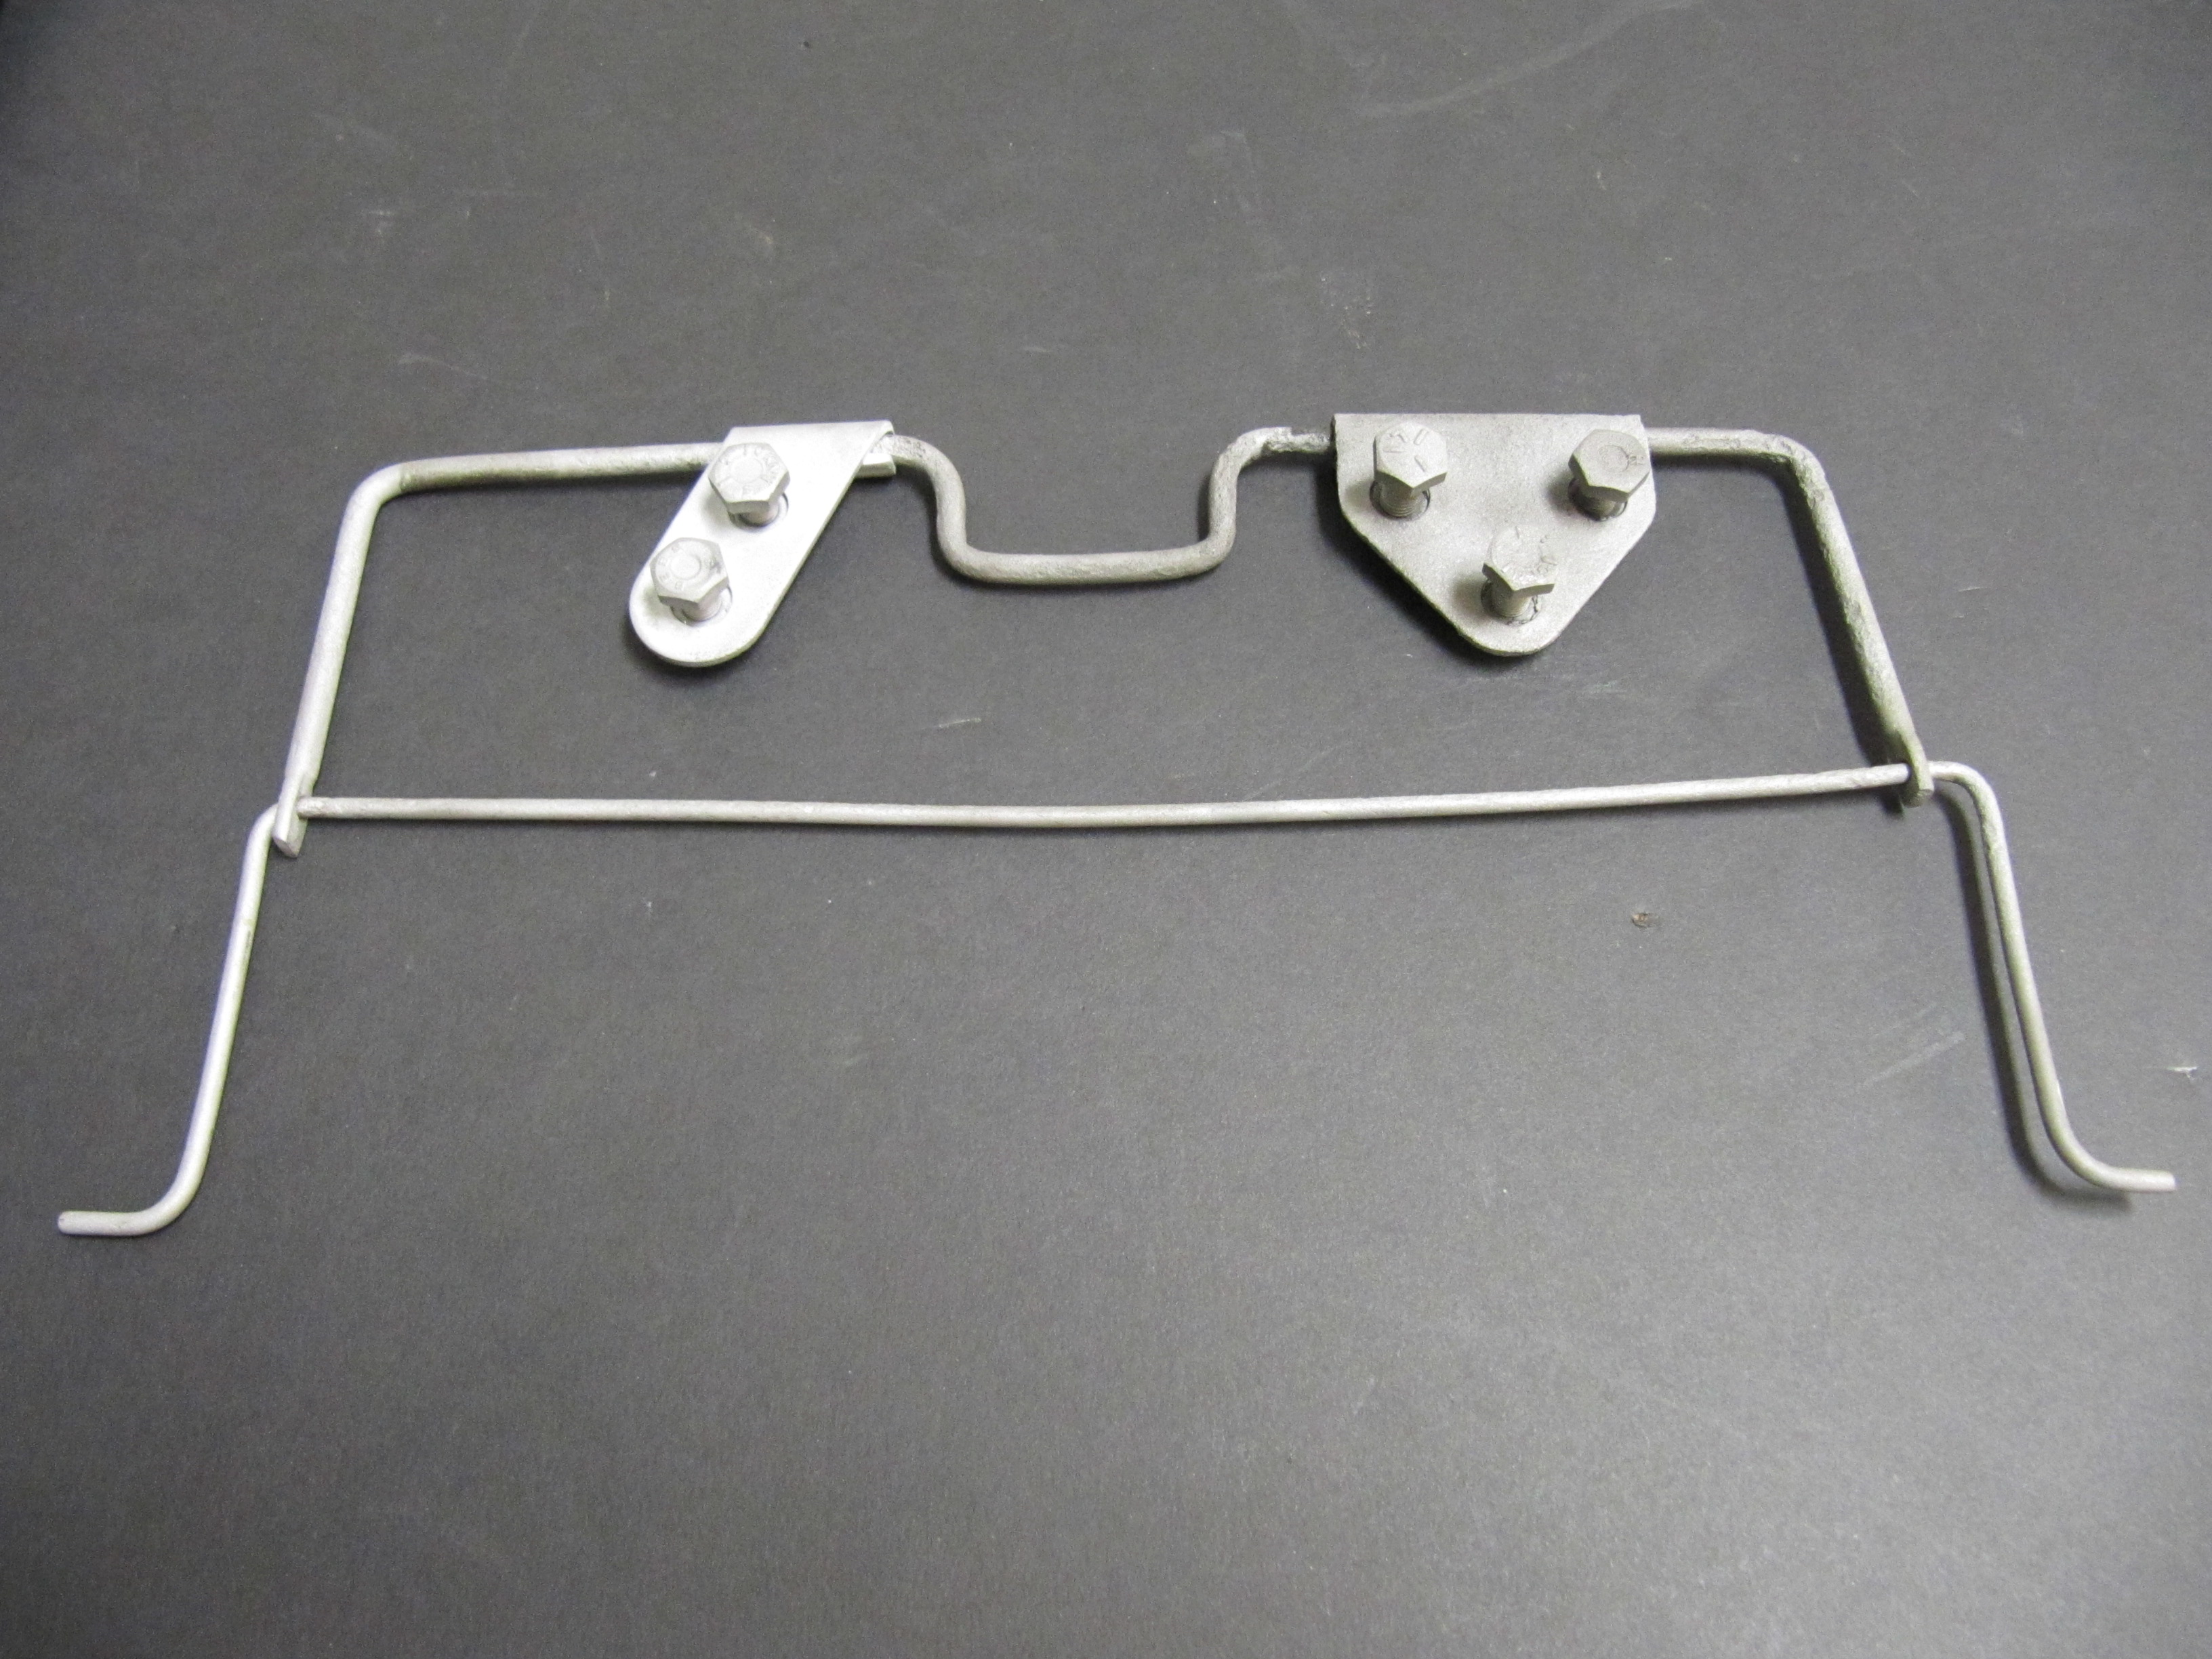
Torsion Bar Assembly for Ventilator Lid
Torsion Bar Assembly for Ventilator Lid
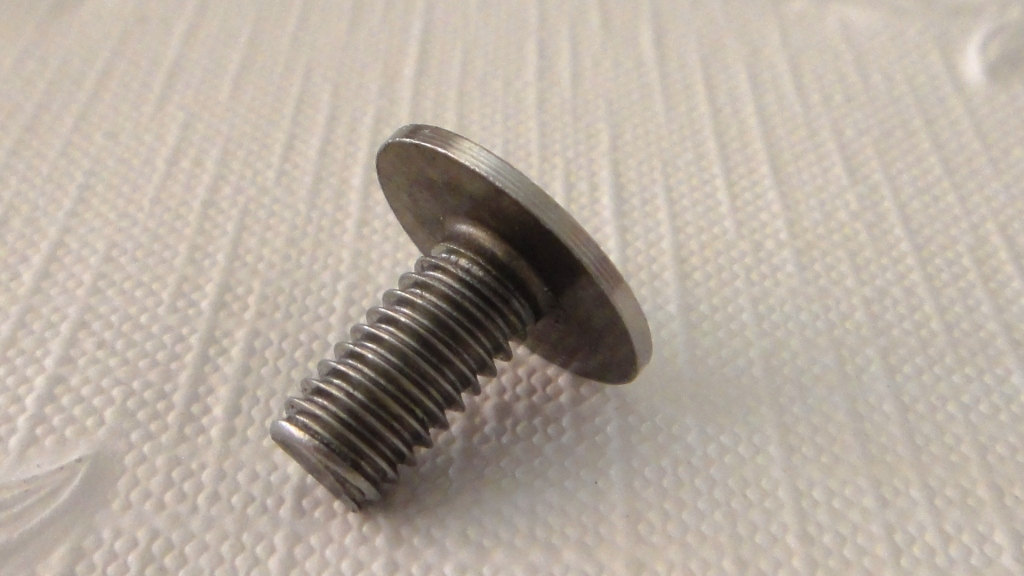
In the photo below, the weld stud that screws into the nut at the bottom of the plenum has not yet been installed. My fellow MK2 restorer and part hunter extraordinaire, Robert Seligman, somehow tracked down a source for the weld stud. http://www.jhpfasteners.com/5/16-weld-stud-with-projections-under-head-p-5614-l-en.html
Apparently the stud was screwed in an upward direction to create more pressure if it was needed on the torsion bar assembly. Oddly, the stud is double-nutted with the lower nut welded so as not to loosen.

New and Original Weld Stud
Plenum Weld Stud
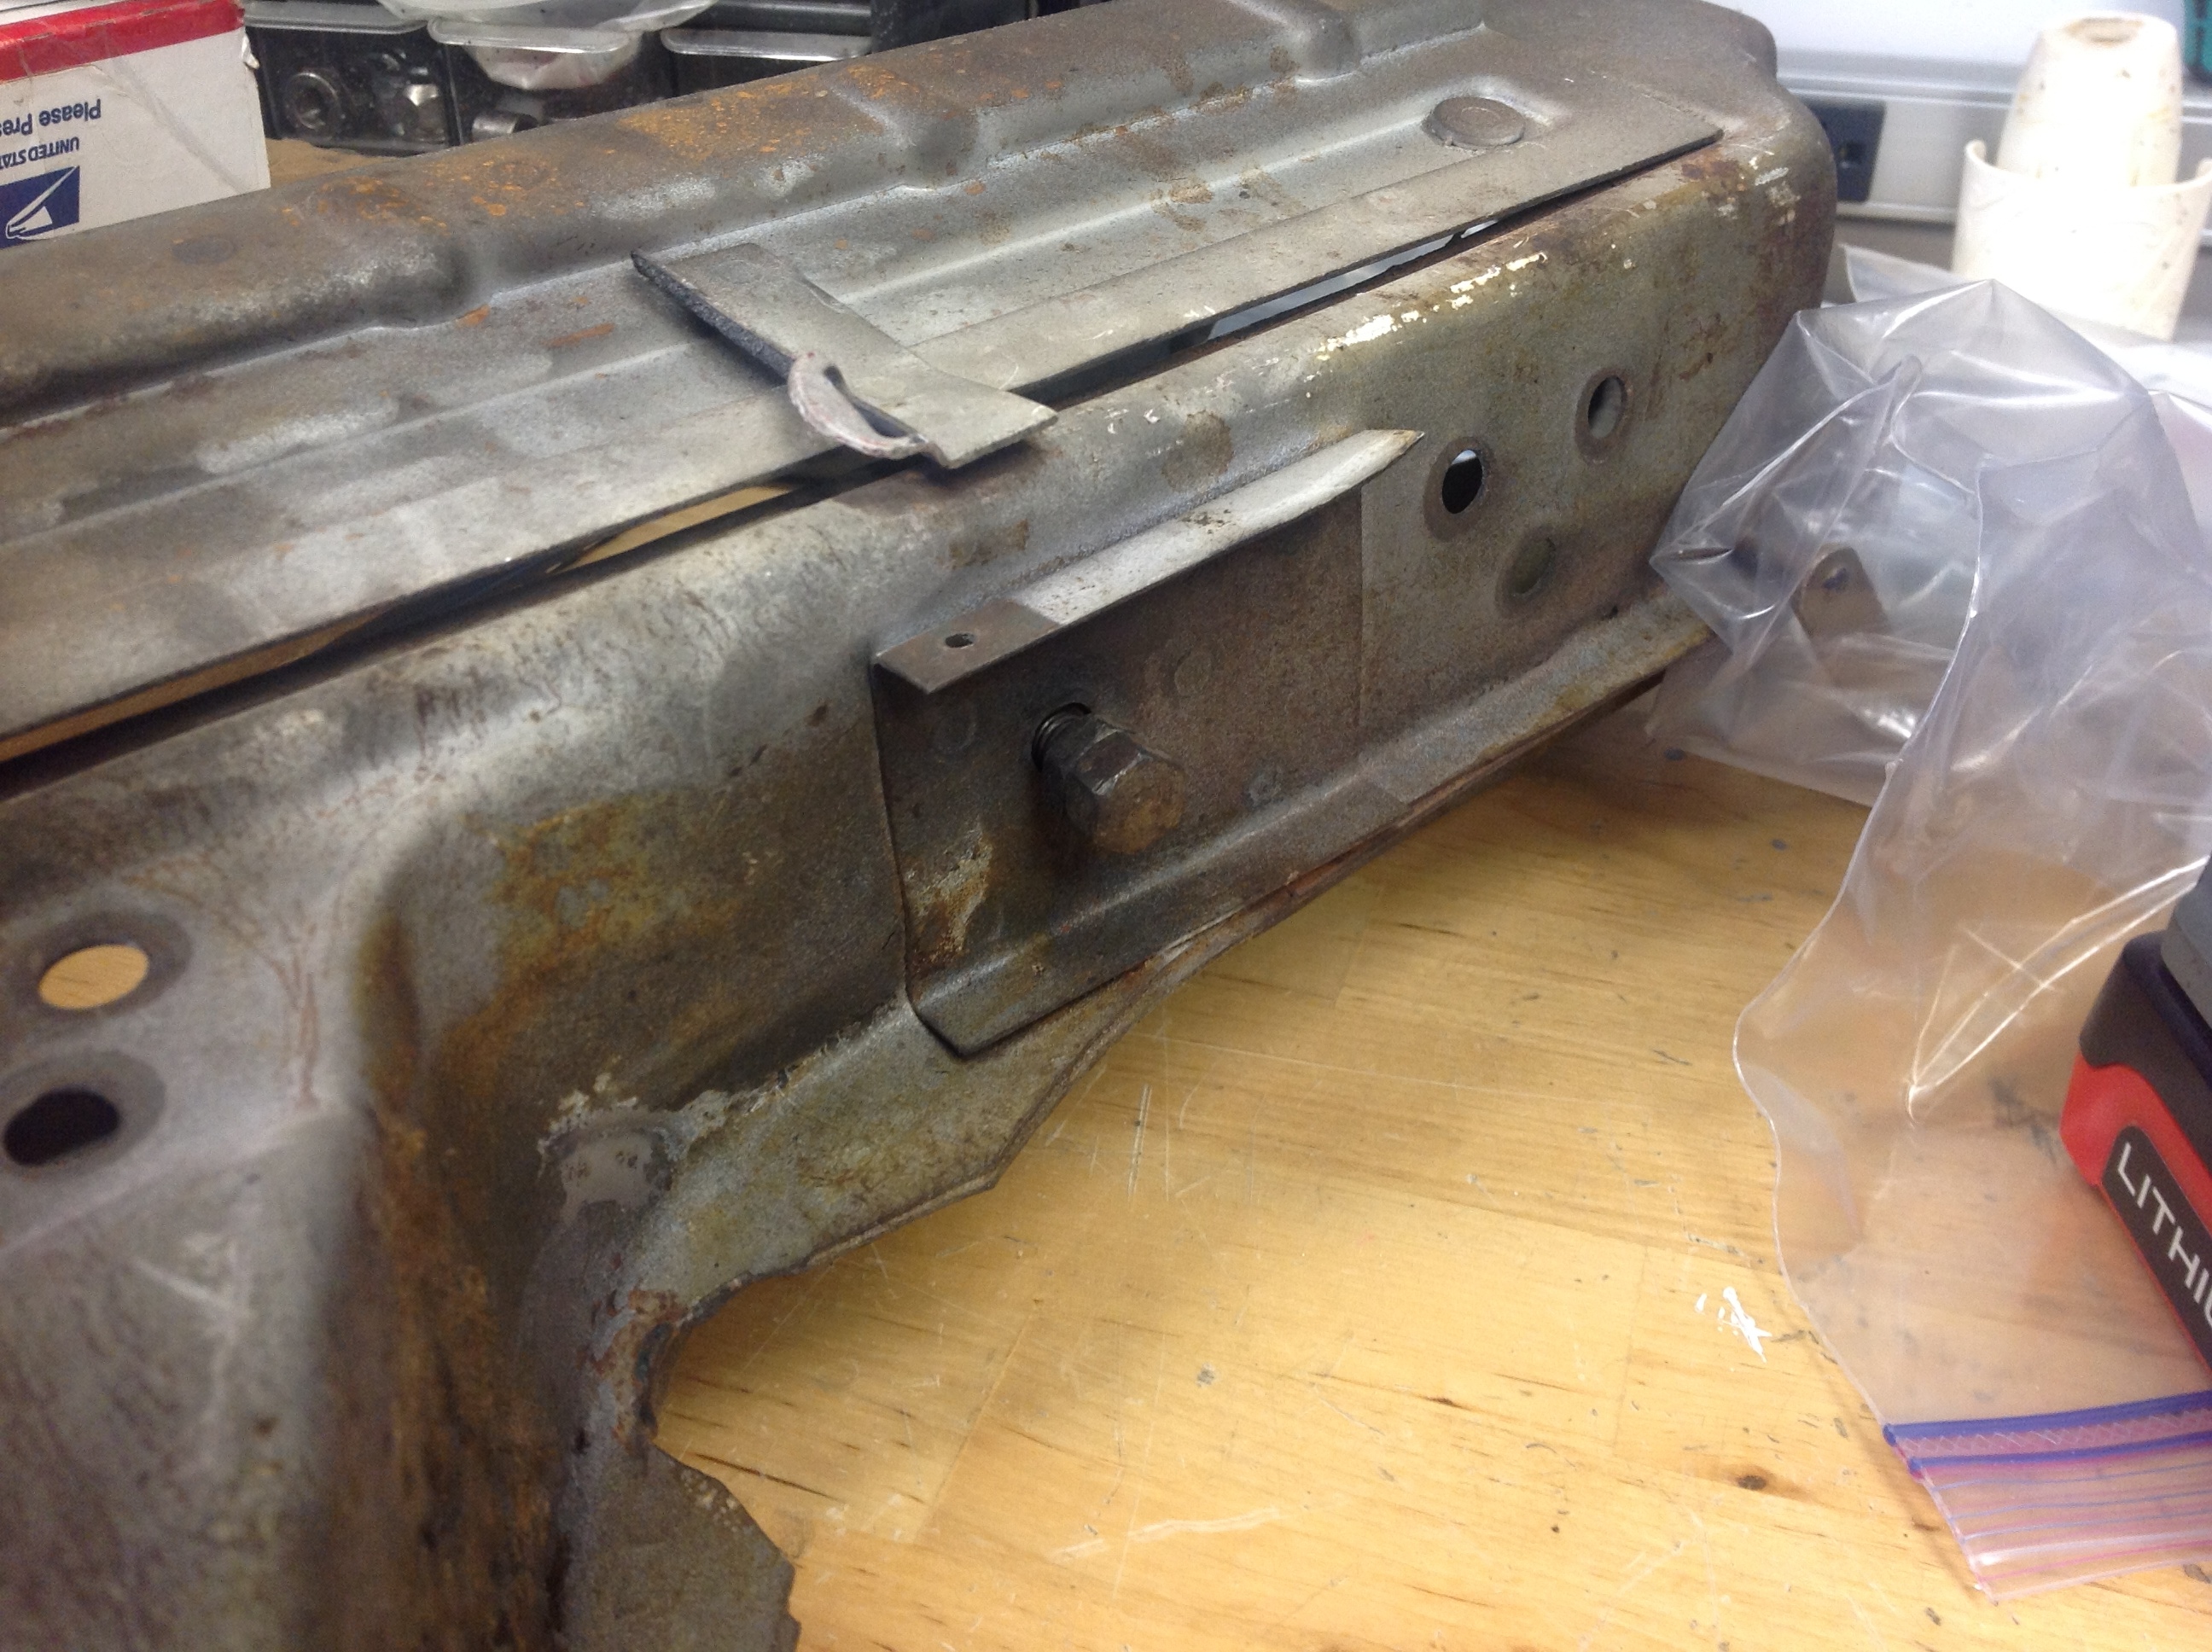
Adjusting nuts on bottom of Plenum
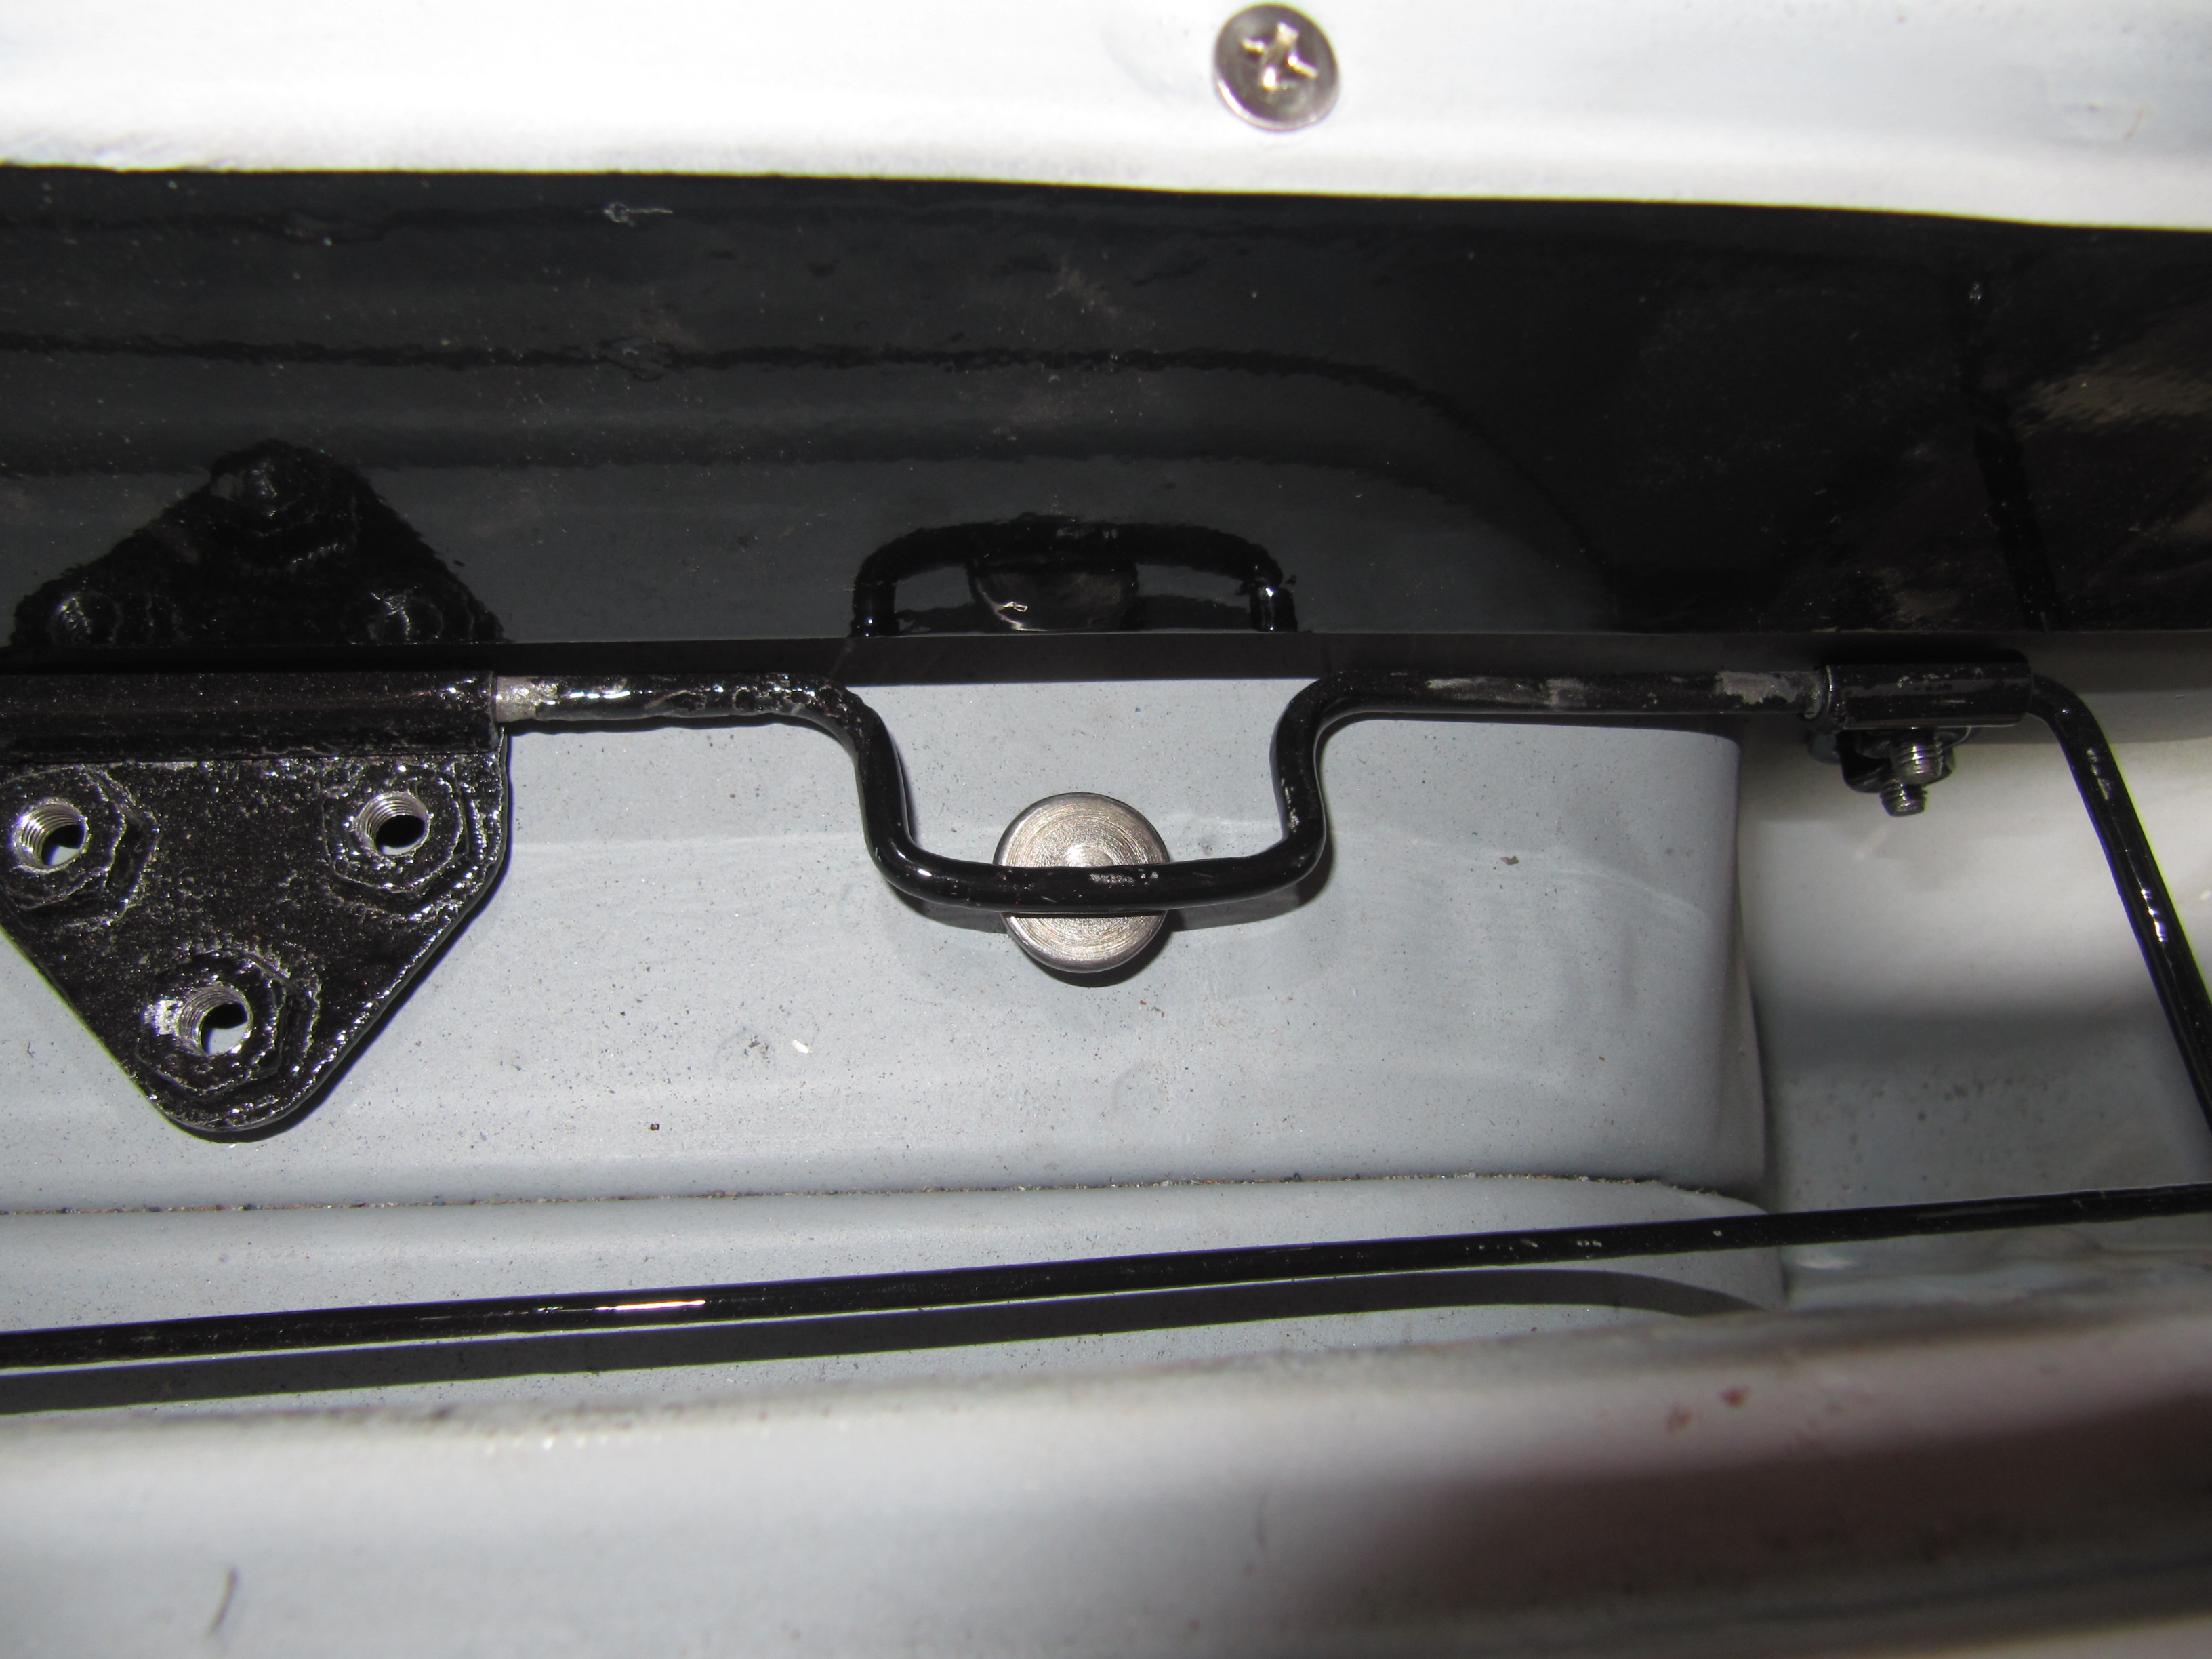
Weld Stud Installed in Plenum to adjust Torsion Spring
Torsion Bar Assembly for Ventilator Lid Trial Fitting – Mounting Bolts
Rubber Seal on Recirculating Door on Scuttle Face Panel
I was going to install a new rubber seal, but discovered that new stock is not obtainable. So I took a look at my original to see if it could be saved. I recalled that there were some tears in the rubber but I was hopeful. Upon close inspection I found not tears, but several places where mice had chewed and eaten the rubber. Those bastards eat anything – rubber seals and wire insulation have great nutritional value I am sure!

Rubber Seal on Recirculating Door on Scuttle Face Panel Rounded Side
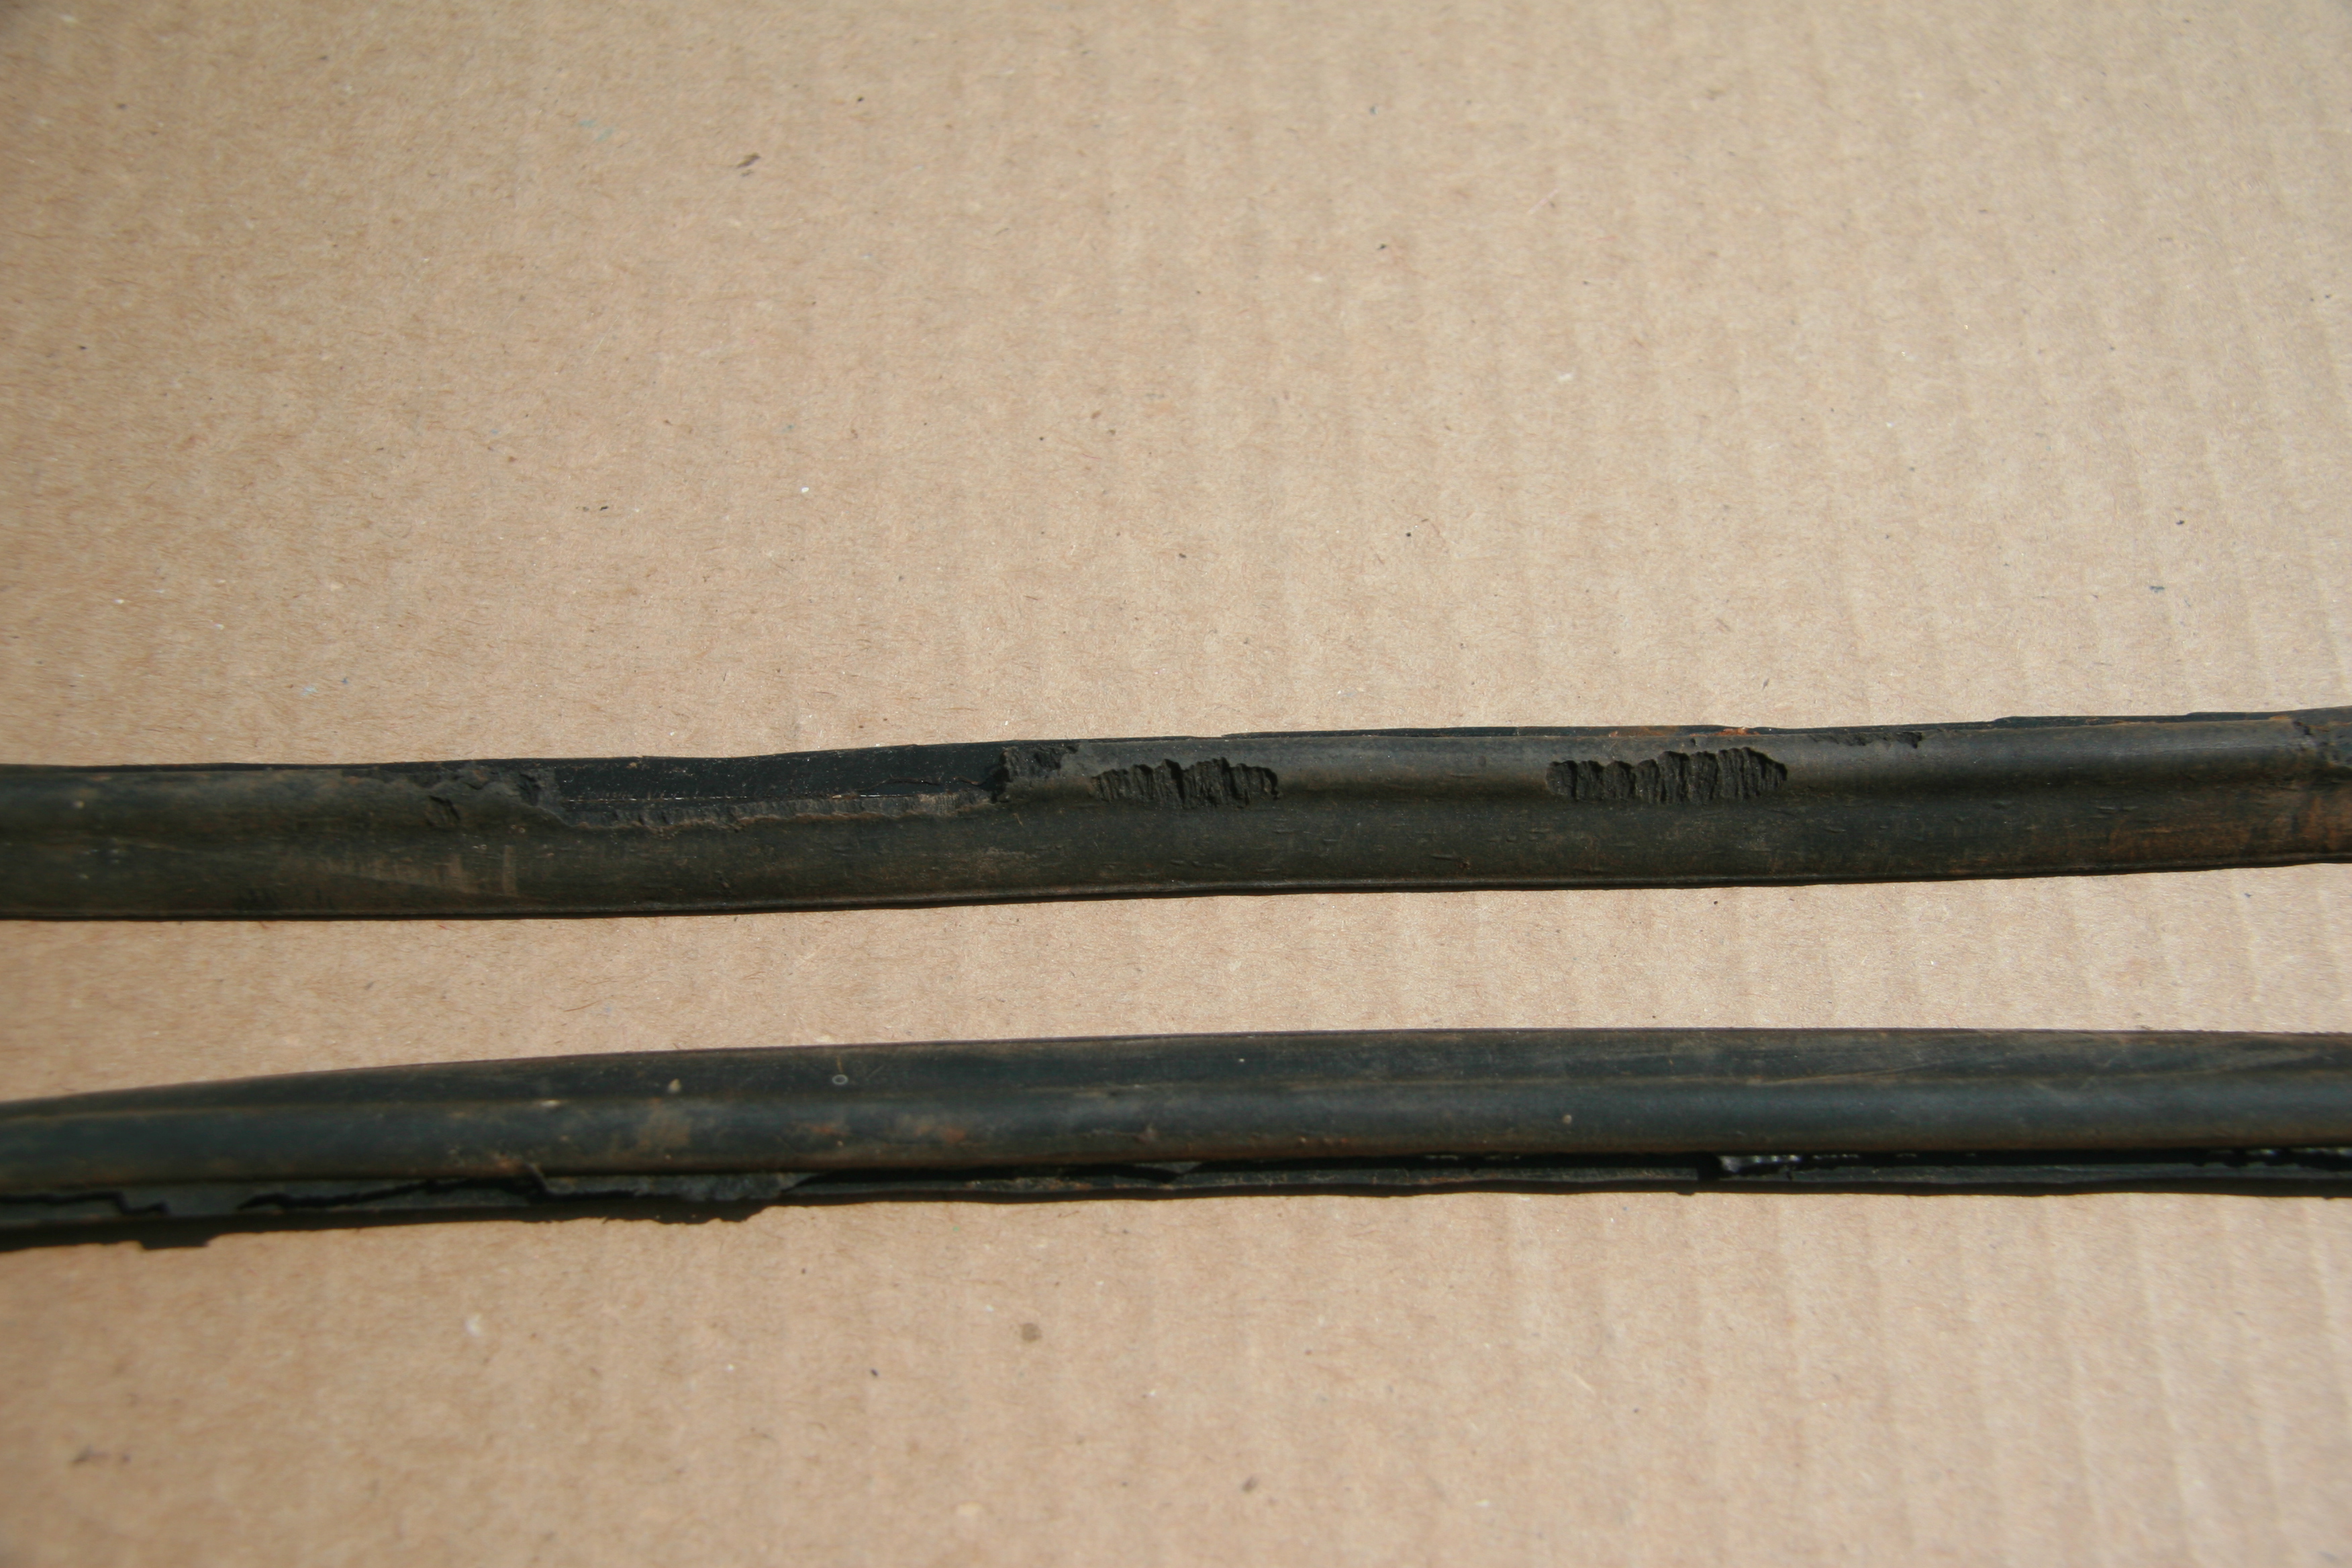
Mice Teeth Marks
I checked into rubber rejuvenation and a German product called Gummy Pflege Stift was recommended.I ordered and tried it and found it to be quite good. The seal is now clean soft and pliable. The surface that mates with the door is in good shape so I think I will be able to use this seal.
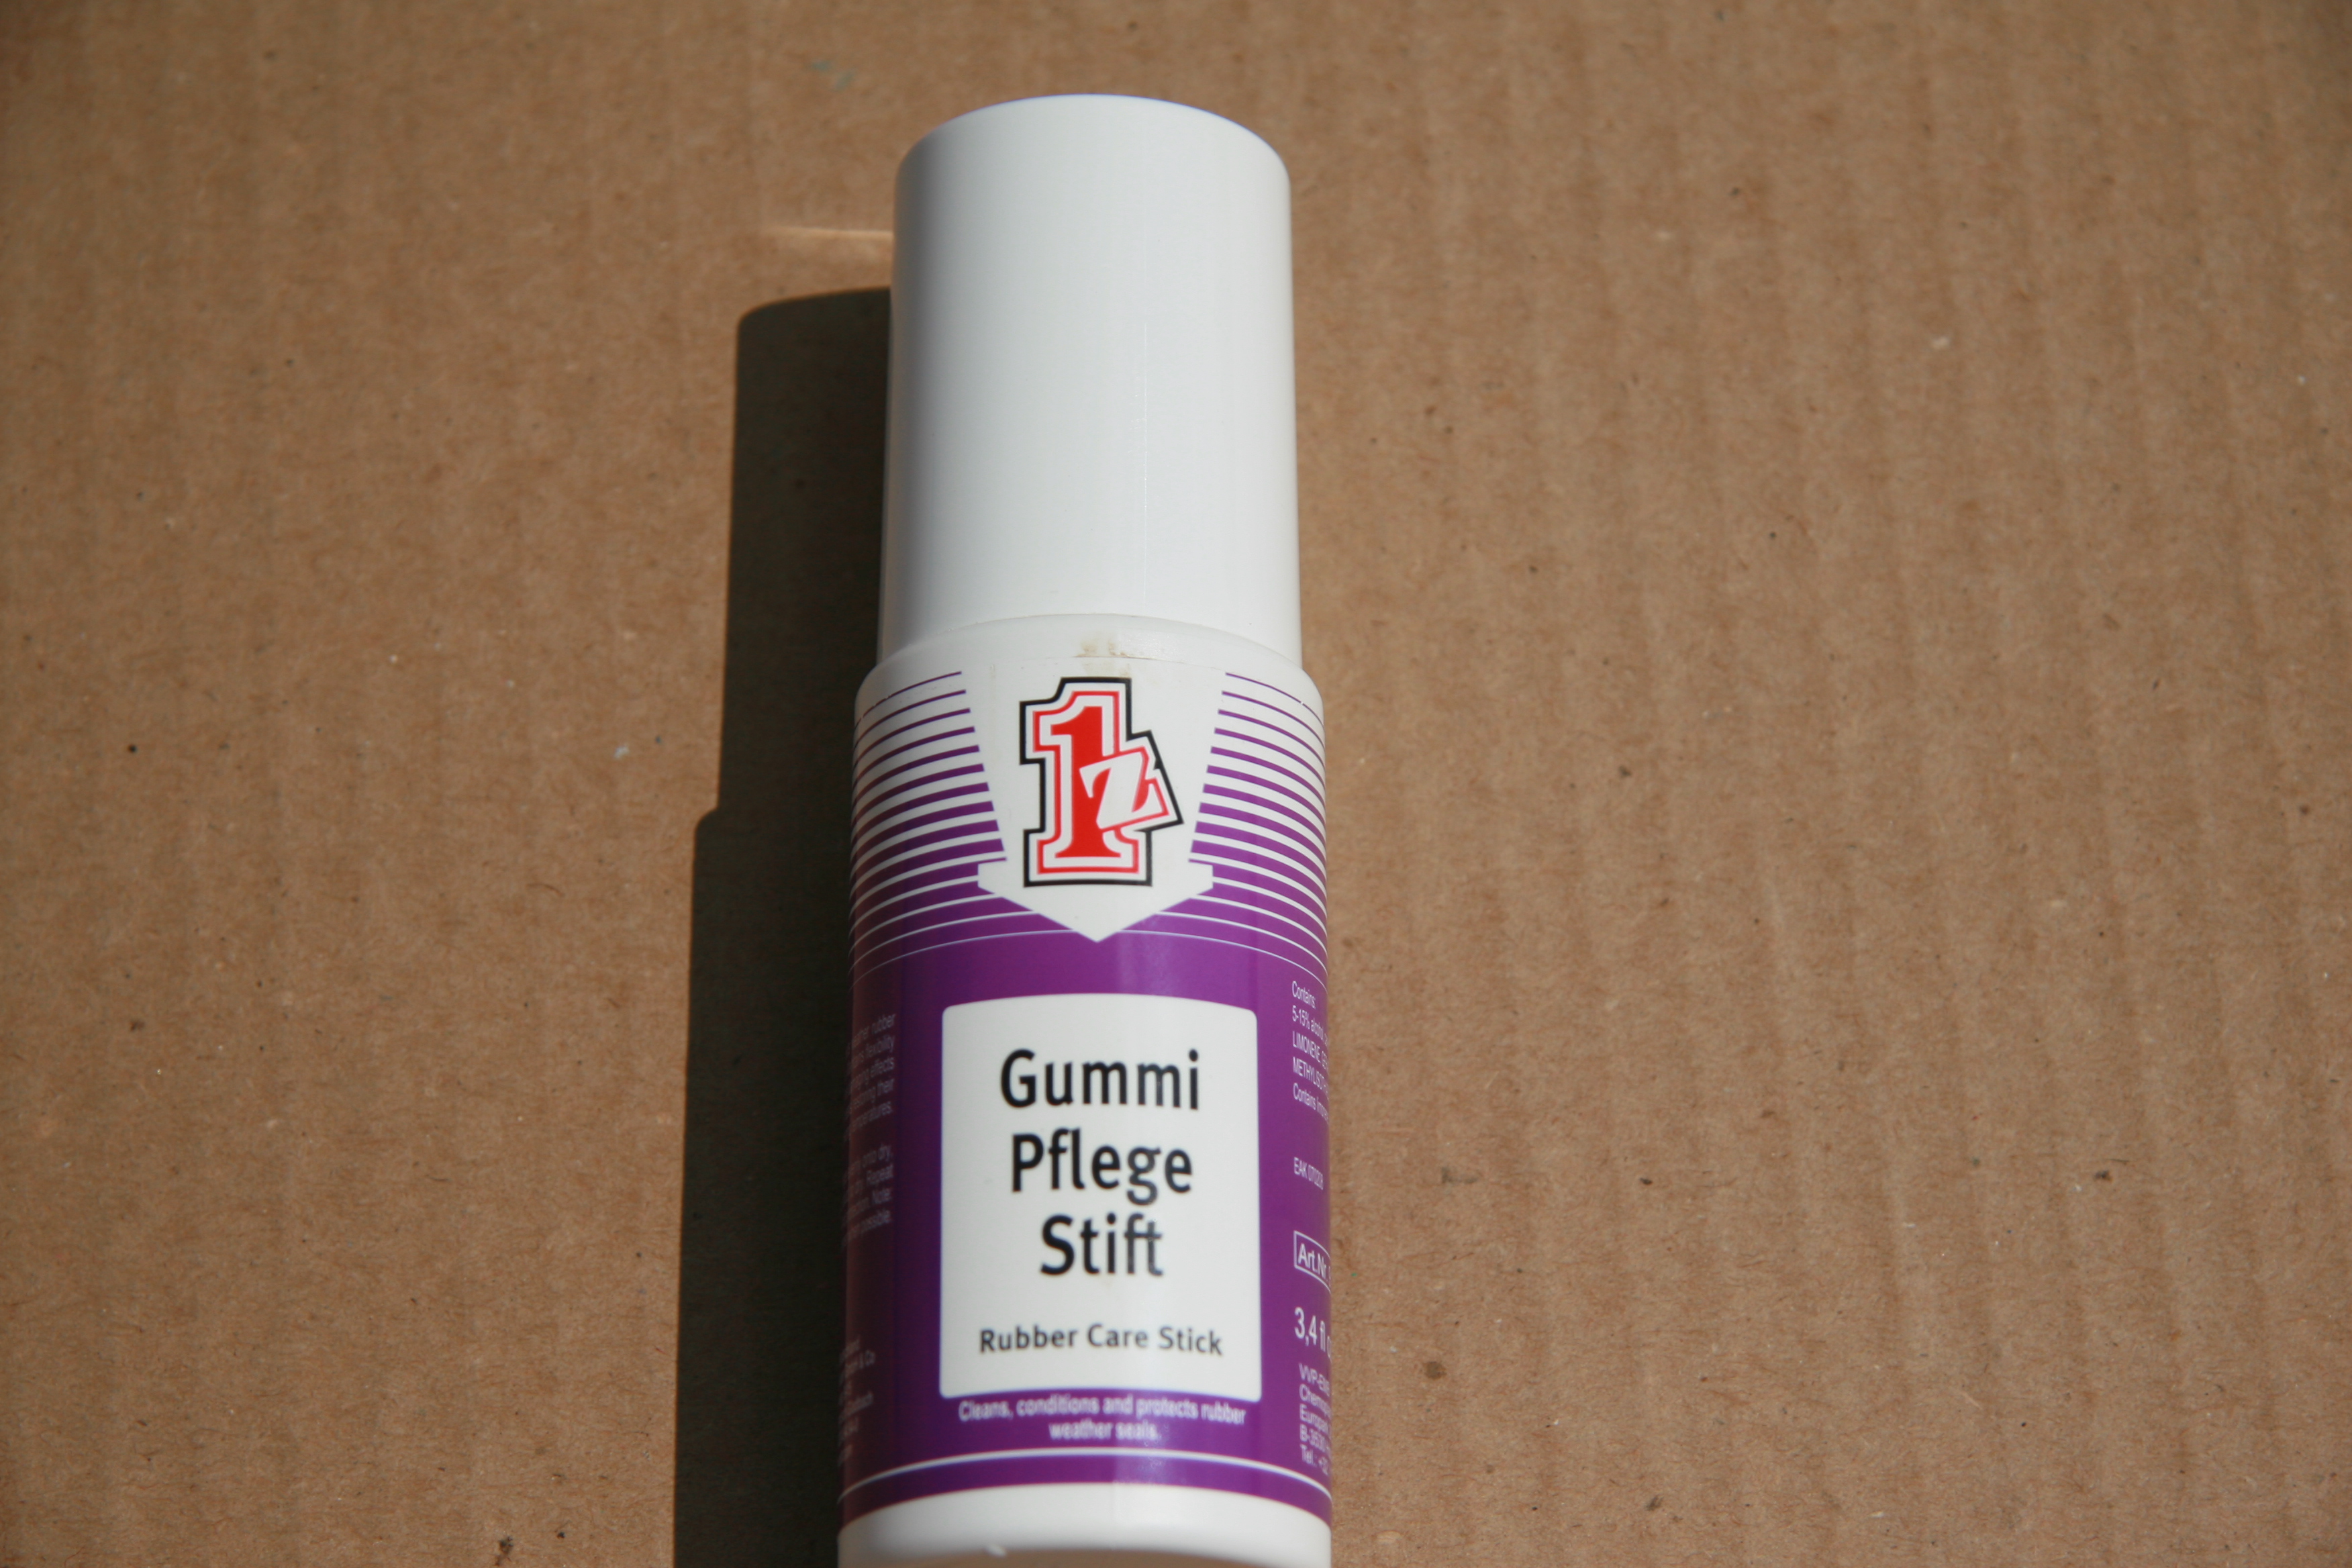
Gummi Pflege Stift
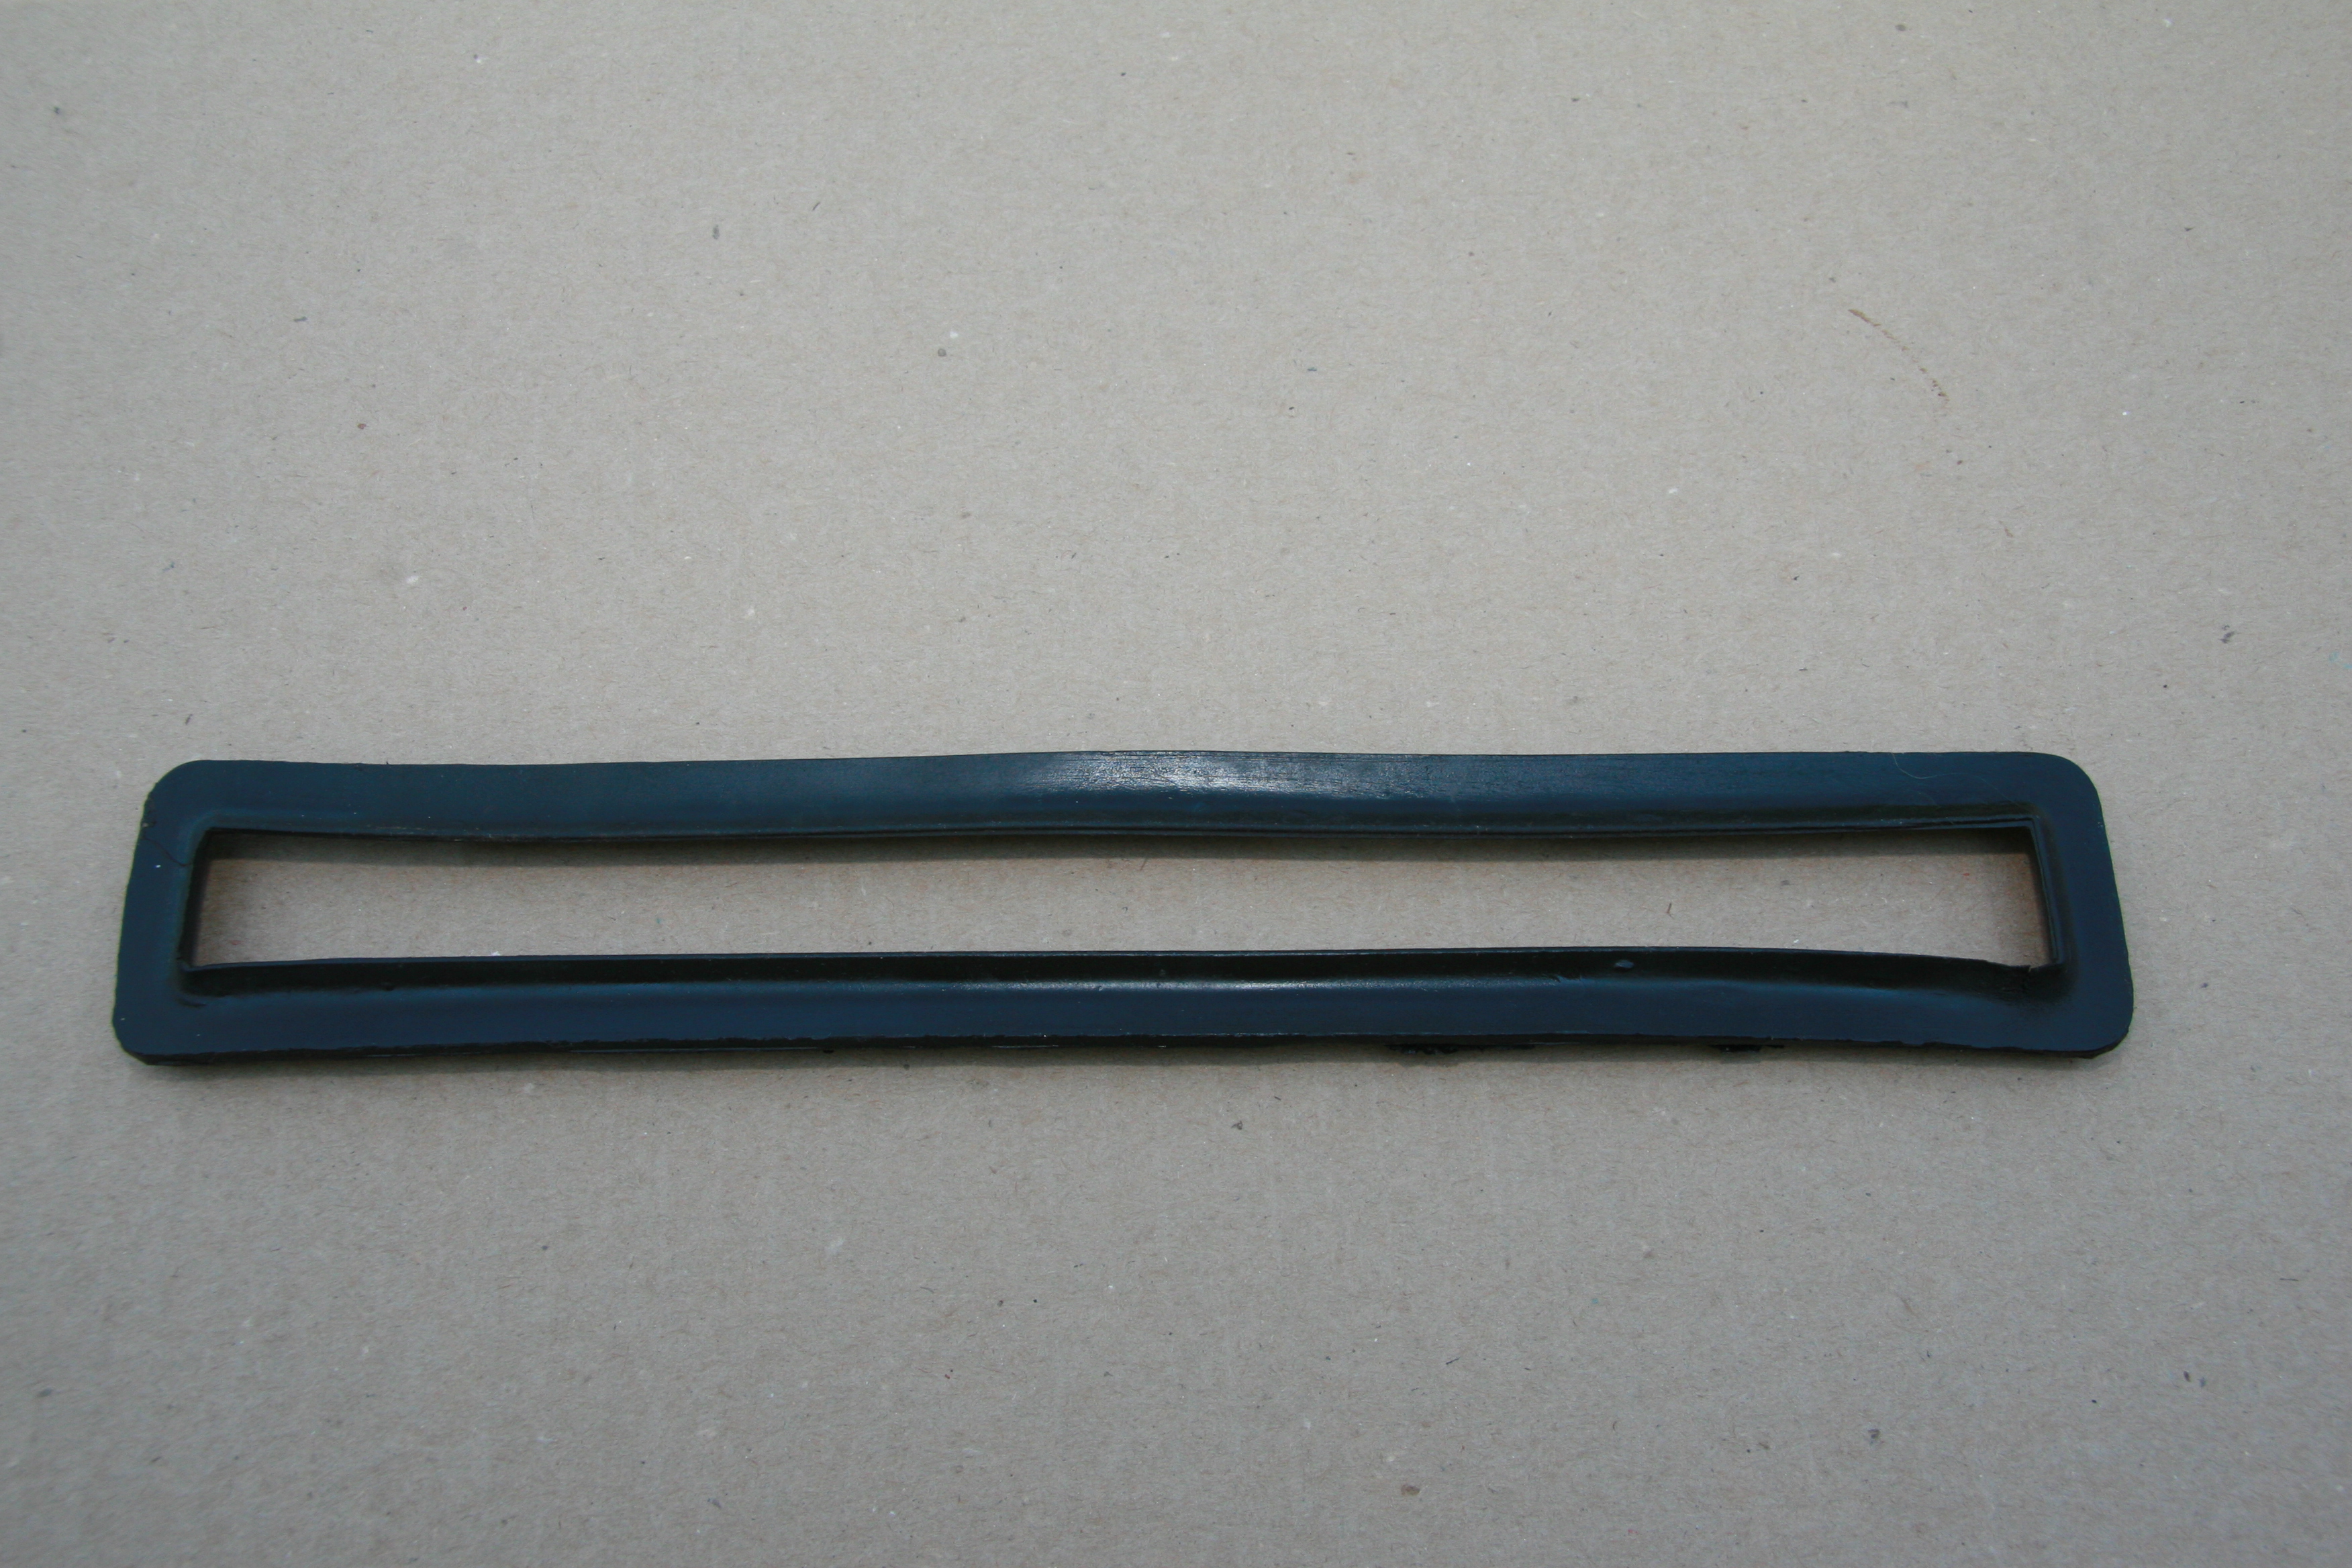
Rejuvinated Plenum Seal
Rear Shield for Scuttle Ventilator Assembly
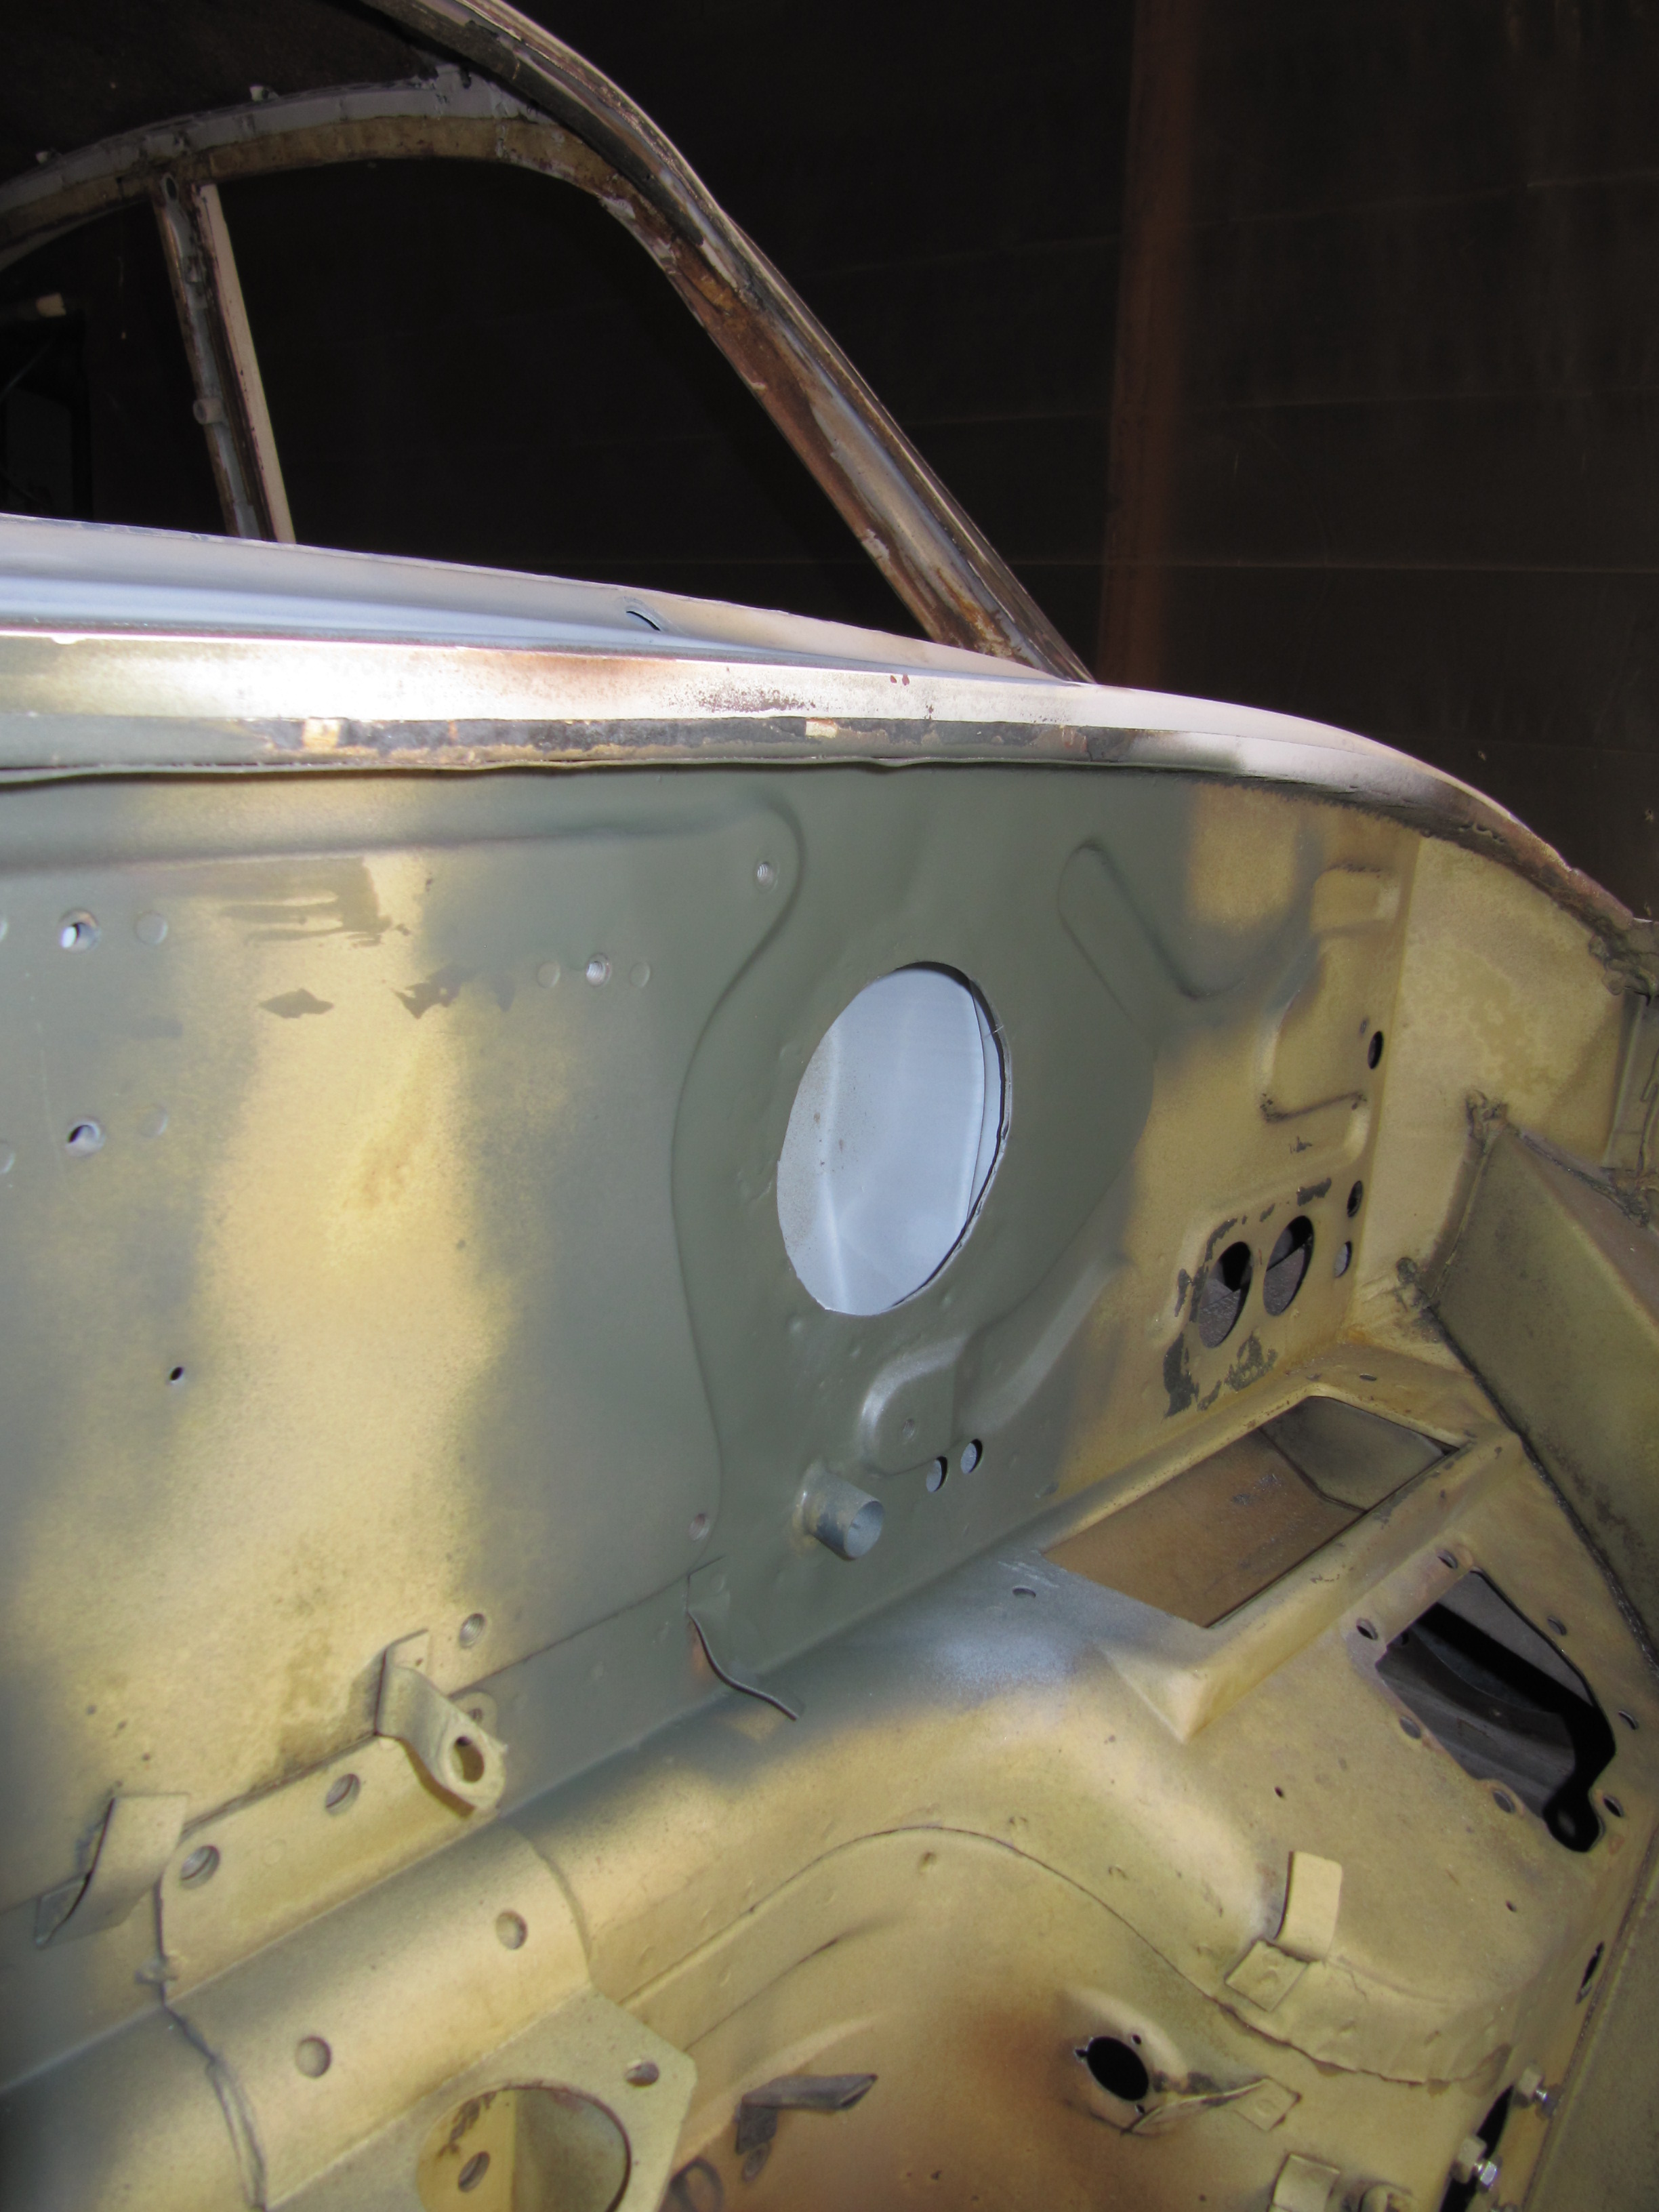
I don’t know the proper name for this component of the assembly. But, I media blasted it and had it powder coated. This piece is a little tricky (not hard) to install. It used three flat head 2BA 3/8# screws and square nuts originally. Square nuts are used because the flange on the piece is used to tighten the screws. I found it easiest the start the nut on each screw, push the piece under the scuttle but above the nut, and then tighten each screw.
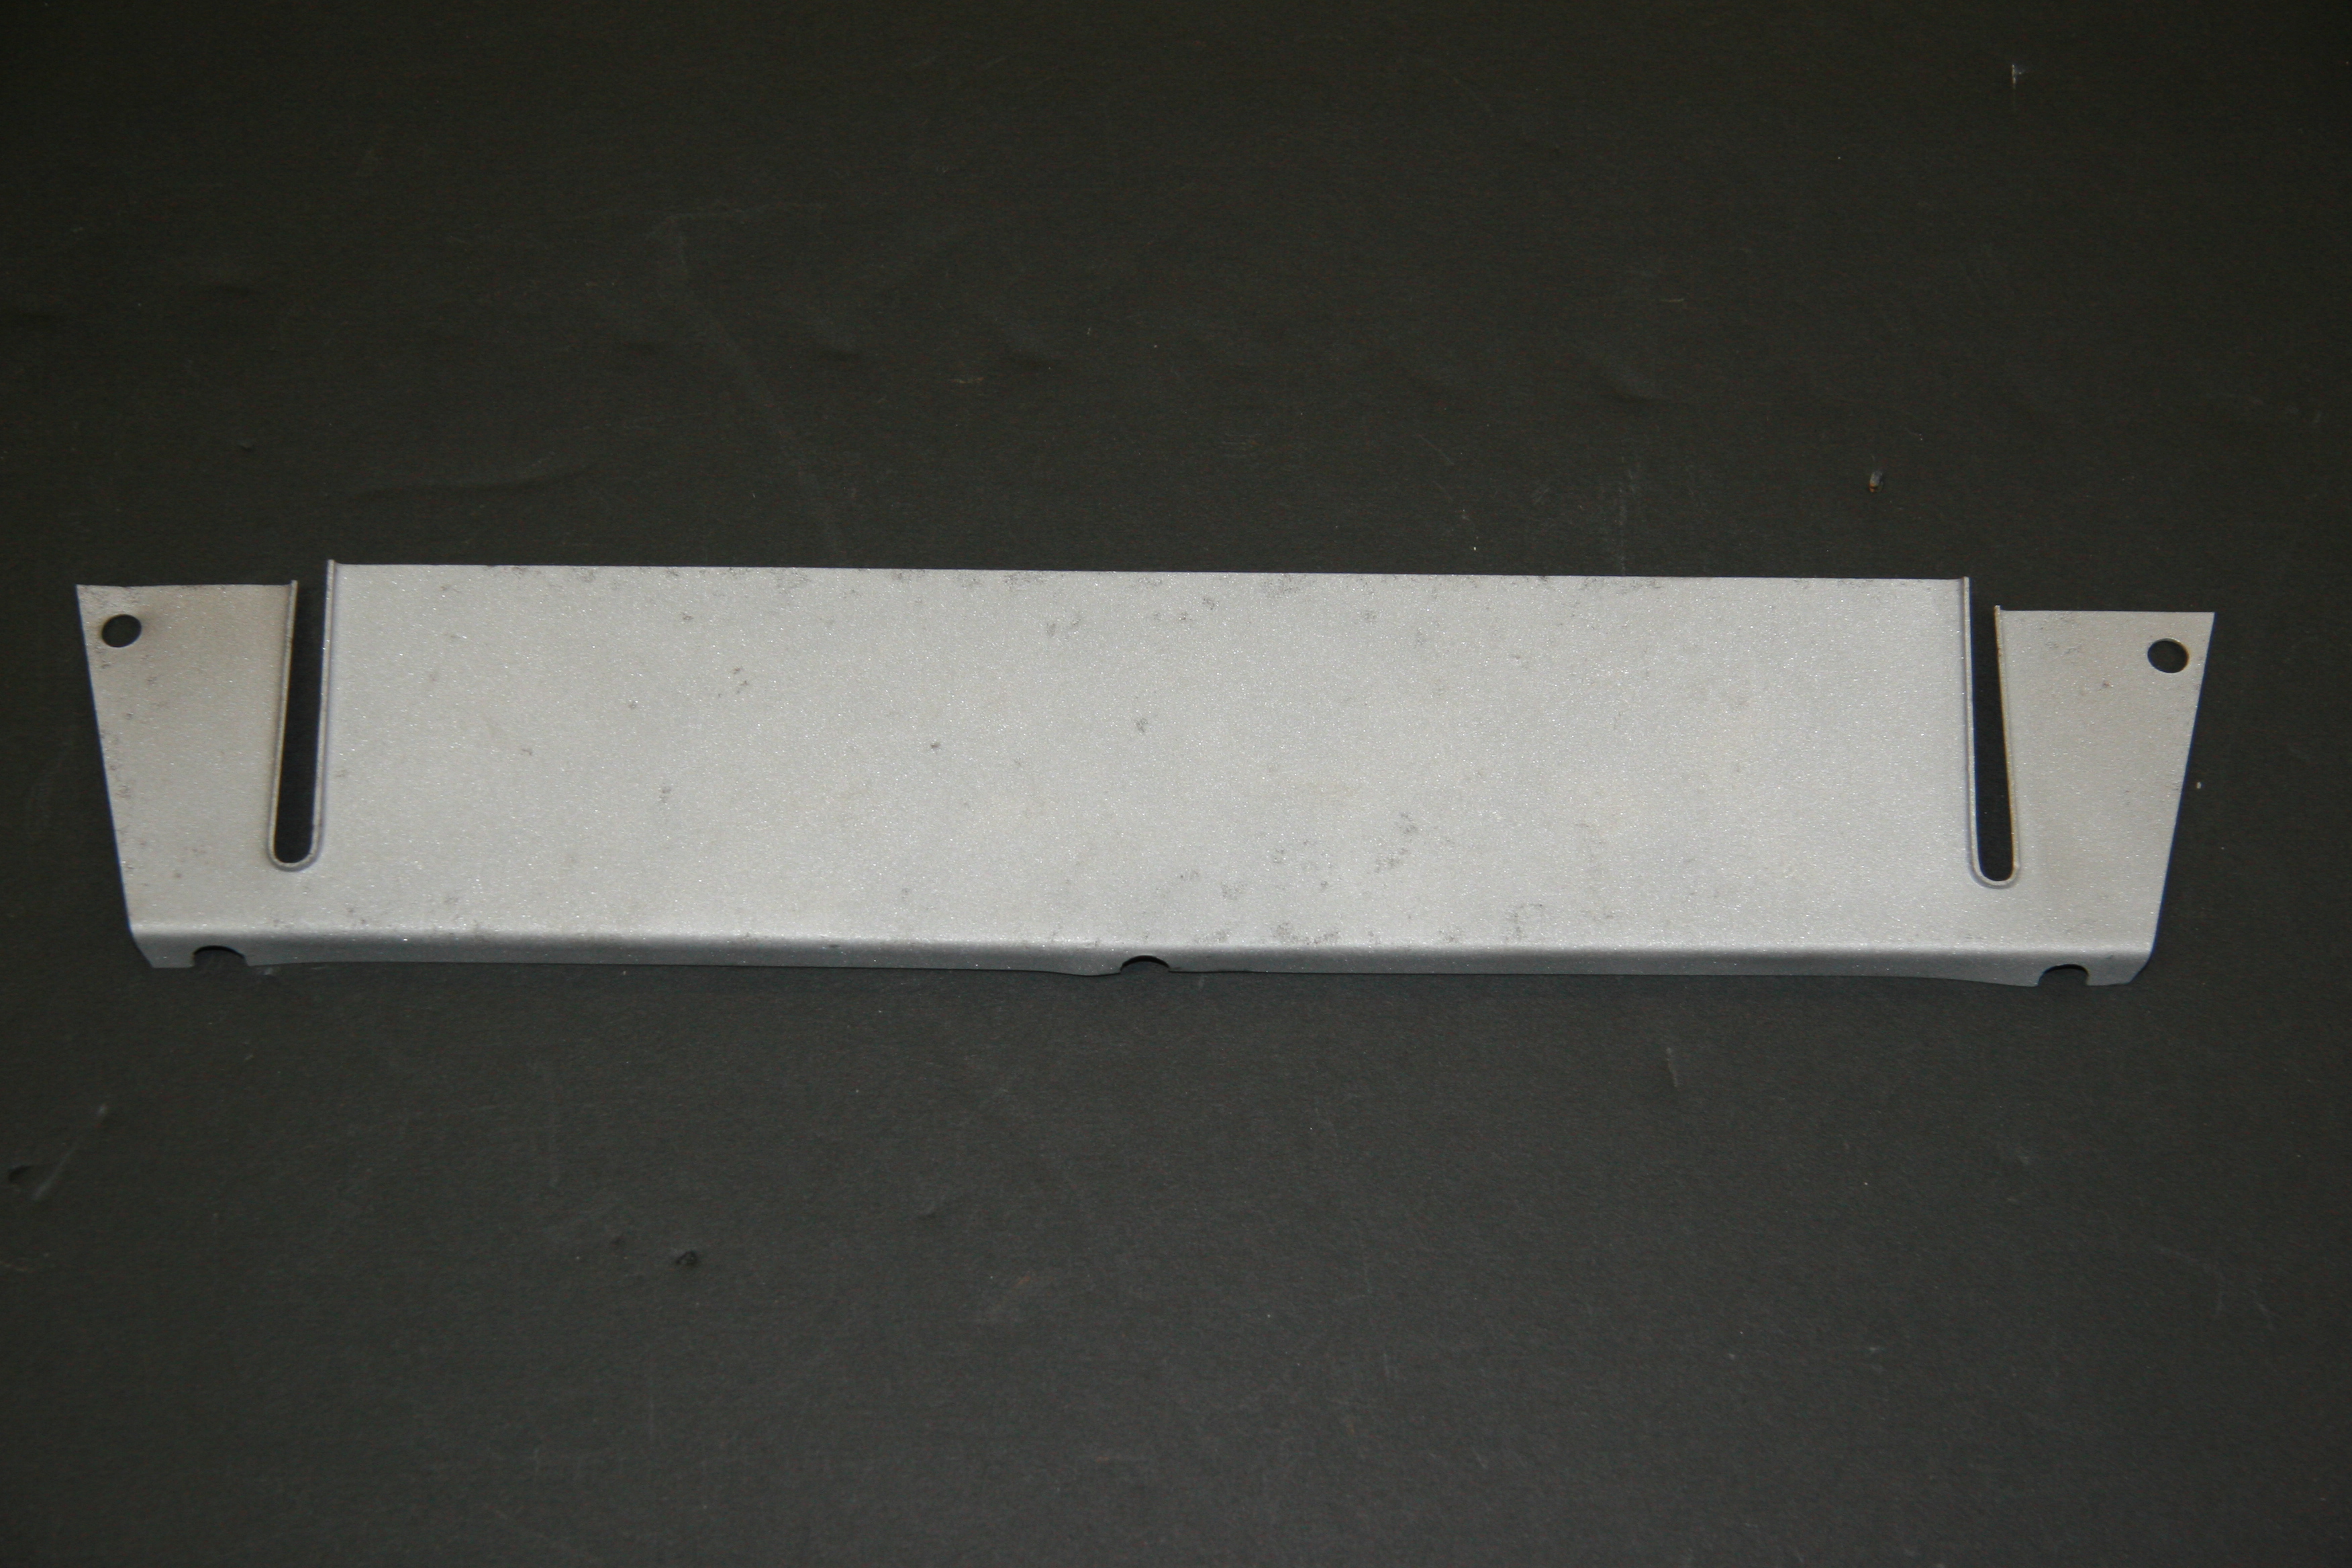
Rear Shield for Scuttle Ventilator Assembly

Powder Coated Rear Shield for Scuttle Ventilator Assembly
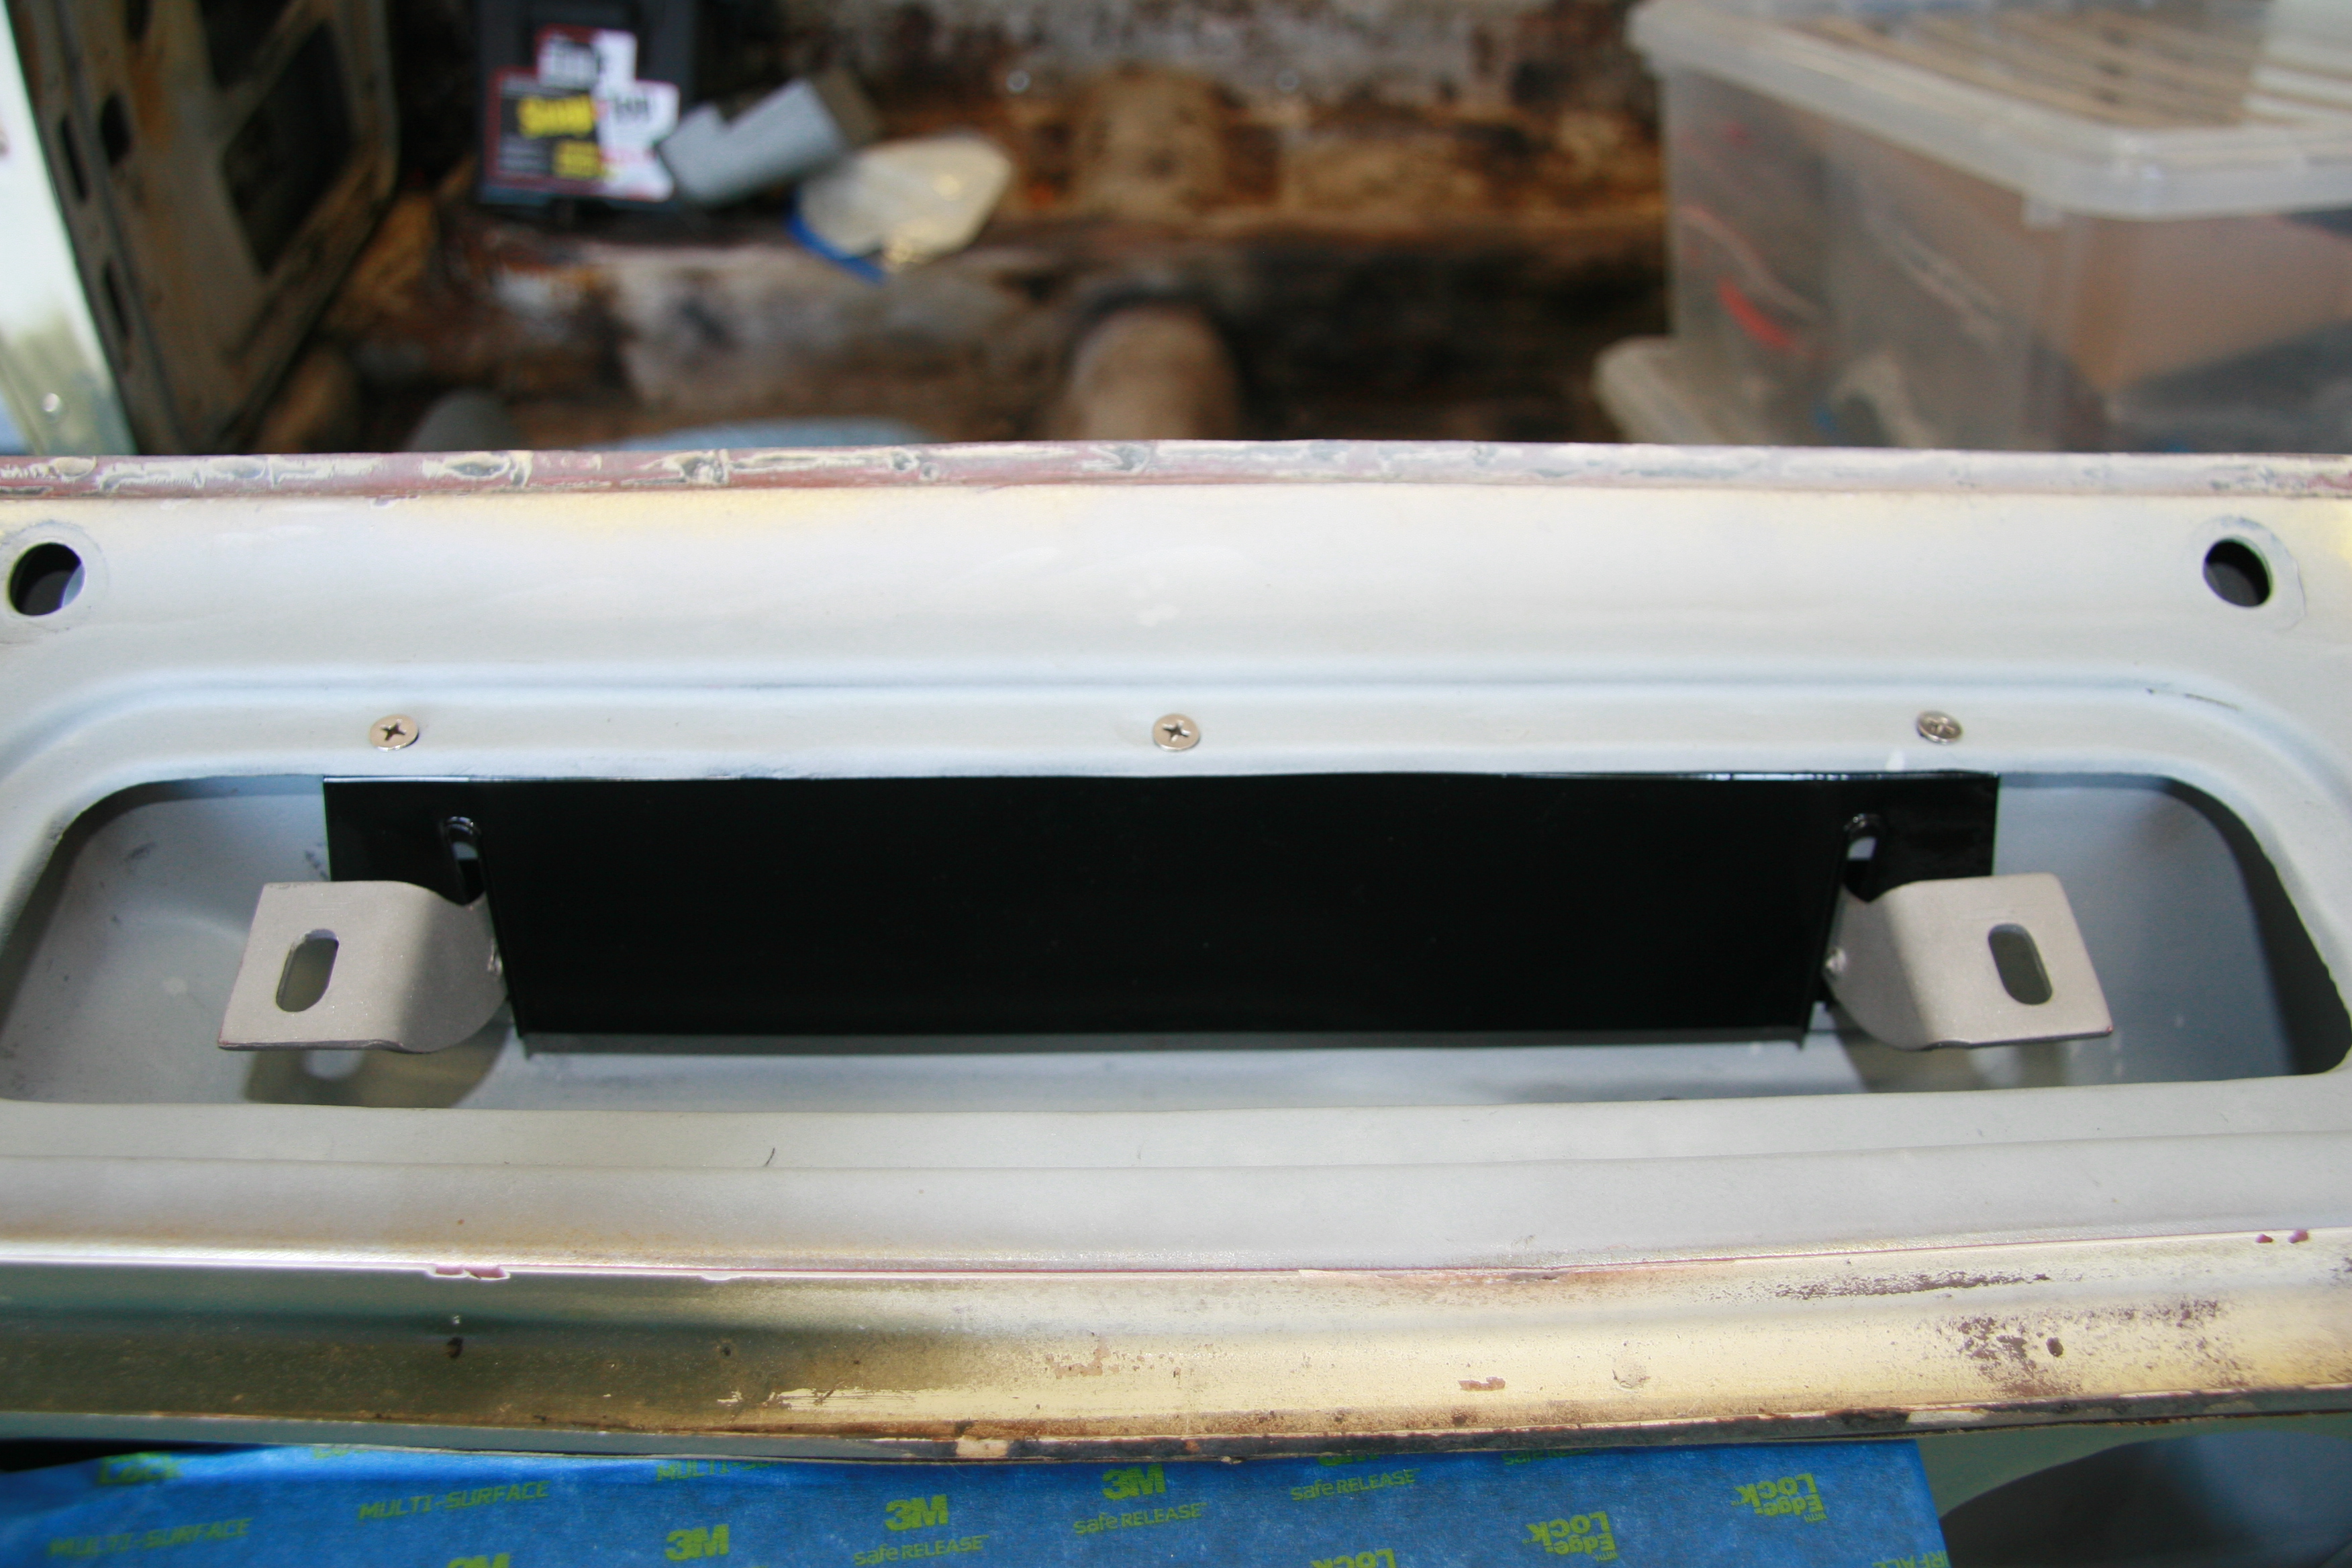
Scuttle Assembly Shield Mounted to Scuttle
Scuttle Ventilator Lid and Wire Mesh Grille
A couple of the mounting screws for my original lid broke when I tried to remove it from the car. Fortunately, I was able to locate another lid which worked fine with my original wire mesh grille. The lid is installed first then the grille is added. The lid attaches to the hinges with captive #10-32 machine screws which are quite long, perhaps 1 inch. The length is to facilitate the mounting process. As one can see in the image above, there is adjustment for and aft for the lid. I suppose washers could be used to raise the height of the lid if needed.
The wire mesh grille is mounted to the lid with three phillips head #10-32 x 1/2″screws. I found it easiest to insert the front center screw first followed by the side screws. The mesh grill is properly painted the color of the car.
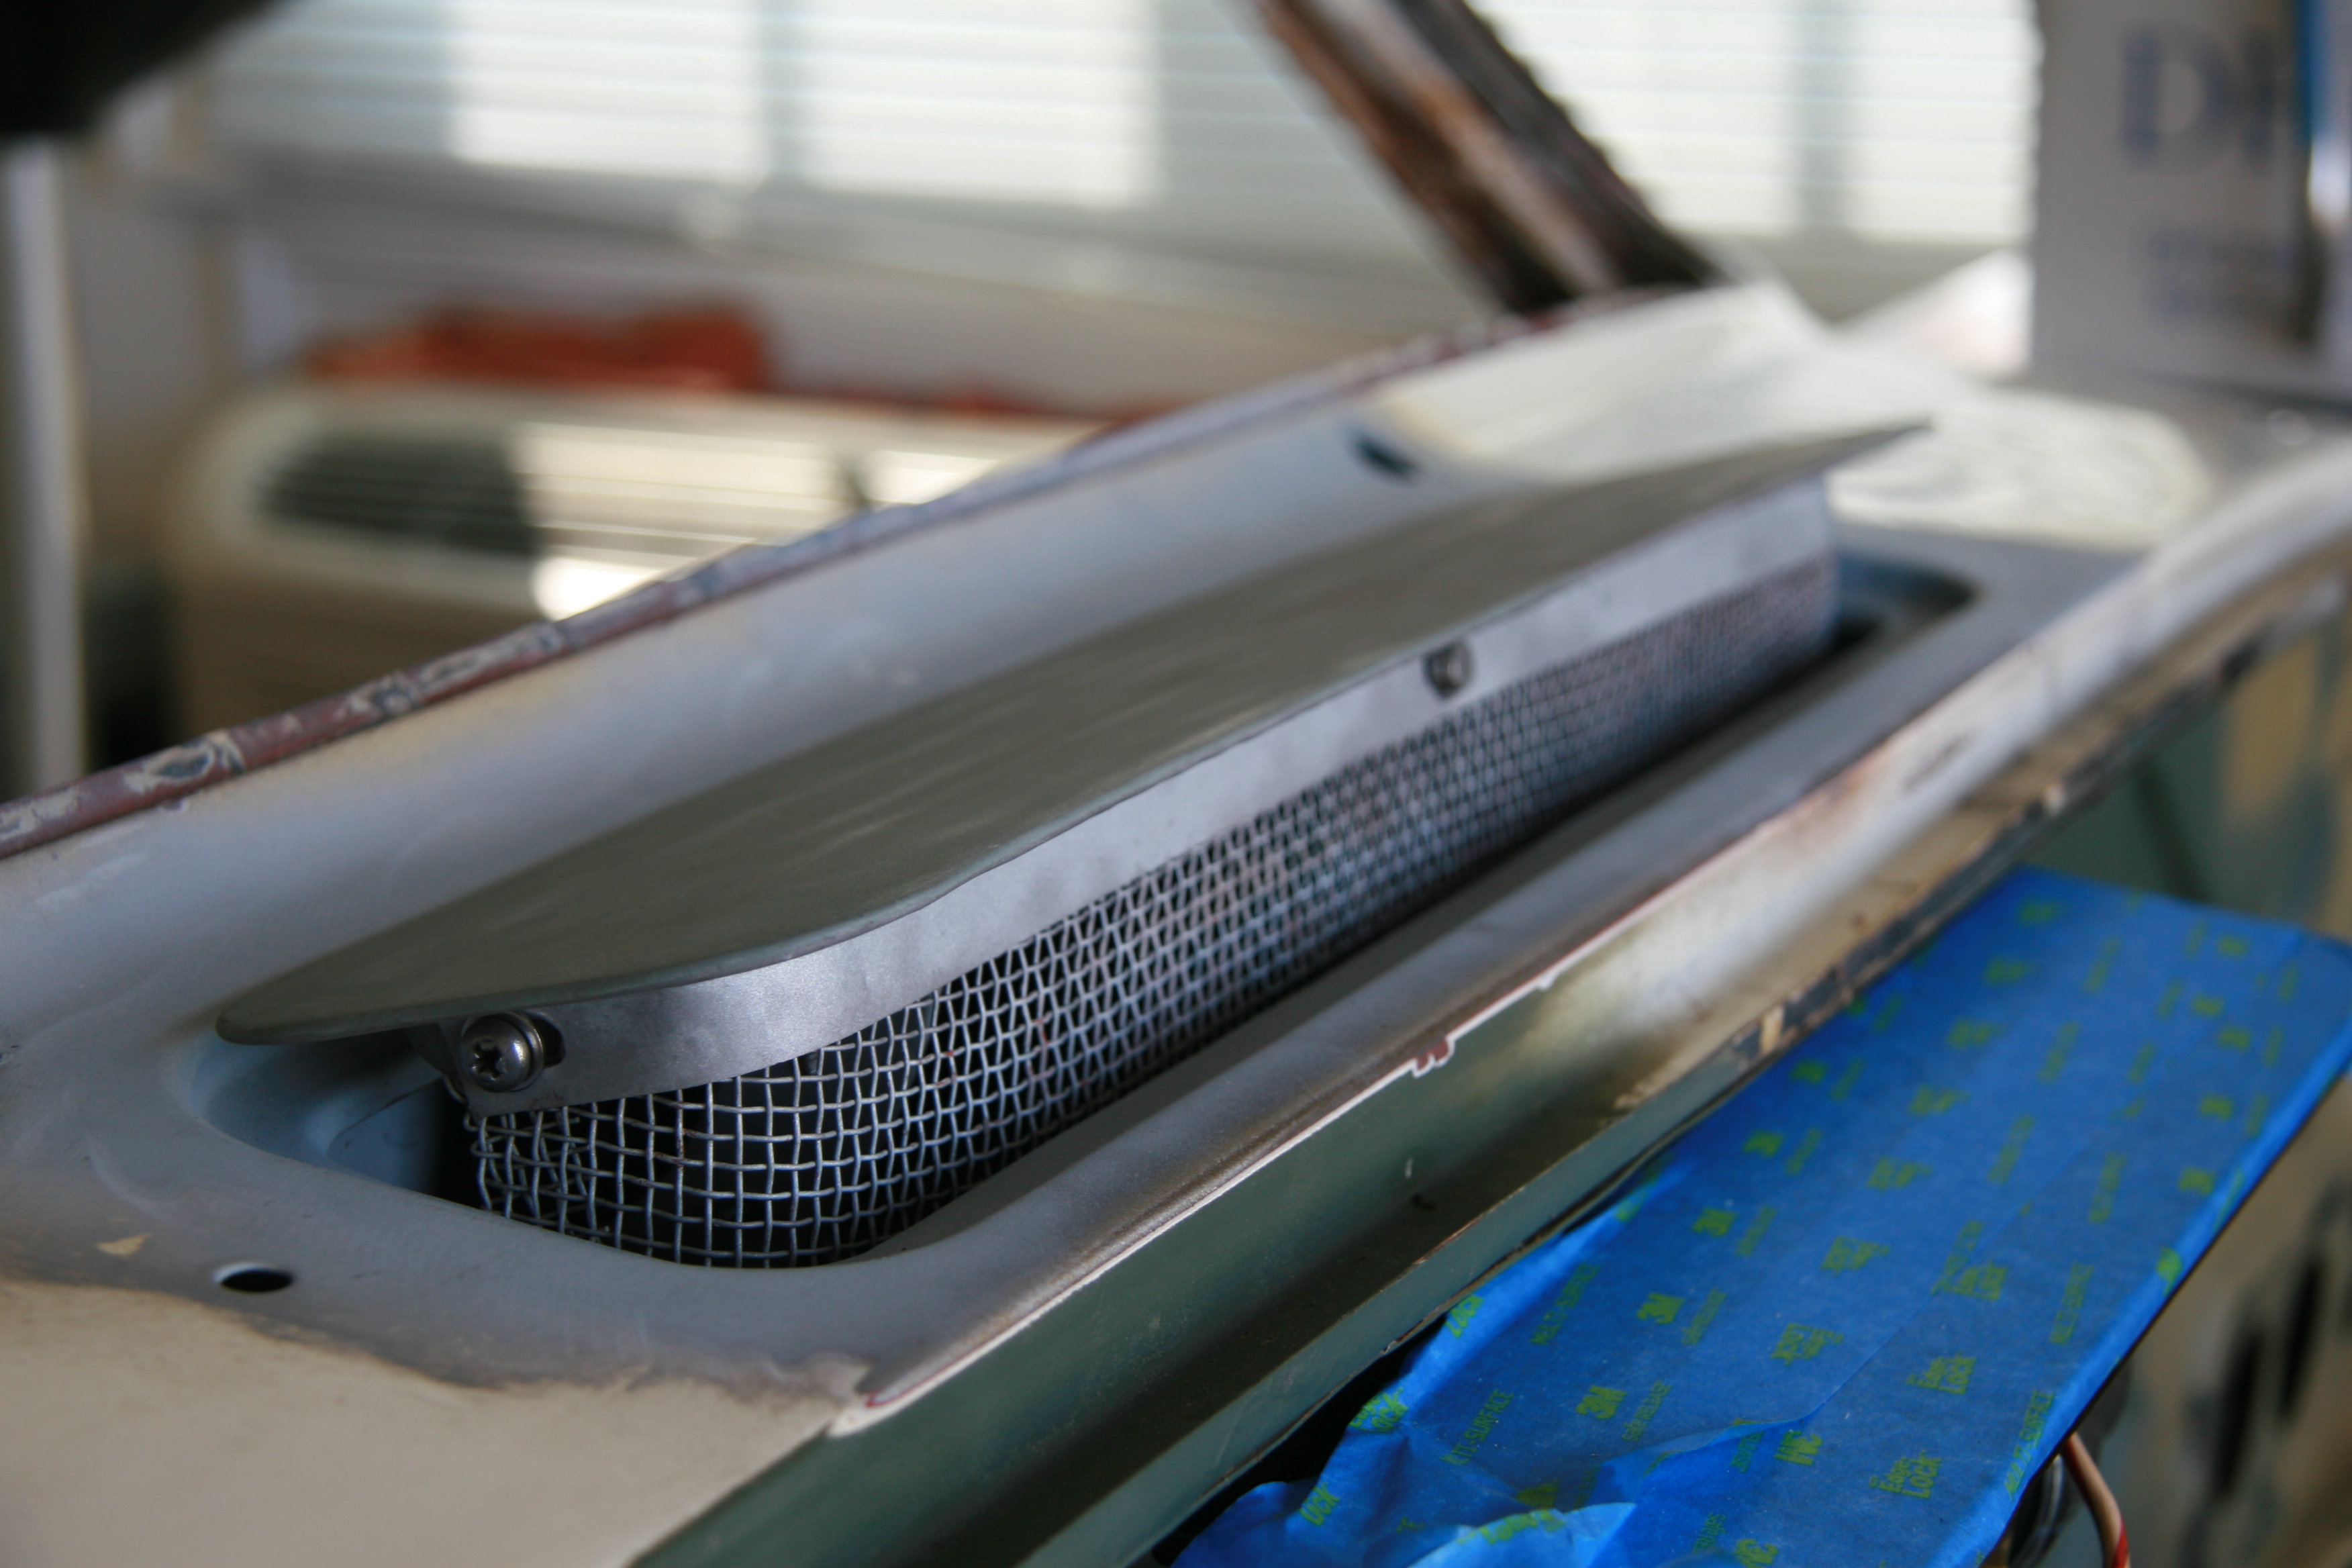
Scuttle Ventilator Assembly Lid and Wire Mesh Grille – Trial Fitting
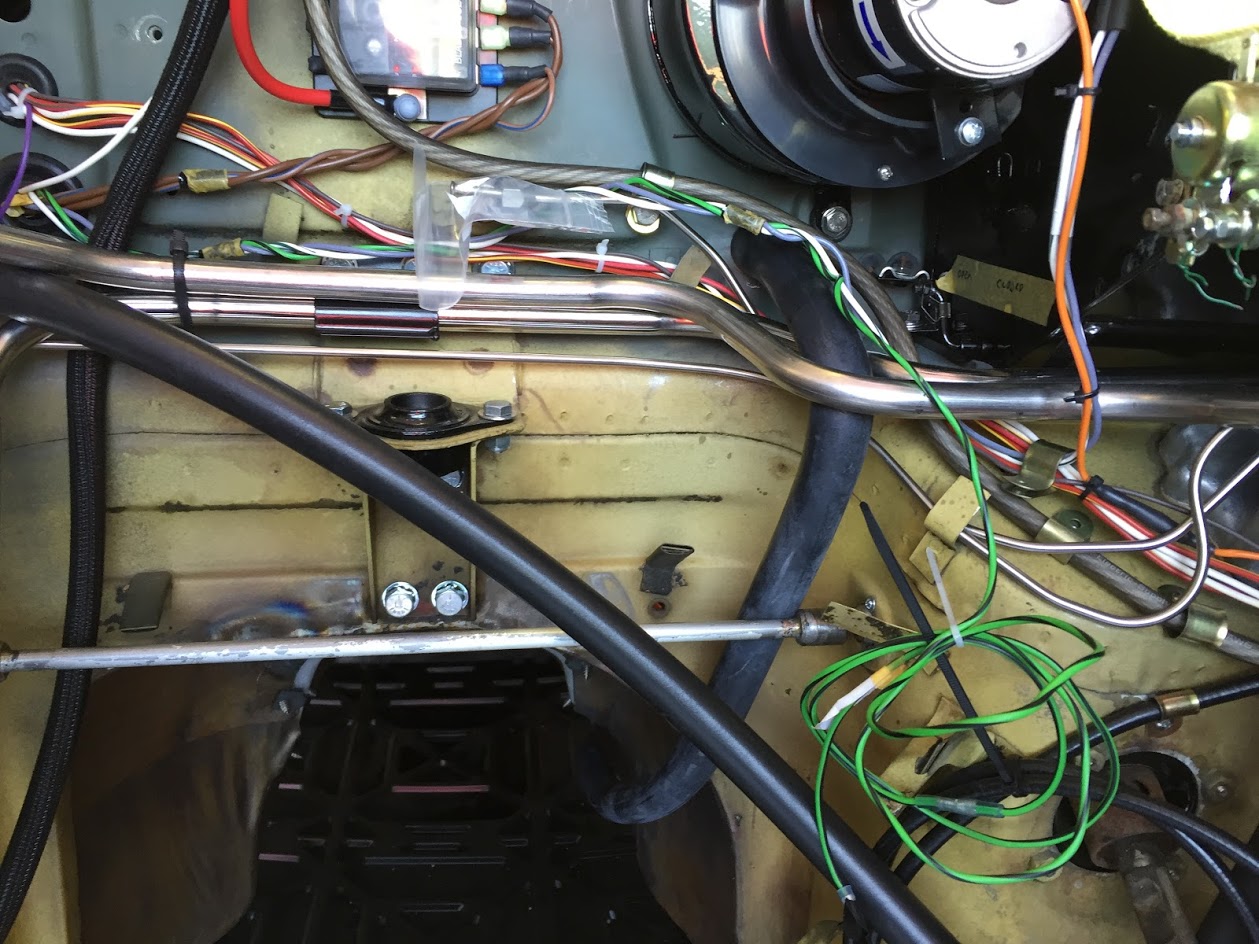
The Scuttle Plenum has a drain tube at its bottom and a rubber drain hose is mounted to the tube. The drain hose simply drains to the ground below the car. The image below shows a trial fitting of the hose. Unfortunately, it is a bit difficult to make out in the photo. It is the large hose that exits to the transmission tunnel.