
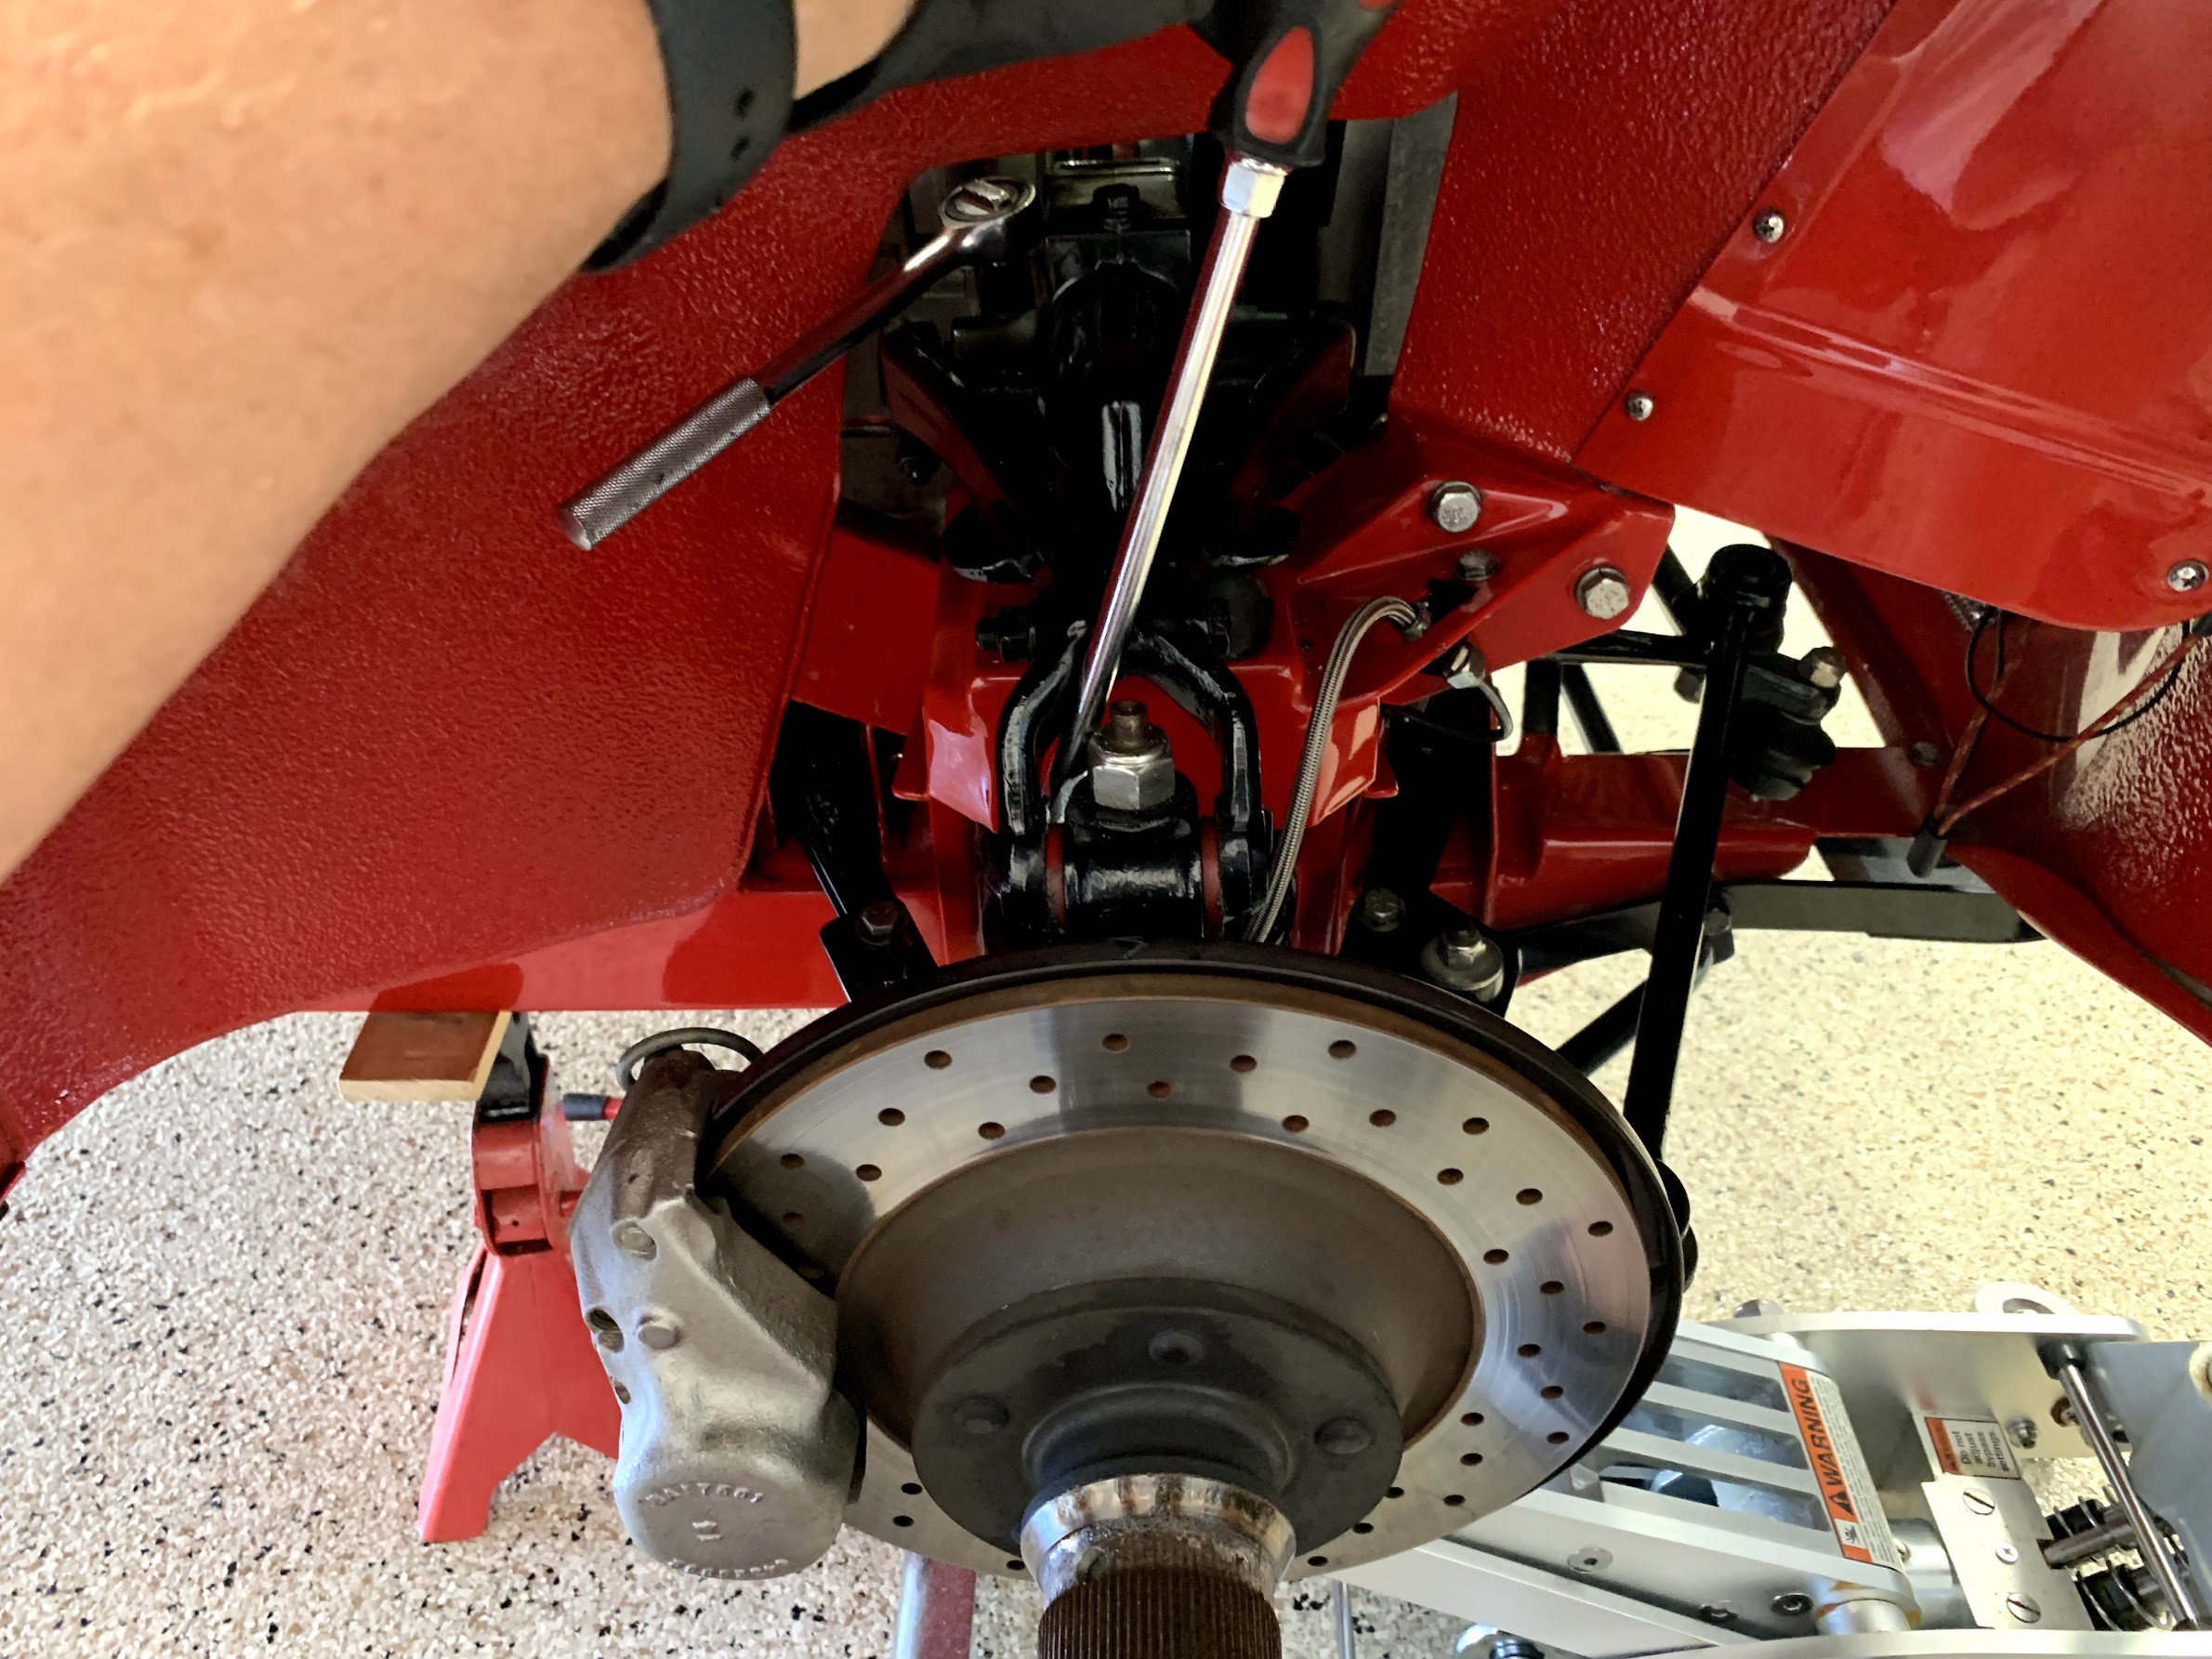
I use Bilstein tube shocks on my car having installed Udo Putzke’s mounting kit when the the car was restored. Details may be reviewed on a previous post https://valvechatter.com/?p=3365 regarding the front and rear suspension. The kit uses the original lever shocks without the pistons as the upper “A” arm of the front suspension. The right front shock was leaking oil.
I returned the shock to World Wide Auto Parts run by Dave Caldwell. Dave had rebuilt my shocks about ten years ago. In spite of the time that has passed, Dave honored the lifetime warranty and sent a fresh rebuild to me. Amazing!
To replace the shock, I first placed the car on four jack stands and then removed the right front wheel.

On Jack Stands for Shock Replacement
I then placed a floor jack under the spring pan and raised the pan until the shock arm was free of the rubber rebound pad.
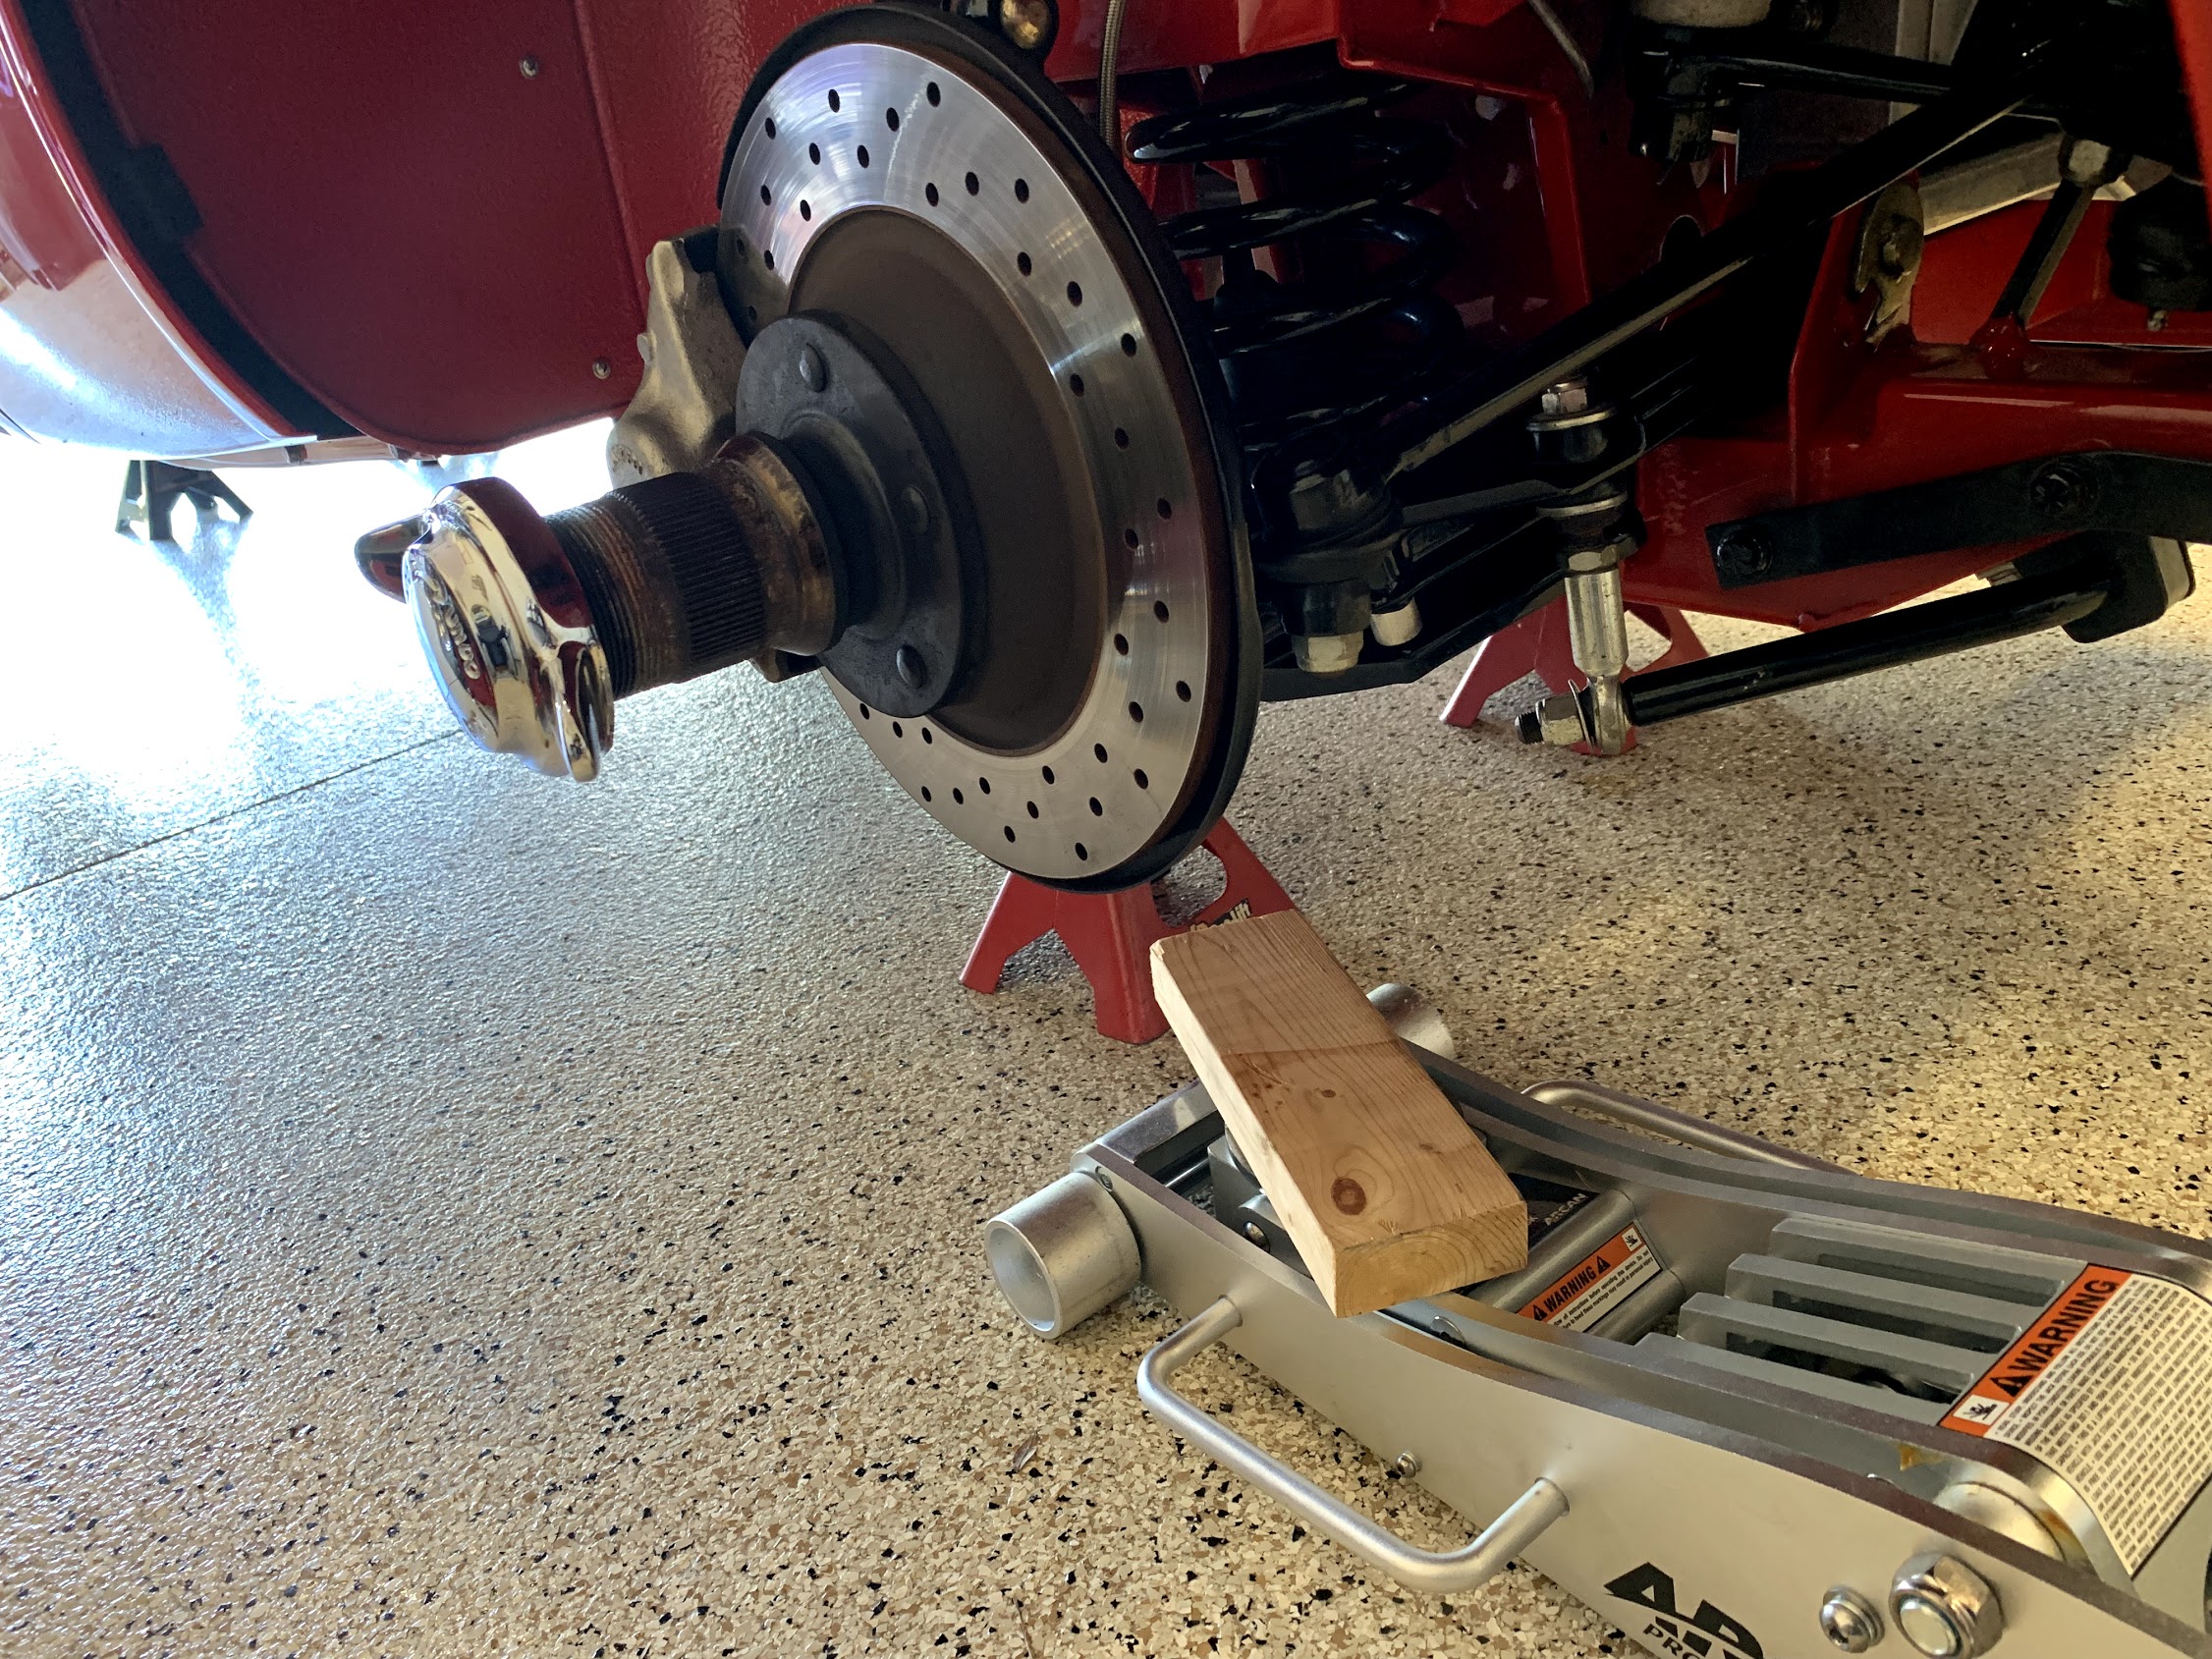
Floor Jack to go Under Spring Pan
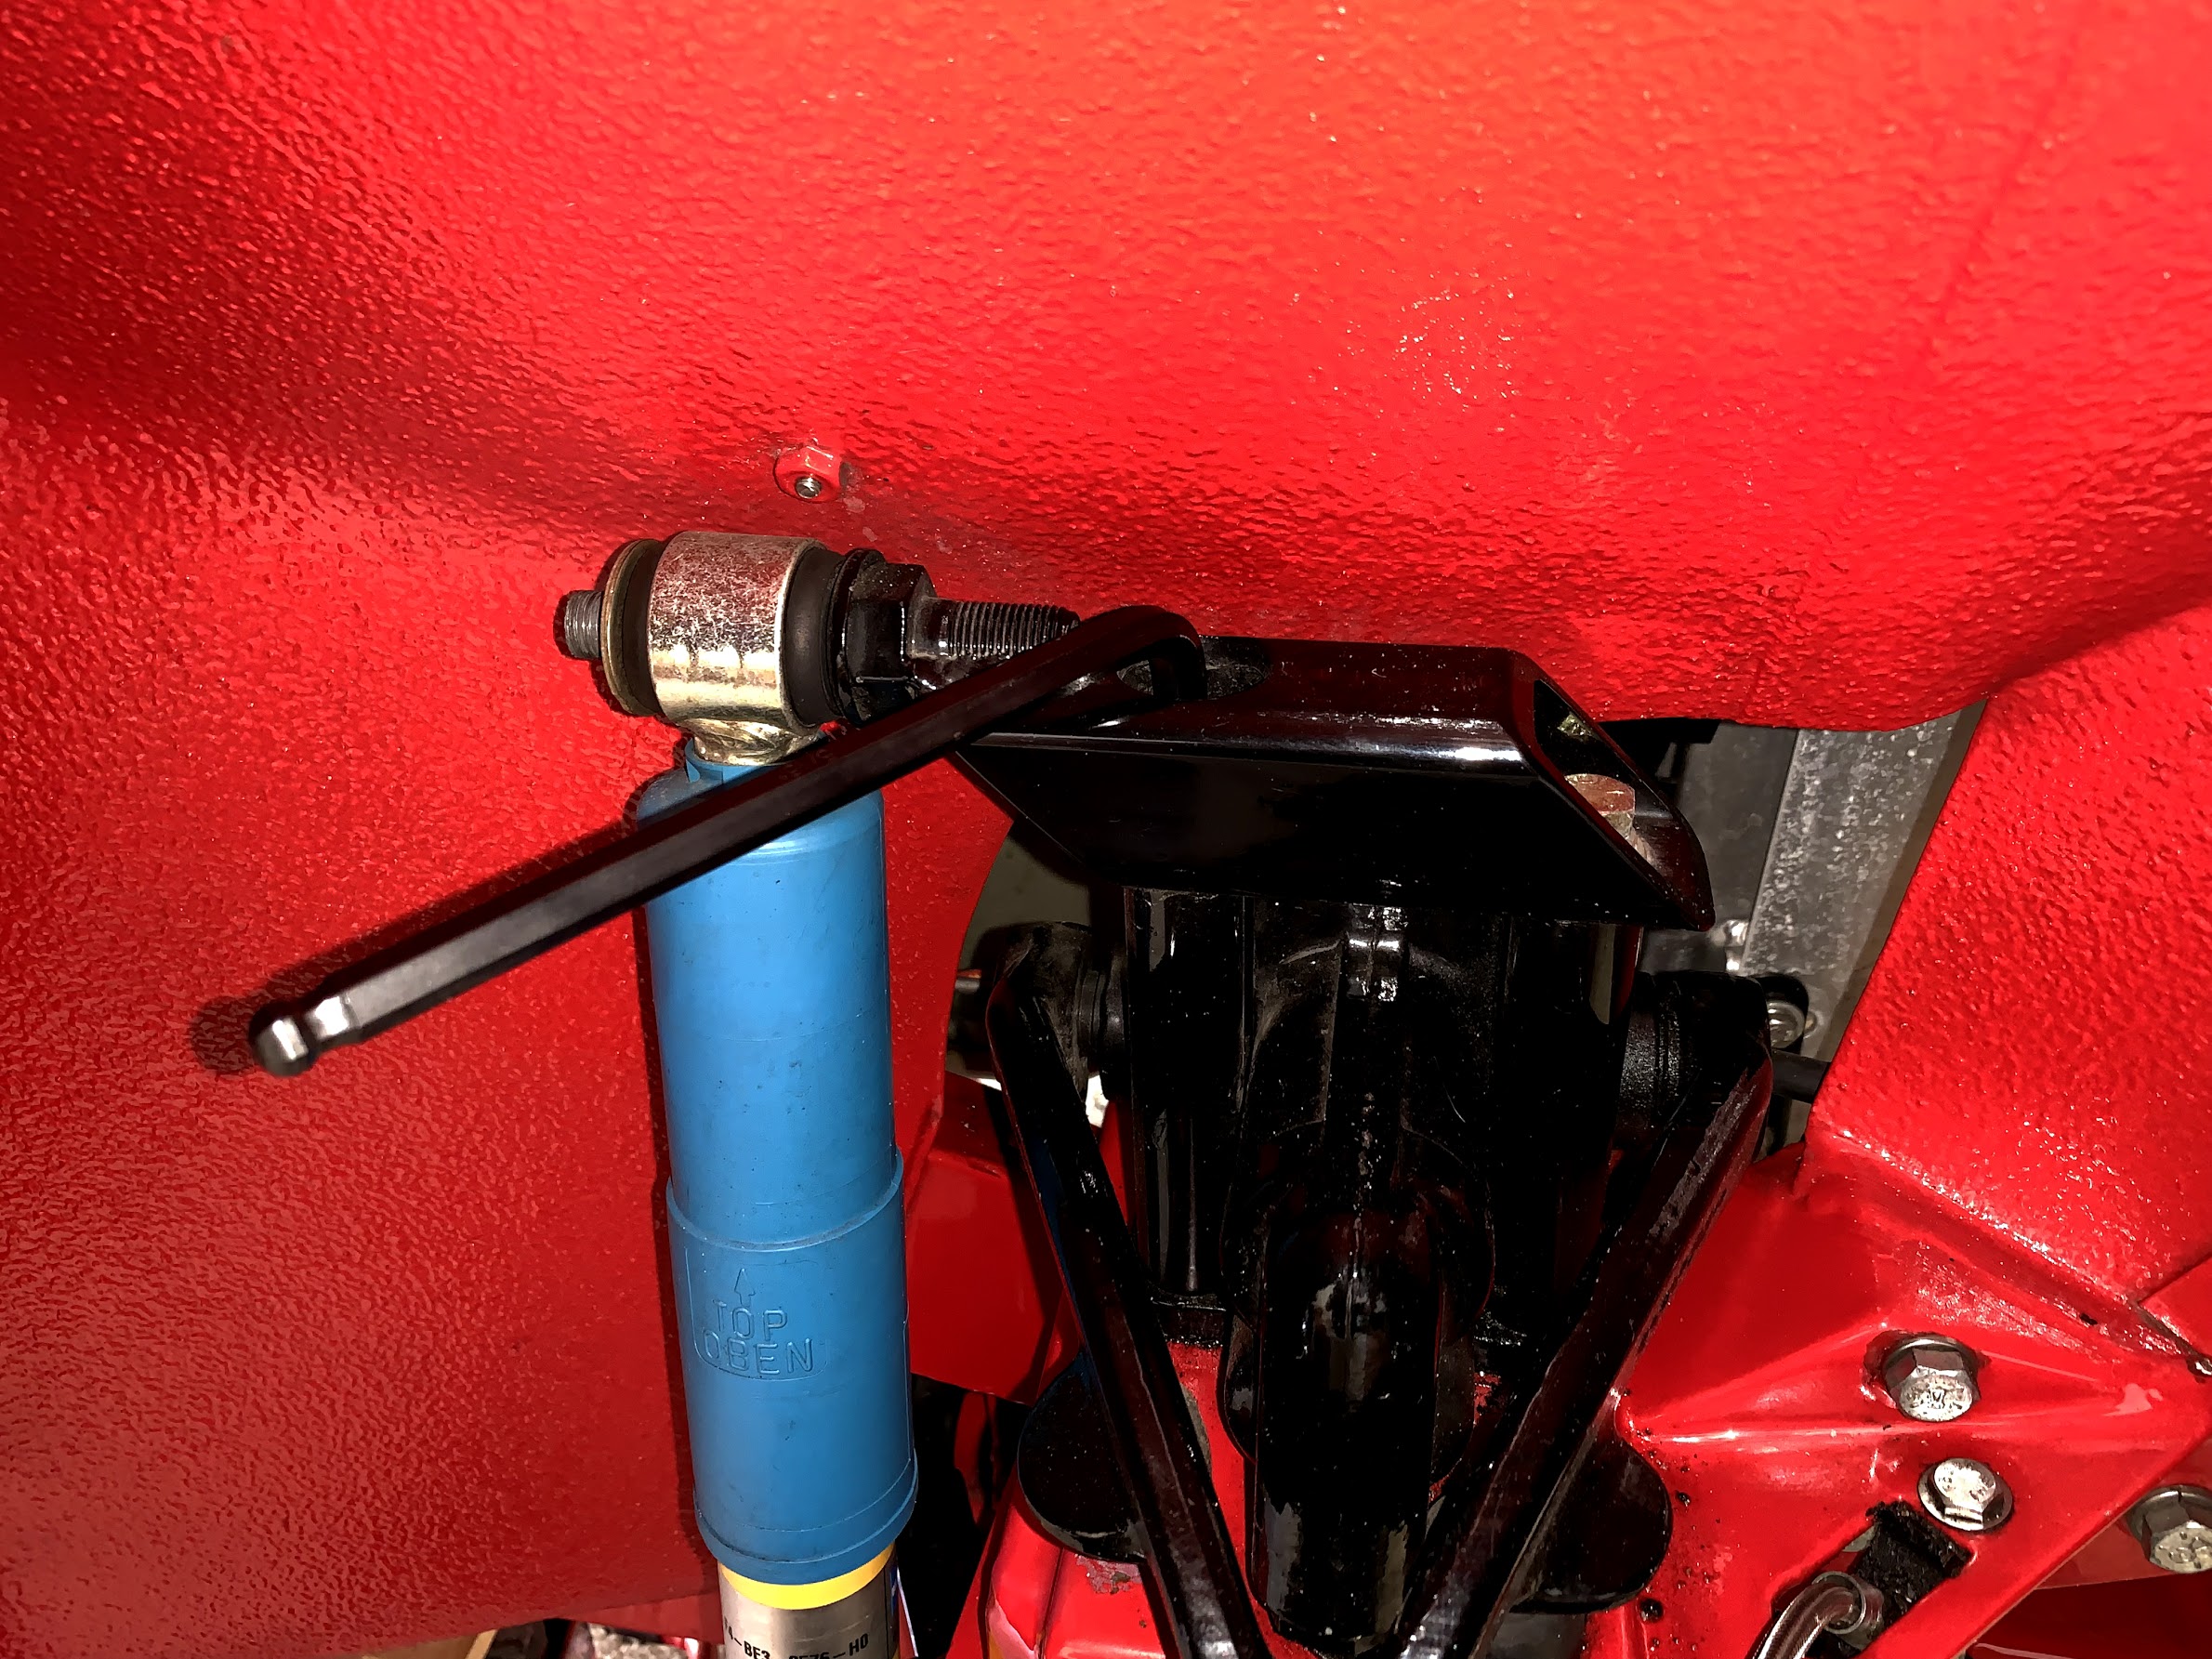
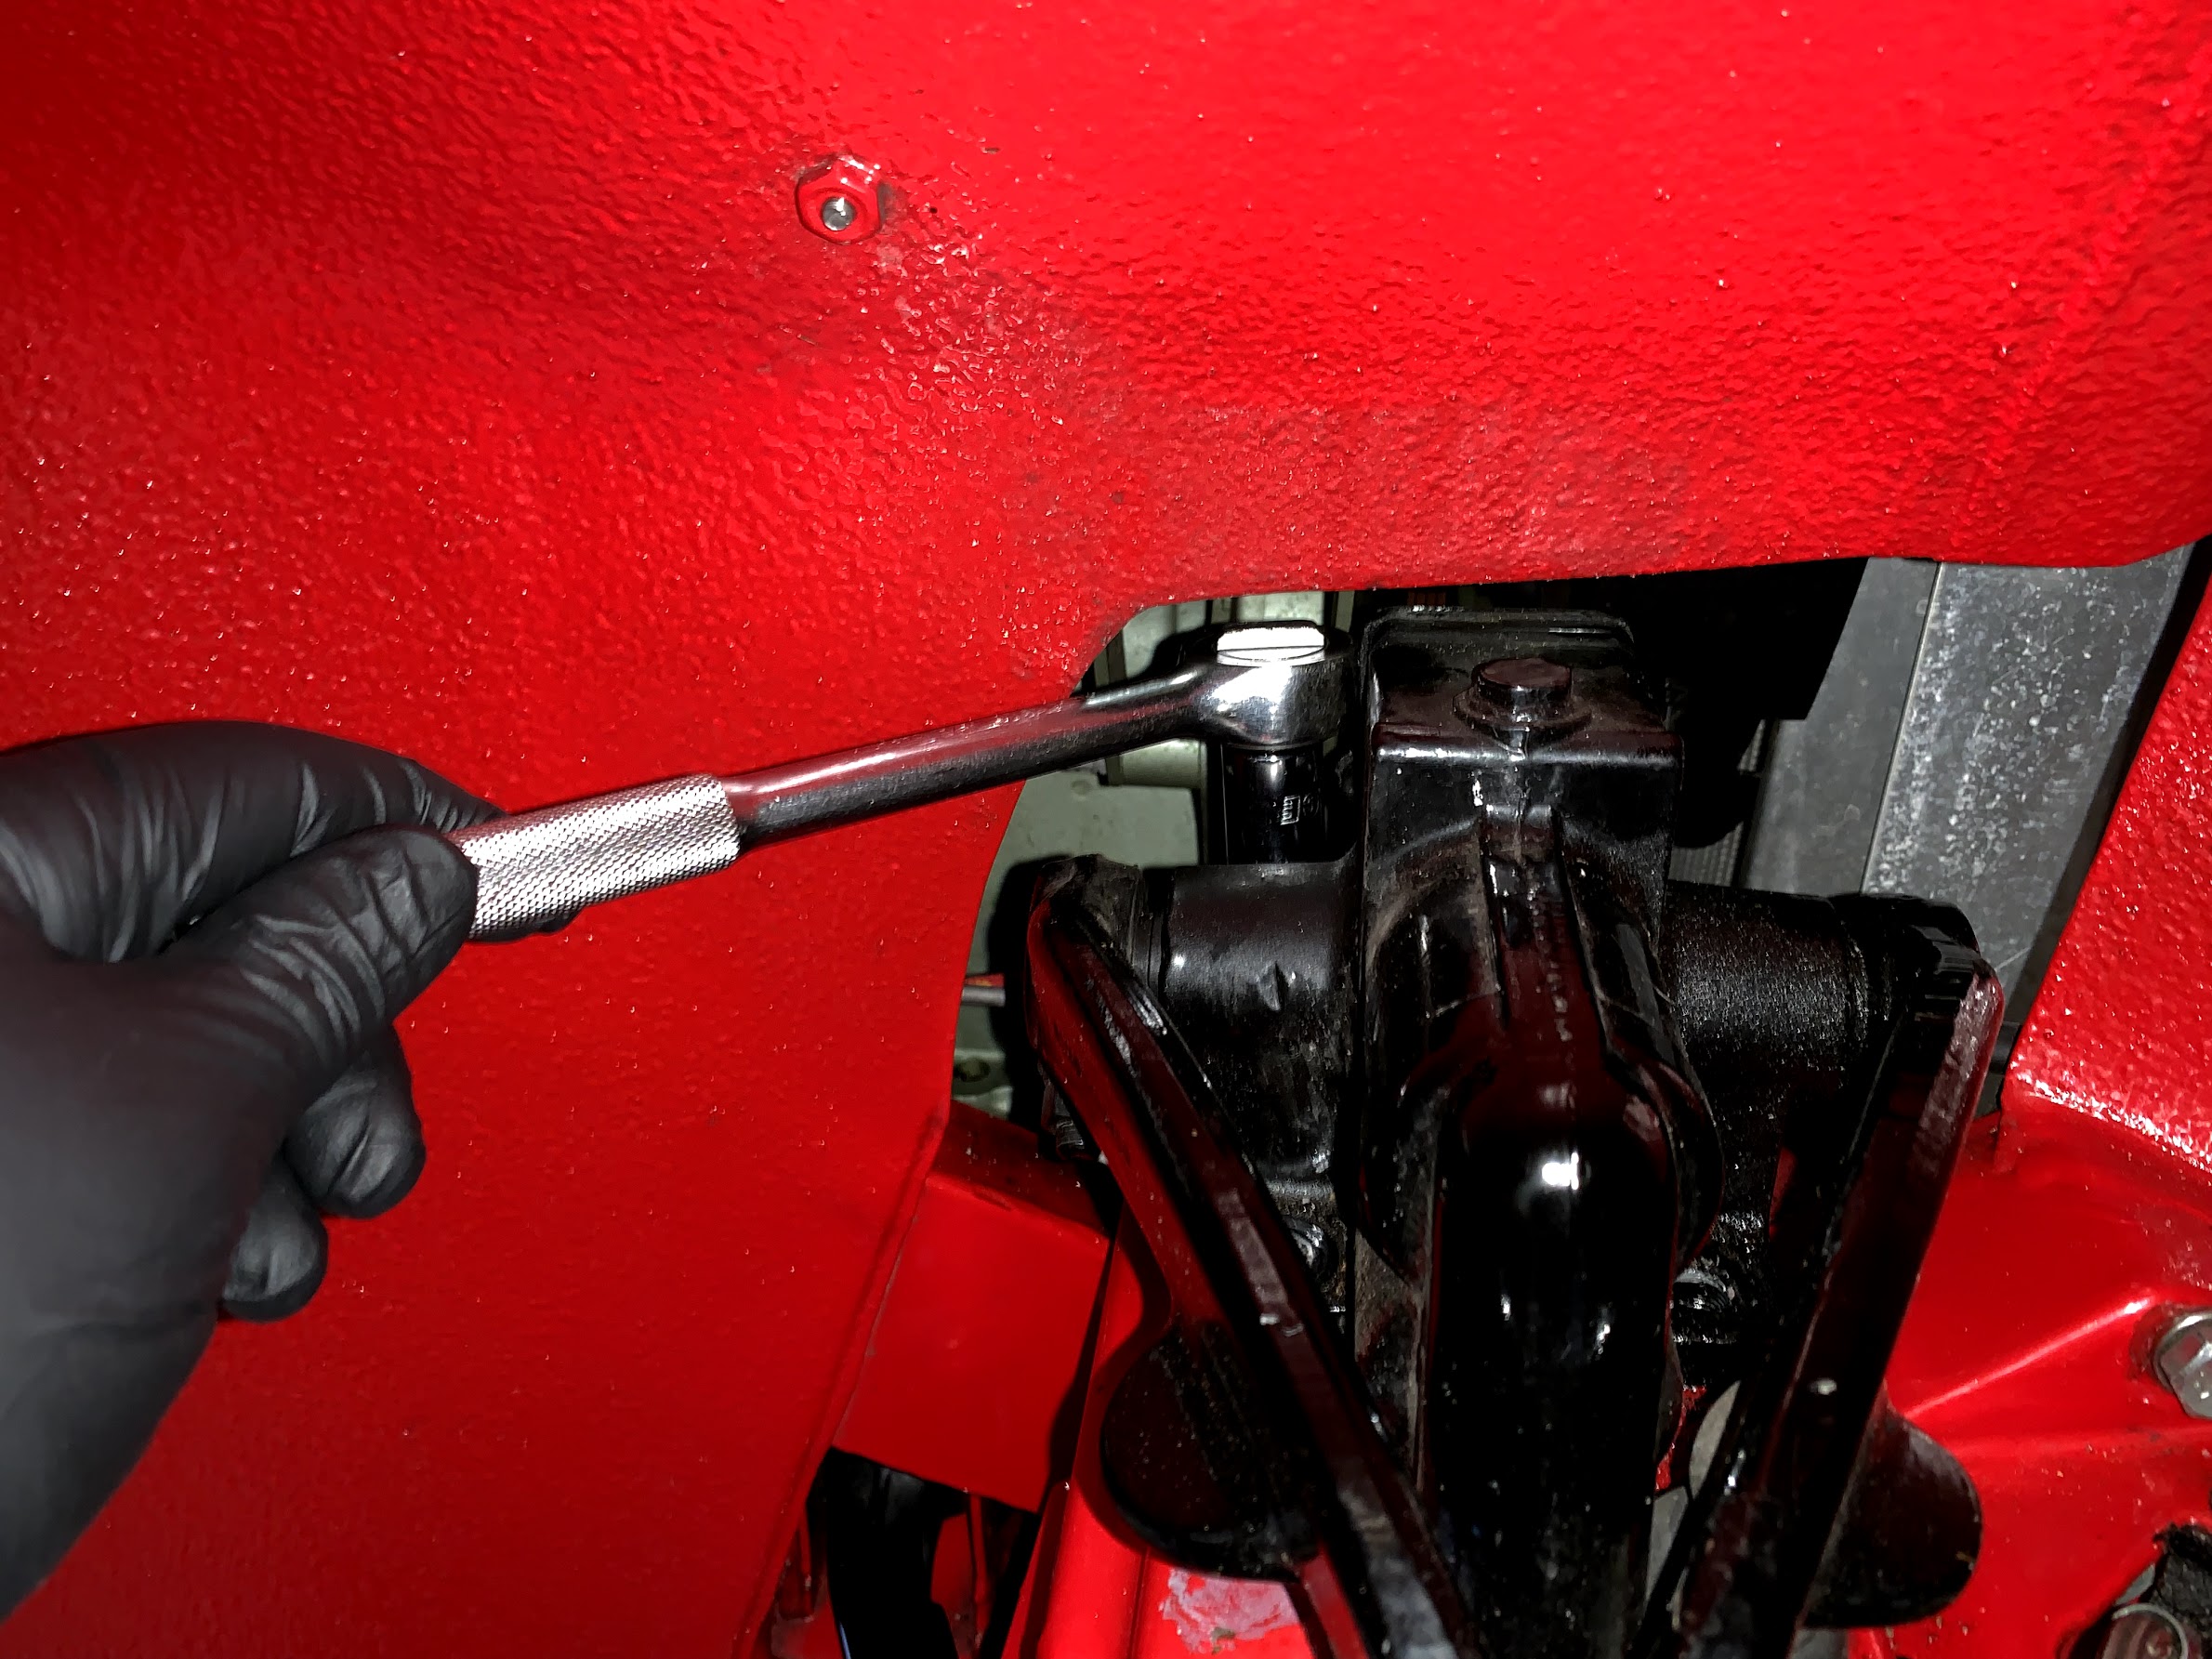
I then loosened the top mount for the bilstein tube shock using a 3/4” wrench and loosened the lower mount for the bilstein tube shock with 5/8” wrenches.
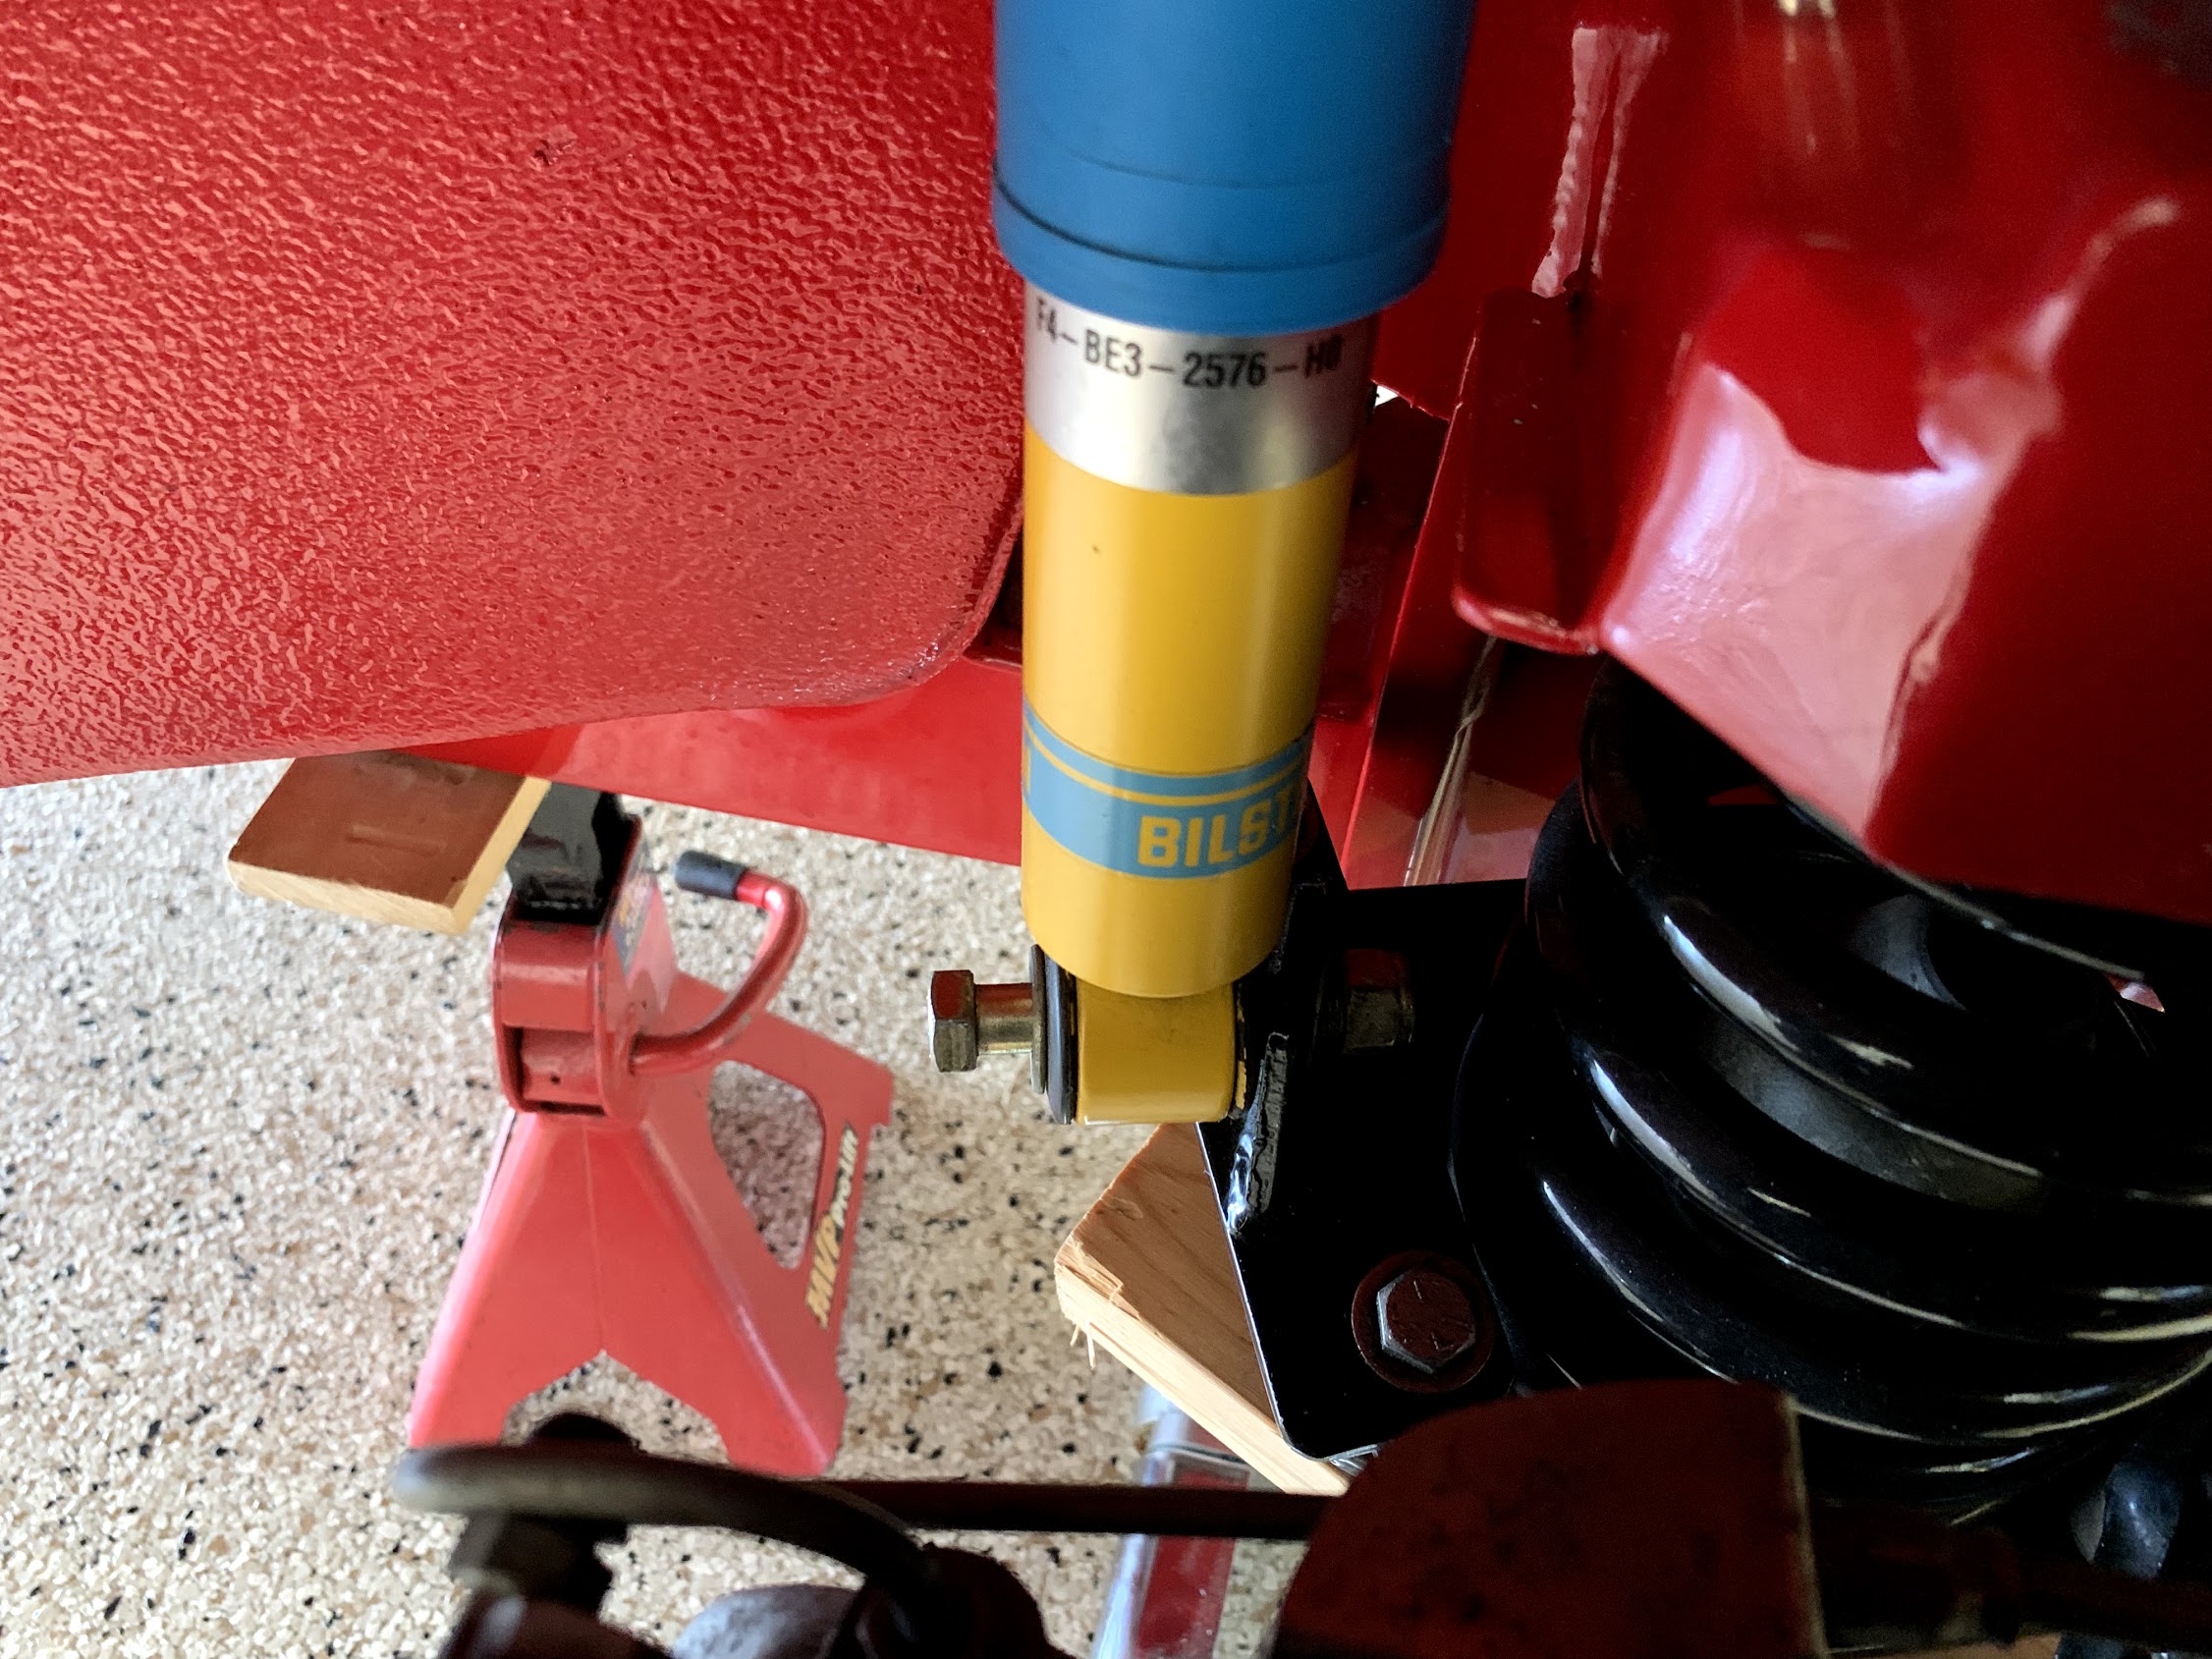
Bilstein Shock Lower Mount
I then removed the split pin on the castle nut securing the fulcrum pin.
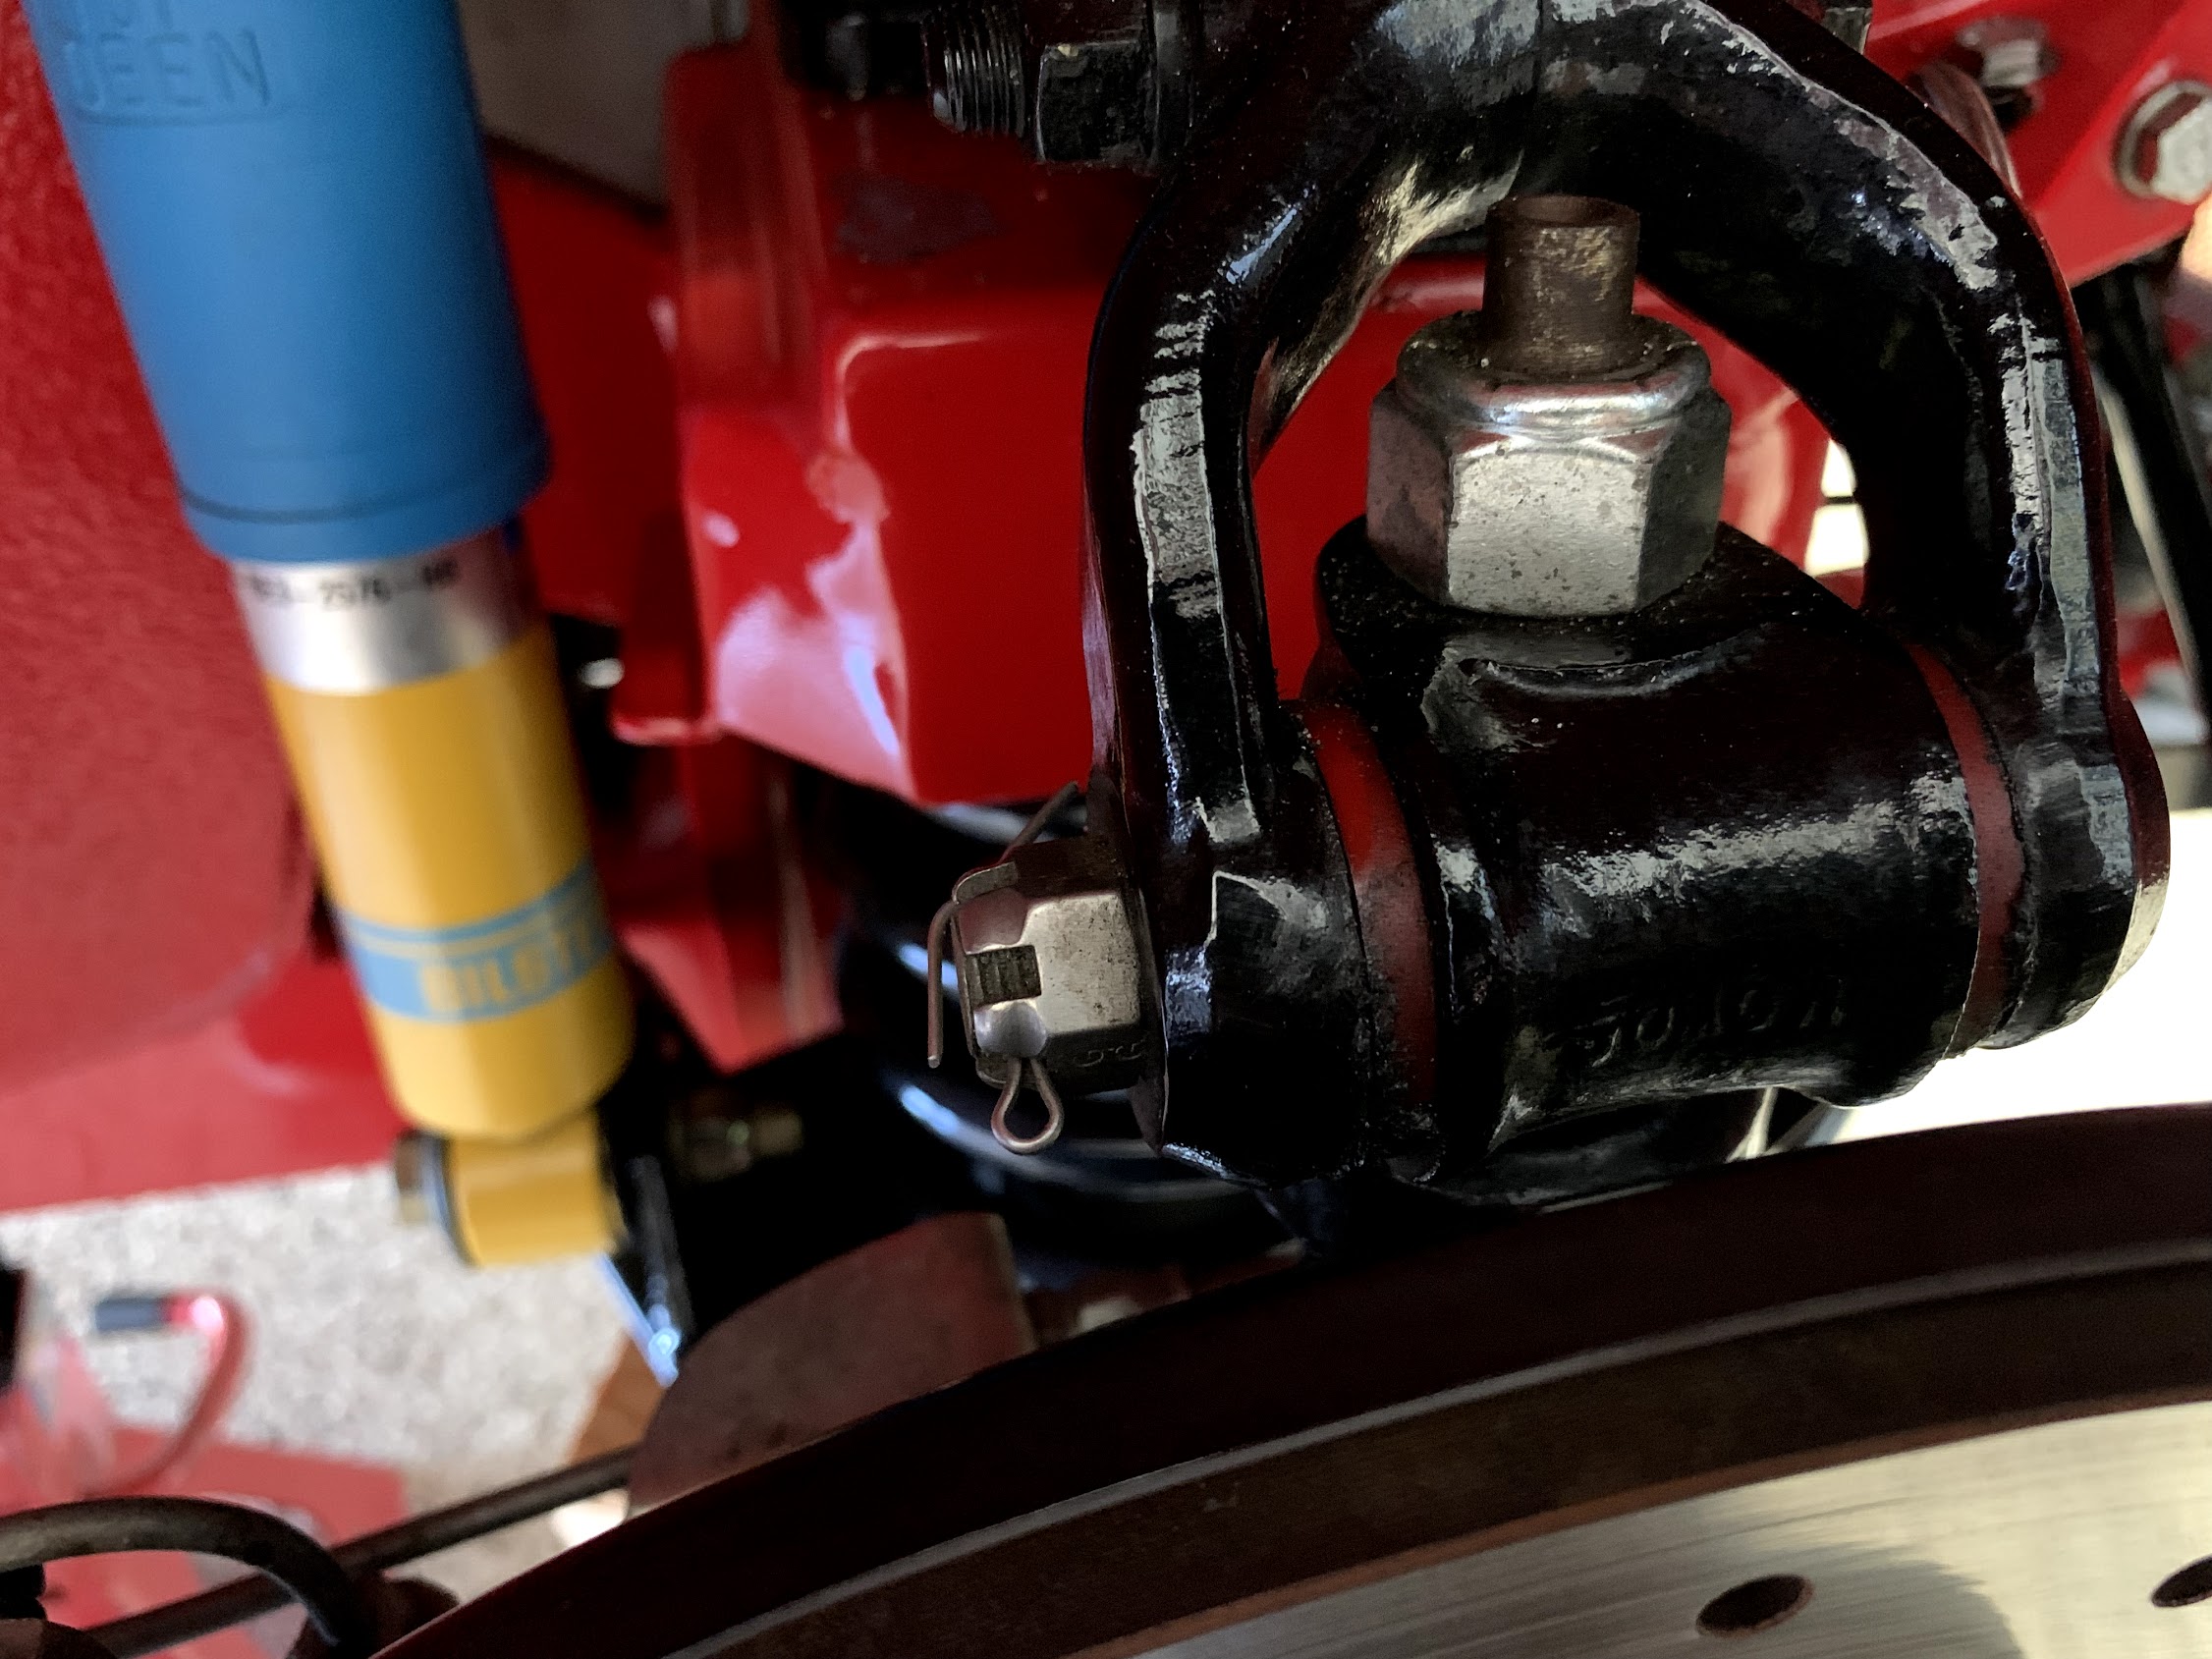
Split Pin in Castle Nut
I then progressively loosened the castle nut and used it to tap out the pin with a soft hammer.
Gradually Knocking the Fulcrum Pin Out
Then using a drift I tapped out the bolt all of the way, leaving the drift in its place.

Fulcrum Pin Removed
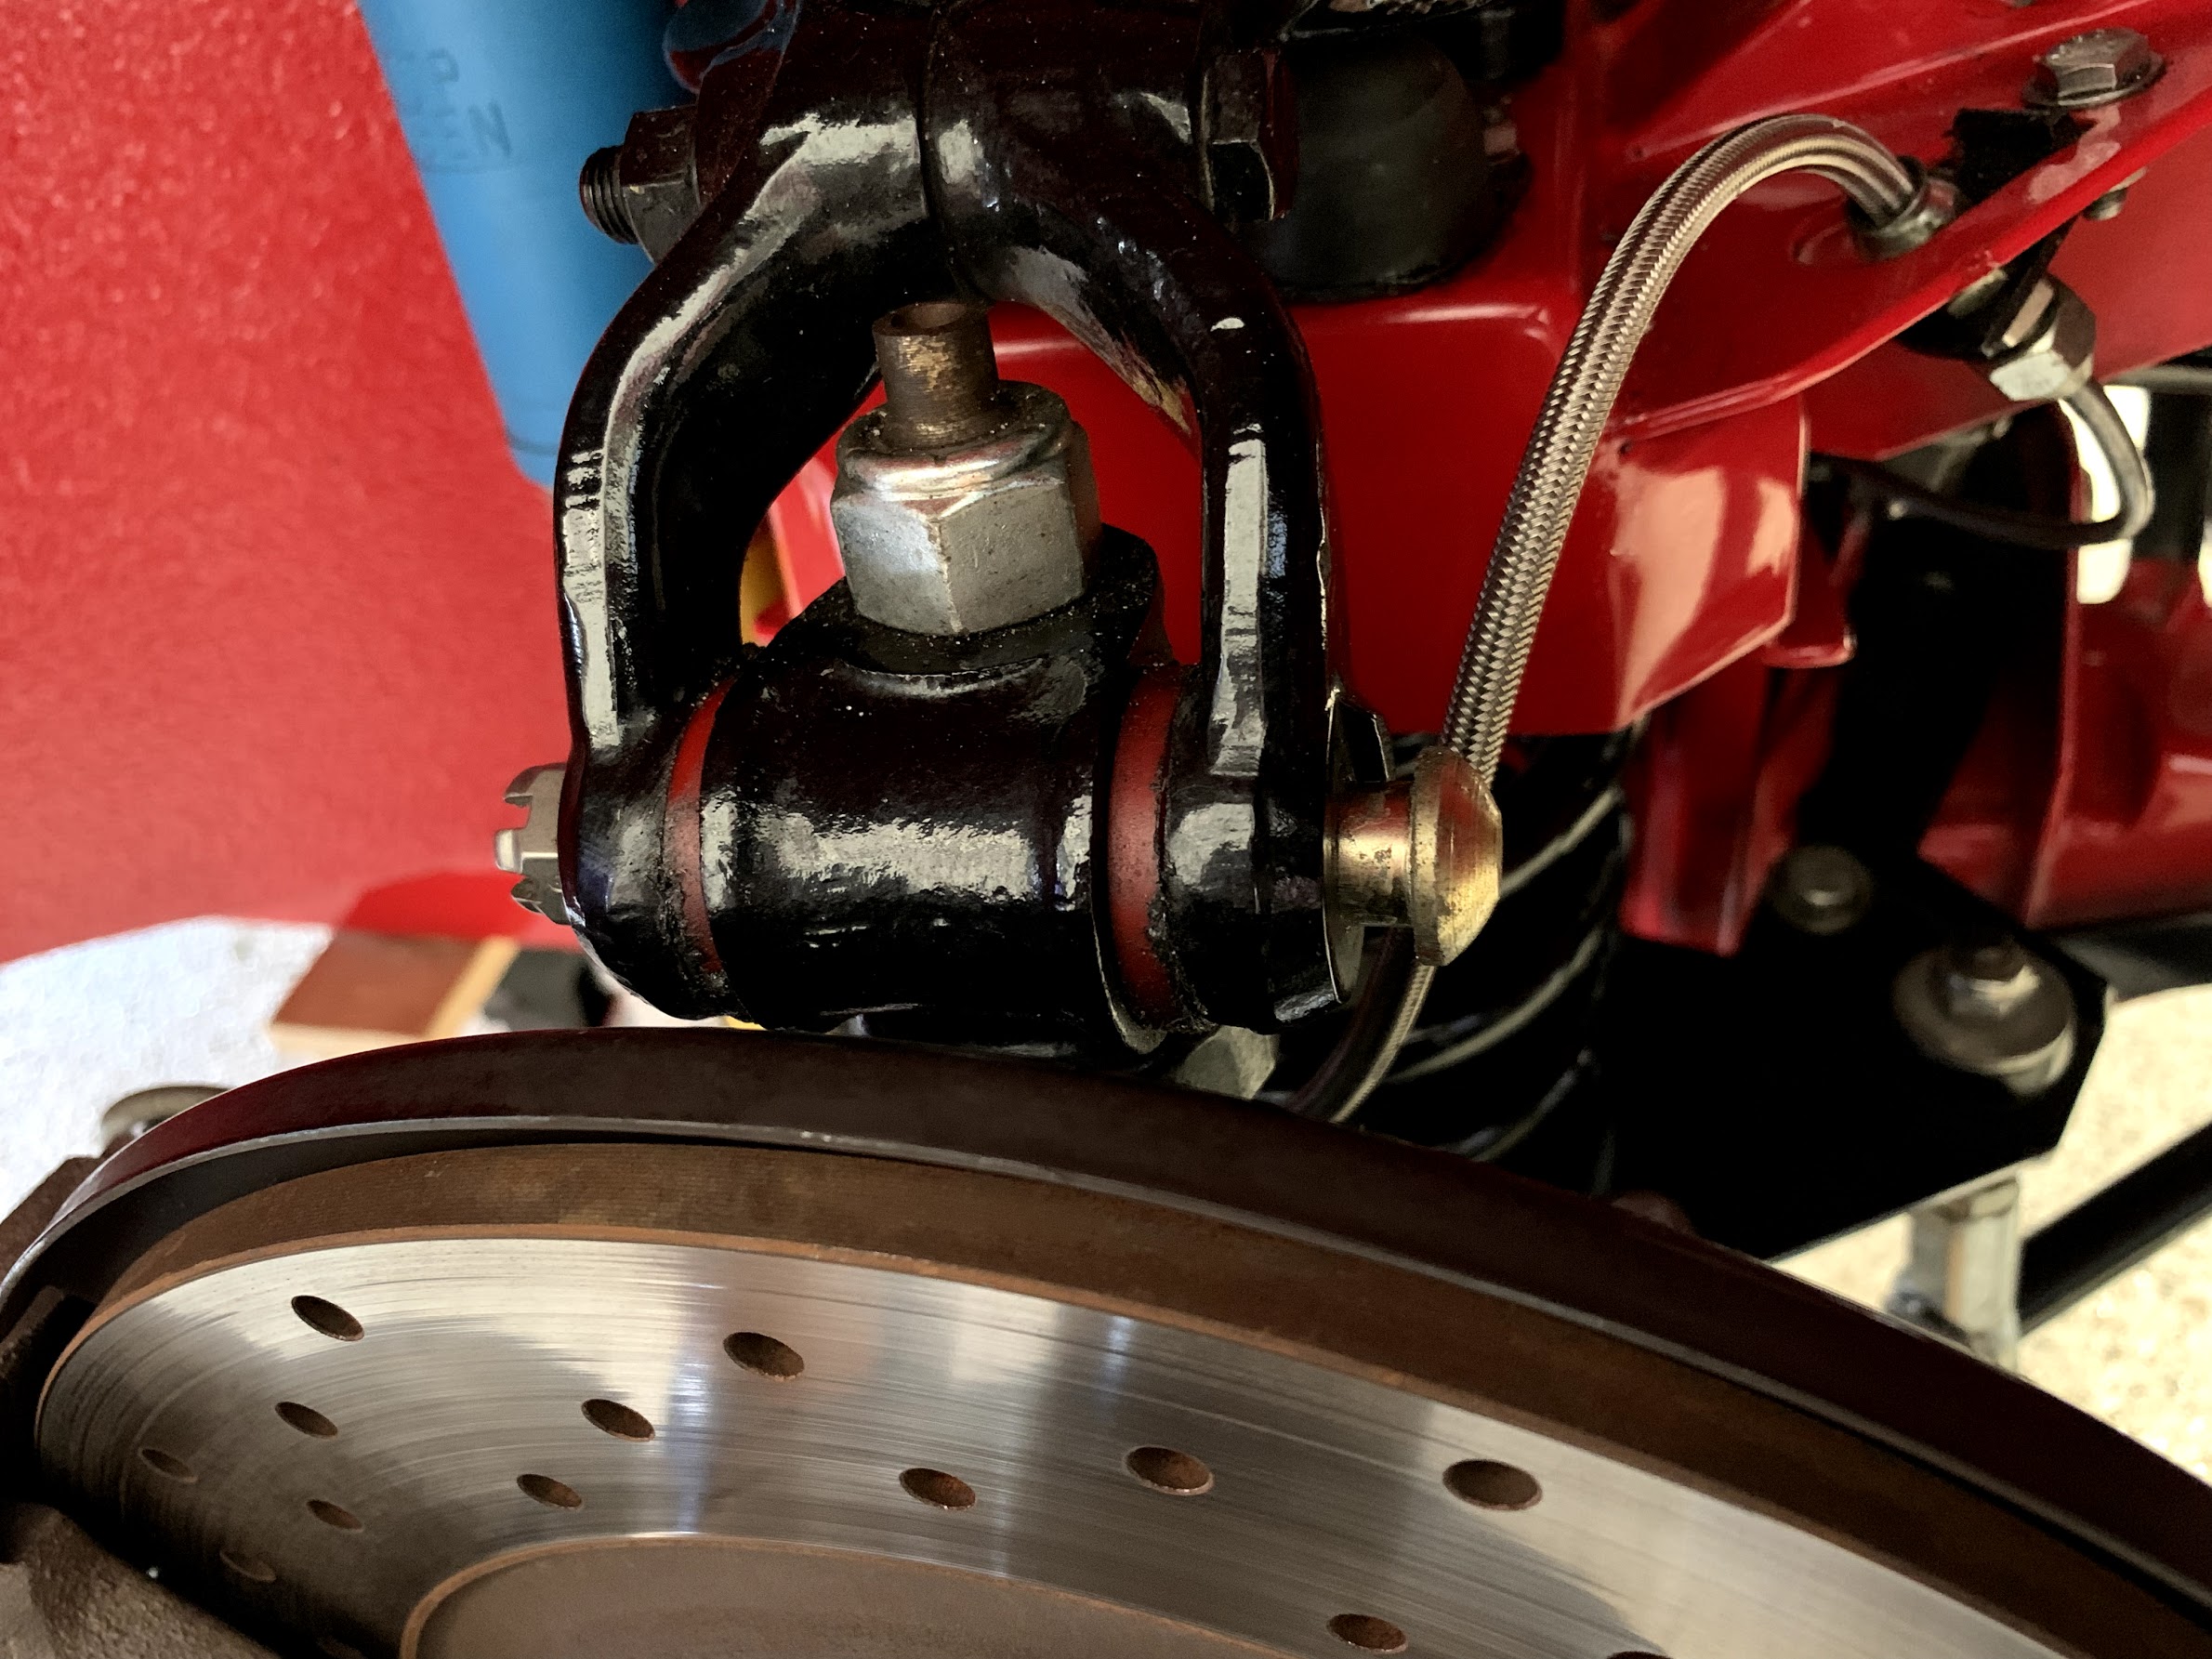
Using a large screwdriver I levered the trunnion for the king pen off of the shock absorber.
Screw Driver as Pry Bar
It won’t move far, but I put a large jackstand under the hub to prevent any stress.
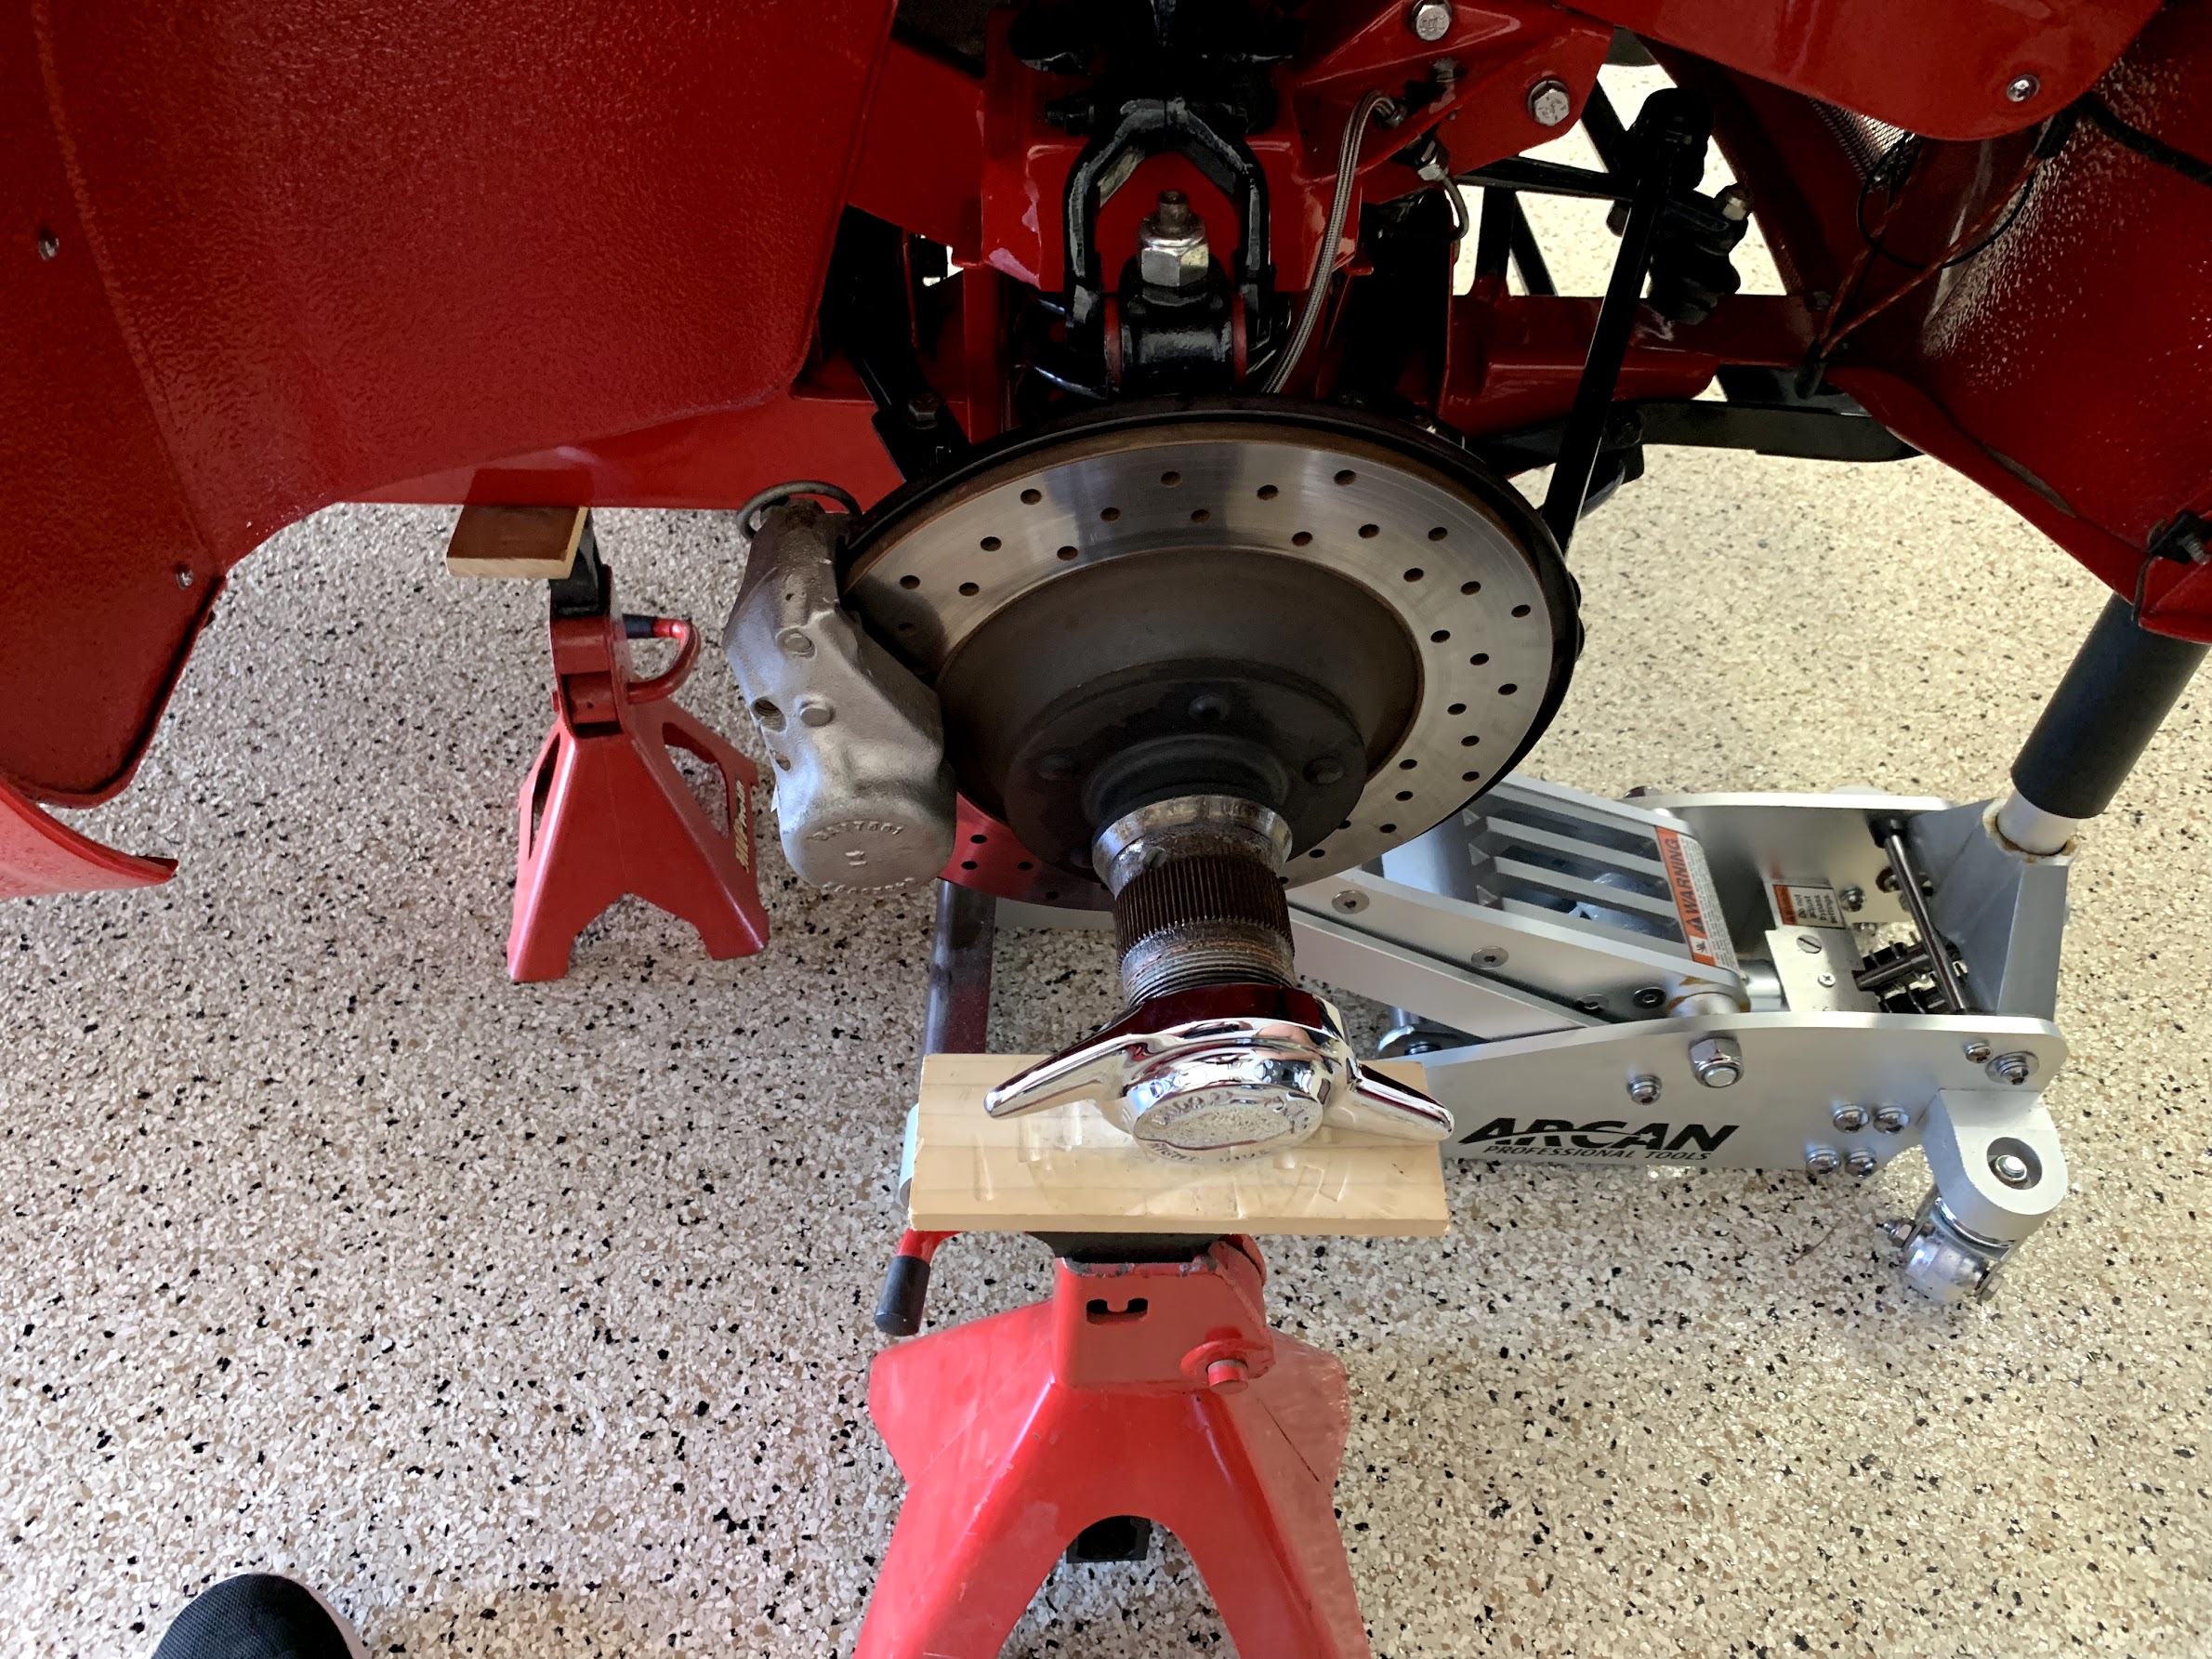
Jack Stand Supporting the King Pin and Trunnion
Using a 9/16” socket and ratchet I loosened and remove the right front shock bolt to chassis.
Loosening Front Shock Bolt
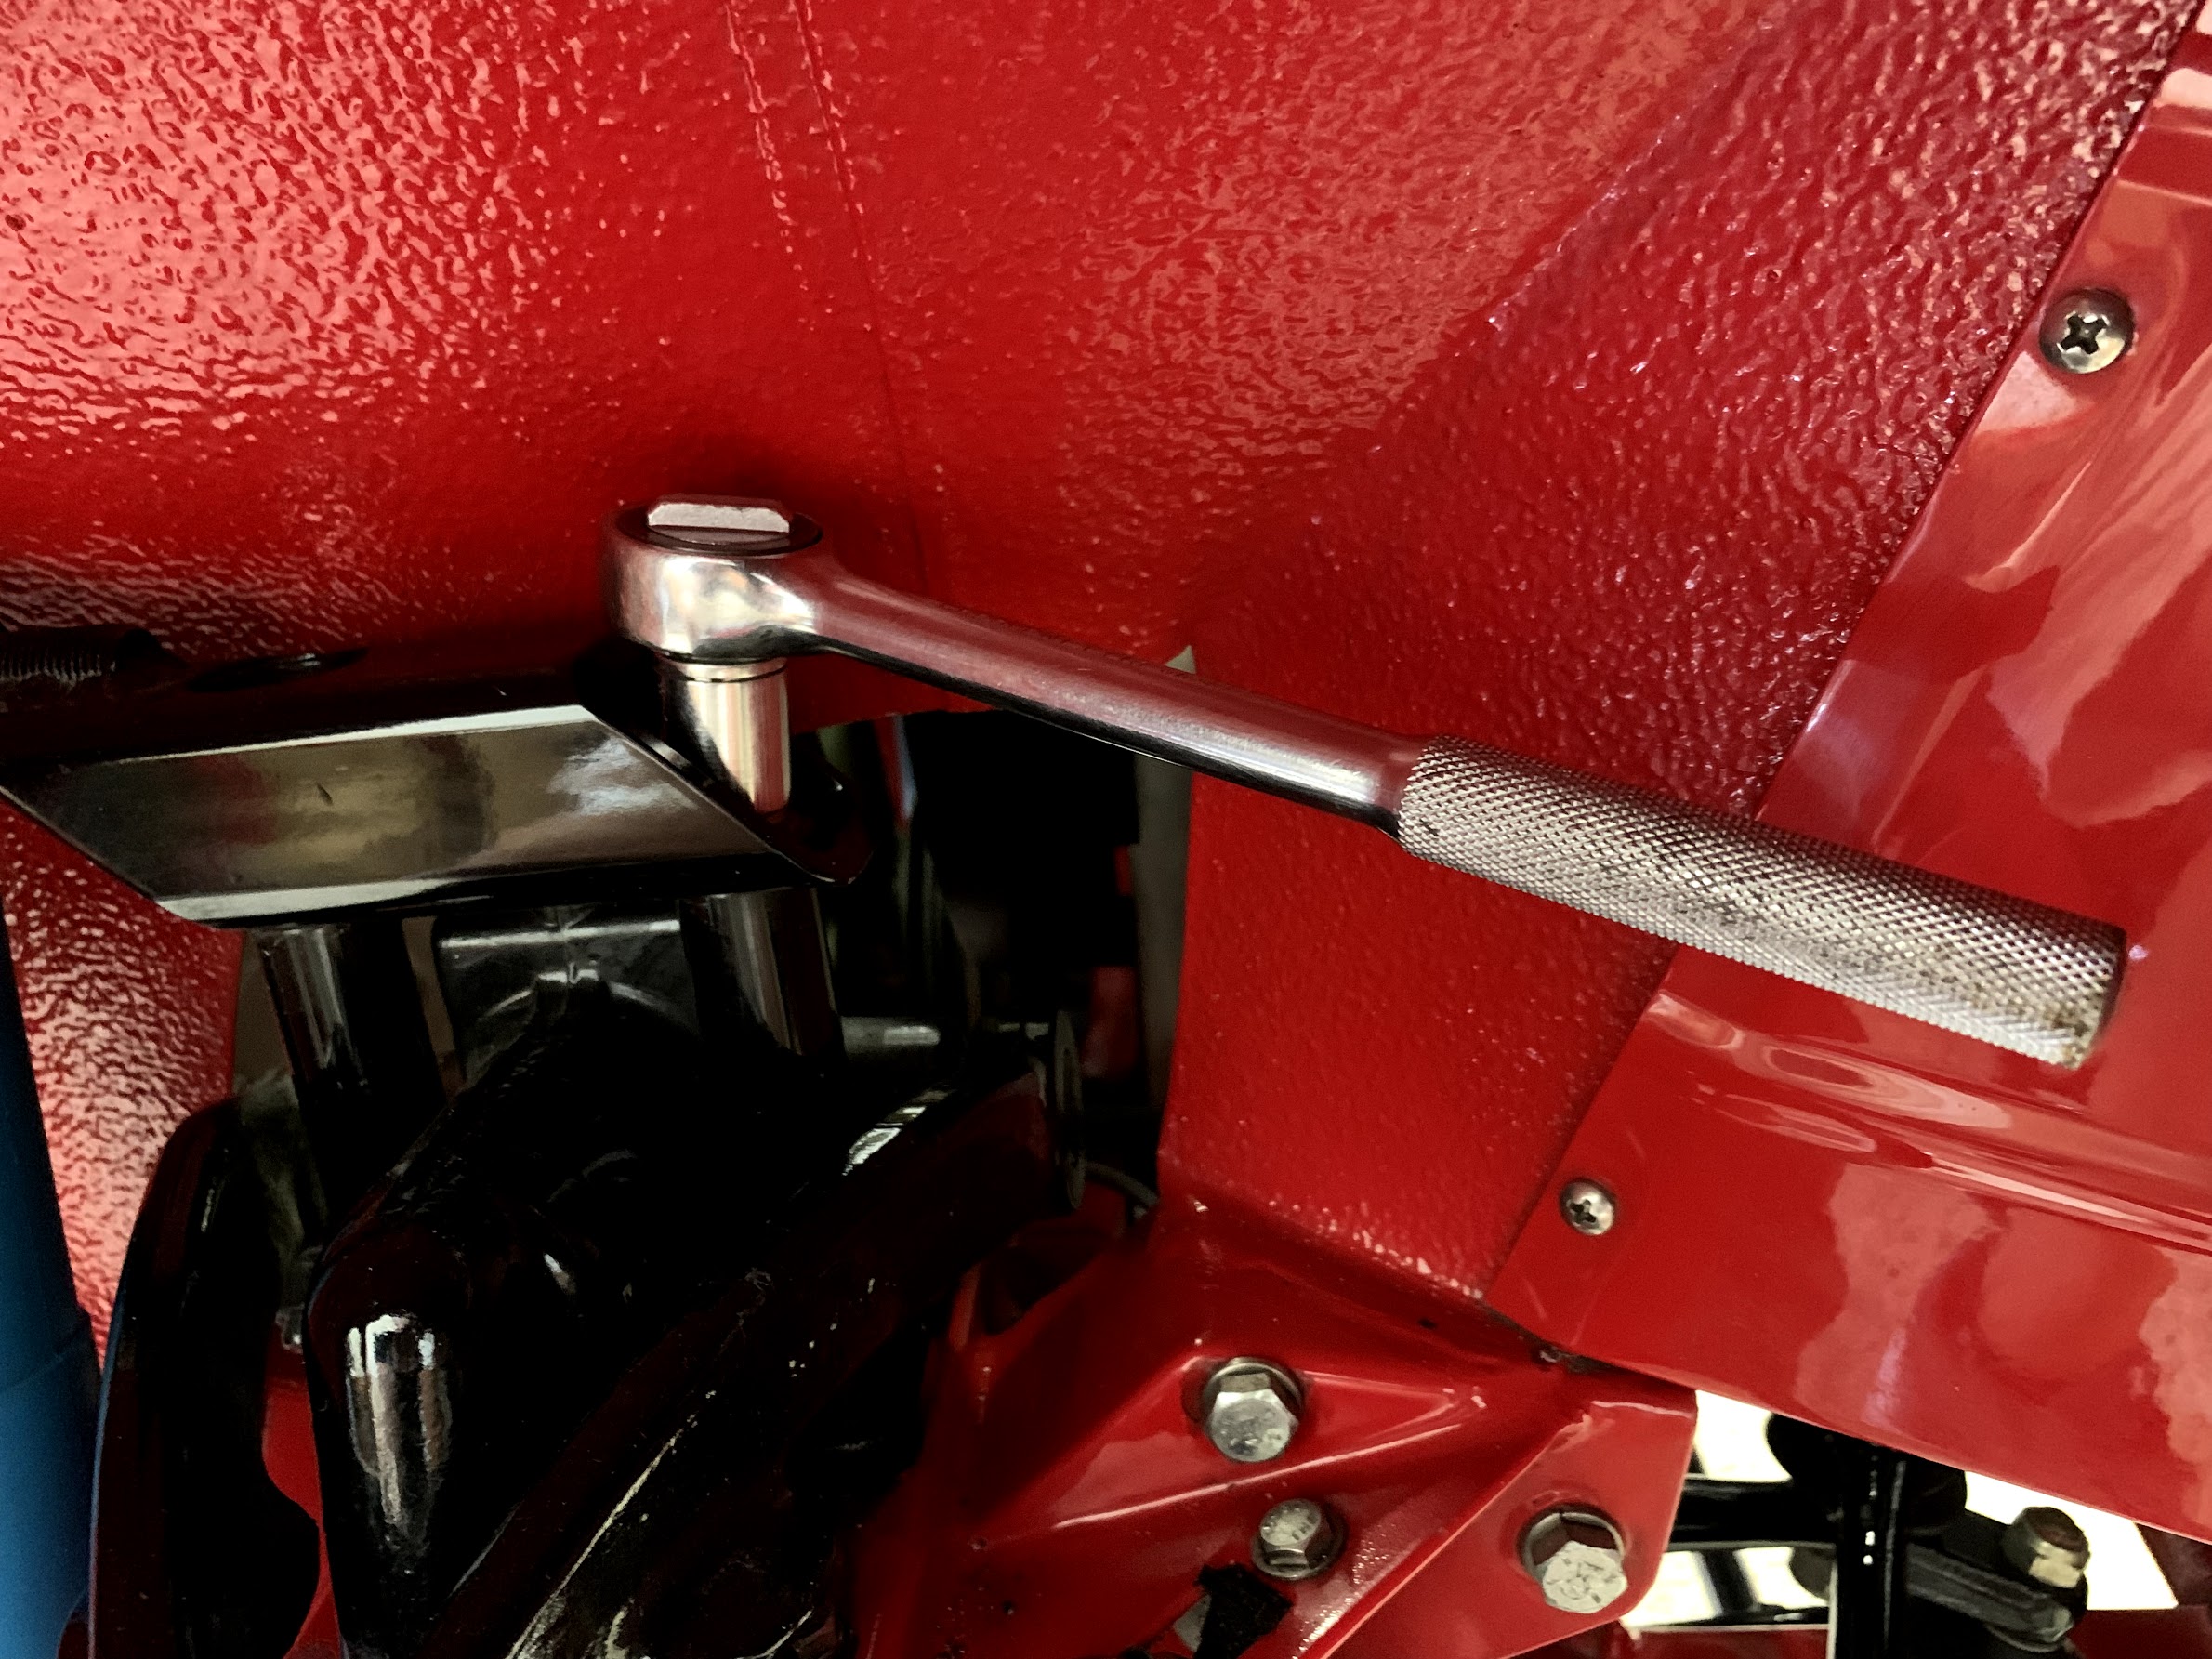
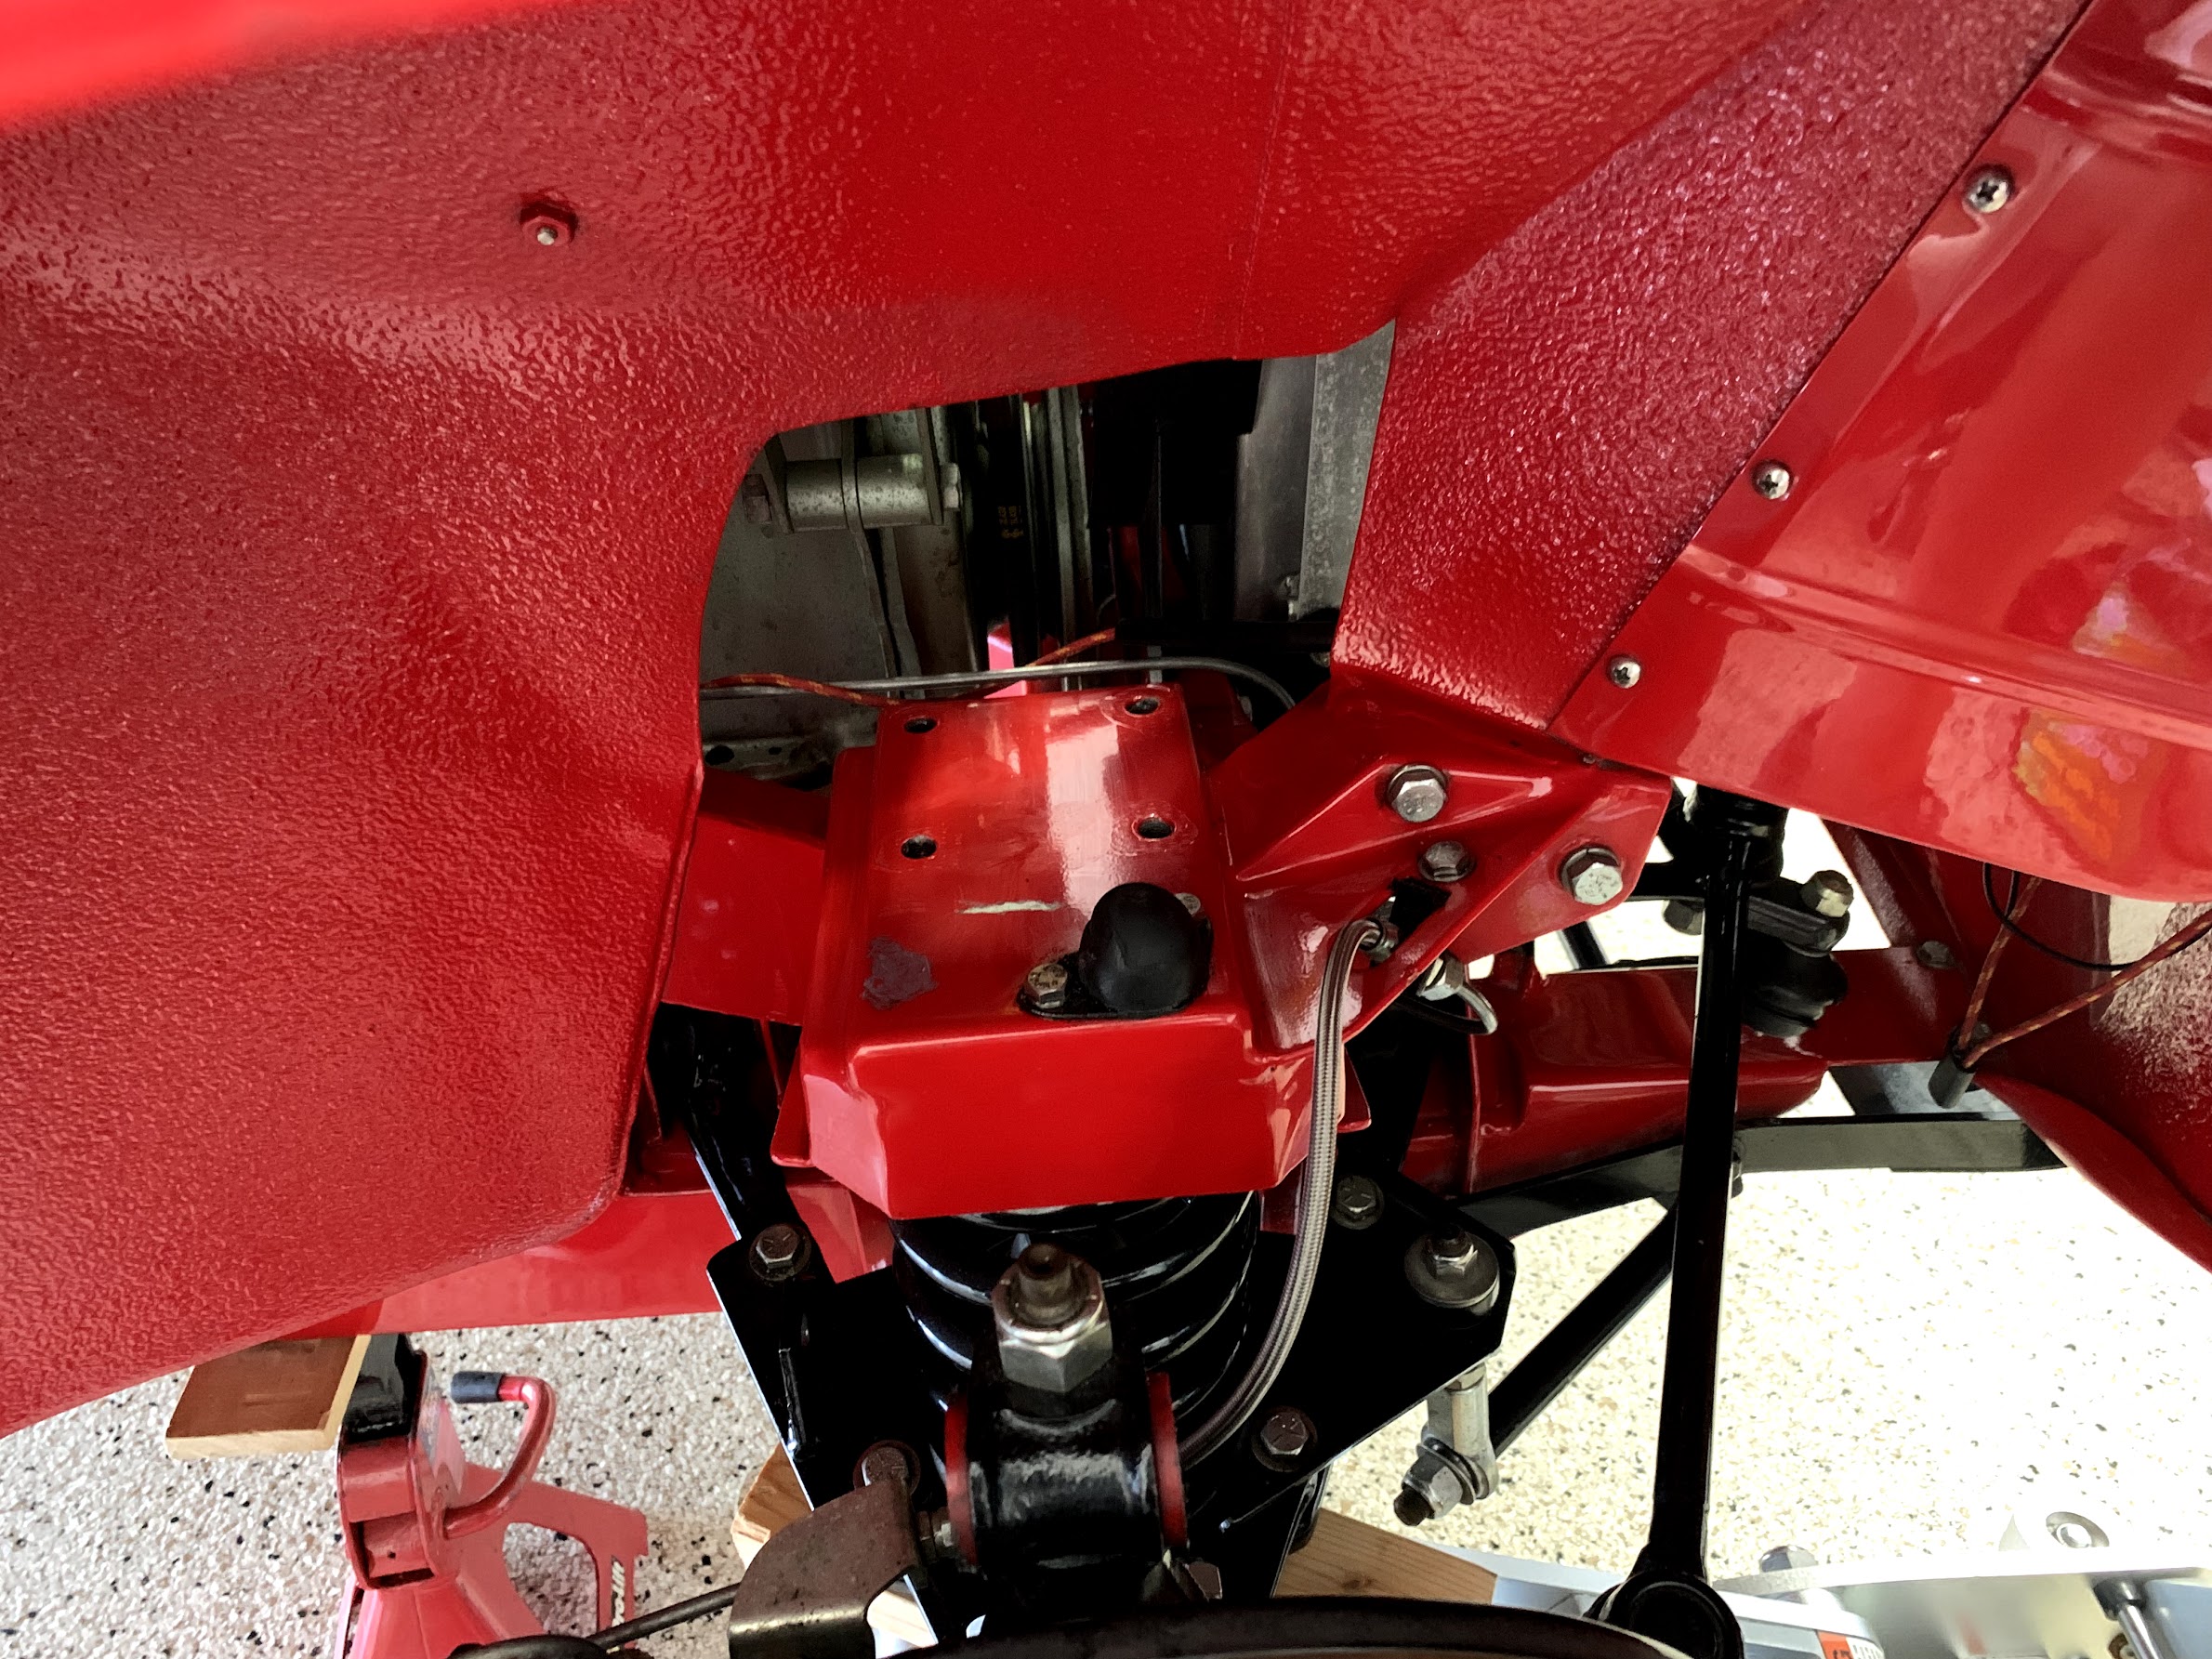
Then using an Allen wrench through the access hole in the bracket, I loosened and removed the left front shock bolt to chassis.
Allen wrench to Remove Left front Shock Mount
I then removed the left-hand rear and the right-hand rear shock bolts to the chassis with a 9/16 inch deep socket and ratchet.
Removing Rear Shock Mount Bolts
I was then able to lift the shock away from the car. It was immediately obvious that the shock had been leaking!
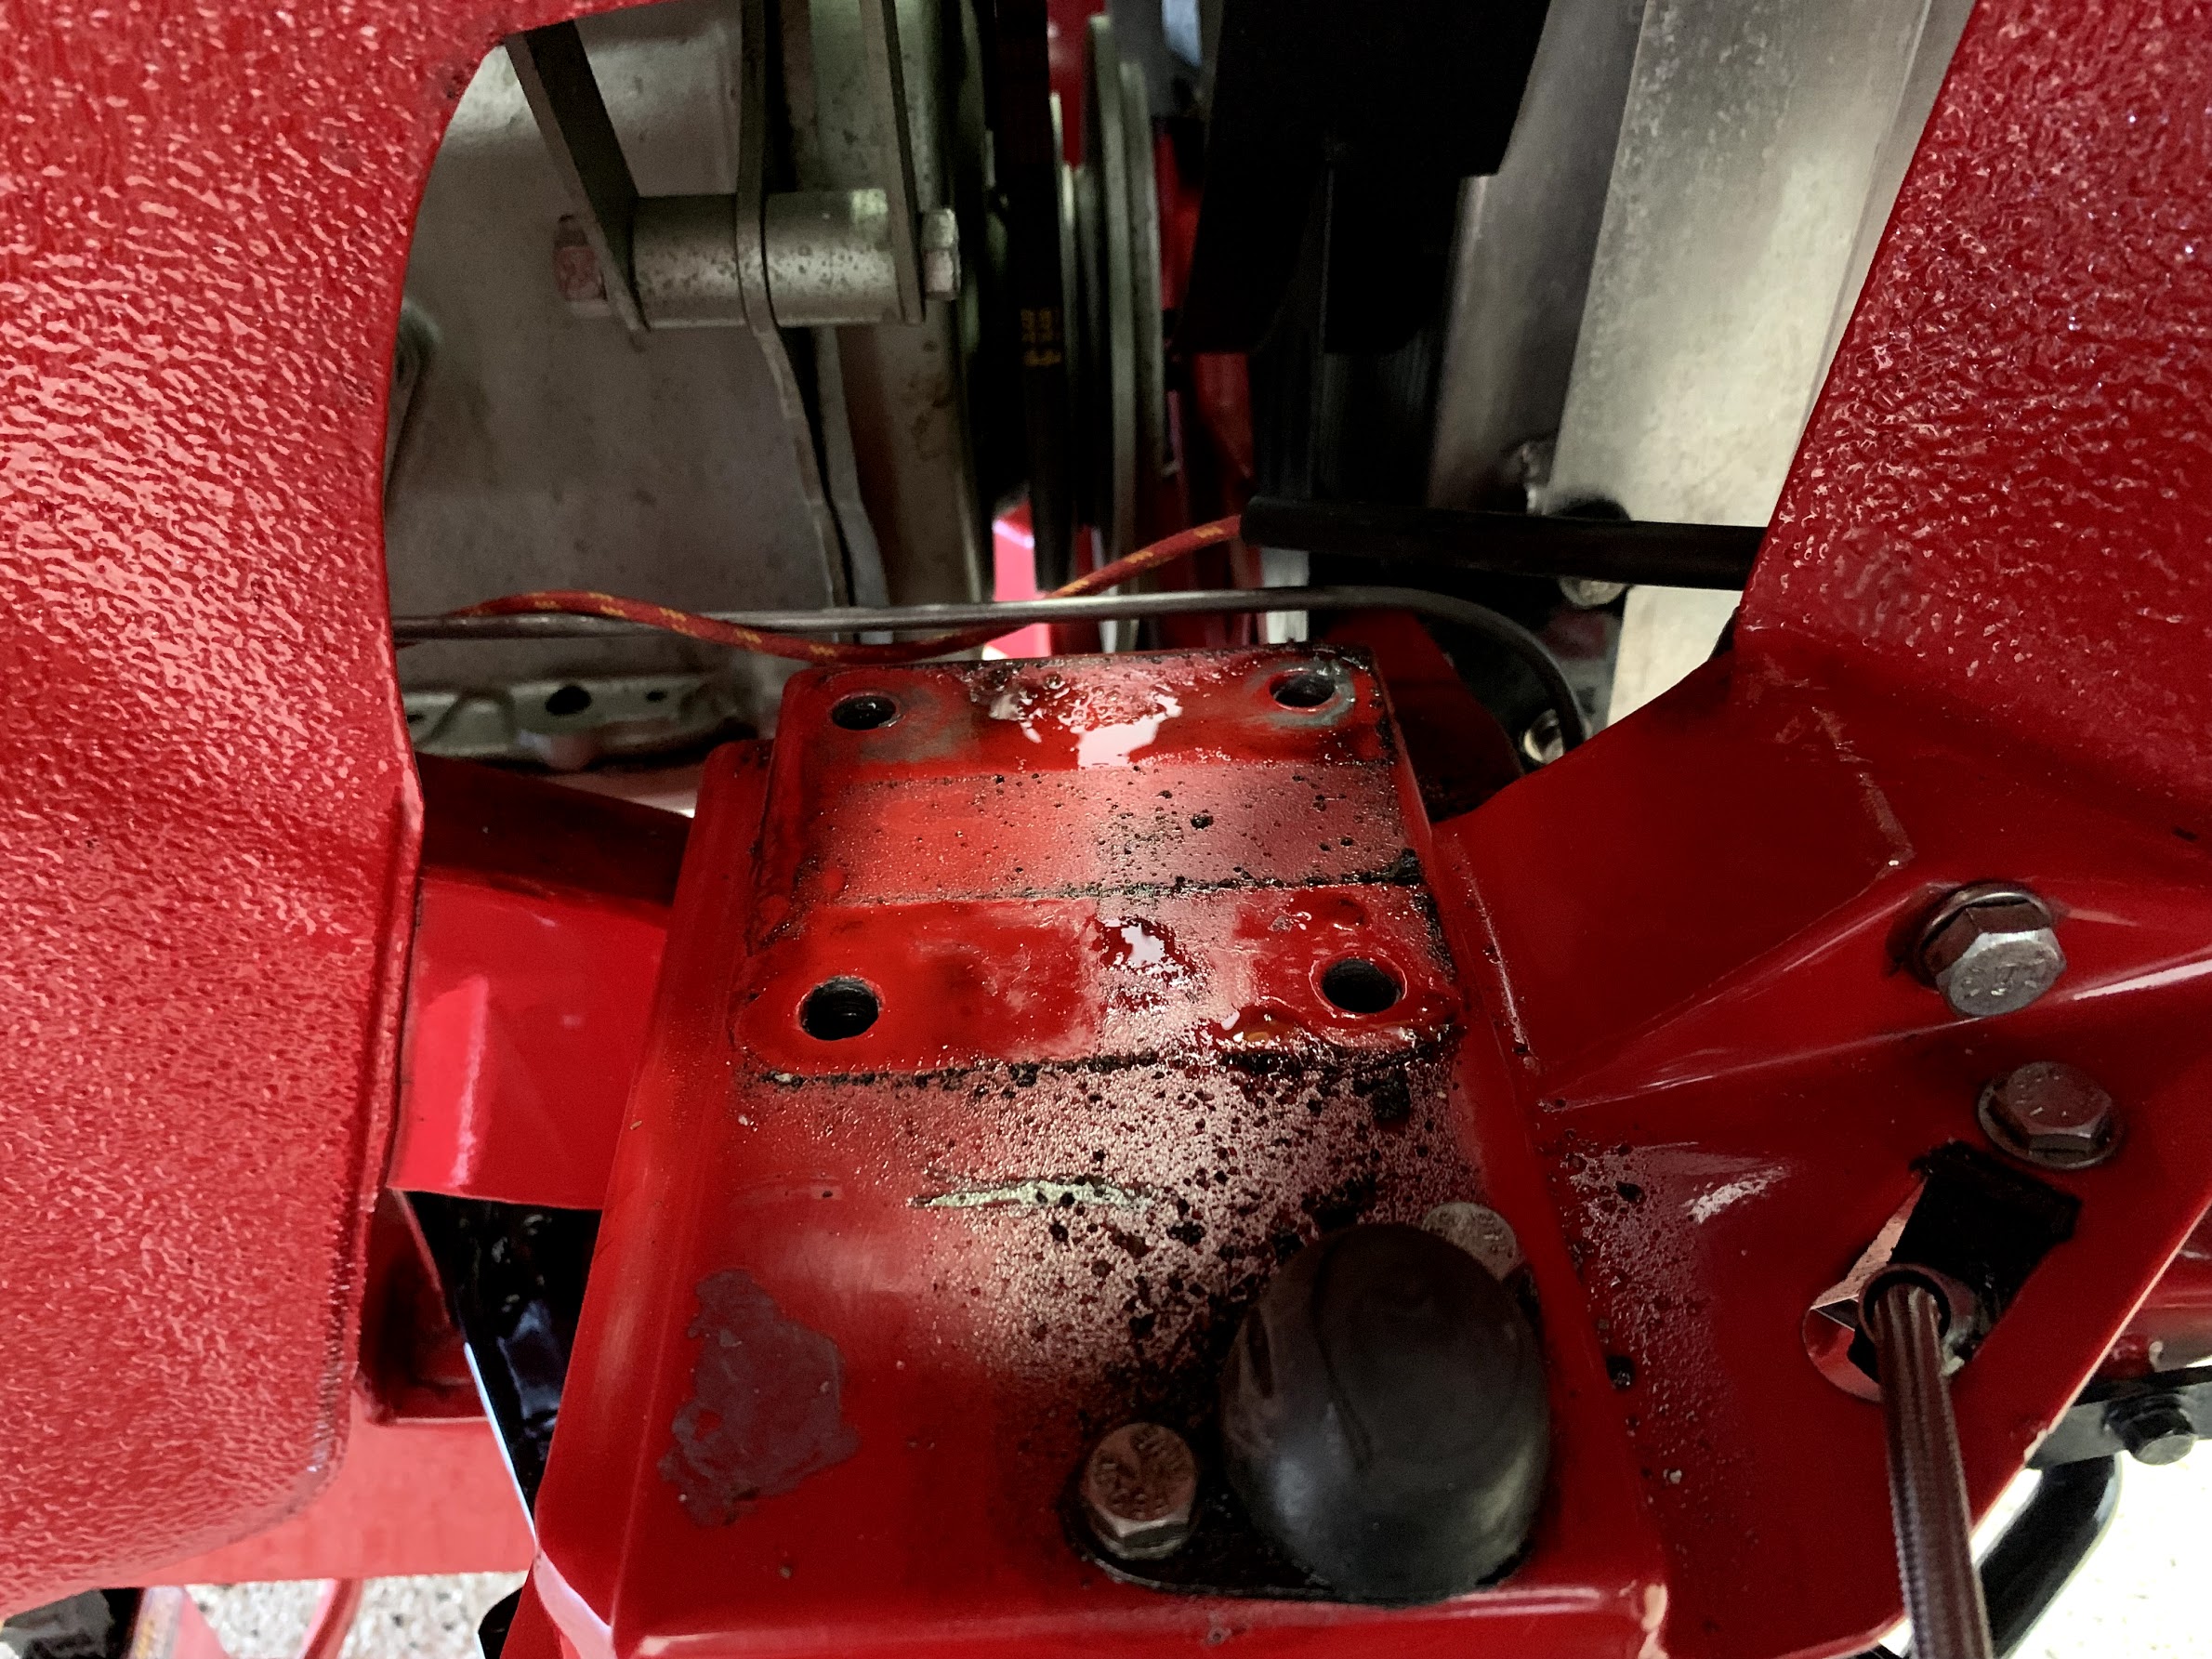
Obvious Oil Leak
The next step is to clean up the mounting area before installing the new shock.
Clean and Ready for New Shock
I then loosened the shock arm bolt/nut 9/16” wrench to make it easier from the arms to go over the trunnion bushings.
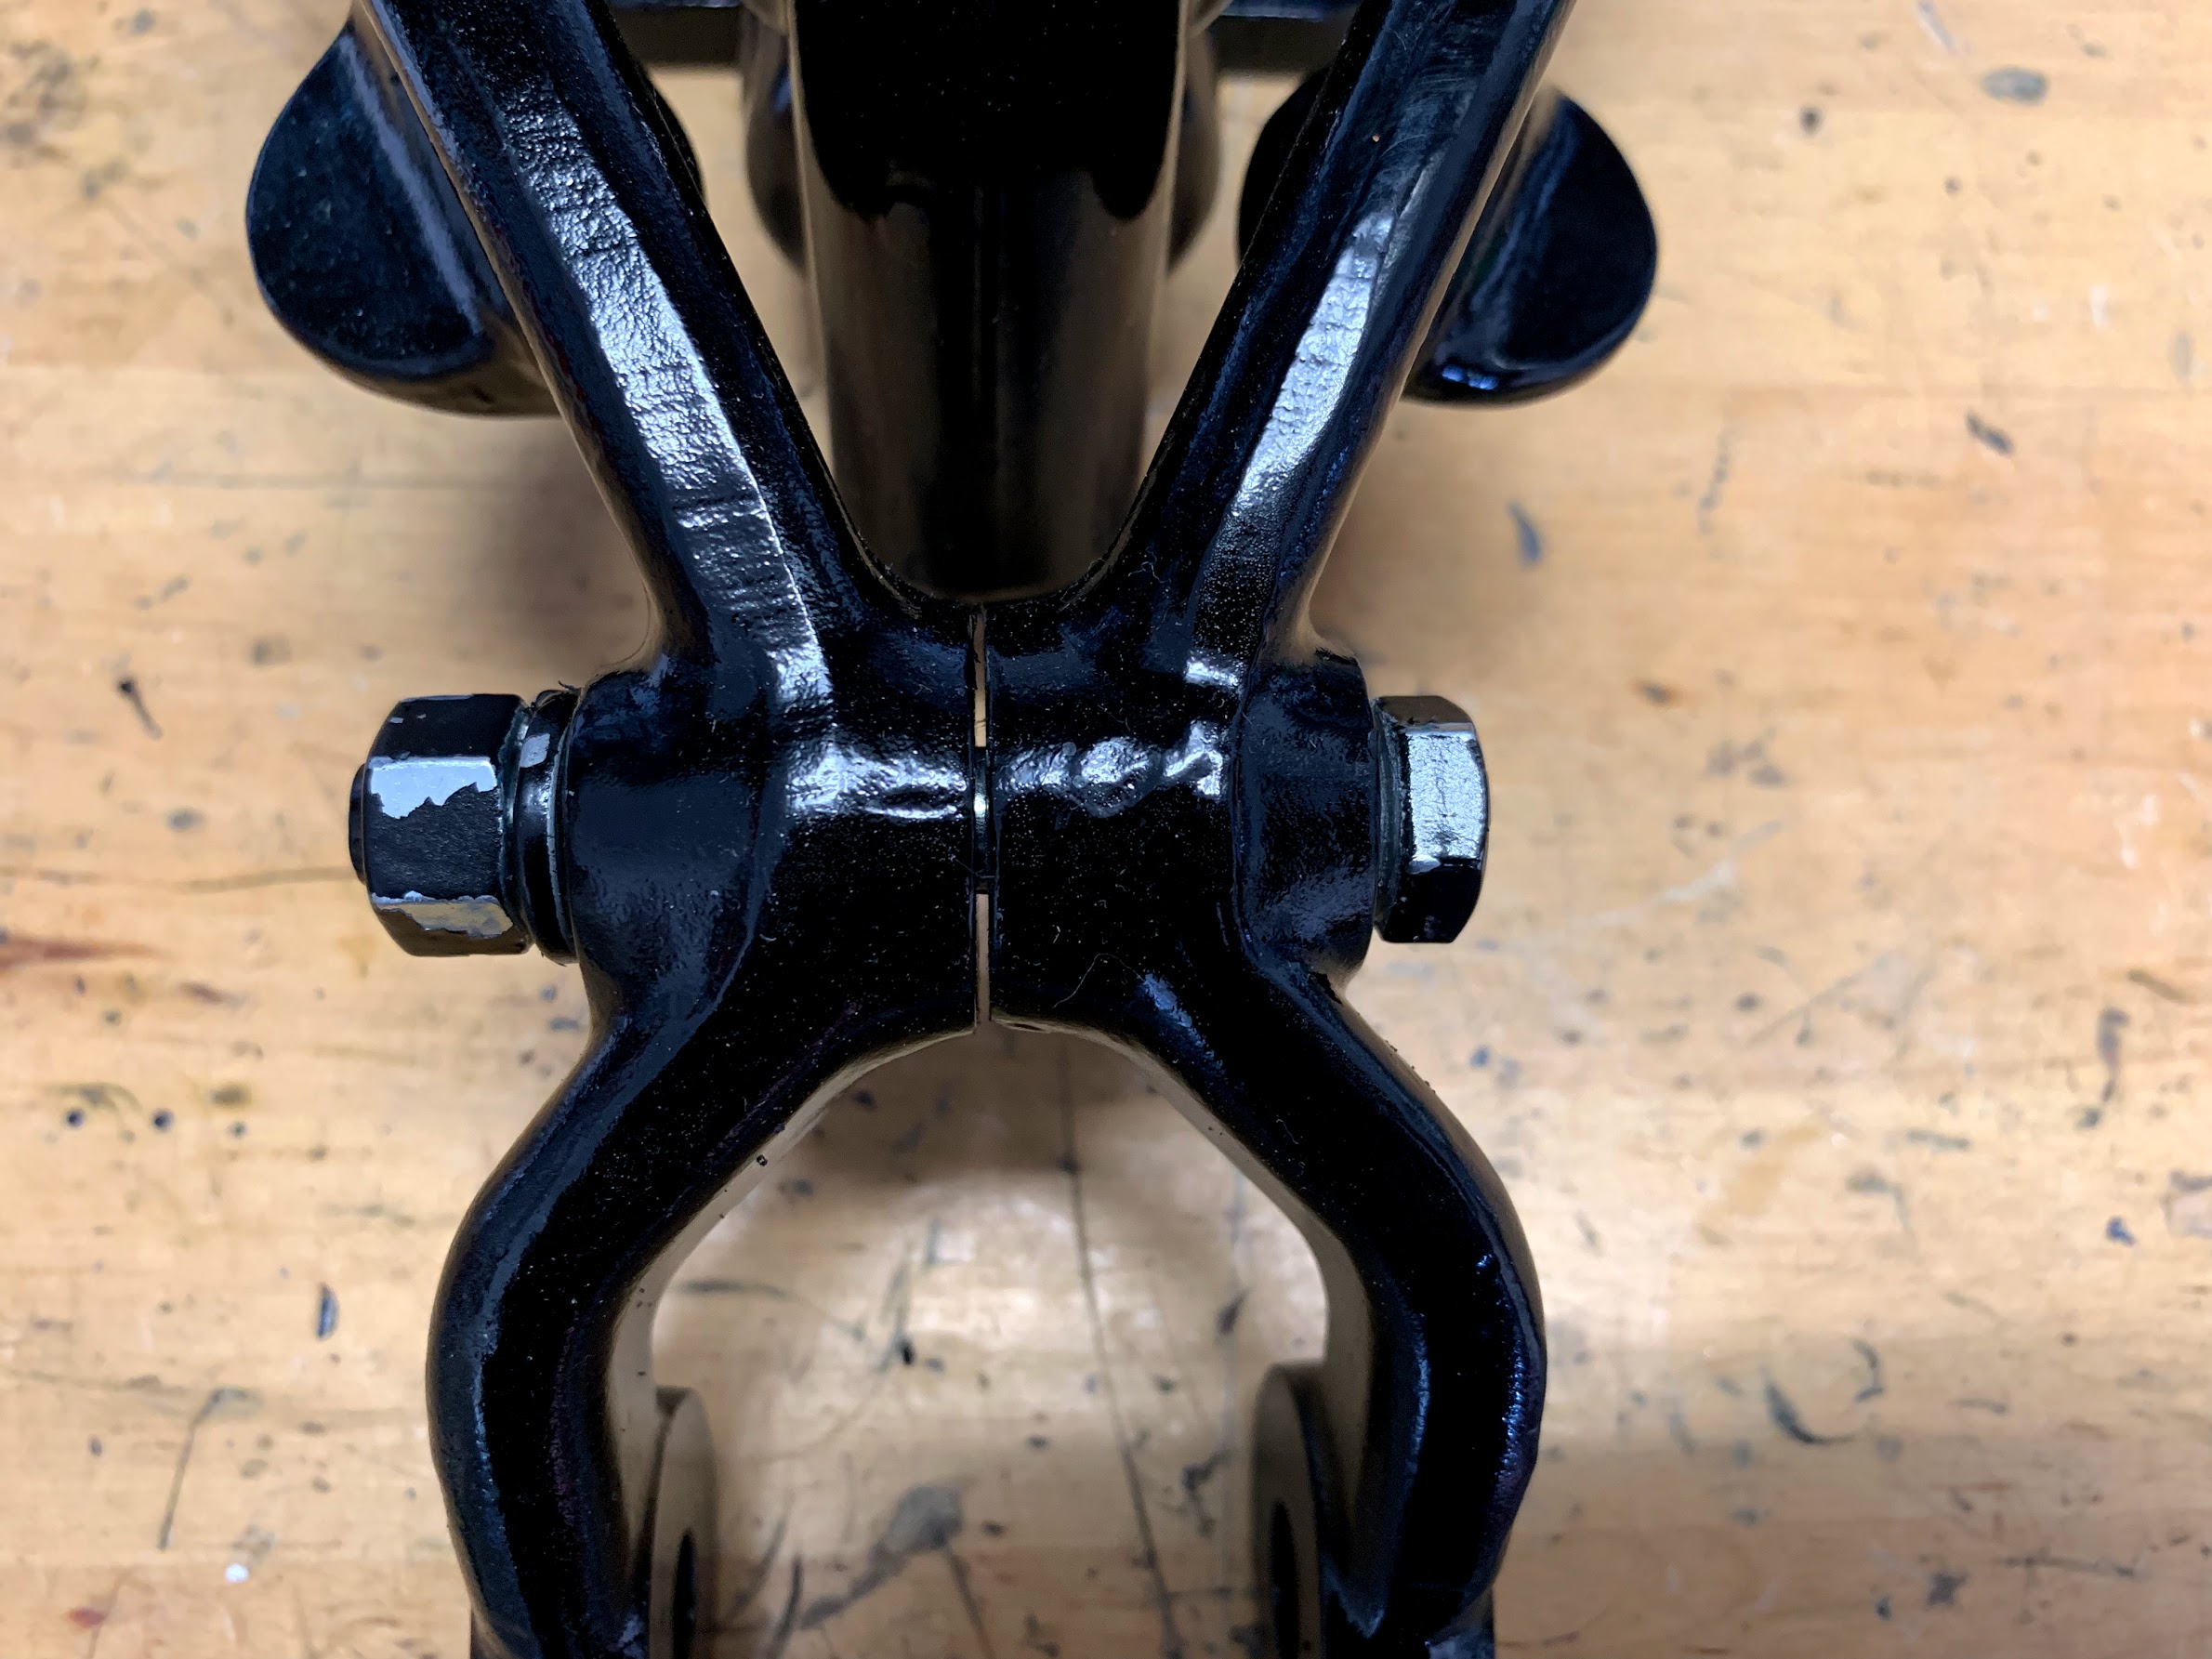
Loosen Shock Arm Bolt
The next step is to install the new shock to the chassis by first screwing in both of the engine side (rear) bolts. These are grade 8 3/8”-24 x 1 1/4”. This is made easier with some long extensions and a universal joint before the socket.
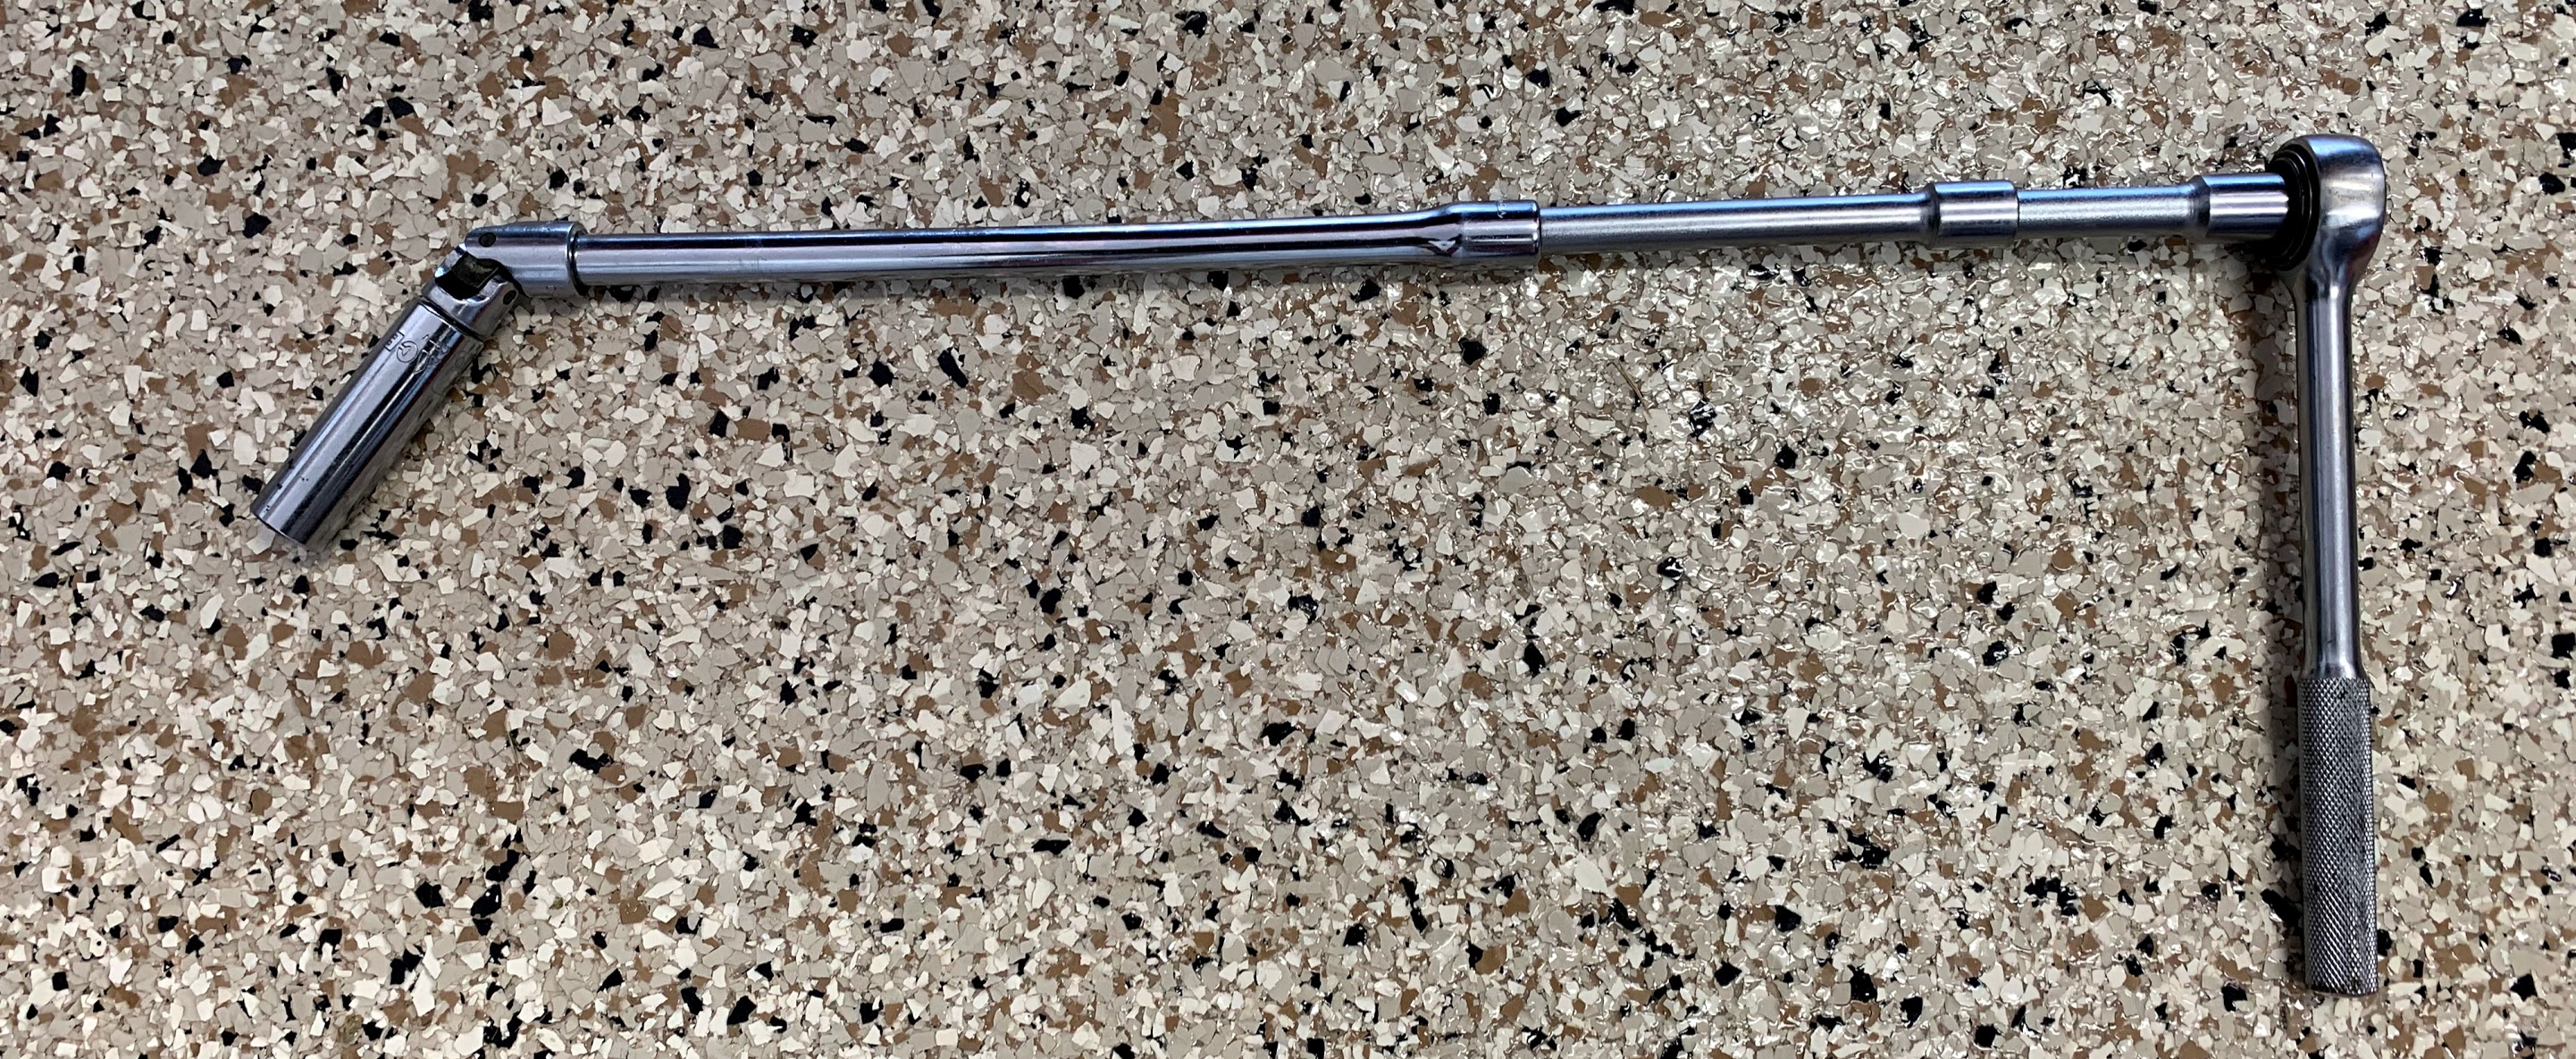
Long Extension and Universal
In this case, the completion of the installation really is the reverse of the removal process!