
The schedule of the week did not afford much time for car restoration. In fact, nothing was accomplished on the car throughout the work week! Saturday did permit a resumption of spanner work.
The rear leaf springs are an interesting and somewhat costly story. I had ordered new leaf springs and hardware from British Car Specialists to install on the car. I noticed that Martin Jansen had not installed the long grease fittings on the rear bushing mount location as was appropriate for the early 3000s, so I gave him a call to find out what I was to do and Martin told me that his frame was designed for the later BJ8 rear leaf spring set-up, and he recommended a custom made spring that he could provide that was much better suited to the frame. He indicated that his frame would “beat-to-death” the original BT7 springs. I had already taken apart the springs from BCS, installed teflon tape between leaves and repainted each leaf and then reassembled the springs with new shackle hardware. Oh well, a few wasted dollars.
I ordered Martin’s 5 leaf springs which do use the phase 2 BJ8 shackles. Because the assembly pin in the center of the leaves is a bit larger than the BT7 stock springs it was necessary to drill-out the center hole in the lower spring plate to 7/16.” The BJ8 mounting uses 8 rubber bushes in the rear rather than the steel bush of the BT7 variant. Everything installed nicely.

Leaf Spring Rear Shackle

Leaf Spring front Mount
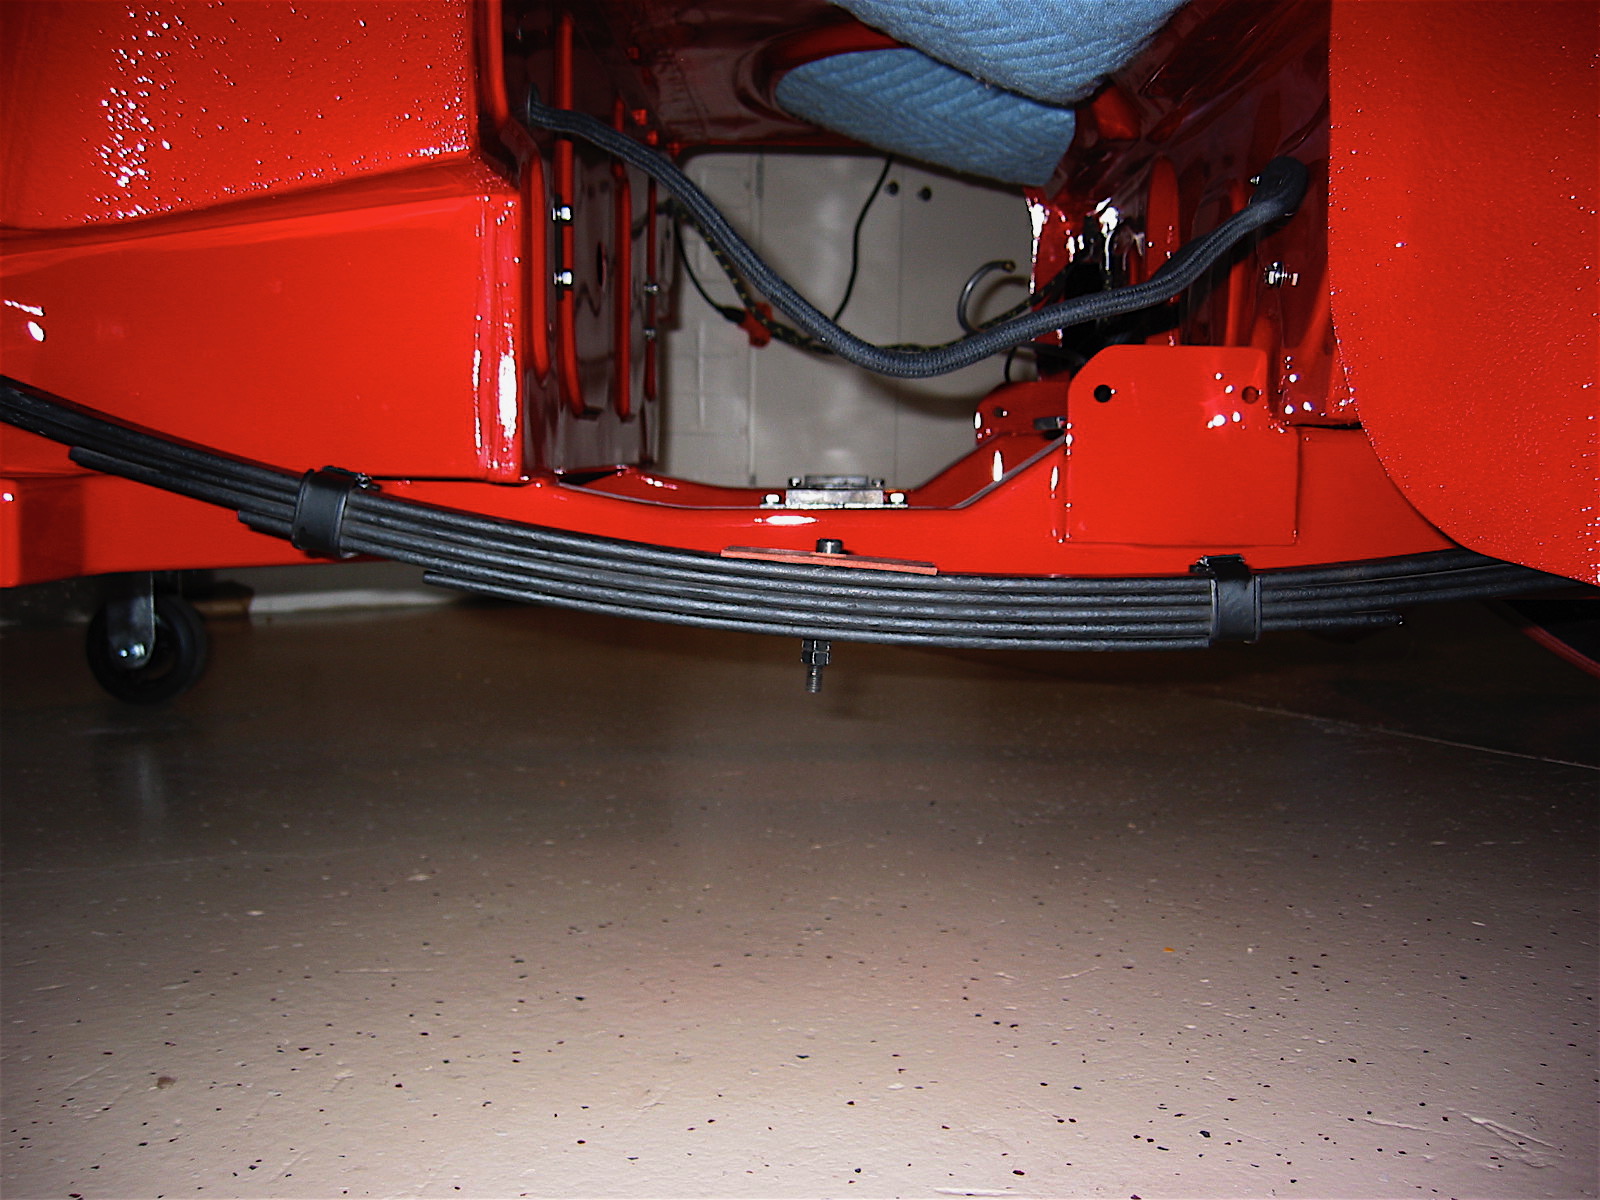
Leaf Spring
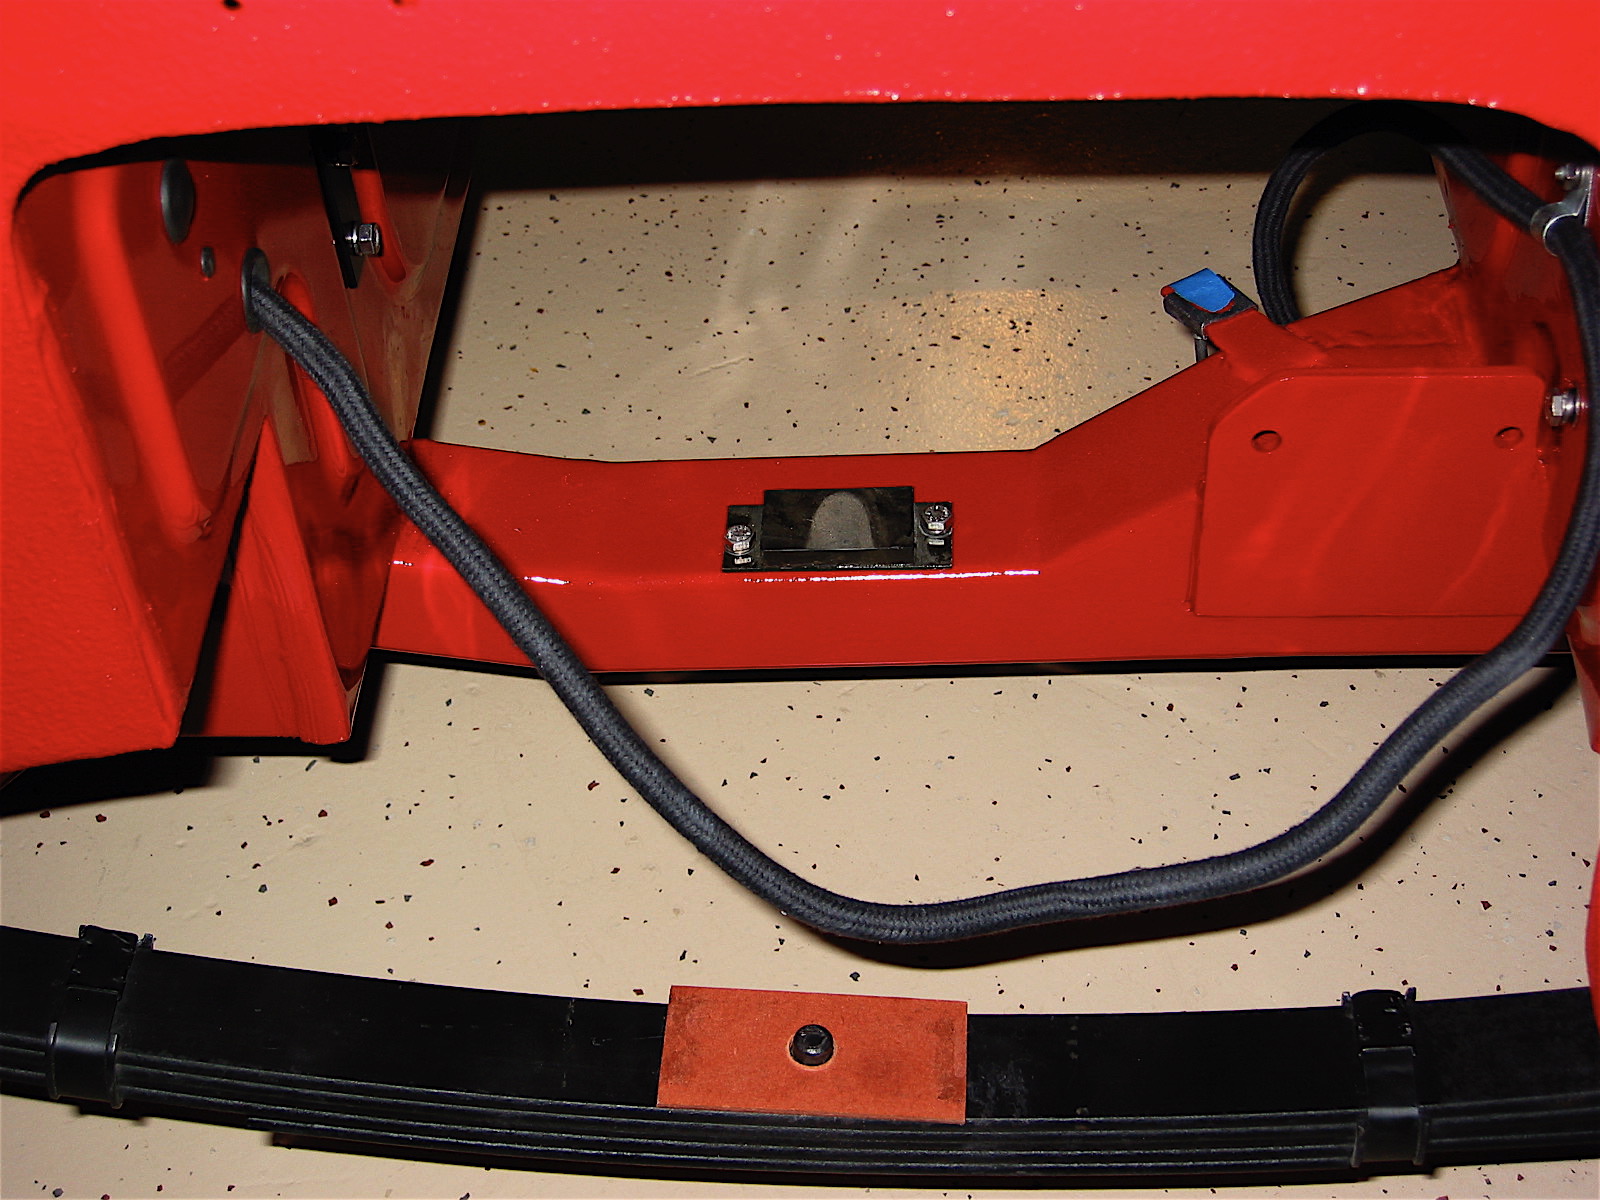
Rear Axle pads
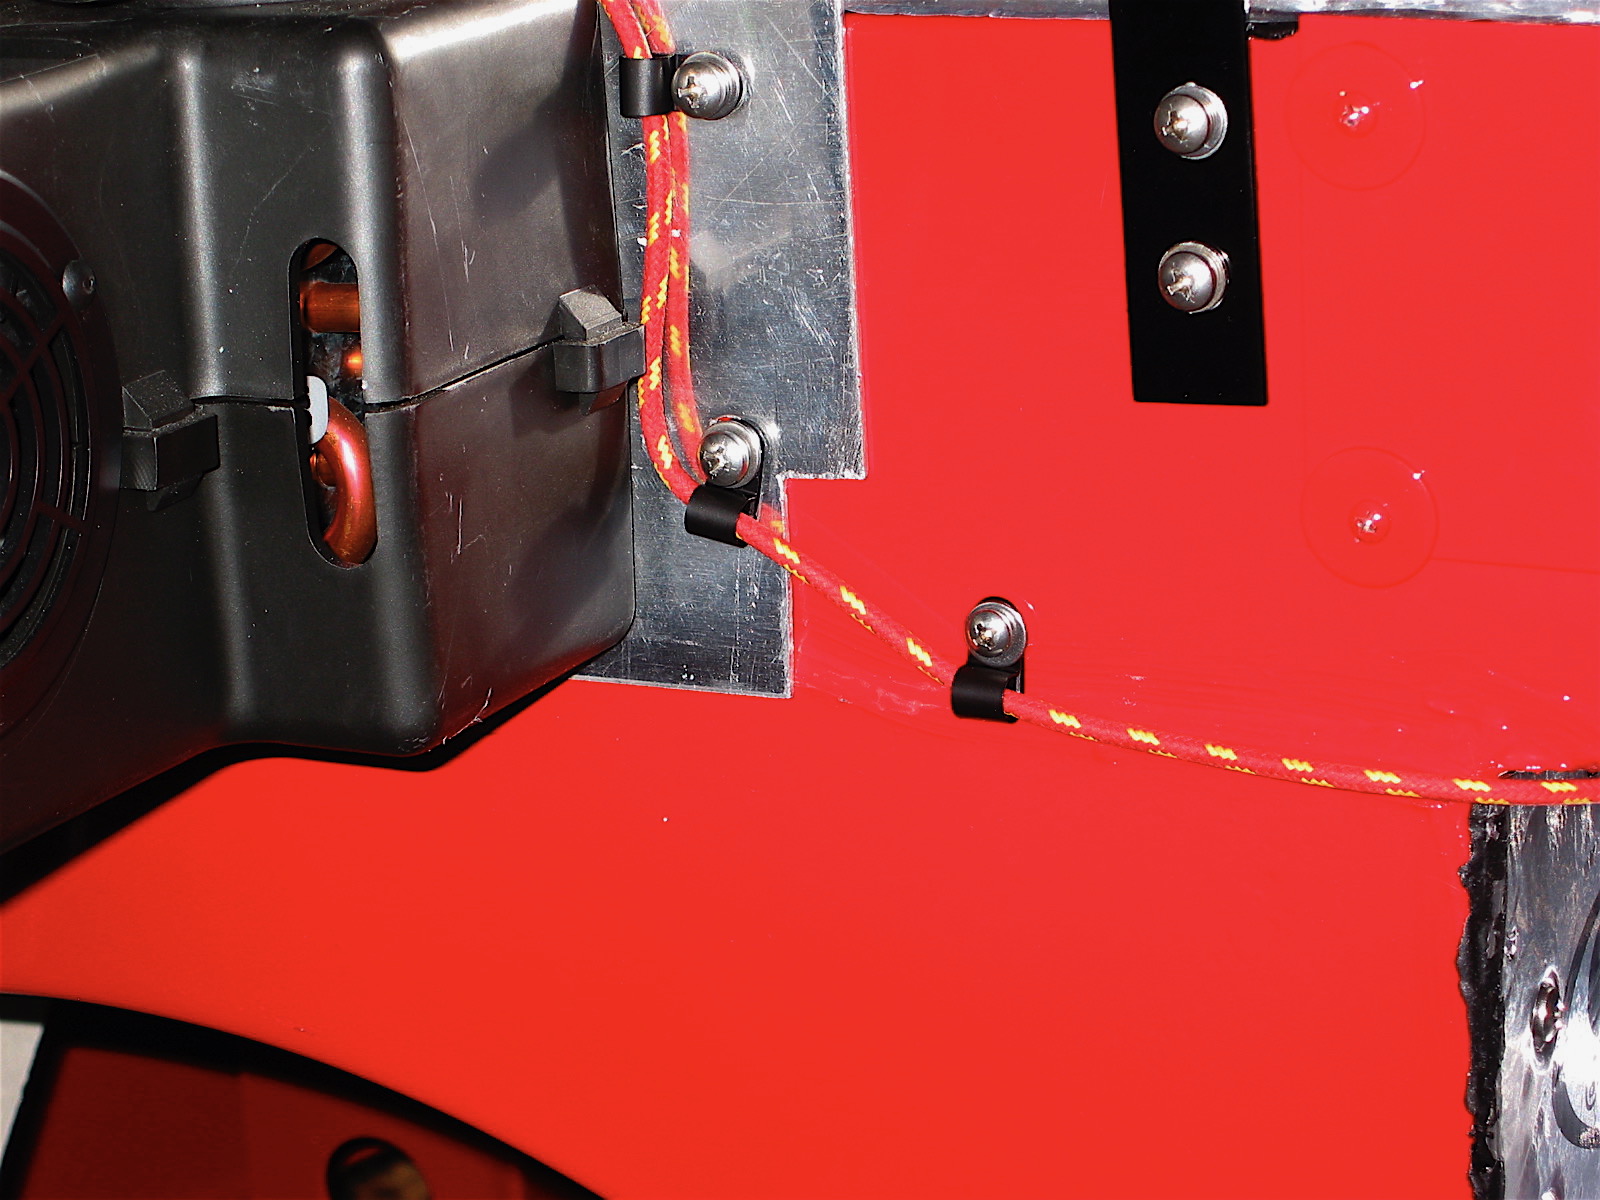
I then returned to routing the driving light wiring from the relay under the dash to the front of the vehicle. I used an orange/yellow fibre-covered wire from British Wiring that is supposed to be correct, but I didn’t verify. The wire from terminal C2 on the relay was routed over the heater and below the corner of the parcel tray and then out through a rubber grommet to the engine bay. The wire was then routed through the harness mounting clips to the front.
I used an article from Healey Marque Magazine, January/February 2004 by John Trifari on how to install auxiliary lighting in a BJ8. John provided excellent guidance. Details of the wiring connections are provided in this summary. I did install an optional indicator light with one terminal to ground and the other wired to the C2 terminal on the relay.AH BT7 Driving Lights.pdf
Driving Light Wiring 1

Driving Light Wiring 2
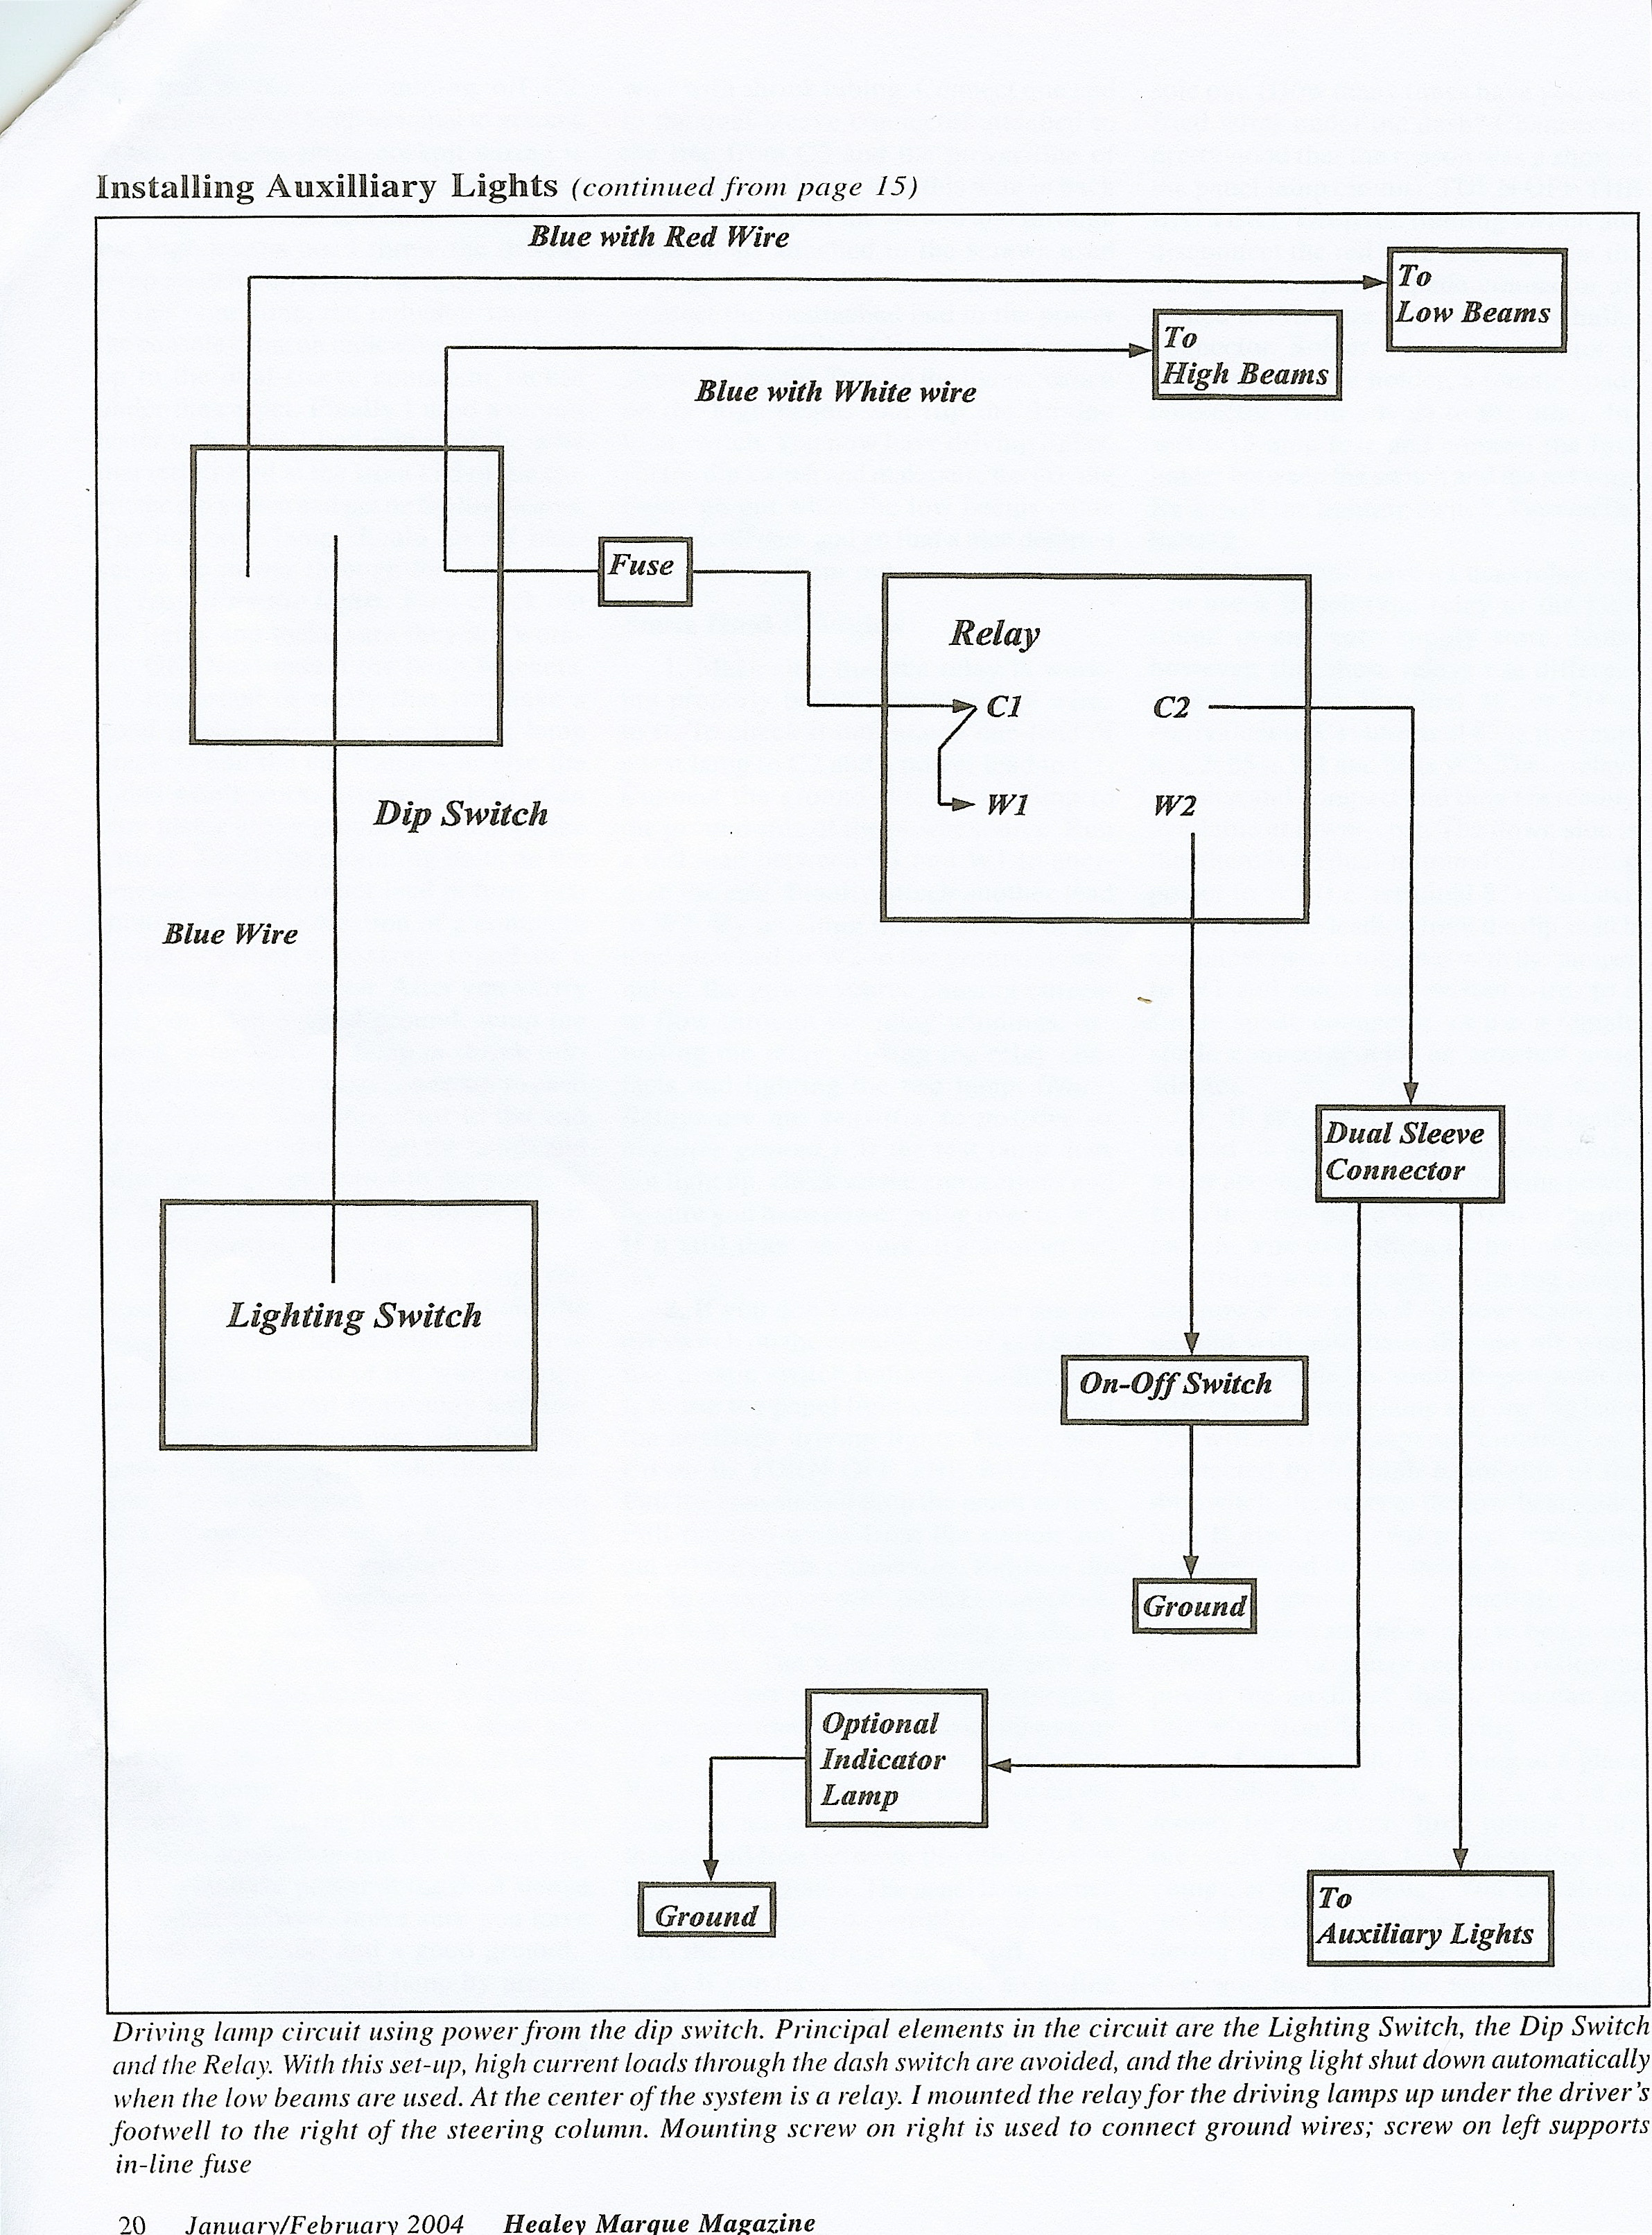
Driving Light Wiring Schematic
I am replacing the stock drum brakes in the rear of the car with the disc brake conversion kit sold by Cape International. The kit provides for a parking brake function by using small calipers ancillary to the Jaguar calipers. It also includes the brake rotors, custom brackets for the calipers, brake pads and mounting hardware. A little trimming of the flange on the axle is required, but otherwise it is basically a bolt on process. Cape Int. Disc Brake Conversion.pdf
Handbrake hardware
Handbrake lever 1
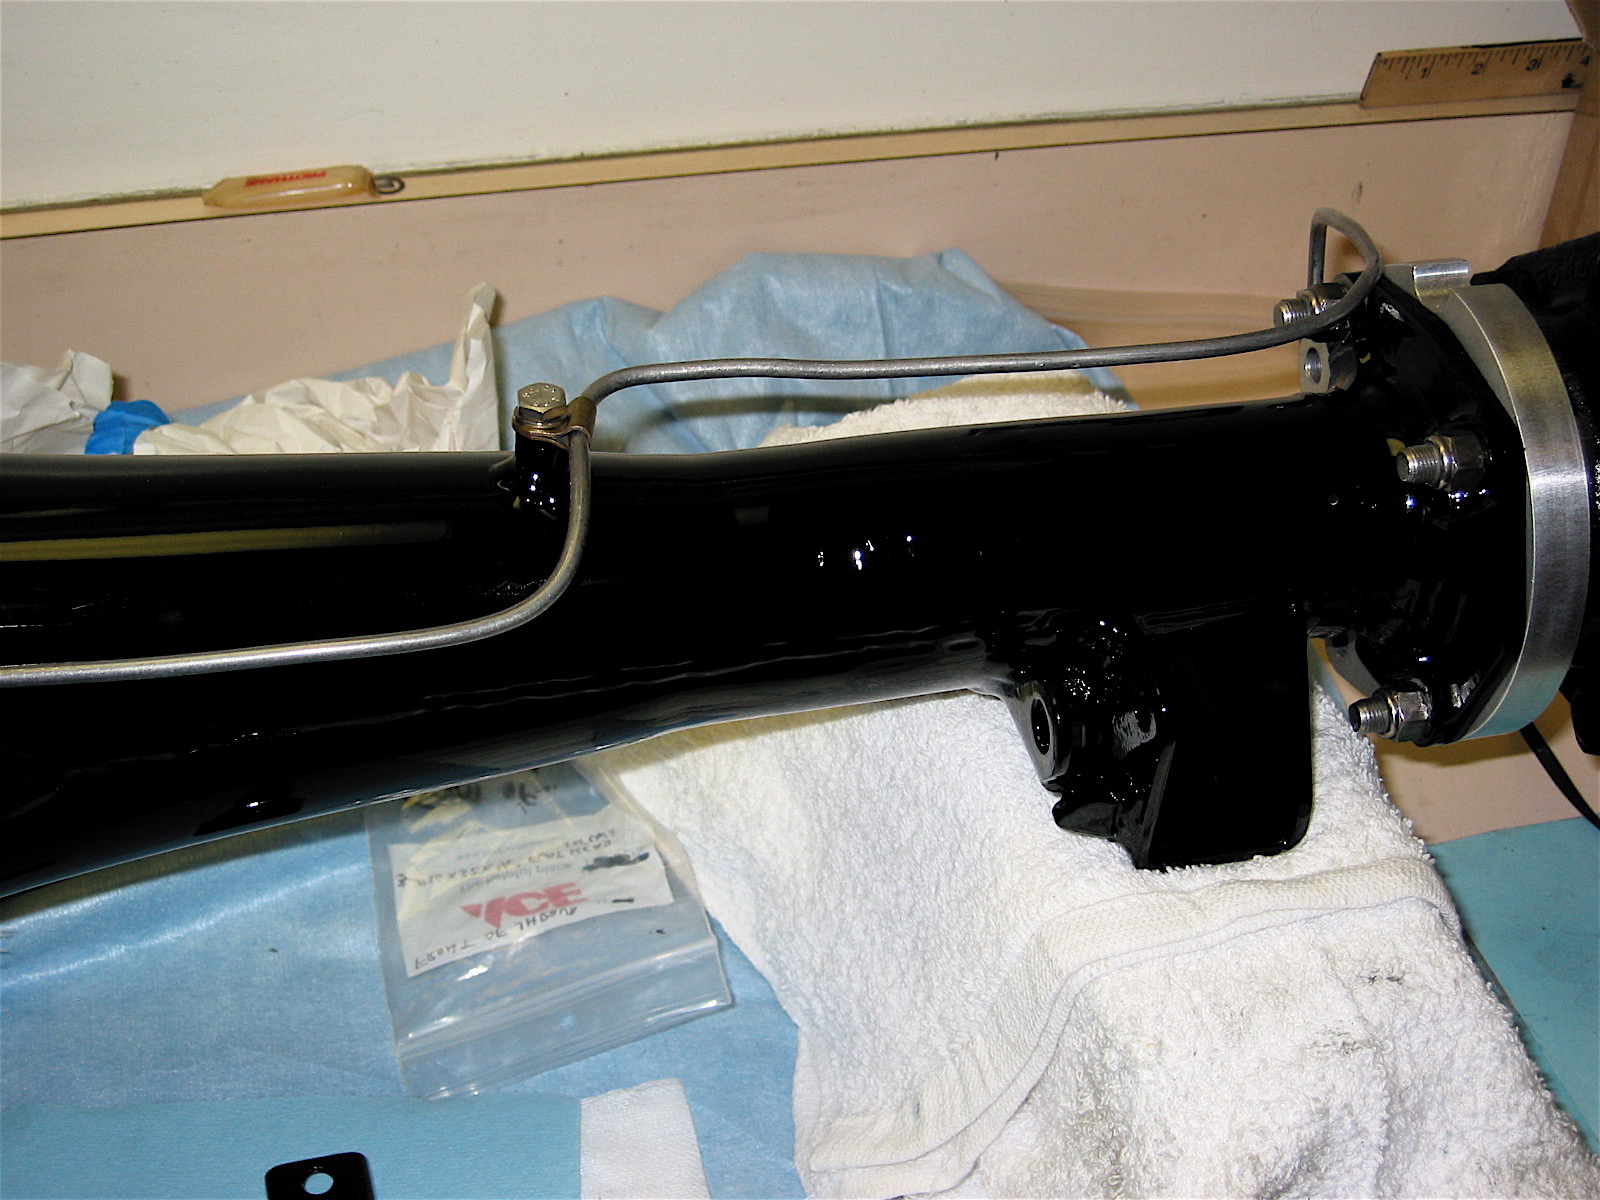
I cannot fully assemble the rear axle with brakes until Bruce Phillips at Healey Surgeons finishes the installation of my 3.55 Lempert rear differential. However, I began the process by first installing the rear disc brake caliper brackets on the axle, followed by the rear hubs with new bearings and seals. I had the bearings and seals in the hubs from my pre-assembly process of more than a year ago. To make the hub installation onto the axle an easy job, Mike Jennings, in the August 2005 Healey Marque Magazine, recommended wrapping the assembled hub in aluminum foil and heating it in the oven at 250 degrees for about 20 minutes. He suggested that the hub could then simply be pushed onto the axle by hand. I tried it and it worked as advertised! No tools required.
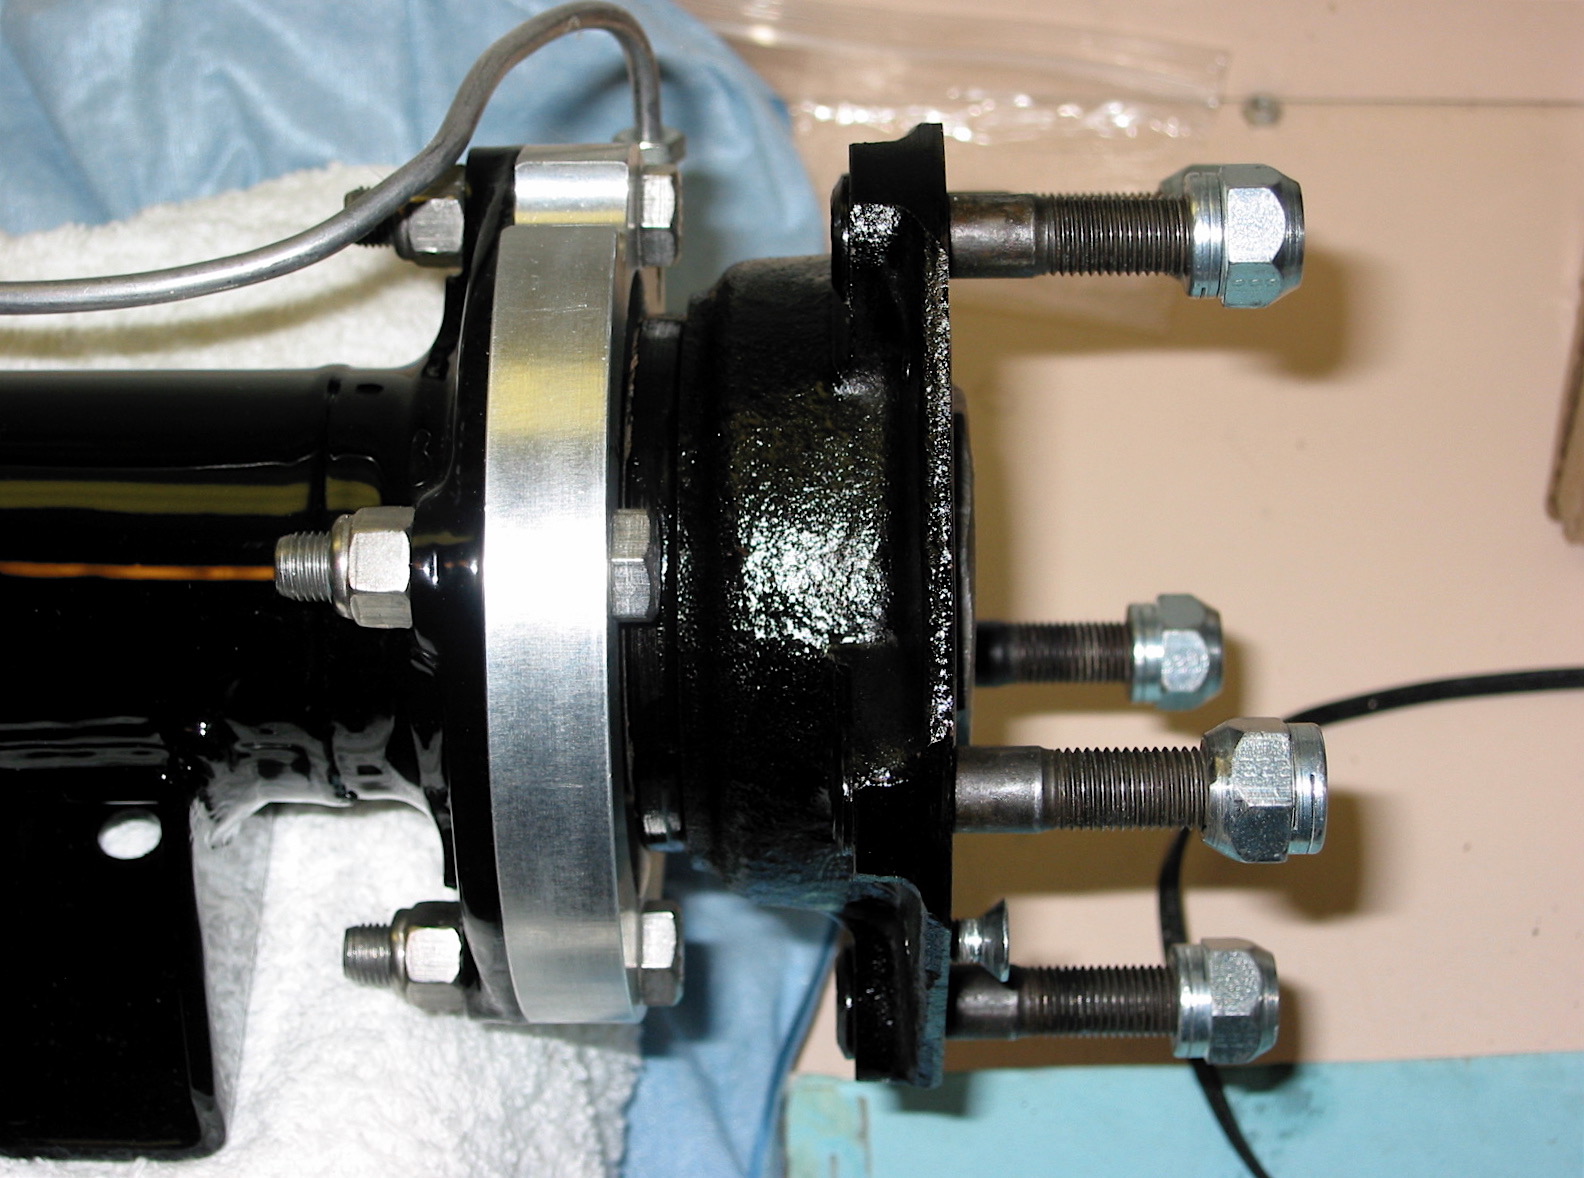
Rear Caliper Bracket & Hub
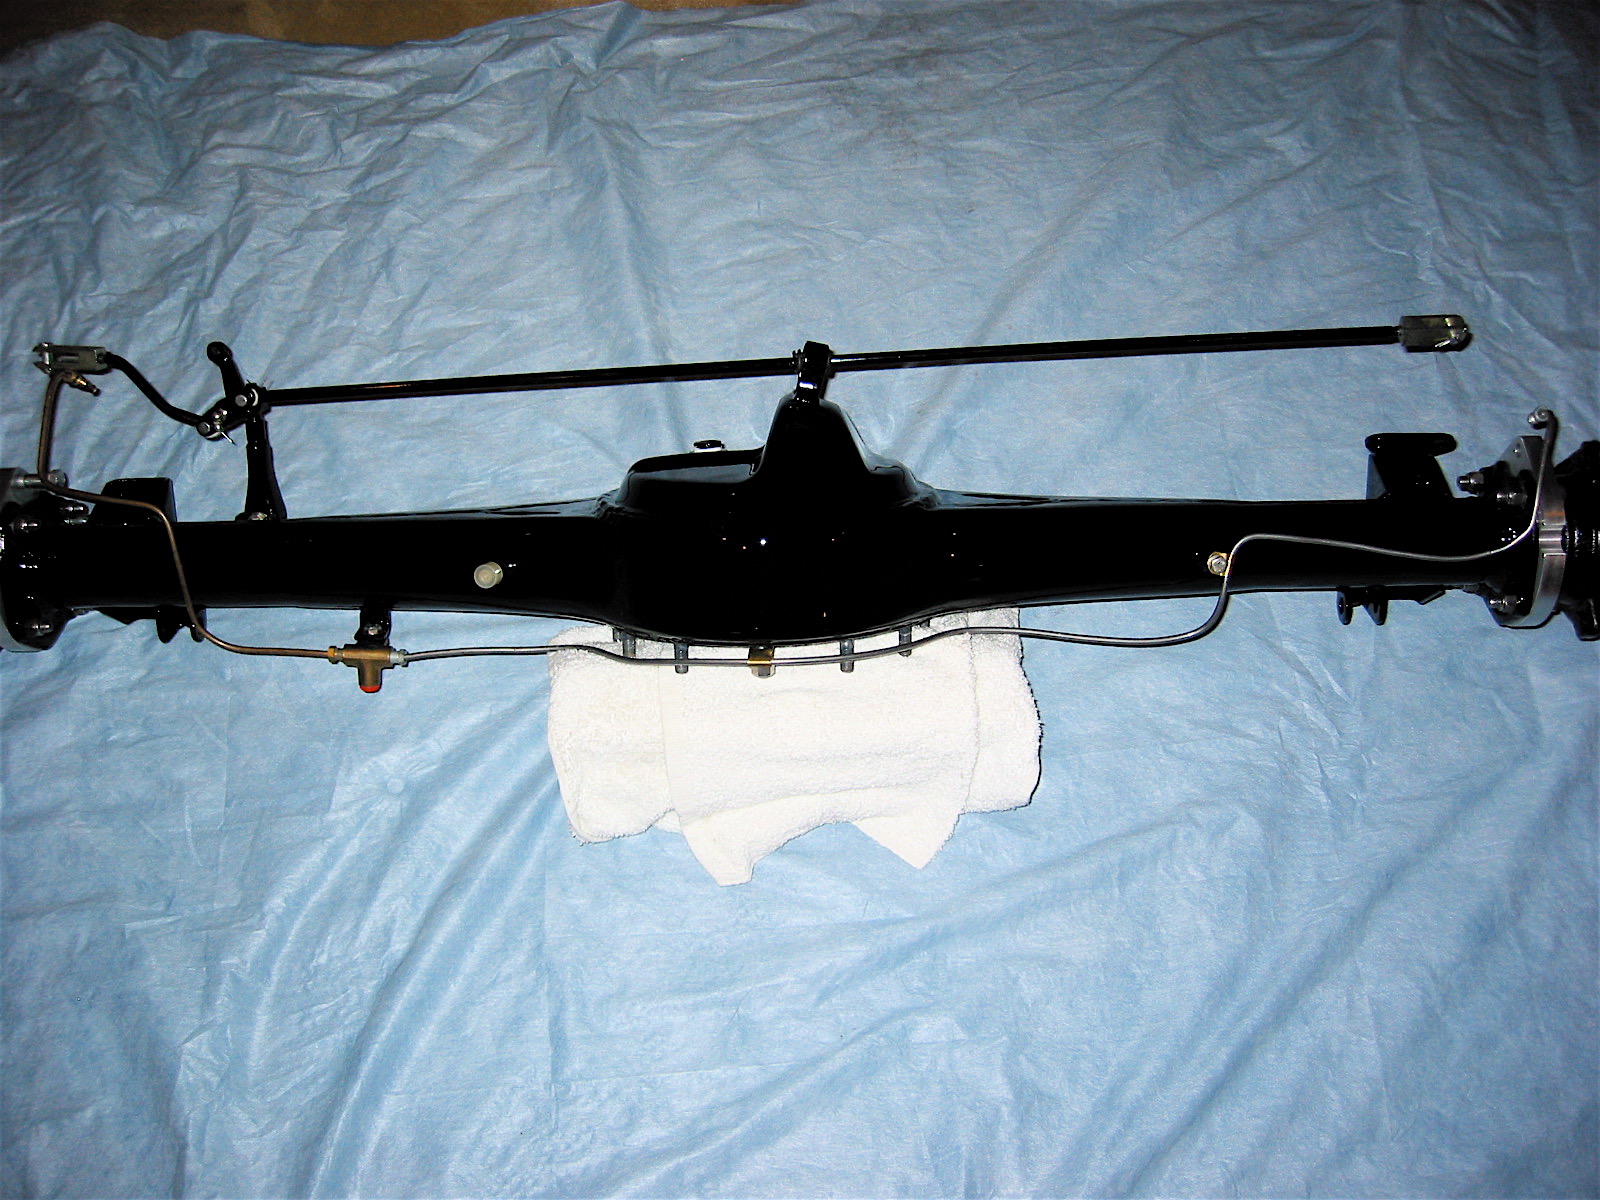
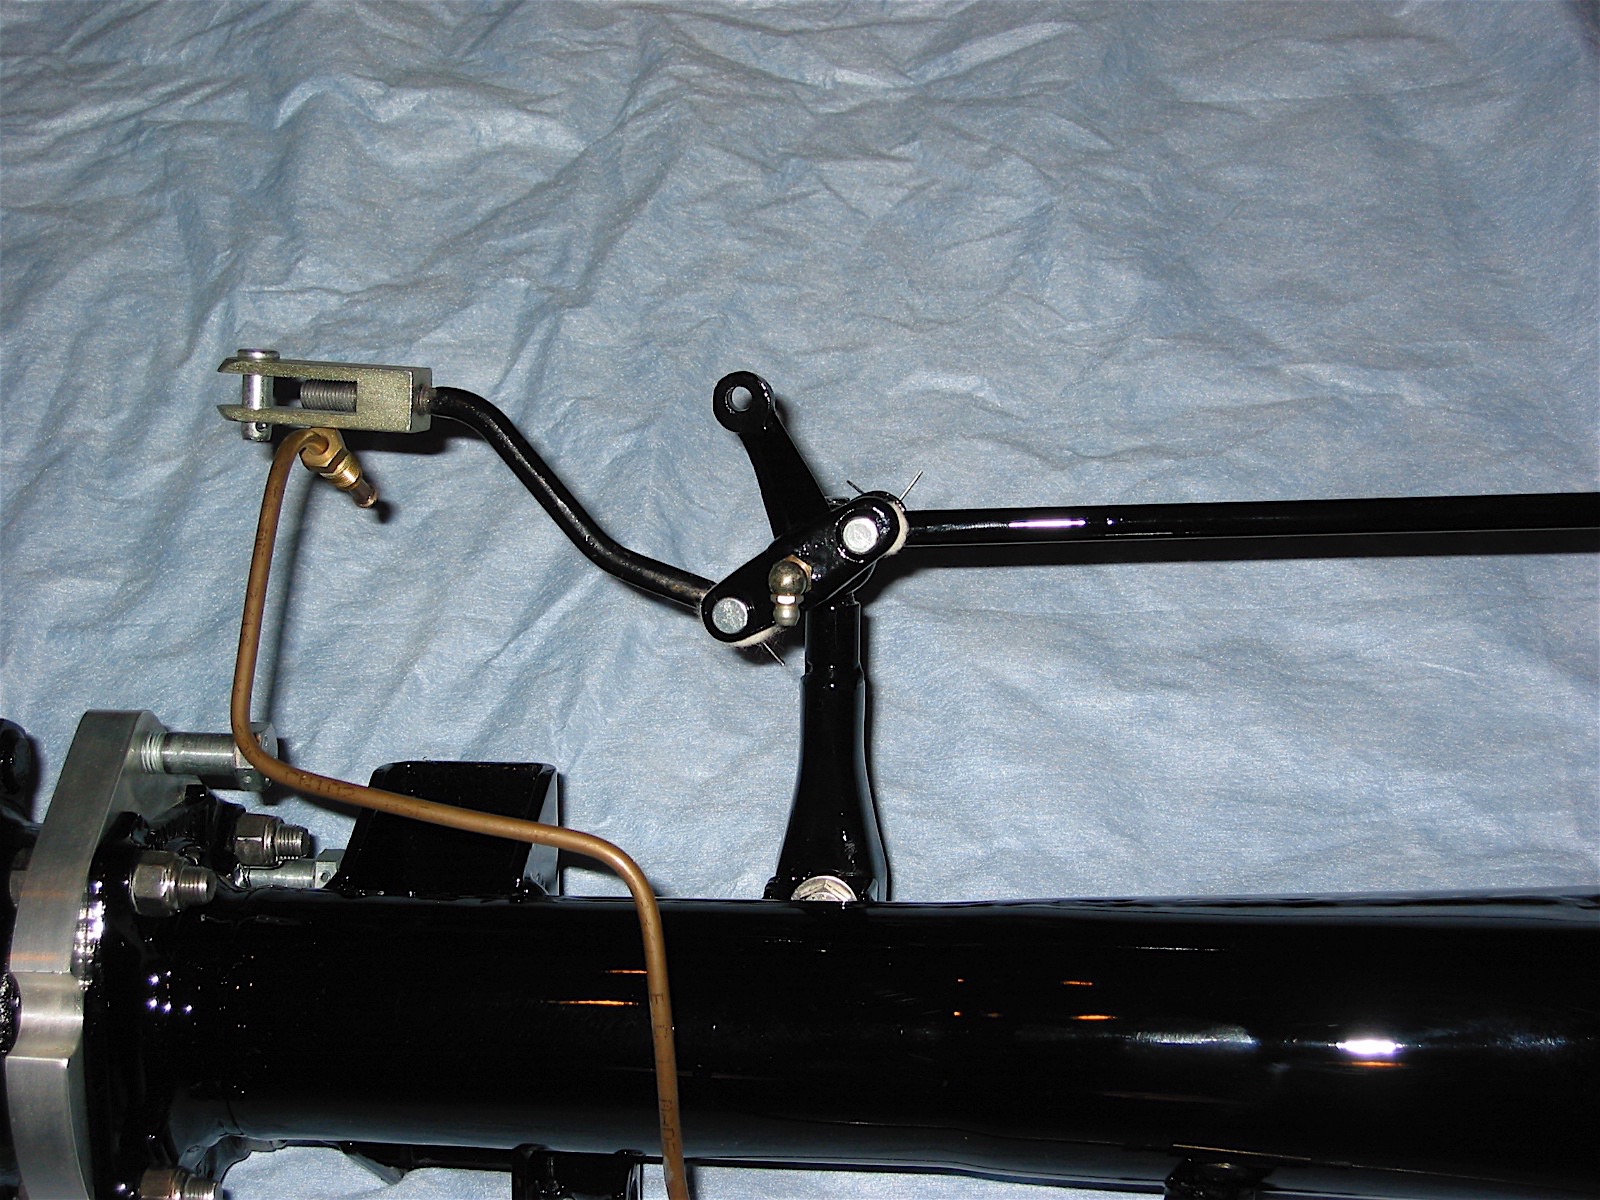
The rear hydraulic lines were then mounted on the axle as well as the handbrake hardware including the balance lever, its mounting bracket and the cross rod. All of this will need to be adjusted after the rear differential, half shafts, rotors, hubs, and calipers are installed.
Brake Line to Left Rear
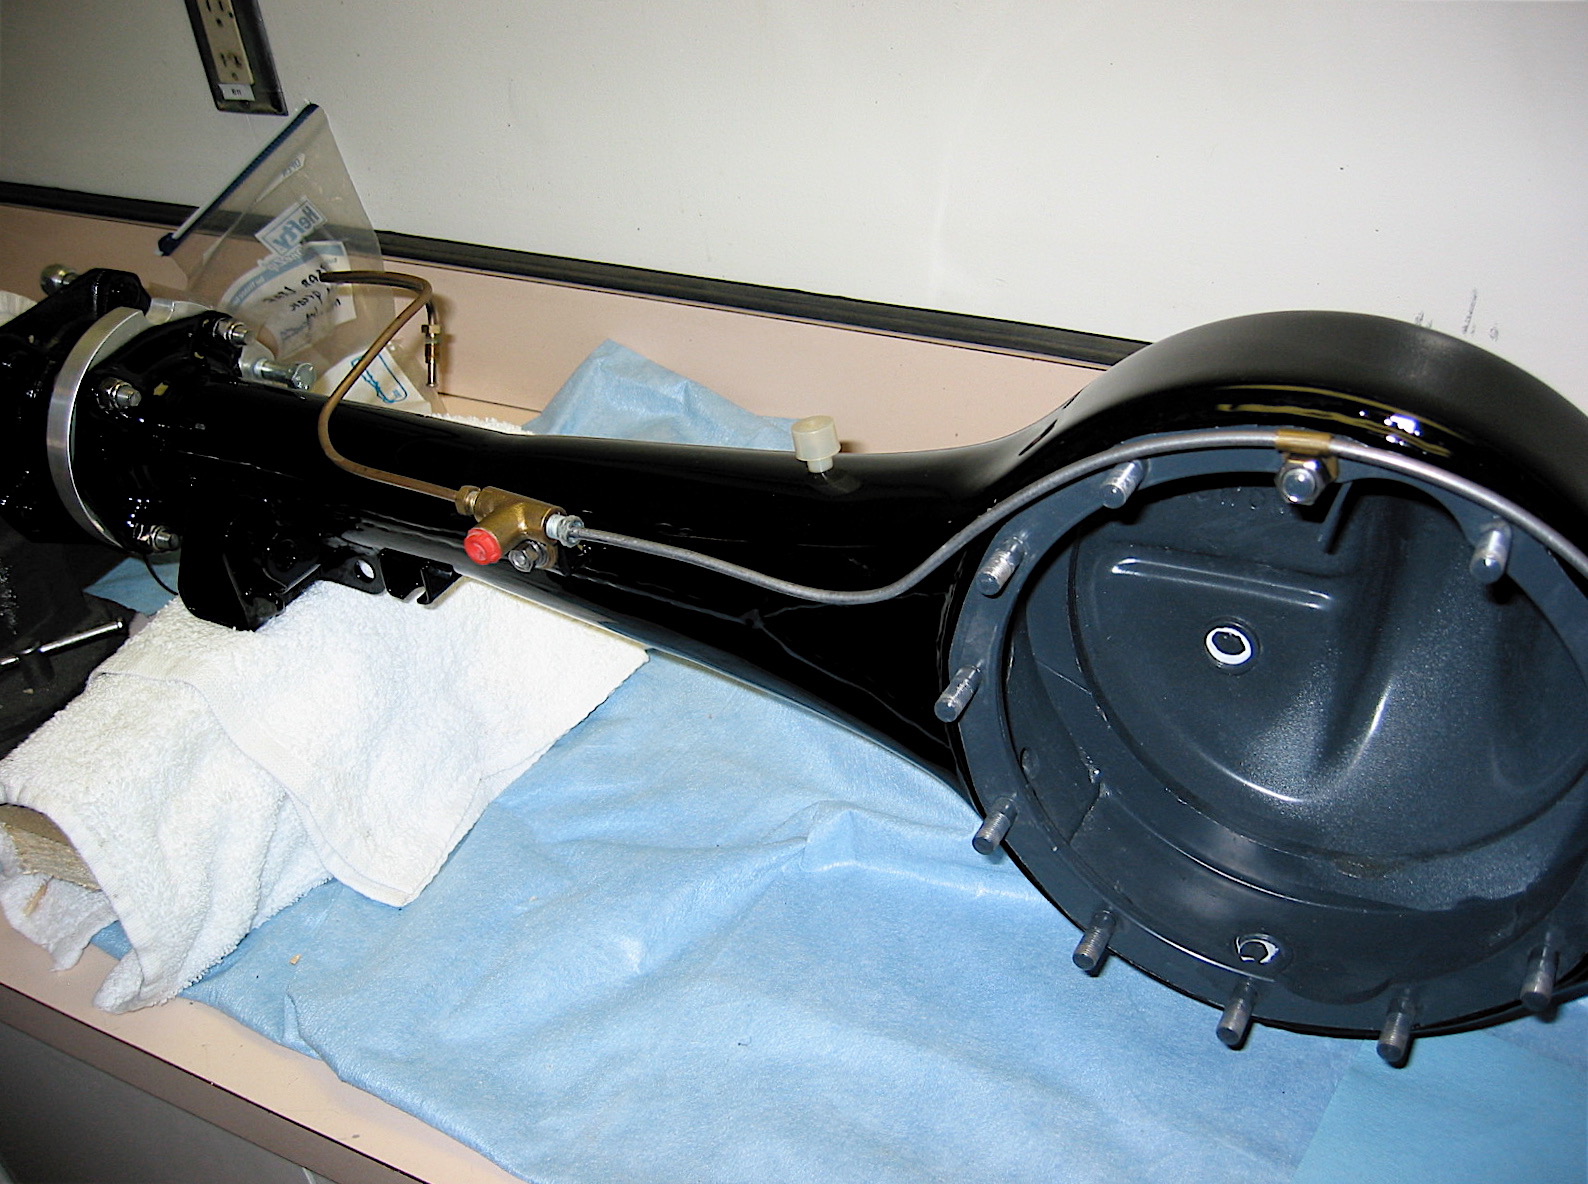
Brake Line to Right Rear