Fuel Pump – We converted from the manual fuel pump on the 948 engine to an SU electronic pump a long time ago. For years the SU pump has been mounted under the bonnet, but it is time to move the pump to the rear bulkhead near the fuel tank and axle. This is a fairly simple job. After figuring out the ideal location, holes were marked for drilling and two 1/4″-20 steel nut serts were installed in the bulkhead.
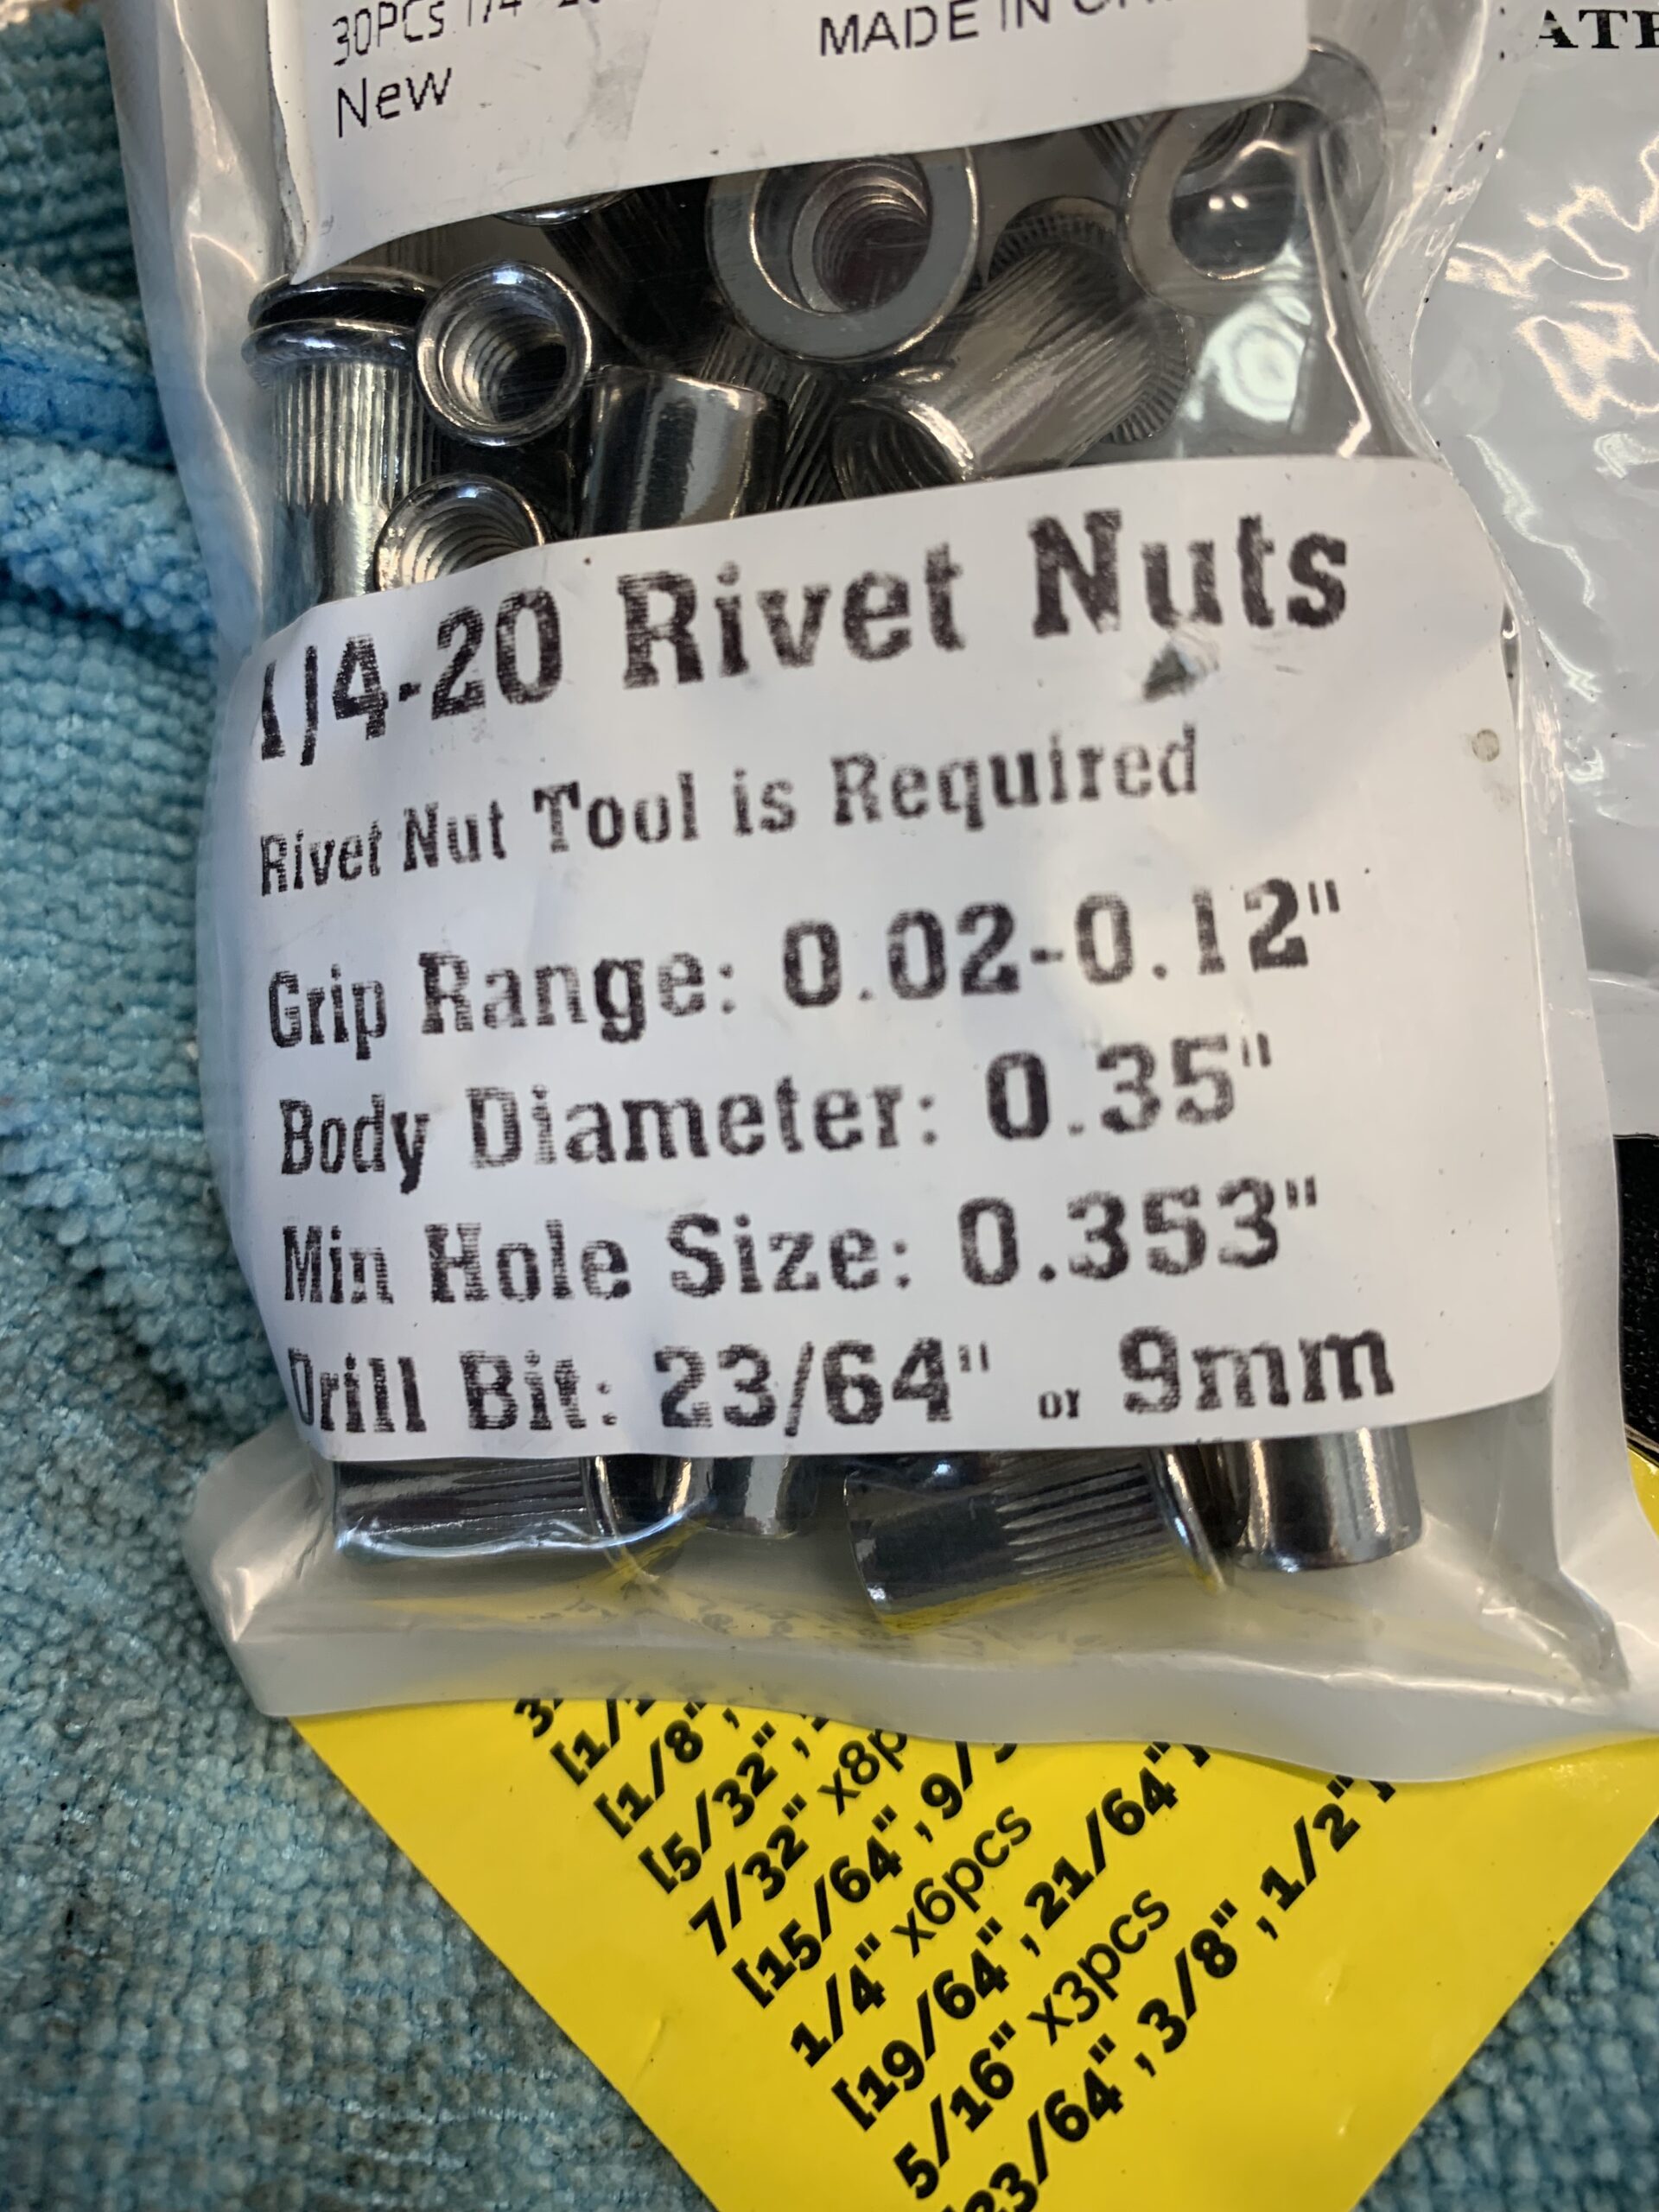
Riv Nuts or Nut Serts
A mount for a later MG Midget and a rubber cushion were ordered from Moss Motors for the installation.
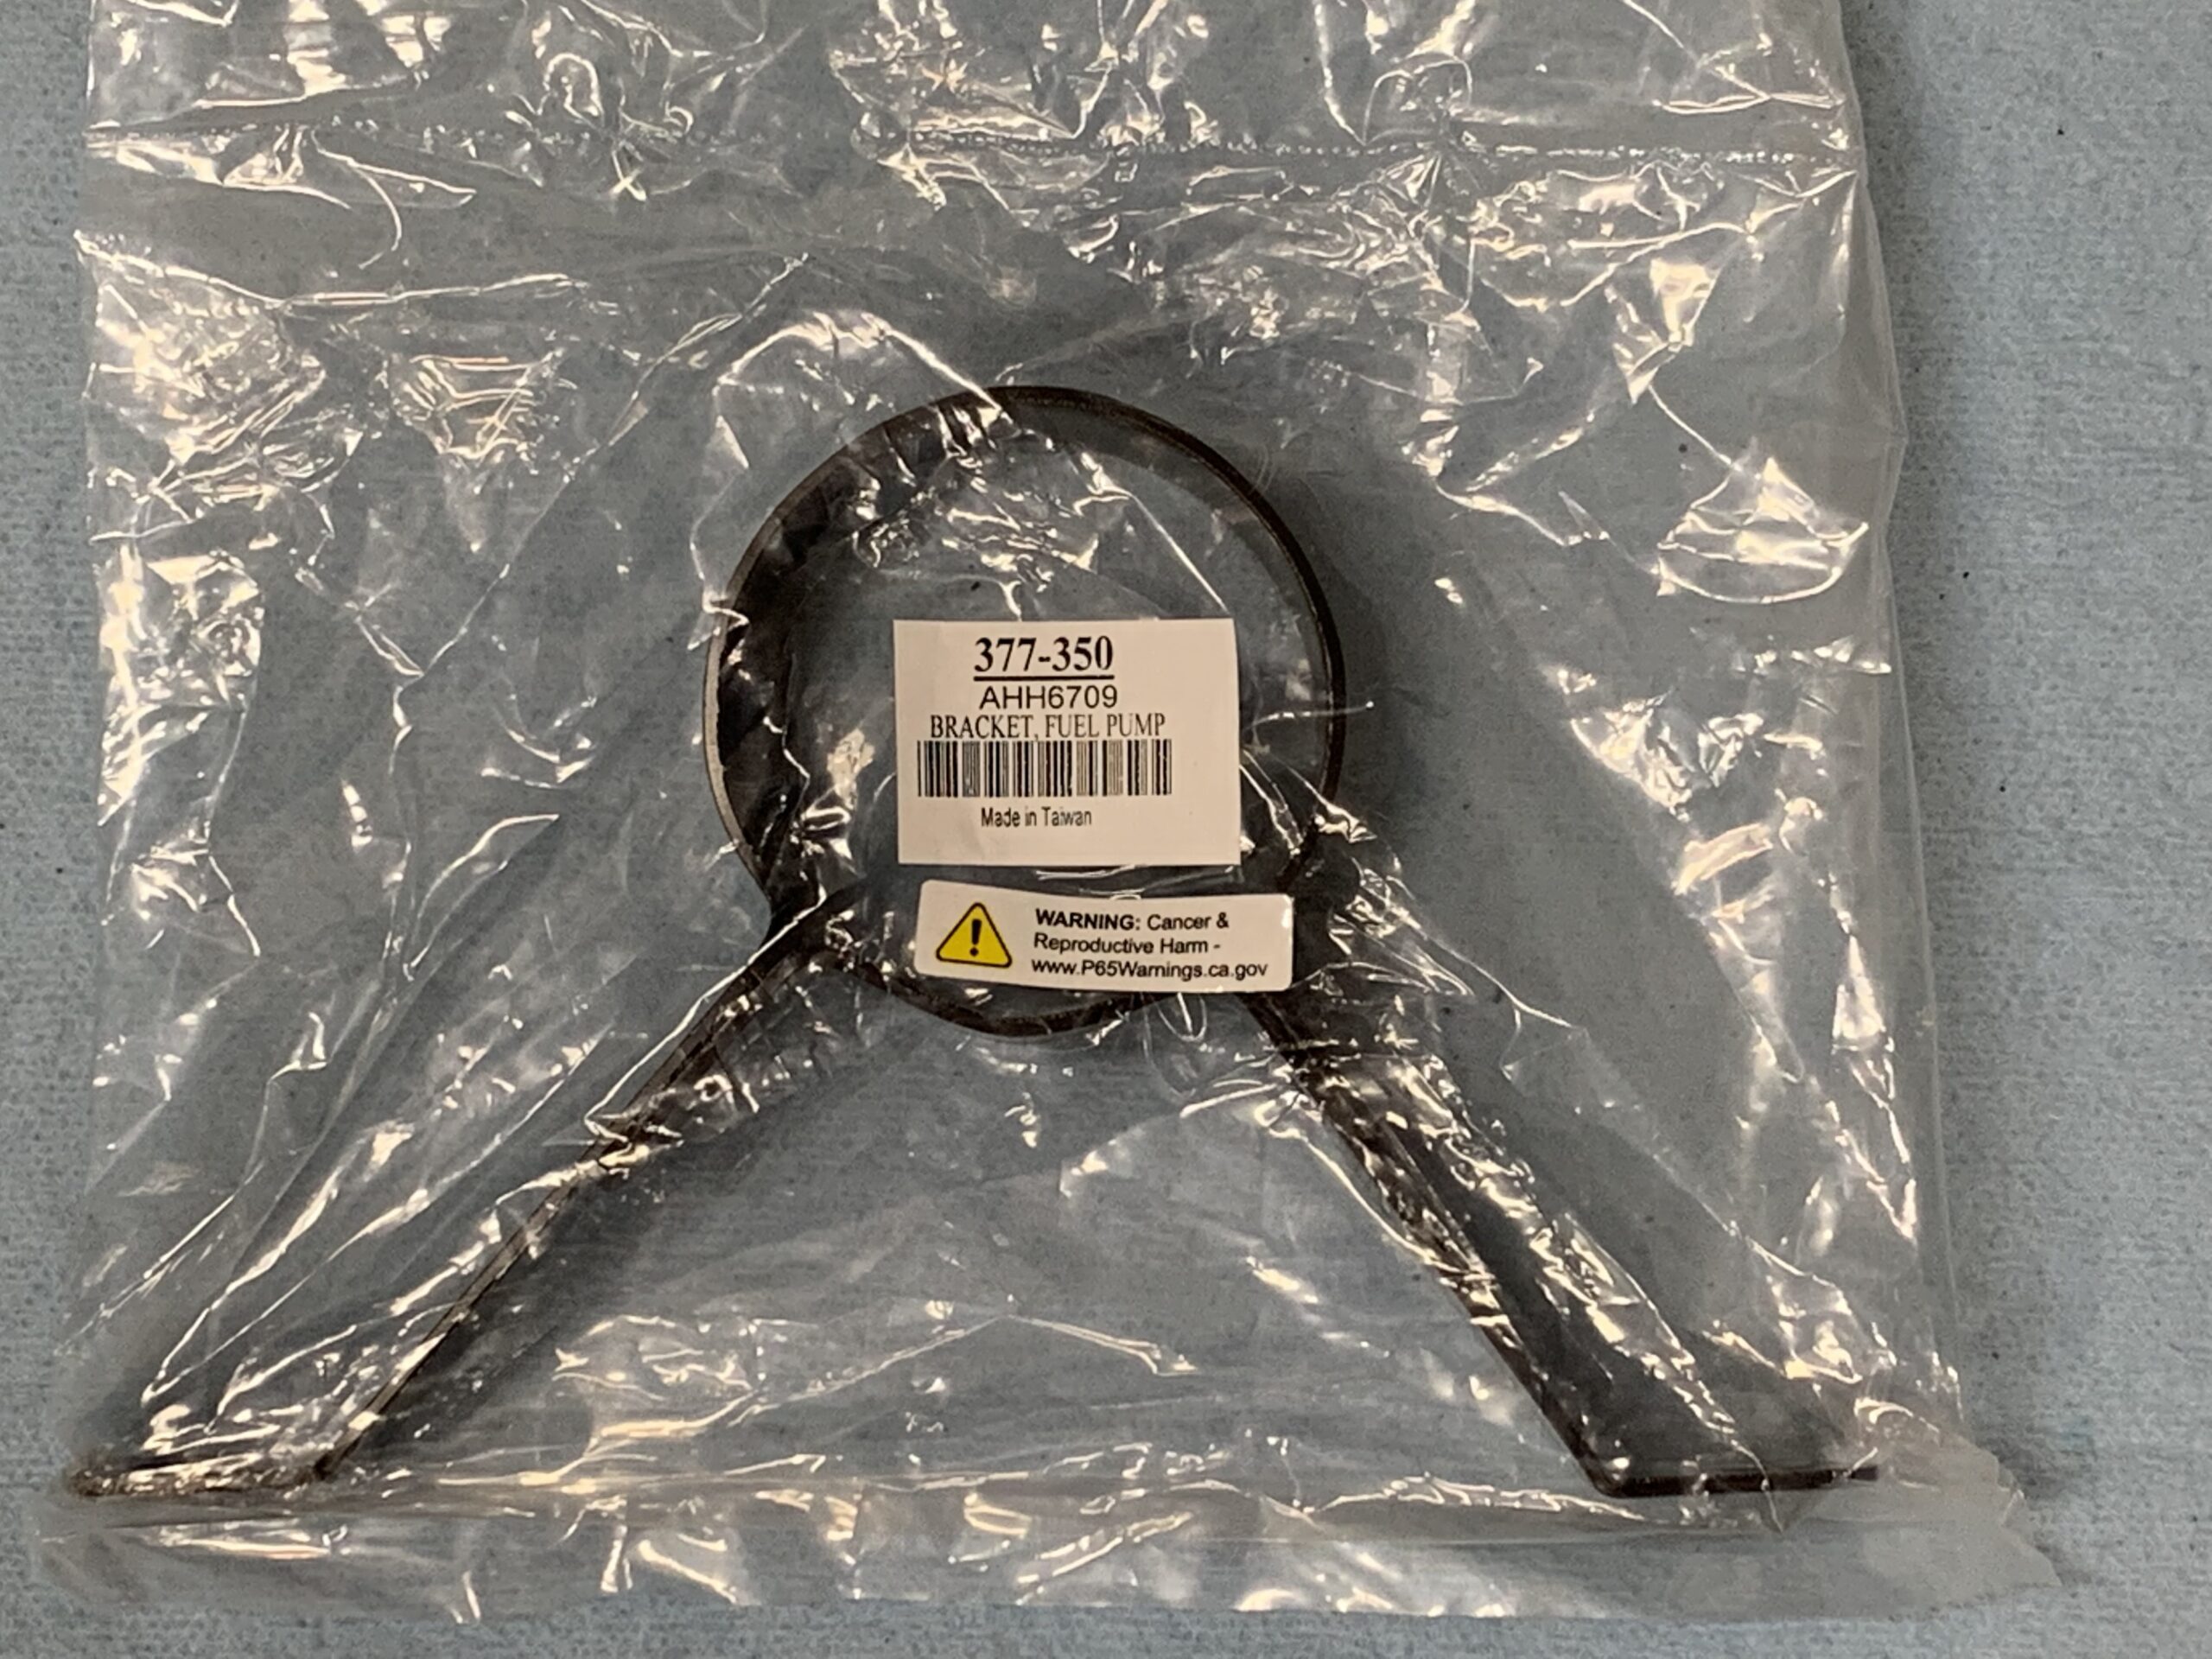
Fuel Pump Bracket
Although not shown in the initial videos, two rubber mounts were ordered from Pegasus Racing and installed to dampen the pump vibration.

Fuel Pump Isolators
Video Episode Seventeen summarizes the work performed in relocating the fuel pump. https://vimeo.com/770047578/9e09186ee0
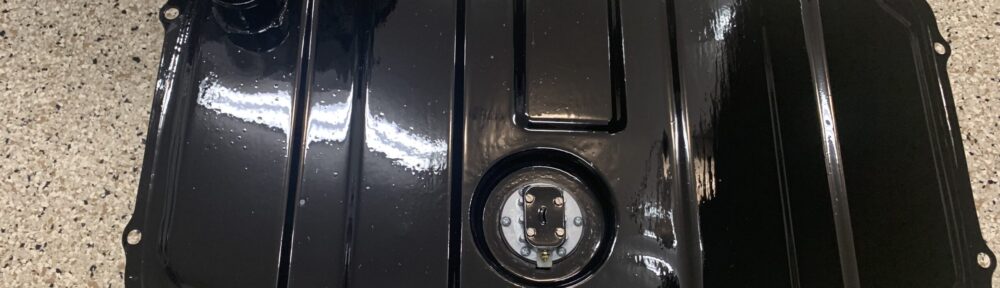
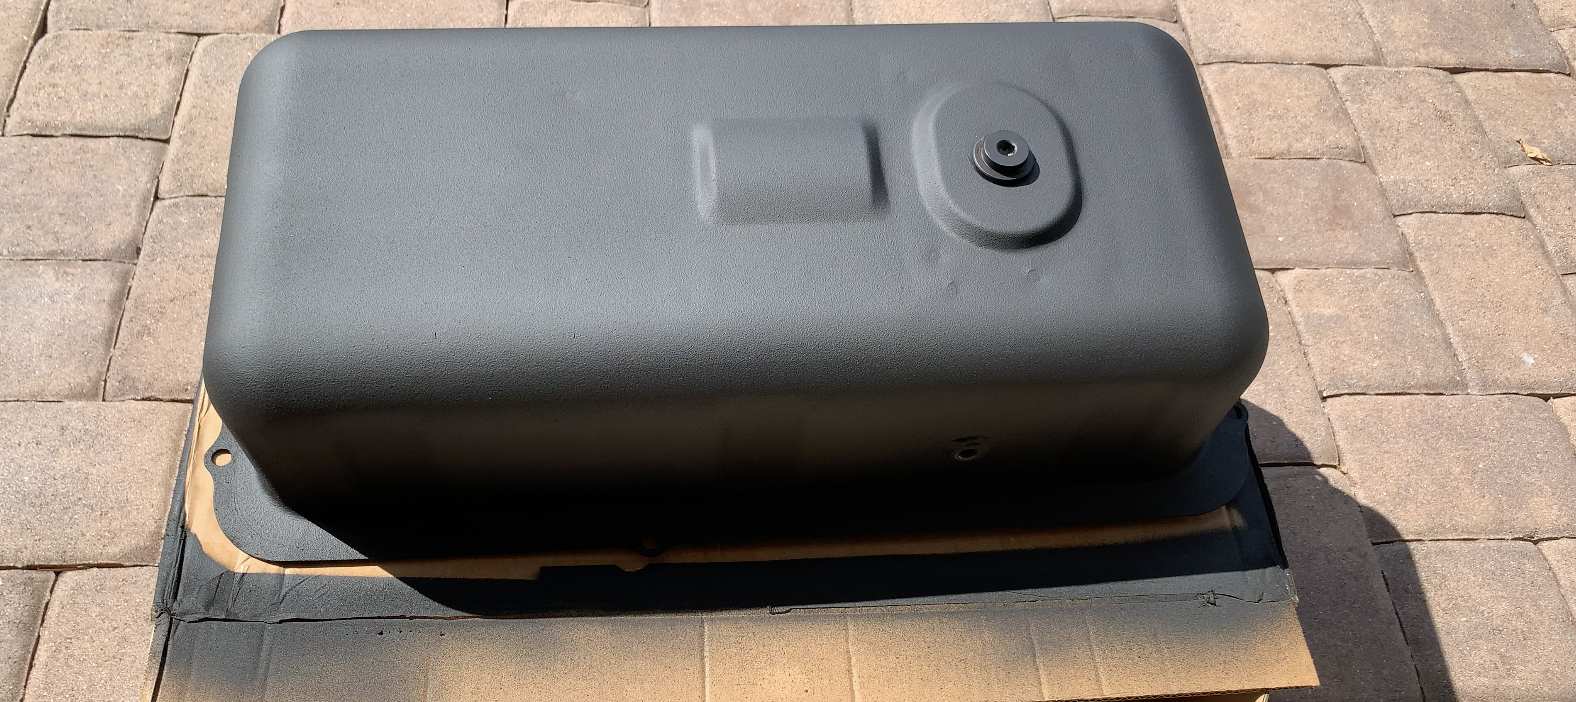
Fuel Tank – The next step will be to paint and trial fit the new fuel tank. The new tank was sourced from BugeyeGuy. It came with a new sender and viton seal installed, and the tank was pressure tested for leaks. The kit also included a foam seal to fit over the filler pipe between the tank and the body, as well as some rubber strips that fit between the tank and the body at each stud fixing point. All six of the studs were in pretty rough shape so they were all cleaned and a thread chaser was used on each one.
Unlike the original tank that has the filler pipe and tank as one piece, the new tank has a separate filler pipe with a rubber hose collar and two hose clamps to join the filler pipe to the tank. This is done from inside the car after the tank is installed.
The tank had a pretty good paint job as it arrived from BugeyeGuy, but we chose to repaint the top of the tank with POR-15 to add some rust protection. The underside of the tank was painted with 3M Rubberized Undercoating.

POR-15 on Top Of fuel Tank
3M Undercoating on Bottom of Fuel Tank
We will then remove the tank to make it easier to install the rear axle. Once we have the prop shaft and axle in place, the new fuel tank will be reinstalled. The Episode Eighteen video shows the removal of the old tank and the power wire to the fuel gauge sender, as well as a general clean up of the underside of the car in preparation for the axle and tank.
https://vimeo.com/770216486/10dd8a7cb9
Fuel Delivery – The fuel delivery from the tank to the carbs uses a combination of hard pipe and 1/4″ ethanol resistant rubber fuel hose. A short piece of pipe travels from the fitting on the fuel tank, over the axle and is secured by a few clips on the body, to a piece of rubber hose that connects to the input port on the fuel pump.
Video Episode Nineteen shows the fuel pipe/hose routing from the fuel tank:
https://vimeo.com/770224843/9889f07d88
Before final assembly a fuel filter will be added prior to the fuel pump input port. Another short piece of rubber fuel hose connects the output of the fuel pump to the hard pipe that is clipped to the underside of the car and then travels up to the front of the car and across to the LH side near the carbs.
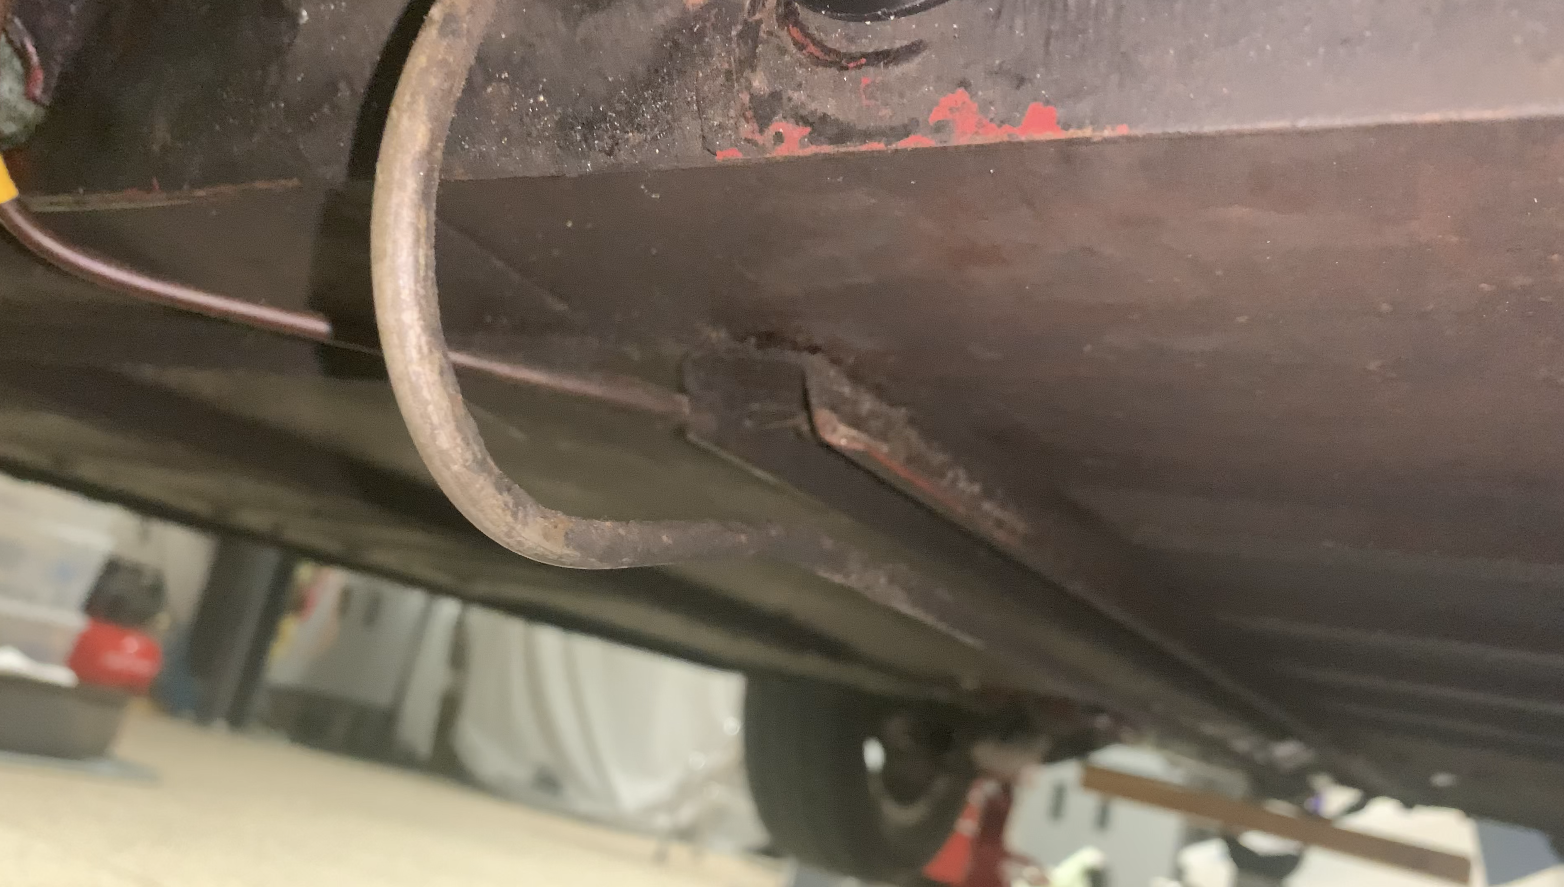
Fuel Pipe Under Car
The pipe is held to the channel by two clips that look like those on the right in the image below:
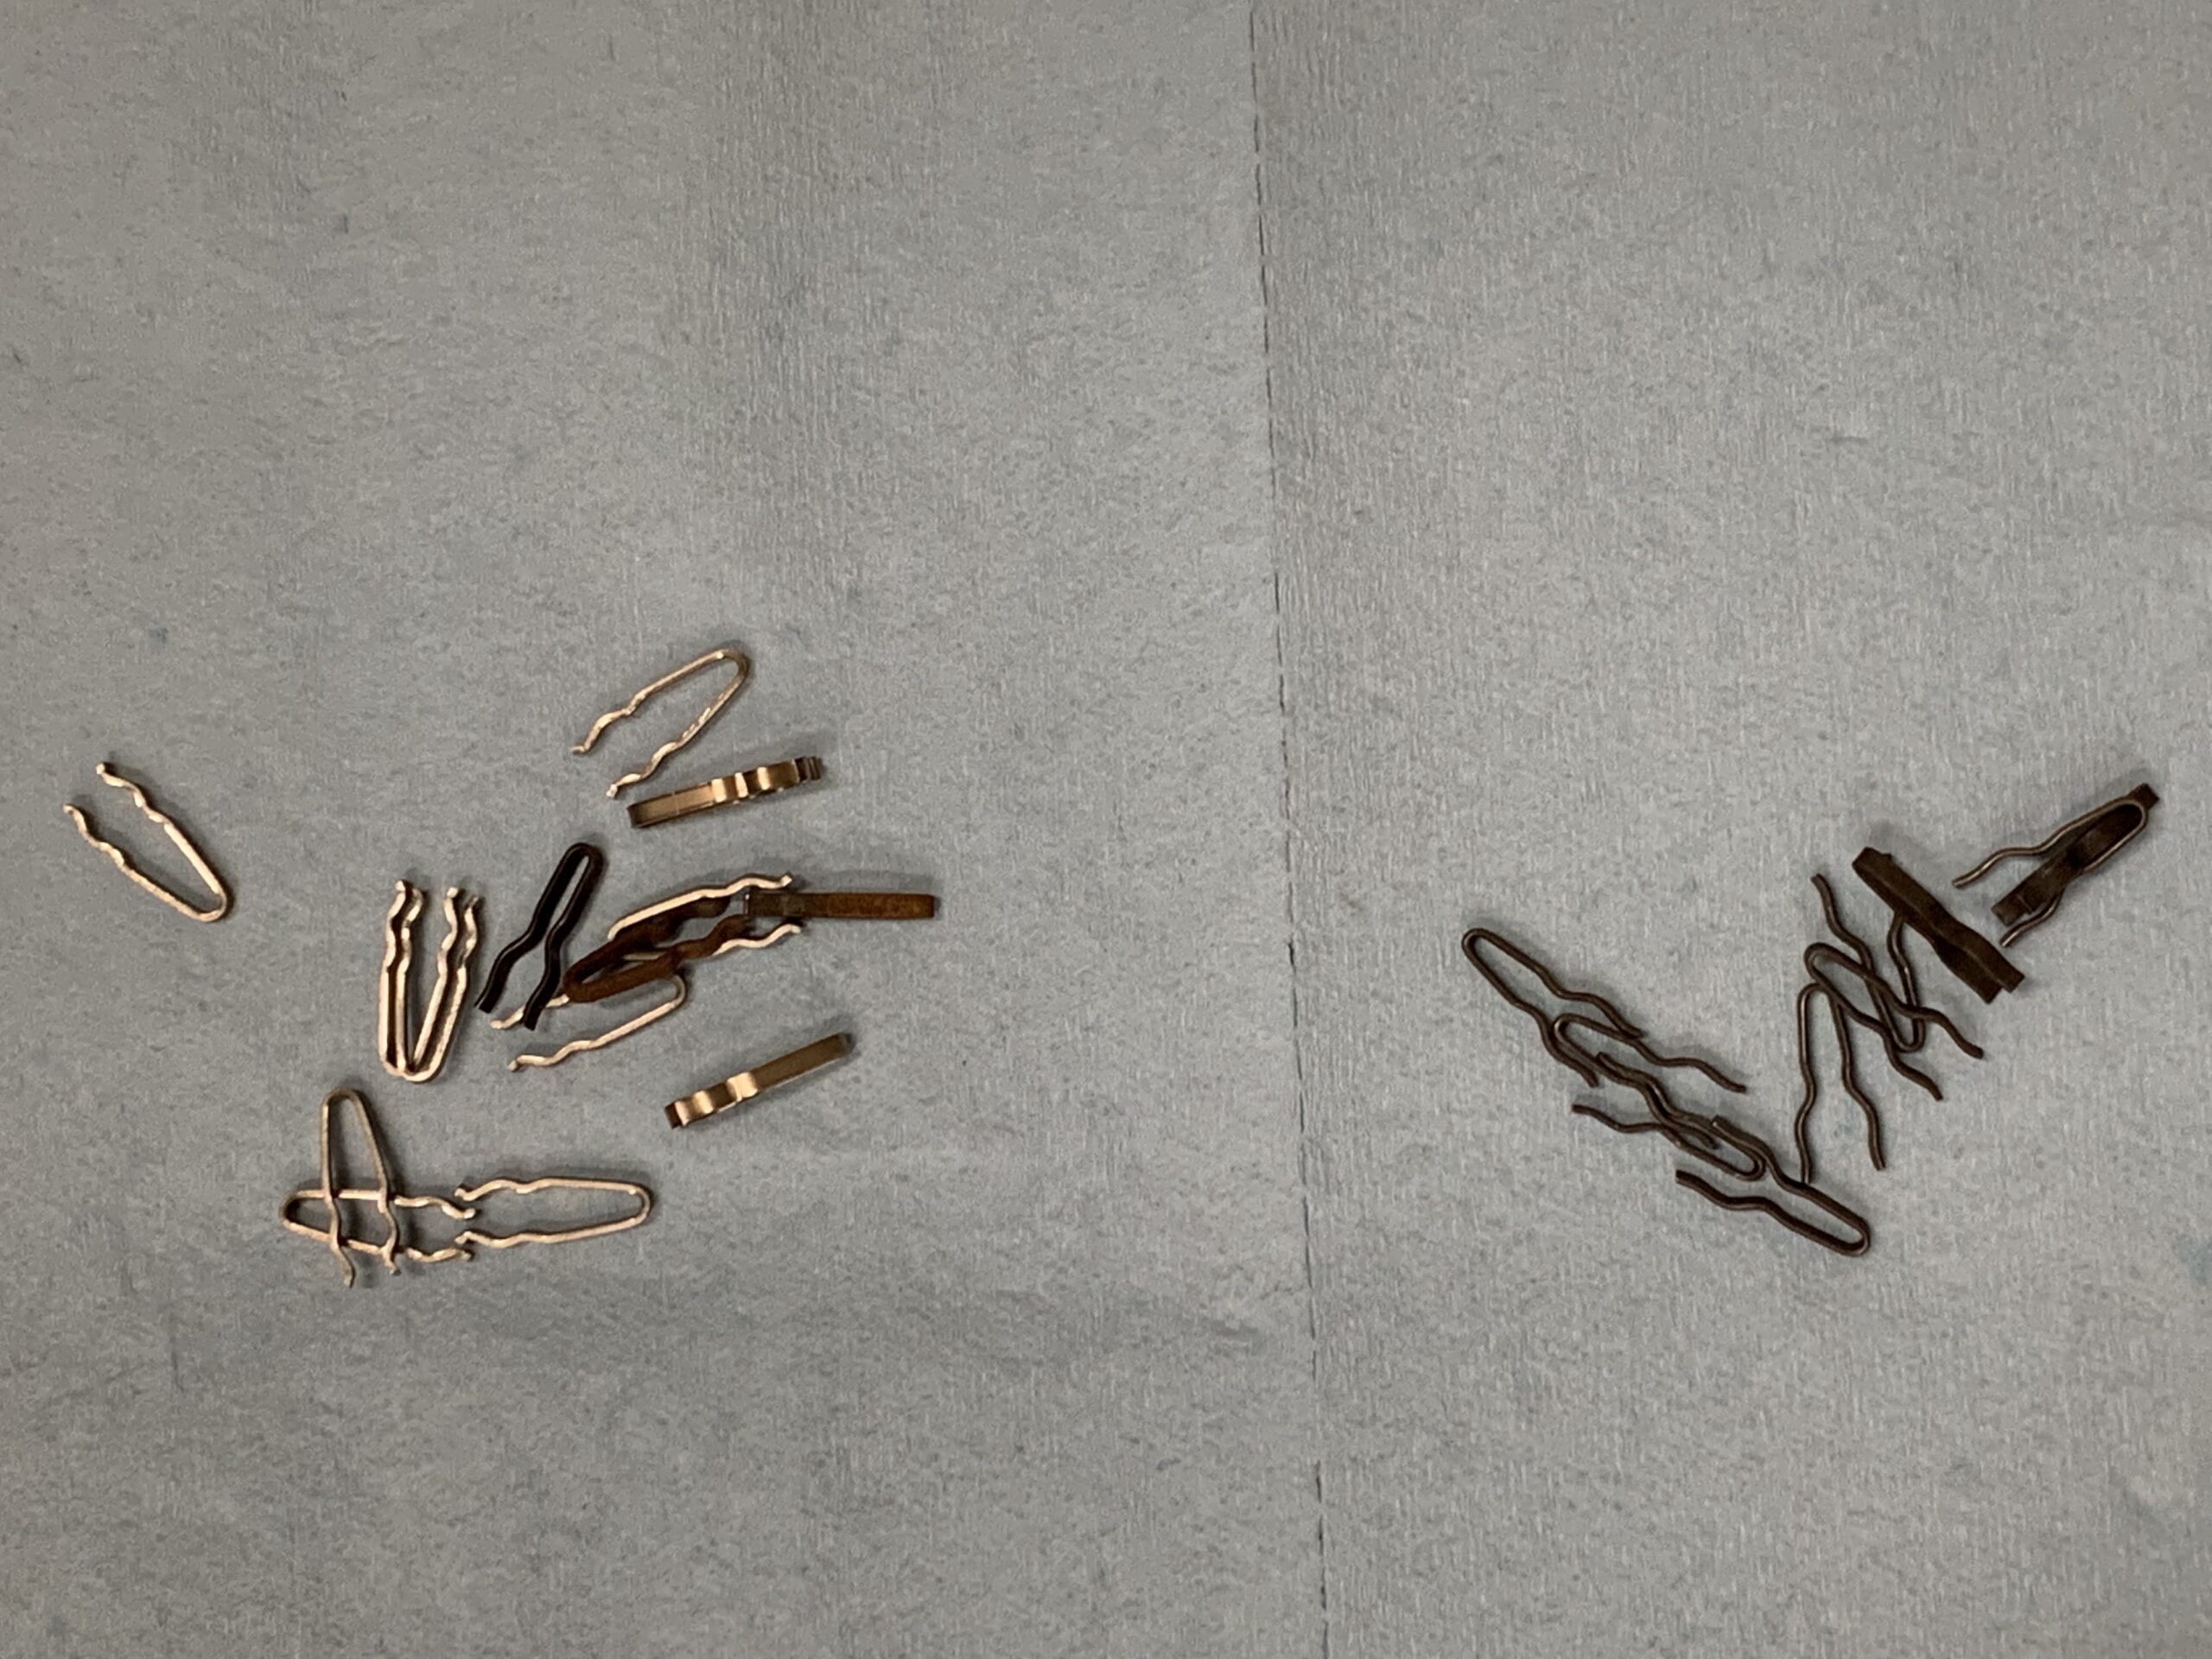
Pipe Clips
Another short piece of rubber hose connects the hard pipe to the front carb. The hard pipe we are running to the front of the car is temporary to permit testing the fuel delivery system. Upon final assembly the hard fuel pipe will routed somewhat differently.