
Jeremy Turner’s Work Continues
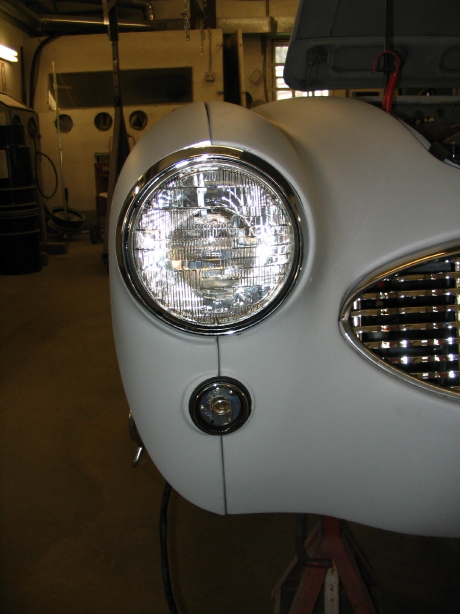
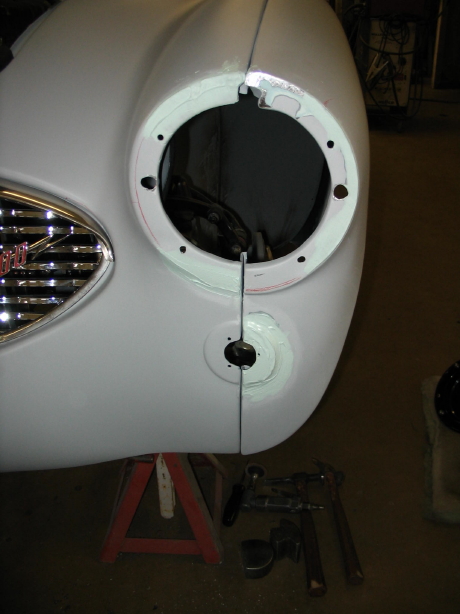
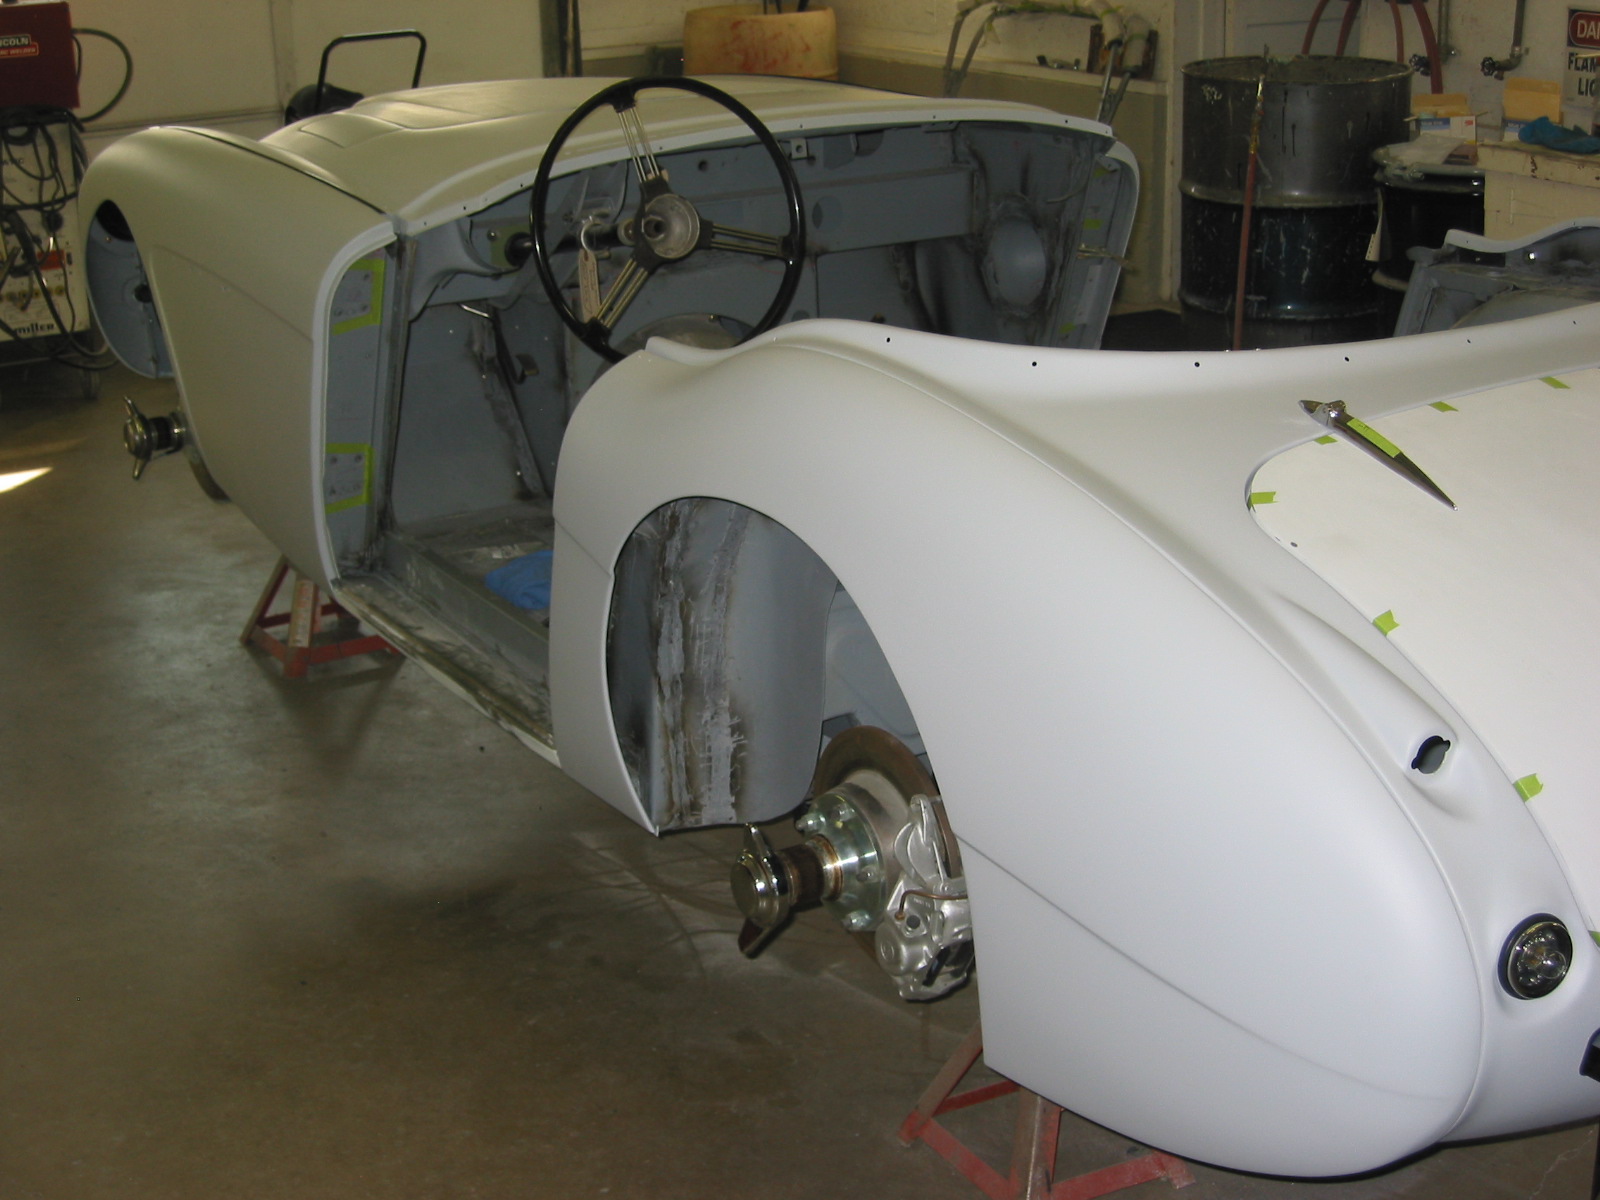
Headlights and turn signals – Jeremy worked on fitting the headlights and turn signal lights to the front wings/shroud. We discovered that the aluminum wings were not molded properly to fit to the shroud. Some body work is required. The result won’t be perfect, but should only be noticeable to Jeremy, me and someone like Rich Chrysler!
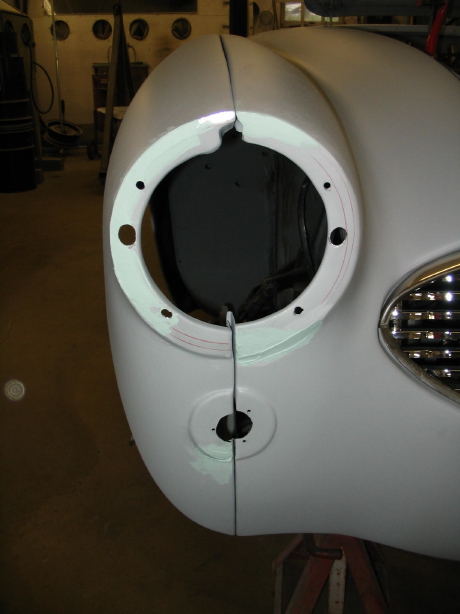
Right headlight mounting 2
Right Headlight mounting
Left headlight mounting 1

Left headlight mounting 2
Fender Beading – Then it was nice to try the fender beads on both front fenders.
Fender Beading

Front Fender Beading
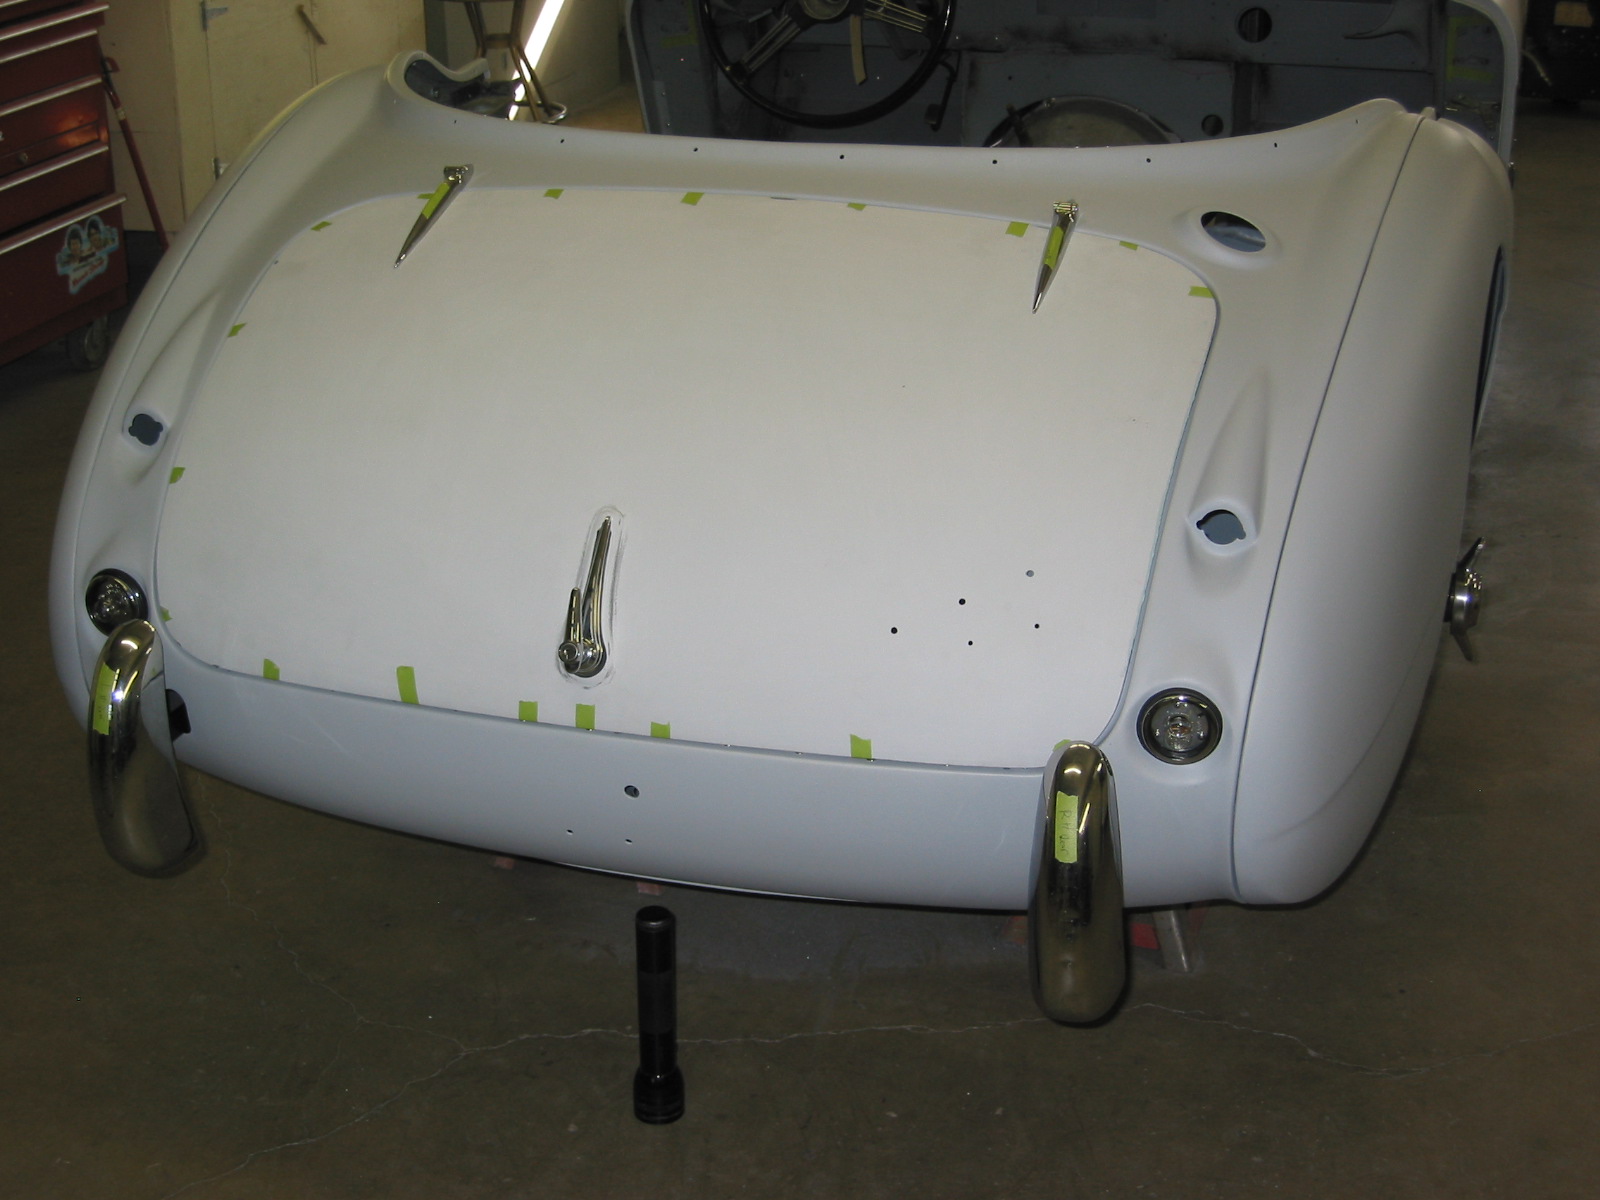
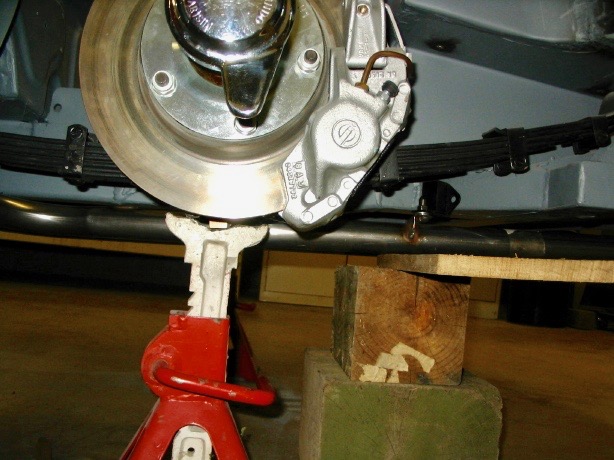
Rear wings and boot lid – Then attention was turned to the back of the car. Rear wings fitted, boot lid tested with the old gasket applied, and the rear rally bumpers fitted as well. Again, great to see continued progress. The goal is to return the car to me in two weeks to be stripped for bodywork, blasting again, and priming of the frame. Getting some red paint on the “Bloody Beast” is nearing!!
Left side in primer
Boot in primer
Here is Jeremy Turner, starting to look like a proud father. He just does great work.
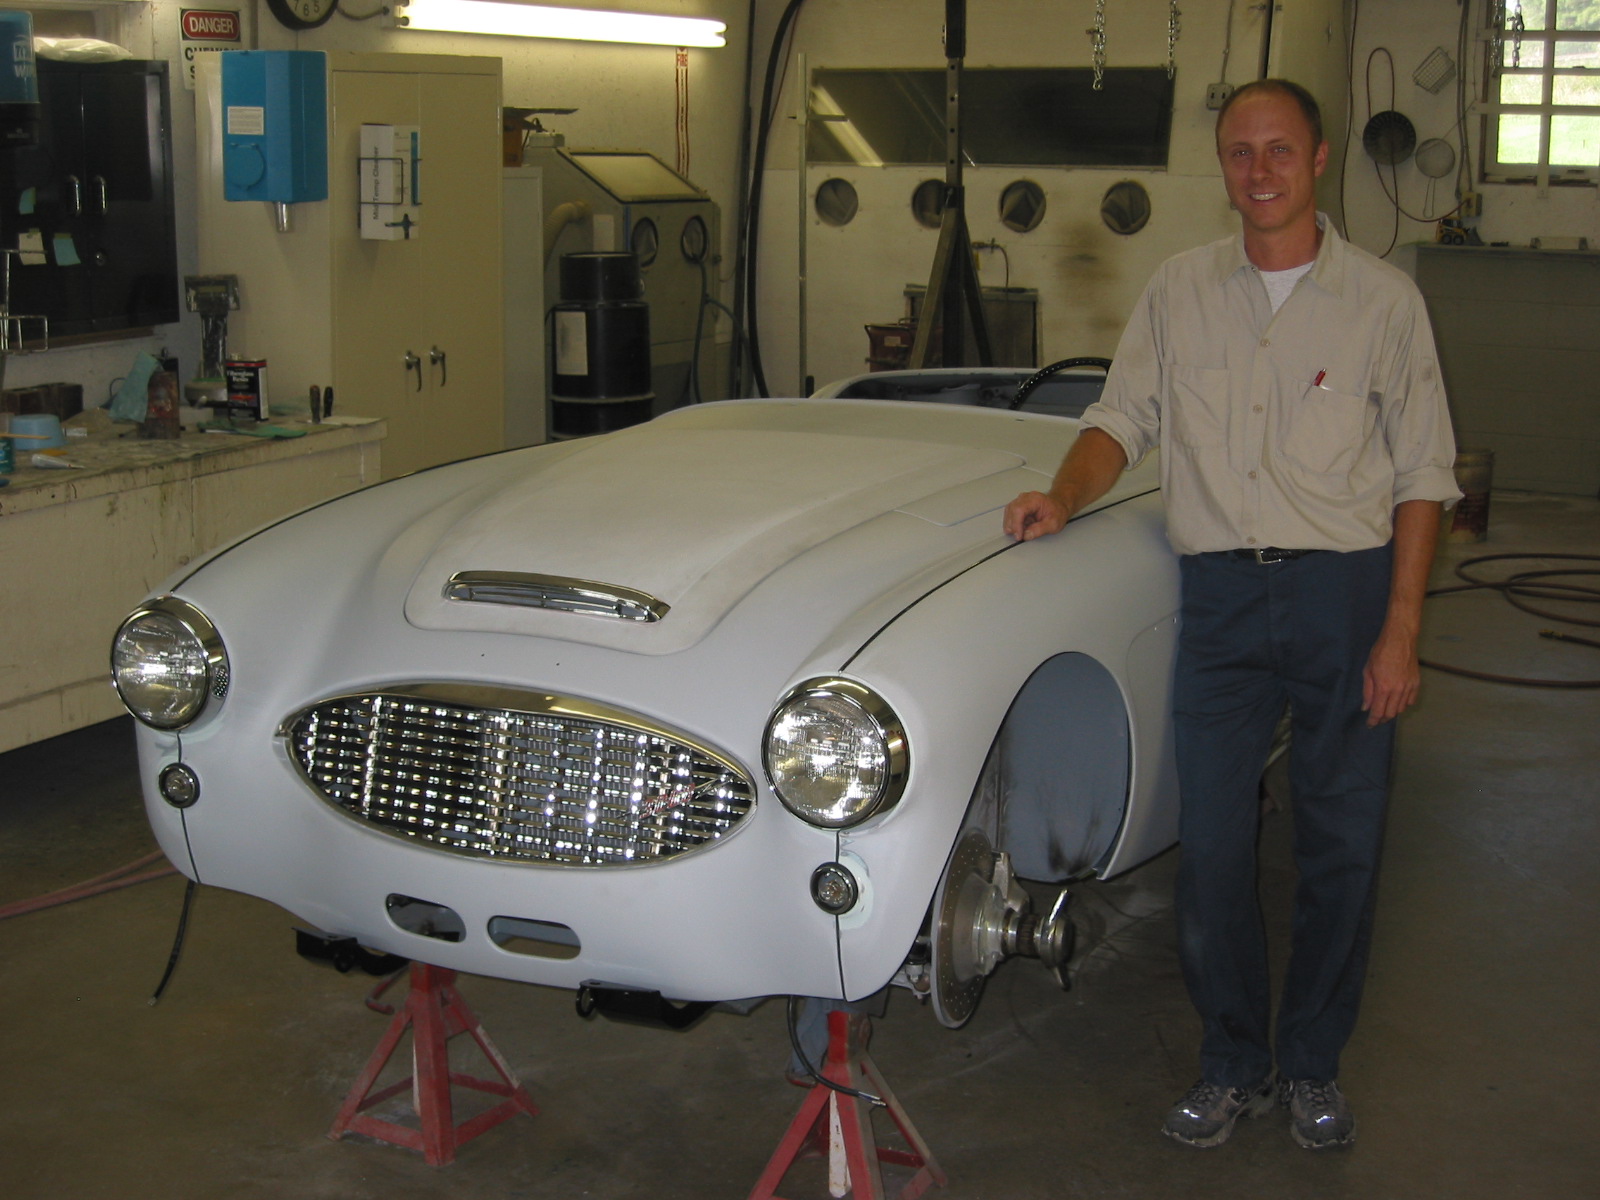
Jeremy and the bloody beast
The fender beading is installed in the rear fenders, and the aluminum cowl is put in place.
September 19, 2006
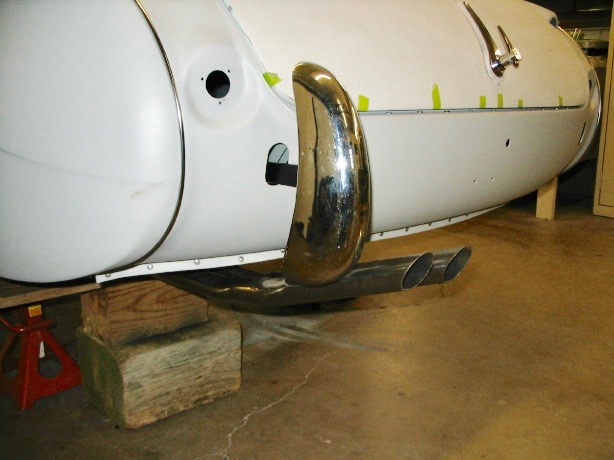
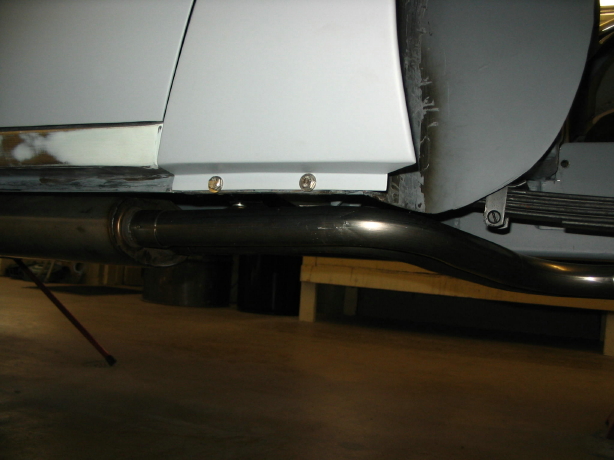
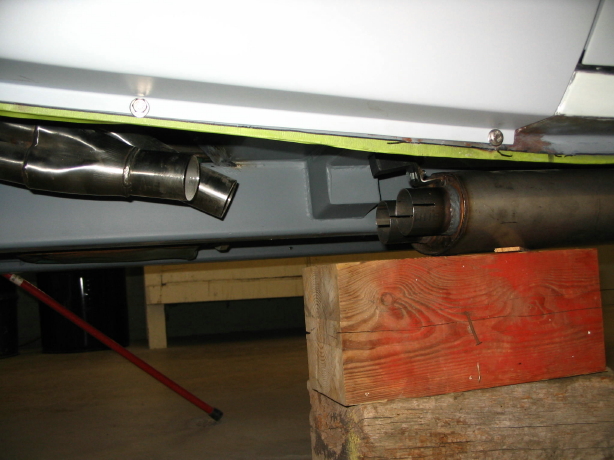
Exhaust – Because the Jule Enterprises frame did not include the mounting points for the exhaust hangers, Jeremy needed to fit the exhaust and determine where the hangers needed to mount to the car.

Exhaust 5
Exhaust 8

Exhaust 3
Exhaust 1
Exhaust 2
Exhaust 4
Windscreen – Yesterday I took the afternoon off and went to Broadway to help Jeremy with a final check of the exhaust system before drilling the holes in the frame and floorboard for the hangers and to install the windscreen. We did adjust the front mount for the muffler to get it up a little higher. The posts for the windscreen did require some grinding to get the windscreen to fit properly, but after several “trial-and-error” fitting sessions, we got the windscreen installed properly. It really made the shell begin to look like a car! I was so excited with the progress I forgot to take photos. I brought a lot of parts home (emblems, lights and etc.) that fortunately are no longer needed for fitting.
September 22, 2006
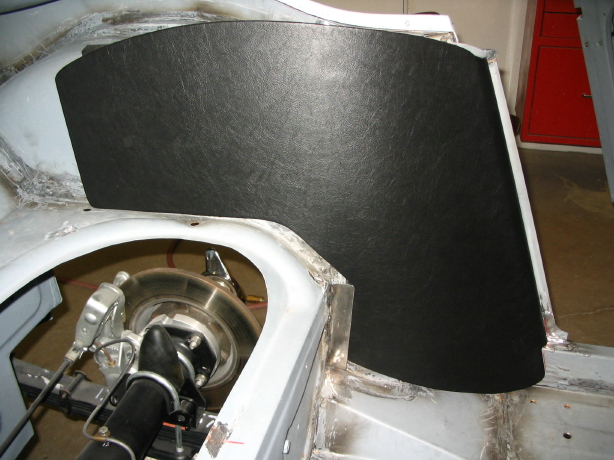
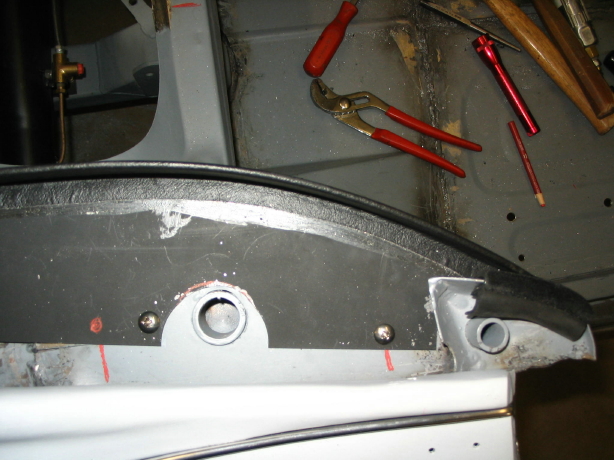
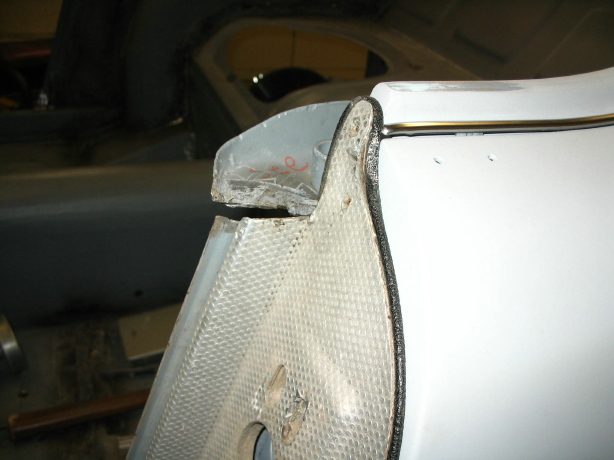
Door shut face finishers again – In order to get the aluminum shut face finishers and the rear quarter panels to fit, we decided that we needed to cut the weld on the front of the hood mount plate and bend it up a bit to have it align with the top of the aluminum trim and to permit the rear quarter panels to slide under. This strategy proved successful, as Jeremy was able to get the new Heritage quarter panels to fit properly. The new shut face finishers from Moss (Kilmartin products) arrived and much to my relief they fit perfectly! The photos also show some small pieces of rubber door seal “Bristle Flex” that came from Macgregor in Canada. It seemed to fit well, although it does not appear as original.
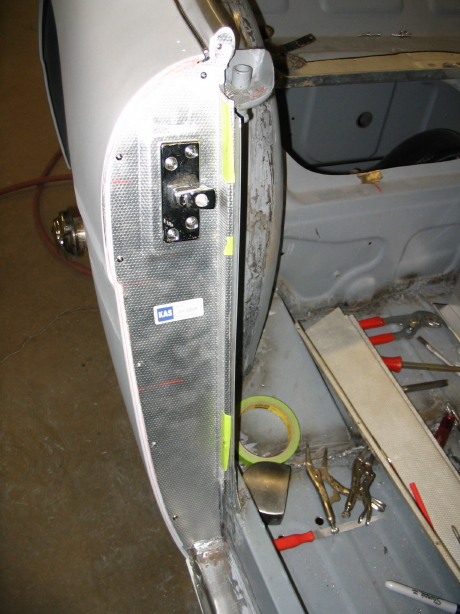
door shut face finisher kilmartin 1
Rear quarte panel fitting 3
The lower bracket that secures the rear quarter panel to the footboard had to be made larger so that it would contain the panel. Jeremy did a nice job of fabricating the brackets. Following complete trial fitting the gap at the front of the hood mount will be welded closed.
Rear quarter panel fitting 2
hood mount reposition 2
September 27, 2006
Hood Mount Plate – Jeremy welded the front lip of the hood mount plate and completed final fitting of the aluminum door shut finishers along with the vinyl beading. It took some time to get to the point that the door did not rub against the vinyl.
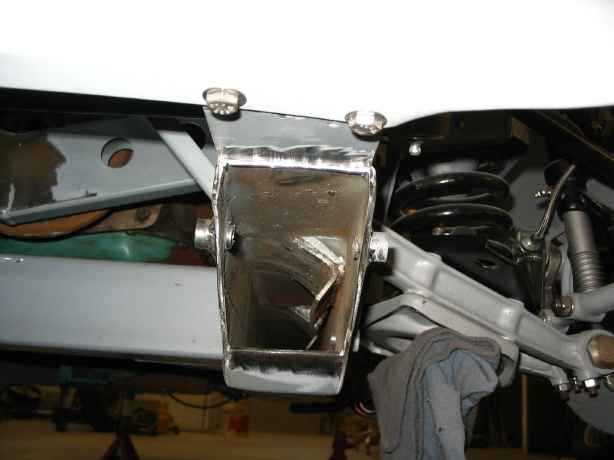
Anti-sway bar brackets – Then he moved to installing the brackets I purchased from Kilmartin for the anti-sway bar. I still do not understand why Martin Jansen did not install these as part of his Jule frame package.
Sway bar brackets 1

Sway bar brackets 2