
Original Body and Brightwork
Numerous color combinations were available http://www.austinhealey.com/big.html. Bodies and frames were painted by Jensen. My BT7 L4422 was prepared in a lacquer Colorado Red with black coves.
Front and rear (tonneau assembly) shrouds were made of aluminum alloy, while the wings, doors, bonnet and boot lid were fabricated in steel. These components often did not fit well together requiring adjustments by the assemblers on the line.
Roadsters had removable side screens with perspex panels. The black soft top was supplemented by an optional fiberglass hardtop also in Colorado Red.
Body and Brightwork Modifications
Paint
When I began visualizing my restoration project, I thought that I would keep my car Colorado Red; however, my thinking was changed in 2005. I attended the USA-Aussie Challenge at Summit Point Race Track and spotted the beautiful Paul Freestone 100-6, prepared by the Healey Factory in Australia. An email to the Healey Factory and in a day I discovered that the Freestone car was painted 1997 Ferrari Rosso Corsa (racing red). Seeing the Freestone car also helped me decide that I would be painting my hardtop the same color.

Freestone Aussie Racer

The Bloody Beast – Ferrari Rosso Corsa
Alloy Wings
Now that the restoration of the Bloody Beast is complete, and having the knowledge gained from the process, I would have repaired the fairly extensive rust on my original steel wings rather than installing the new all aluminum wings that were sourced from AH Spares http://www.ahspares.co.uk/. Jeremy Turner, my body man, invested many hours getting the wings to fit properly. However, the good news is that they will no longer rust and the alloy wings are very light.

Alloy Wings
Carburetter Access Panel
The Healeys prepared for racing and rallying often had carb access panels cut into the bodywork. I liked the idea of doing something similar although not so much to access the carbs, but more to access the master cylinders. I recall standing on my head while in college trying to change out the seals in the brake master cylinder – not easy to get to! Craig Naff, a master body craftsman designed and built my access panel and I have to admit that while biased, I have seen none better! The image below shows the panel with its dimensions before the car was painted.

Carburetter Access Panel
Editor’s Note, May 2020: I had no idea at the time, but I have since learned that Mr. Naff who did the carb access panel and oil cooler vents on my car is quite the celebrity. When Jeremy Turner and I visited his shop in little Woodstock, VA I noticed that he had some very nice cars under restoration and that his shop was well appointed from a tools perspective. I read the following in the New York Times about a fellow who had Craig do work on his hot rod:
“Getting that “guy,” Craig Naff, to work on your car is the customizer’s equivalent of commissioning Rembrandt to do your family portrait. Mr. Naff is one of a handful of sheet metal artists in this country who can create a complete car body from flat steel sheets, according to Ken Gross, an author and curator of museum exhibitions around the country.
Mr. Naff, who works alone in his Shenandoah Valley shop, spent a stretch of his early career in California, where he sculpted body panels for CadZZilla, the landmark custom 1948 Cadillac that Boyd Coddington produced for Billy Gibbons, the ZZ Top guitarist. That car is widely agreed to have set a new standard for custom car design when it was finished in 1989.
Cars that Mr. Naff has either modified or created entirely have won the America’s Most Beautiful Roadster award at the Grand National Roadster Show, now held in Pomona, Calif., hot rodding’s equivalent of Best in Show at the Pebble Beach Concours d’Élégance. Mr. Wuchiski had to wait 18 months before the work could start, then another 18 months before it was done.”
Here are a few before and after images of CadZZilla:
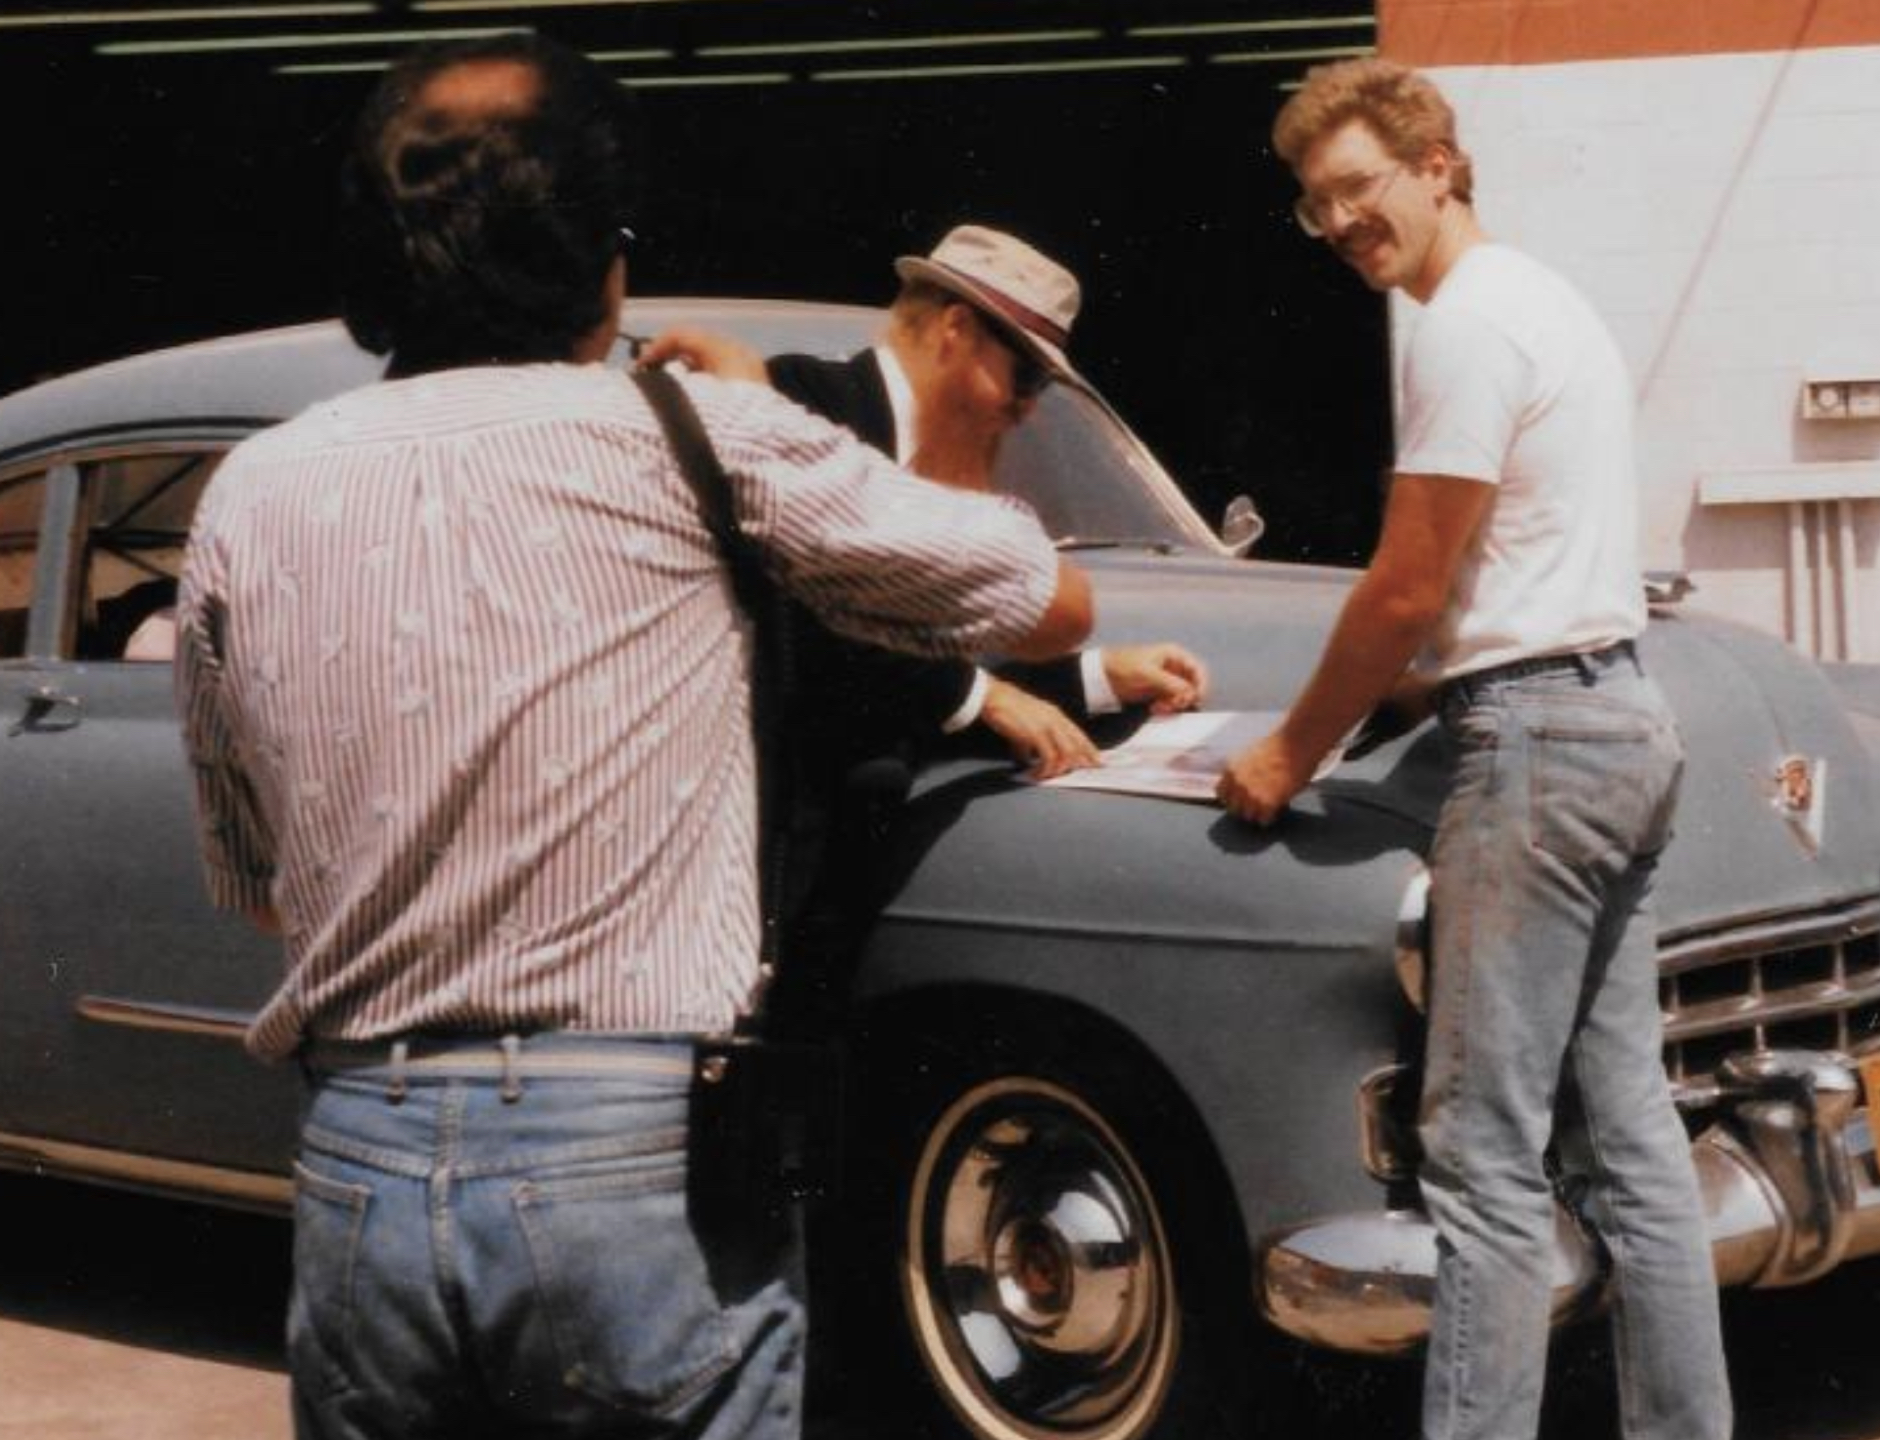
Caddy Before Modification – Craig to the right
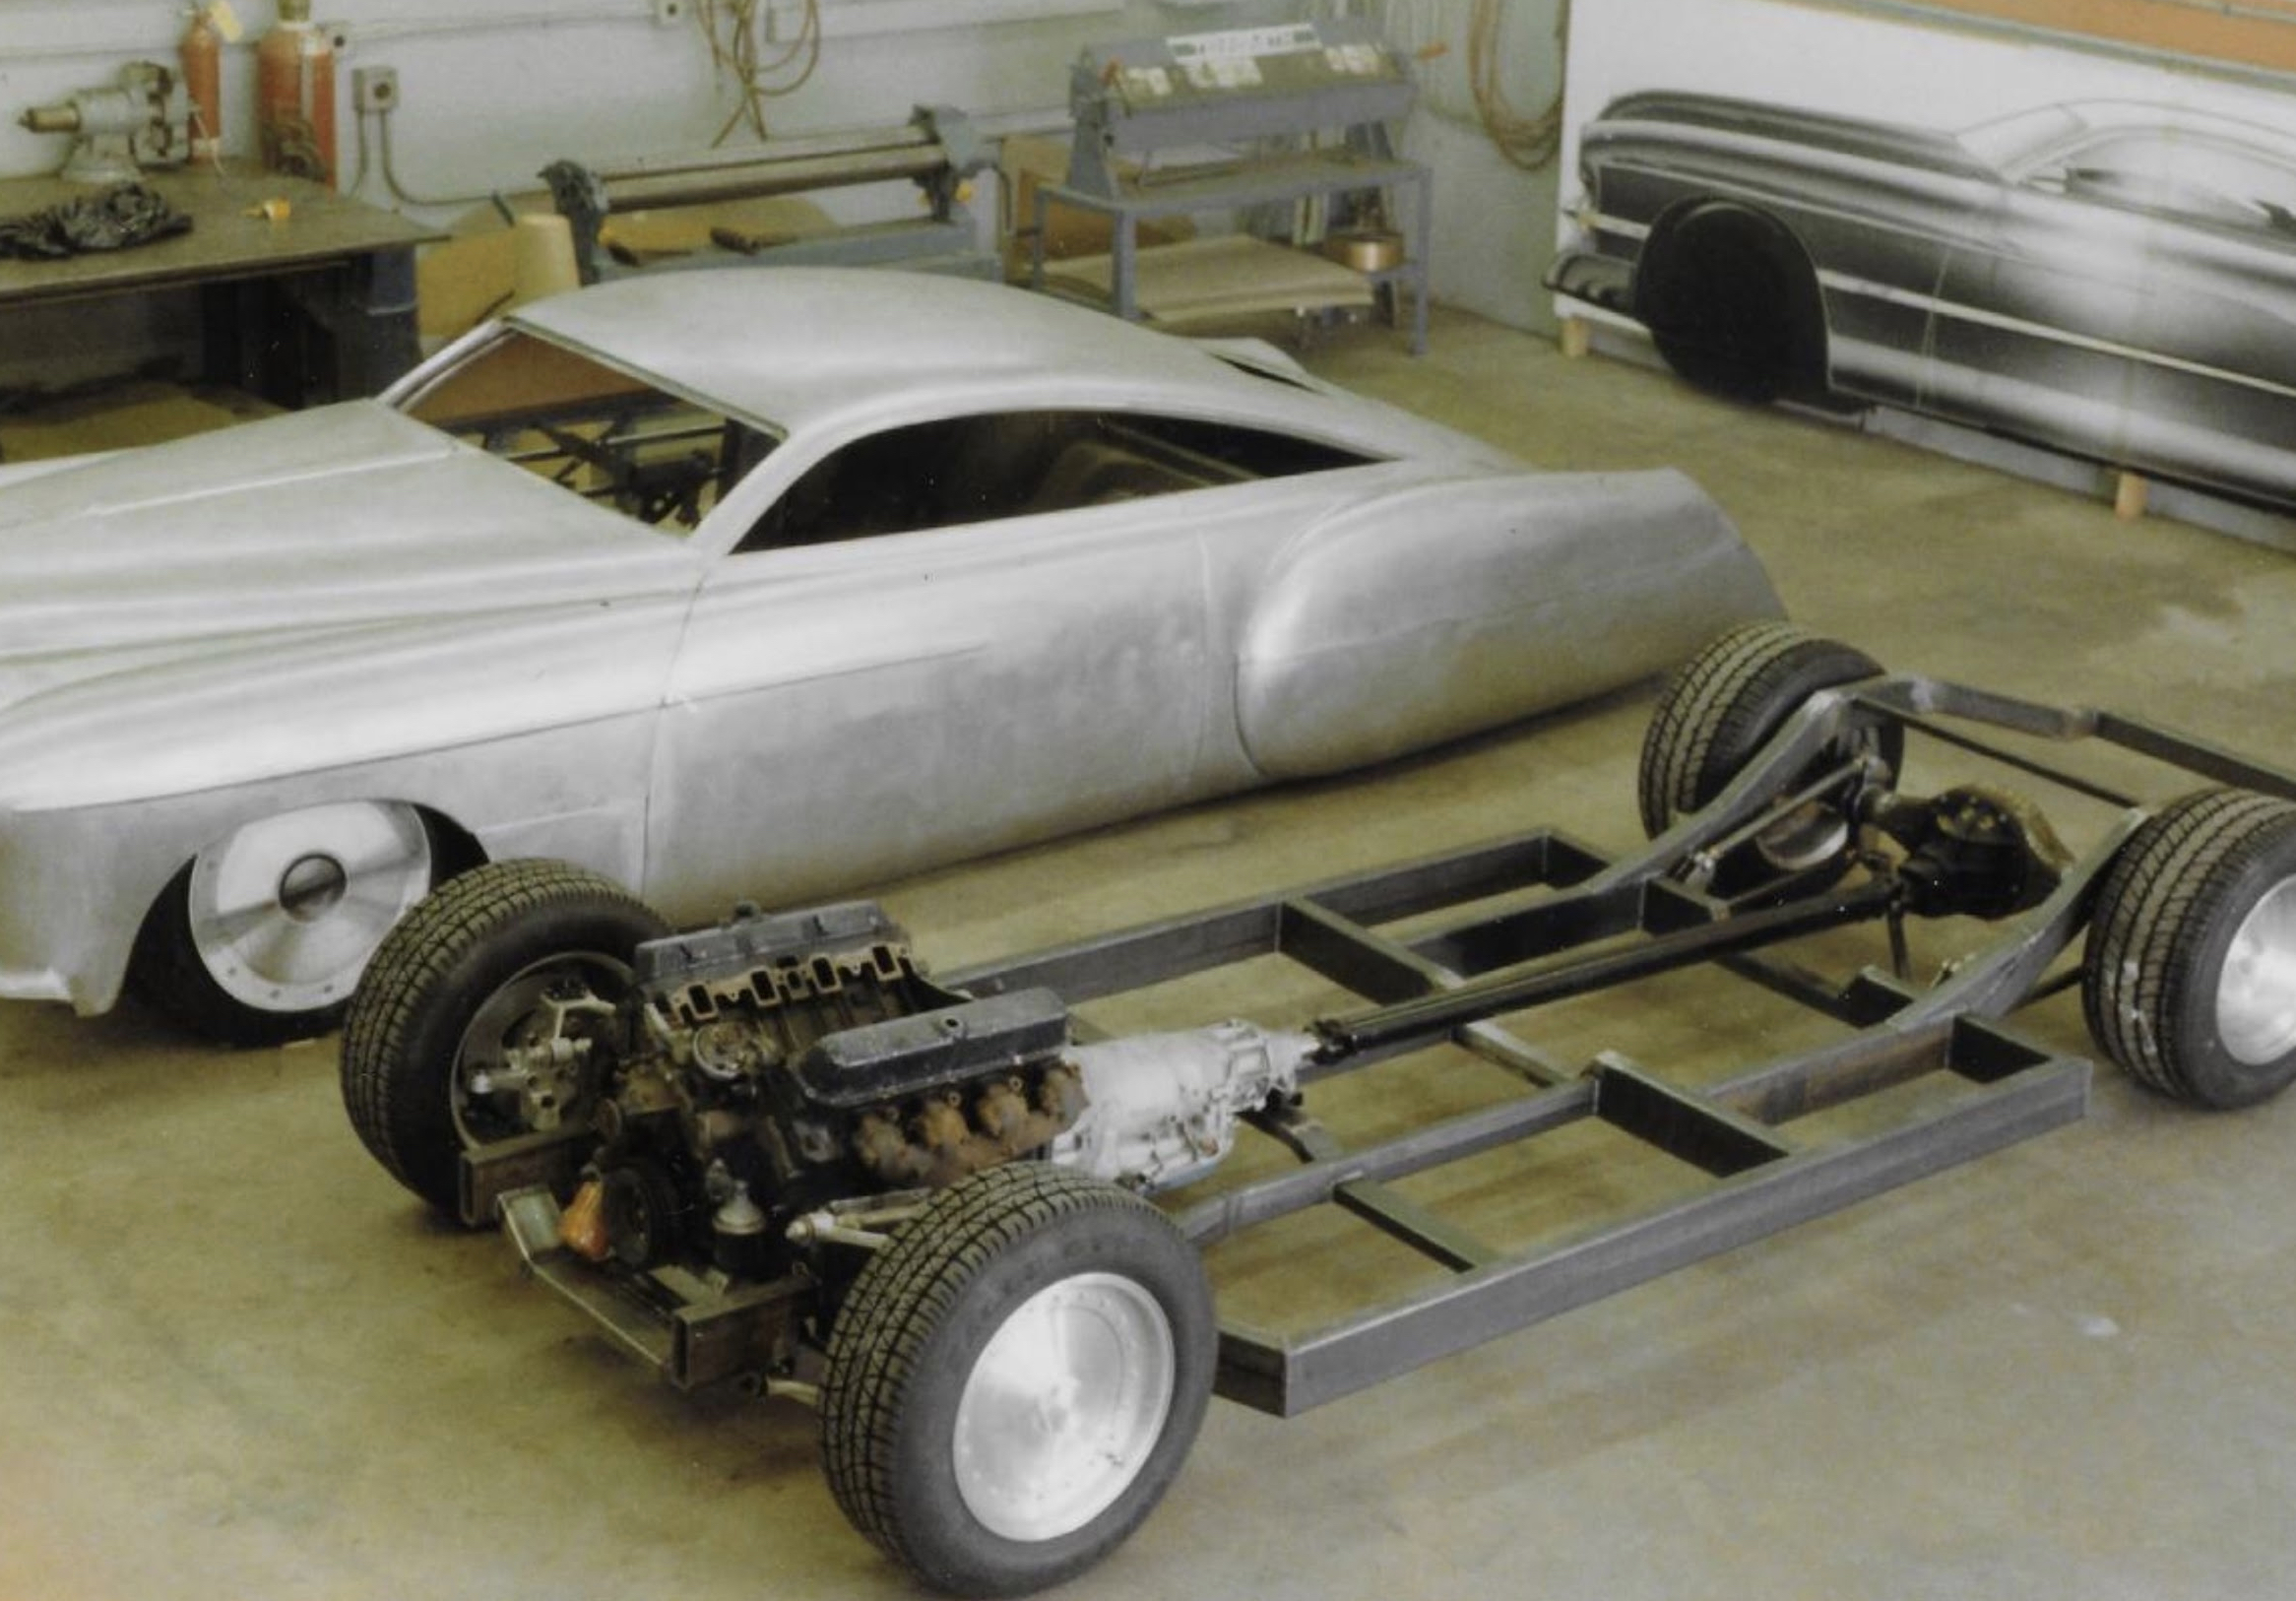
Craig’s craftsmanship before paint
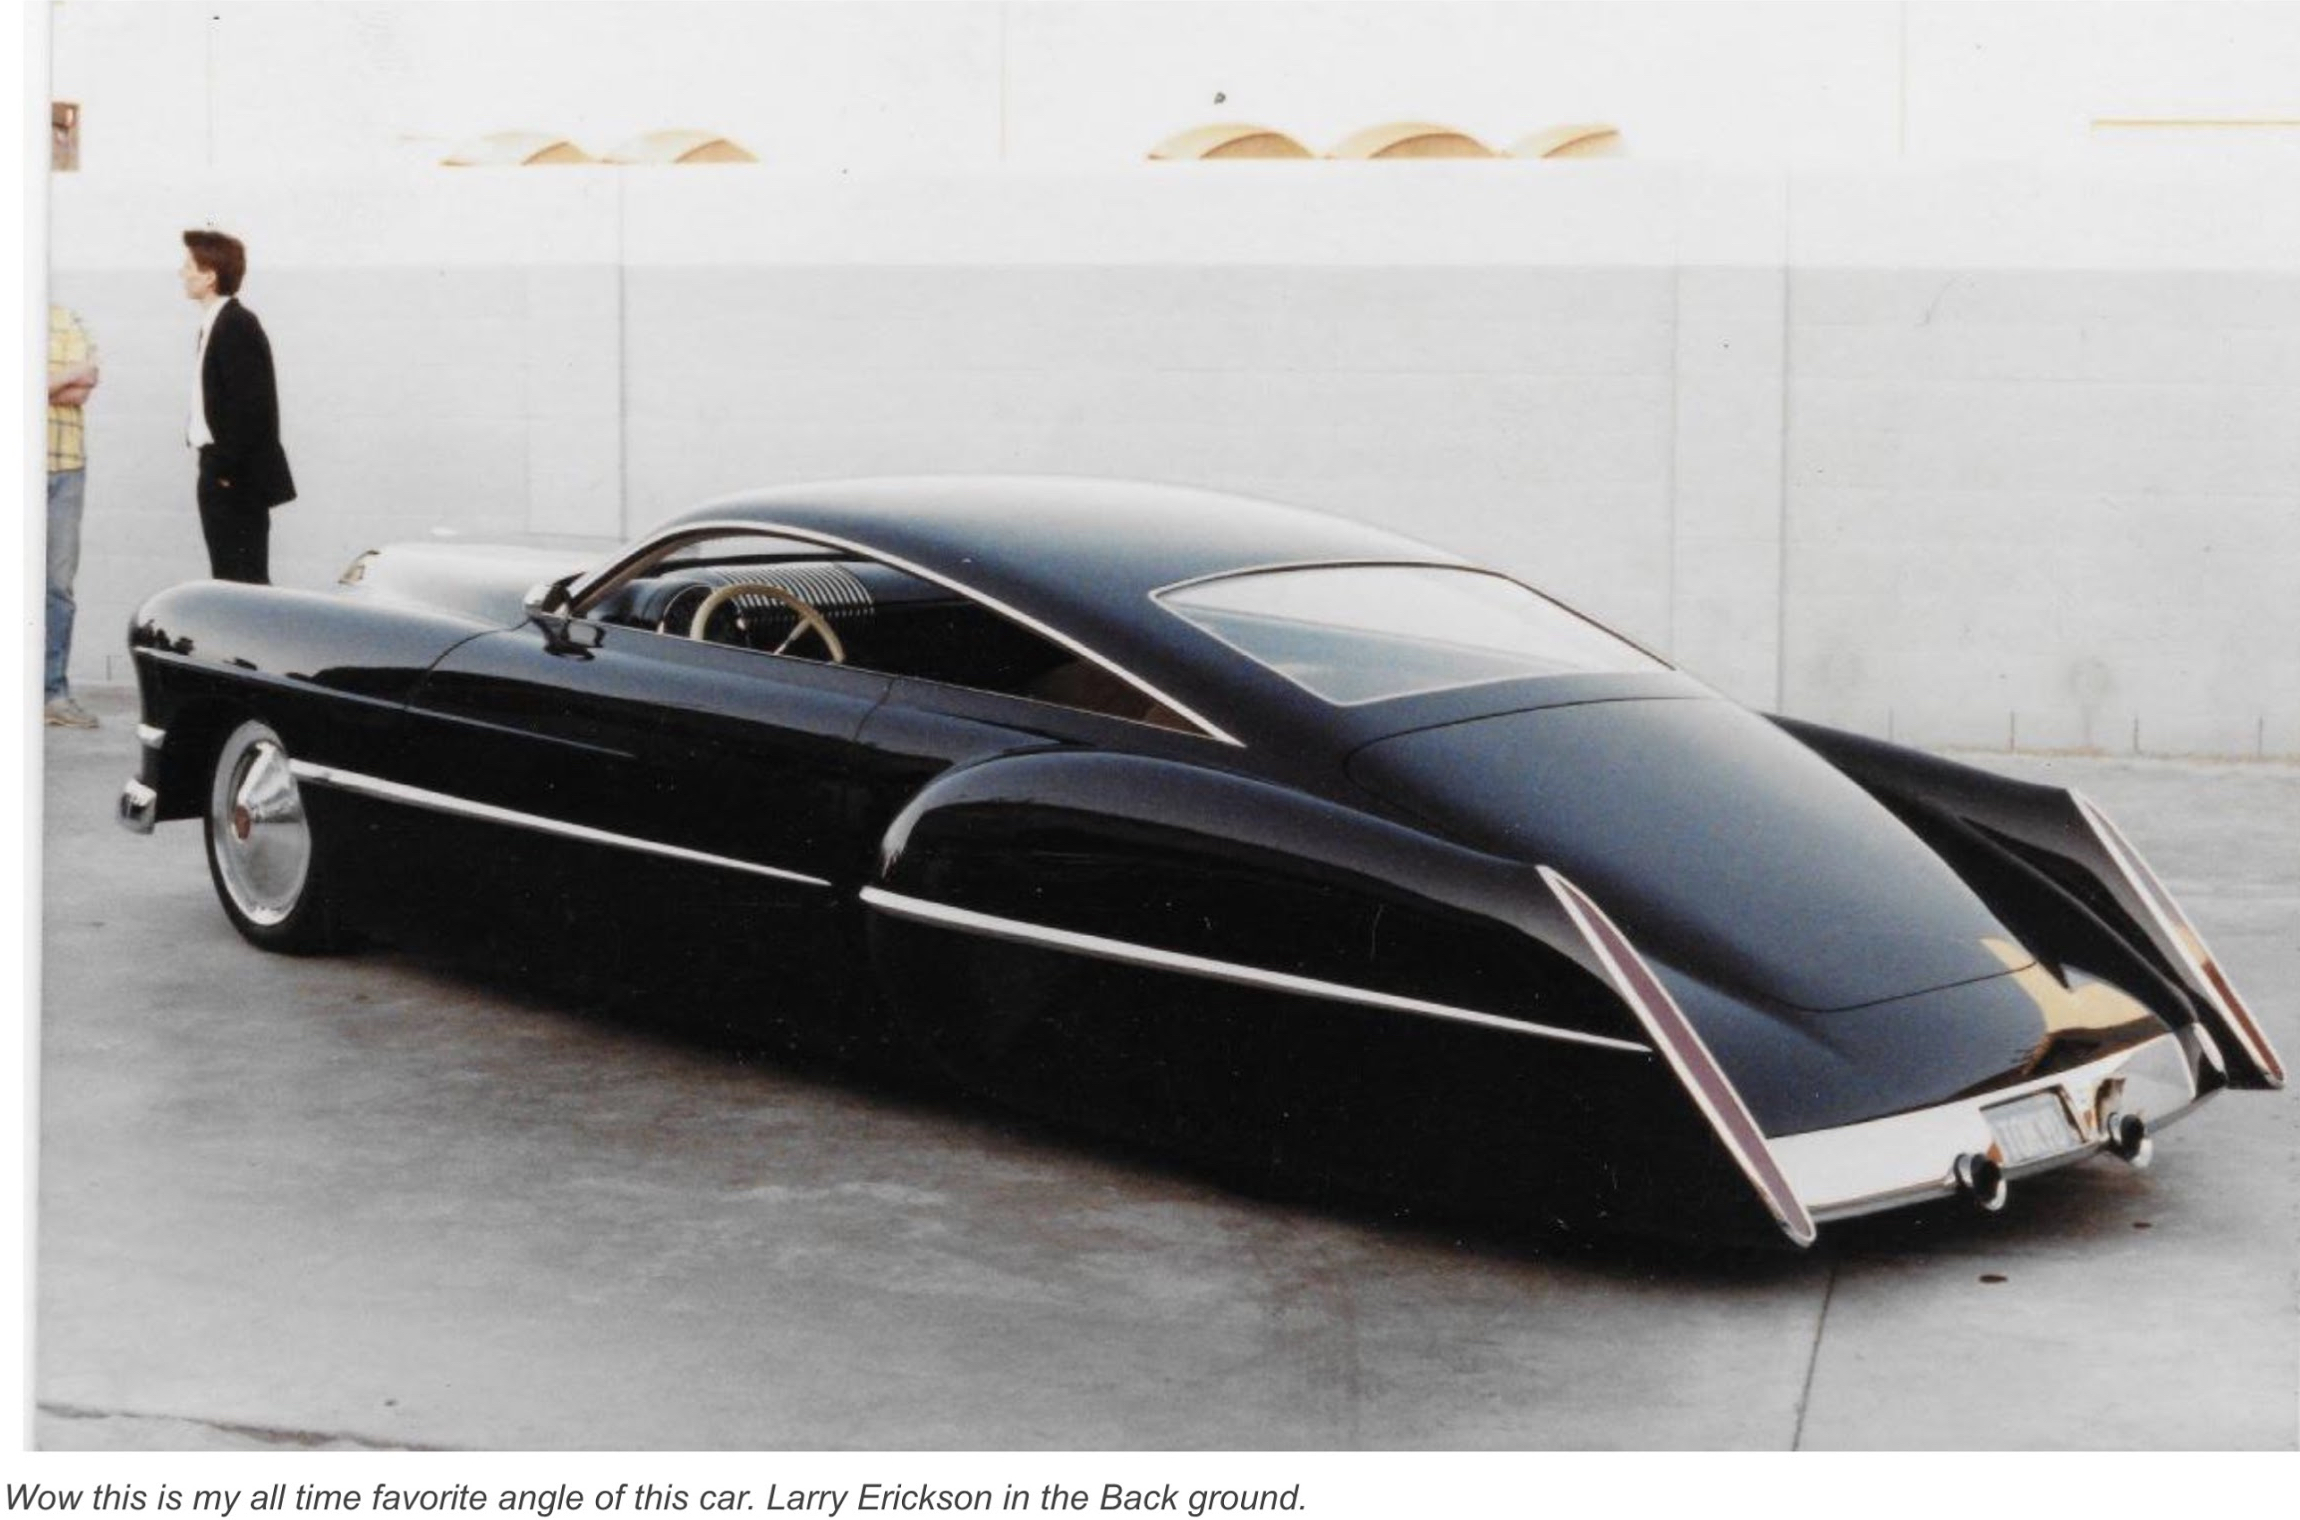
CadZZilla – Larry Erickson was the designer
Oil Cooler Vents
I have not felt the need to install an oil cooler, but I thought while the body prep work was being done, it was time to install the vents. I like the look even if they are not actually needed to direct air to an oil cooler! I looked at many different cars with vents installed. I discovered the size of the vents and their placement on the shroud varied substantially. I finally took measurements from an original rally prepared car and used them as direction for my car. Again, Craig Naff executed the plan perfectly.

Oil Cooler Vent Measurements

Oil Cooler Vents and Screens
Stow-it Tube
Tracy Drummond. recognizing that storage is always an issue in a Healey, came up with a way of utilizing a space under the bonnet for storage of small items. He made a tube of fiberglass and installed it in the lightening hole on the RH firewall/frame brace. So, “thank you,” Tracy, I copied your design although I think you used a tobacco can as a mold while I used a cylindrical Glenfiddich package for my mold! Here is the product of my work:

Stow-it Tube
License Plate Bracket
I have chosen to forgo the stock bumpers on the Bloody Beast, but since the license plate was fixed to the rear bumper on the MKI, I had to come up with another configuration. I tried numerous options until I came up with one that satisfied me. The final product was actually a combination of the roadster bracket and the later BJ8 bracket.

License Plate Bracket
Post-mounted Driving Mirrors
The Bloody Beast had wing mounted mirrors when I purchased it in 1971. They were impossible to adjust from the driver’s seat. On my rebuild I knew that I did not want to drill holes in the wings or shroud for mirrors and I knew that I wanted mirrors that I could easily adjust. Cape International http://www.cape-international.com/ sold a mirror that mounted using the front-most mounting screw for the windscreen post that fit the bill. The passenger side mirror has an extension that must be used to make it visible from the driver’s seat.

Cape International Driving Mirror
Tow Hook/Driving Light Brackets
In addition to the functionality of improved lighting for driving, I always liked the looks of driving/fog lamps on the Big Healey. I had planned to fabricate my own brackets for the lamps, but then came upon these dual purpose brackets sourced from Cape International http://www.cape-international.com/. While I am pleased with the appearance, my experience has been that the metal stock used is not of sufficient grade for towing. From a central pull source on a trailer or flatbed tow truck, the eyelet brackets bent when stressed. They seem to be fine for tie down hooks (for which they are probably intended), but not so much for pulling the weight of the car. In my case I was able to bend the brackets to a correct position.

Tow Hook/Driving light Bracket
Rally Bumpers
I spotted Sprite Bugeye bumpers turned upside down mounted on a couple of Big Healeys at shows and noted that they were also used on Healey Rally cars. I liked the look, though they would hardly provide any real protection for the bodywork in the case of a rear end collision! Again, Cape International http://www.cape-international.com/made a kit with brackets and bumpers to mount on the Big Healey so I purchased a pair. As installed, they sit slightly too far from the body in my opinion and I may modify the brackets at a later date to adjust the positioning.

Rally Bumpers
Luggage Rack
Knowing that I was planning on driving the Bloody Beast on long trips (as in an 8,000 mile cross-country drive) I planned from the beginning to install a luggage rack. After studying a number of variations available on the market I decided on the Cape International http://www.cape-international.com rack for a number of reasons. It sat close to the body rather than protruding up into the air providing for better visibility when loaded in addition to enhanced esthetics, it mounted without any holes being drilled into the car, and it was of sufficient width to carry a couple of small suitcases. The rack is made of stainless steel and is nicely done with welded strapping loops.

Luggage Rack
3M Ultrashield
I chose to not use a front bumper and front valance making my front shroud paint particularly vulnerable to gravel and road debris so I opted to install 3M’s Ultrashield product. This clear protectant has provided excellent protection for the front of the car. In fact, I wish that I had installed it on selected frame members for chip protection as well. I took the car to Richmond, VA (about a two hour drive) to have the installation done.

Ultrashield Installation
Getting the Ultrashield film to fit all of the complex curves of the healey was no small task. Here is a short video showing how the application is done: