This will be a gradual process, but we did begin the removal of the interior components. Most of the interior will be replaced with new parts, but we will save everything until the new pieces are installed near the end of this project.
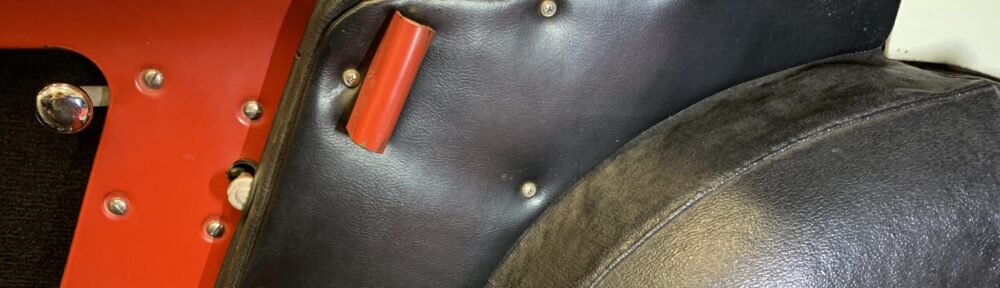
The first action taken was to remove the shoulder harness mounting points for both seats. We will probably replace these with retractable belts when we are at that point in the rebuild.
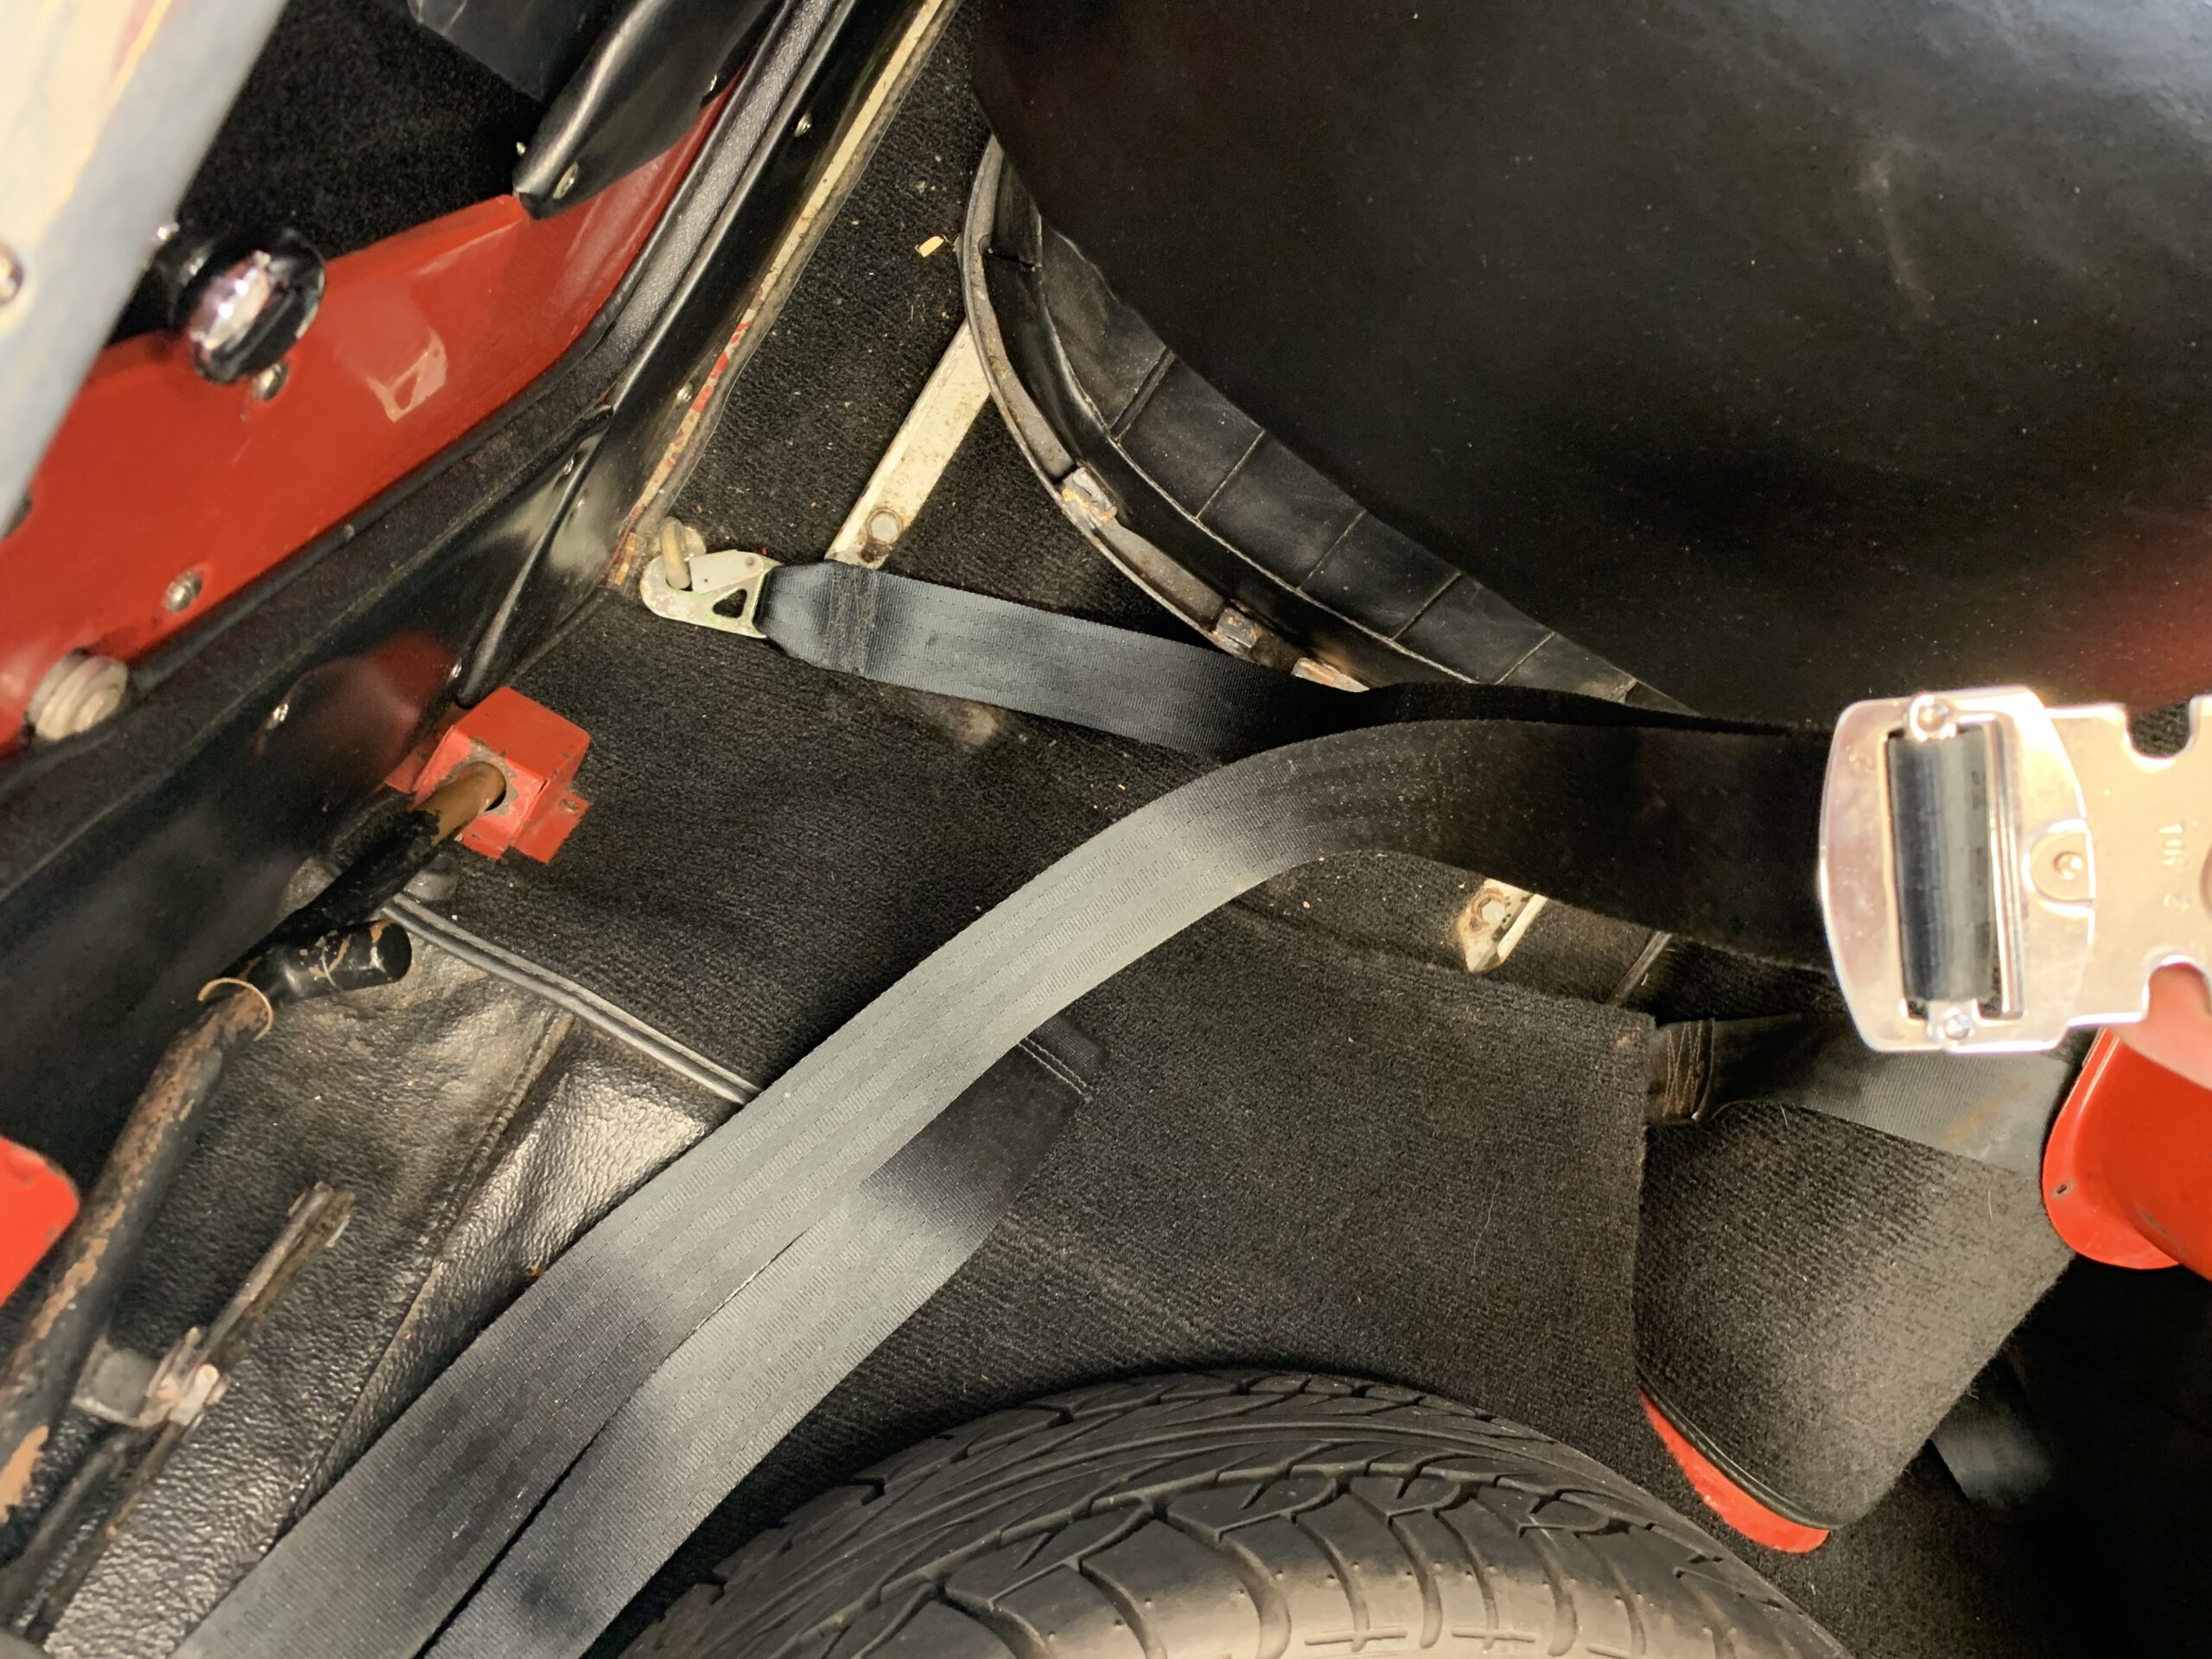
Shoulder Harness Removal

Shoulder Harnesses
At :13 in the video Episode Twenty-Two summary the soft top frame stowage bracket is removed. Each bracket is held in place with three self-tapping sheet metal screws.
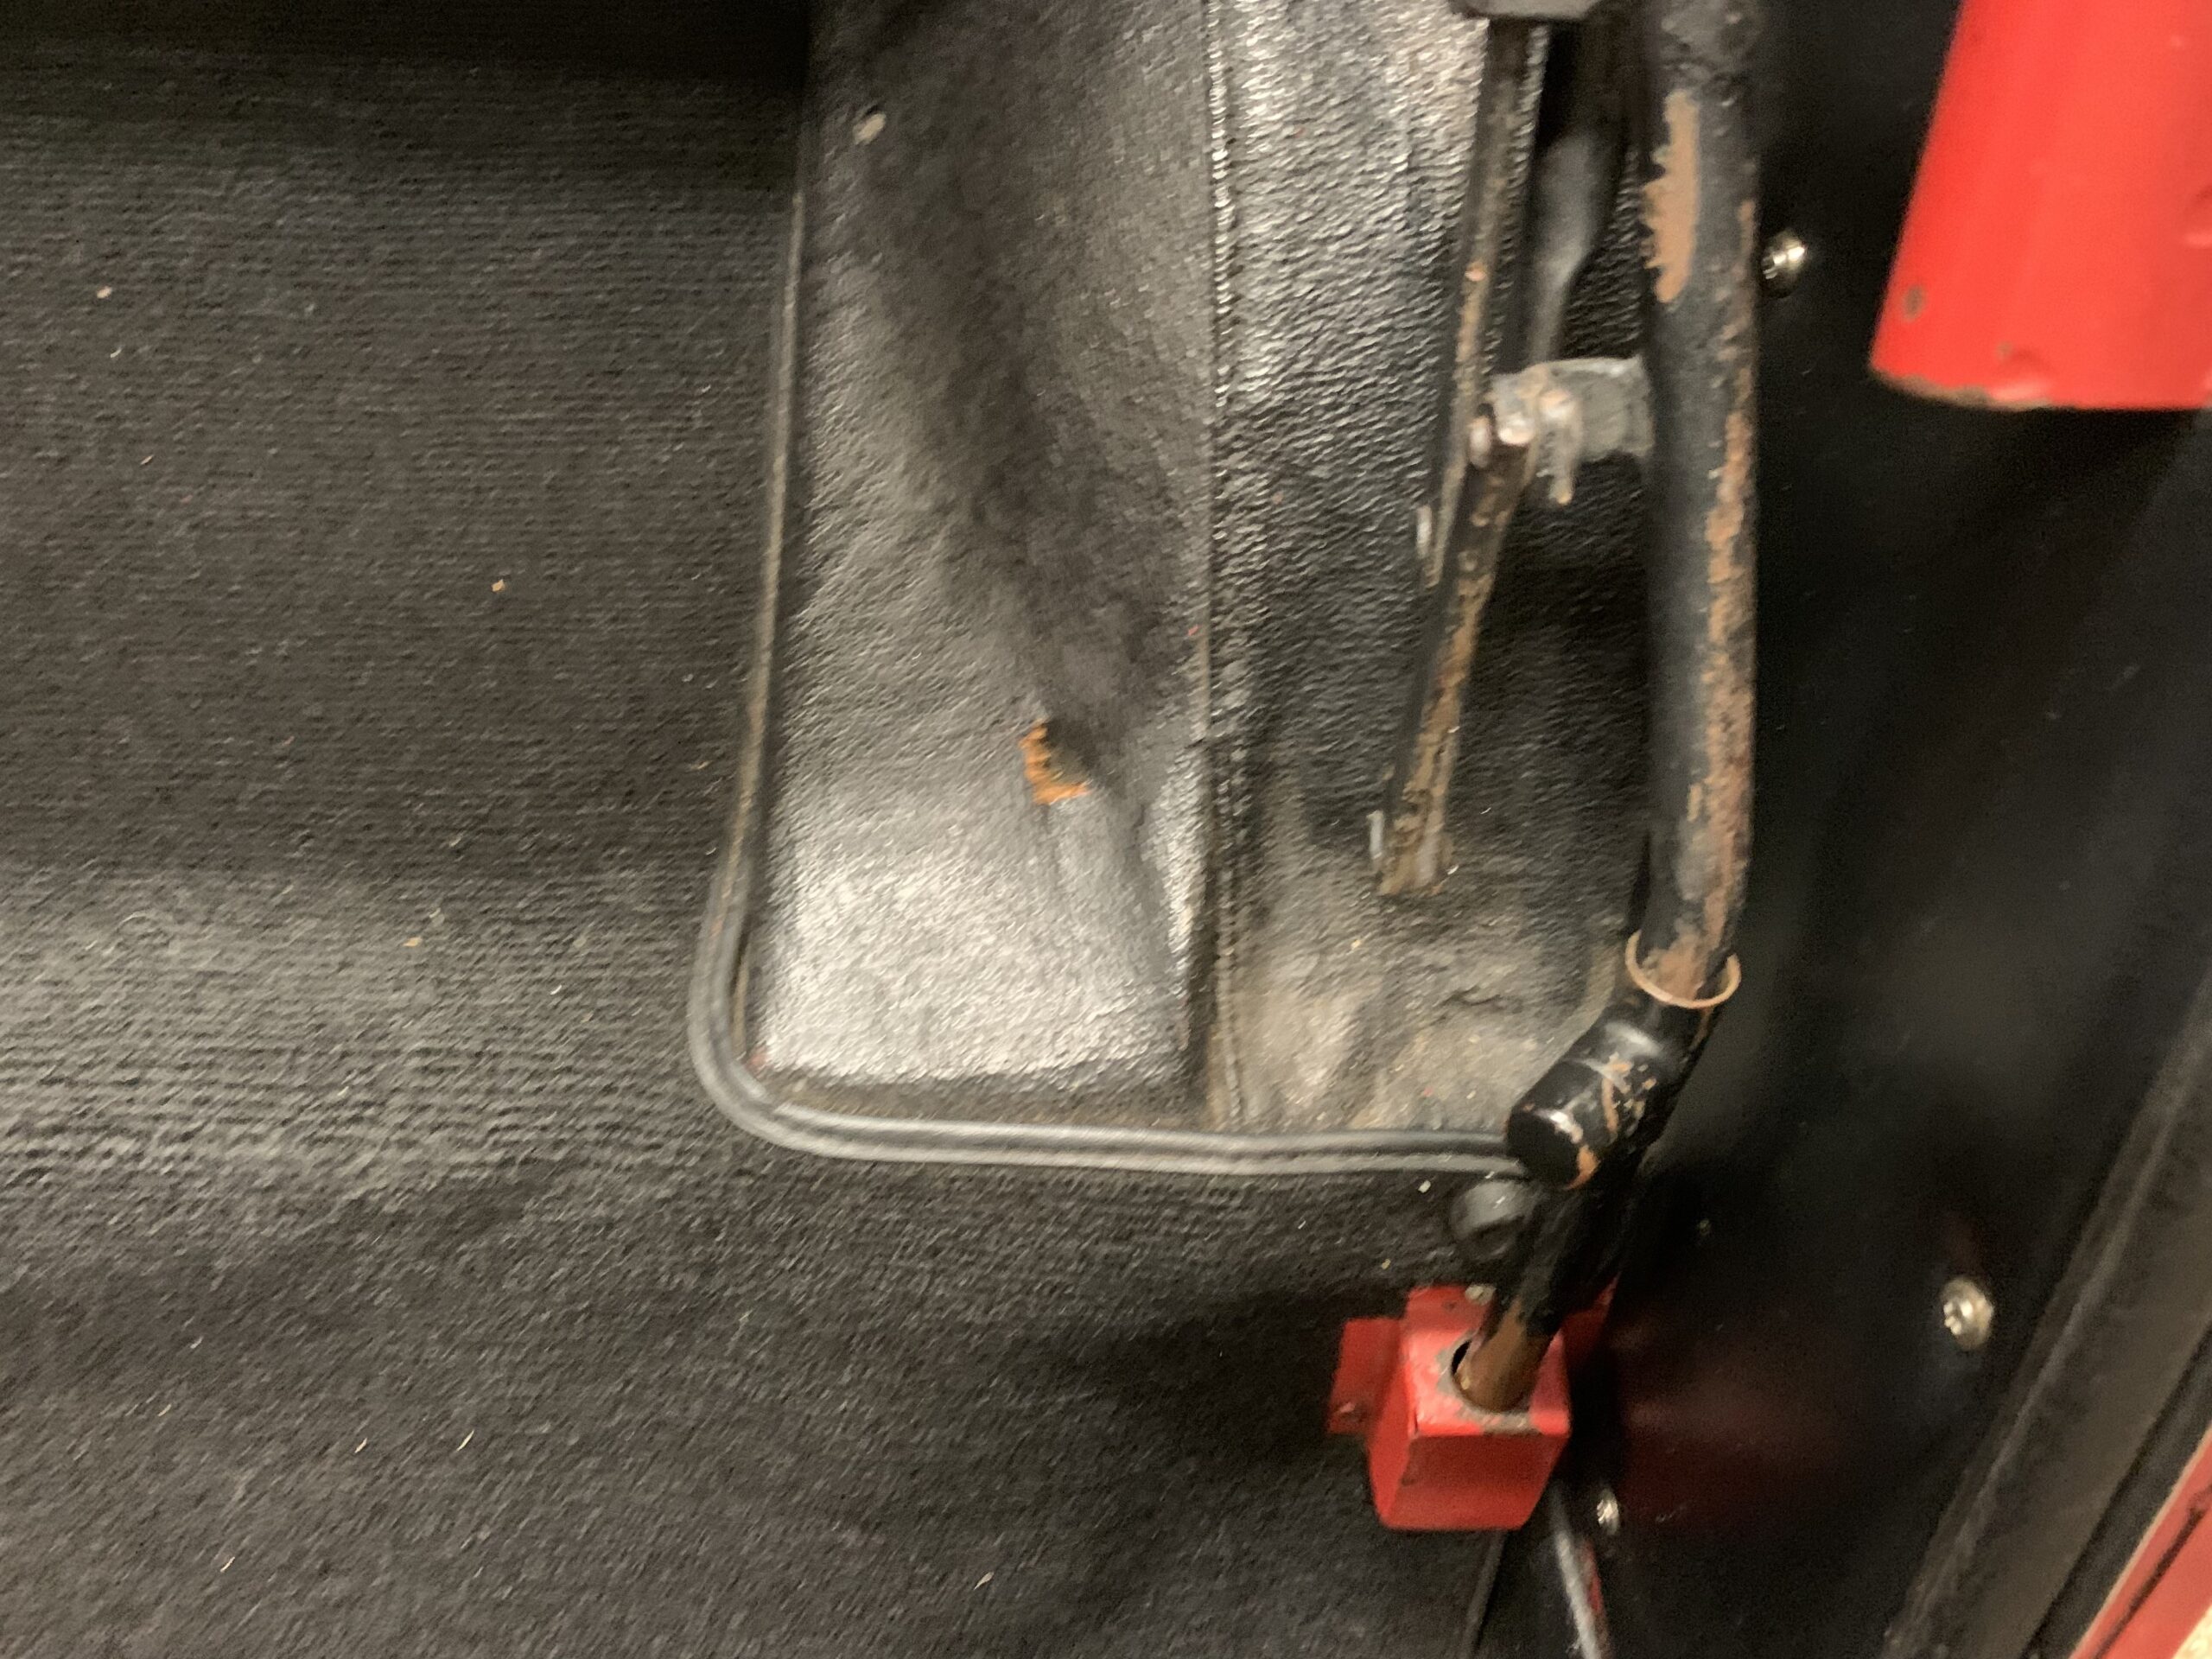
Soft Top Frame Stowage Bracket in Place
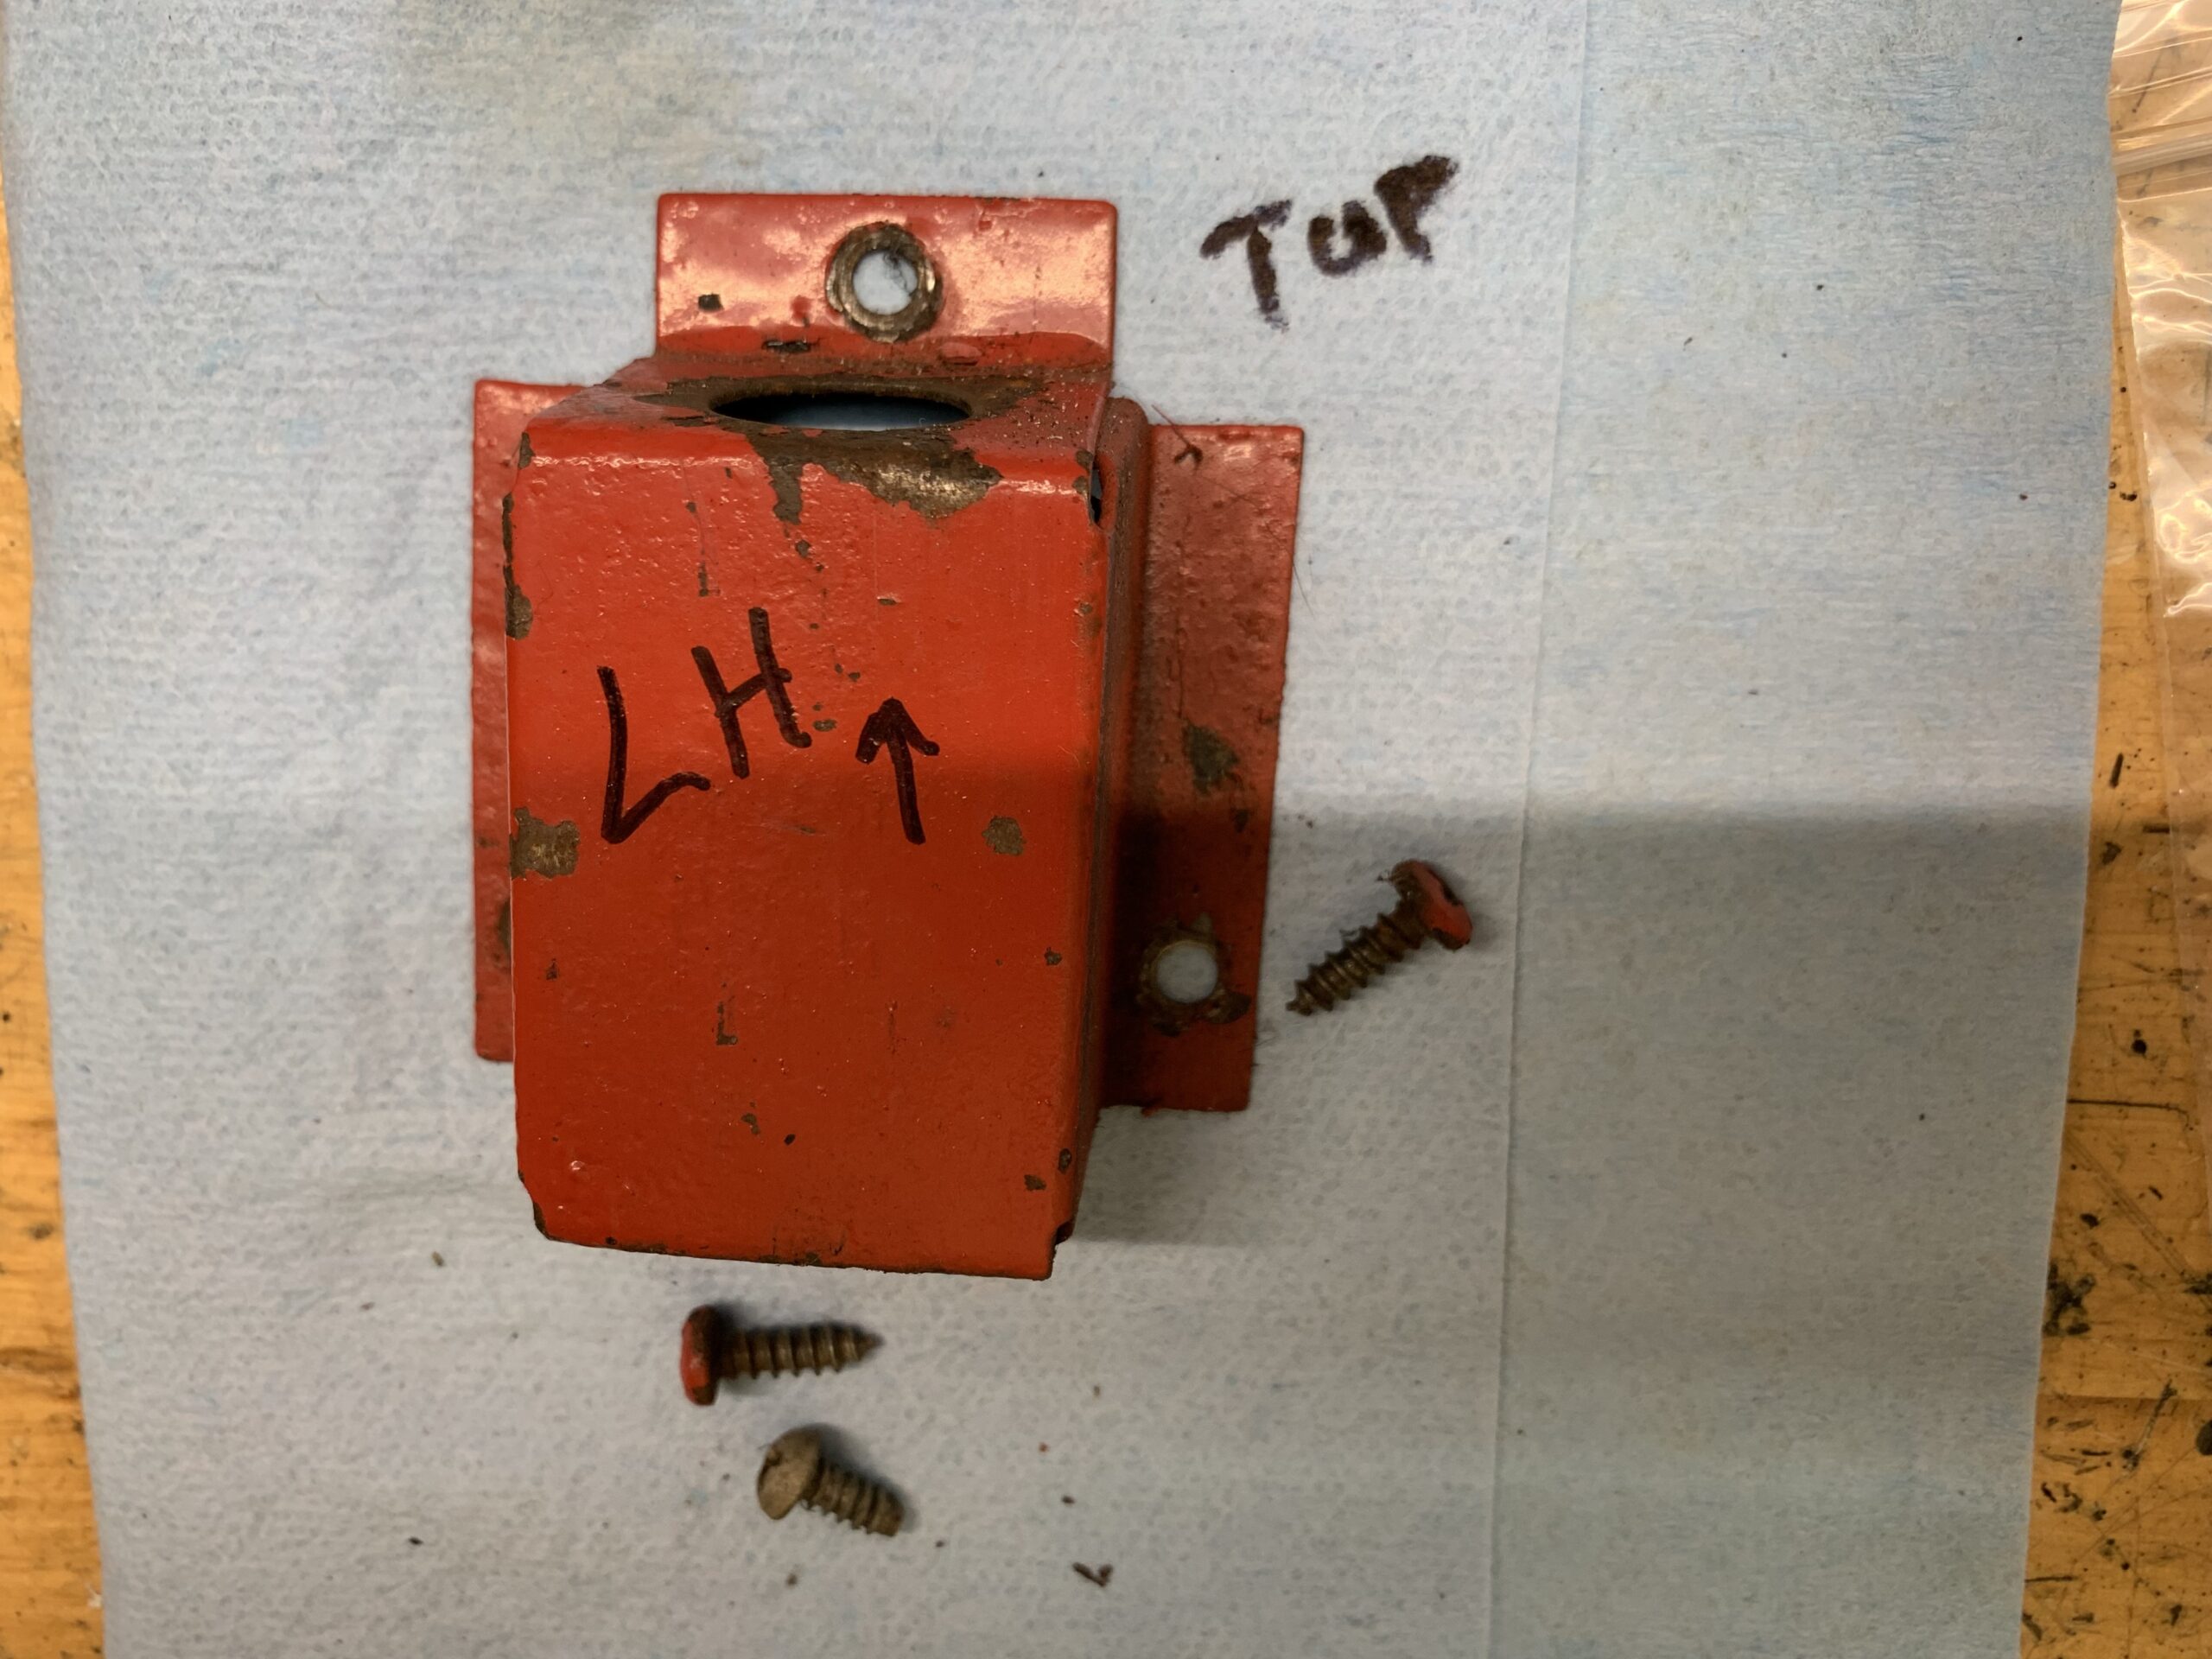
Soft Top Frame Stowage Bracket
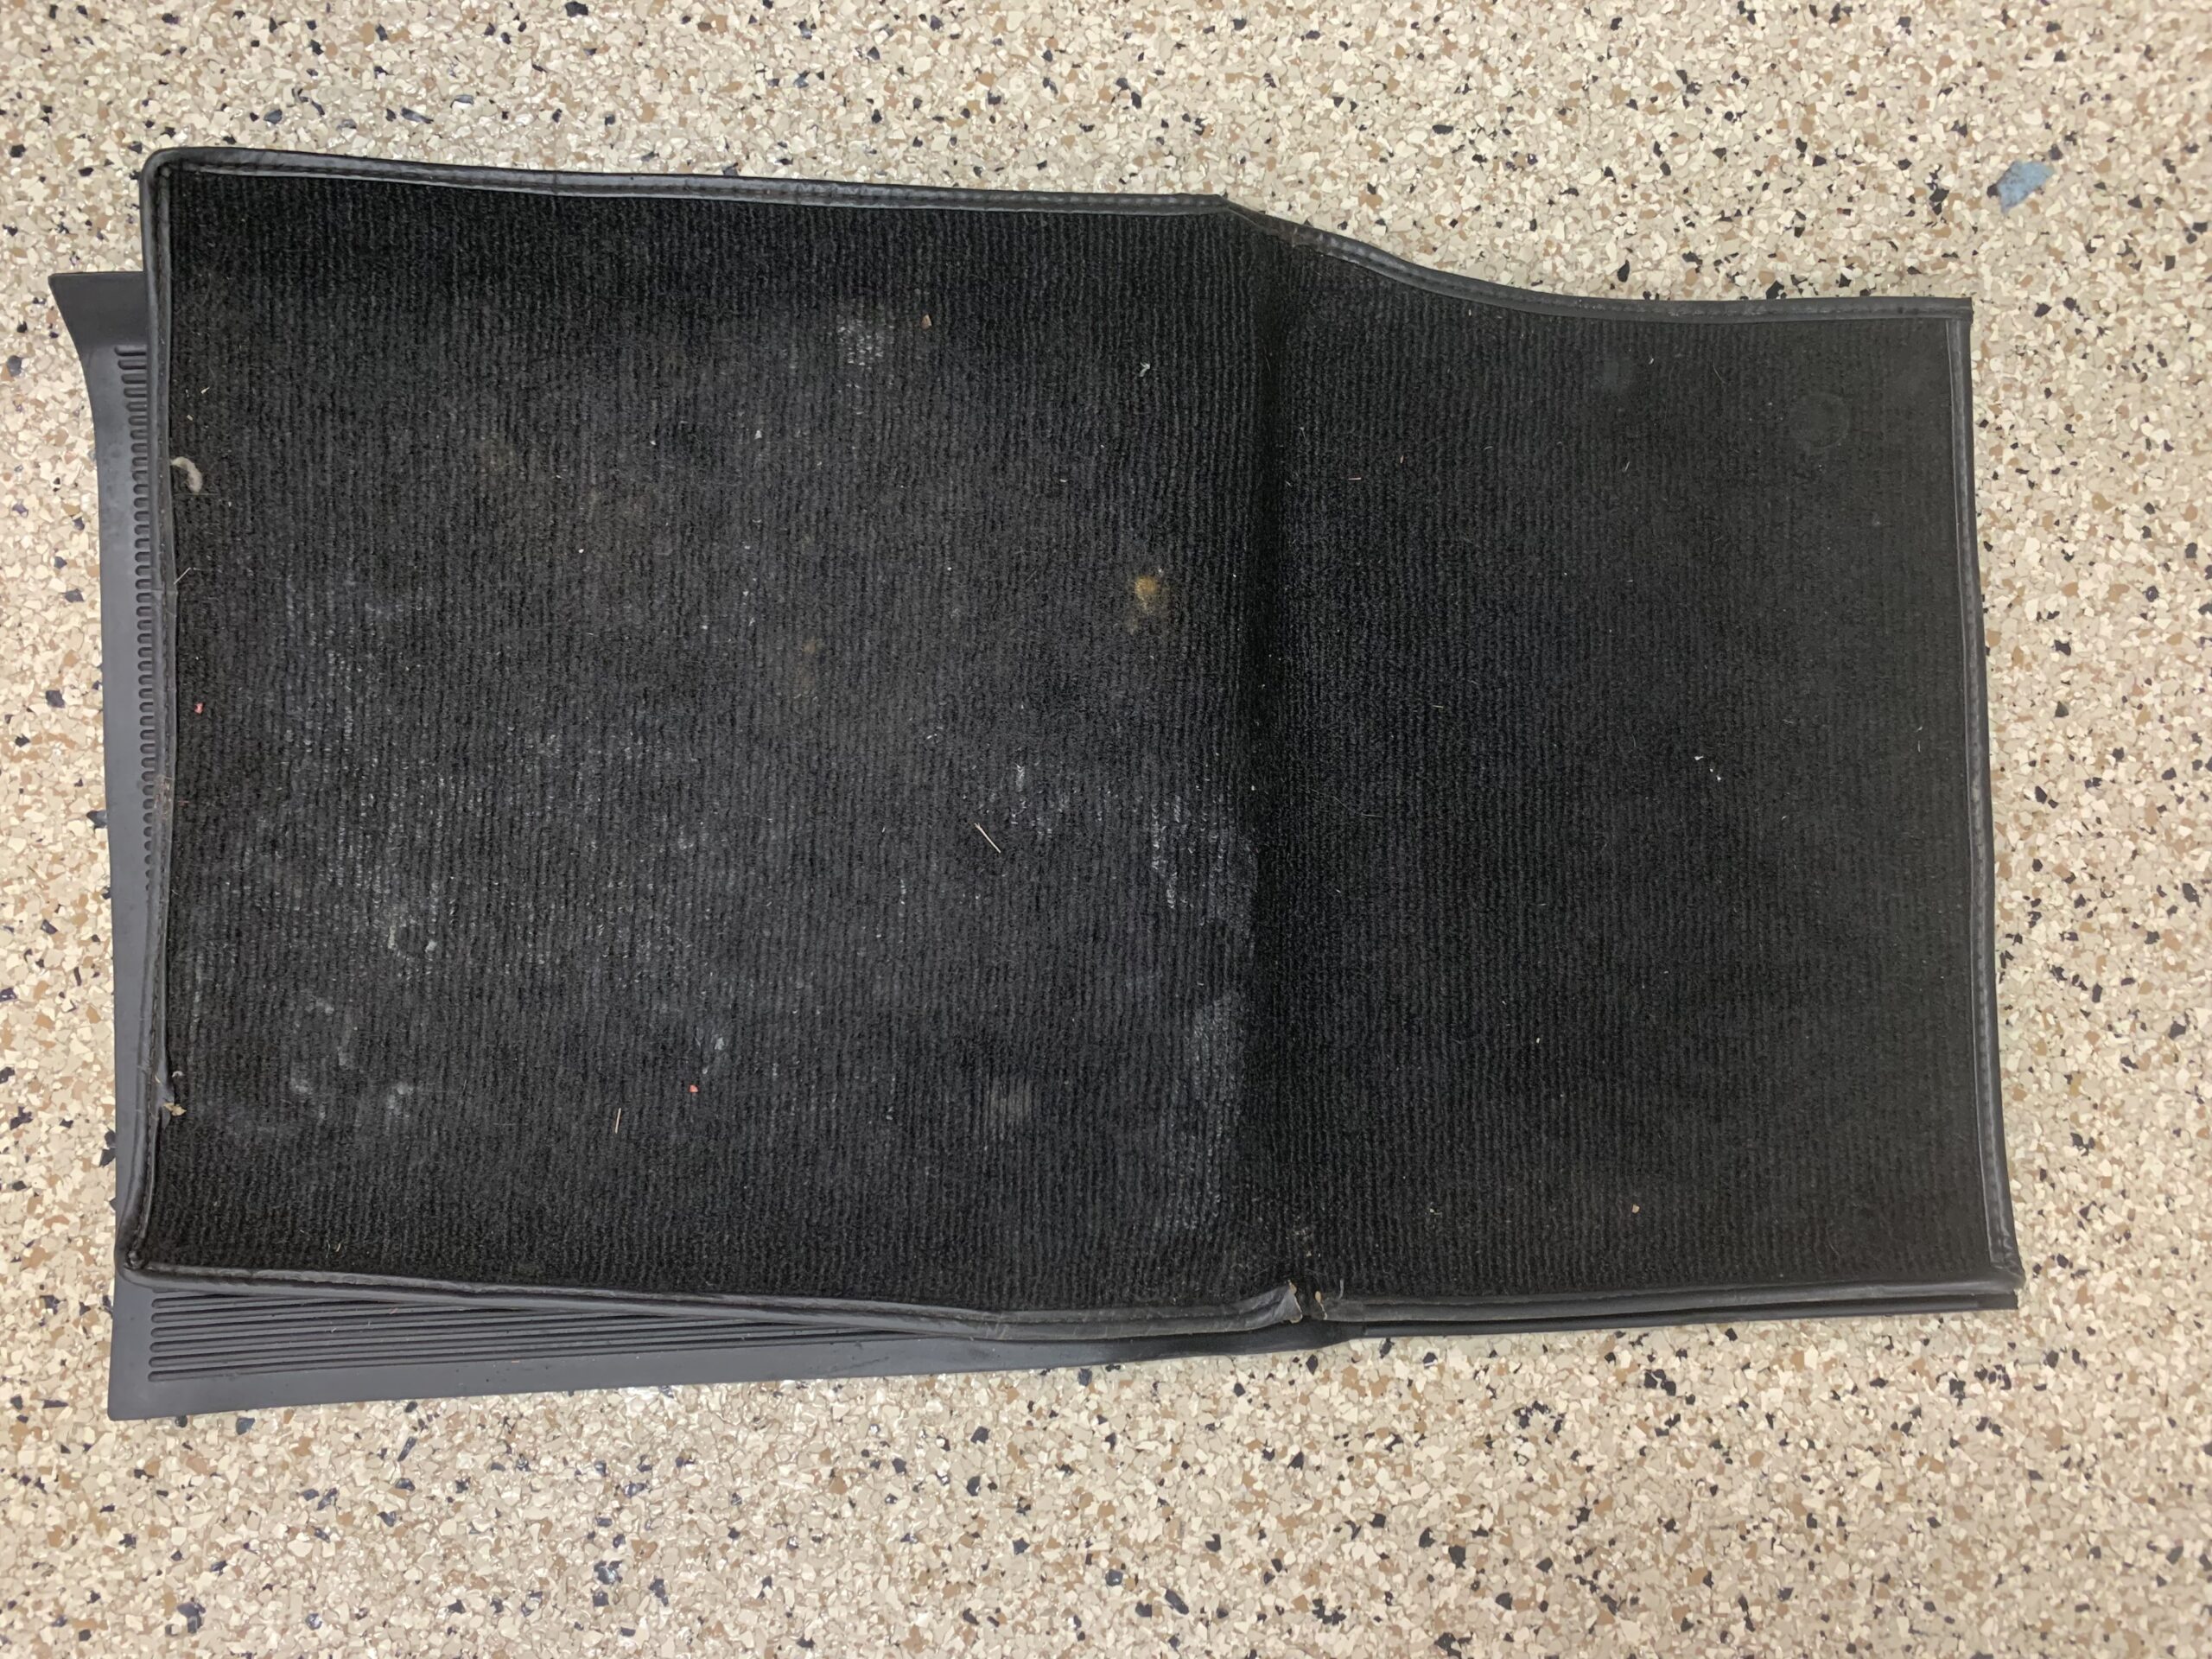
Next was the removal of the rear shelf carpet and its securing snaps. The process begins at the 1:00 minute mark in the video.
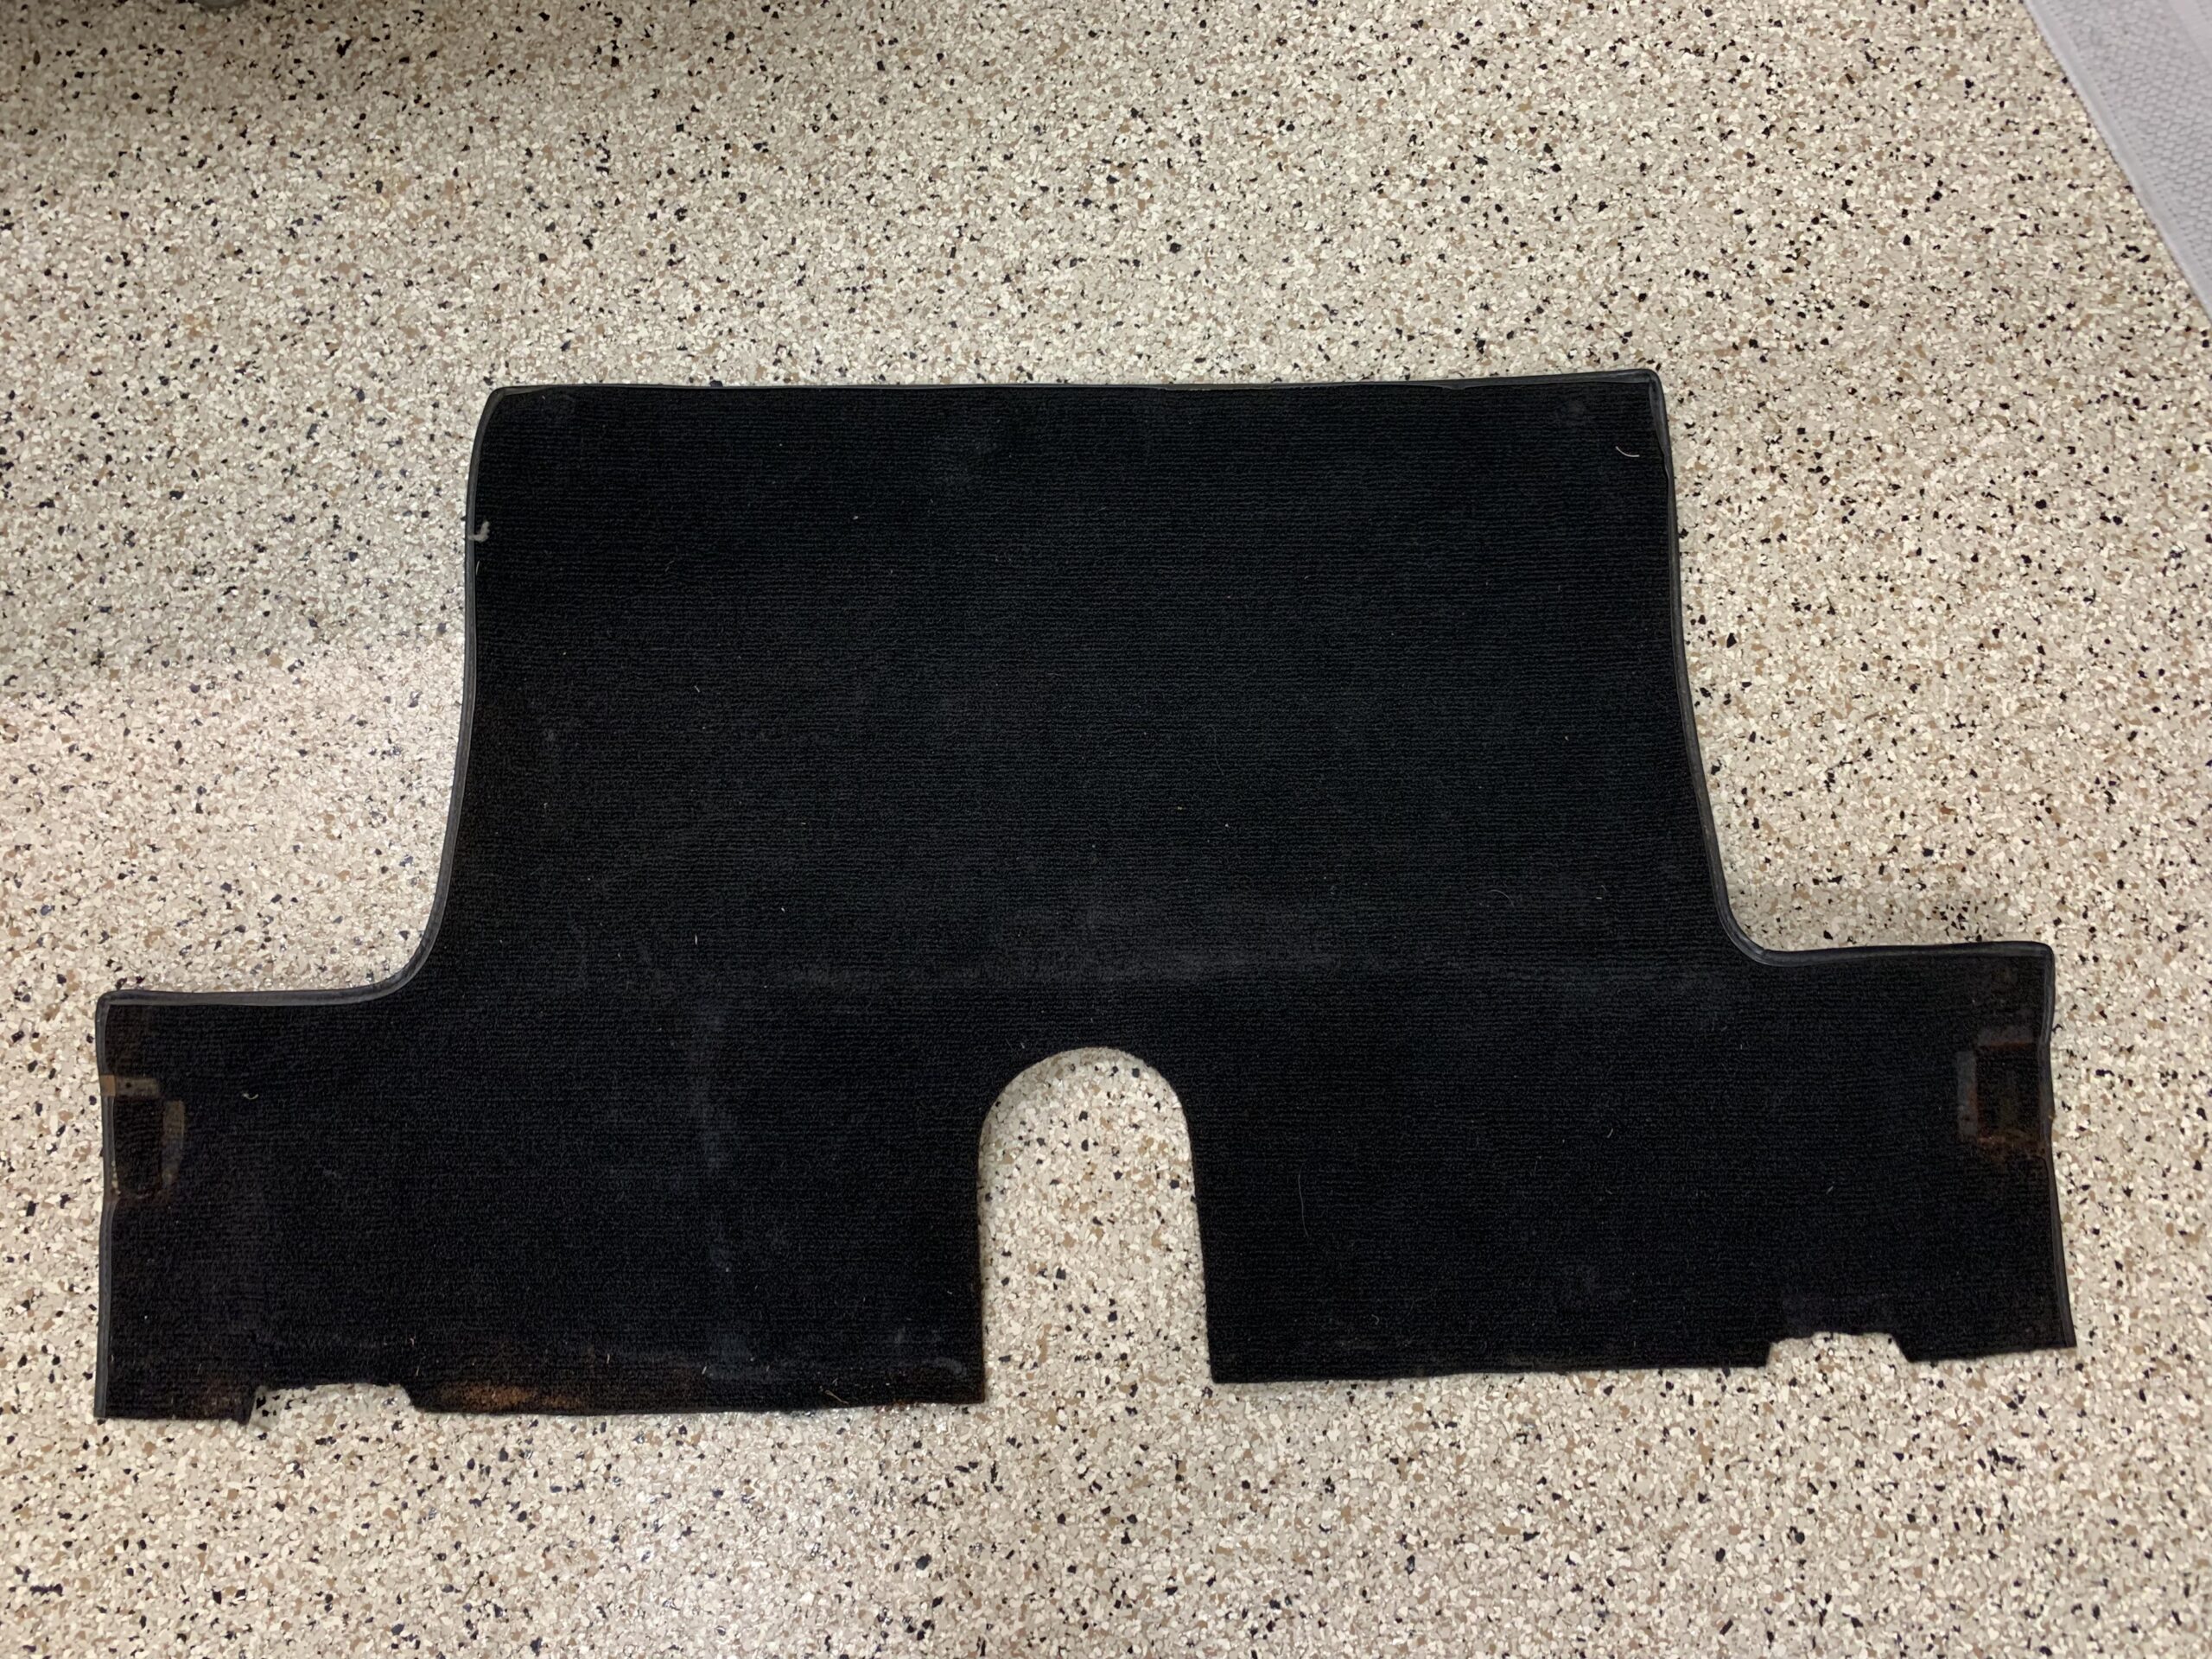
Rear Shelf Carpet
At 1:25 minutes into the video, the rear upholstered quarter panels and hardura covered wheel wells are removed.
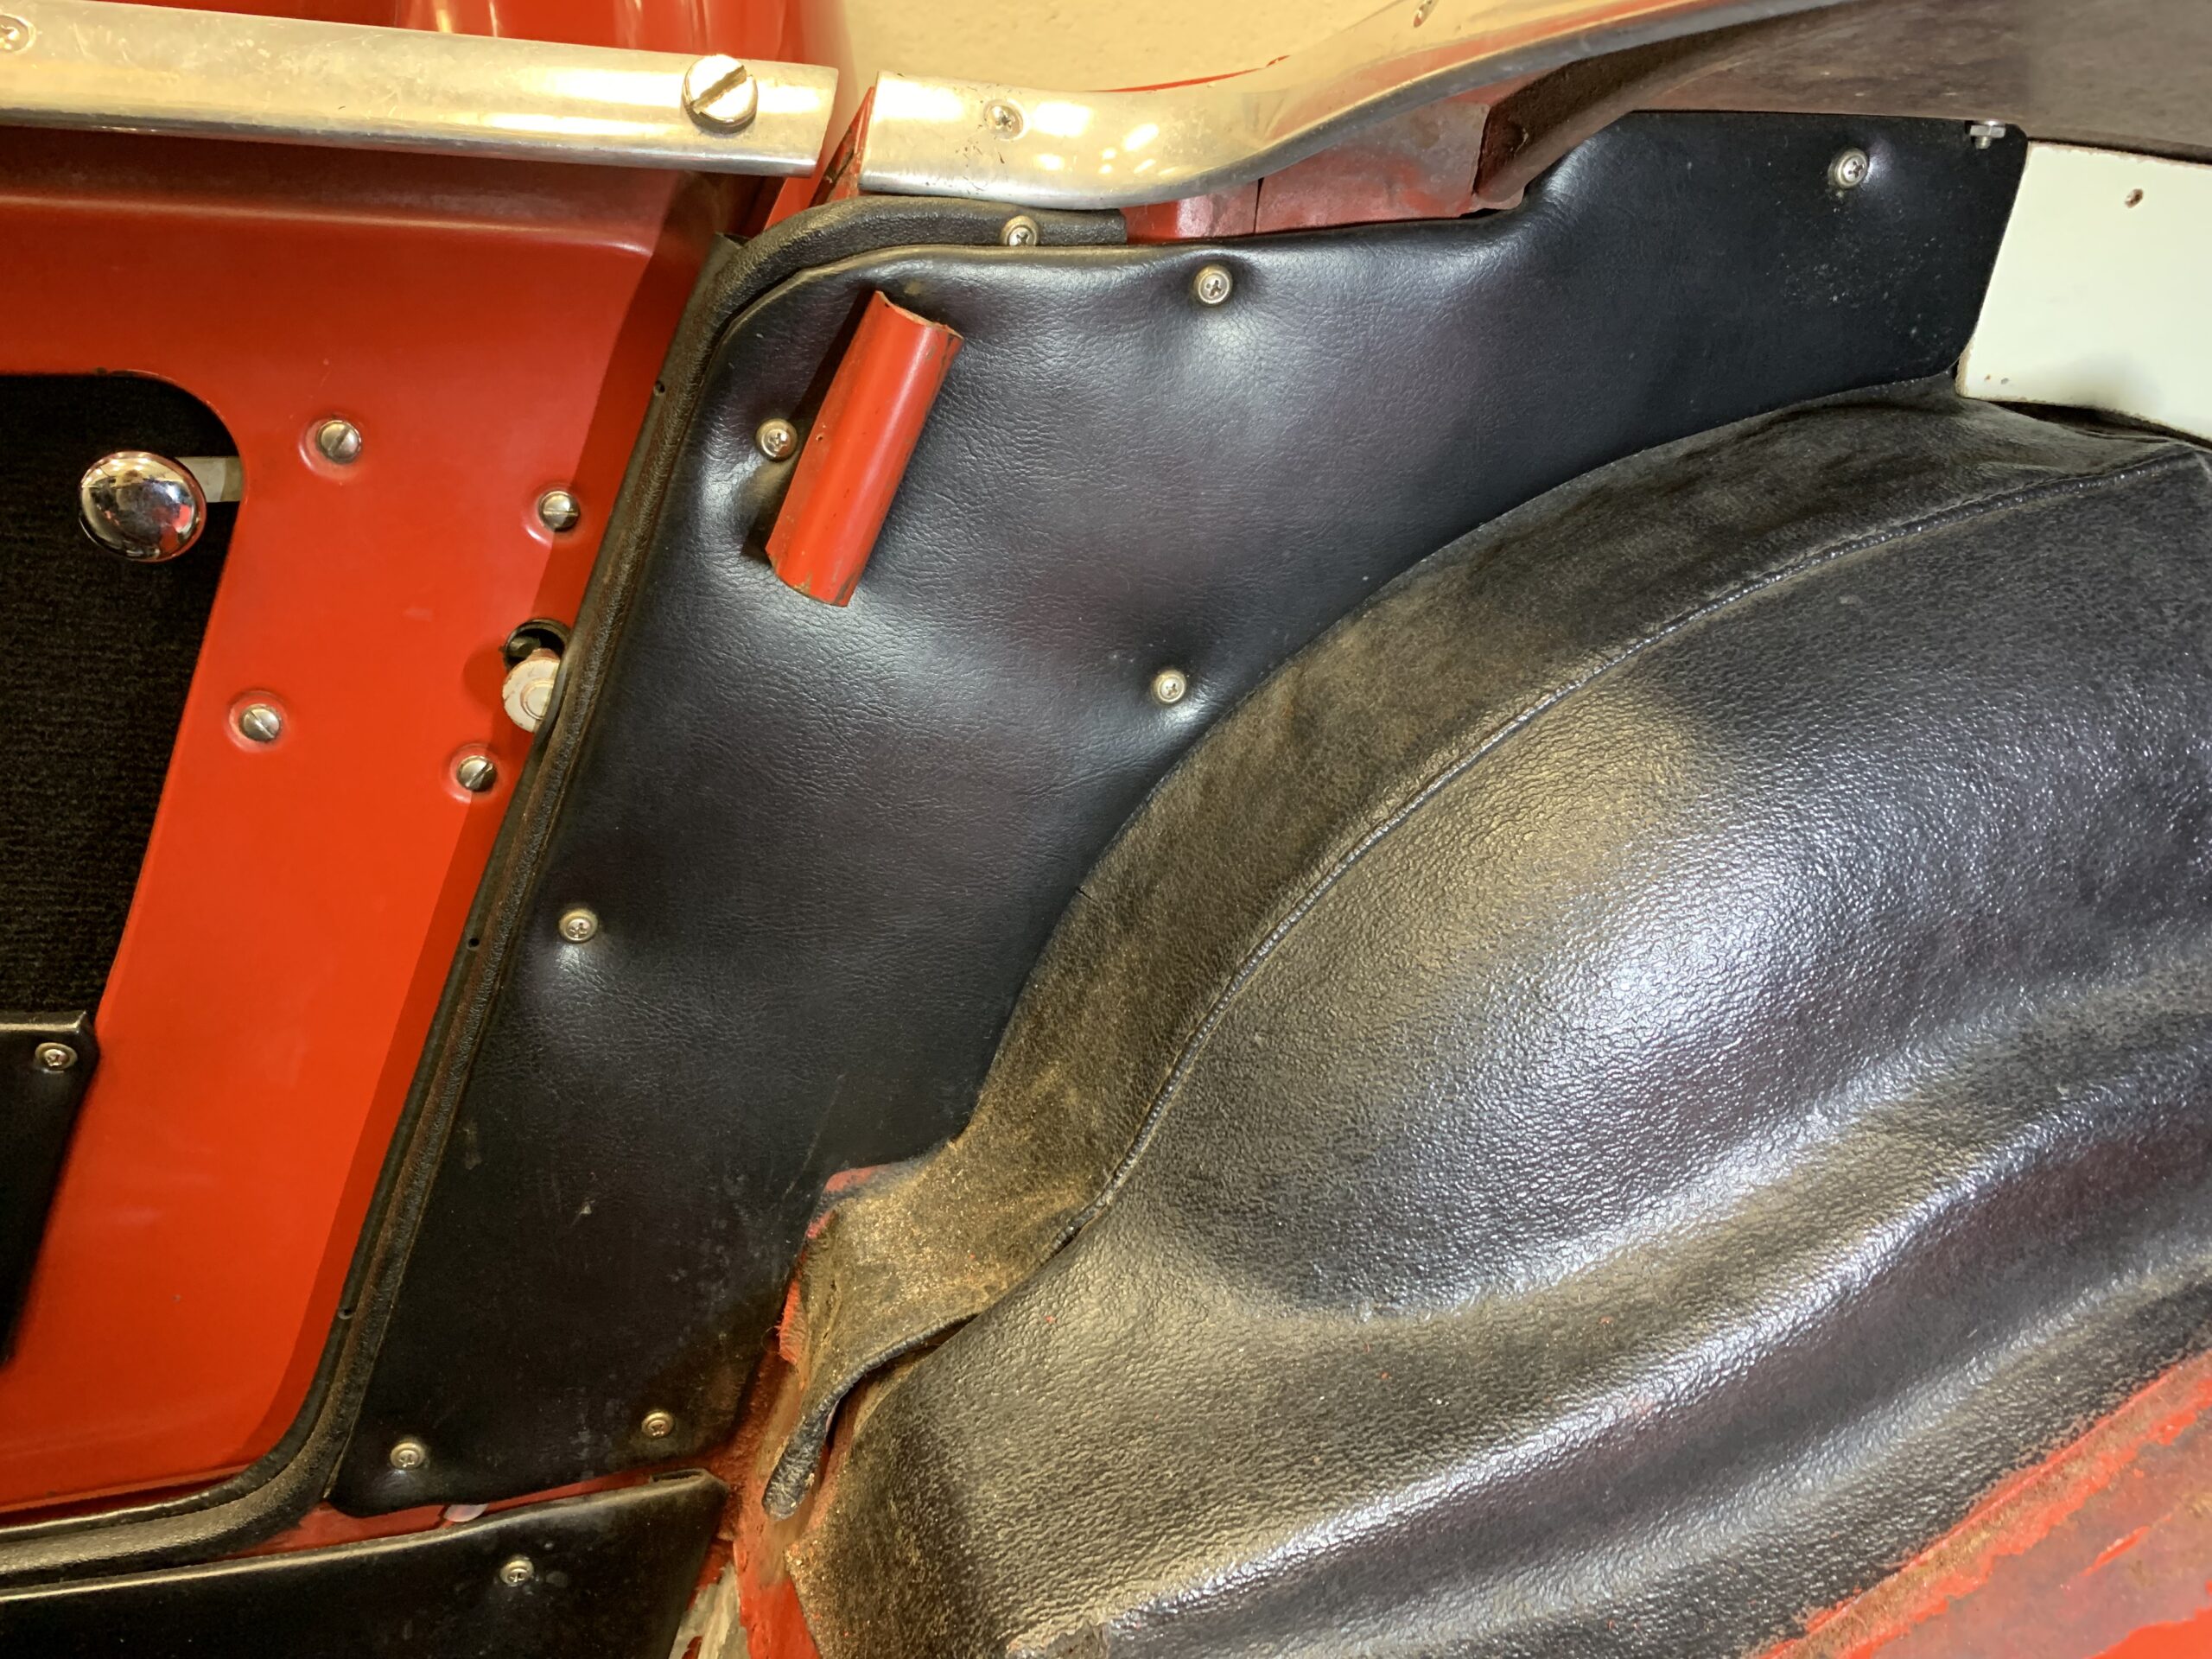
Quarter Panel and Wheel Cover removal
Because the hardura wheel covers are glued in place, they left quite a mess when removed. We will need to try some adhesive removal to clean the surfaces.
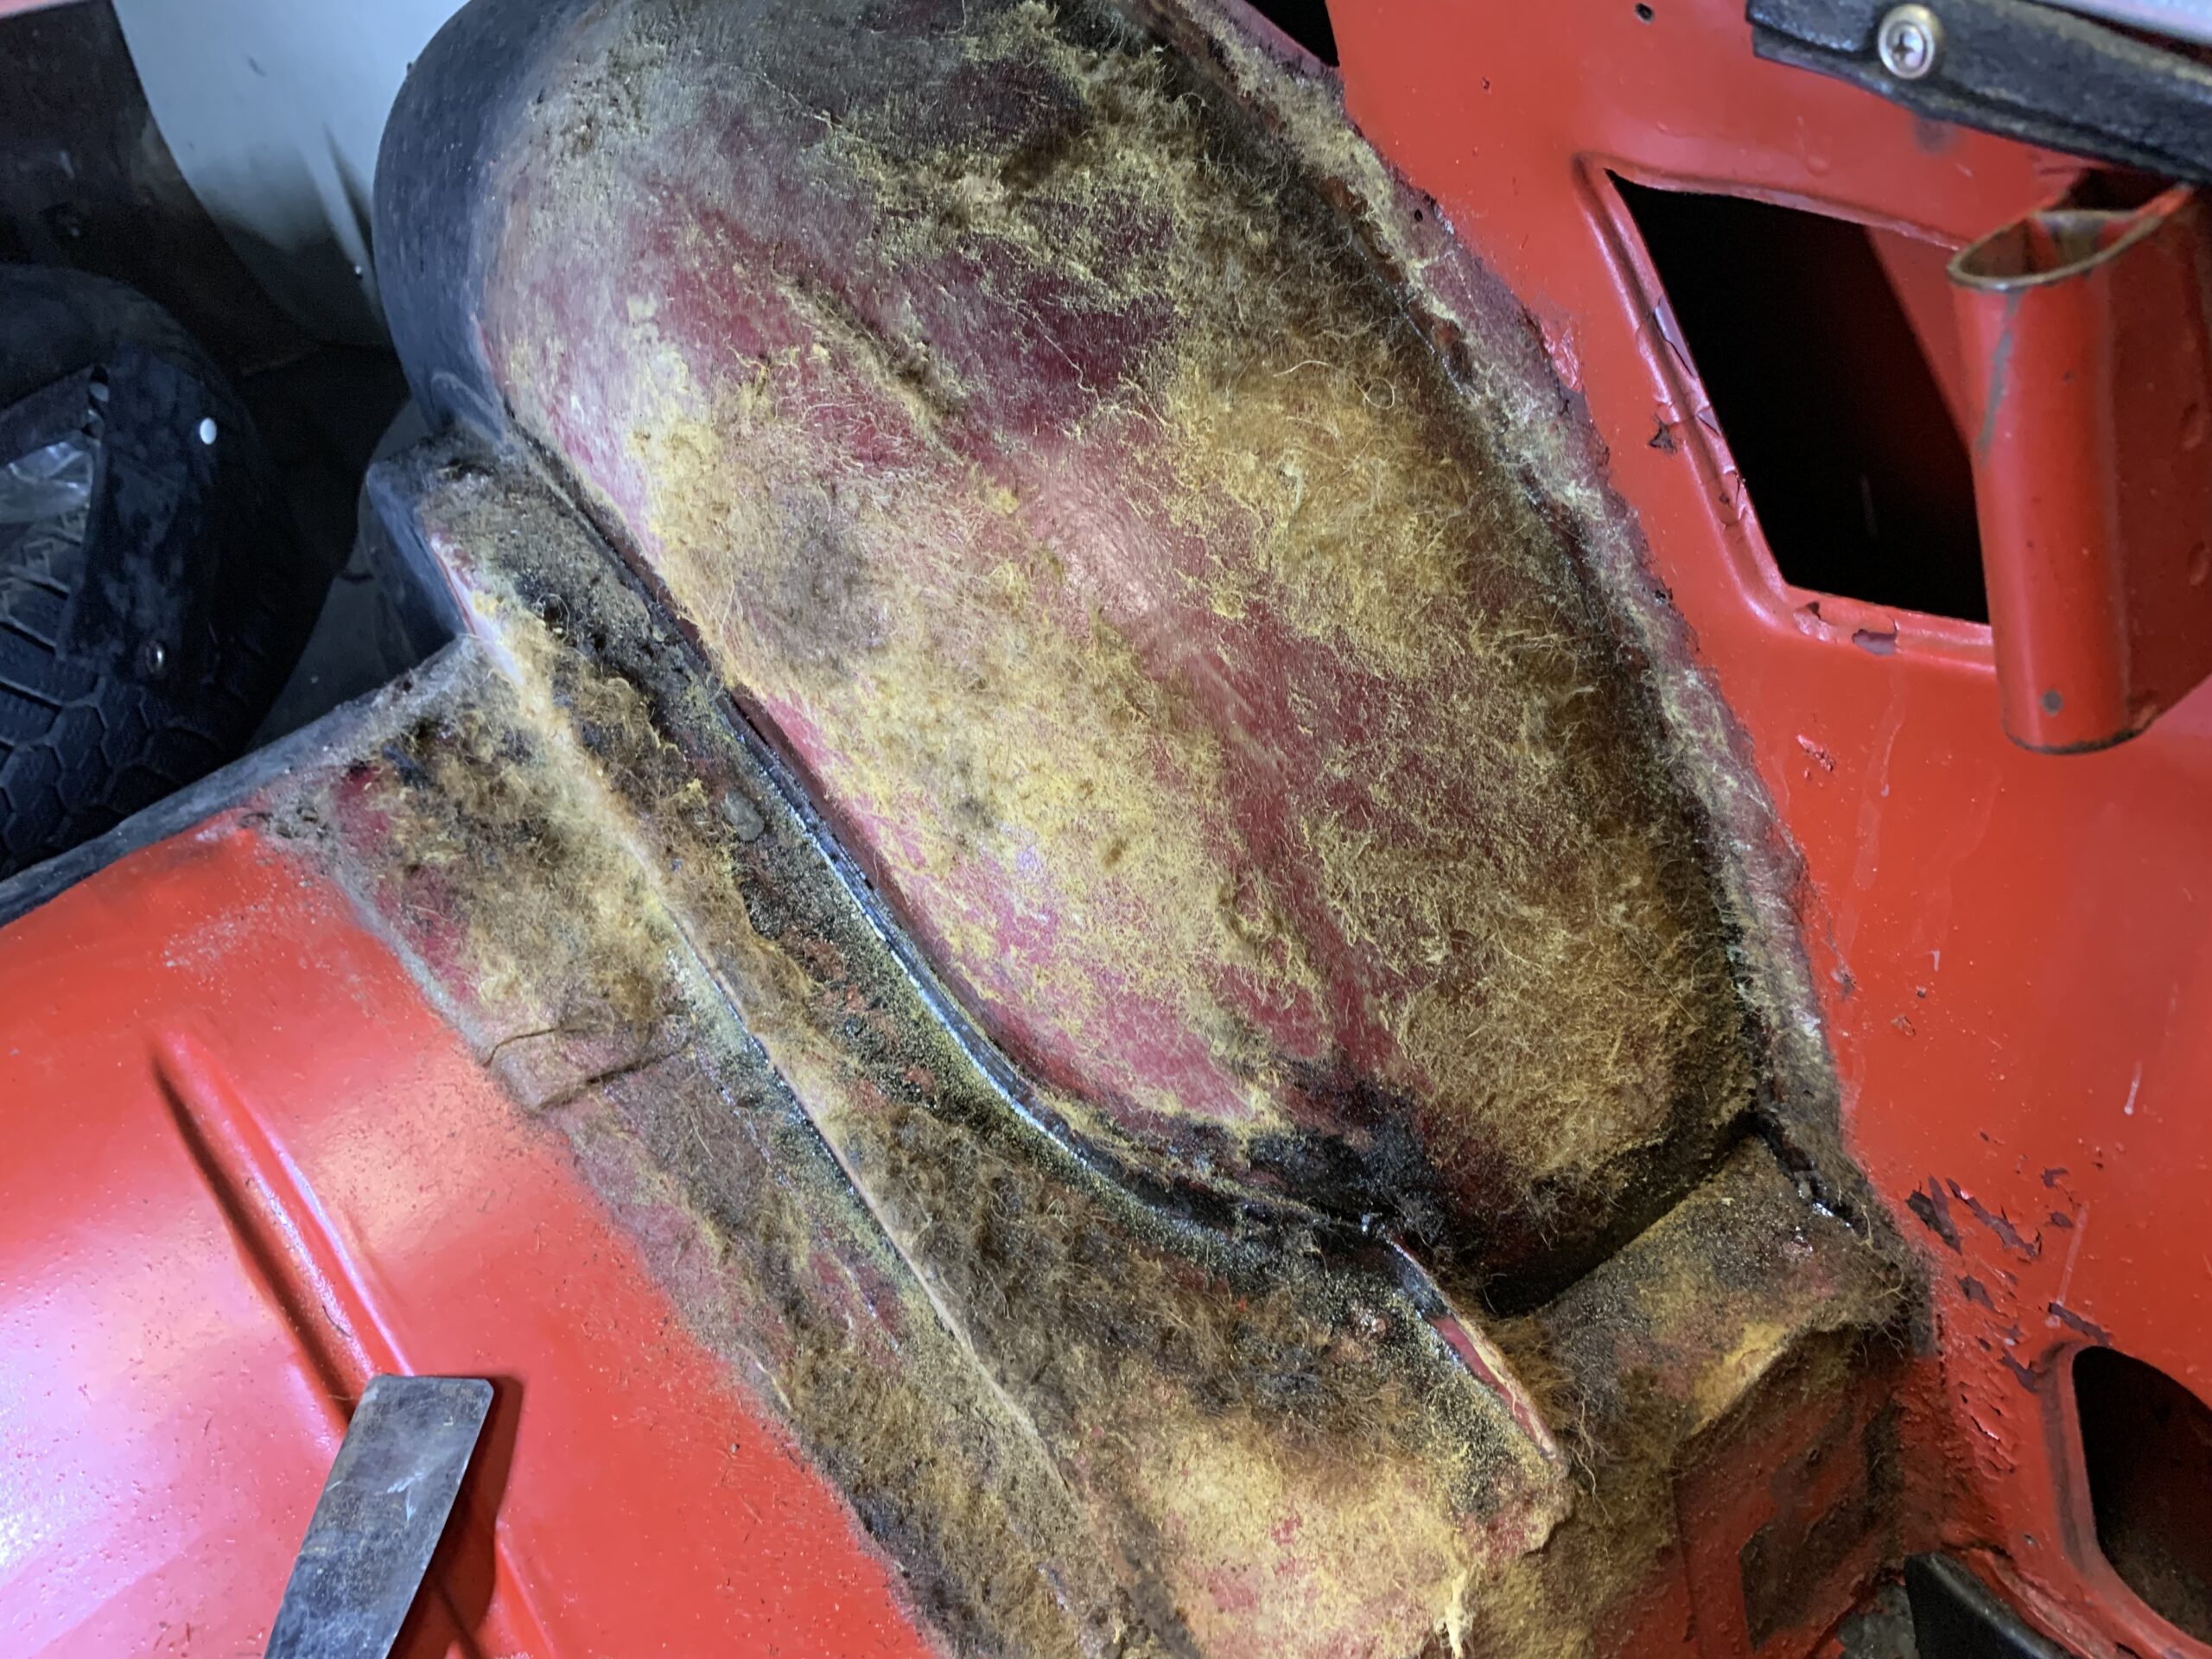
Hardura Residue at Wheel Wells
We discovered that the covers were originally red. A previous owner had dyed or painted them black.
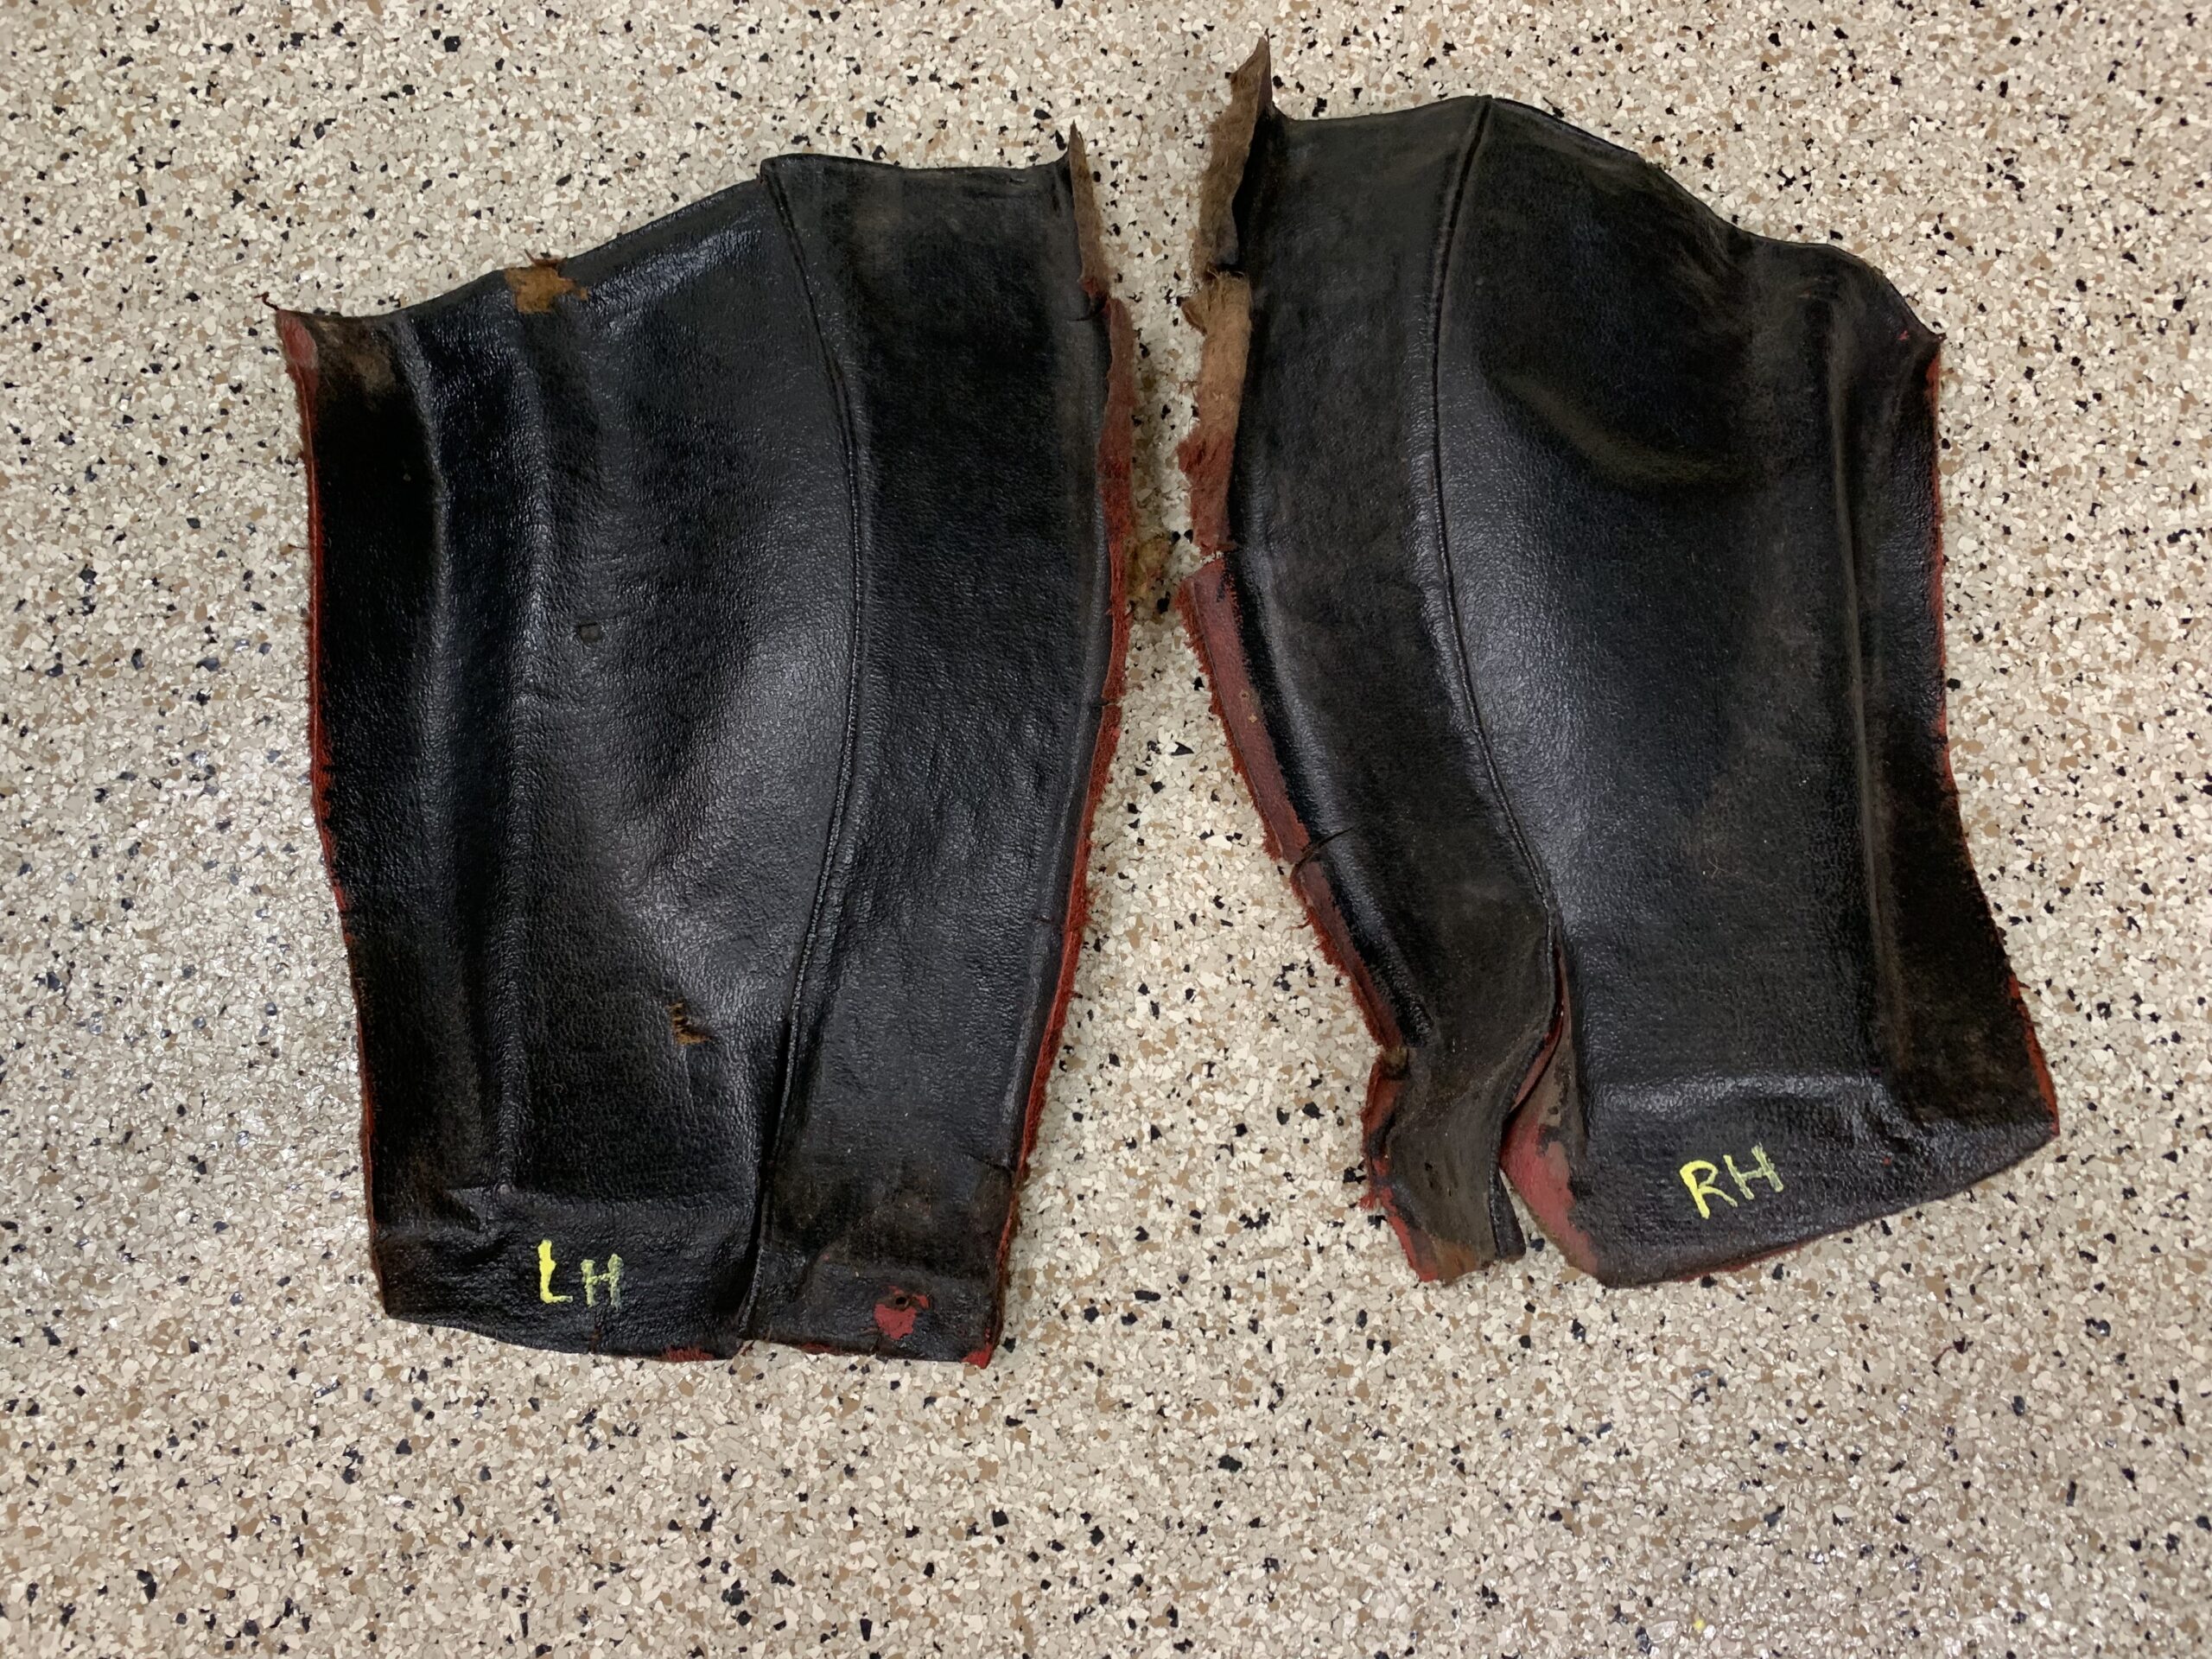
Hardura Covers removed
Although not removed at this point, it was noted that the wiring harness to the rear of the car is routed through a hole in the frame that is covered by the rear quarter panel.

Wiring Harness Behind rear Quarter Panel
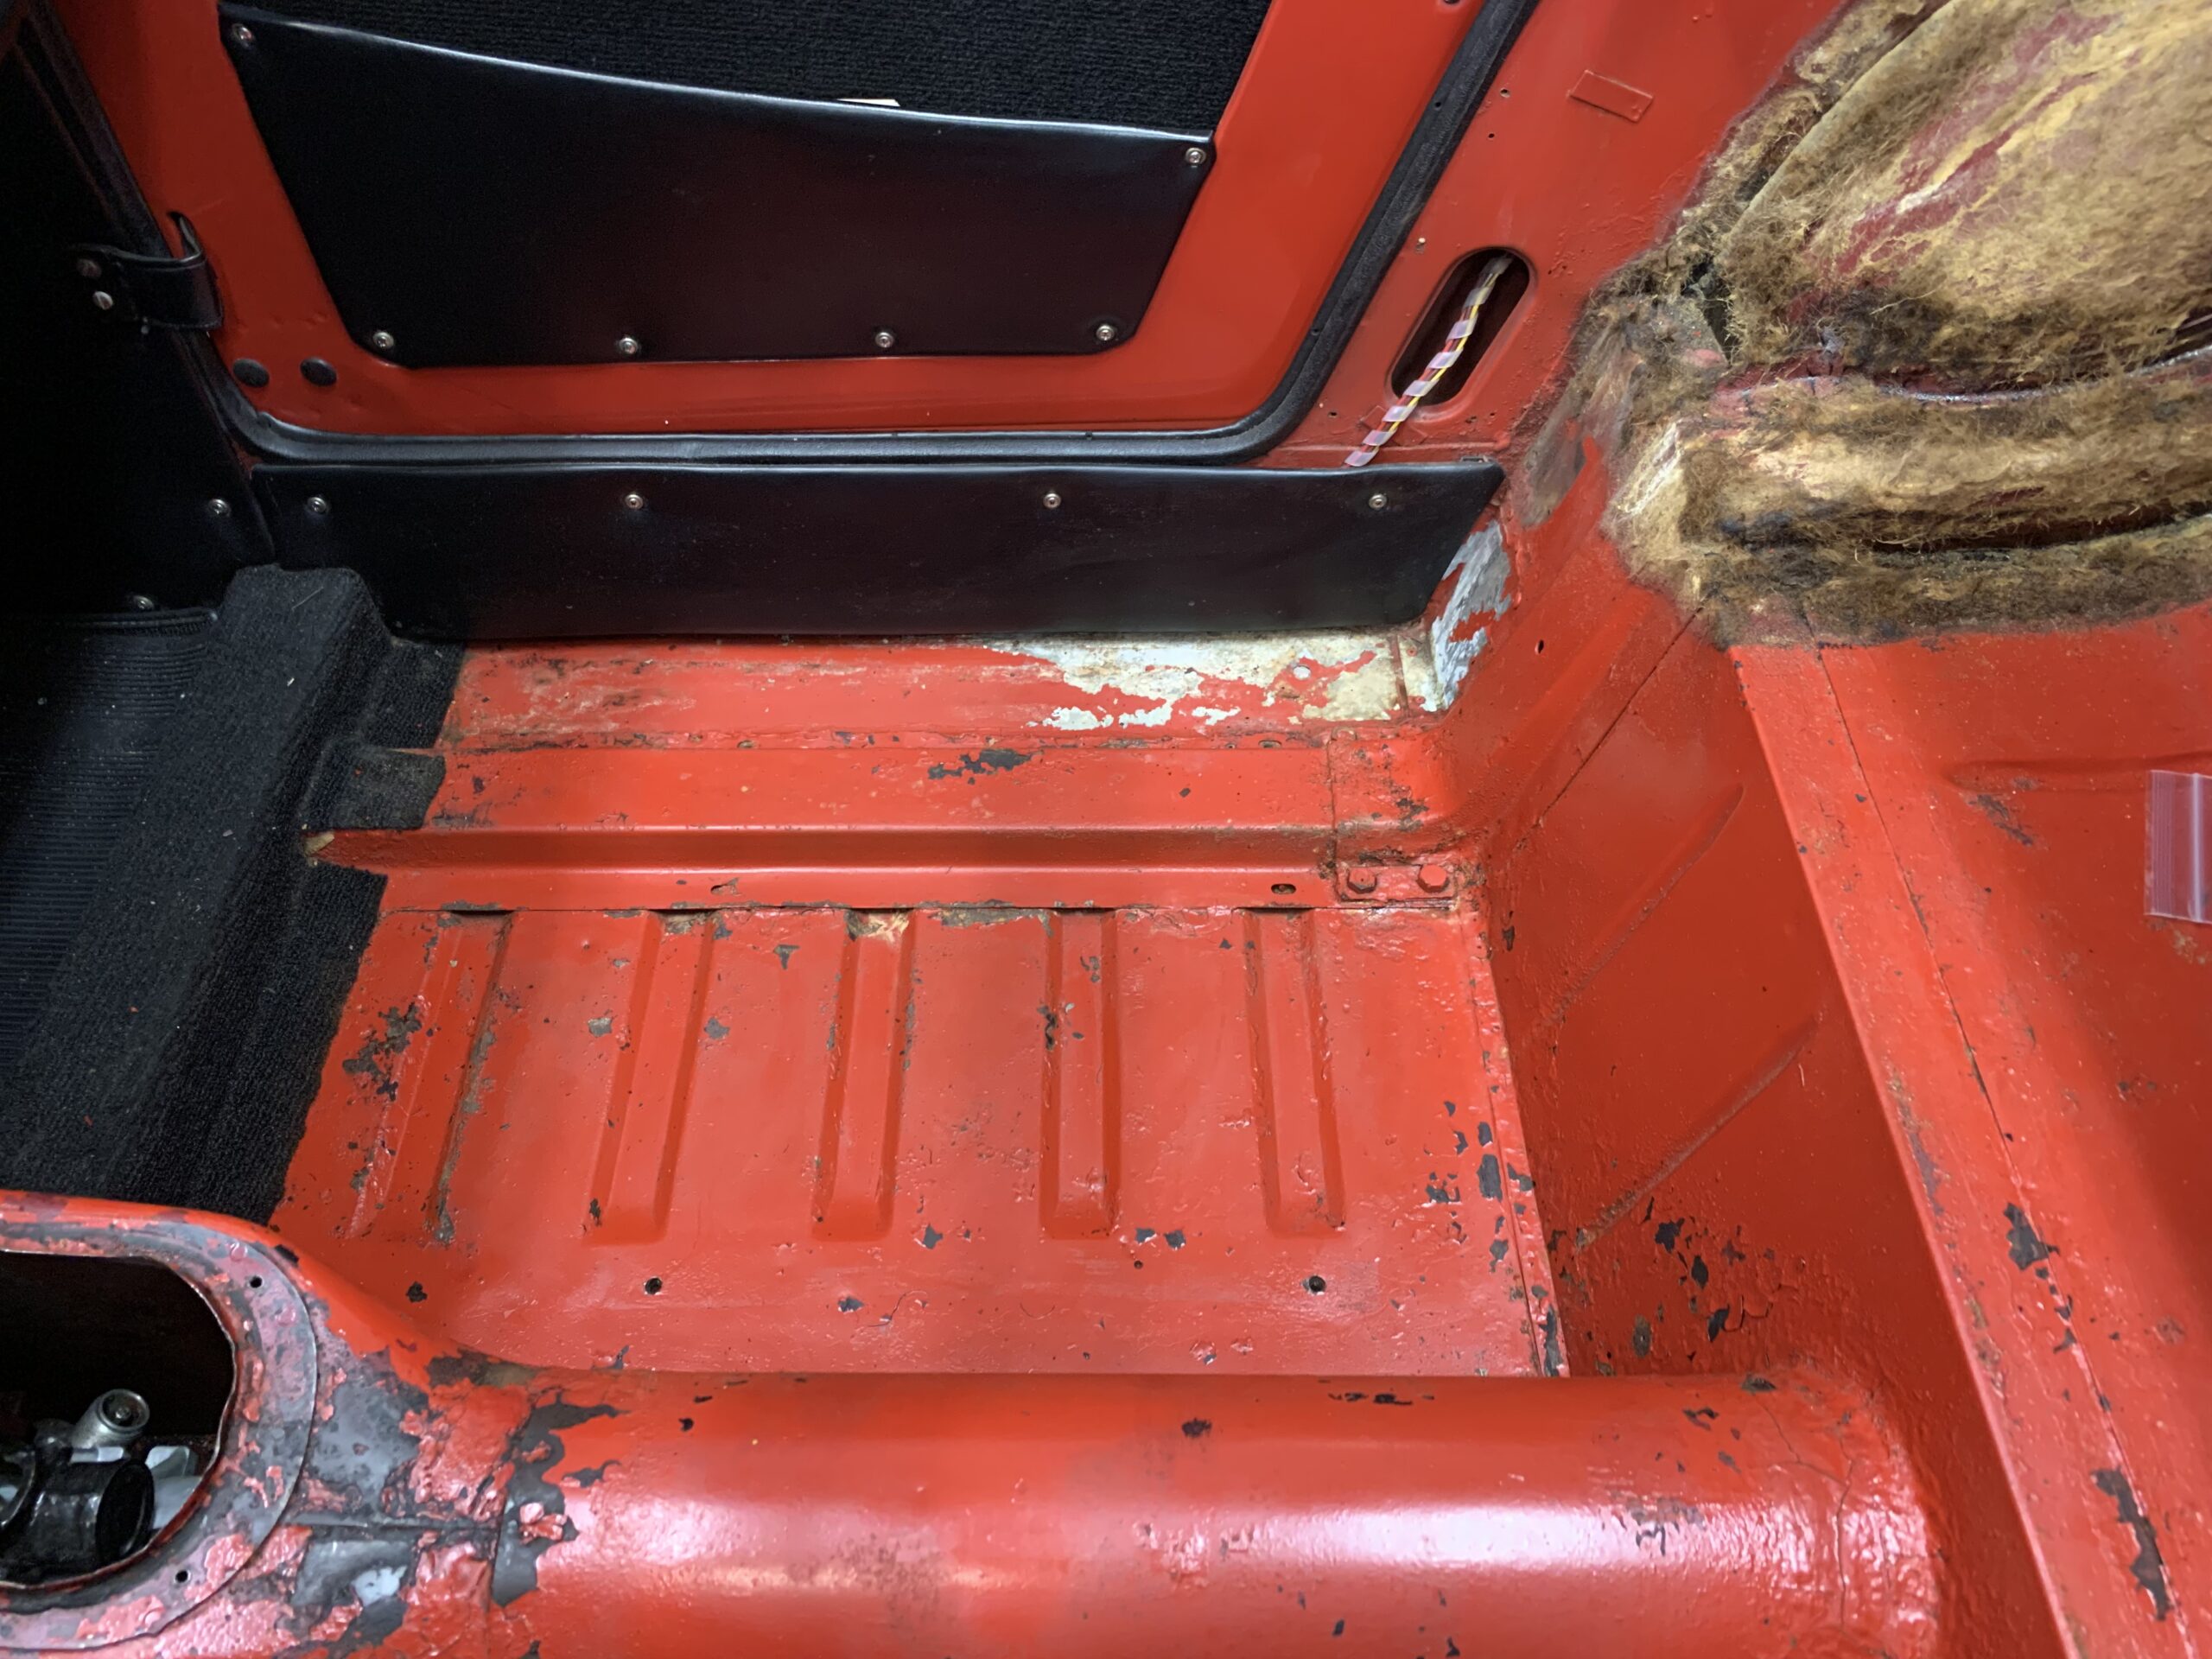
At 4:24 into the video, the RH side seat, seat rails and carpet are removed. Each seat rail is secured to the floor with two bolts into captive nuts.

RH seat, seat rail and carpet removal
There is a wooden packer piece between the carpet and the floor for each seat rail.
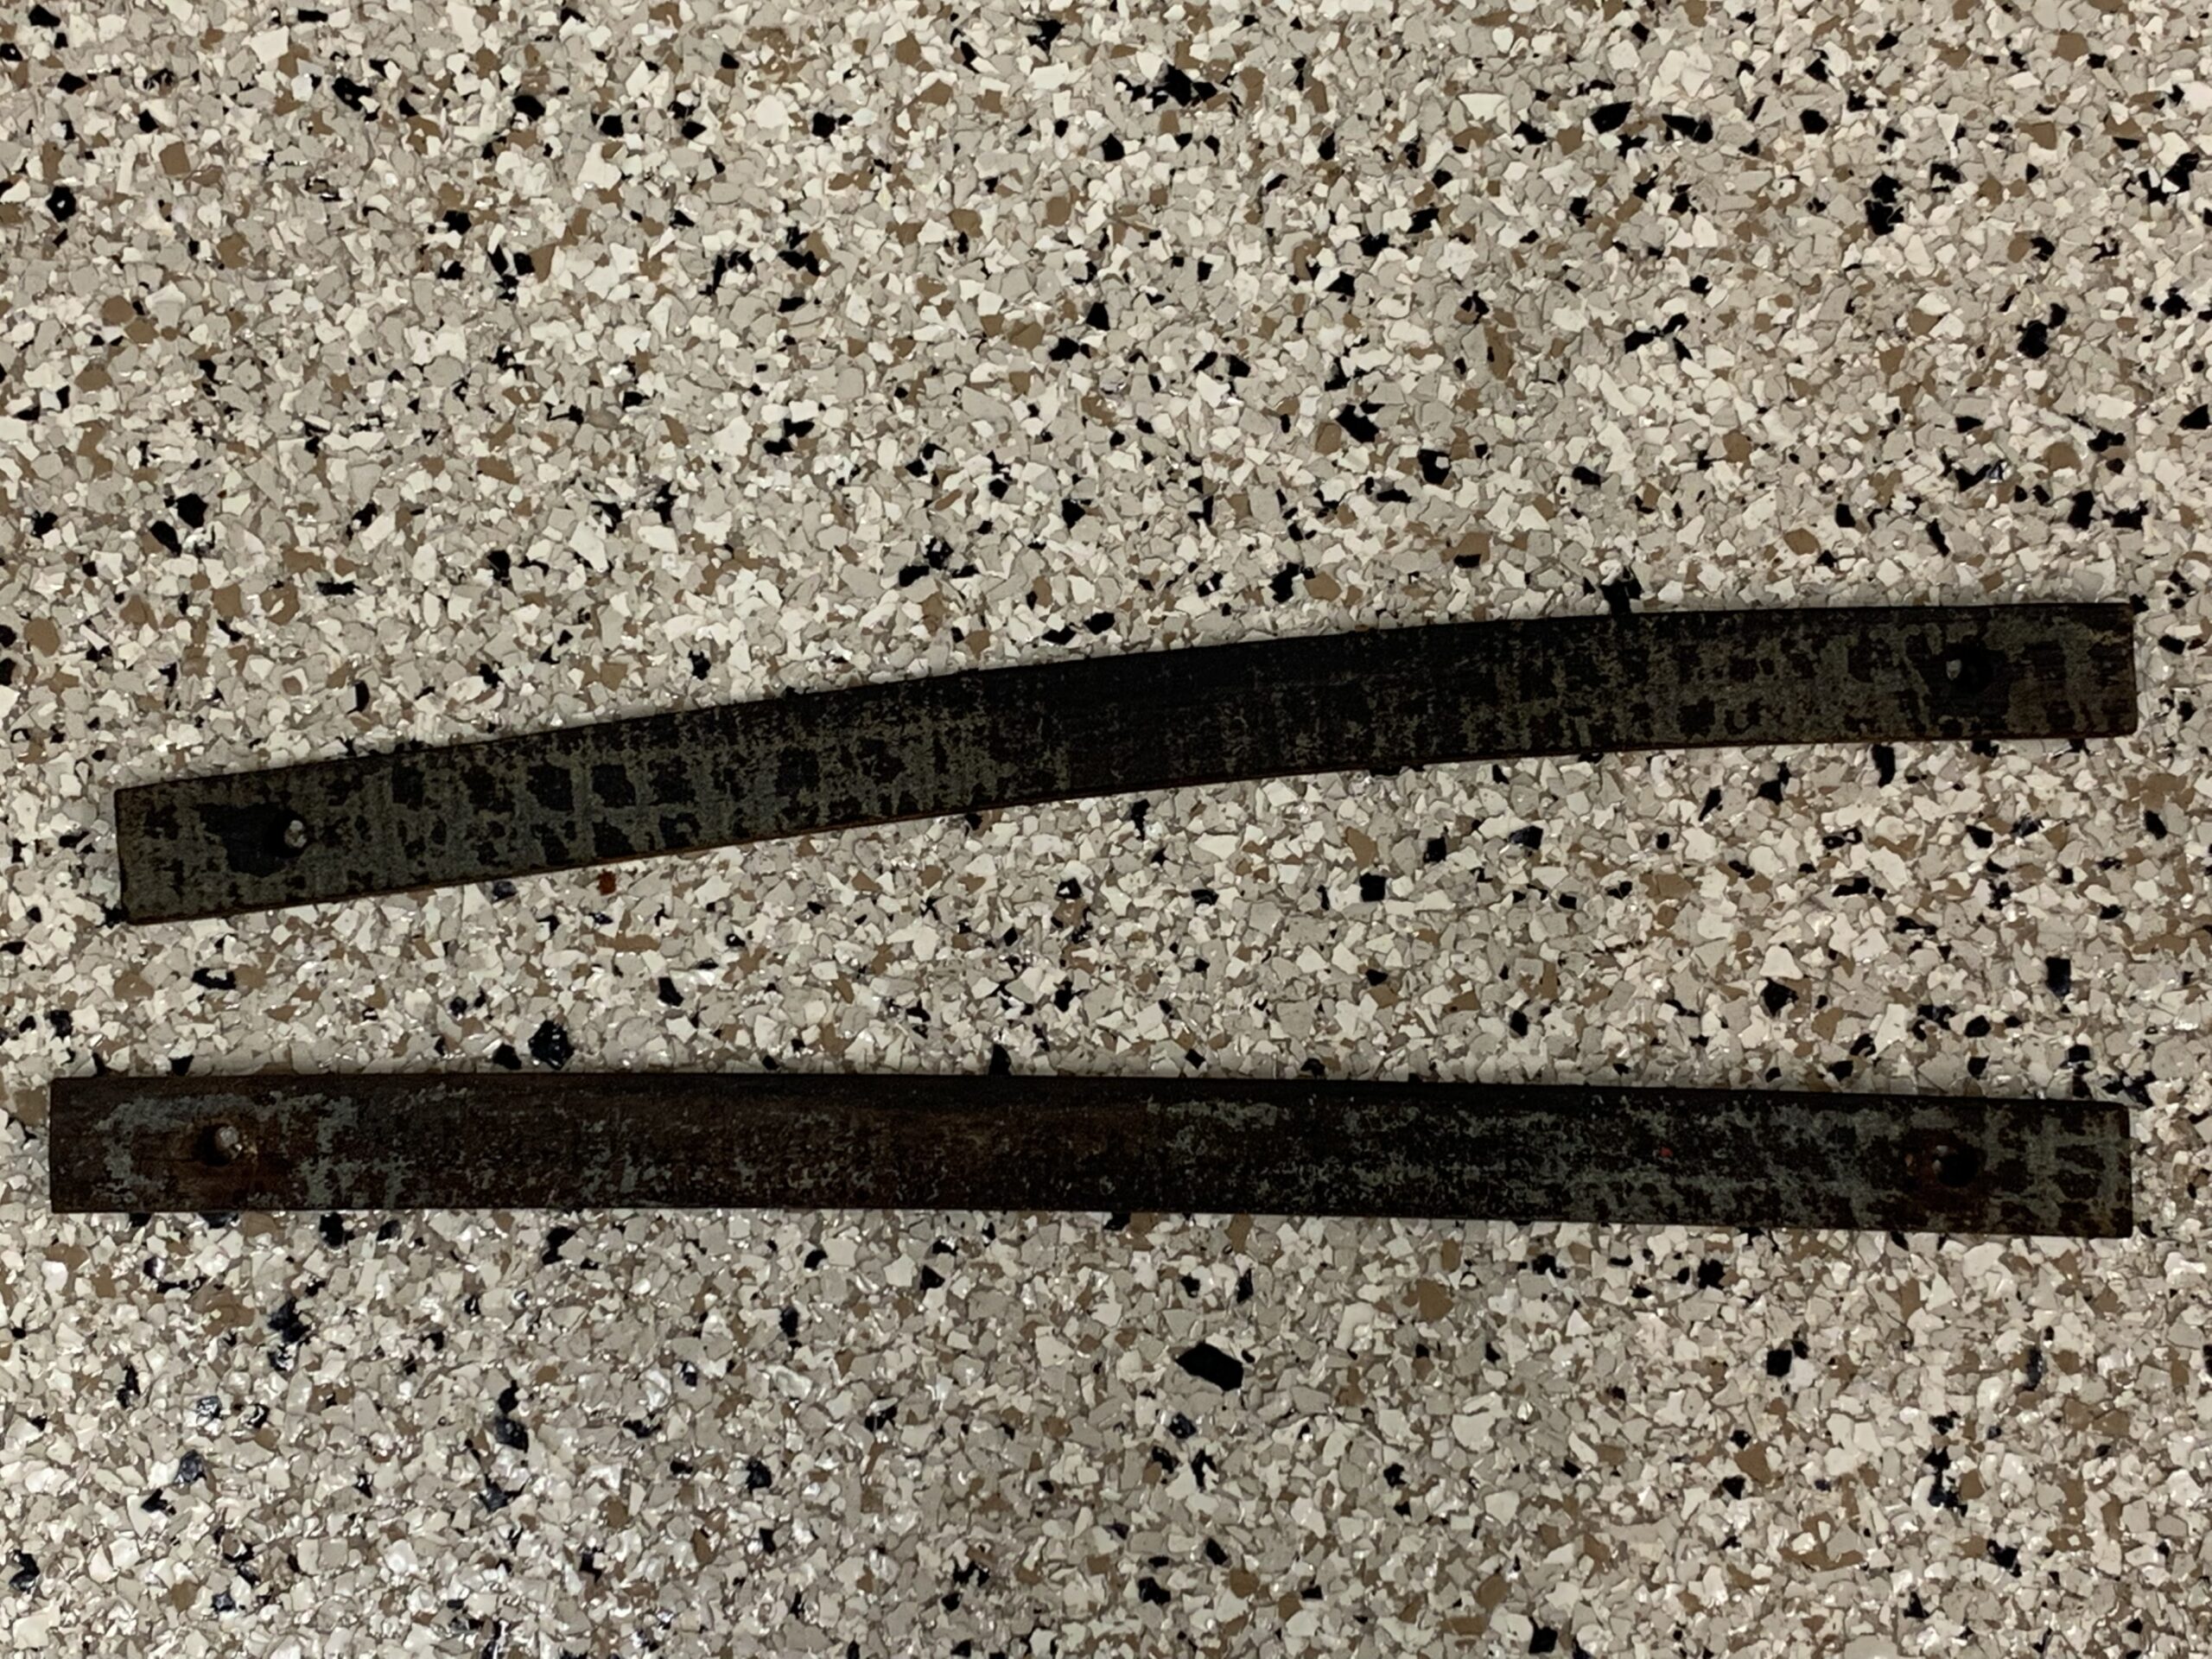
Wood Packing Pieces at the Seat Rails
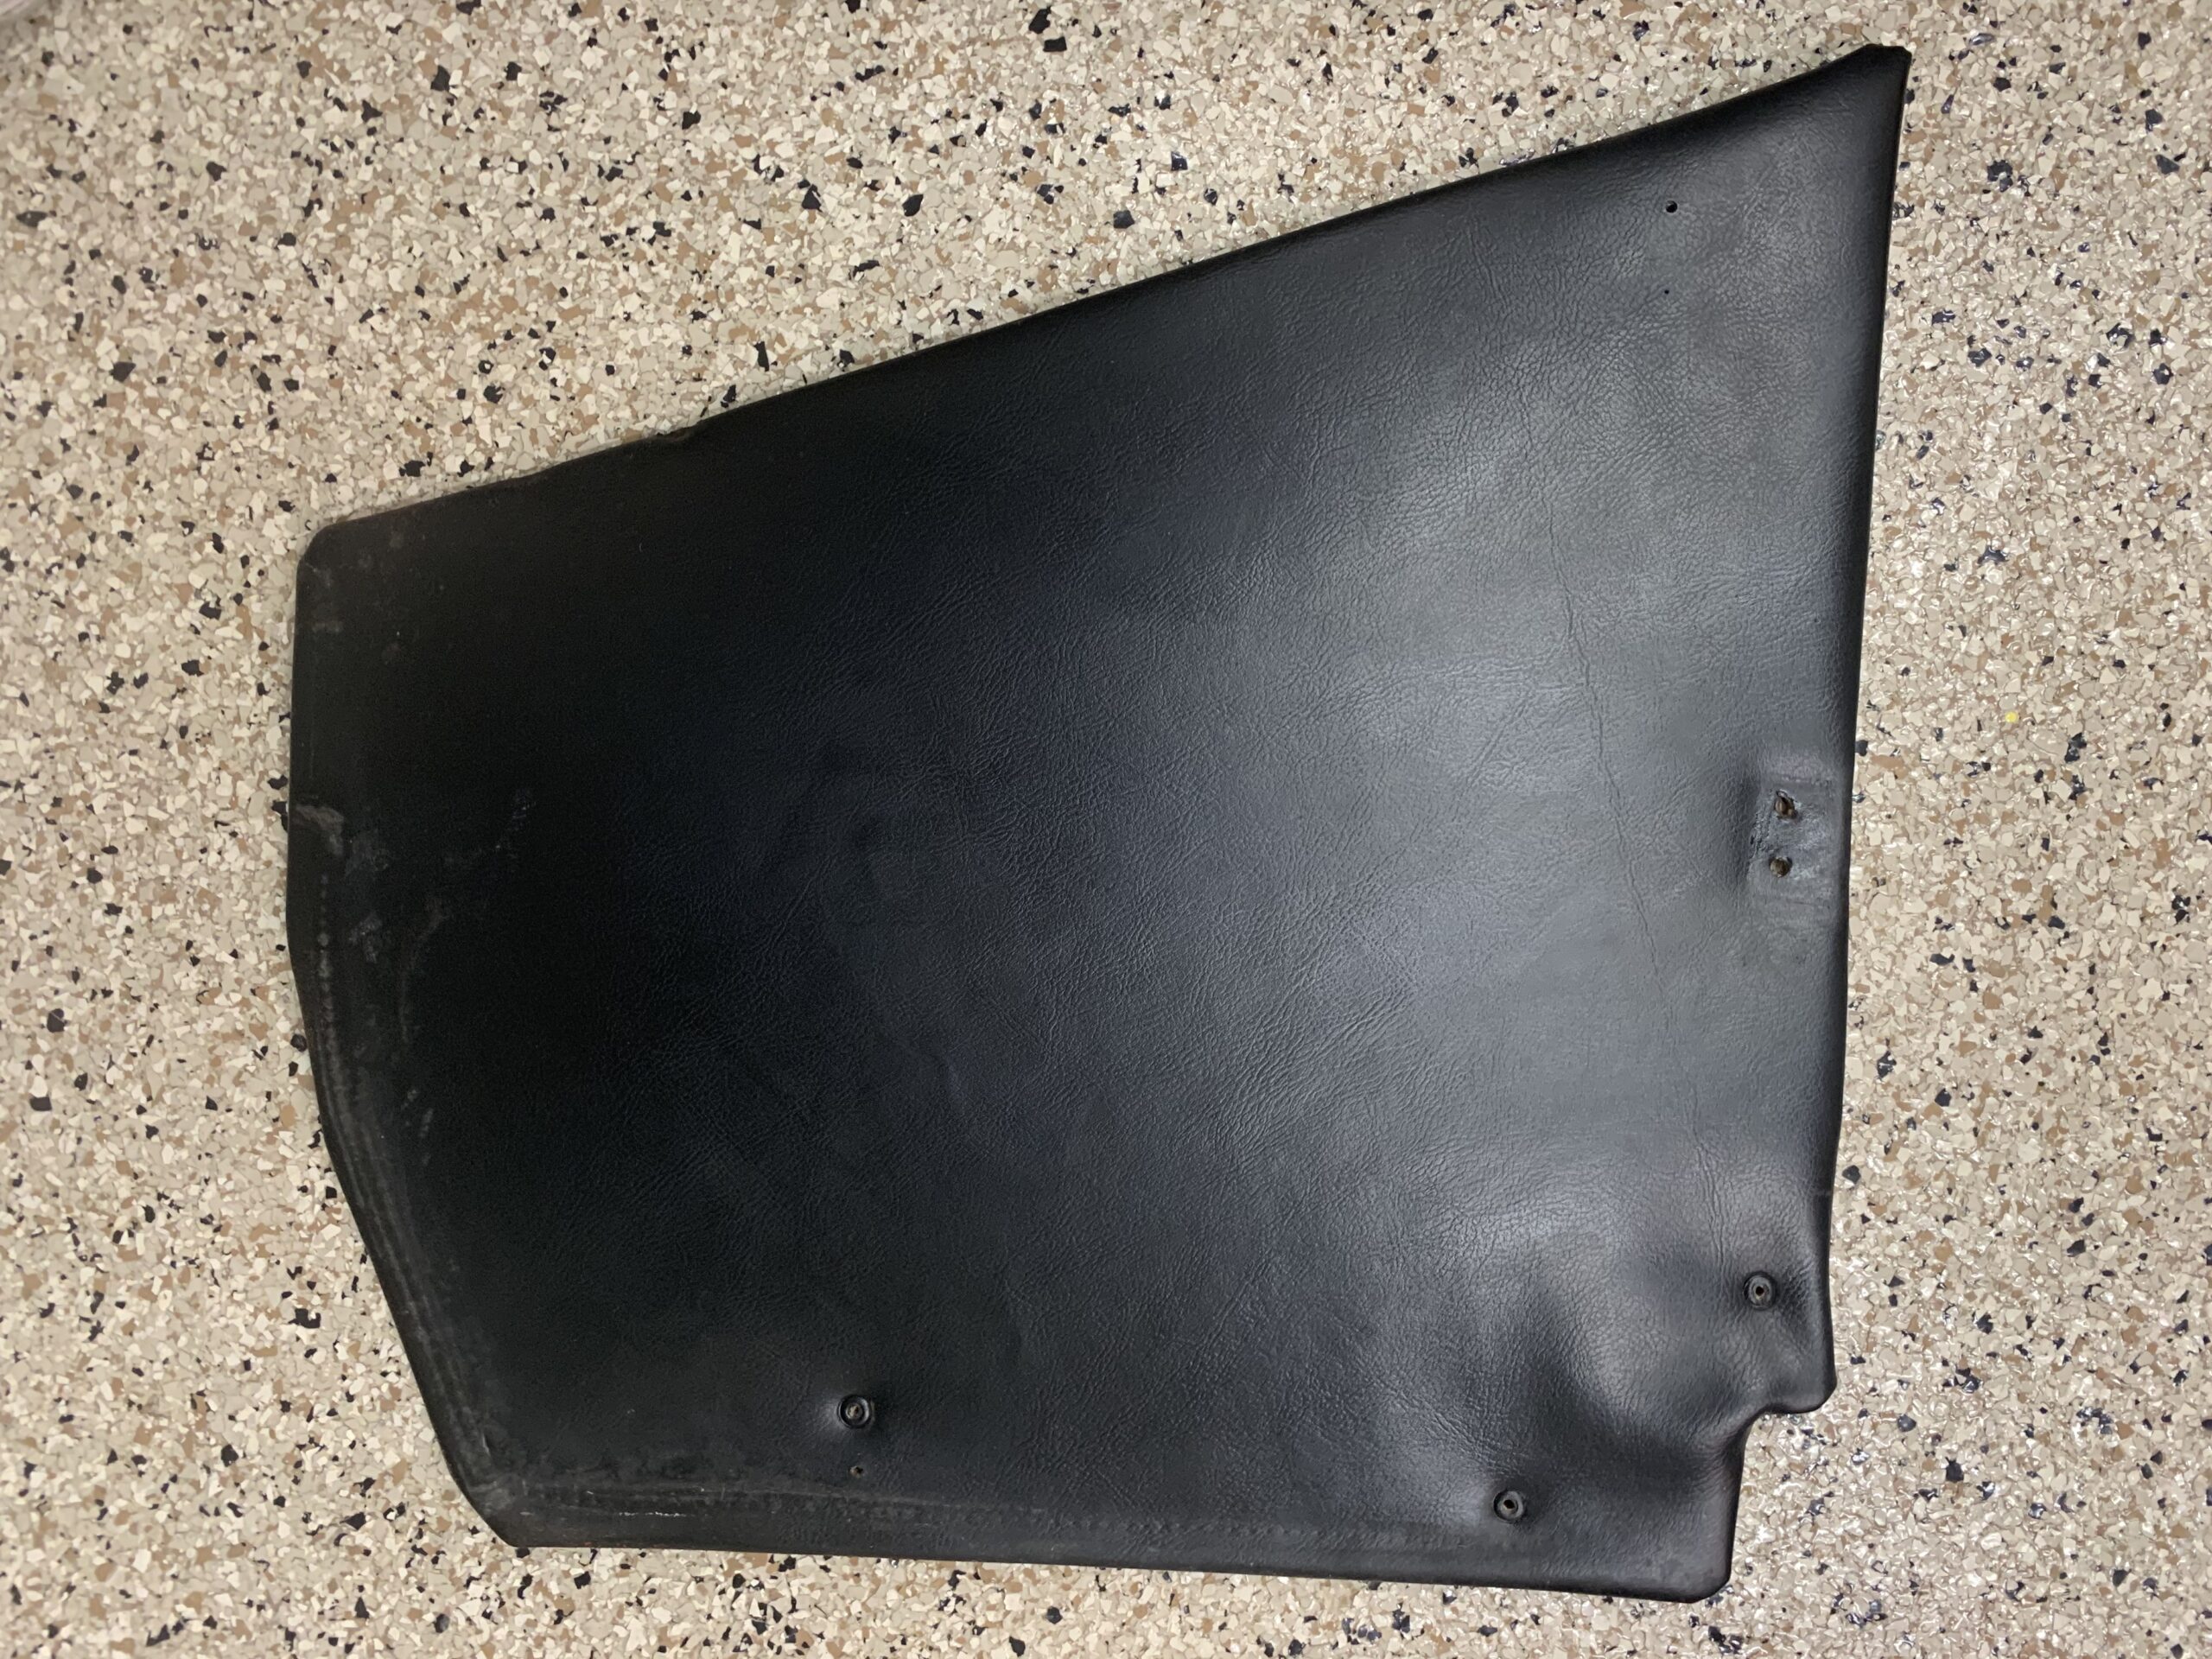
The upholstered panel under the RH door was then removed. It was held in place with four self tapping oval head screws with cupped trim washers.
Upholstered Panel Under the RH Door
Episode Twenty-Two summarizes the removal of the interior components highlighted above. https://vimeo.com/770800213/f36ec43100
RH Side Front Kick Panel and Carpet – On November 17, while working on the final installation of the fuel delivery system it became necessary to remove the RH side front kick panel and front carpet. The kick panel was held in place by three self-tapping oval head chrome screws with cup washers and the two slotted screws that hold the door check strap in place. Once the fasteners were removed the kick panel was lifted out of the car exposing the wiring harness that is routed to the rear of the car.
The carpet was held in place with two floor snaps at the top of the carpet.
Video Episode Twenty-four summarizes the removal of these components:https://vimeo.com/773034332/b4bf5c4504
RH front kick panel
RH Side Front Carpet