The original Armstrong lever shocks on my Bugeye were completely worn out and due for rebuilding or replacement. The rears were particularly bad making for a very “hard” ride. The questions was, should they be rebuilt or replaced with one of the tube shock conversion kits available from the usual Bugeye vendors. My dad installed a Bilstein tube shock conversion kit from Putzke’s on his Bloody Beast AH 3000 and was very happy with it and since Udo Putzke also designed a kit for the Bugeye I decided that it would be a nice Christmas present from my dad! Fortunately, he concurred and right after Christmas on December 26, 2015 we started the install.
Frankly, Udo’s instructions (clicking will download the instructions) could be a little more detailed, but we were able to successfully figure things out.
First we laid out all of the parts that came with the kit. Most everything is self explanatory with the exception of the spacers. Left side components were marked with red circular stickers and the right side components were marked with green circular stickers.

Putzke’s Bugeye Bilstein Shock Kit Components
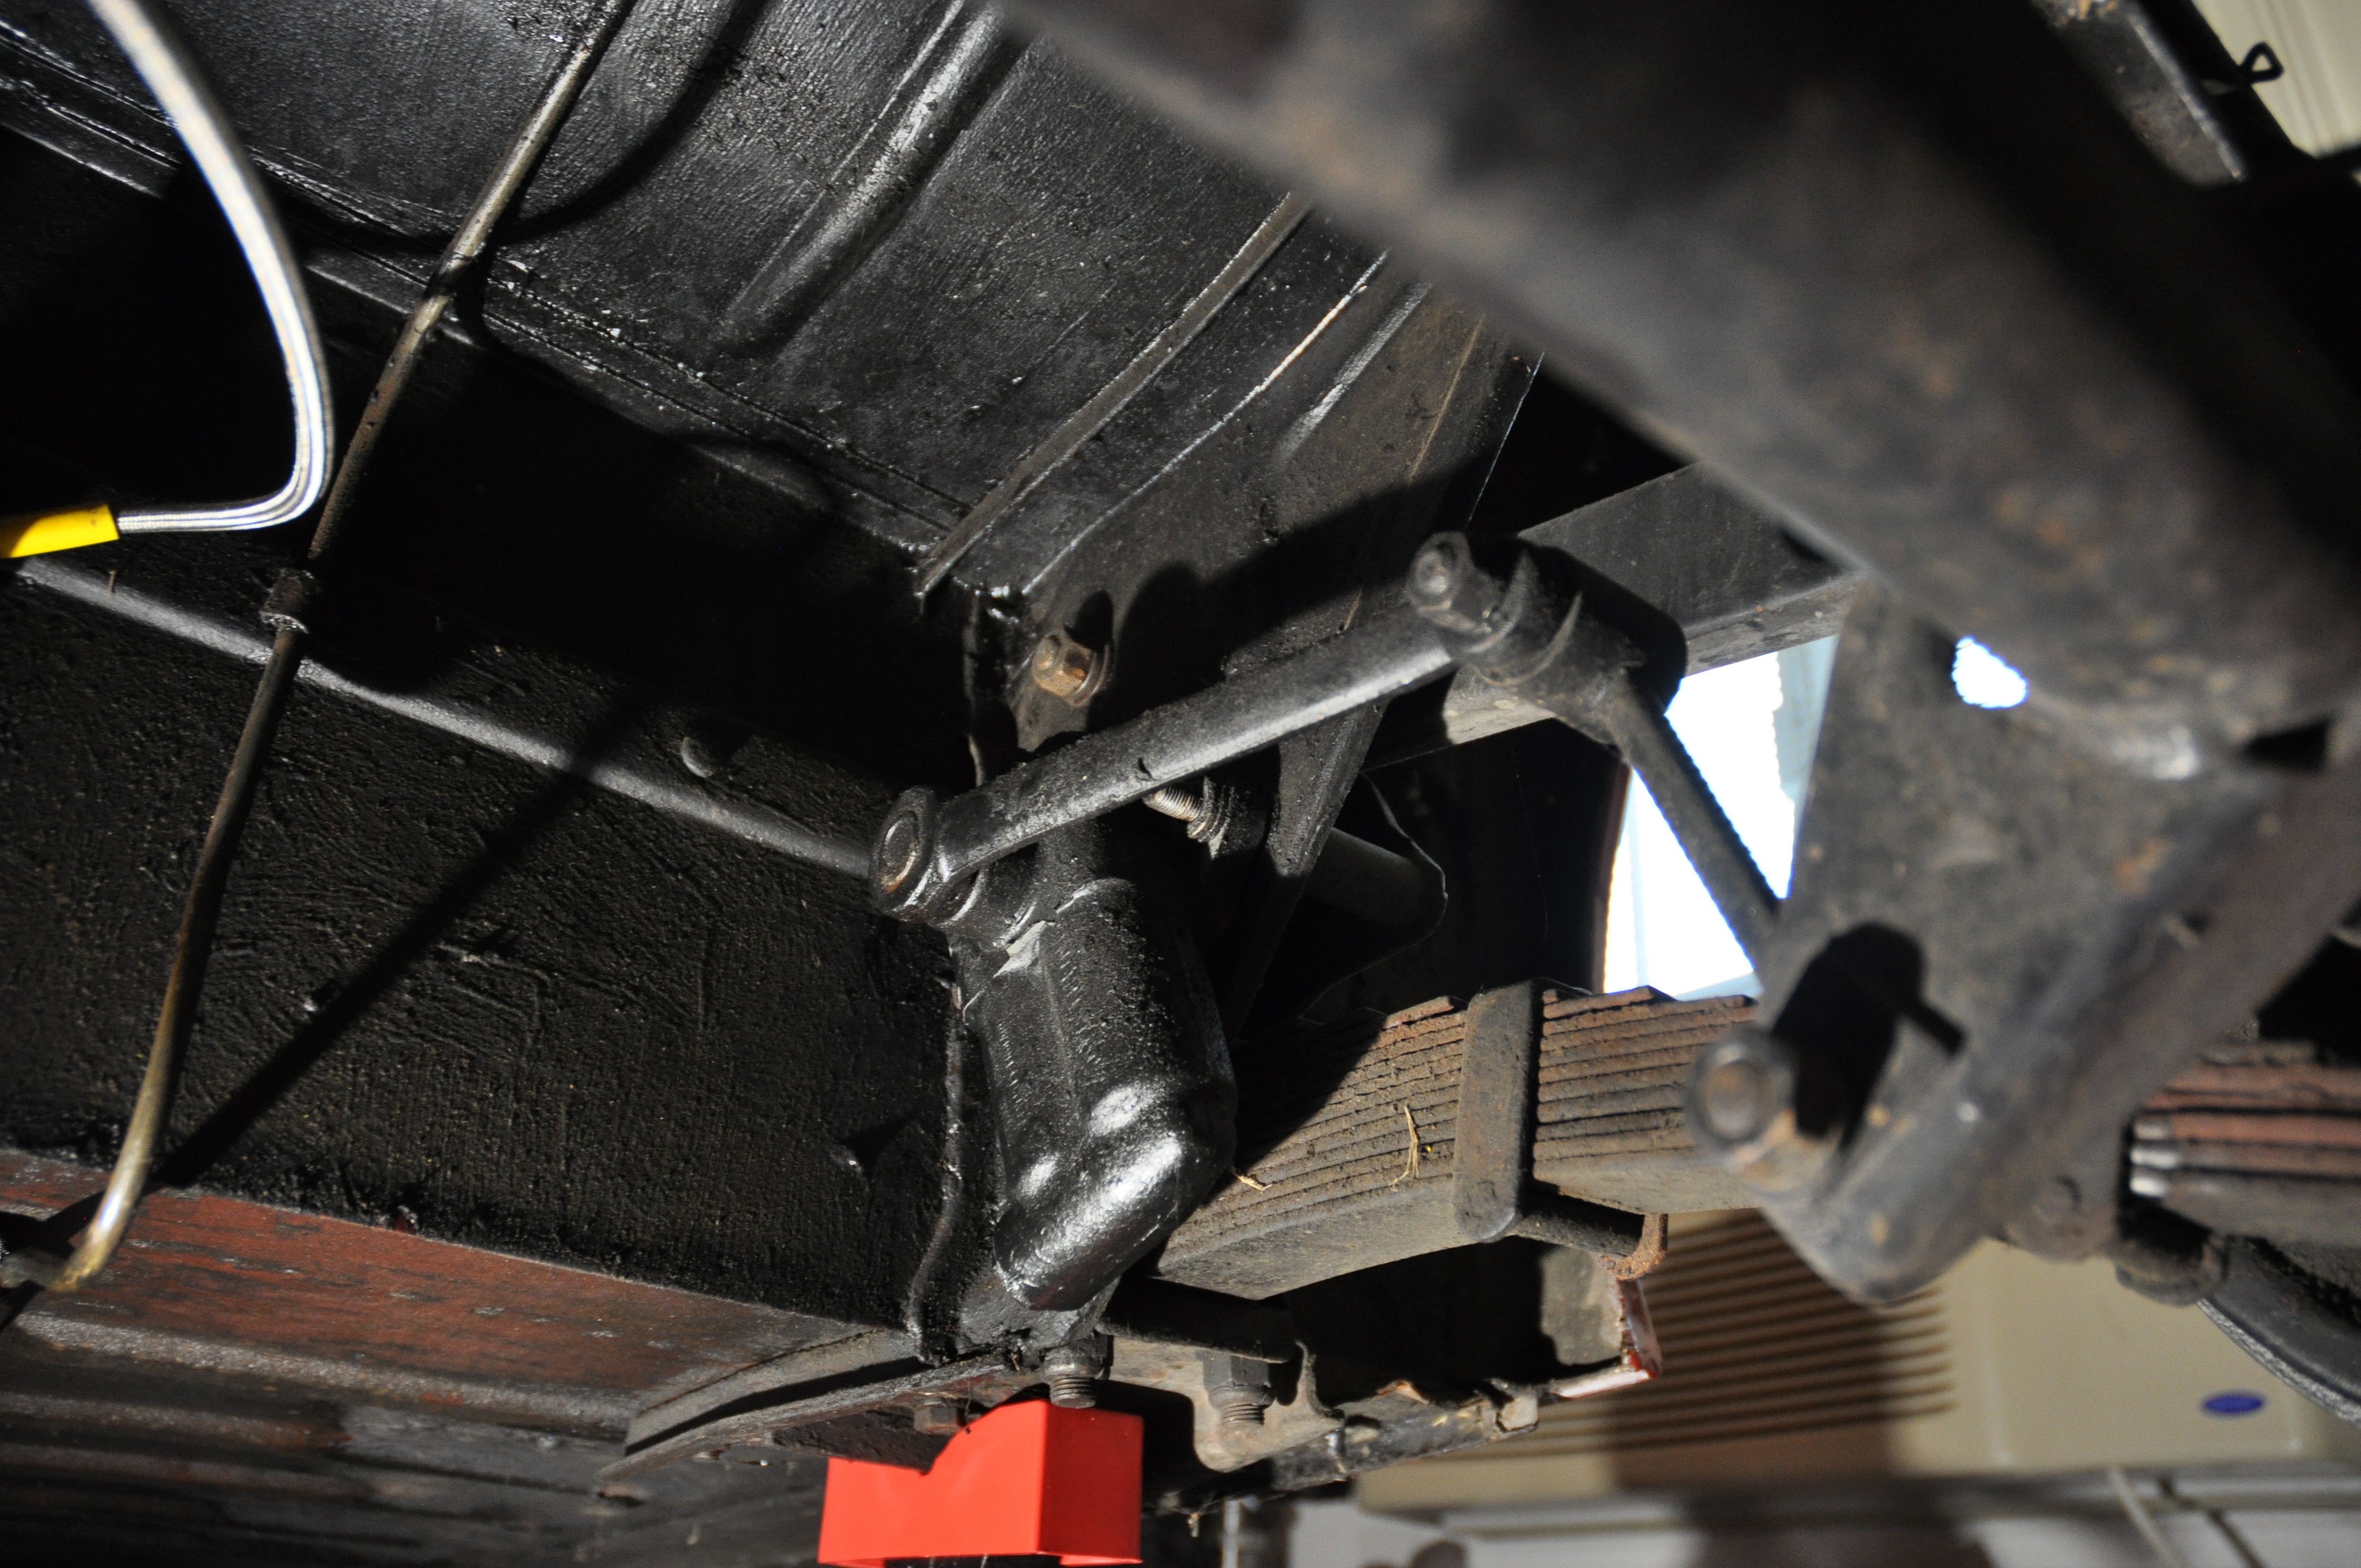
Understandably, Udo’s kit assumes a stock Bugeye. If you have made modifications like I have, these modifications can create installation conflicts with the new shocks or their mounting brackets. The first one I encountered was the upgraded anti-sway bar installed on my car. It interfered with the lower mounting bracket. I noticed, as you can see in the following photo, that I may have been driving a little too hard in some auto-crosses! Bent anti-sway bar bracket. For now I removed the anti-sway bar bracket. I will find a solution to this issue after the shocks are installed. I also encountered a conflict in the front upper mounts with my radiator overflow tank that will need to be relocated at some point.
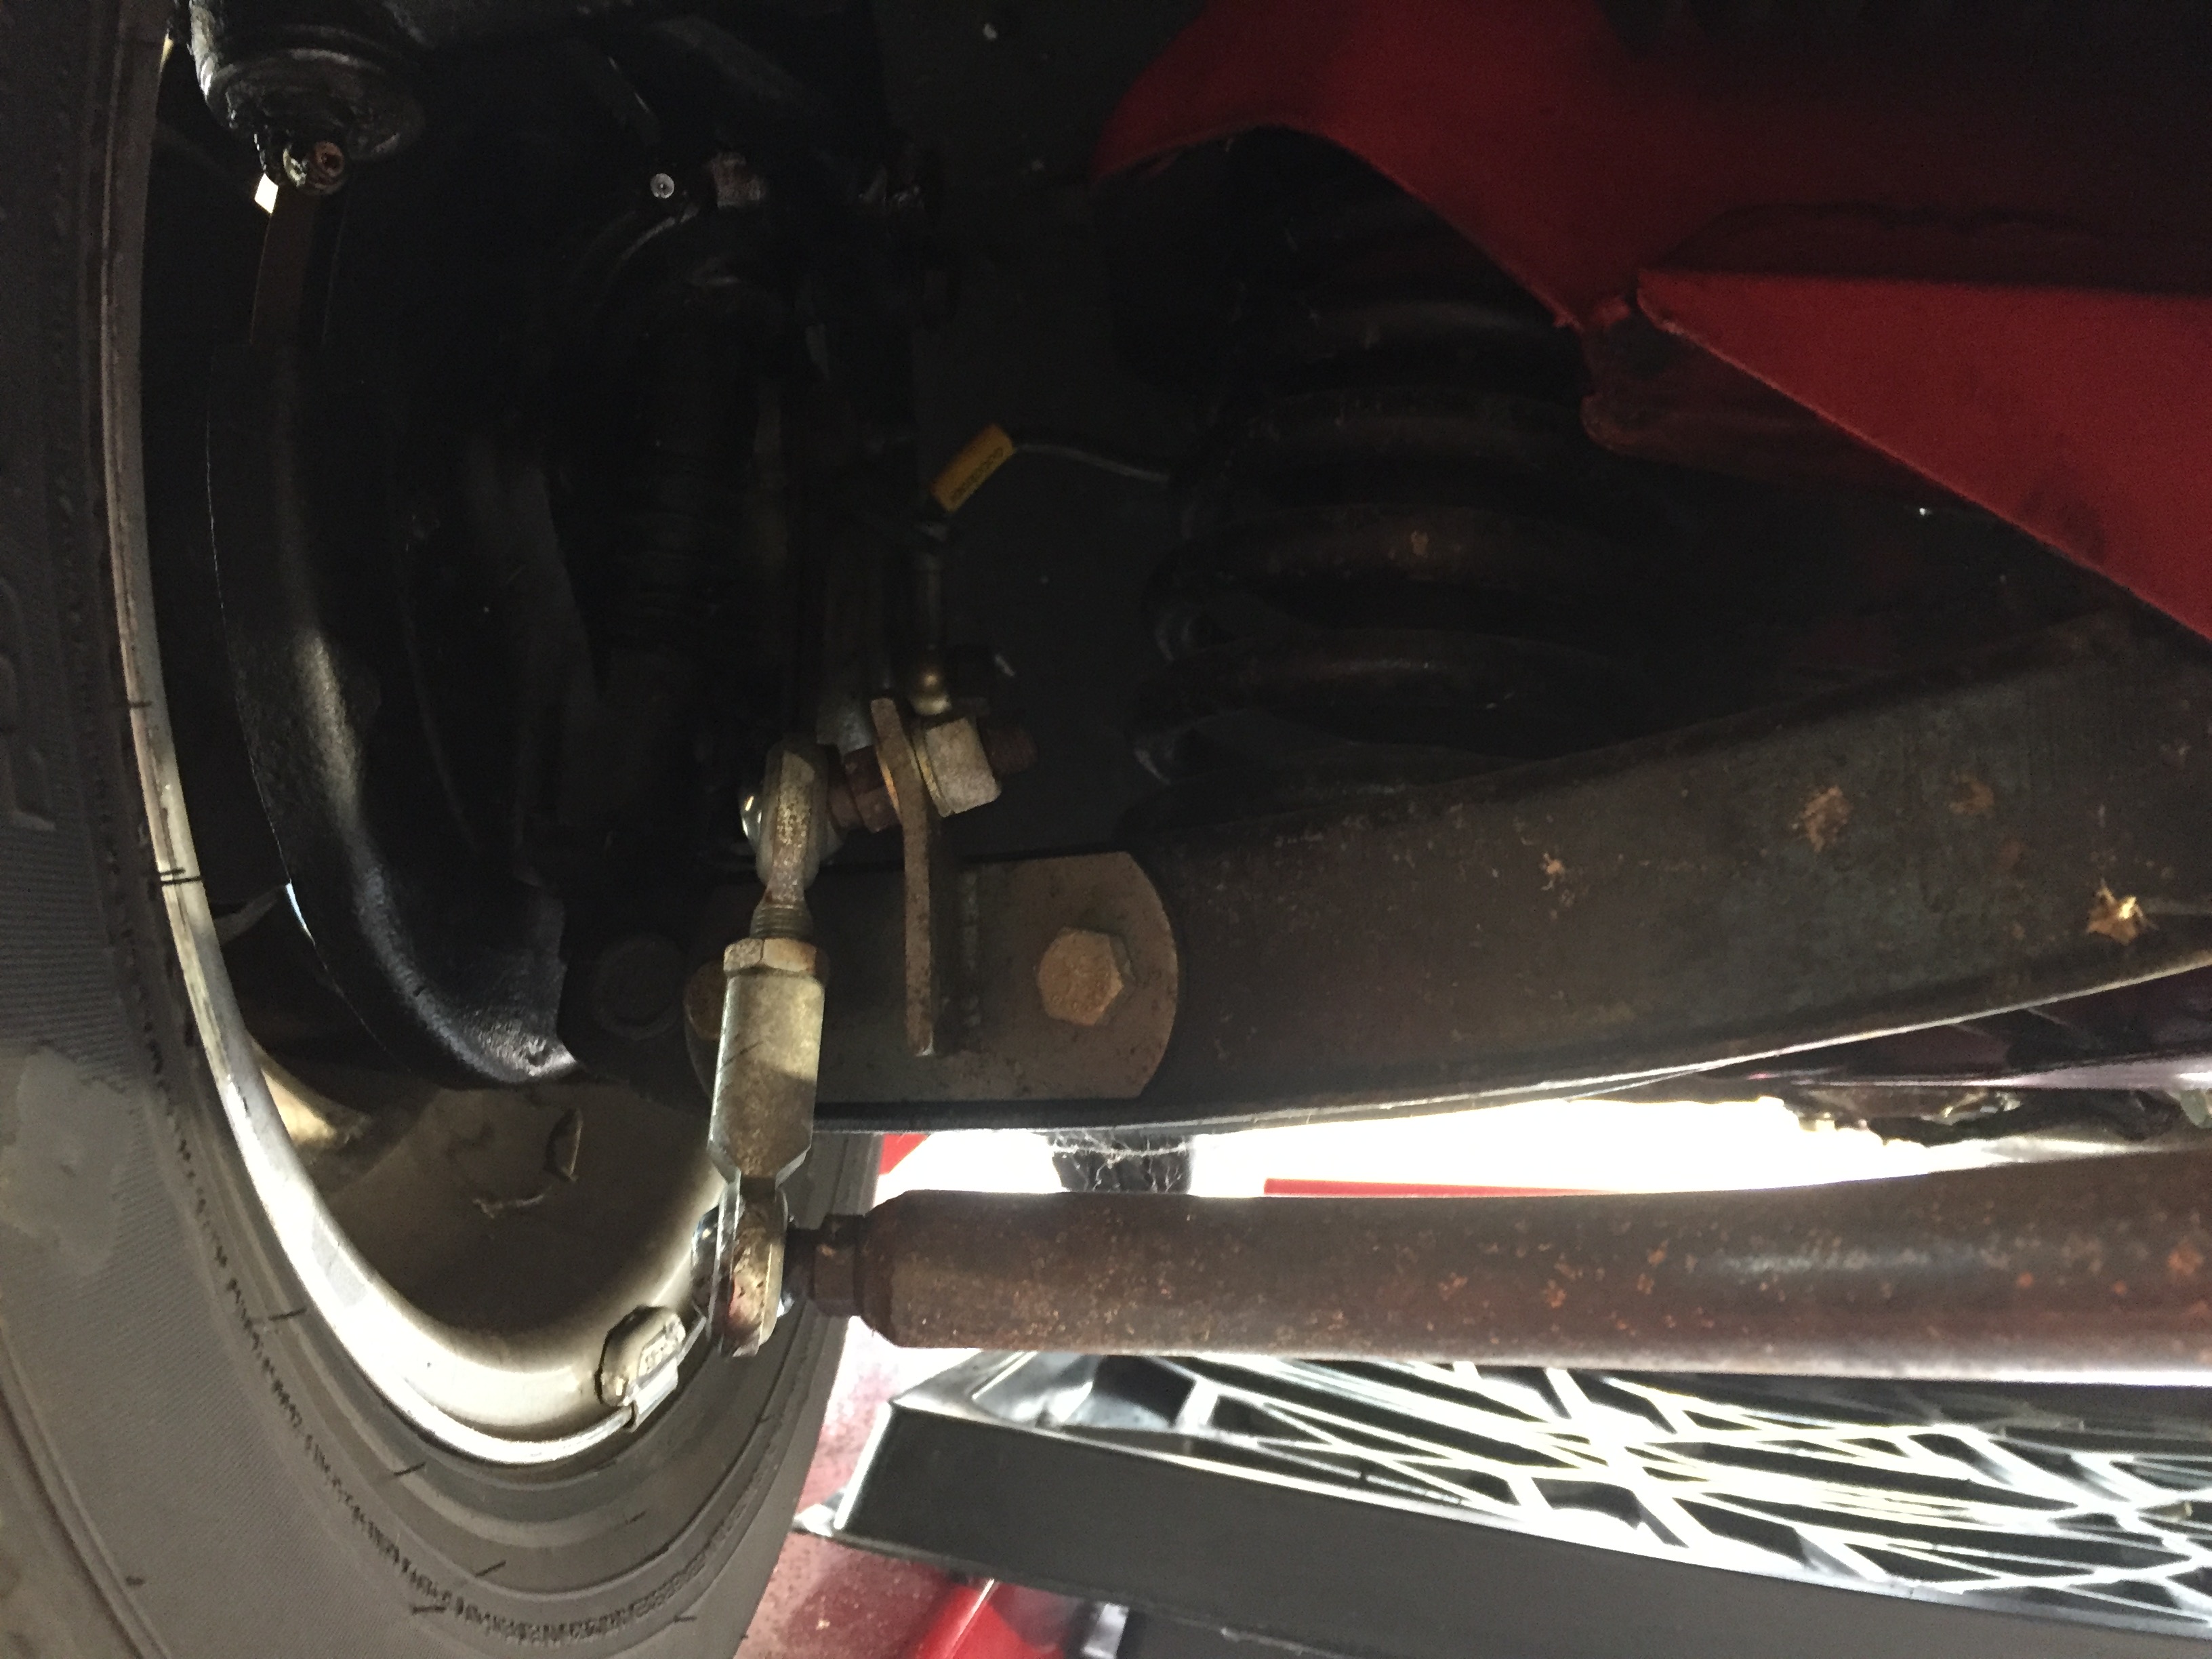
Bent Anti-sway bar mounting bracket
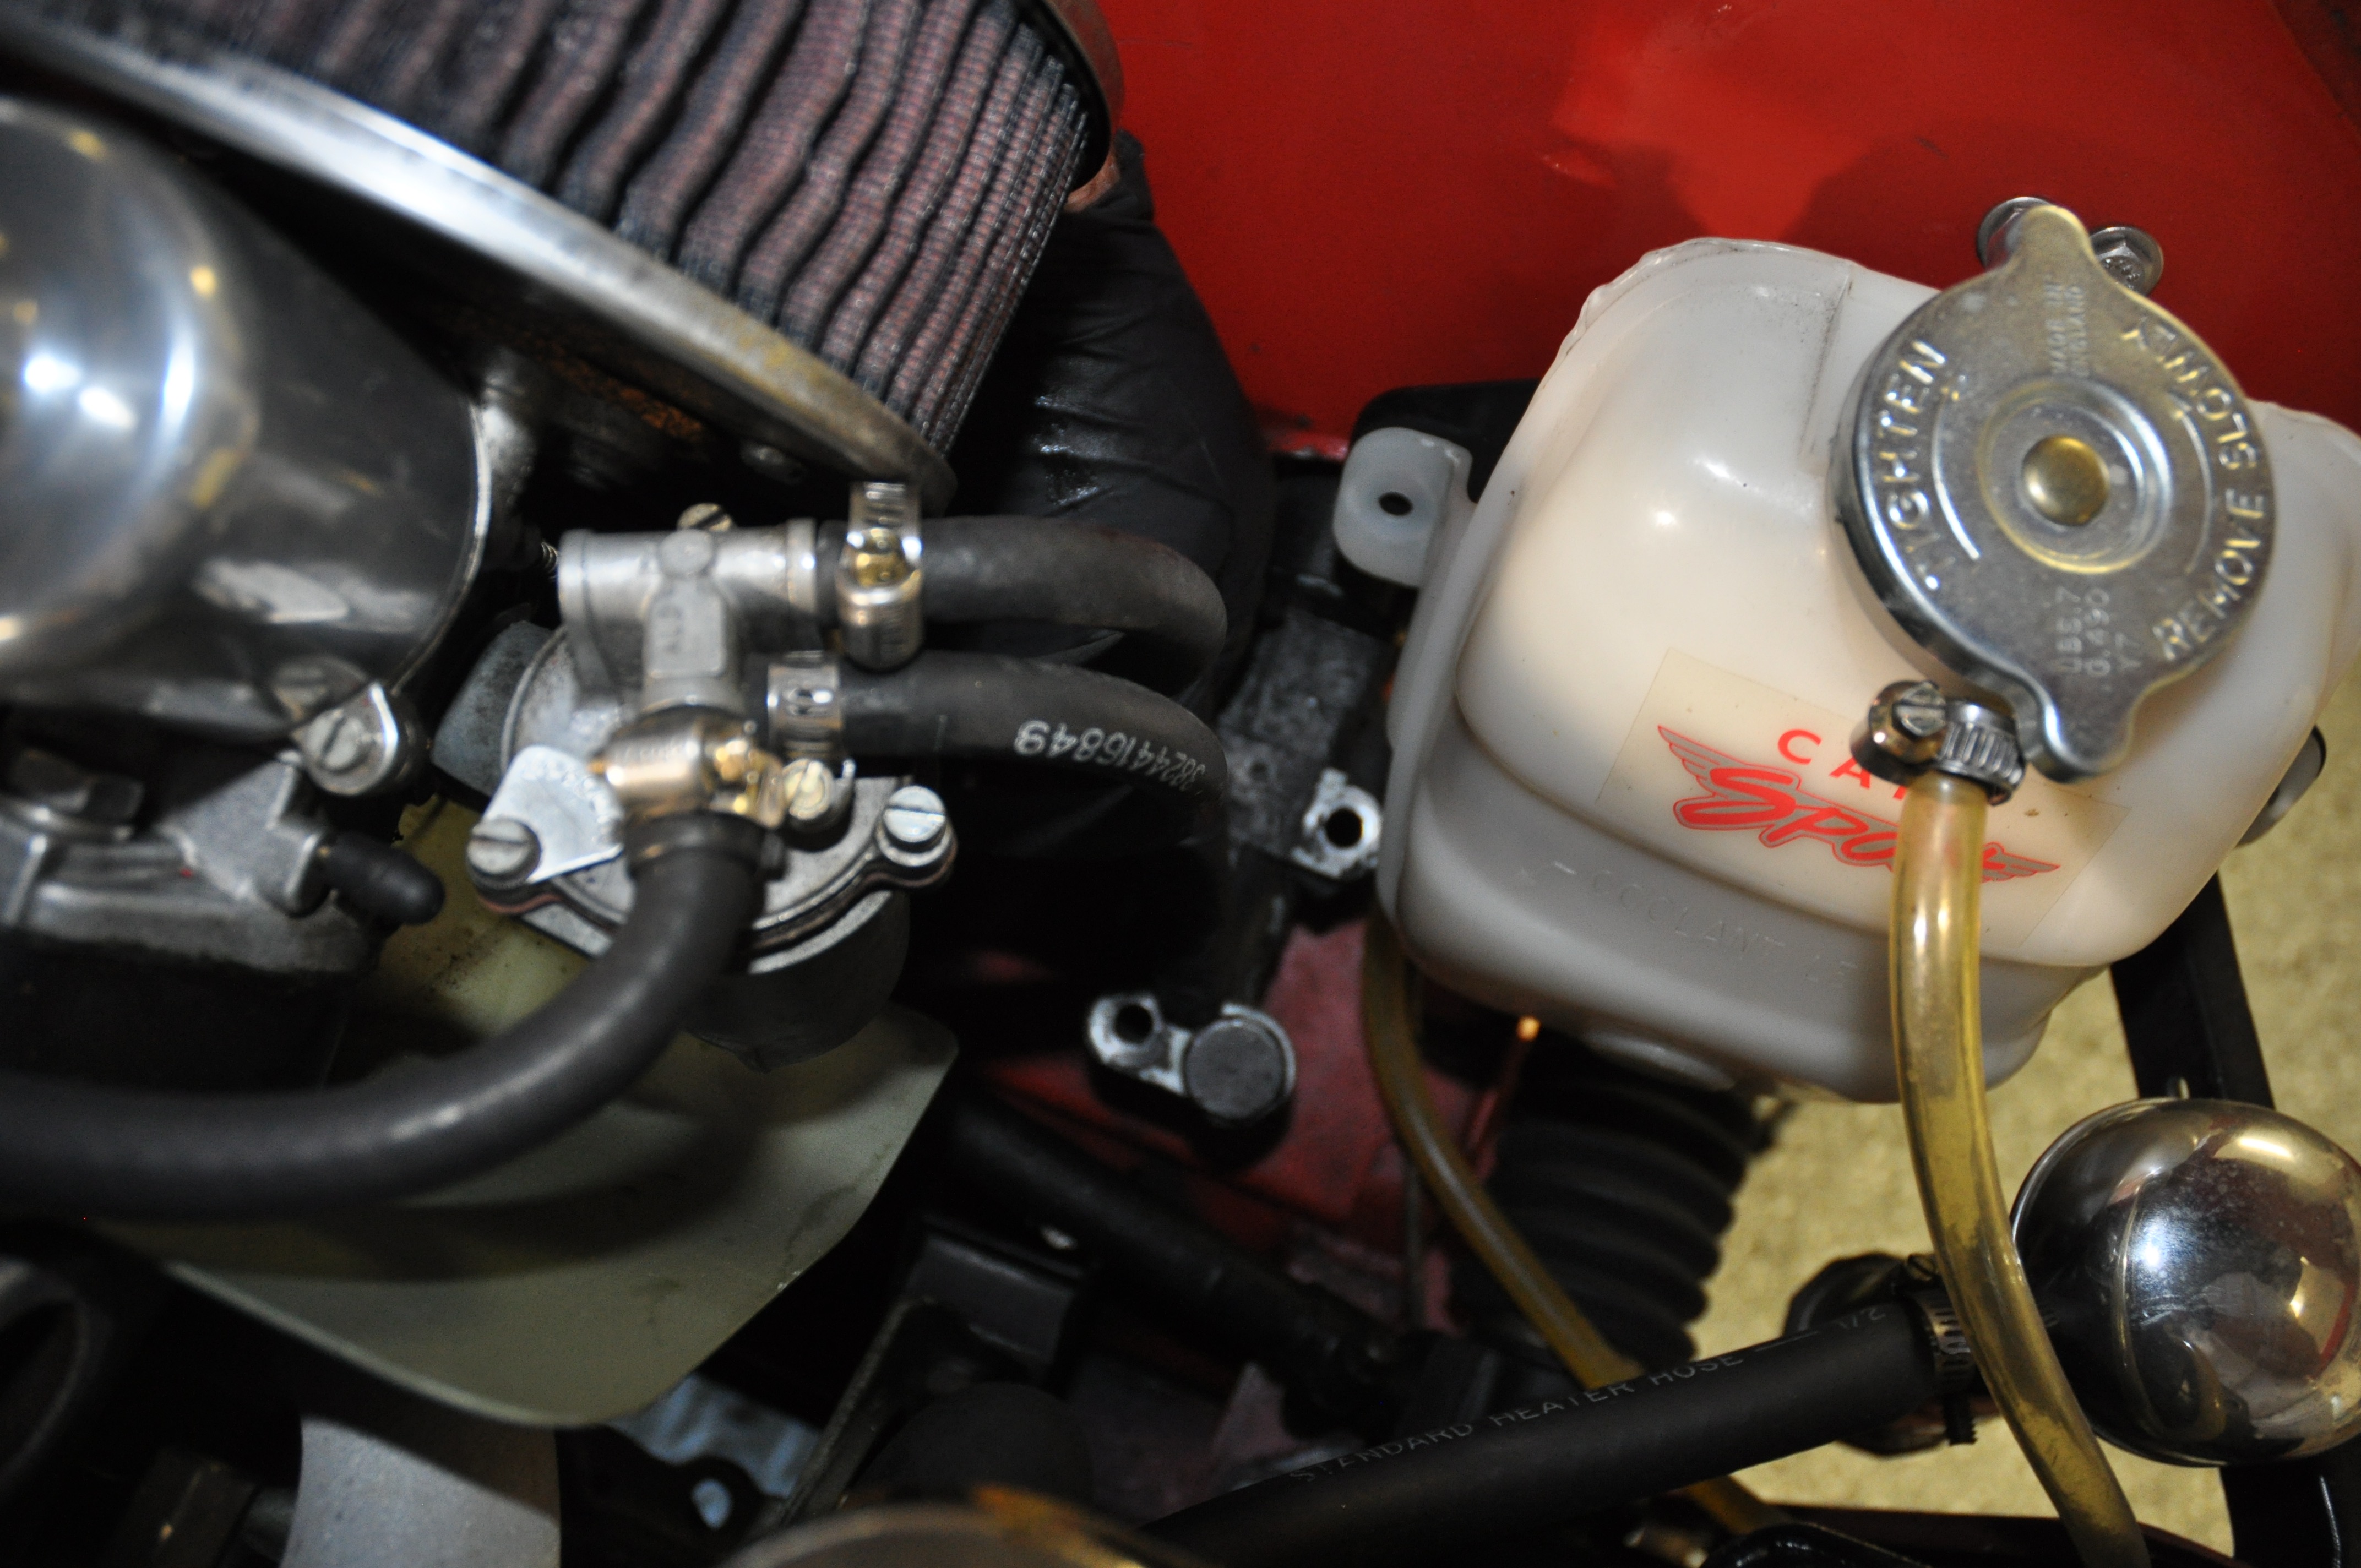
Coolant Overflow Tank
Front Shock Installation – Lower Mount:
1. Pulled the emergency brake and locked the rear wheels.
2. Loosened the wheel nuts on the front wheels, jacked the car up and supported with jack stands and then removed the front wheels/tires.
3. Loosened (don’t remove) the two bolts that hold the the lower spring plate to the front A-arm.
4. Remove one bolt – frame side/inboard.
A-arm Bolt Replacement
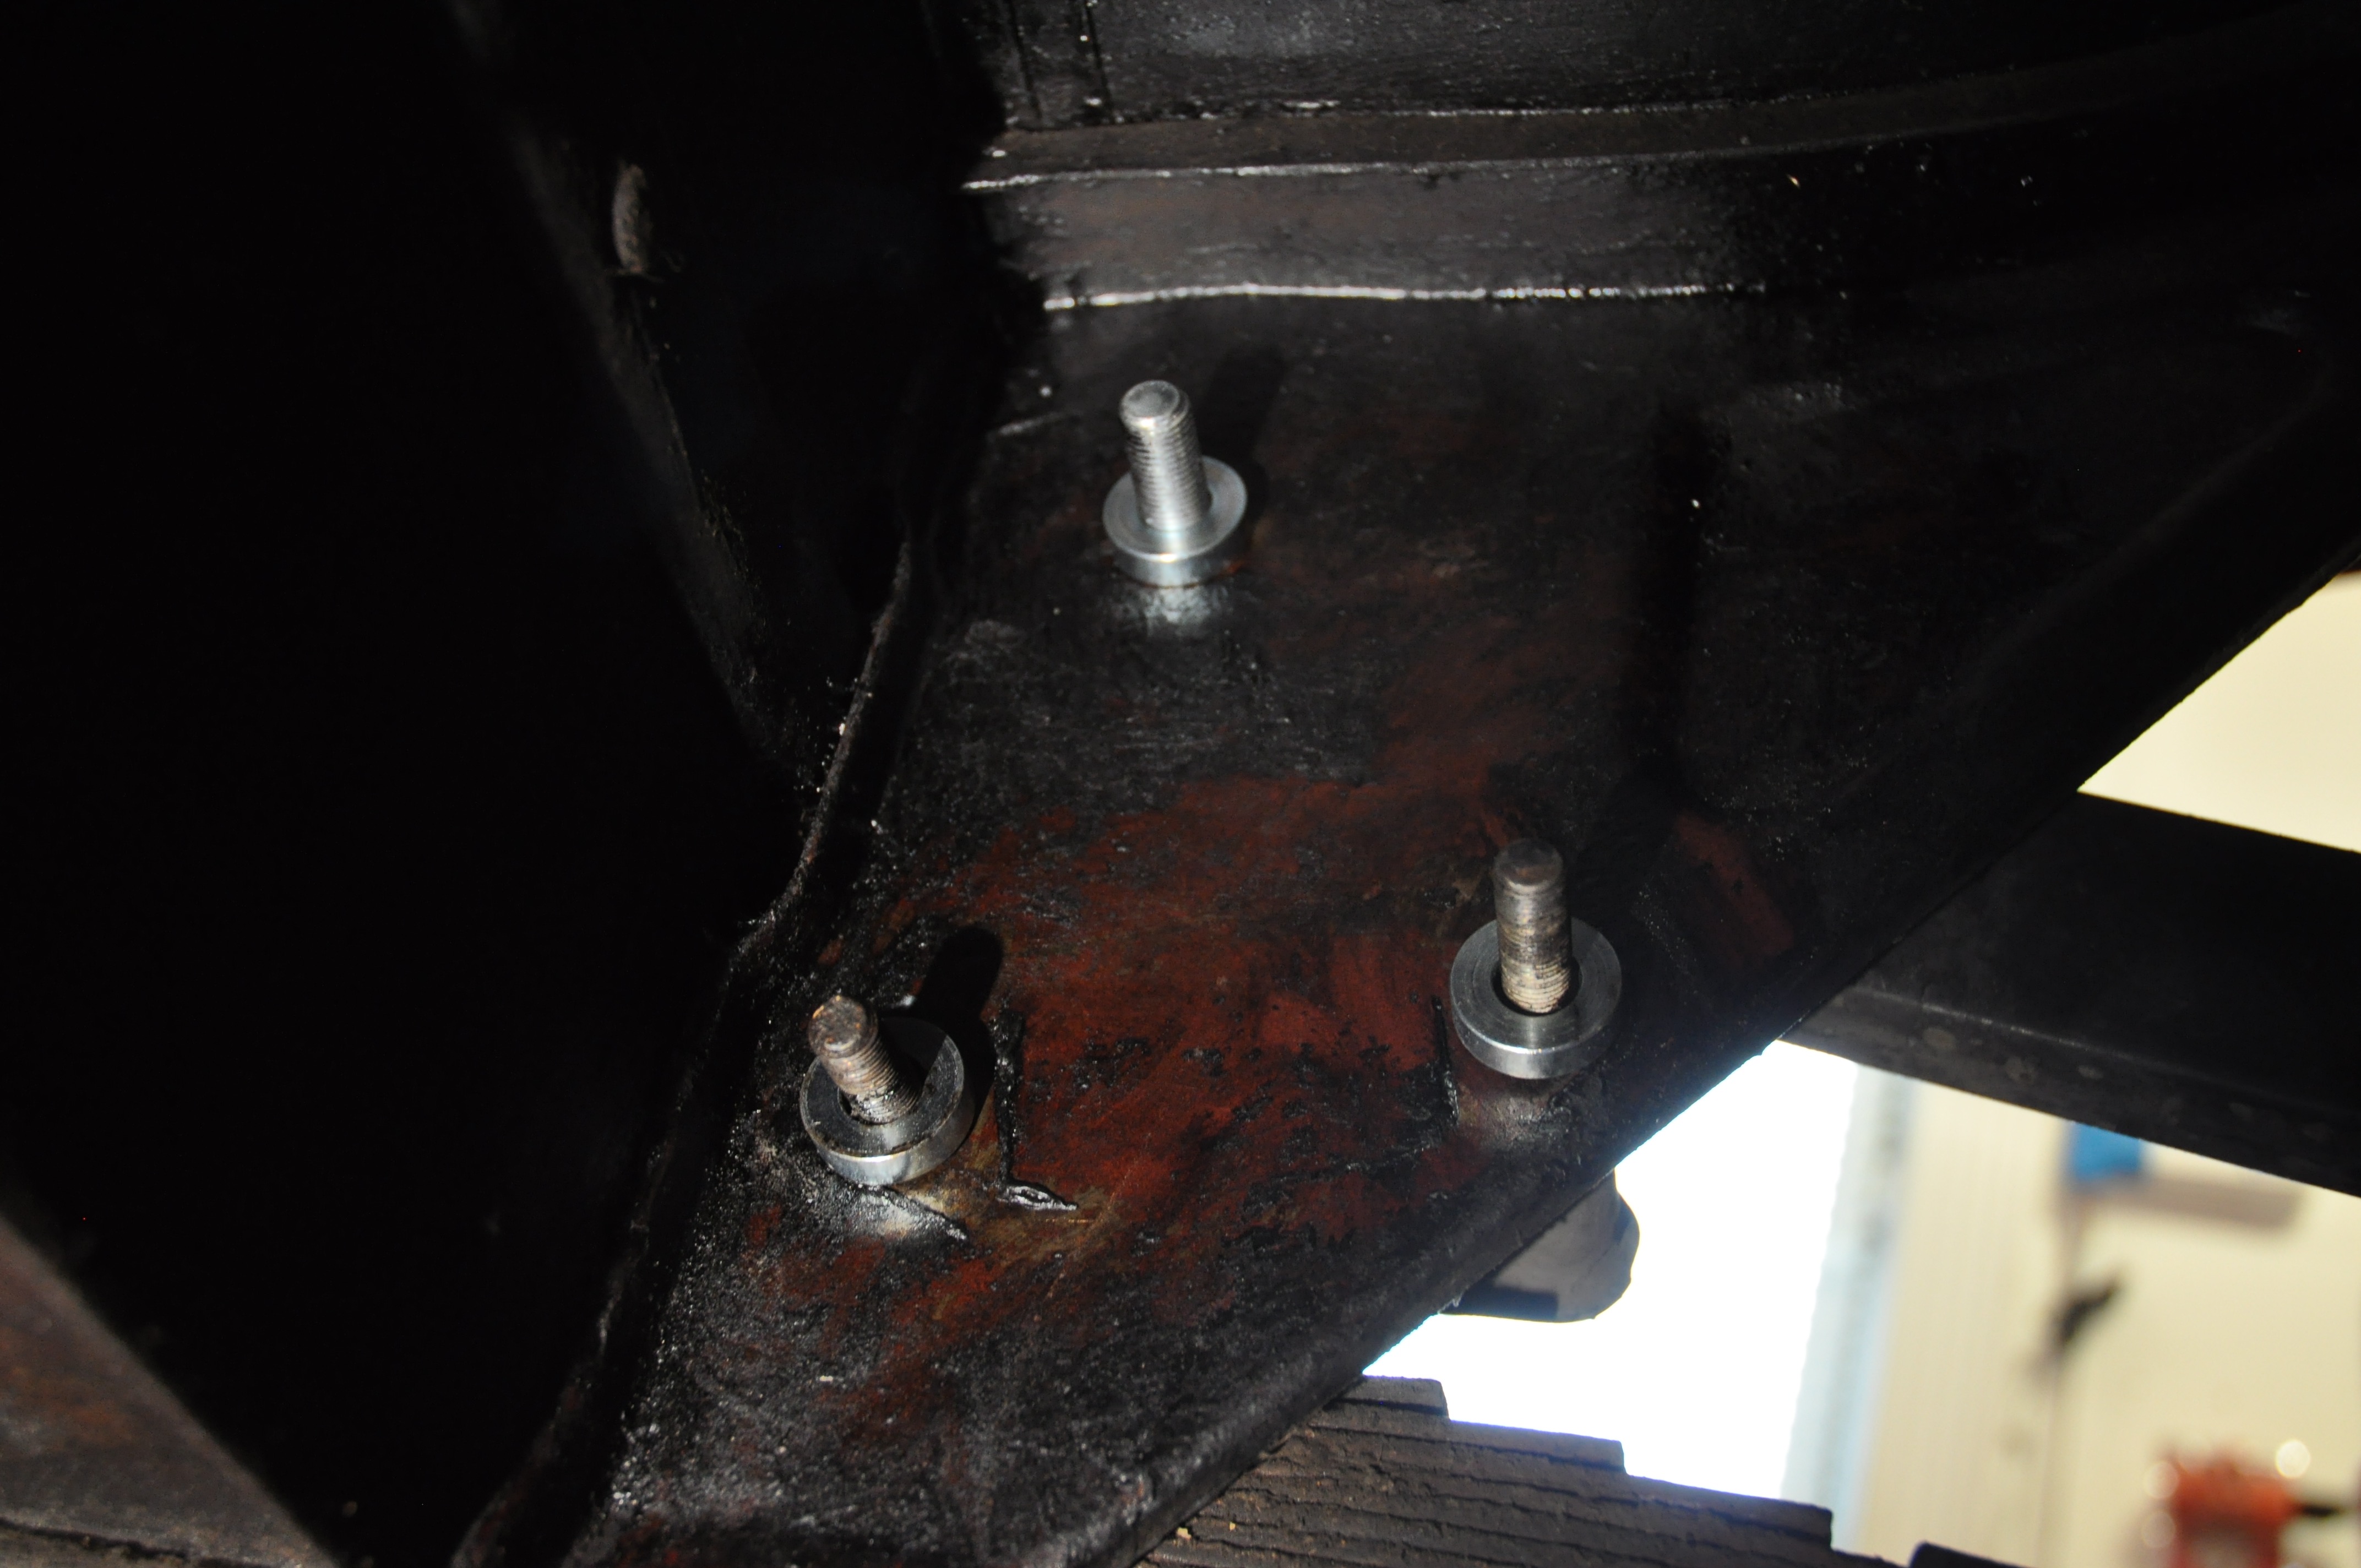
5. Place the new bottom bracket and long spacer on top of the A-arm. Replace the bolt and nut with one supplied in the kit. Tighten until metal contact.
6. Remove the wheel side/outboard bolt.
7. Insert the spacer and rate the bracket over the hole.
LH Front Lower Mounting Plate and Spacer
LH Front Lower Mounting Plate
8.Replace second new bolt/nut.
9. Check spring clearance and pull bracket away from spring.
10. Tighten both bolts to 19lbs.
Front Shock Installation – Upper Mount:
1. Support the lower control arm with a floor jack.
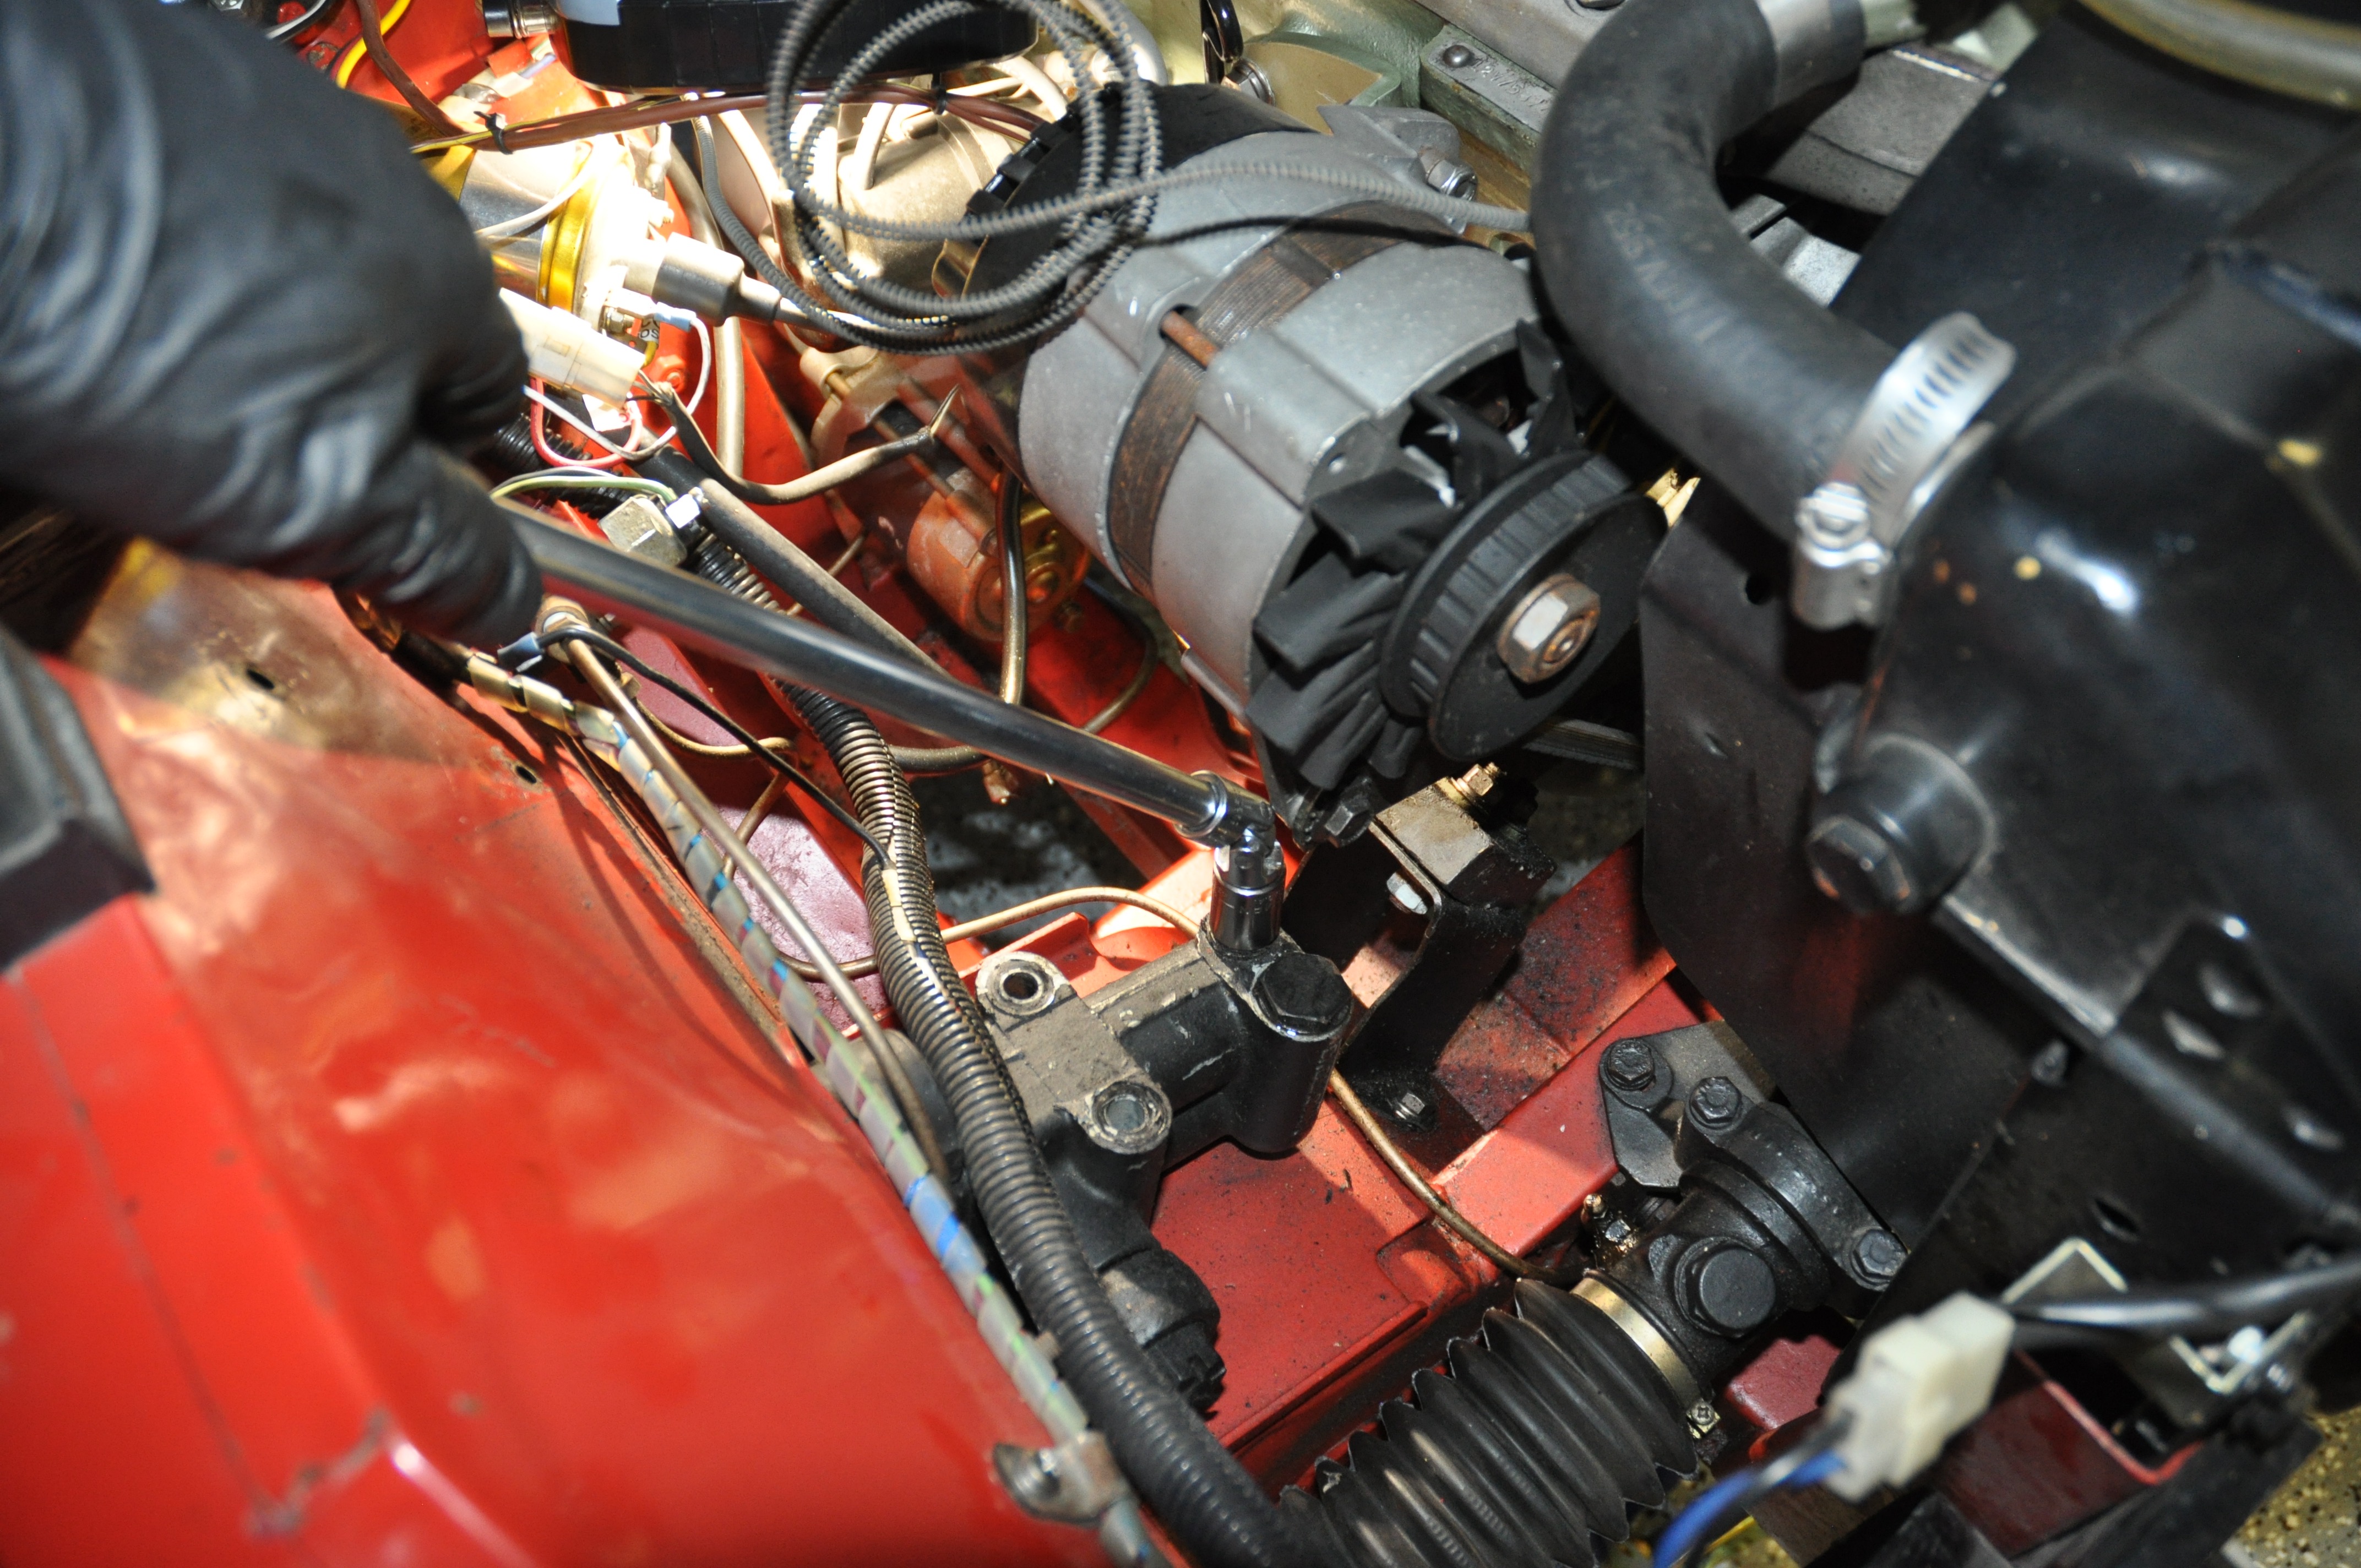
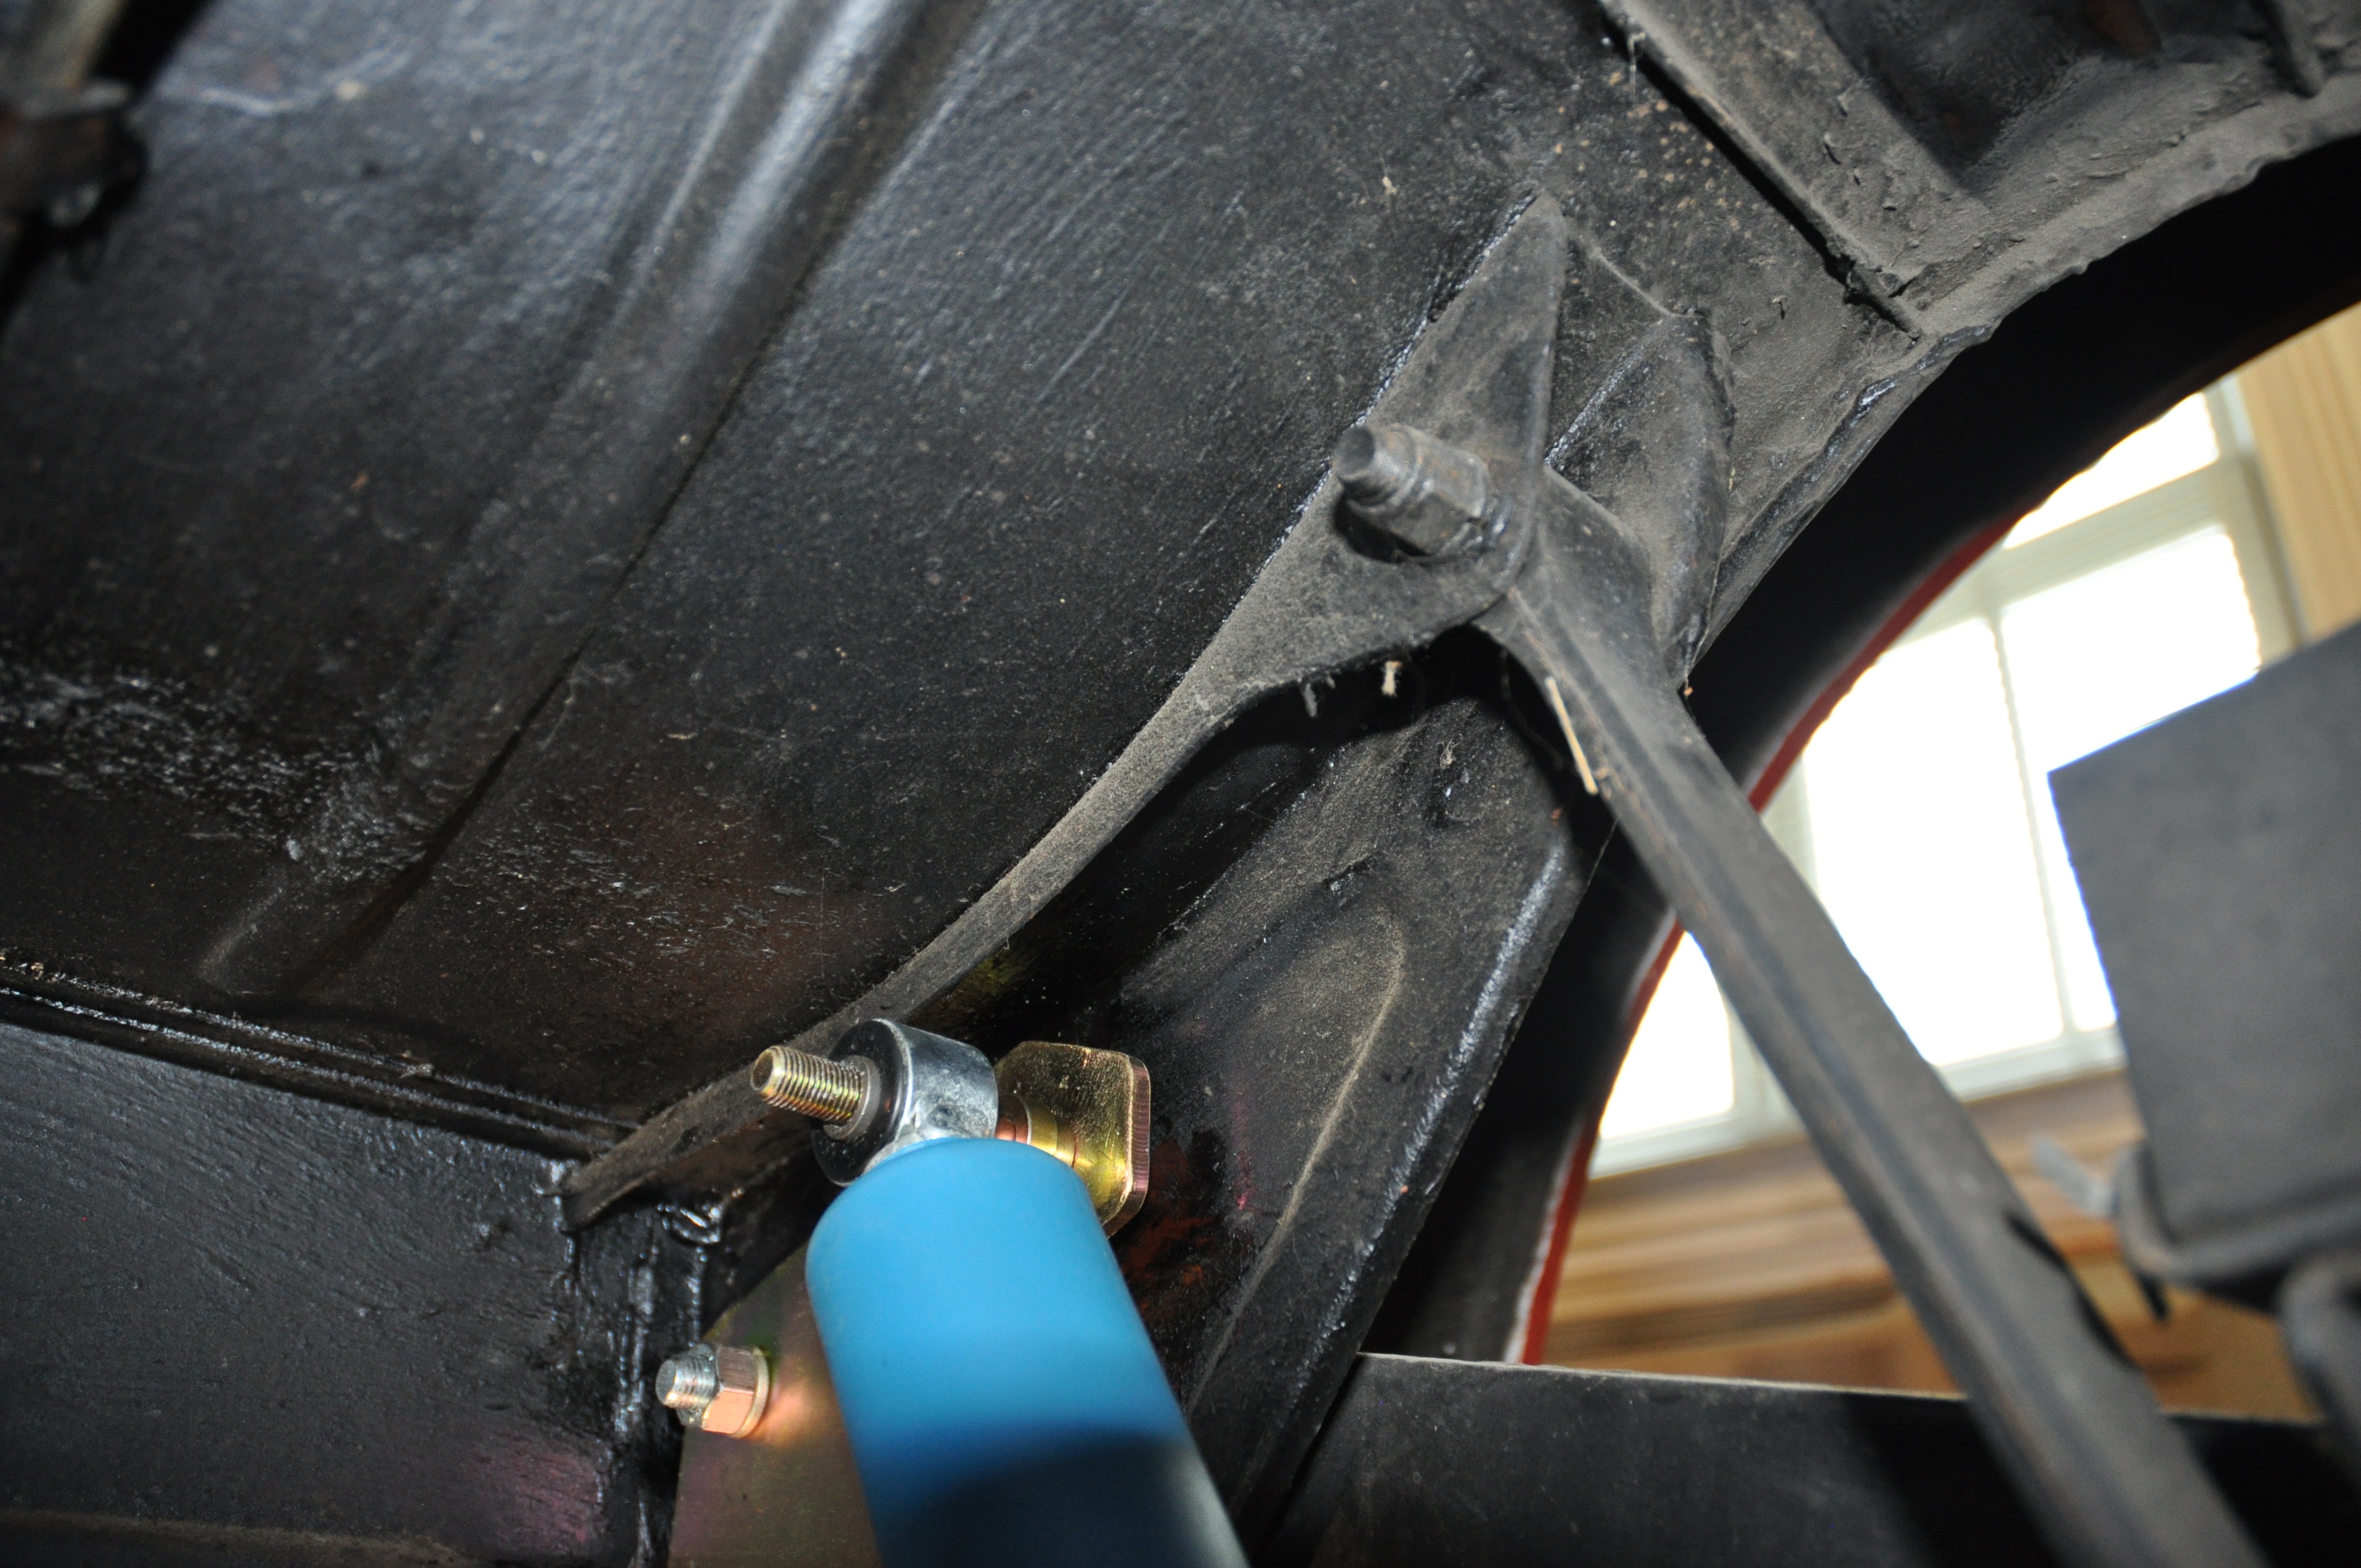
2. Remove three (3) from the Armstrong lever shock. At least in my case, I had to remove the big heater inlet hose to get to the shock bolts.
Removing Armstrong Shock Mounting Bolts
3. Remove the oil plug (big hex nut) from the Armstrong shock and take the valving out.
4. Reinstall oil plug and tighten, check and refill oil.
5. Checked the threads on the shock tower to make sure they were clean and in good shape. As Udo’s directions say, “Bad threads must be repaired!”
6. Clean threads with brake cleaner and Use Locktite on threads.
7. Install the original equipment shock with the new bracket on top using the original bolts.
8. Tighten all three (3) bolts to 30 lb.ft.
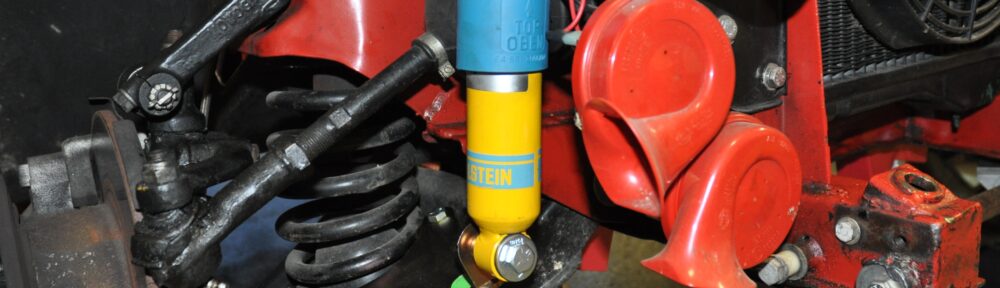
9. Install the Bilstein shock #F4-BE3-E553-T0 and tighten to 30 lb.ft. (top and bottom)
10. Install the wheels/tires and set the car on the ground.
Udo emphasizes that if you have adjustment plates installed, you must check the camber, caster and toe on the car!
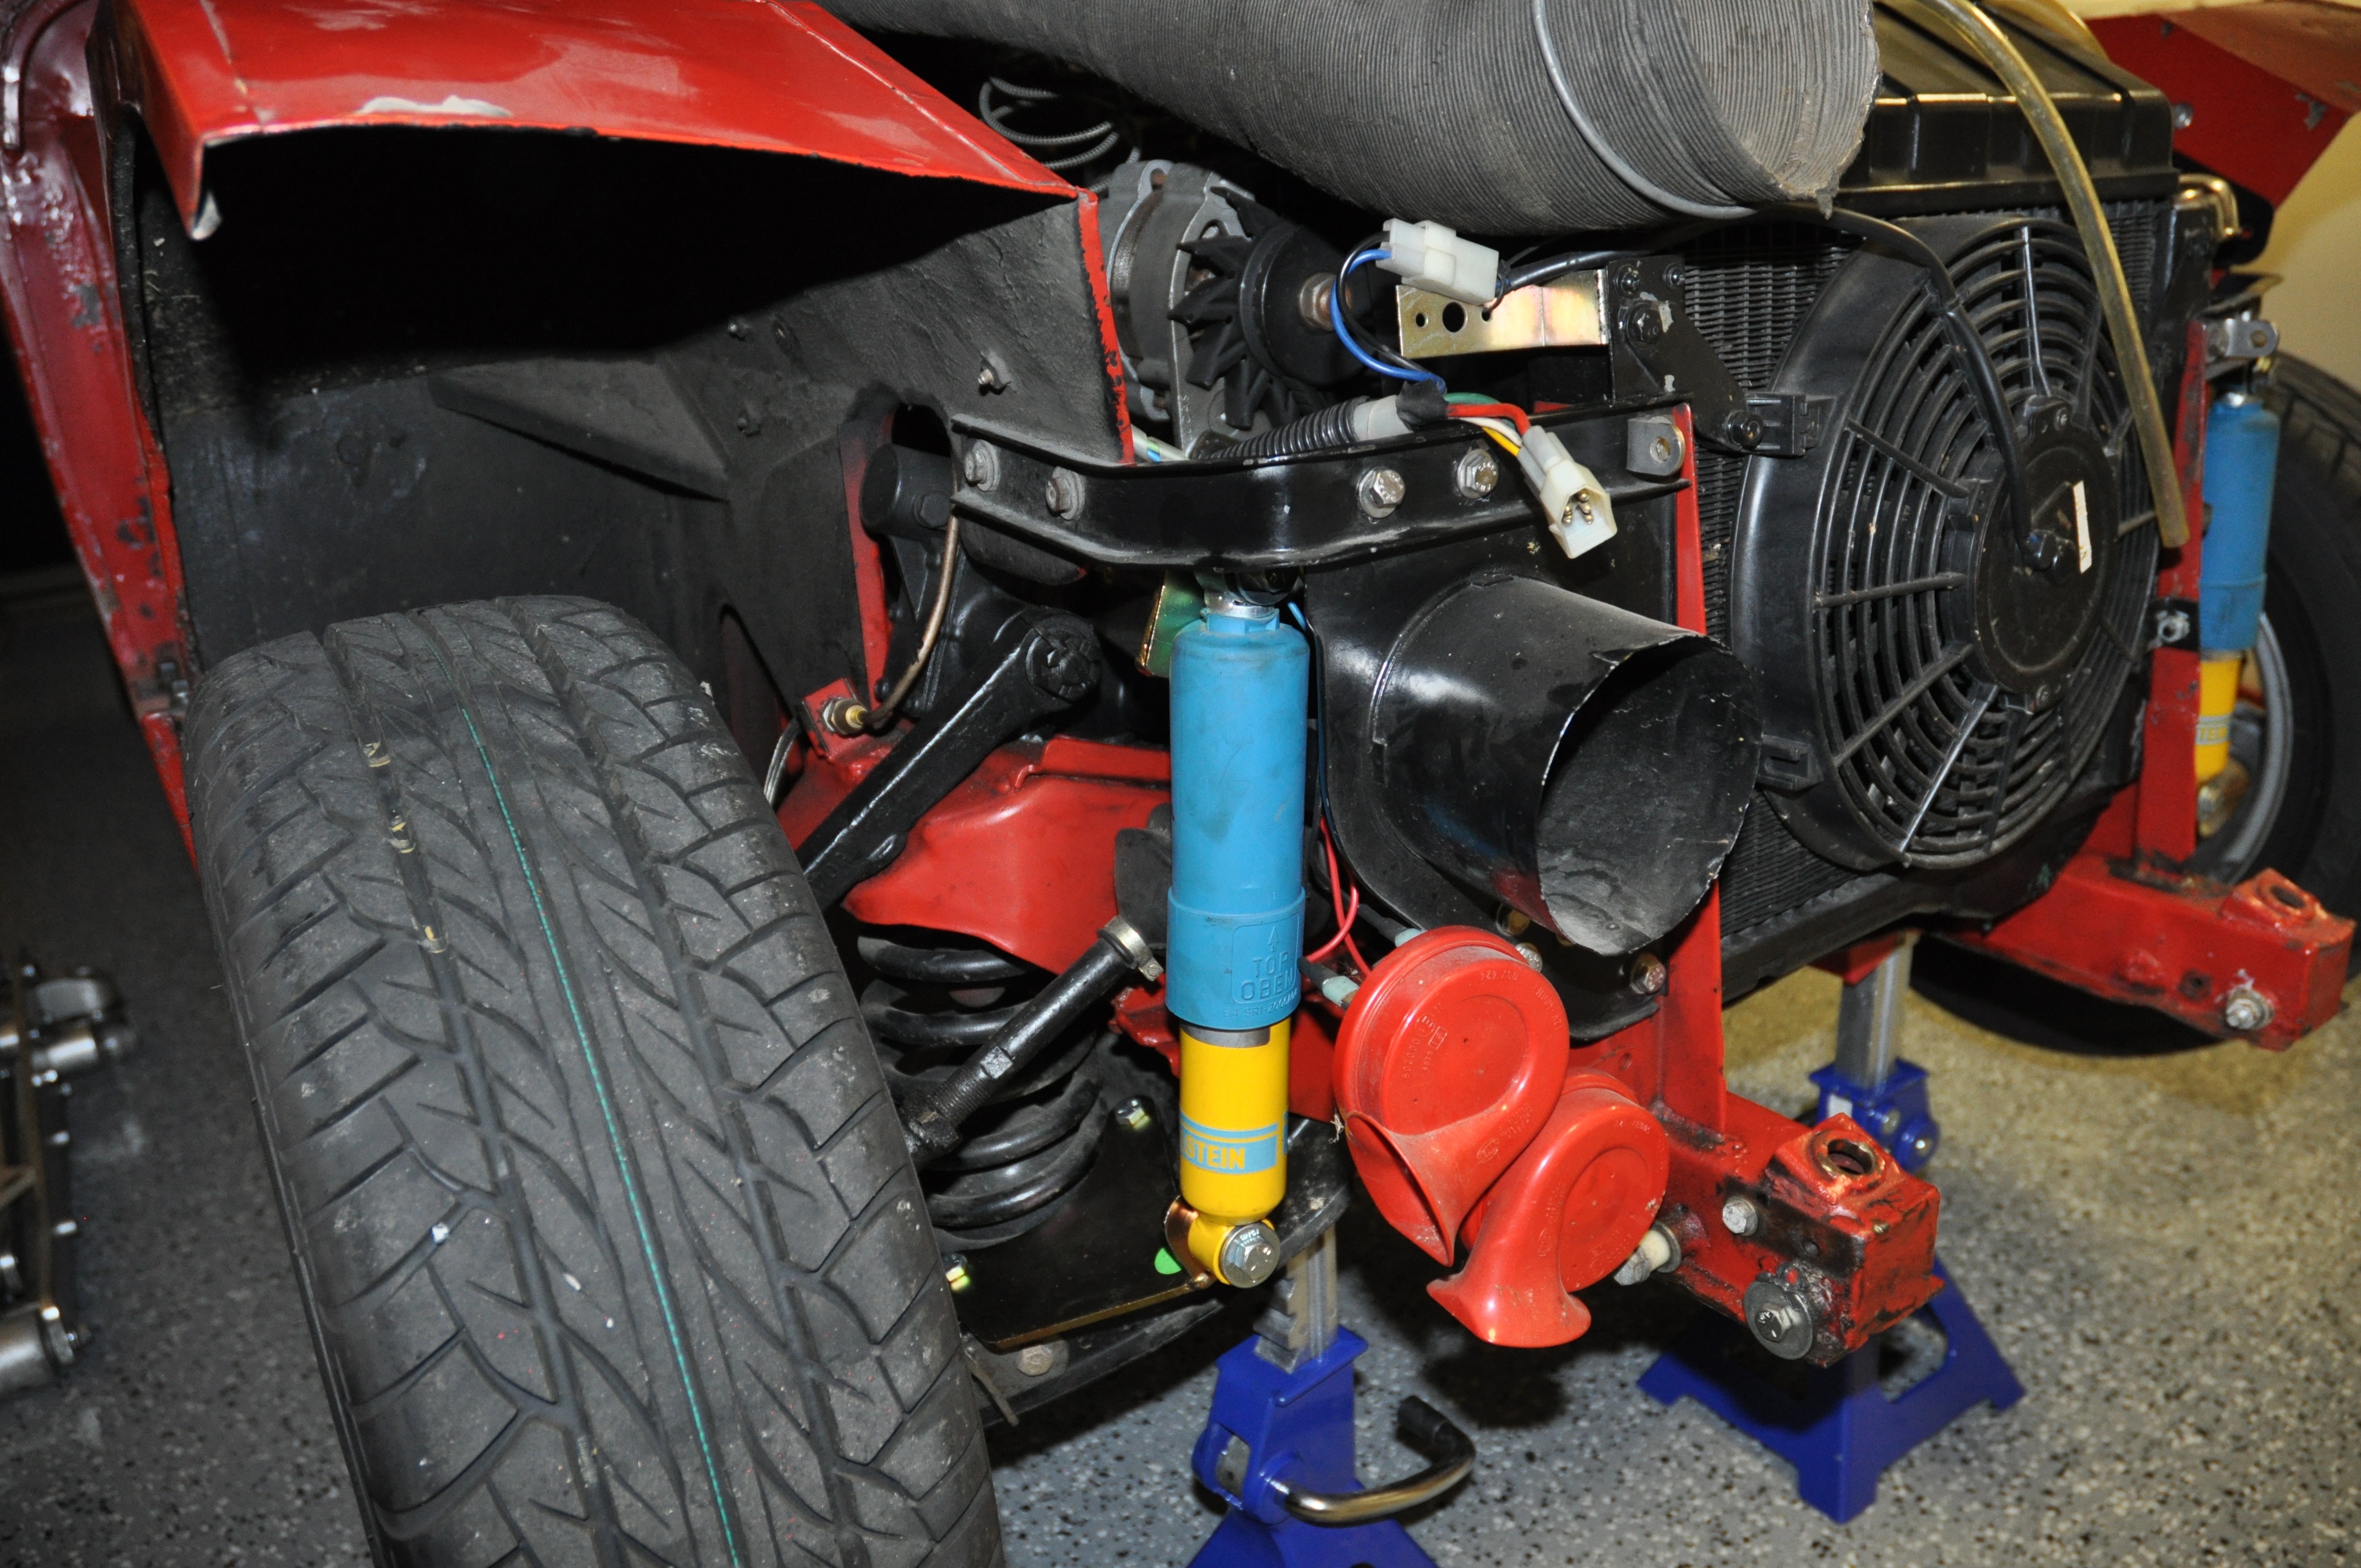
RH Front Shock Installed
Rear Shock Installation:
The rear shock installation is much easier than the front. We already had the car off the ground and on jack stands with the rear tires/wheels removed.
1.Removed both the LH and RH rear Armstrong Lever Shocks.
Armstrong Shock with Lever to be Removed
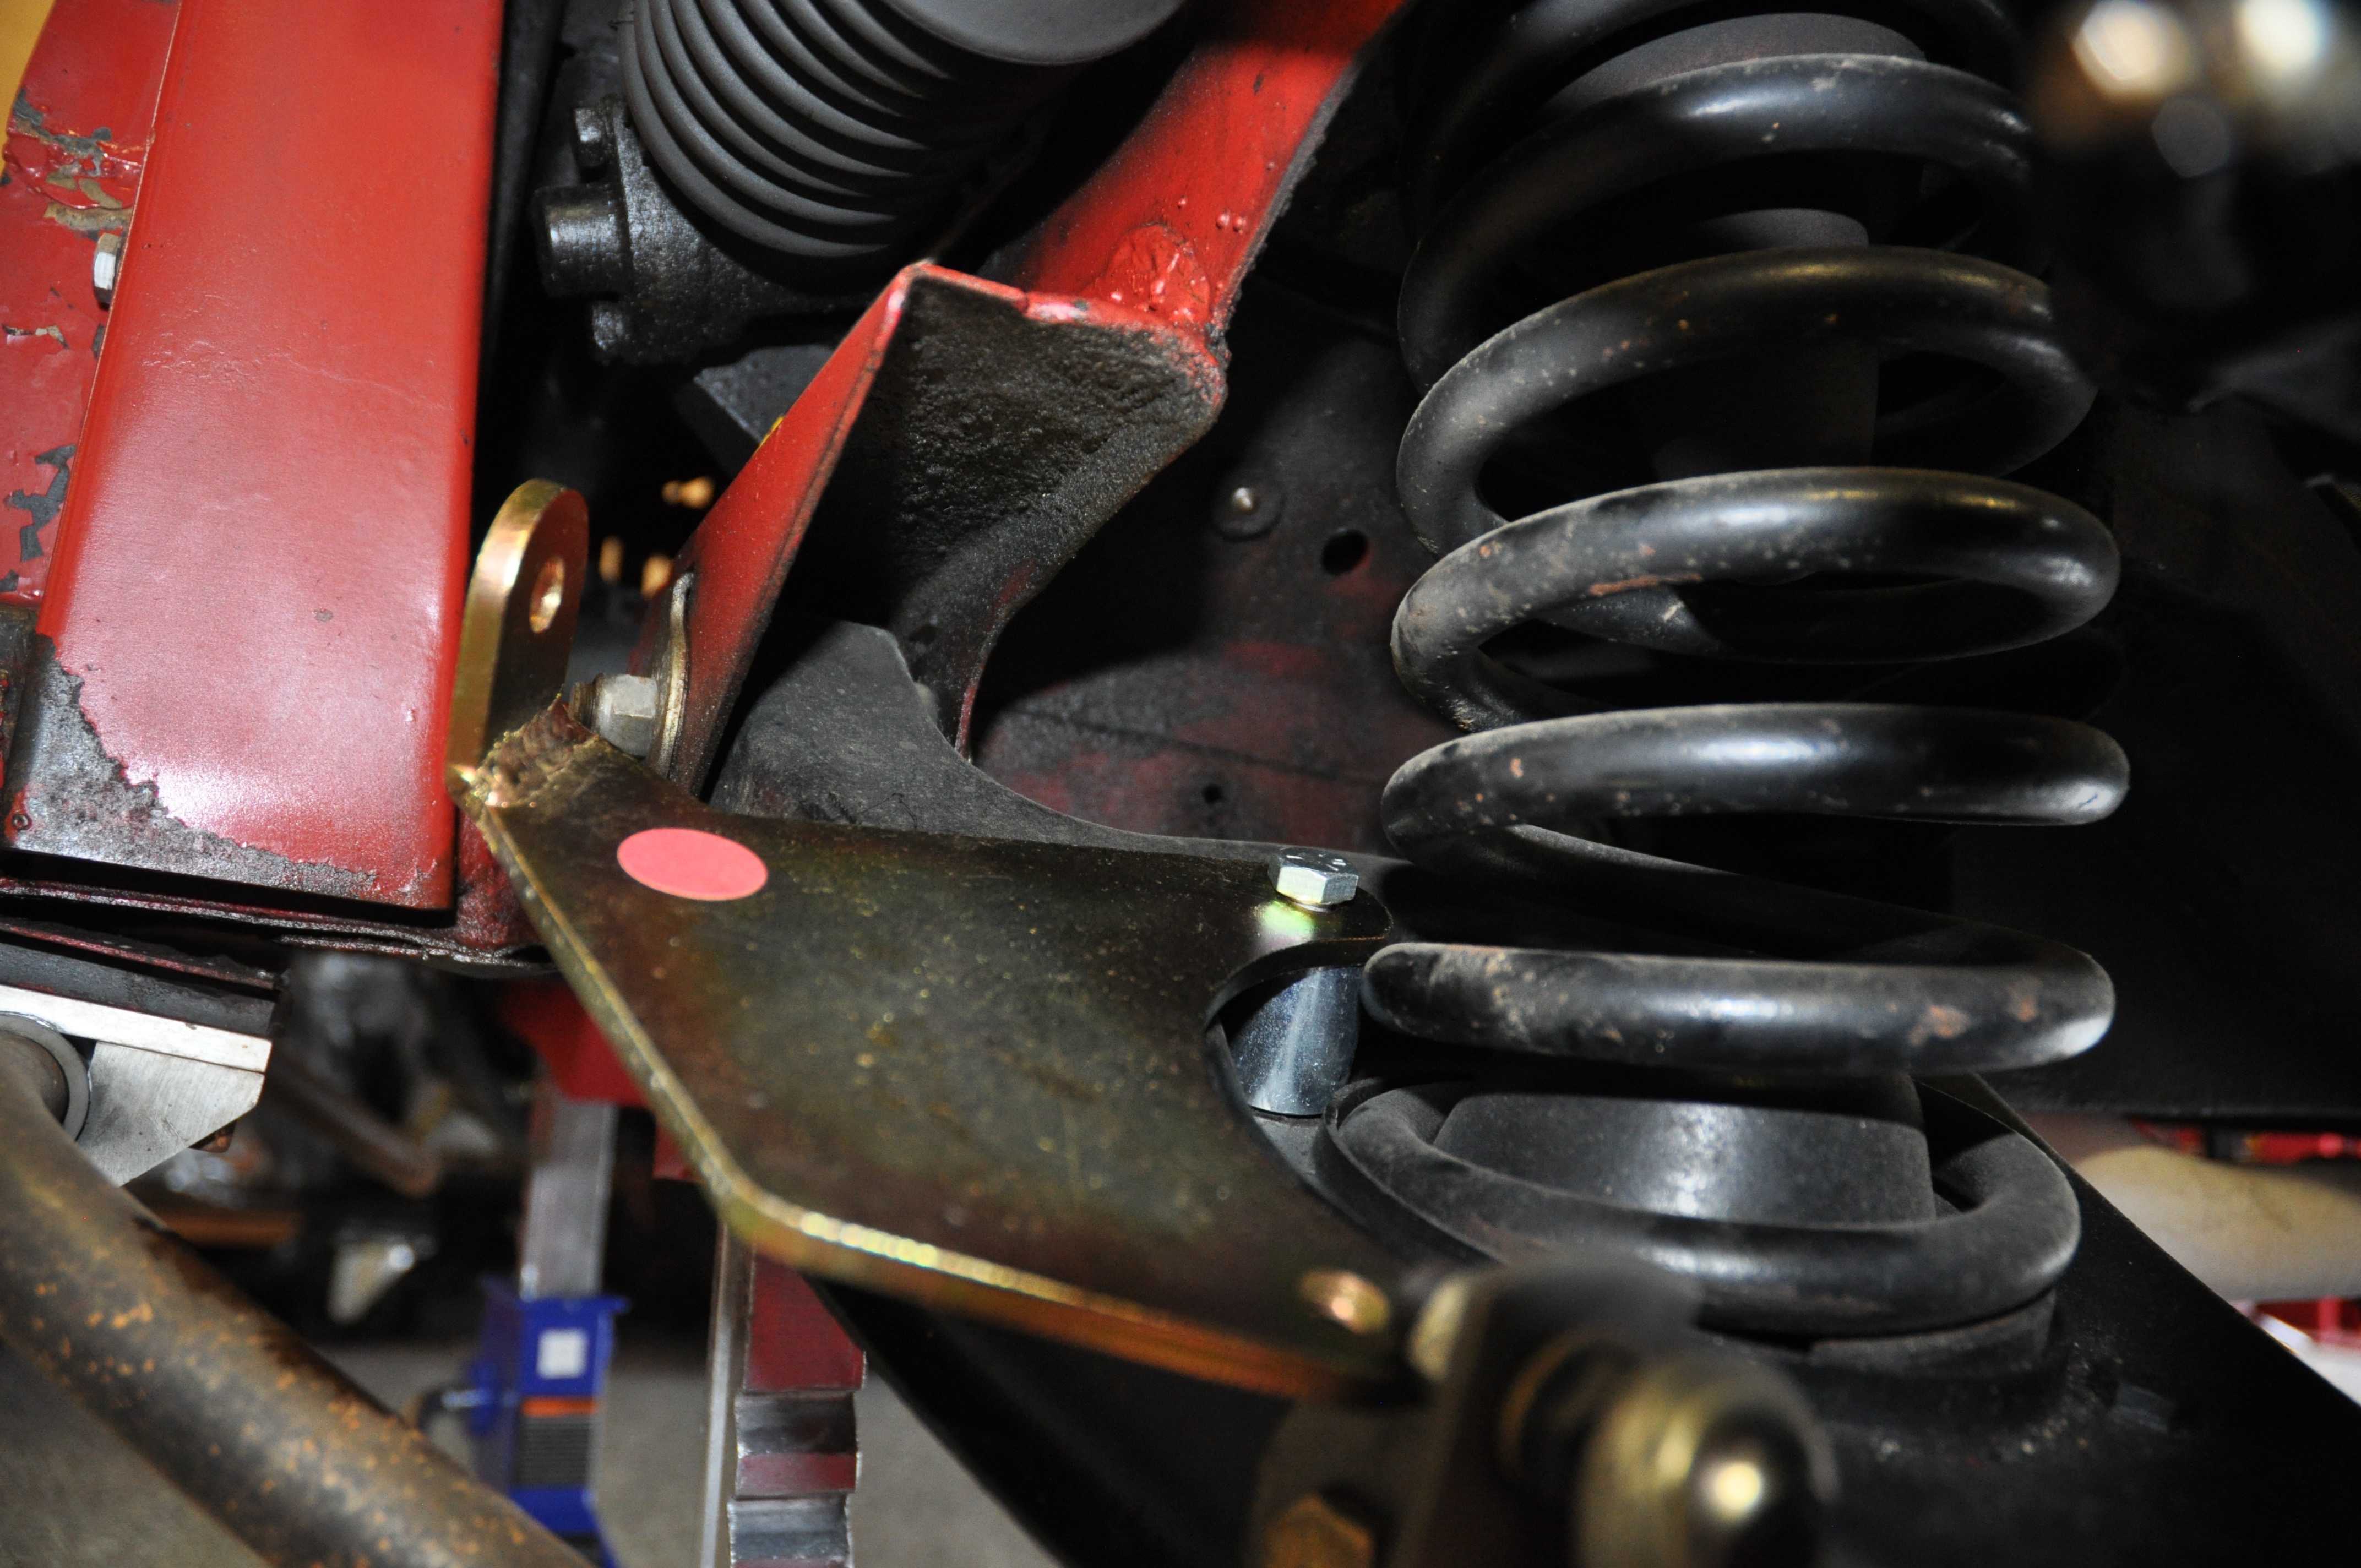
2.Installed the three spacers for the new mount bracket and one new bolt provided with the kit. Torqued nuts to 33 lb/ft.
Armstrong Shock Removed with Spacers in Place

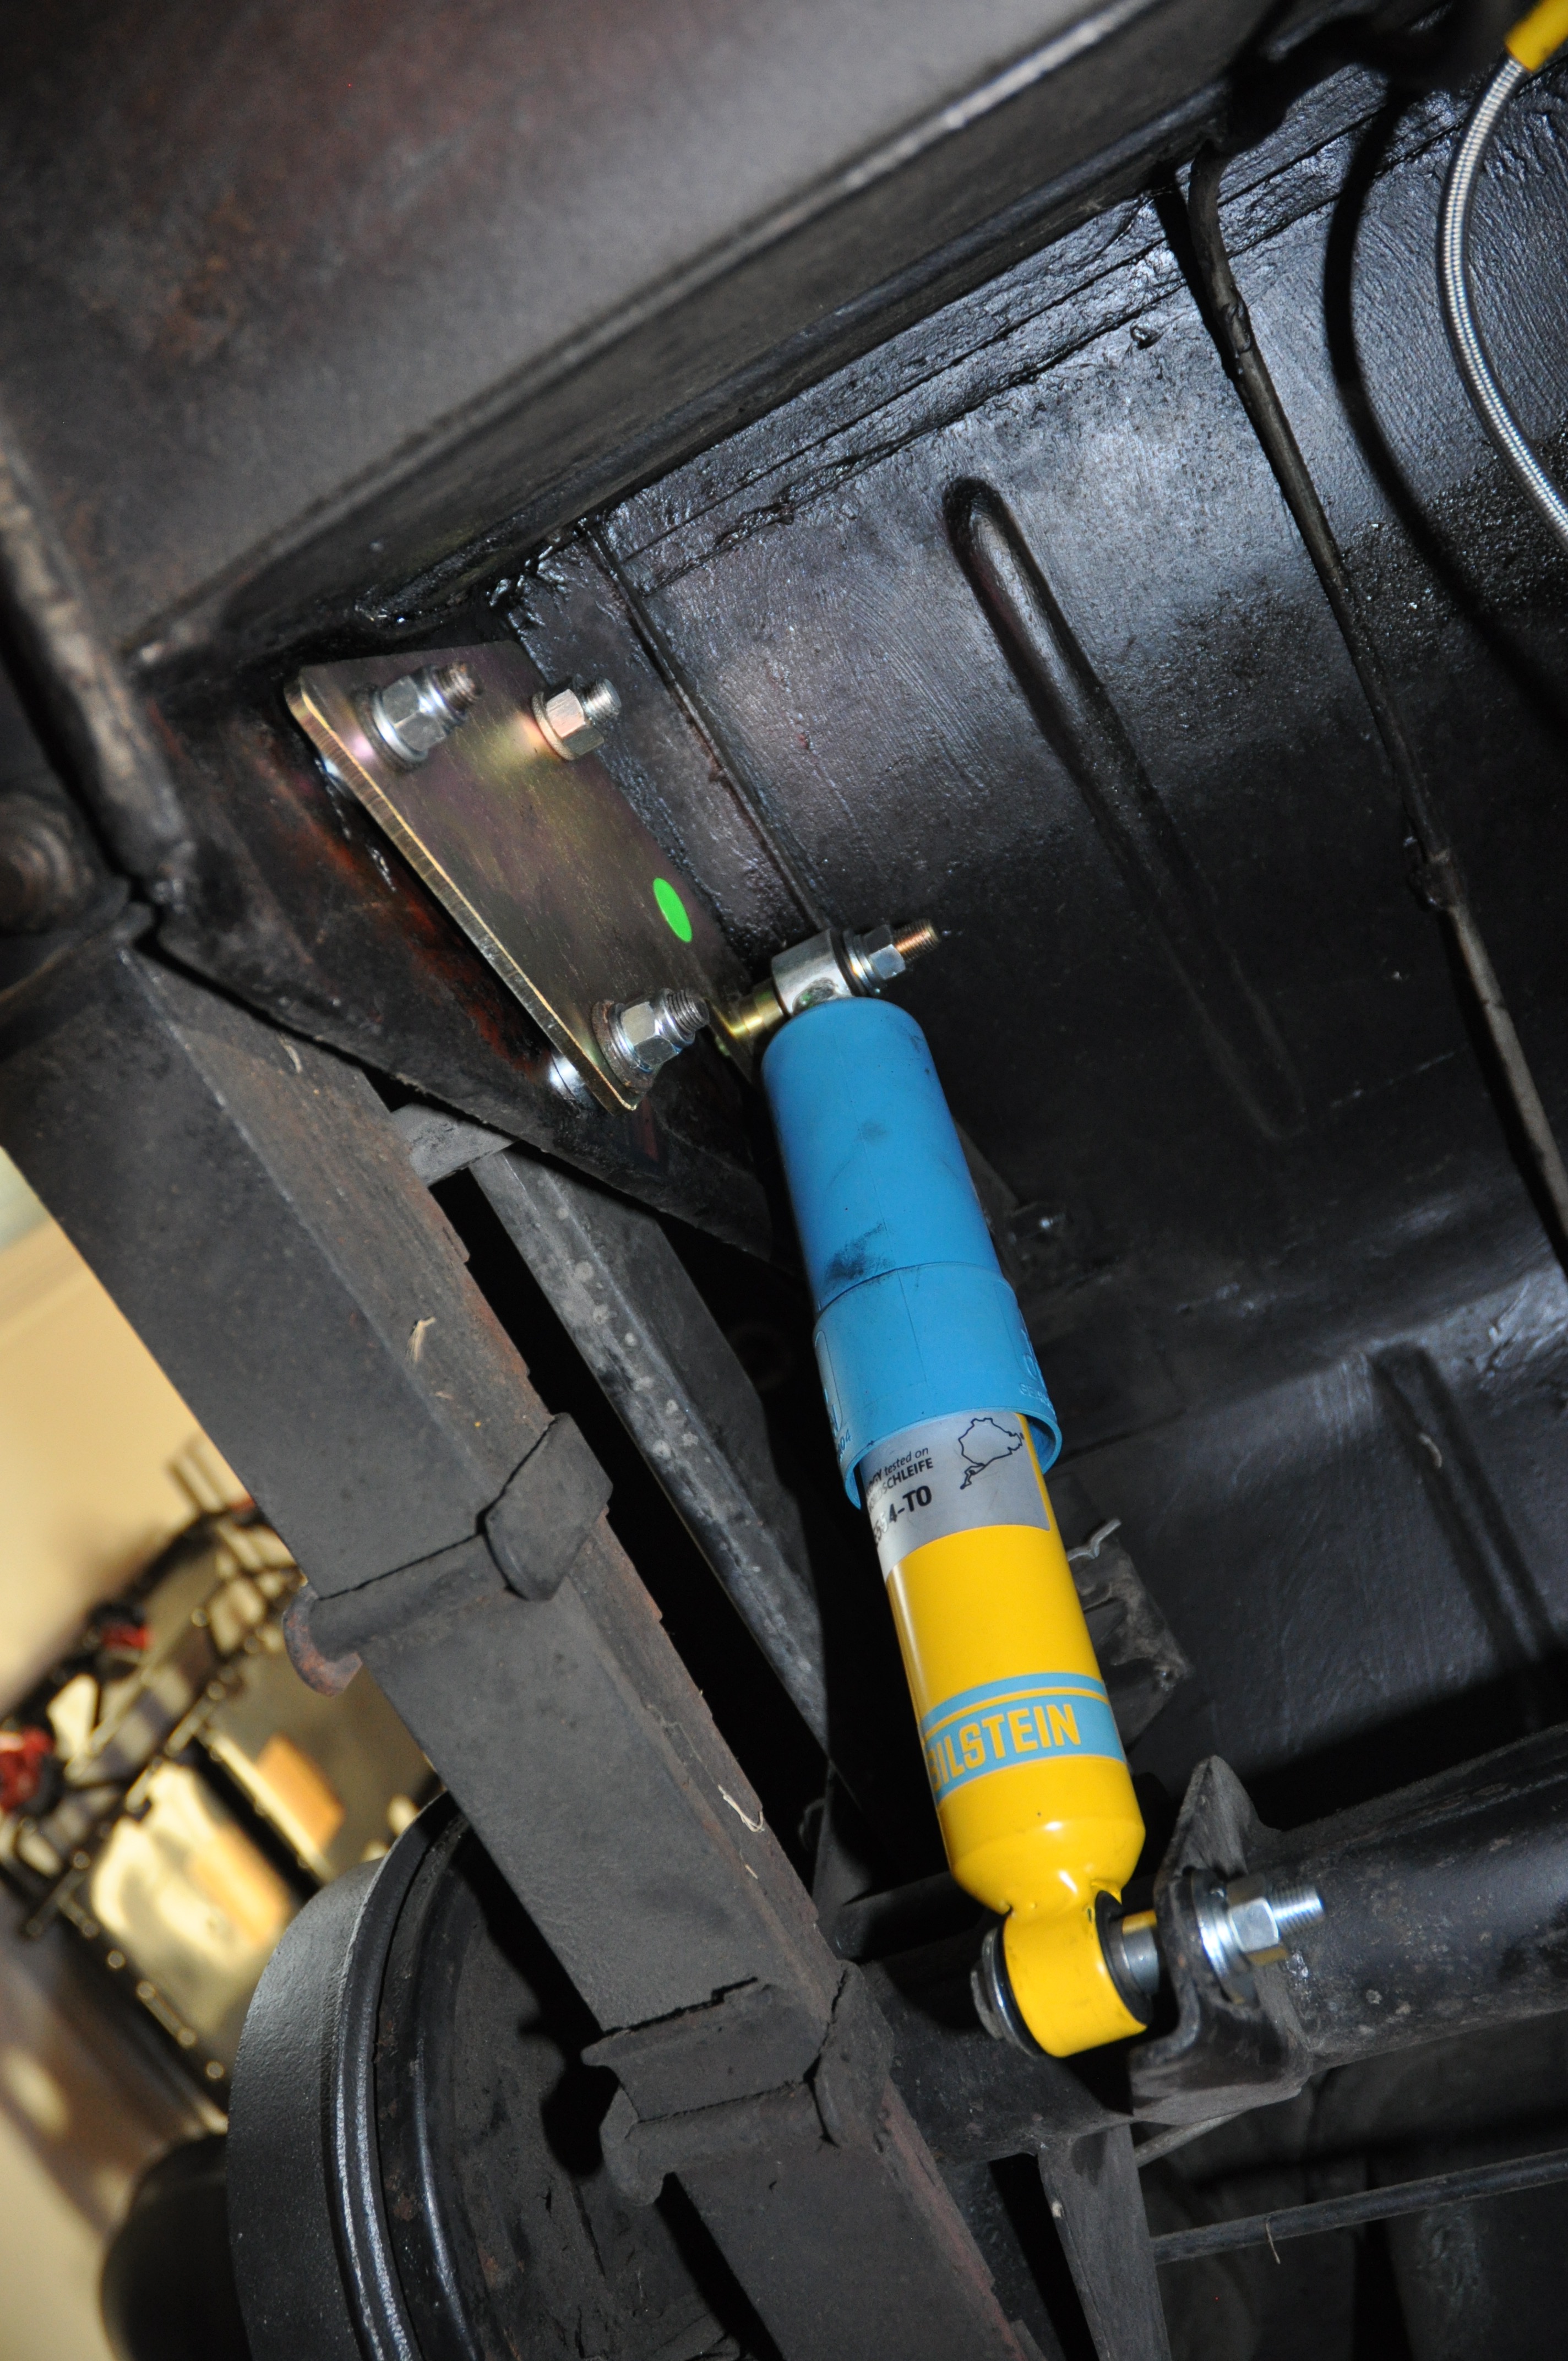
RH Tube Shock Bracket in place
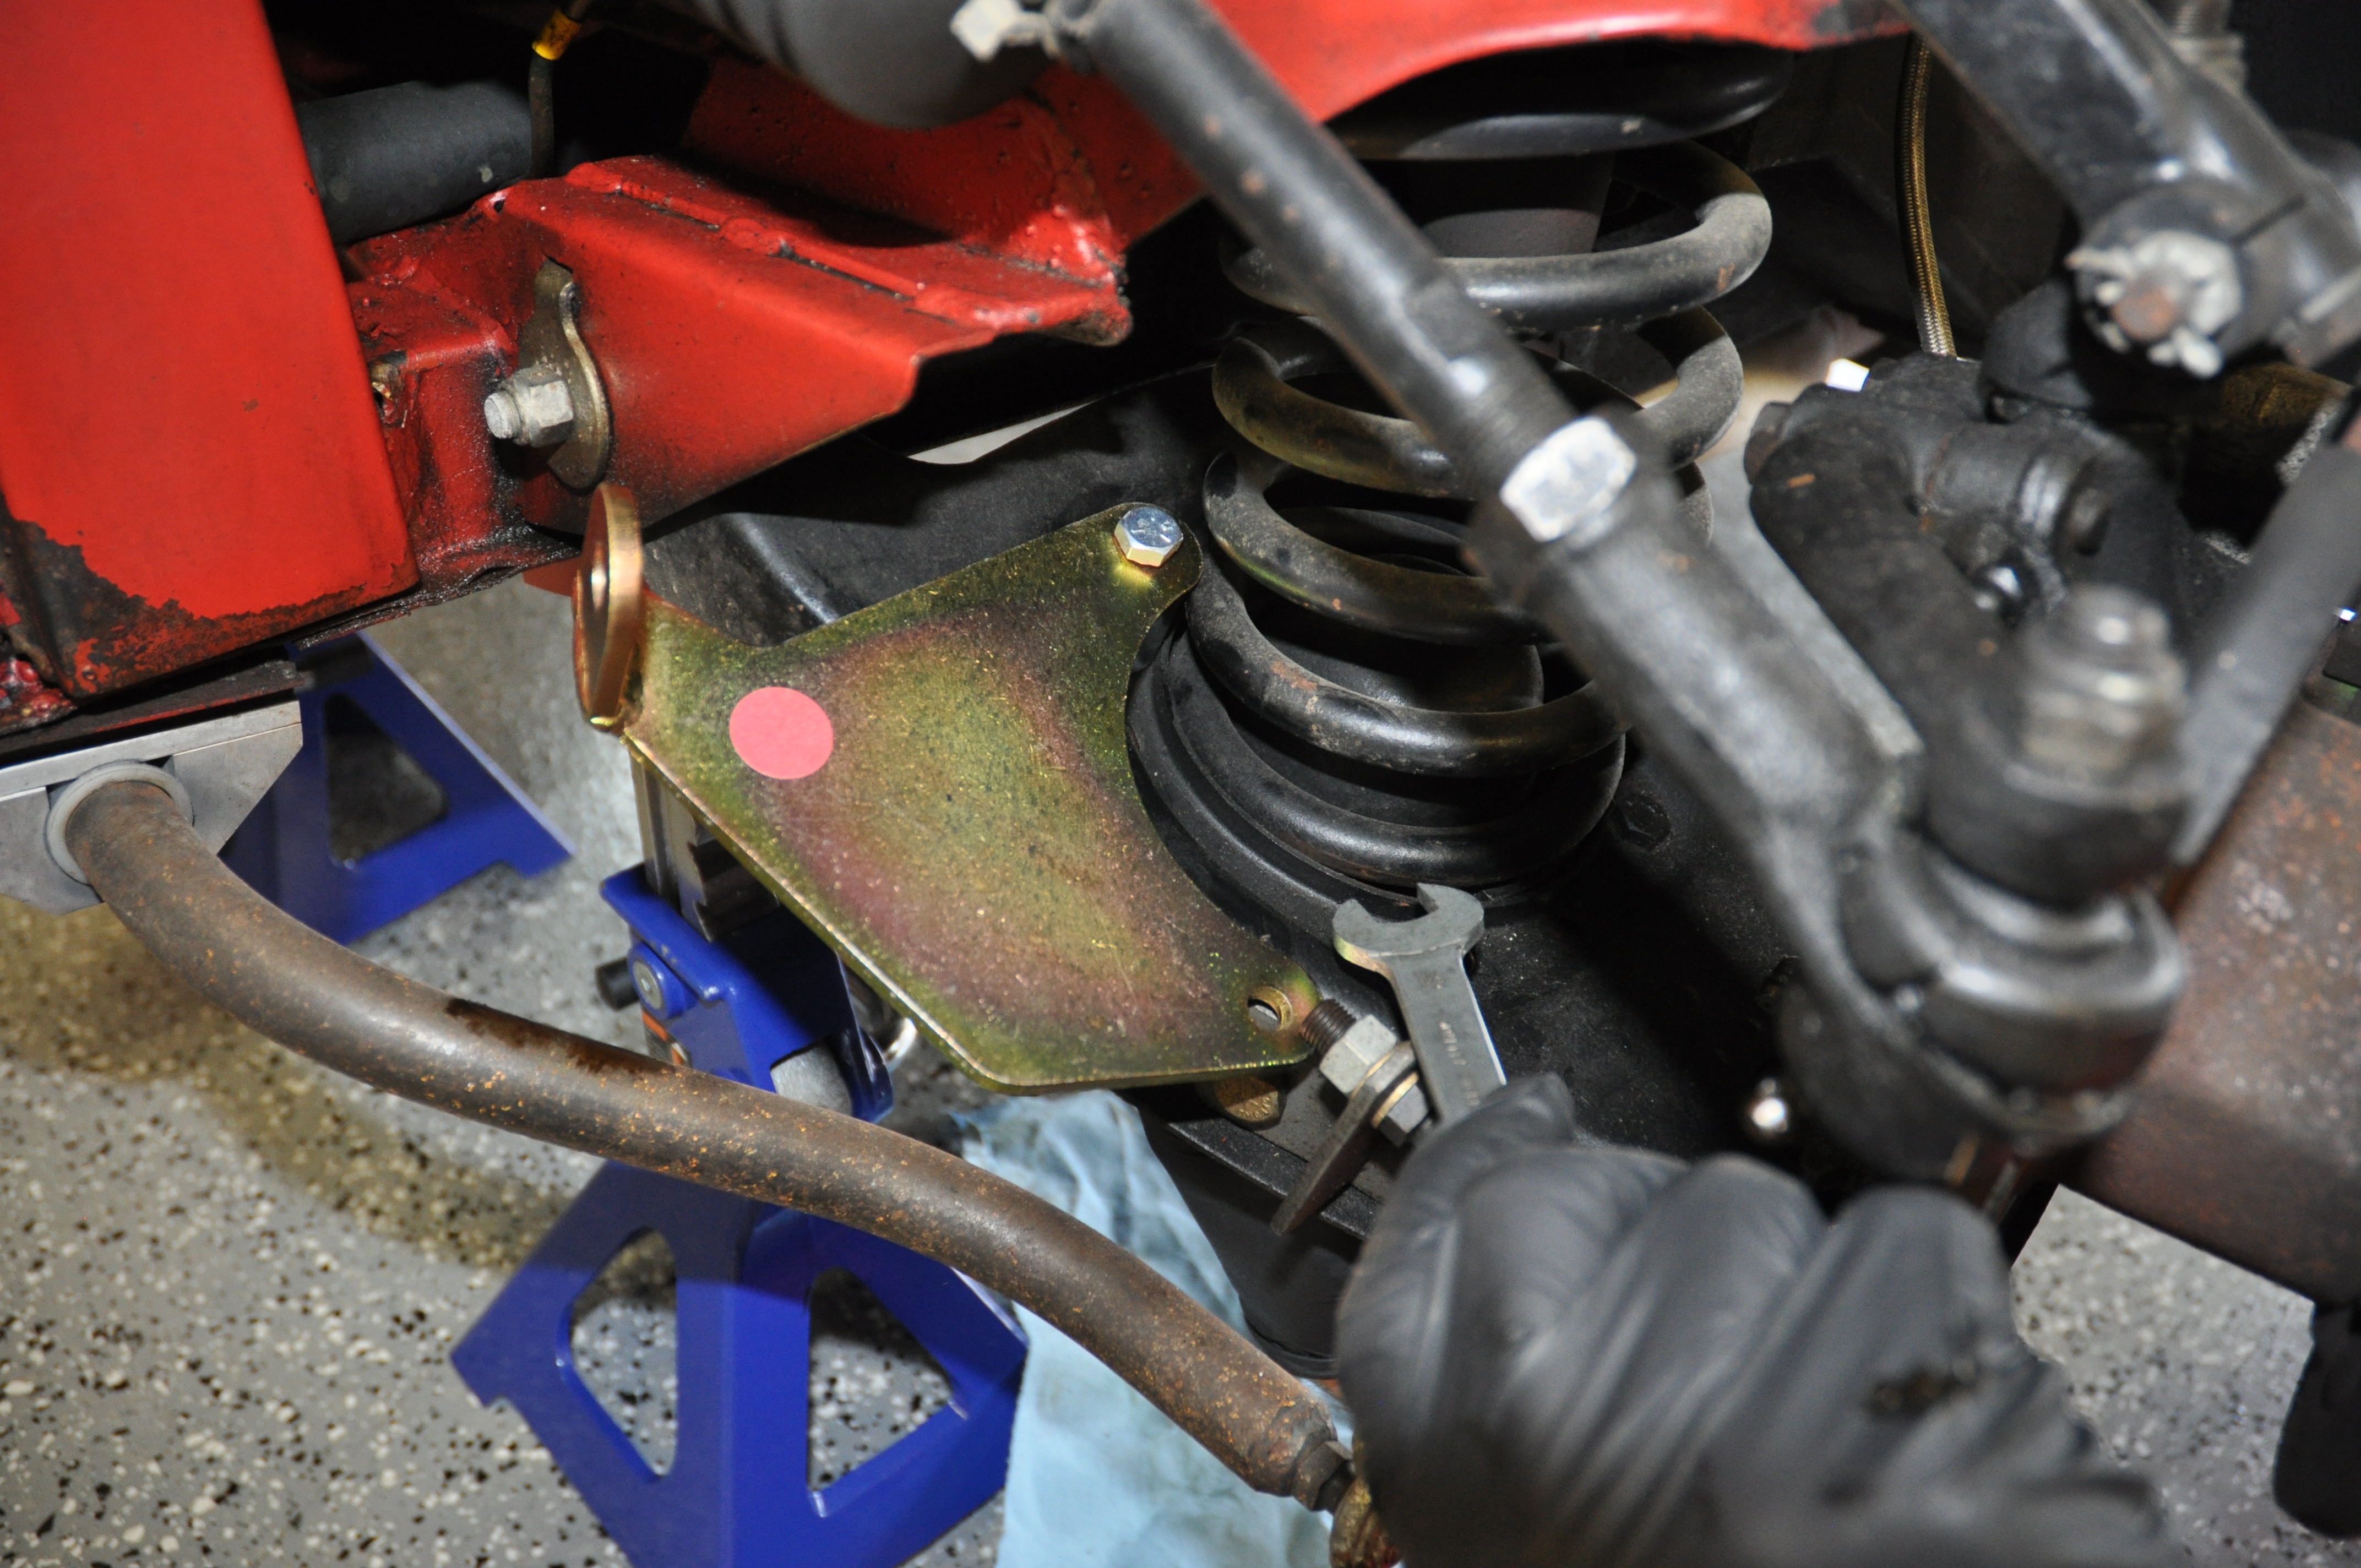
3.Installed the rear shock F4-BE3-E554-T0 to the top bracket pin and torqued to 33 lb. ft.
Bilstein Shock Upper Mount
4.Installed the step-down spacer on the lower mounting and torqued to 33 lb. ft.
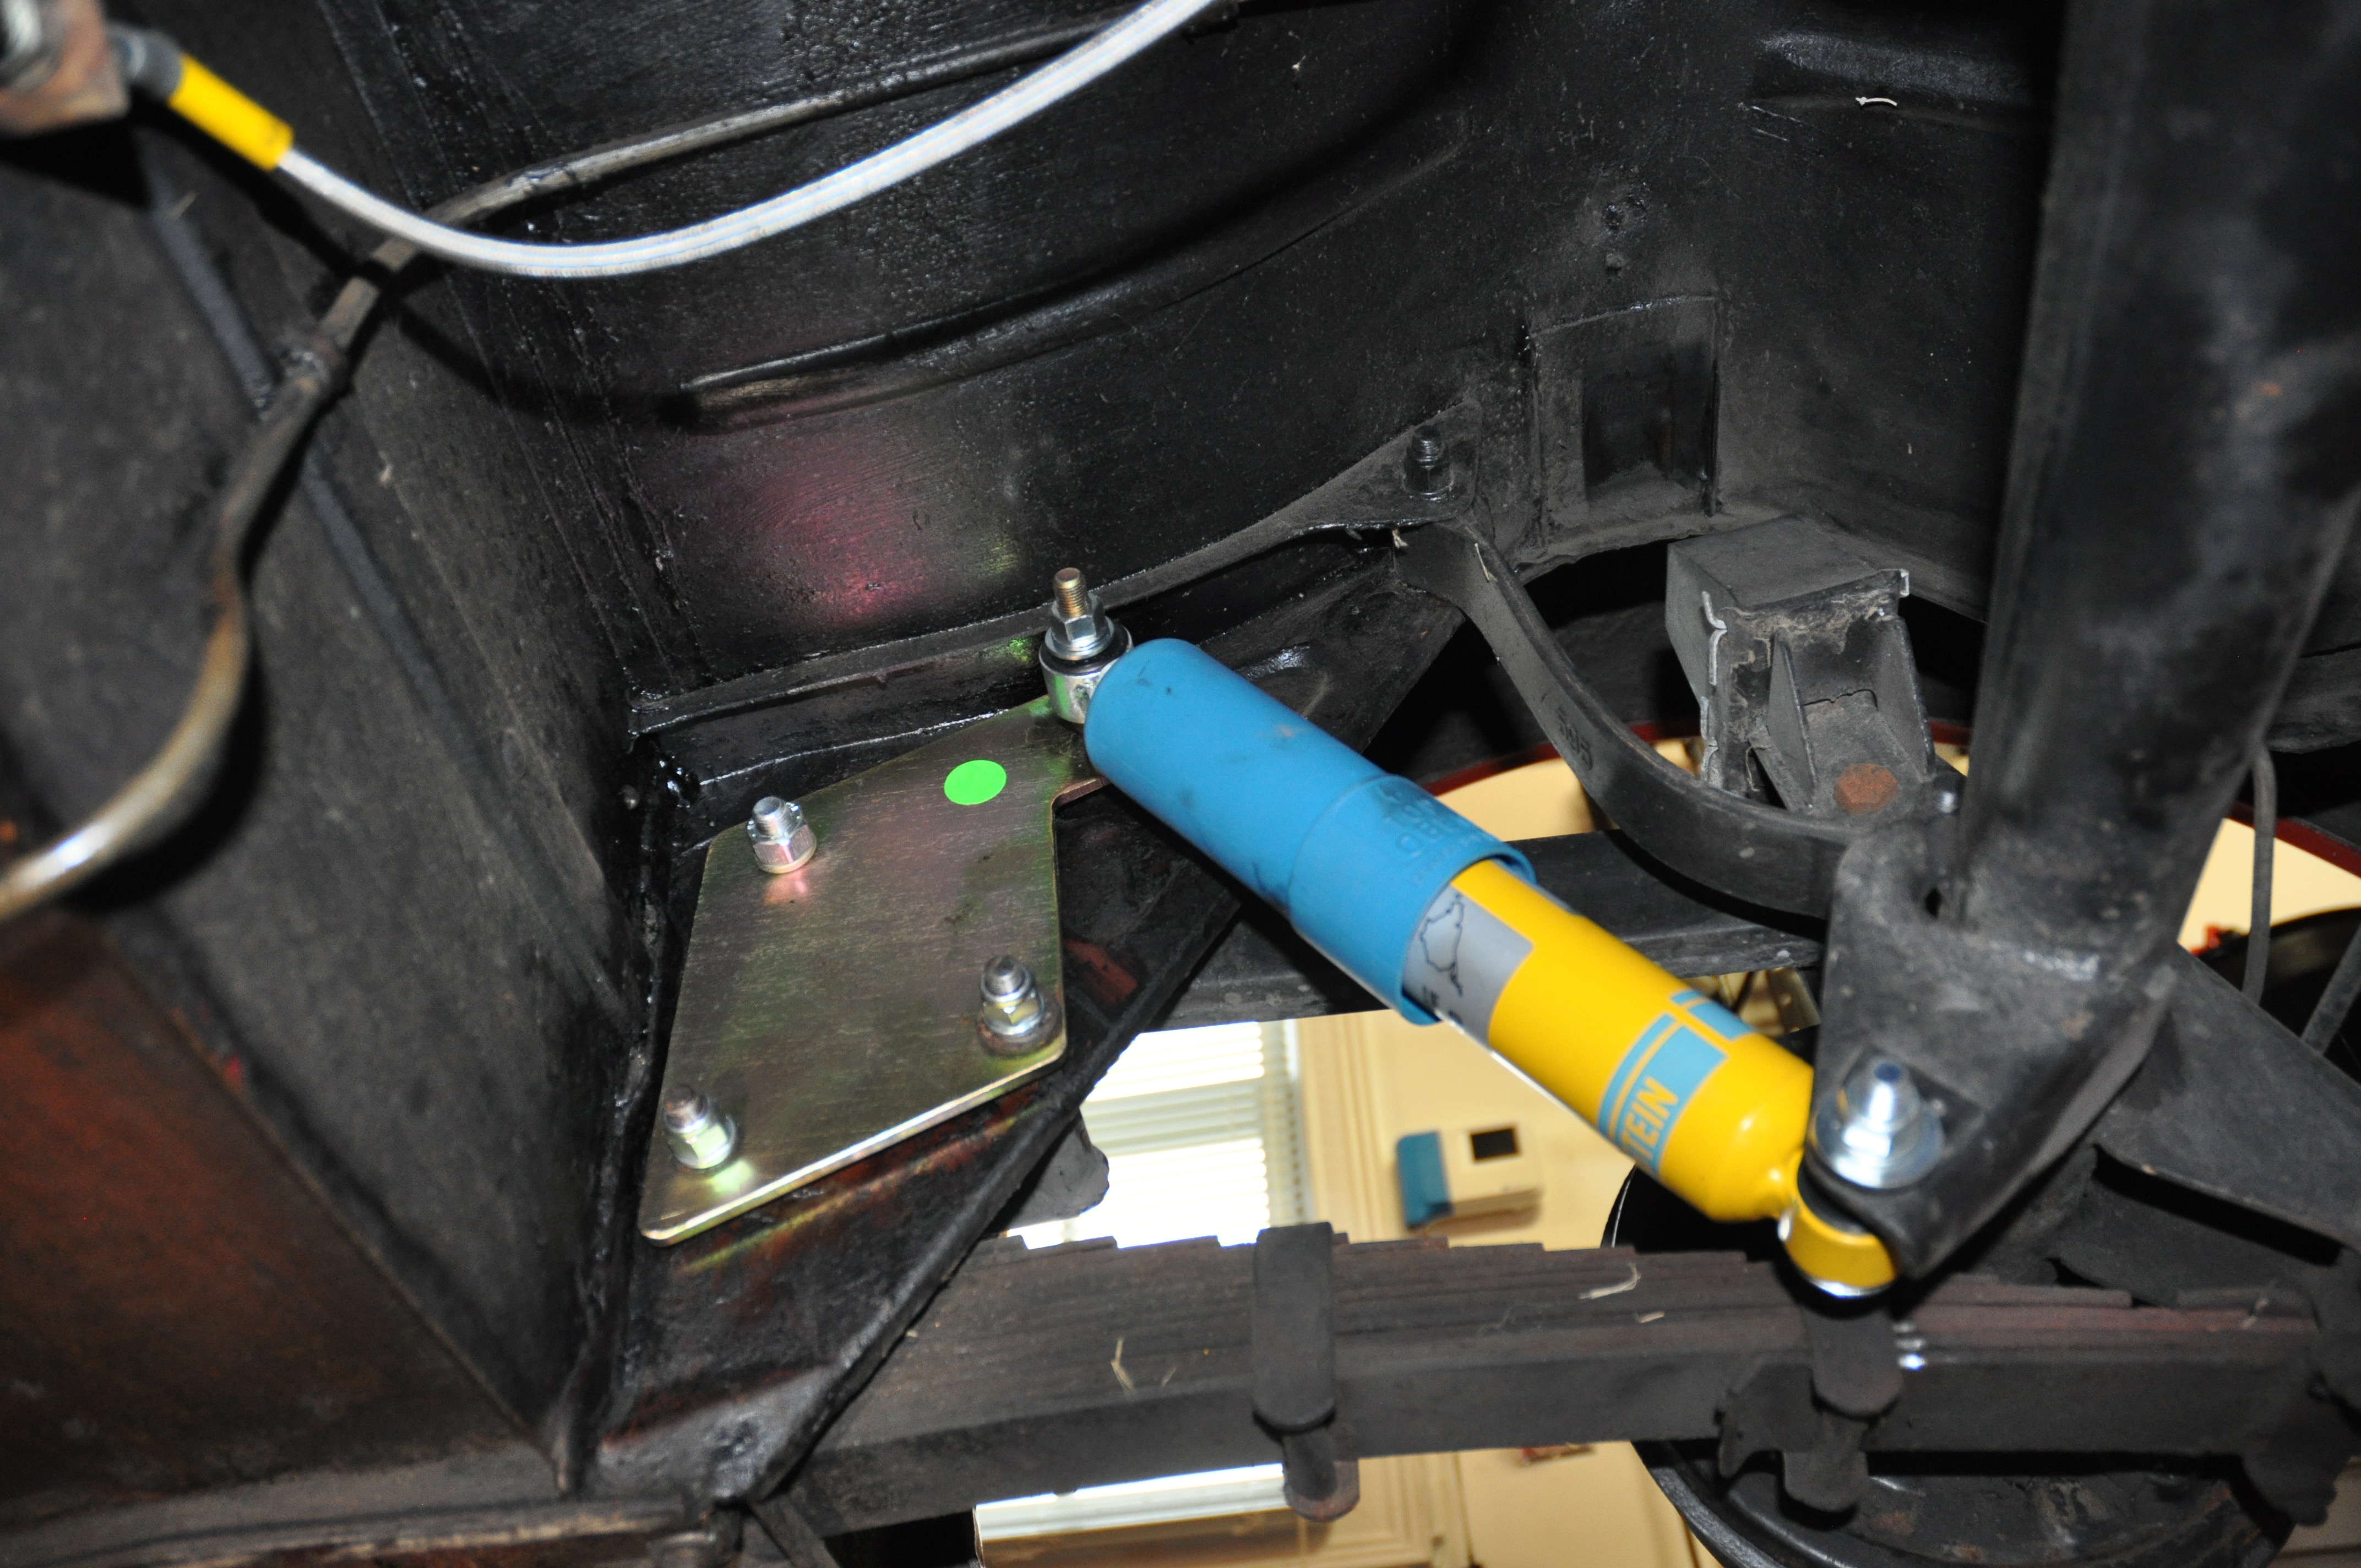
RH Bilstein Shock Lower Mount on Axle
5. Complete other side. Inspect your work and then reinstall wheels/tires and lower to the ground.
RH Bilstein Shock Mounted
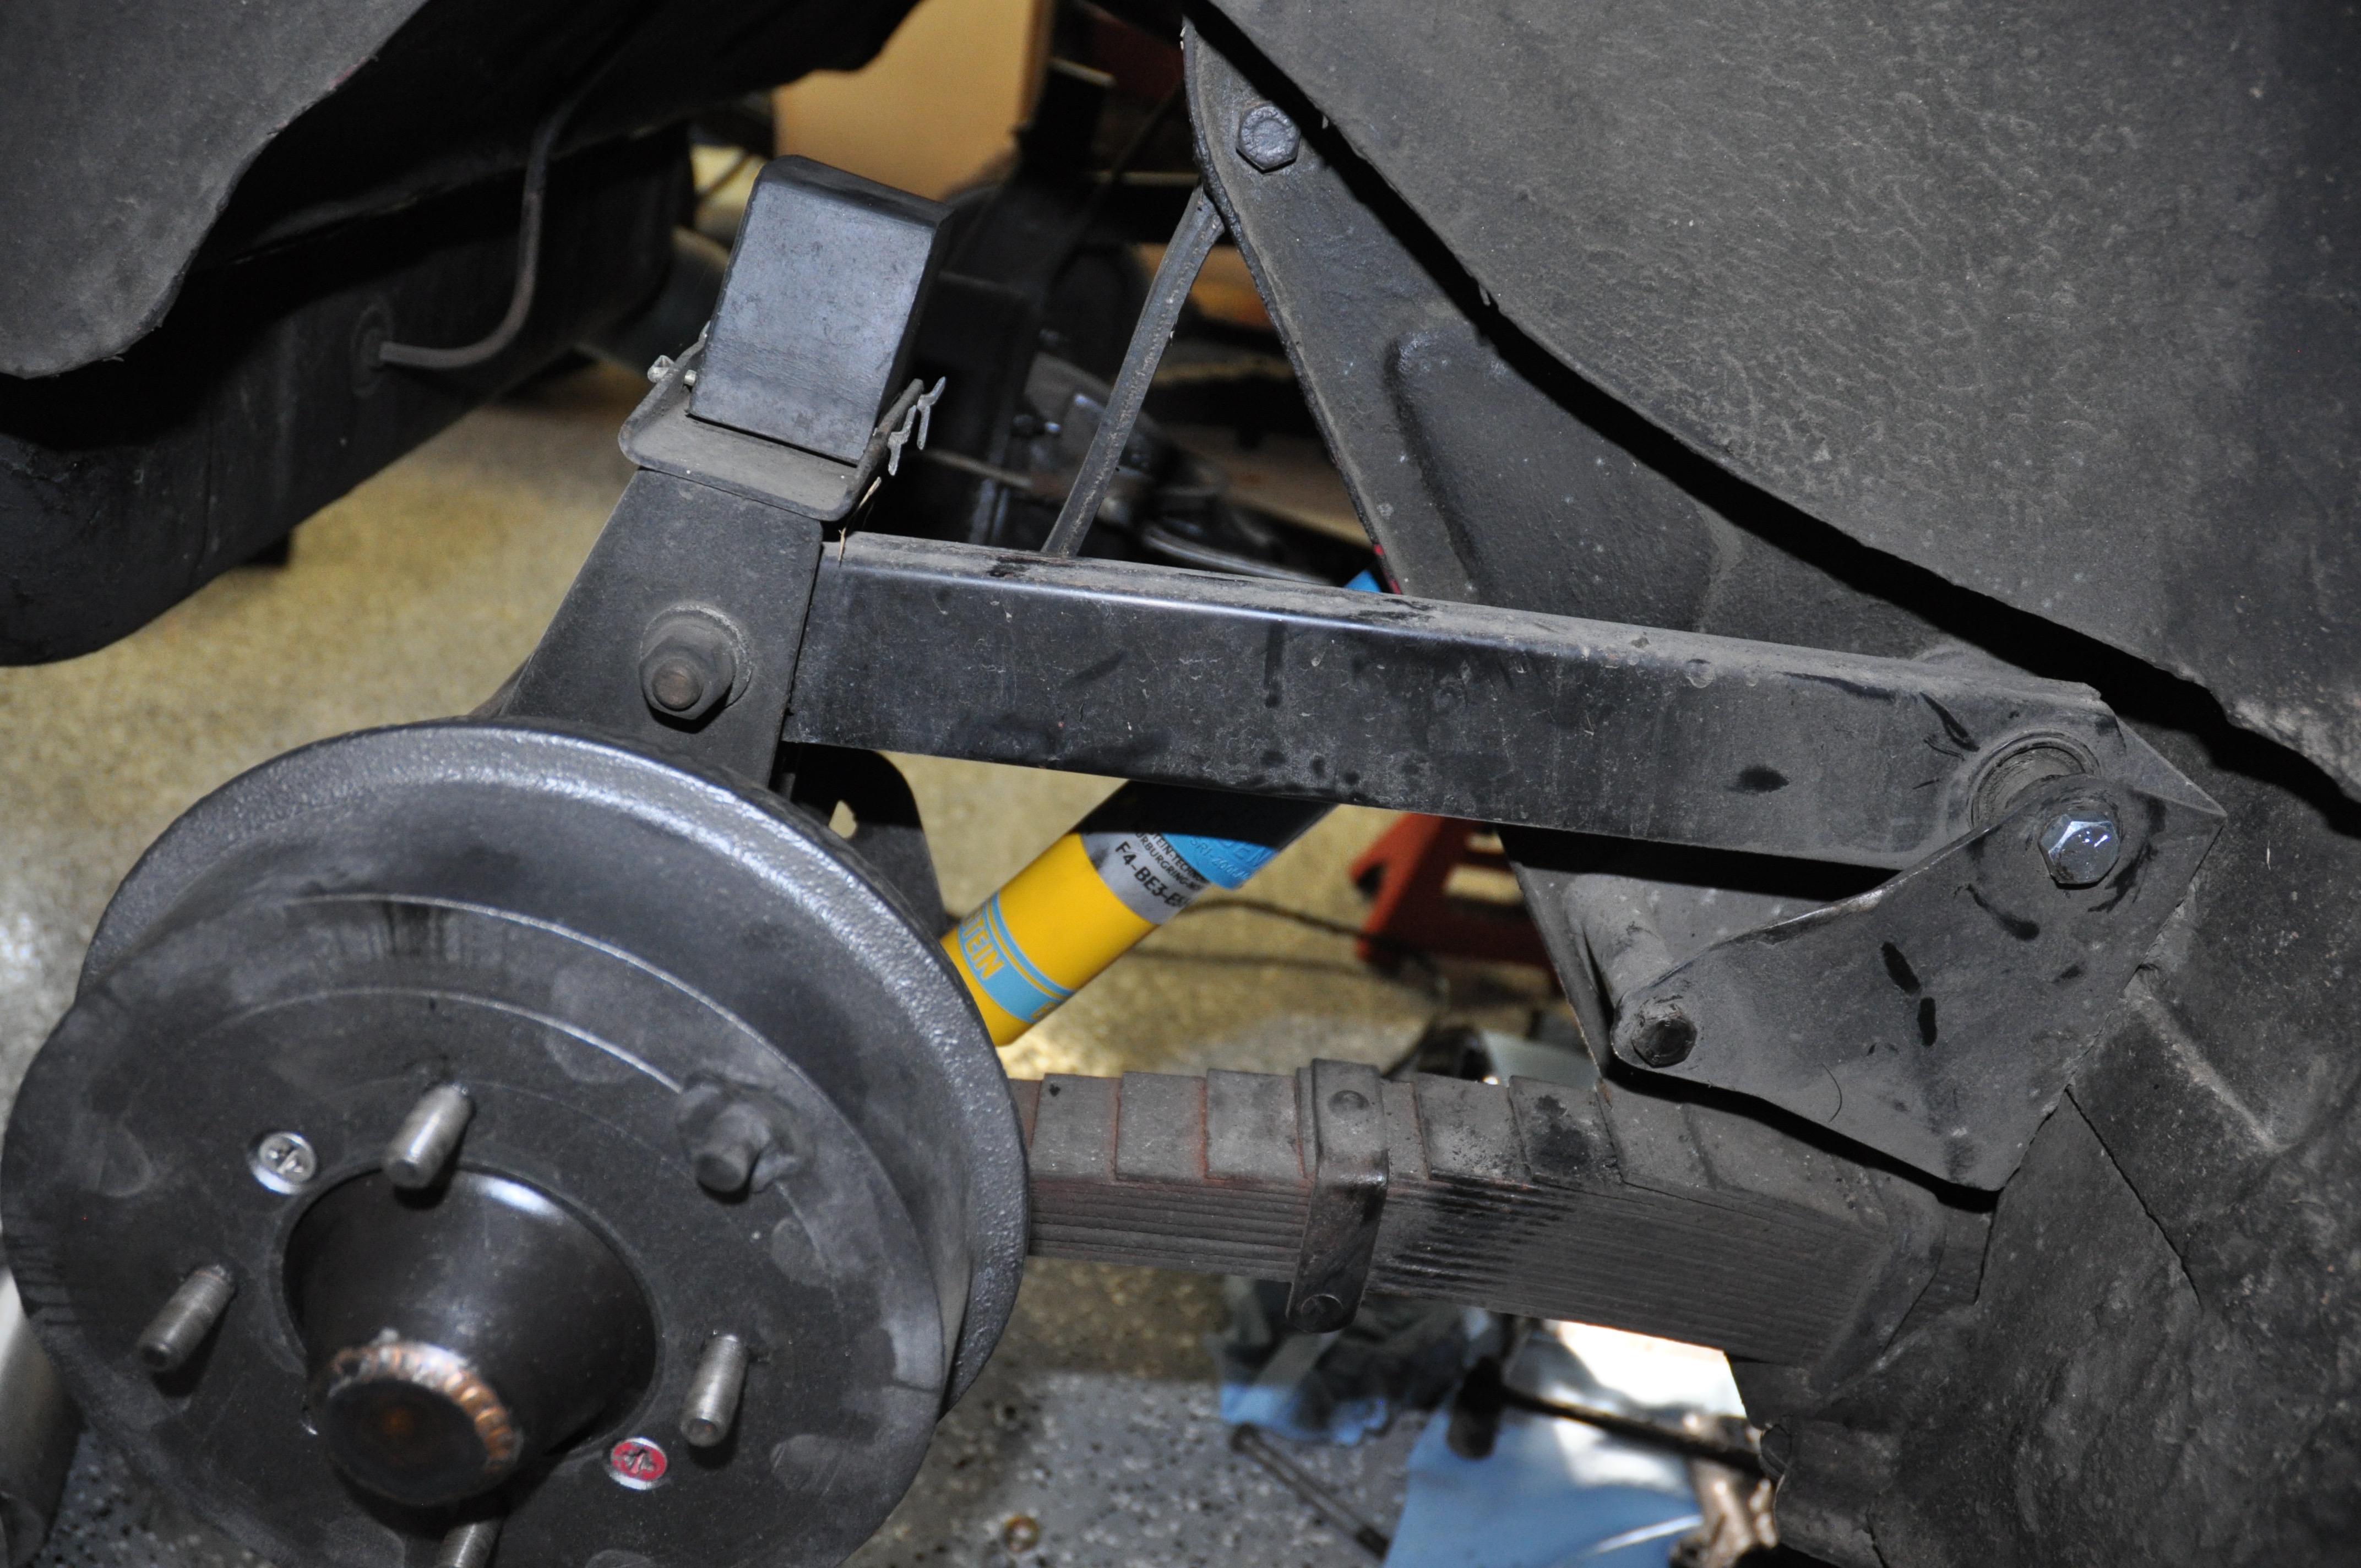
RH Bilstein Shock Mounted
6. Take out for a test drive!
Post installation assessment: Udo’s shocks don’t turn the Bugeye into a Cadillac boulevard cruiser – but then we wouldn’t want that now would we :-). However, the ride is much improved (particularly in the rear) as compared to the admittedly worn out Armstrongs. One cannot really compare the two since we have exhausted lever shocks and brand new tube shocks. The test is always “would you spend the time and money and do it again,” and we think the answer is “yes.”