
Installing the seat belts was fairly straight forward. I had drilled holes earlier for the mounting kits. I was going to go with the seatbelt/shoulder harness assembly sold by British Car Specialists, but ultimately decided to go with the “vintage look” racing belts sold by Moss Motors. These belts work beautifully with my interior color combination! The shoulder harness kit would have been the best call for safety, but the belt retracting mechanism to be mounted on the rear quarter panels just looked too contemporary. I am pleased with the result!
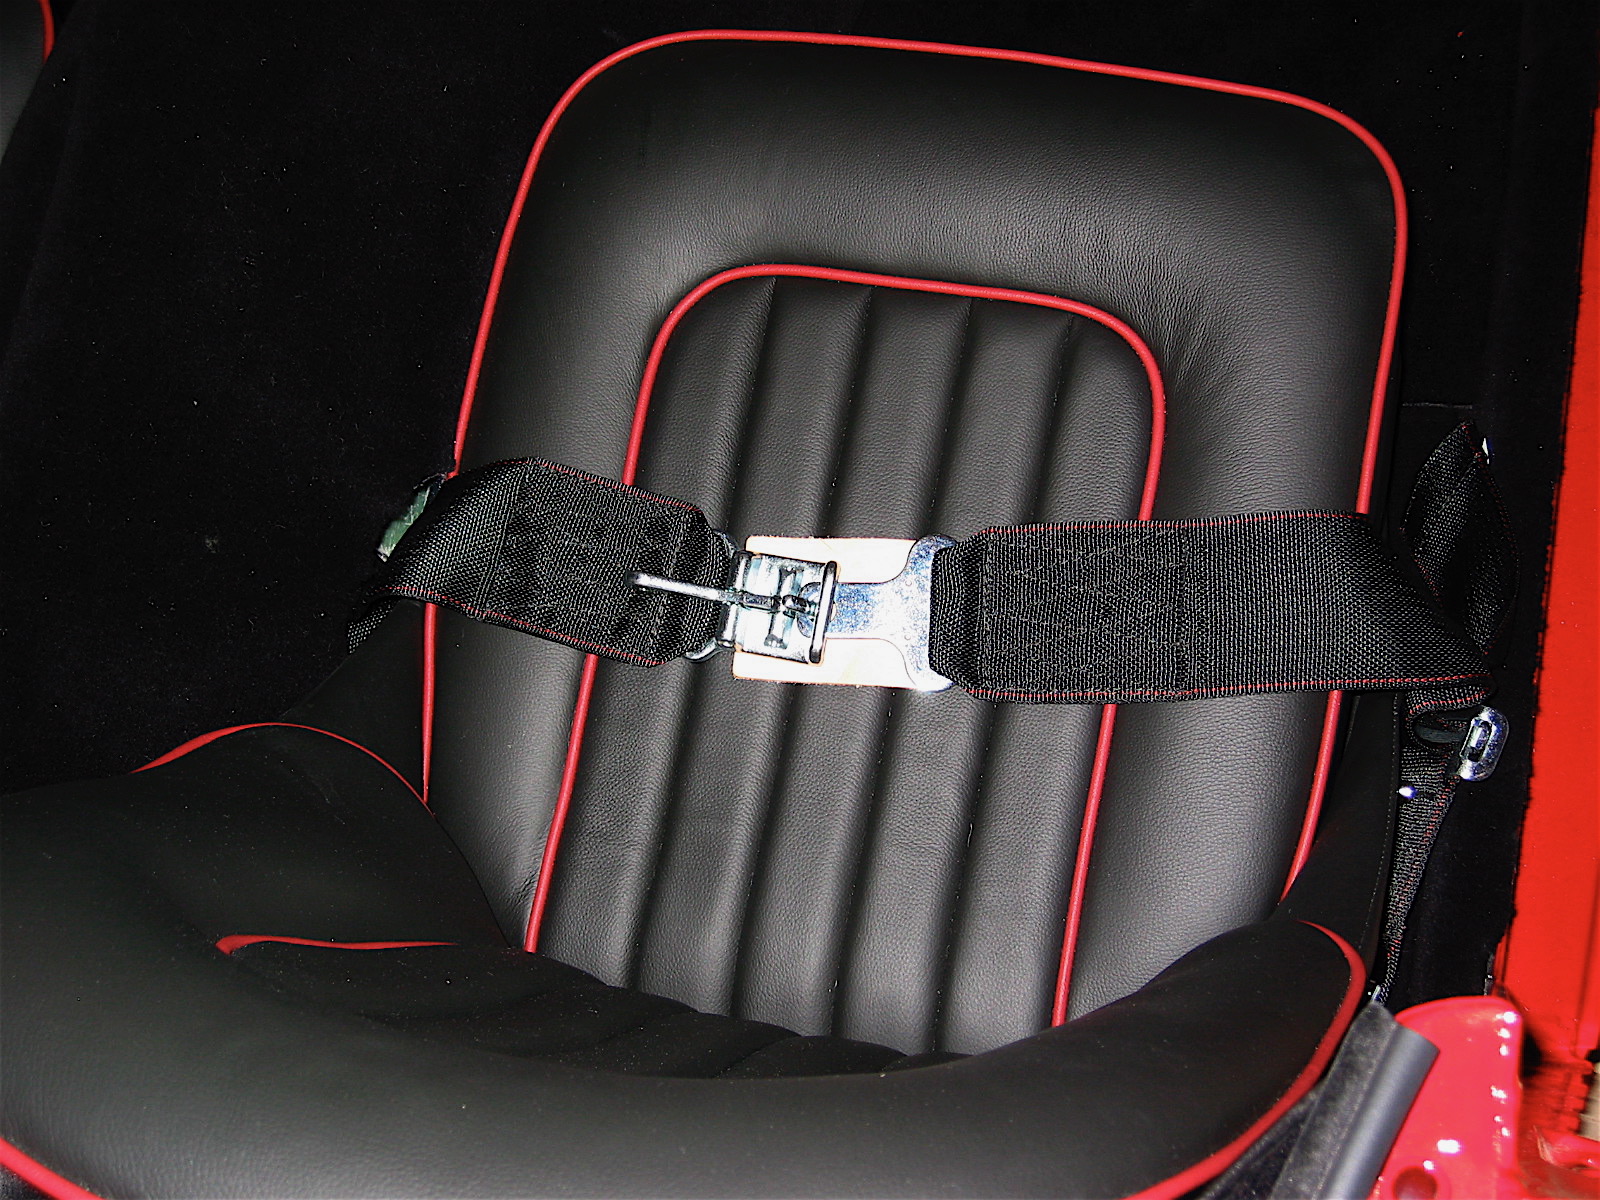
Seat belts
I had been dreading a job, that as things turned out, was not as challenging as expected. I needed to locate and install the #6 stainless screws with trim rings that secure the rear jump seats. I was scared to death that in doing so I would damage the beautiful leather trimming job done by Heritage Upholstery and Trim.
To prepare for installation, I first glued marine class rubber weather stripping around the rear seat tubs. I peeled back the leather on the underside of the seats, located the original screw holes, and carefully punched holes through the leather. A previous owner had used oversize screws to mount the seats and the holes in the superstructure were bigger than they should be for #6 screws so I had the holes filled by Jeremy Turner at Maple Hill Restorations while bodywork was being completed. Therefore, this job required locating new holes in the superstructure and drilling them.
I had Judith, my wife and able assistant, sit in each seat to press it down to the mounting platform and position them as well as possible. I then marked each hole location. I used a 1/8” hollow punch to remove carpet, dynamat and aluminum insulation from each hole location and drilled the holes in the superstructure. Everything turned out great and the installation appears as original. I really don’t care for the look of the stainless screws in the leather, preferring the BJ8 seats that have studs to secure the seats, rather than the screws, but I decided to remain original on this matter.
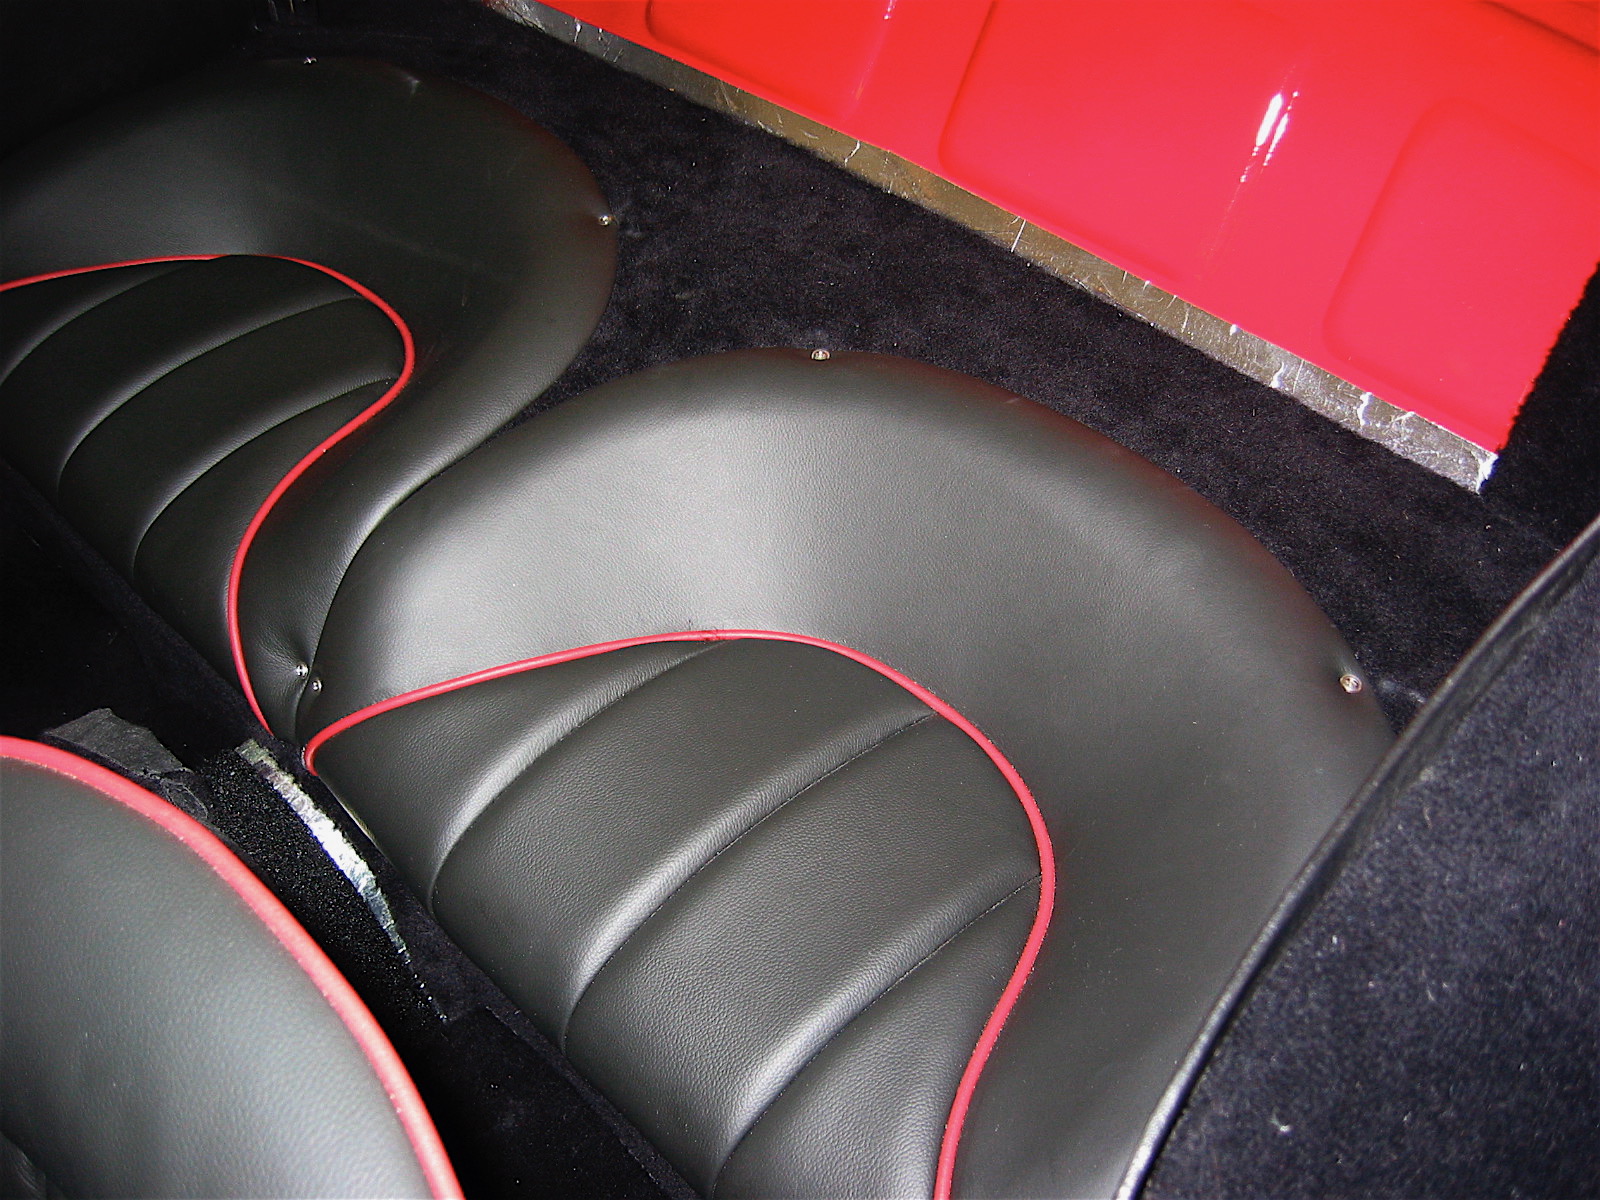
Rear seat fasteners
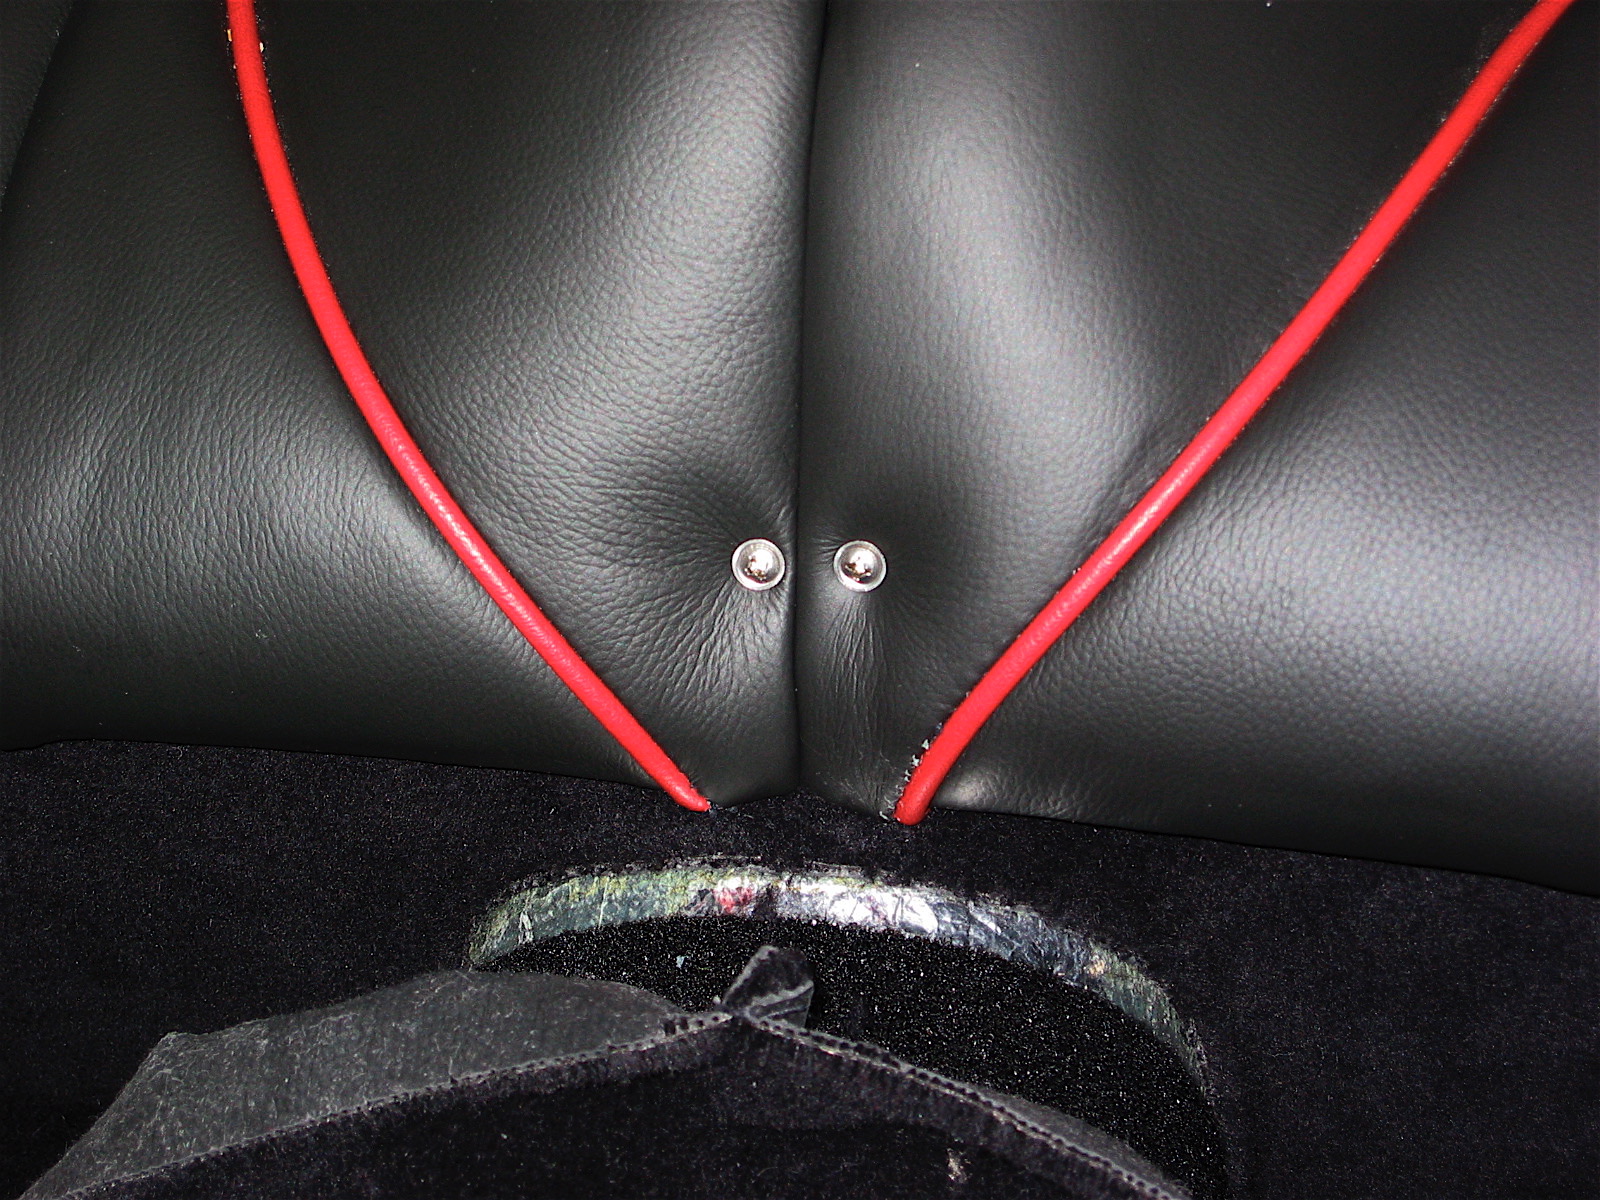
Rear seat fasteners
I had never finished the installation of the courtesy lighting in the boot, so it was time to return to that task. I used a rear license plate lamp to supply light and modified the chrome casing to permit more light to enter the compartment. The lamp was wired to the courtesy lights in the interior, so with a flip of the toggle switch or with a click of the remote control “clicker,” the boot lamp is activated.
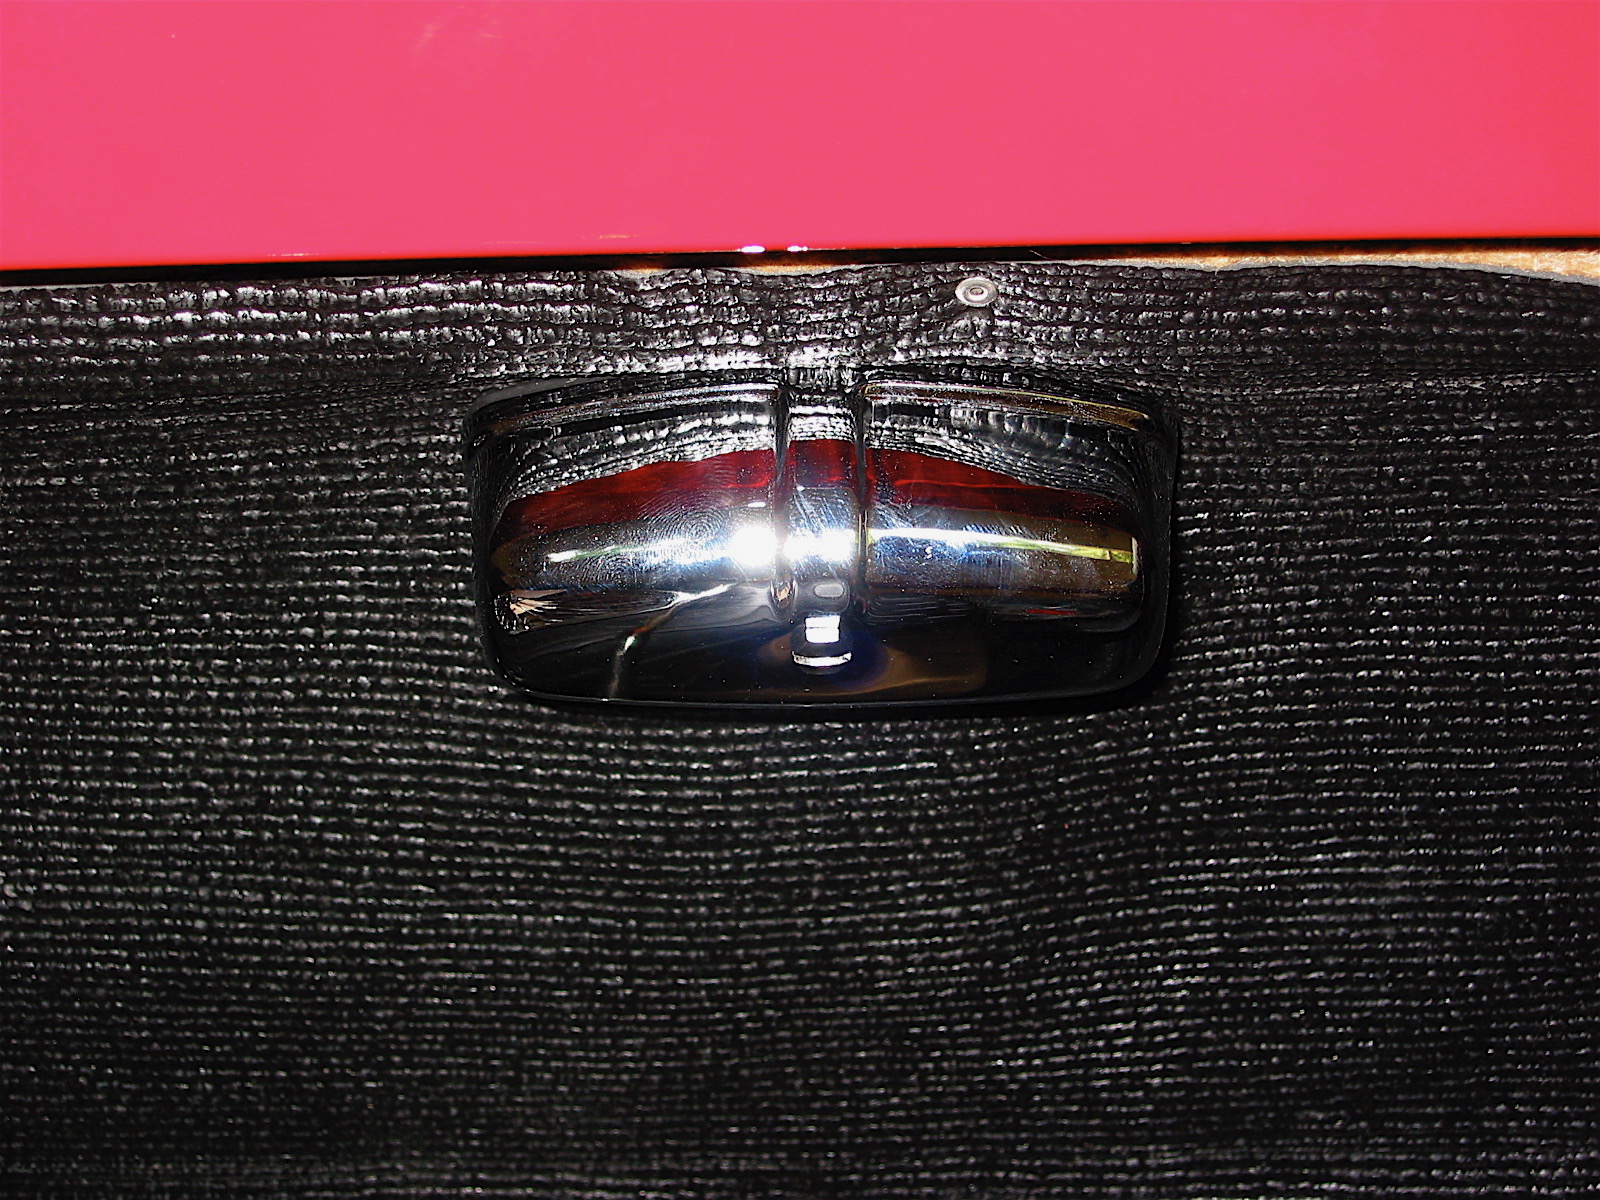
Boot light
I can’t say why I have not installed the brake and clutch master cylinders and pipes before now? I secured two new master cylinders into the pedal box with the four 5/16” hex head bolts. Aluminum packing shims were used on both master cylinders.
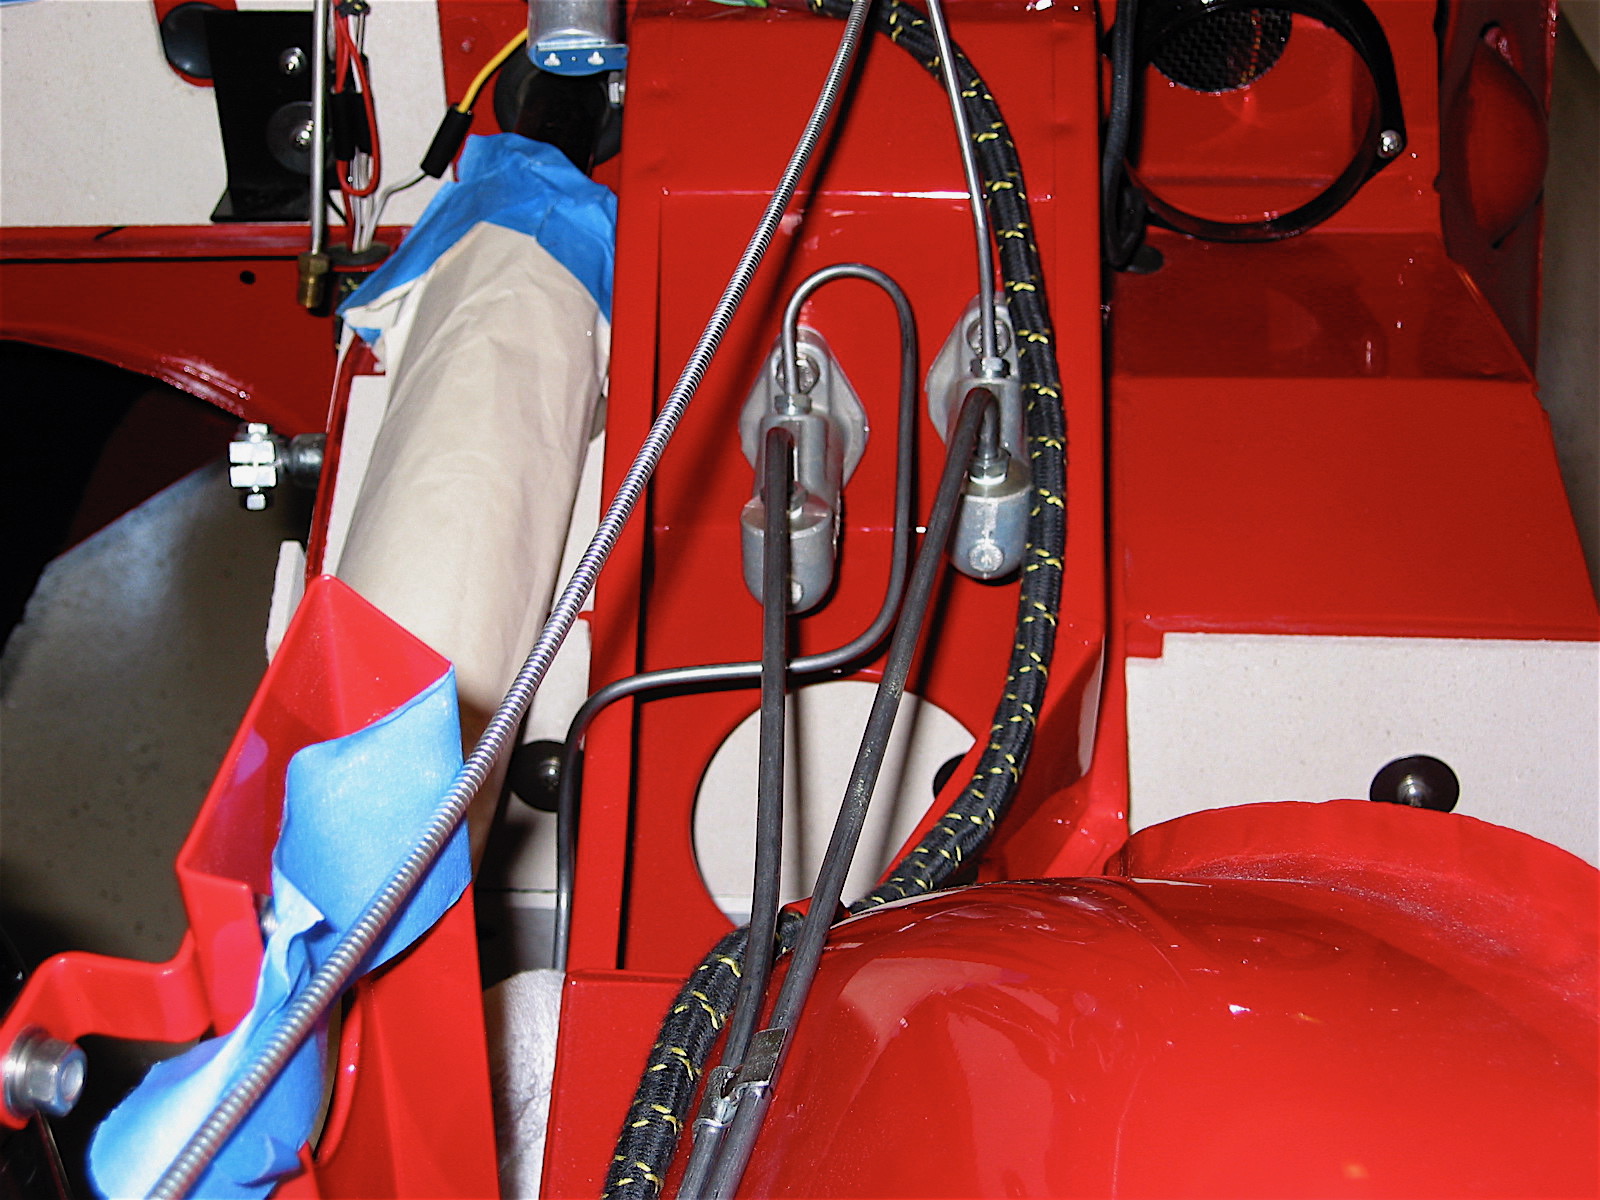
Master Cylinders & Lines
The LH and RH bonnet opening support plates were attached to the frame upright and the brake reservoir was clamped into its bracket on the LH post. The two hydraulic pipes were fitted and the double clamp securing the pipes to the inner fender was screwed in place.

RH Bonnet Opening Support Plate
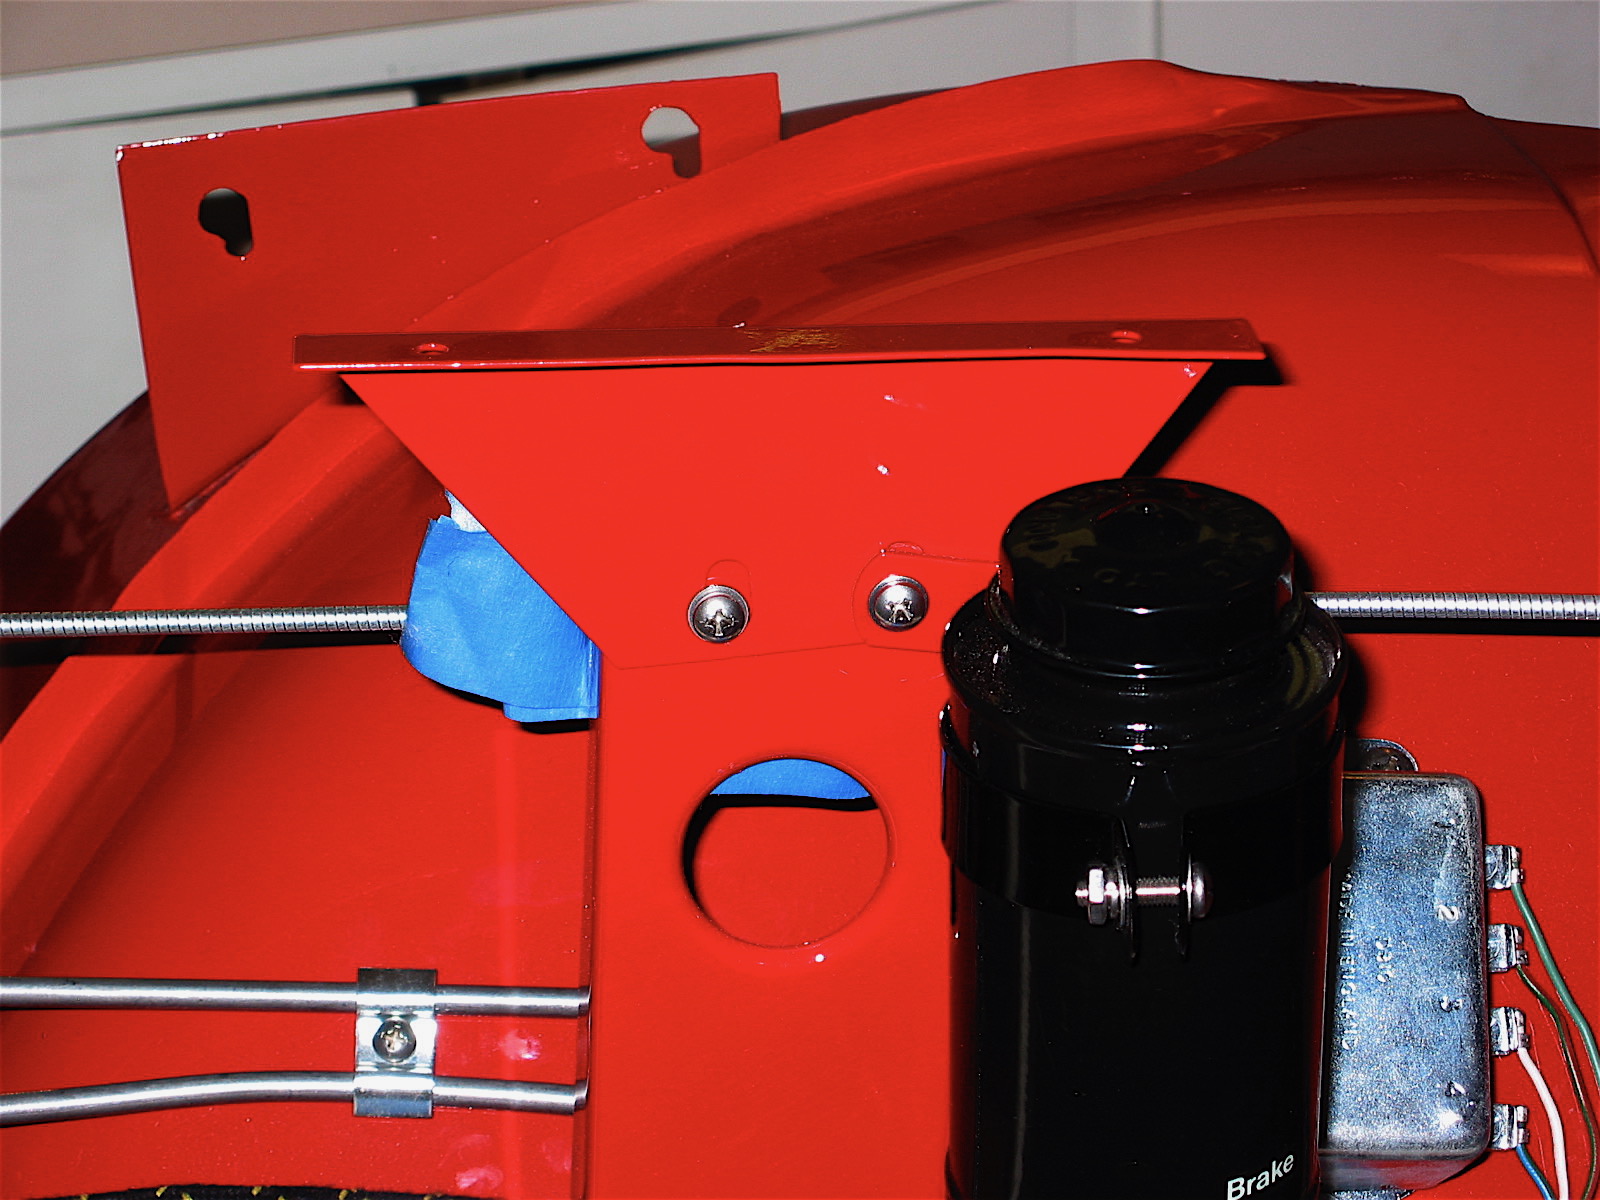
LH Bonnet Opening Support Plate
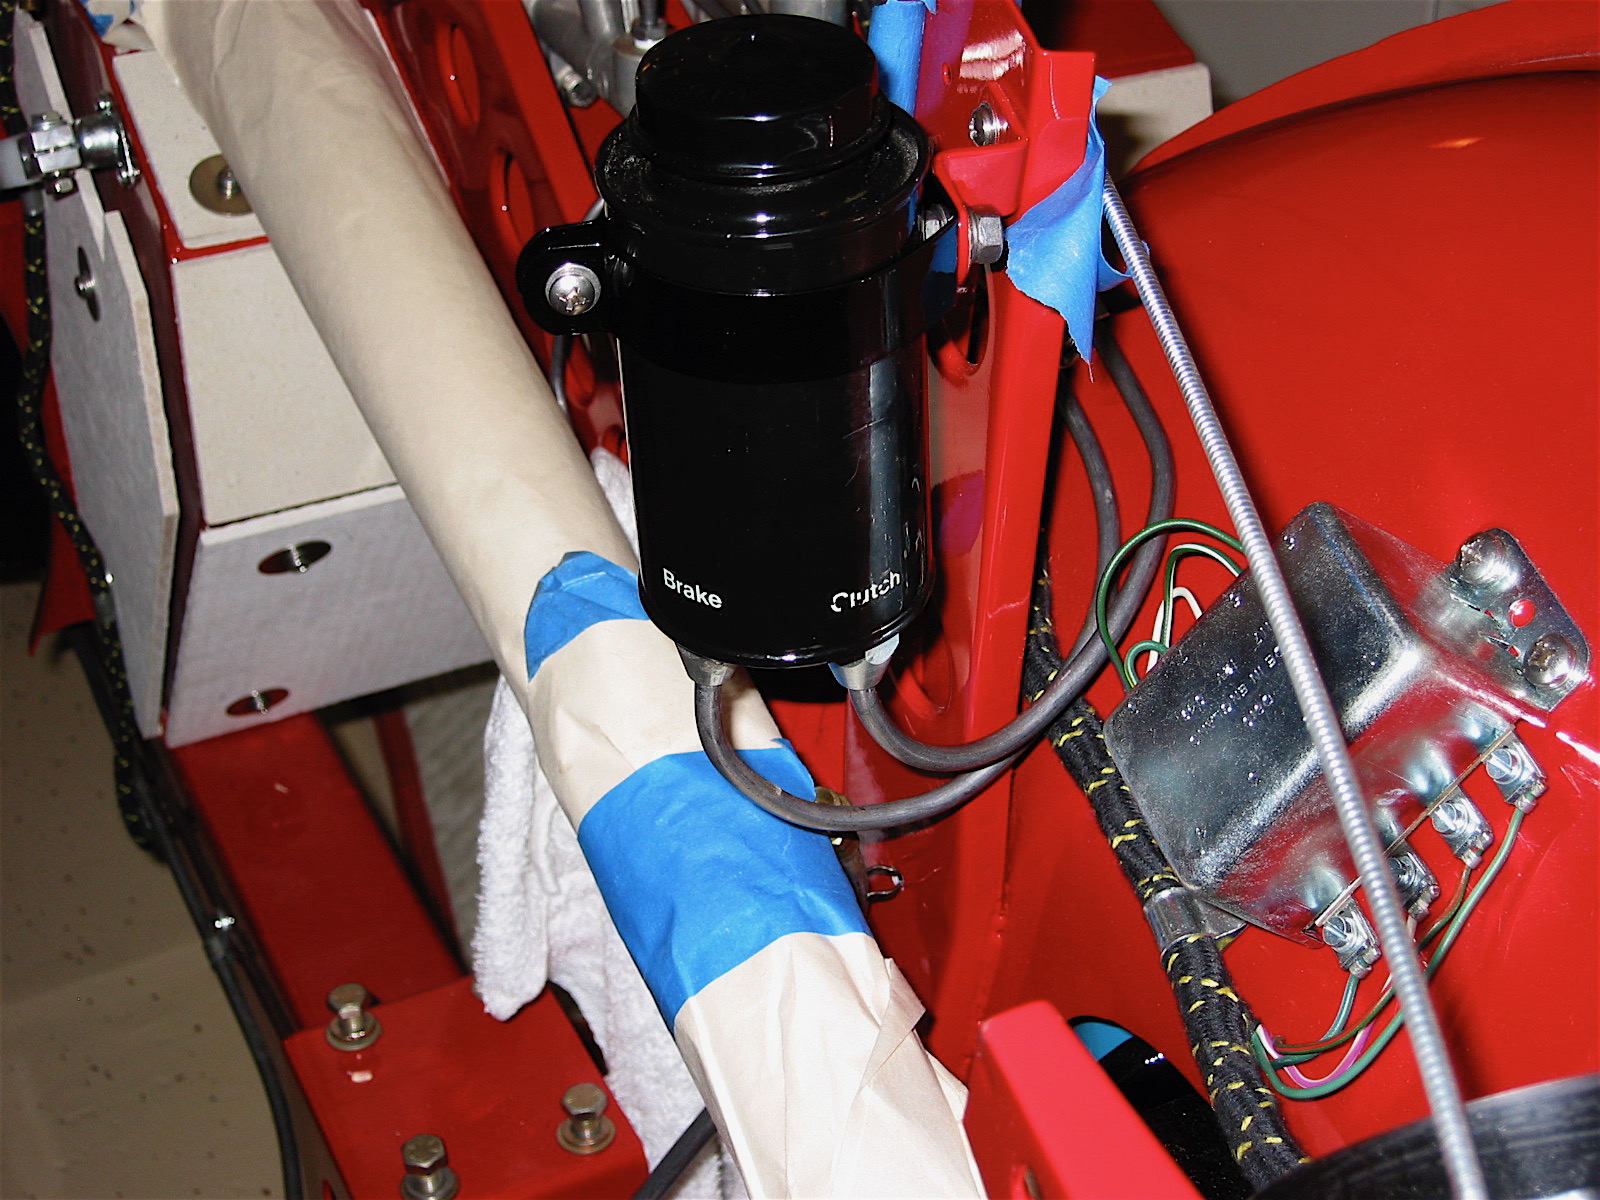
Brake Reservoir and lines