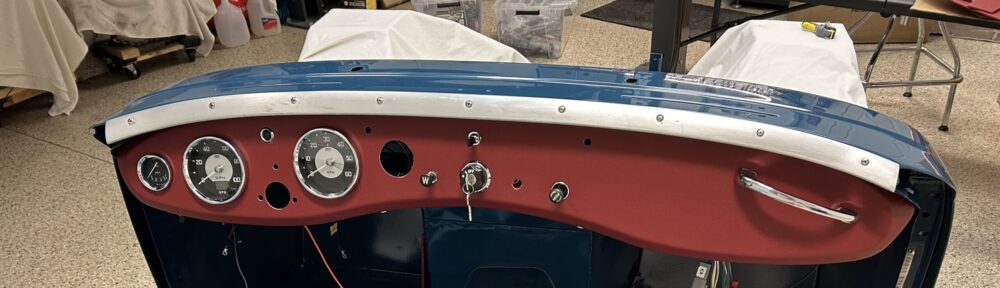
We were eager to see what the red interior upholstery was going to look like with the Cotswold Blue paint. The interior upholstered panels from Bugeyeguys arrived and so we set the panels in place to have a look. We are biased, of course, but we are more than pleased. We think we hit upon a beautiful color combination. The photo appears to brighter than the red actually is. The dash vinyl matches the interior panels and is a truer color depiction.
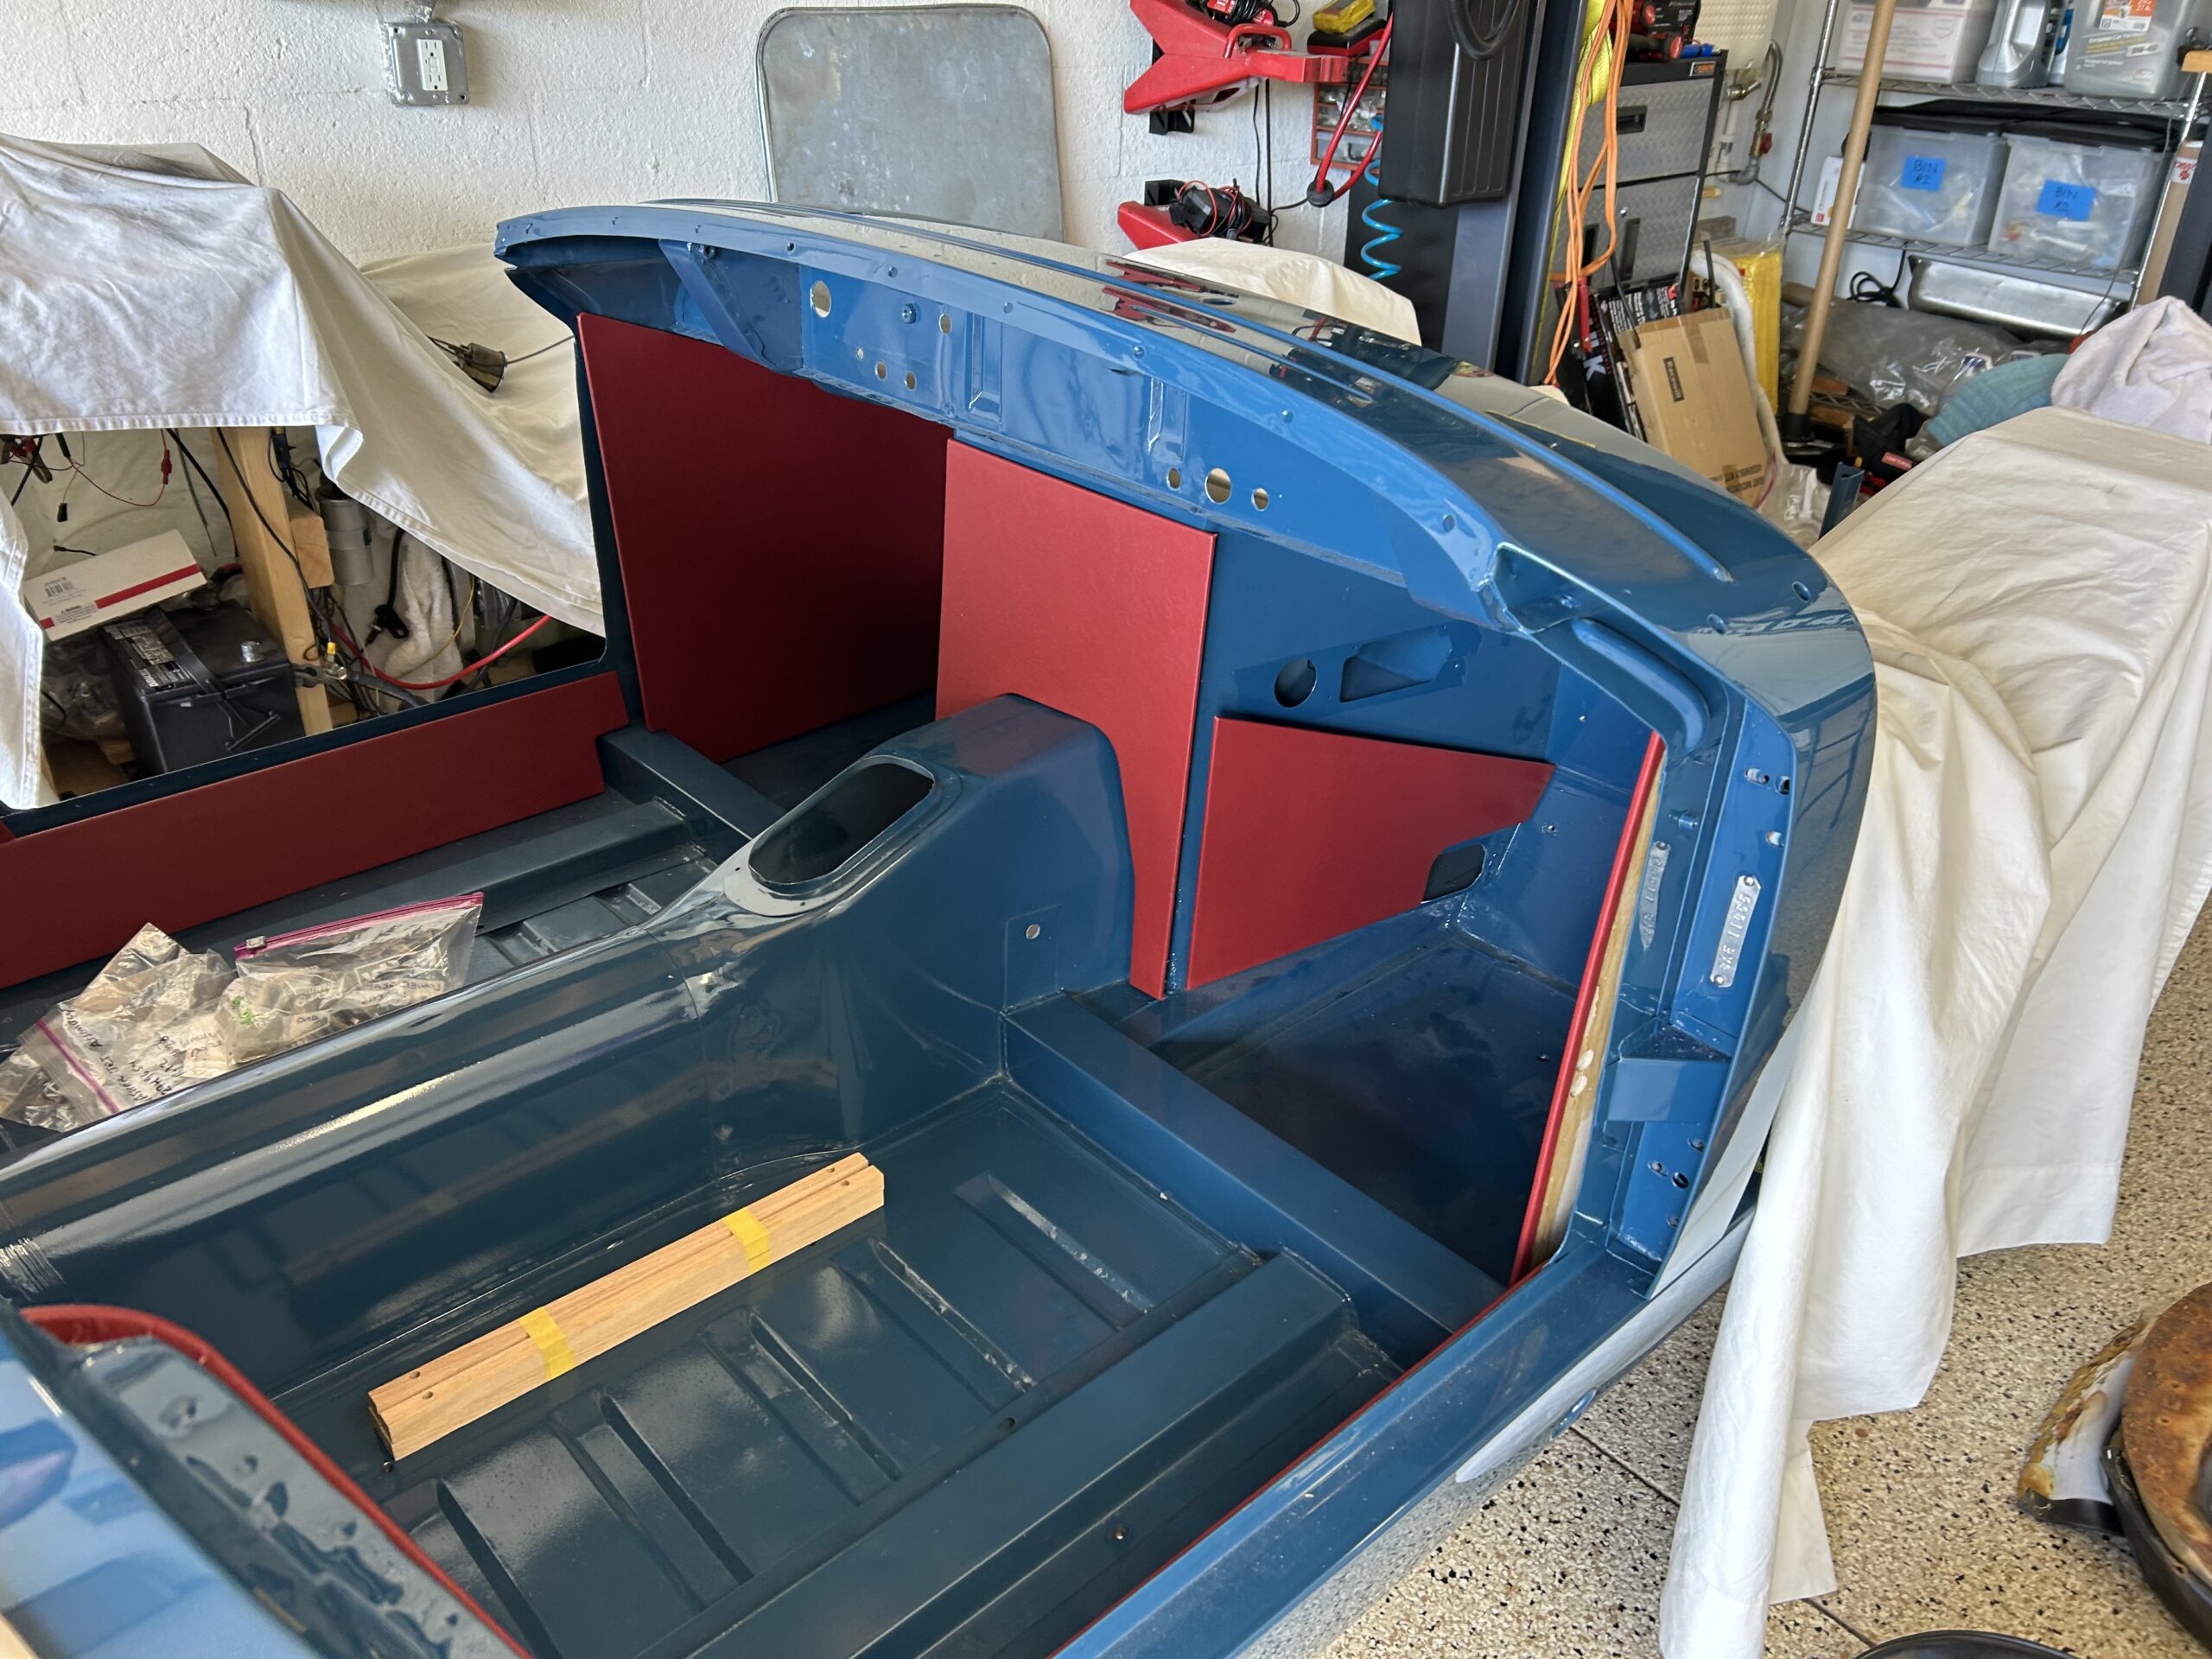
Interior panels
Next, it was time to wrap the dash in the matching red vinyl. We need to install the assembled dash in the car so that we can complete our wiring harness to the rear of the car. So after glueing the vinyl to the dash with 3M 77 adhesive we also installed all of the gauges and most of the switches.
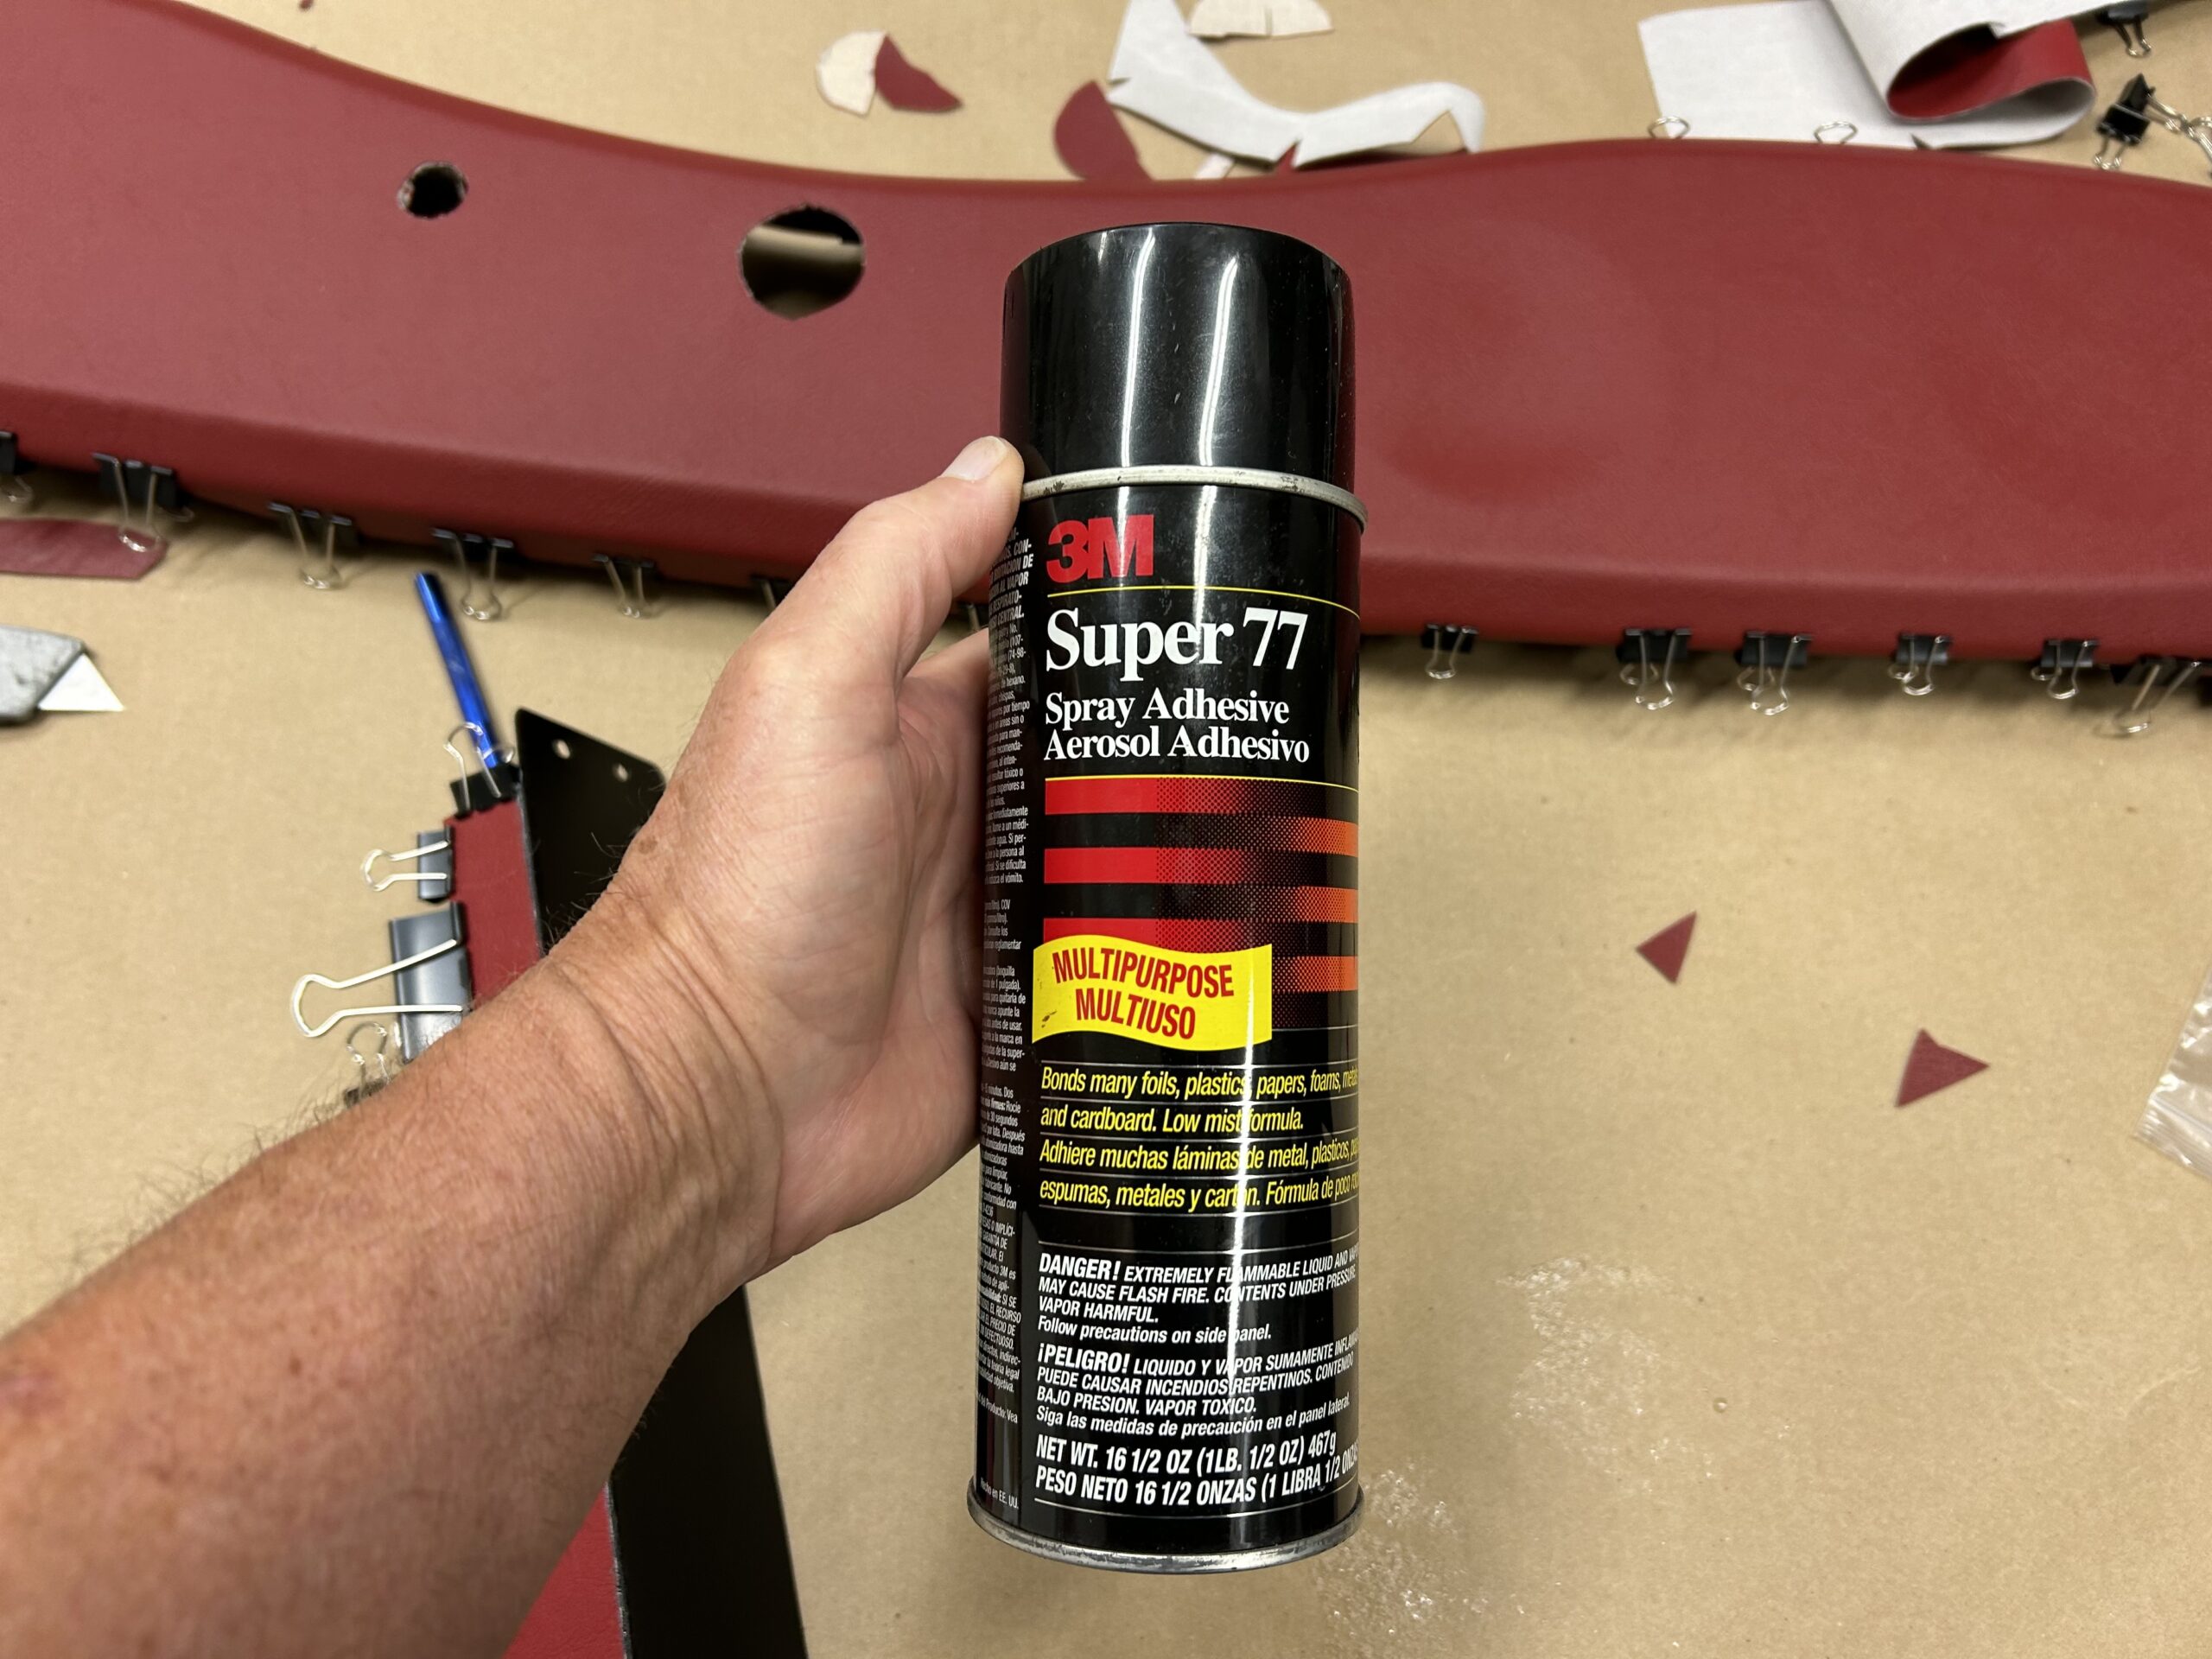
3M Super 77 Adhesive
We held off on those items that extend through the firewall such as the water temperature and oil pressure gauge, the heater switch, as well as the choke, and starter switches/cables. In addition we covered the face of the hidden switch panel under the dash and installed its components.
Finally we made all of our electrical connections and temporarily installed the dash in the car. The entire process is shown in the Bugeye Restoration Episode Sixty-nine Video.
https://vimeo.com/960749153/8aa0edf407?share=copy
The following steps are addressed in the video:
0:00 – Interior panels arrive
0:13 – Cockpit aluminum trim
1:11 – Dash vinyl applied
2:48 – Hidden switch panel
4:12 – Cutting holes in the covered dash
4:30 – Upholstery clips
5:00 -Grab handle and RH ground bus bar
5:30 – Washer pump install
6:18 – Ignition switch
8:18 – “D” and “F” connector harnesses installed
9:20 – Turn indicator warning lamp
9:30 – Fuel gauge
10:00 – Turn indicator switch
10:20 – Turn indicator warning lamp
11:00 – Fuel gauge
11:19 – Wiper switch
11:37 – Speedometer, tachometer, panel light switch and wiper rheostat knob
11:50 – Panel light switch
12:12 – Power inverter cube
12:18 – Dash wiring complete
13:44 – Disconnect instructions for dash removal from the car
14:55 – Completed dash
15:27 – Hidden switch panel
15:47 – Dash temporarily installed
And now on to the rear electrical connections and the wiring harness completion.