Jack Harper’s Work on the engine rebuild continues and I wait.


Jack Harper’s Work on the engine rebuild continues and I wait.
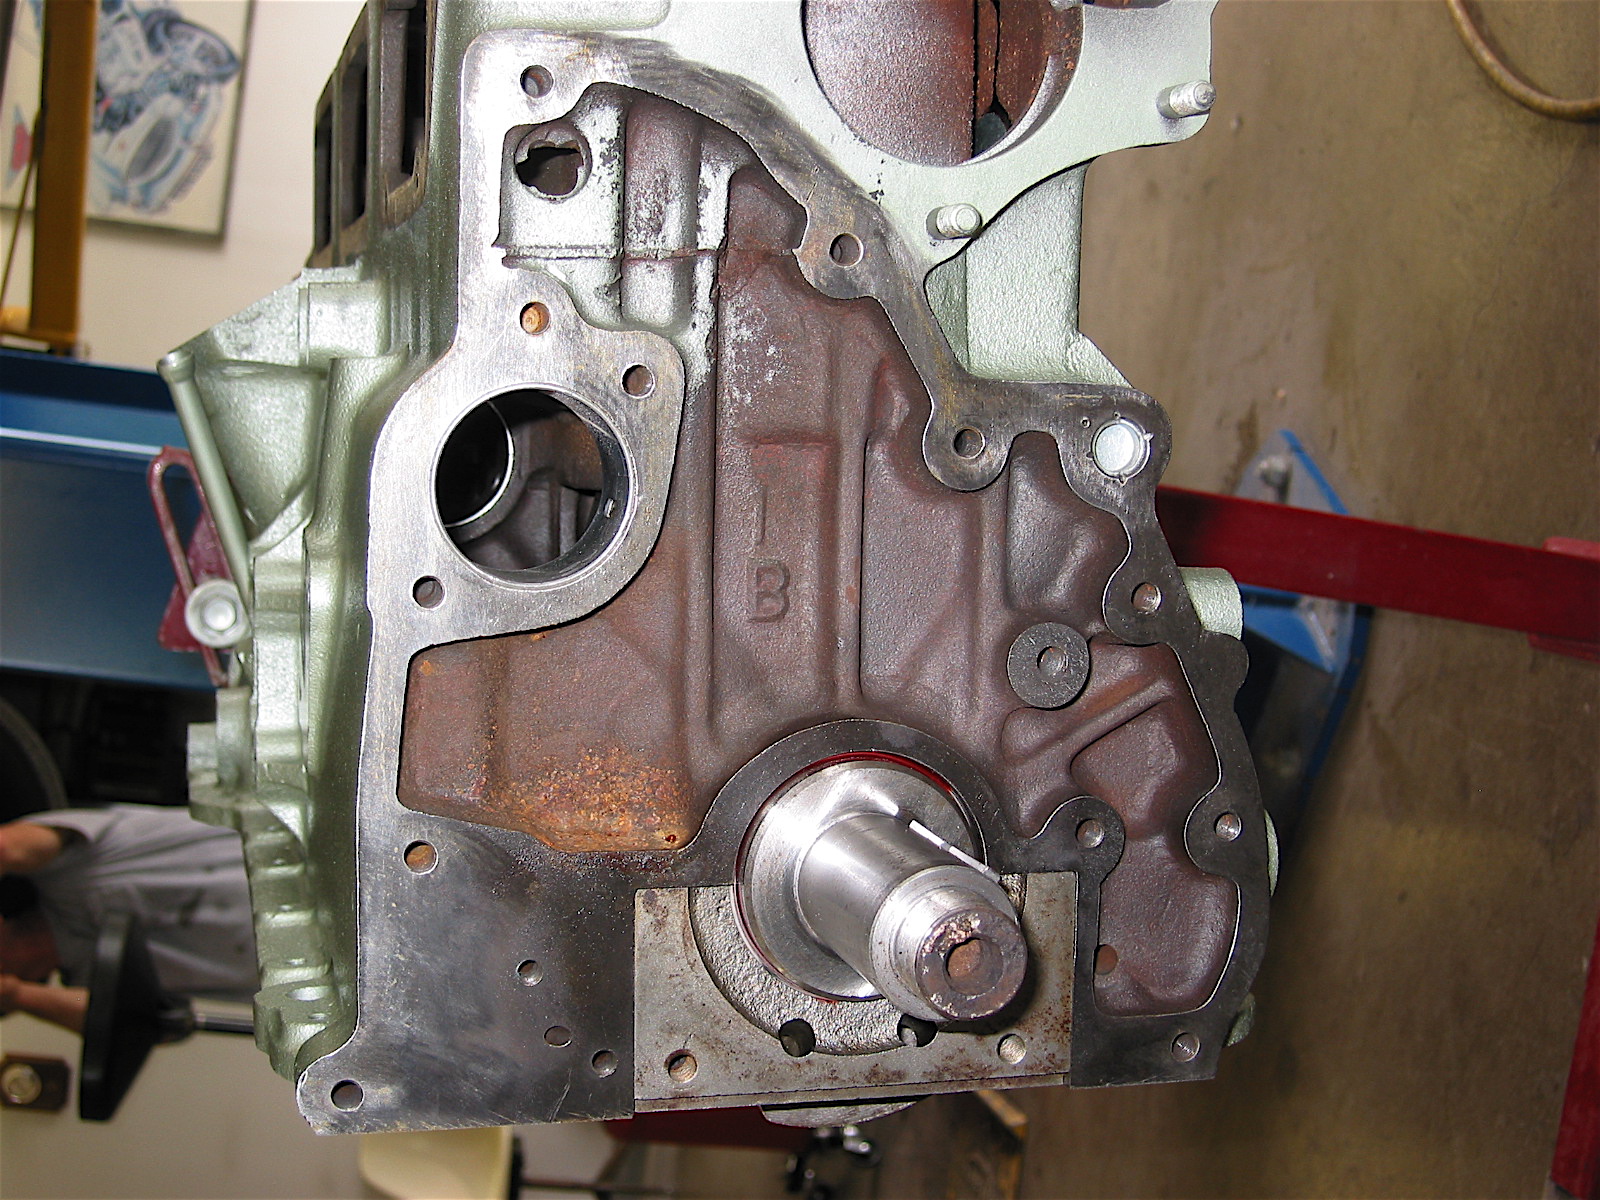
Jack Harper has gotten to work on the engine. The crank is in and the Denis Welch rear oil seal kit has been installed. The block, timing gear cover and other assorted parts have been painted the metallic green standard for all later Healeys. Jack is installing new Hepolite pistons, 40 thousands over. All new core plugs installed as well. I assembled the carb heat shield insulation panel to the heat shield with the proper copper split rivets and washers. The motor mounts were also sprayed the metallic green.
Block Front
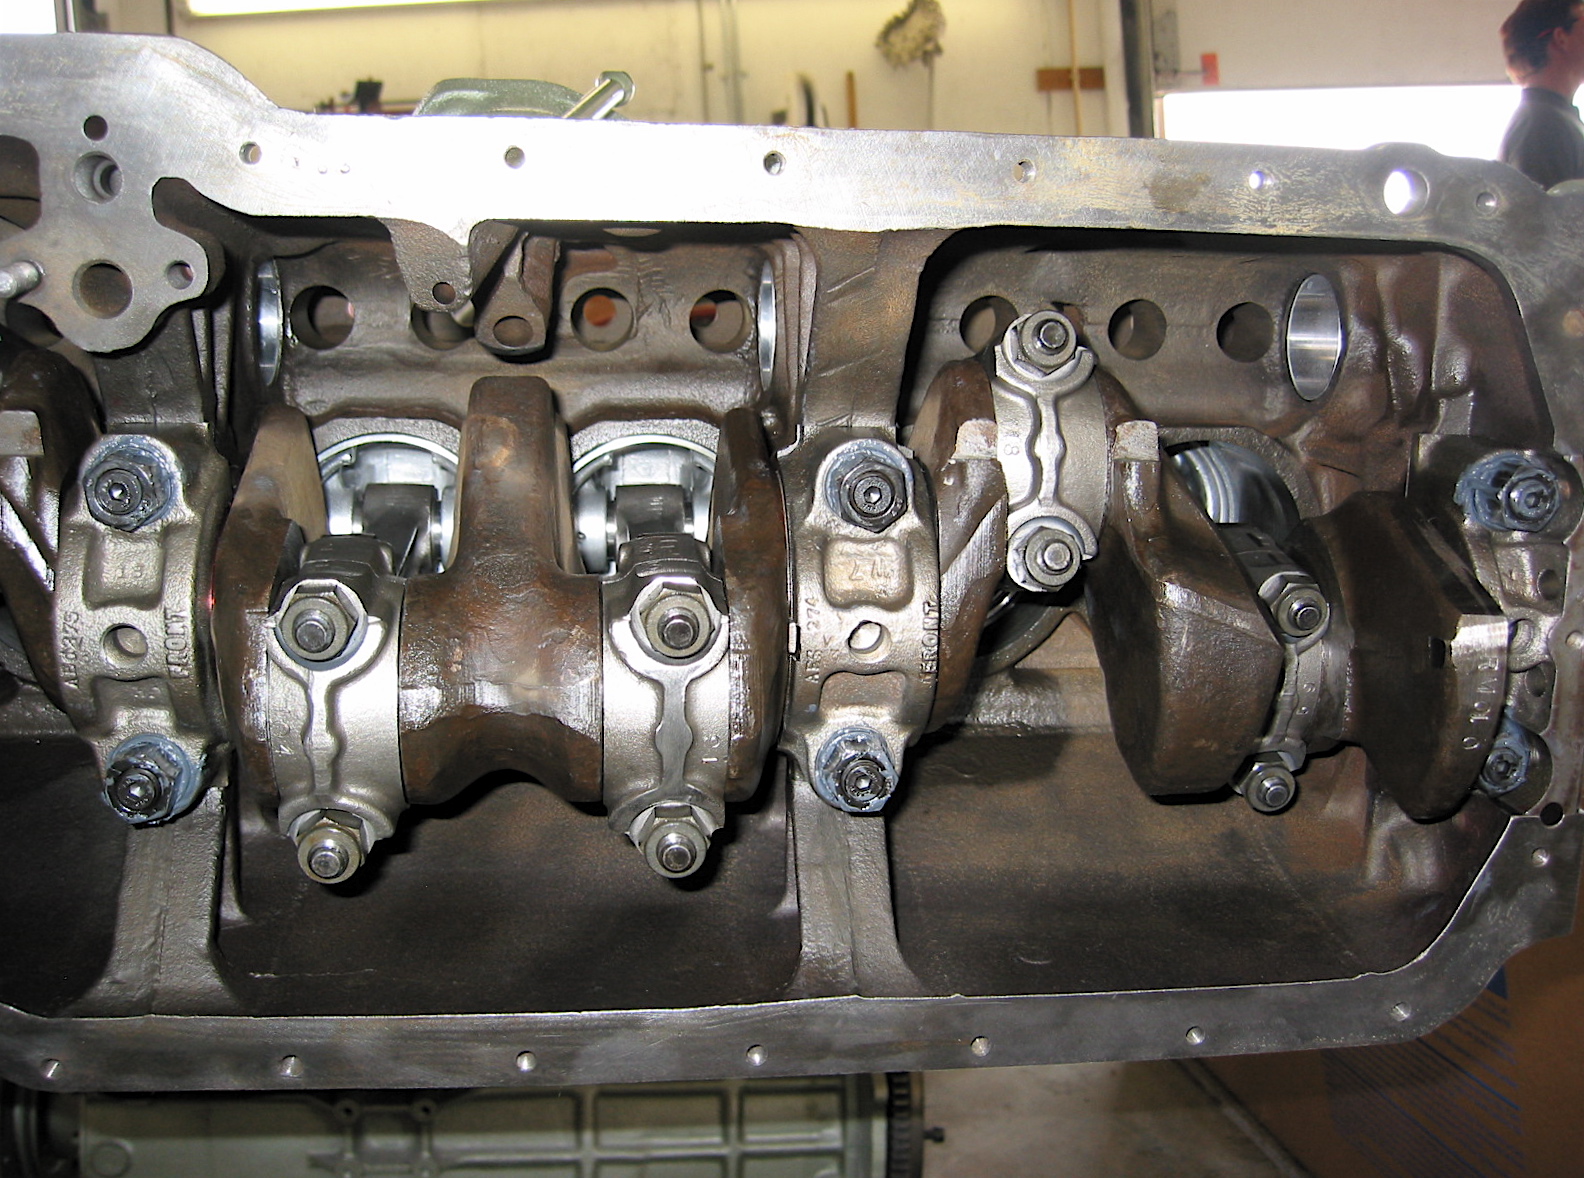
Crank View 1
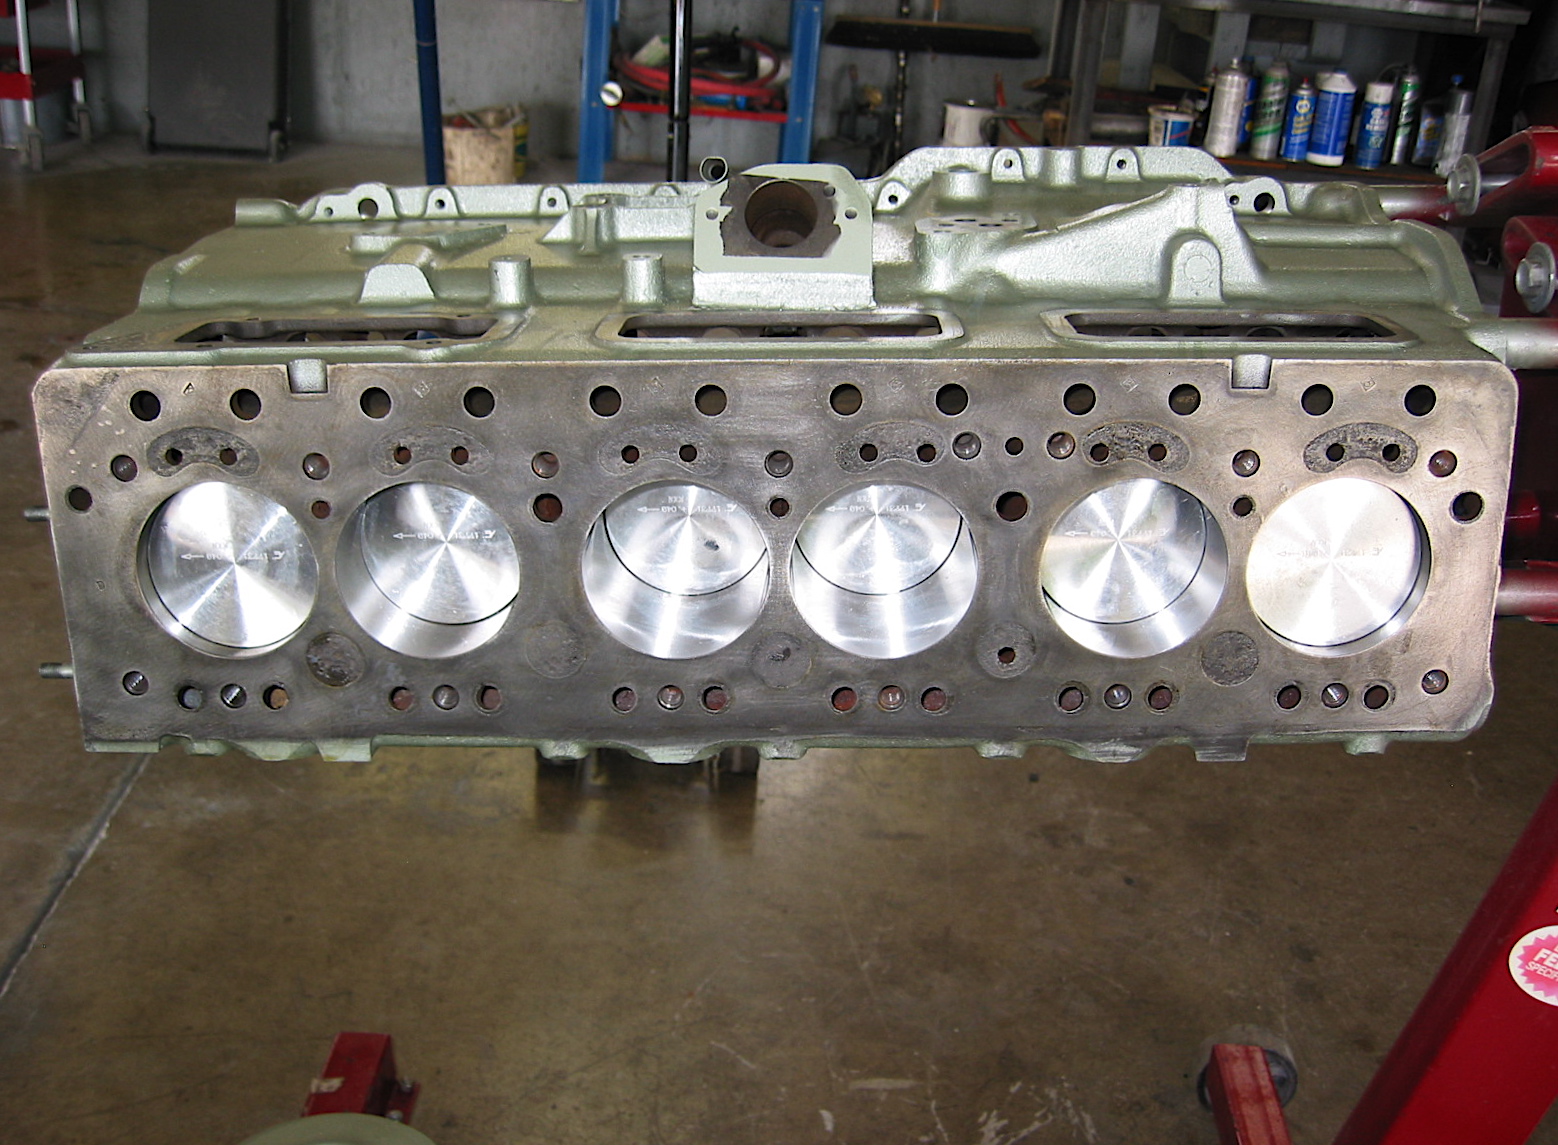
New Pistons
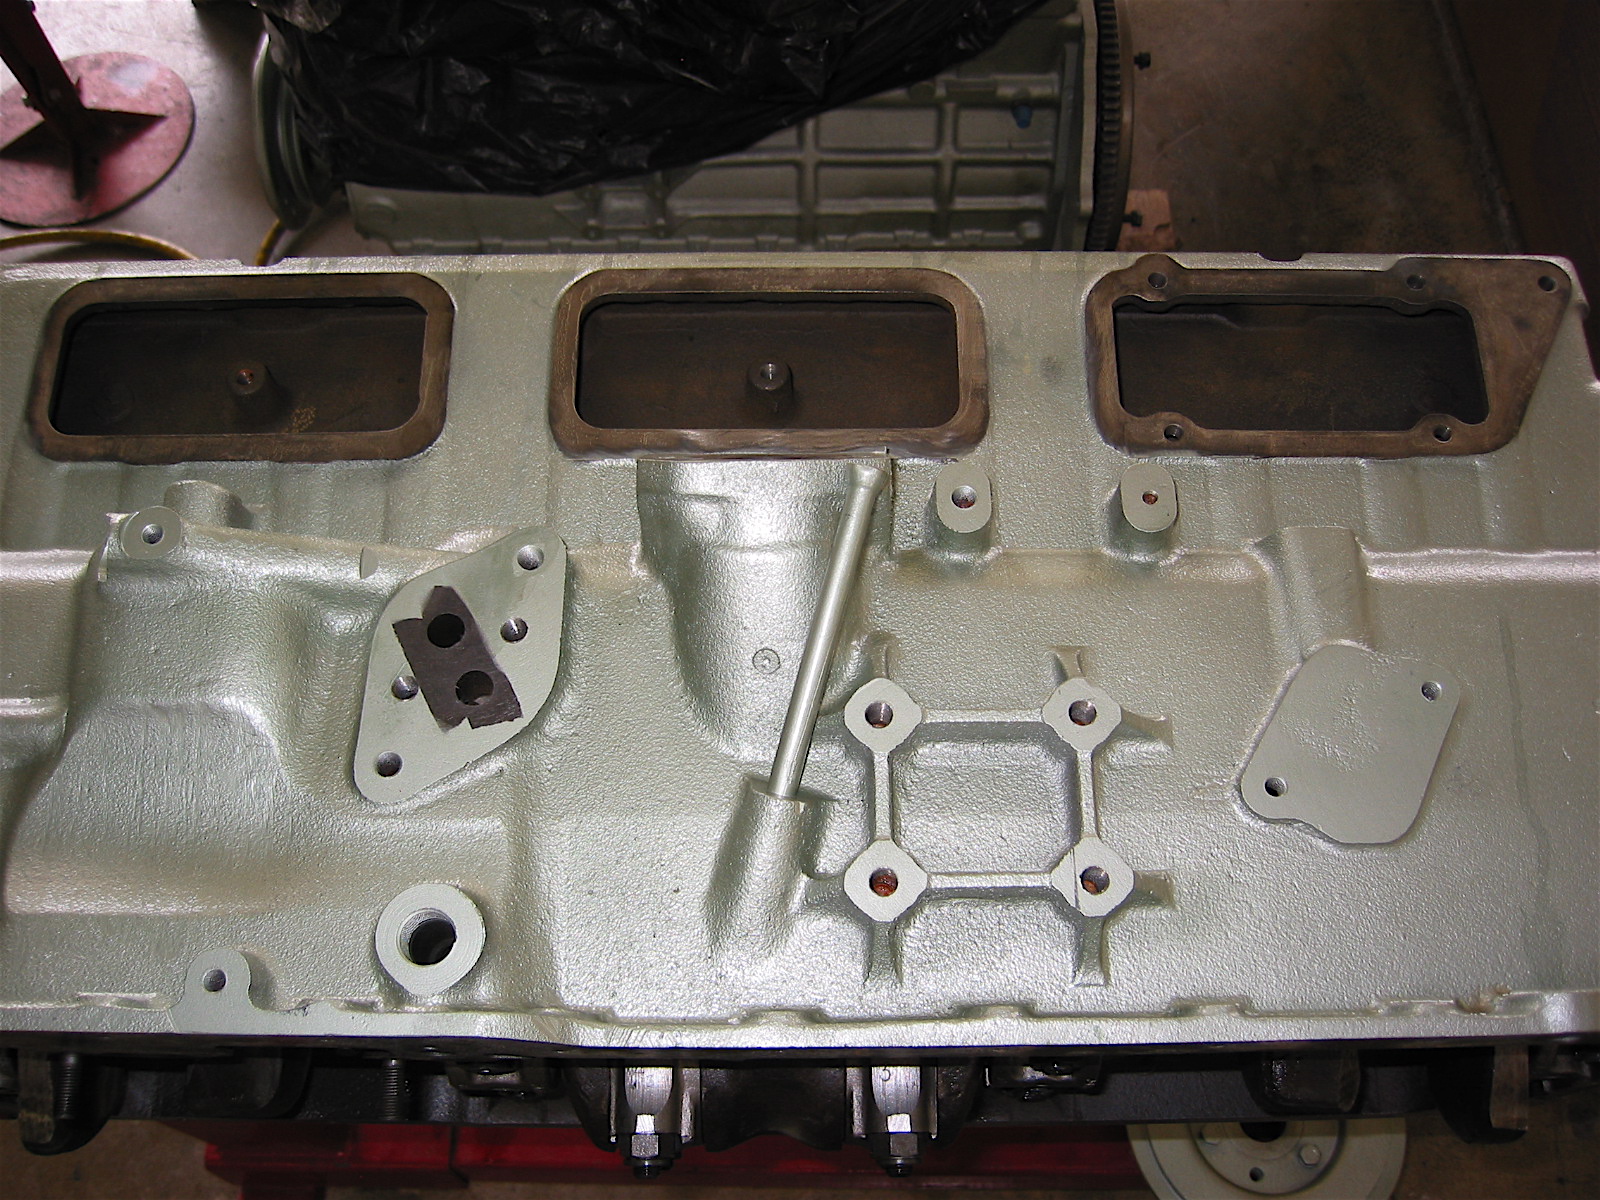
Block right side
Jeremy Turner finished the painting of the doors so I picked them up and installed the various door components including the Heritage upholstery panels. As has so often been the case, Rich Chrysler provided a narrative description of the Installing Door Panels.pdf that proved to be very useful.
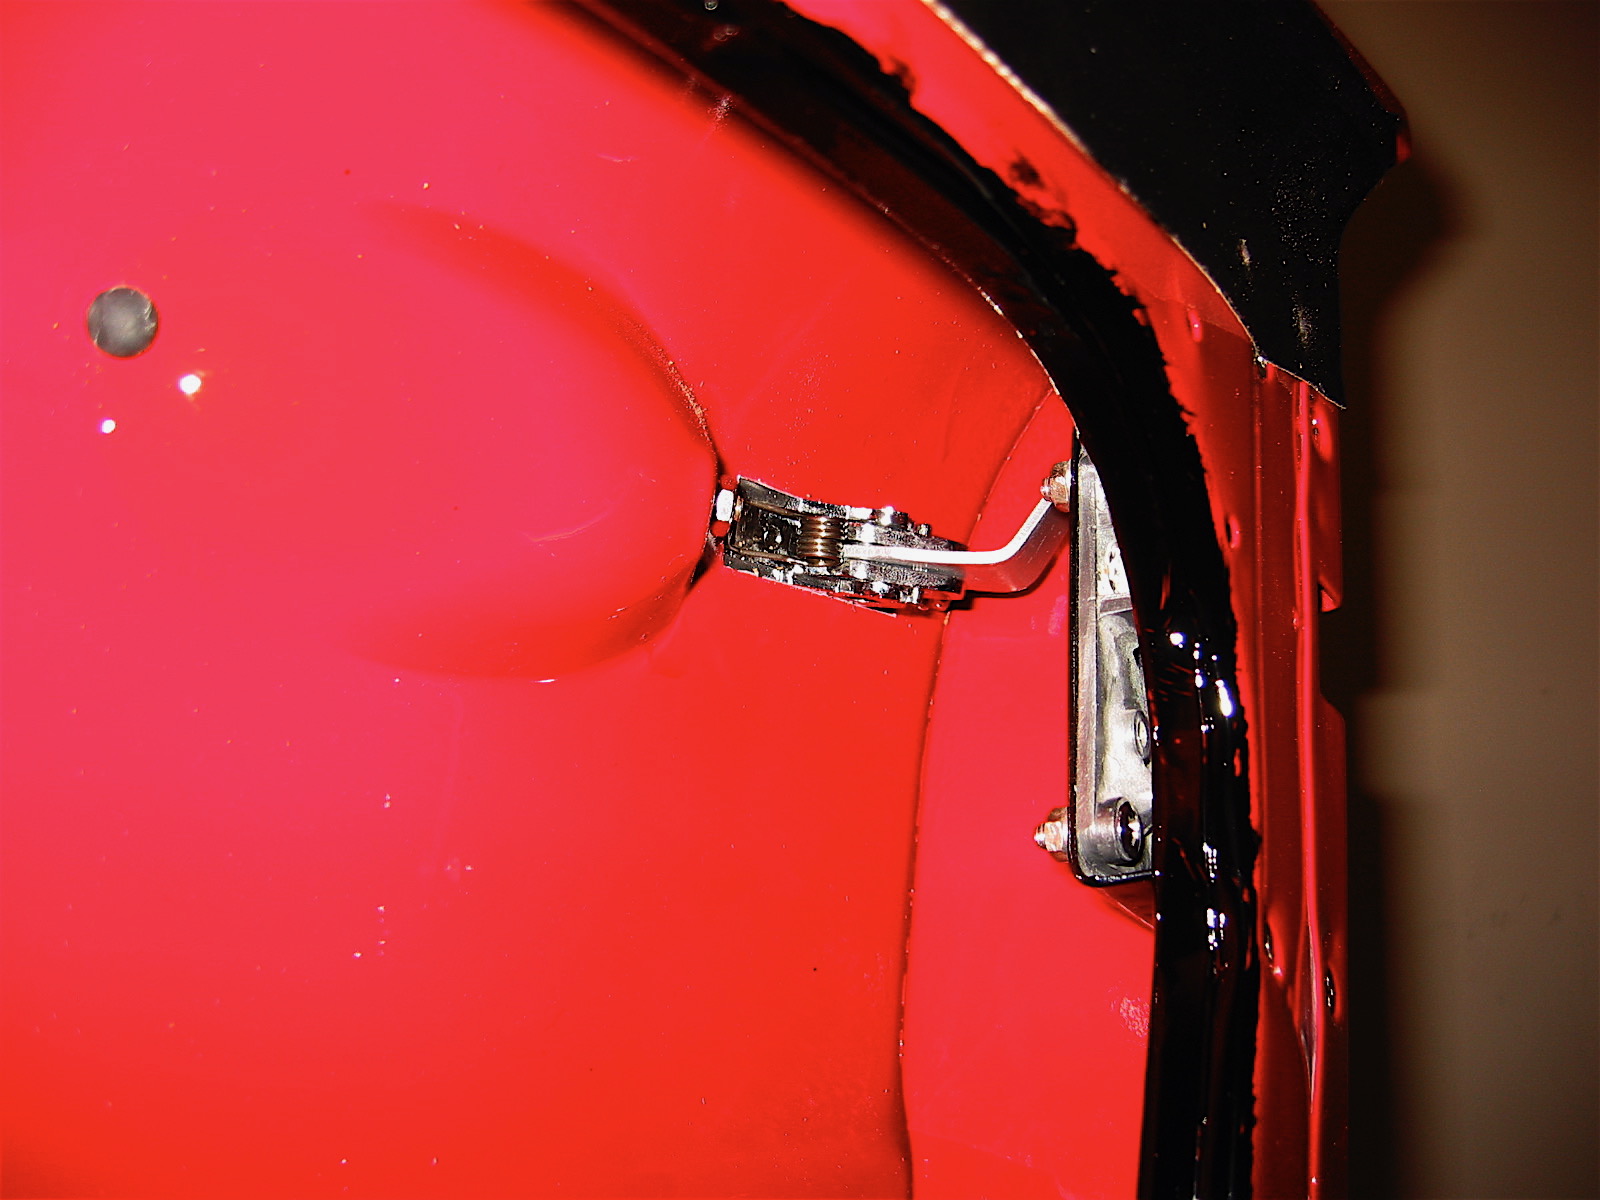
I began by gluing a strip of vinyl across the top of the interior of the door. This vinyl fills the gap between the aluminum door trim and the upholstered panel. I then installed the chrome exterior door handle including the little rubber bufferthat protects the paint from handle contact. The handle is held in place by two #10 screws, the rear is a press fit stud into the handle and the front a phillips head screw inserted through the handle and the door. The handle was followed by the opening and closing hardware that had been cleaned, painted and lubricated.

Door handle exterior
Door handle Inside 1
While it pained me to do so, Rich indicated that at the factory they brush painted, by hand, the ring around the door panel opening with paint the color of the interior vinyl, so I followed his direction. I then installed the wooden tack strip in the center of the door that is used to secure the interior door panels. The image below shows the vinyl at the top of the door, the hand painted black surround and the wood strip.
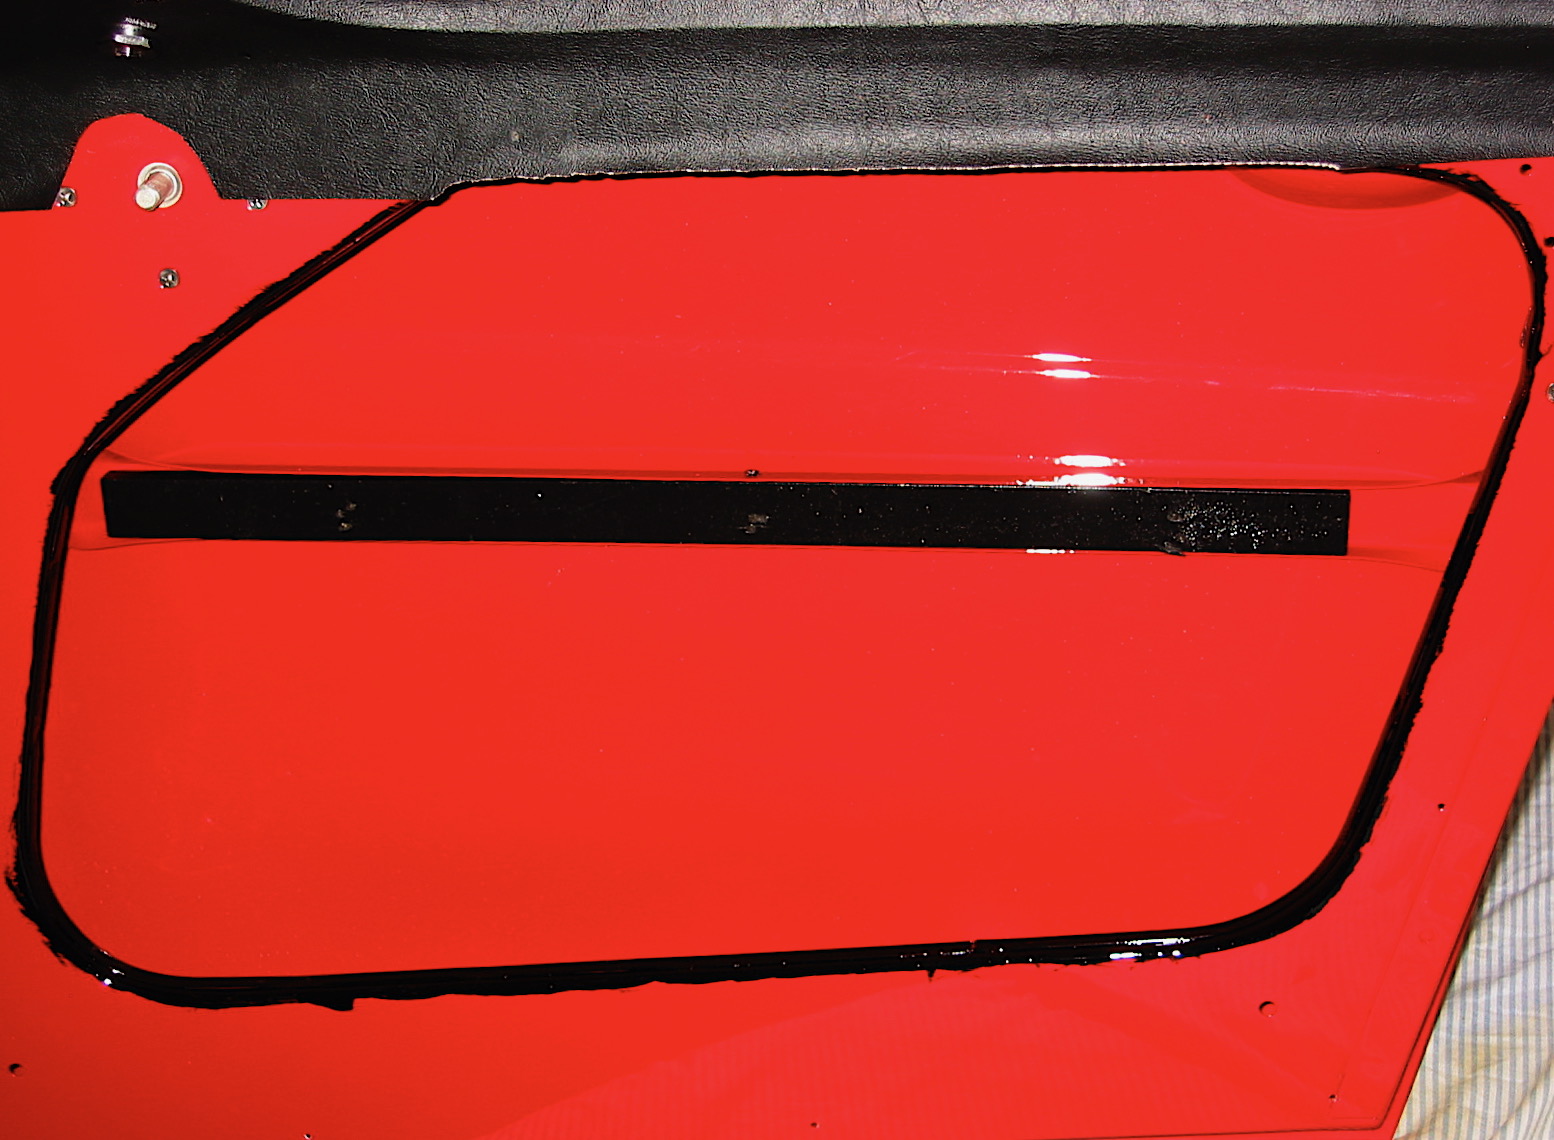
Trimming Door Interior
Continuing to follow Rich’s guide, I then fit the lower vertical upholstered panel into the door. There is a vinyl flap that must be pulled up as the panel is put into place. Then I fit the upper vertical upholstered panel and carefully drilled three holes through the panels into the wood strip and fastened it all together with three #8 x 5/8” stainless polished (rather than the original chromium). Finally, the flat vinyl covered floor piece was installed into the bottom of the door.
I wanted to use the original screw holes already in the doors for the flat upholstered door panels, so I made a template with butcher paper to mark the holes and then transfered the holes markings to the door panel. I held my breath as I drilled holes in the panel, but as it turned out everything fit nicely the first time!
The BT7 cars did not have interior door pulls, but I decided to install them to help prevent pulling the edge of the upholstered panel to close the door. They were available from Moss Motors and they do look original as their design matches the door handles.

Door Upholstery
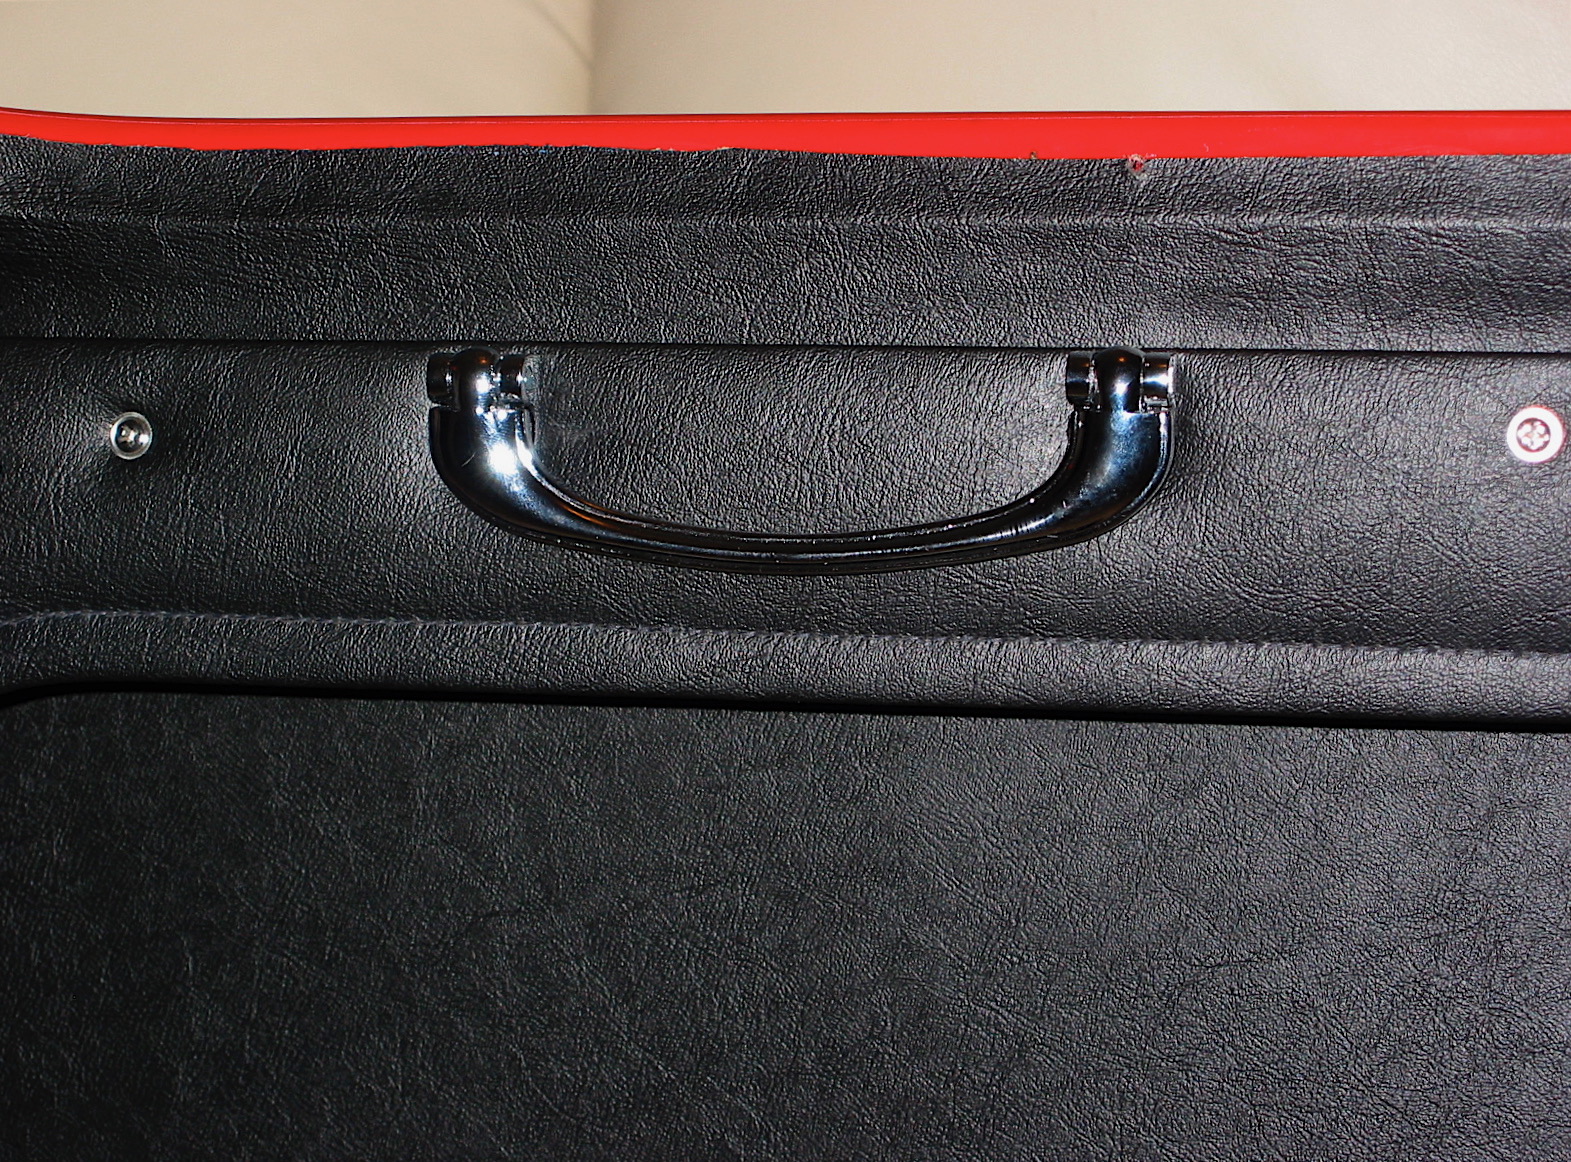
Interior Door Pull

Side Curtain Mount
The interior door handle installation is little challenging in that one must insert a small (approximately 3/4” pin) through the handle and the operating mechanism shaft. I found it easier to use a heavy duty coat hanger. I cut half way through an 8” rod of the hanger at the 3/4” mark, inserted the rod and then bent it to break it off in place. Much easier than trying to get that little pin to slide in! Next I installed the side curtain mounting plate and the door latch trim to finish up the first door. The second door was a repeat procedure of the first.
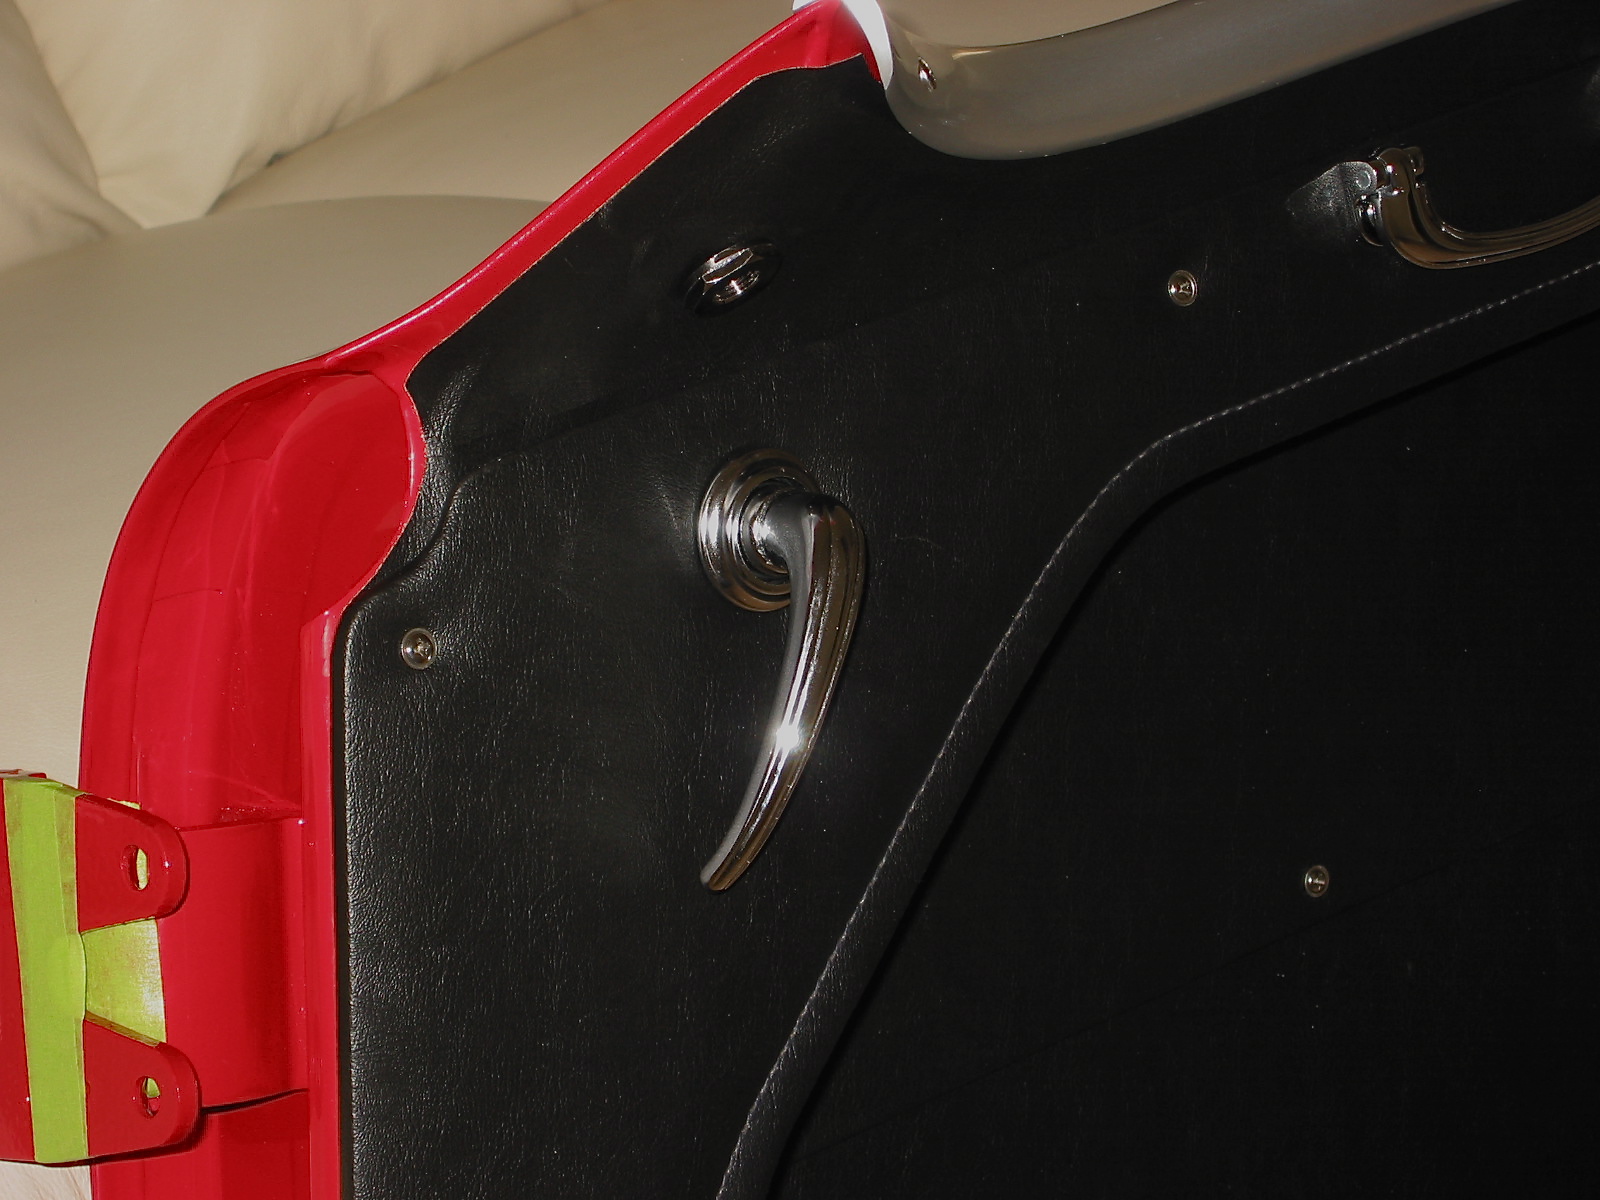
Interior Door Handle RH
Waiting. Still waiting.
Jack Harper from Coach Works called on Wednesday, July 18 to say that he finally had the block from the machine shop!! This is a red-letter day. Jack indicated that he will start assembly on Monday. I will take all the bits-n-pieces to him so that he is ready to start work.
The block work was done by Dale Engineering. The block was cleaned, the main bearings were align bored, the crank was magnafluxed and turned, brass plugs and core plugs were replaced, cam bearings were installed and everything was balanced.
I am waiting on the completion of the engine rebuild and I recalled that Tracy Drummond had fabricated a little stowage bin to fit into the frame lightening hole on the right firewall support. He made his from fiberglass and used a tobacco can as the mold.
I decided to try my hand at it, but opted to use a longer can as the form, and one that had contents more pleasant for me to consume than tobacco. Yes, I used one of those nice Glenfidditch Scotch boxes for my little project! Images to the right illustrate the various stages of the creation of the storage “stow-it.” Thanks to Tracy Drummond for the idea! It will be painted red to match the car.
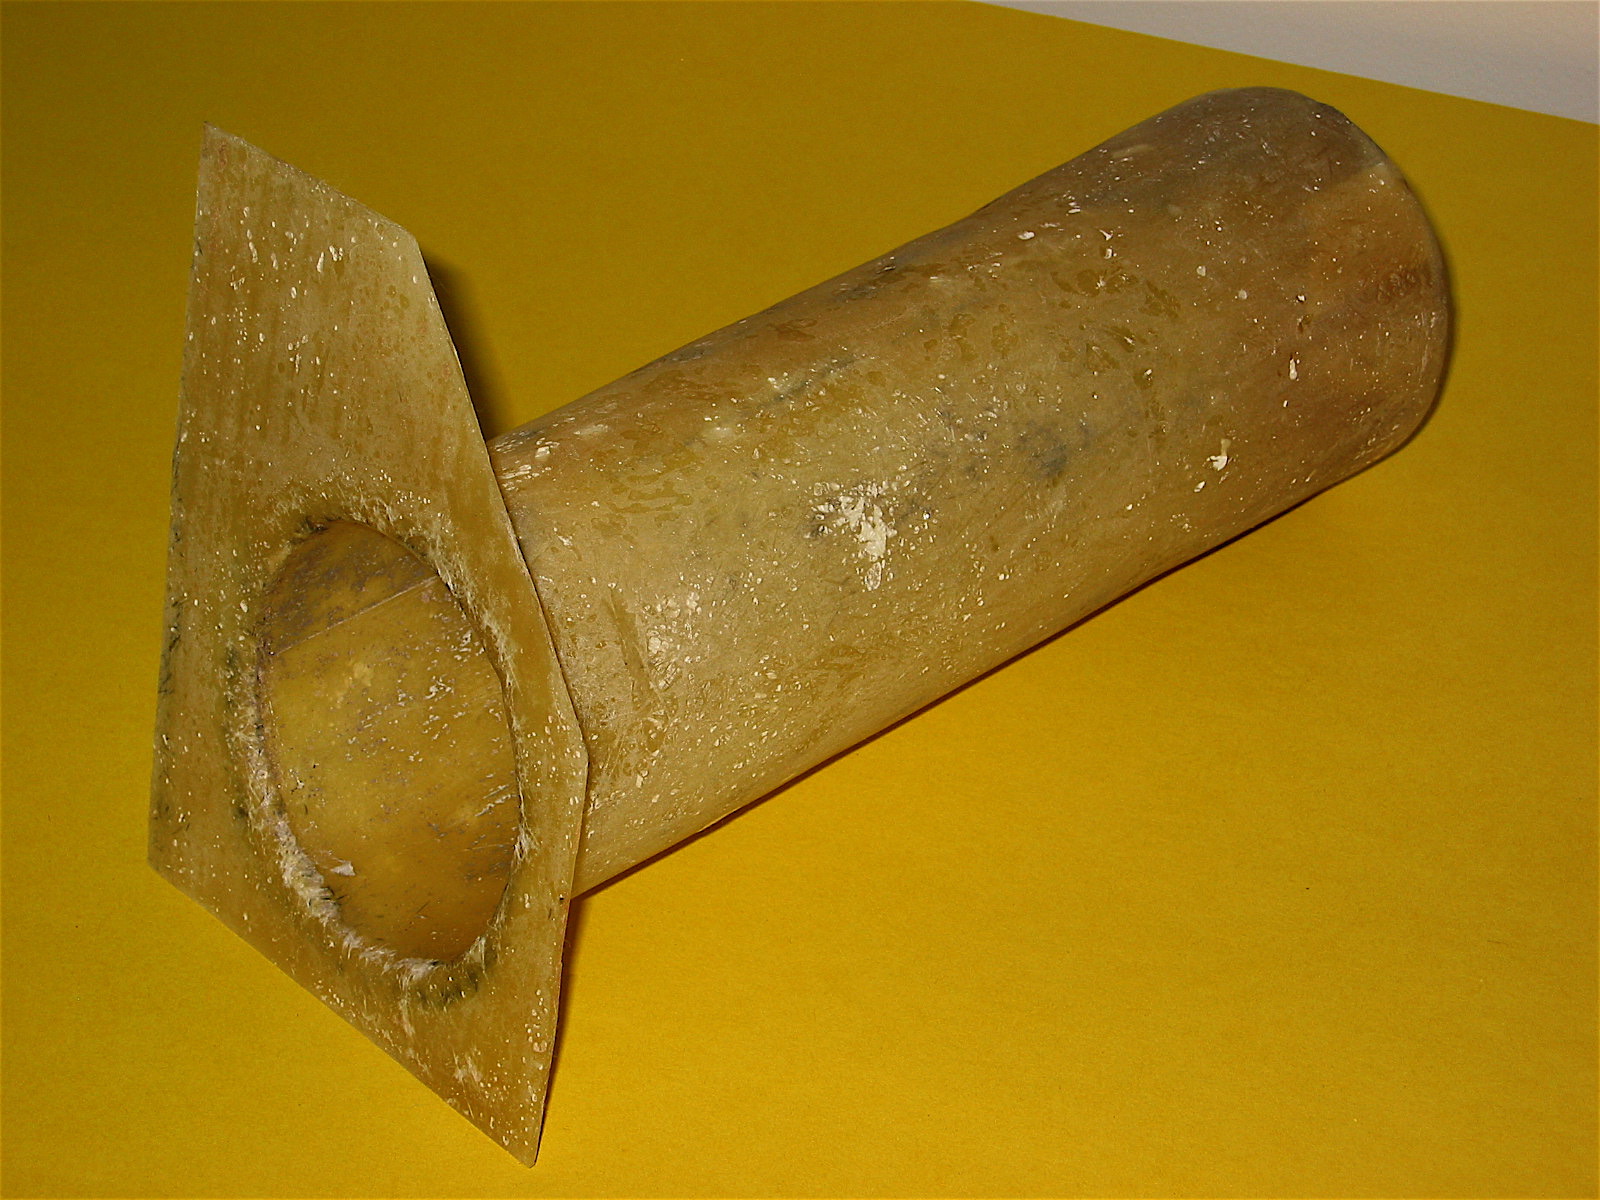
Stow-it Tube 2

Stow-it Tube 1
I realized today that I had not made provisions for mounting the coil in the engine bay since I am switching from dynamo to alternator. I drilled two holes in the bonnet support upright and installed nutserts to make it easy to secure the coil bracket and not have to fool with nuts in tight places.
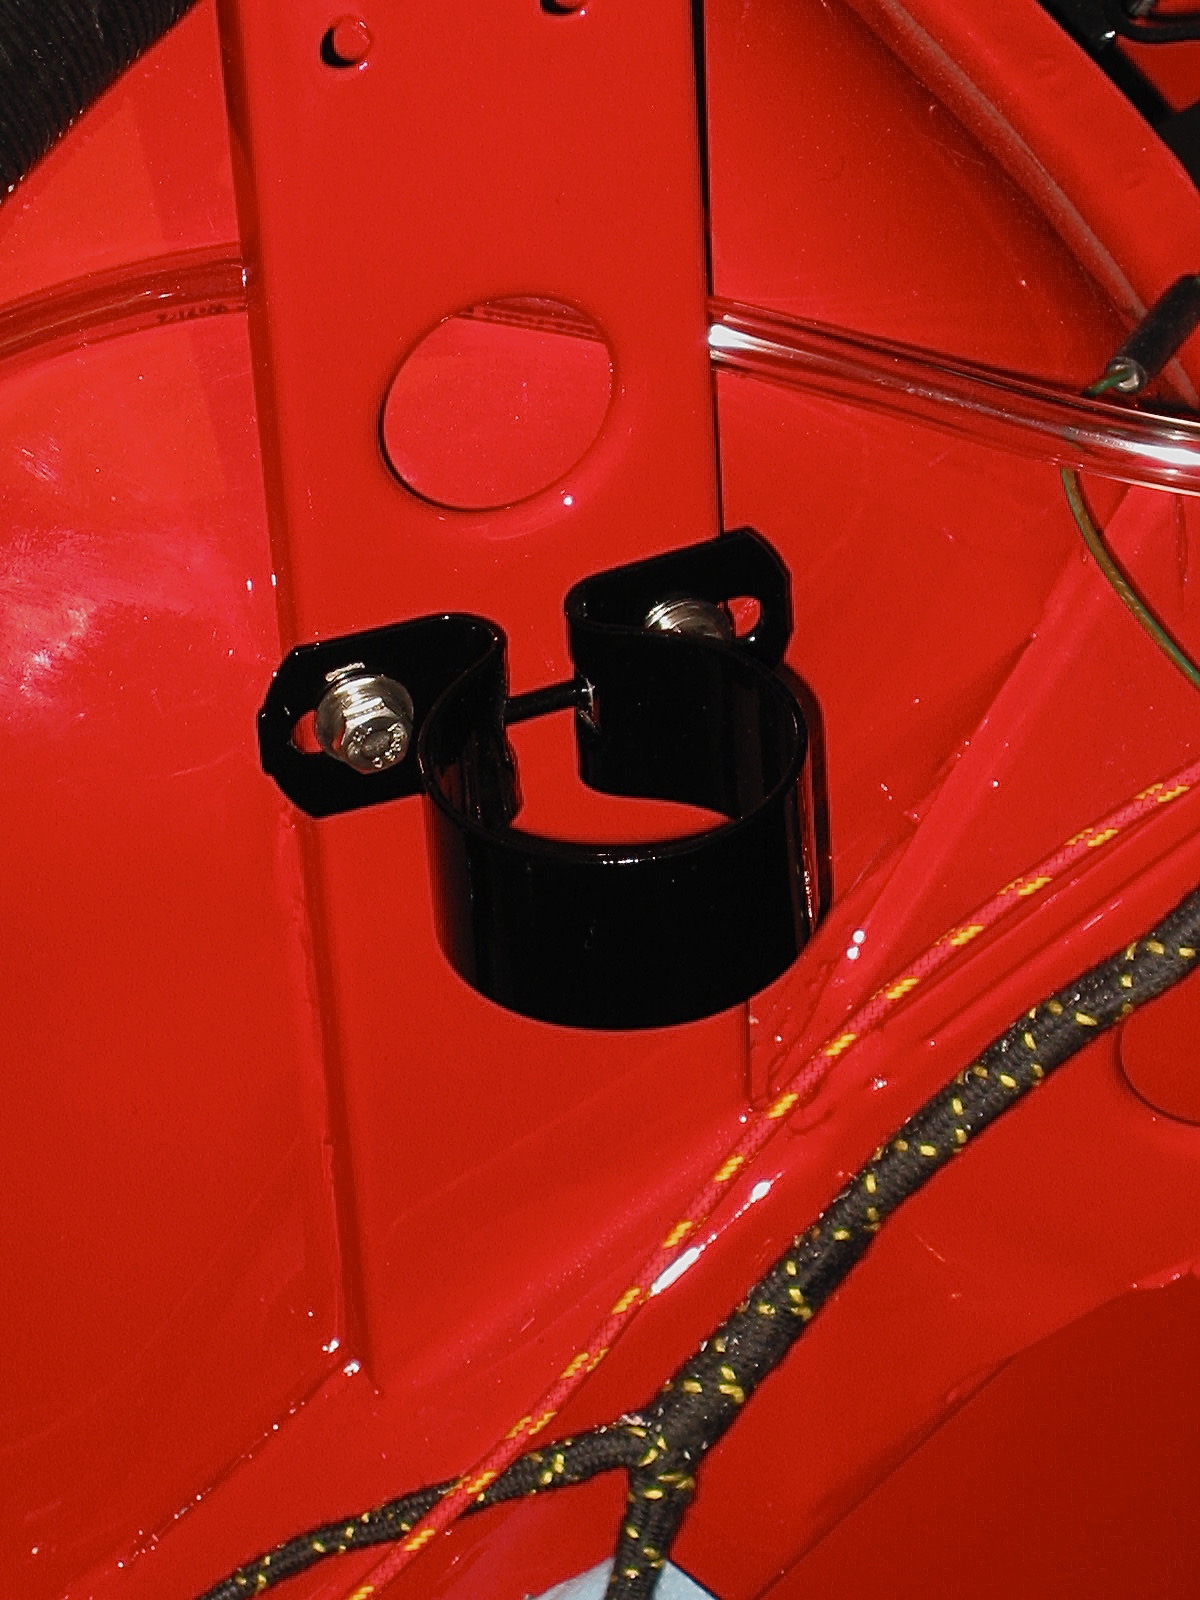
Coil Bracket