Brake Pipes – Sometimes as one proceeds with working on the major systems of the car parts just get in the way! We are installing the modified Sebring-style pedal box with separate Girling master cylinders and that requires bending a new brake pipe with a different configuration from the original. To form the new pipe and trial fit it to the car we found it easier to remove the windscreen washer pump located on the firewall and to loosen the wiper motor mounting as well. “Easier” is a relative term! Not exactly easy to get to the nuts on the inside of the firewall to release the pump.
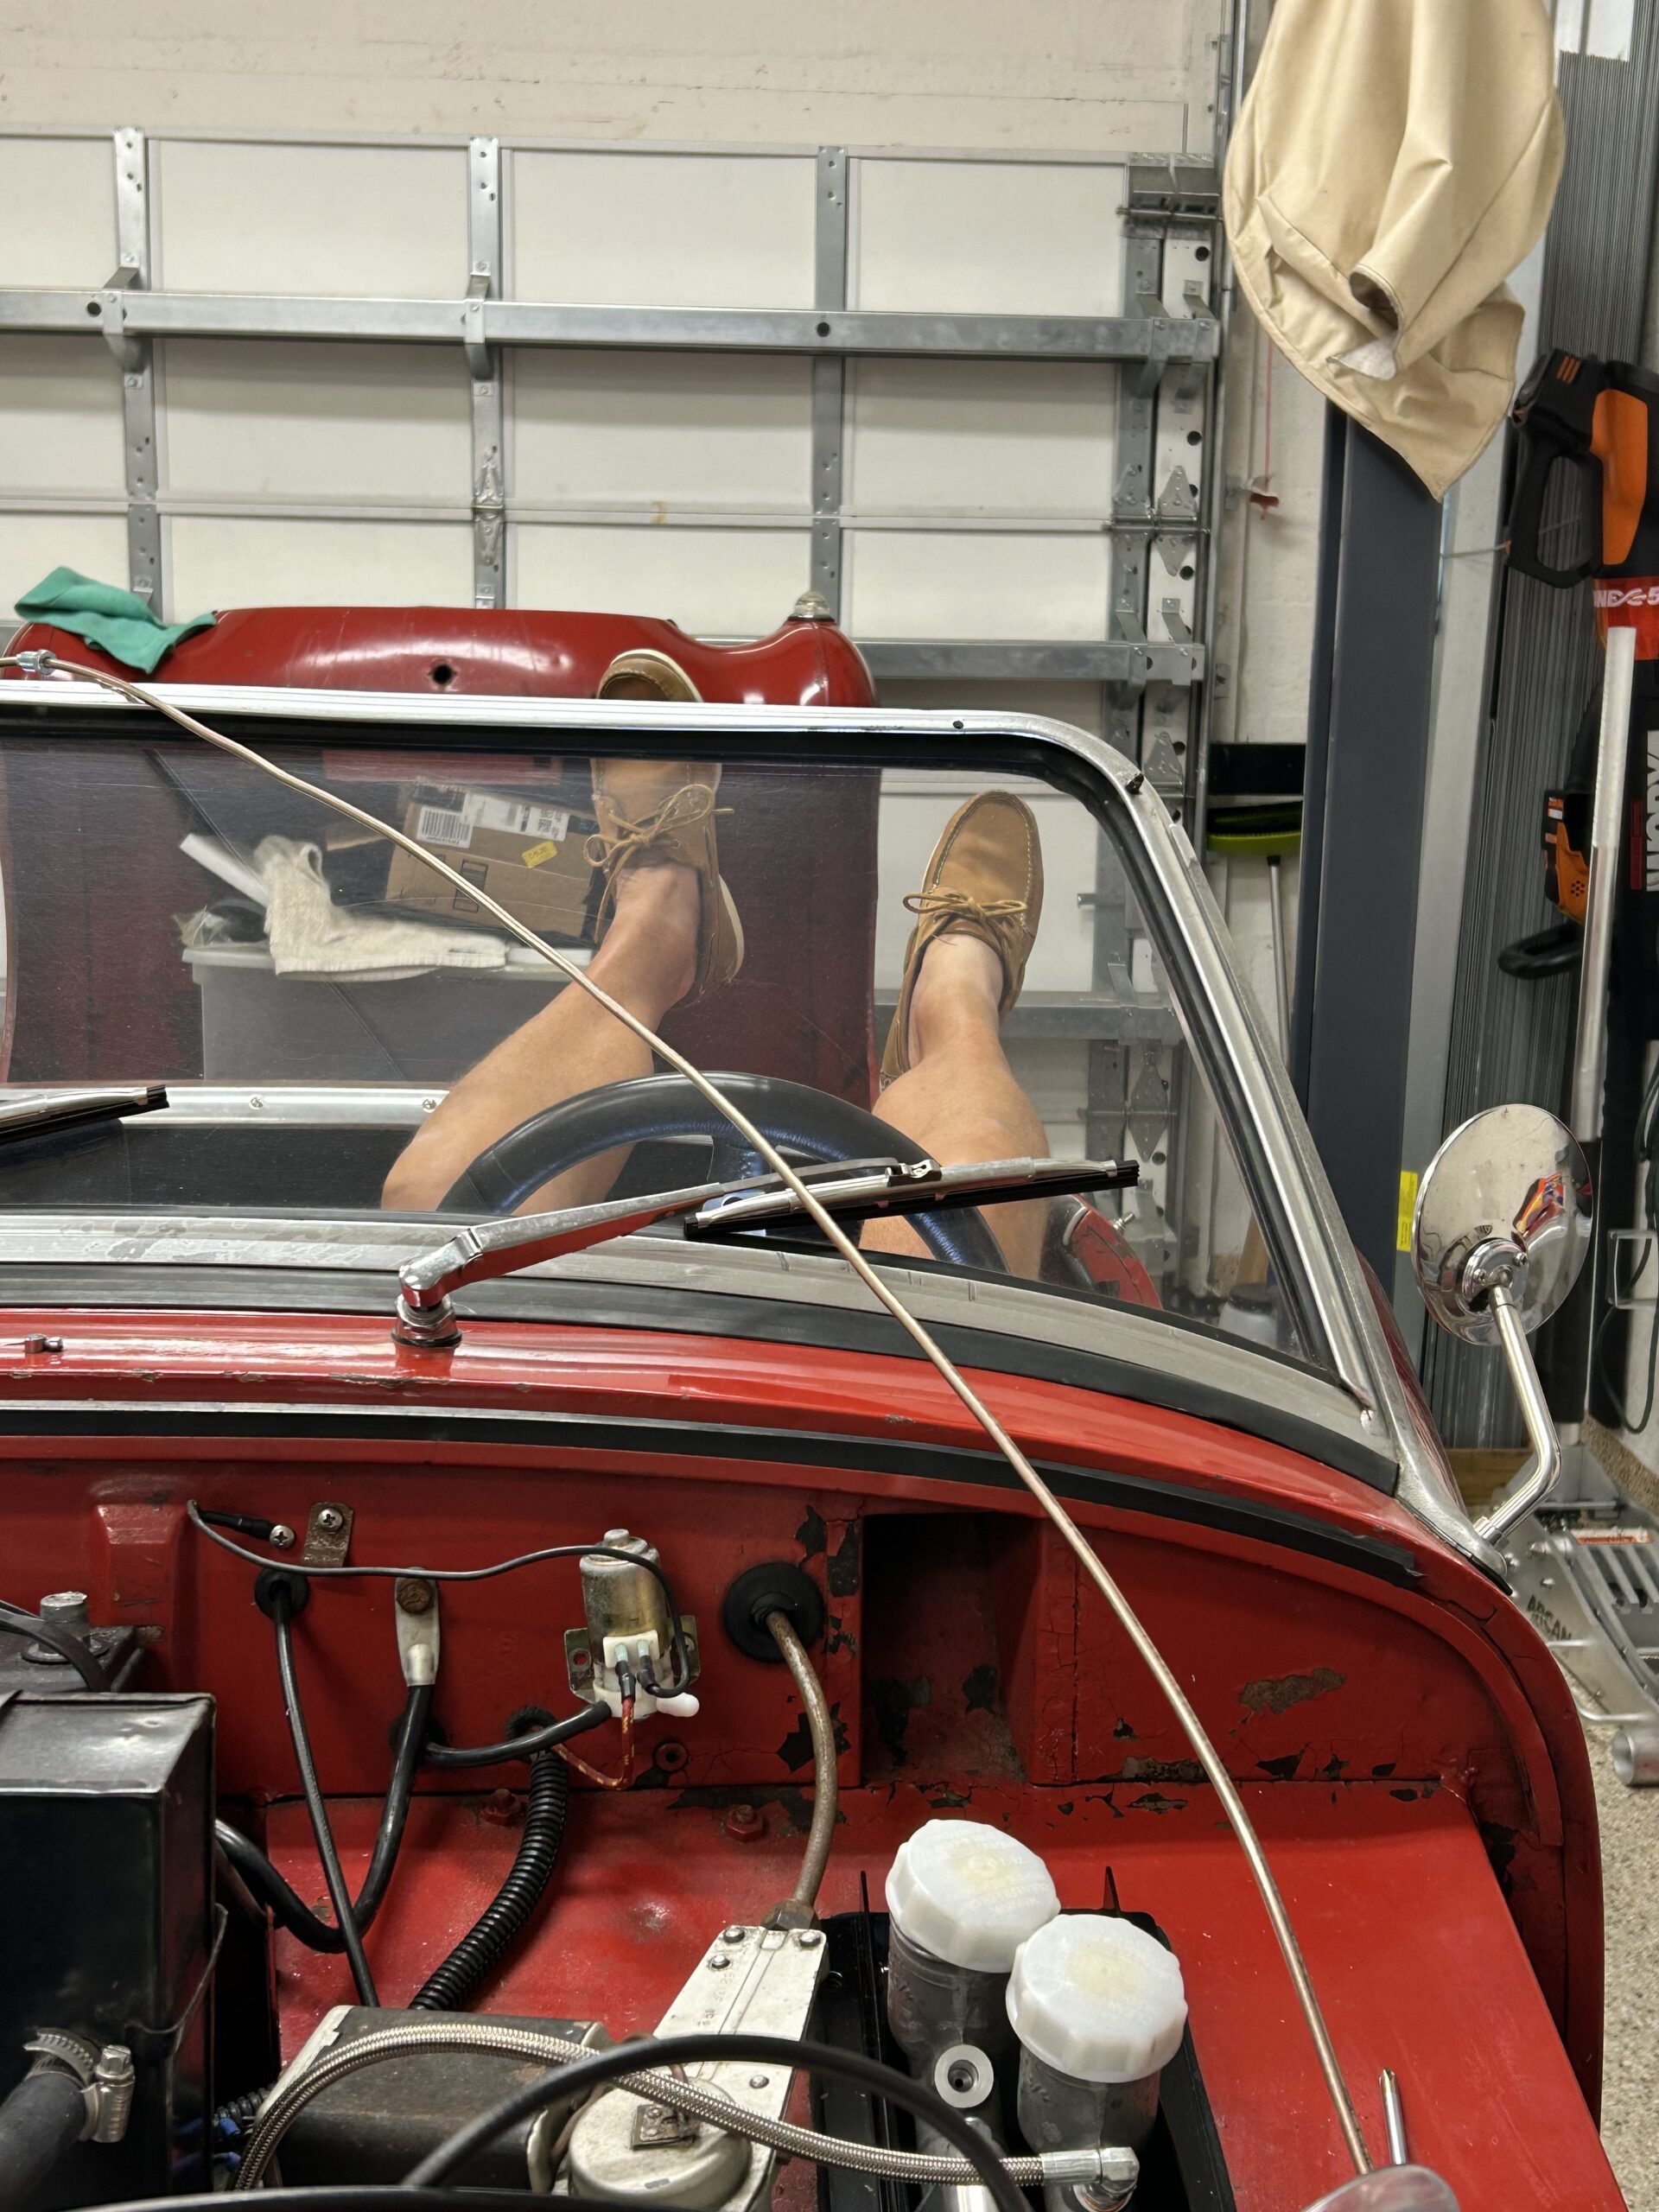
Easy is a relative term
Using the brake pipe supplied in the Bugeye brake pipe kit that has pipe cut to length with fittings installed for the pipe from the master cylinder to the pipe union proved to be a little too short so we have ordered some extra 3/16″ pipe from FedHill. The short pipe was used to go ahead and make the pipe bends that will become a model for the FedHill pipe when it arrives.
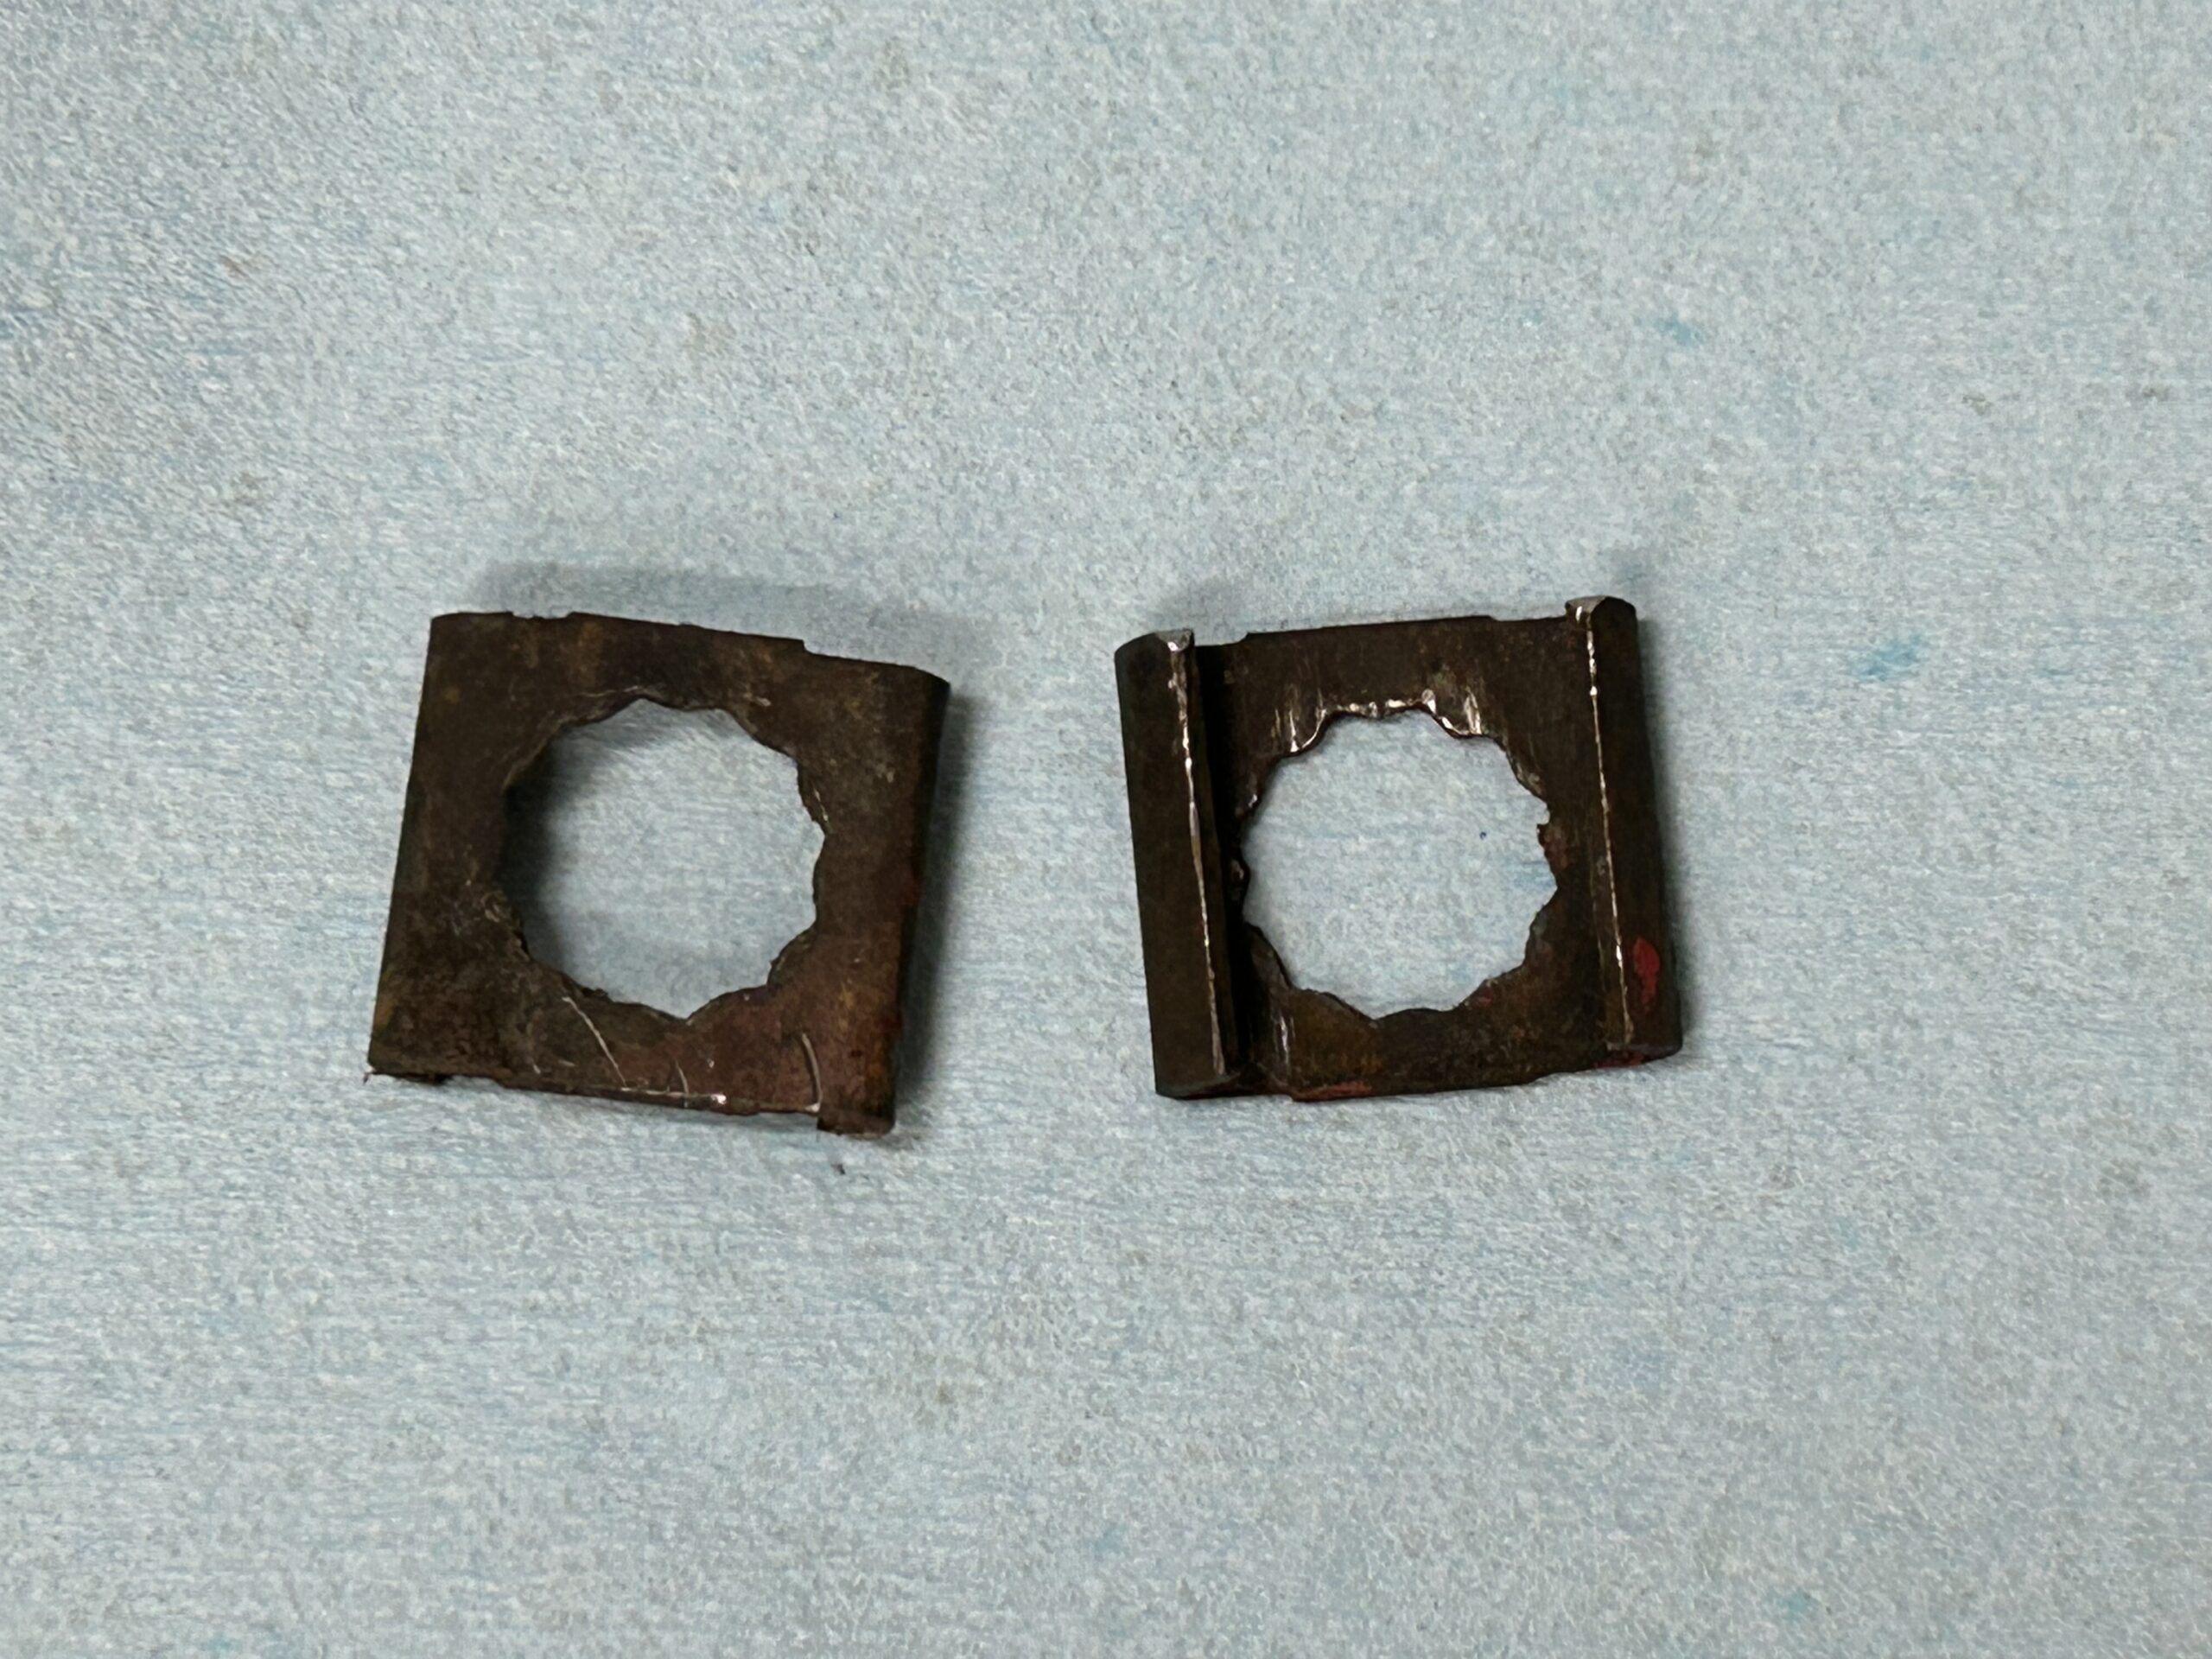
We then went ahead and bent the pipe for the route from the union to the RH front wheel and the pipe from the union to the LH front wheel. The LH pipe runs over the front chassis crossmember and is held in place with two brake clips.
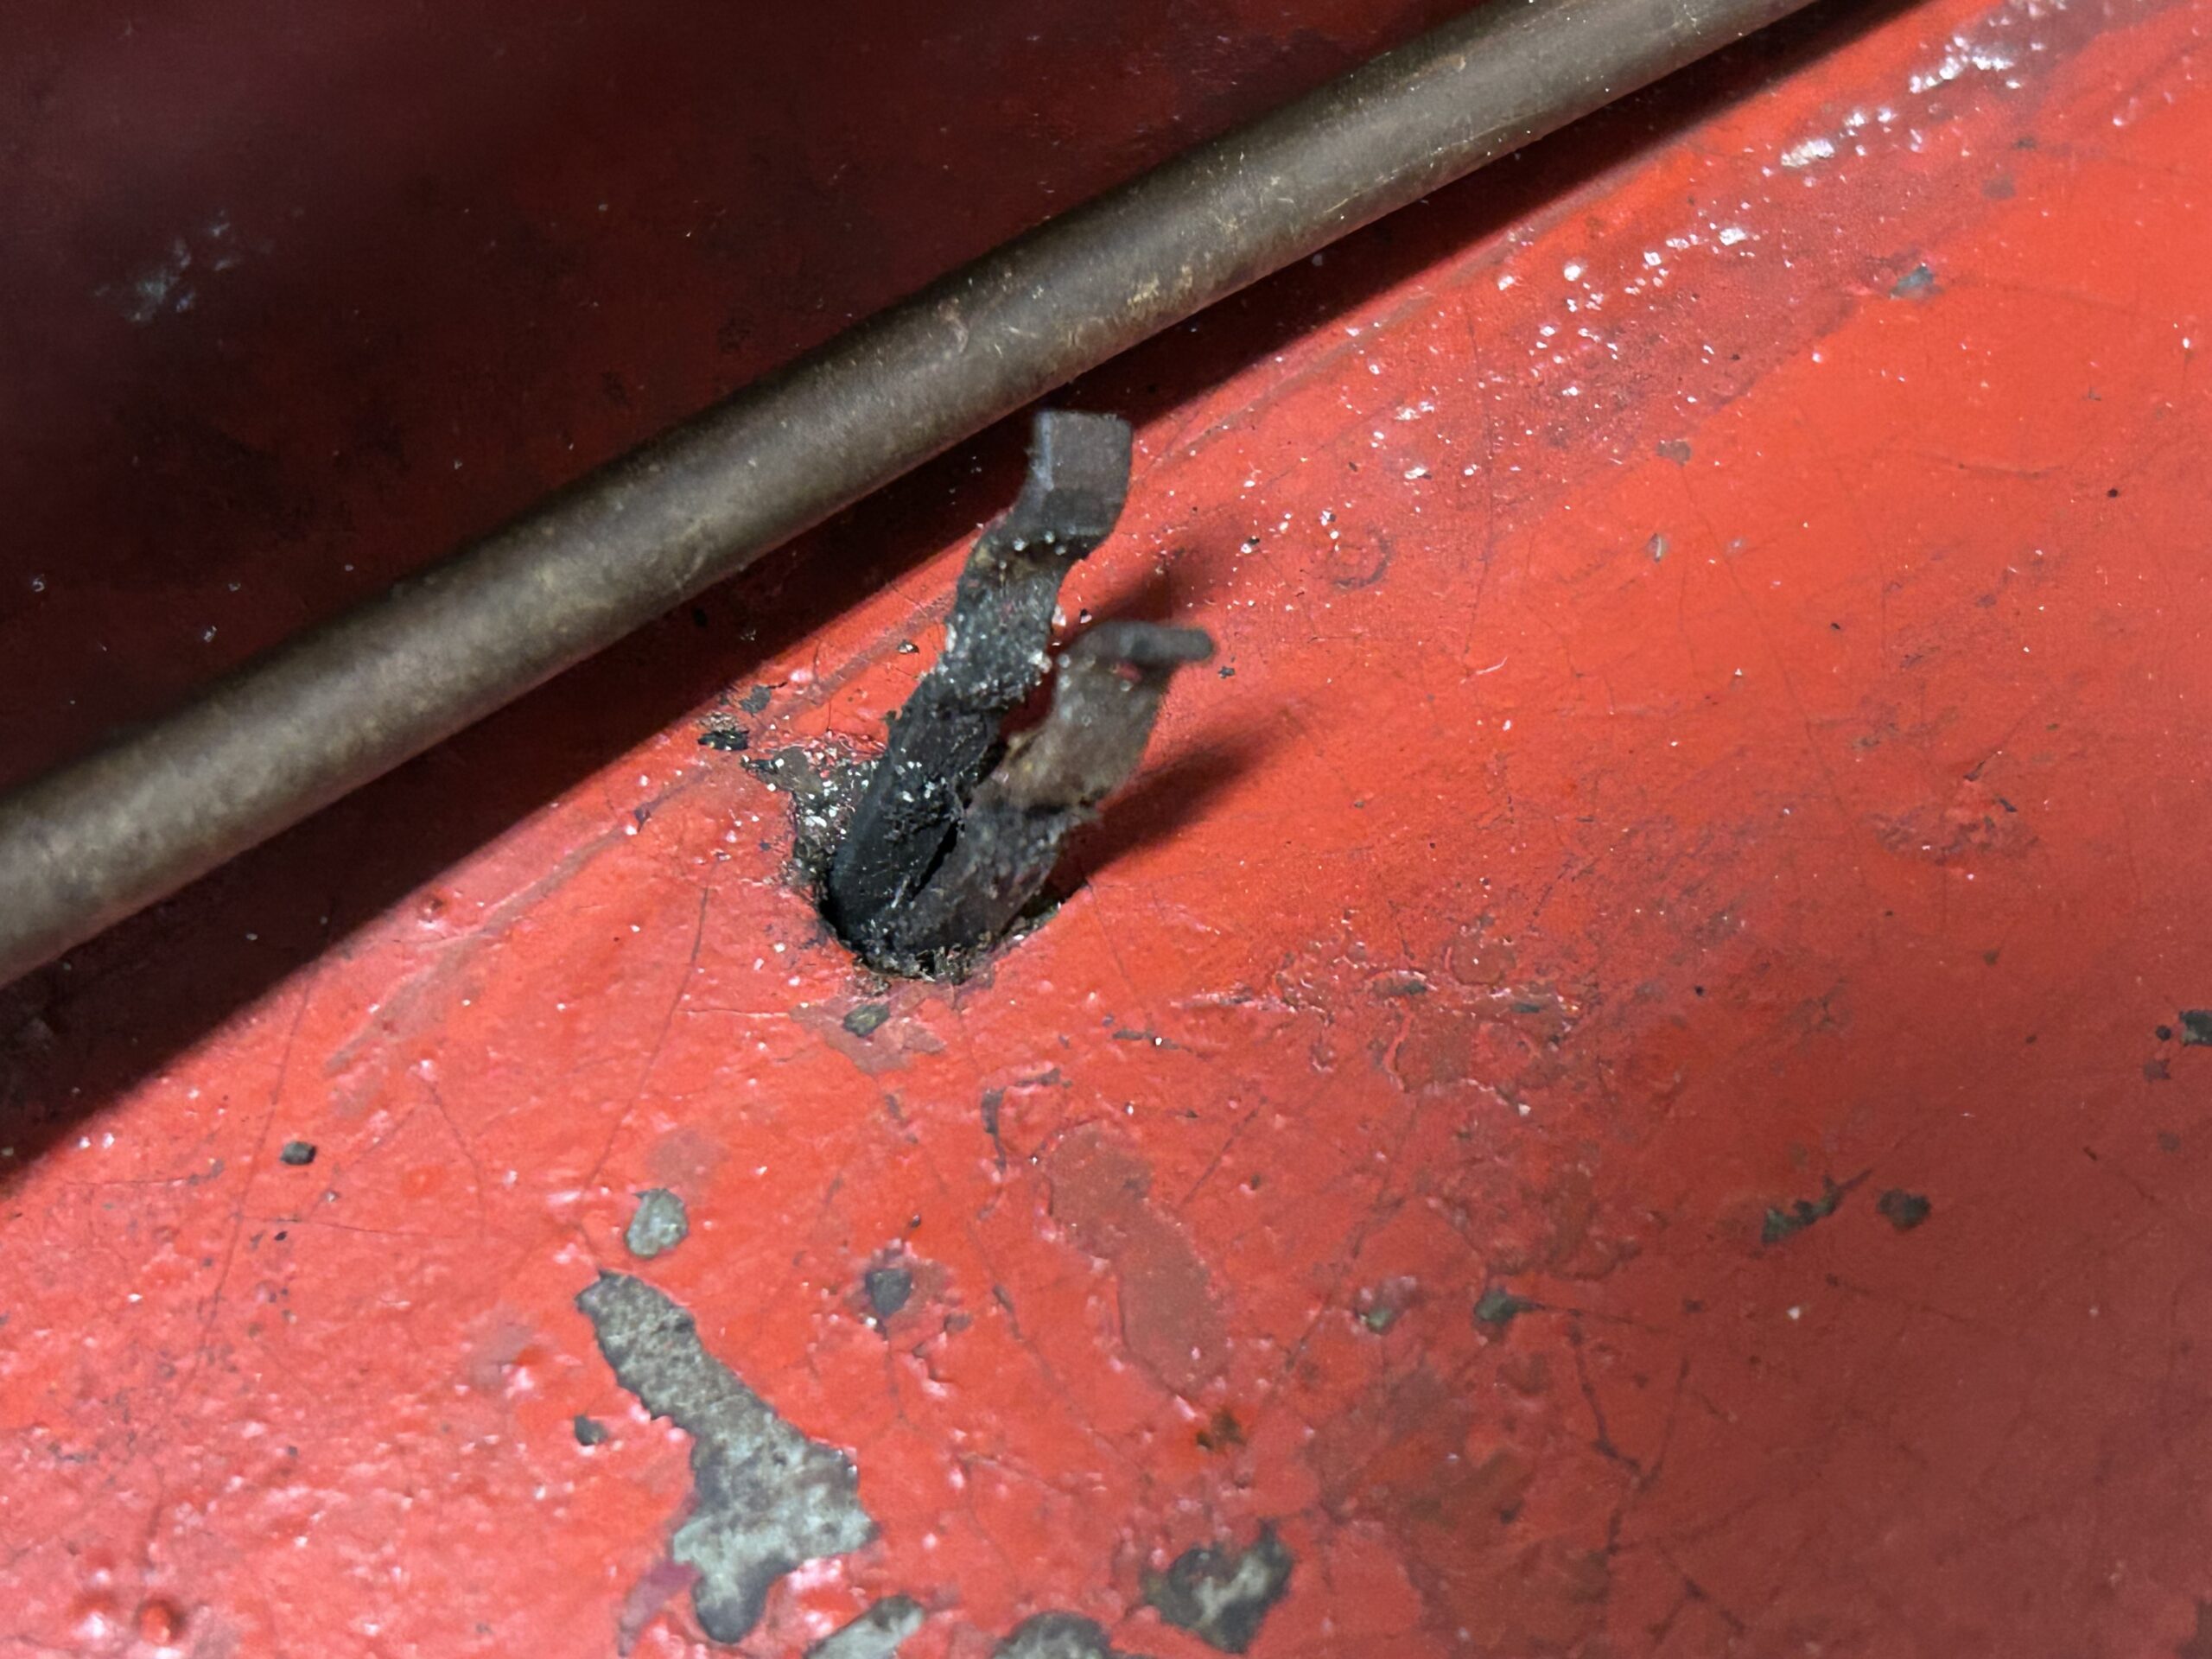
Crossmember brake pipe clips (2)
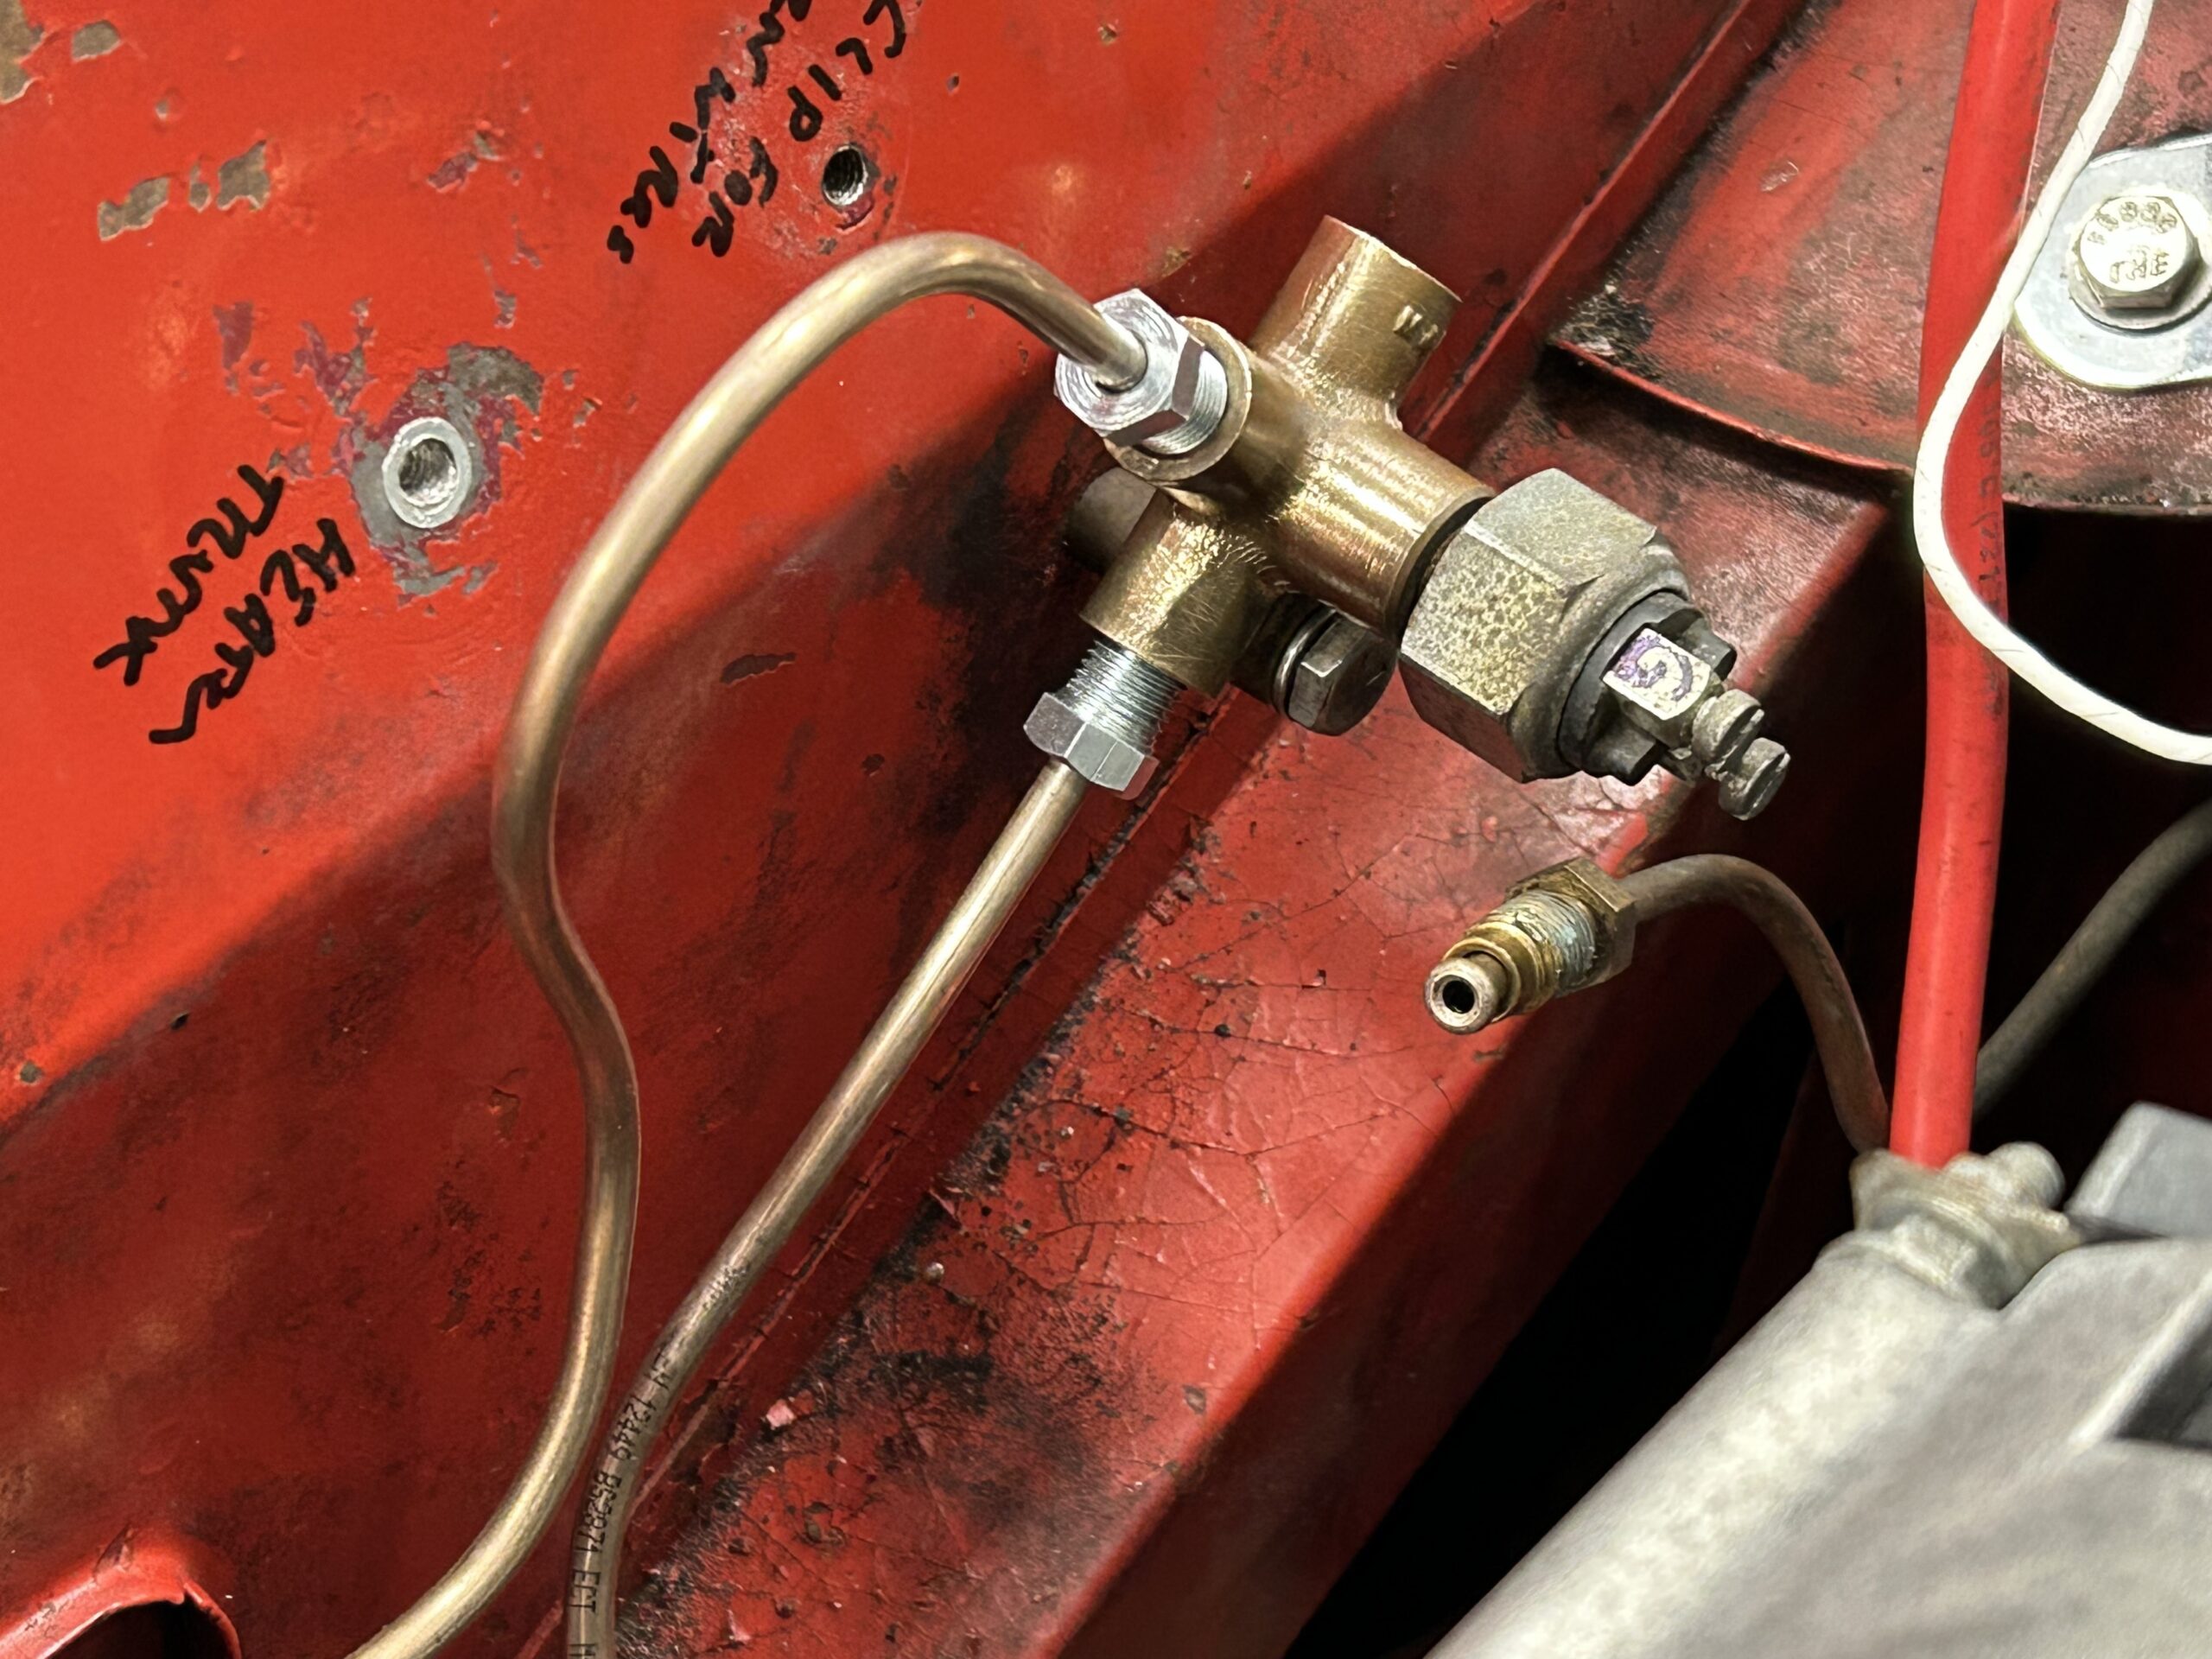
LH and RH front brake pipes at Union
To make sure that we did not end up with a conflict between the pipe and the steering rack we went ahead and temporarily installed the steering rack. Permanent installation will occur a little later.
At the front of the car the hard pipe attaches to a clip on the chassis where it is joined by a flexible black stainless steel Goodridge hose. The other end of the hose then screws into the brake caliper.
Brake hose to Brake pipe chassis clips
The brake pipe that runs from the union to the back of the car was removed, but we will wait until the engine and transmission are removed from the car to shape and install the pipe. There just isn’t enough room to maneuver to install the new pipe with the engine in the car. All of the original pipe was removed from the car and stored away just in case we need it in the future. The pipe may be ultimately tossed away but we will keep all of the end fittings.
Brake Pads – We had ordered new Gold Cup brake pads from Moss Motors only to discover that they were just slightly too thick, preventing a good fit in the new calipers. We ordered a set of EBC pads and like Cinderella, found that they were just right. These were installed with new spring retainers and split pins. We won’t bend the pins back yet.
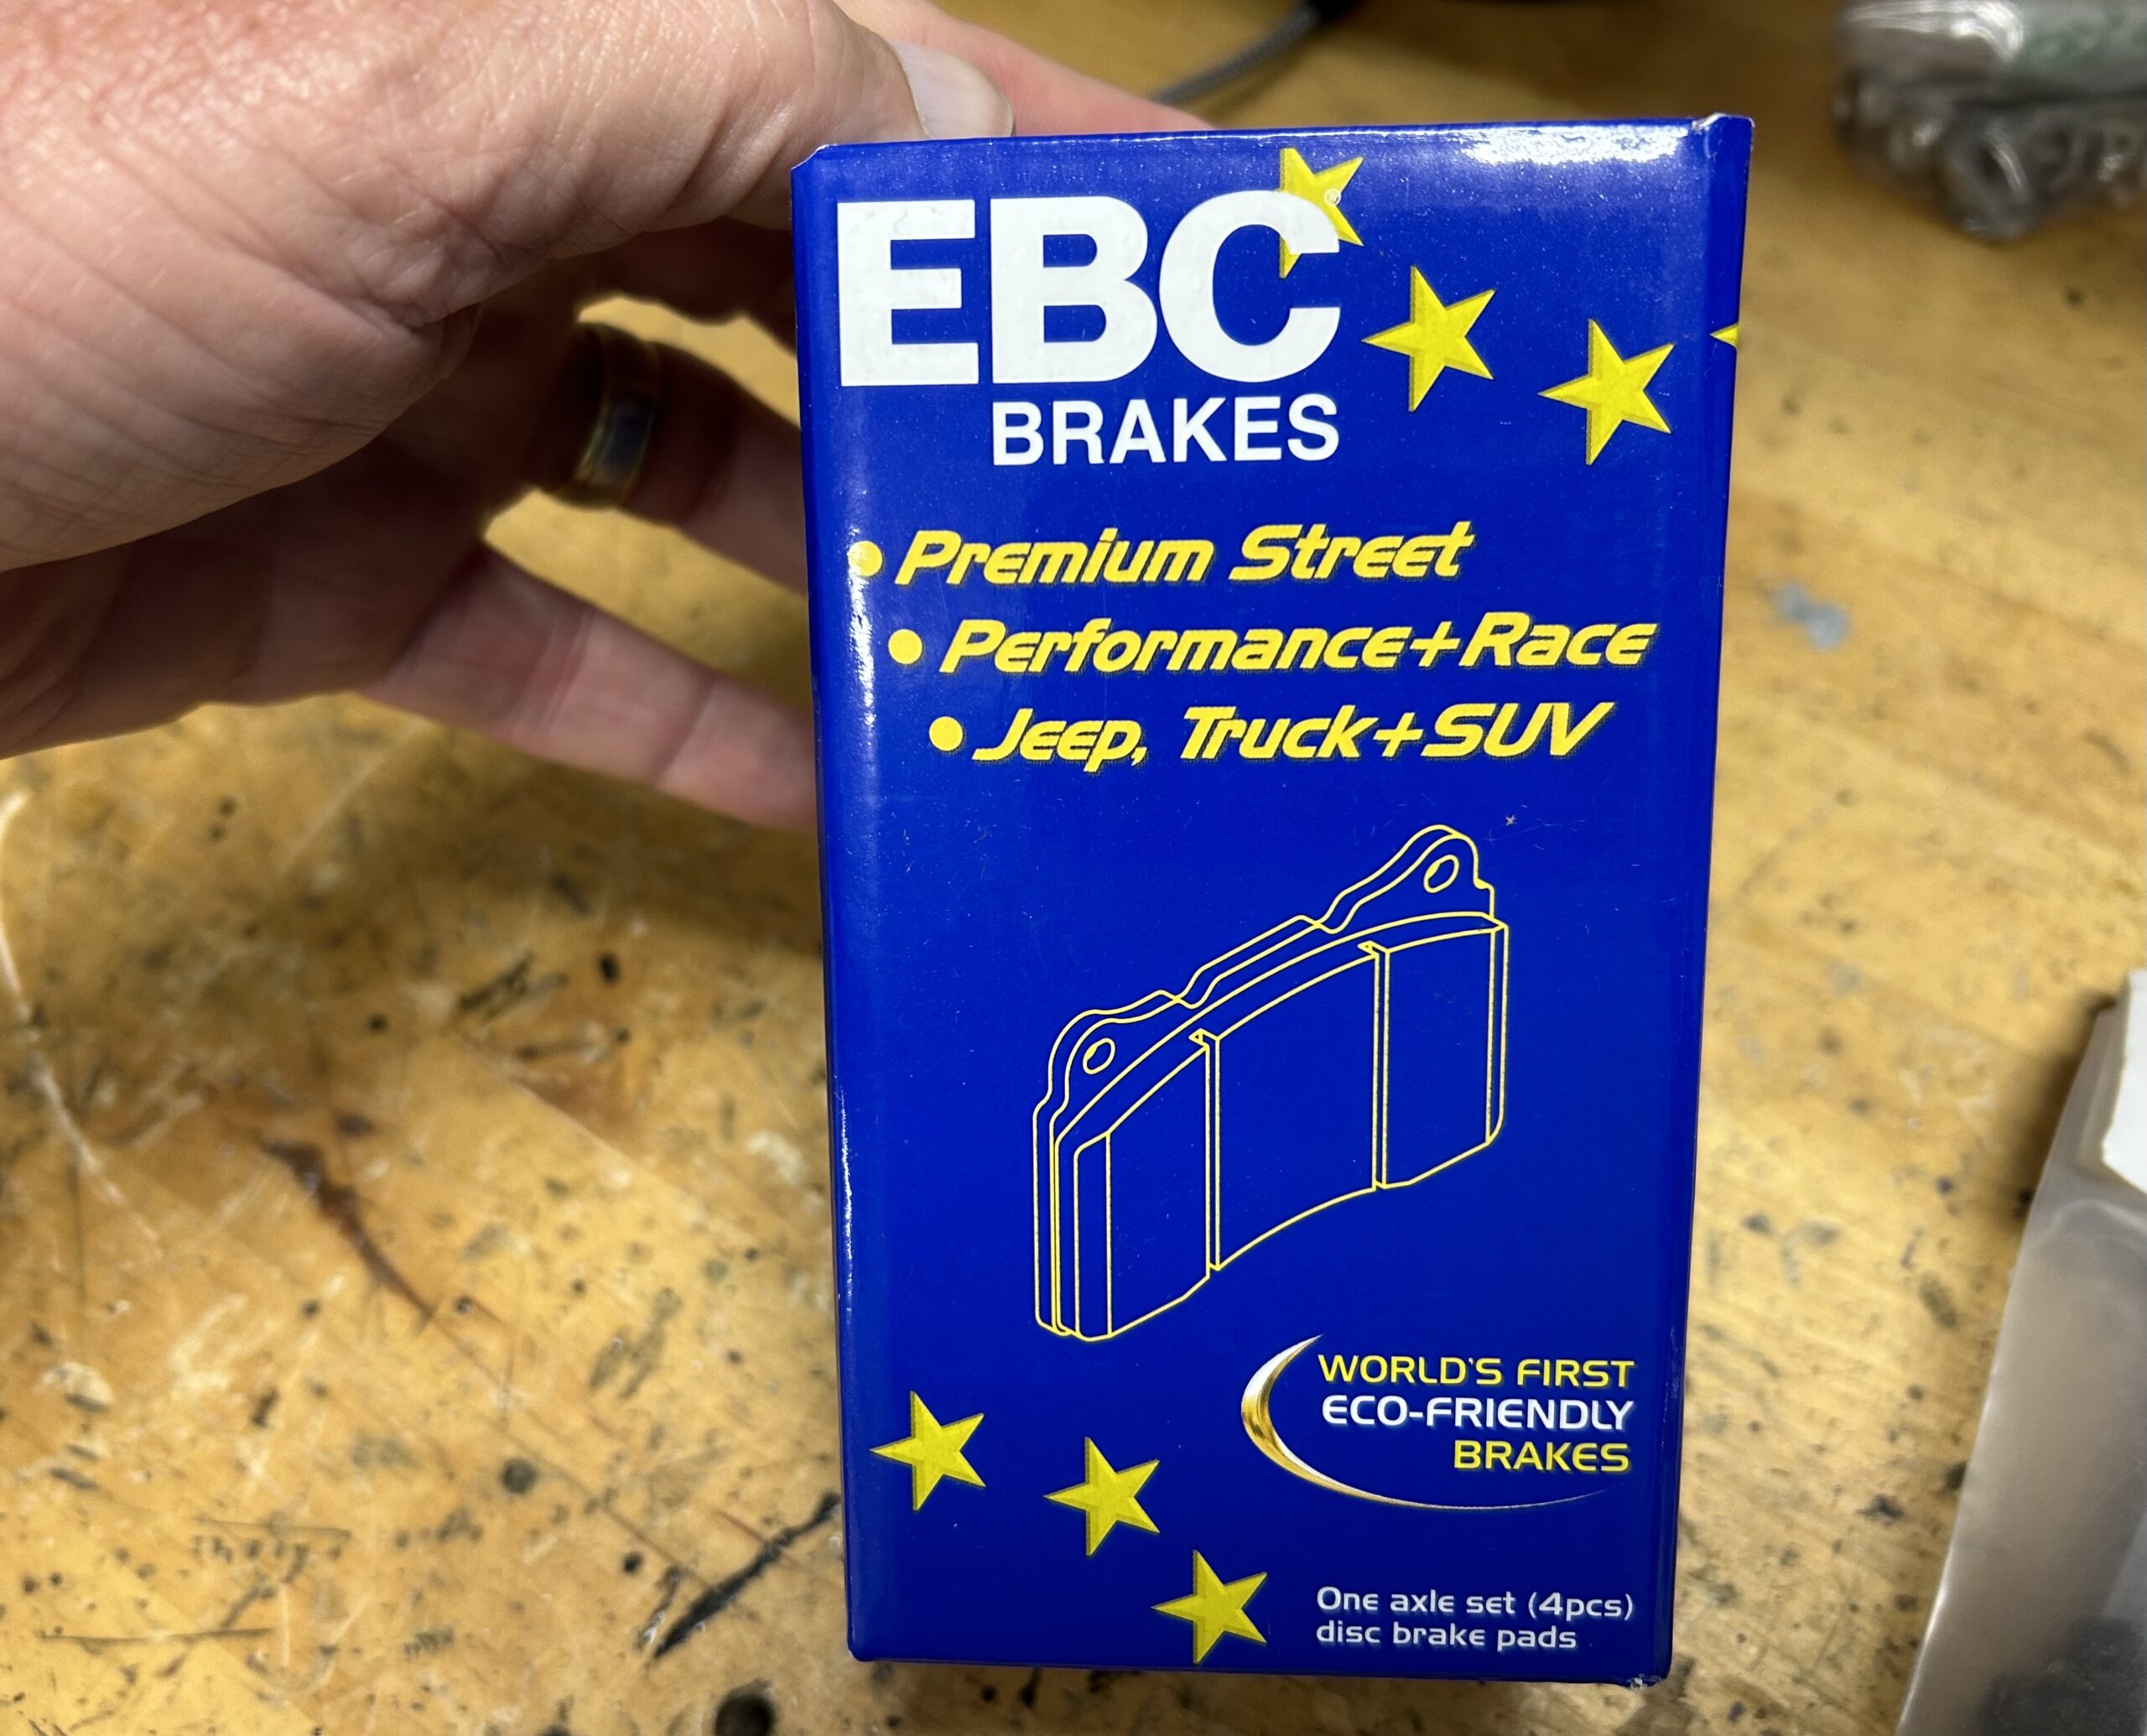
EBC Brake Pads

New calipers, EBC brake pads, Retaining Springs and Pins
Installing the new steering rack acquired from AH Spares proved to be a simple job. The lower brackets were installed on the car with the three 5/16″ – 24 x 3/4″ bolts for each bracket. We have new shims to install in the cradle of the brackets but we aren’t going to install them now. We will wait to use the shims when the final installation on the car is accomplished after paint. After the brackets are mounted to the chassis, the rack can be lifted into place and the top brackets can be screwed into place. We left everything loose until the steering column and the steering rack were mated and the pinch bolt installed. Then everything was tightened down. The steering rack clamp bolts were torqued to 20 ft lbs. The steering rack mounting bolts were torqued to 17 ft. lbs. The steering column pinch bolt was torqued to 10 ft. lbs.
The Sebring-style pedal box was reinstalled with its proper foam gasket. The gasket doesn’t align perfectly and required some manipulation. We decided to glue the gasket/seal to the pedal box but used no adhesive between the seal and the car. Ten 1/4″ – 28 x 5/8″ stainless steel hex bolts and flat washers are used to secure the box to the car.
Because the Sprite was manufactured to be set up as either a LH or RH drive, there is an opening in the chassis sub-structure for a pedal box on the RH side of the car. We fit a new pedal box blanking plate and gasket to this location to make sure everything fit but then removed them so they would not be damaged. The blanking plate uses only eight 1/4″ – 28 x 5/8″ bolts. We will install again after paint. While cleaning the area for the new blanking plate we discovered the original Cherry Red paint used on the car. Just a fun fact.
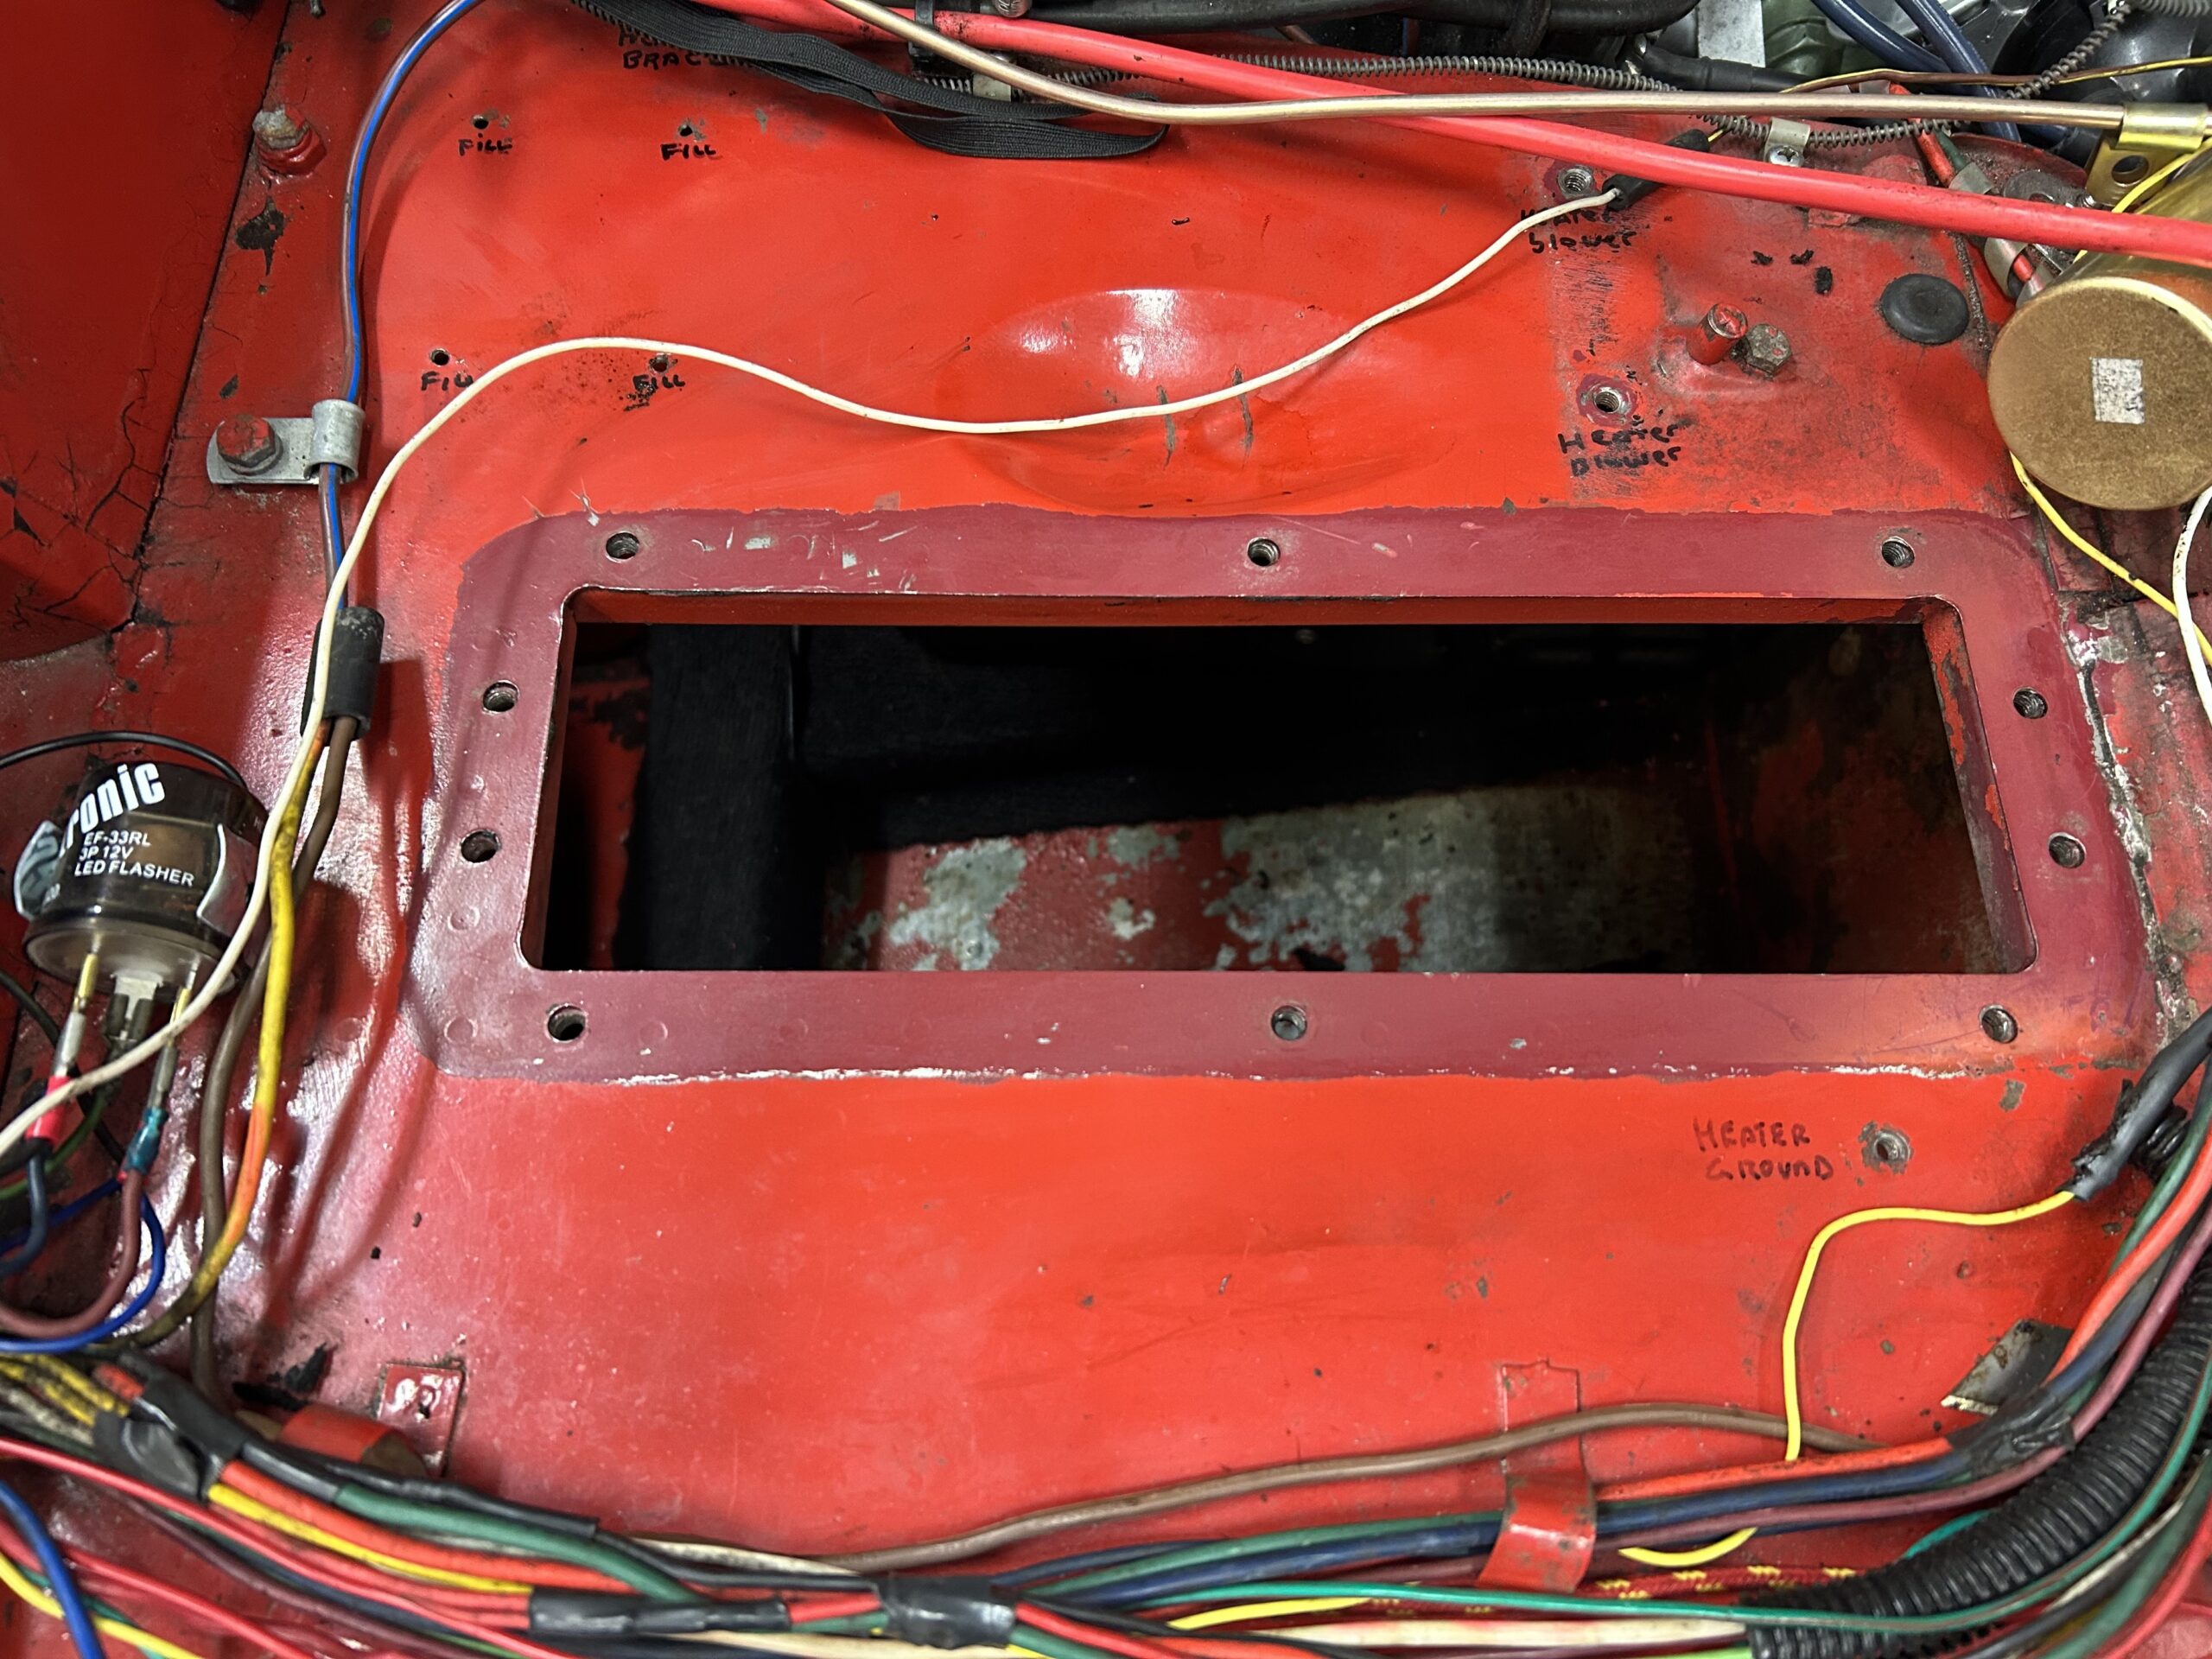
Original paint discovered
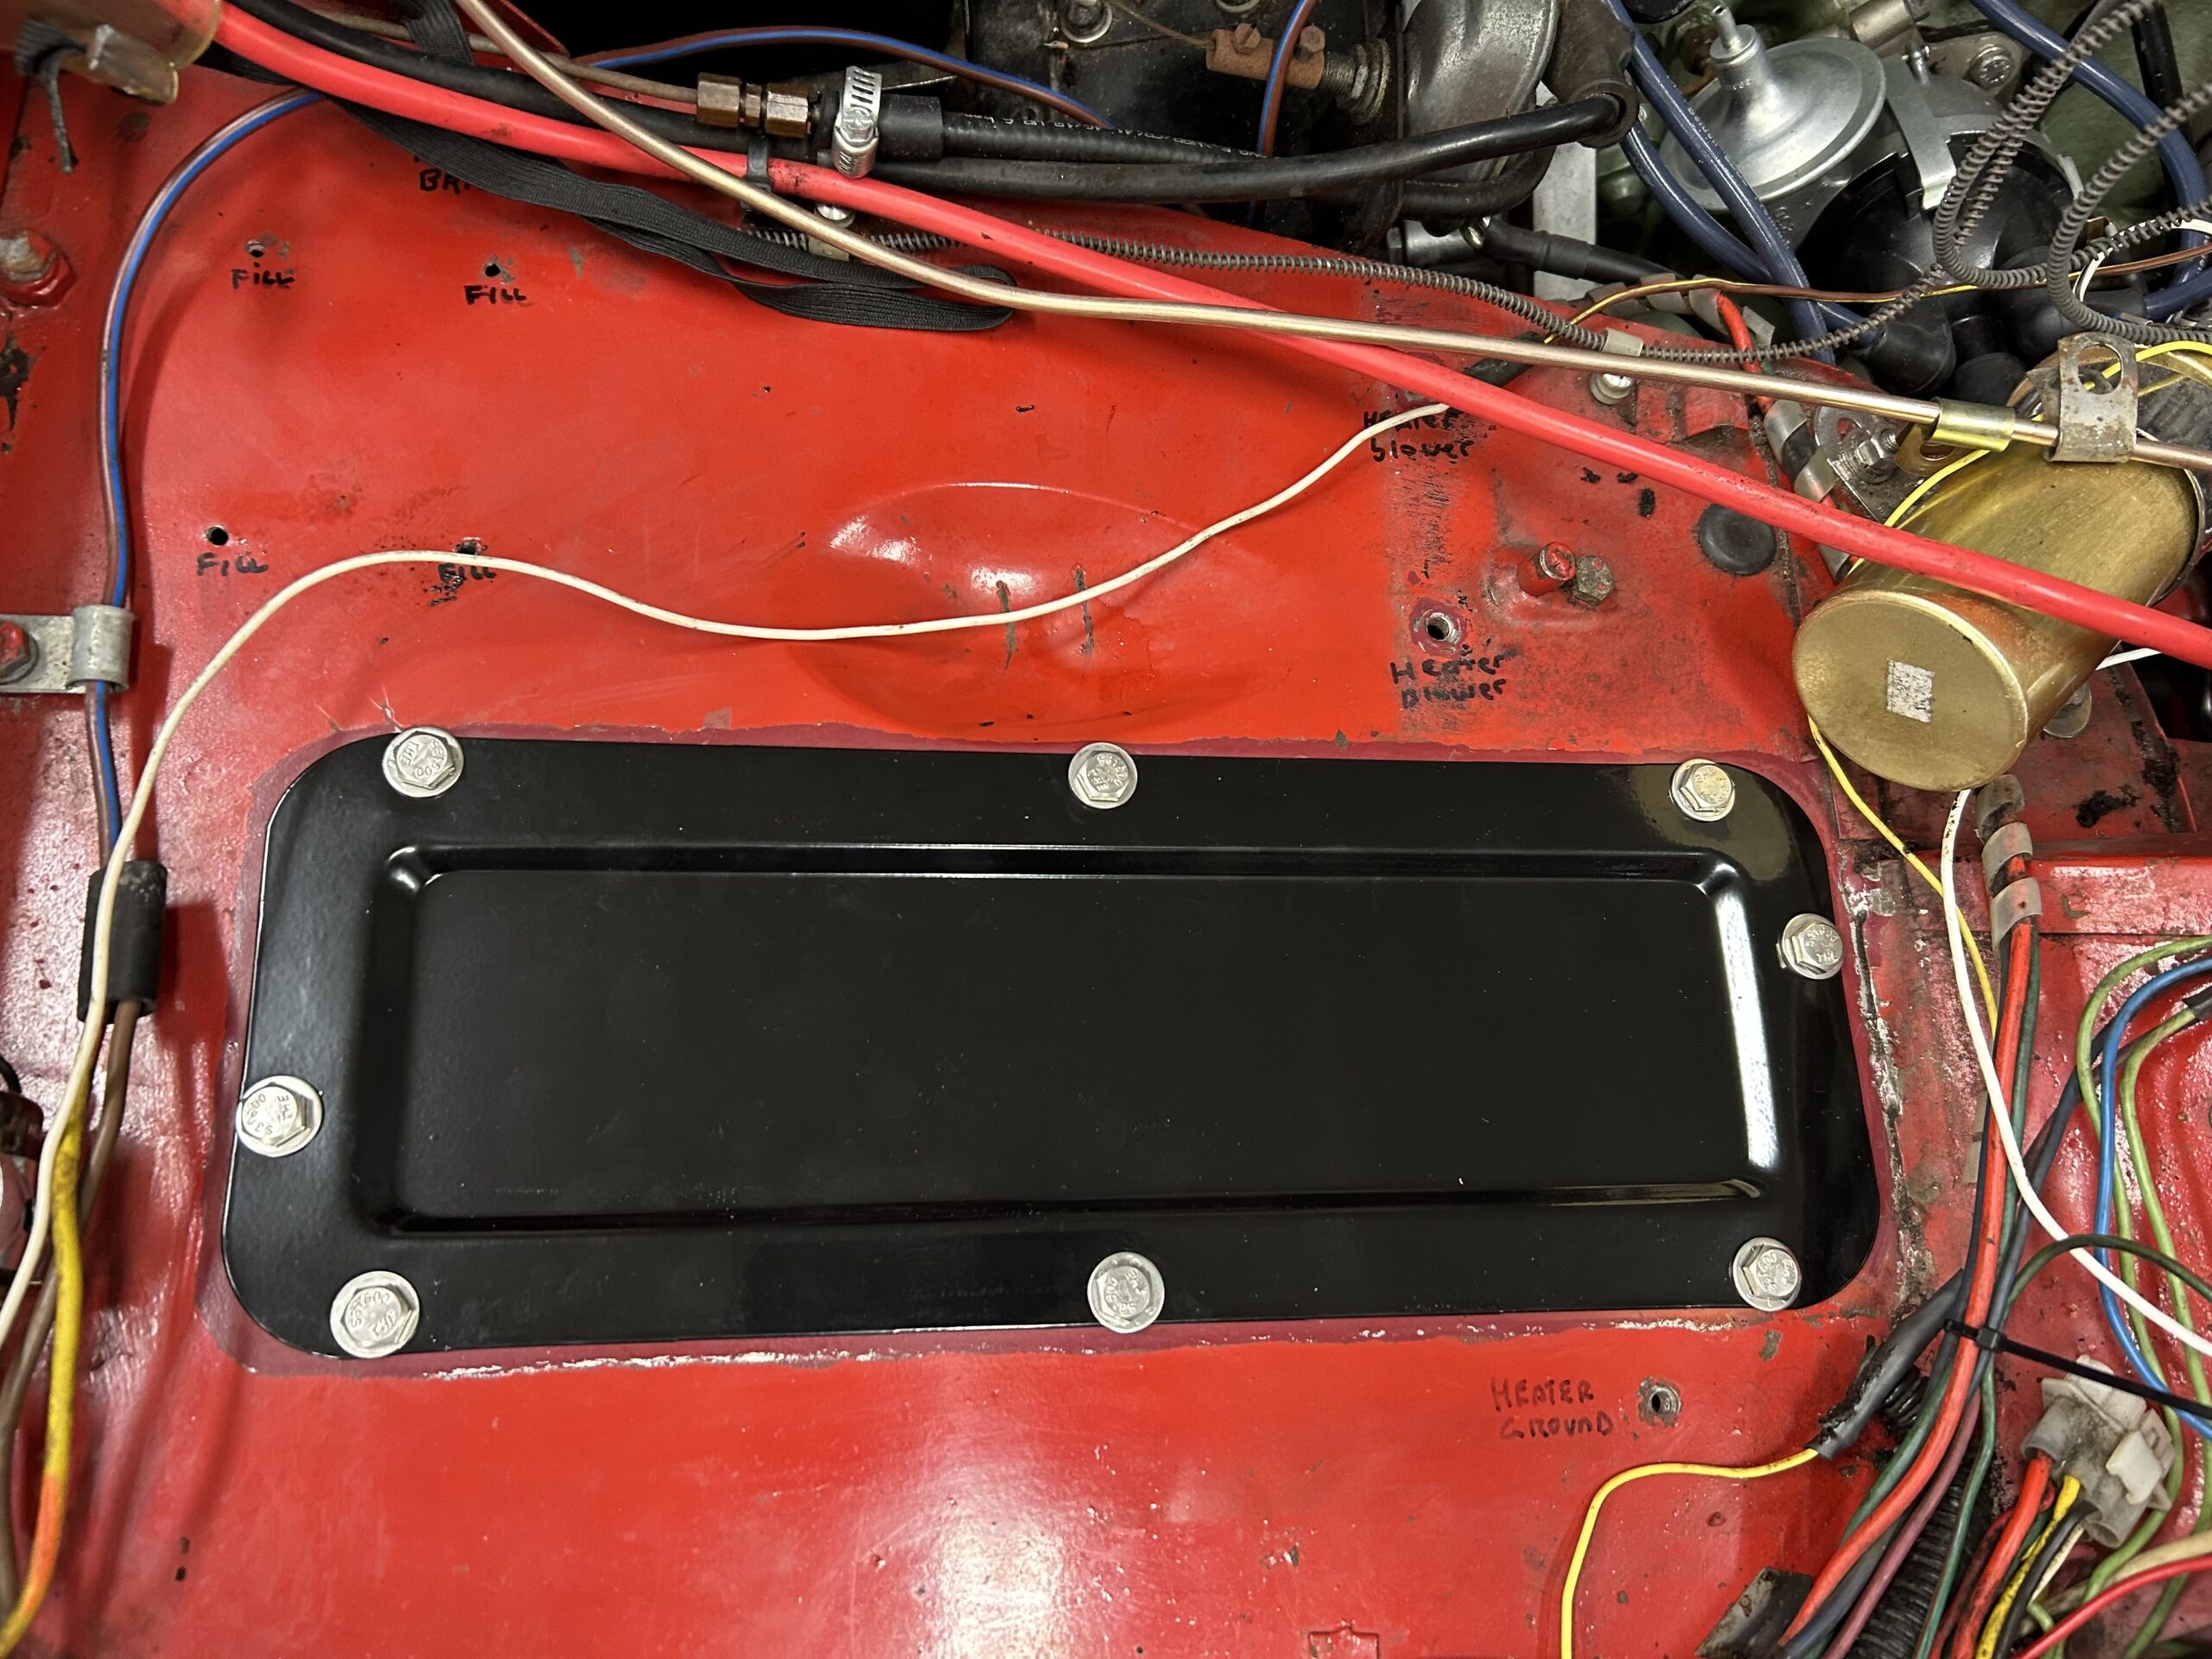
Blanking Plate Installed
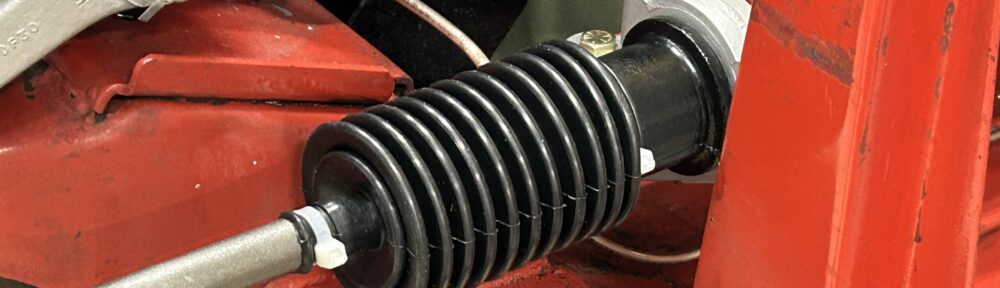
The rebuilt front dampers were bolted in place in preparation for the installation of the front suspension. Each damper is secured with three 3/8″ – 24 bolts into captive nuts in the chassis.
Our next step will be to install the refurbished/new front suspension and brakes.
The Episode Thirty-three video includes the windscreen washer pump removal and the beginning of the brake pipe replacement with new conifer hard pipe. The rebuilt front dampers are installed along with the black Goodridge stainless steel brake hoses that connect the brake pipes to the calipers.The steering rack is temporarily installed and the EBC “green stuff” brake pads are installed in the front calipers. The steering rack is connected to the steering wheel shaft. The pedal box with its insulation seal are installed as is the new blanking plate and seal for the RH drive pedal box hole. The car’s original paint color is discovered.
https://vimeo.com/806845330/73e781c99d
The following steps are addressed in the video:
0:00 – Windscreen washer pump removal
0:20 – New brake pipe from the master cylinder to the brake pipe union
0:57 – New brake pipe from the pipe union to the front caliper
1:10 – RH front damper installed
2:18 – Goodridge stainless steel flexible brake hose installed from the hard pipe to the caliper
2:30 – LH front damper installed
2:45 – Brake pipe installed from the union to the LH front caliper
4:05 – Temporary installation of the steering rack
4:30 – Brake pipe from union to the rear axle
4:45 – Rear brake pipe connection to the flexible hose and routing under the car
6:10 – EBC front caliper brake pads installed
7:35 – Steering rack connection to the steering column
8:30 – Pedal box and seal/gasket install
10:45 – Pedal box blanking plate installation
11:00 – Original Cherry Red paint discovery