
After a week away from the Healey, I was eager to get back to the final assembly work. Connecting the check strap to each of the doors with the clevis pin was next. I found that making sure the check strap nut was sufficiently tight to hold the door open needed to be done first, then the clevis pin inserted. Both doors stayed open as designed. The RH check strap nut is threaded left handed.
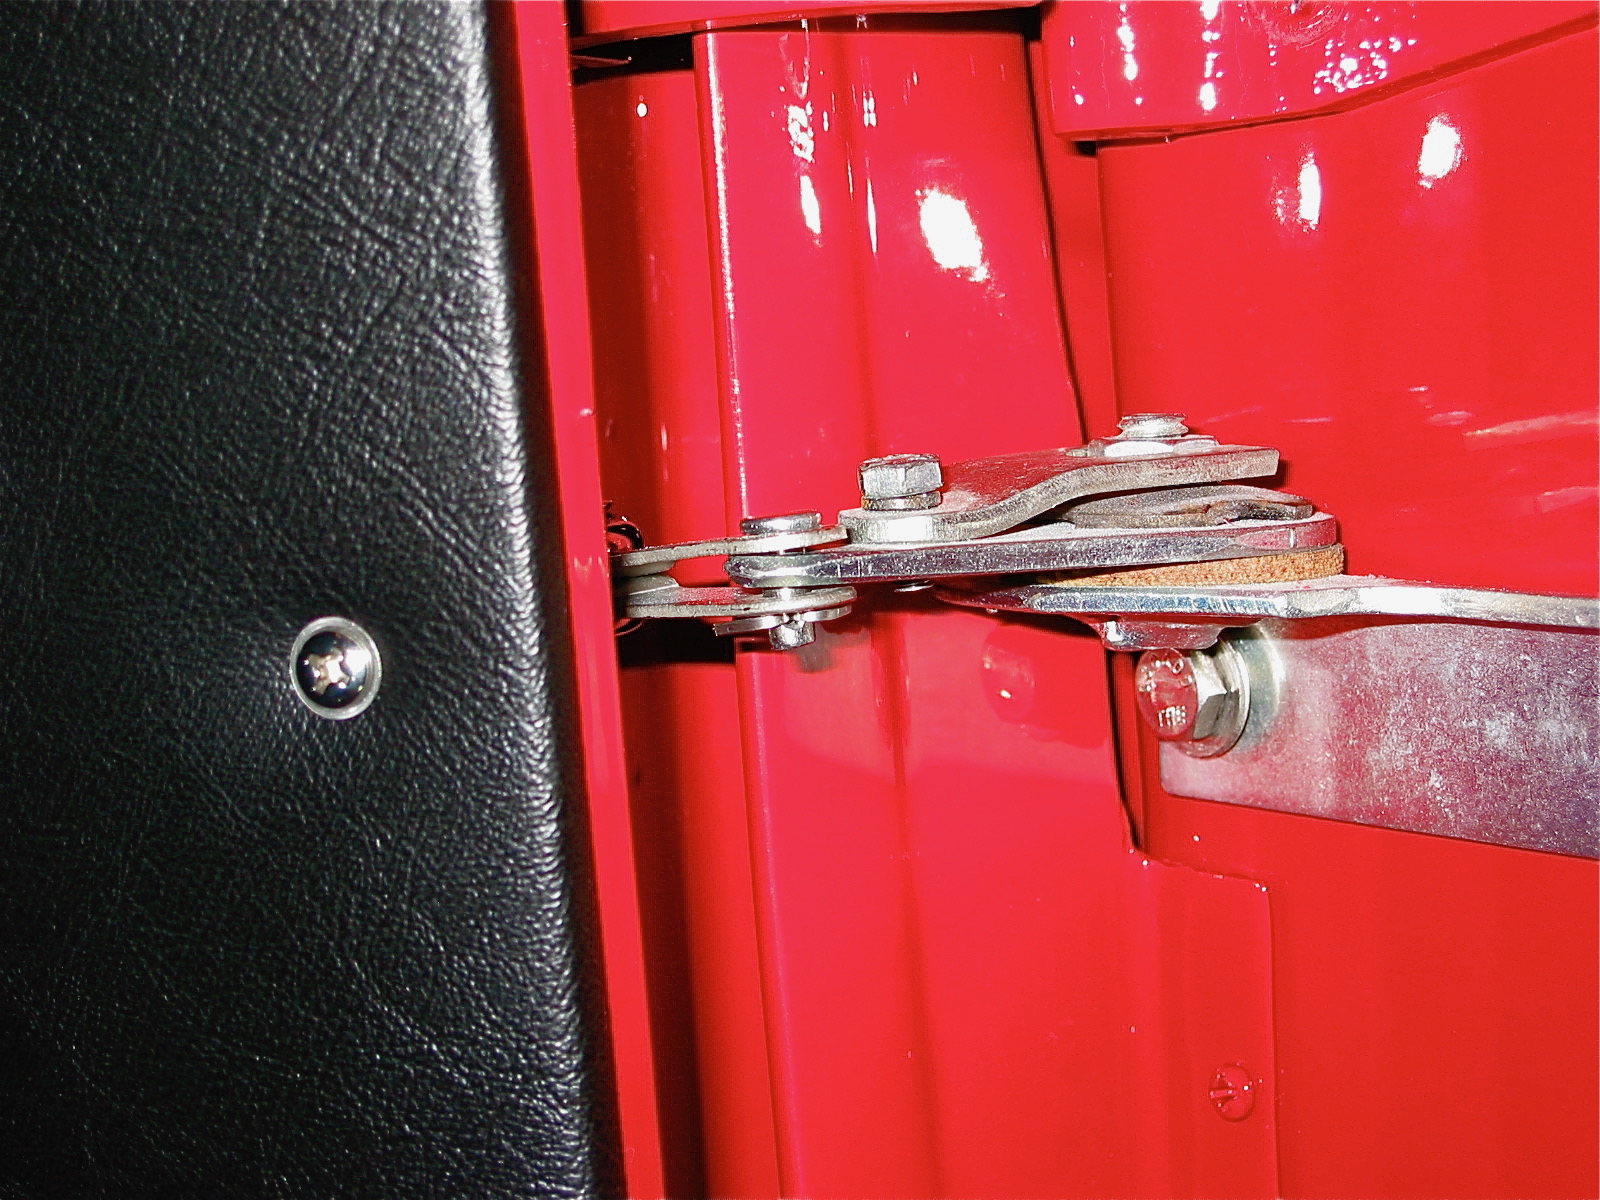
Check Strap Clevis Pin Install
I had pre-drilled the aluminum shut face finishers that were installed following the doors. I discovered that Kilmartin’s are the only ones available that come close to fitting properly. They were sourced from British Car Specialists. The lower sill plate was attached first, followed by the “B” pillar plate. The vertical plate has a piece of vinyl beading glued to the back side to give a finished look to the edge. The aluminum interior door finisher was installed last.

Door Shut Face Finishers 1
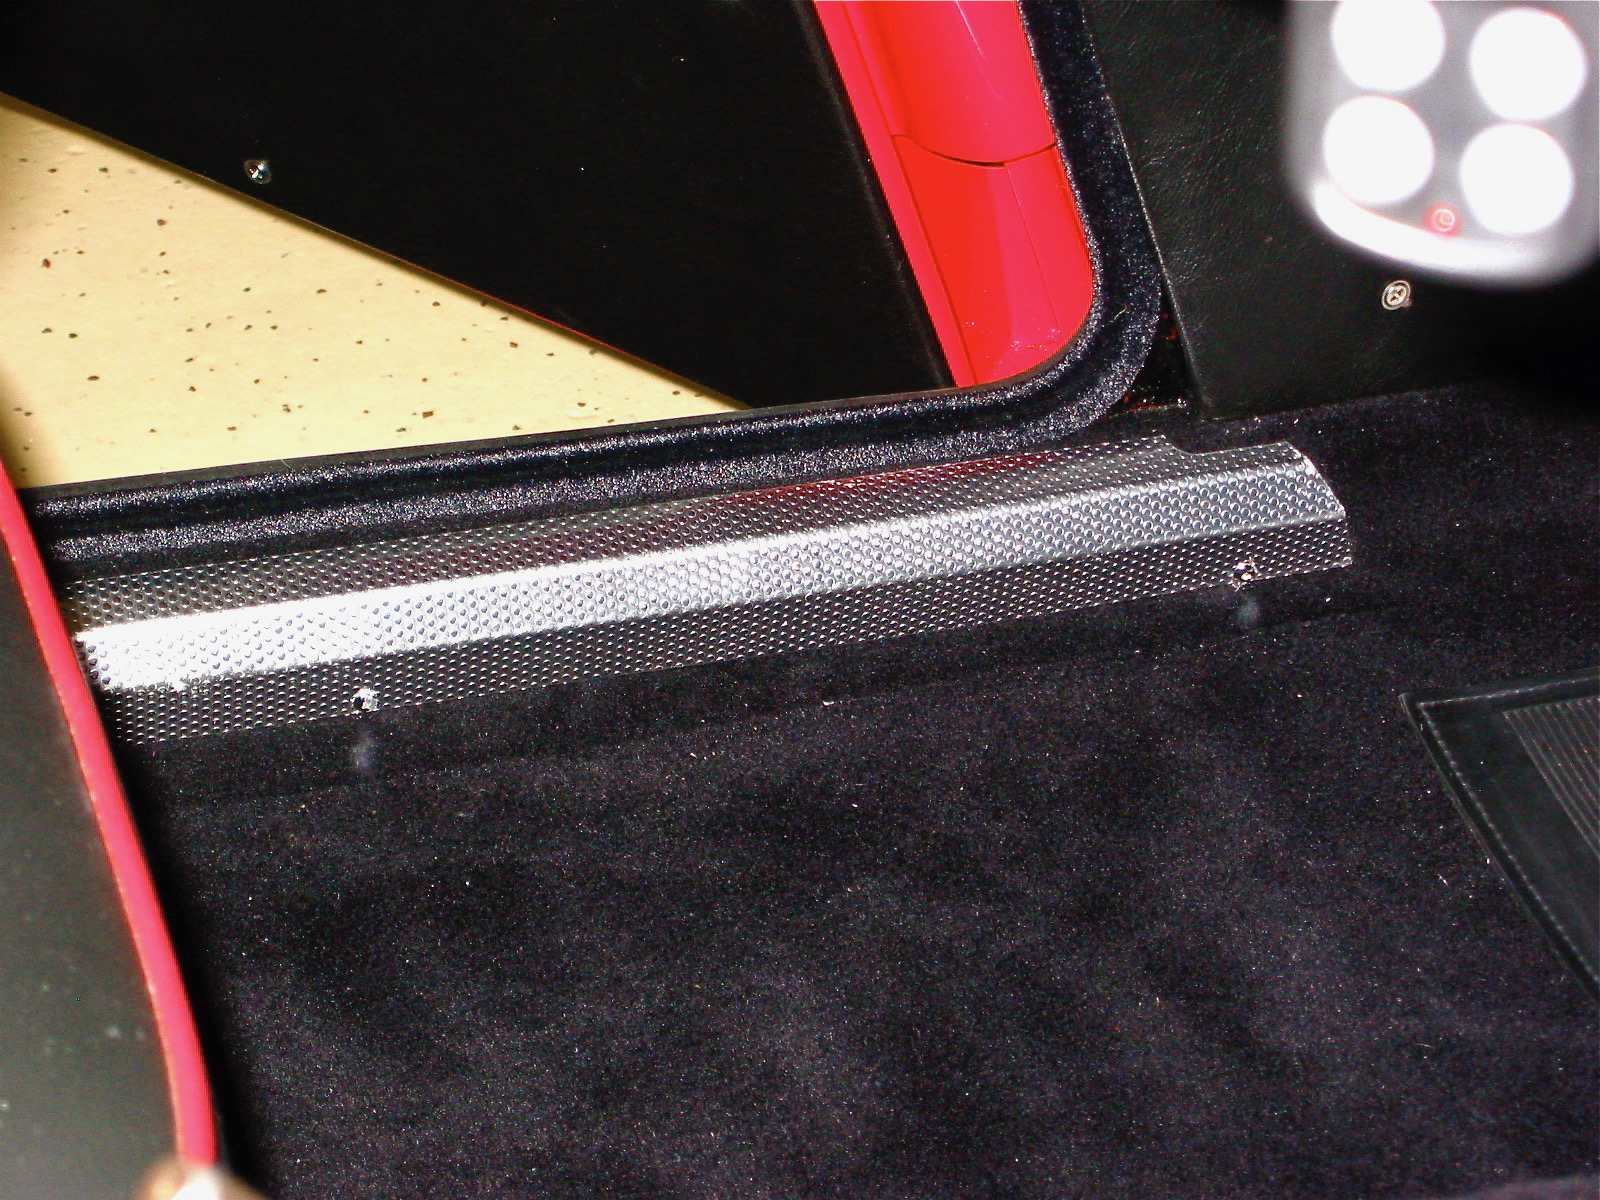
Door Shut Face Finishers 2
Door Shut Face Finishers 3
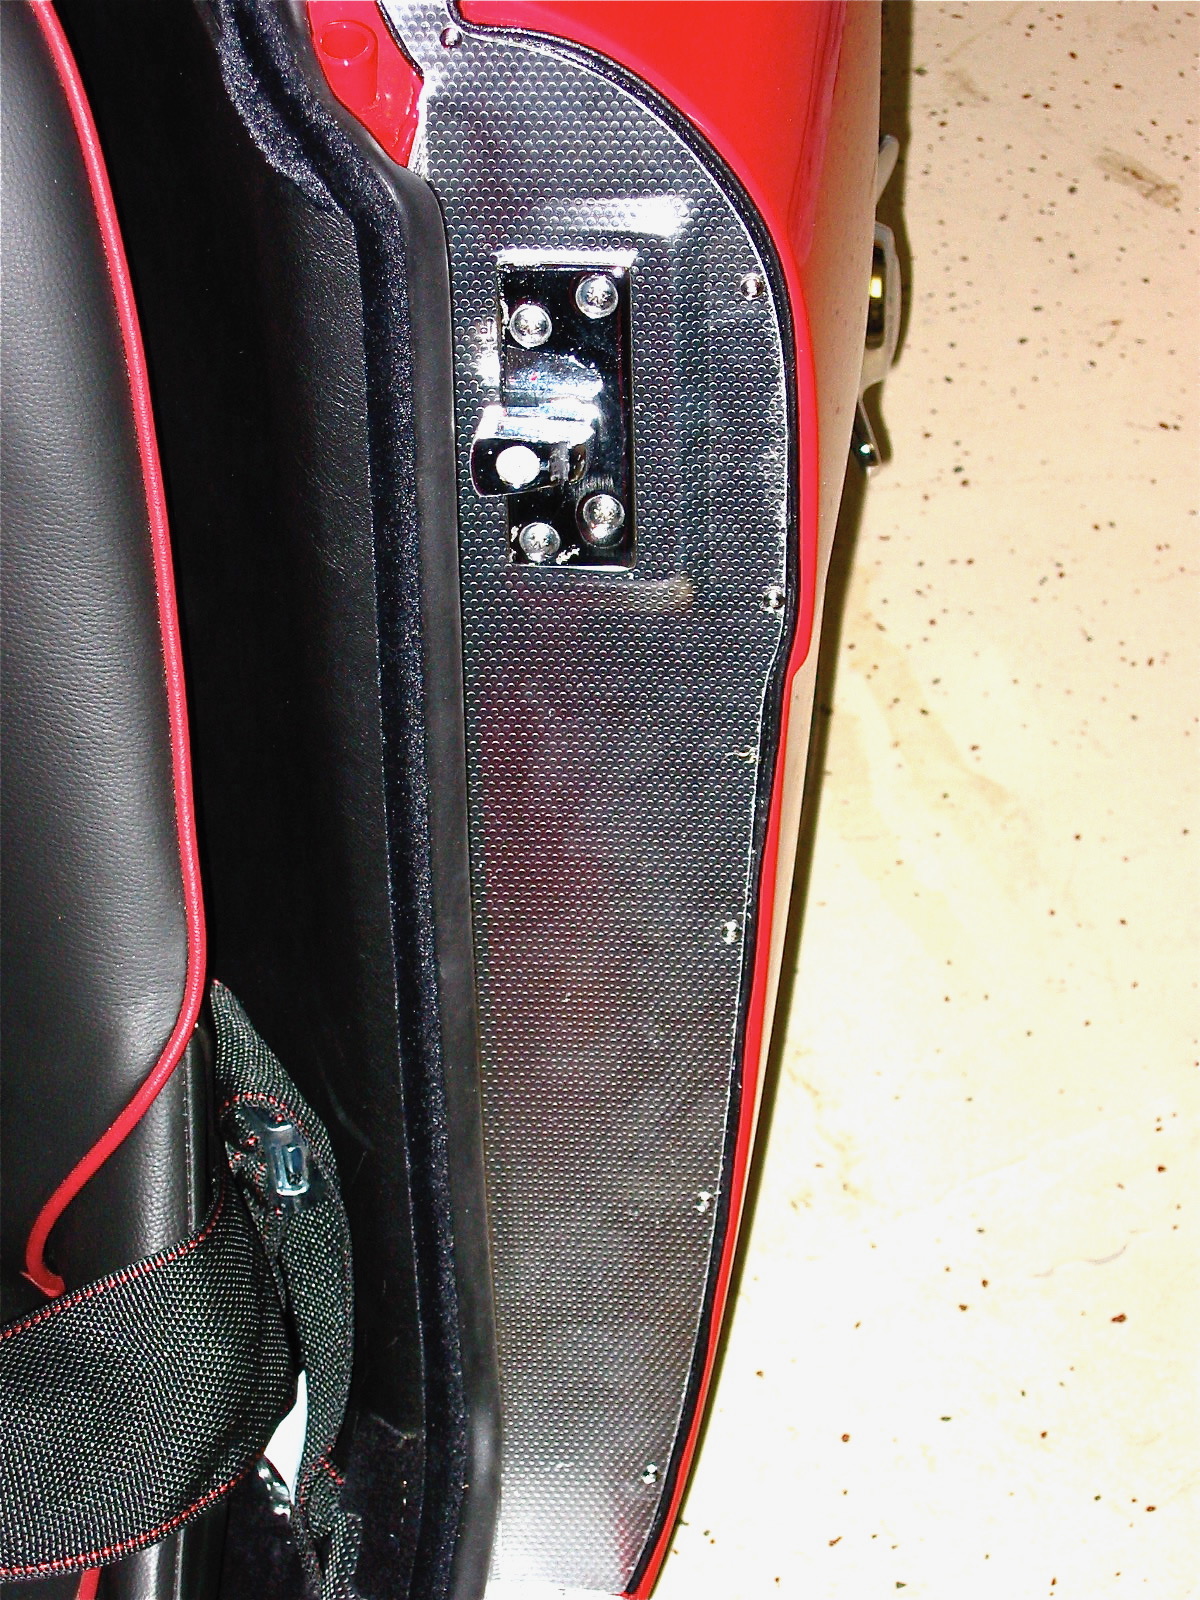
The door striker assembly was then installed and adjusted to line up with the door properly. The assembly consists of the striker, a spacer plate and a drilled back plate. Then the bristleflex door seal from McGregors was installed and the length trimmed to fit properly into the aluminum door seal cap which is screwed into a vinyl covered block of wood.
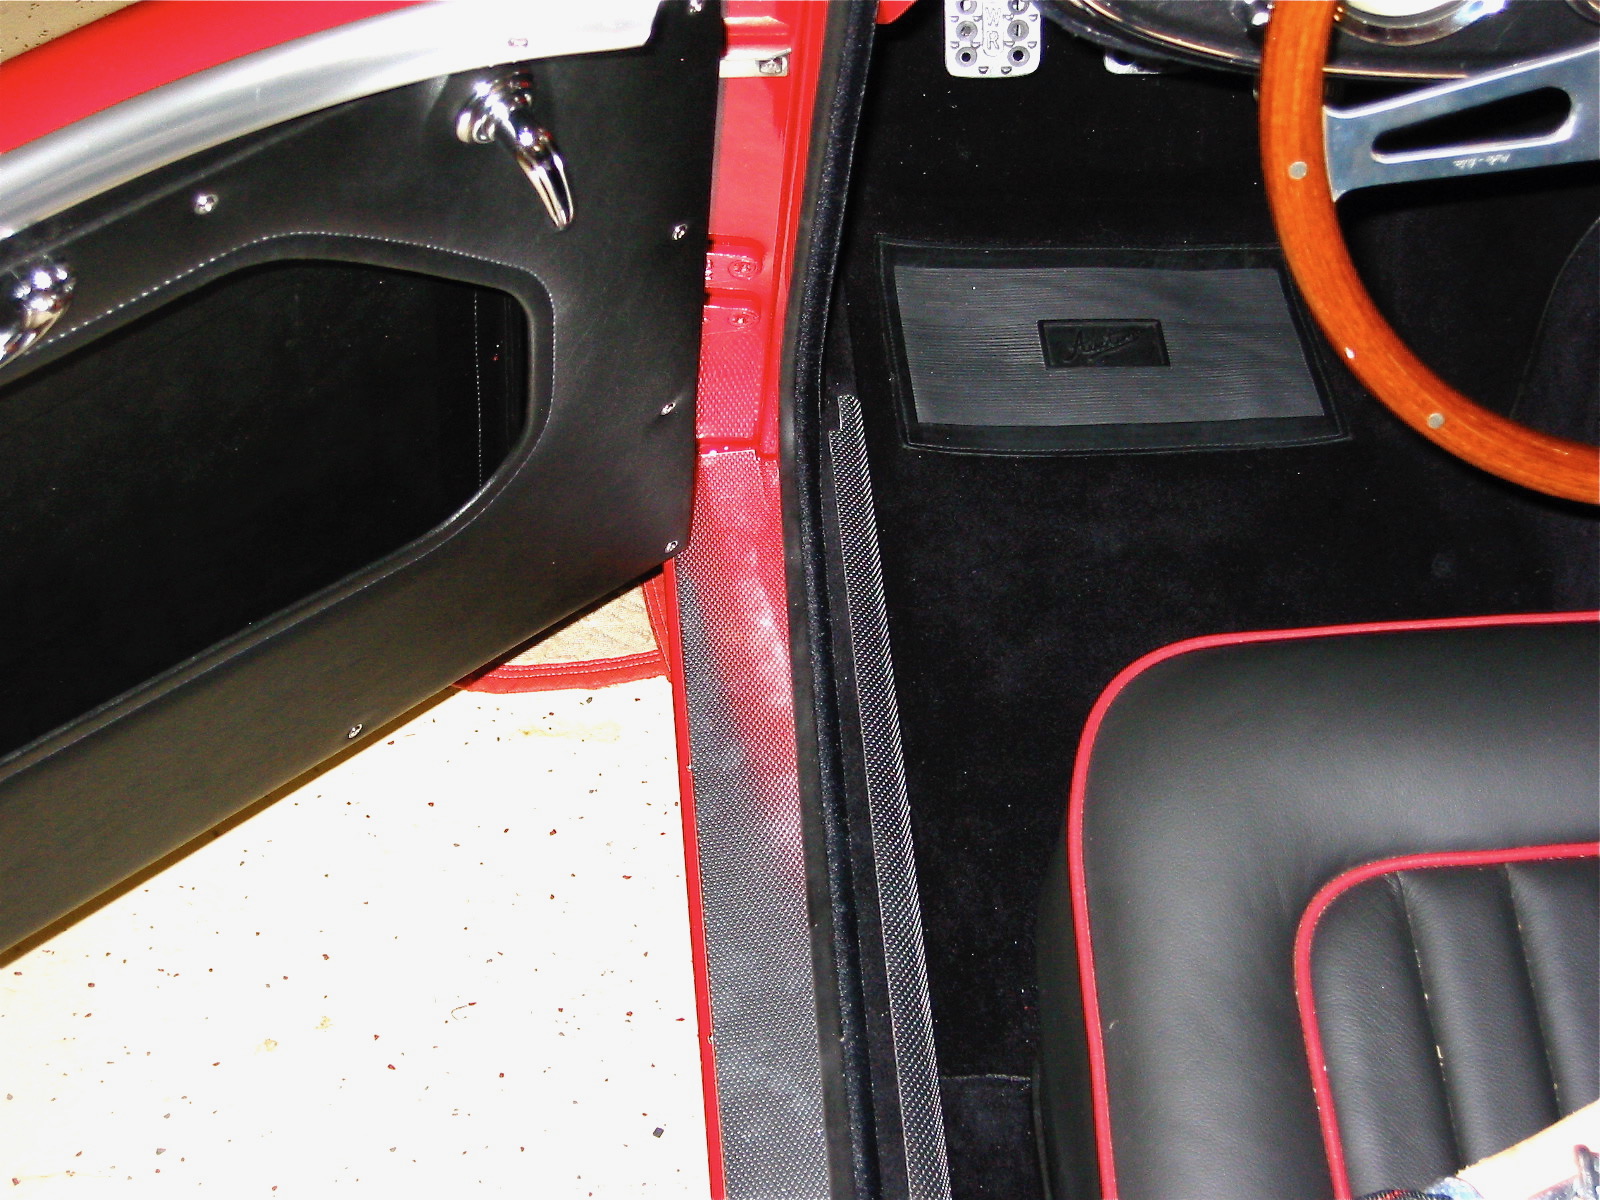
Furflex Door Seal
With the doors finished, it was time for the installation of the windscreen.