Week long trip to Florida to celebrate the New Year!


Week long trip to Florida to celebrate the New Year!
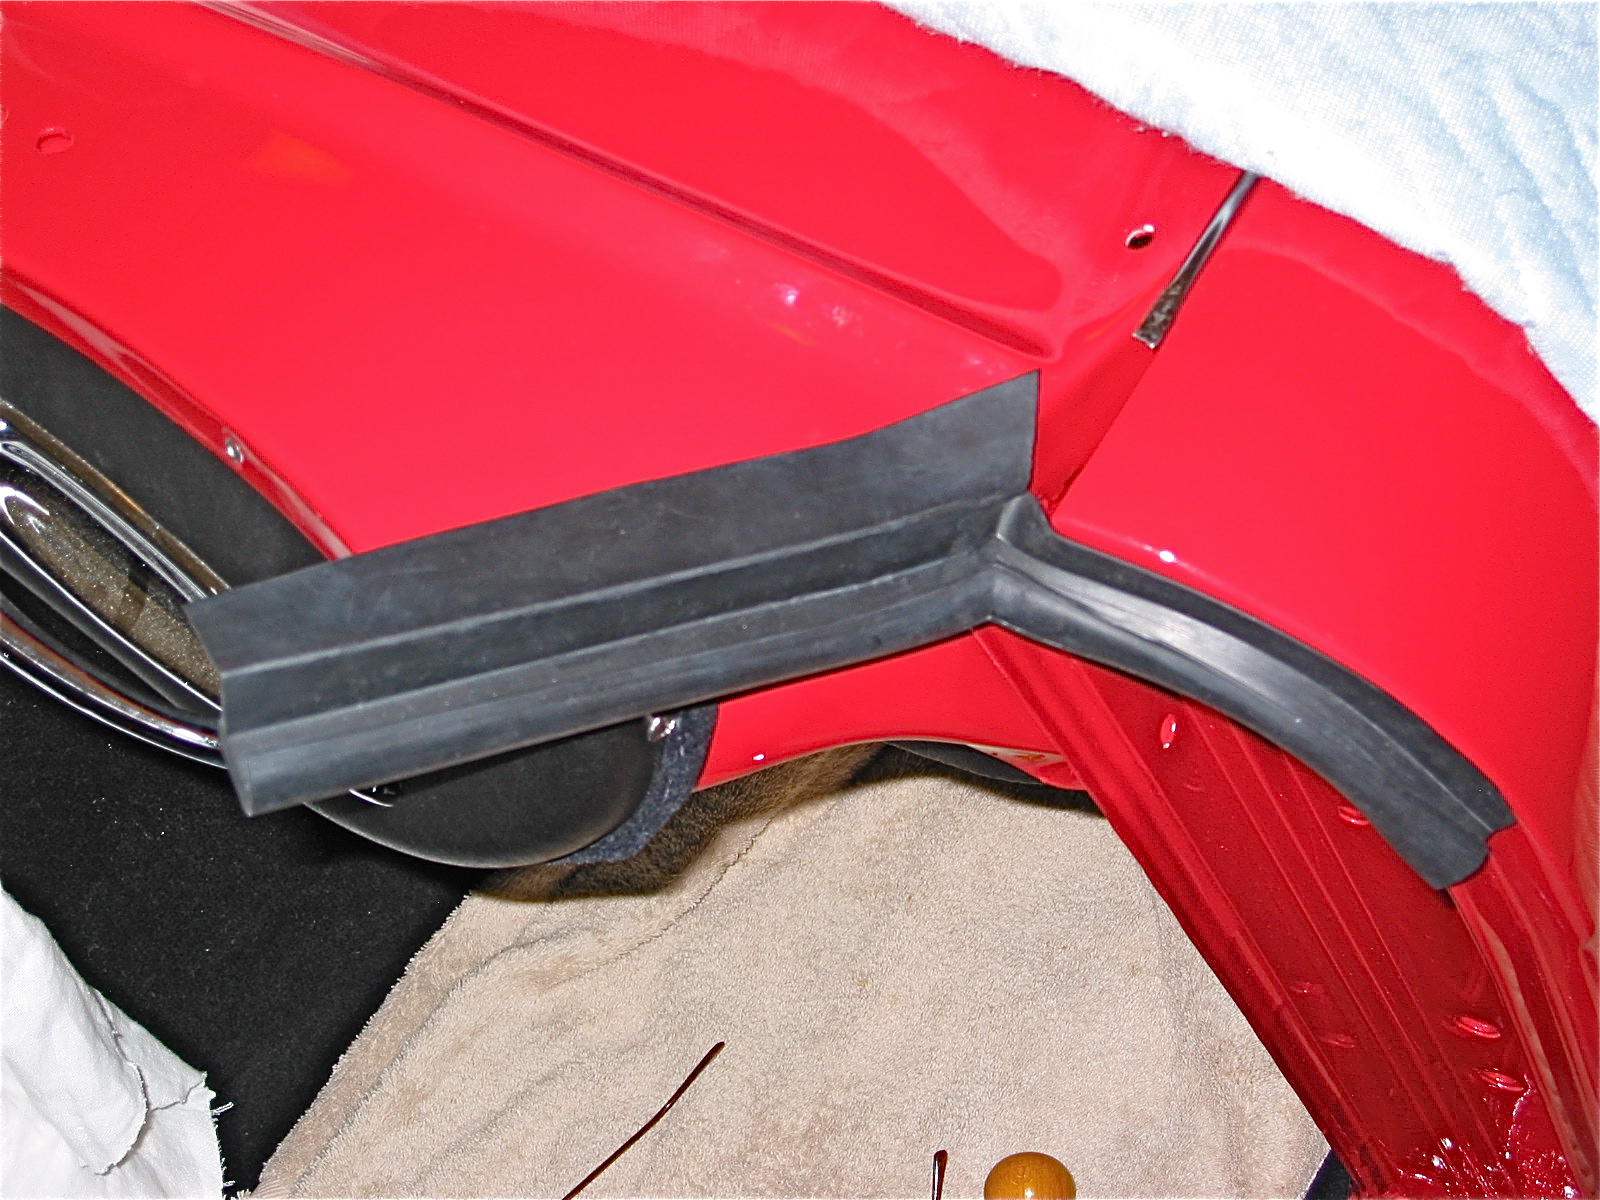
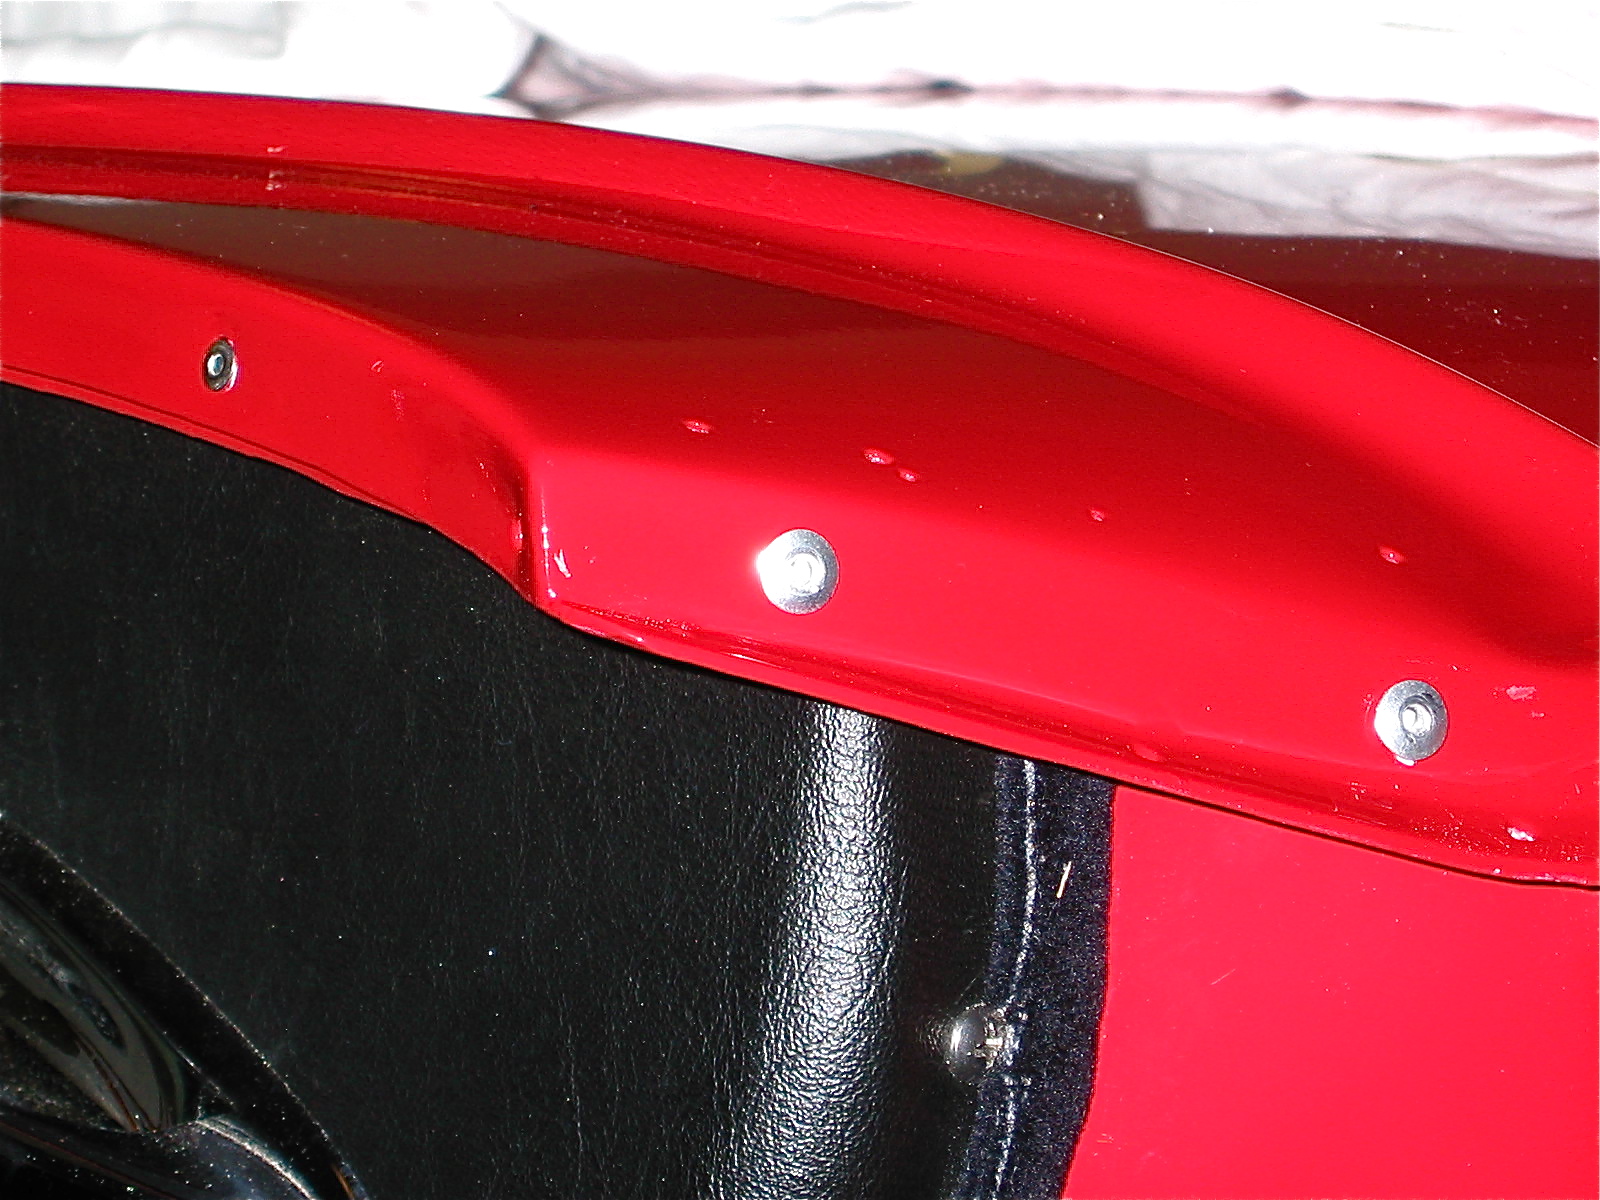
Today (Monday) is Christmas Eve and there is much to be done, so only a little Healey work will happen on this day, but I had a good week. I did manage to install the rubber buffers on the front shroud sill bonnet opening. Three on the left side and two in the right plus the long strip to protect the carbs from the weather. My long strip is cut into two pieces to account for the carb access panel. The buffers are held in place by copper-colored split rivets and flat washersthat are pushed through the mounting hole and then bent over.
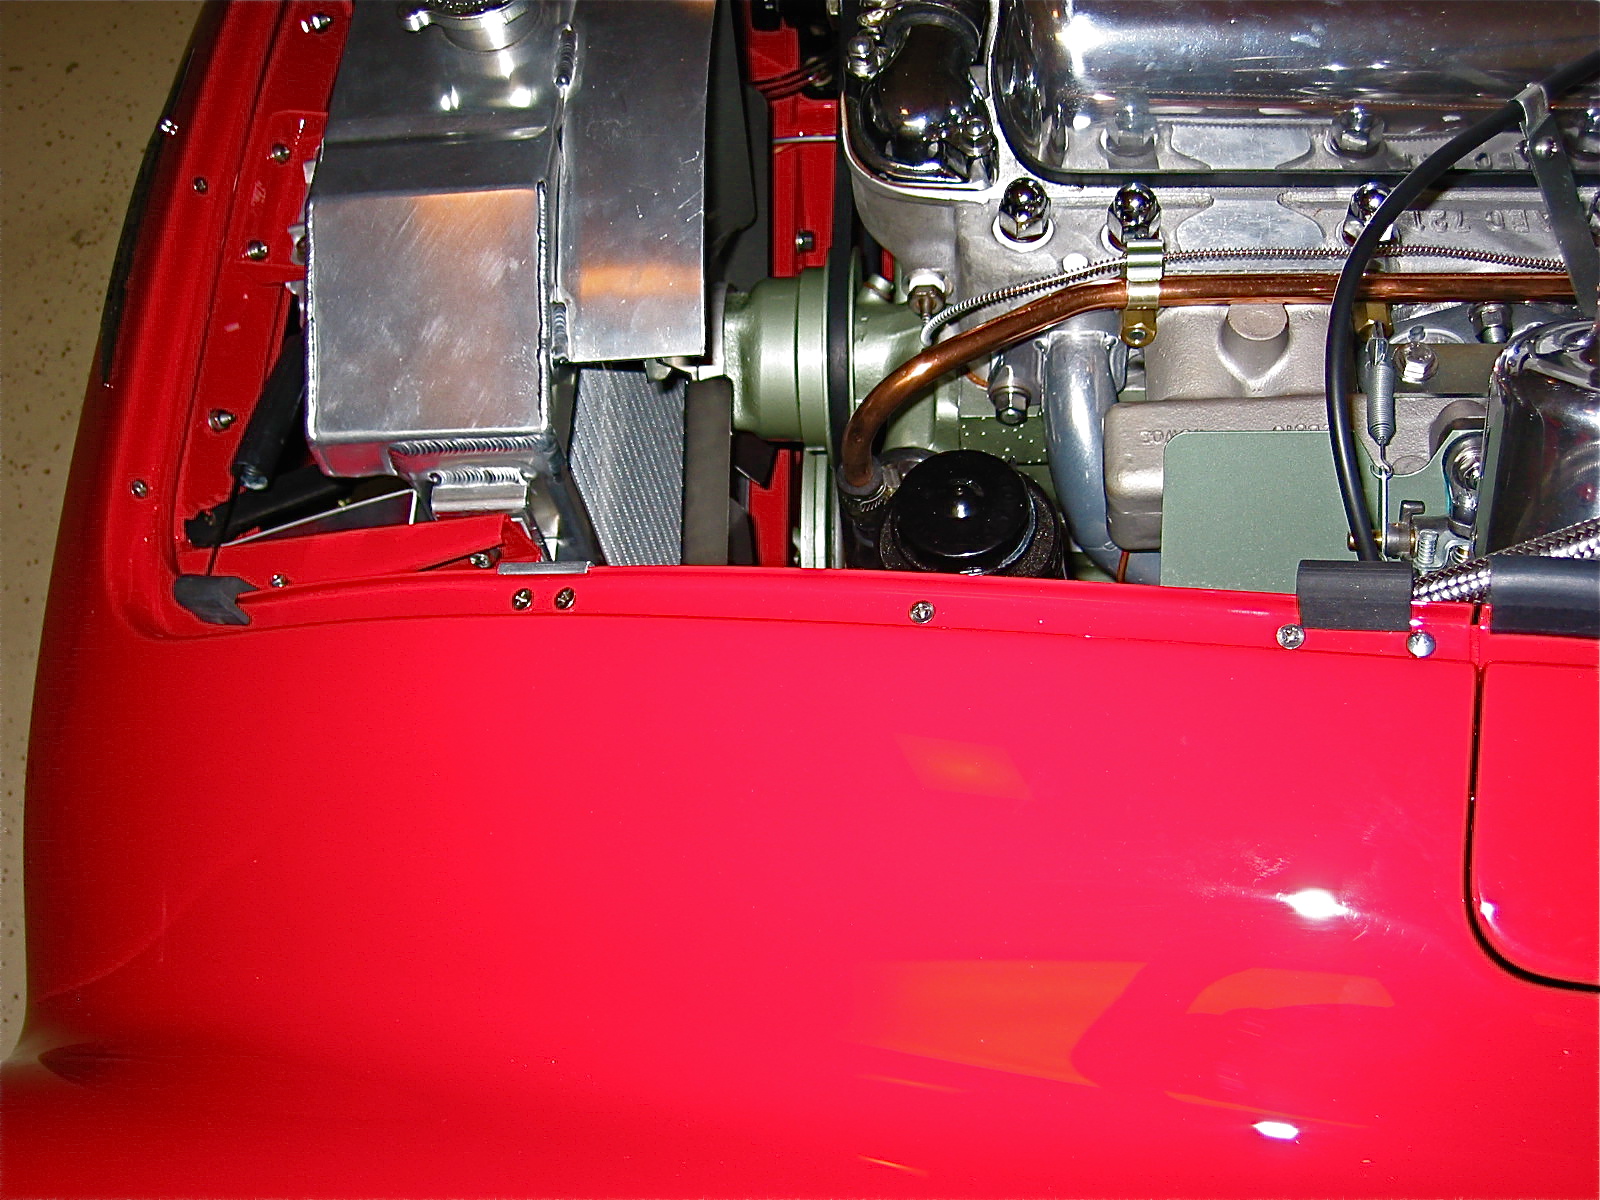
LH Rubber Buffers
RH Rubber Buffers 2
LH Carb Panel Seal
The next task was to fit the front wings to the superstructure. I began with the RH wing, thinking it would be the more difficult of the two. First, I tapped the wing clip nuts onto the wings. Three shorter nuts and bolts are used for the front of the wing, below the headlights. With the help of my wife, who held the wing in place, I installed the rearmost and forward most bolts.
With those two holding the wing in position, I then began to install the other bolts working from the front to the rear. Each one was hand tightened enough to get them started, but with enough room to install the wing beading. The fourth nut/bolt from the front requires Houdini to install. I finally accomplished it after loosening each of the four bolts securing the heater blower and then disconnecting the large fresh air hose from the blower. With the hose loose I was able to access the bolt for the fourth hole.
RH Front Wing 1
RH Side with front wing
To protect the paint while installing the beading, I ran a strip of painter’s masking tape on the shroud and the wing parallel to the beading.
Beading Installation
After carefully spreading the beading folding tabs so that they were evenly distributed across the wing, I pressed it in place. Once again, four hands come in handy!
With my wife applying downward pressure on the beading I tightened each bolt/nut until the beading was locked in place and the top of the wing was tight.
Then I tackled the three fasteners below the headlight. These are much easier to access. Again, I loosely attached each of the three and then inserted the two plastic beading pieces between the panels and tightened down.
Next were the three 1/4” x 3/4” long hex head bolts used to secure the bottom edge of the wing. Finally, the 3/8” sheet metal screws were used to fasten the wing flanges to the hinge pillar plate. The heater blower fresh air hose was reinstalled and the blower’s four mounting bolts tightened. A little red touch-up paint on the lower bolts and pillar screw heads and then it was on to the LH wing. NEXT TIME I WOULD WAIT TO FASTEN THE WING AT THE BOTTOM UNITL THE DOOR IS INSTALLED. THERE IS FLEX IN THE WING AND BY MOVING IT UP OR DOWN SLIGHTLY ONE CAN BETTER MATCH UP THE WING CURVATURE WITH THAT OF THE DOOR!
The LH wing was a little easier to install in my case because of the carb access panelI had cut into the shroud! The difficult nuts/bolts on the LH wing were the rearmost two because the wiper motor restricts access to the locating holes and hardware.
It was a good feeling to have all four of the body’s wings in place.
The next task was the installation of the scuttle seals that I had ordered from Bill Bolton. These are reputed to the best available, and the fit does seem to be quite nice. As I was working on the seals and dash pad I had a visit from grandson #2, Shane. As the image shows, he seemed right at home in the Bloody Beast.
Little Shane’s visit to the Garage
Little Shane’s Visit
Fitting the scuttle seals was not as difficult as I expected. The job was made much easier by following directions: Scuttle Seal Install Rich Chrysler along with those provided by Bill Bolton.
Scuttle seal 1

Scuttle seal rivets 1

scuttle seal screw holes

Scuttle seal rivets 2
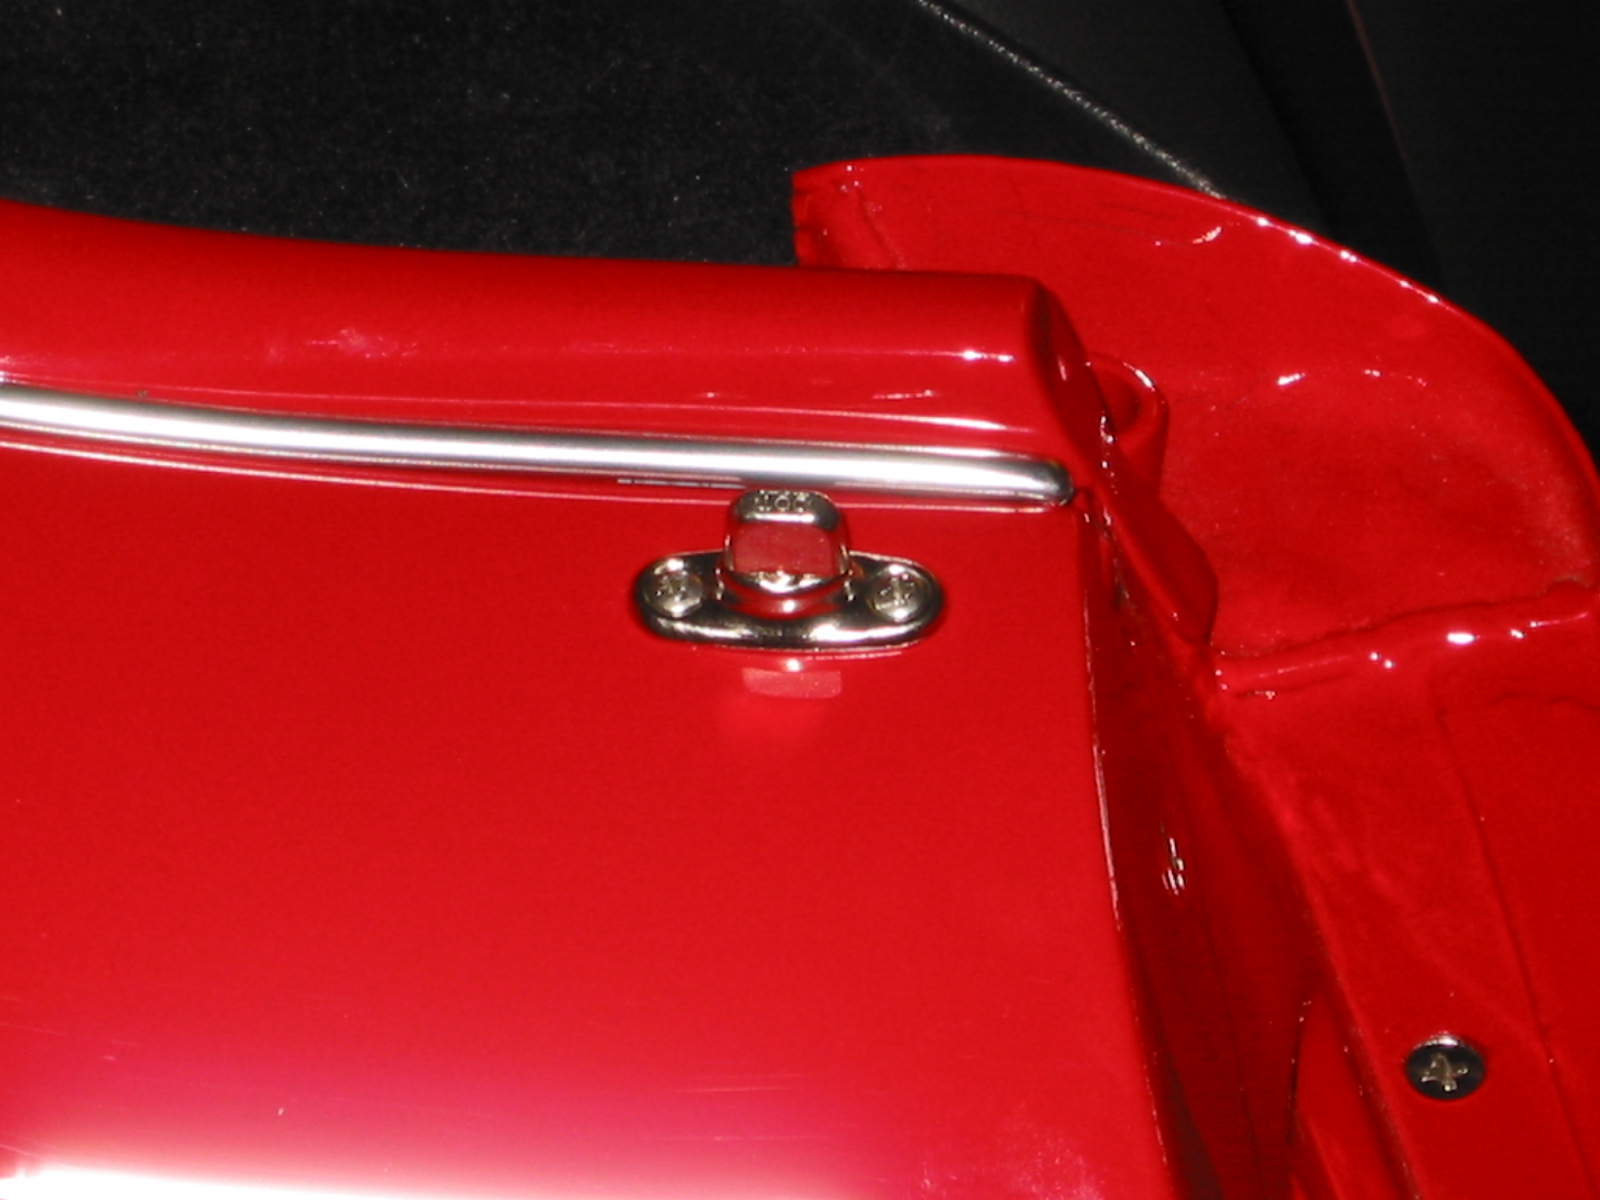
I then installed the dash pad, along with the hot air outlet defroster masks, the mirror, tonneau turnbuckles, and the stud for the tonneau cover.
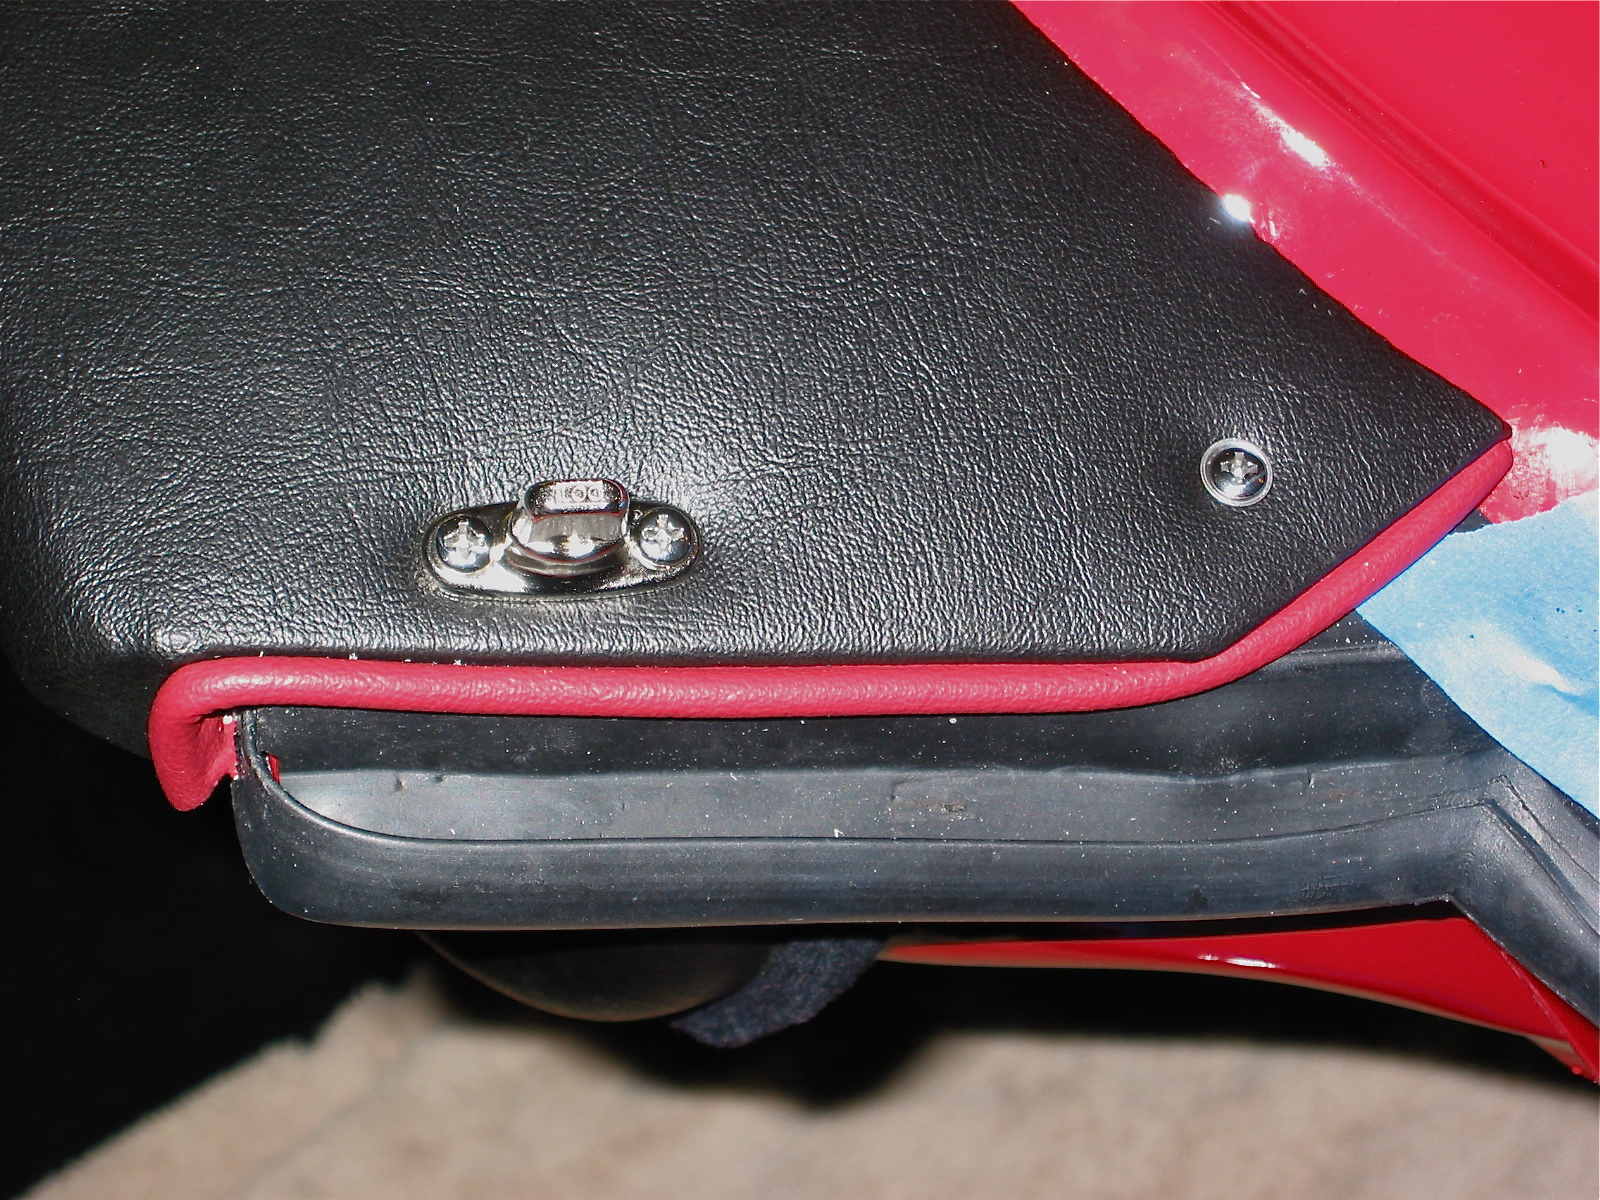
Dash Pad seal 1
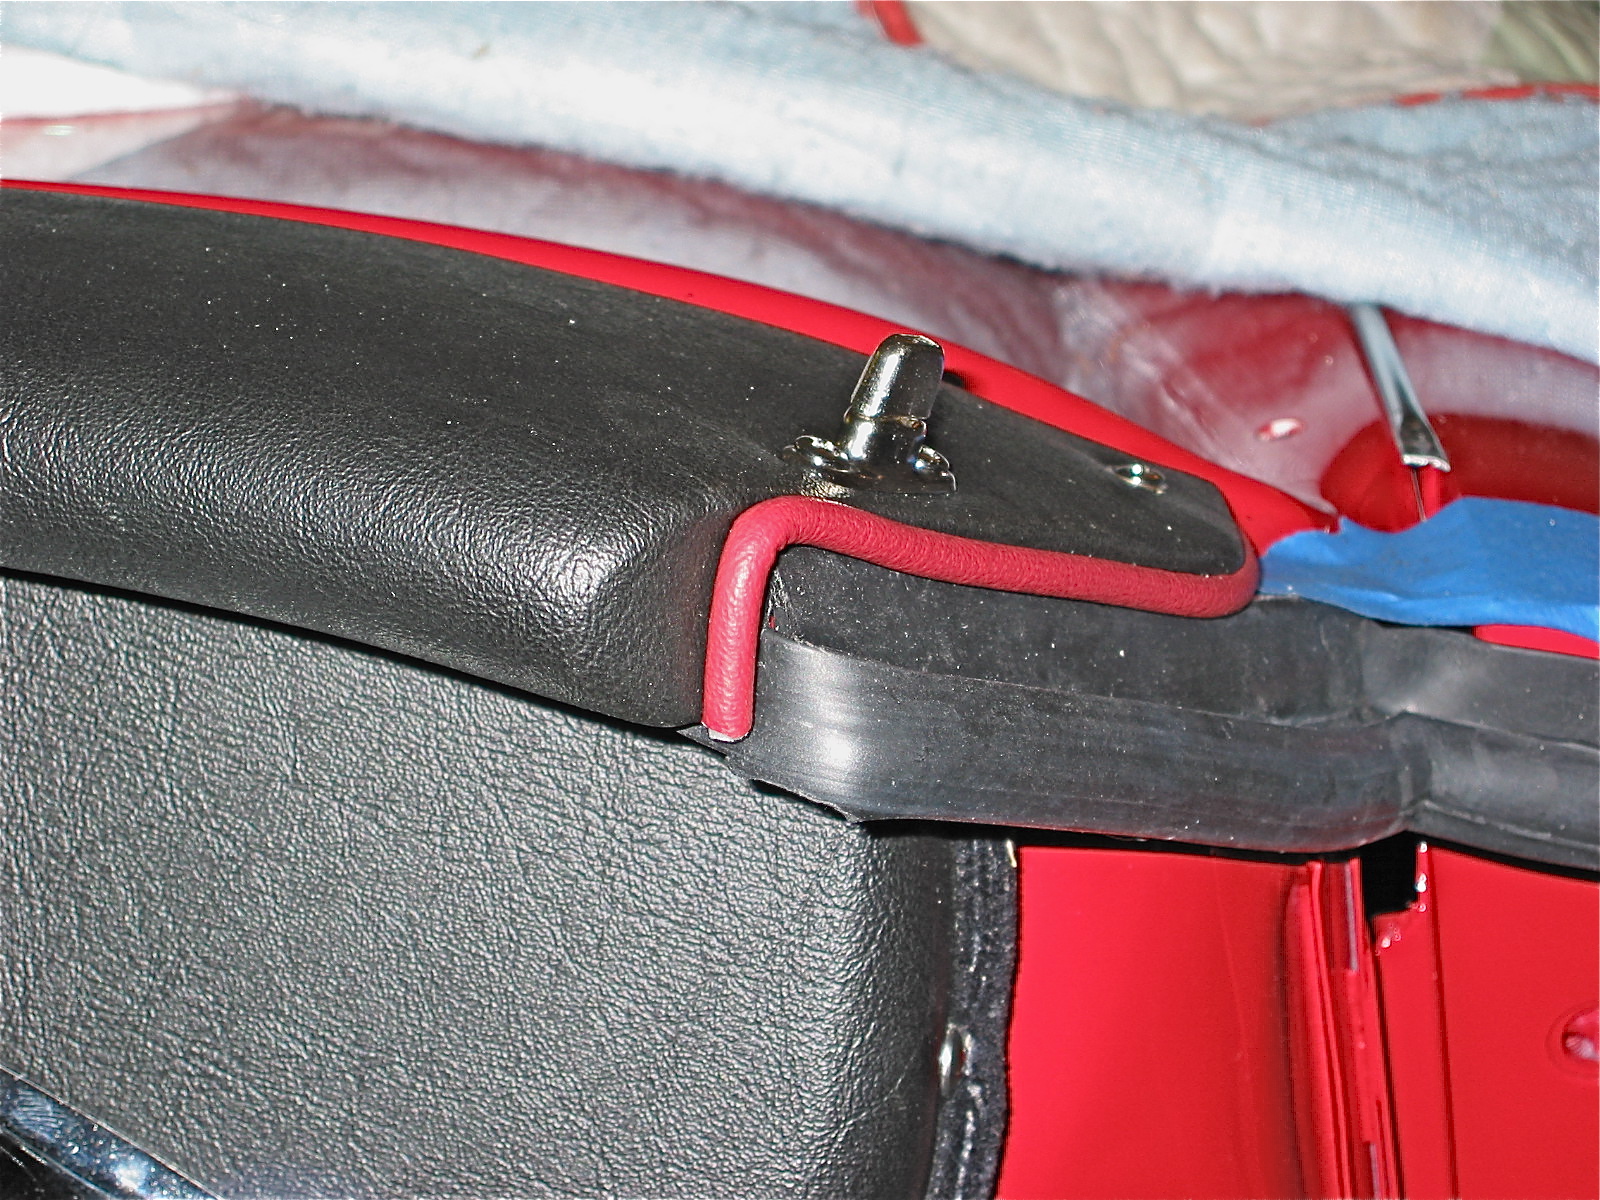
Dash Pad seal 2
Once the dash and accompanying hardware was installed I was ready to begin the door installation. I first attached the door check strap assembly to each side. Then I taped all the edges of the wings, sills and doors with painter’s masking tape for protection.
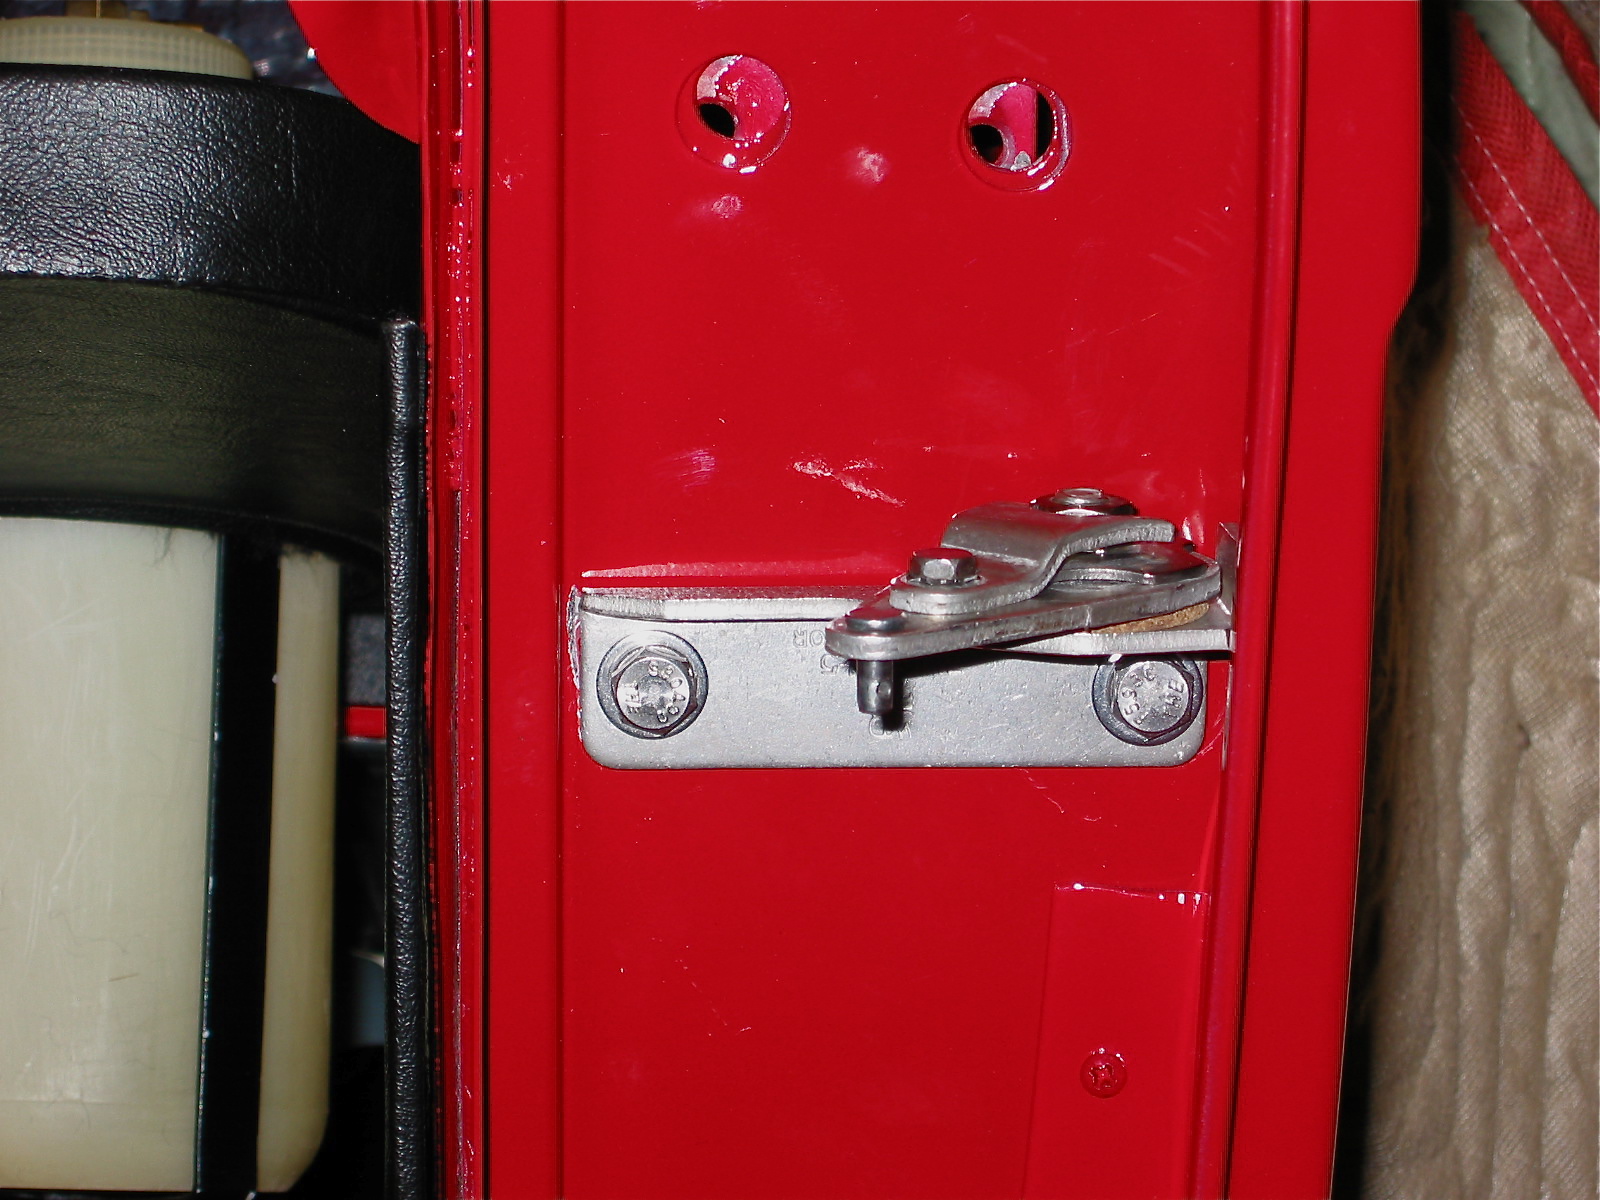
Check Strap Assembly 2
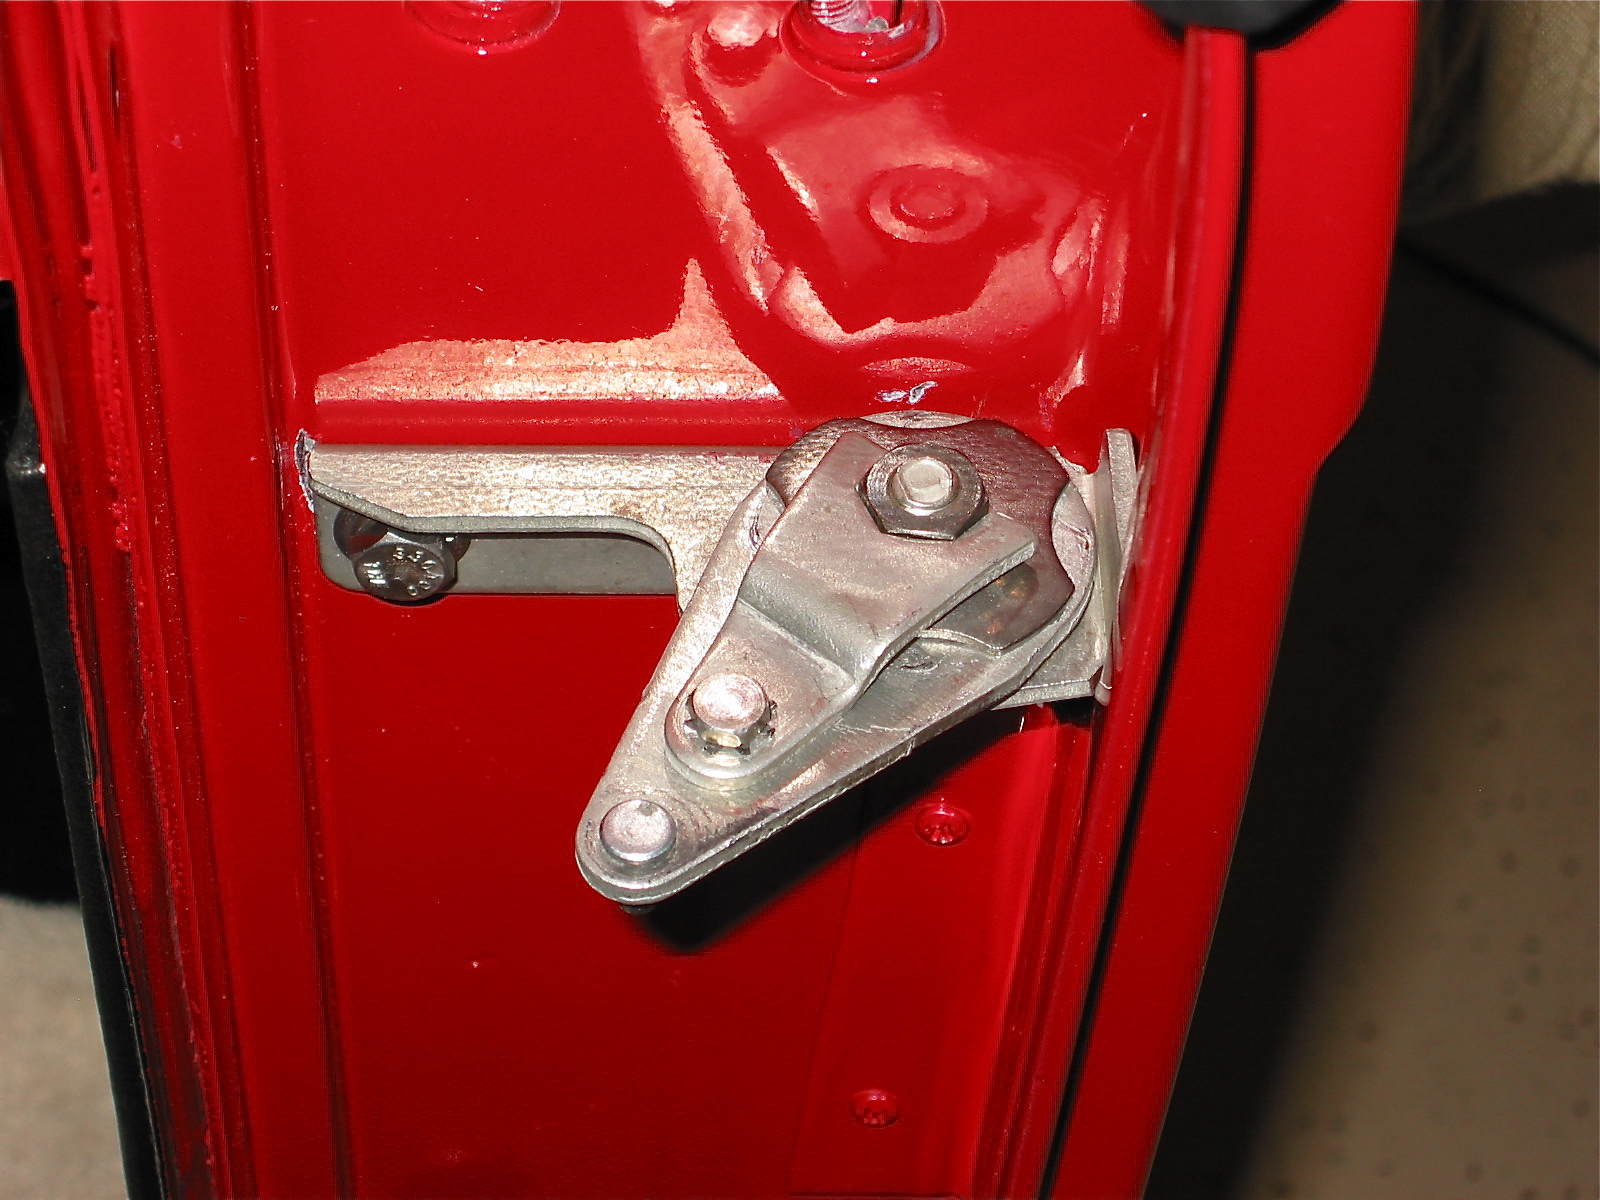
Check Strap Assembly 3
My son John (23 years of age and strong) lifted the doors in place and I ran in the door hinge screws. This job was actually easier and less time intensive than I imagined. Of course, I still need to adjust them for proper fit. I had previously attached all the door interior upholstery, trim and hardware which was much easier than installing it all on the car, but it did make the doors quite heavy.
Next on my list was the installation of the headlight buckets, headlight bulbs, and the chrome lens retaining rim. It wasn’t necessary, but I jacked up the front of the car and temporarily removed the splash shields and the tires to give easier access to the rear of the headlight buckets. I experienced a little difficulty with mounting the trim rim but eventually got it to lock into place. Then I secured the parking/flasher light assemblies to the car with the three small machine screws and nuts, and put the clear lens in place.

Headlight installed 1
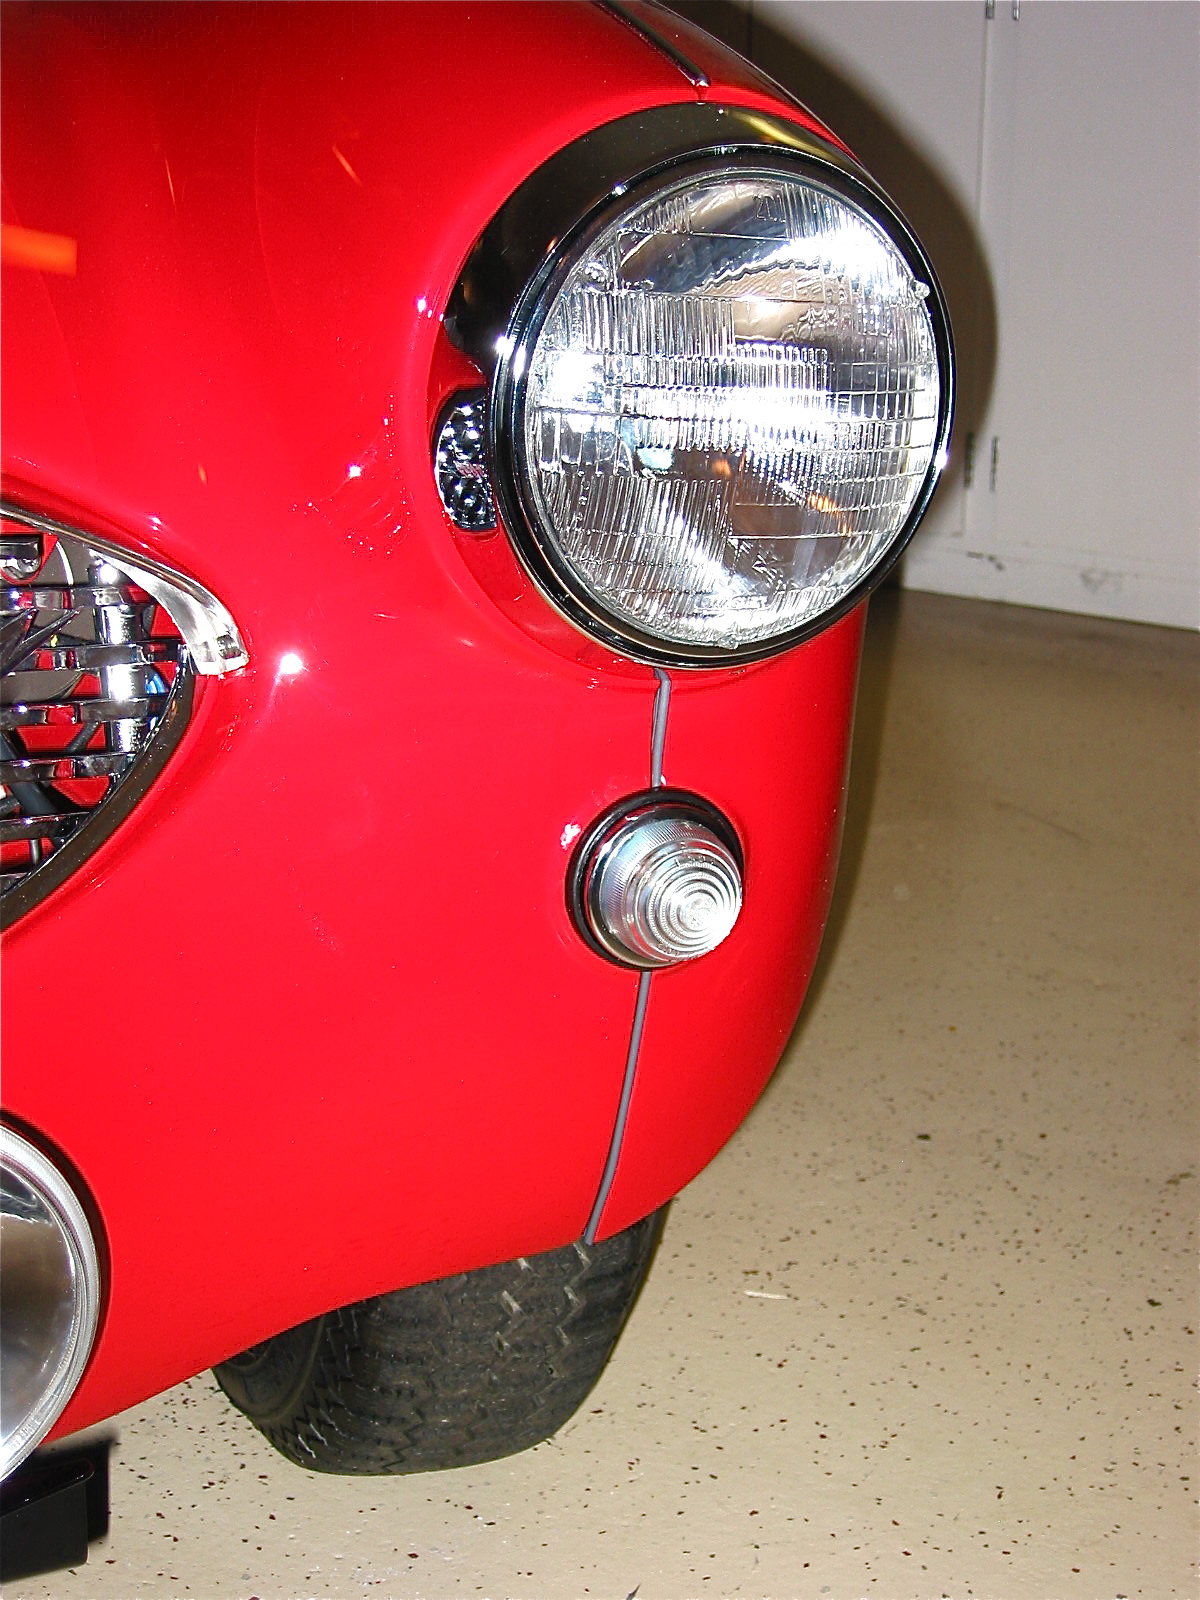
Headlight installed with lower wing beading
I thought I would check out the fit of the grill and immediately noticed that the horns were preventing the grill from sliding into place. I did not have the original horns and I am using later replacements (these are deeper). I ended up switching the LH and RH units and placing them inside their mounting bracket and this seemed to give me the space I needed for the grill. At some point I would love to find the proper horns!

Horn installed
Now it was on to the tow hook/driving light bracket from Cape International. I bolted the brackets into place and fit the Lucas 570 SLR- 5” driving lights, attached the wiring and tested the lights to find them working beautifully. I had previously installed the light relay, an indicator light and the wiring so that the lights only come on when the bright beams are used.
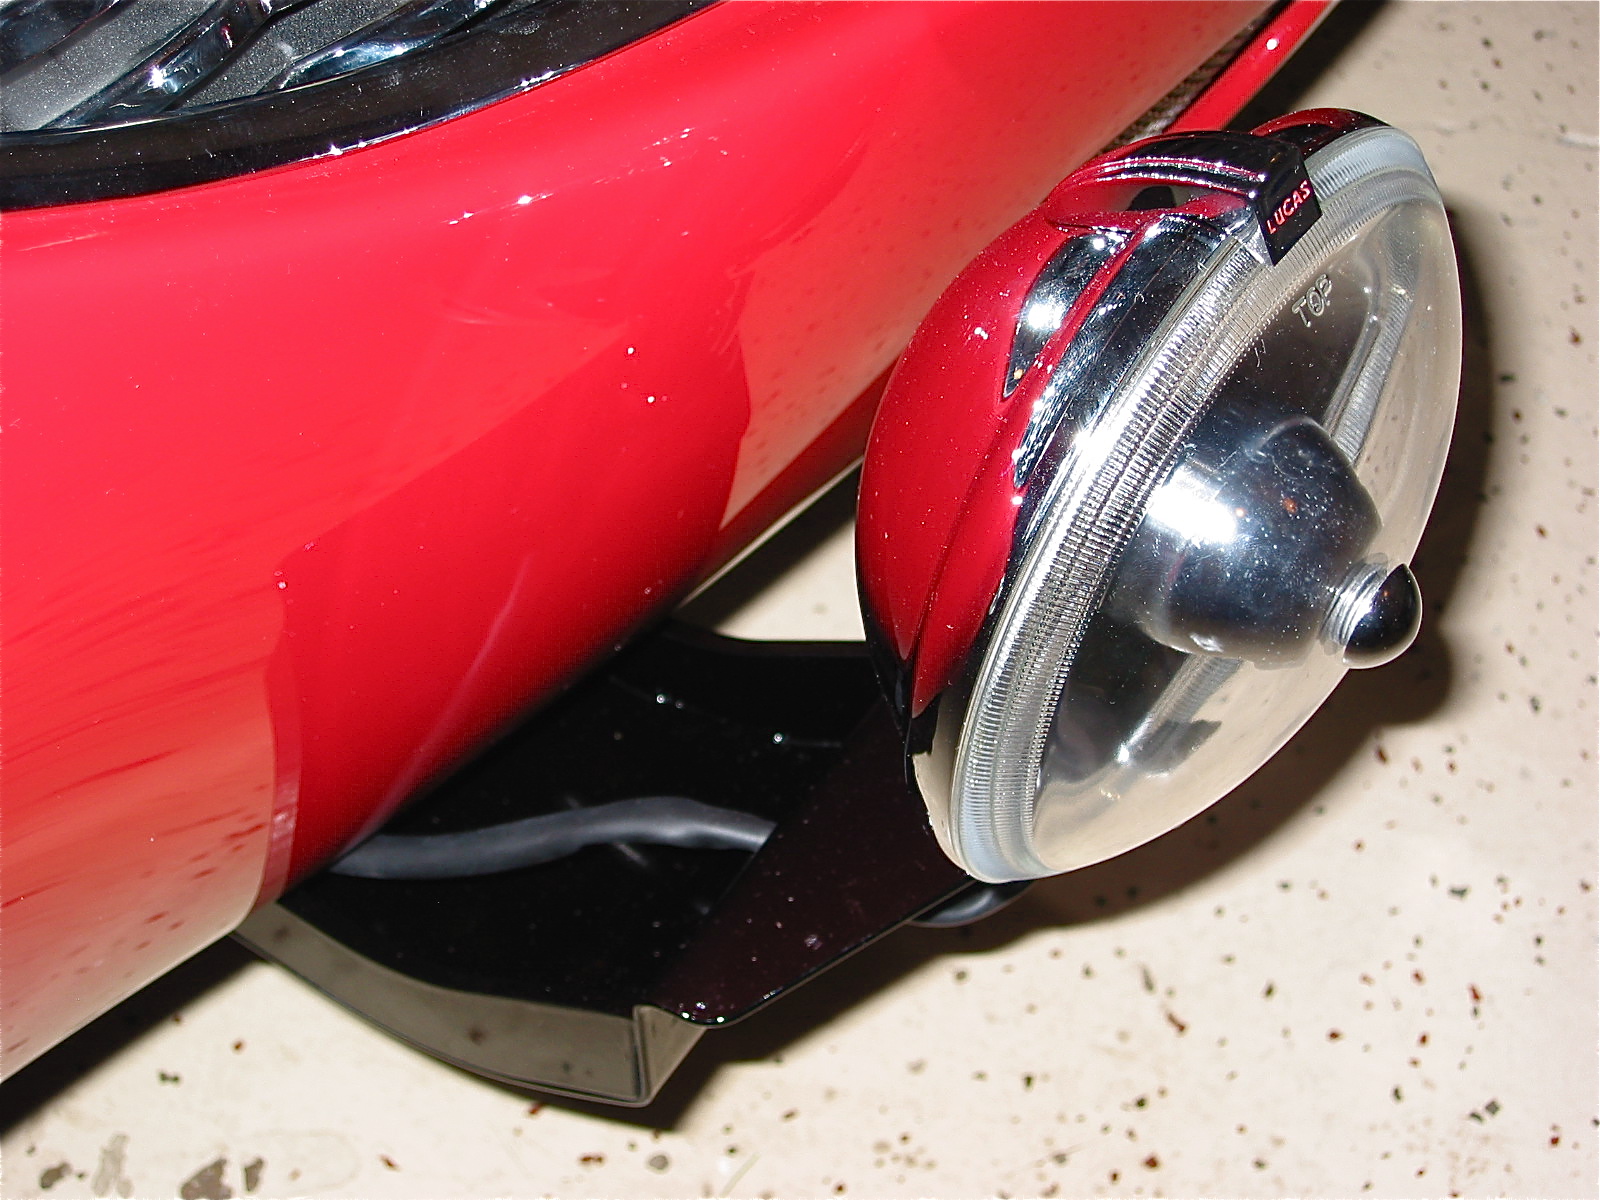
Auxiliary Driving light bracket and tow hook
My final work for the week was the installation of the three pieces that comprise the front grille. These were fixed to the car without any issue. The splash panel brackets on either side of the car were fastened to the outside grille mounting brackets.
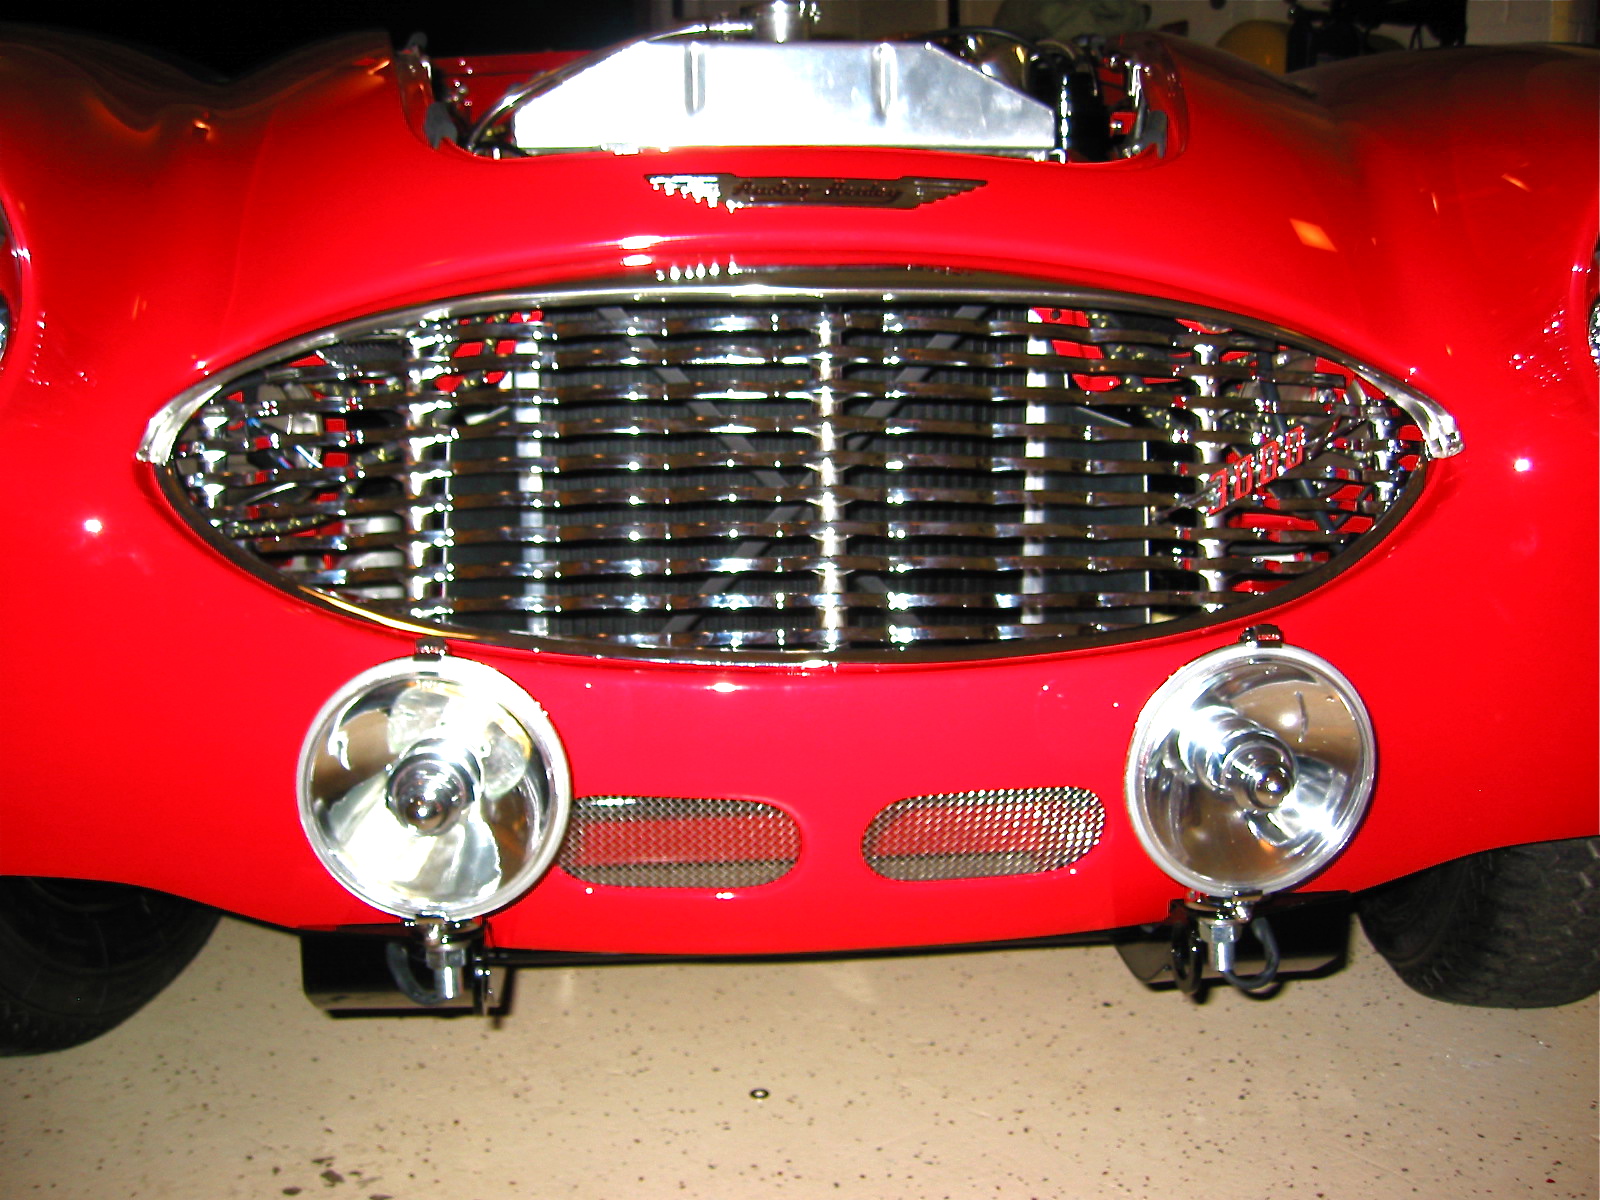
Grille and Lights installed

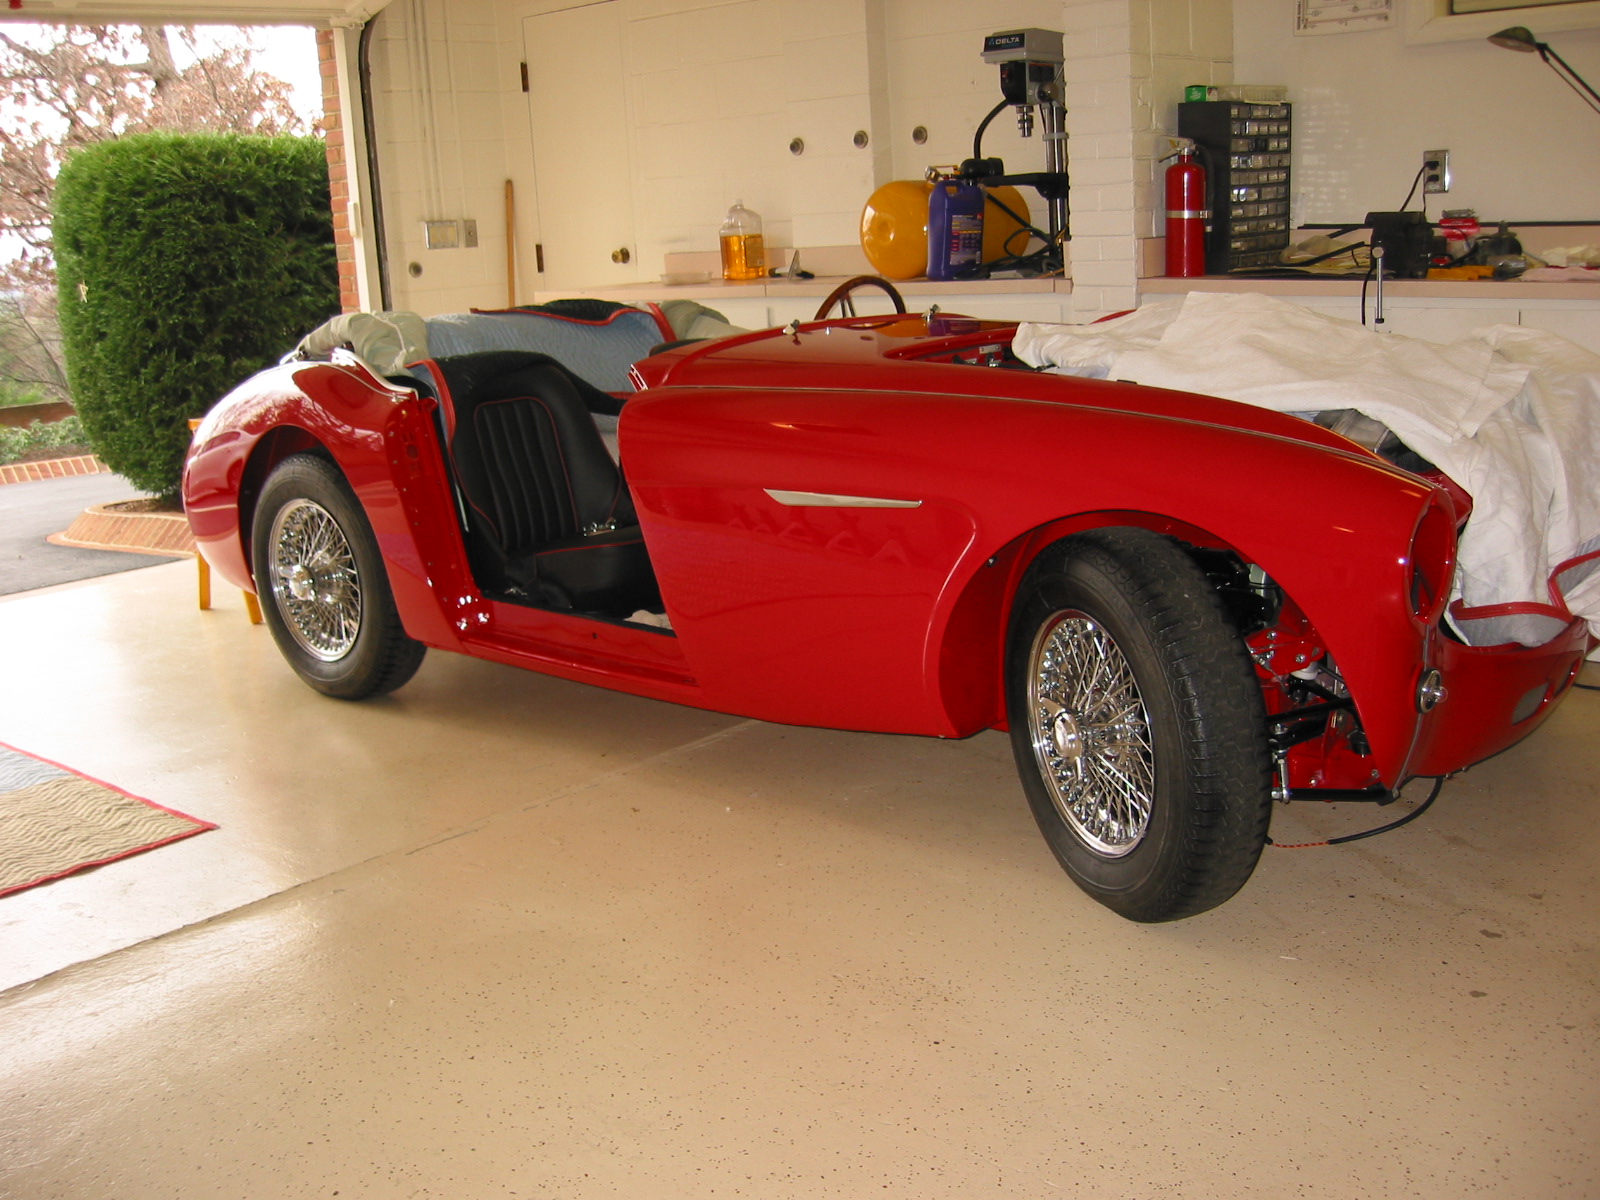
Side View with both wings and door
This week begins my second year of restoration assembly. I have some time off in the next two weeks so I am hopeful that at the end of the Christmas holiday I will have my front body components on the car.
While waiting for the carb repair, I decided to start a little work on the hardtop assembly. Most of my hardtop restoration components came from Bill Bolton. The hardtop fabric he supplies is very close to the original. I has previously refurbished the headliner frame and had it along with the front cushion covered by Gerry Smith at Classic Upholstery. I glued the fabric to the lower hardtop aluminum cant rail.
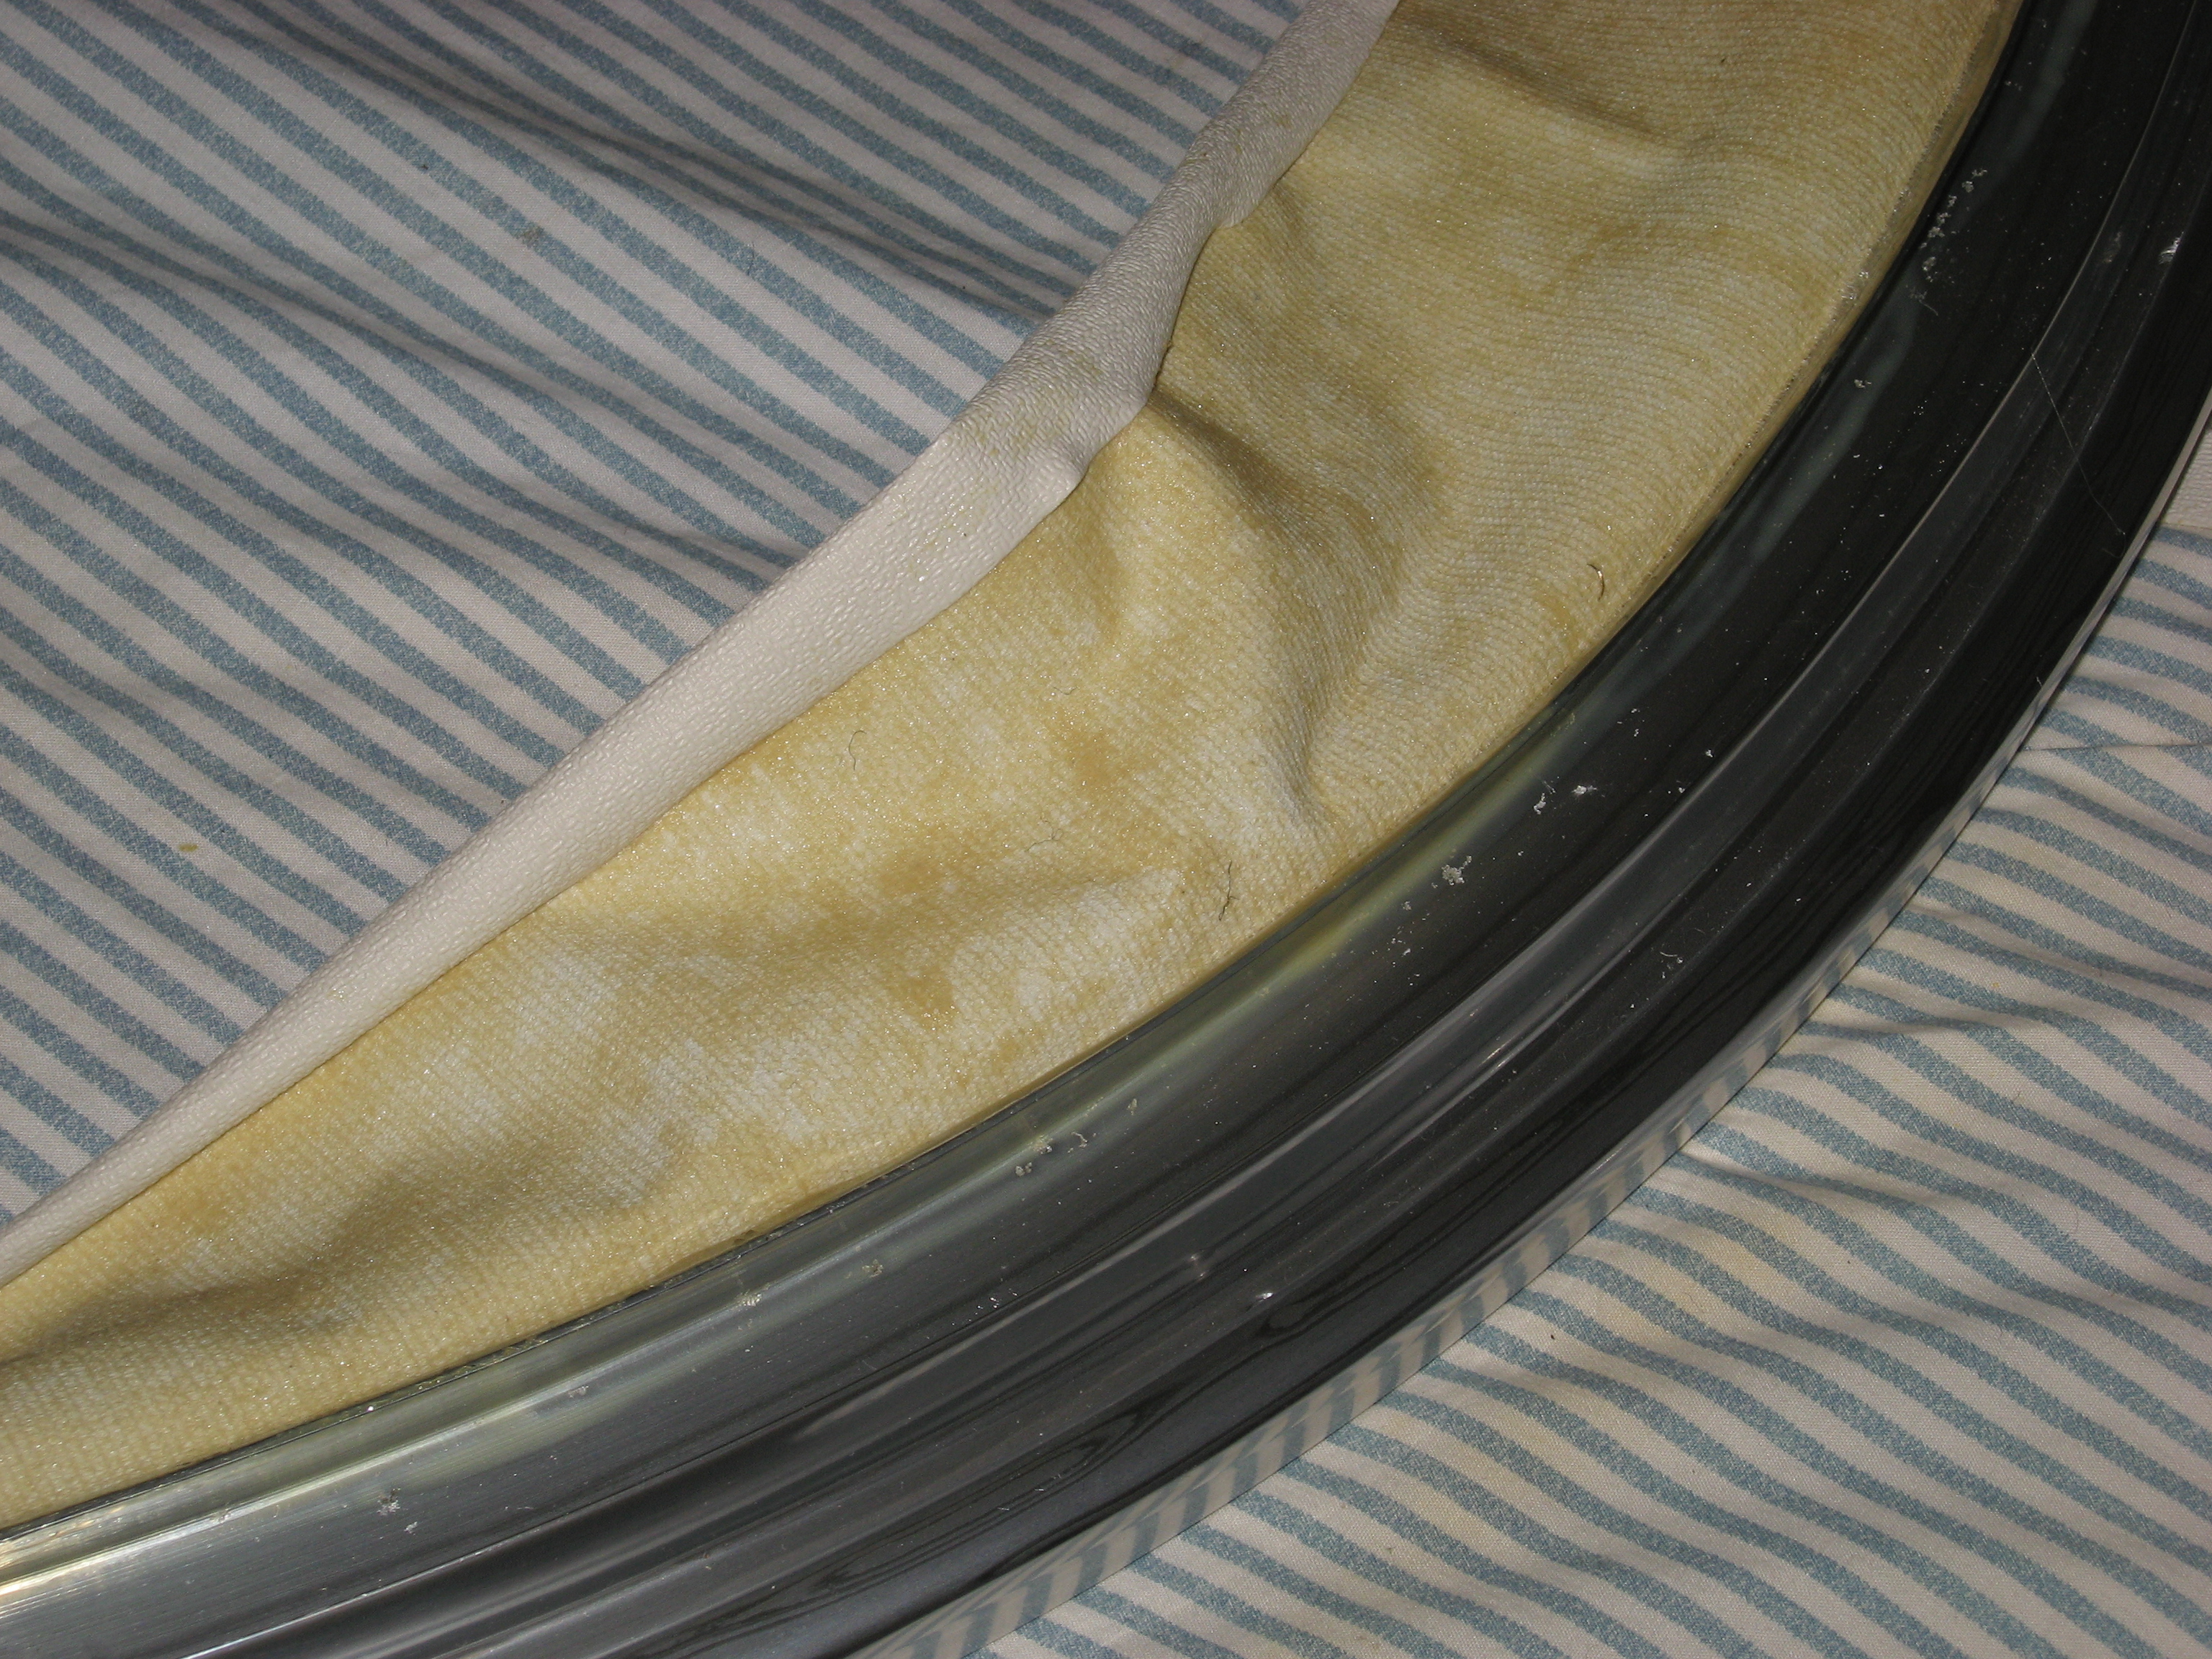
hardtop fabric on rail 2
hardtop fabric on rail 3
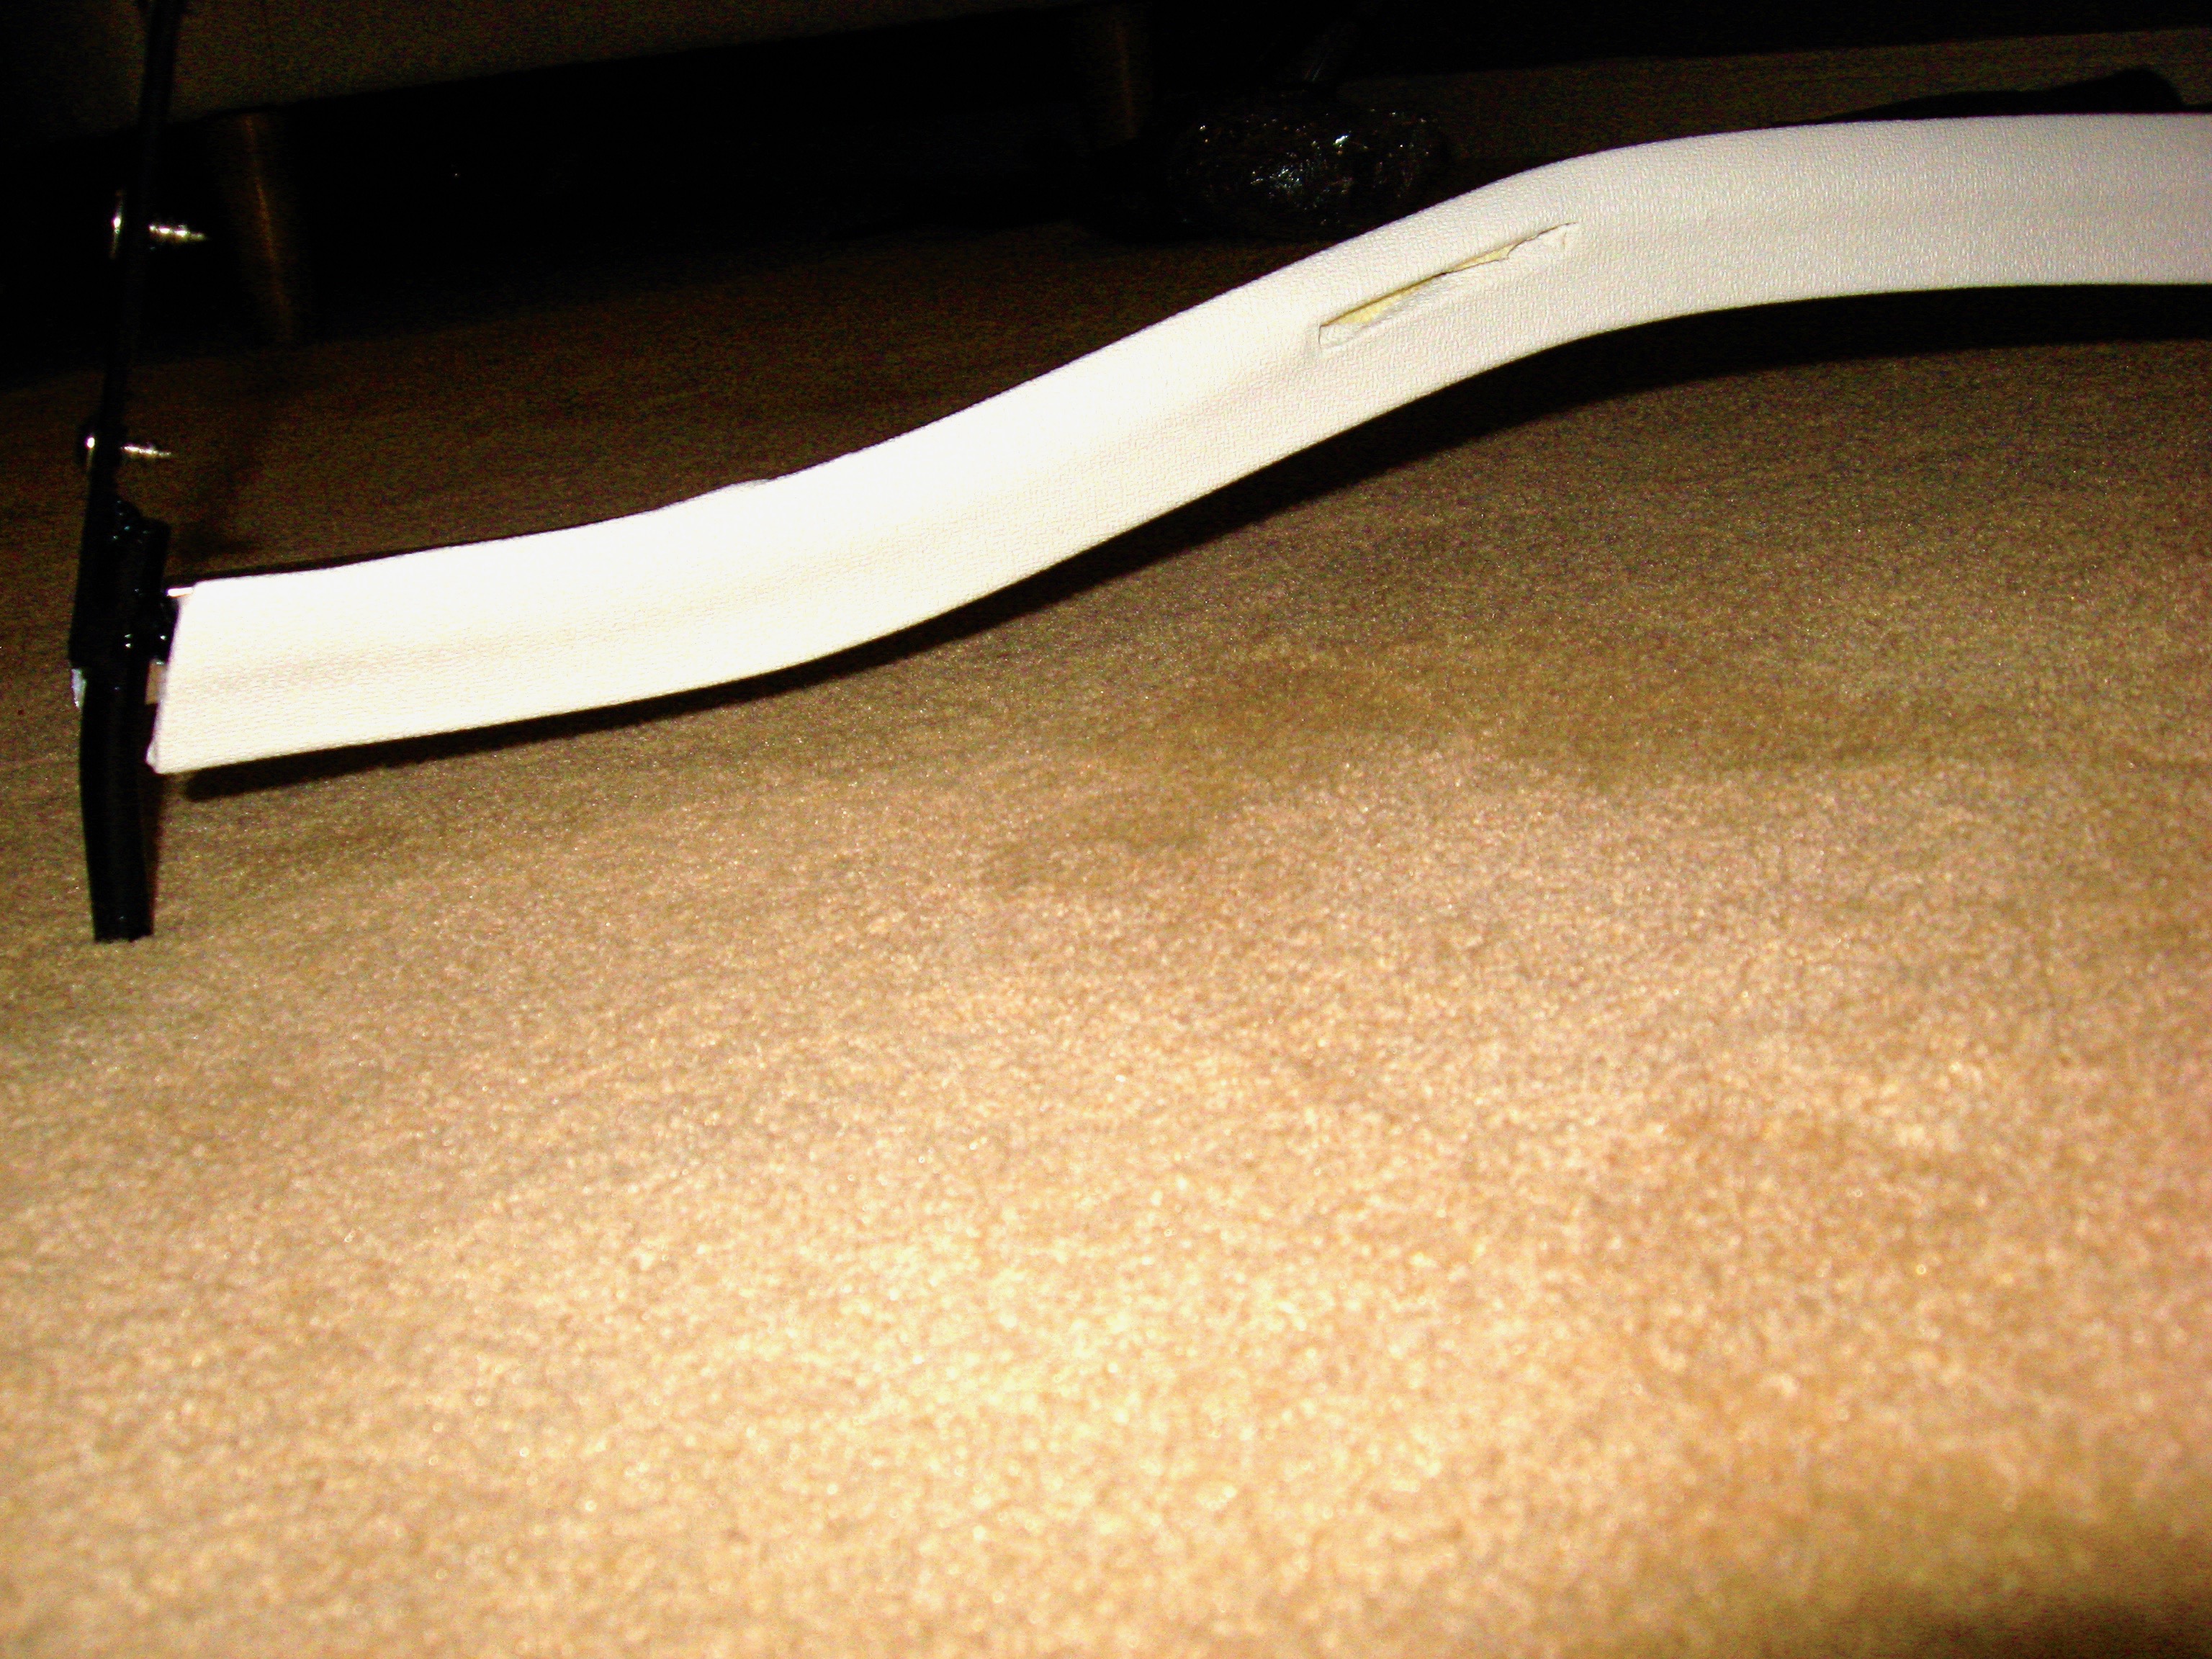
Fabric was also glued into the corners of the hardtop where the front mounting “J” hooks are located.
hardtop corner fabric
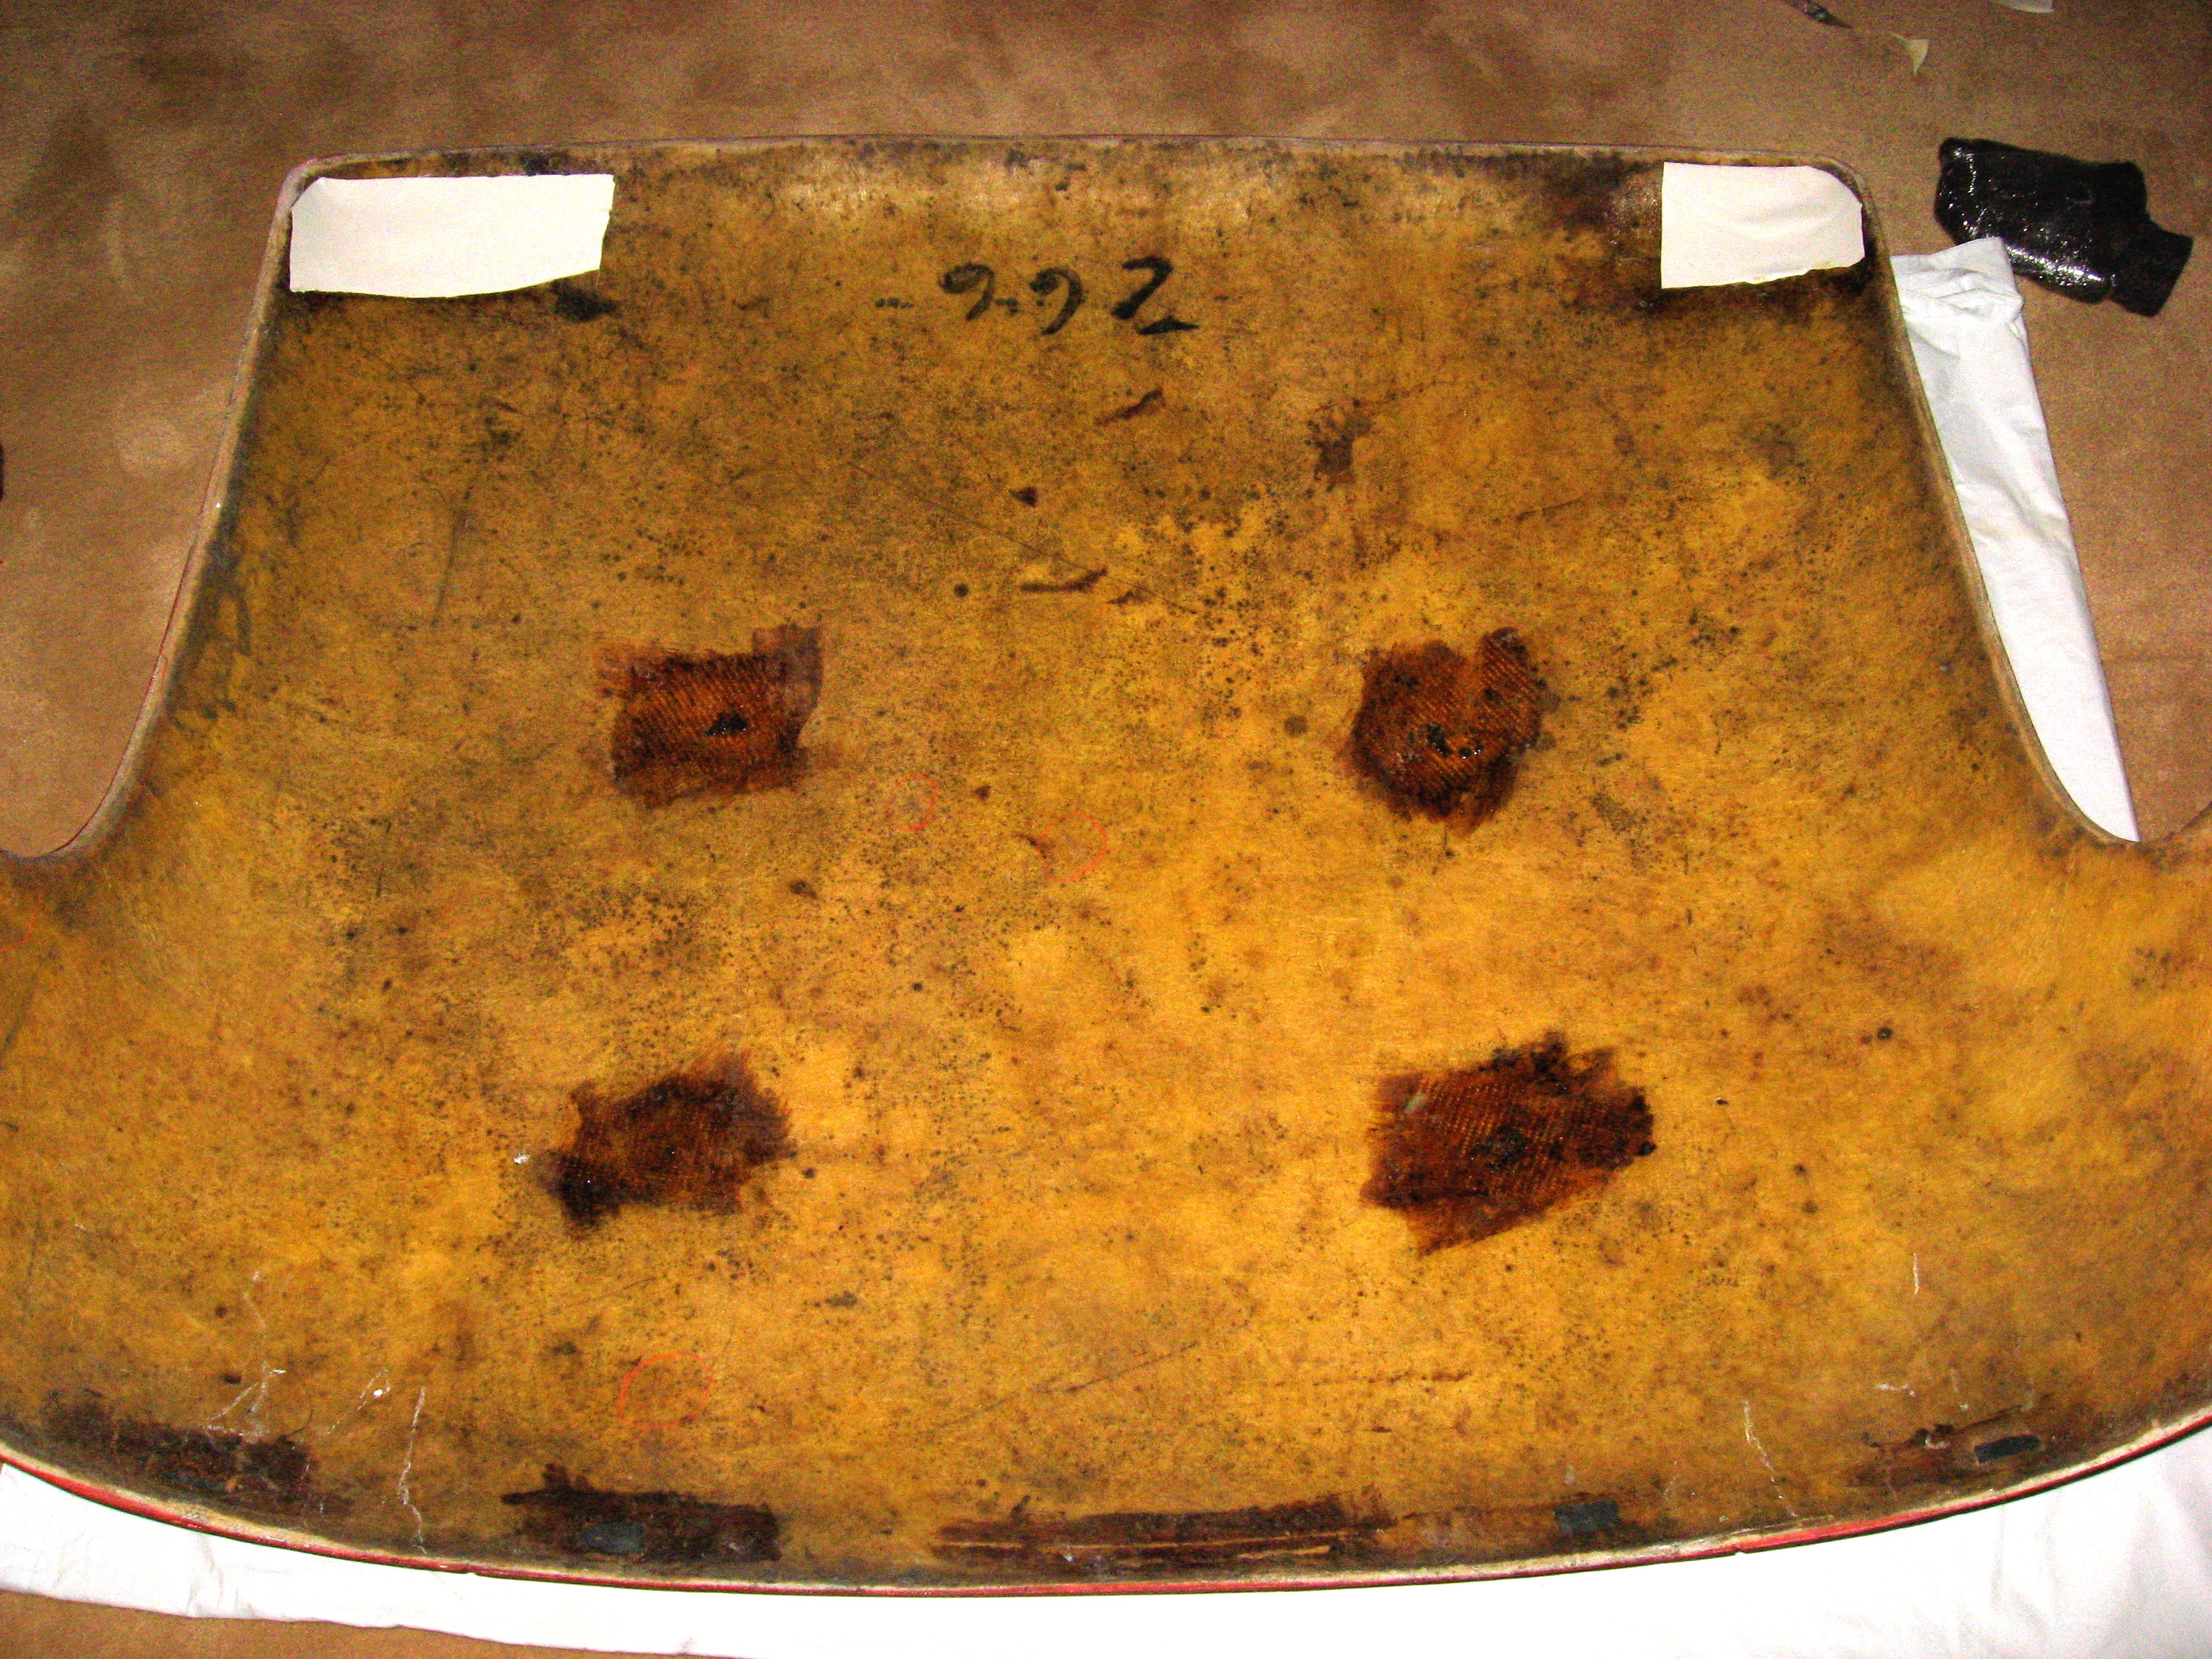
Then I glued some carpet padding onto the hardtop to provide cushion for the headliner frame rails.
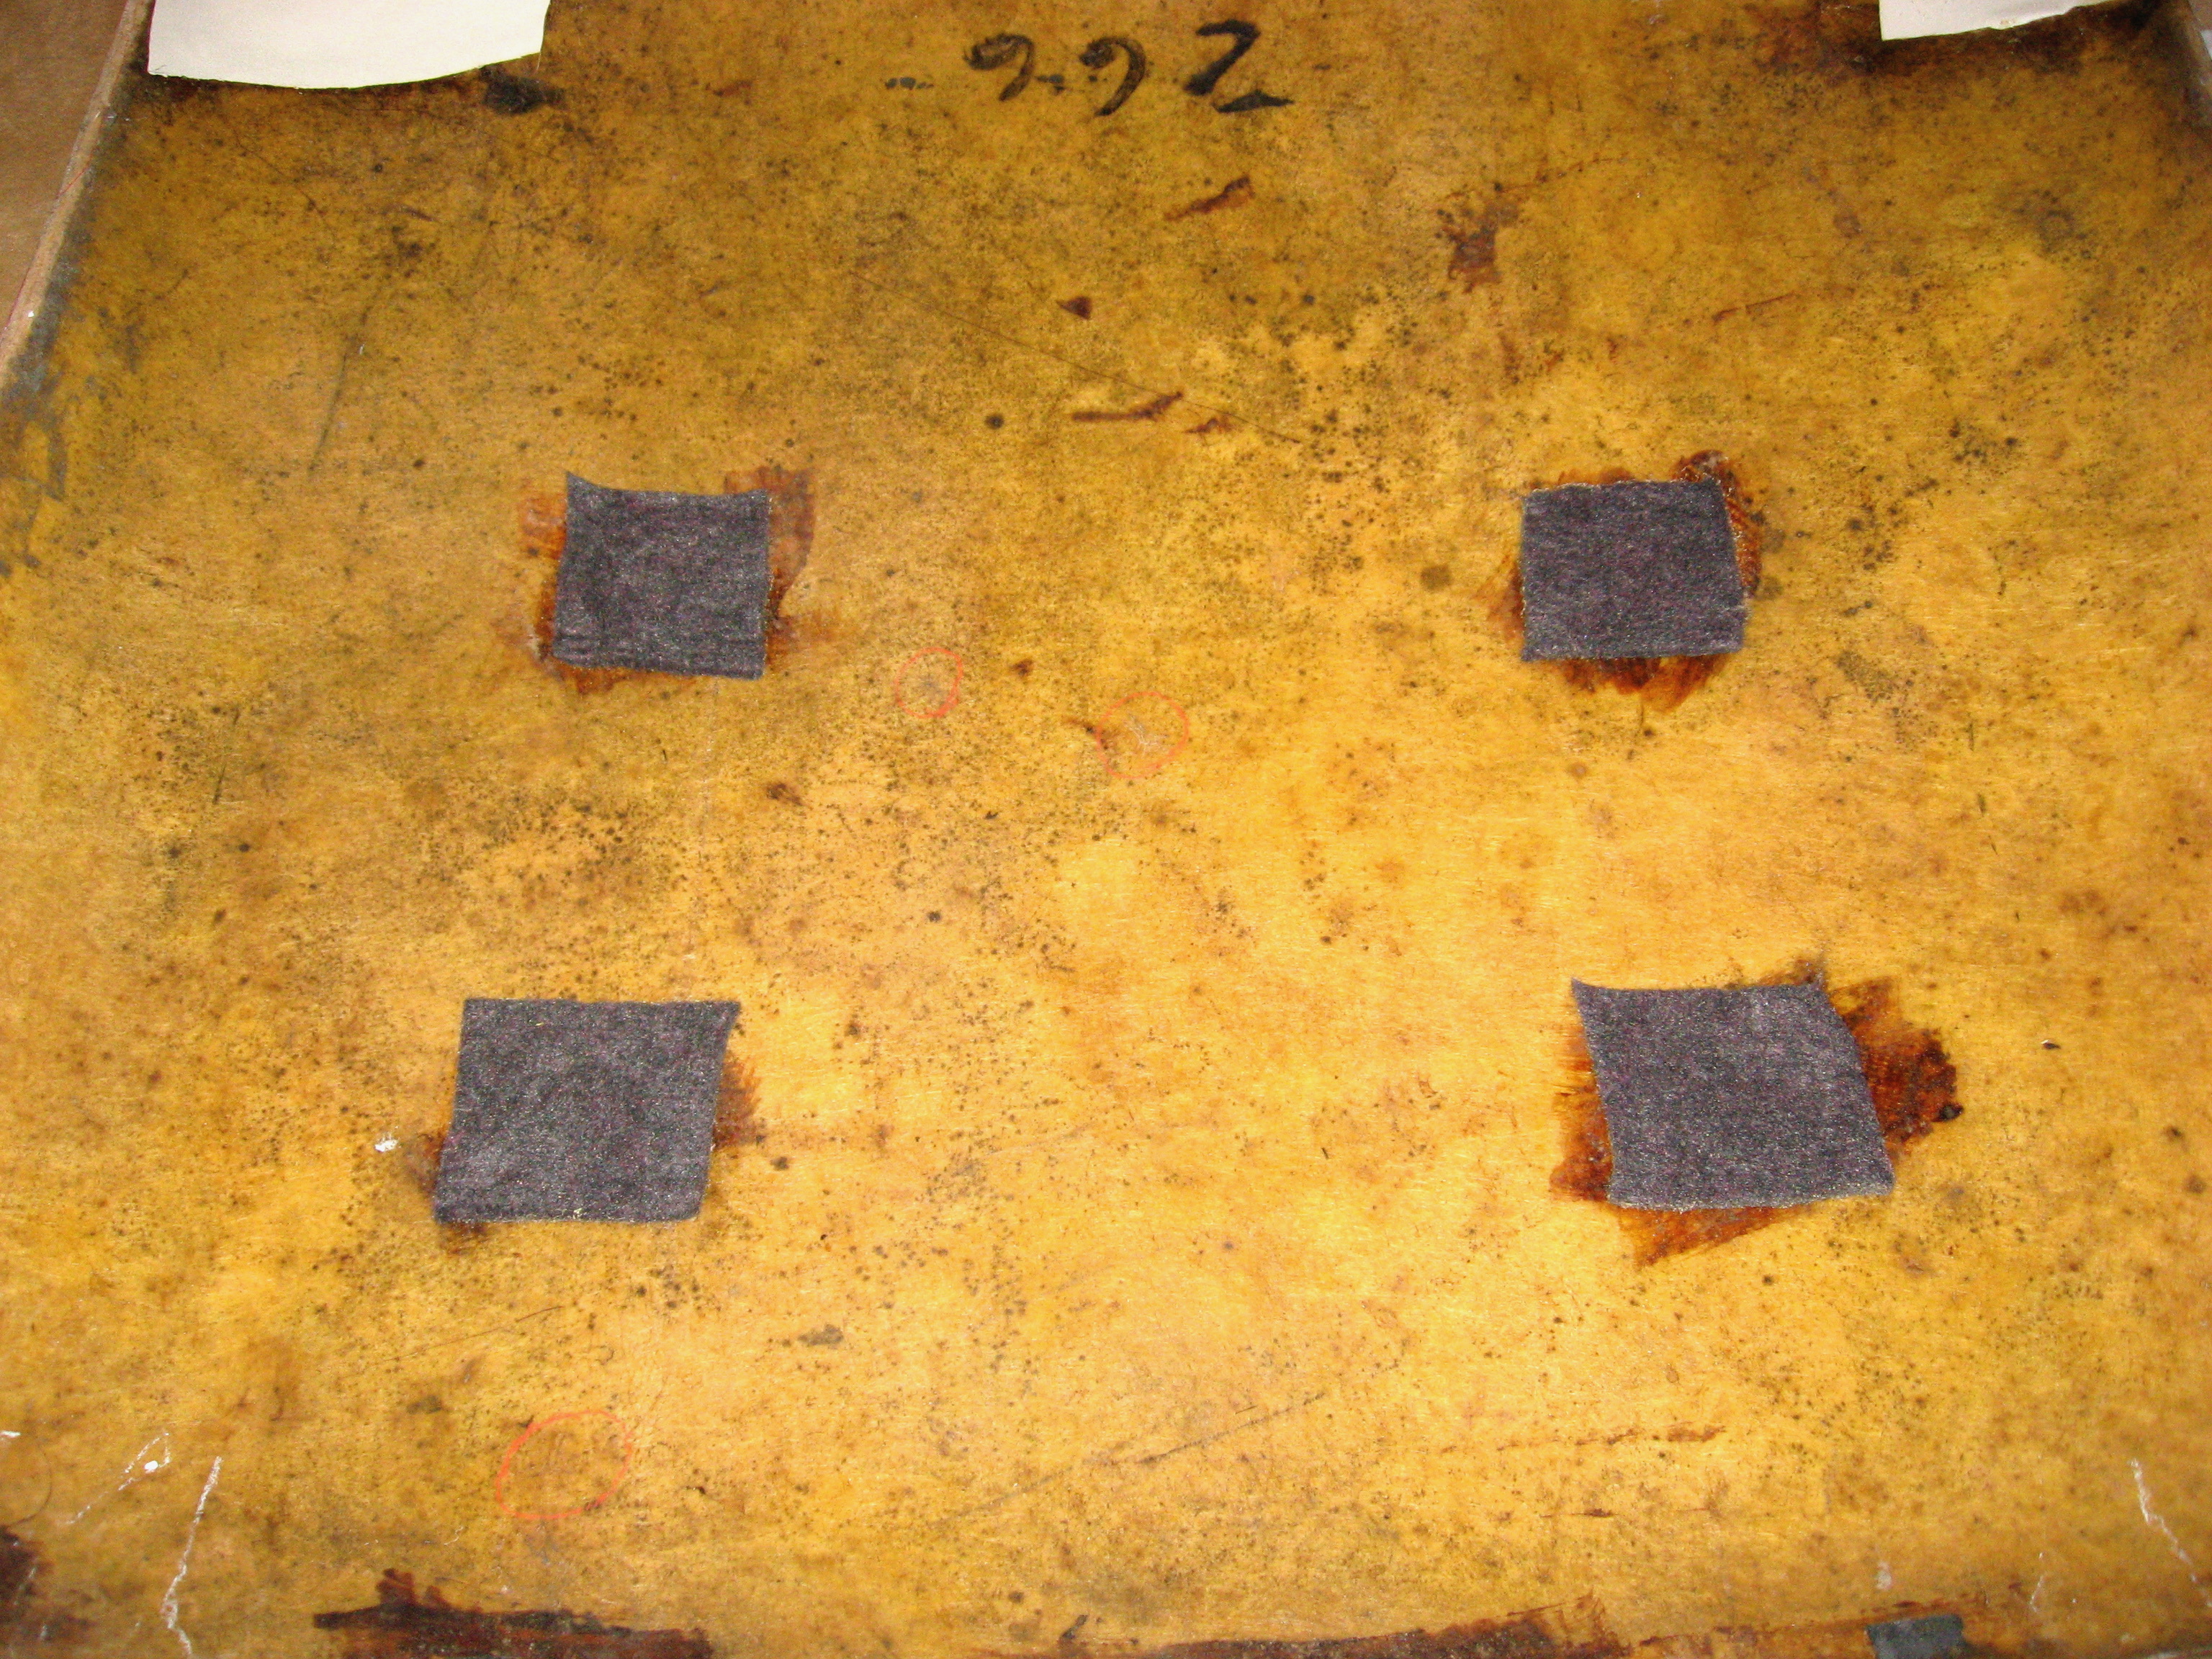
hardtop carpet cushion for headliner rails
My repaired front carb returned from Joe Curto yesterday (December 18). Joe replaced the diaphragm. I installed the carbs last night and pleasantly, no leaks! Now I will leave the hardtop work and return to installing the body.
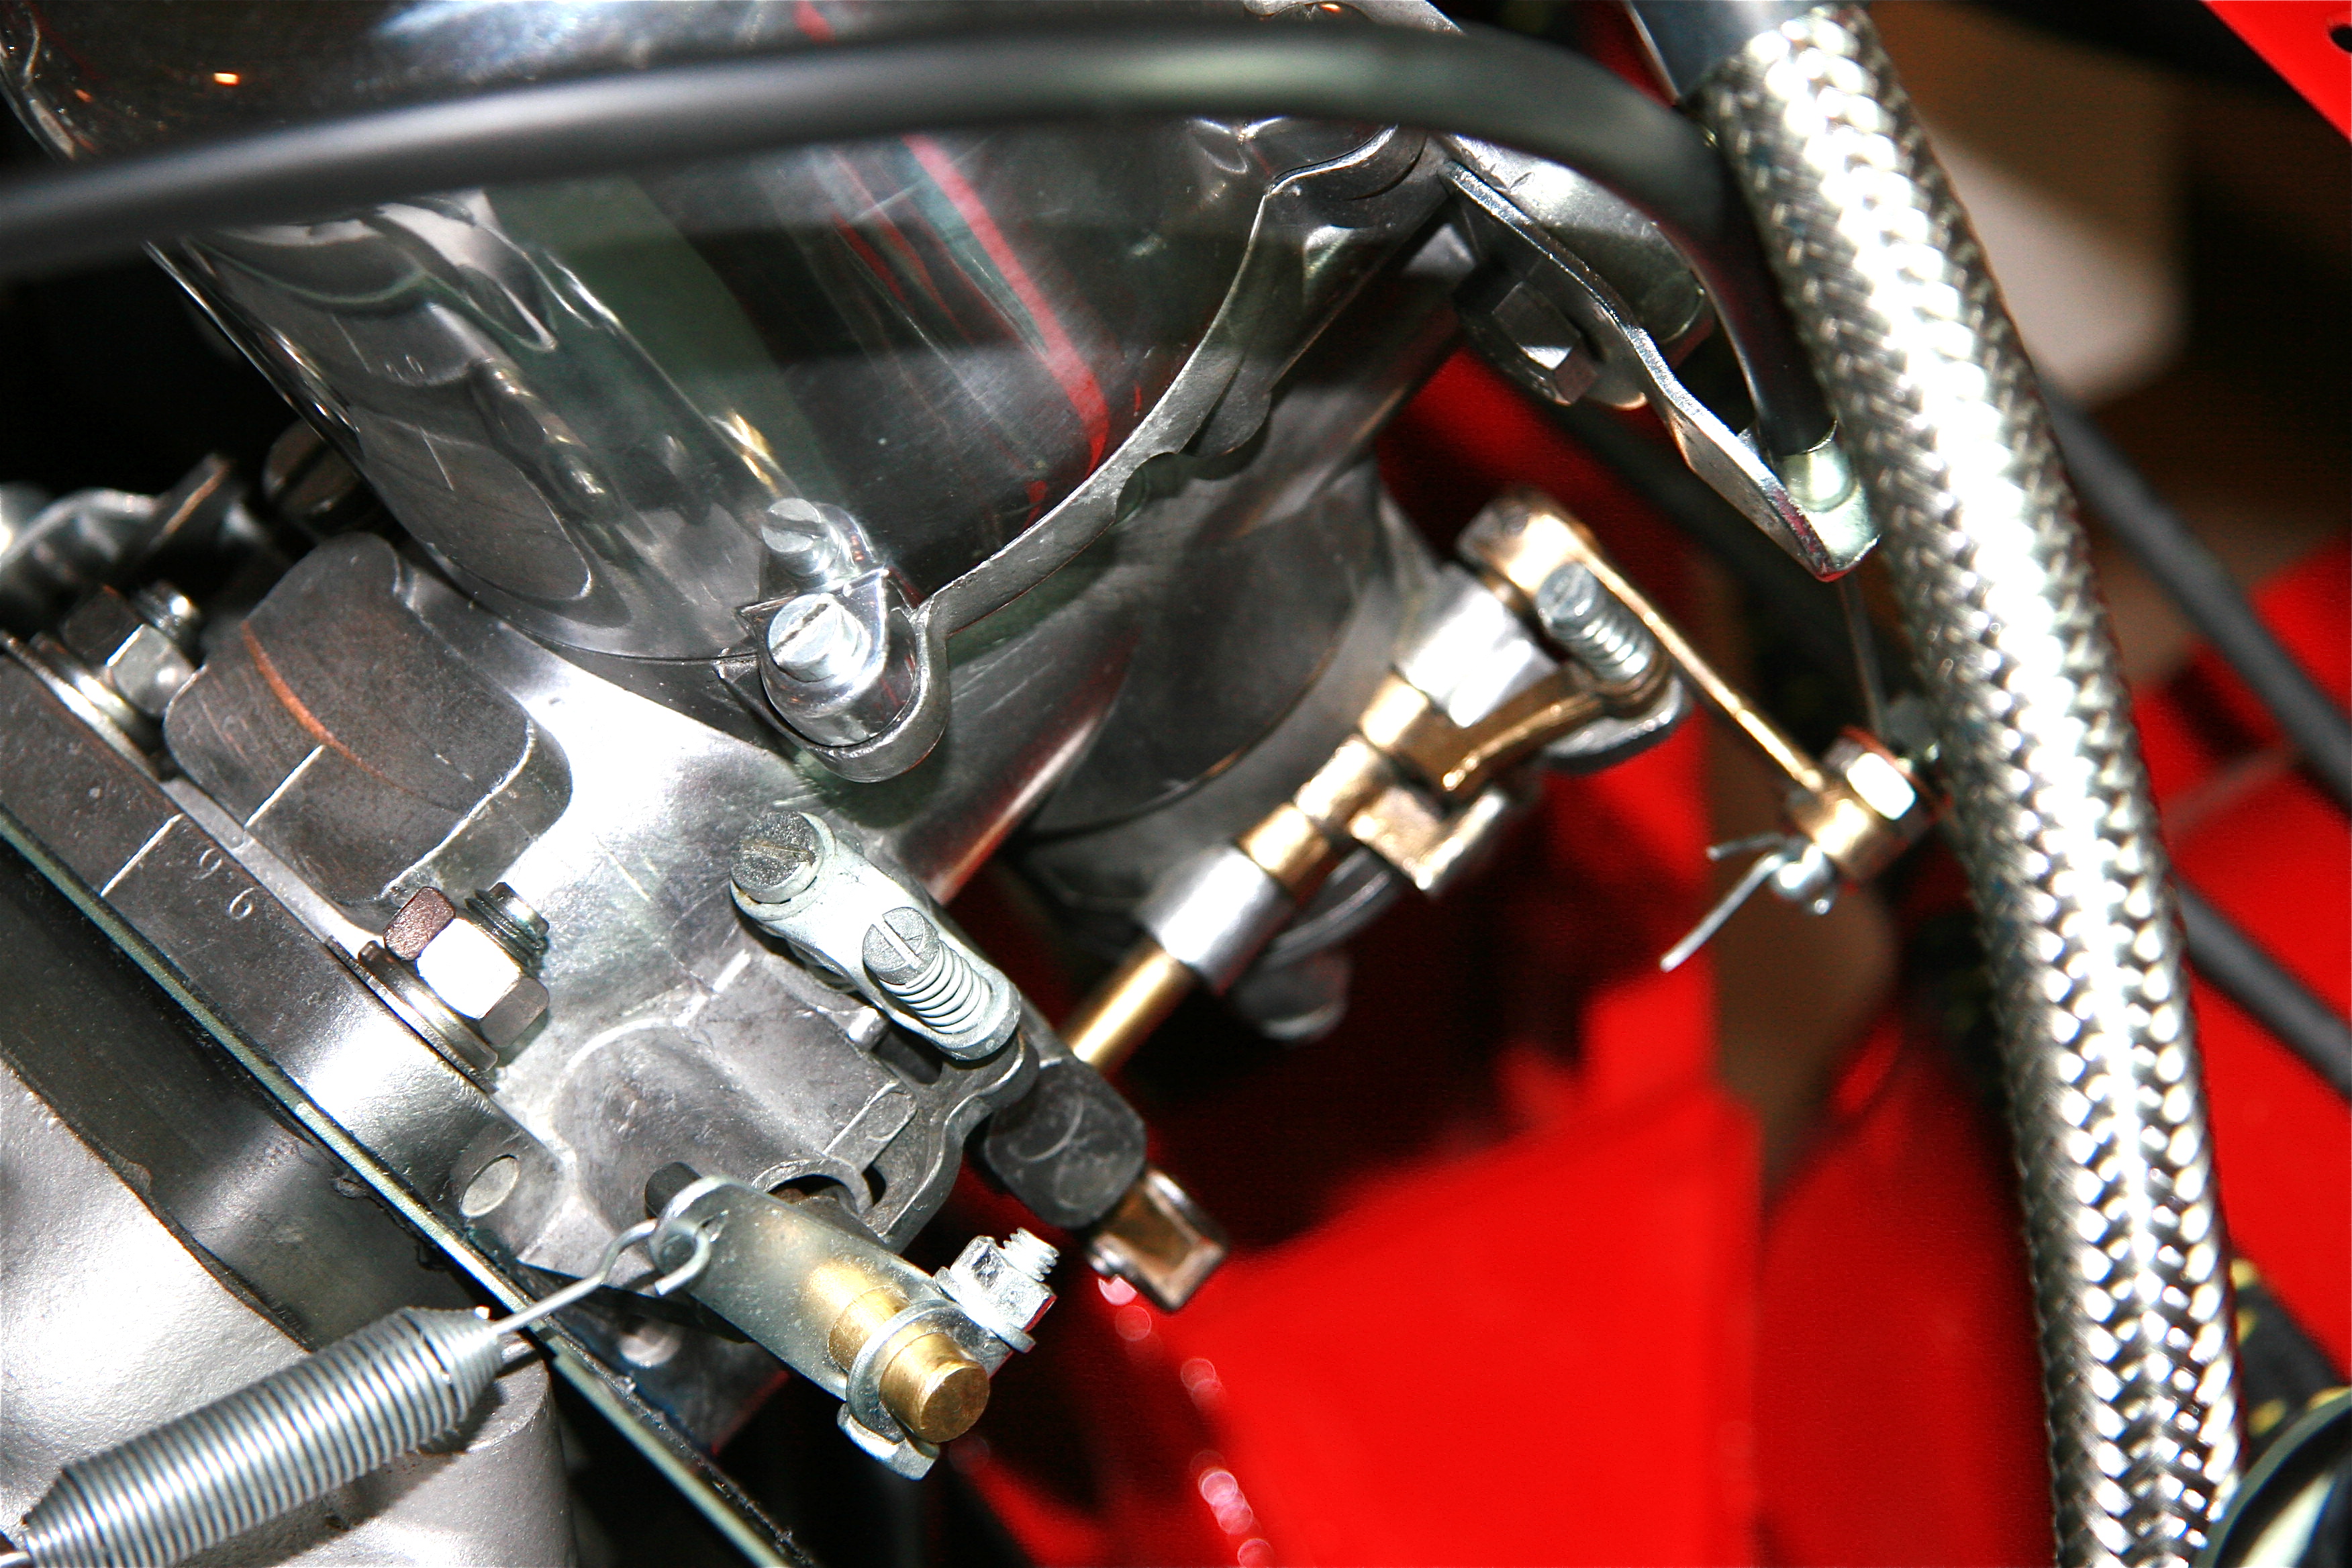
Front SU carb re-installed
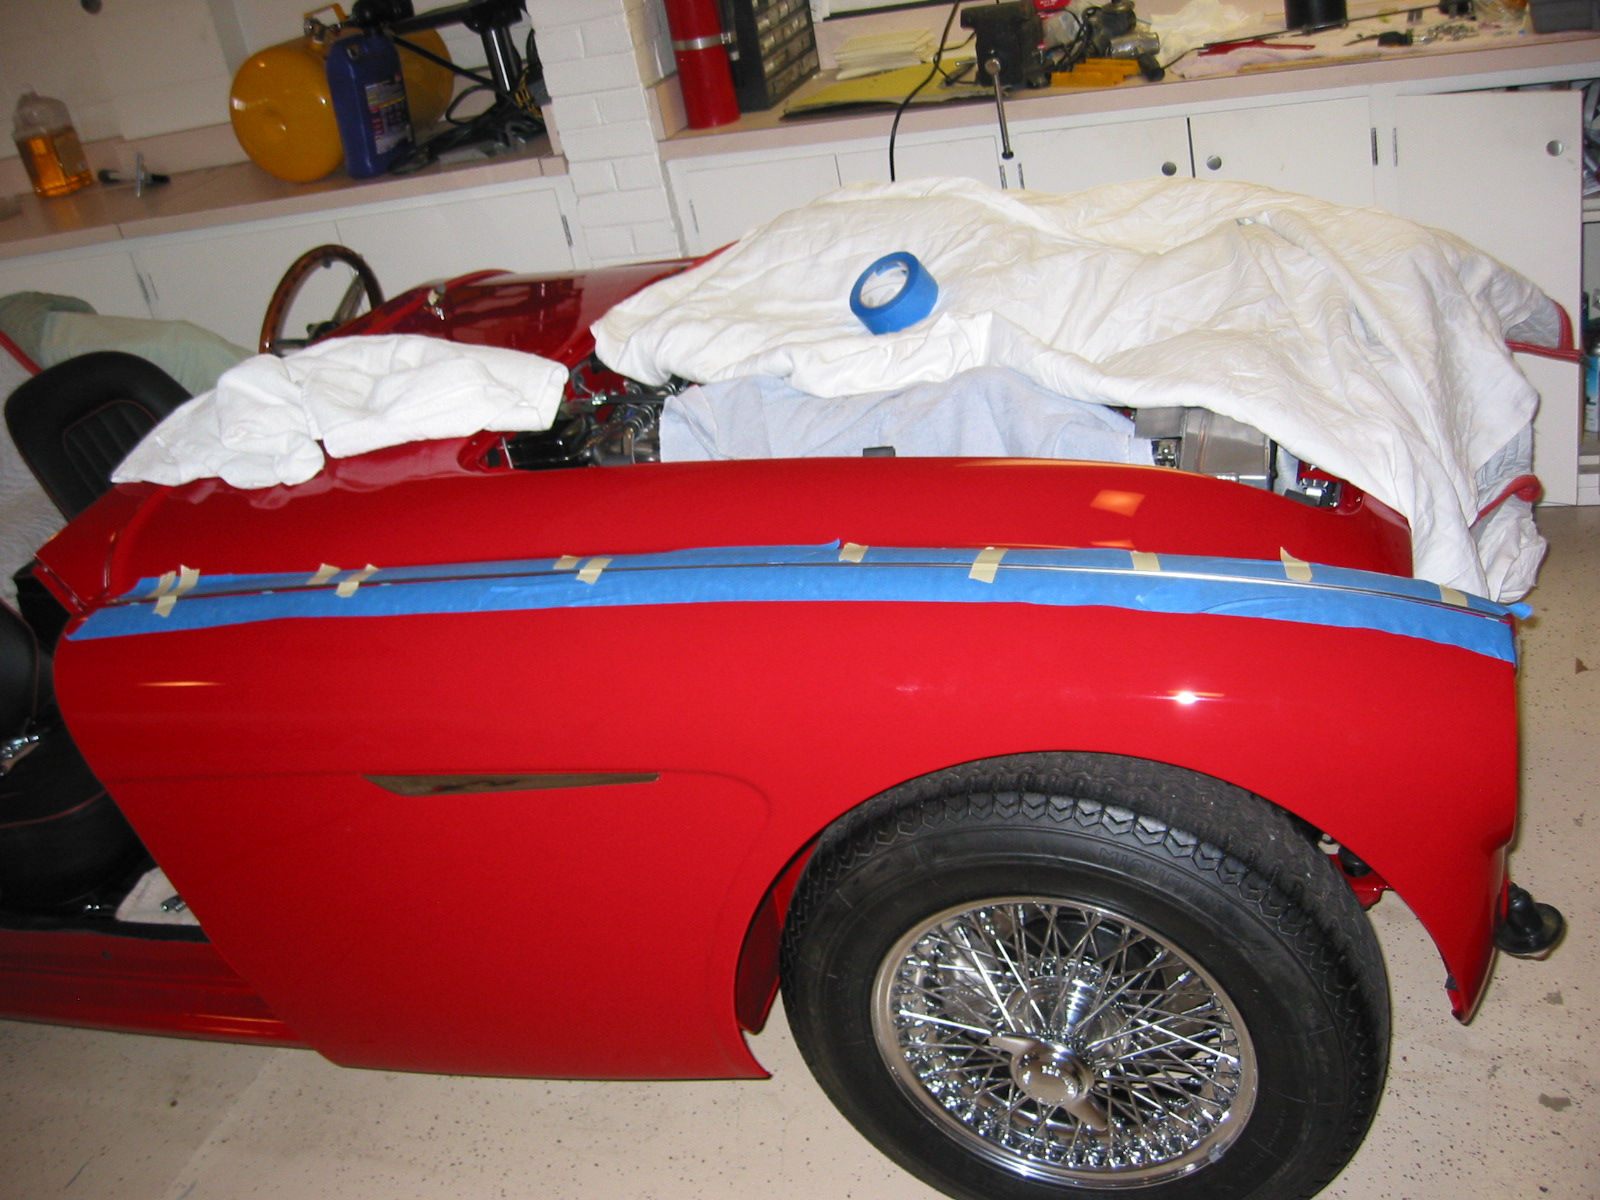
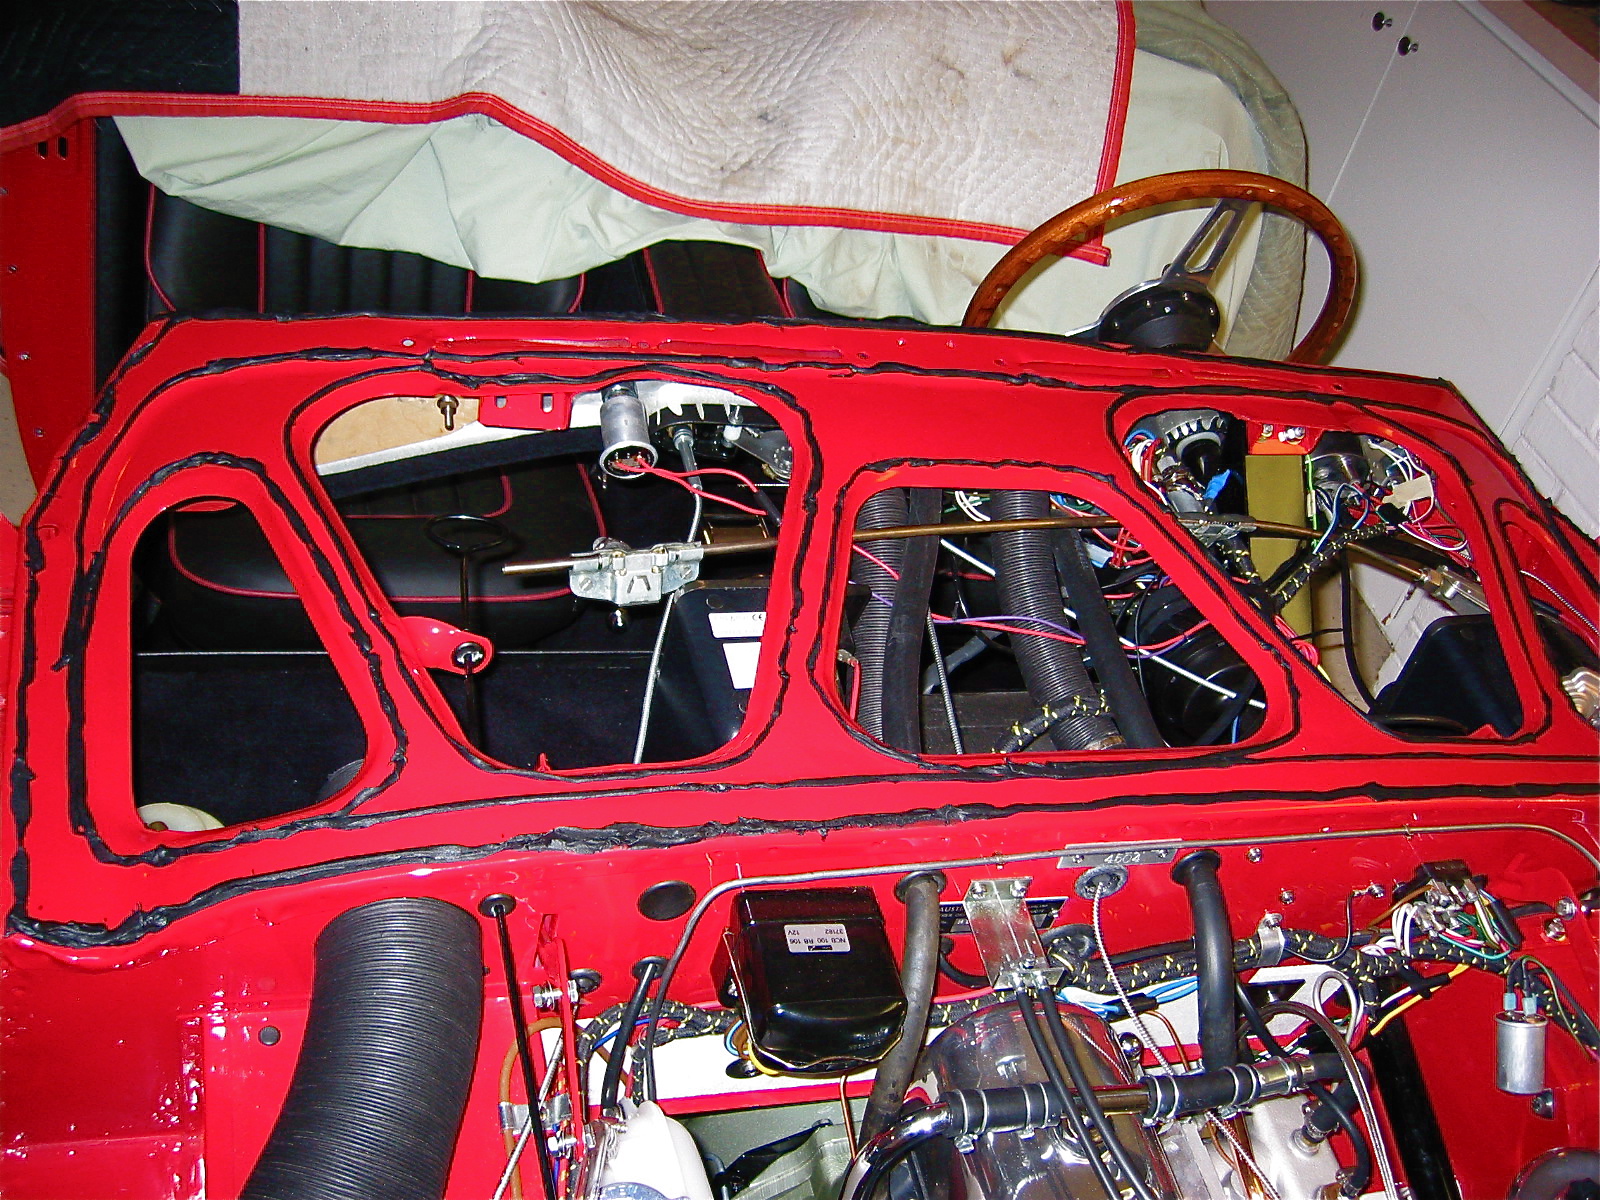
I covered all of the edges of the scuttle that come in contact with the front shroud(bonnet surround) with 3M strip caulk. This will prevent heat, fumes and water from entering the cockpit. To make sure I had adequate build up of the caulk, I used a tip from Jack Brashear. I covered the strip caulk on the scuttle with wax paper, installed the shroud and then pulled it off. Where the strip caulk was not pressed against the the wax paper I added more caulk and repeated the process until I was satisfied that I had enough caulk in place.
Shroud strip caulk 2
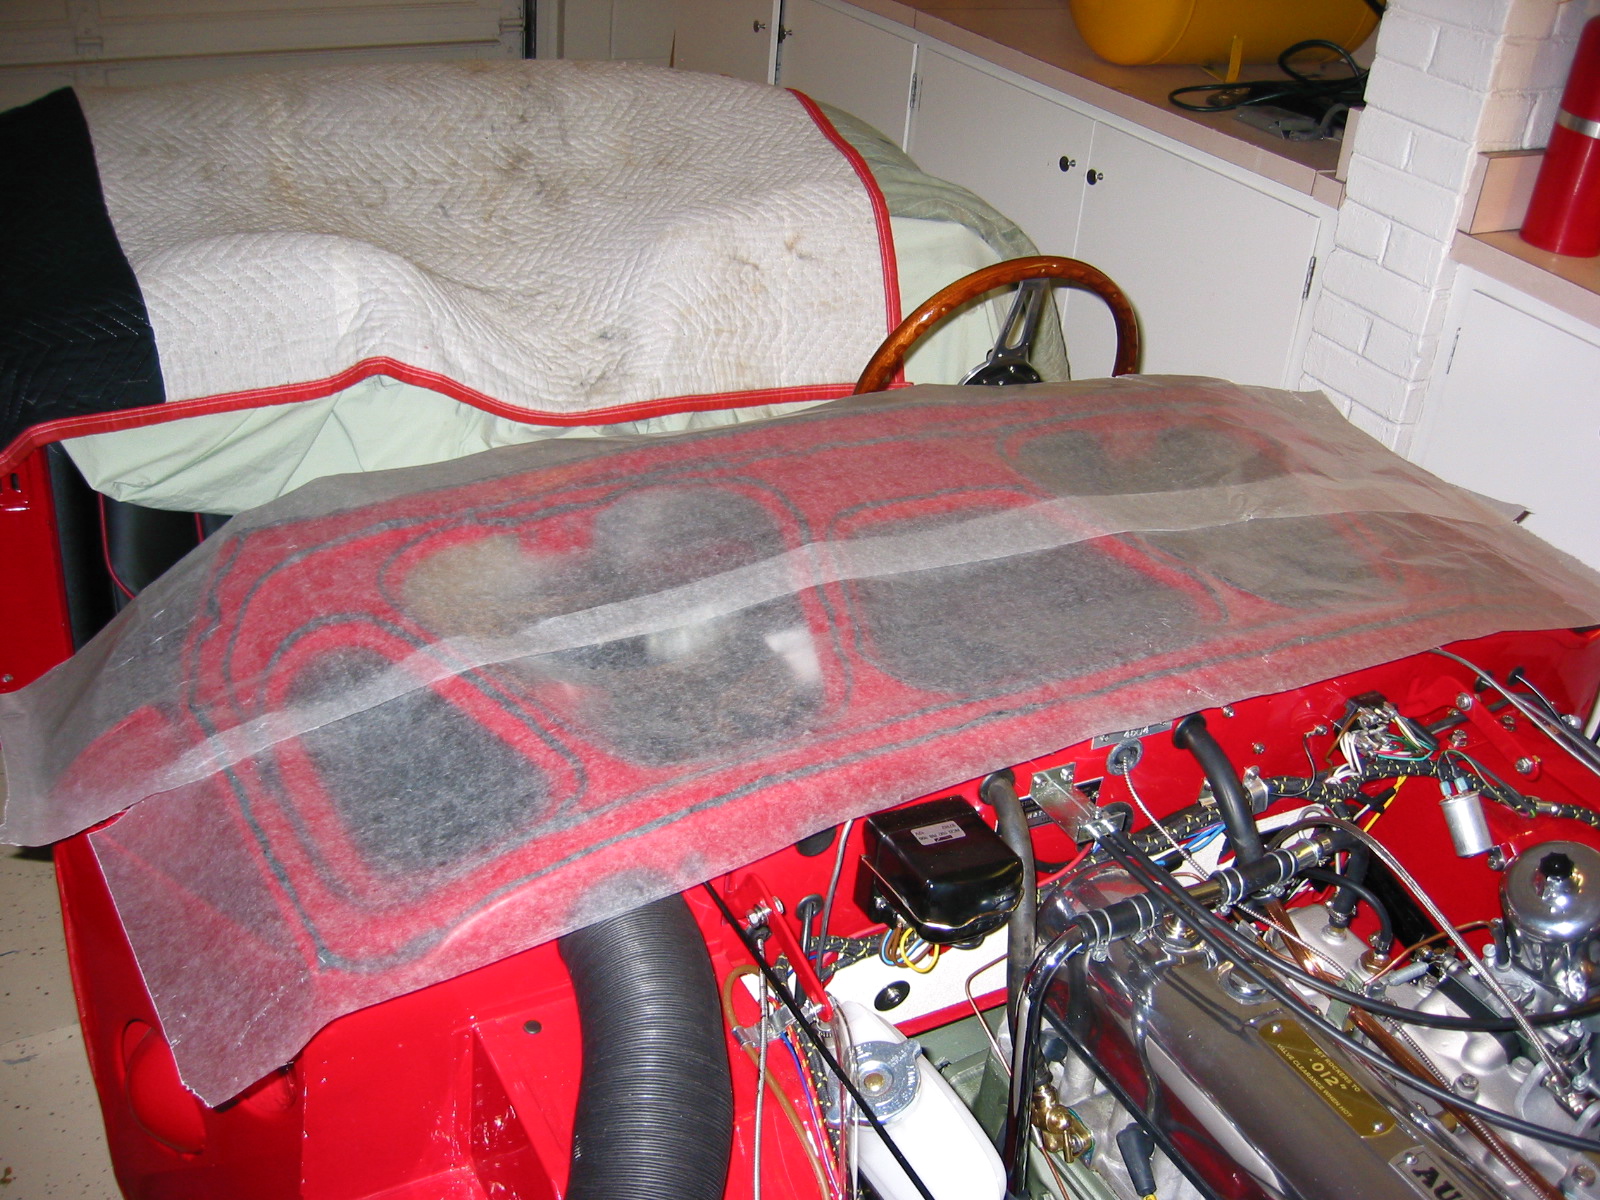
Shroud strip caulk 1

Ready for the shroud 2
Securing the front shroud to the superstructure was the next step. I began by installing 3/16” aluminum pop rivets in the rear of the shroud along the dashboard flange (5) and scuttle edges(2 per side).
Shroud rivets
I then installed five countersunk flat head screws through the rear flange of the bonnet opening into the edge of the firewall.
Four bolts, washers, and nuts fasten the frame rails to the shroud at the front of the car. The frame rails should fit “inside” the shroud. Three #10 flat head, countersunk machine screws with washers and nuts fasten the front flange of the bonnet opening to the superstructure.
Two #10 flat head, countersunk machine screws with washers and nuts fasten each of the vertical shroud support brackets to the shroud. On the RH passenger side of the car, one of these screws, along with another, is also used to fasten the bonnet prop rod stay bracket.

Hood prop rod stay bracket
The front shroud was now fastened in place! I then attached the carb access panel and I was in business. The panel measurements are in the image below.
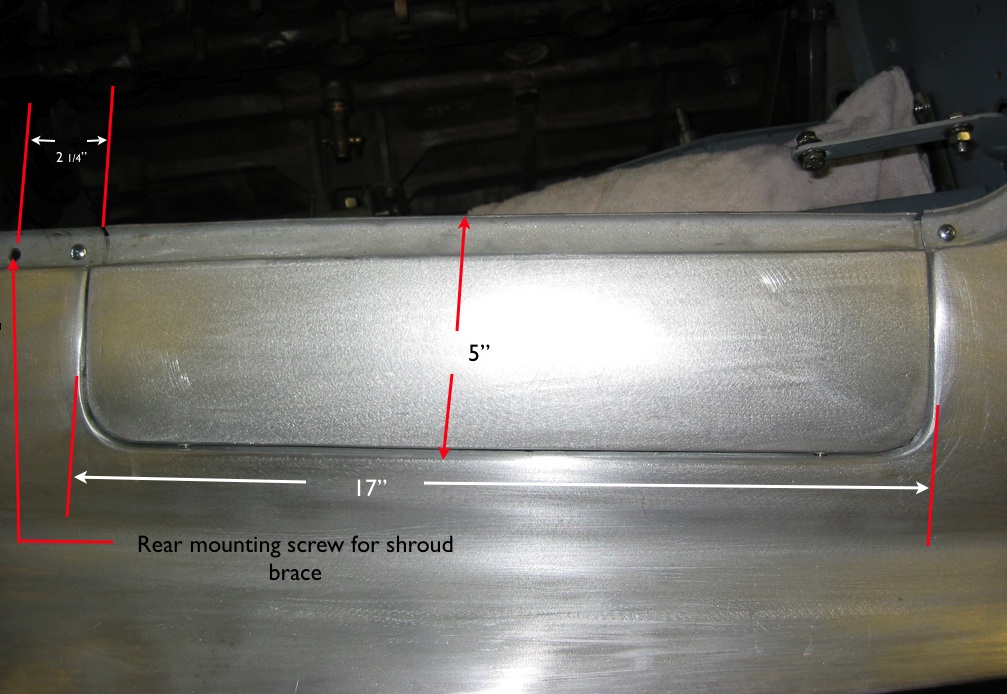
carb access measurements

Carb panel installed
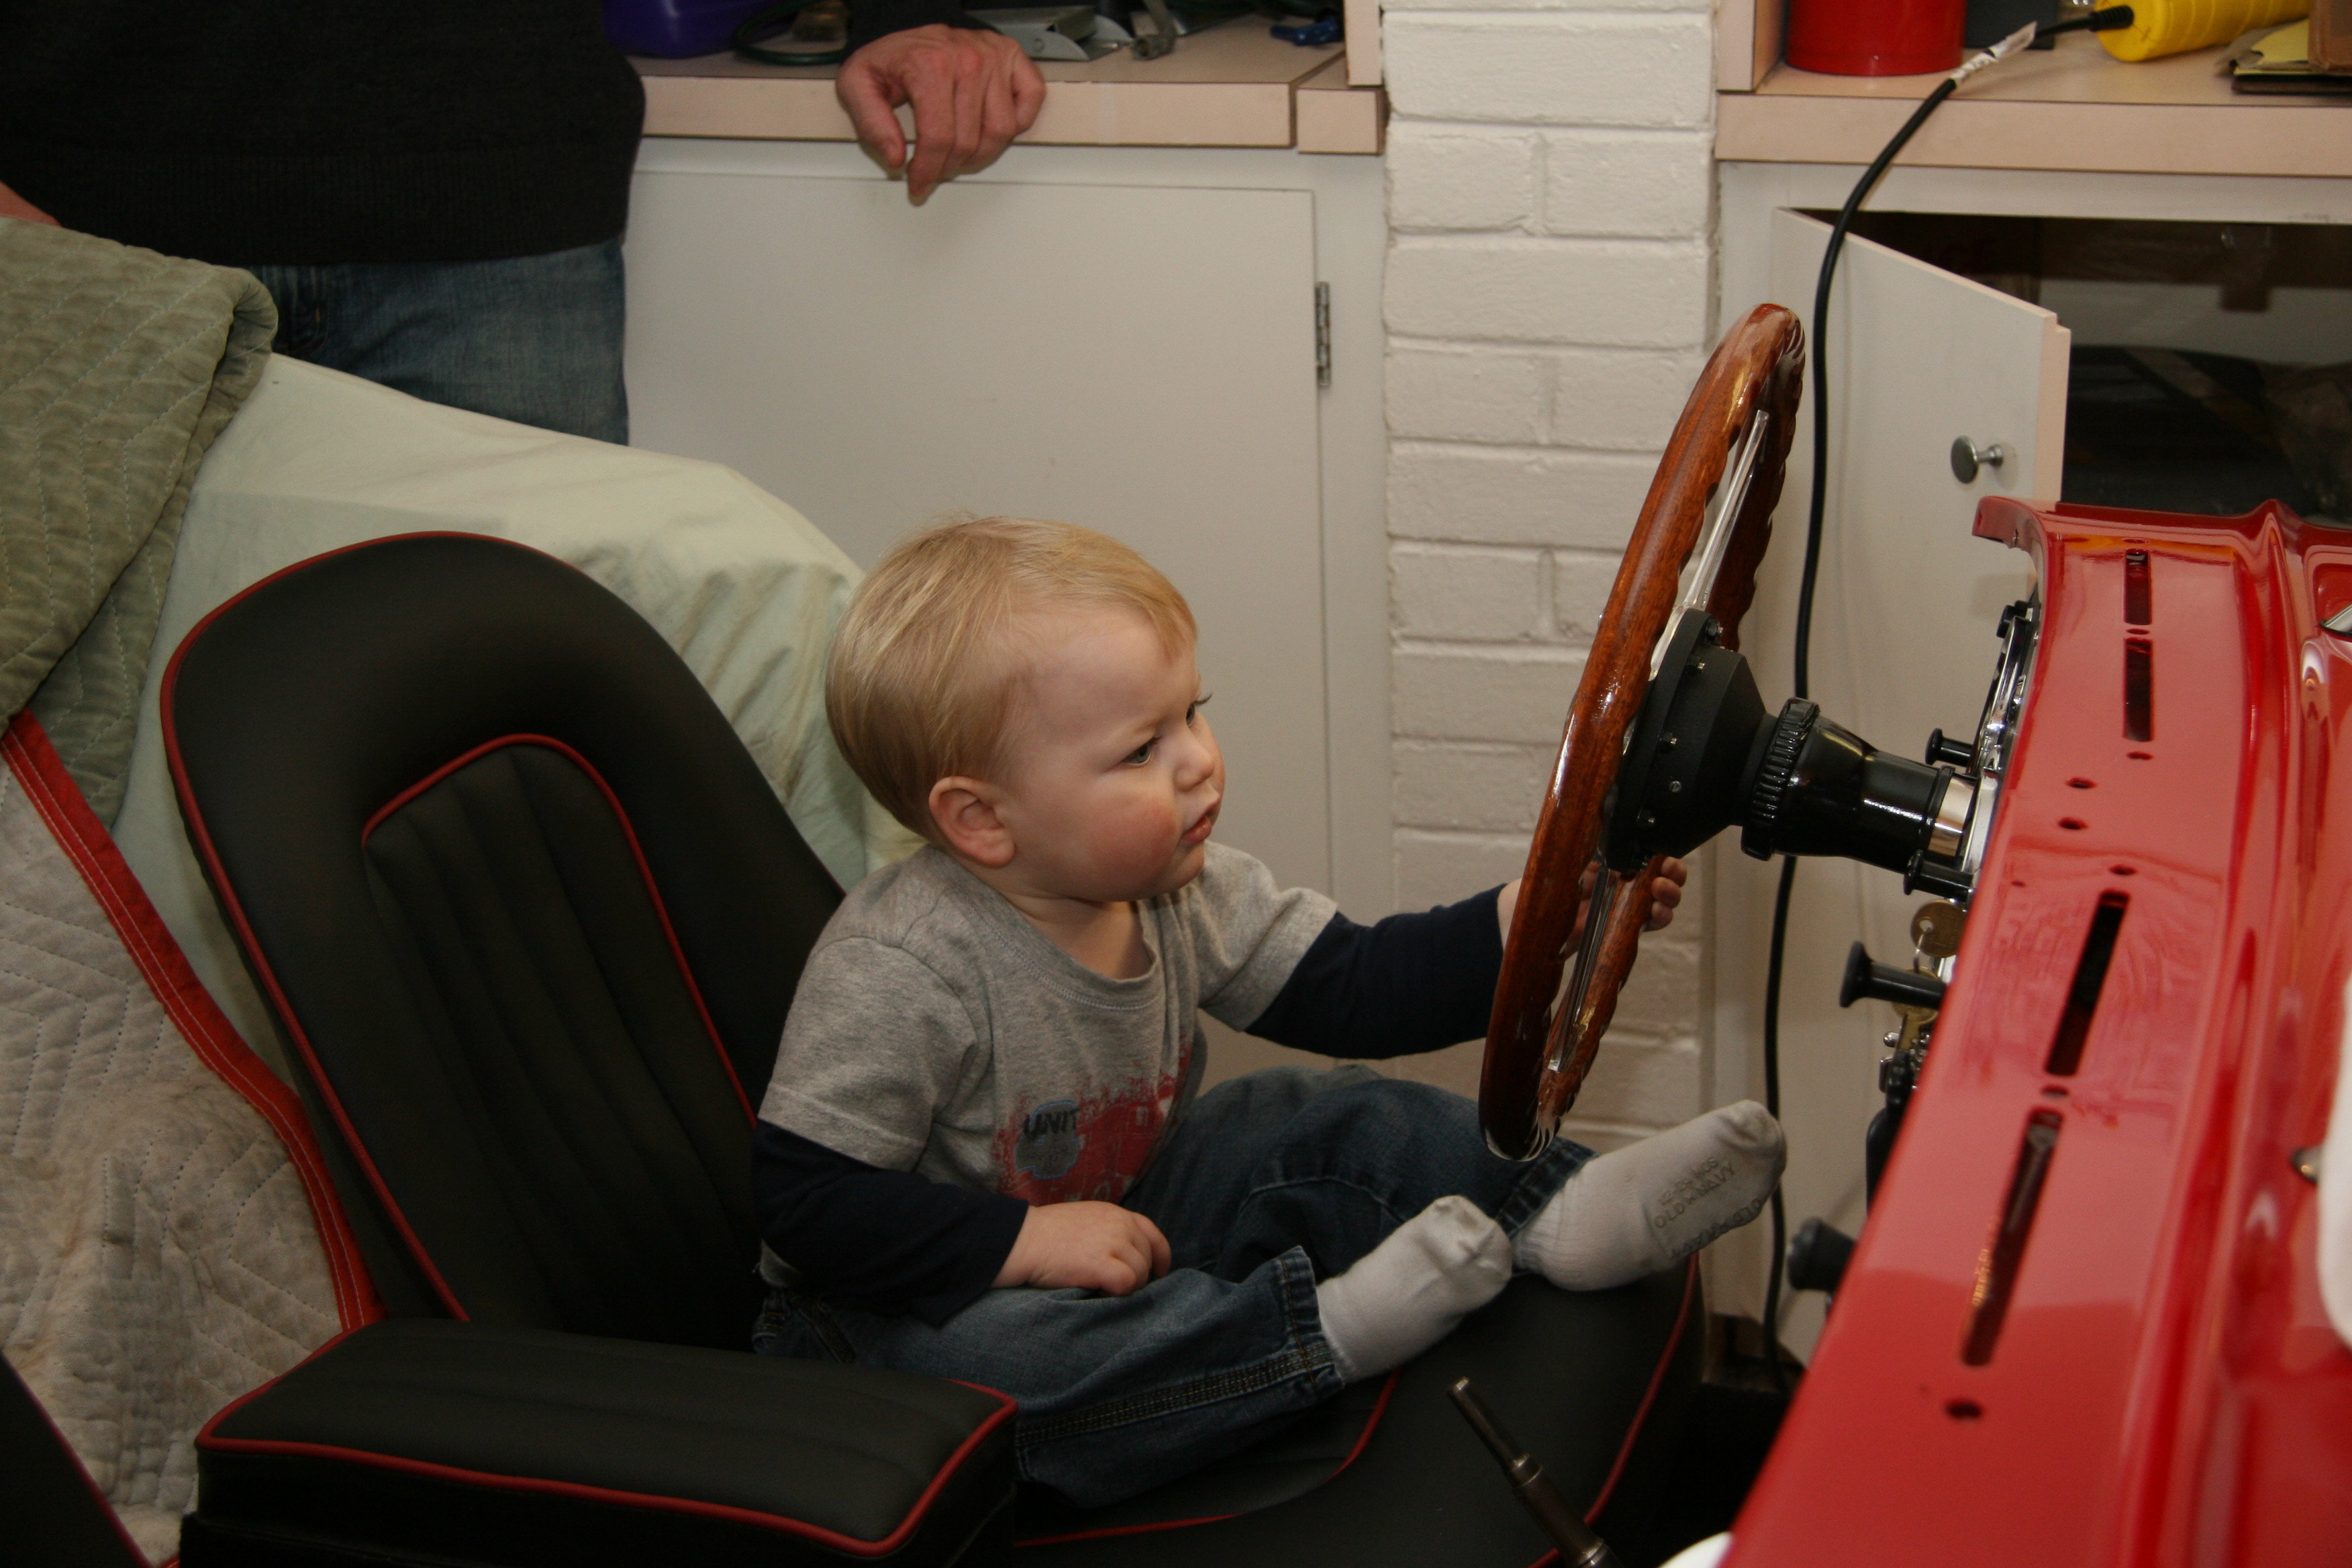
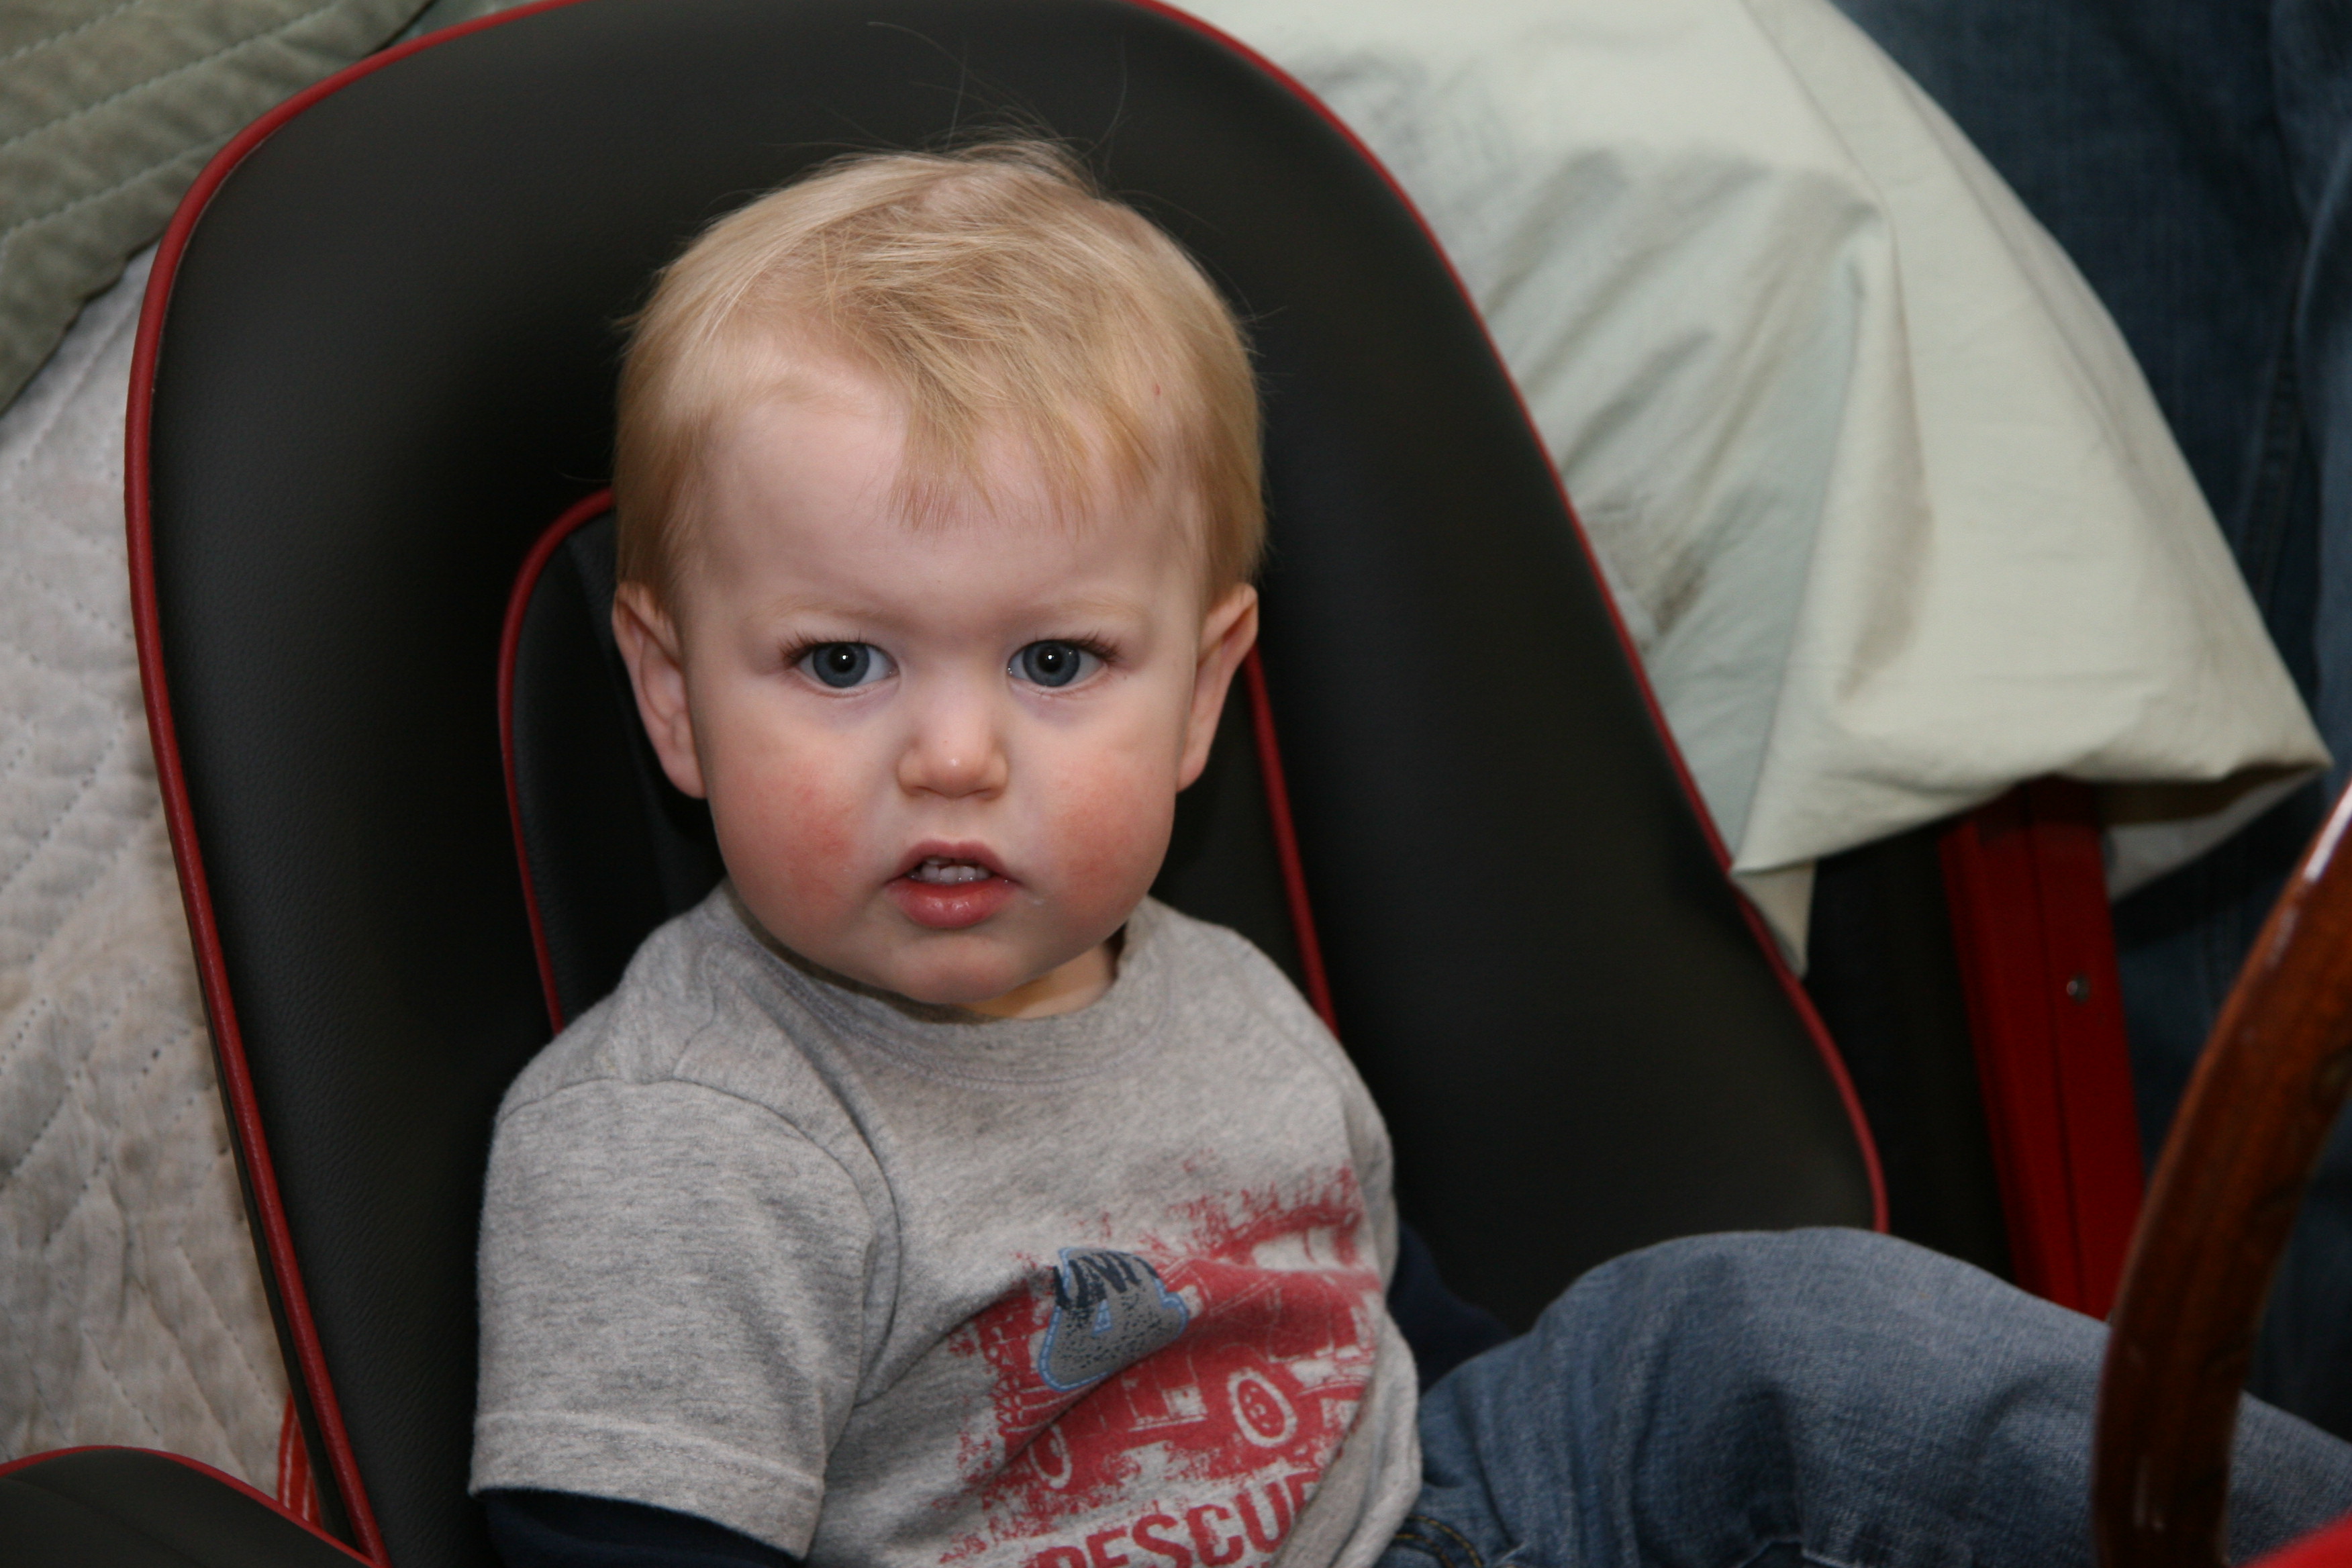
I had a surprise visit from my 9 year old grandson, Tyler. As the photo shows he is getting ready to drive the “Bloody Beast.”
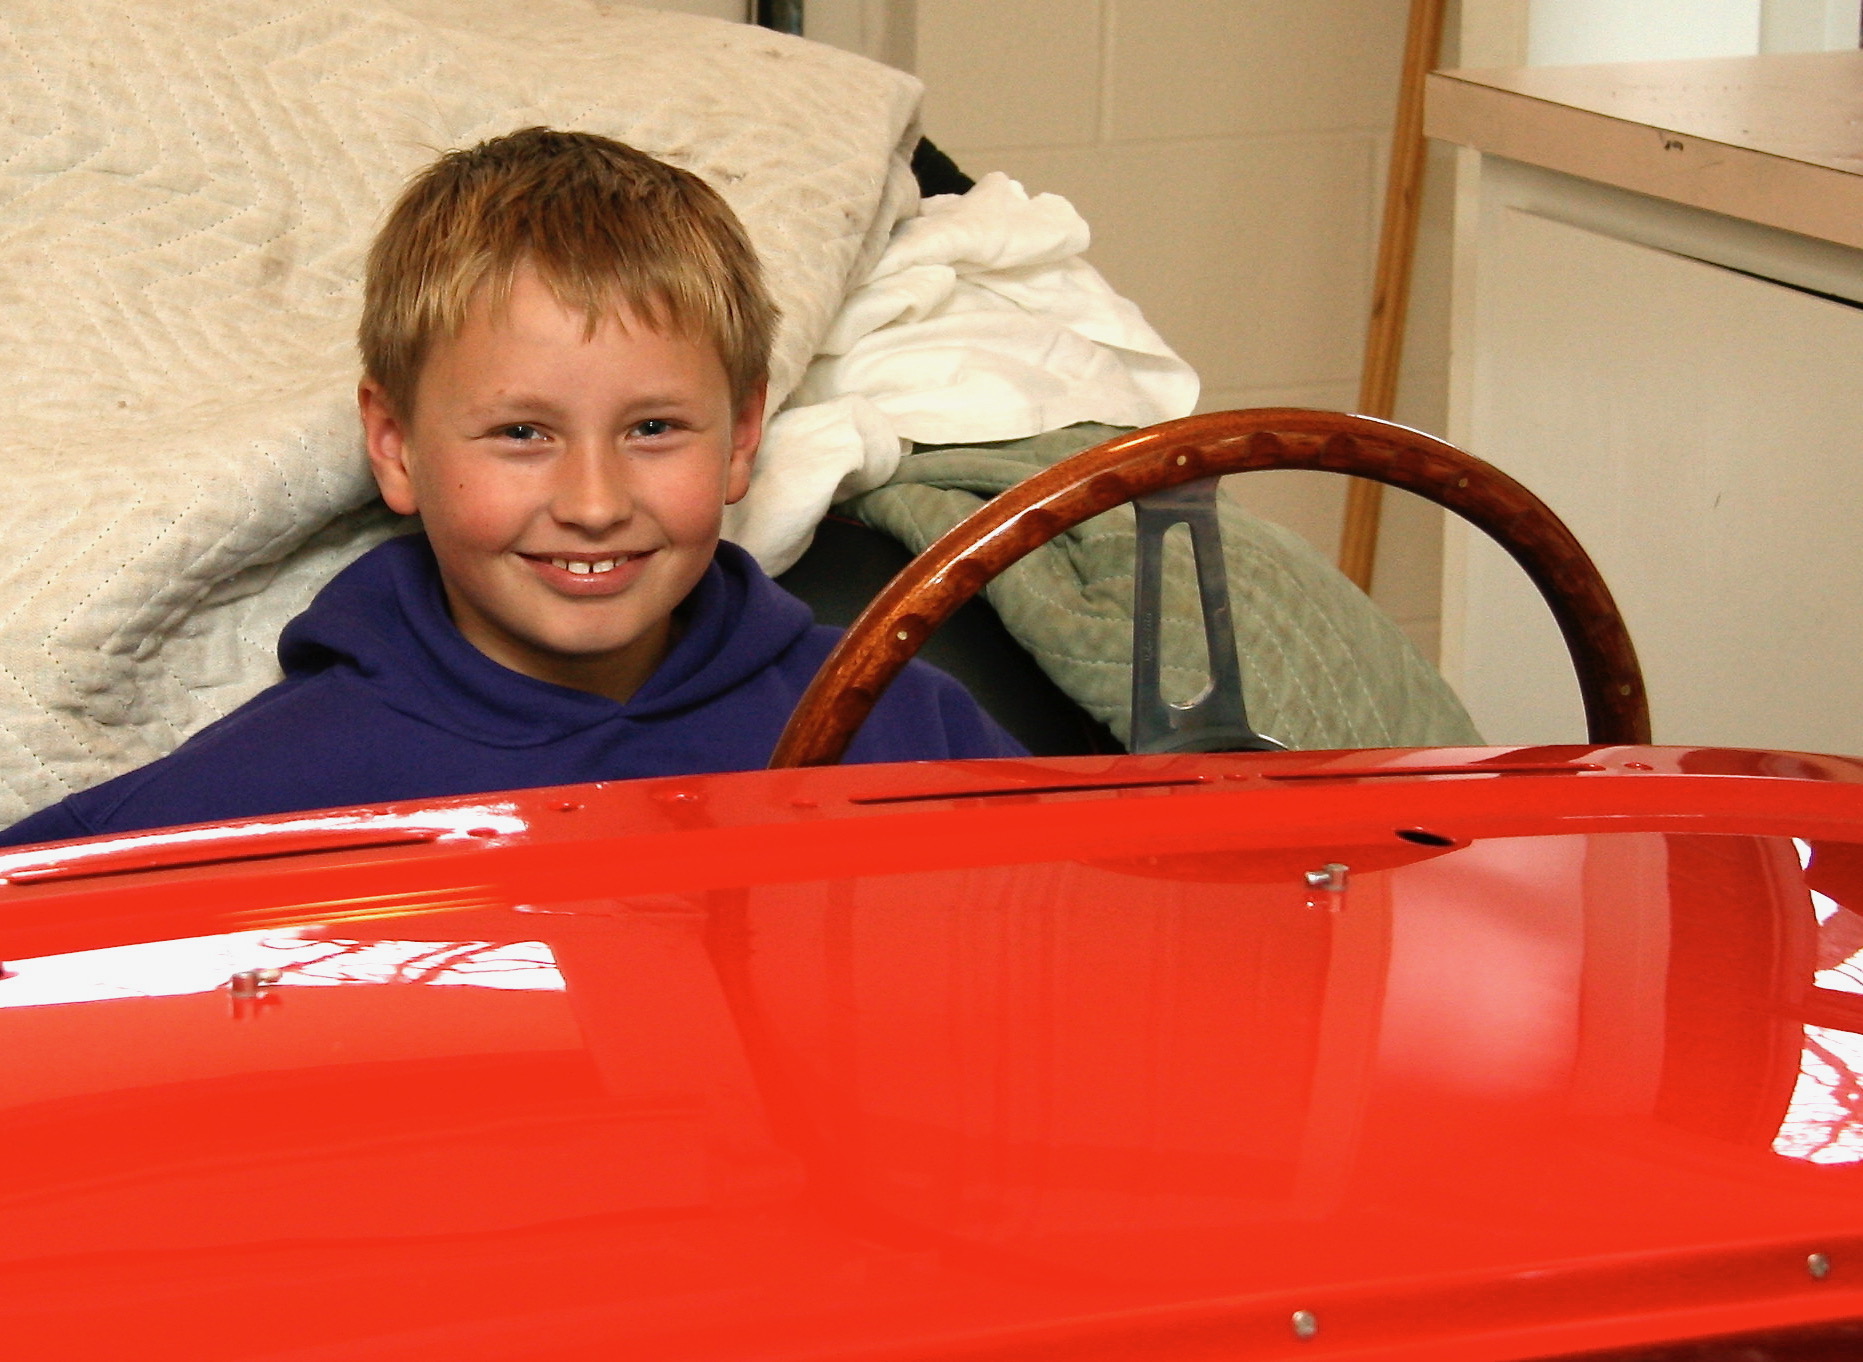
Tyler ready to drive
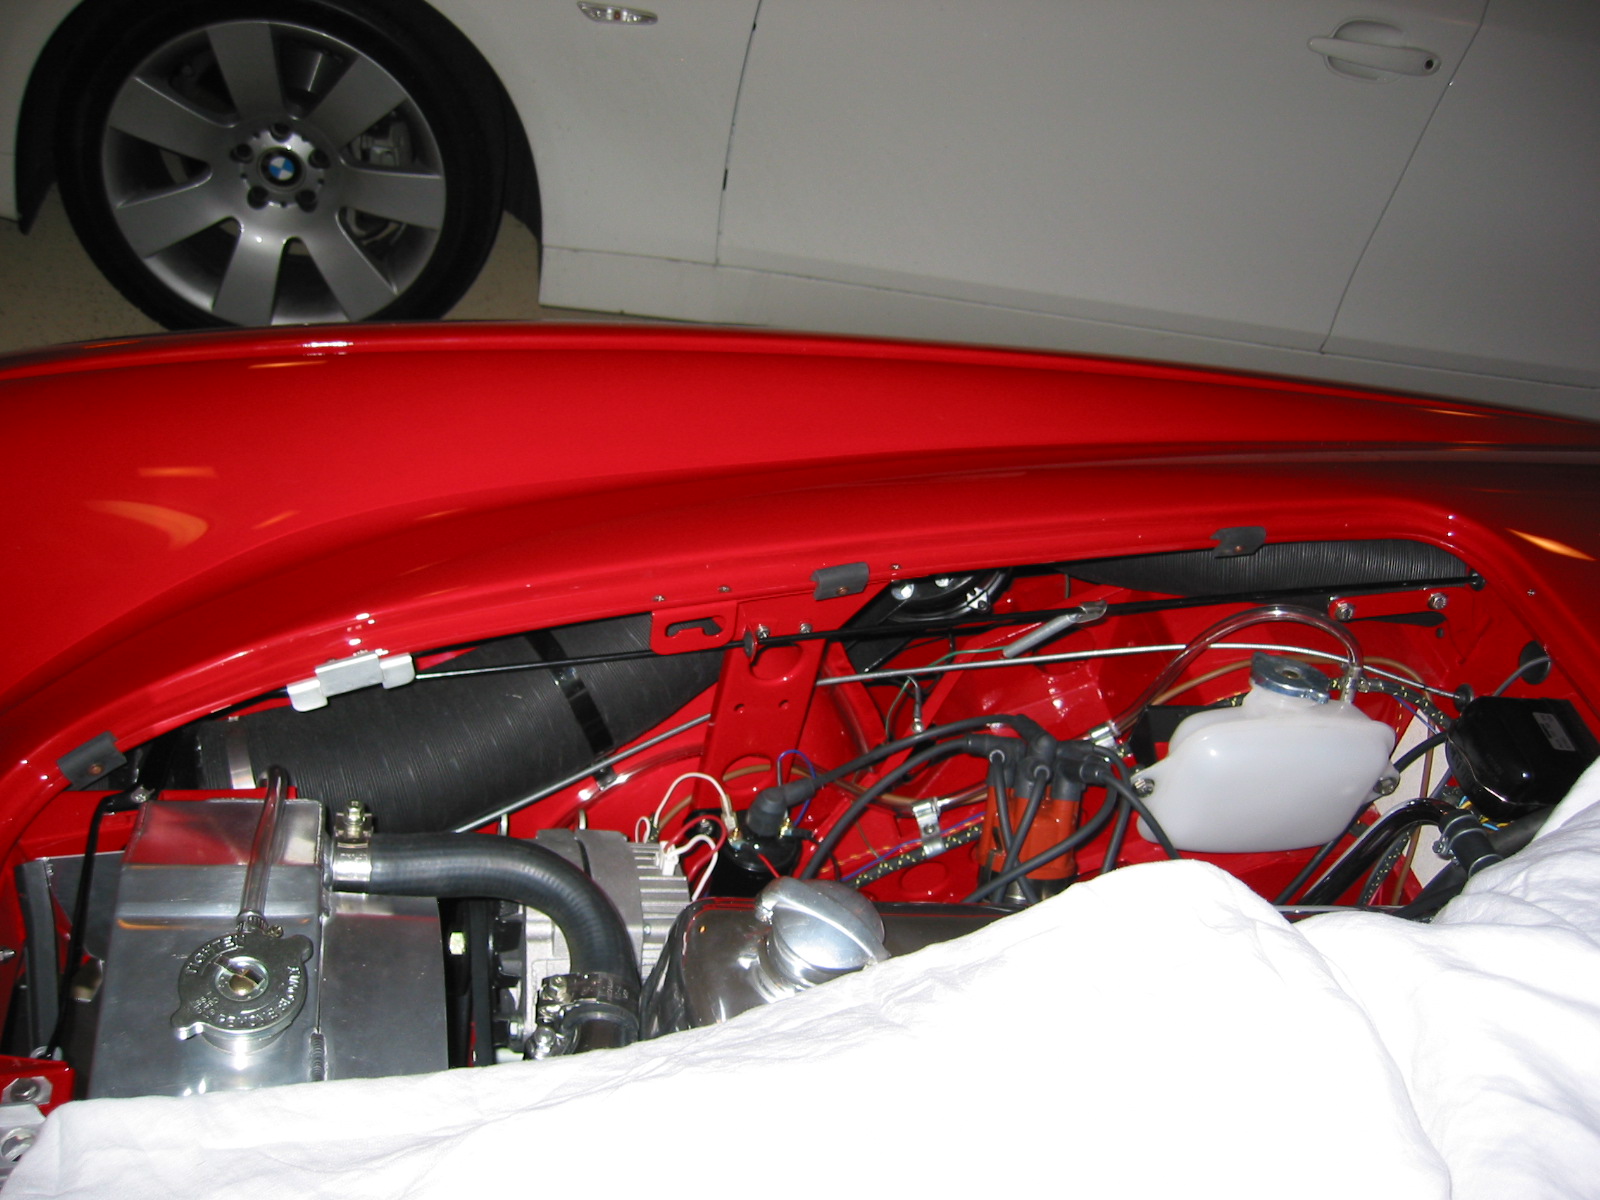
The two windscreen washer jets were installed on the shroud (would have been much easier to do before the shroud was put in place!) and connected with rubber tubing to the reservoir in the parcel shelf. I had previously installed the wiper motor, crosshead and rack, but I now needed to bring the wheelbox assembly up through the front shroud and secure them in place with the rubber washer, chrome bezel and chrome nut. This was not a pleasant job with all the wiring and underdash components in place, but after some struggling the job was accomplished.
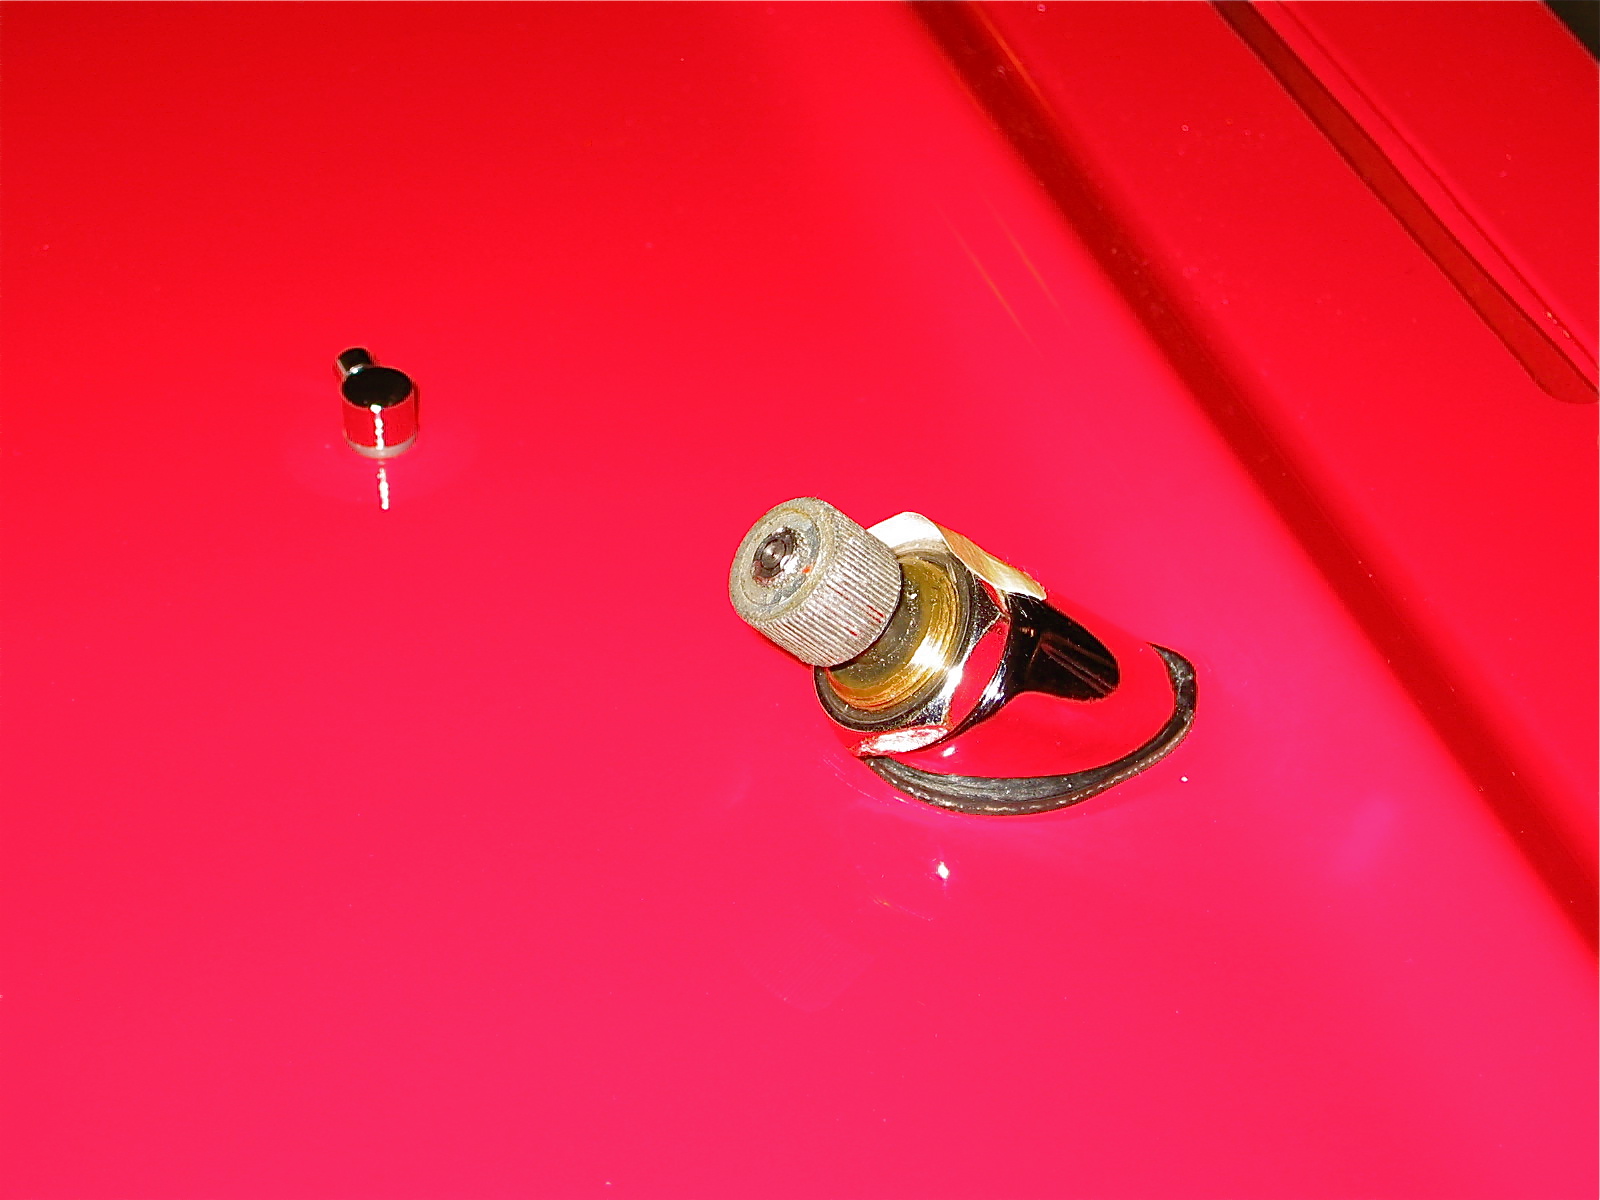
Wipers
I sent my front HD8 carb back to Joe Curto. I suspect a faulty diaphragm causing a leak. When I get it back and on the car then I can finish up the cruise control throttle installation and the front bodywork.
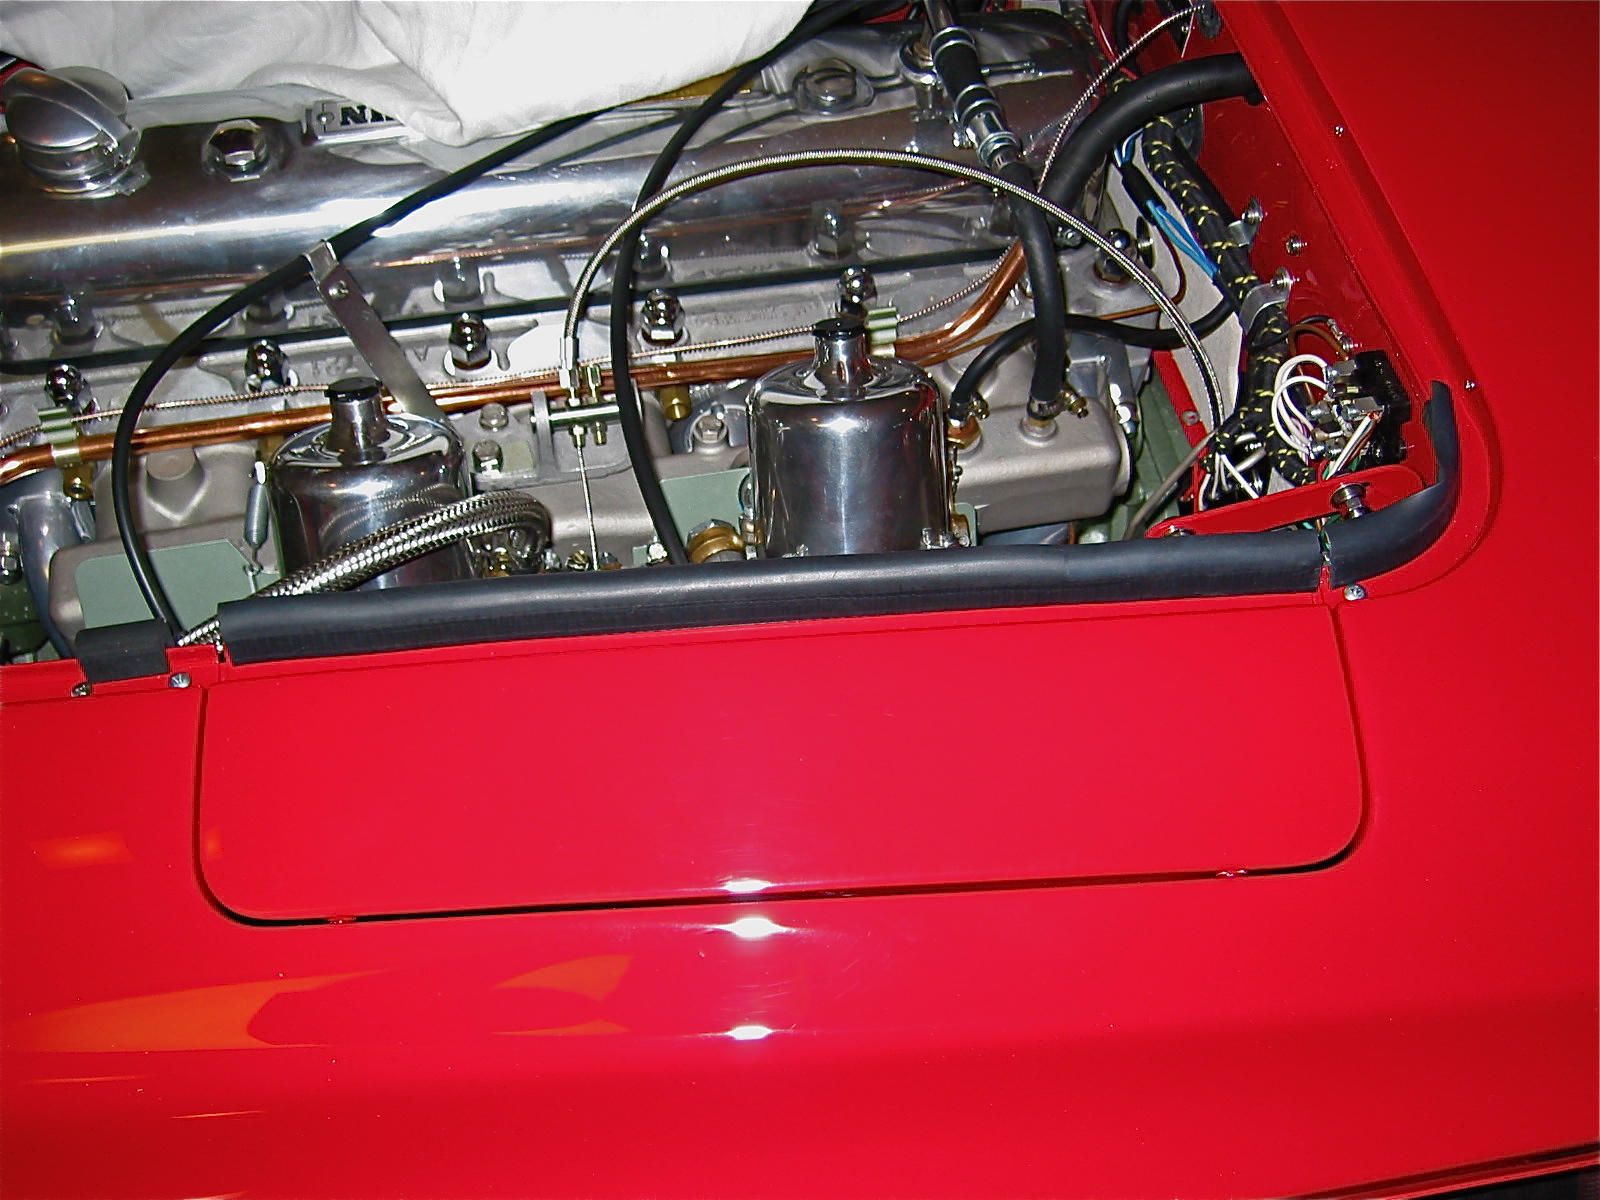
In the meantime I went ahead and installed the rear aluminum cockpit moulding. I used 3M strip caulk to seal each piece to the rear surround lip.
The front-most mounting point for the aluminum moulding was a bit of a problem. After consulting with a number of Healey “authorities,” I concluded that the front mounting point is accomplished with #10-5/8” sheet metal screws on the original car. However, the holes in the shroud had become enlarged over the years and a sheet metal screw would not work. Jack Brashear gave me a tip for installing a machine screw and nut that proved very helpful.
There is VERY LITTLE room to work to install the nut for the front mount. Jack recommended using a Keps nut (has a star washer built in) stuck on a hacksaw blade to maneuver the nut to the fixing hole. I used a little 3M strip caulk to hold the nut on the blade. It worked like a charm and now my moulding trim is mounted tightly to the shroud.
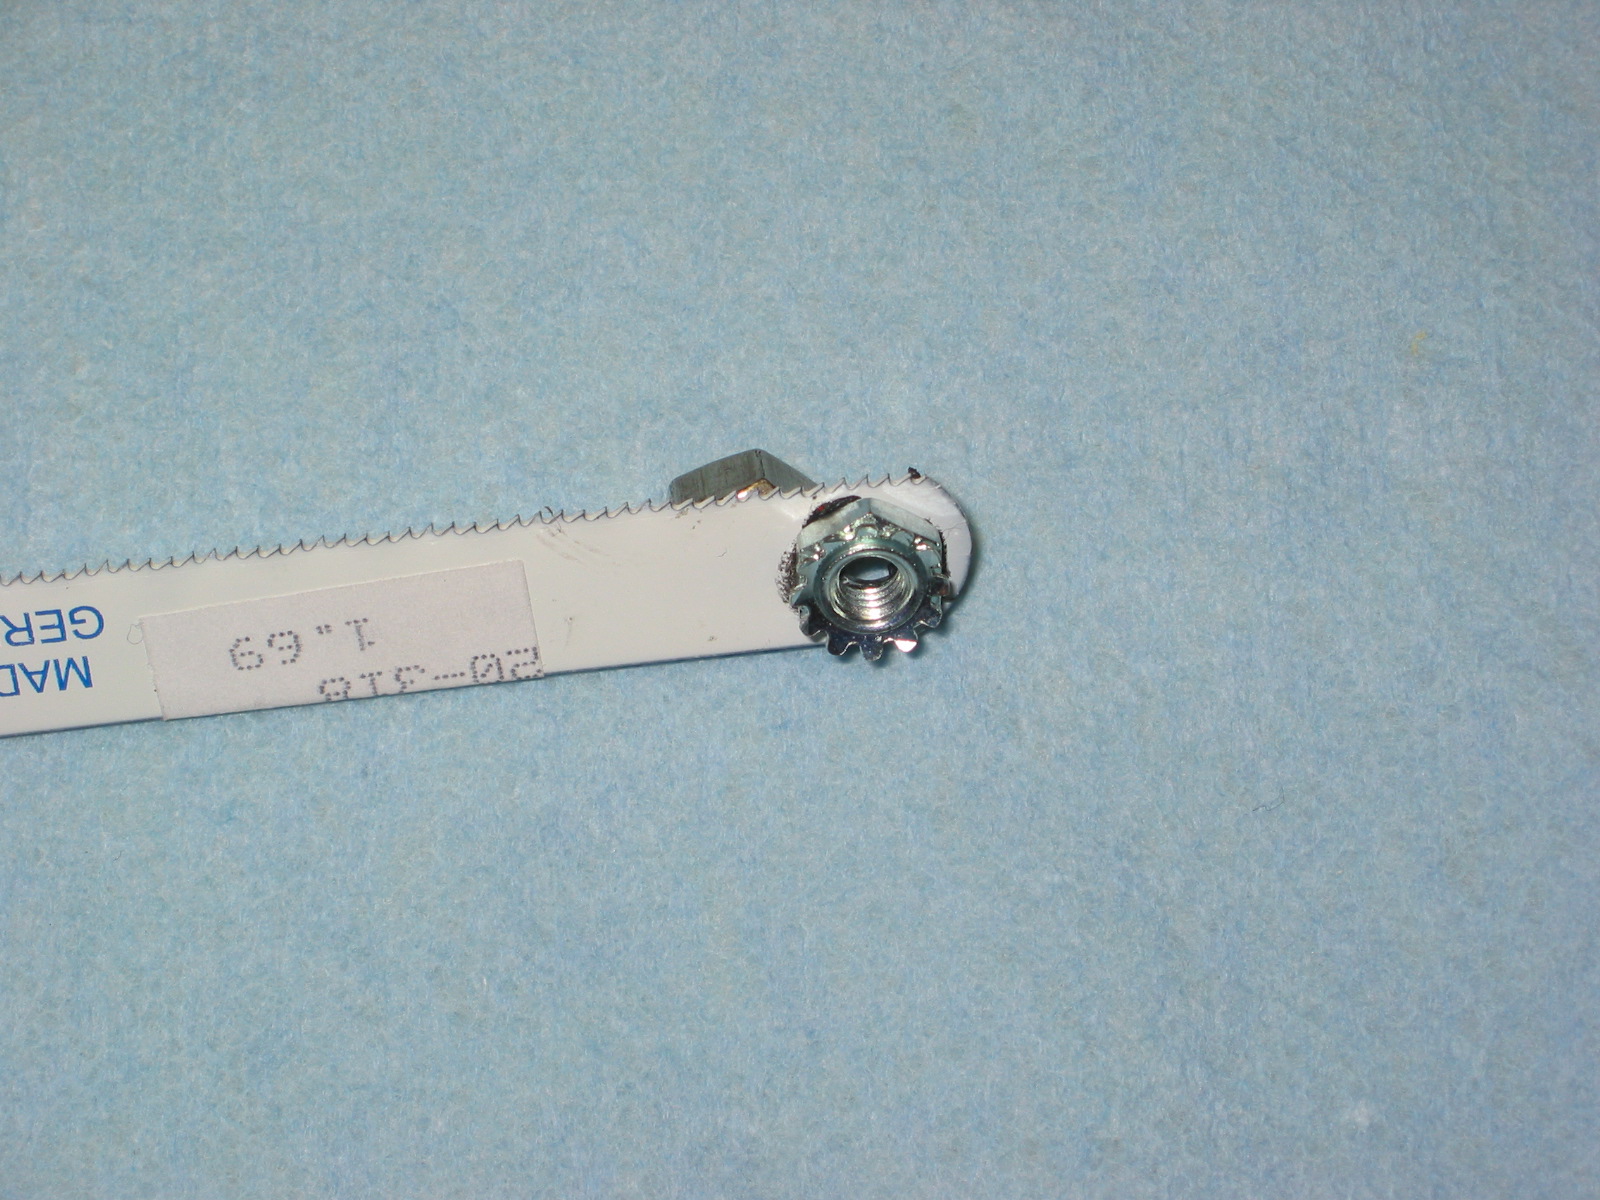
Keps nut for aluminum trim installation

Front installation of aluminum cockpit trim
Finishing up the cruise control was accomplished next. I designed a bracket for the throttle connection that permitted locating the throttle cable without having to drill any holes in the vehicle. The cruise control throttle cable bracket is mounted to on the top of the firewall diagonal brace and takes advantage of the two vertical mounting bolts for the pedal box. I painted the bracket red making it virtually undetected by the casual observer.

Cruise control bracket 6
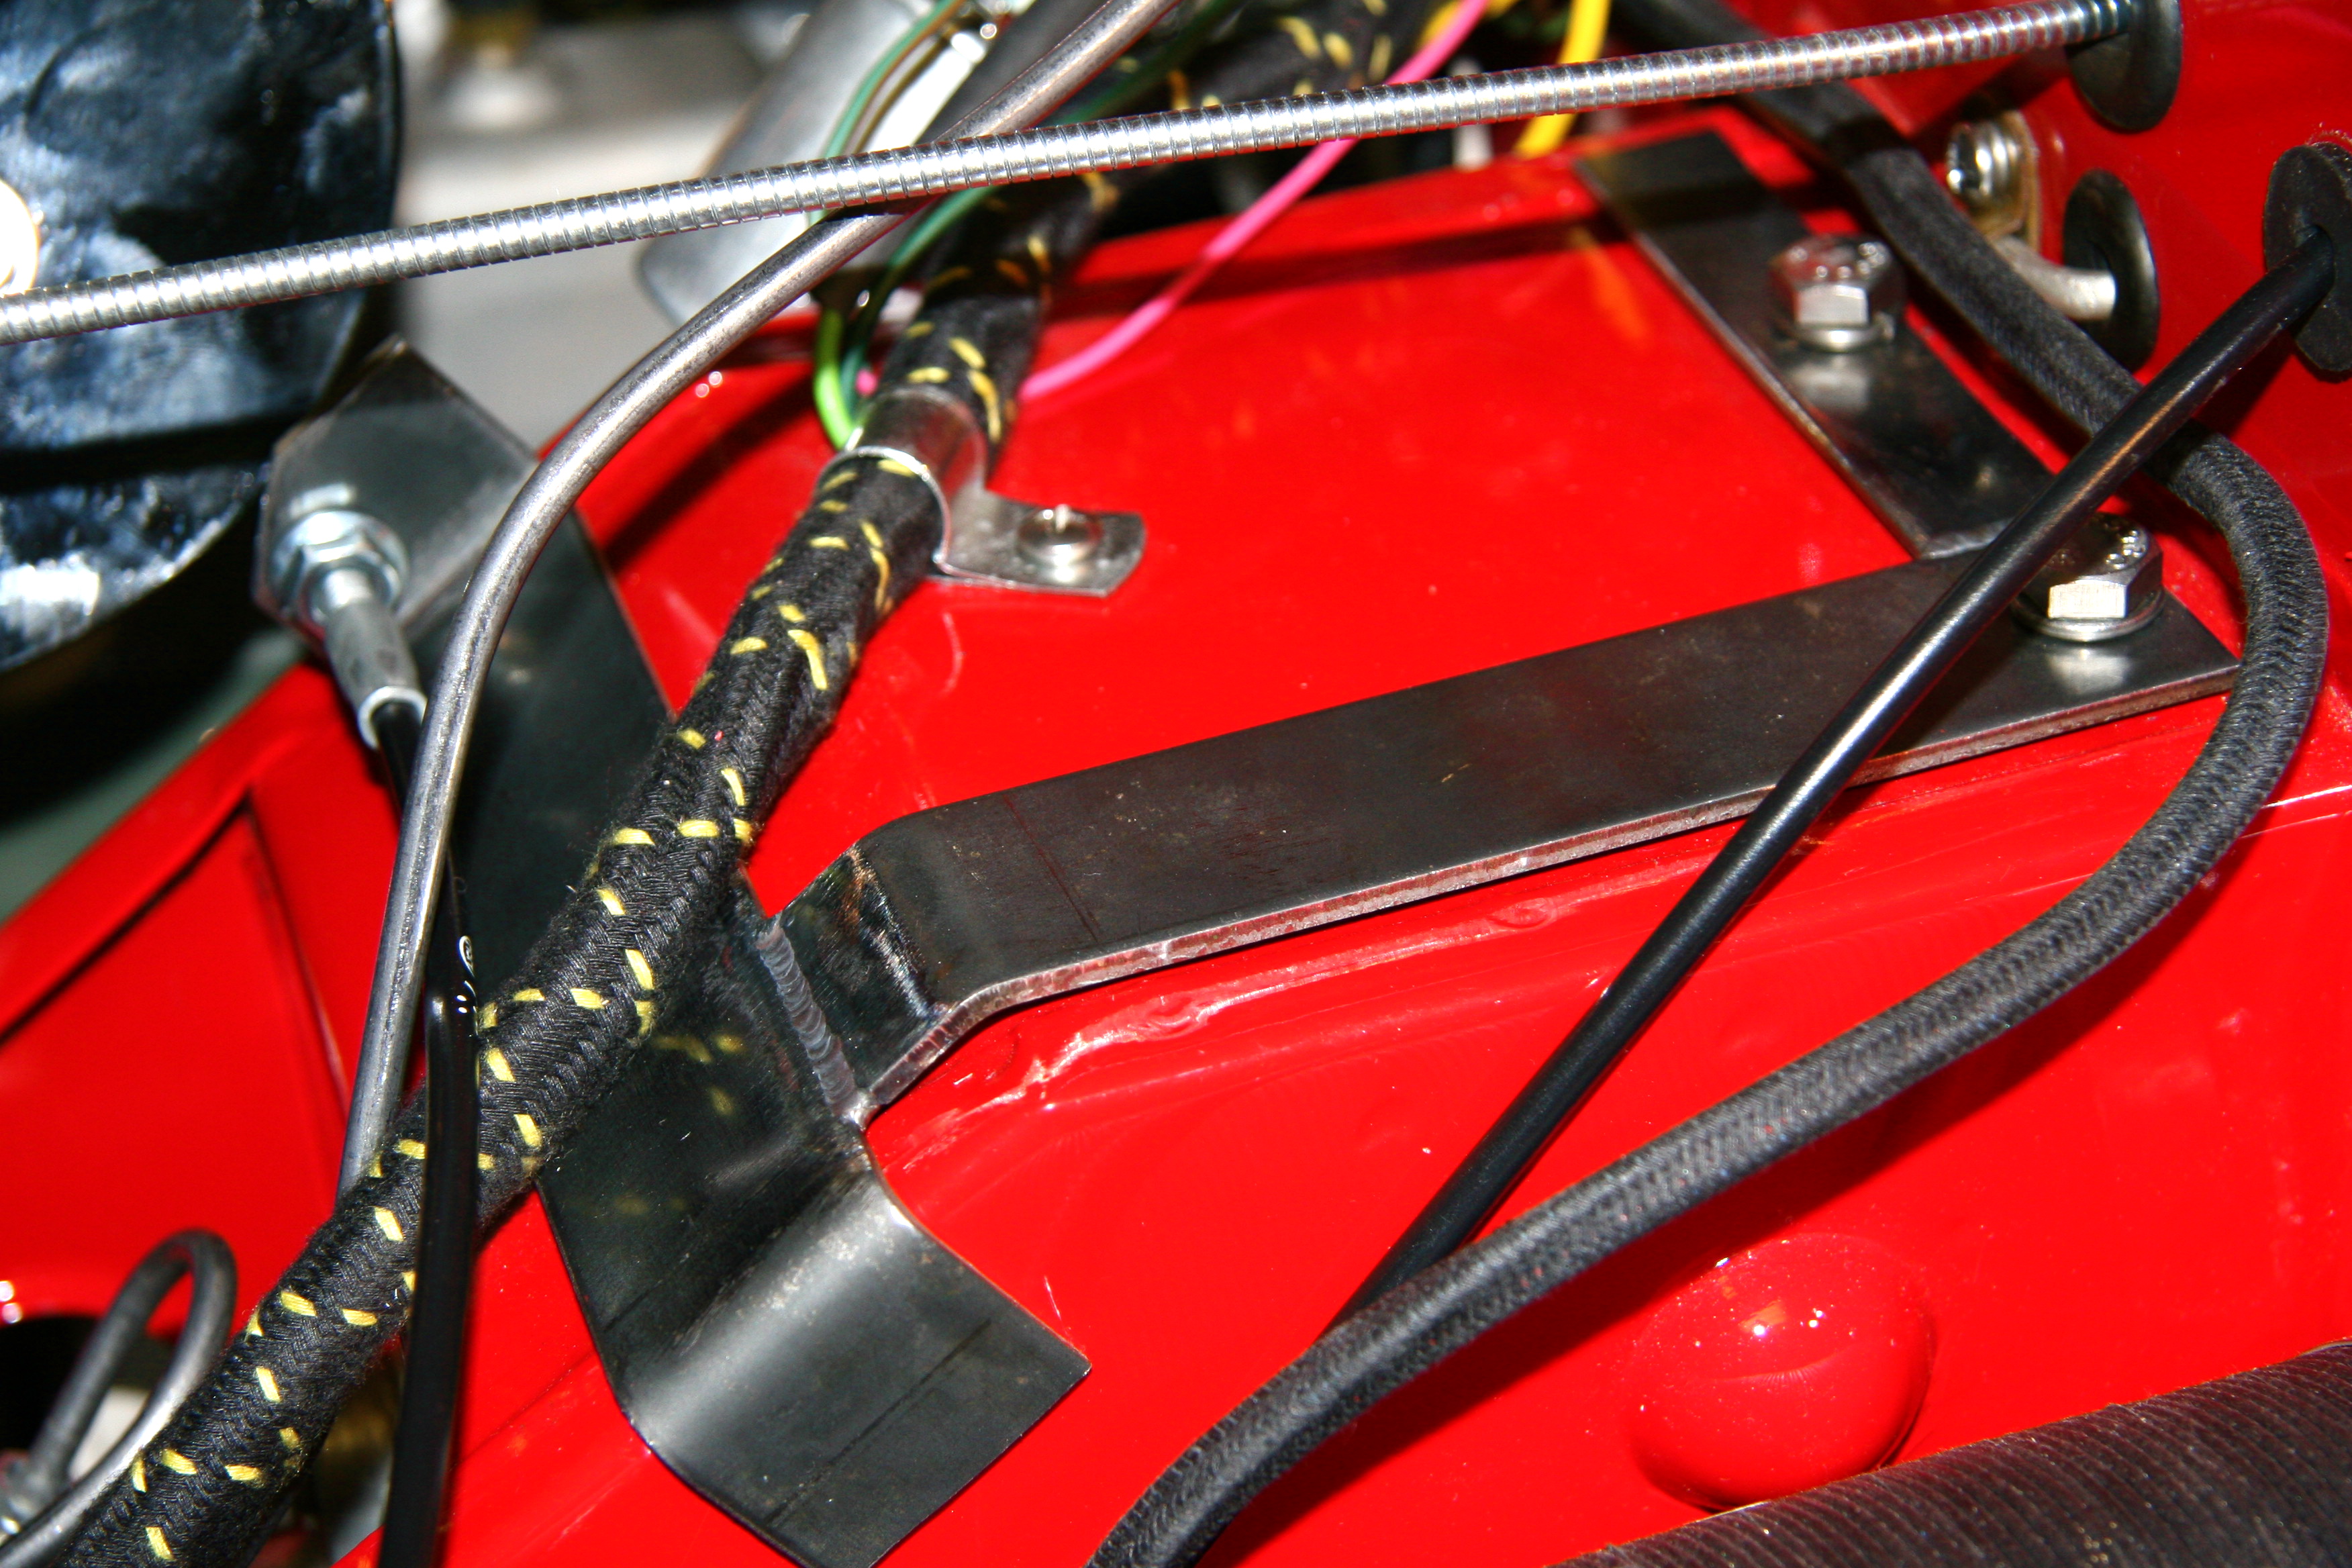
Cruise control bracket 3
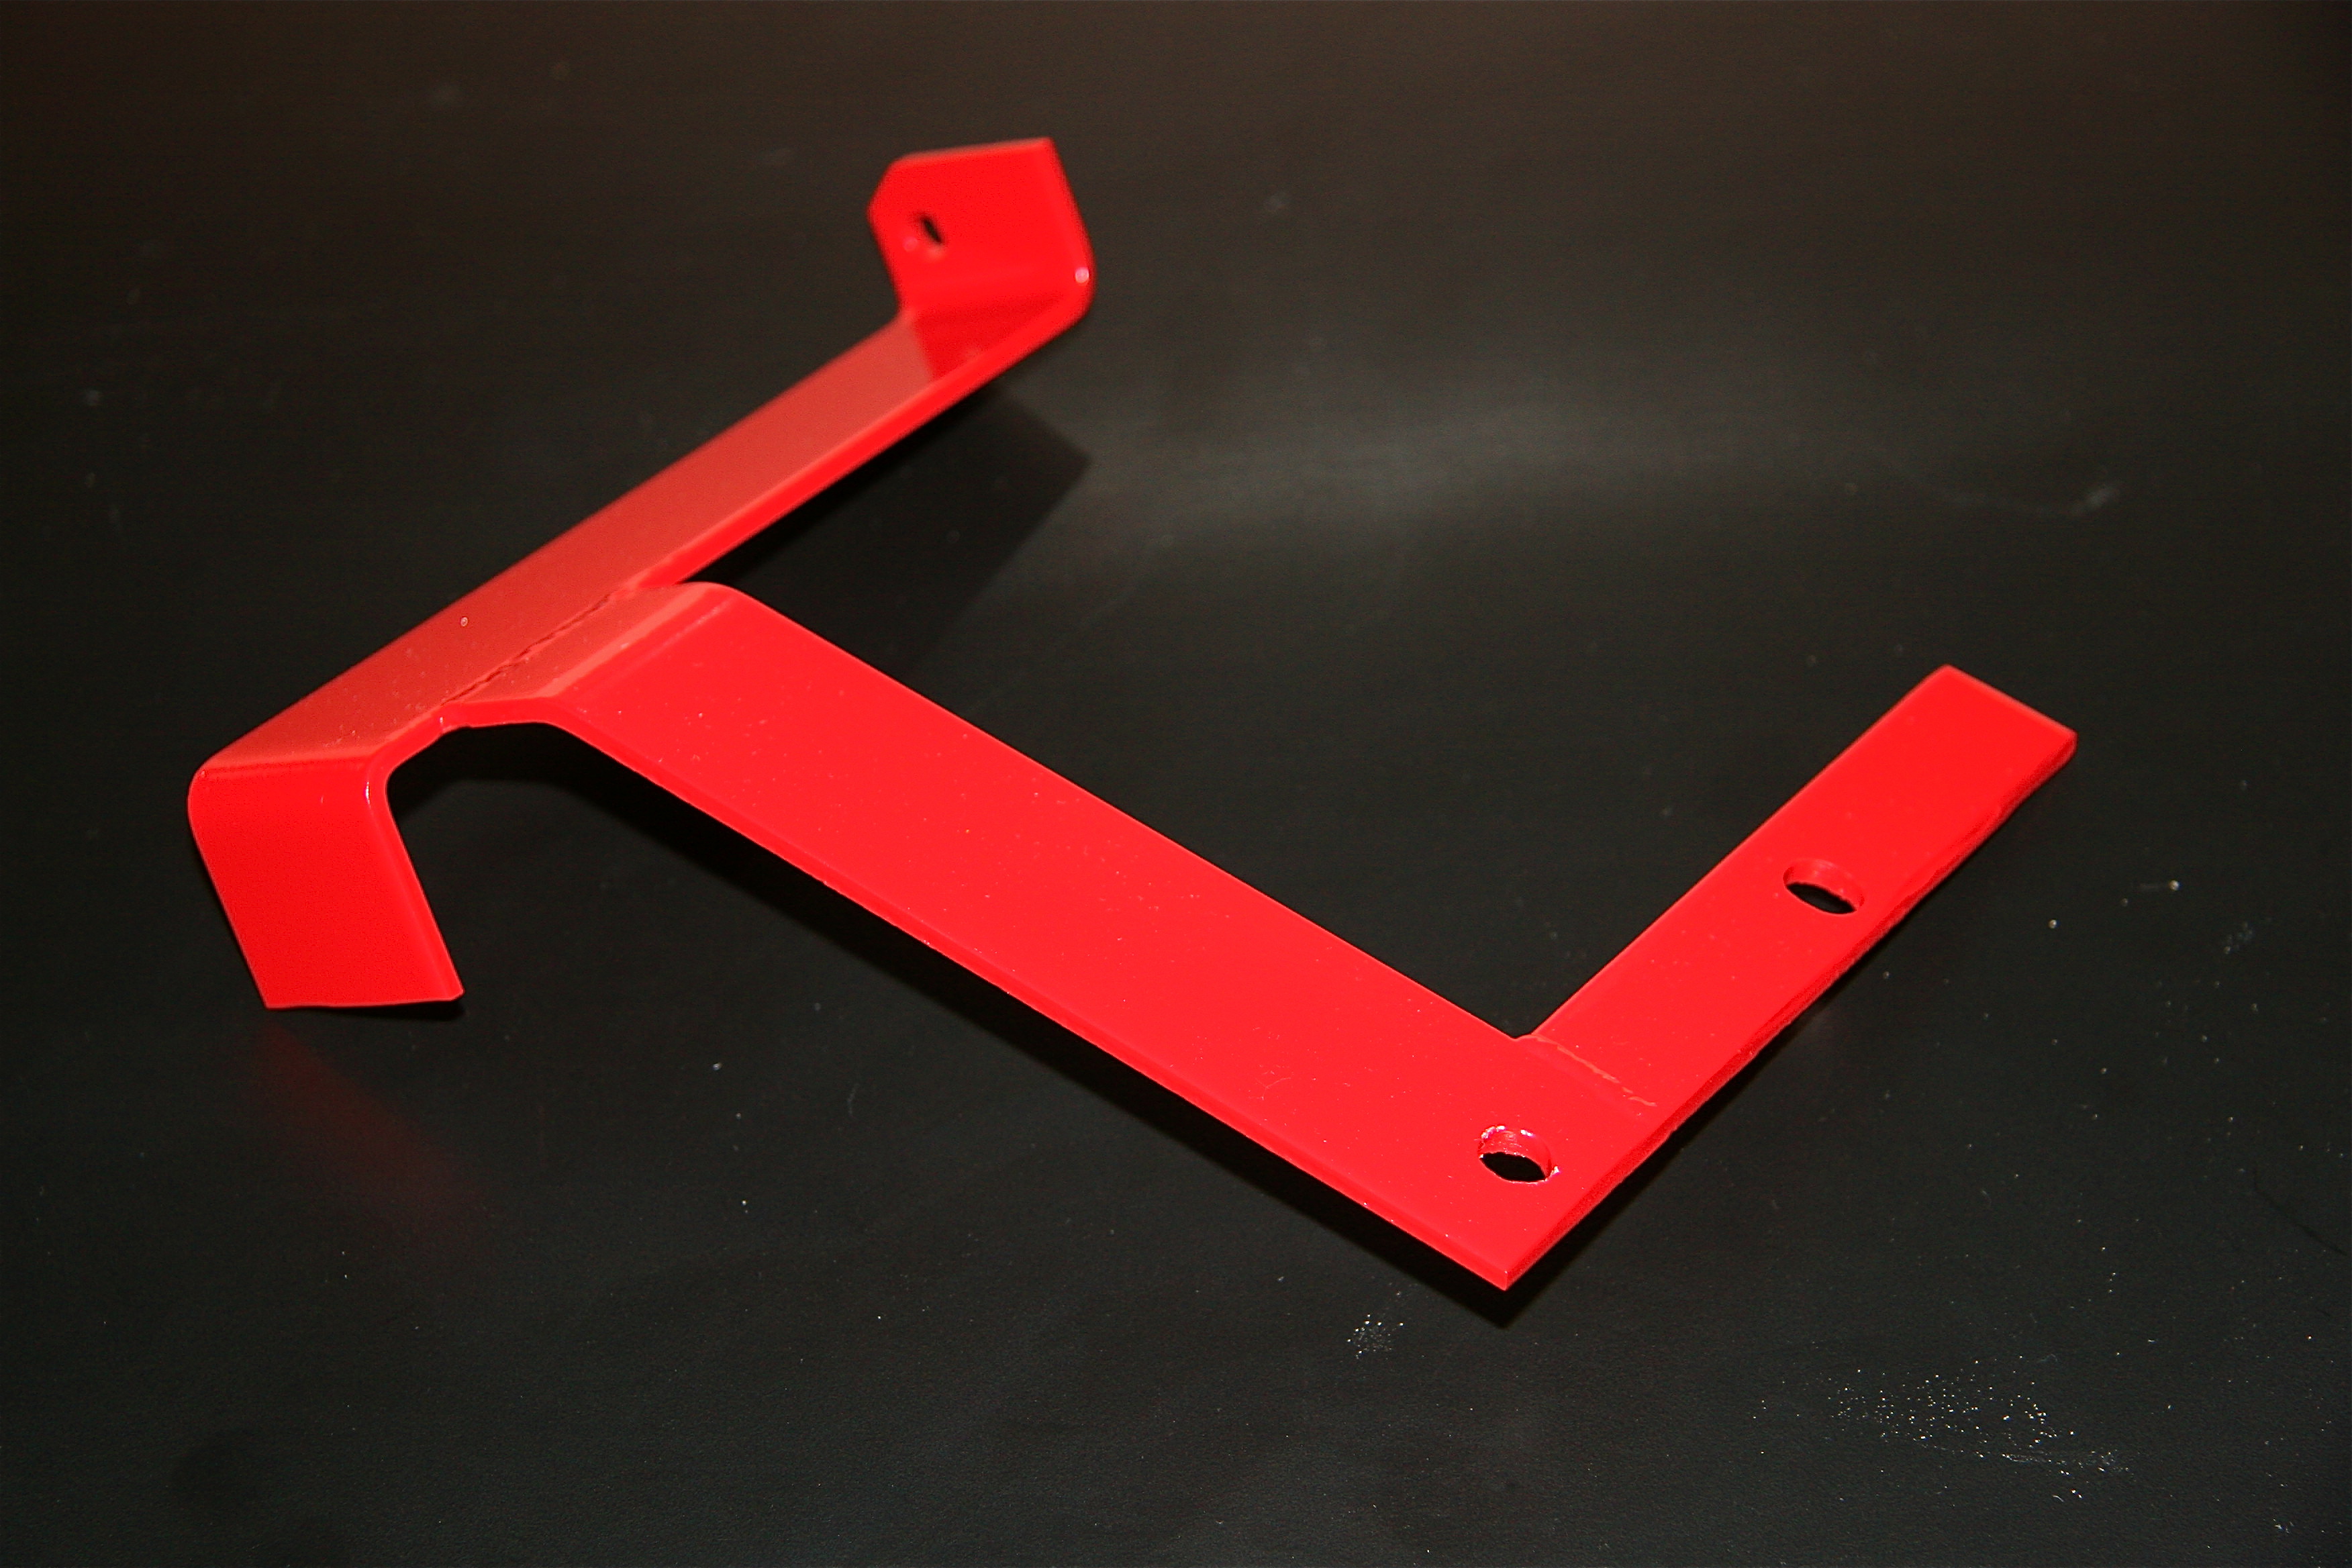
Cruise control bracket painted
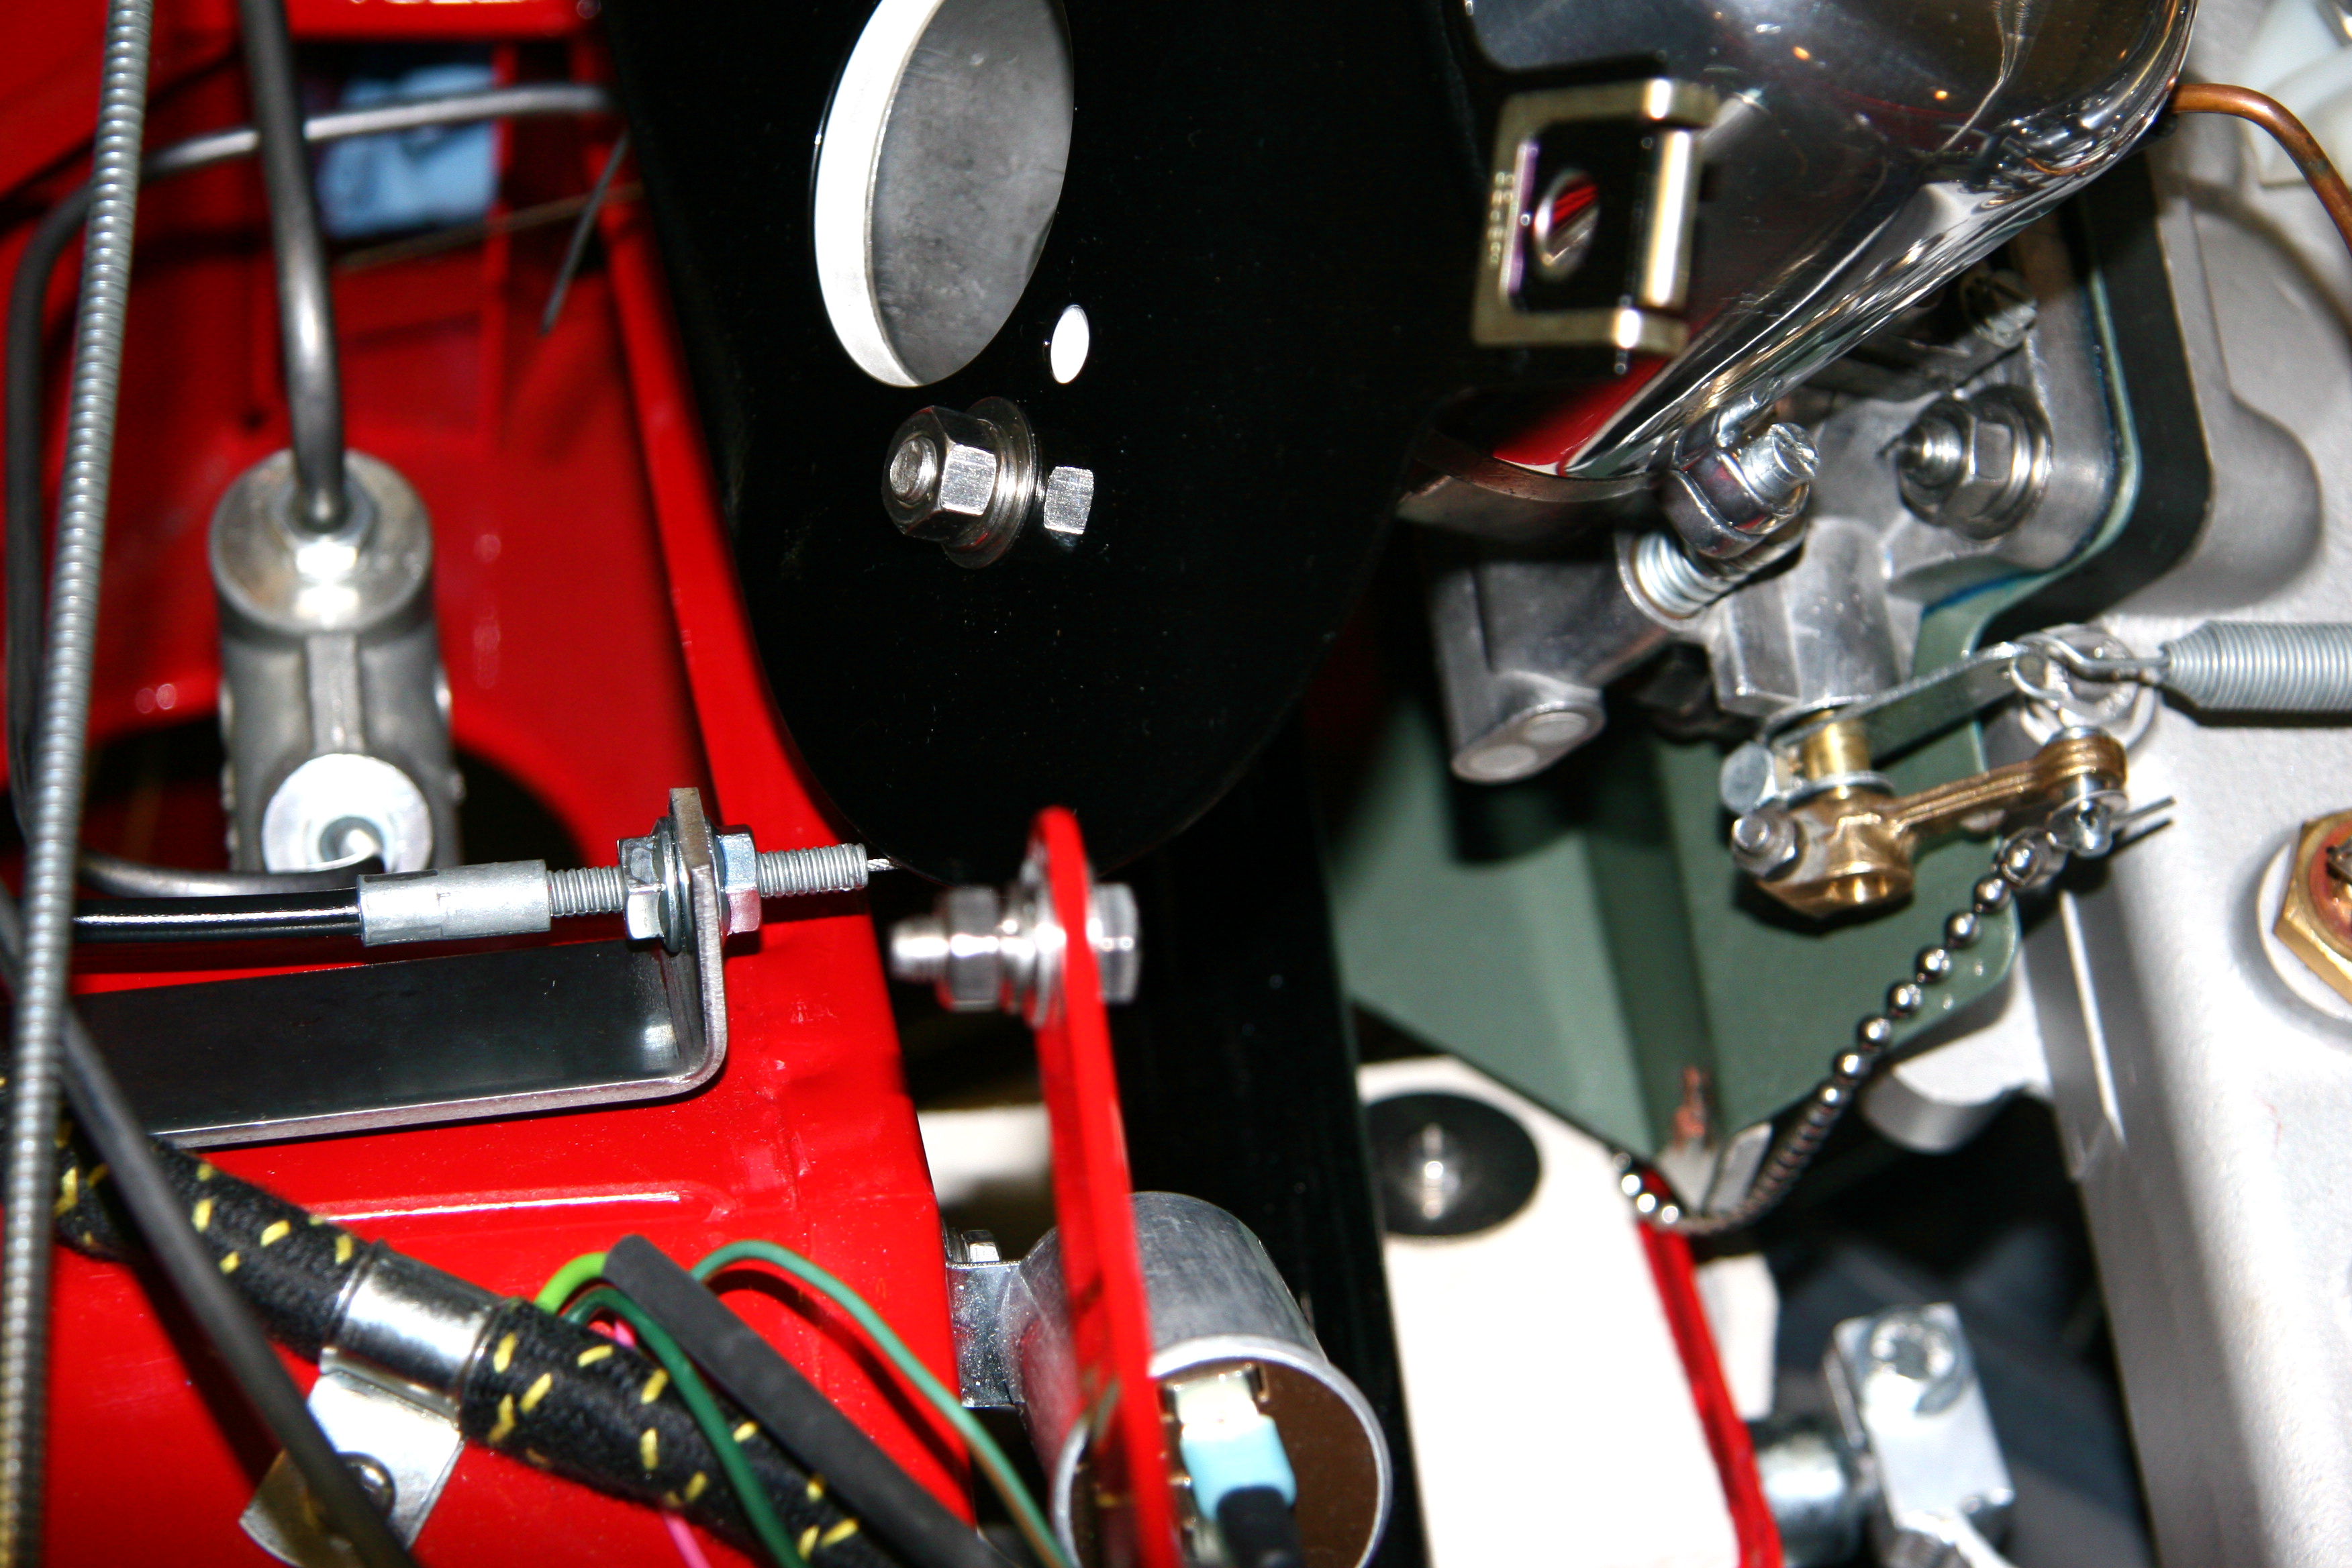
Cruise control bracket 5
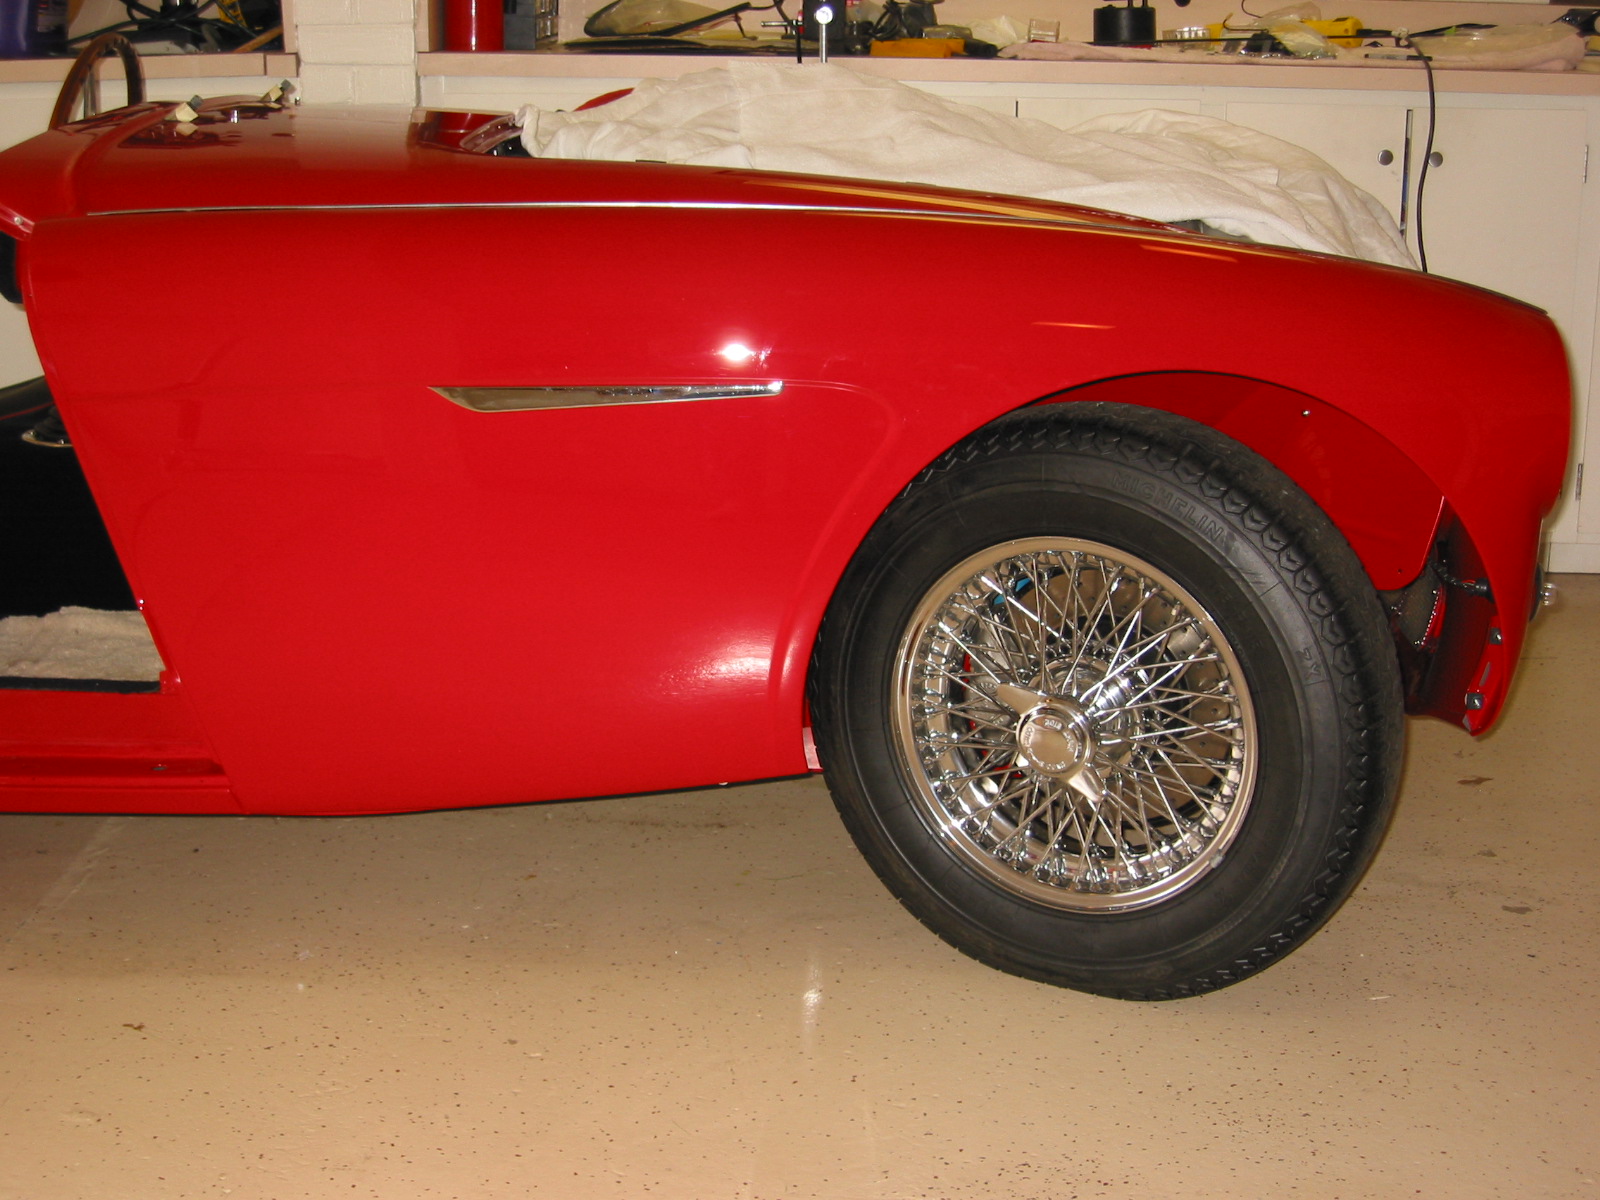
Using what I learned on the installation of the RH rear wing, I attached the LH wing in about half the time. I fixed the turnbuckle to the wing before putting the wing on the superstructure.
Turnbuckle installed
It is a good feeling to have both installed. The Beast is actually beginning to look like a car.
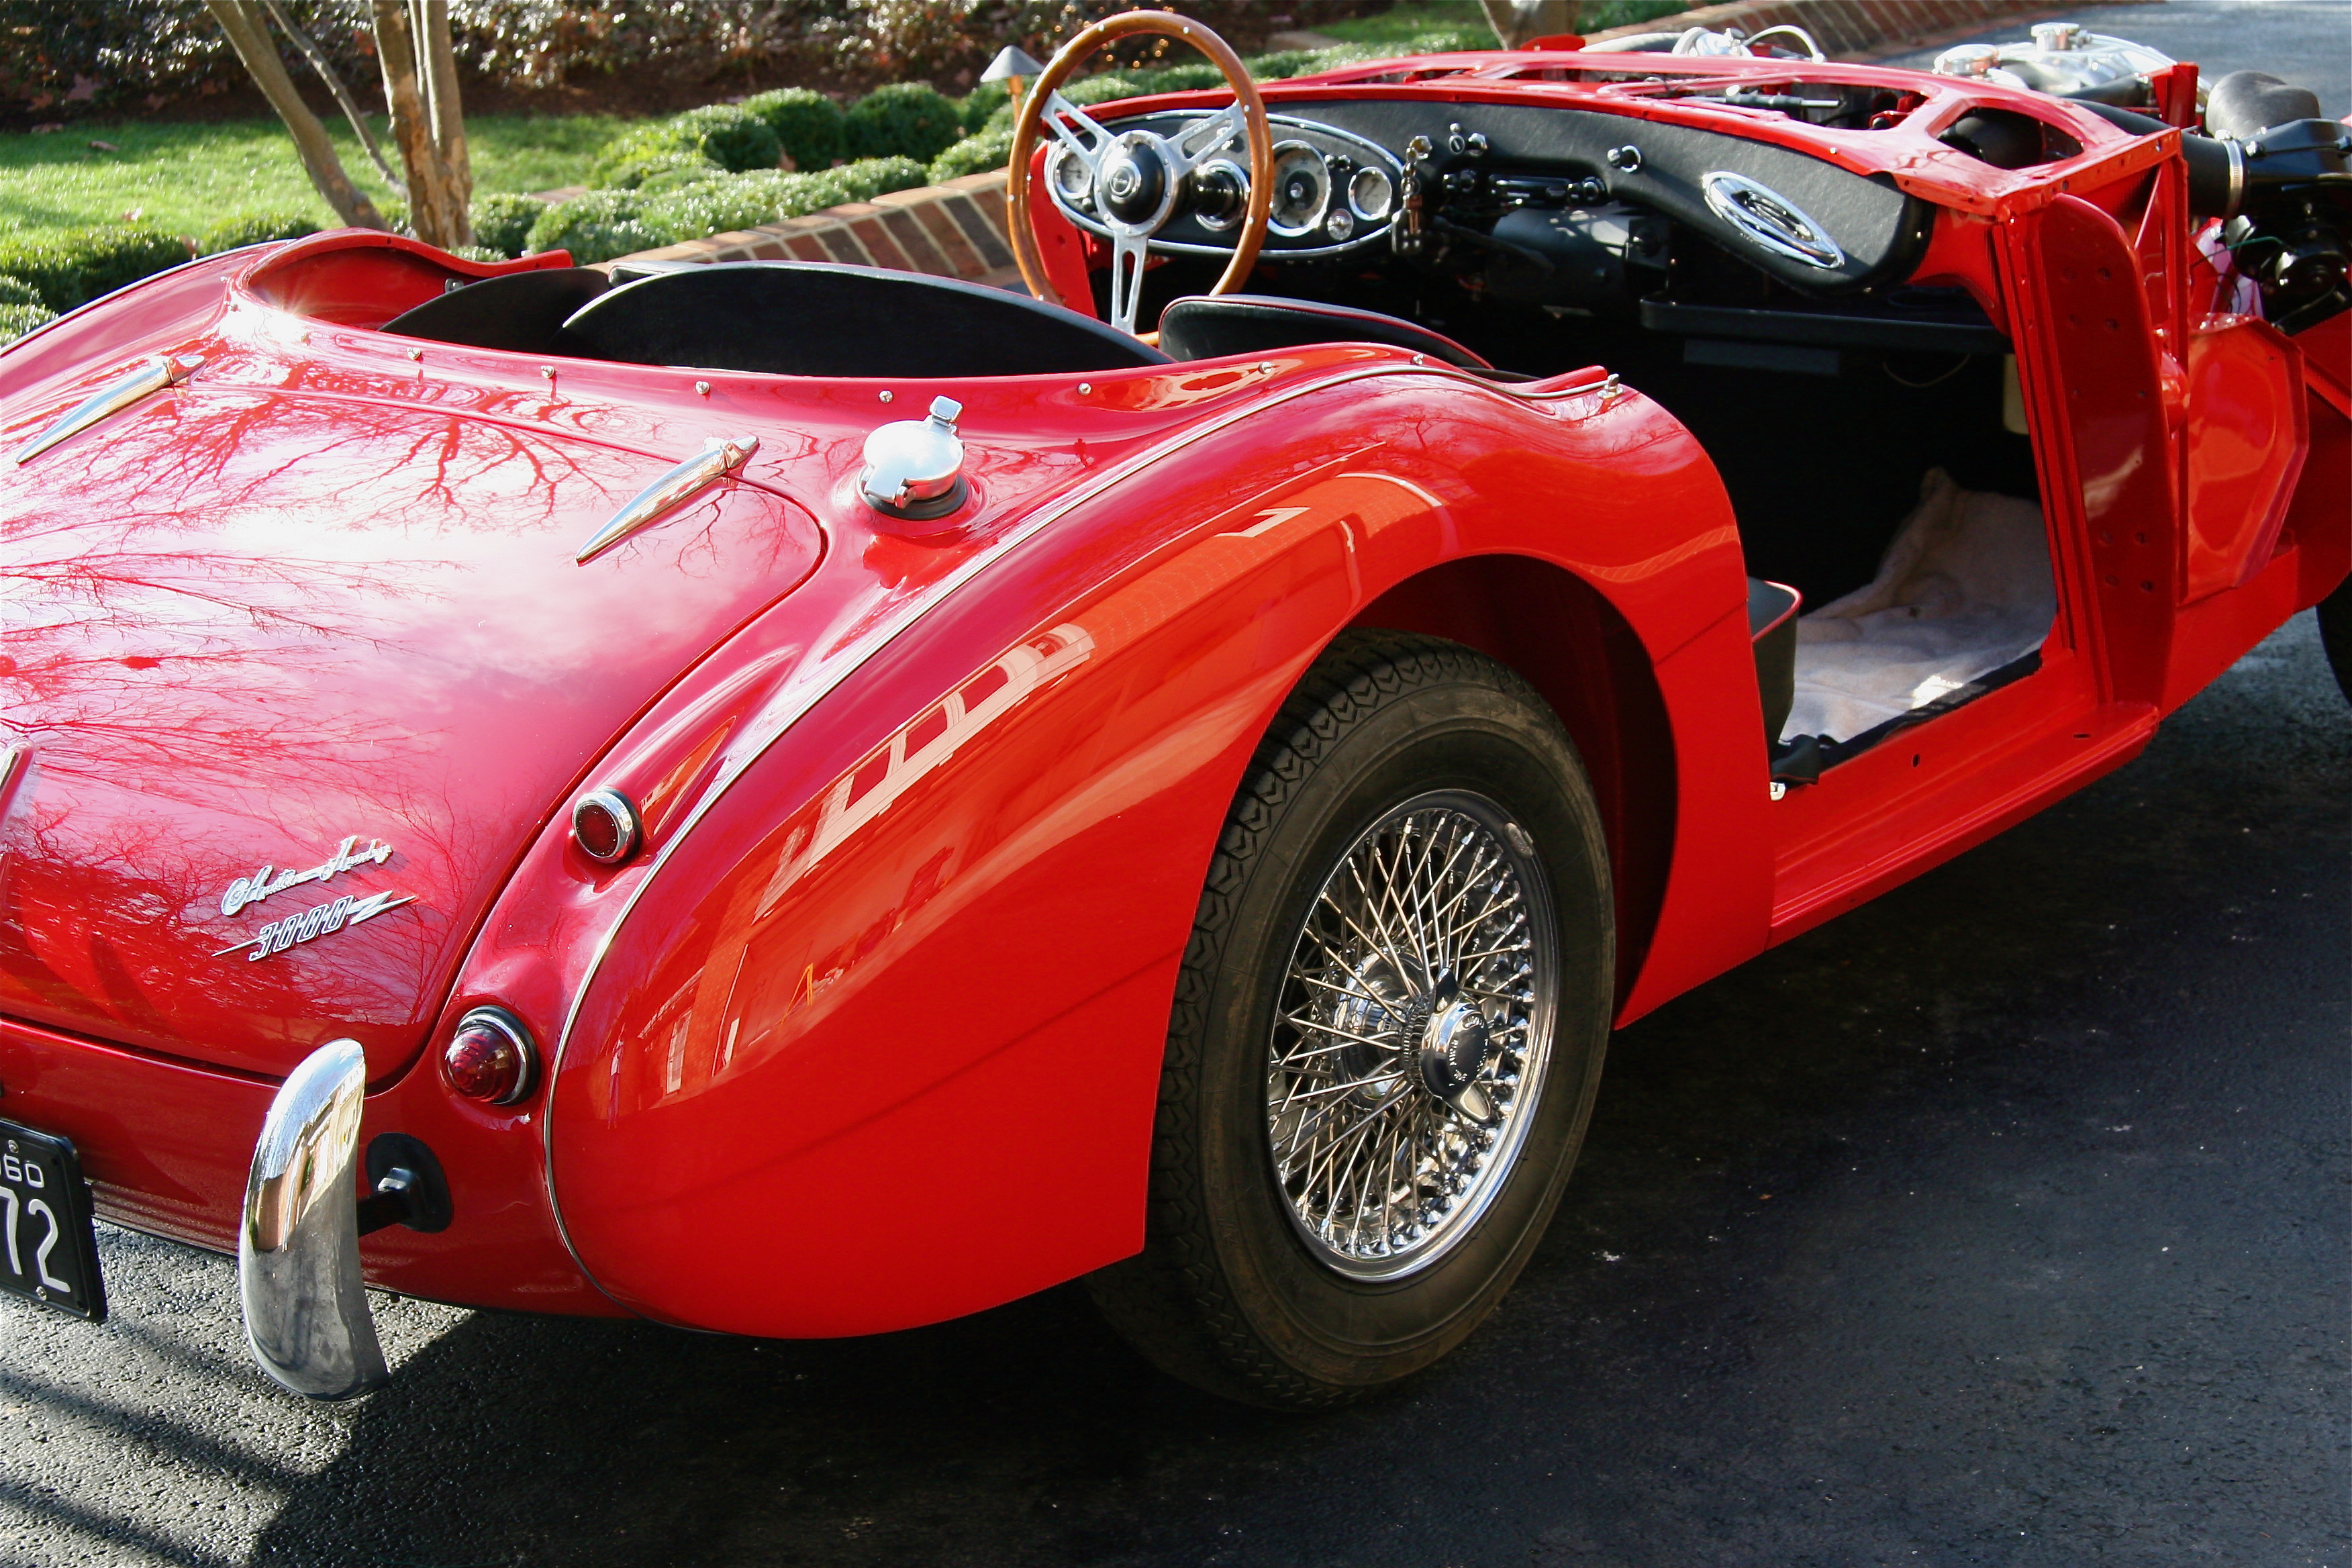
RH Rear Wing 1
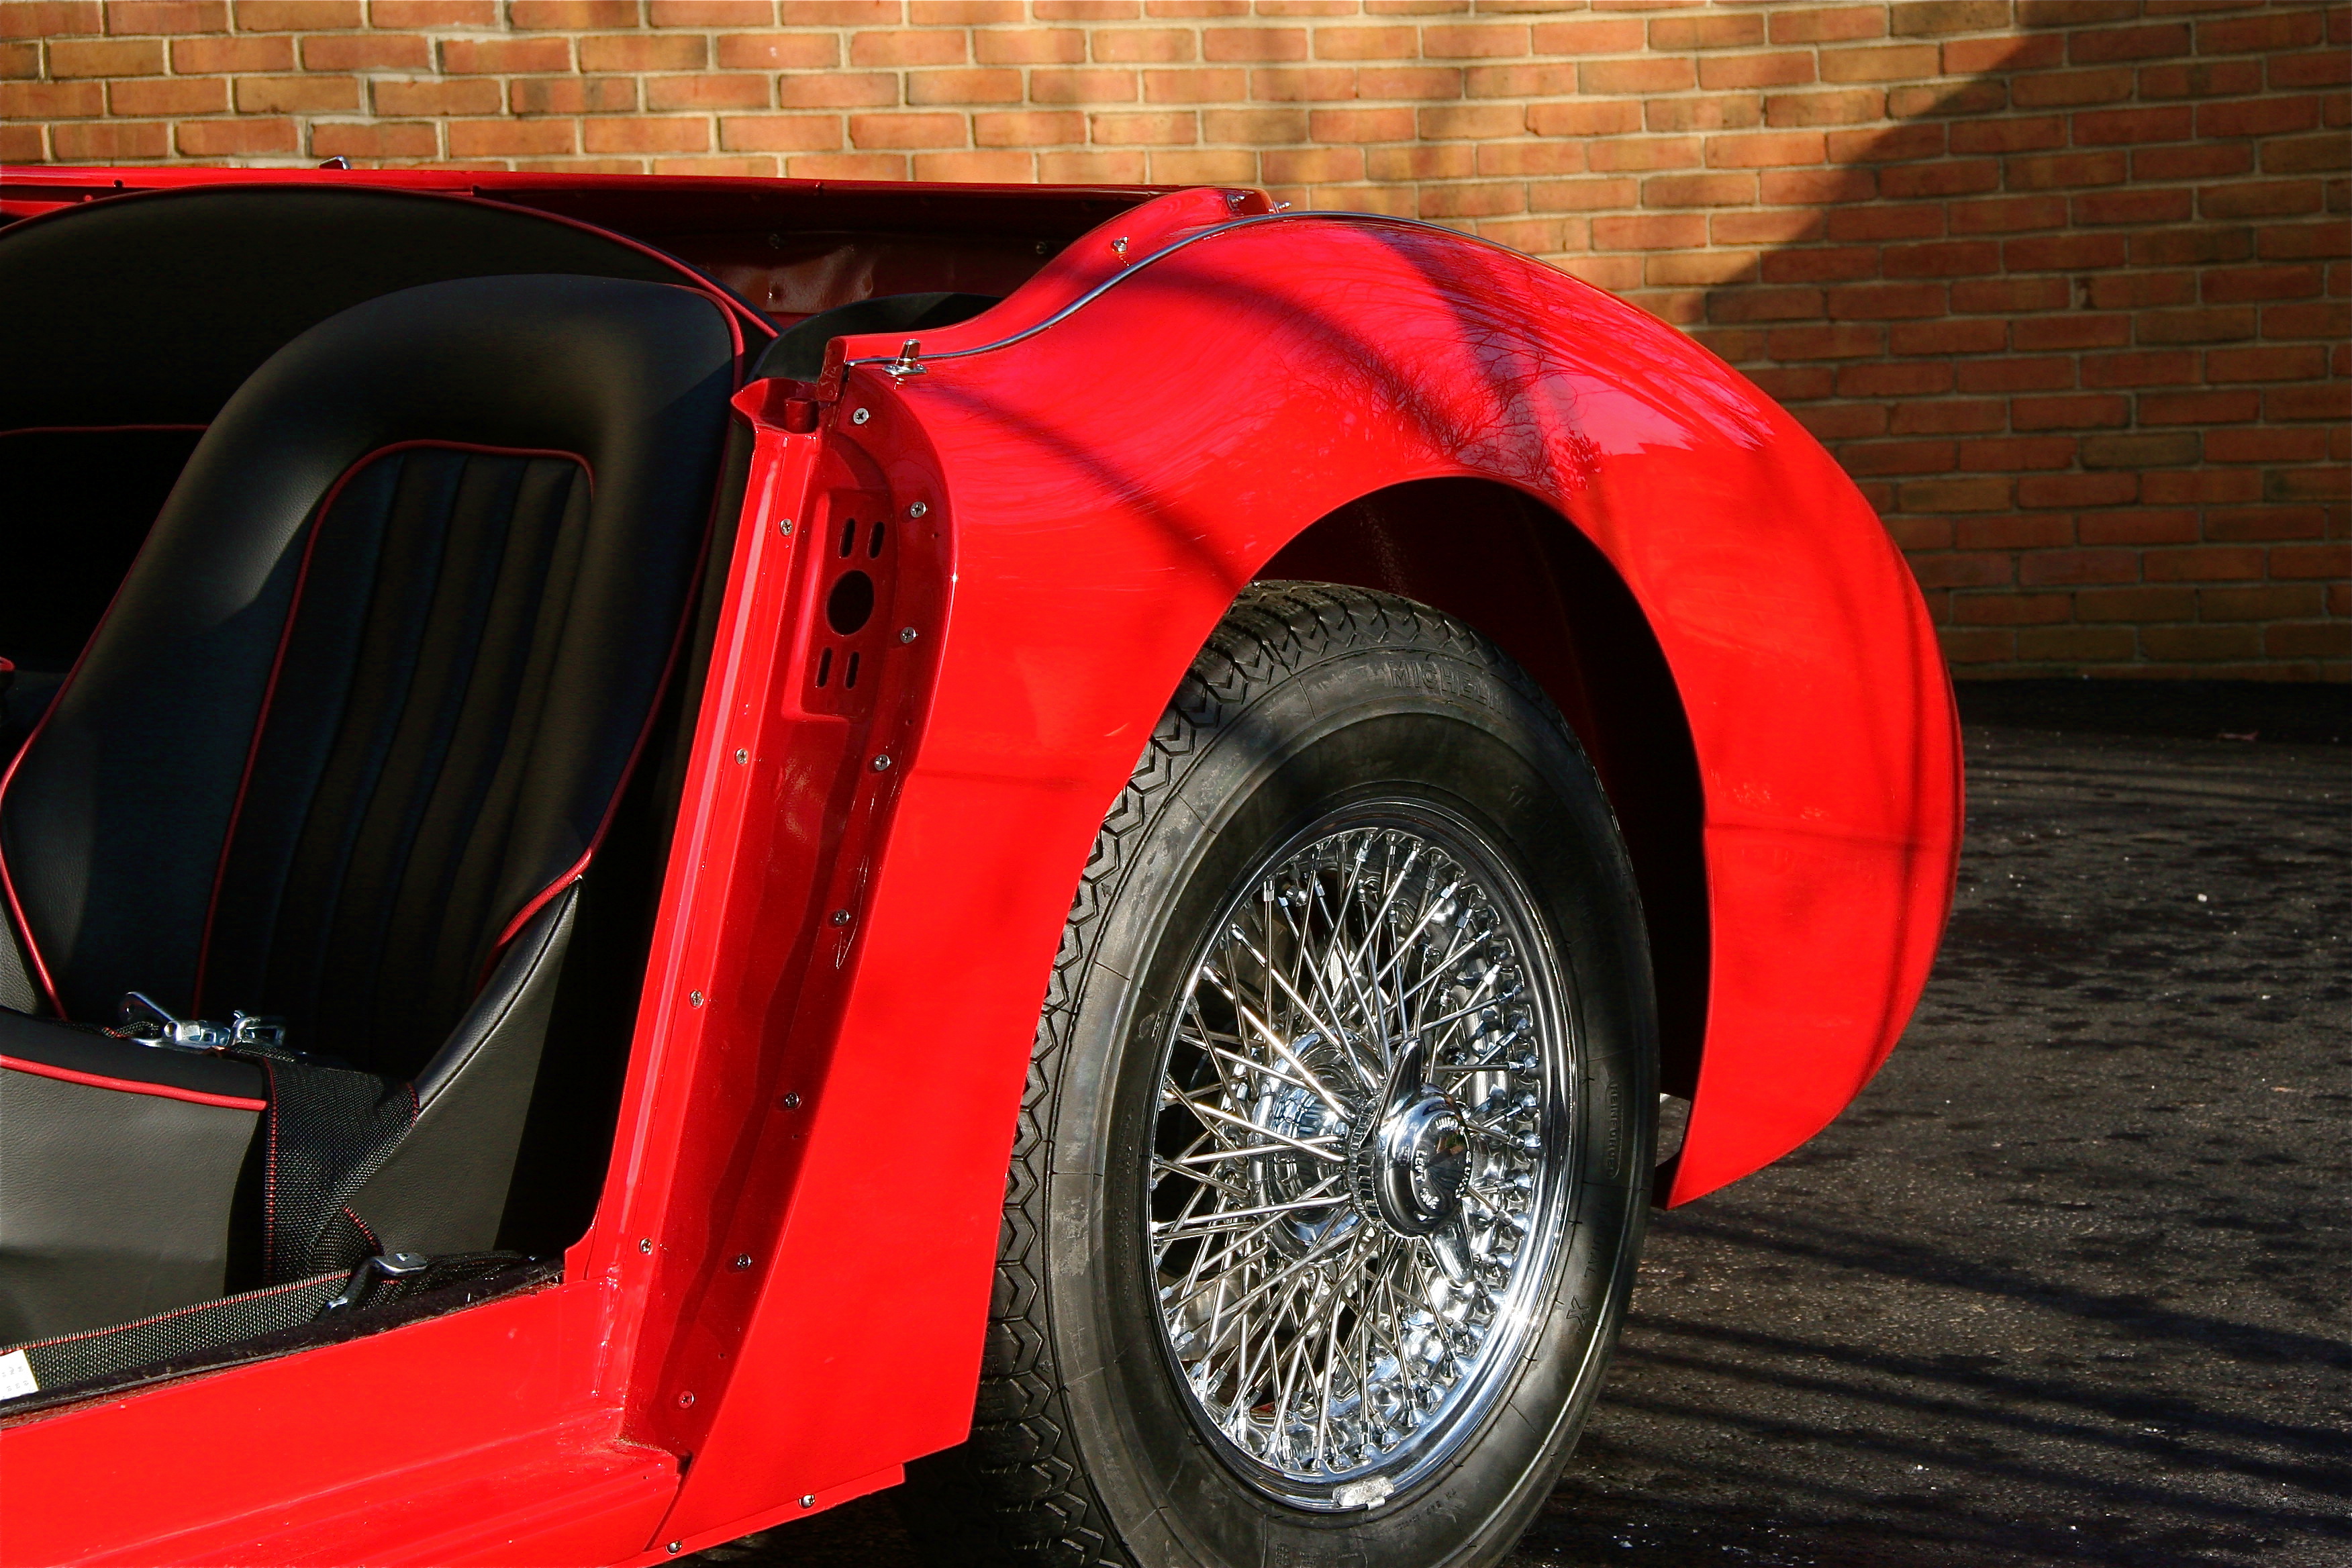
LH rear wing 2
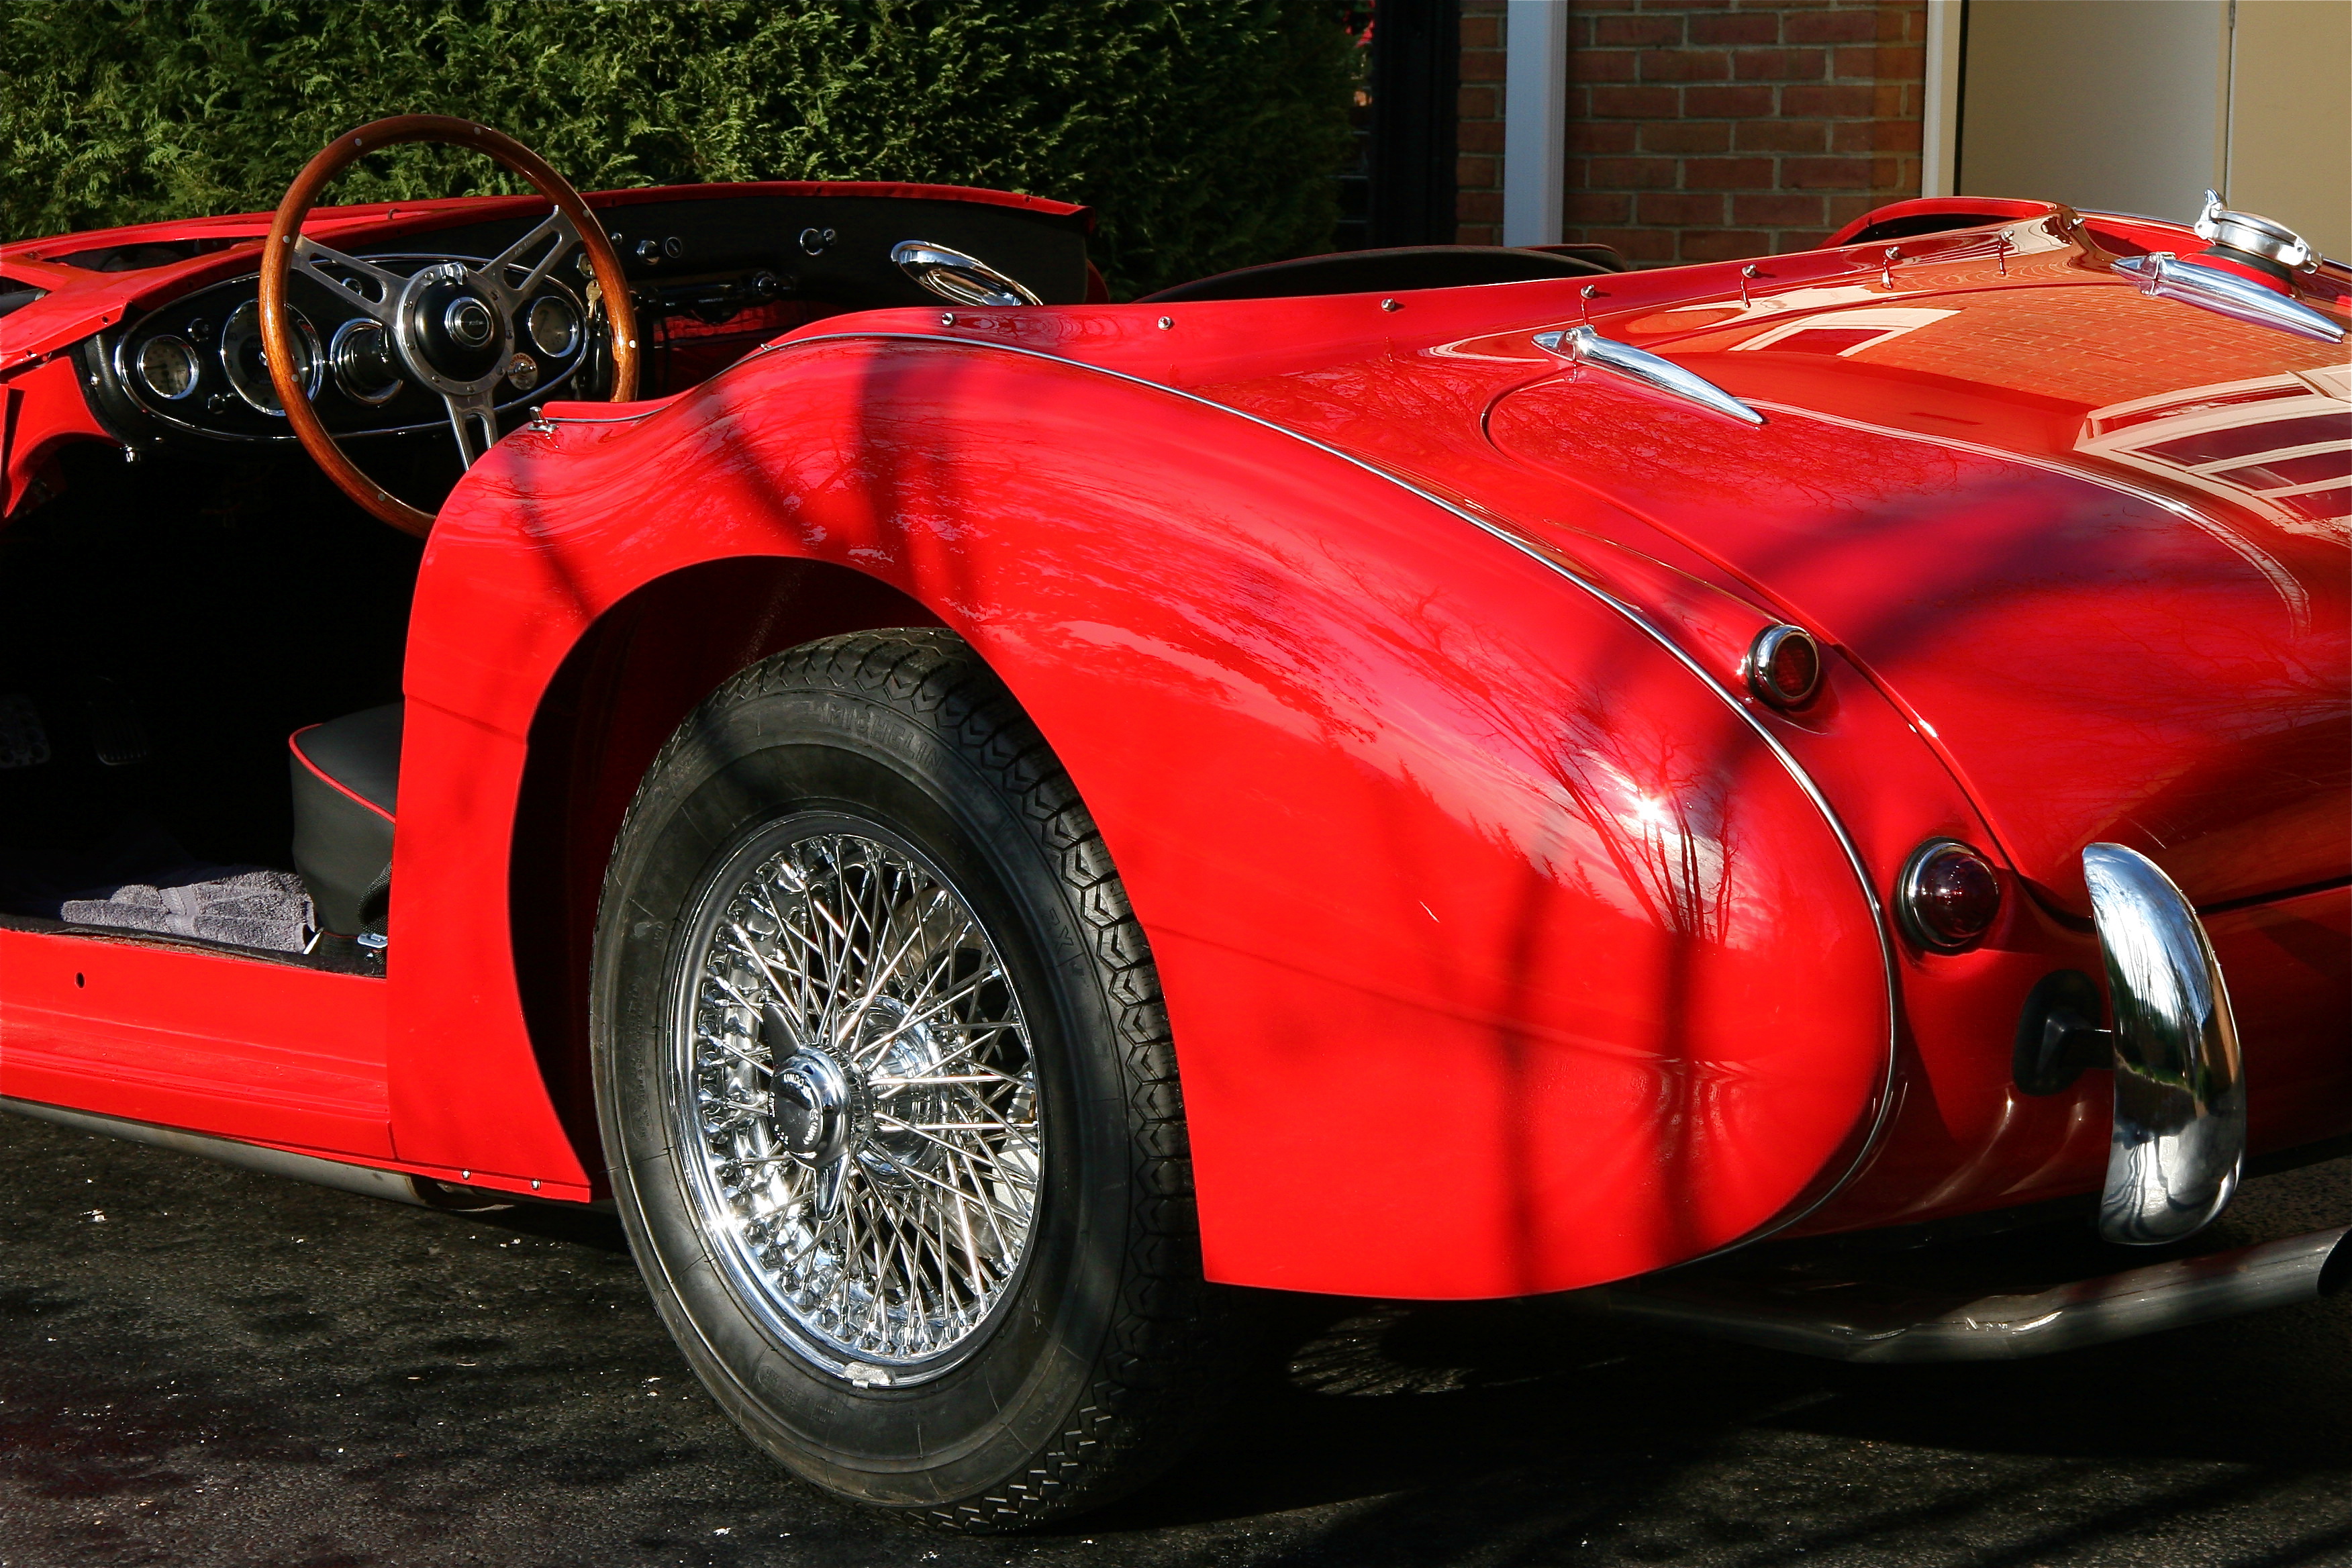
LH Rear Wing 1
I had my local auto paint store make two body paint spay cans as well as two small bottles for touch up work. I then spray painted the stow-it tube I had made from fiberglass back in the summer along with a sheet metal top I made with the top of the scotch bottle box fastened to the lid. It will be very unobtrusive, and will provide some nice under shroud storage for parts or tools. I borrowed the idea from Tracy Drummond – thanks Tracy.
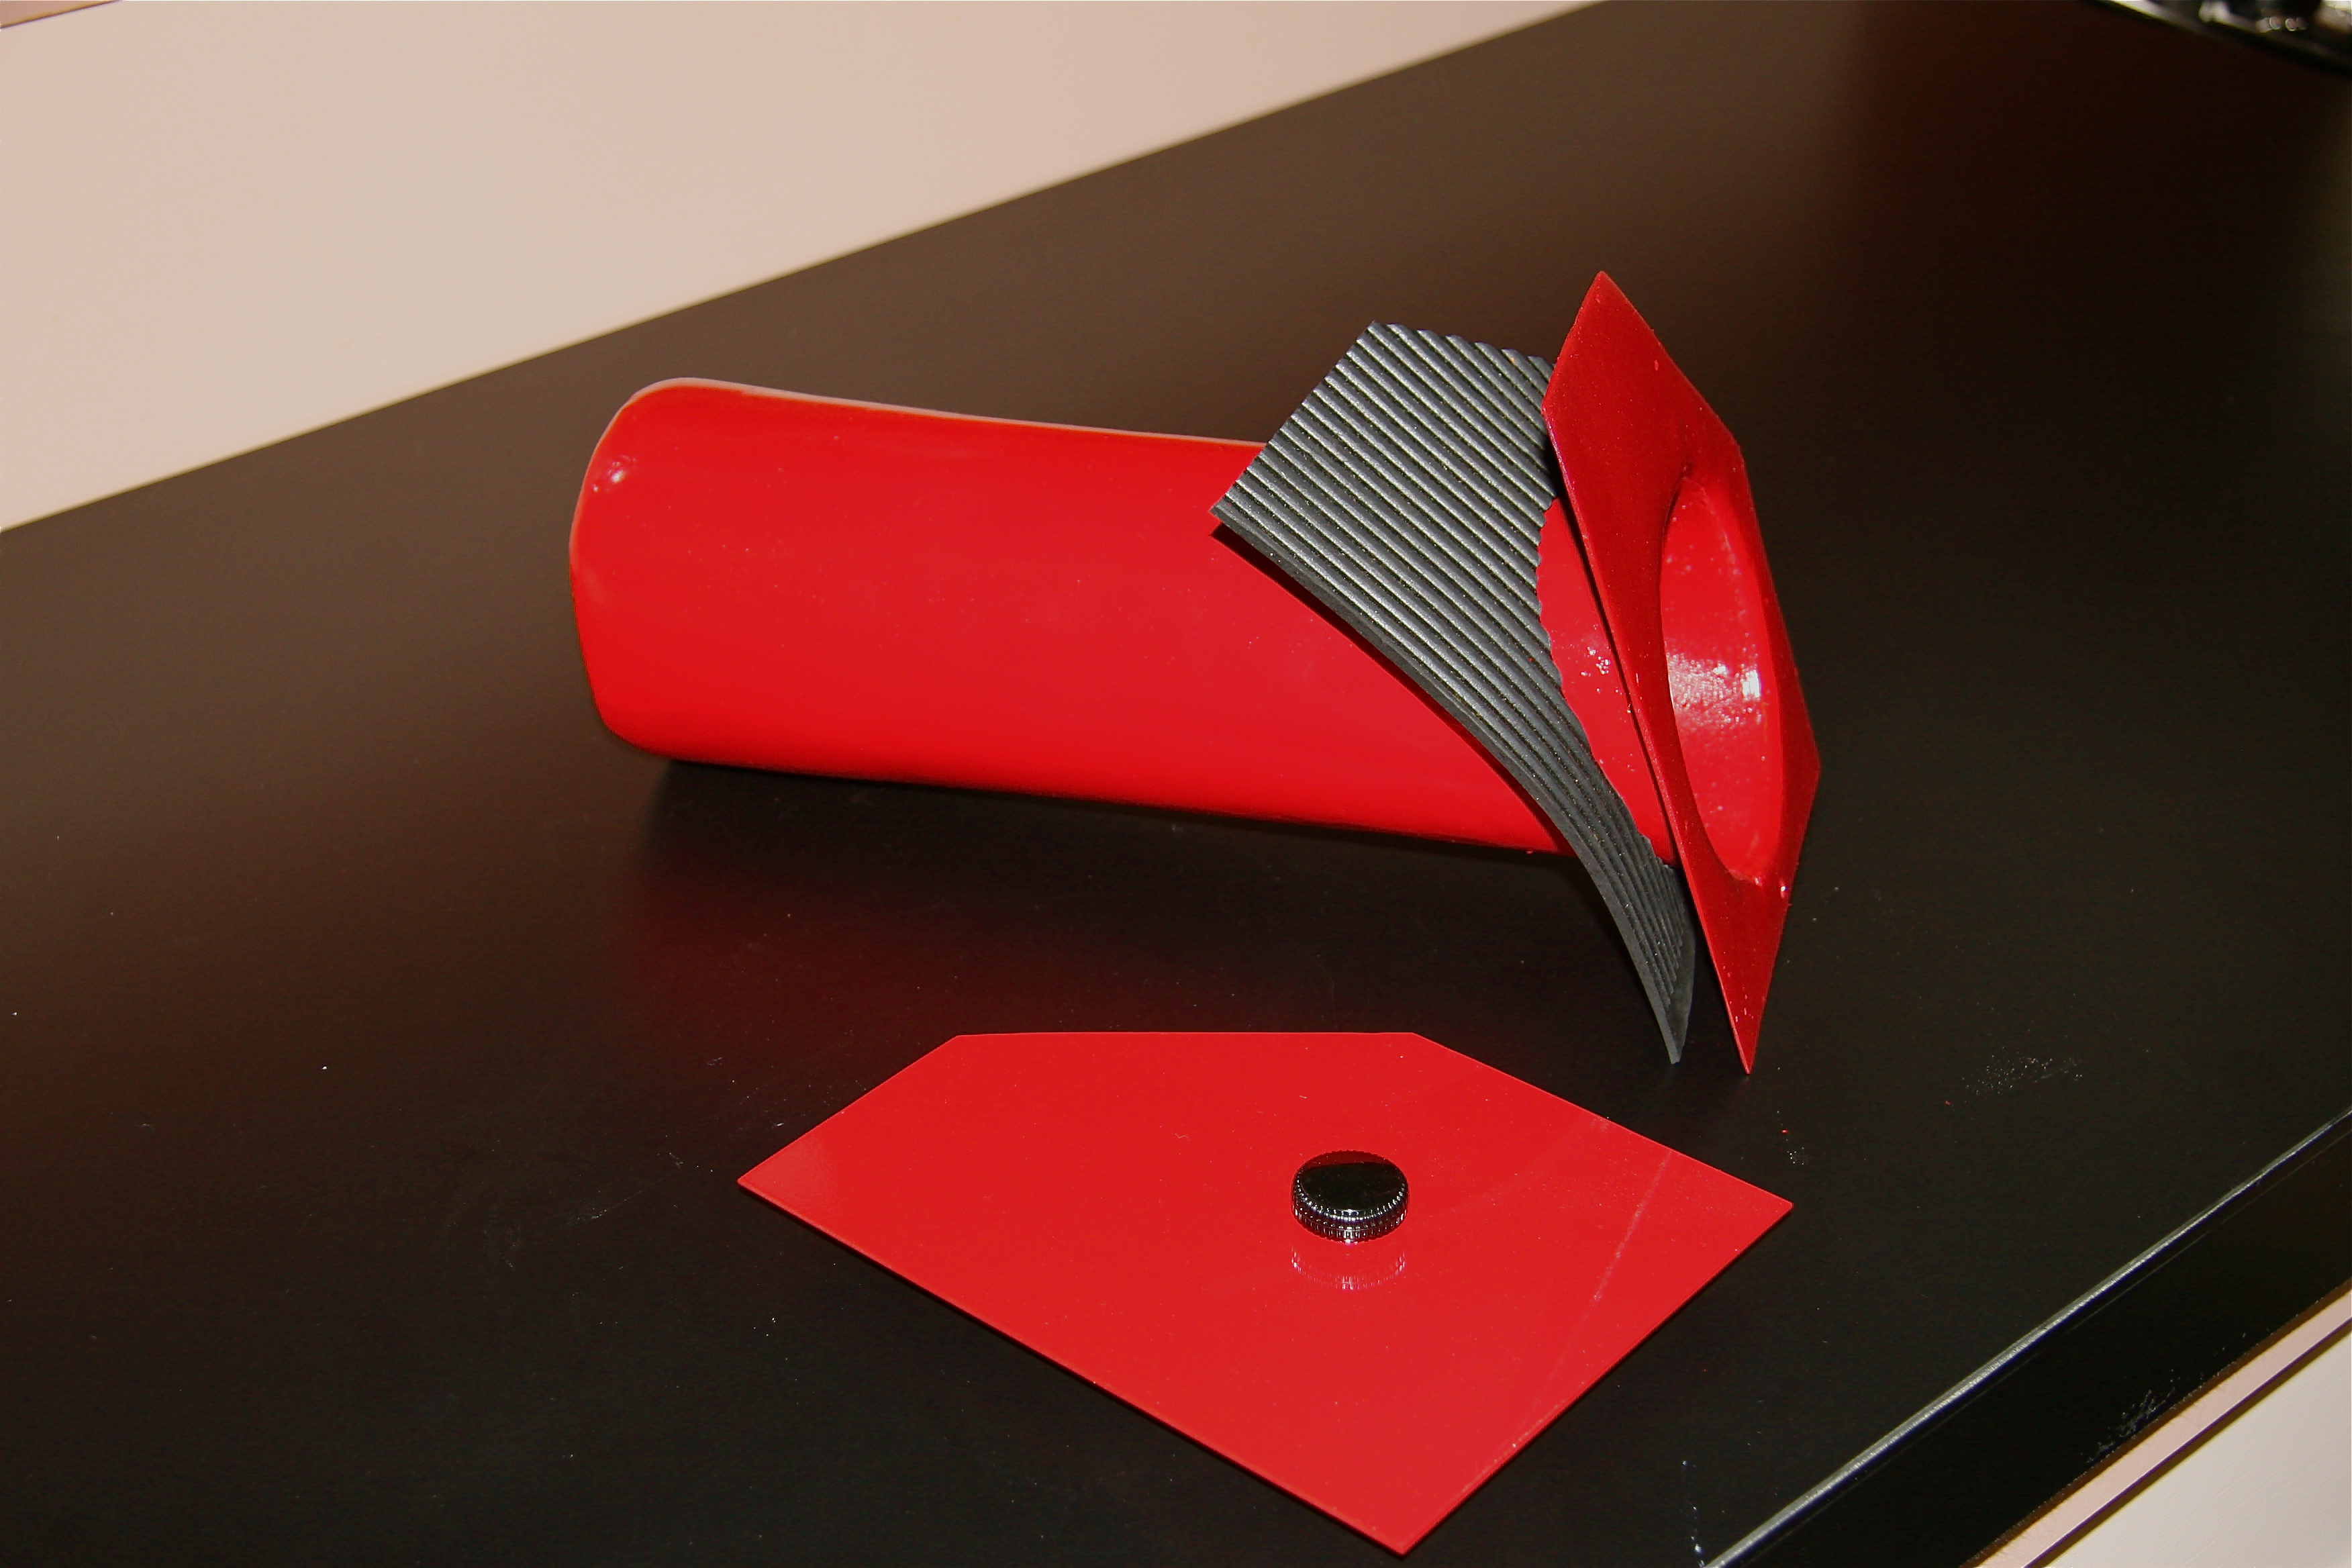
Stow it tube painted and with gasket and top

Stow it tube 2
My carpenter finished the transformation of my shoe box model for a console to the real thing in wood. He did a beautiful job. I inserted the wood lid into the underside of the padded arm rest from Heritage and then covered the box in black carpet. Now I have something that almost looks as original, and it also is comfortably functional! The top is hinged and it has a lower tray to stow small items.
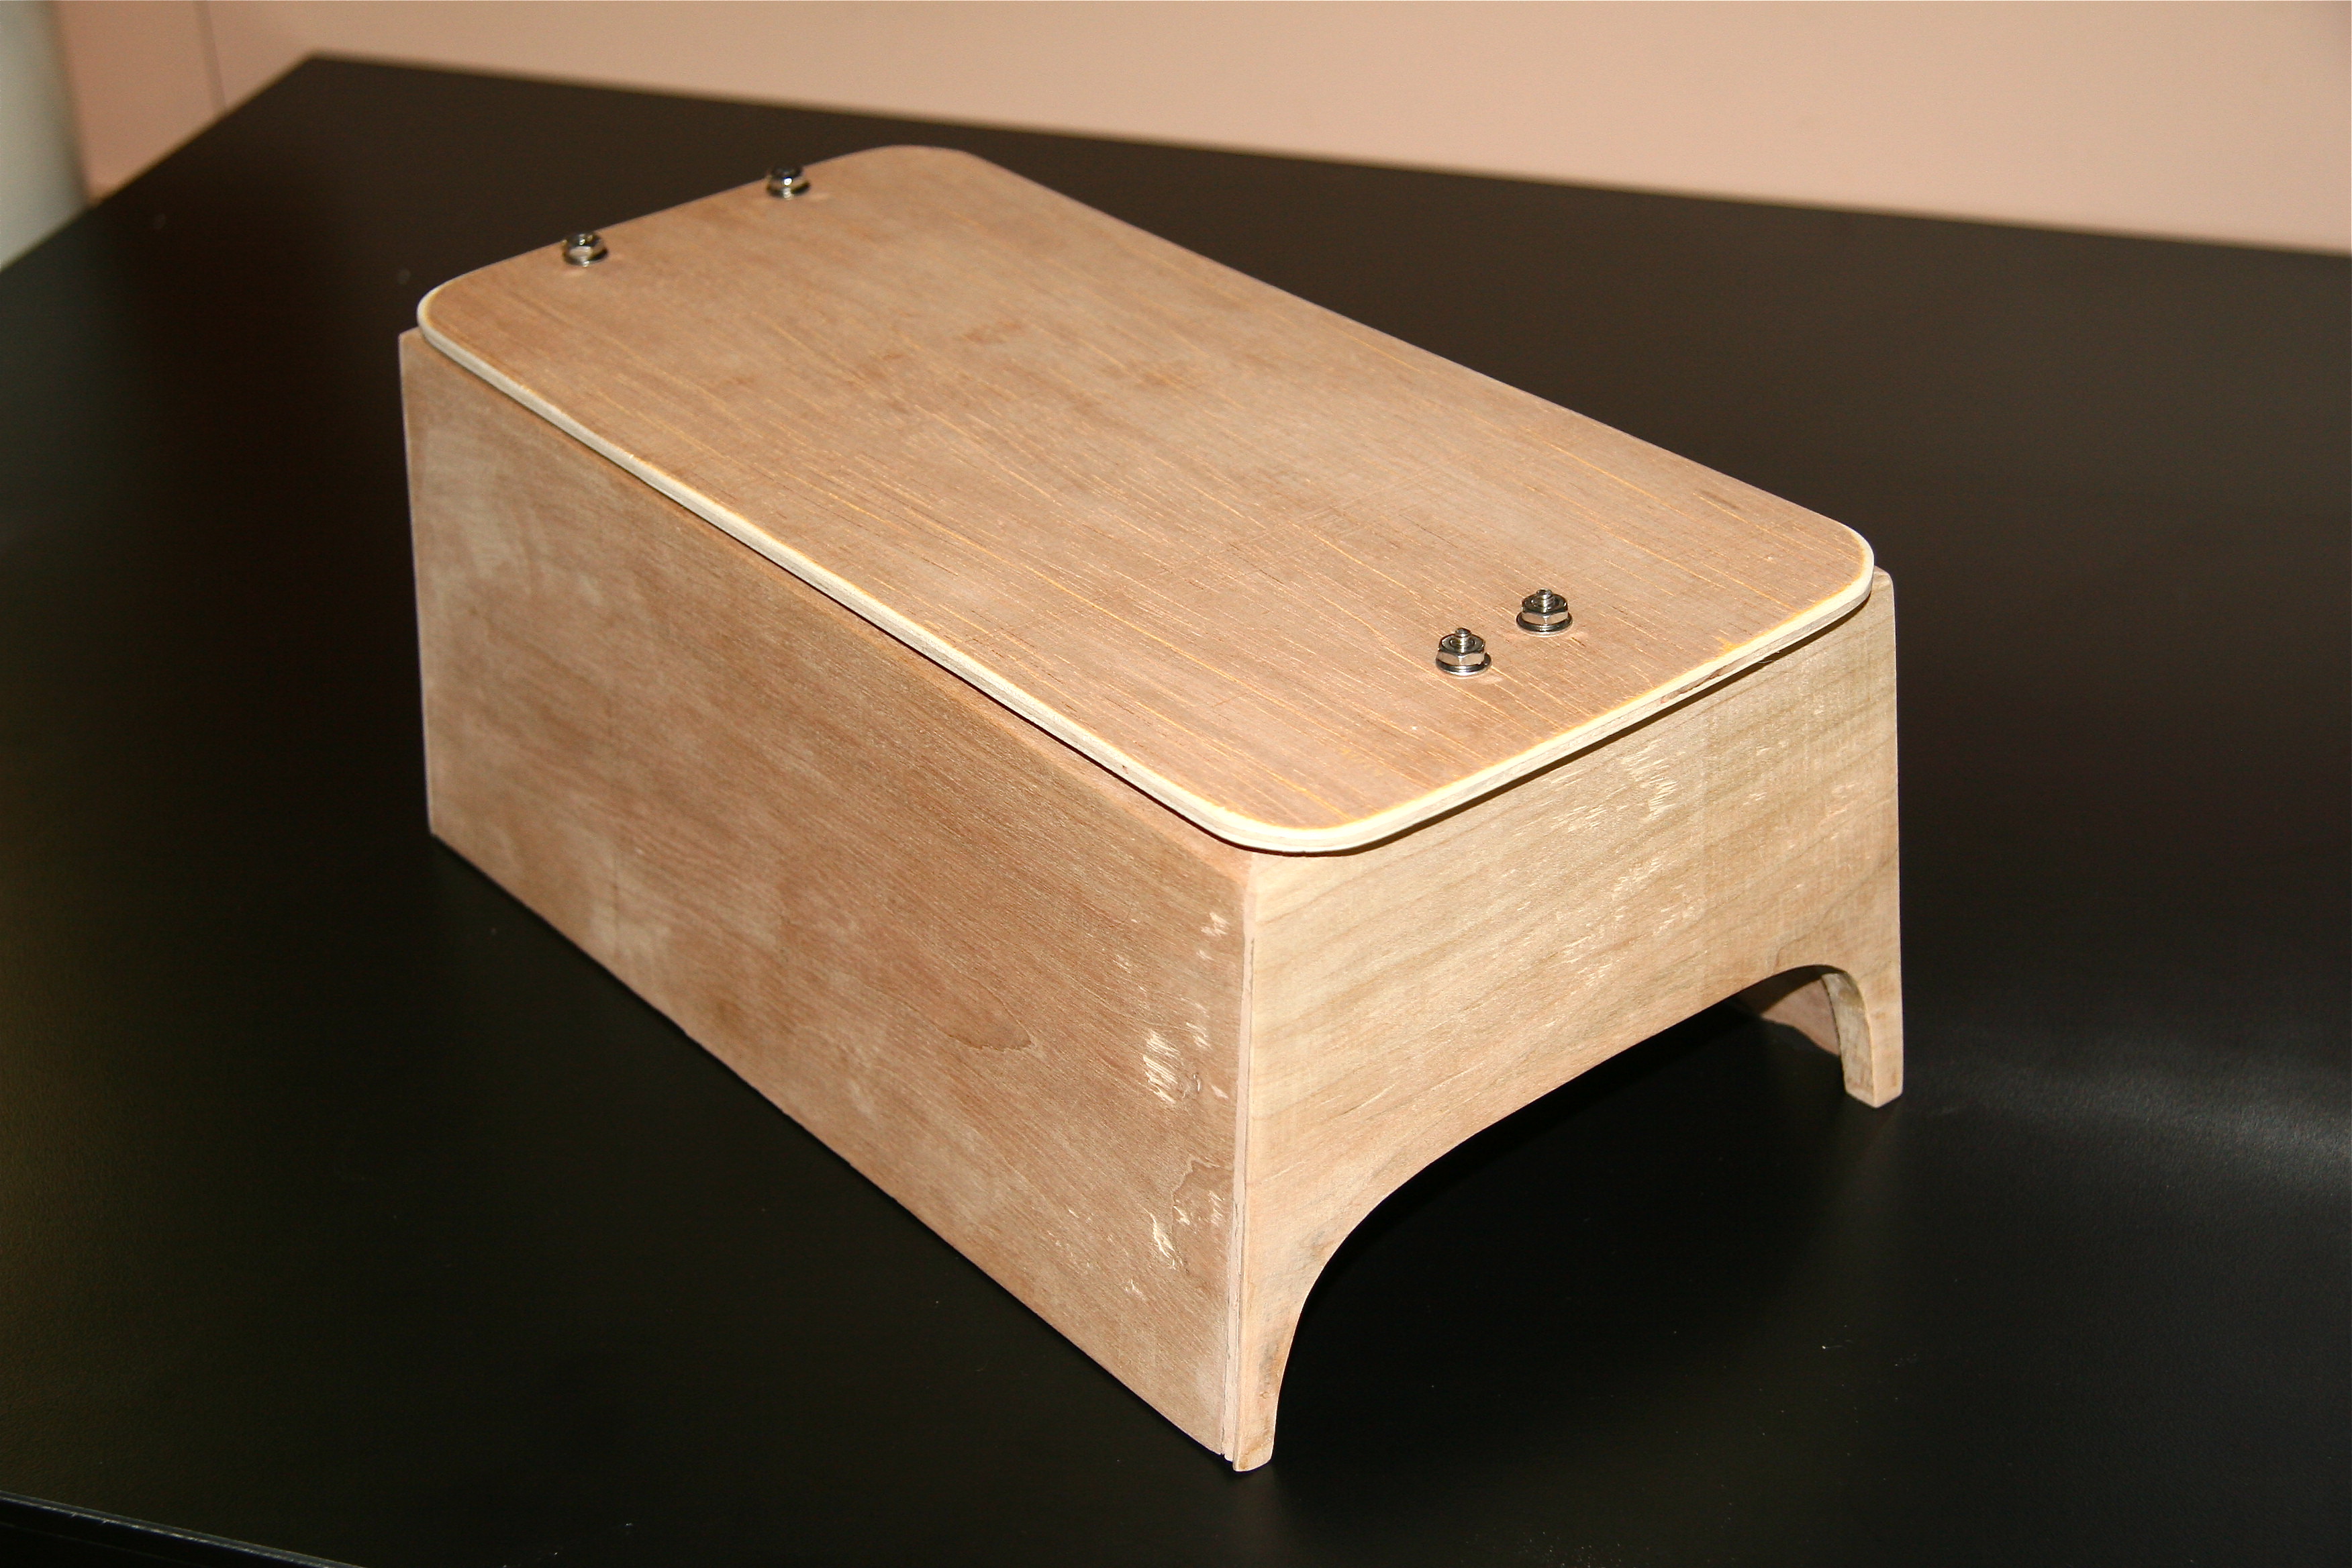
Console 1

Console 3

Console 7
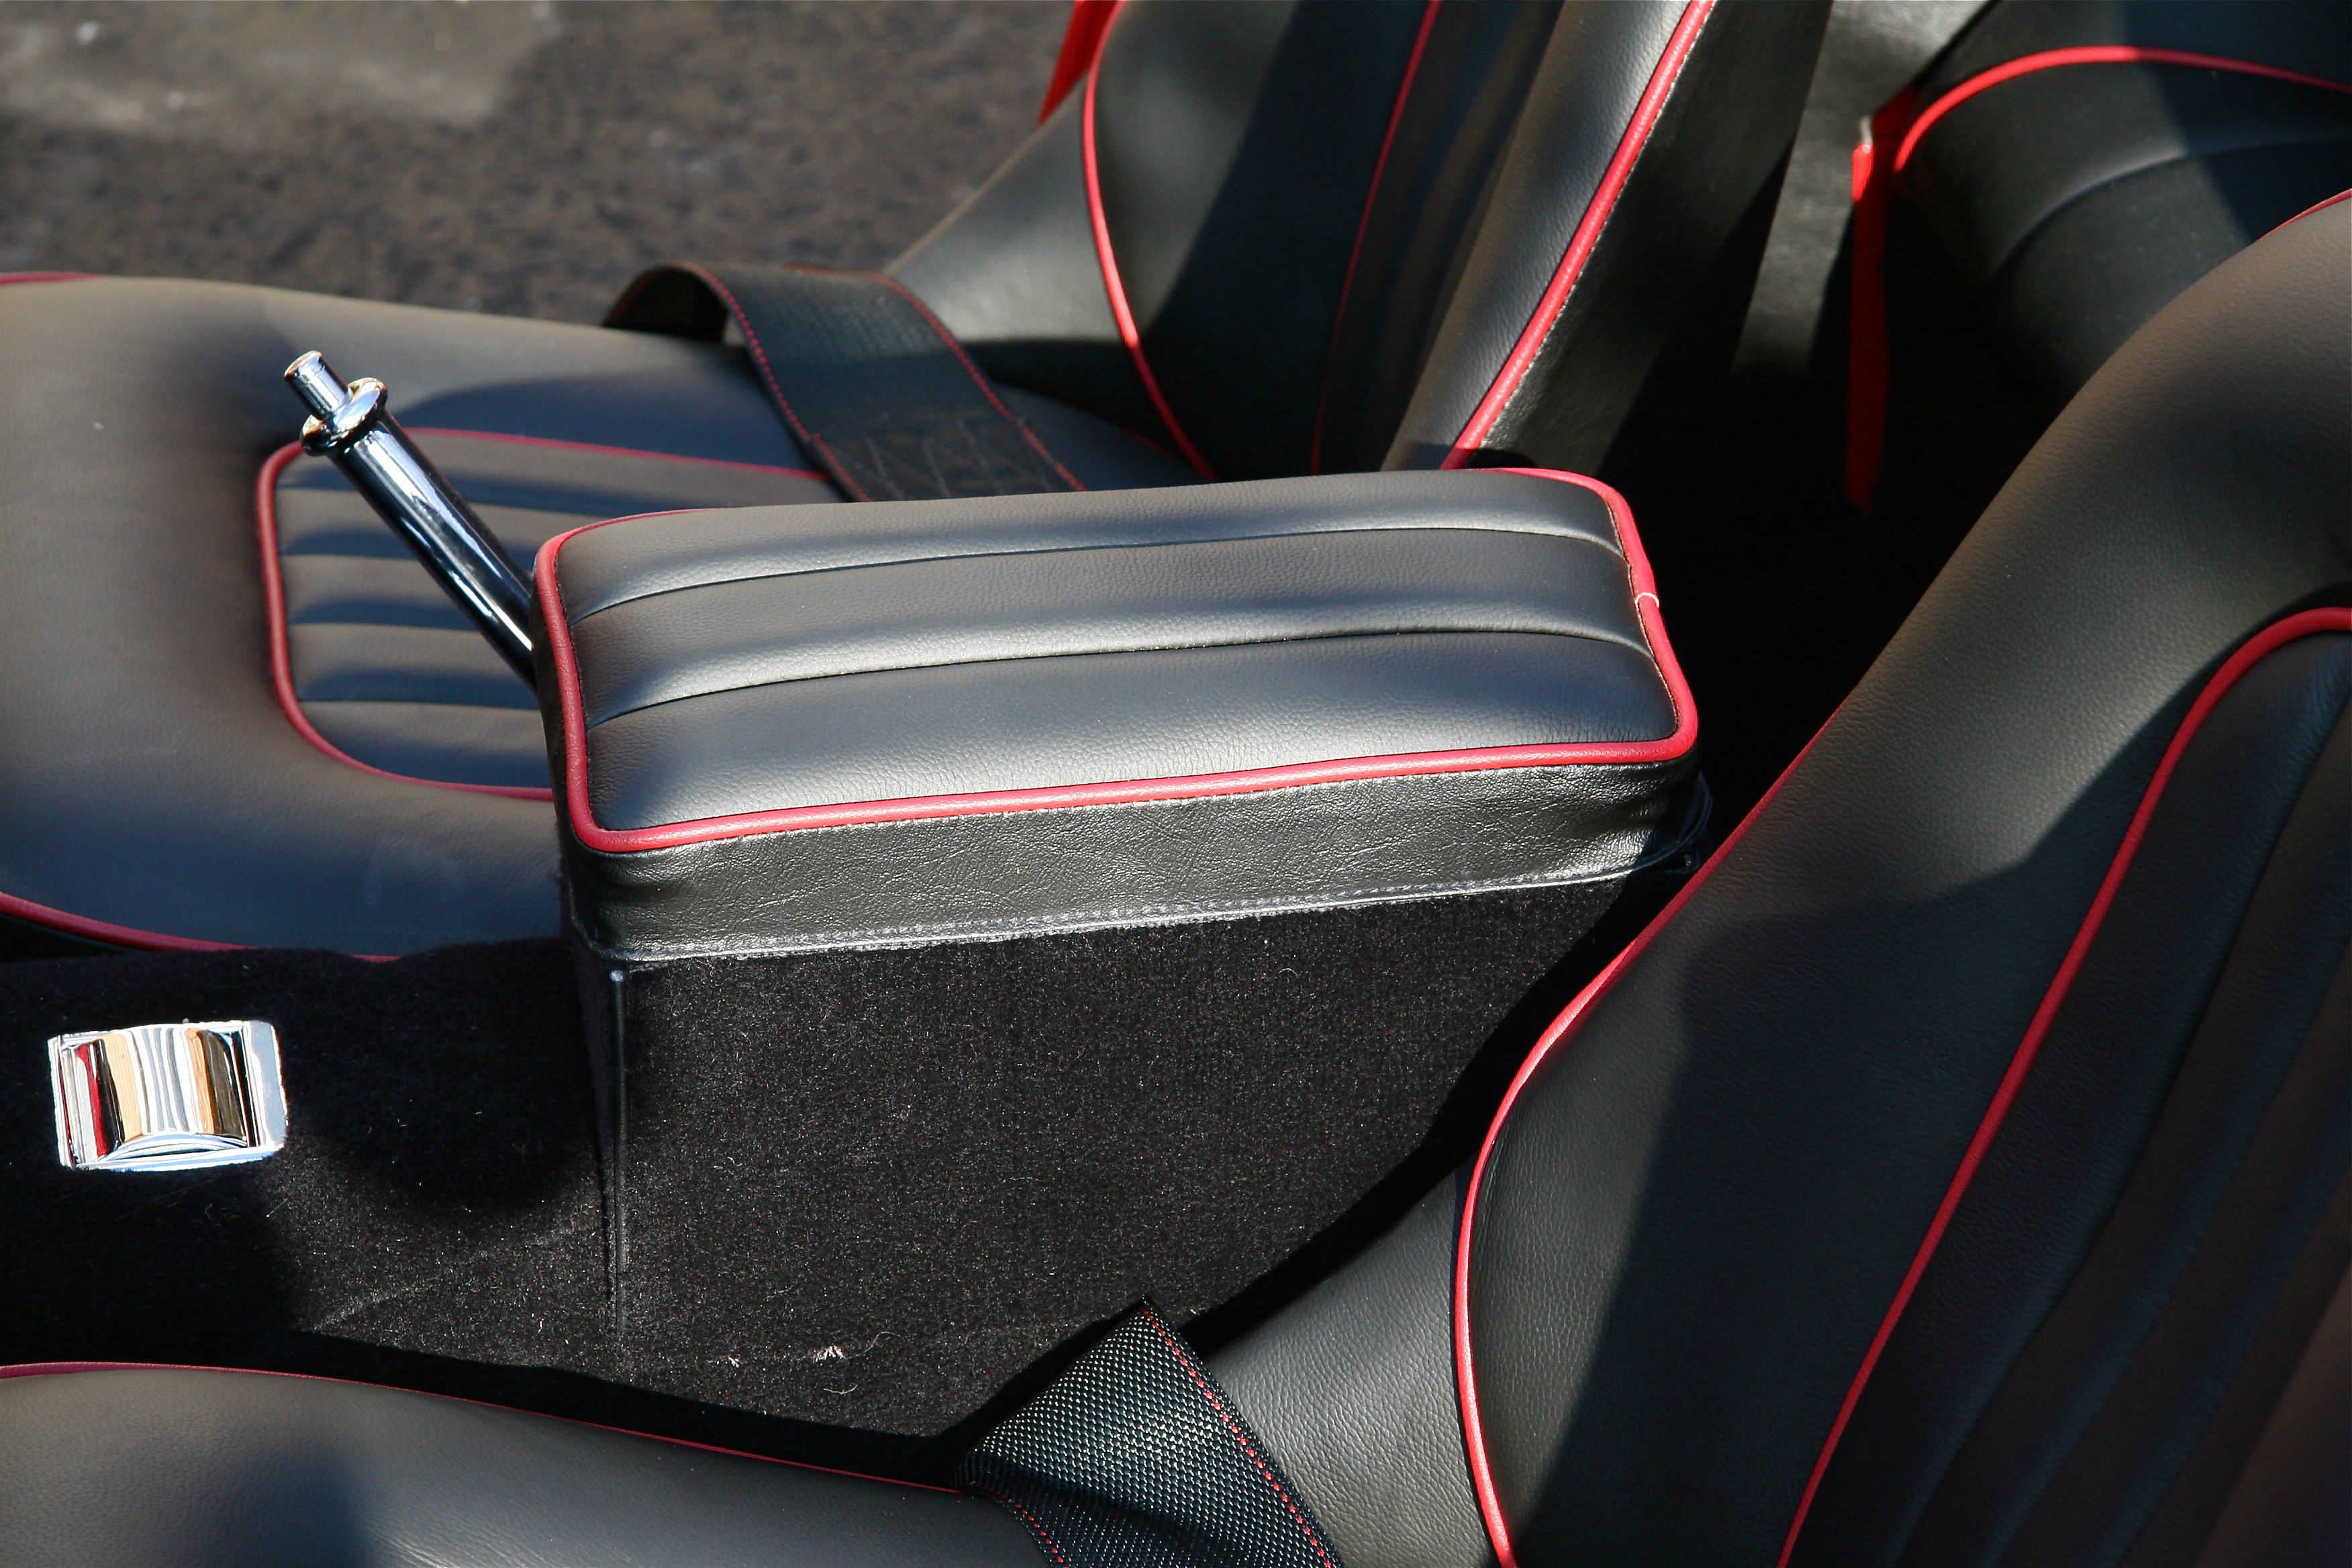
Console Installed
The final job for this week was the installation of the aluminum cockpit moulding on the rear shroud. I had my moulding cleaned, buffed and anodized by Ano-Brite in California. They did a fantastic job. I highly recommend them. I used some 3M strip caulk under the moulding to seal out water from the exterior.
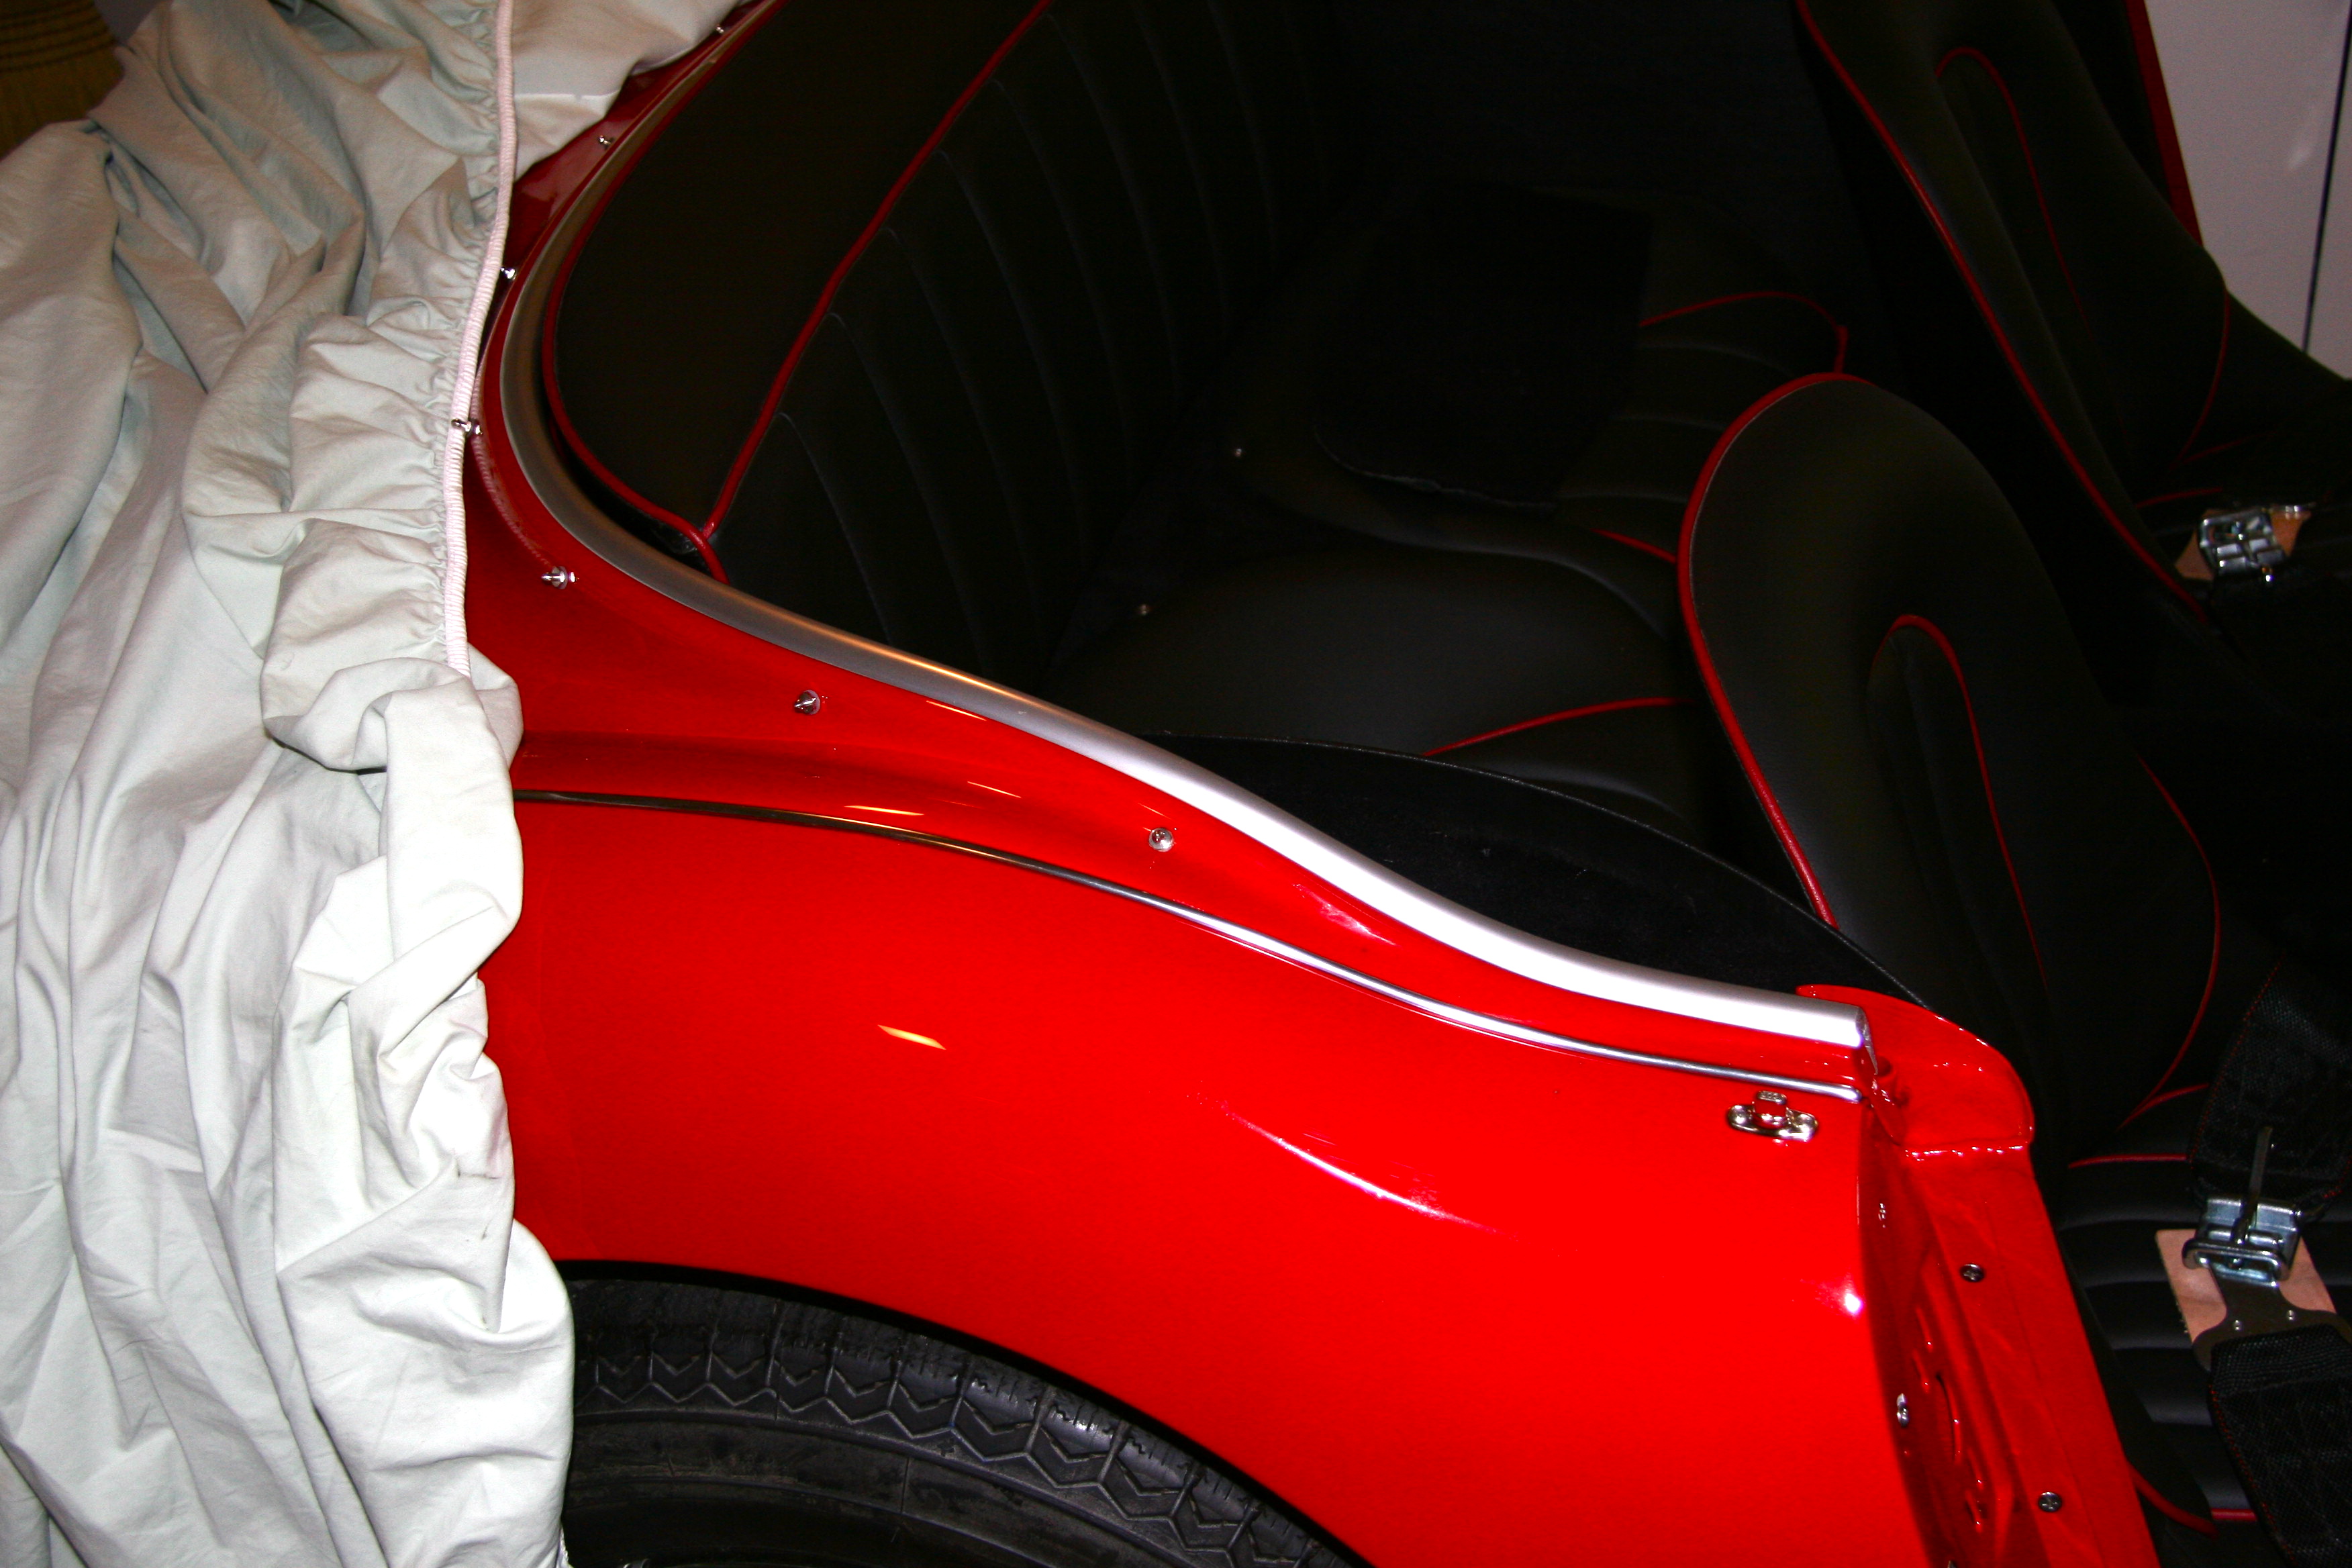
Cockpit trim 1
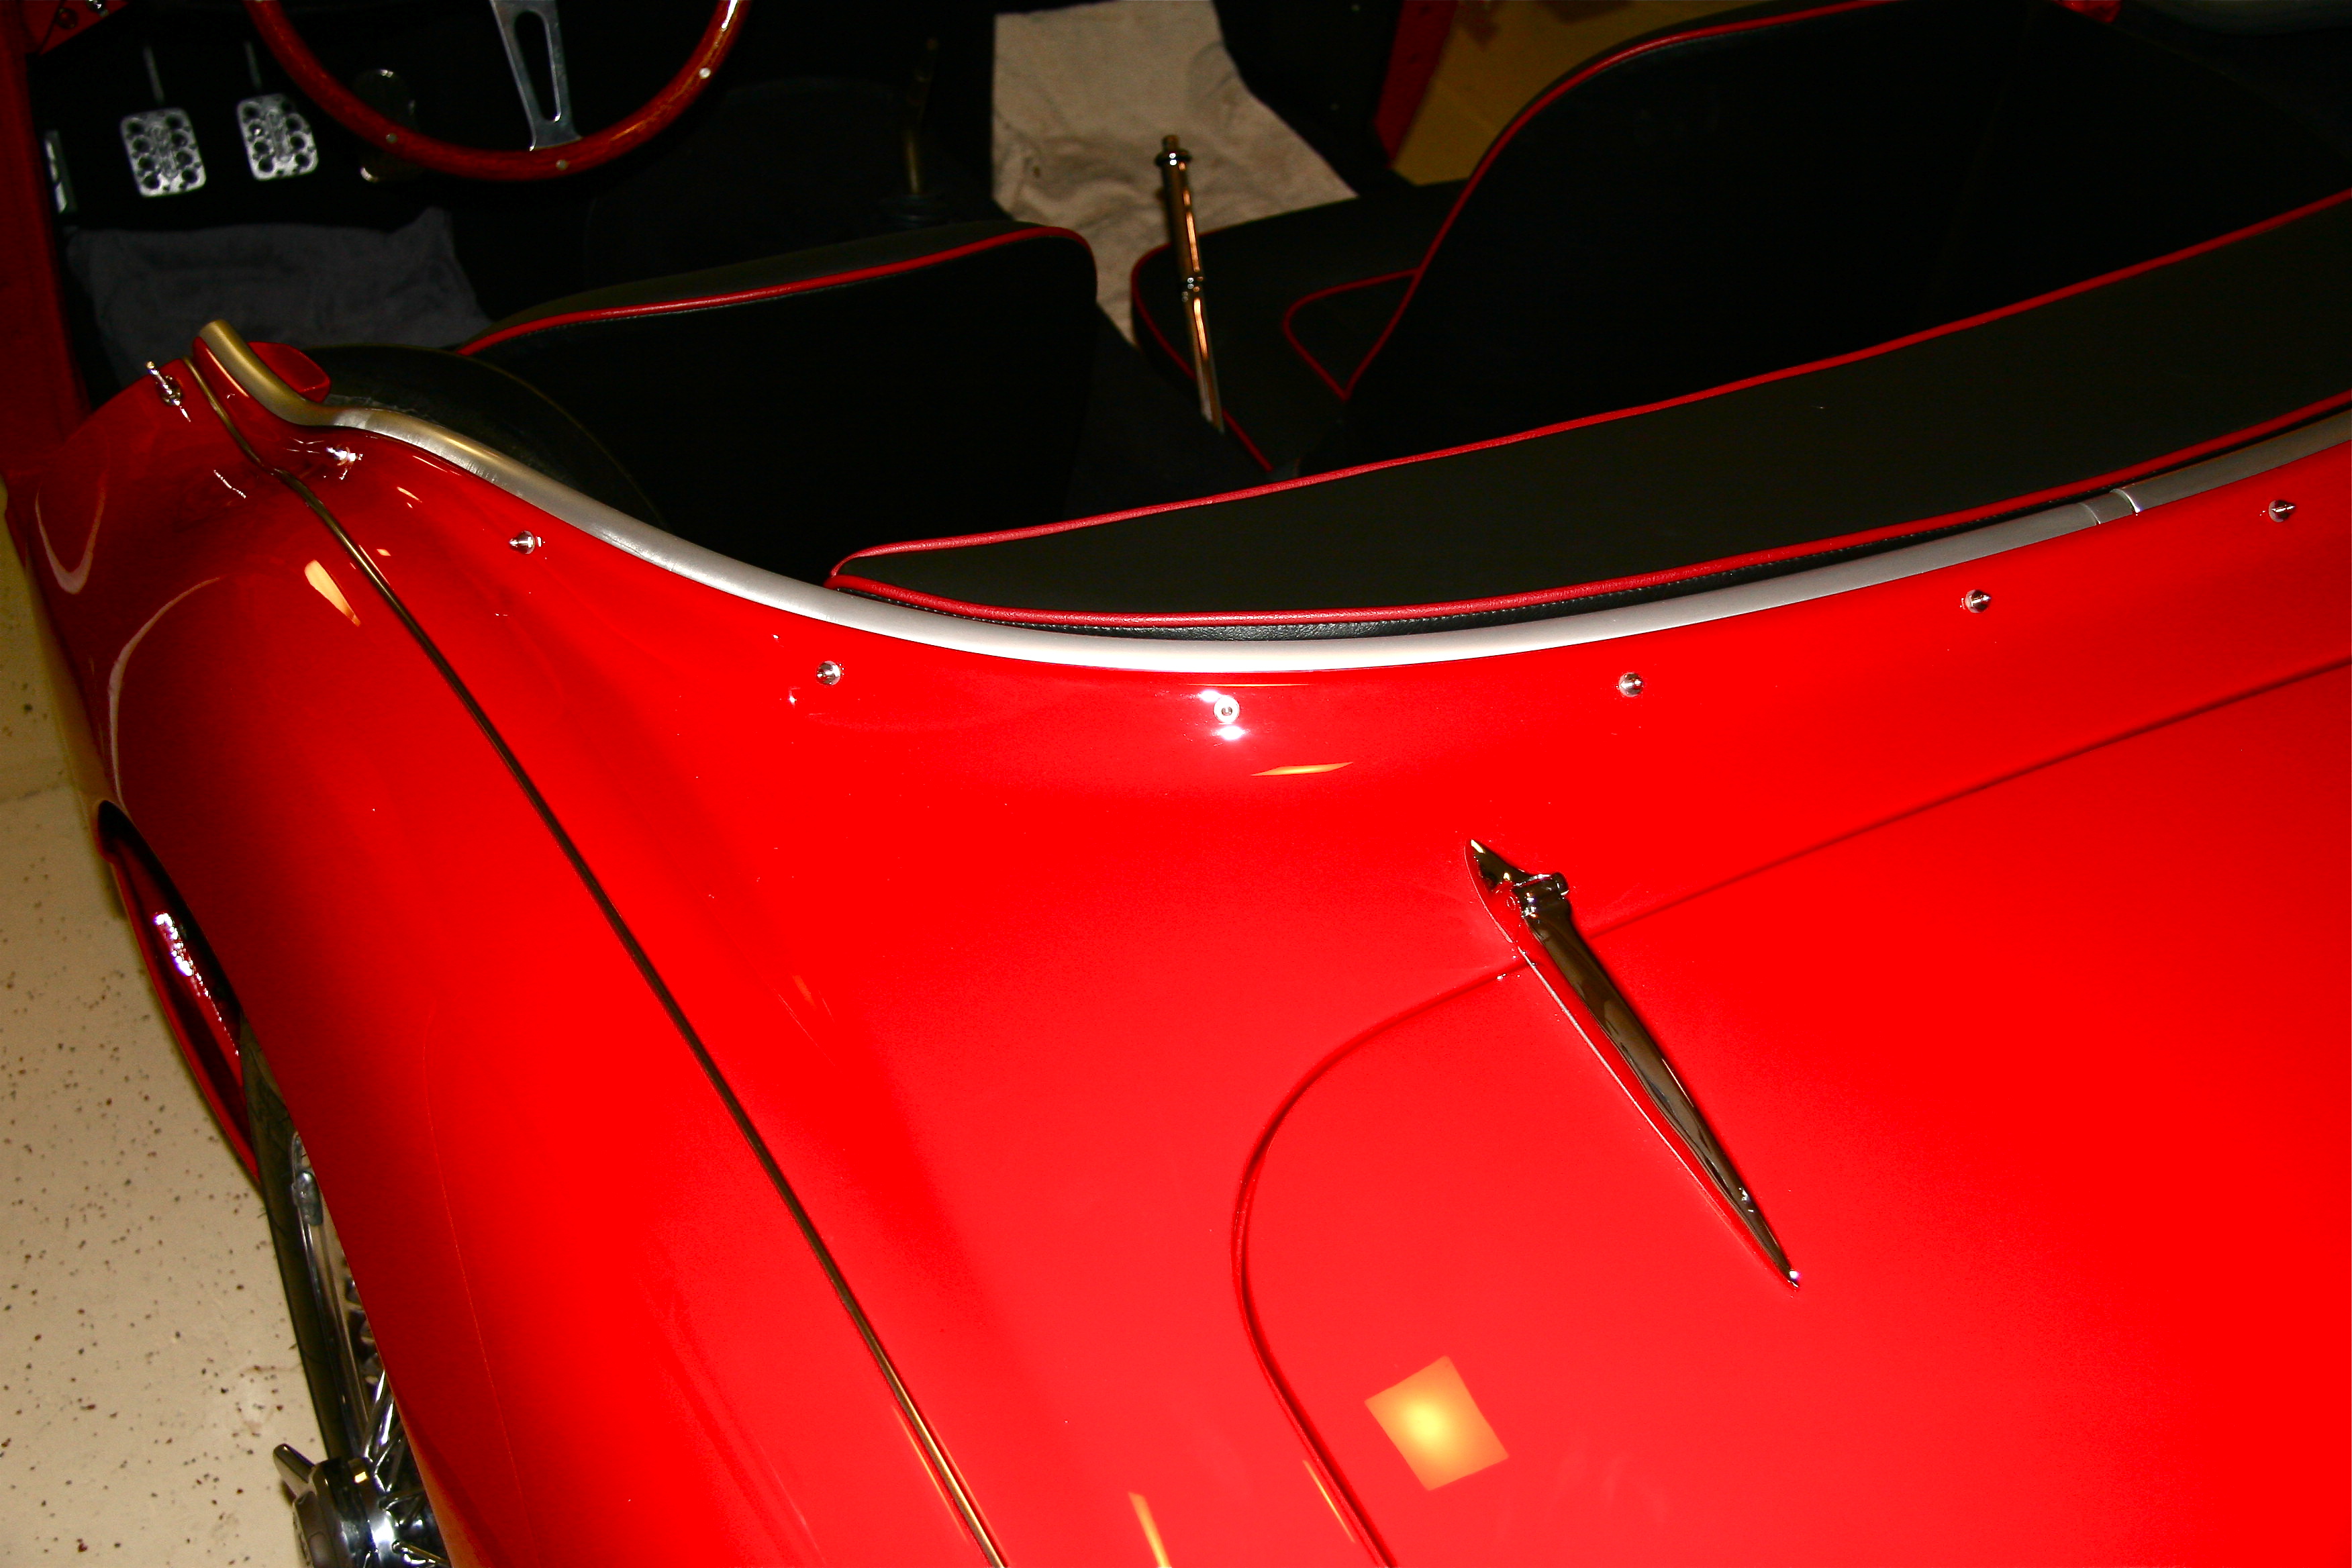
Cockpit trim 3