This week begins my second year of restoration assembly. I have some time off in the next two weeks so I am hopeful that at the end of the Christmas holiday I will have my front body components on the car.
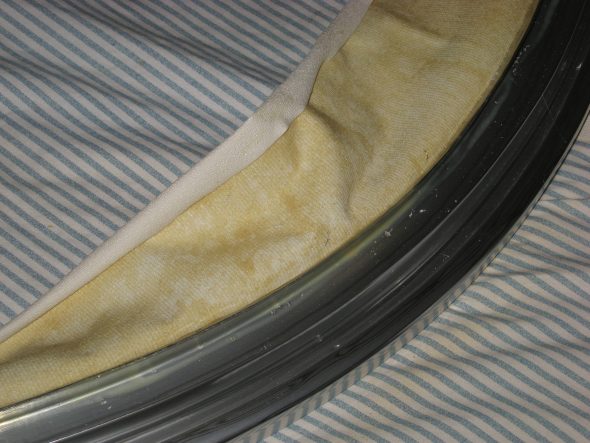
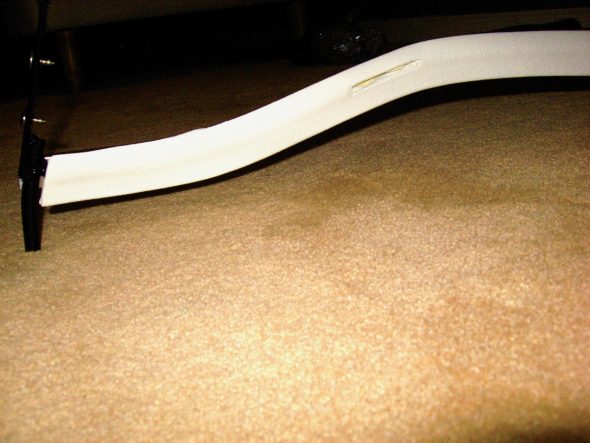
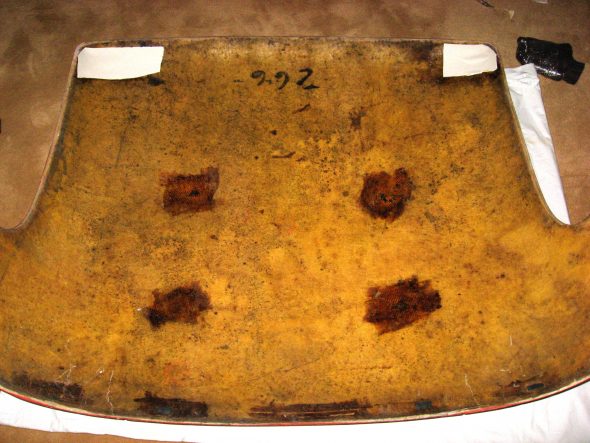
While waiting for the carb repair, I decided to start a little work on the hardtop assembly. Most of my hardtop restoration components came from Bill Bolton. The hardtop fabric he supplies is very close to the original. I has previously refurbished the headliner frame and had it along with the front cushion covered by Gerry Smith at Classic Upholstery. I glued the fabric to the lower hardtop aluminum cant rail.
Fabric was also glued into the corners of the hardtop where the front mounting “J” hooks are located.
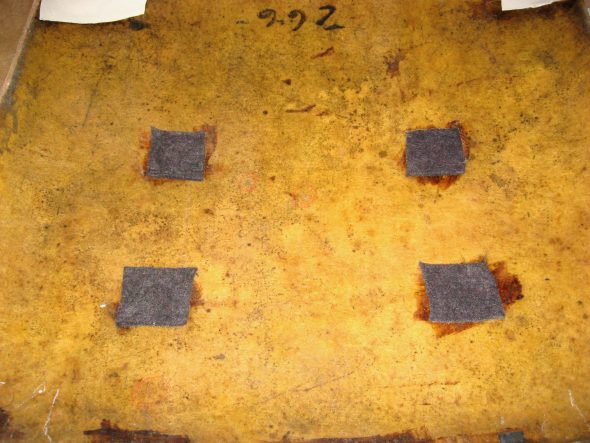
Then I glued some carpet padding onto the hardtop to provide cushion for the headliner frame rails.
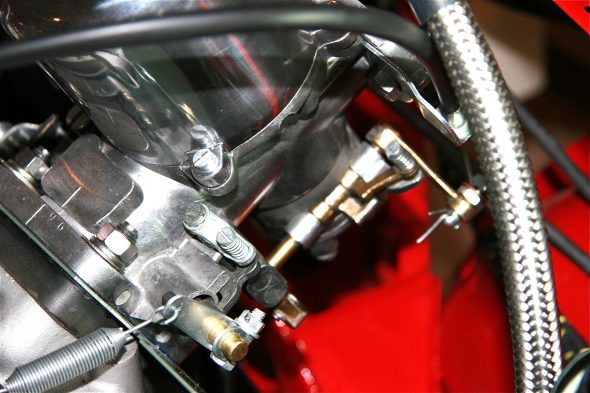
My repaired front carb returned from Joe Curto yesterday (December 18). Joe replaced the diaphragm. I installed the carbs last night and pleasantly, no leaks! Now I will leave the hardtop work and return to installing the body.
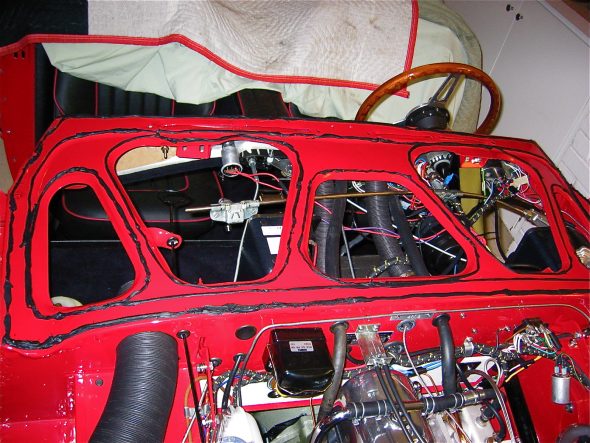
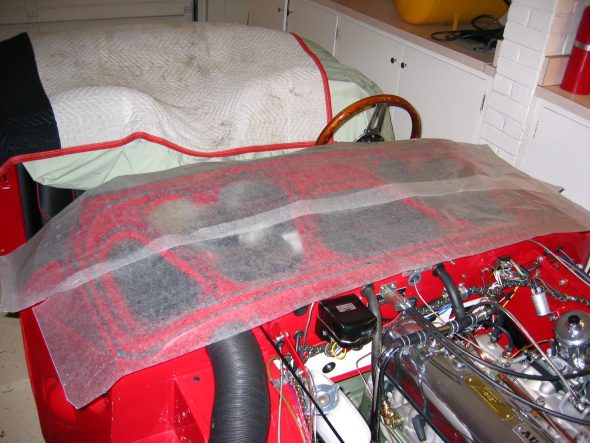
I covered all of the edges of the scuttle that come in contact with the front shroud(bonnet surround) with 3M strip caulk. This will prevent heat, fumes and water from entering the cockpit. To make sure I had adequate build up of the caulk, I used a tip from Jack Brashear. I covered the strip caulk on the scuttle with wax paper, installed the shroud and then pulled it off. Where the strip caulk was not pressed against the the wax paper I added more caulk and repeated the process until I was satisfied that I had enough caulk in place.
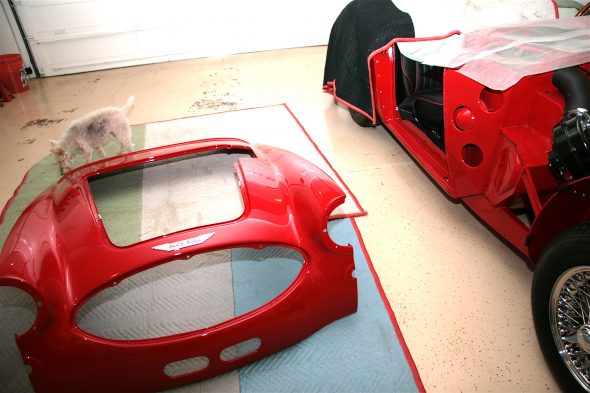
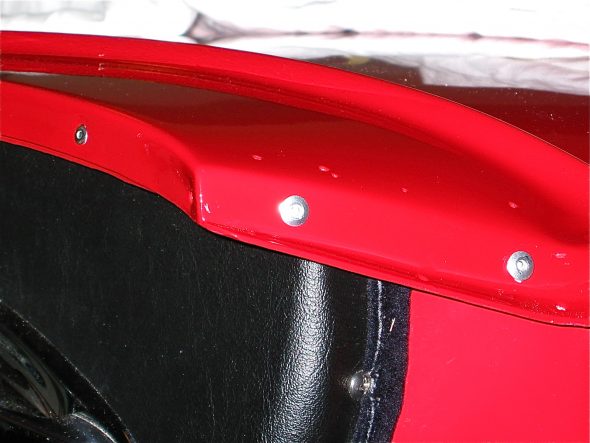
Securing the front shroud to the superstructure was the next step. I began by installing 3/16” aluminum pop rivets in the rear of the shroud along the dashboard flange (5) and scuttle edges(2 per side).
I then installed five countersunk flat head screws through the rear flange of the bonnet opening into the edge of the firewall.
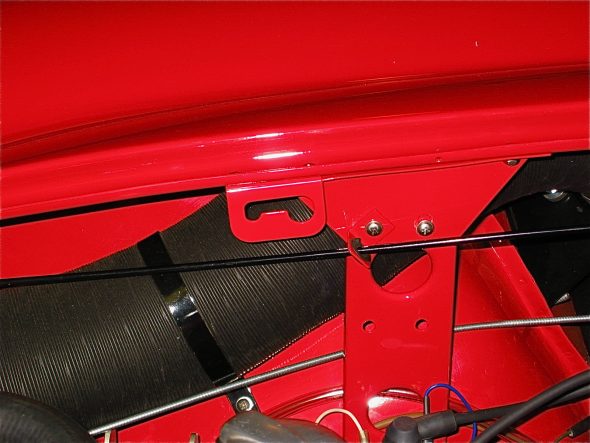
Four bolts, washers, and nuts fasten the frame rails to the shroud at the front of the car. The frame rails should fit “inside” the shroud. Three #10 flat head, countersunk machine screws with washers and nuts fasten the front flange of the bonnet opening to the superstructure.
Two #10 flat head, countersunk machine screws with washers and nuts fasten each of the vertical shroud support brackets to the shroud. On the RH passenger side of the car, one of these screws, along with another, is also used to fasten the bonnet prop rod stay bracket.
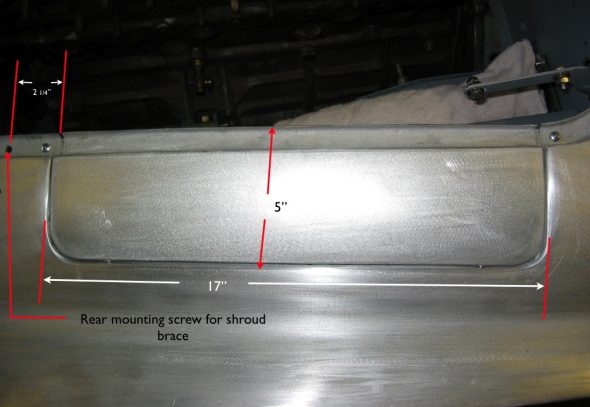
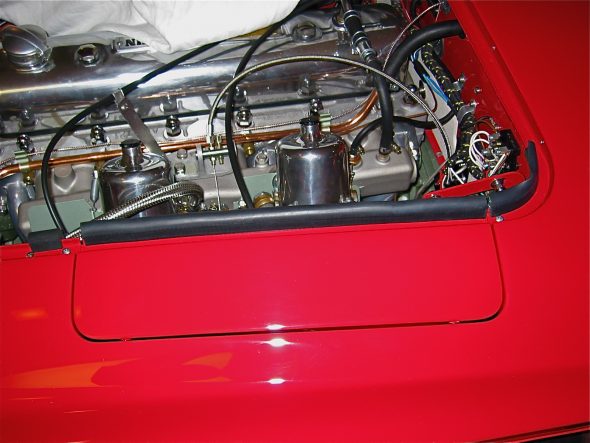
The front shroud was now fastened in place! I then attached the carb access panel and I was in business. The panel measurements are in the image below.
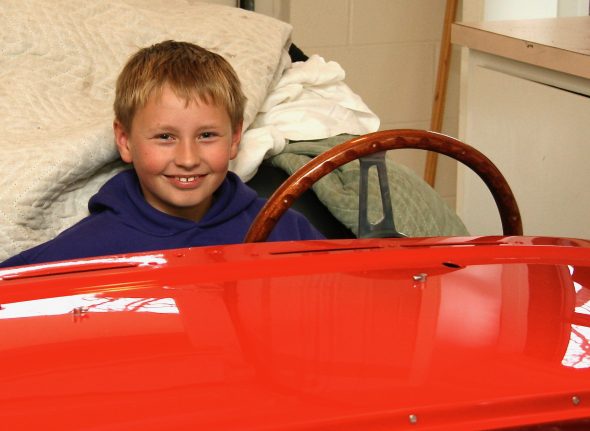
I had a surprise visit from my 9 year old grandson, Tyler. As the photo shows he is getting ready to drive the “Bloody Beast.”
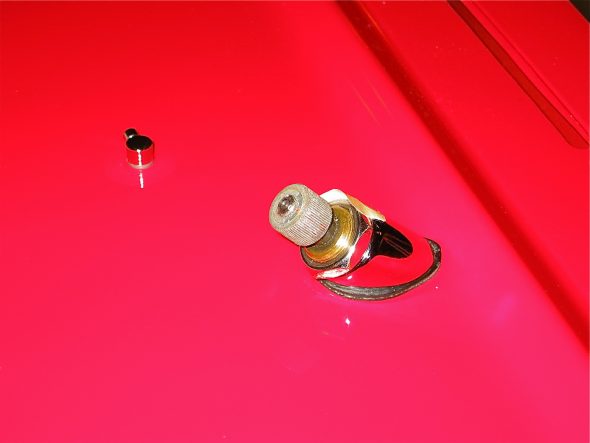
The two windscreen washer jets were installed on the shroud (would have been much easier to do before the shroud was put in place!) and connected with rubber tubing to the reservoir in the parcel shelf. I had previously installed the wiper motor, crosshead and rack, but I now needed to bring the wheelbox assembly up through the front shroud and secure them in place with the rubber washer, chrome bezel and chrome nut. This was not a pleasant job with all the wiring and underdash components in place, but after some struggling the job was accomplished.

