Removing Grease, Grime and Rust
On the Jaguar project, I am trying to keep the cost down by doing much of the work myself rather than just handing the car off to a shop to restore. Unfortunately, that means removing years of grease and dirt without many of the tools that you might find in a professional shop. Actually, the grease and dirt aren’t so challenging, but the undercoating and tar-like substance used in the interior are an entirely different matter!
I first tackled the engine bay using Simple Green cleanser, a little carb cleaner, wire brushes, some 3M abrasive disks with compressed air, a face mask, and protective glasses.

Cleaning Tools
Cleaning the Engine Bay
Cleaning the Engine Bay
Cleaning the Engine Bay
Once I finished the engine bay I sprayed a rust inhibitor on it and then I did take the body shell to my friend Jeremy Turner at Maple Hill Restoration who sand blasted the engine bay and sprayed it with a PPG self etching primer, called wash primer. The primer is DX1791, the activator is DX1792. Other than the upper RH section of the firewall that was rusted away from battery acid and a few holes in the ventilation distribution chamber (I don’t know the proper name) everything seemed very solid. I noted that the area in front of the radiator was apparently painted a flat or satin black and given the evidence of paint drips it was probably painted by brush.
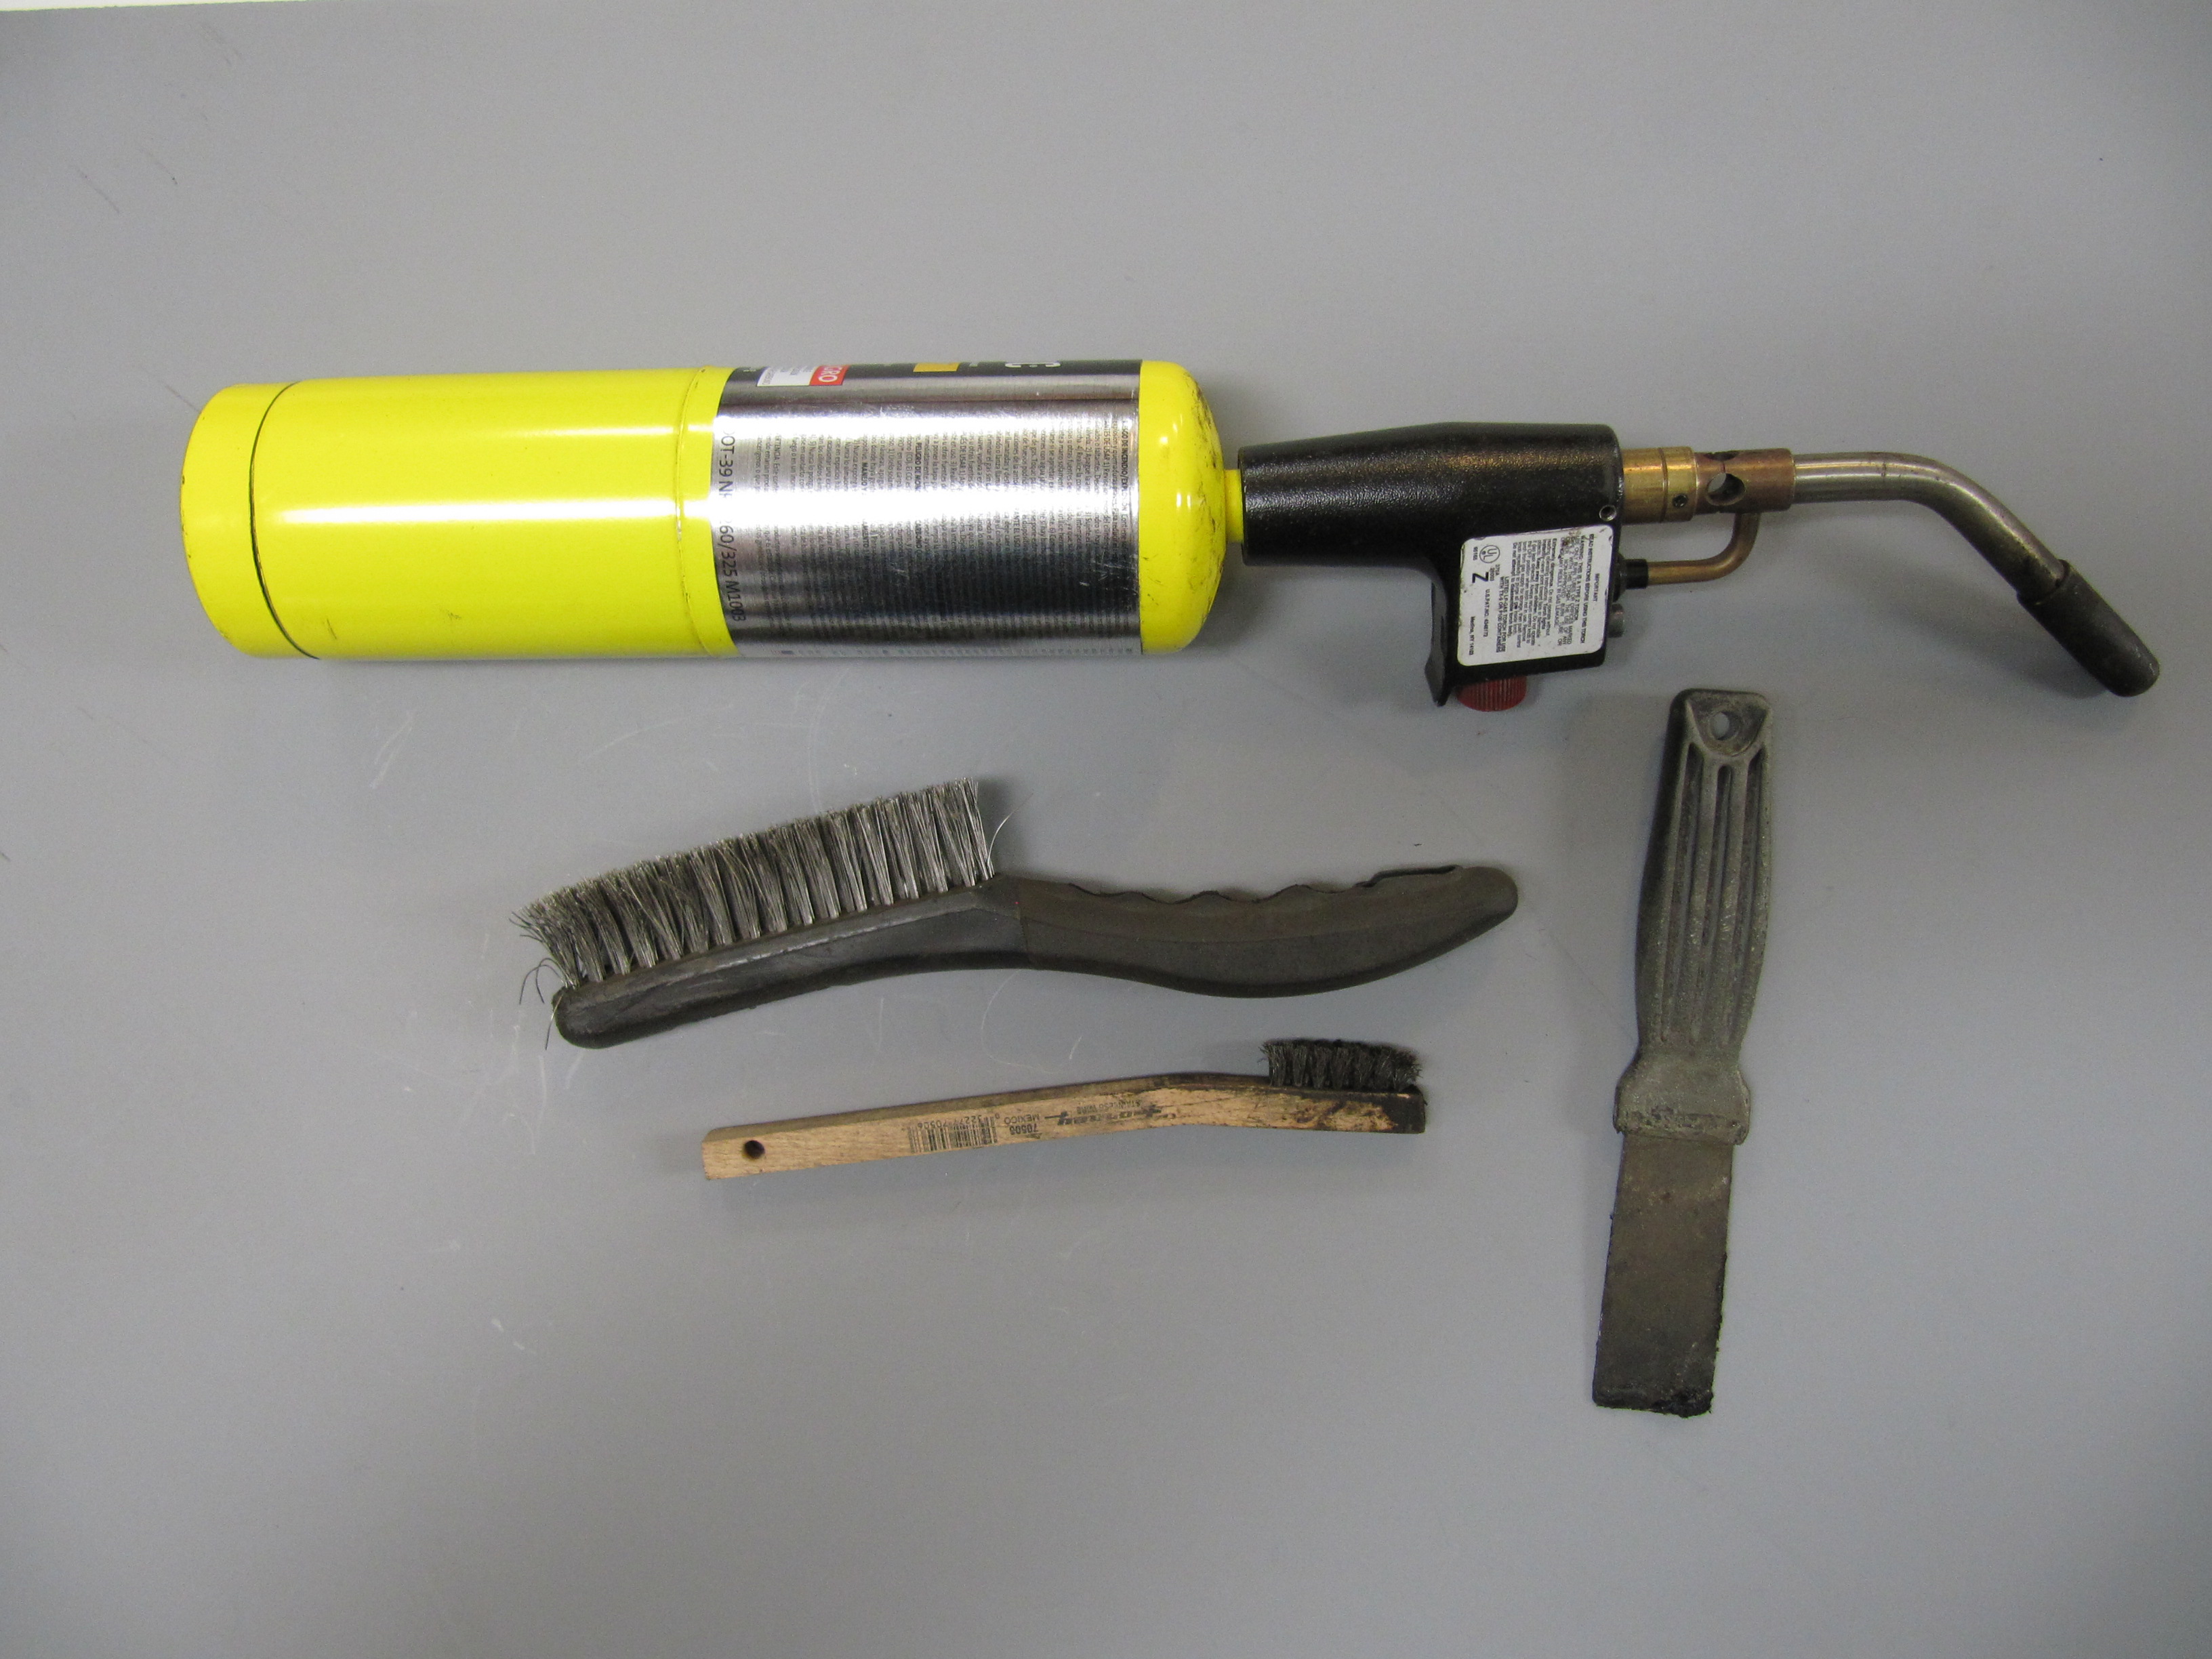
After getting the car back from Jeremy I moved on to the left wheel well and the LH front section of the frame. I tried some undercoating remover from Eastwood, but it didn’t work so well. I then resorted to the old standby – a hand held propane torch and a putty knife. While the process is slow it did produce good results and I discovered very little rust.

The Tools Required for Undercoating Removal

Front LH Wheel Well

Front LH Wheel Well

Front LH Wheel Well
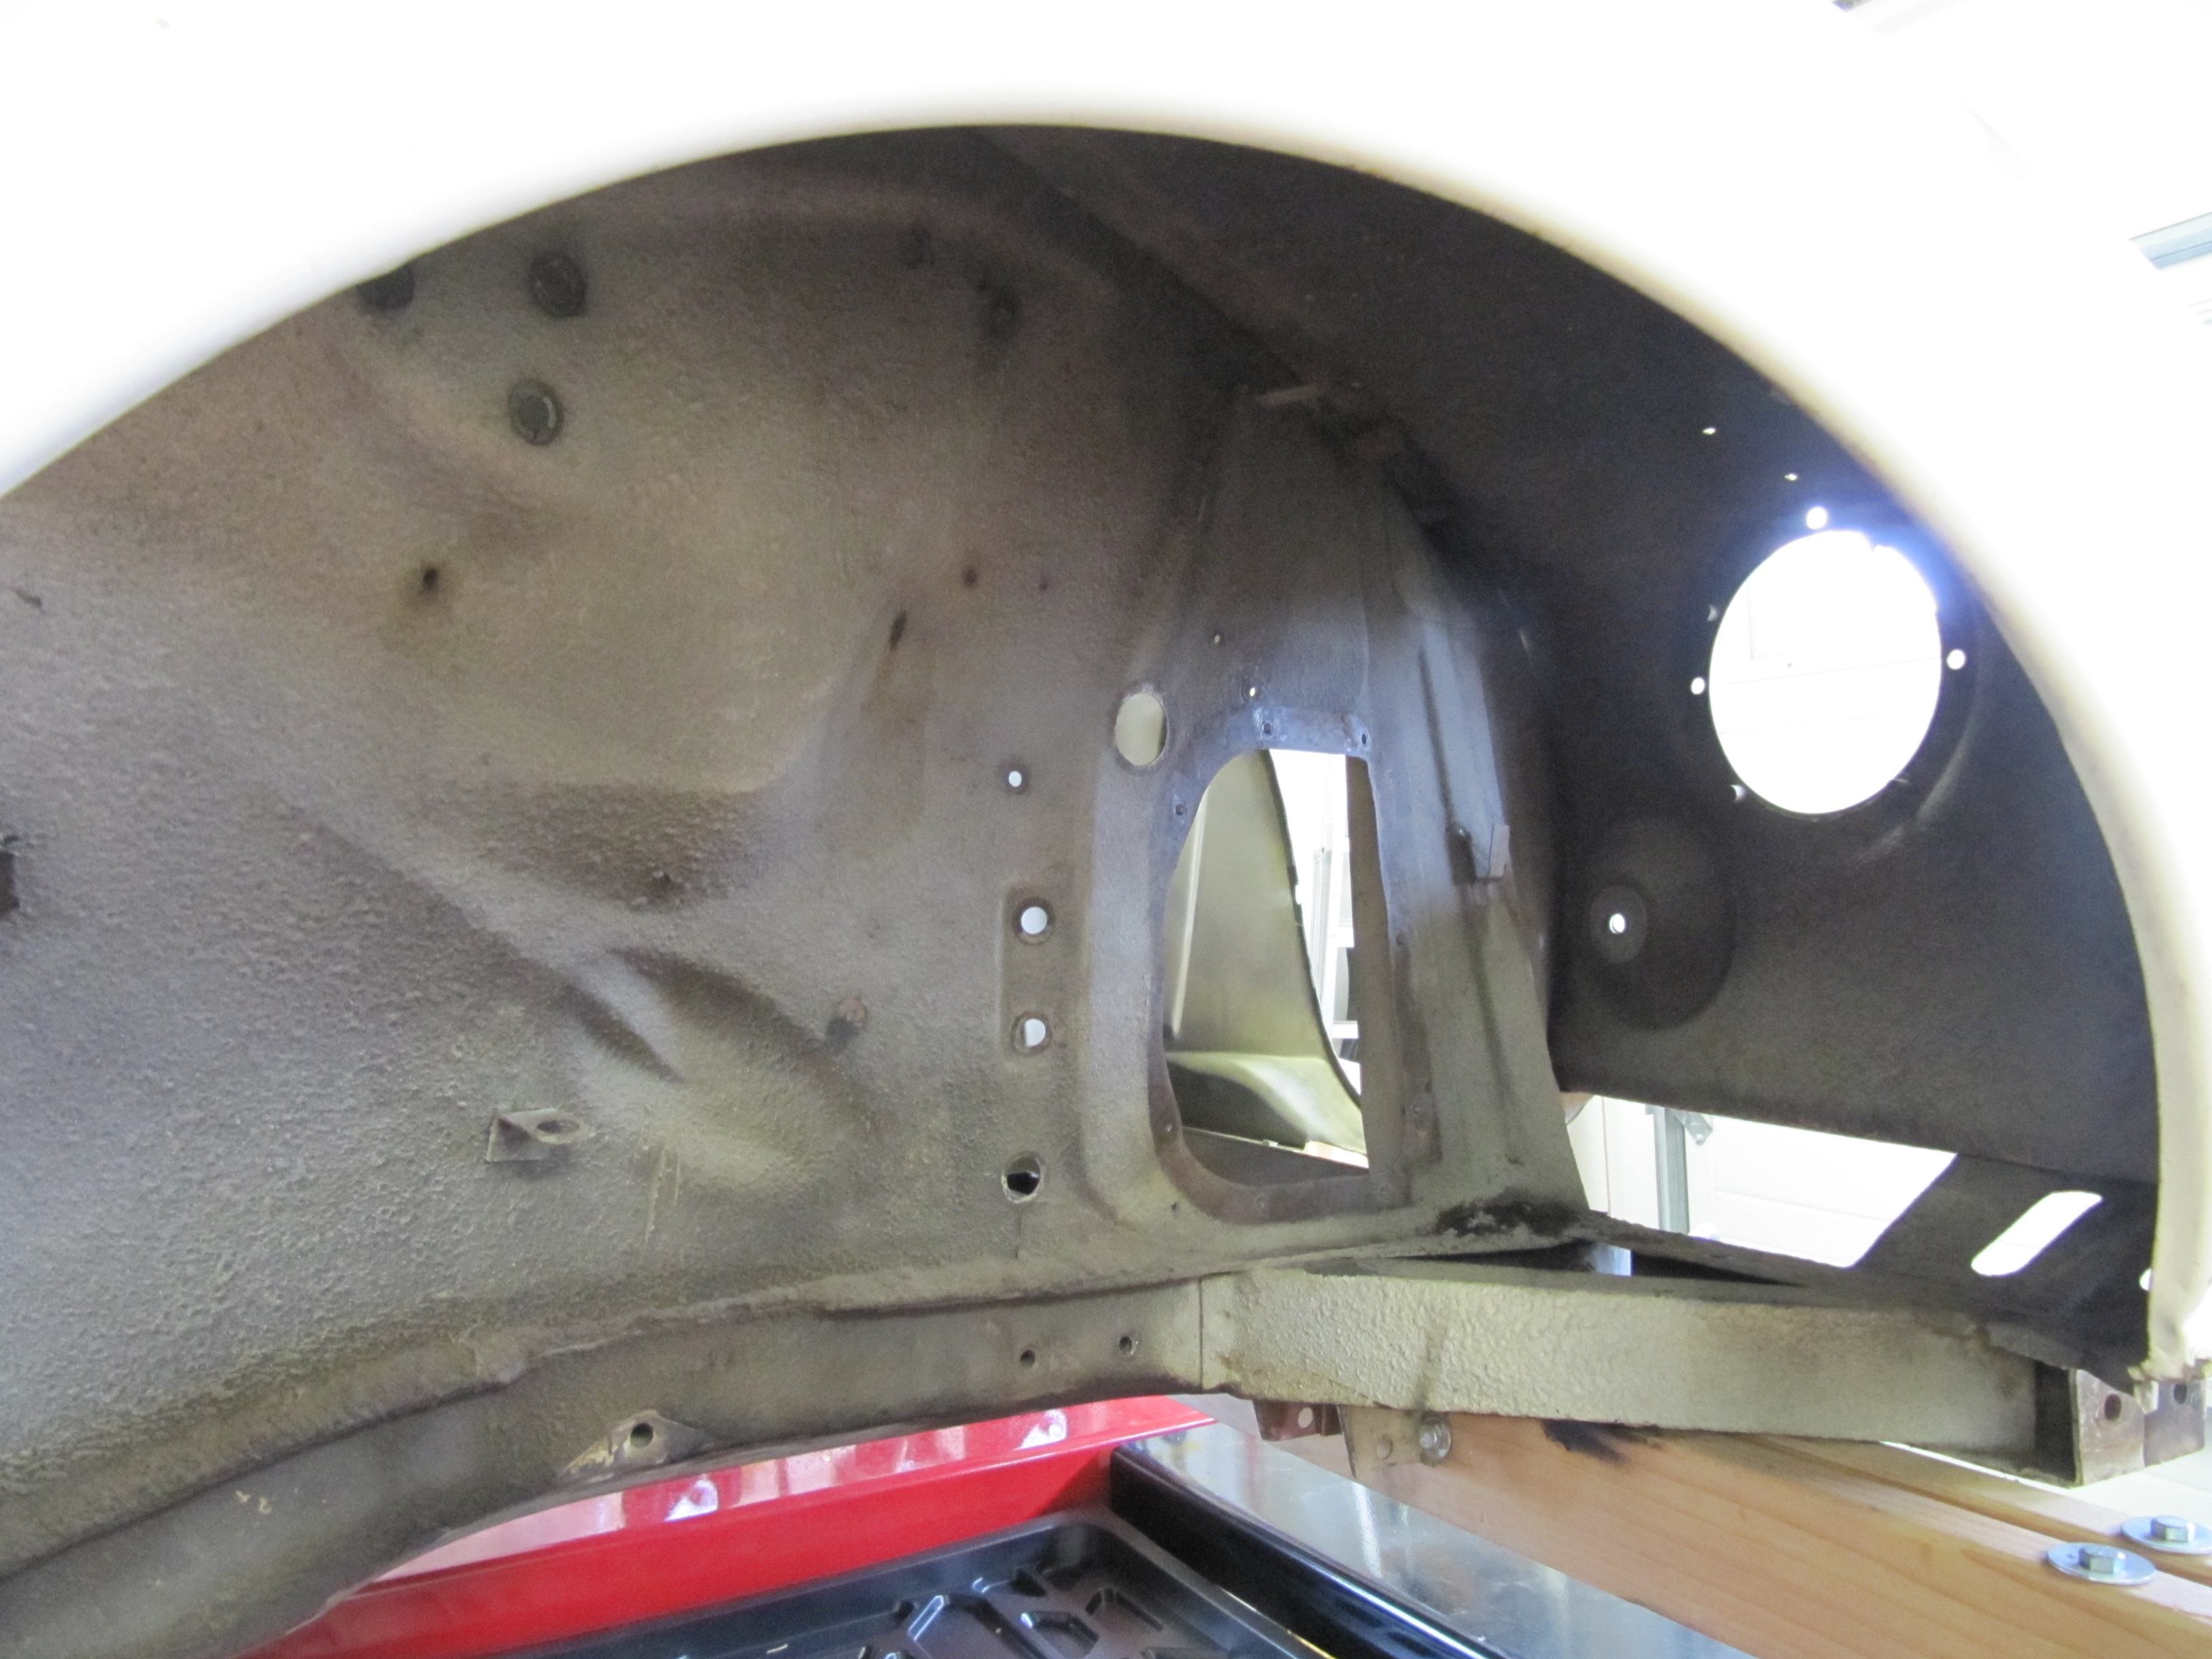
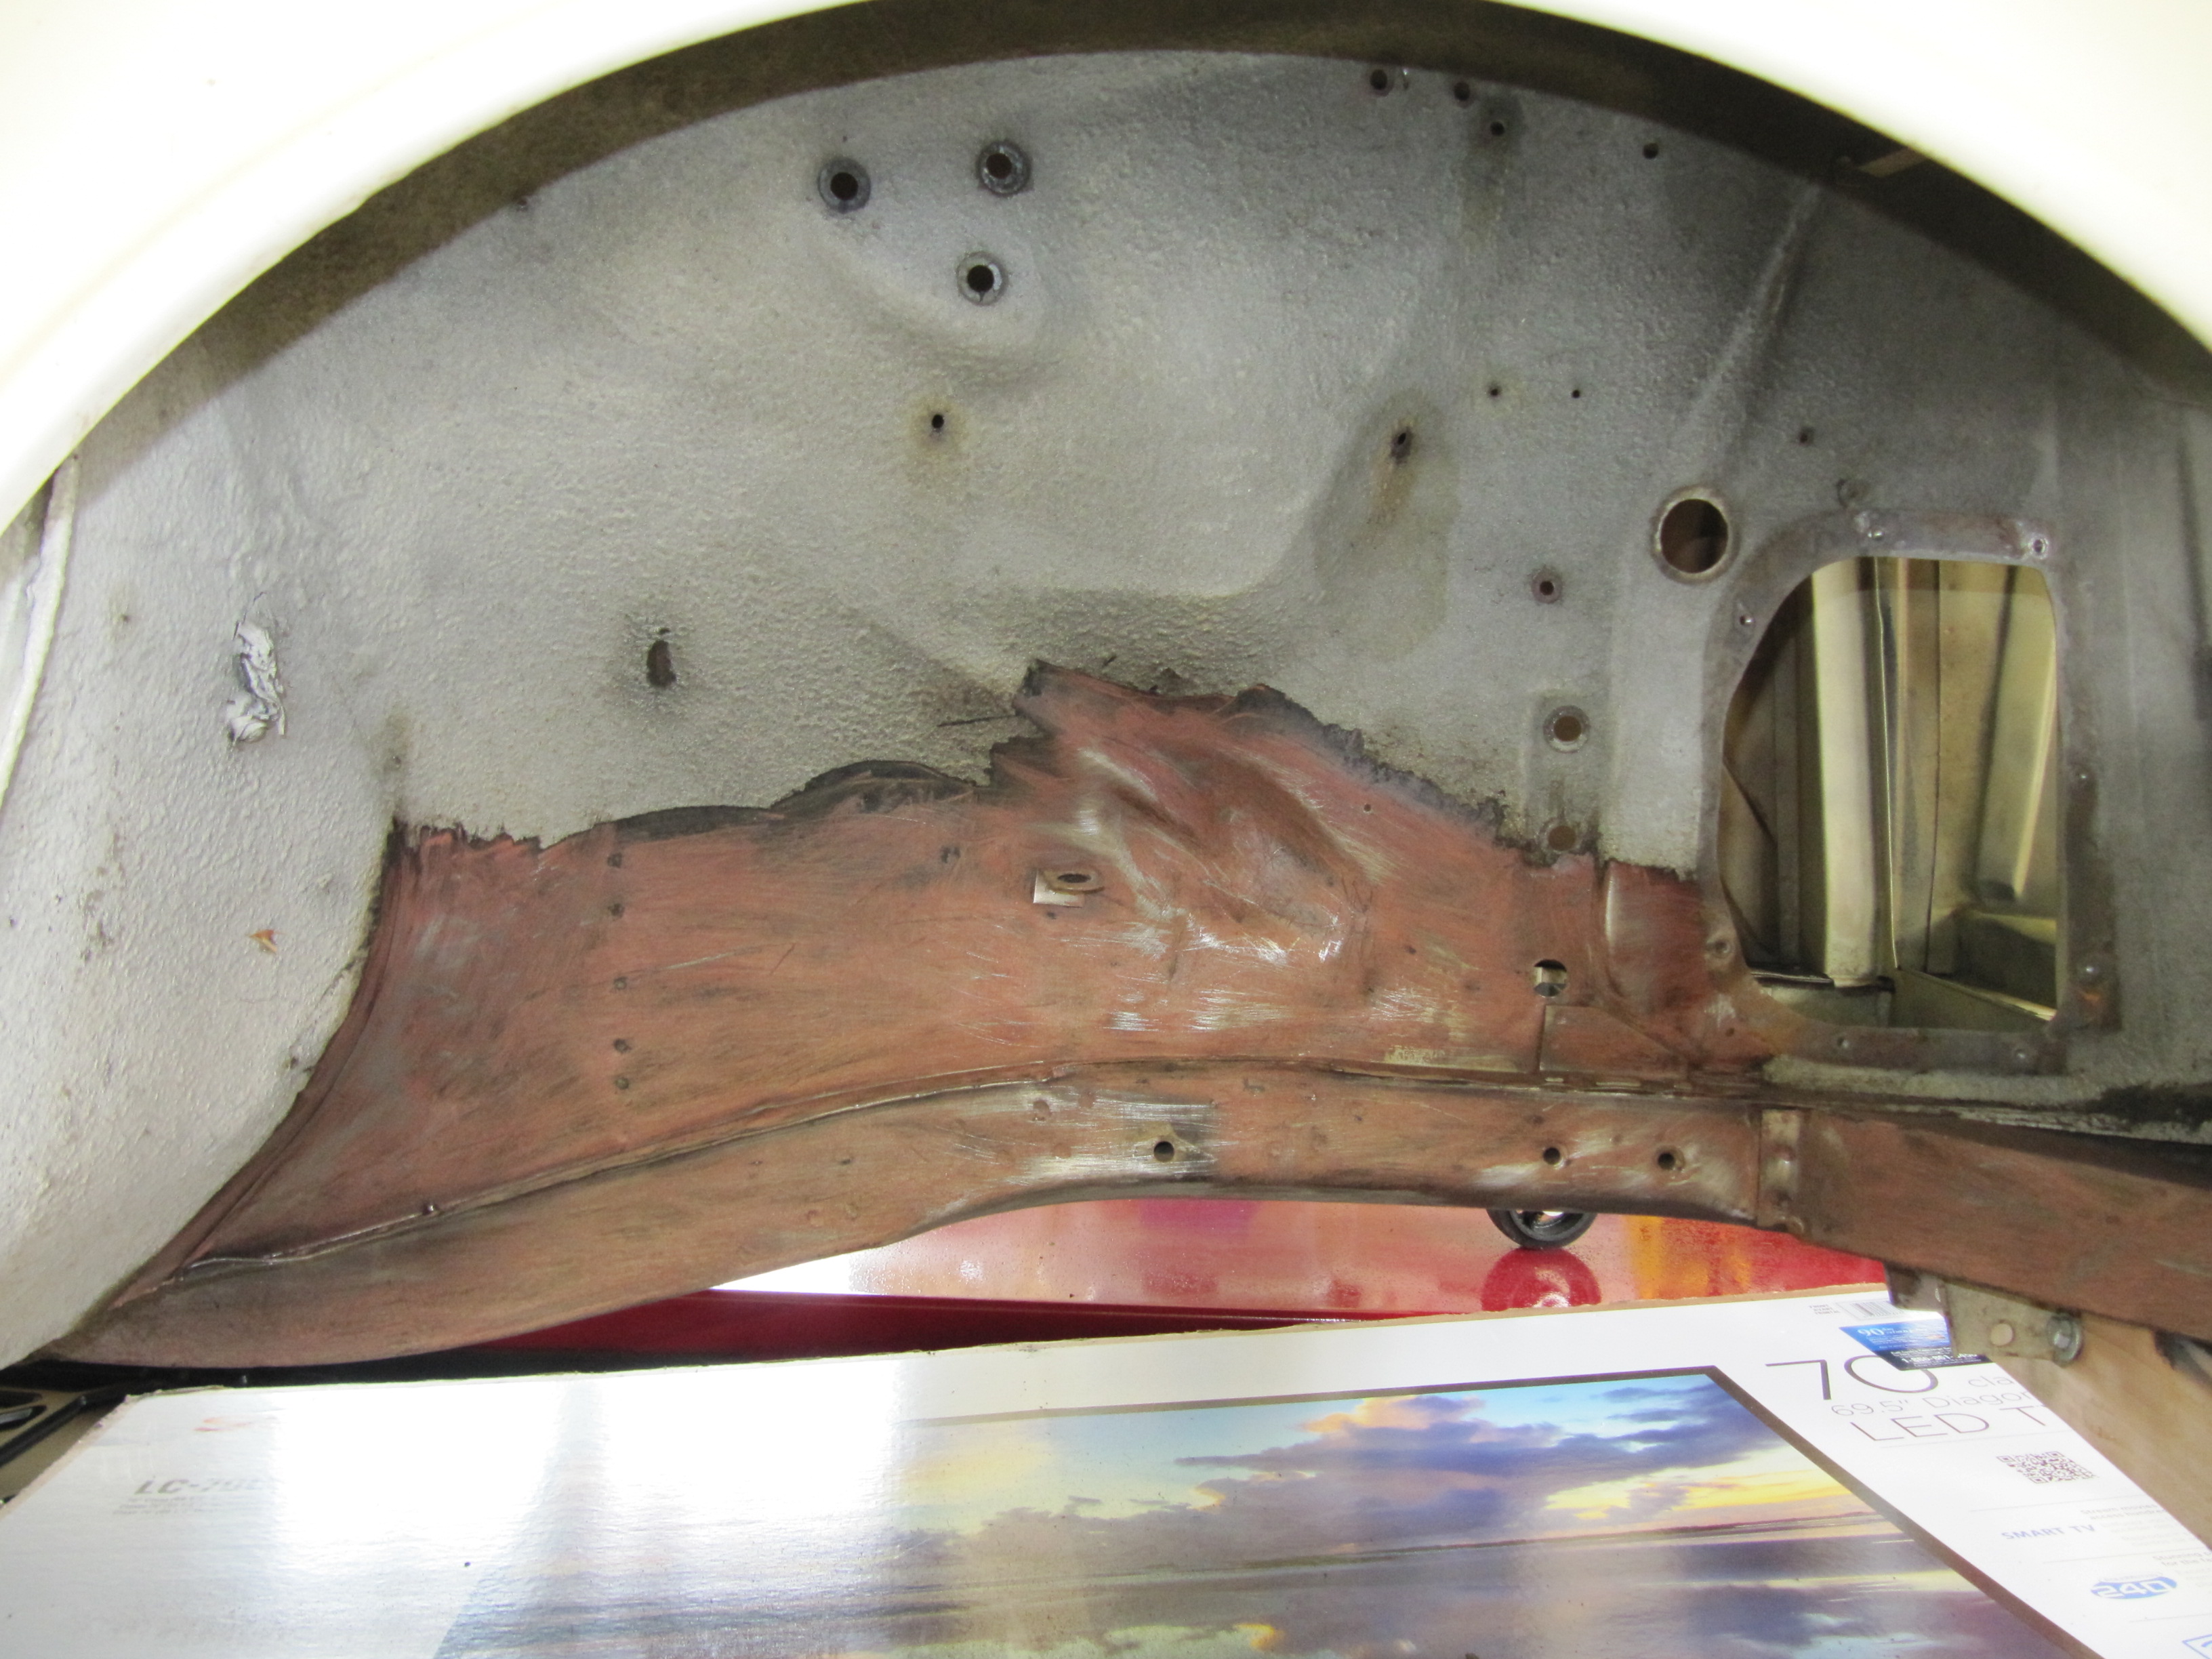
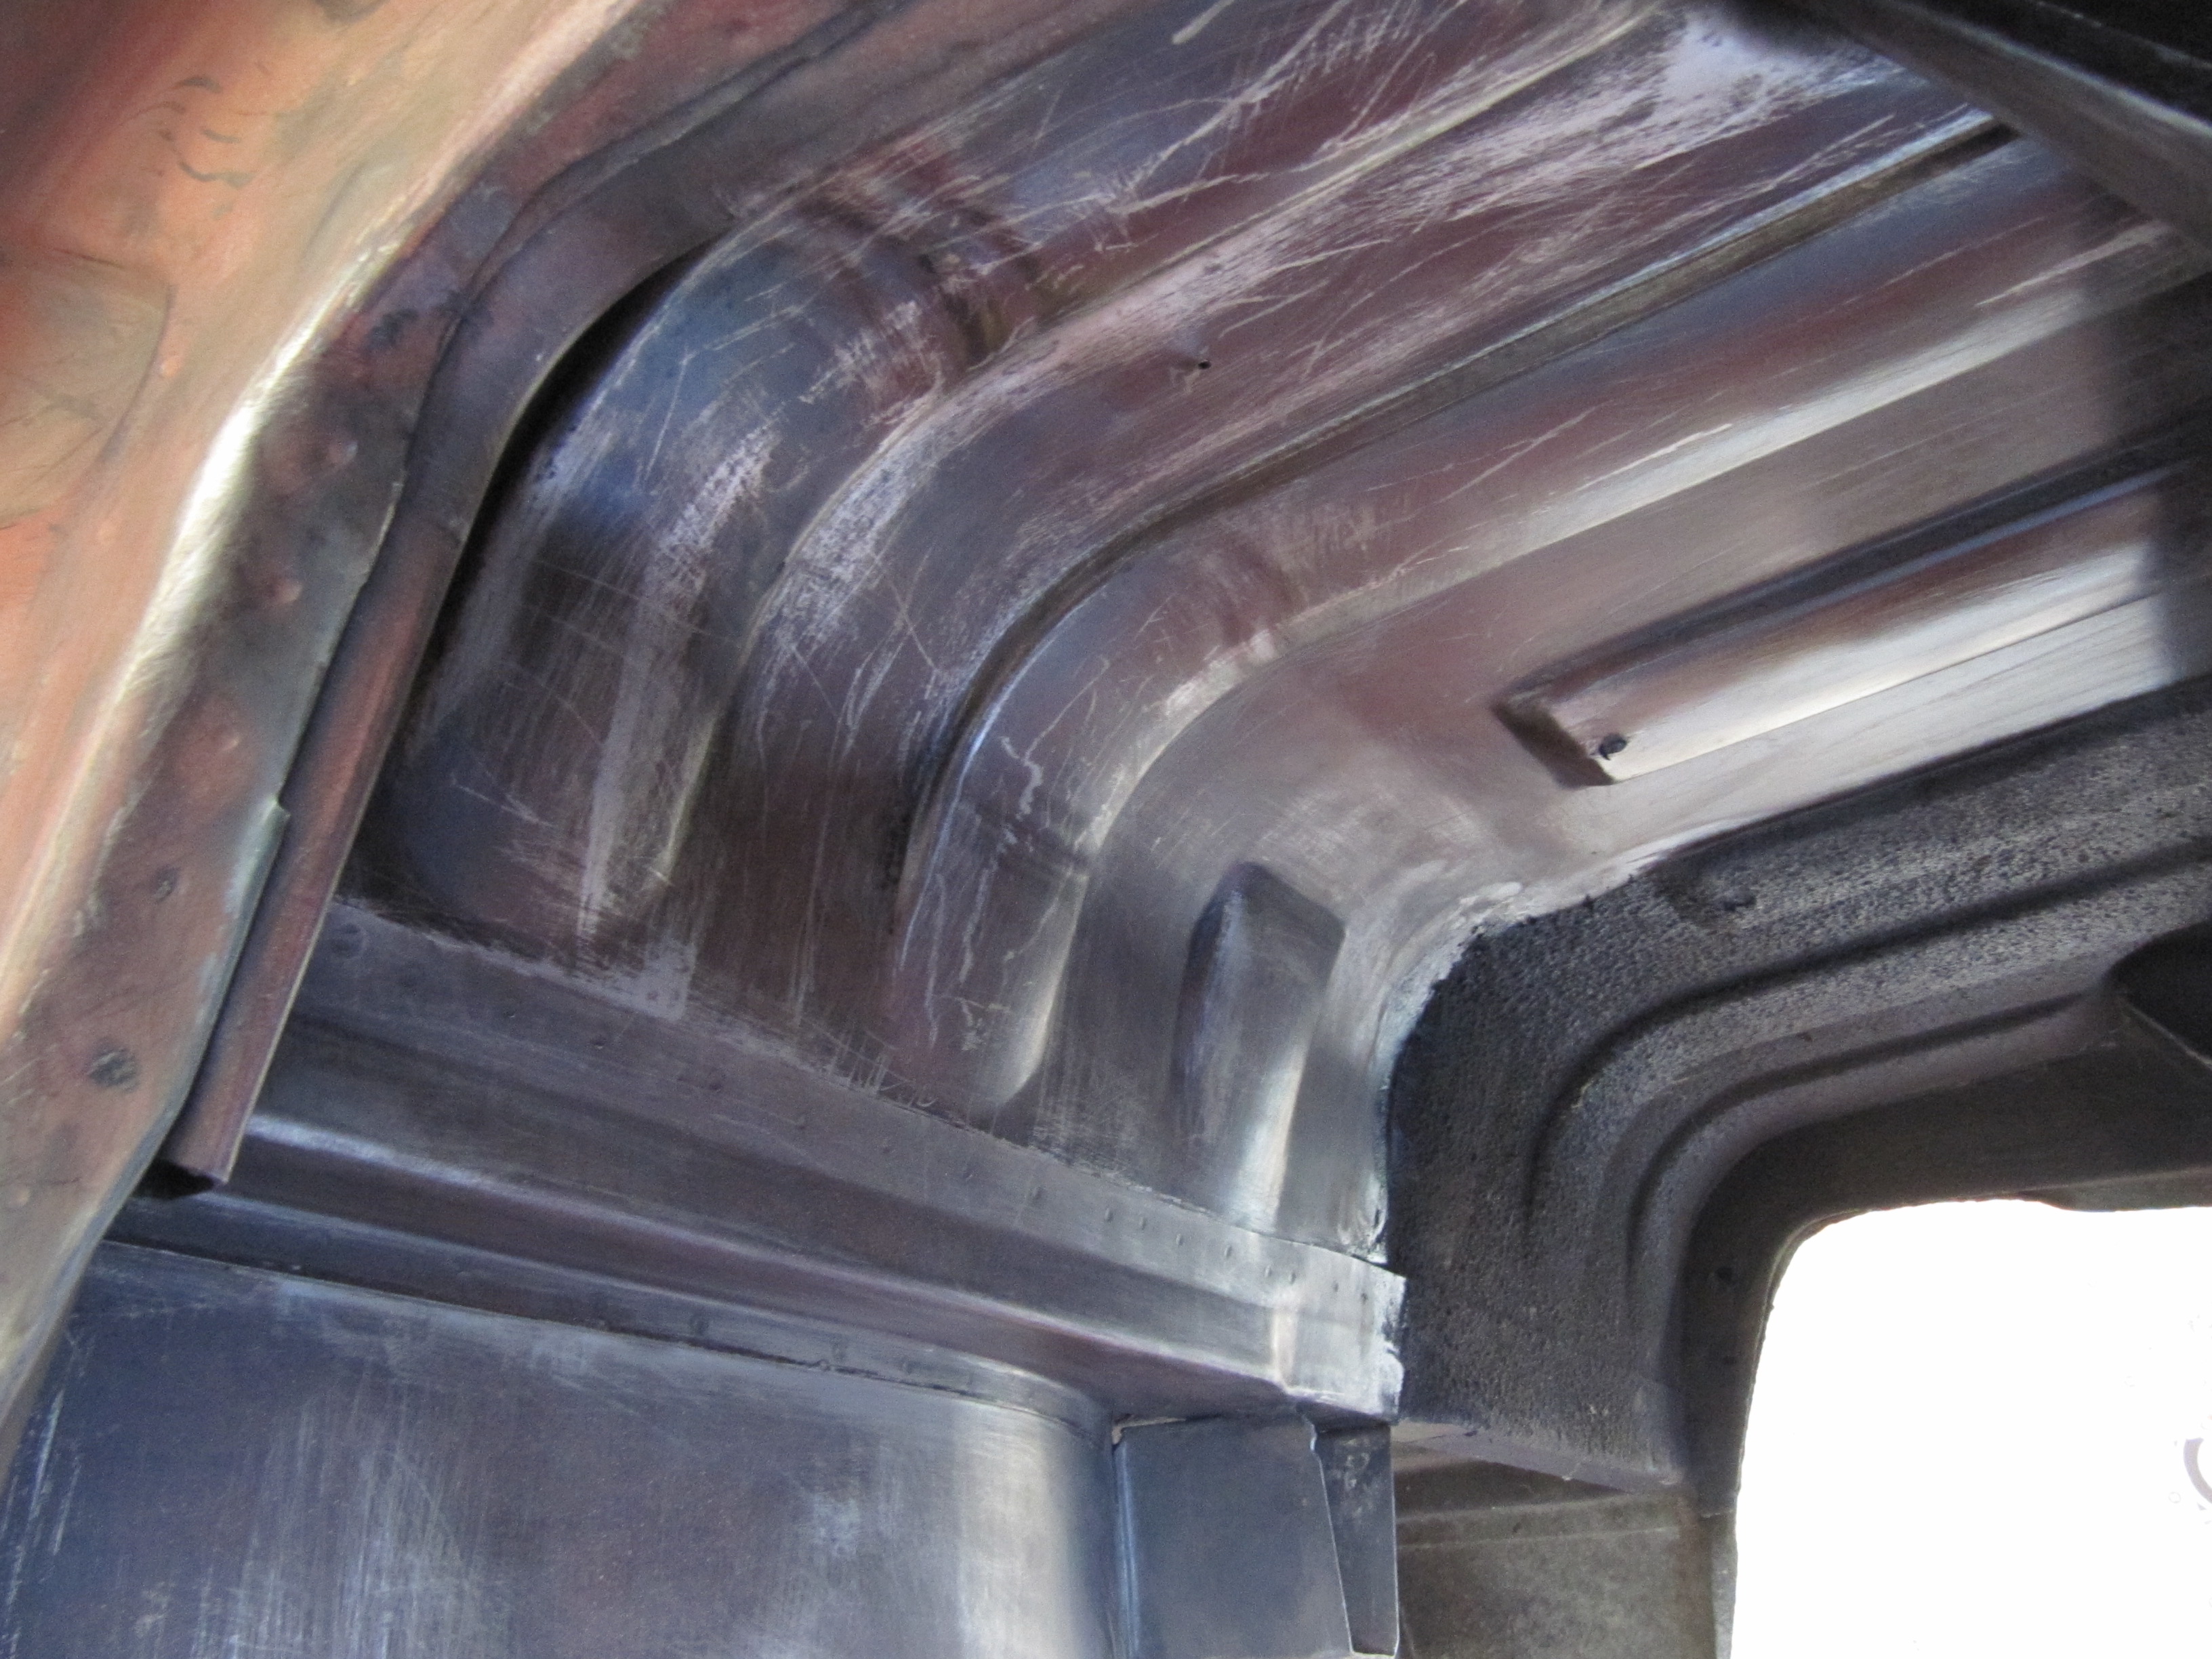
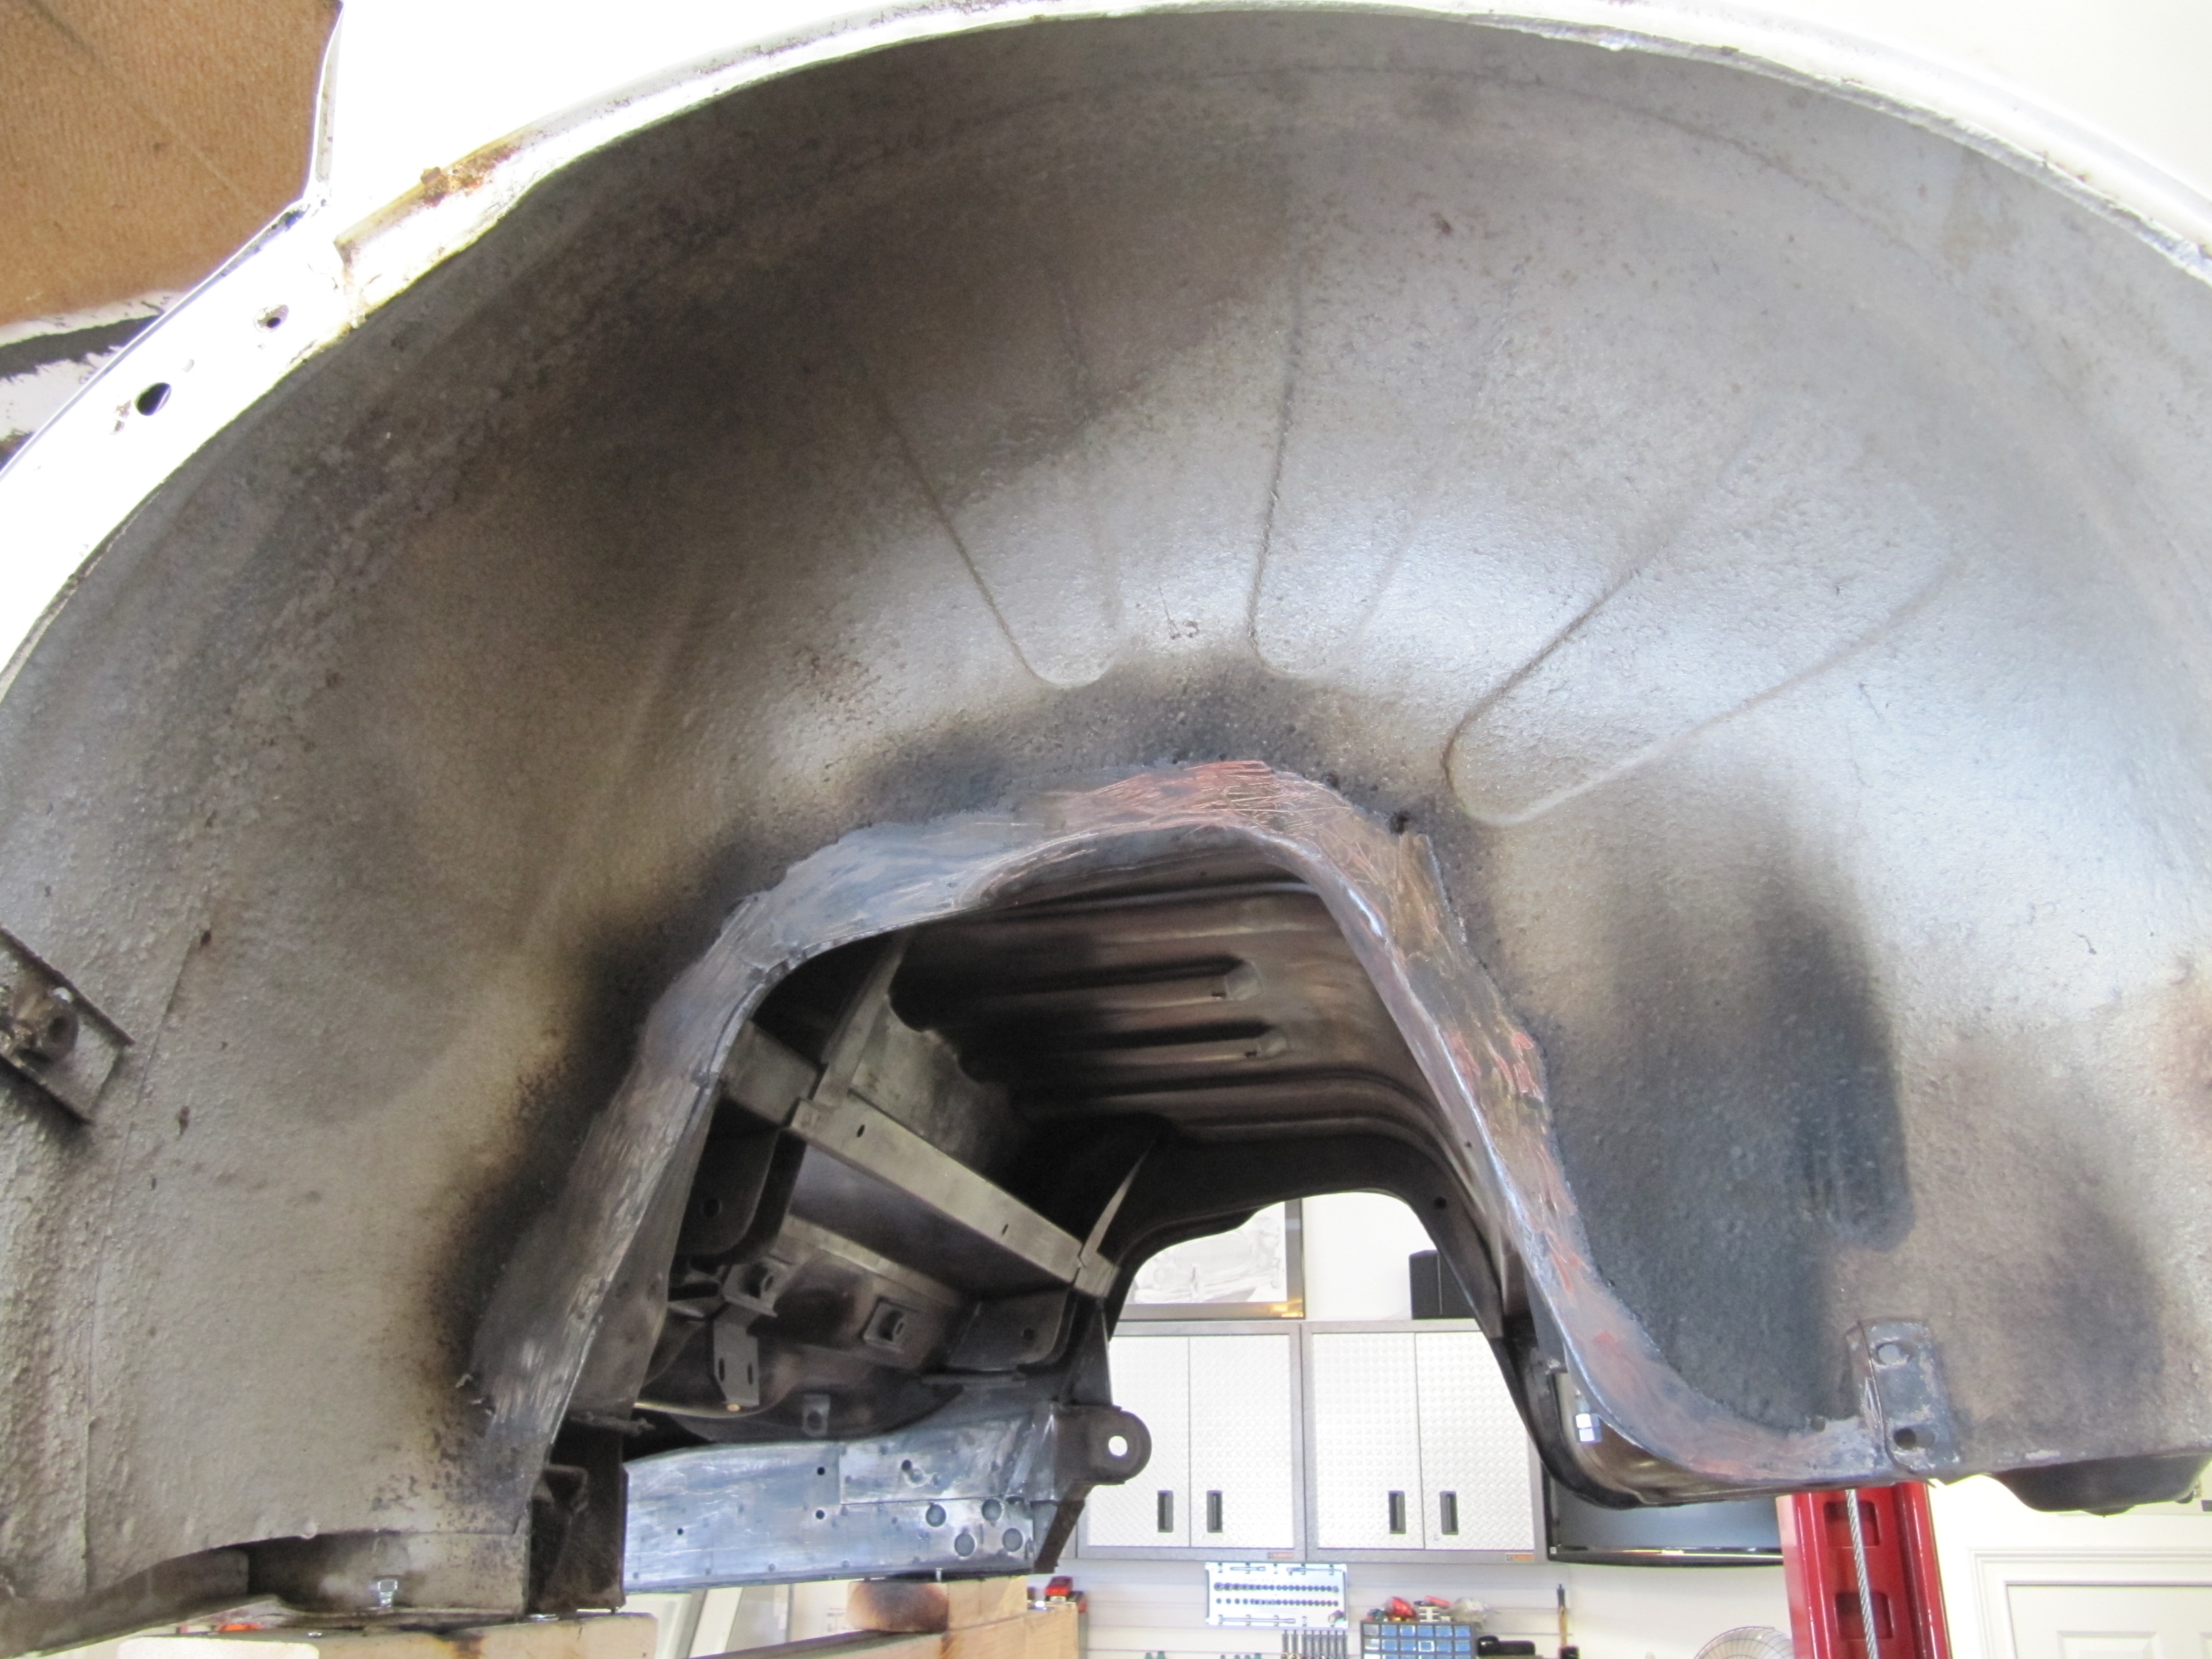
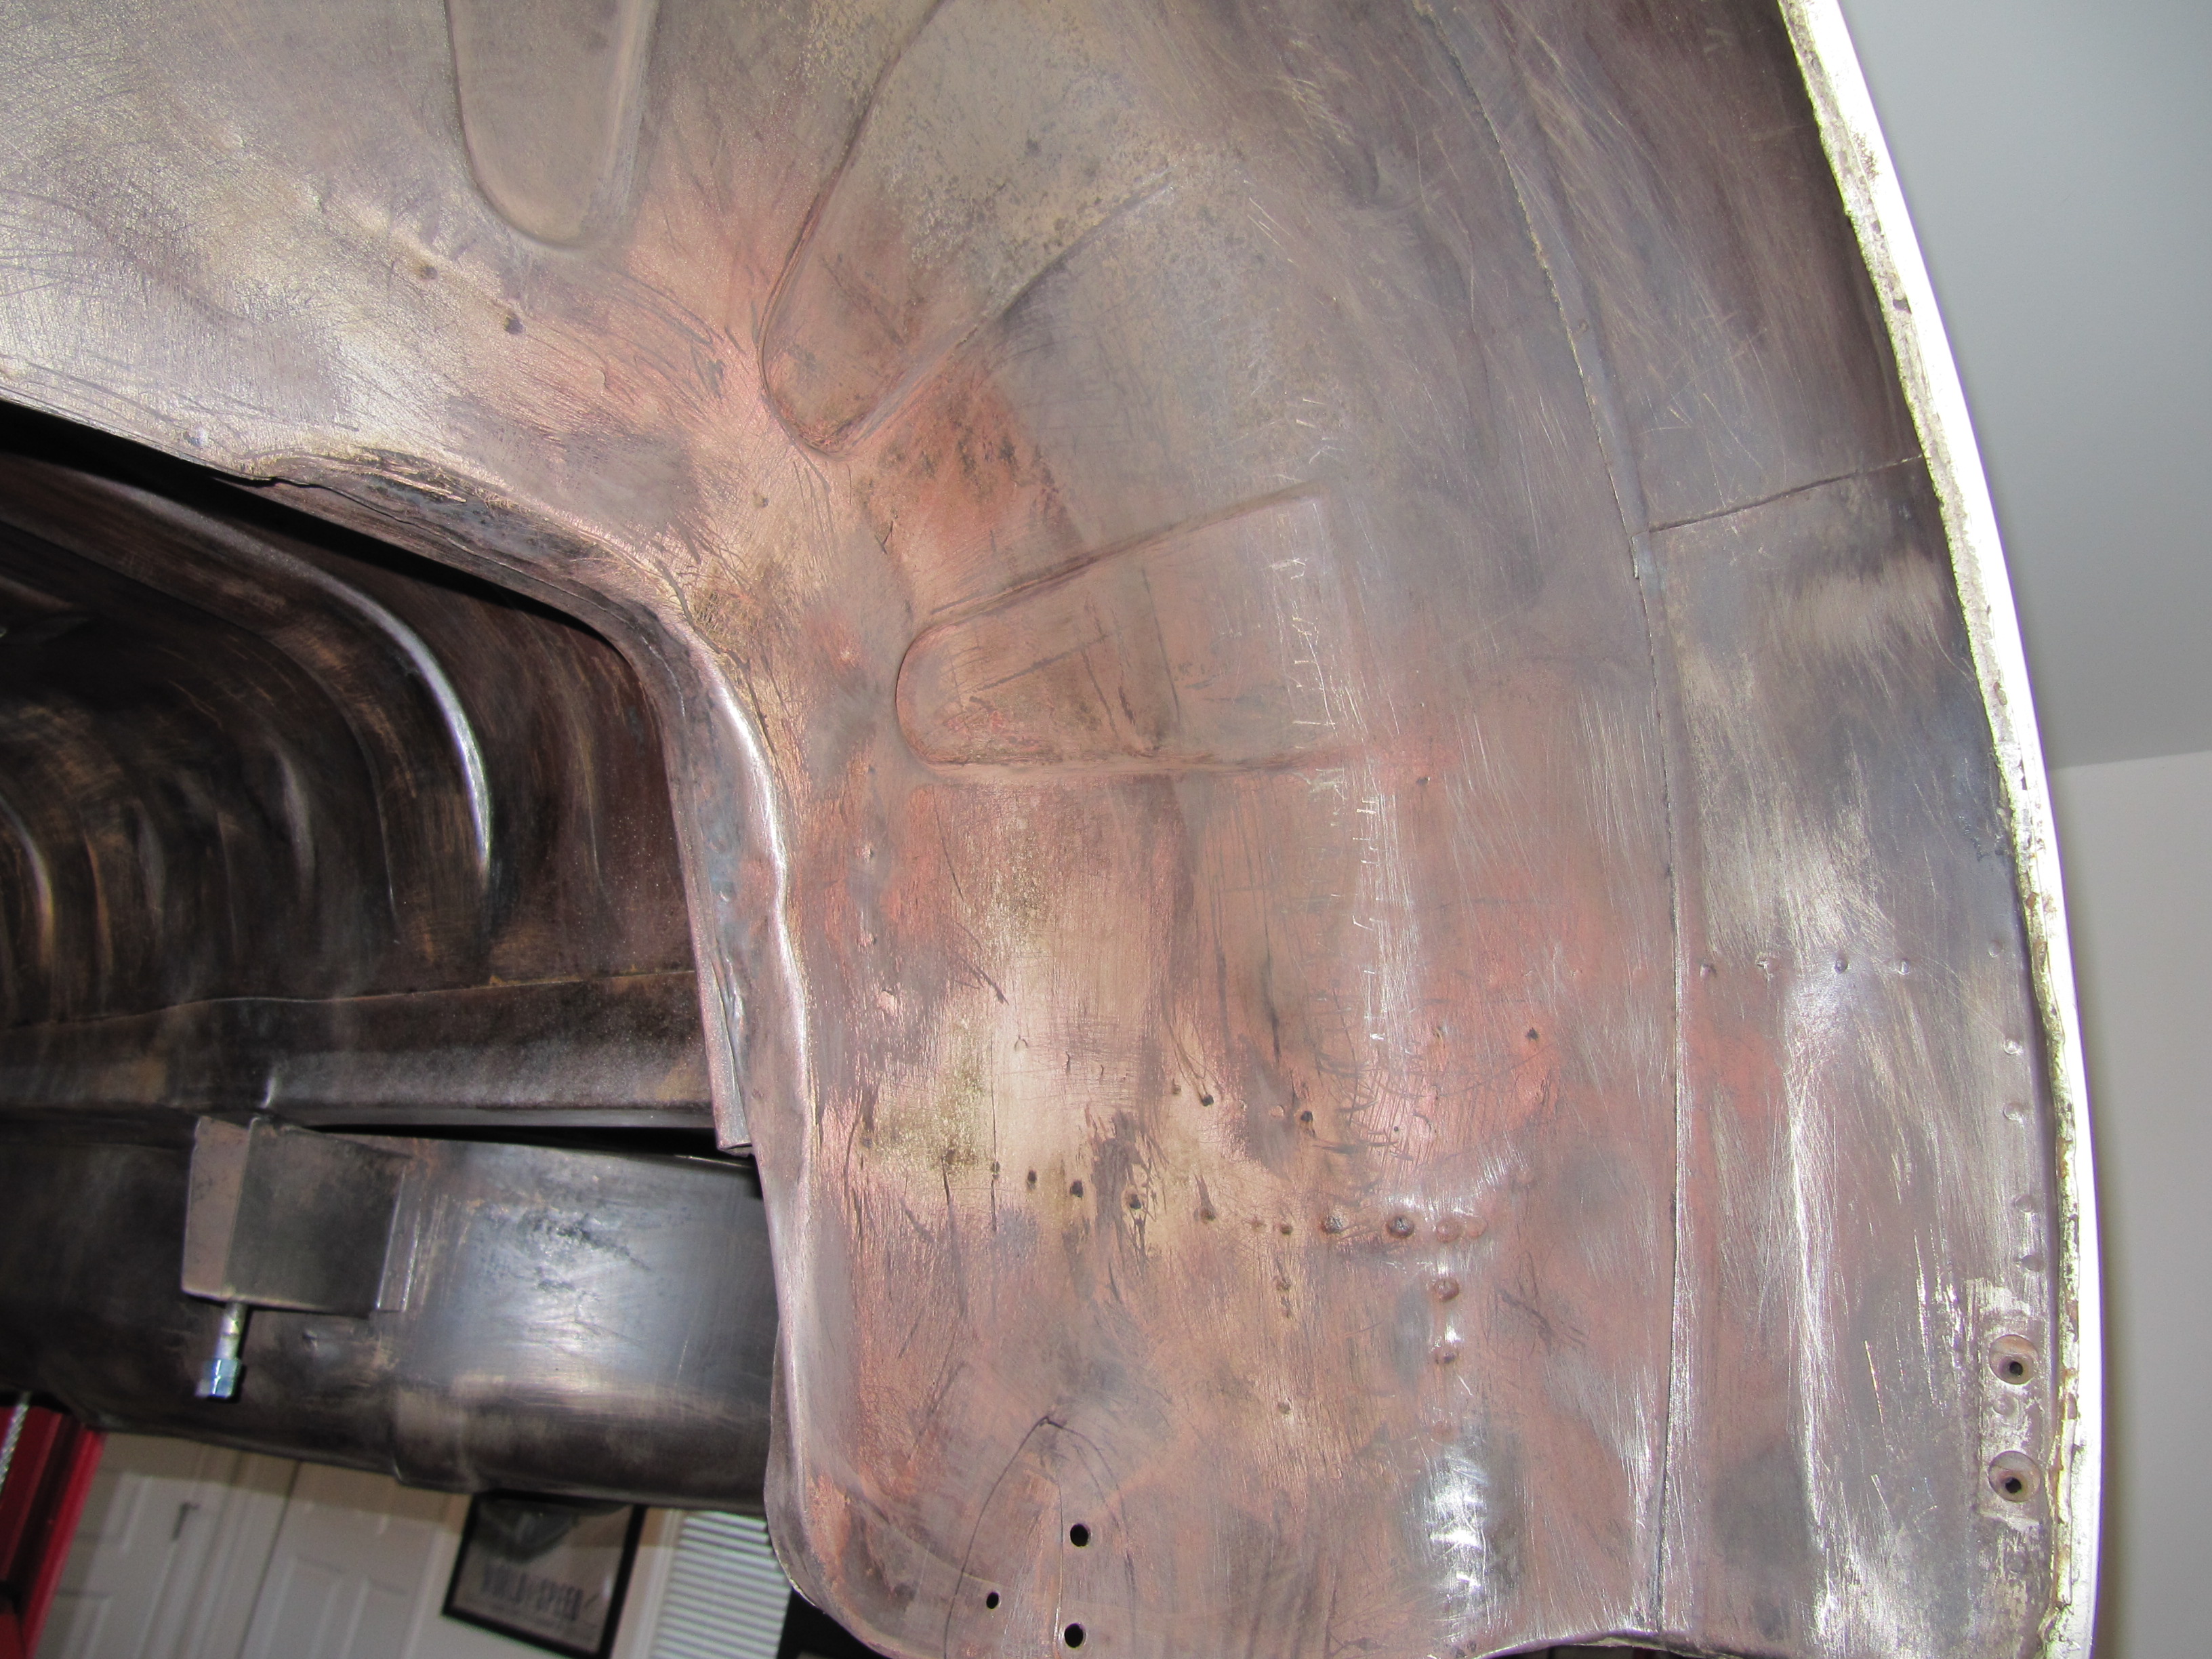
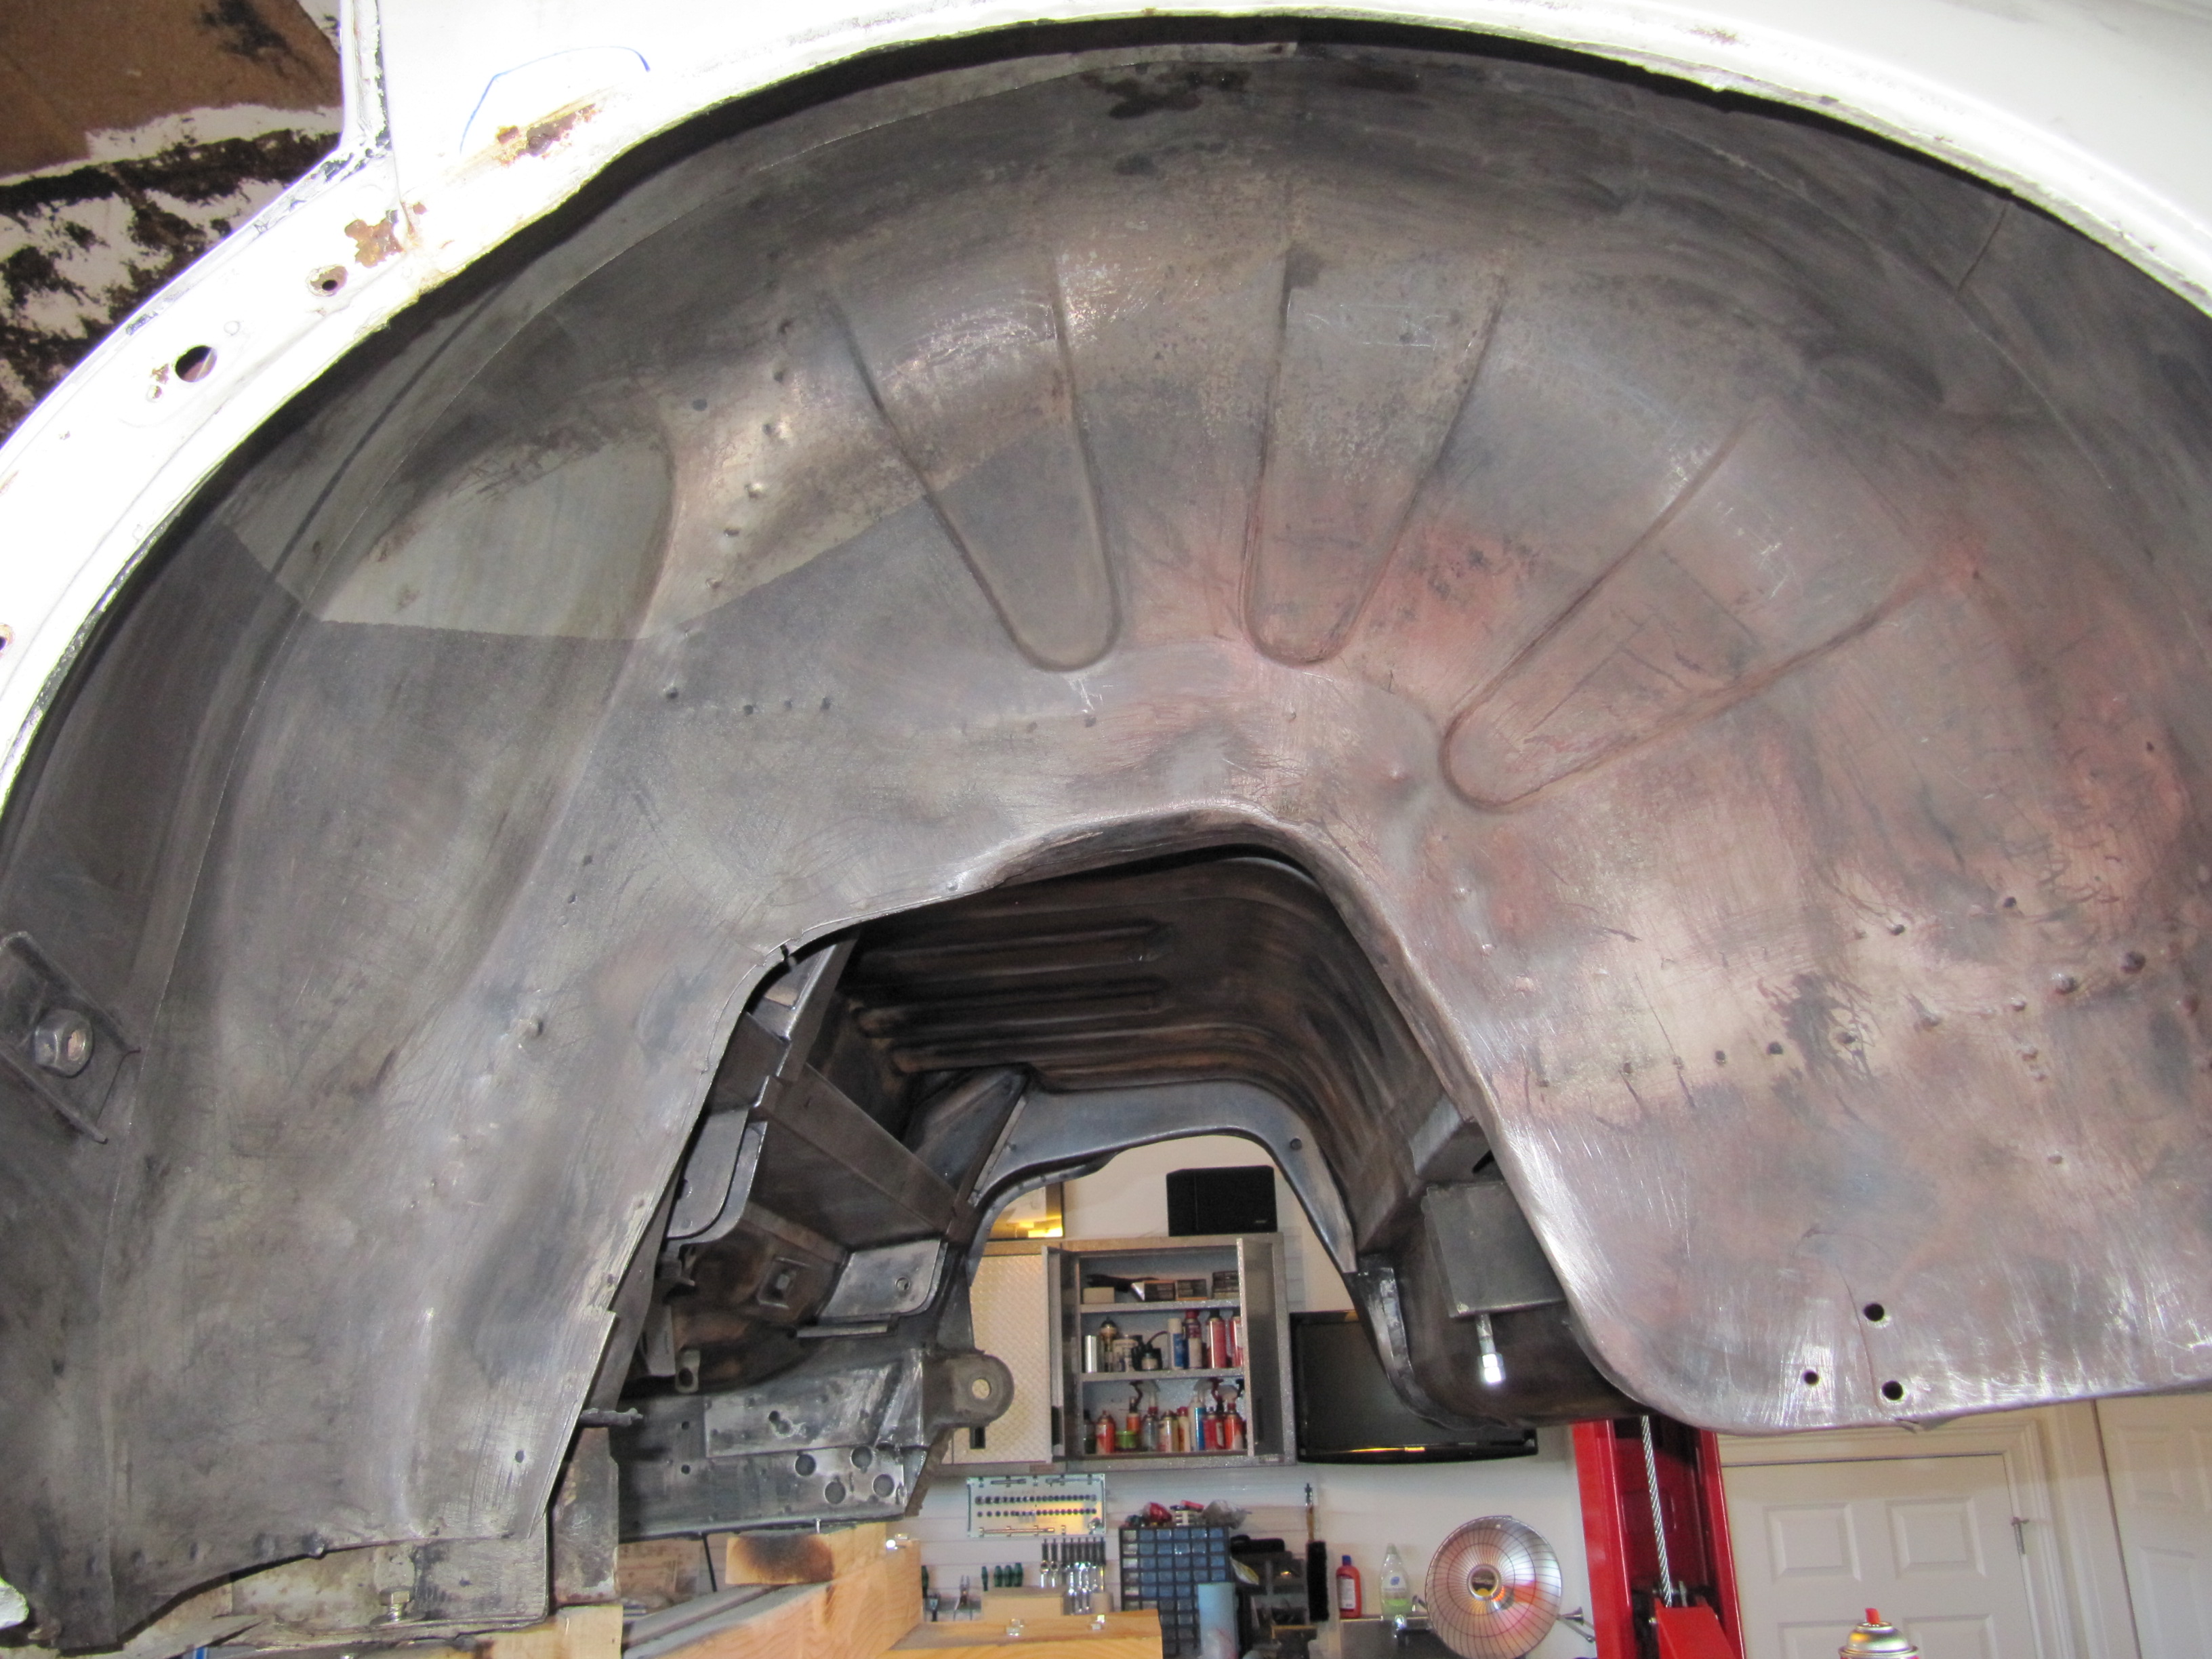
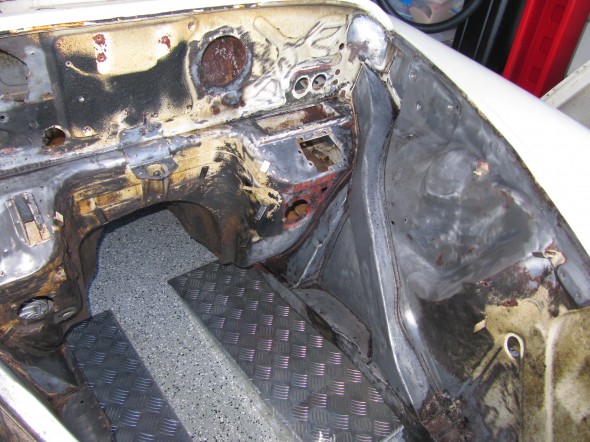
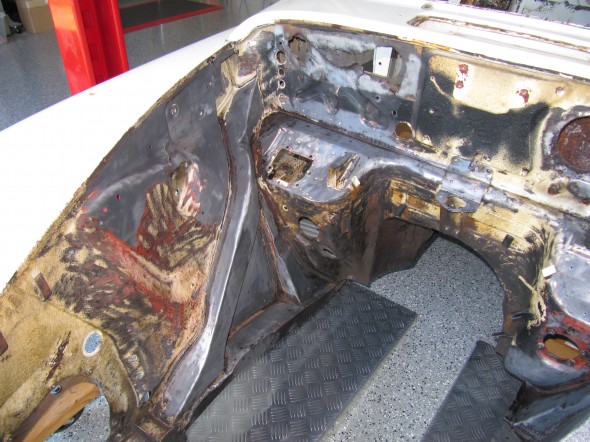
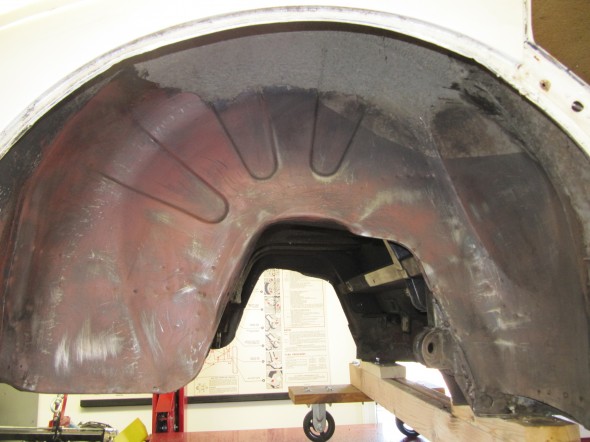
It is another day and time to work on cleaning up the RH front wheel well. Here are a few before and after shots following application of the propane torch, putty knife scraper, wire brush and elbow grease:

RH Wheel Well Before
RH Front Wheel Well

RH Front Wheel Well with Undercoating Removed
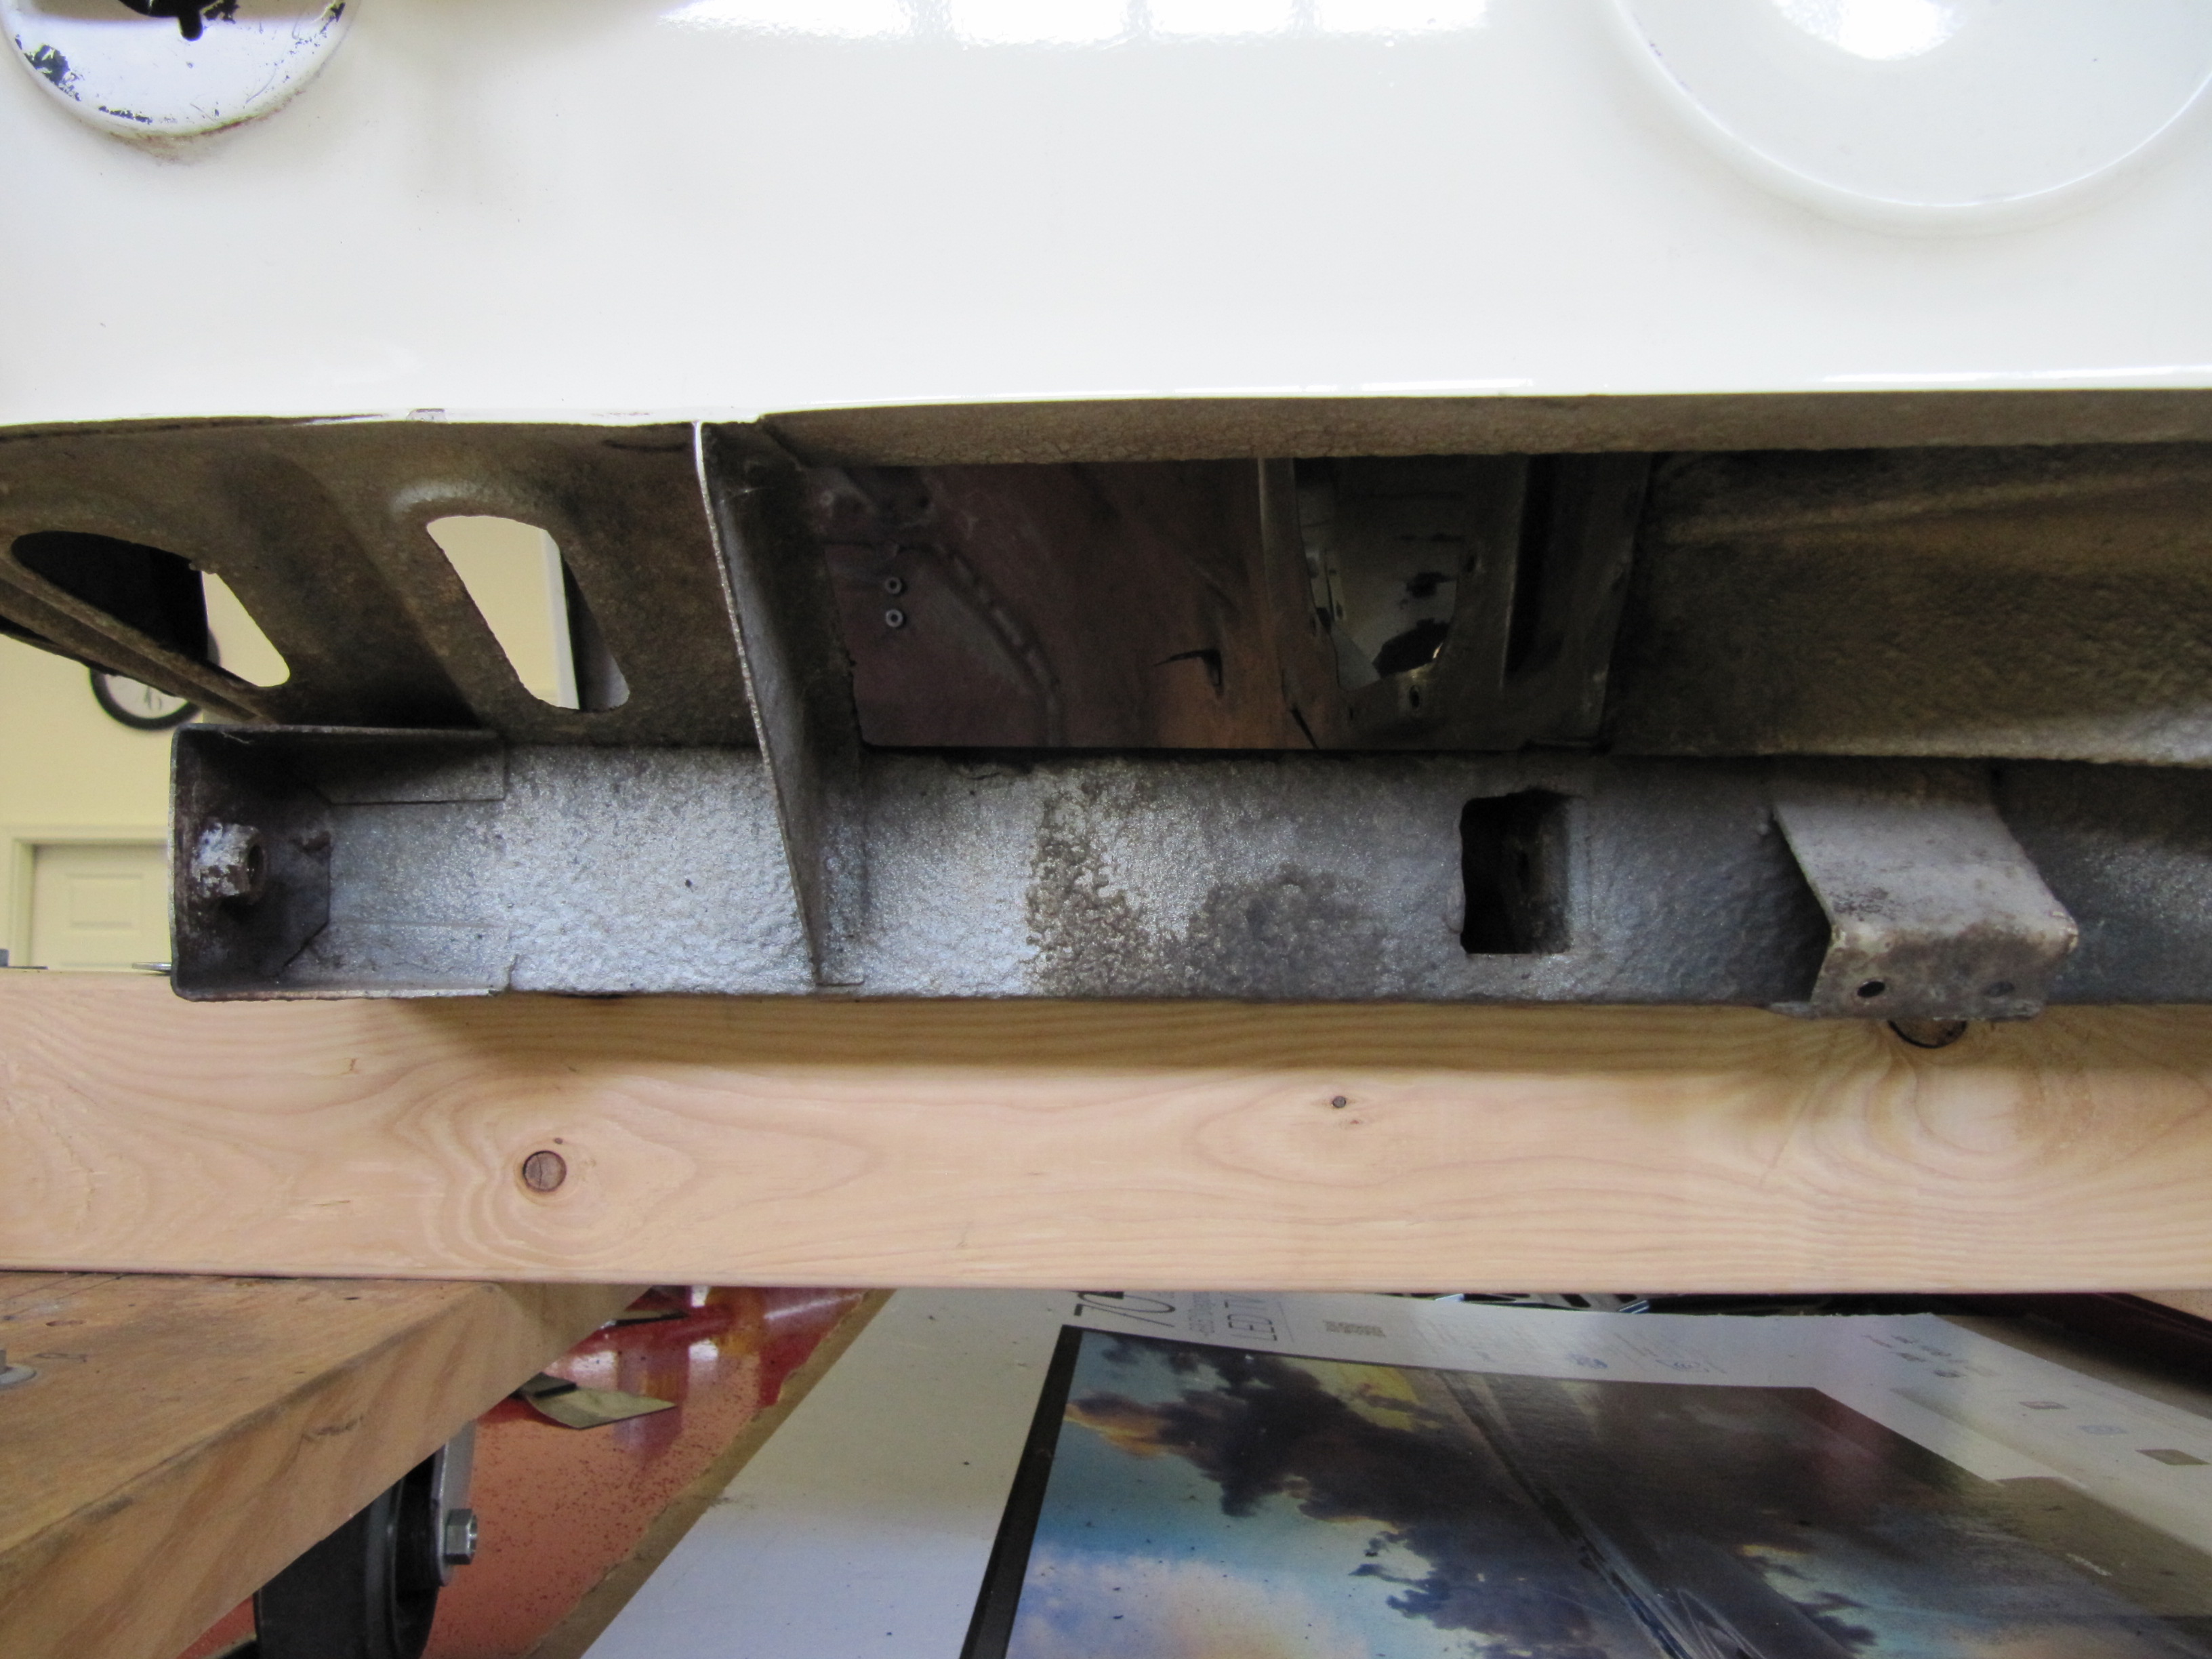
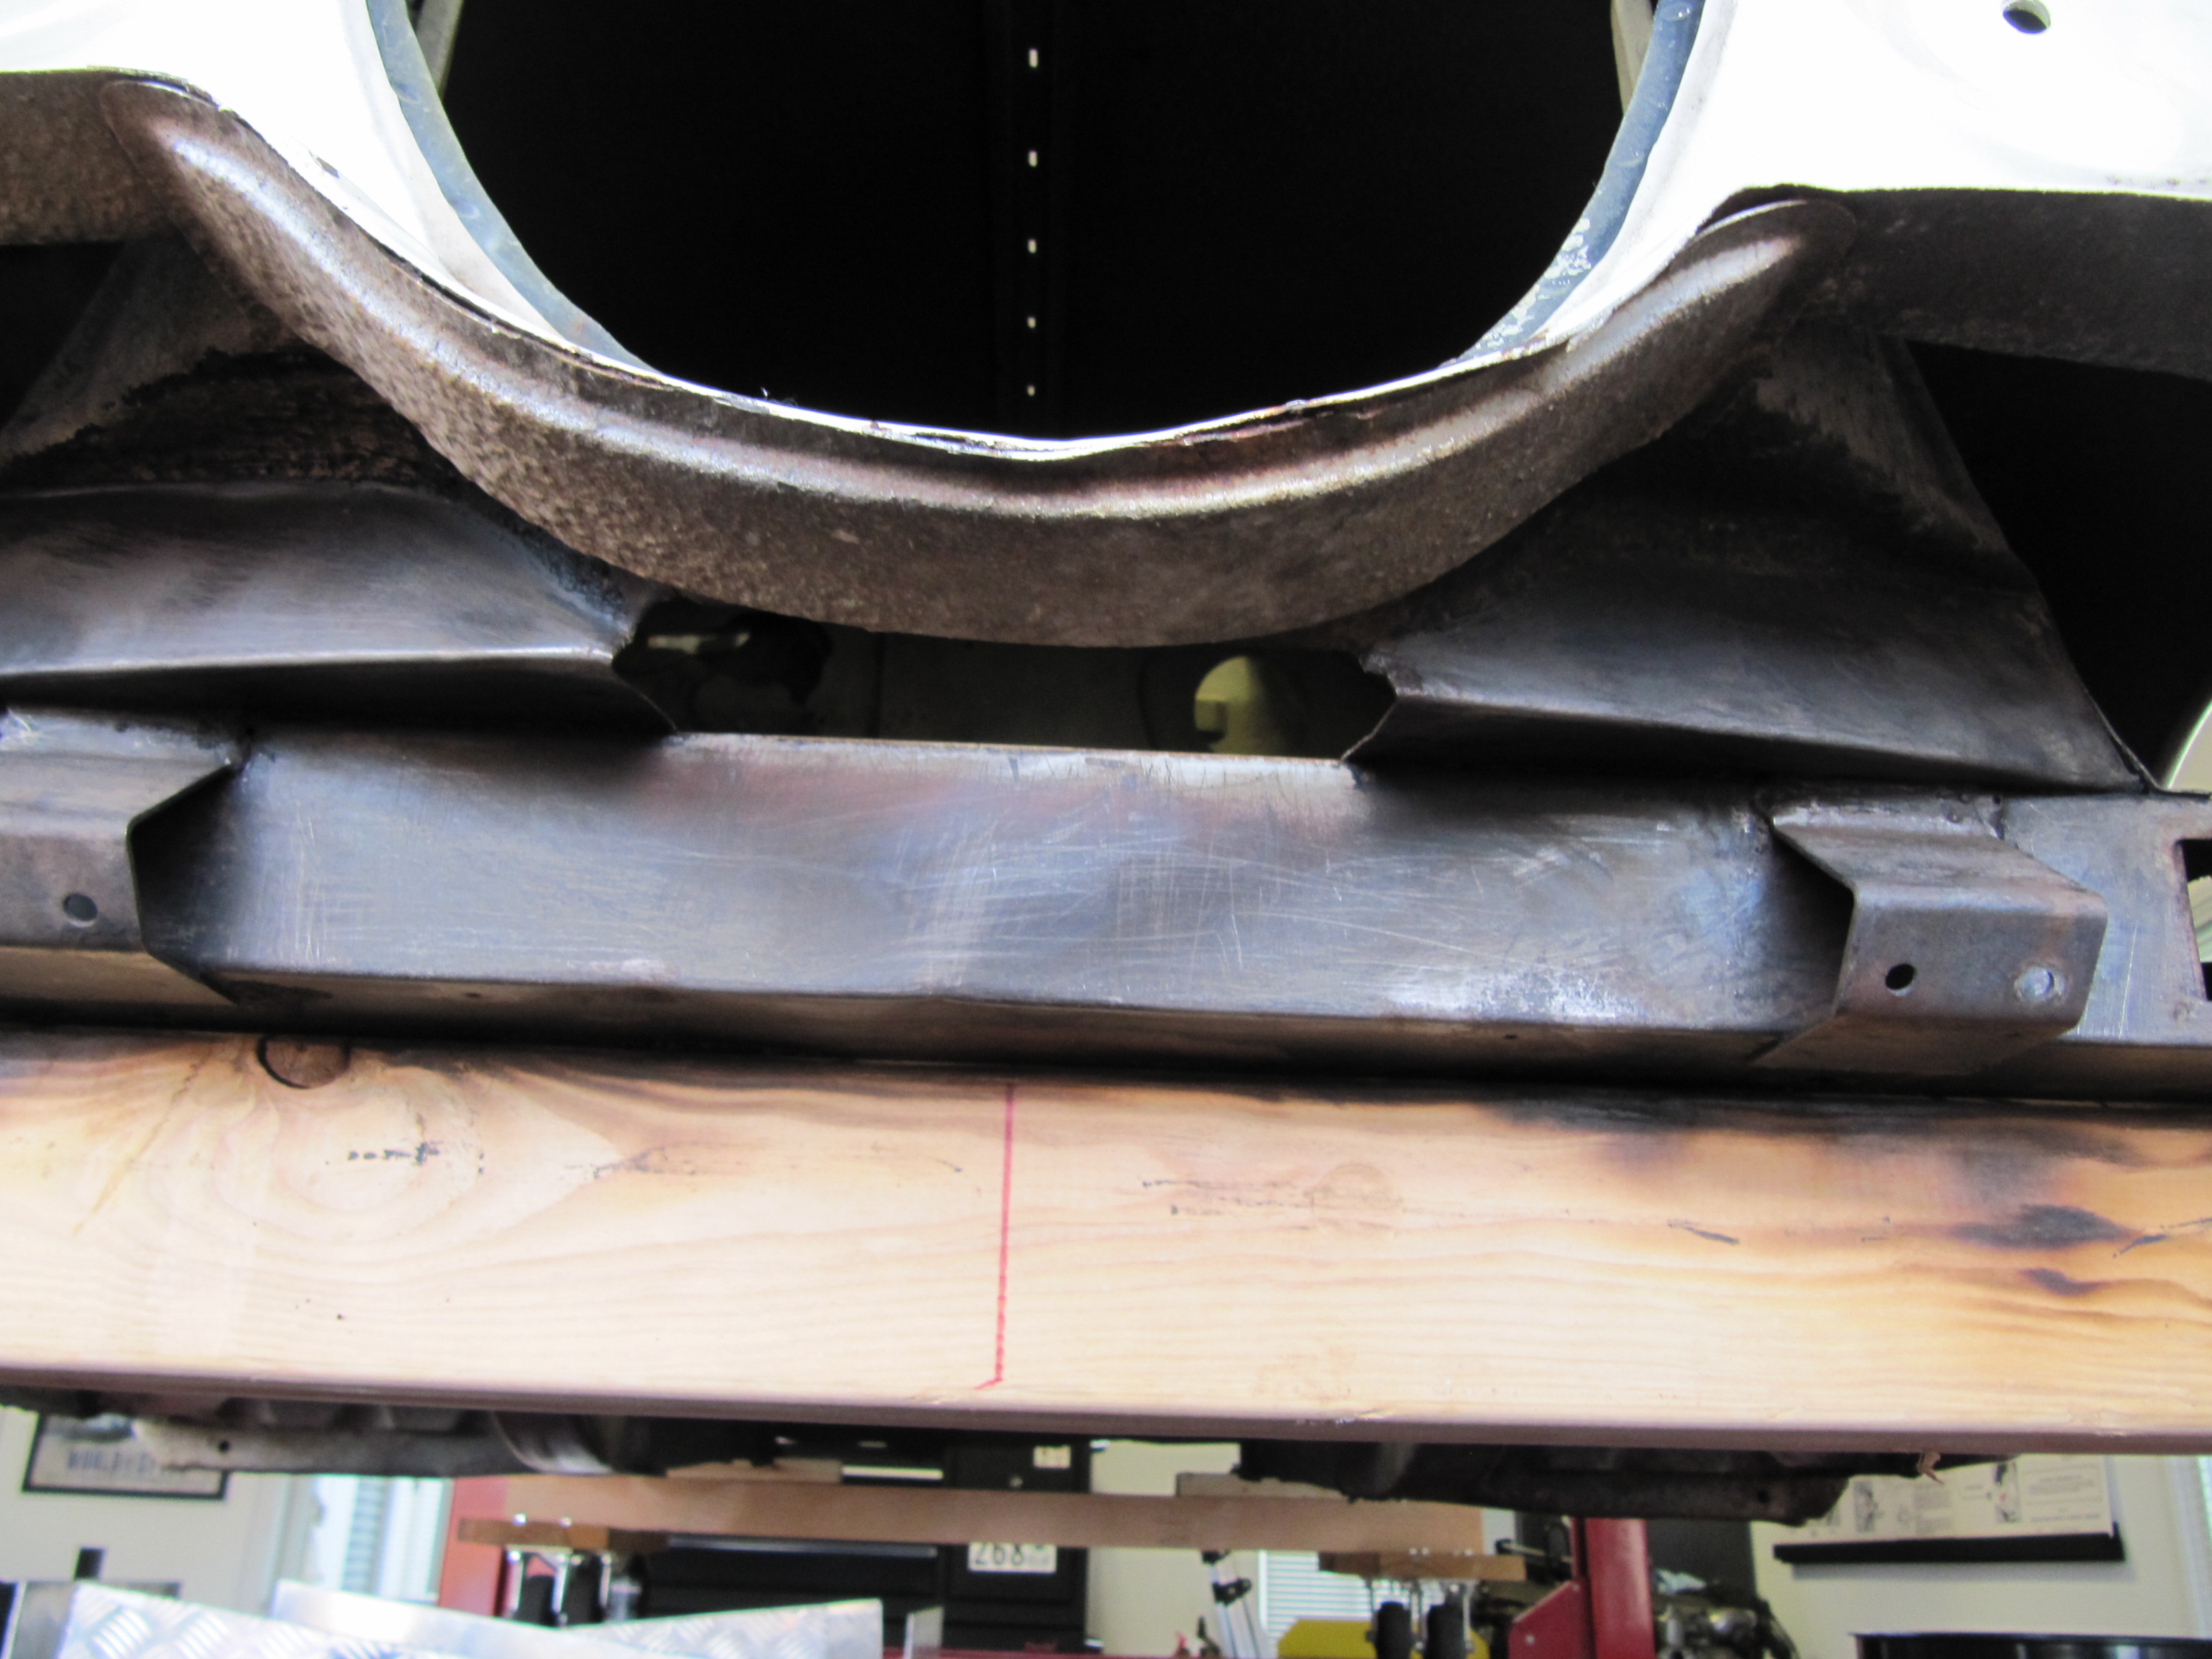
I am getting so good at this that I moved on to the front cross member assembly and the corner braces. I could not complete this because my frame dolly is in the way, but I will adjust it when I move to working on undercoating removal under the car.

Cross Member Undercoating
Cross Member Cleaned

Assembly Cleaned

Front Cross Member Cleaned
I have not removed the undercoating that is sprayed on the wings (fenders) because I am concerned about warping the sheet metal with the heat of the torch. I will consult some professional help before any more cleanup on the wings and shroud.
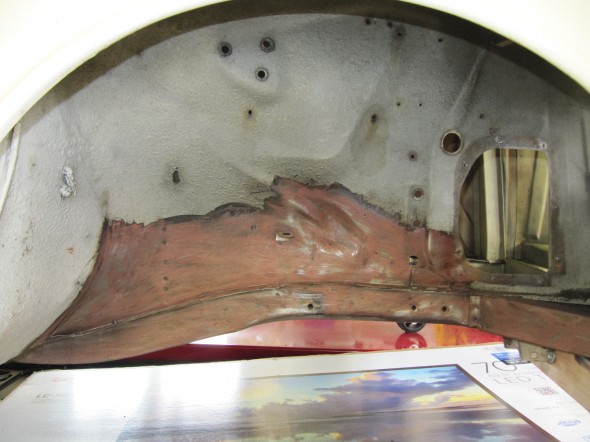
Next, I moved to the RH rear wheel well of the Jaguar and began the now all too familiar stripping process.These are before and after photos of the wheel well.
Wheel Well with Undercoating
Undercoating Removed
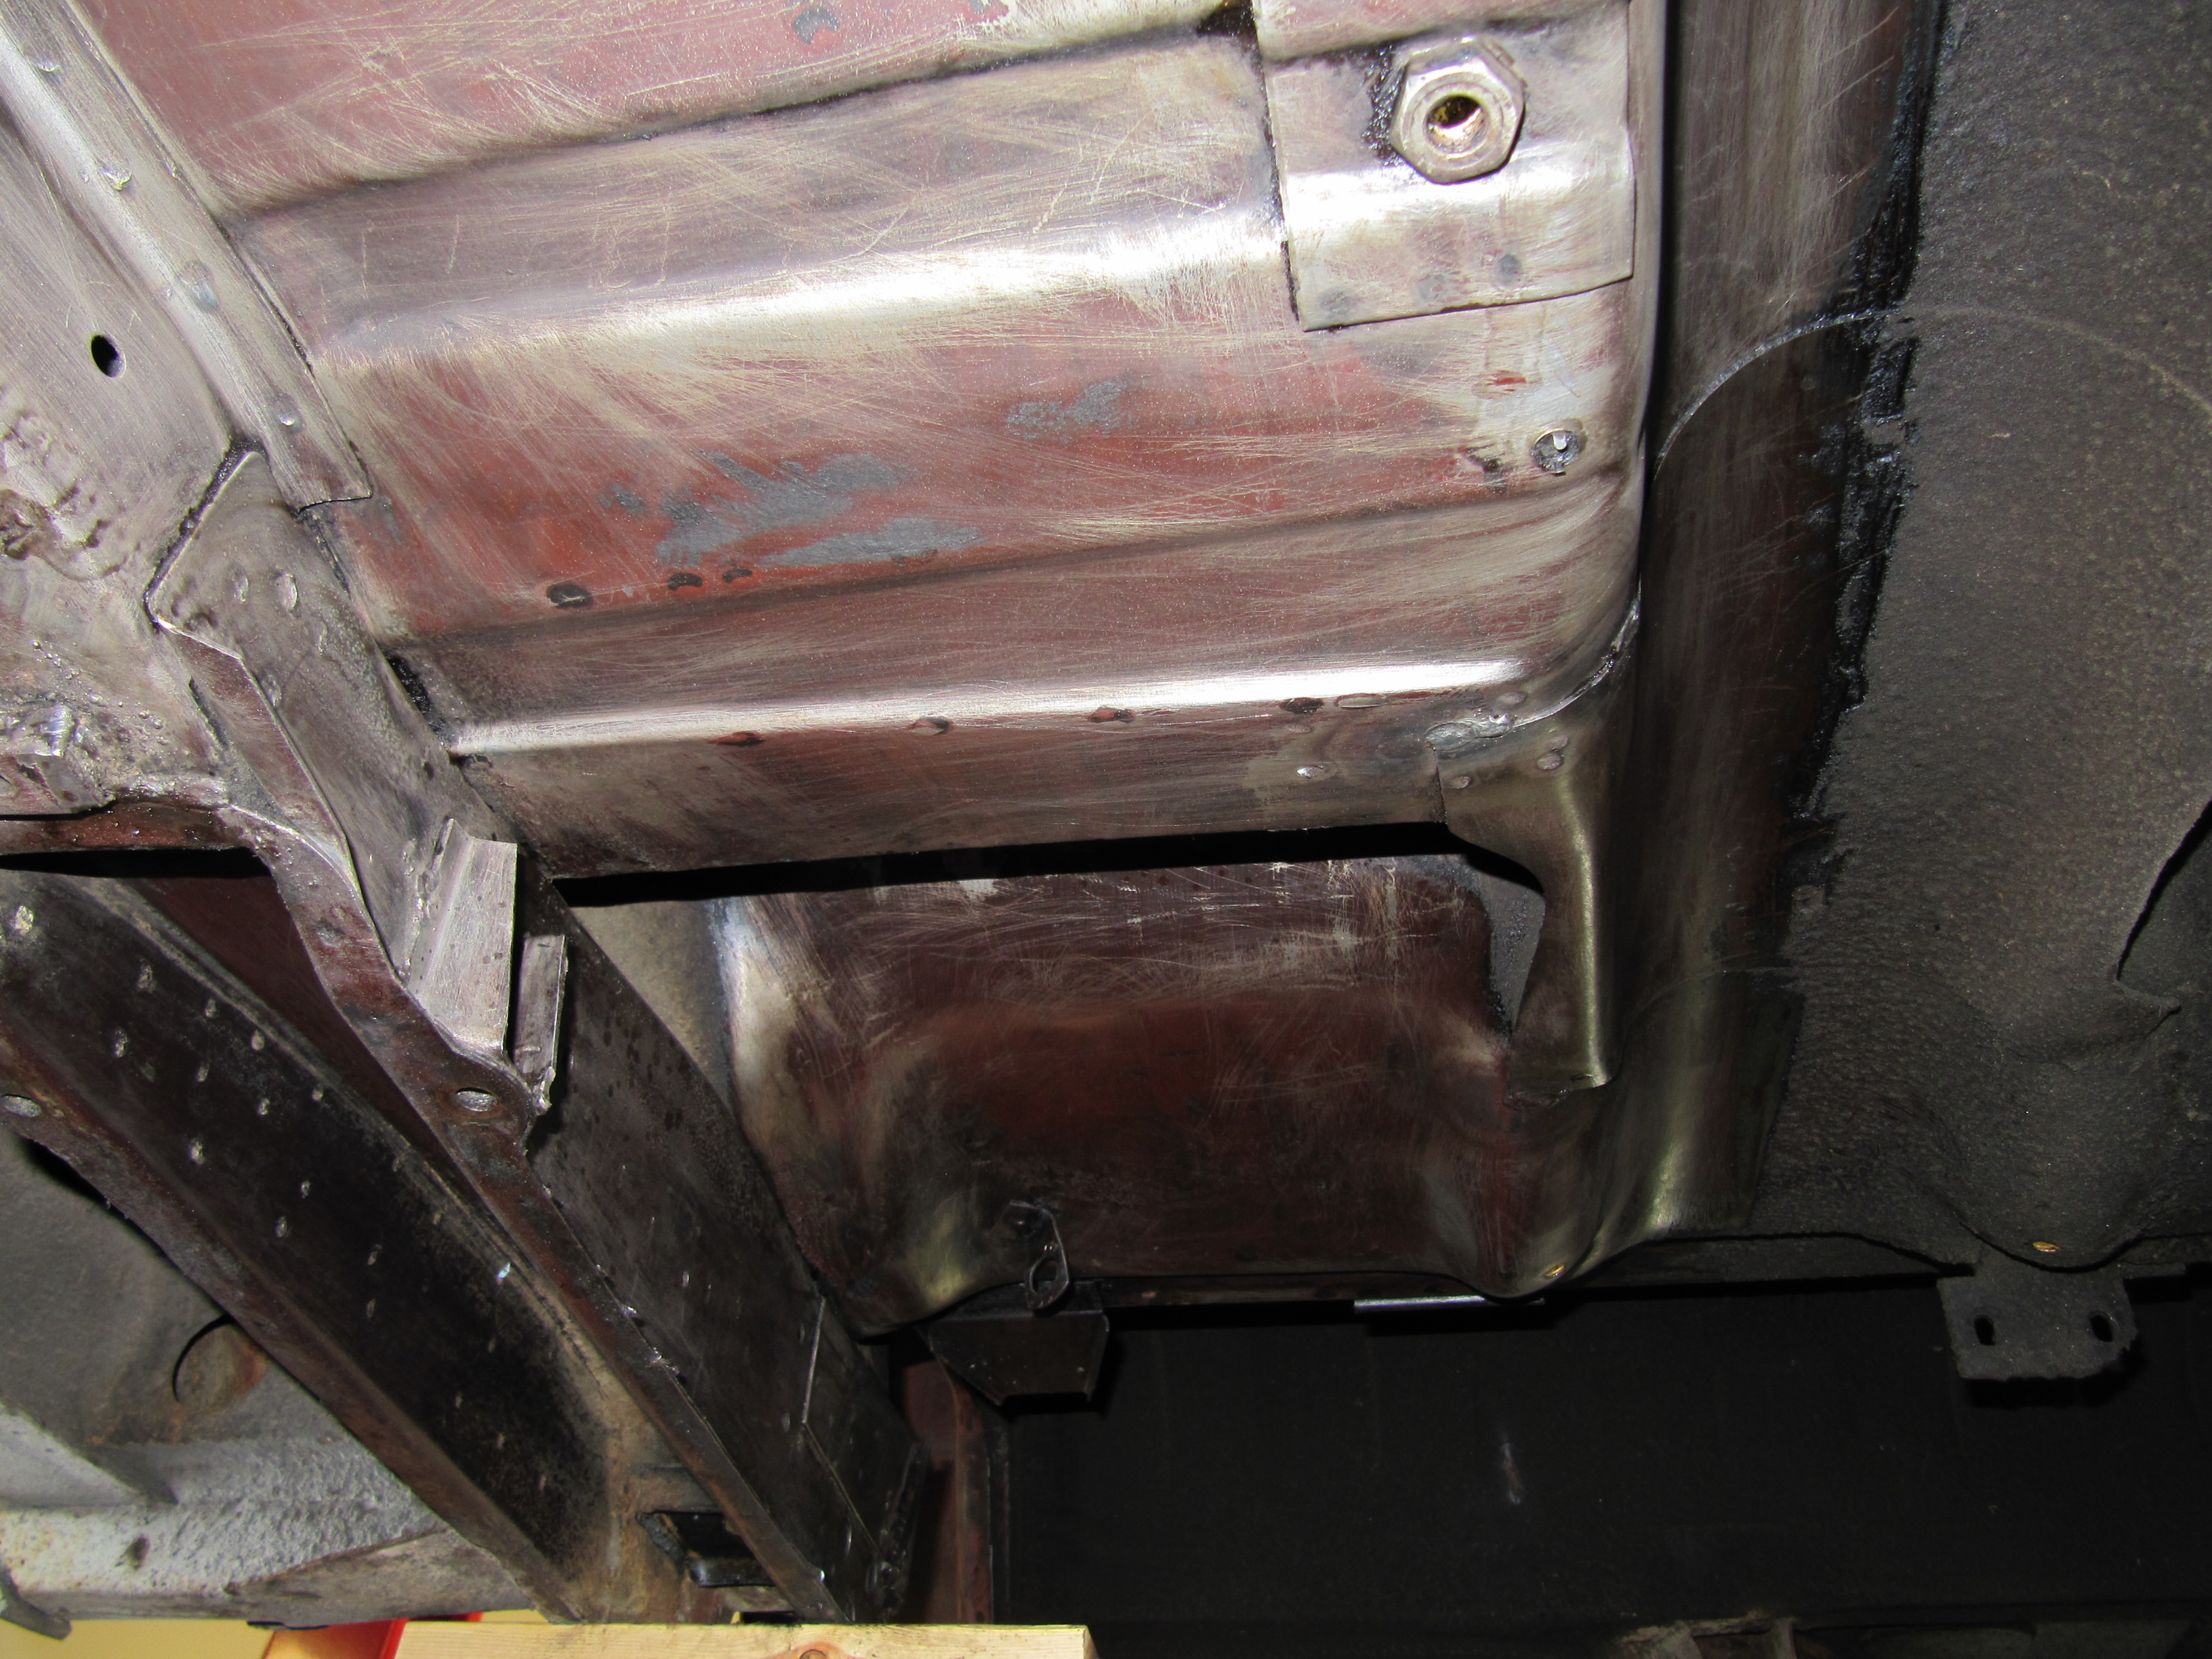
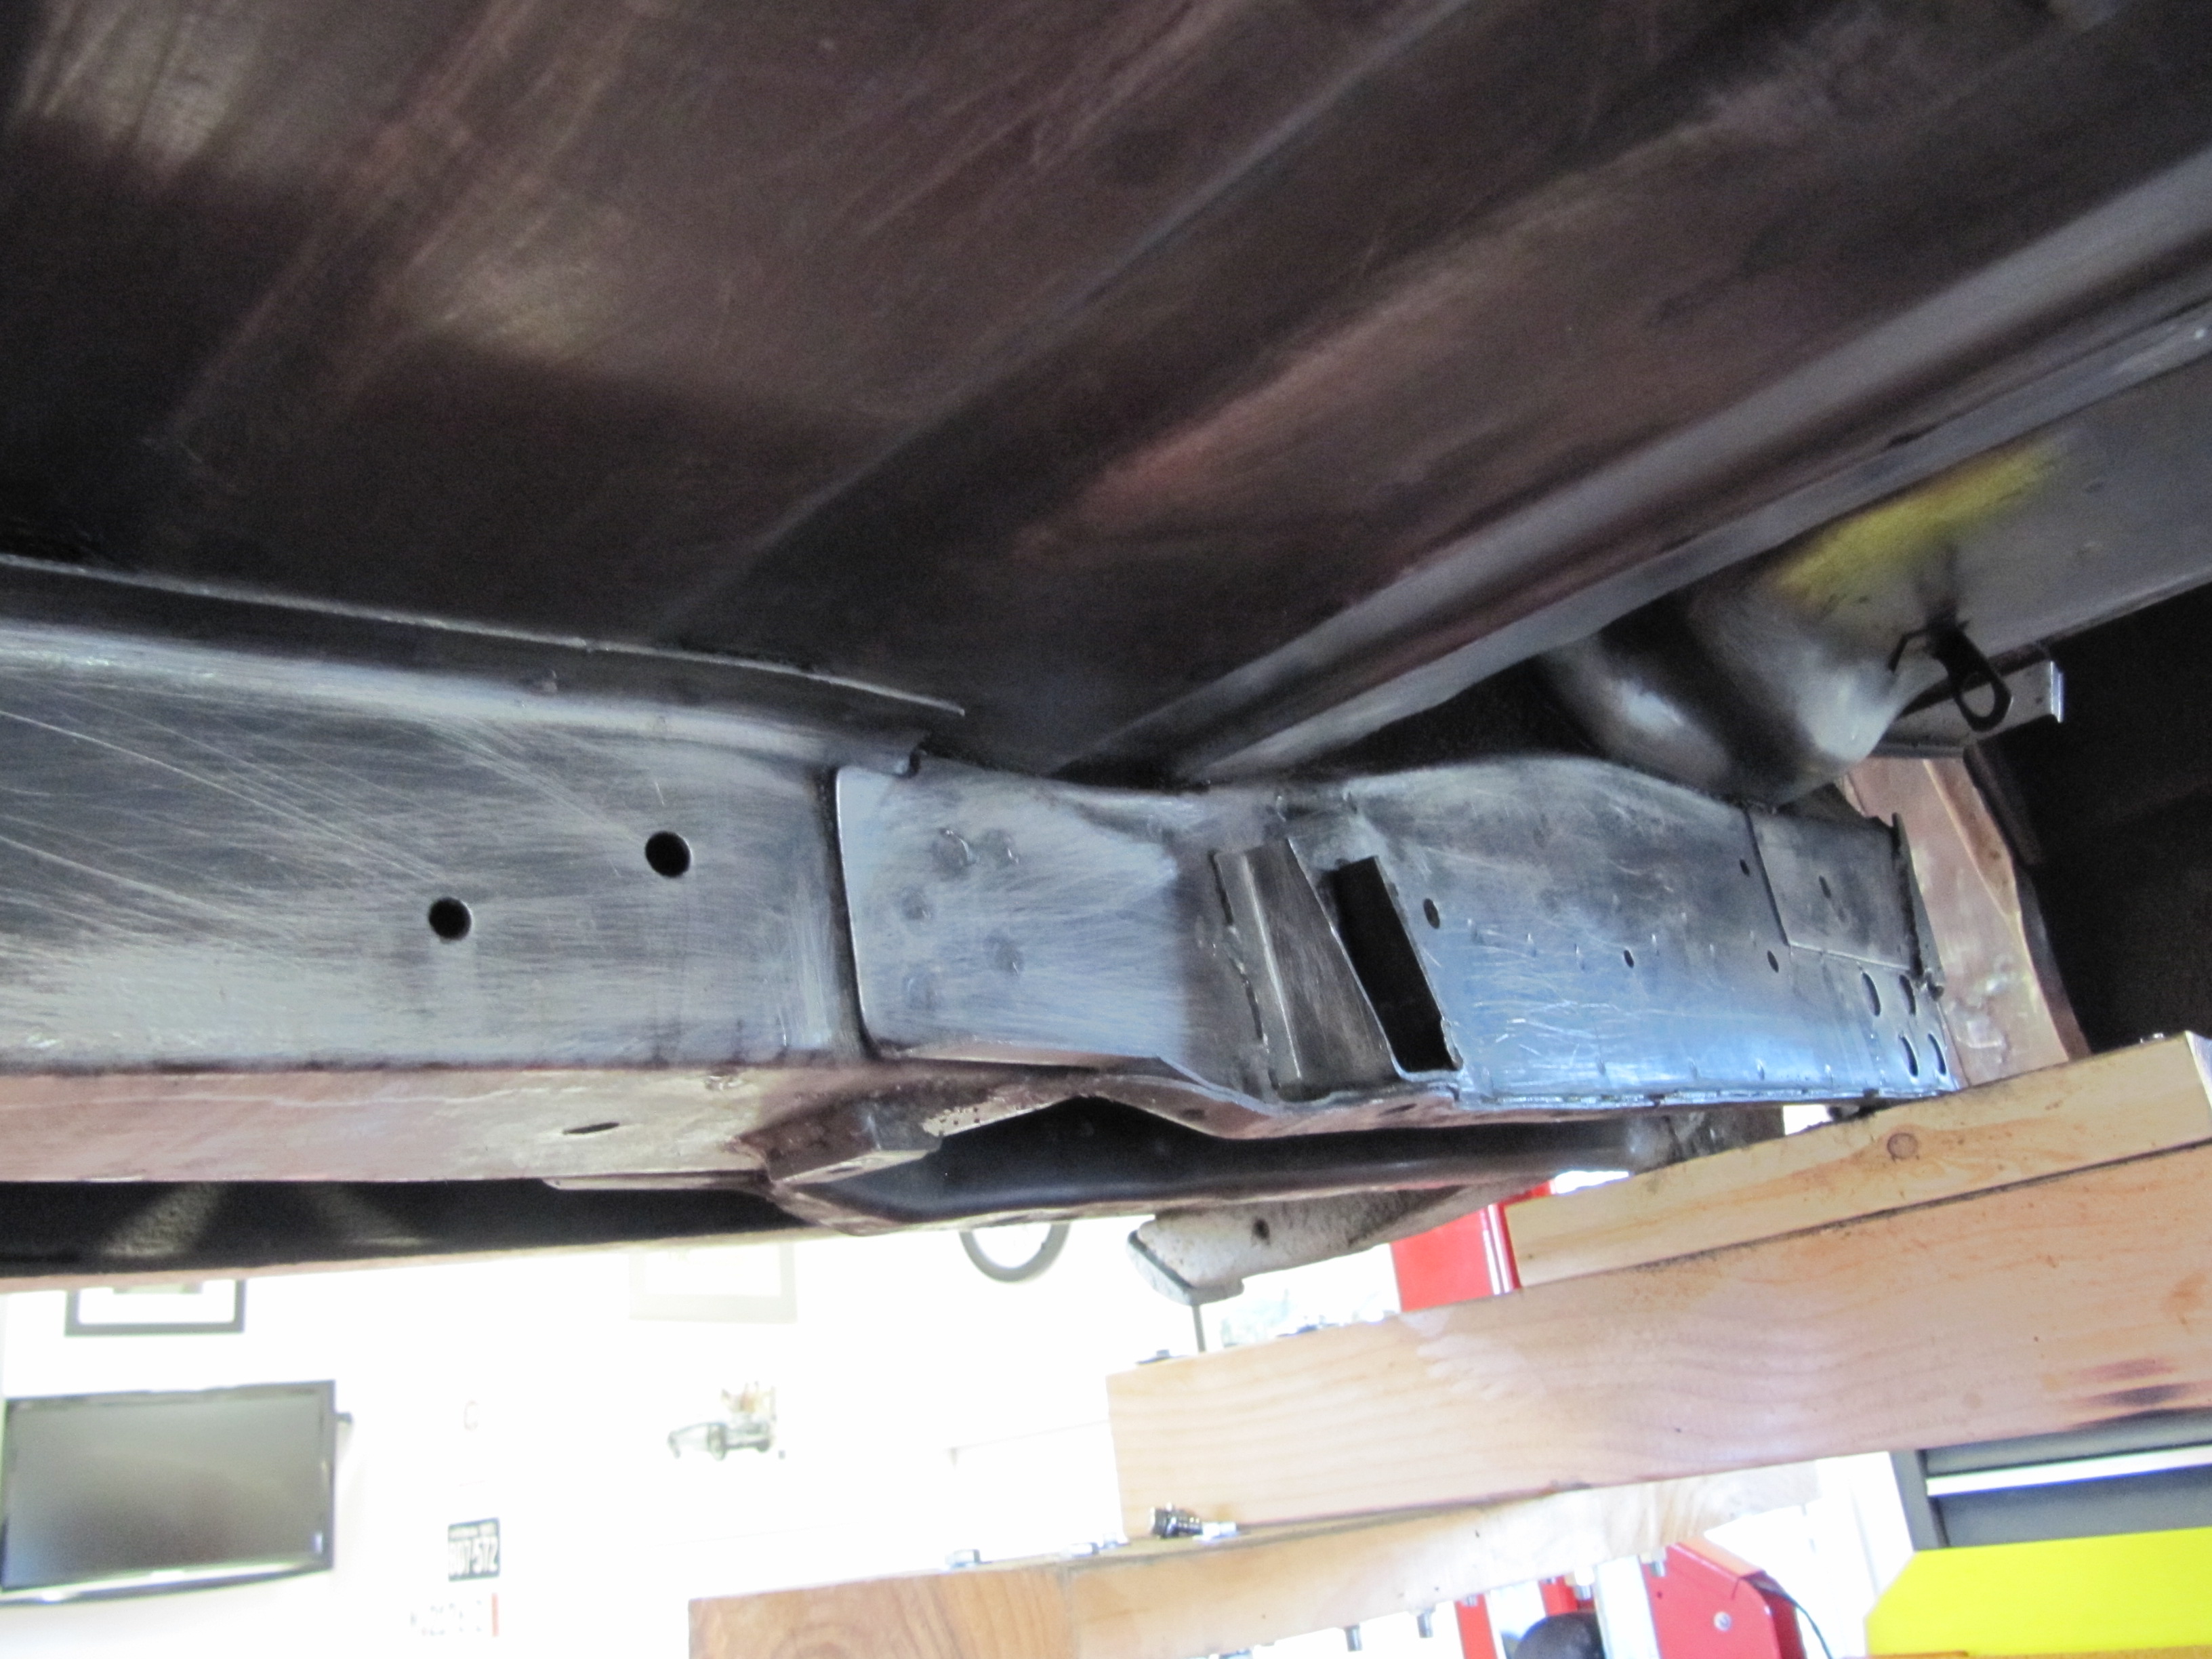
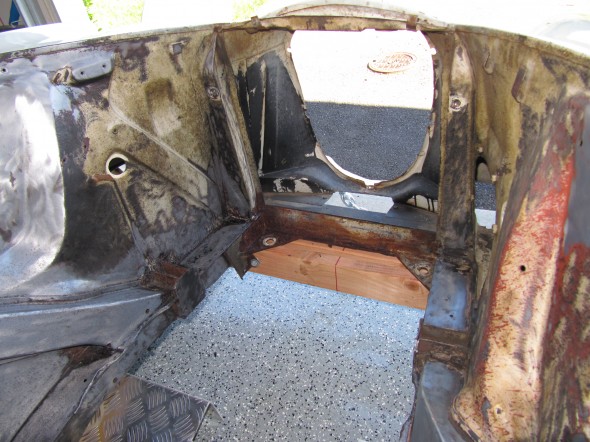
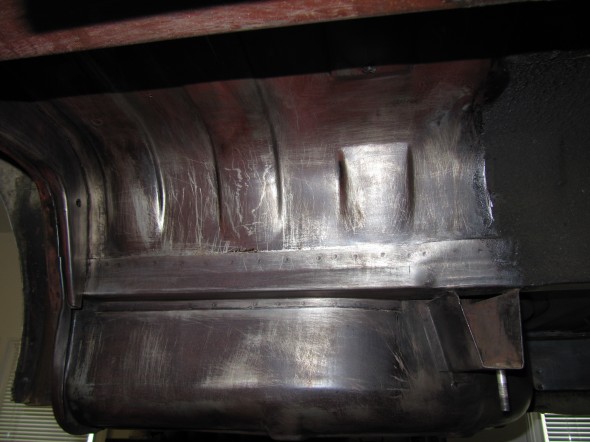
Once completing the wheel well, I moved to the RH rear frame rail and floorboard. These are the “Before.”
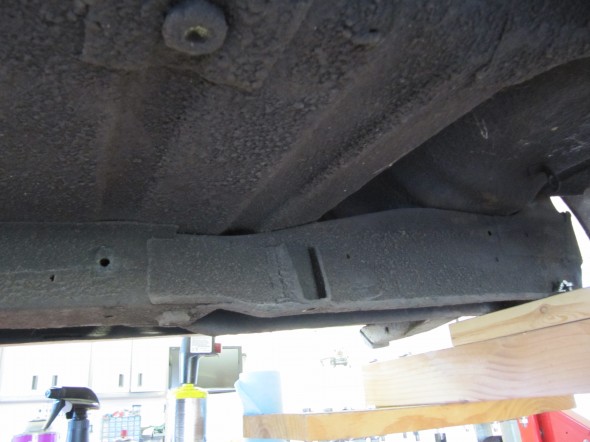
Rail and Floor

Rail and Floor
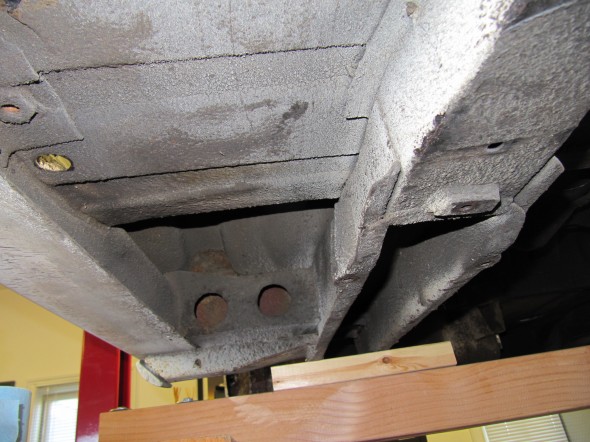
Rail and Floor
And, these are “After!”
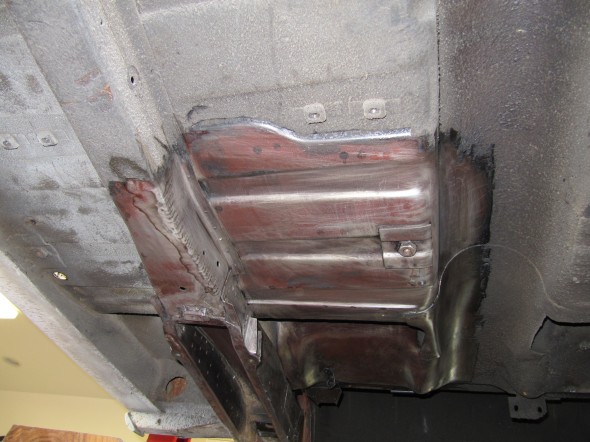
Undercoating Removed

Undercoating Removed
Undercoating Removed
I also did a little removal at the RH Rear seating bulkhead. I must say, I continue to be amazed at how rust free this car is after almost fifty years!

RH Rear Bulkhead Undercoating Removed
It is the weekend following Thanksgiving, 2012 and time for more torchwork, scraping and brushing. I put in several hours removing for grime and undercoating.

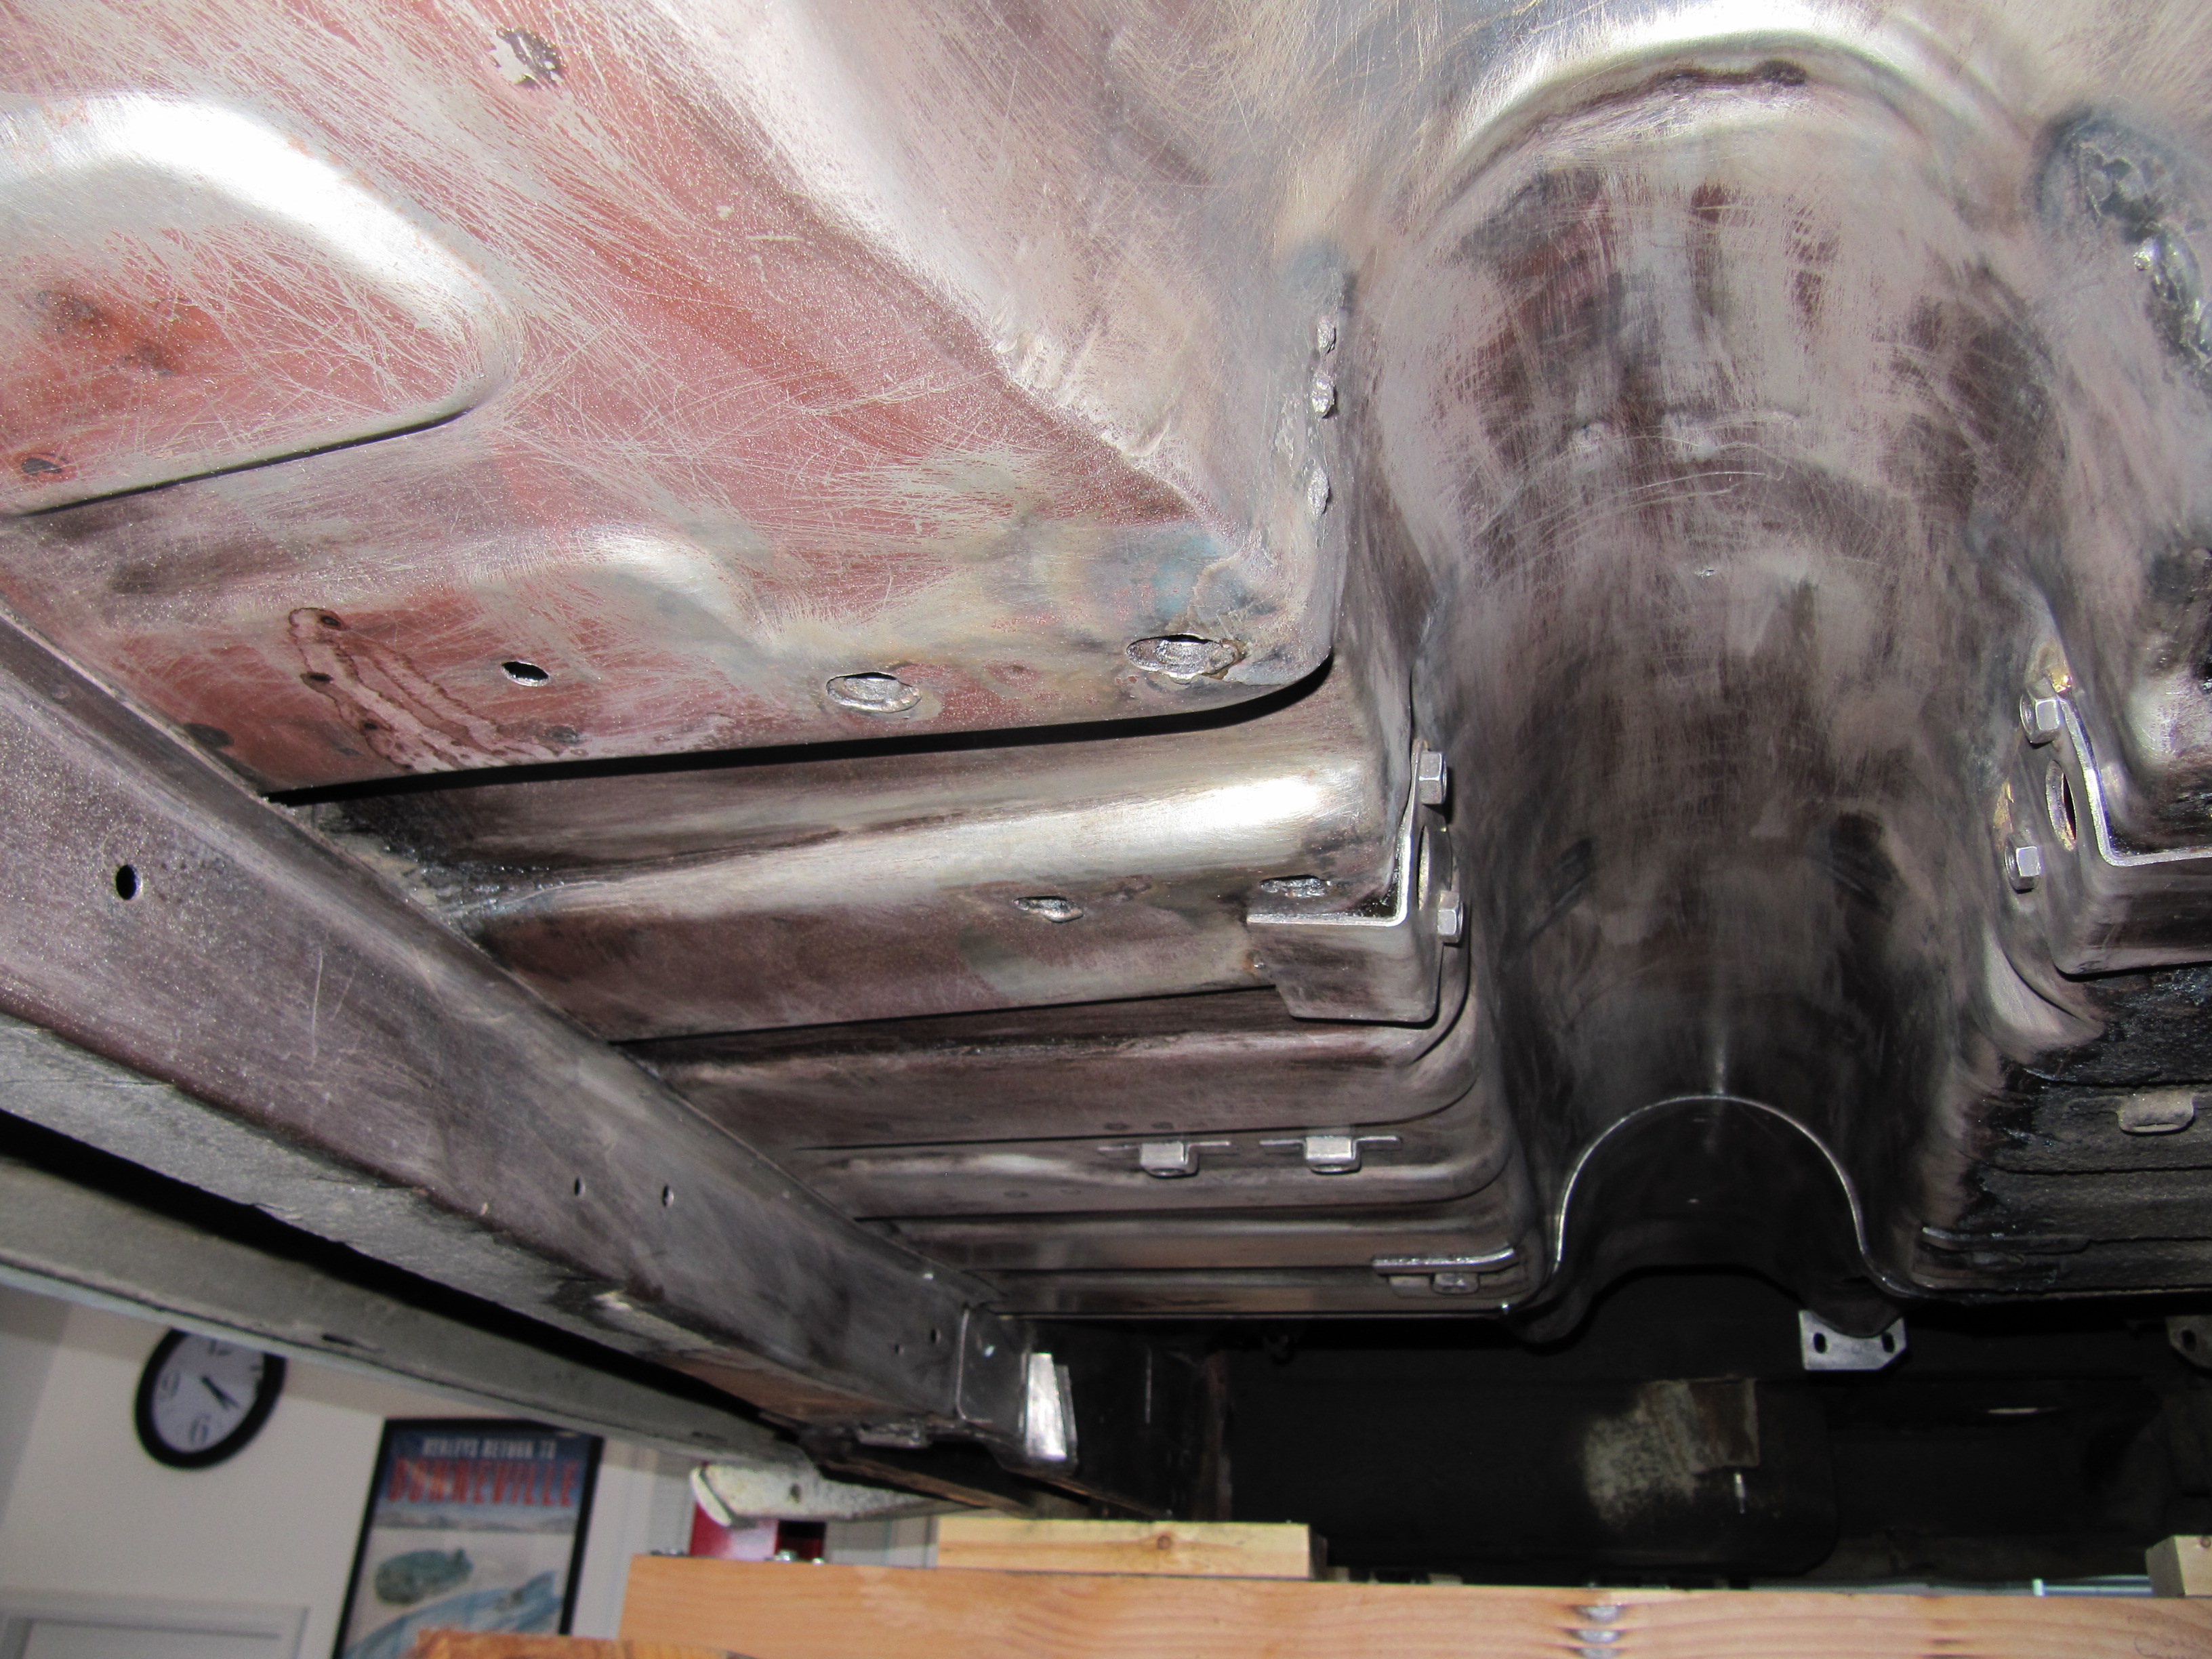
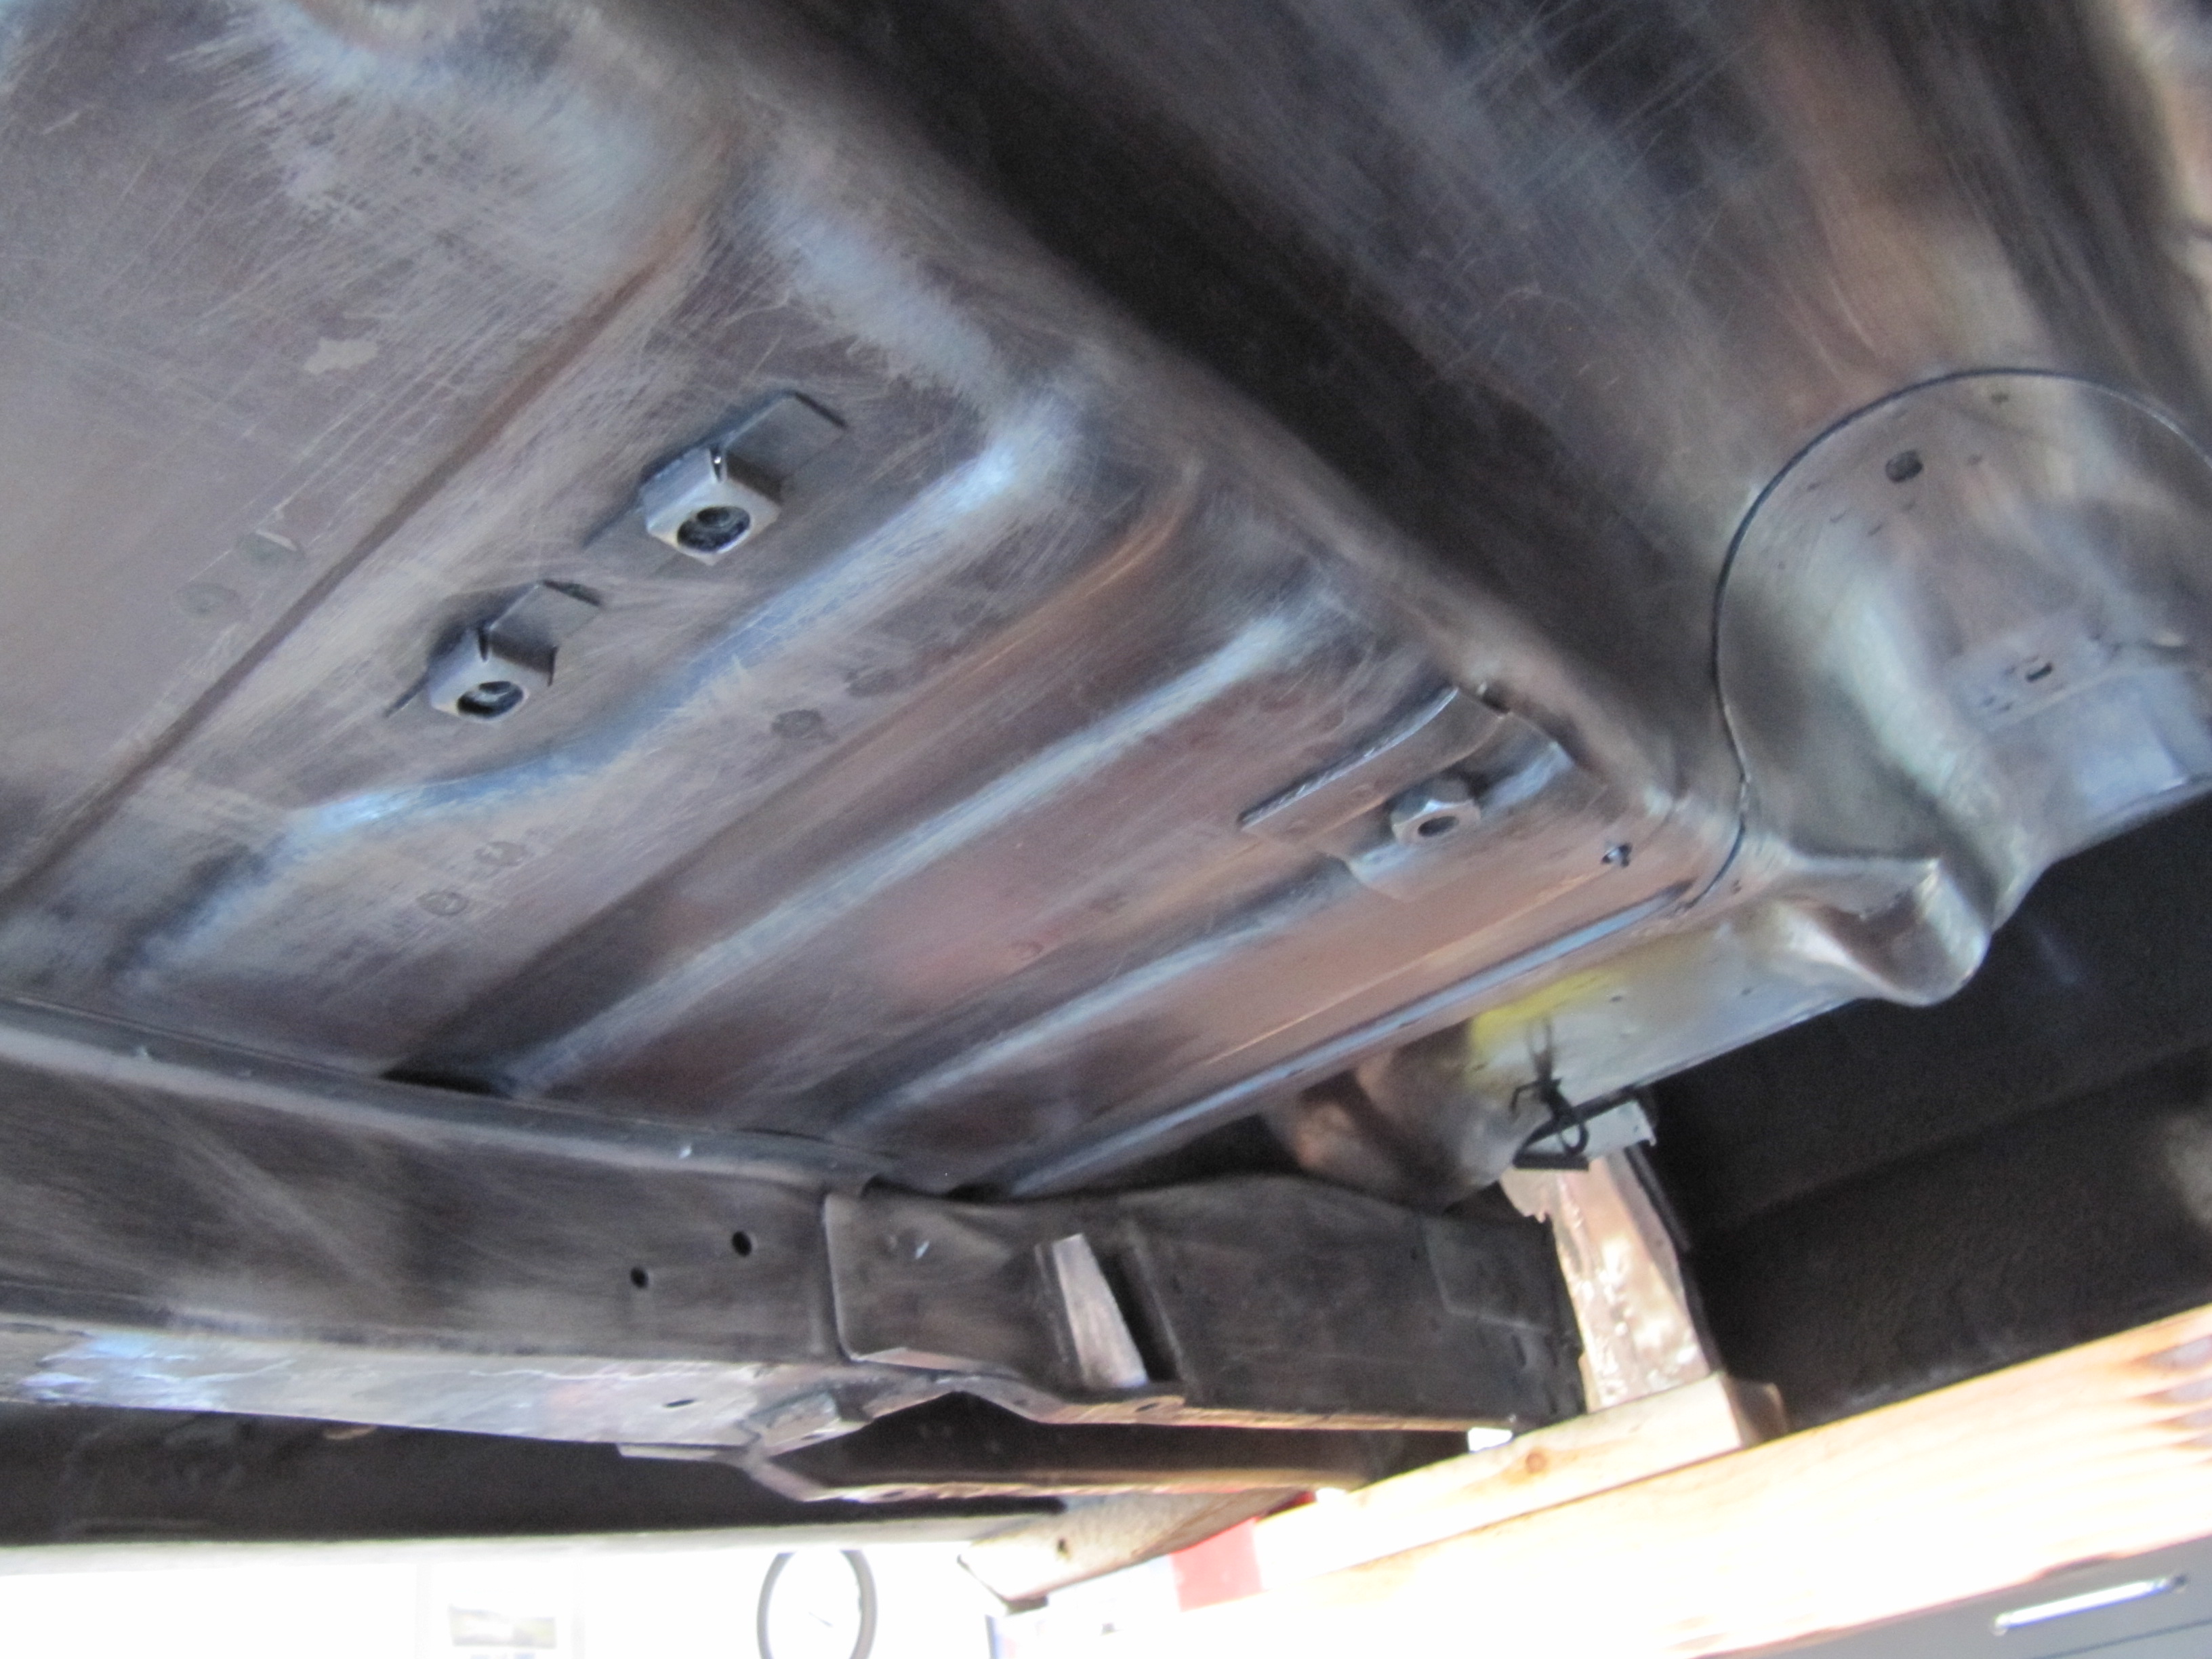
RH Floor Board & Tunnel

RH Floor Board & Tunnel
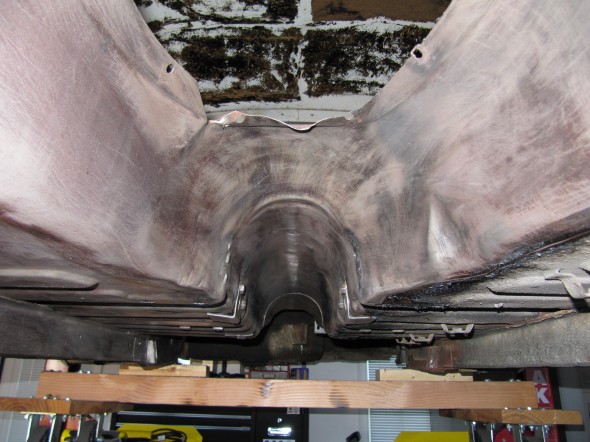
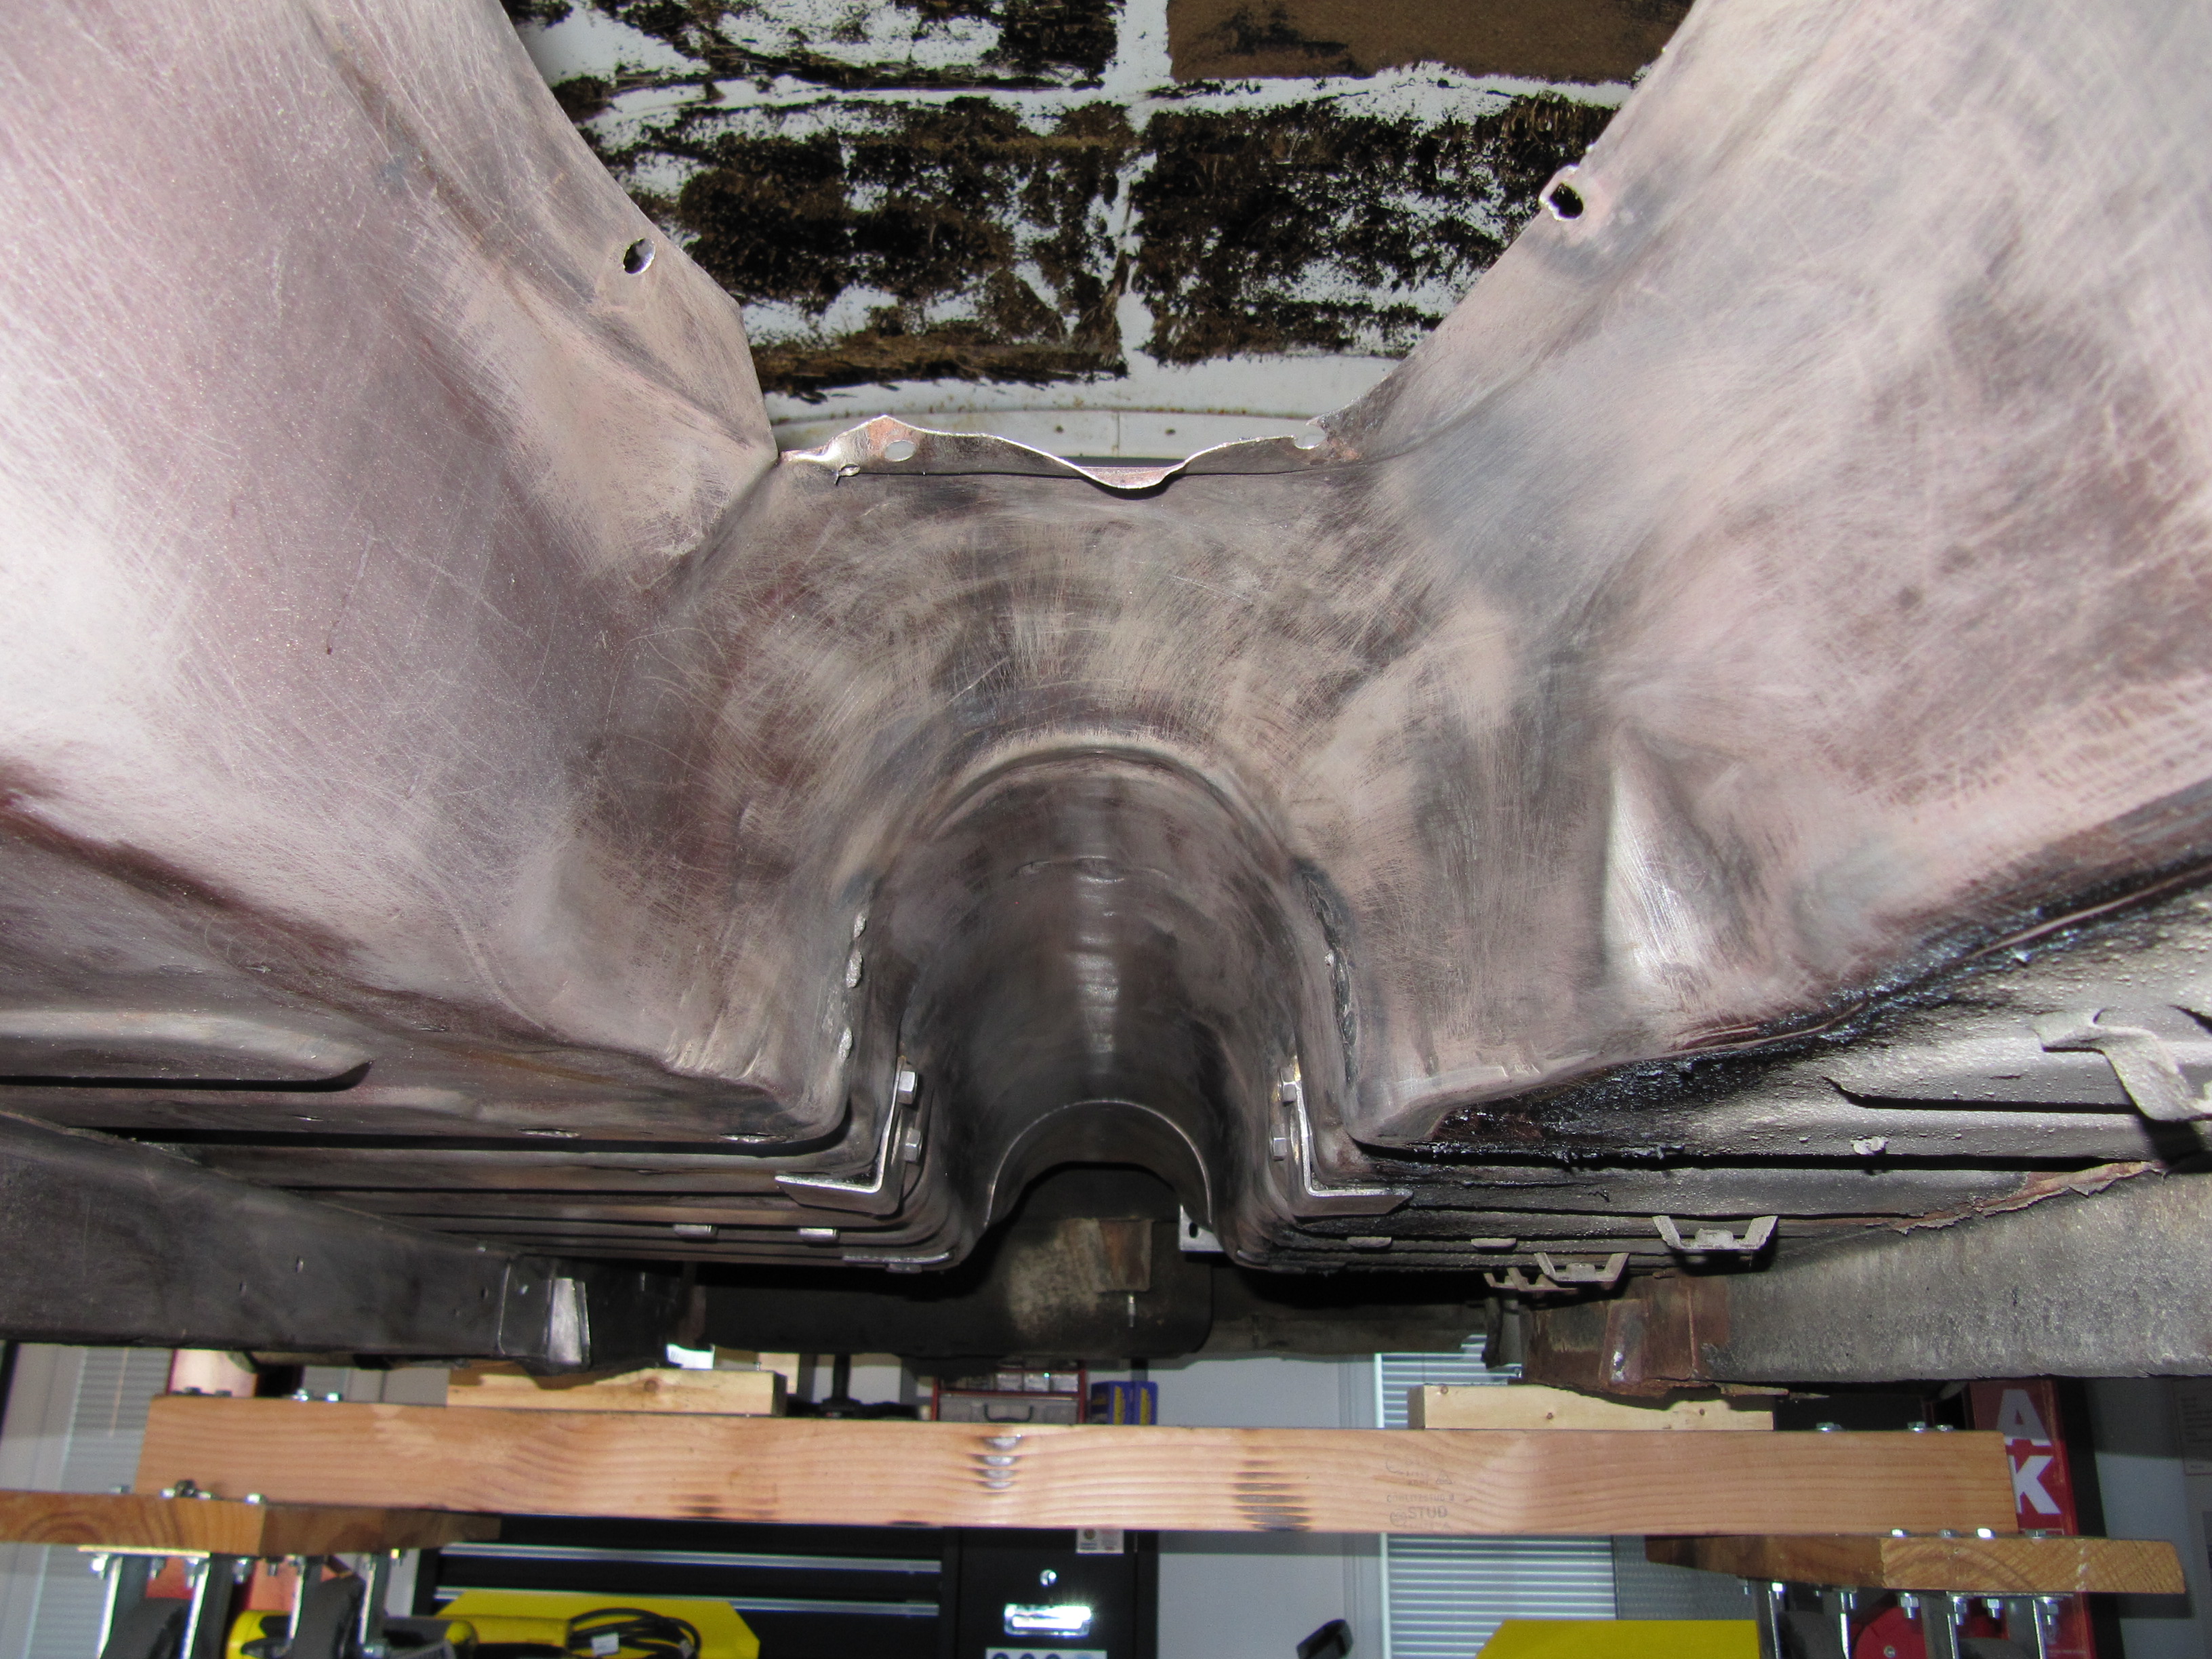
Propshaft Tunnel

Propshaft Tunnel Clean
After a respite of a few days to work on the rear axle, I am now back at the underbody clean-up. As I have said, tedious work but gratifying in that the metal work is looking so good. Almost no rust at all, YET! I worked on the area behind the rear axle today encompassing the underside of the boot floor and the spare tire storage area. Here are some “before and afters.”
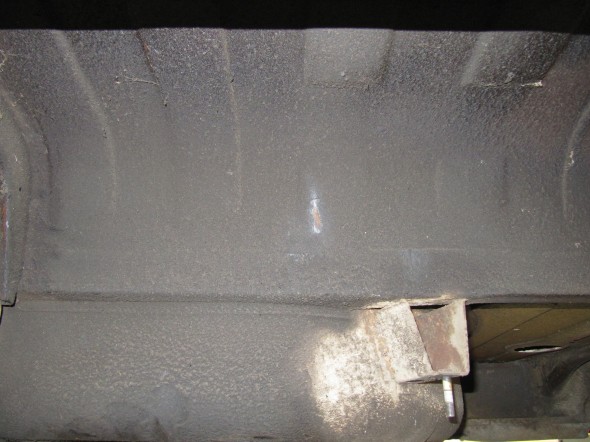
Boot Floor Before
Boot Floor After
Boot Floor Before

Boot Floor After
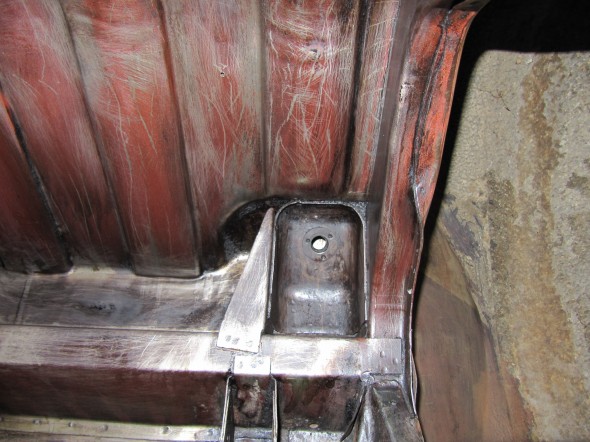
Shock Mount
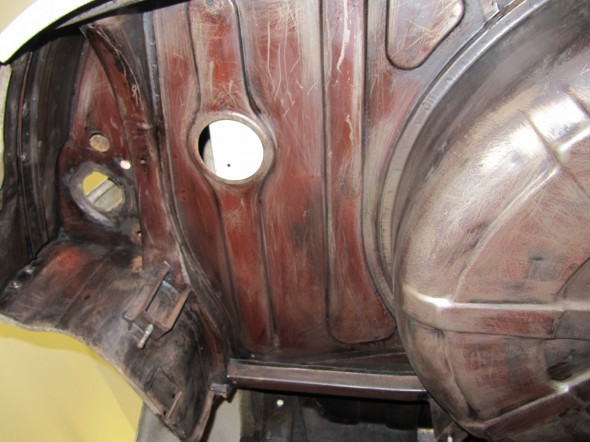
Fuel Tank Filler
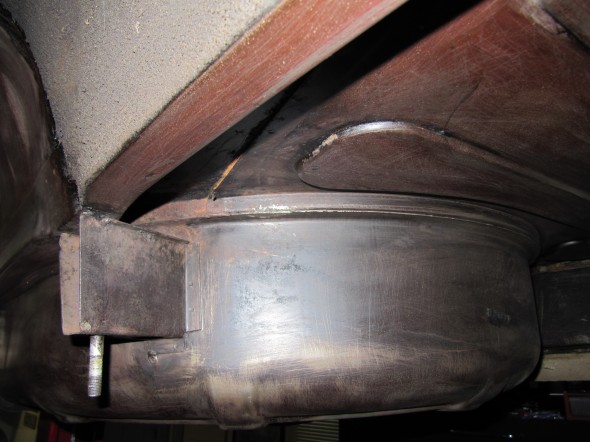
Spare Wheel Container

Spare Wheel Container Before

Spare Wheel Container After
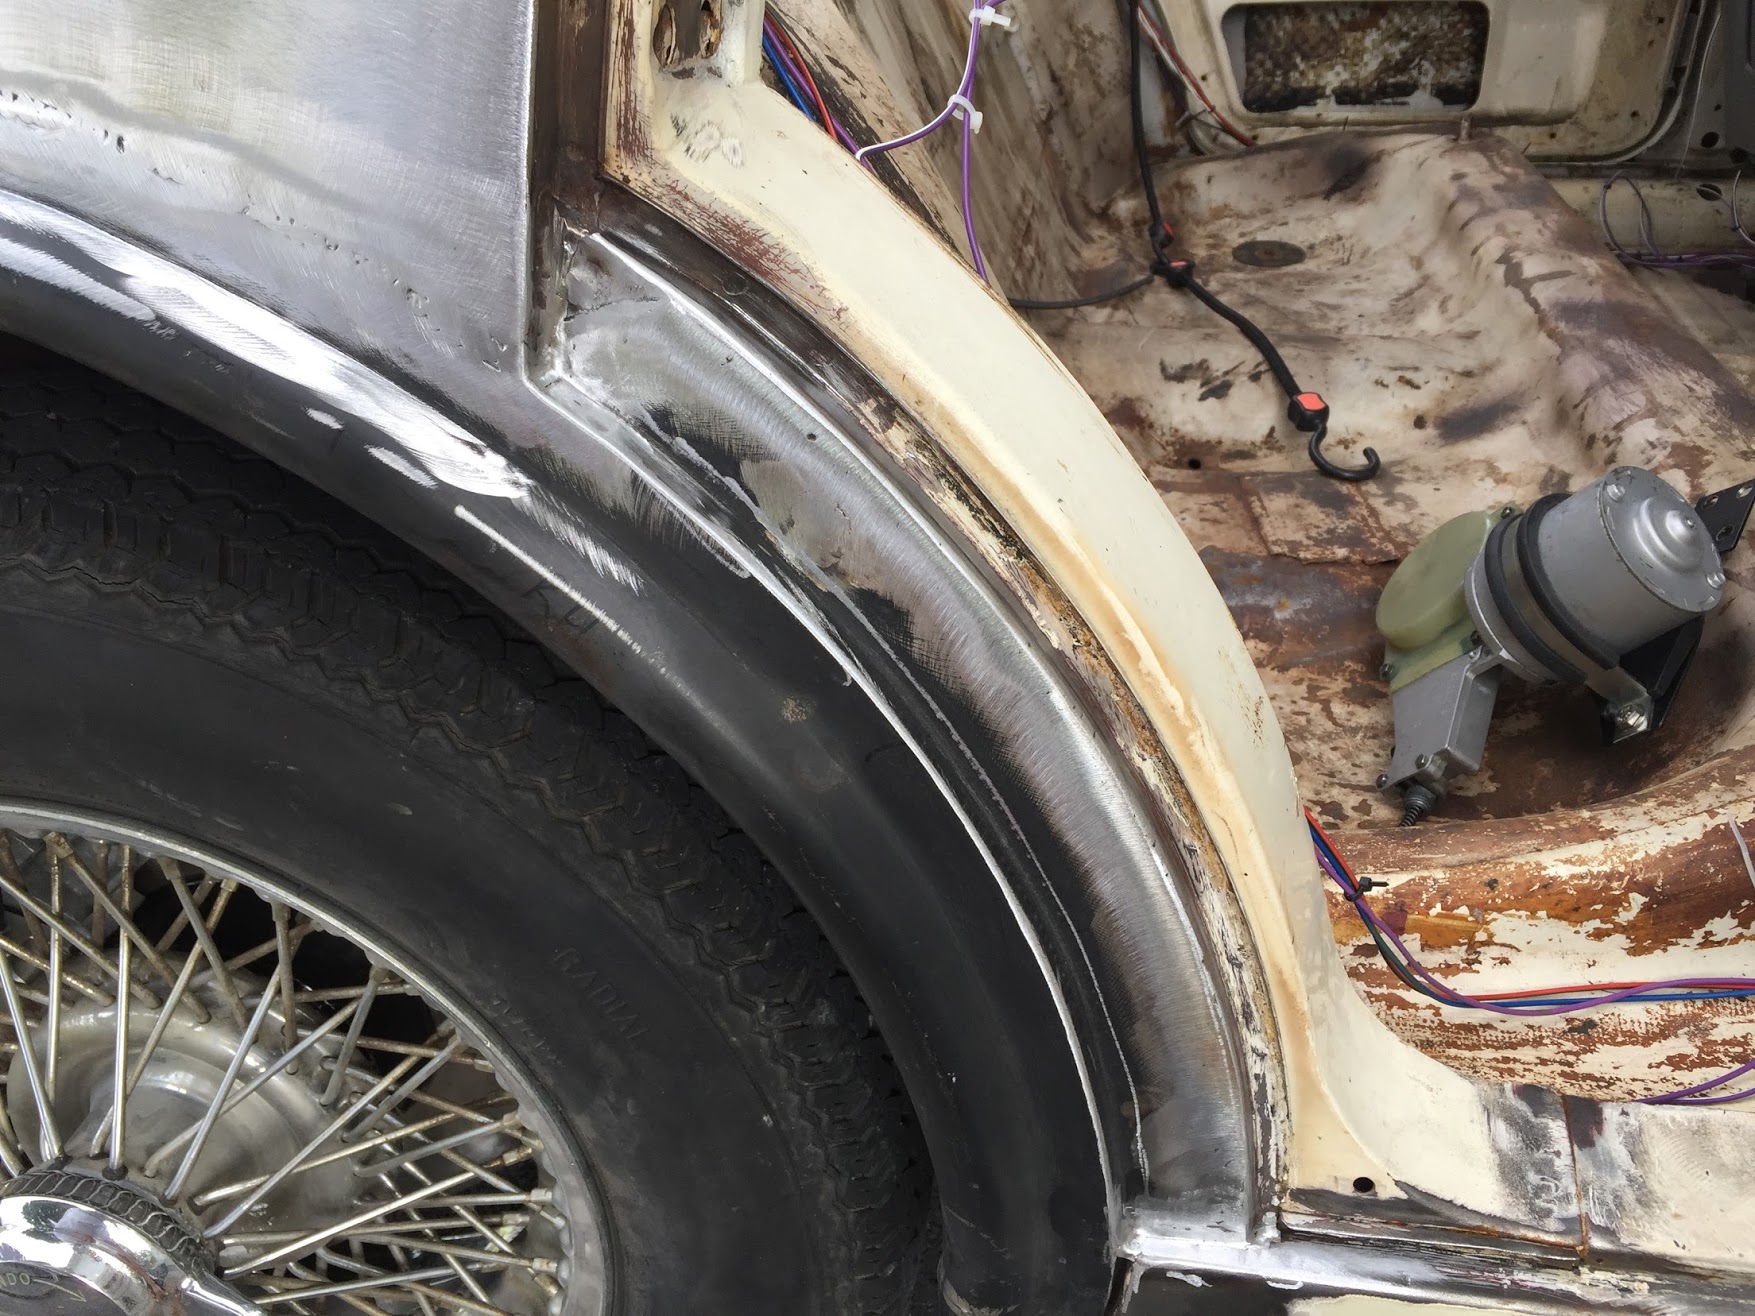
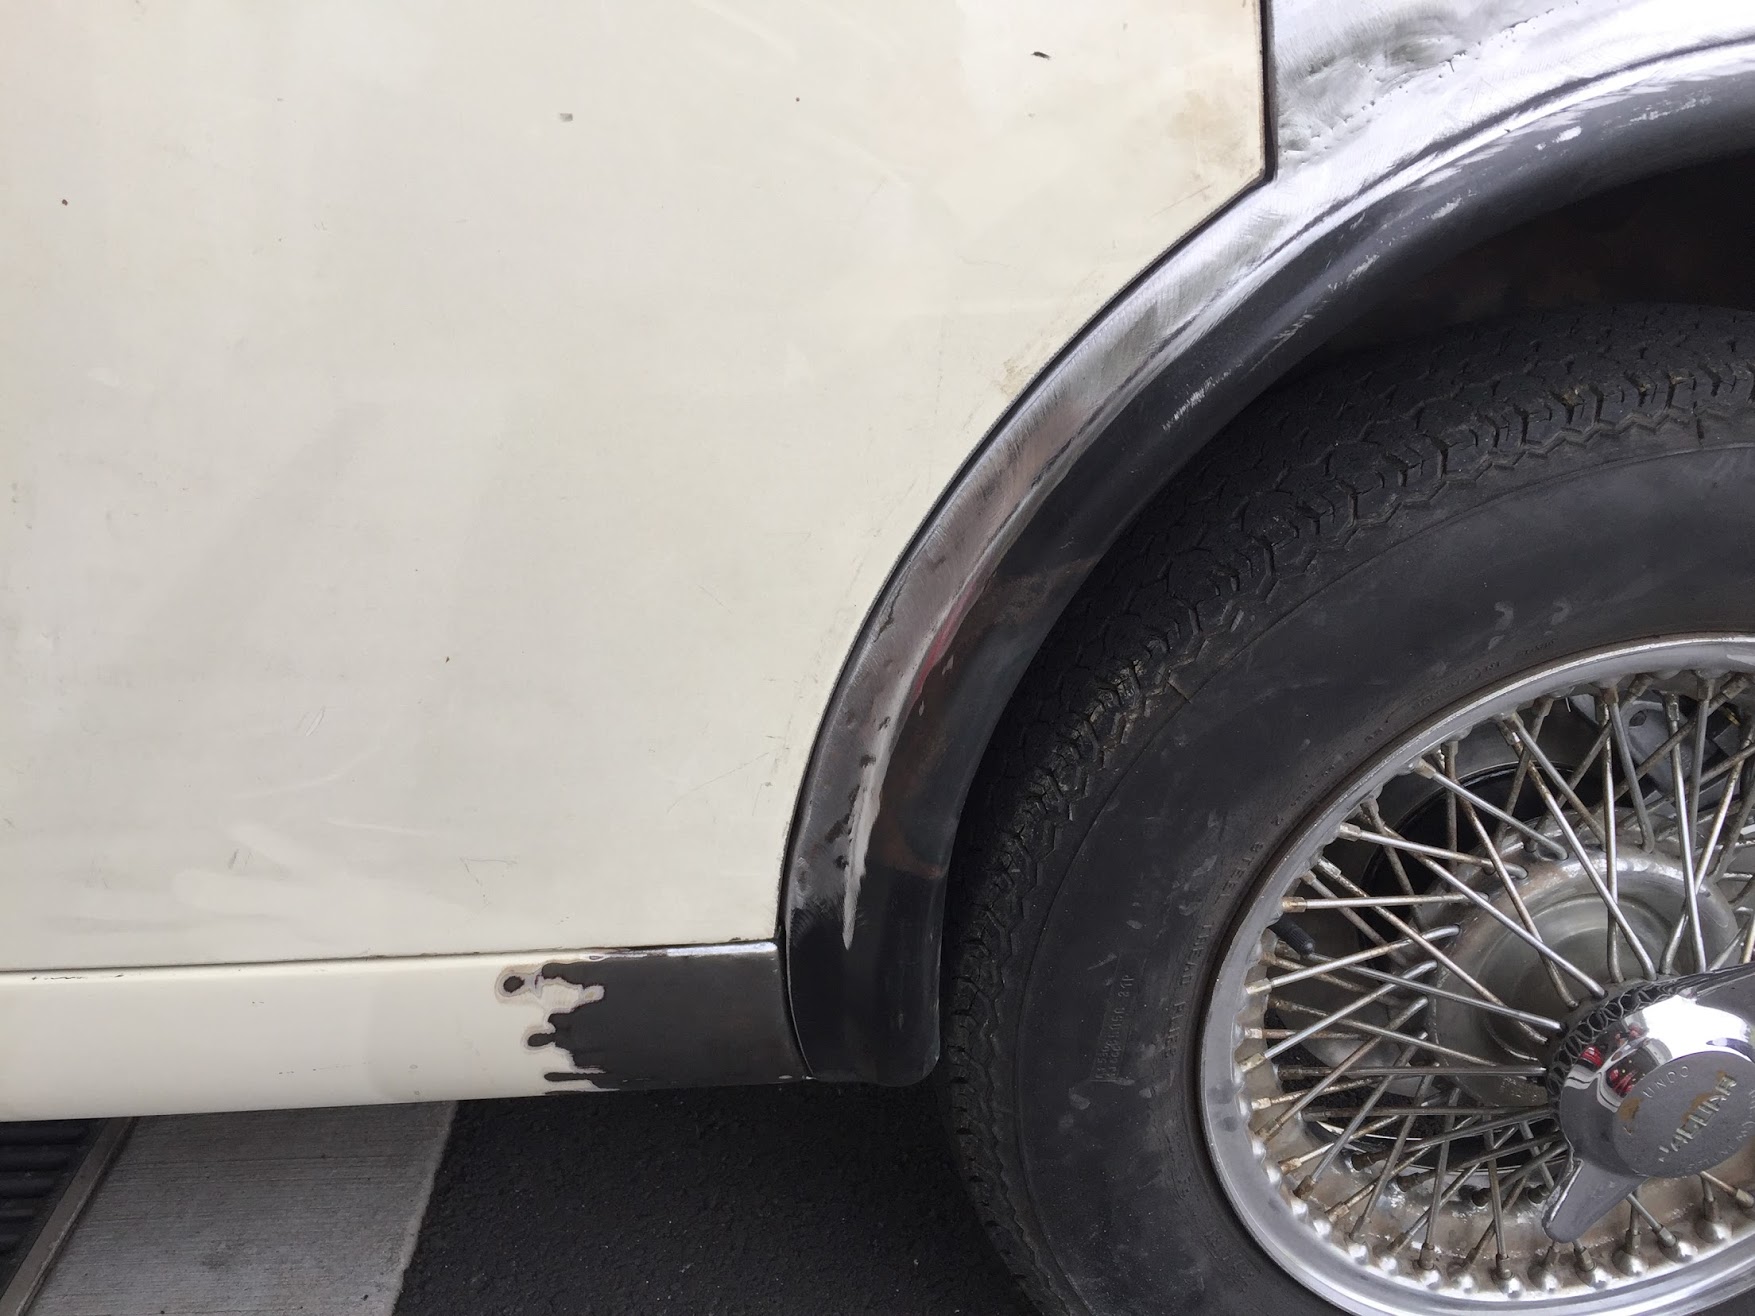
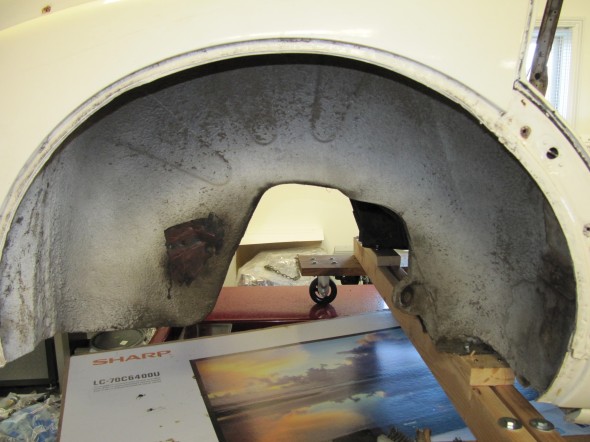
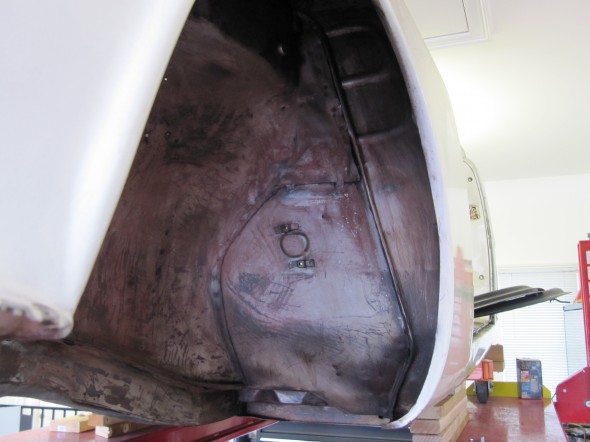
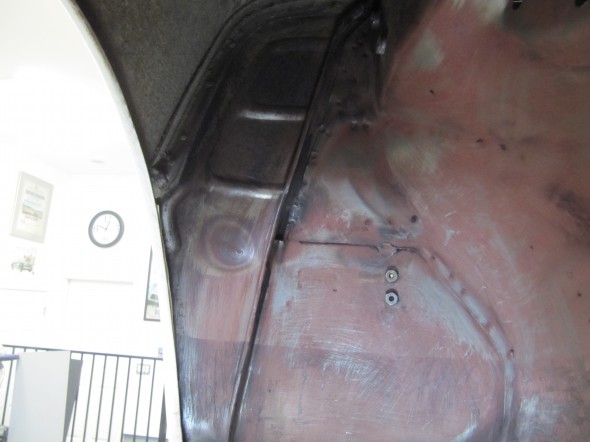
The LH rear wheel arch was the last major area to clean. I discovered a rusty spot on the rim where the inner arch and outer wing come together. Otherwise, this area cleaned up well.
These are a couple of “before” images:

Wheel Arch Before
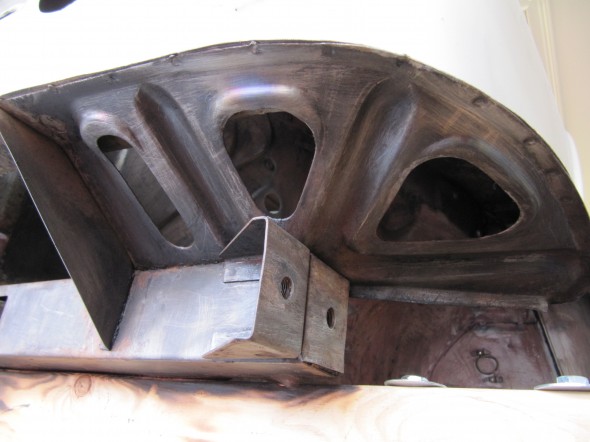
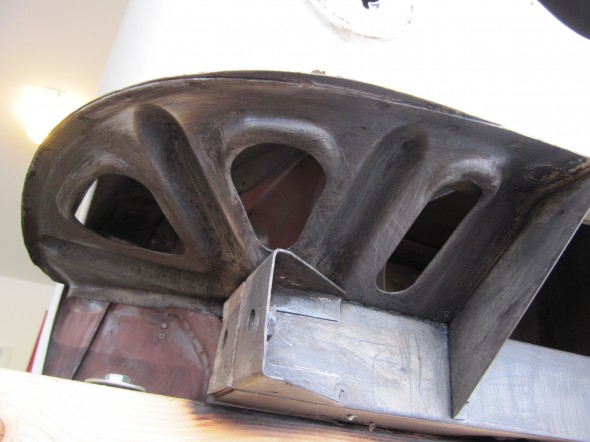
And, these show what a torch, putty knife scraper and wire brush can do!
Wheel Arch Clean
Wheel Arch Clean

Wheel Arch Clean
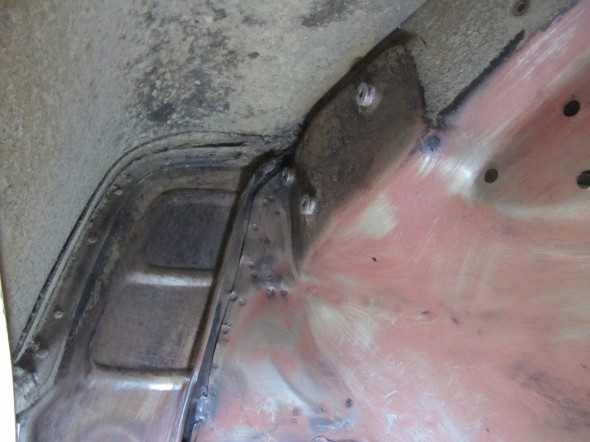
Today is New Years Day, January 1, 2013. I mention the date, not because of New Years but because after weeks of scraping and brushing I finished the chore of removing the undercoating today!!!!
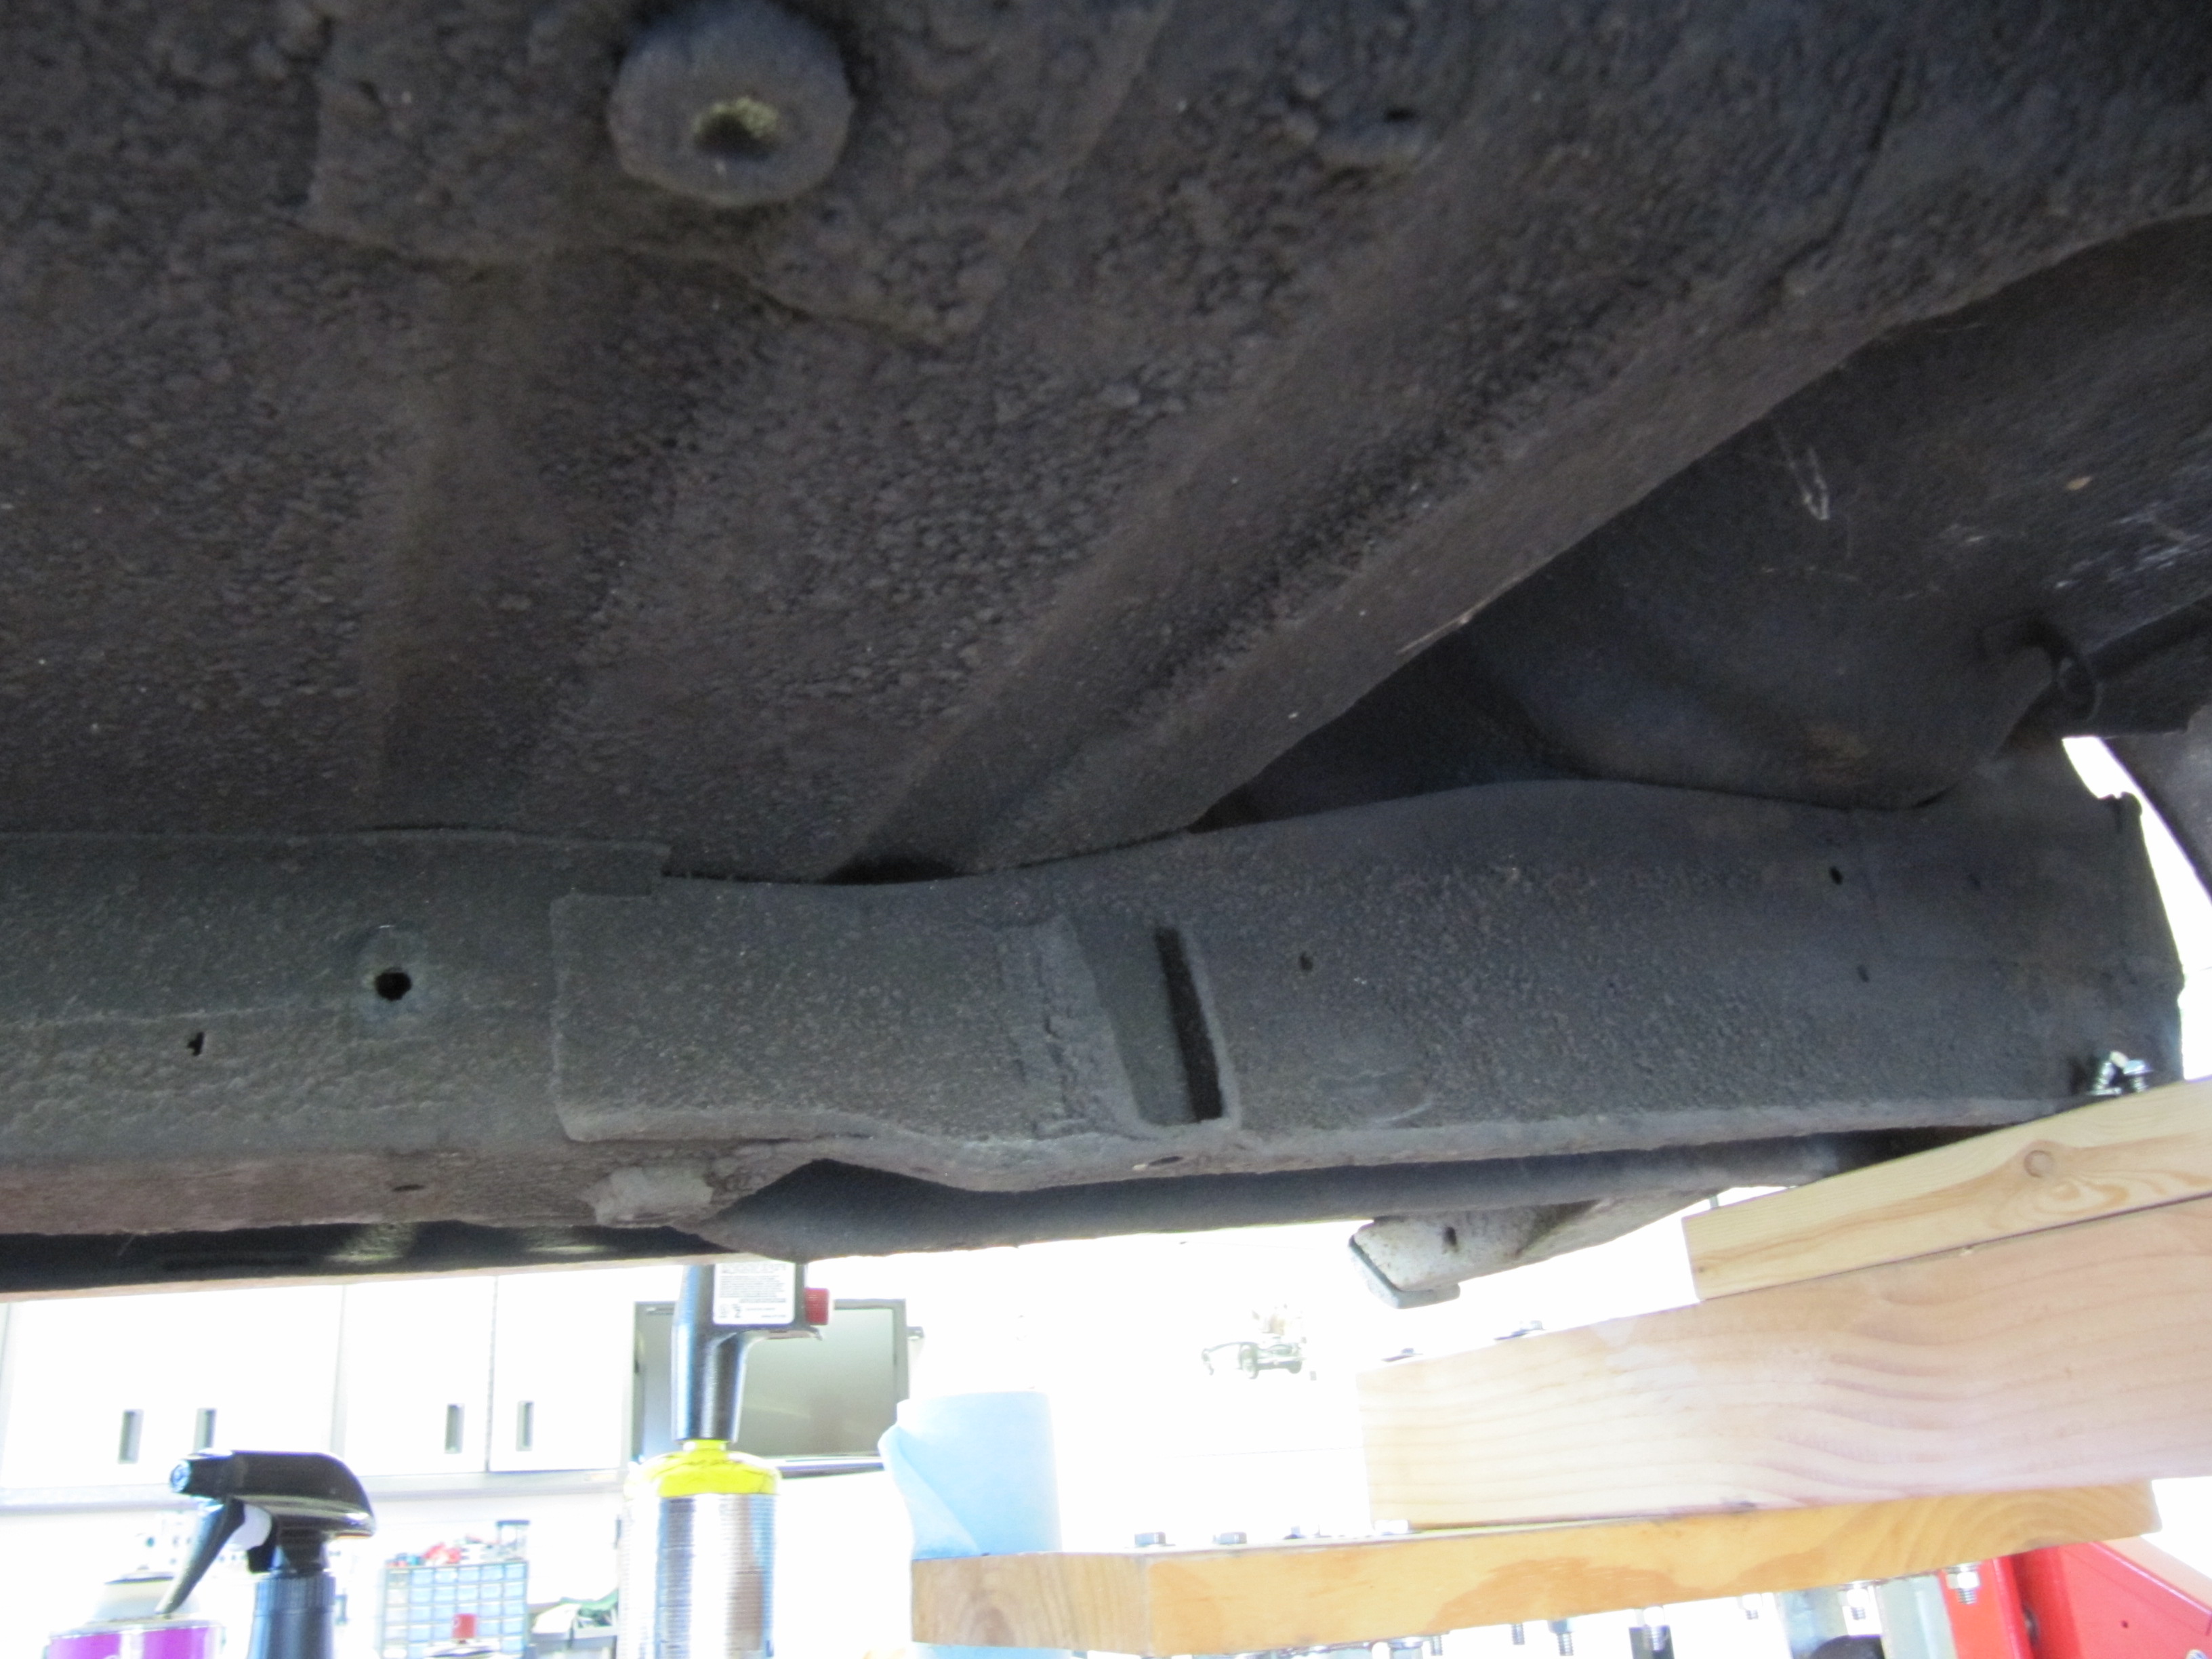
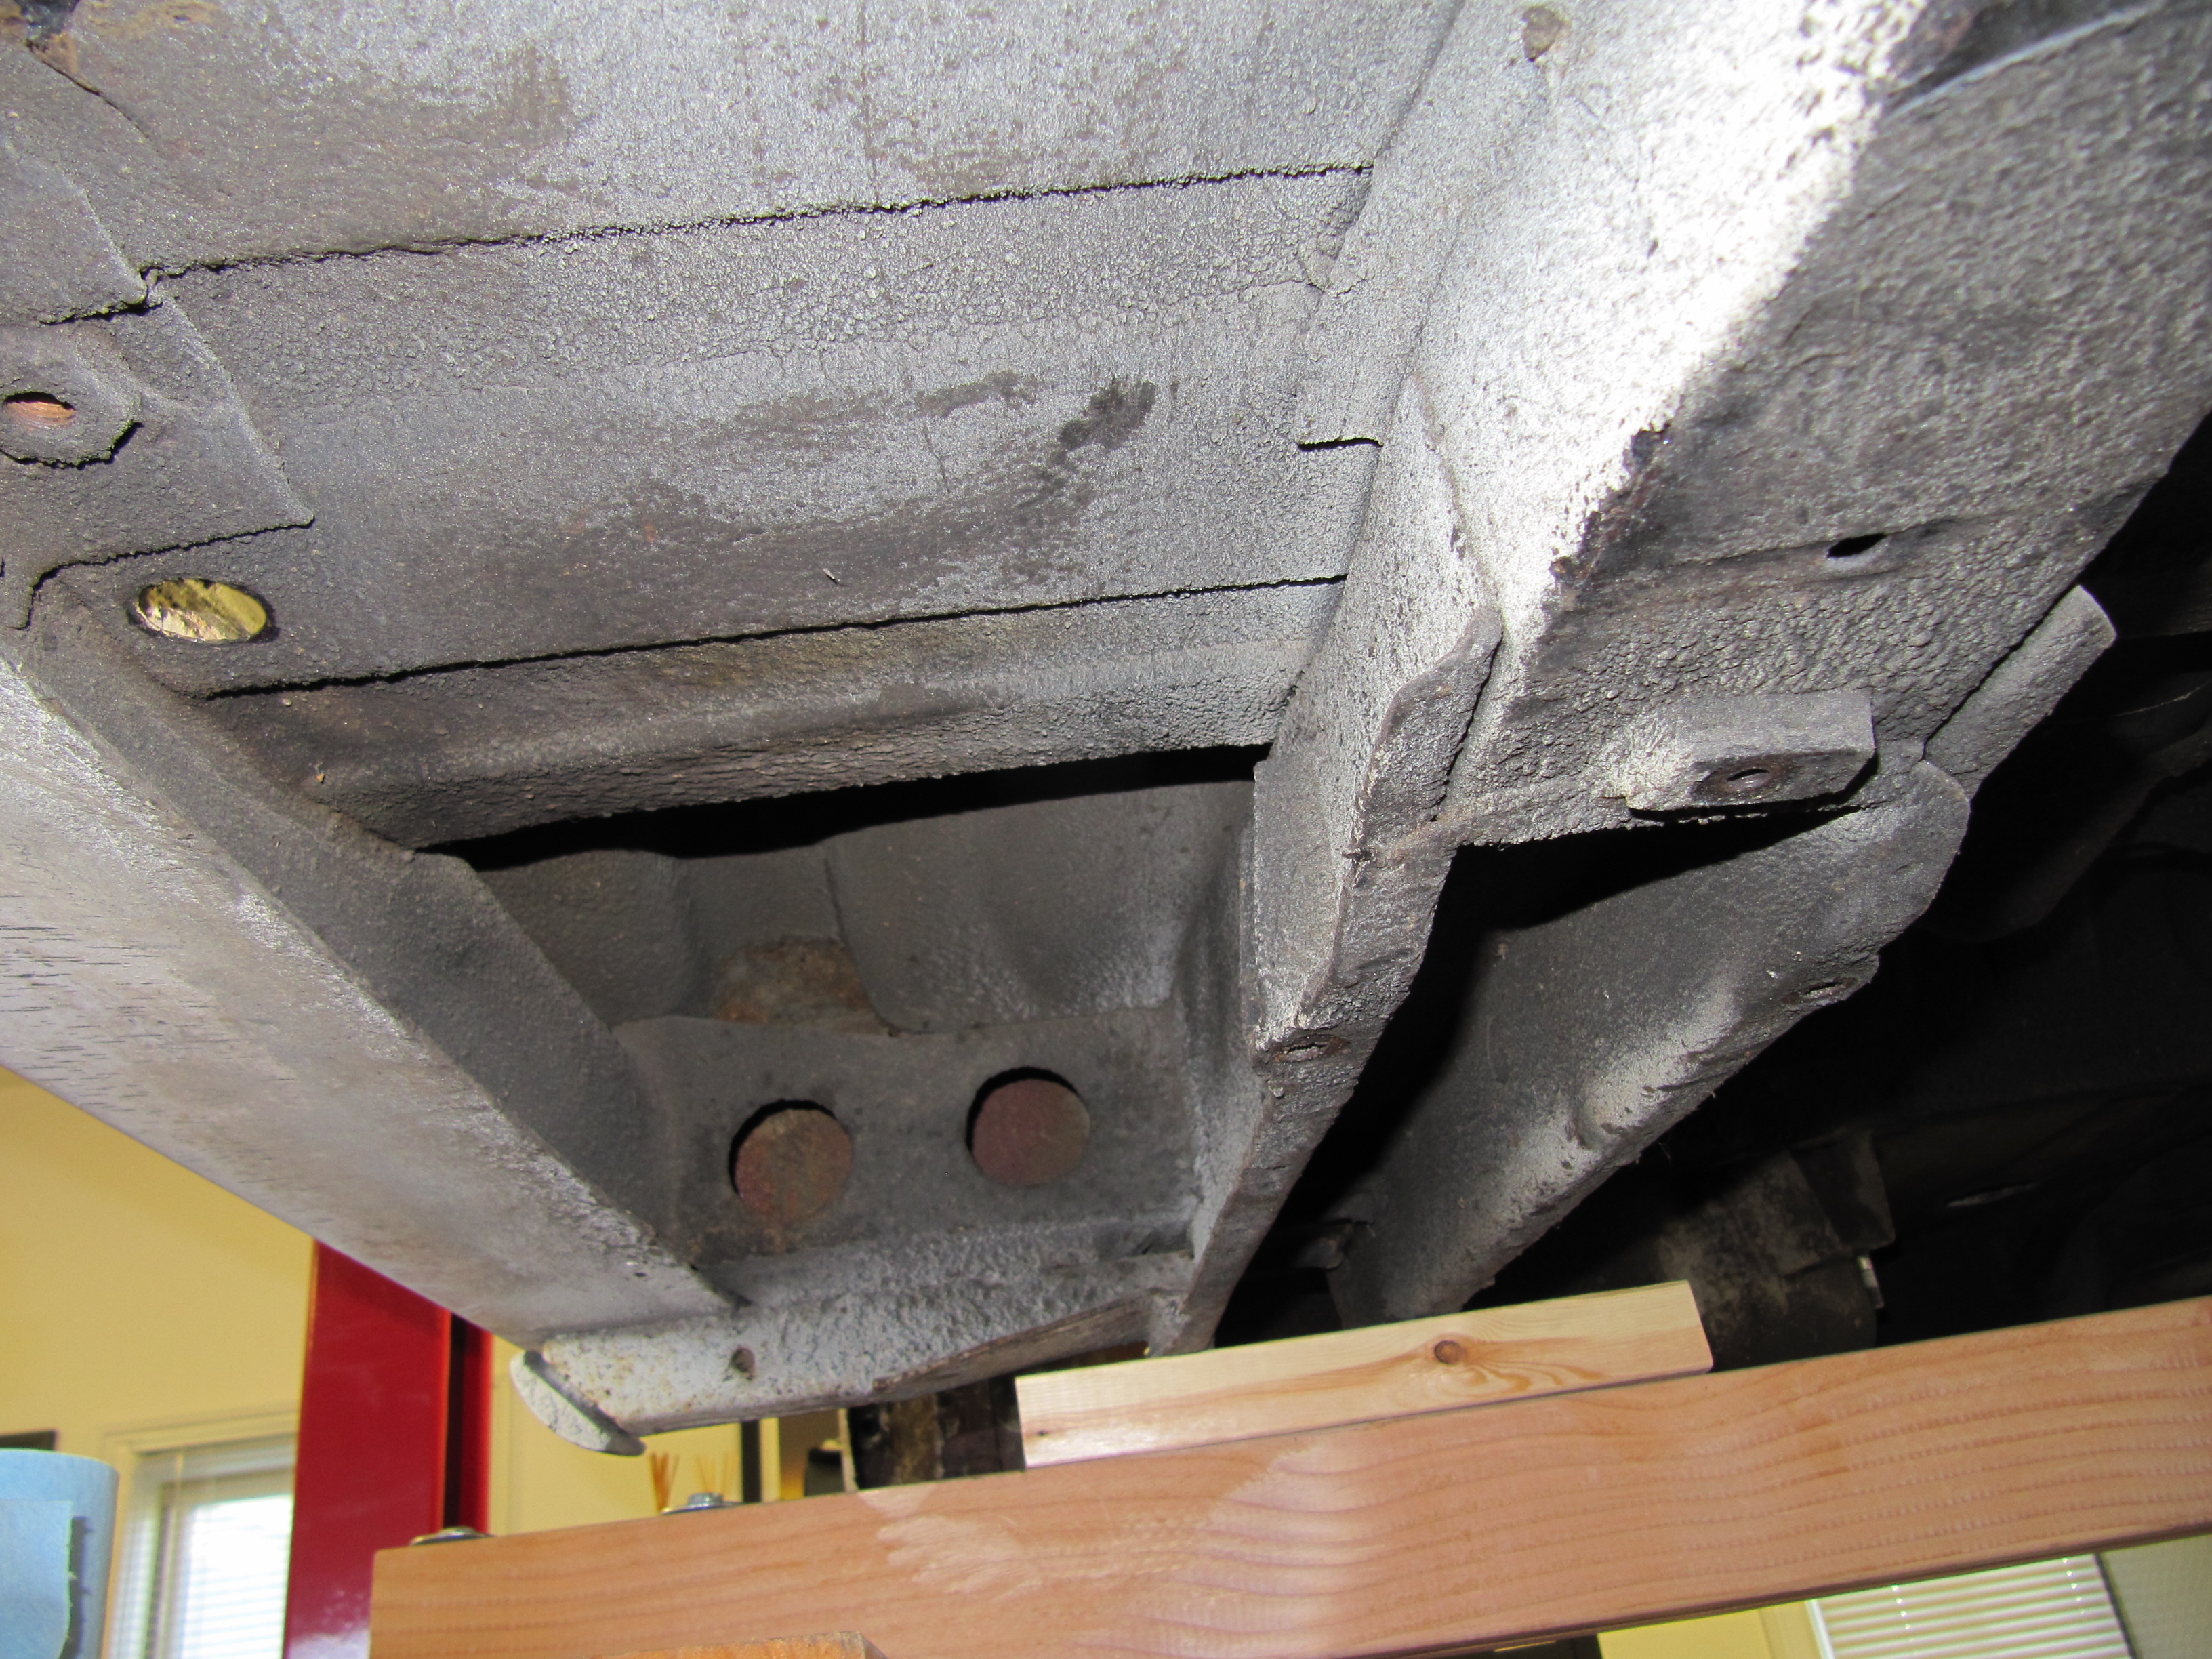
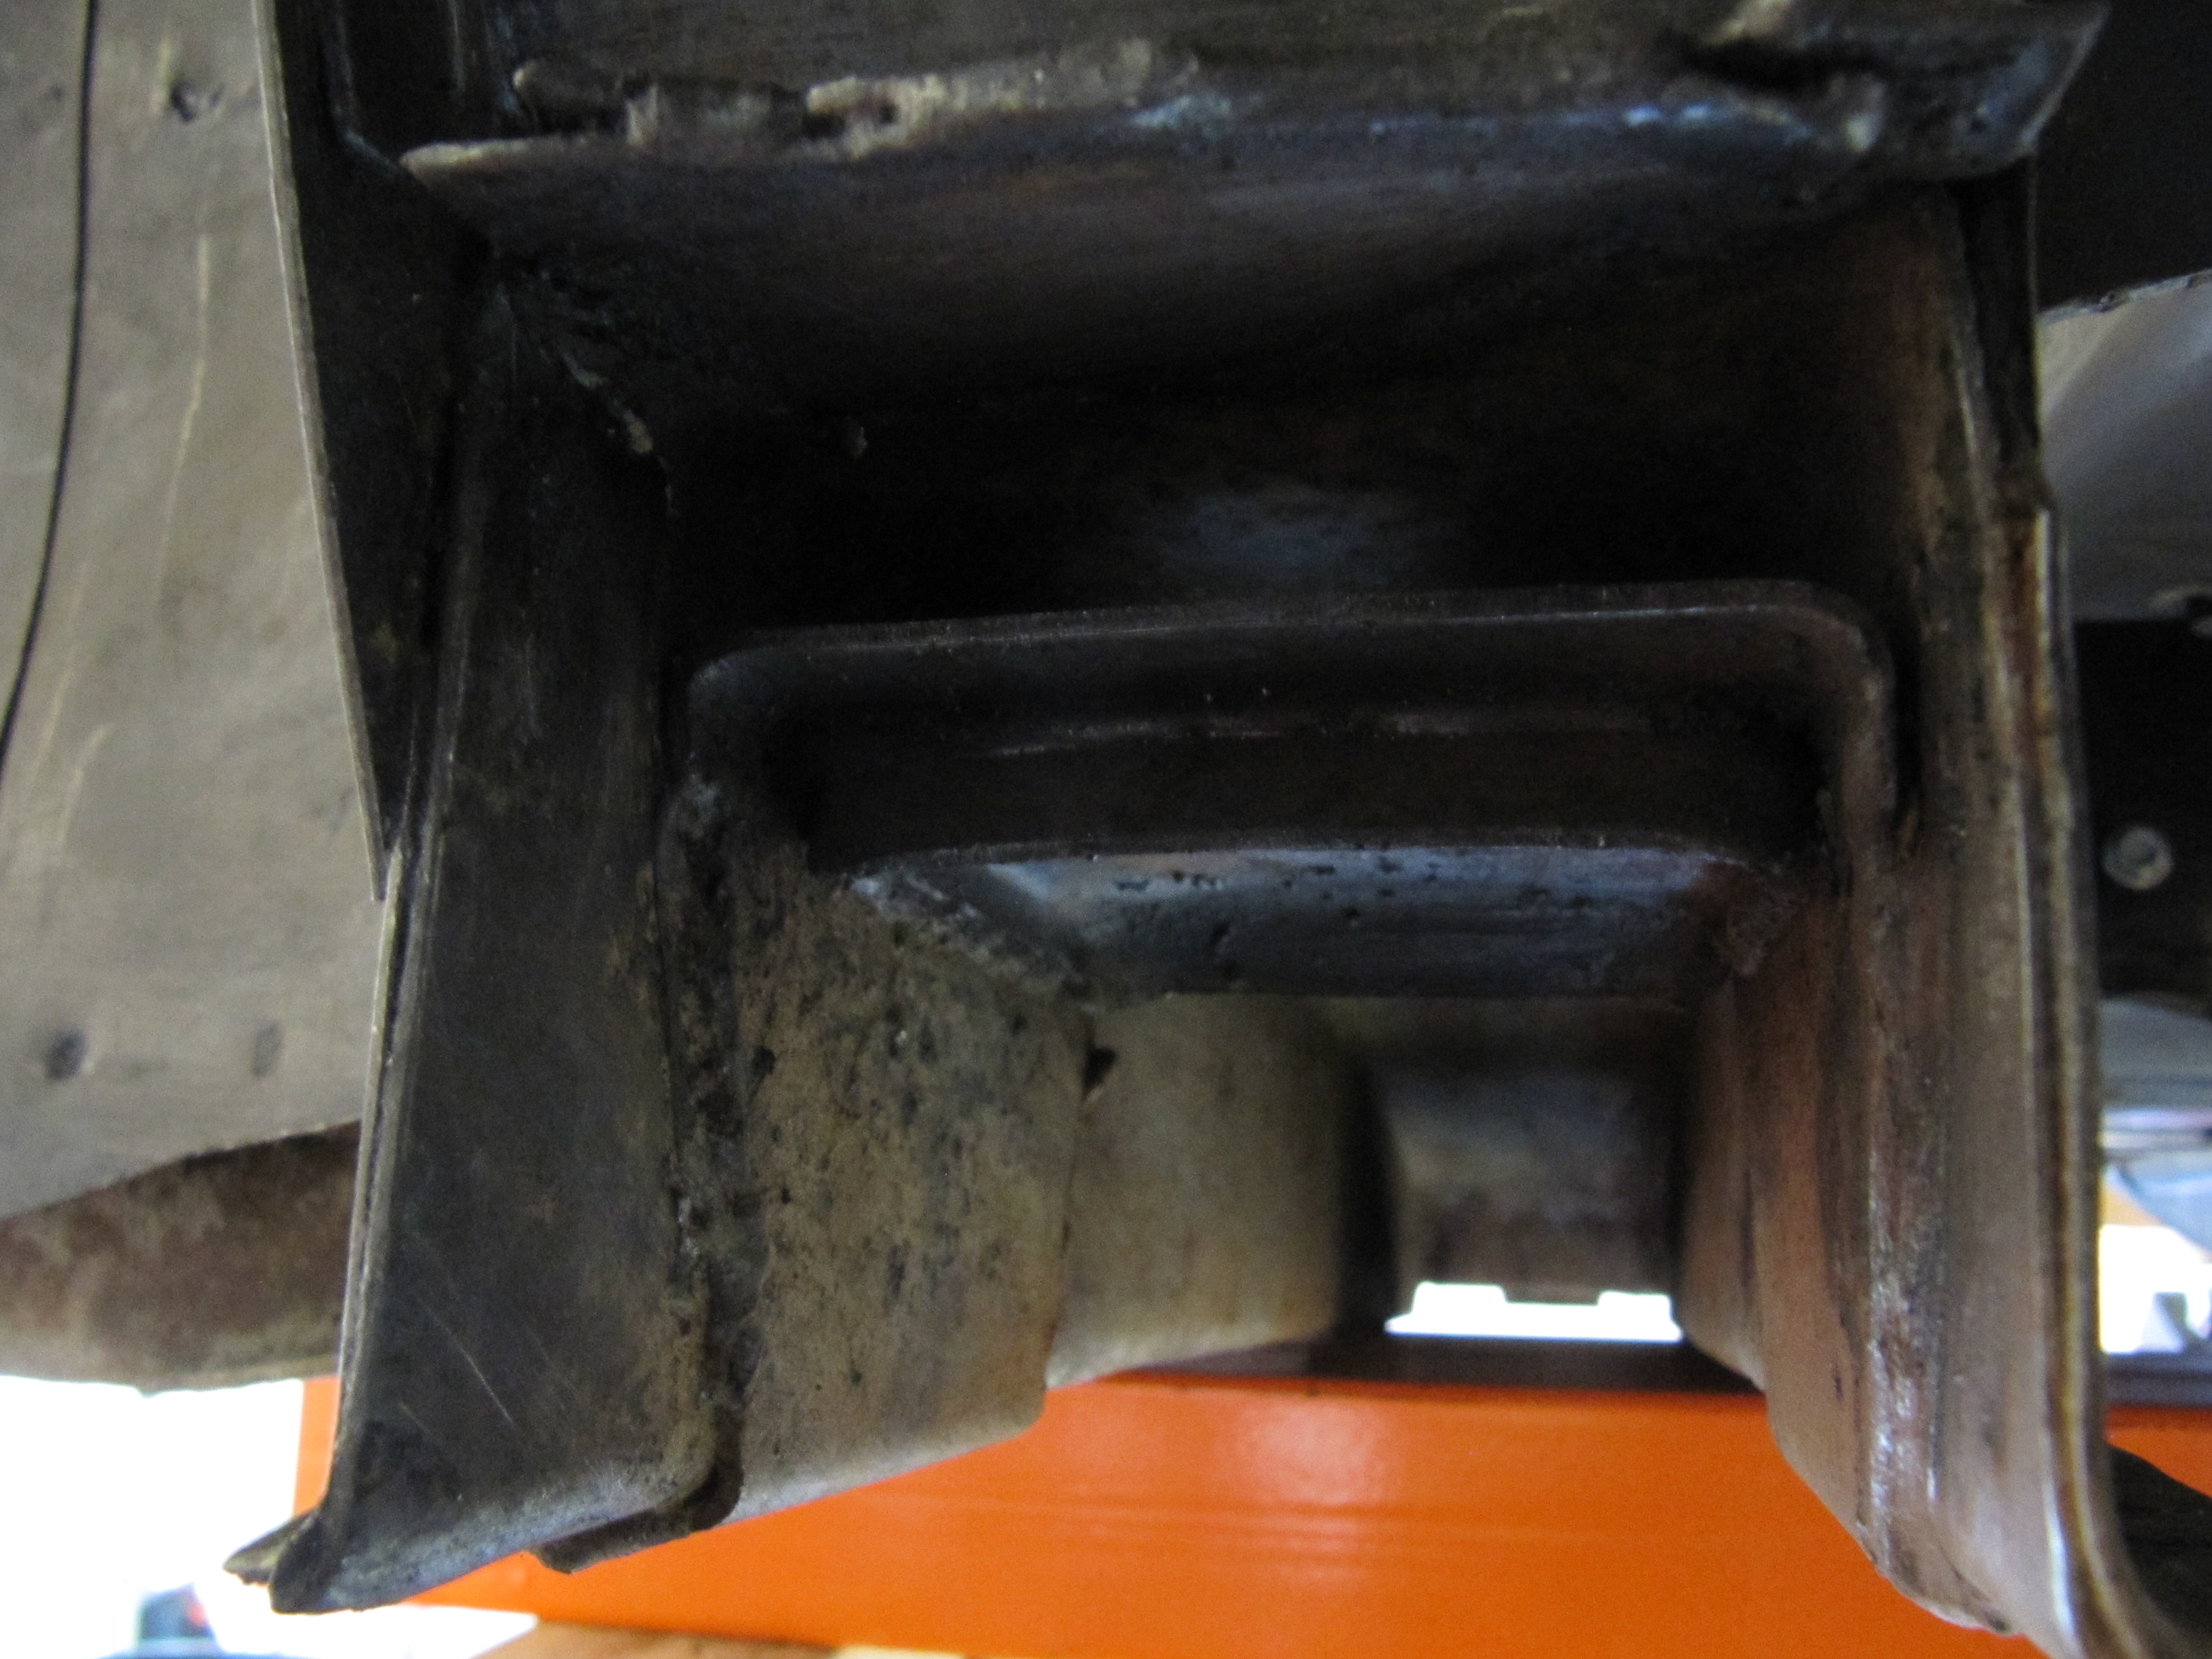
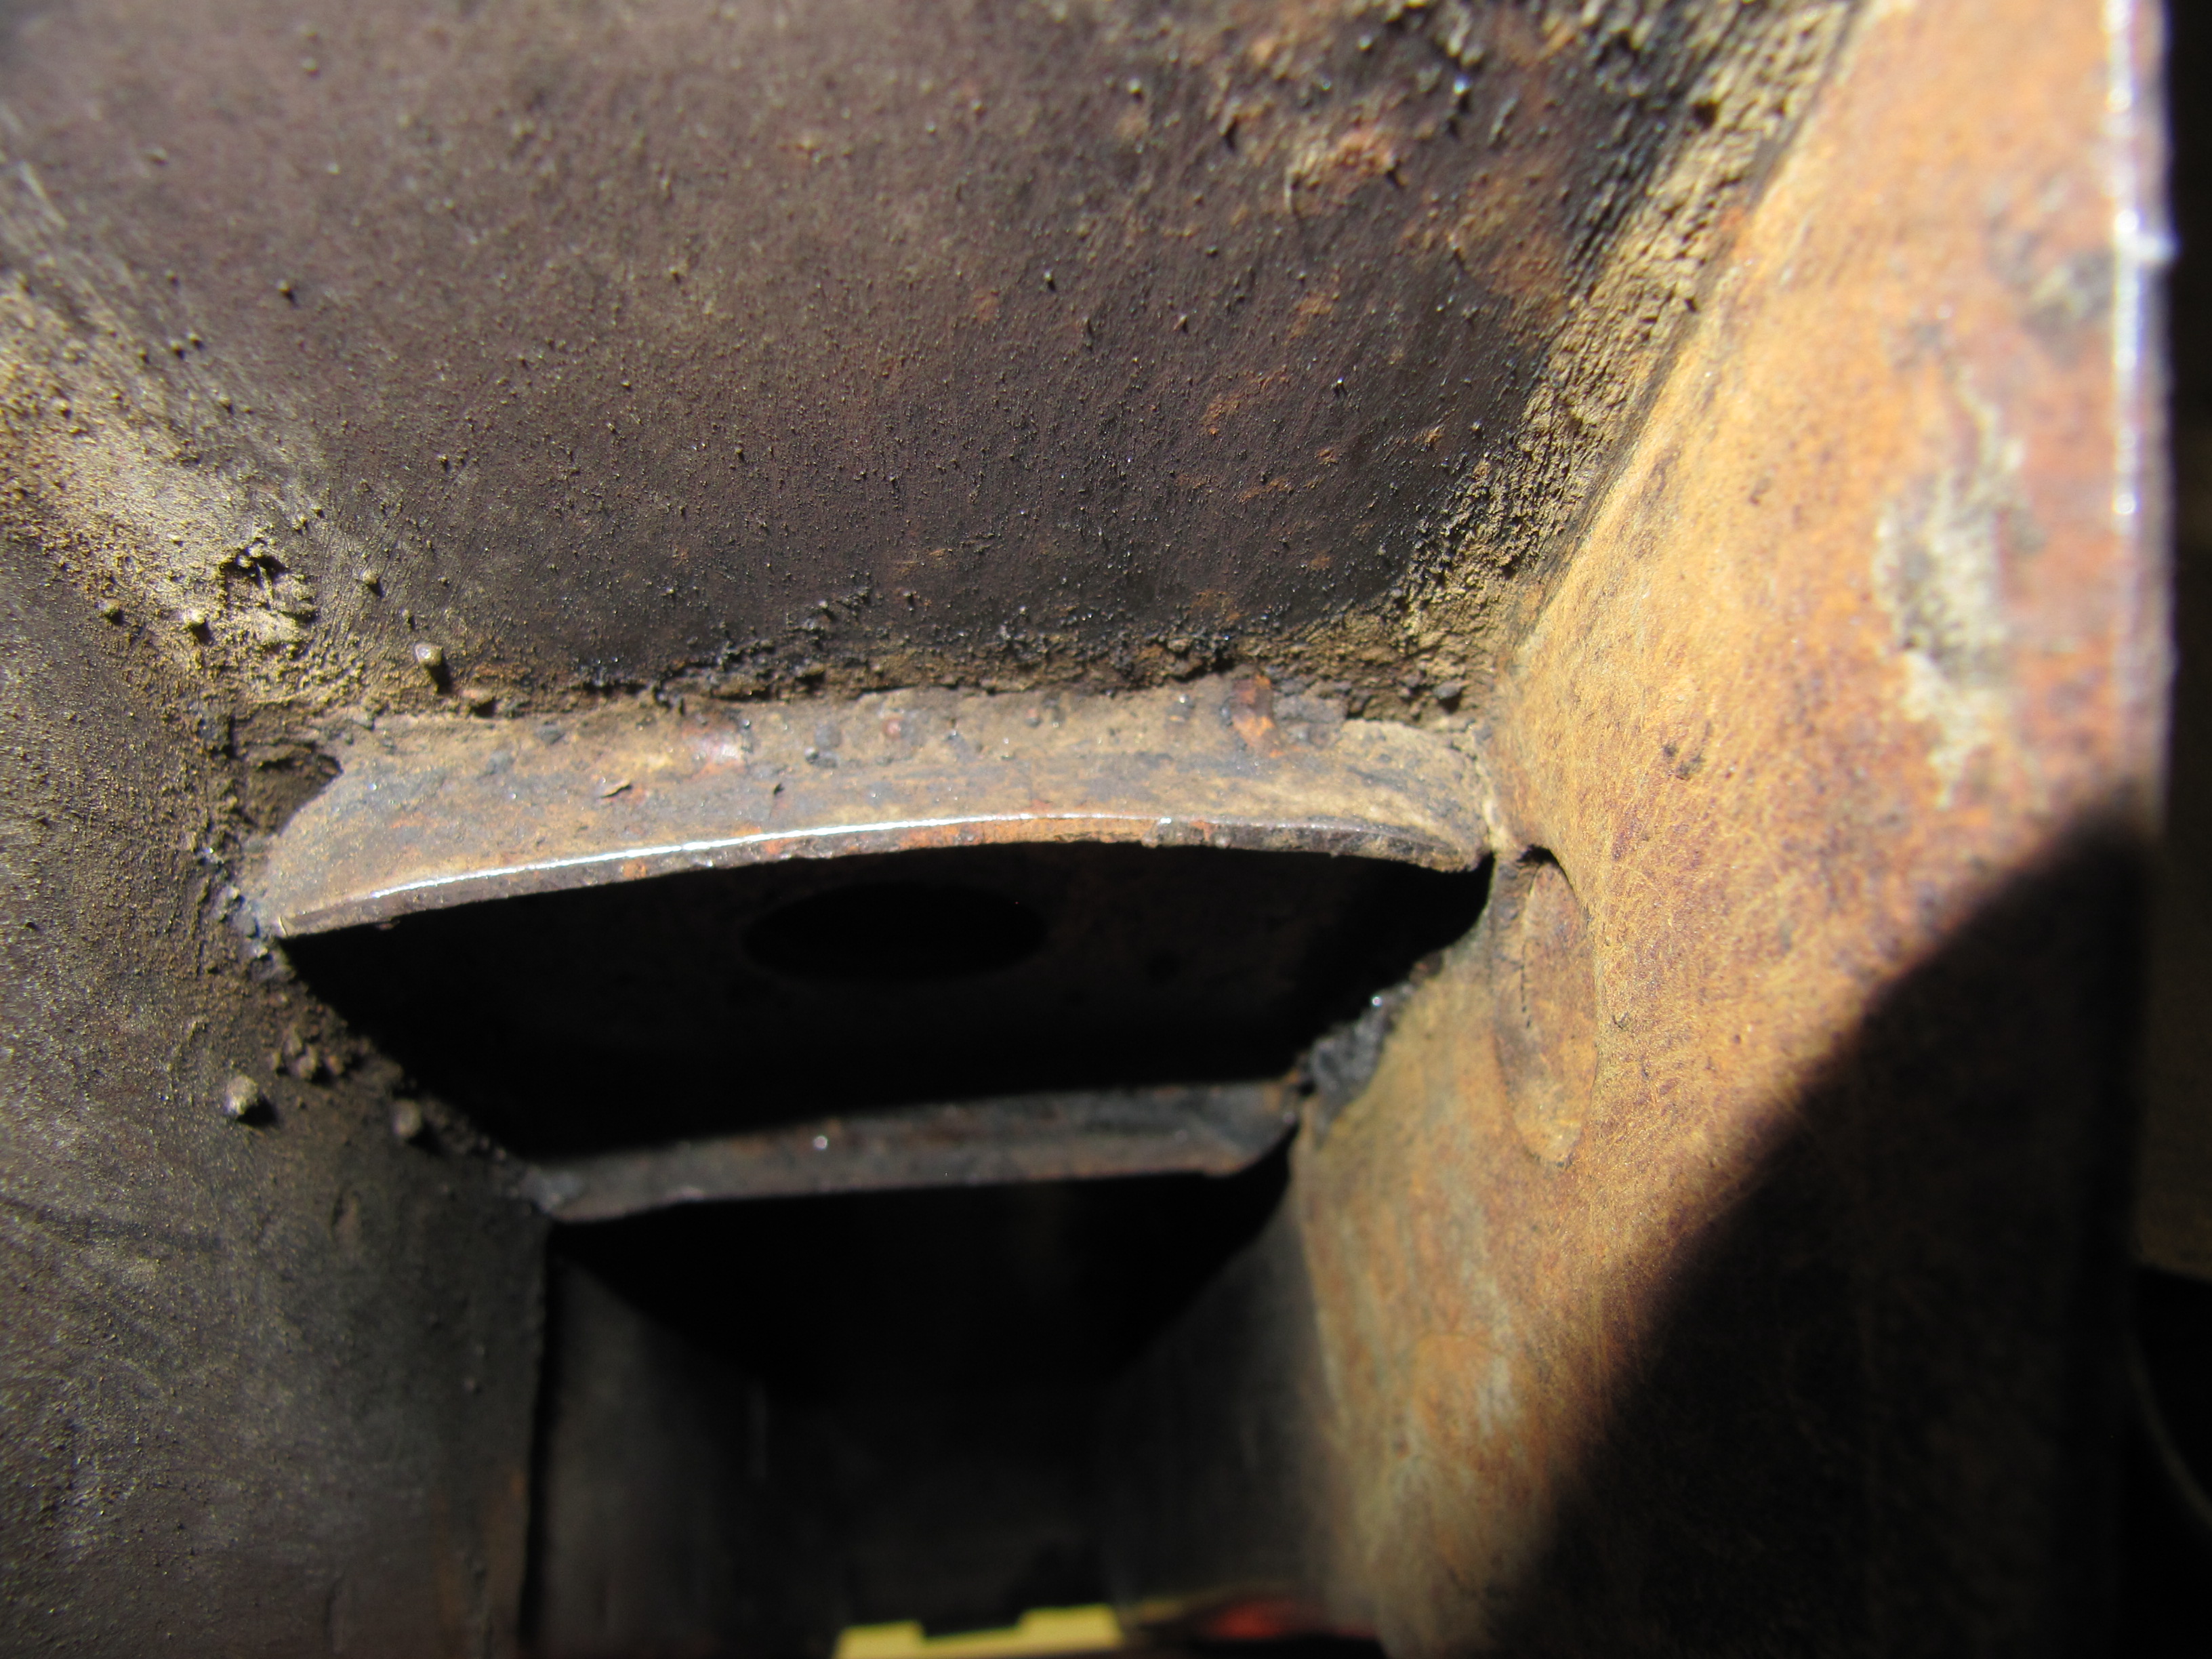
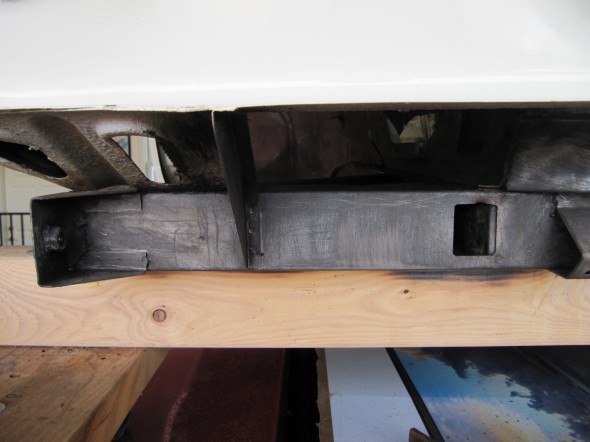
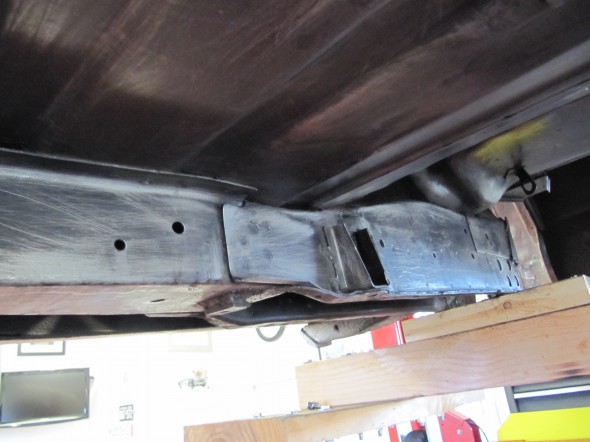
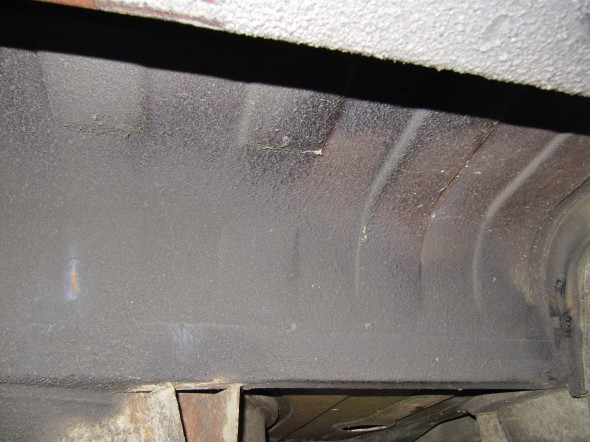
I encountered a weird issue that will require research. I was cleaning the Frame Reinforcing Channels where the leaf spring fastens to the frame and discovered a difference. The upper clamp assembly on the right side is welded to the channel directly with no gap, while the LH side has about a 3/8″ gap between the clamp assembly and the channel. I have no idea why the two sides would be different.

LH Pad Seat

RH Pad Seat
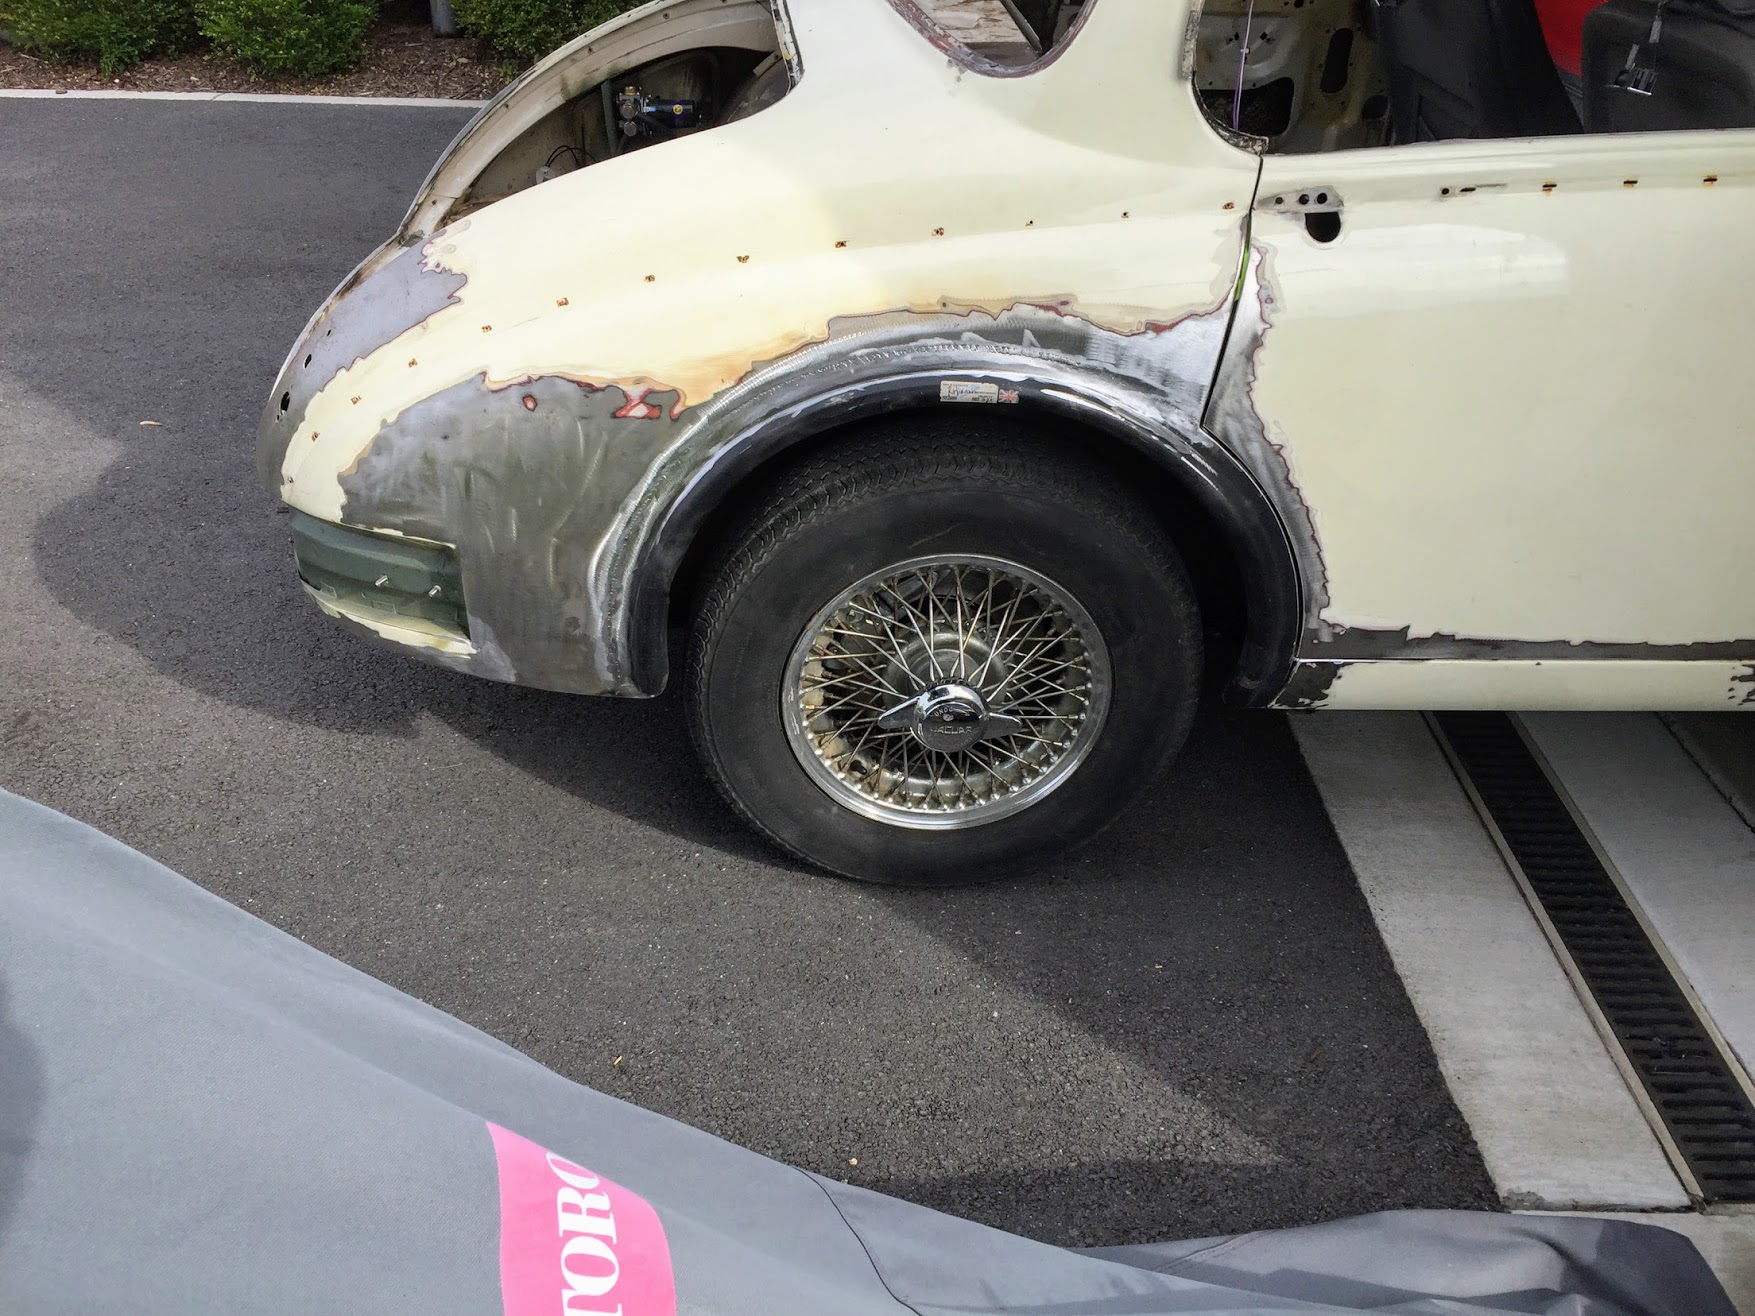
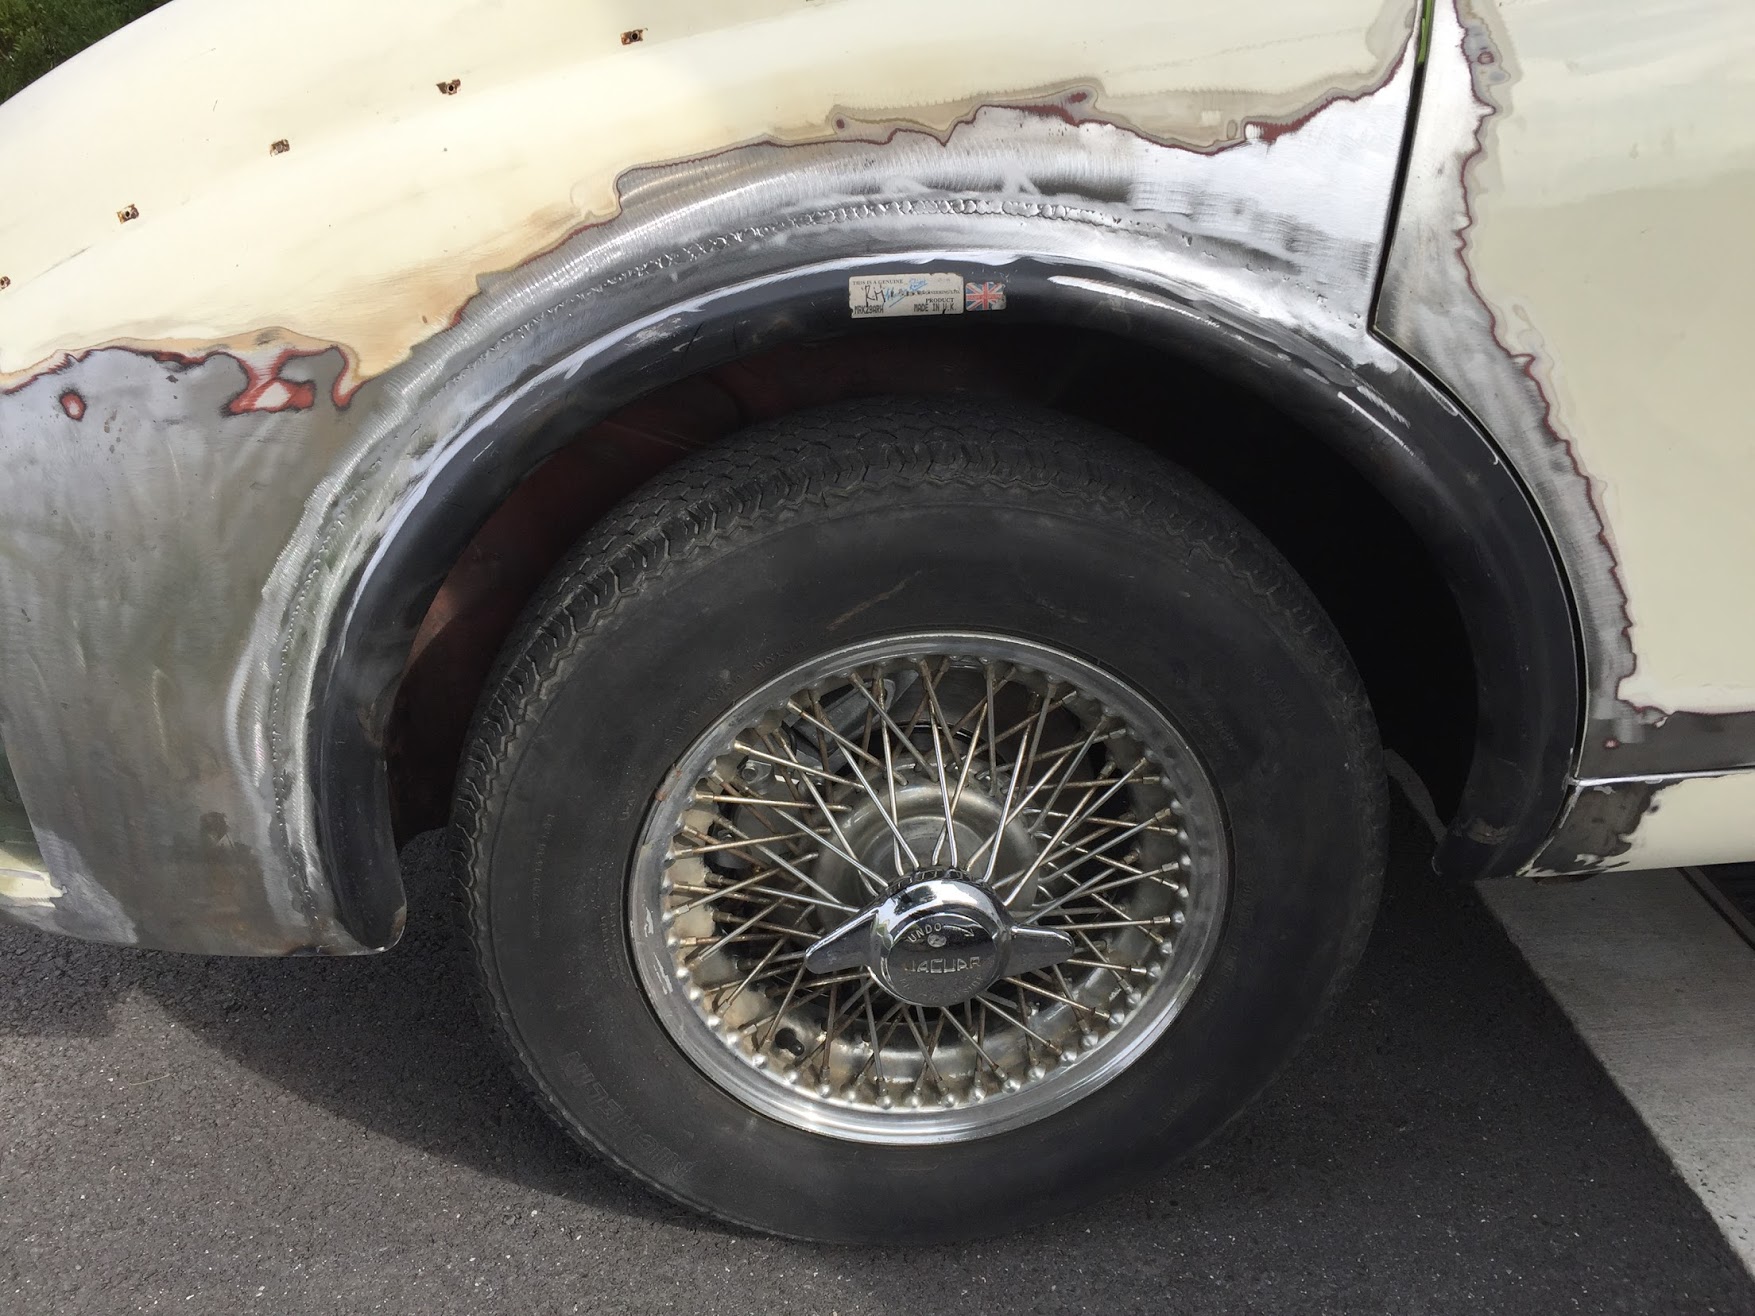
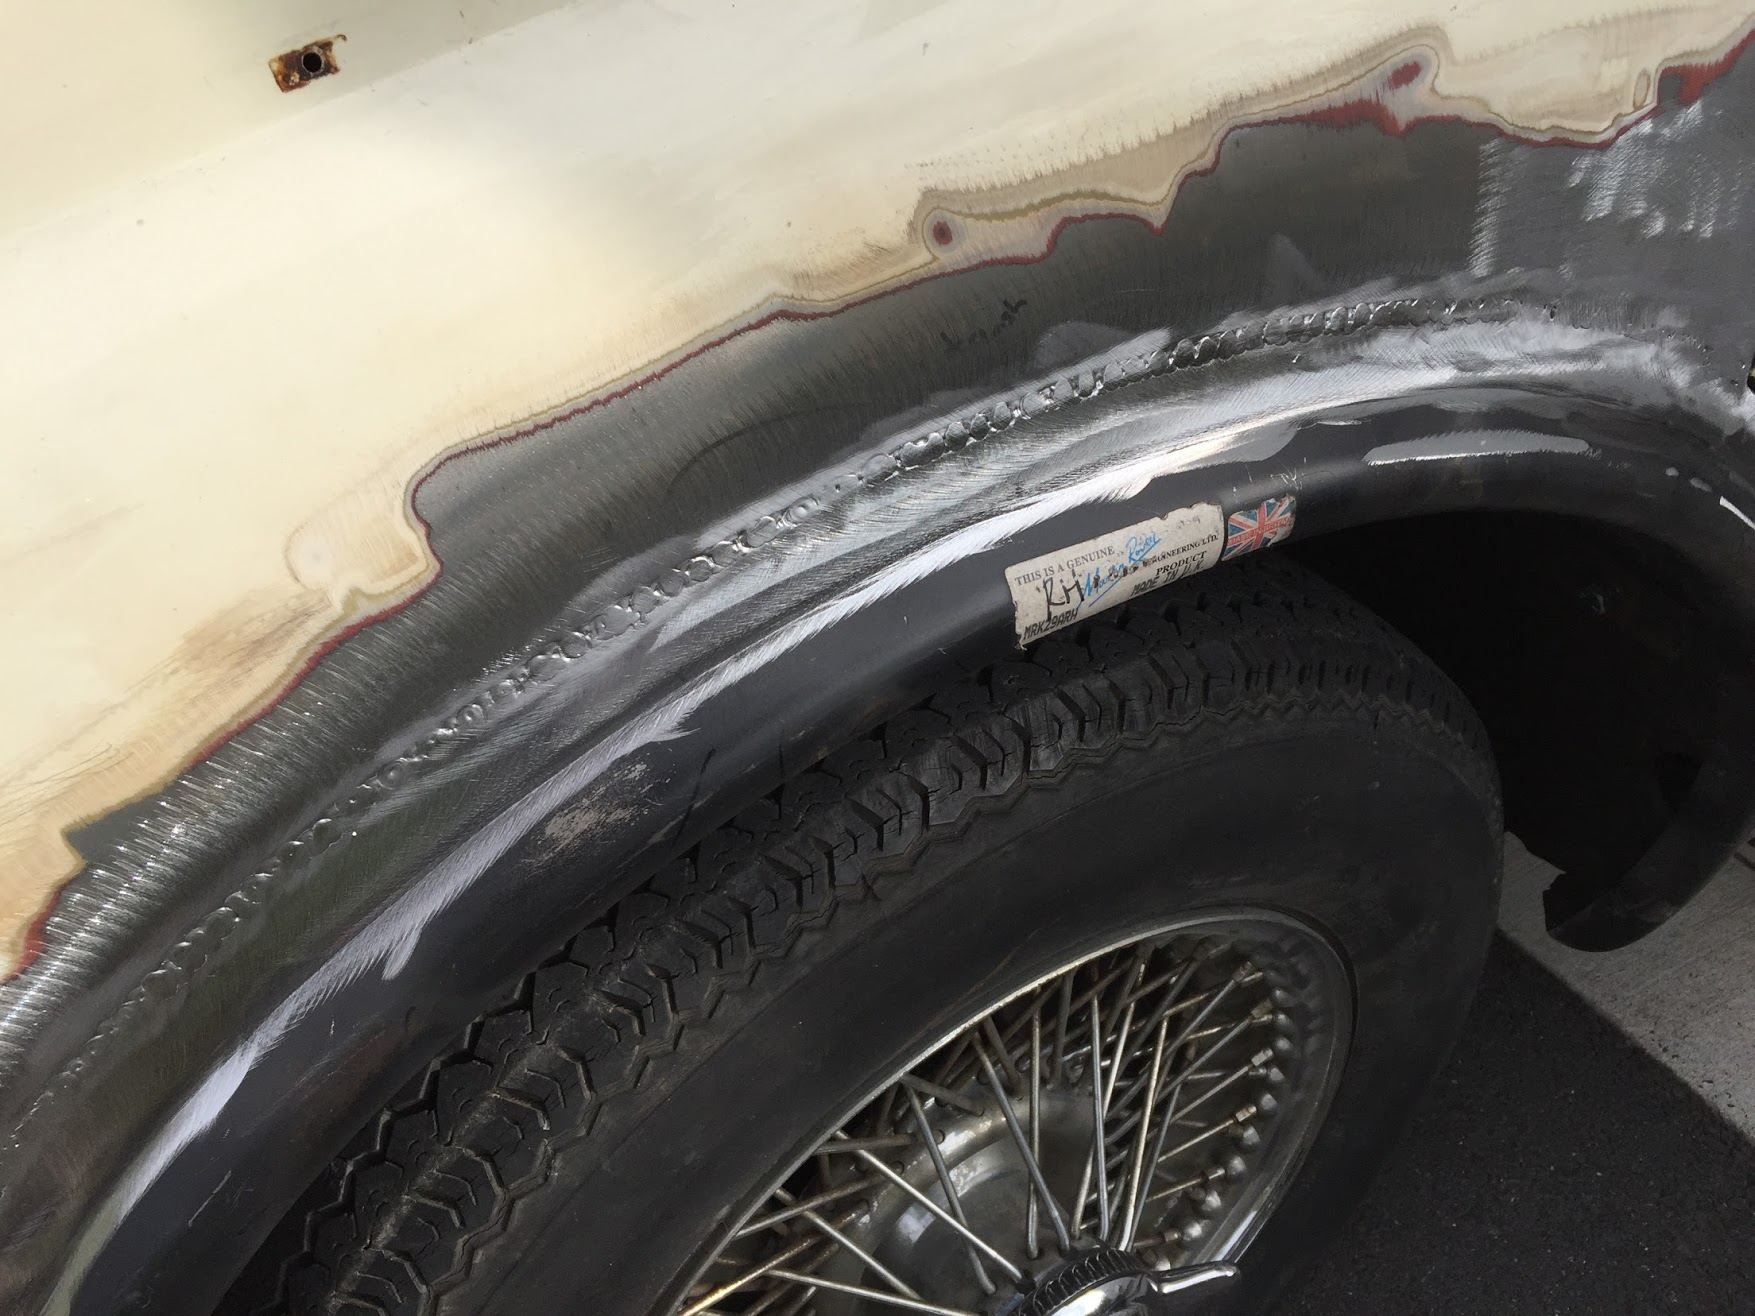
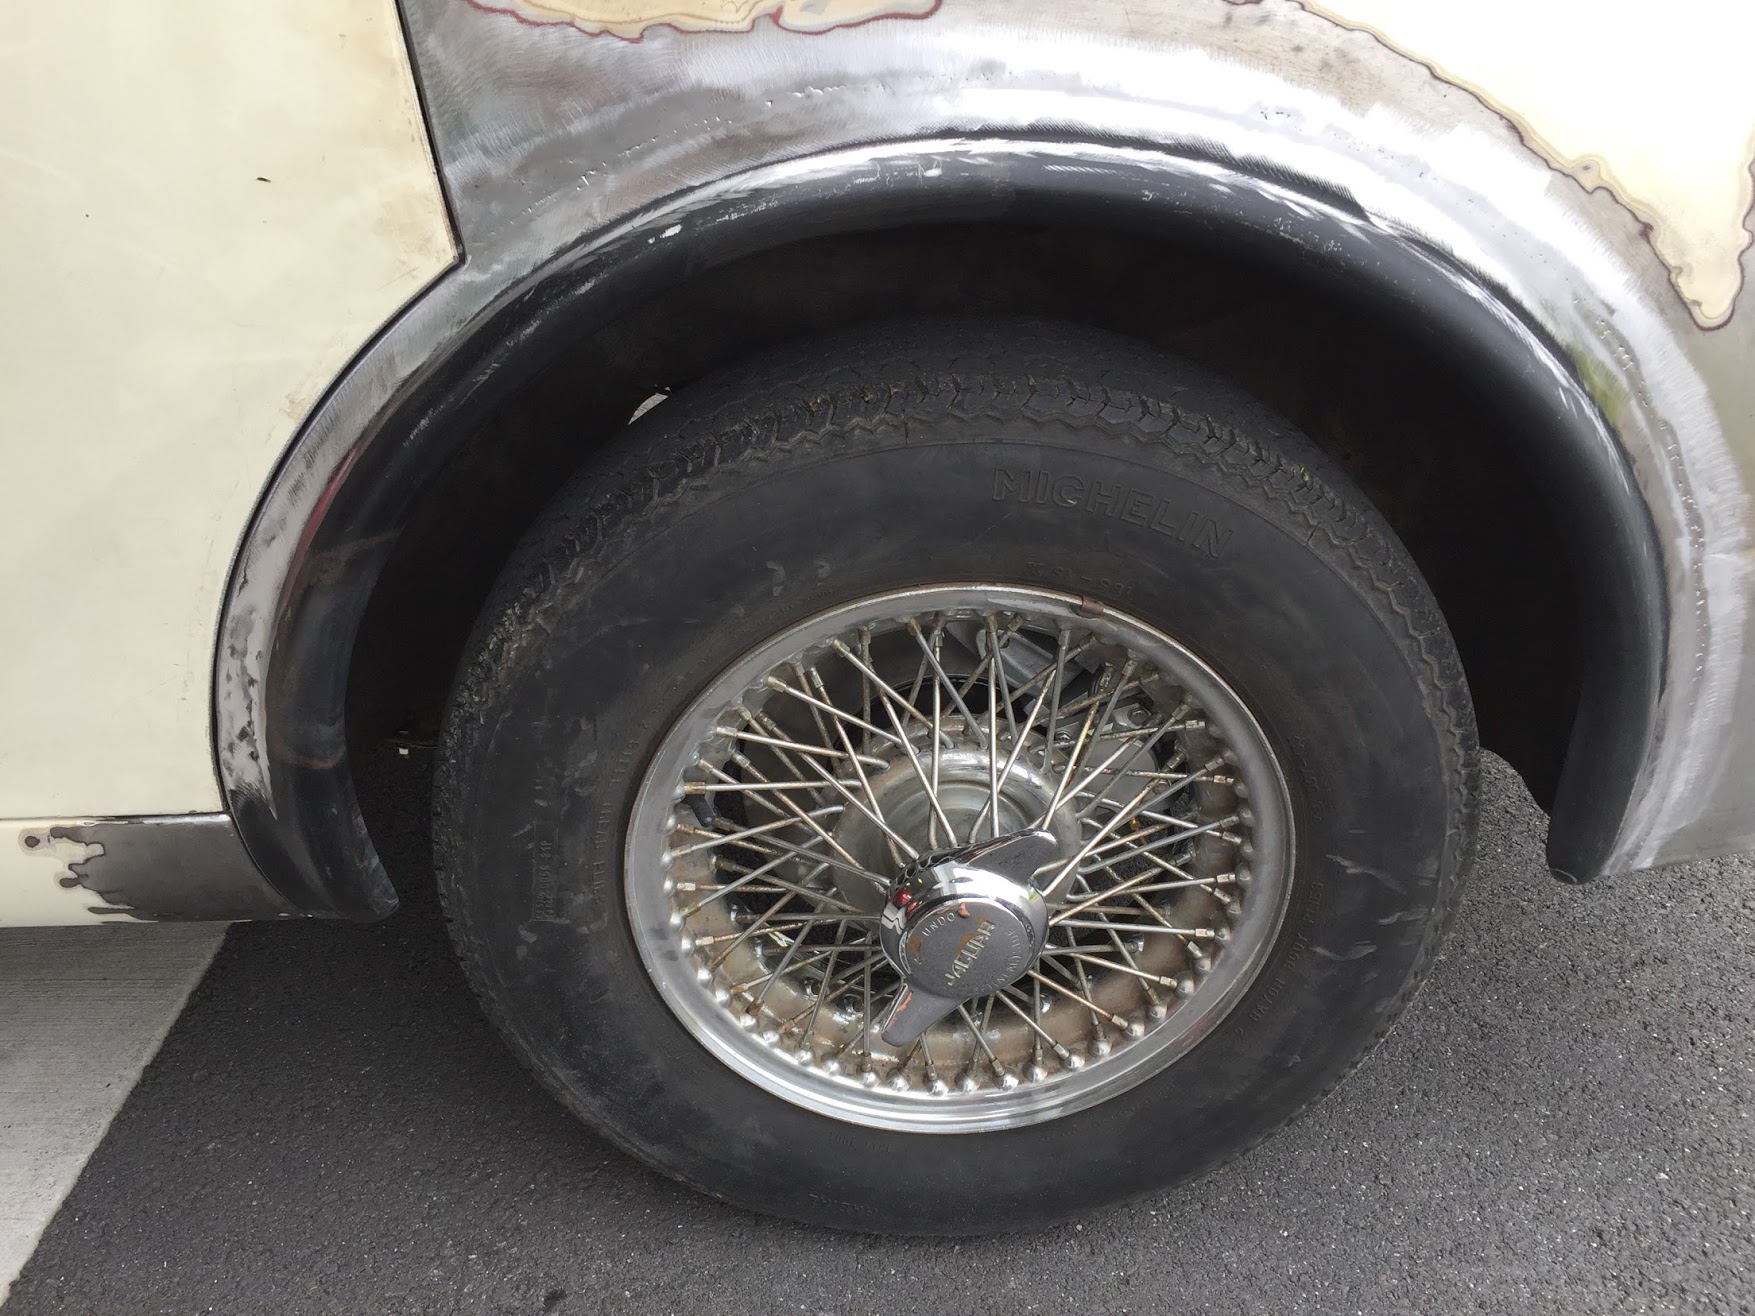
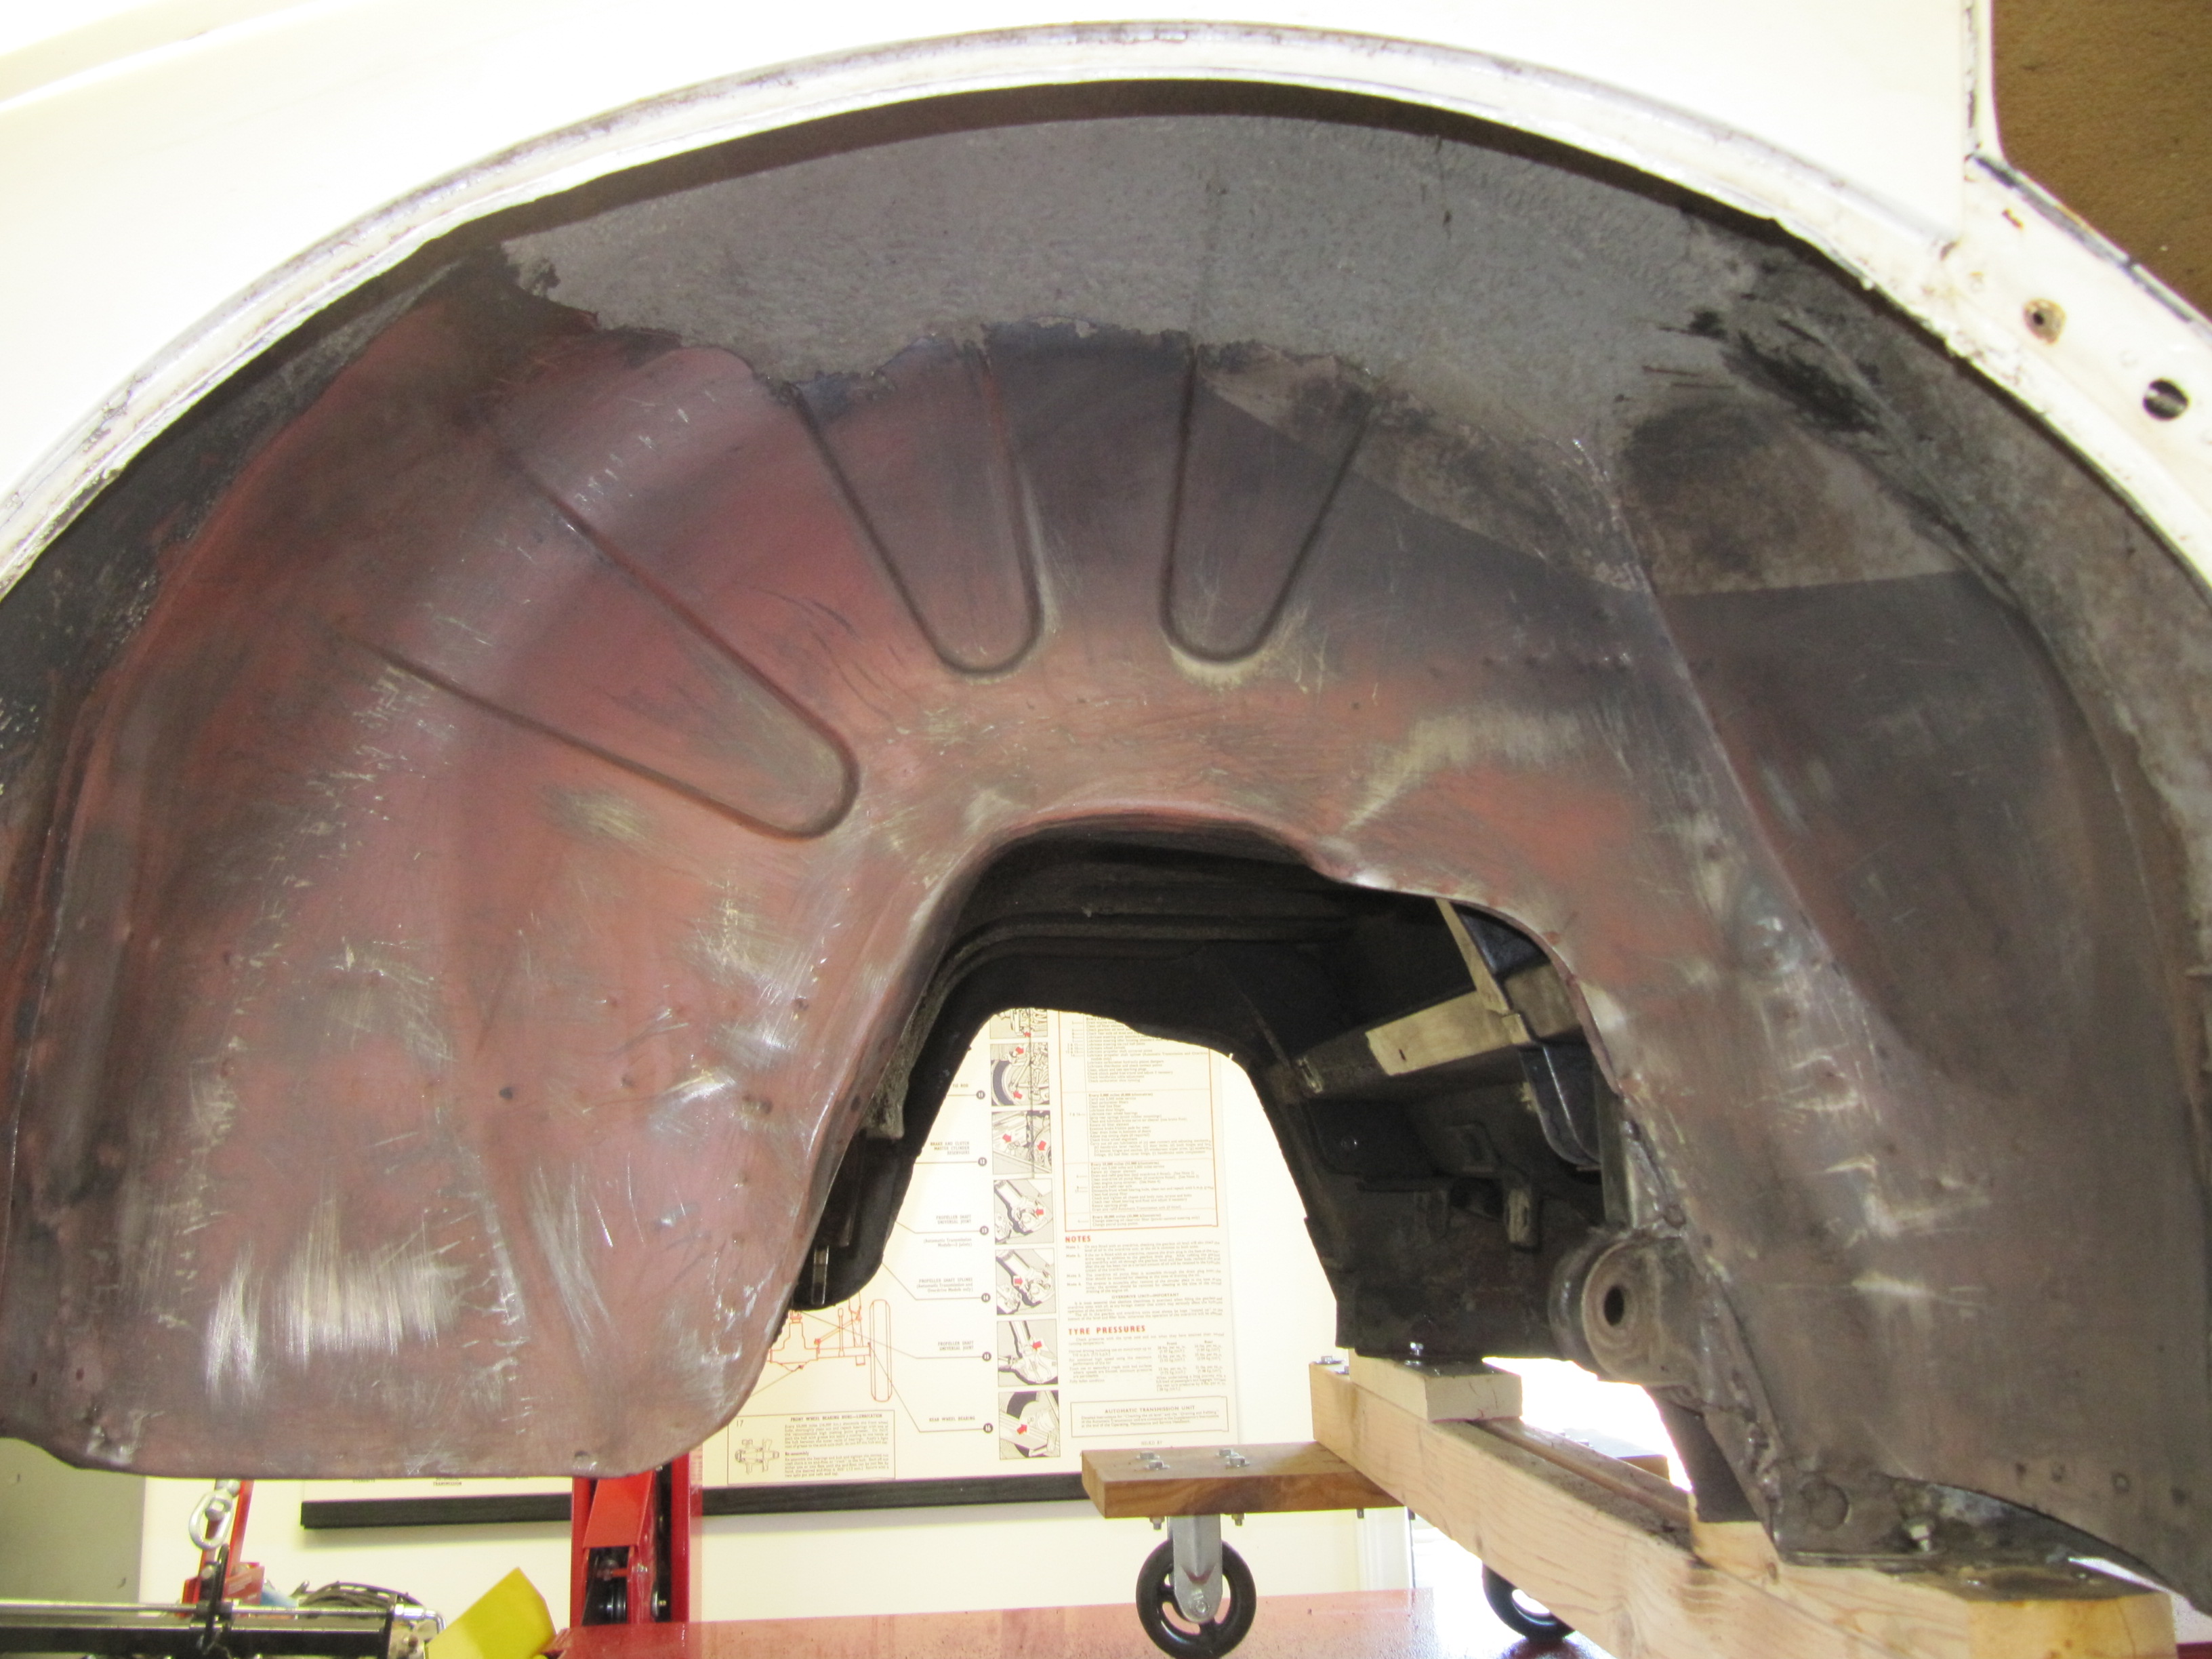
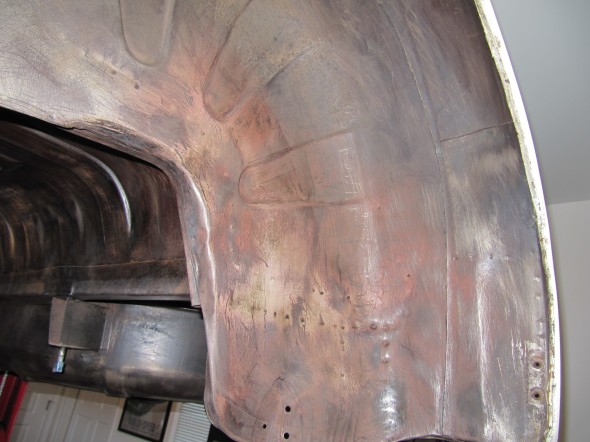
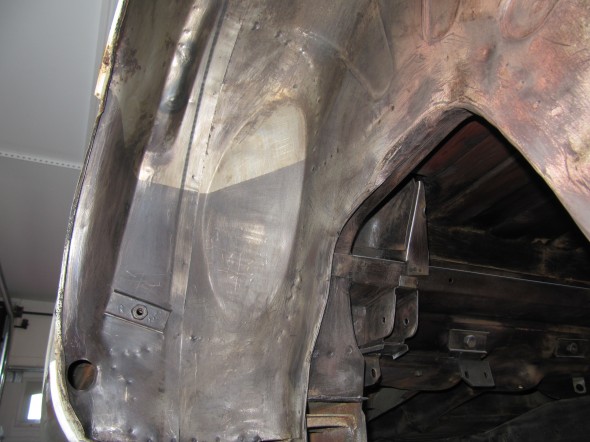
I then finished up some additional work on the front wheel arches:
LH Front Arch
RH Front Arch
RH Front Arch
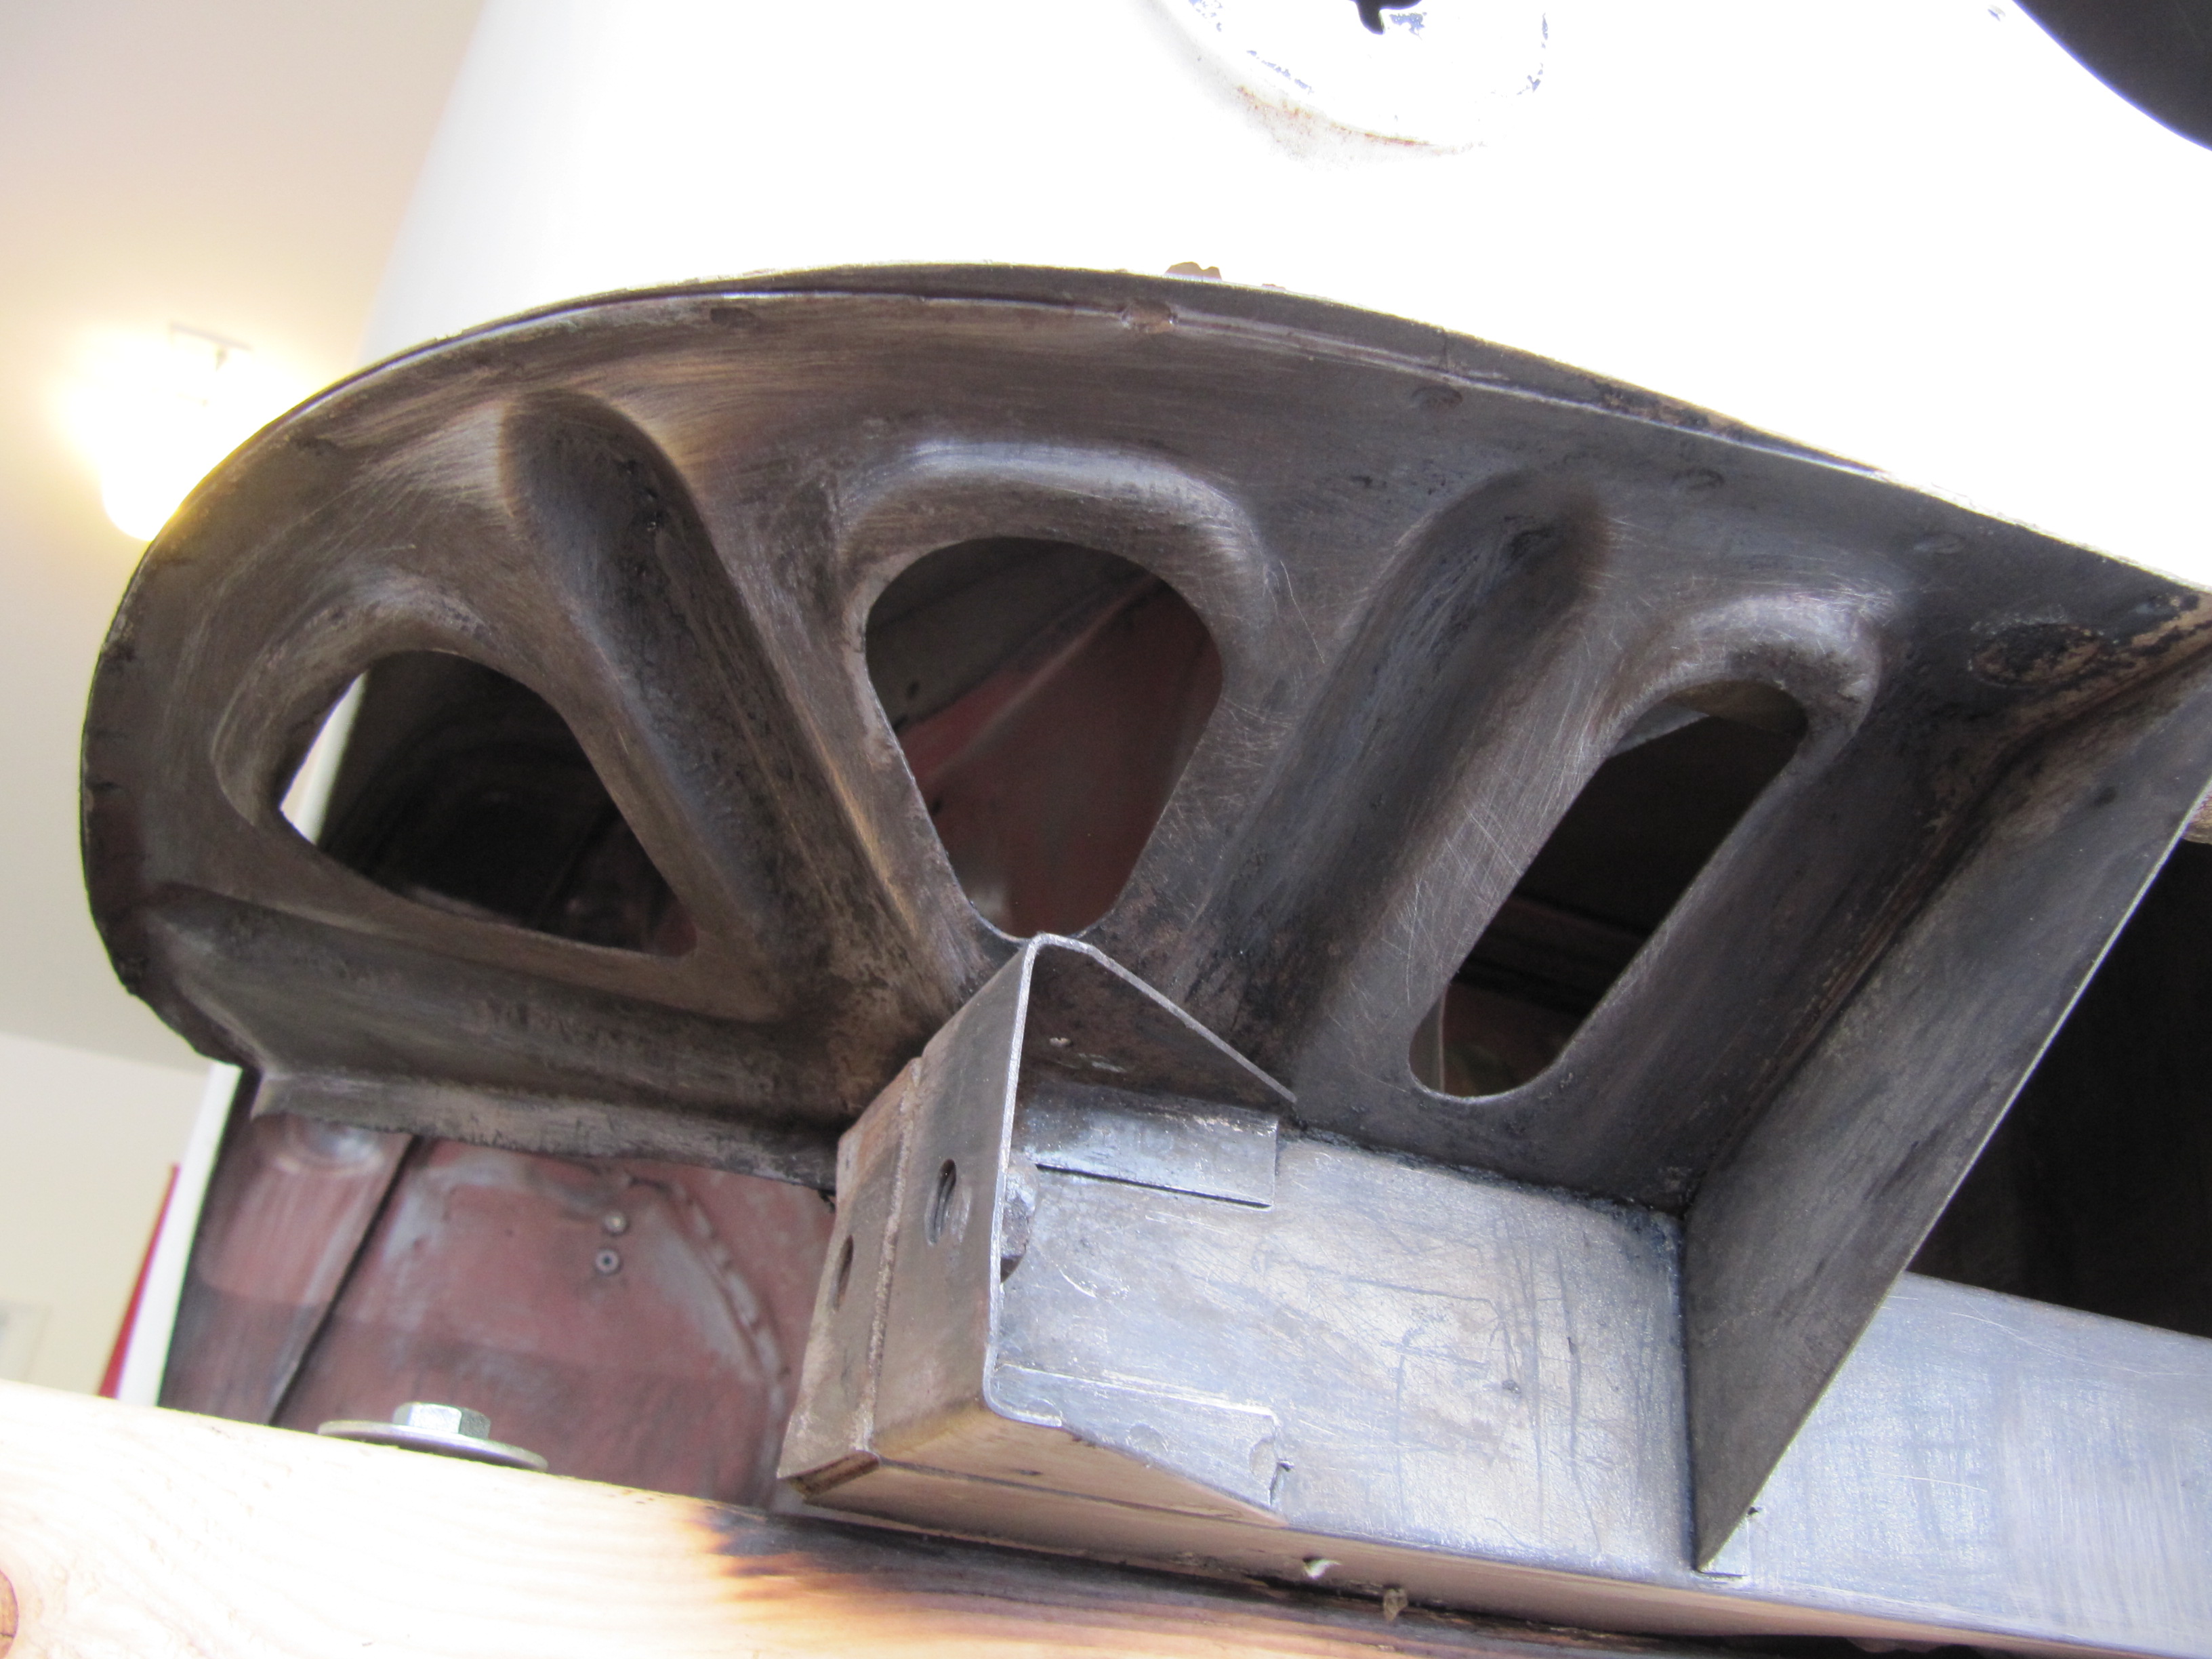
I then removed the undercoating from the LH and RH Stay Brackets or Crow’s Feet. These are often rusted through, but mine are almost pristine!
LH Stay Bracket
RH Stay Bracket
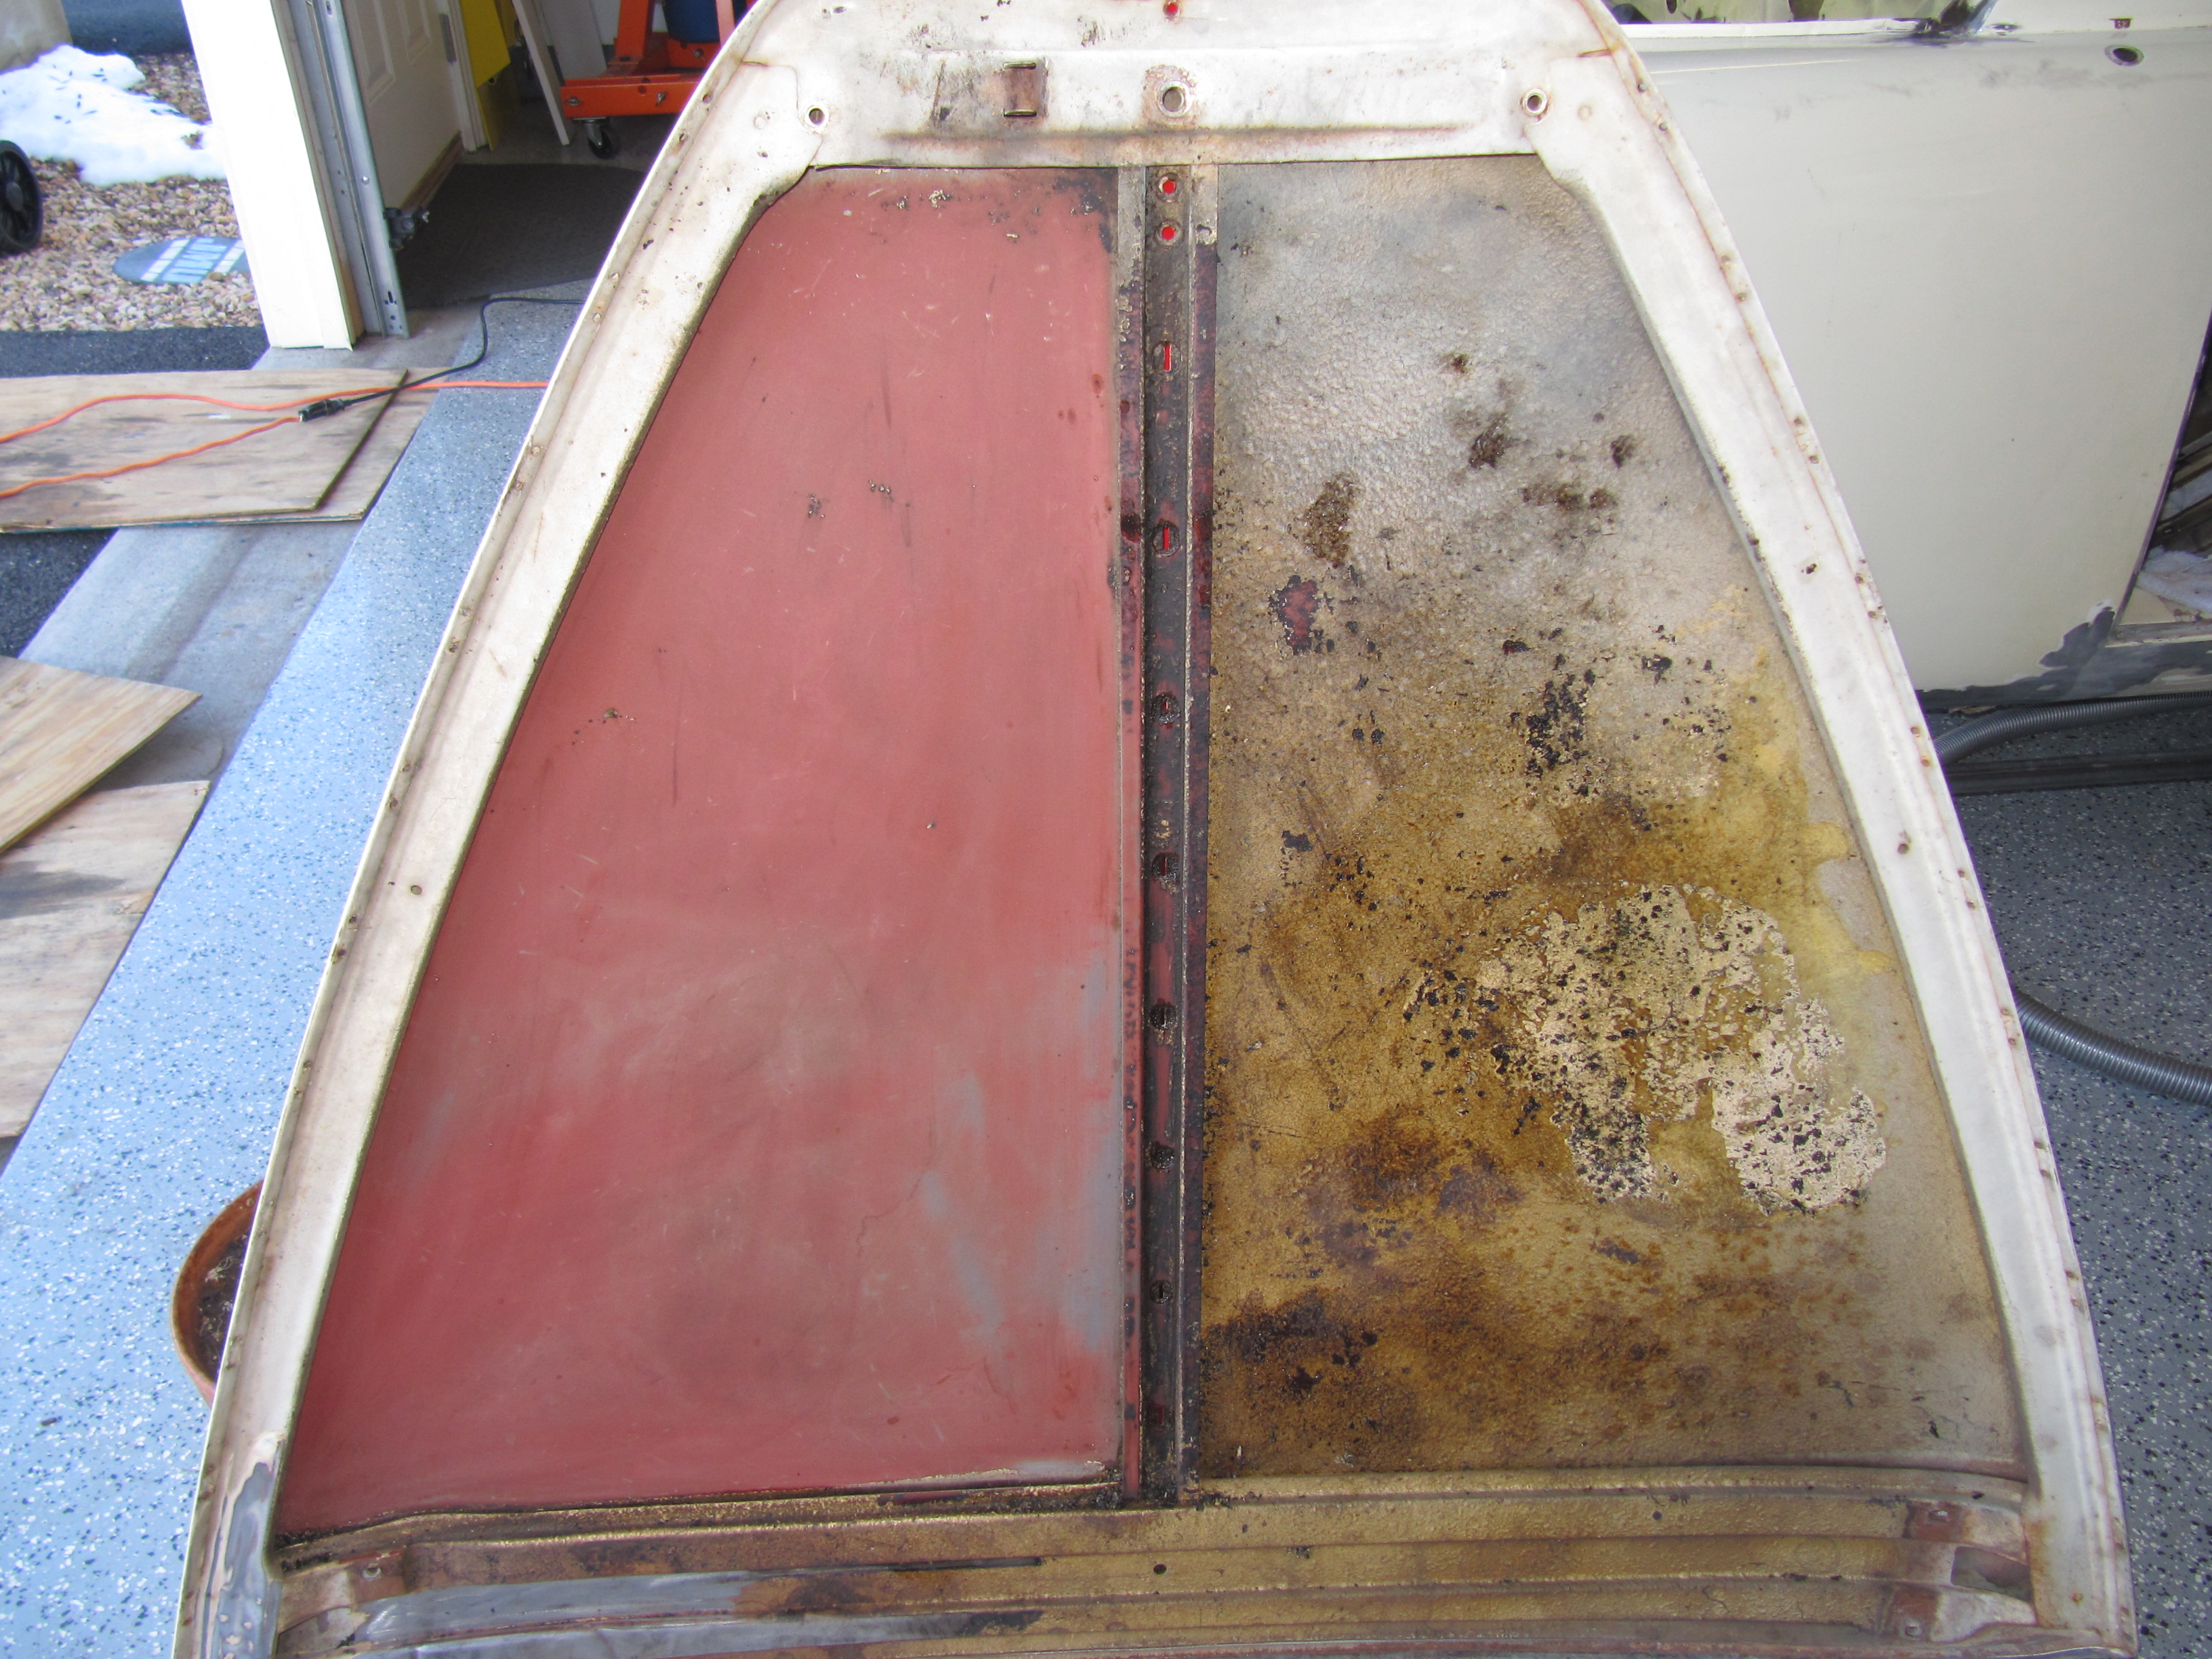
The underside of the bonnet was also covered with the bituminous undercoating that did not make for a very nice appearance. I put the bonnet on a bench painted side down. I covered the surface with towels and drenched them in mineral spirits and then covered the mess with plastic bags to prevent rapid evaporation. An hour or so later armed with a putty knife, scraper and a 3M scratch pad I was able to remove all of the undercoating.

Bonnet Undercoating Removal
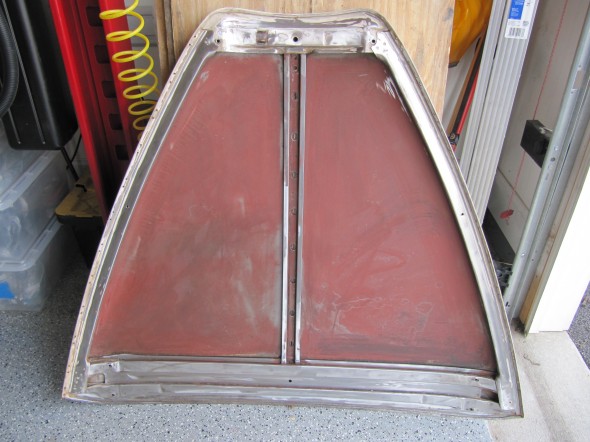
Bonnet Undercoating Removal
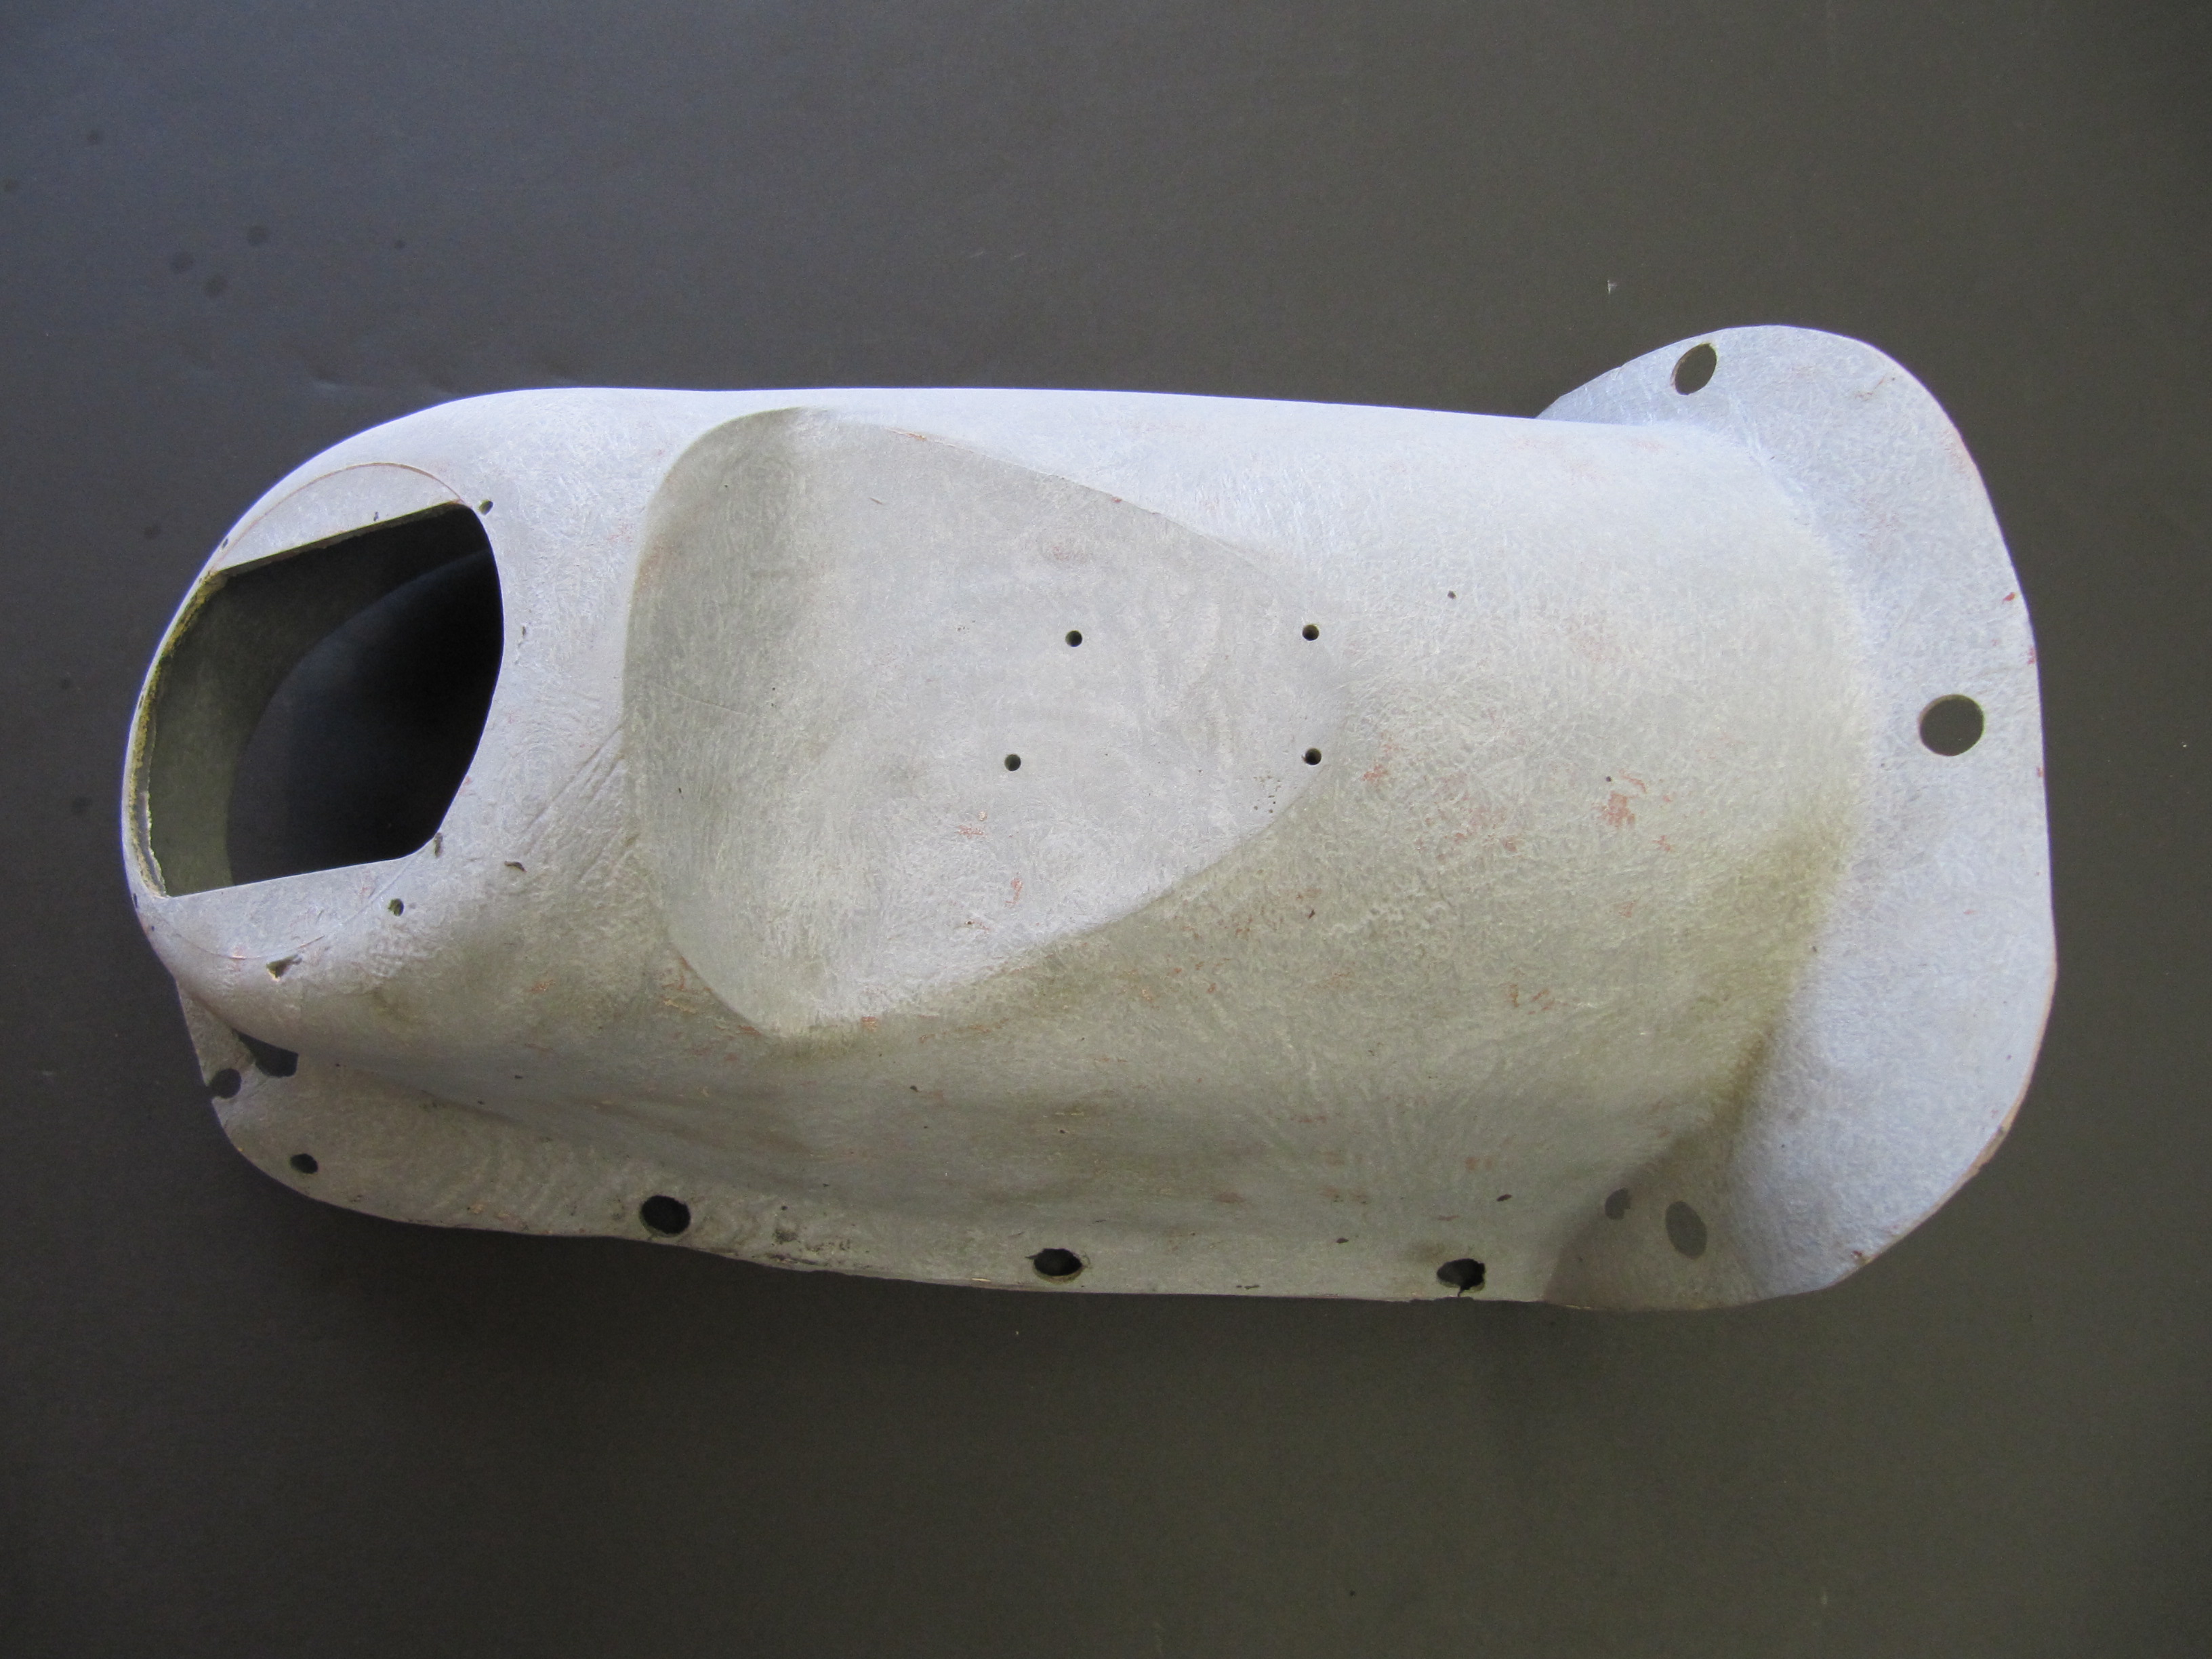
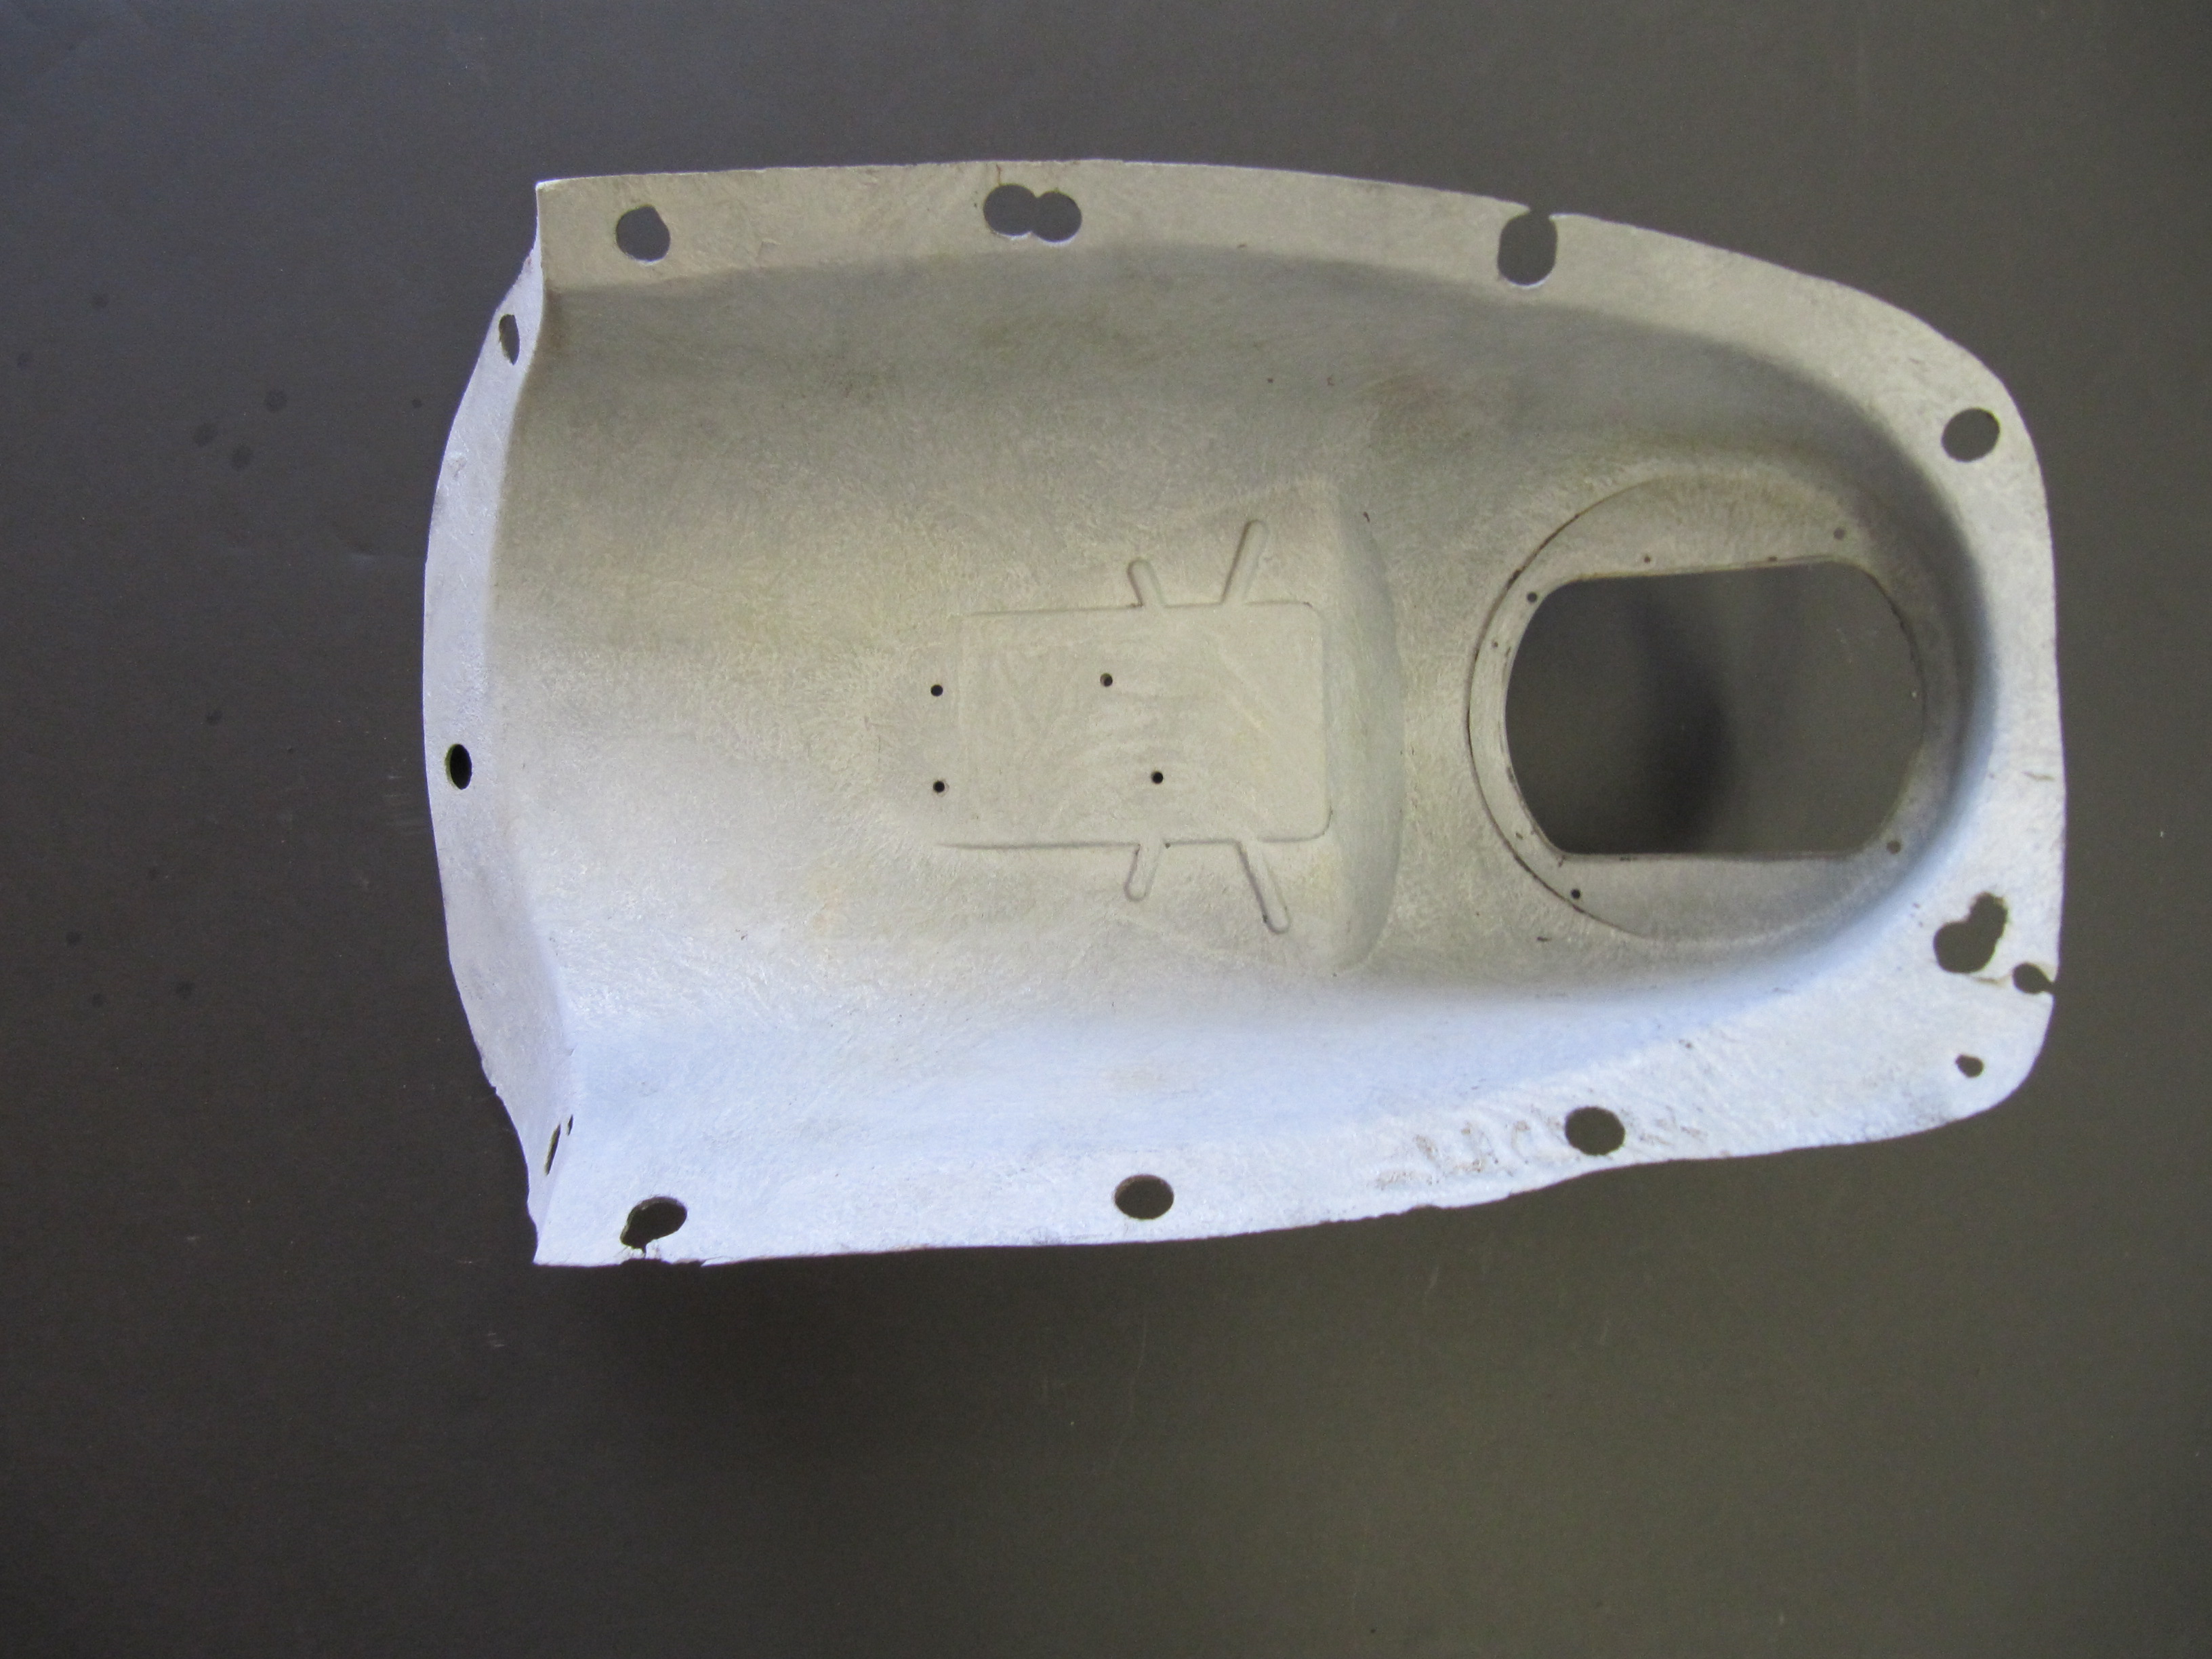
Lastly, I cleaned and then media blasted the gearbox cover. It has a few blemishes and holes I will repair before installation.

Gearbox Cover
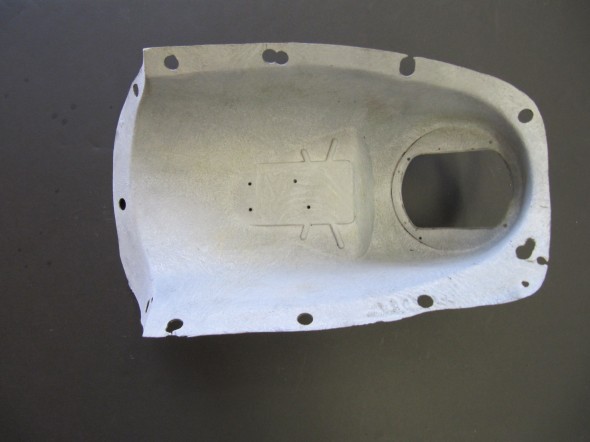
Gearbox Cover