
November 16, 2003
Front Suspension
Control Arms and Bushings – Installed left and right lower control arms with rubber bushings and fulcrum pins.
Left control arm 3
Right Control Arm 2
left control arm 1
Left control arm 2
December 14, 2003
Steering
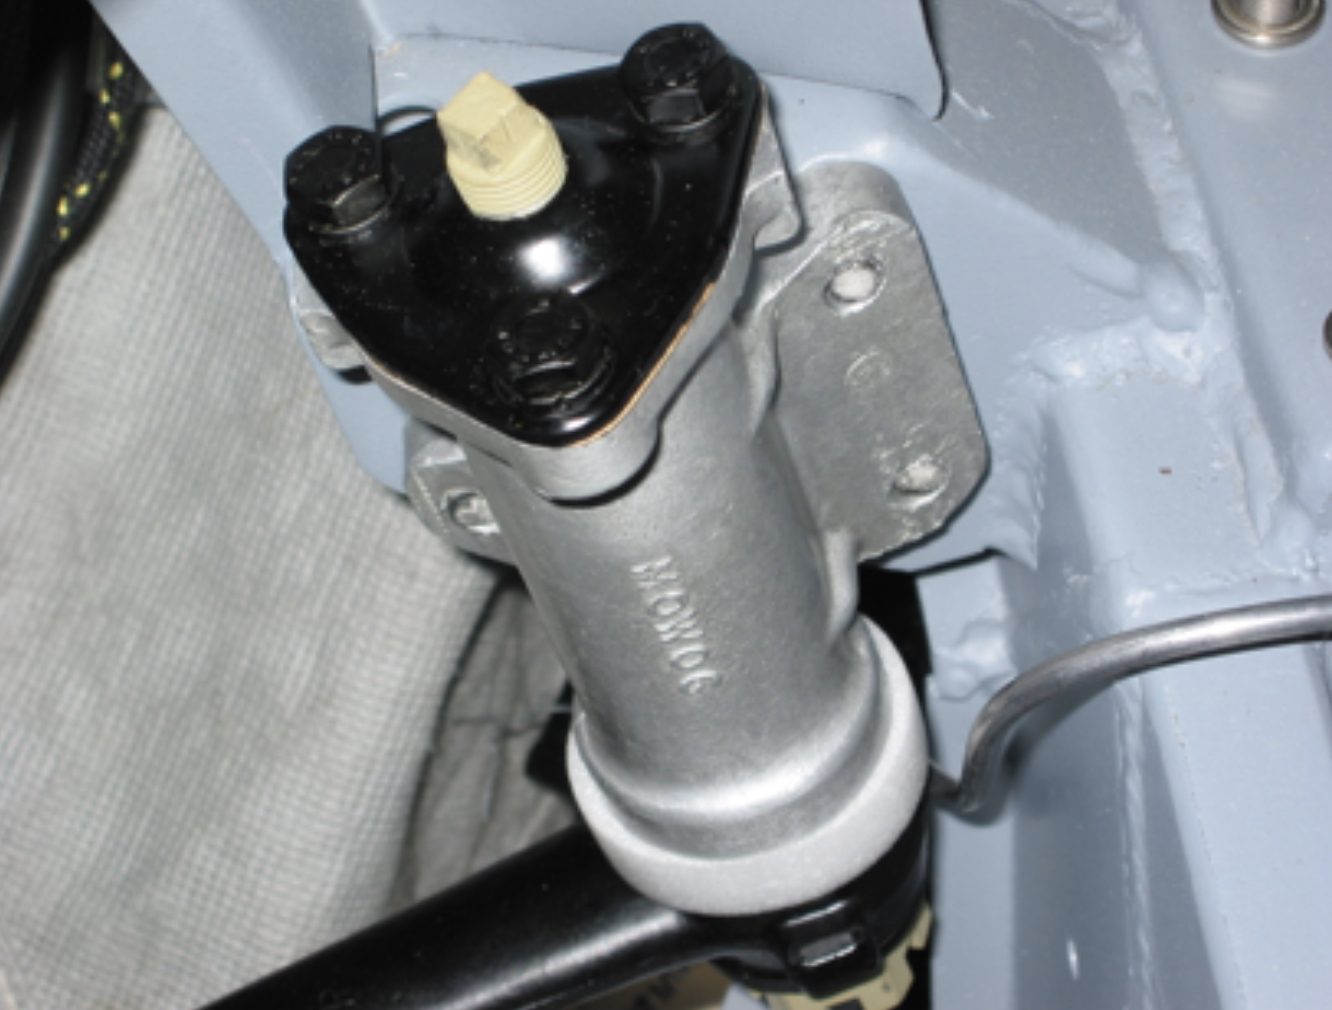
Steering Box and Idler – Picked up the painted steering box and steering idler from Jeremy Turner. Jack Harper disassembled the units and reassembled following painting. Jeremy did a great job on the steering wheel shaft as it was pitted near the box. Installed the Box and idler. Note for future – install box and idler before front brake hose bracket, as the bolts/nuts get in the way.

Steering Box Installed
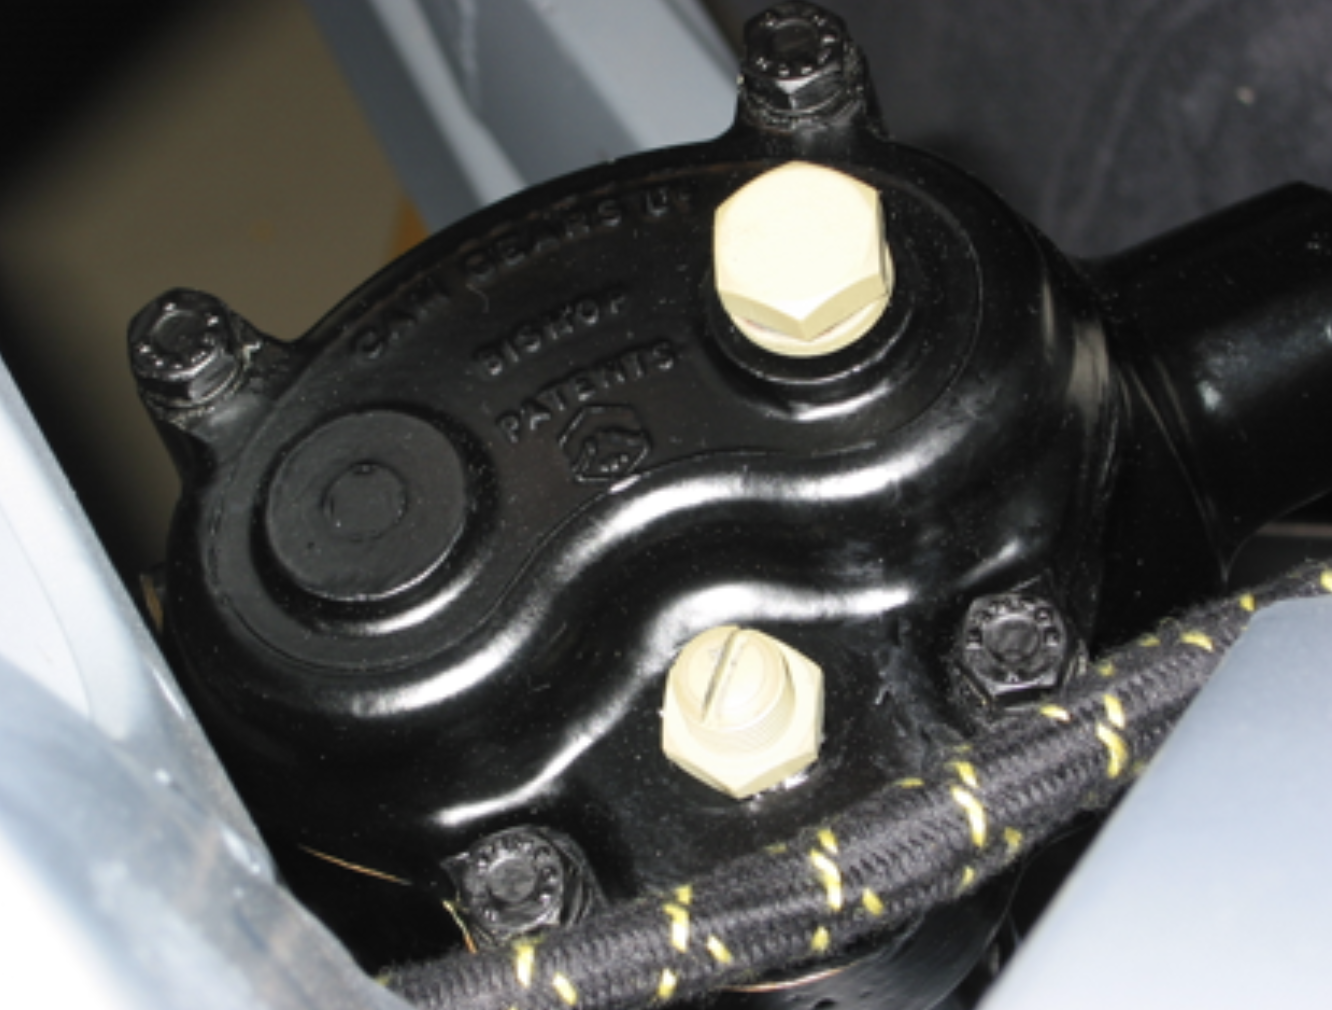
Steering Box In Place – Fill Plug & Adjuster
Steering Idler in Place
Steering Idler Installed with Aluminum Spacer
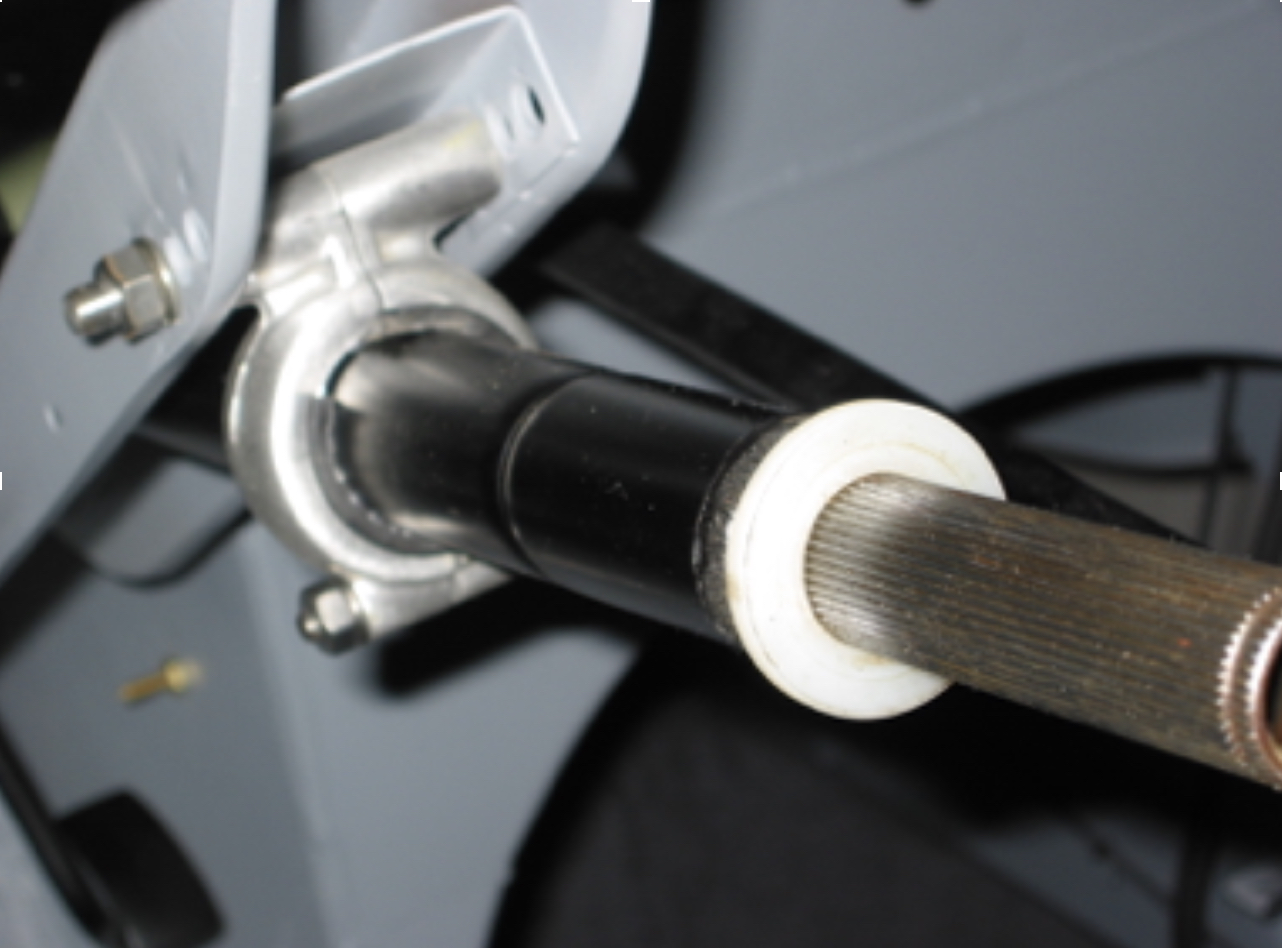
Steering Column with Brace
January 10, 2004
Blistein Tube Shock Conversion
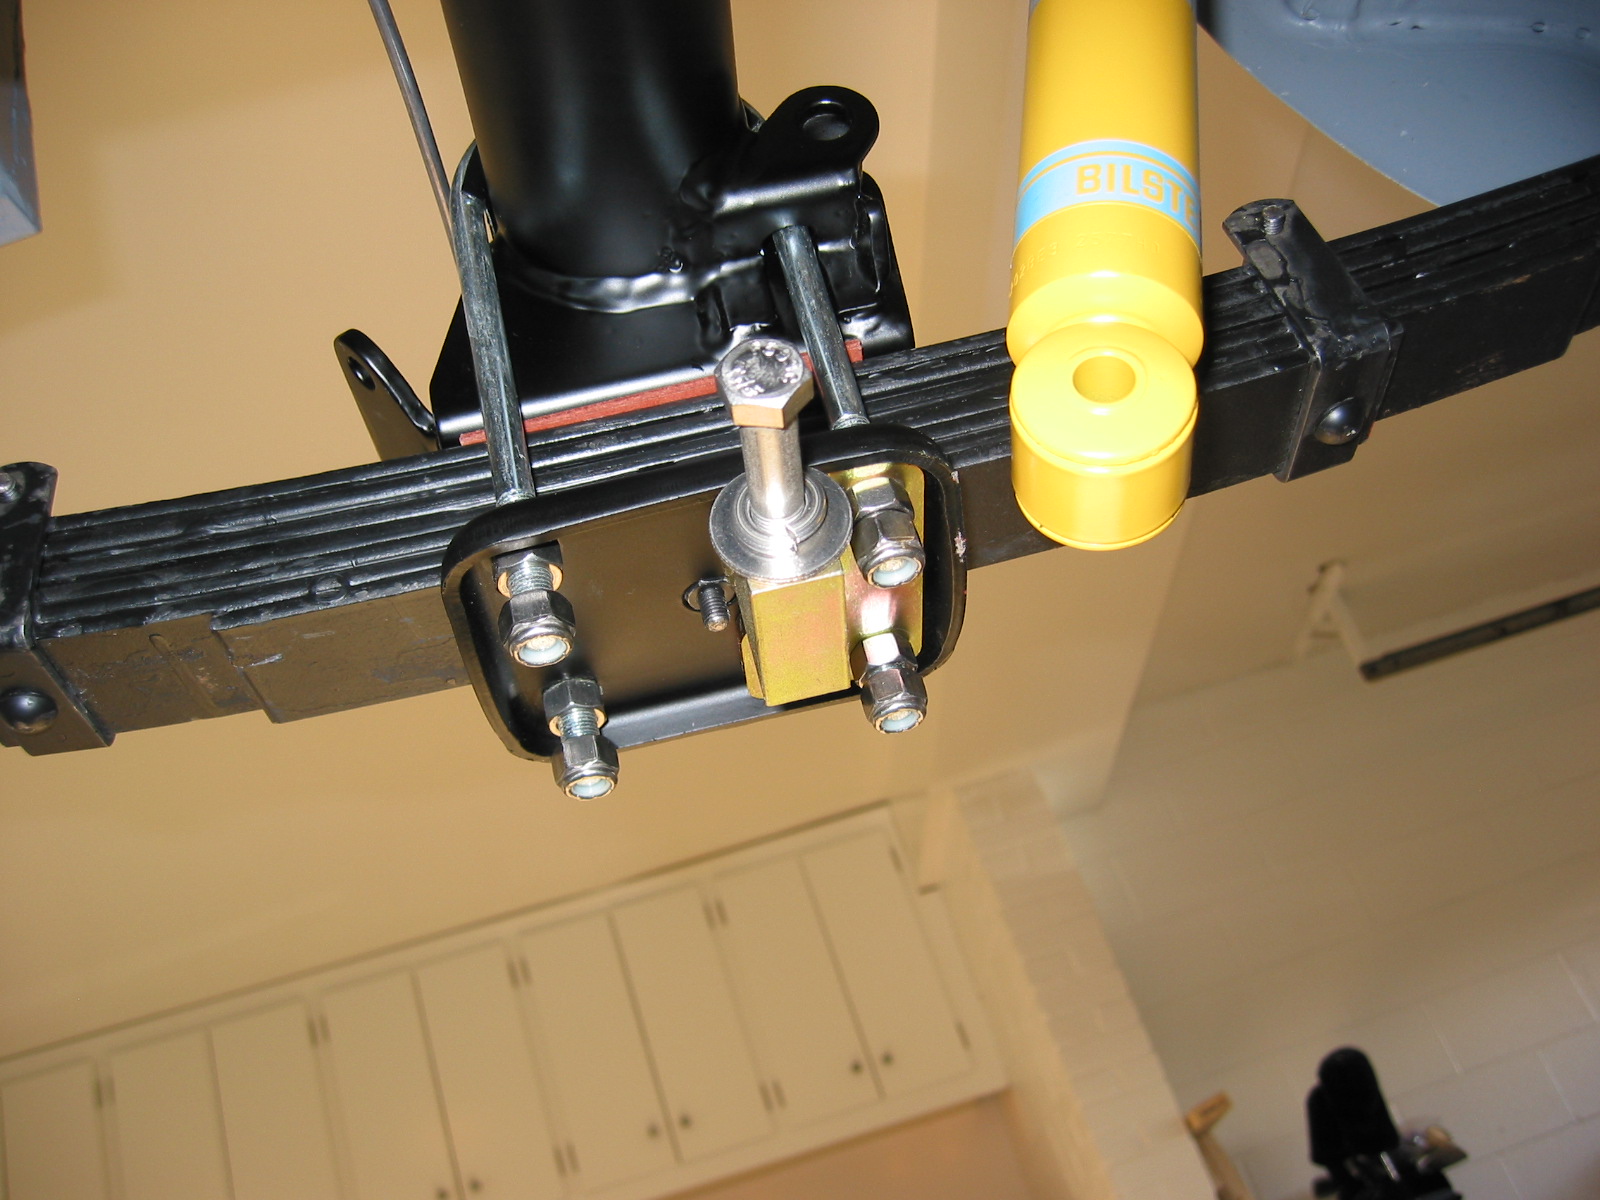
Rear Tube Shock Conversion
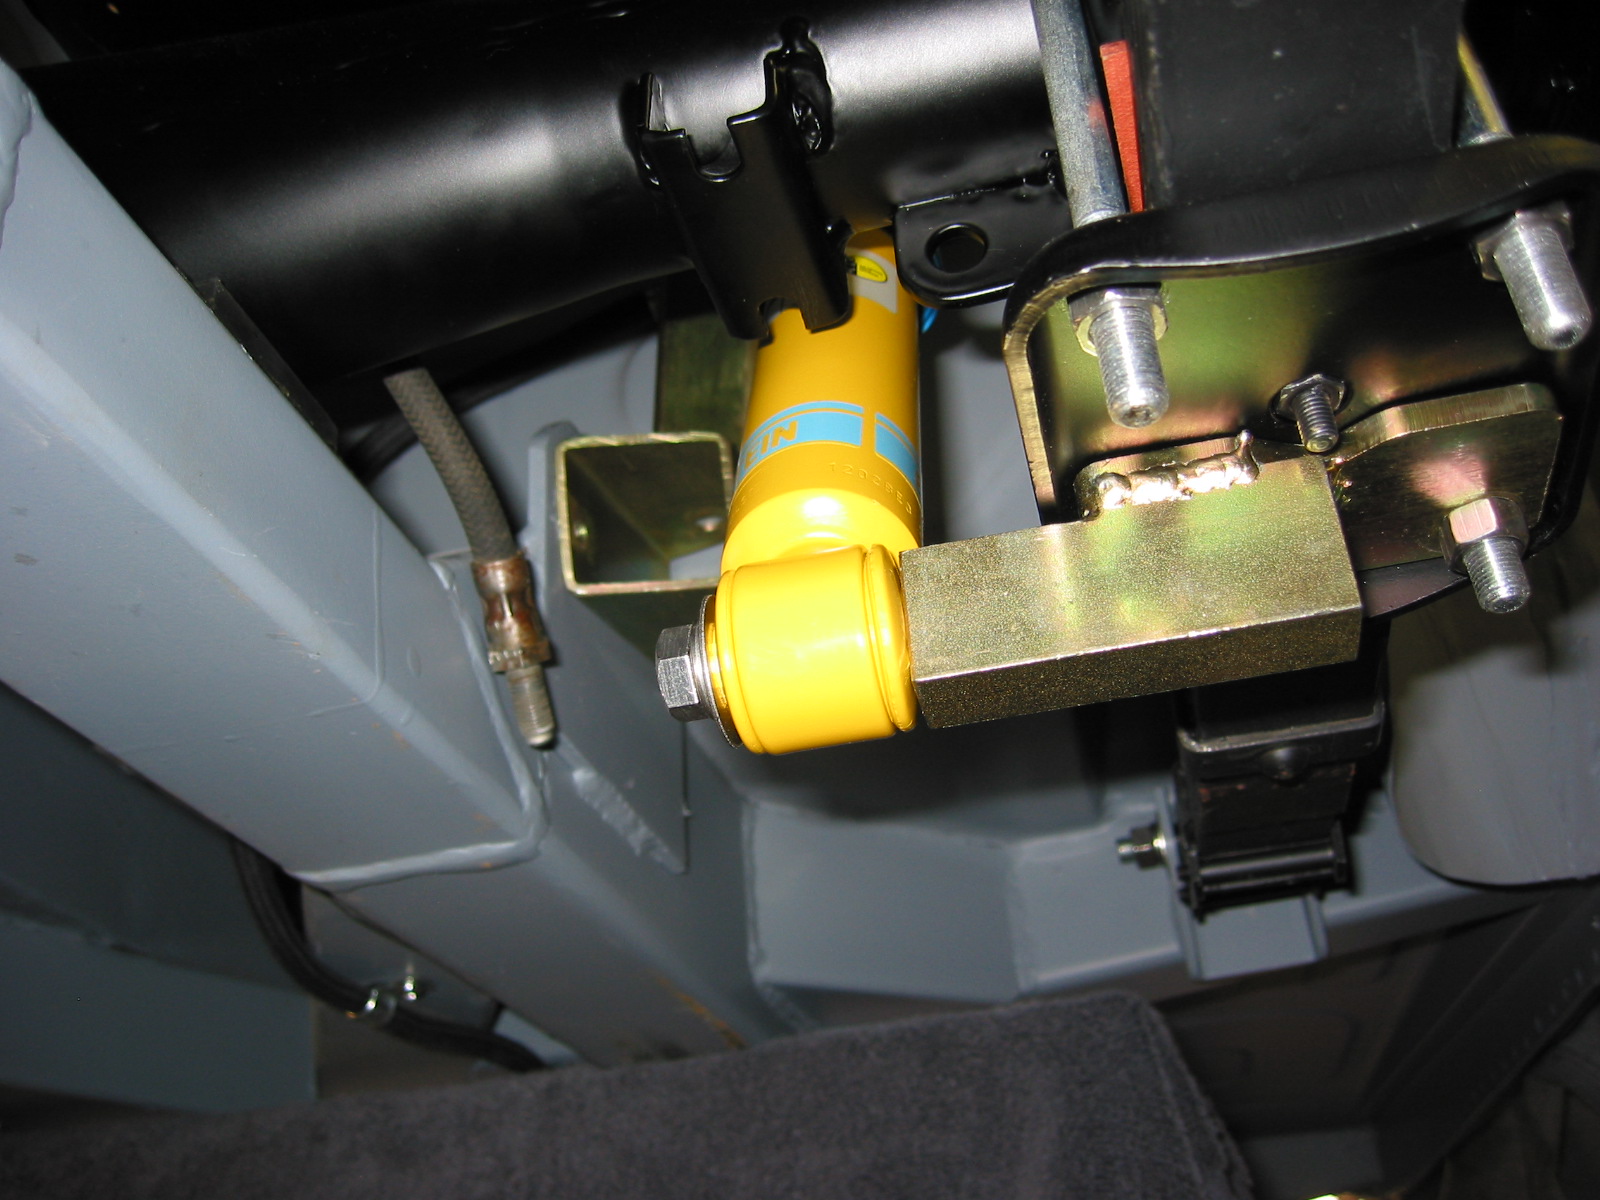
Installed Udo Putzke’s Blistein tube shock conversion kit in the rear suspension. Two fabricated brackets on each side of the rear of the car. Original lever shock is abandoned completely in the process. Couldn’t complete the final connections because when the leaf springs were jacked up to align the shock for fastening, the entire car raised since the engine is not in the car, thereby giving it sufficient weight. Will have to complete later in the assembly process. Rear tube shock is F4-BE3-2577-HO. The brackets will need to be painted for final assembly. They should be installed prior to the fuel pump.
Tube shocks rear 4
Tube shocks rear 6
Tube shocks rear 2
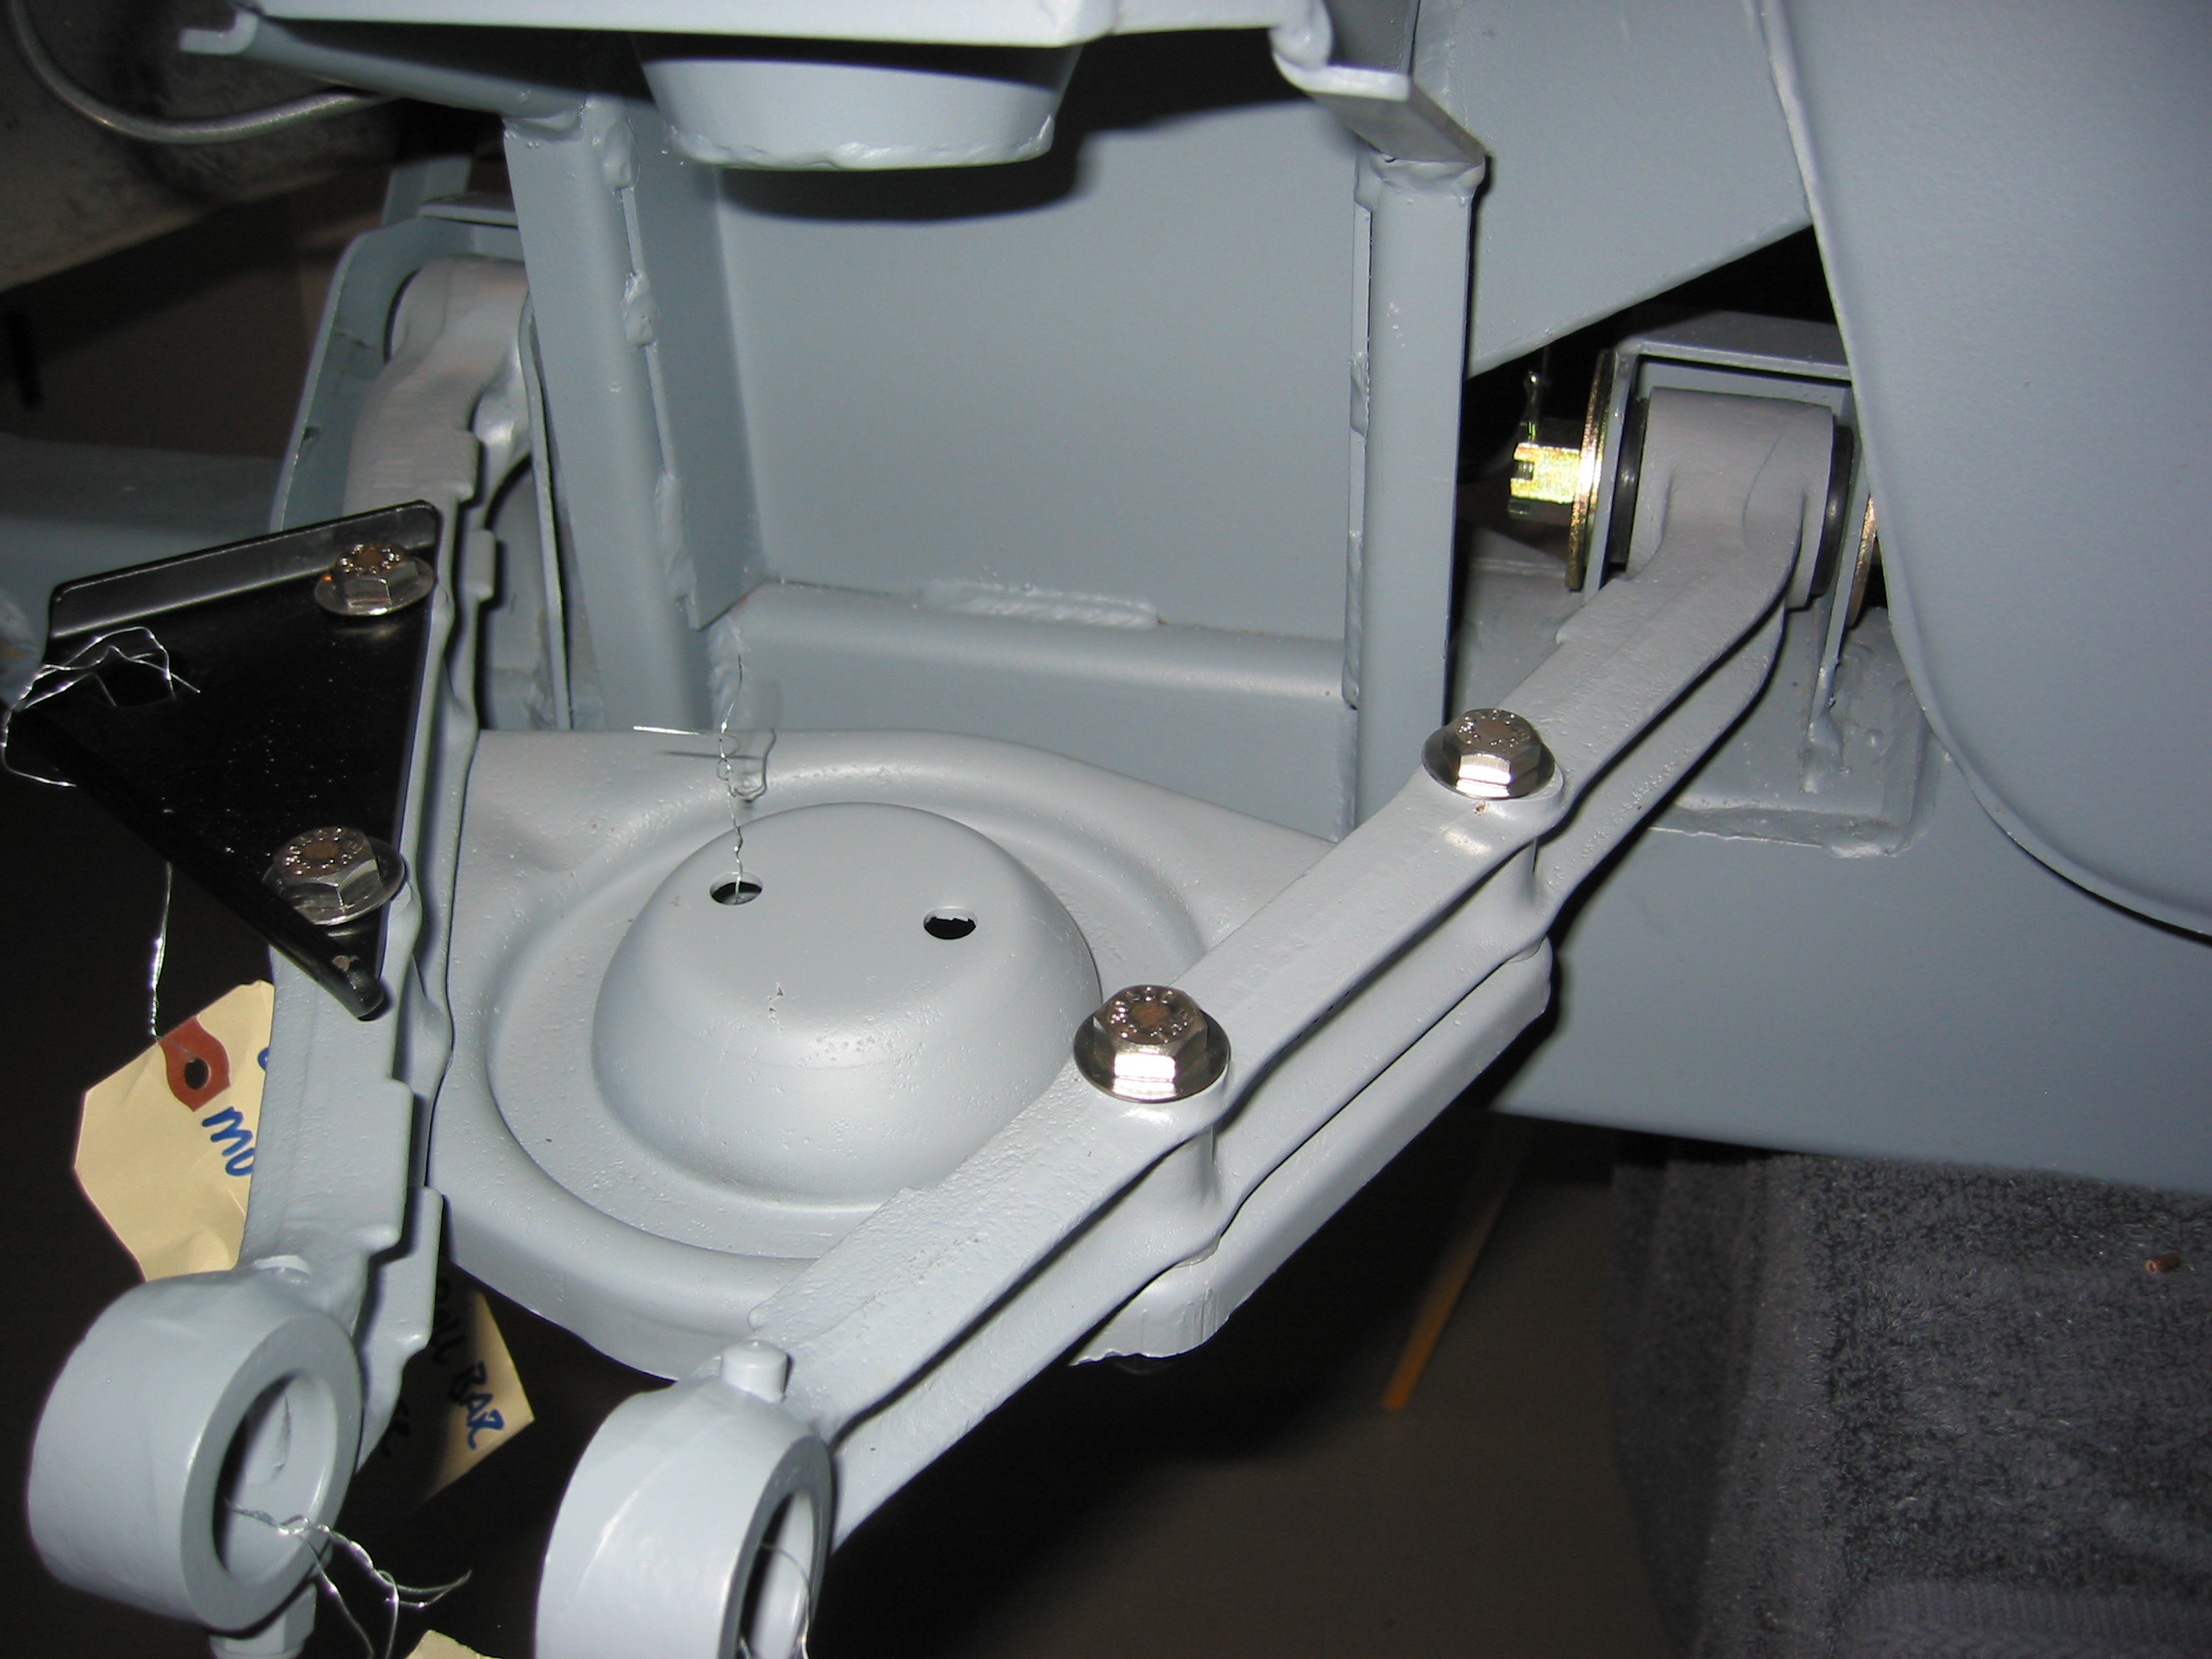
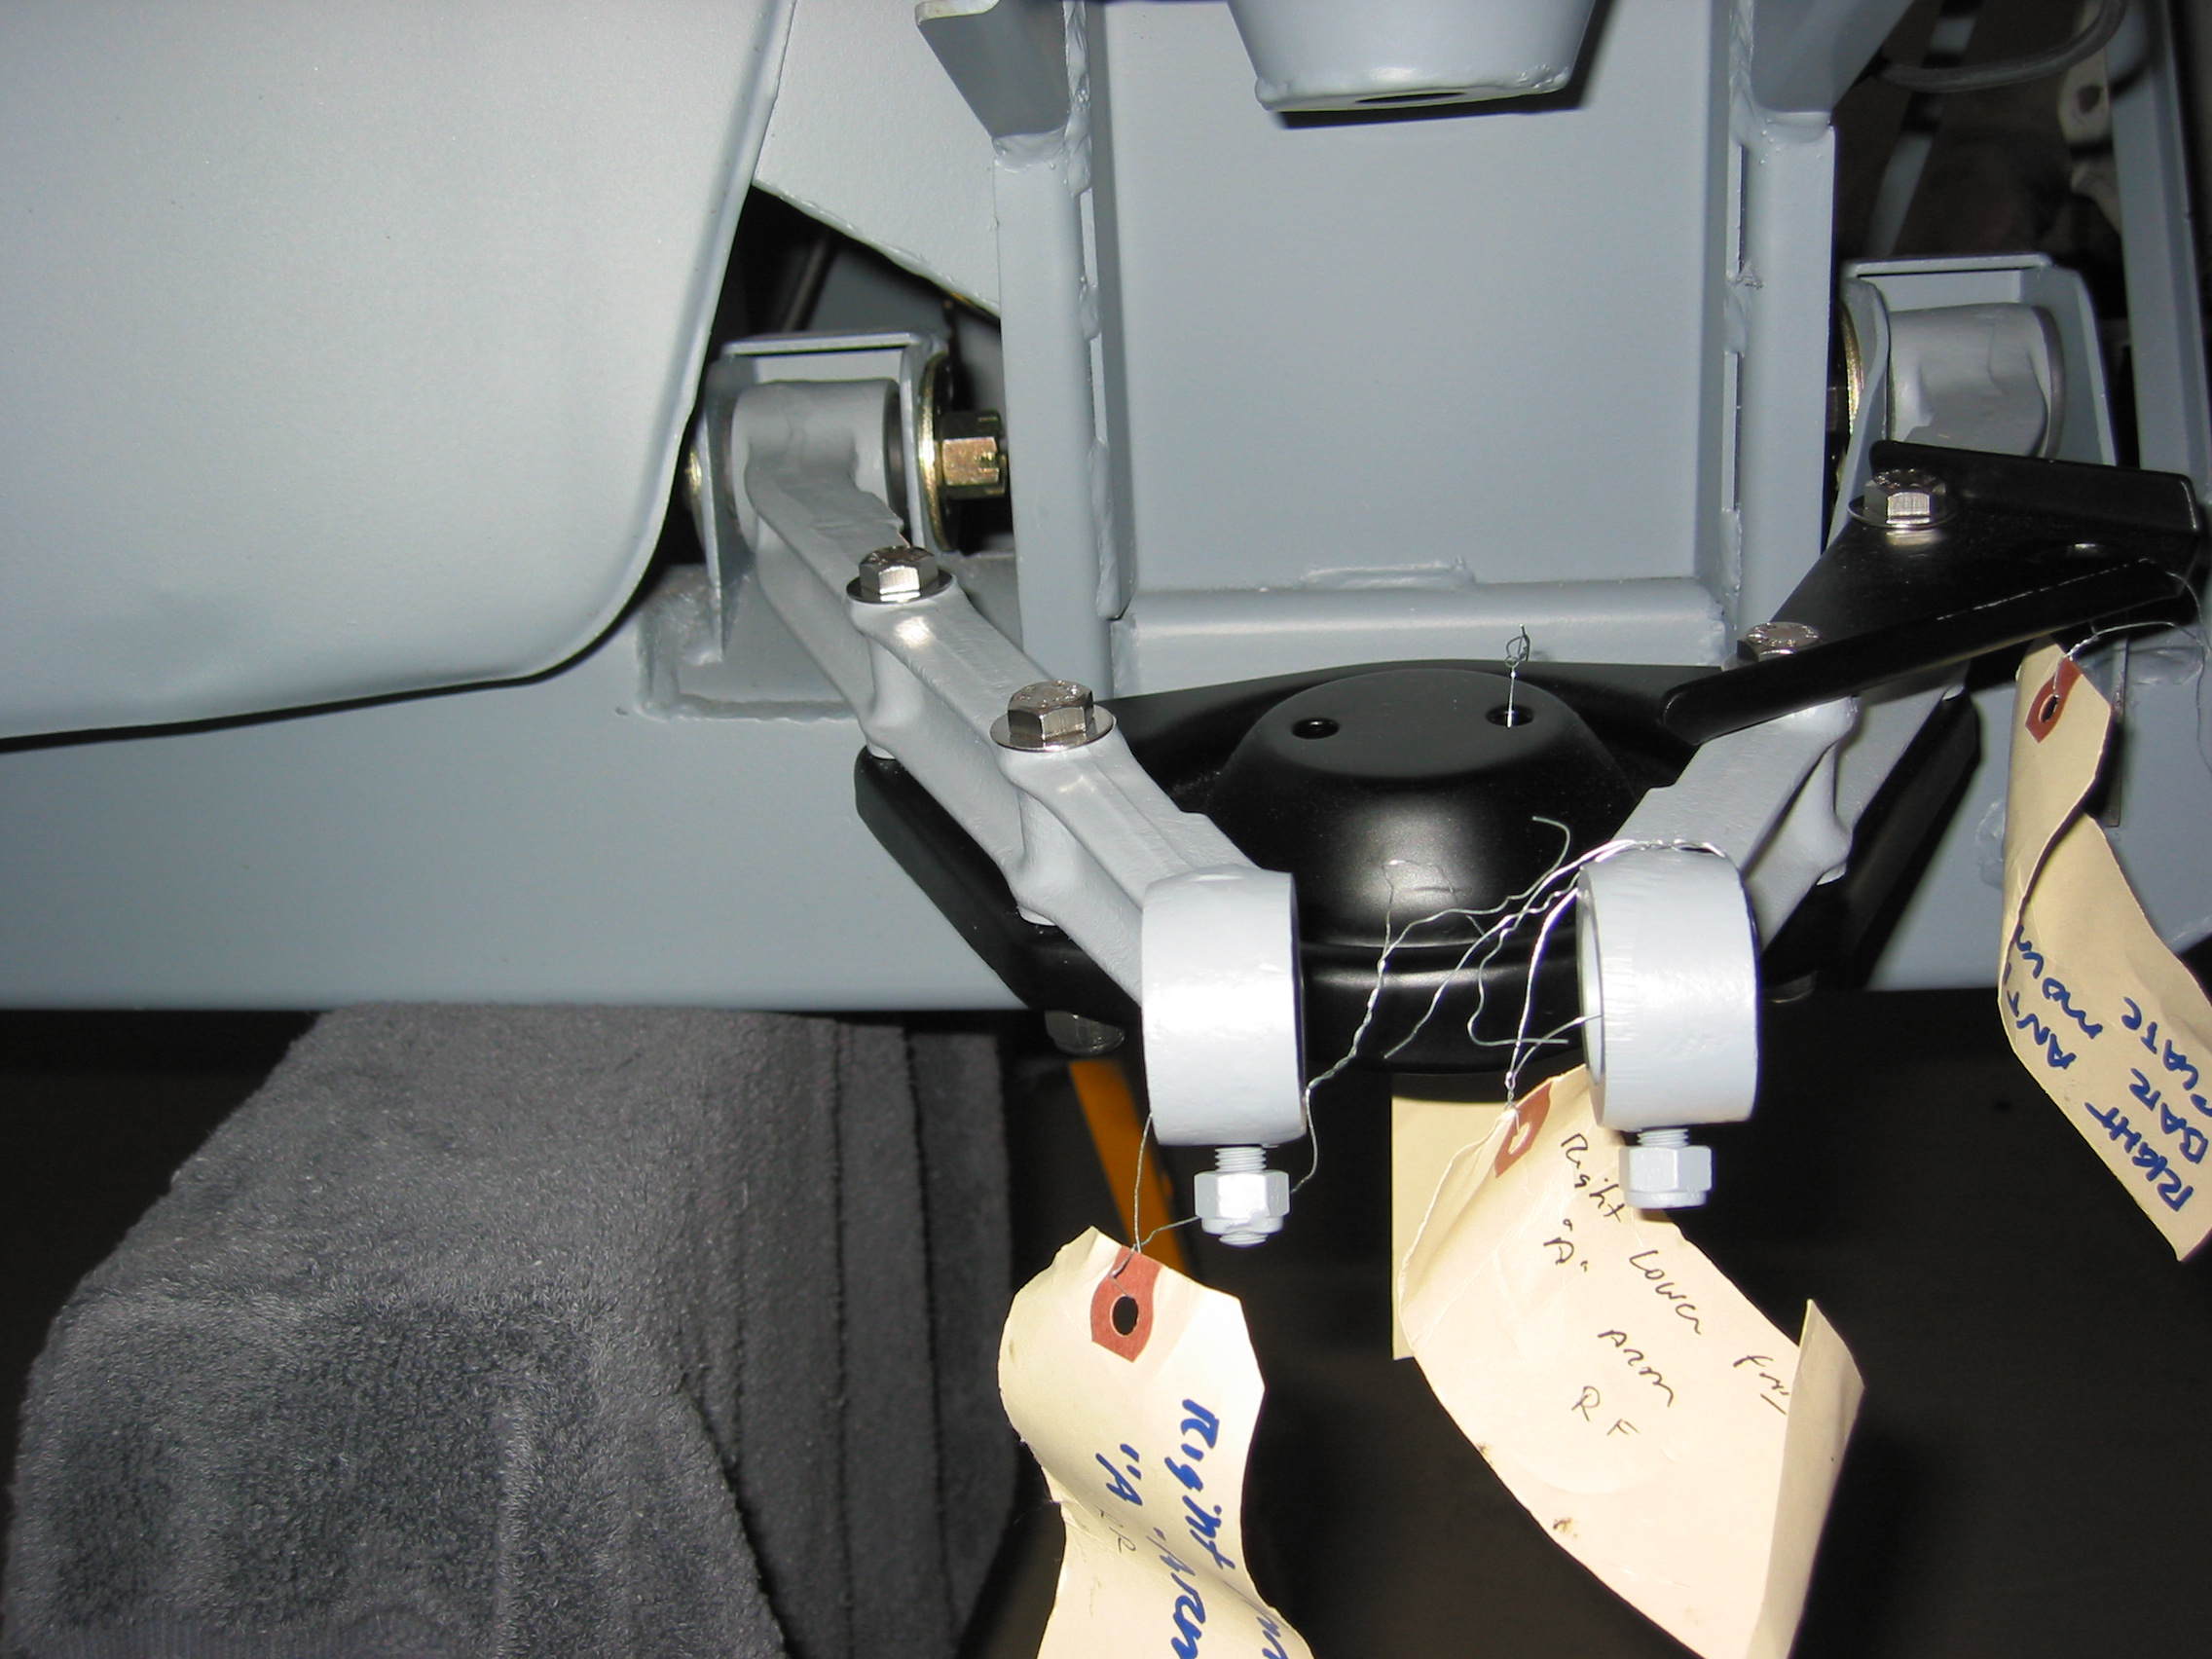
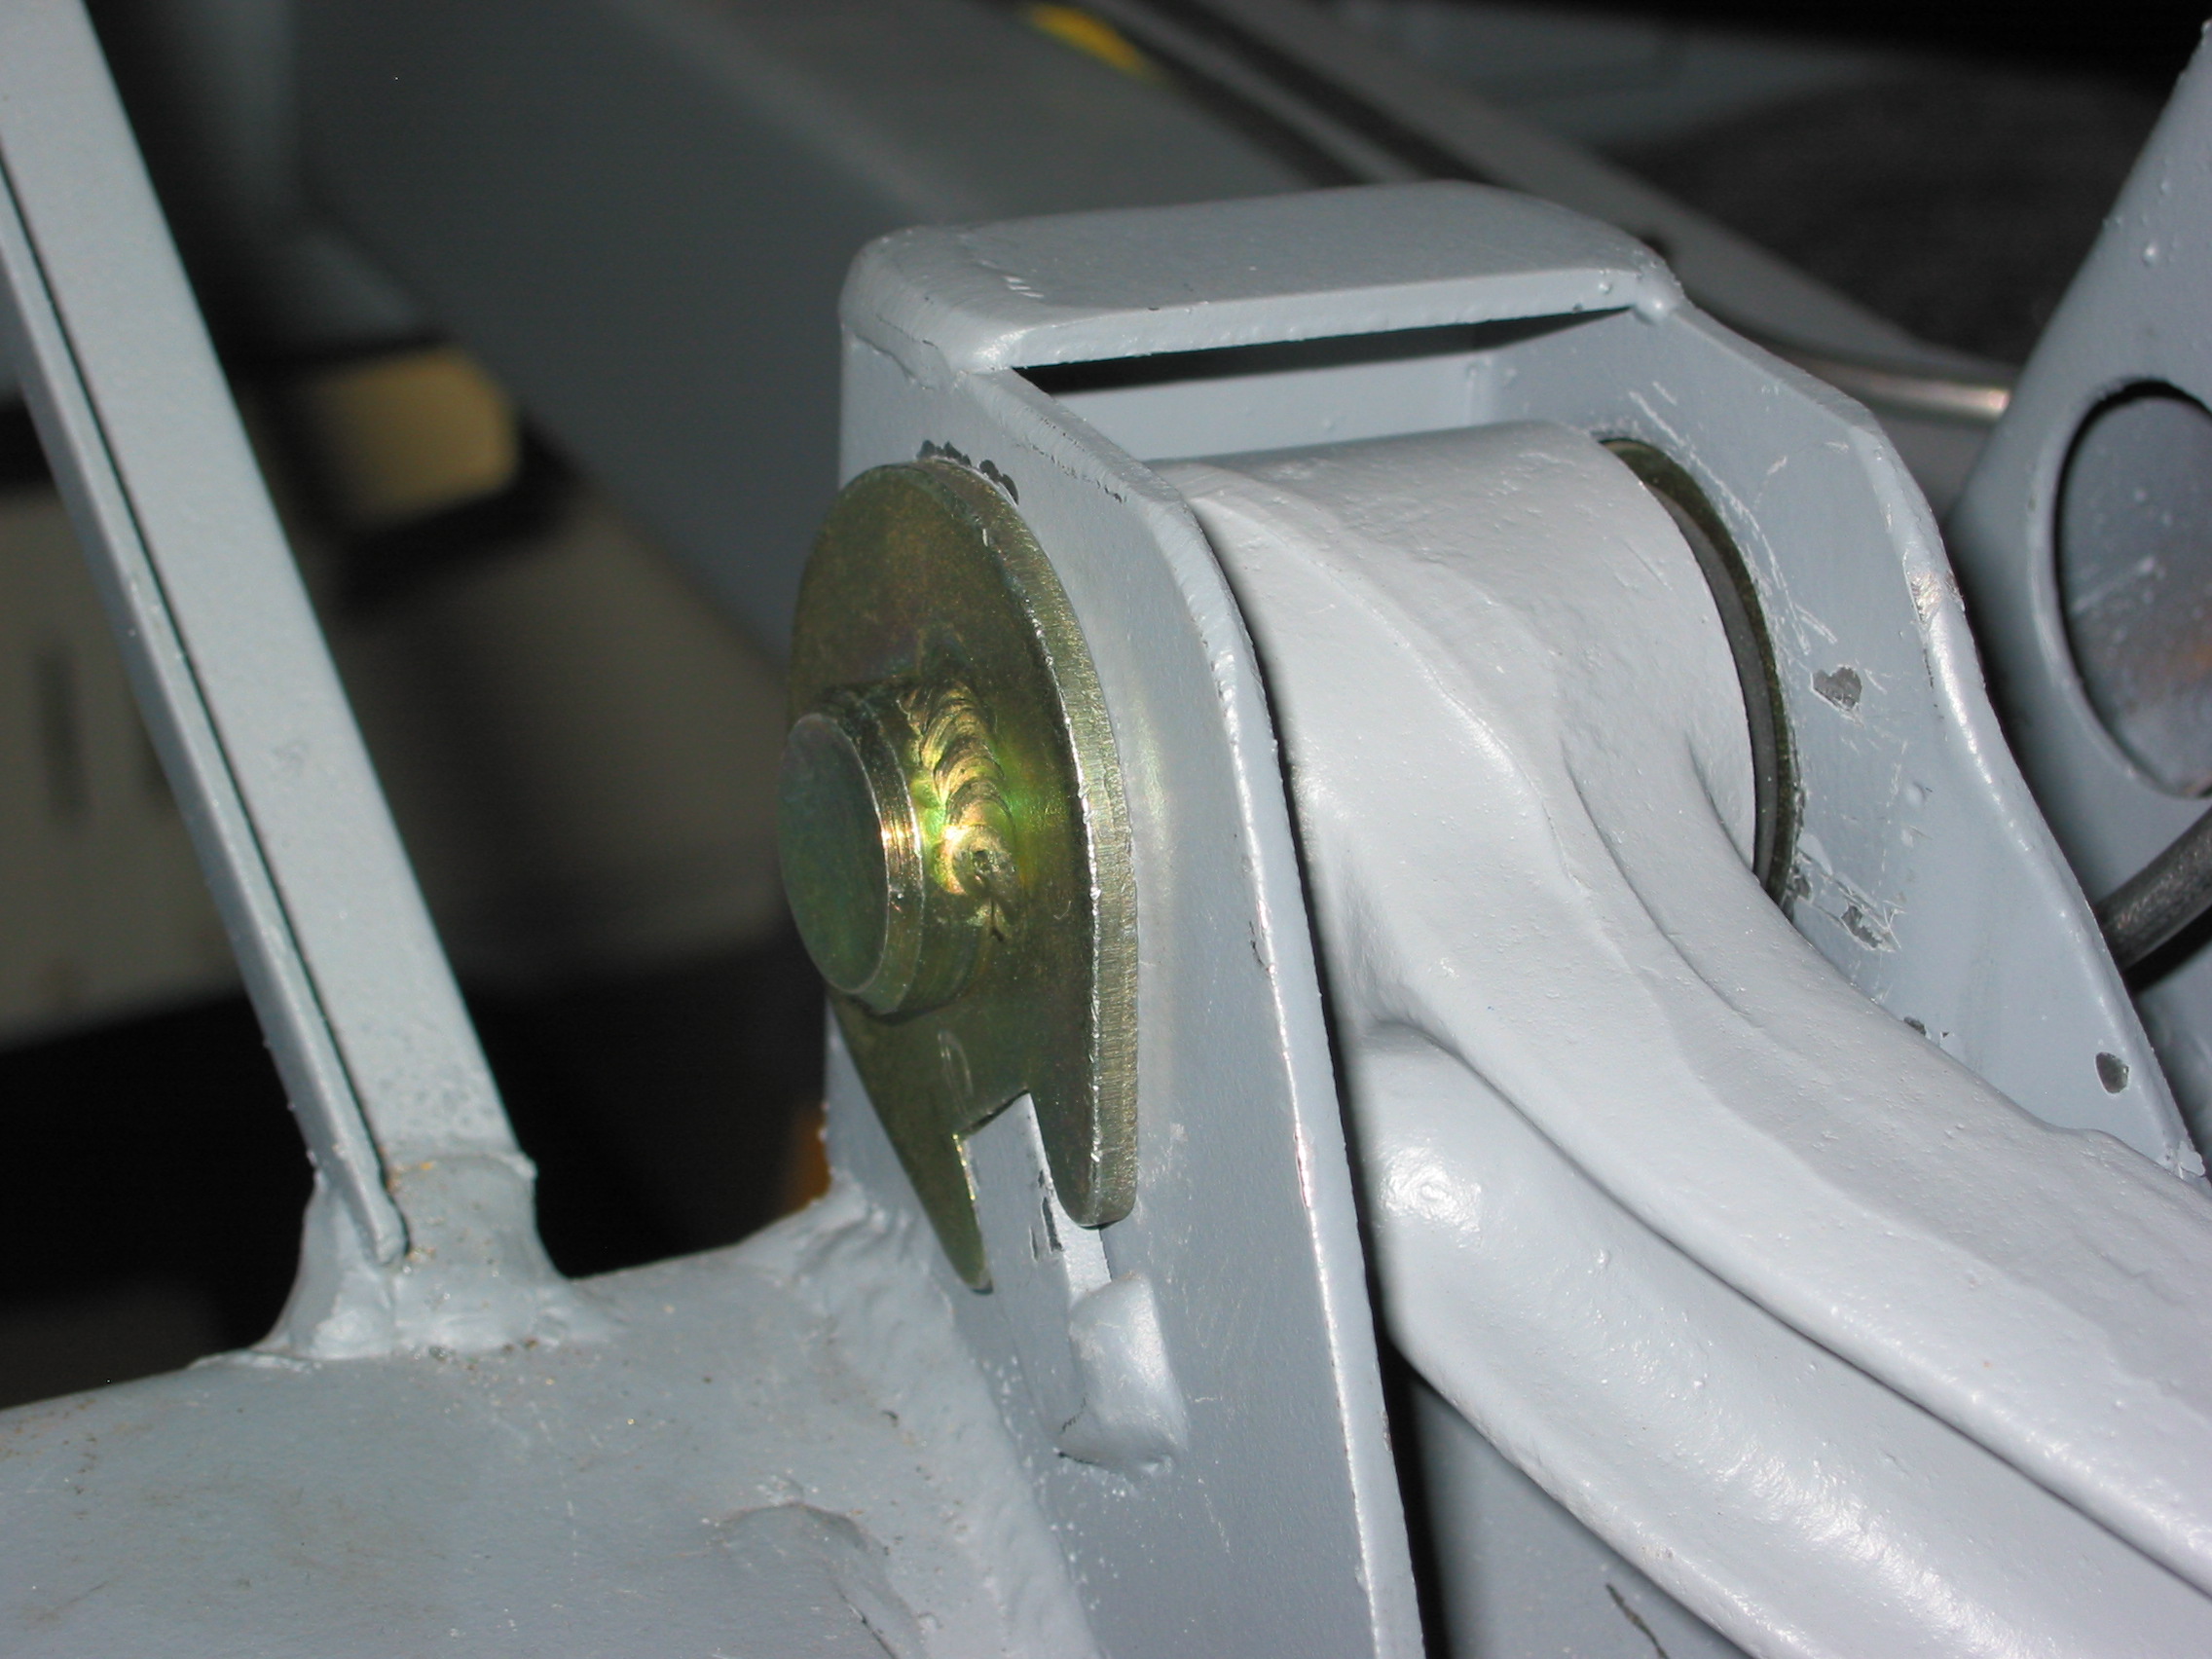
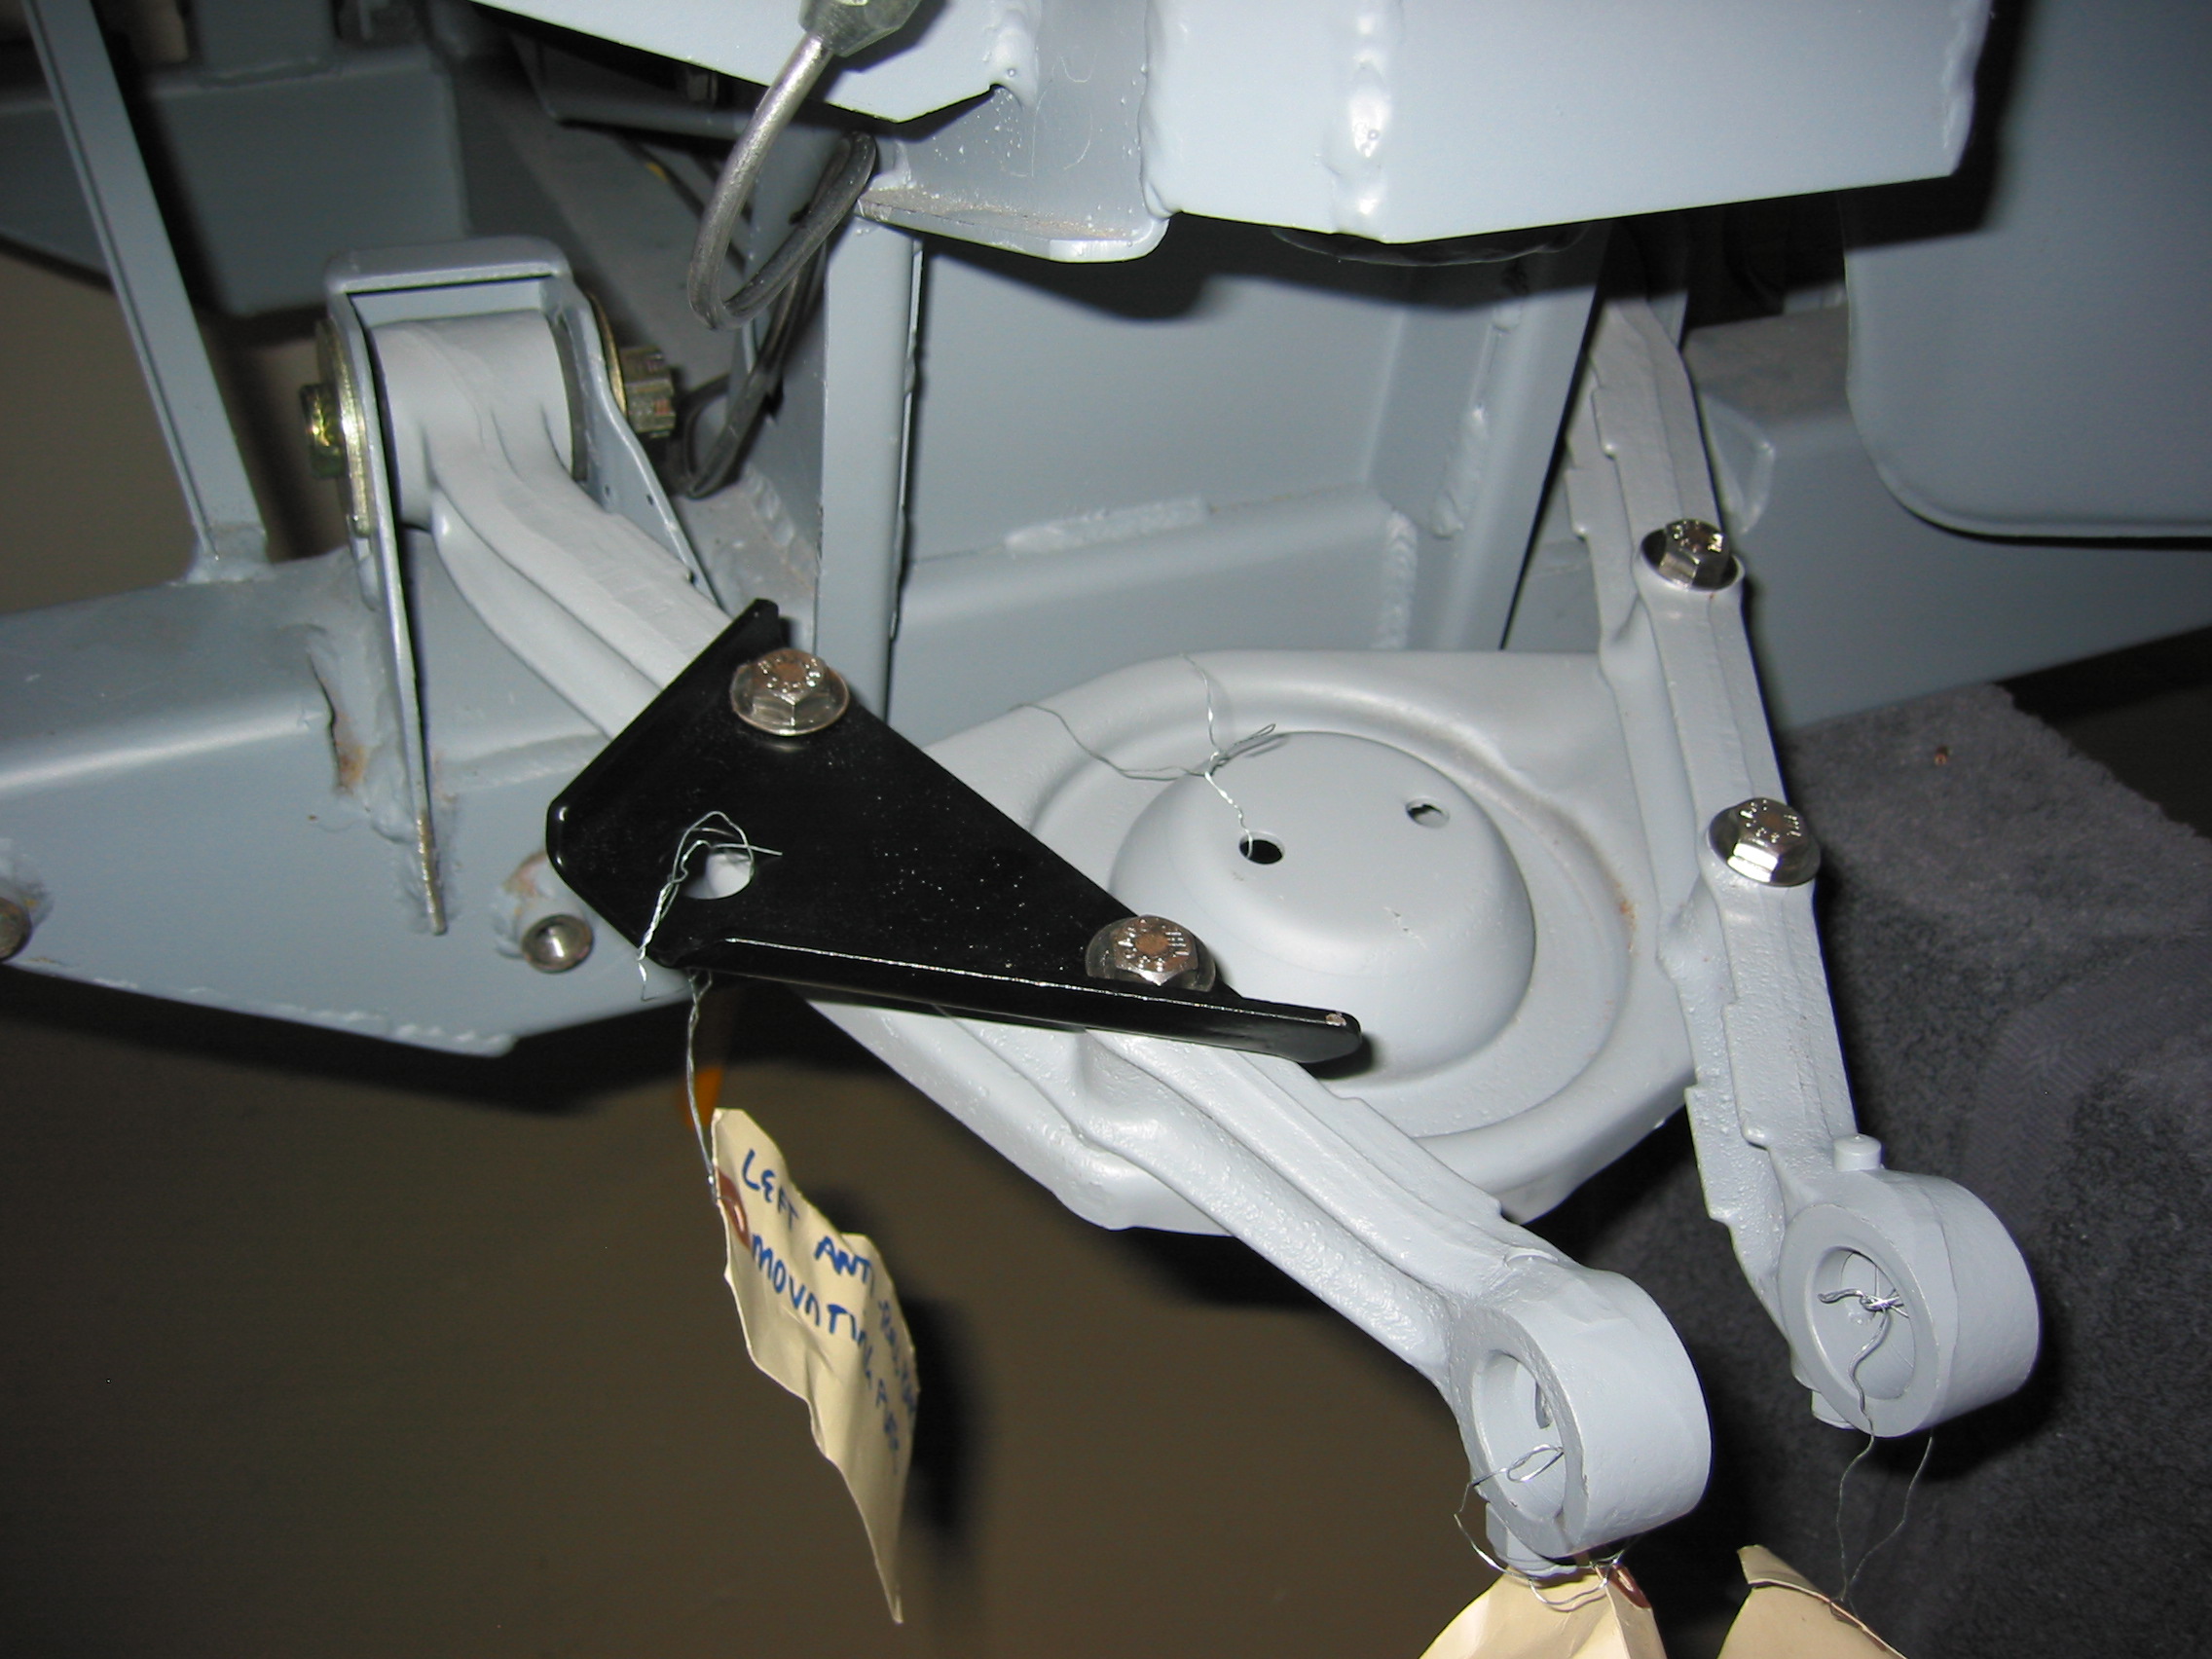
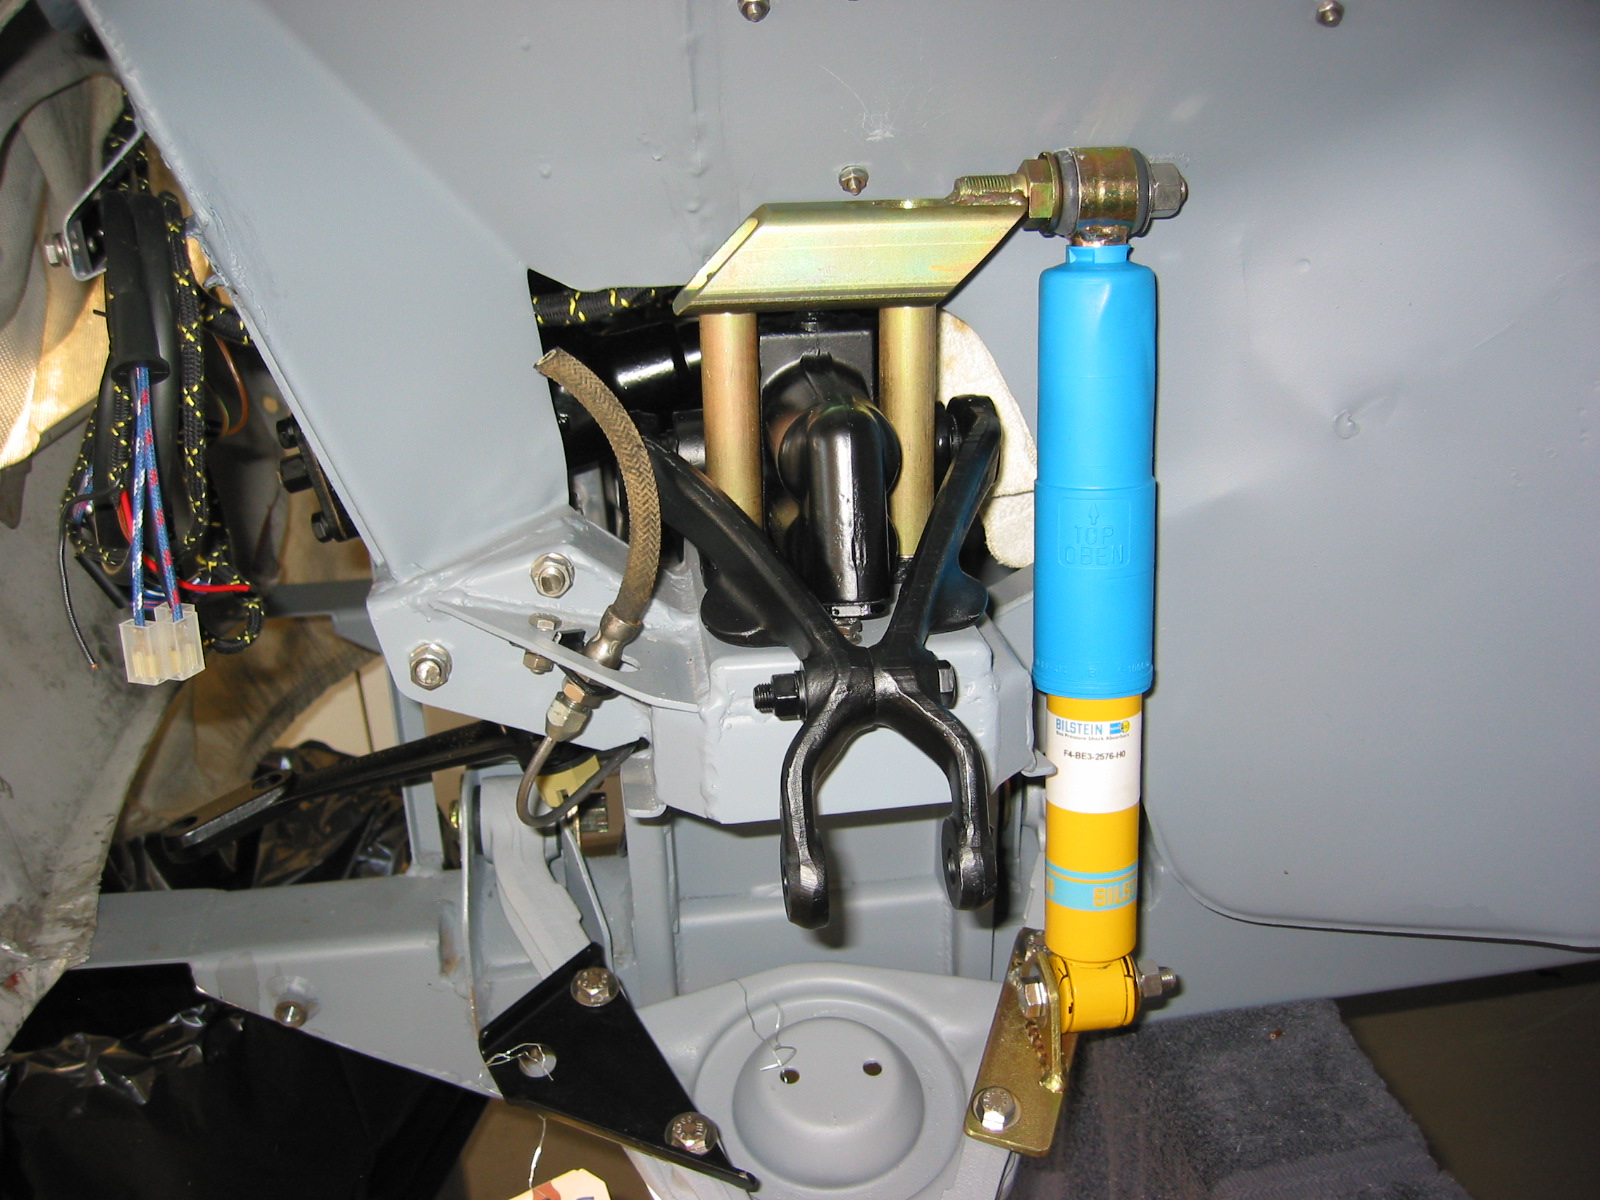
Front Tube Shock Conversion
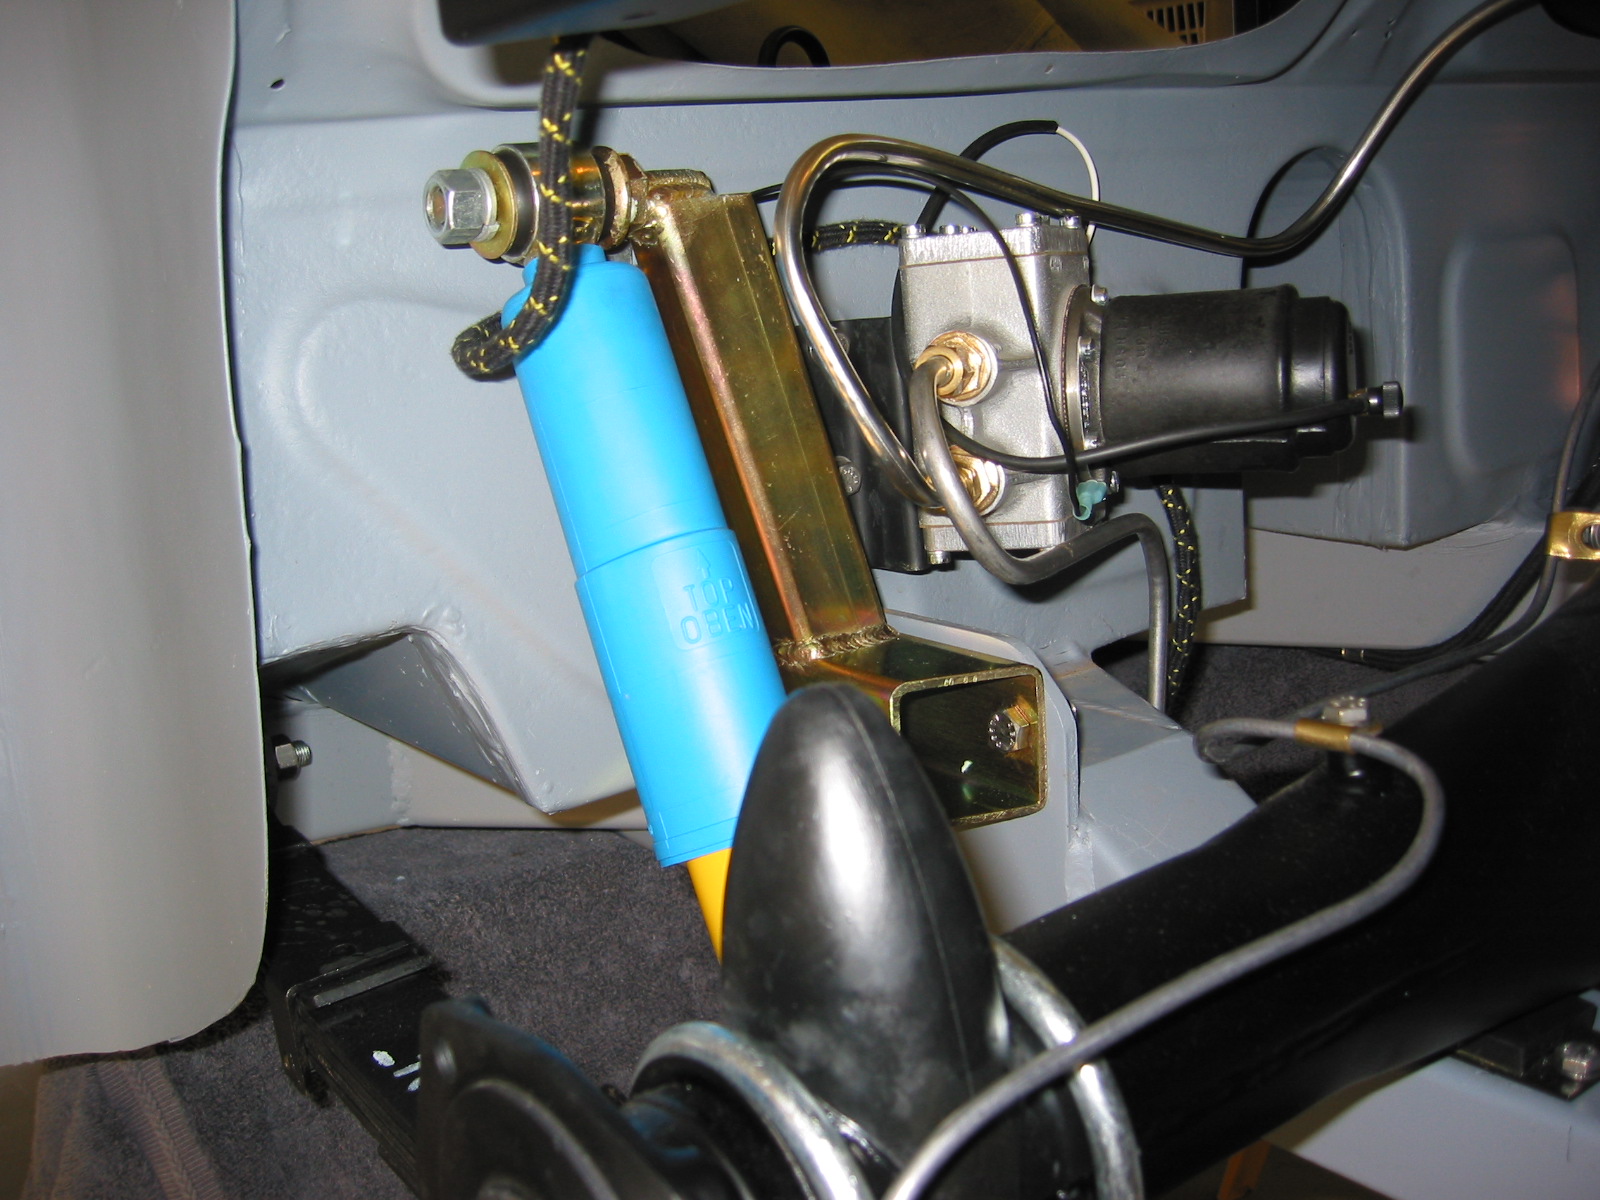
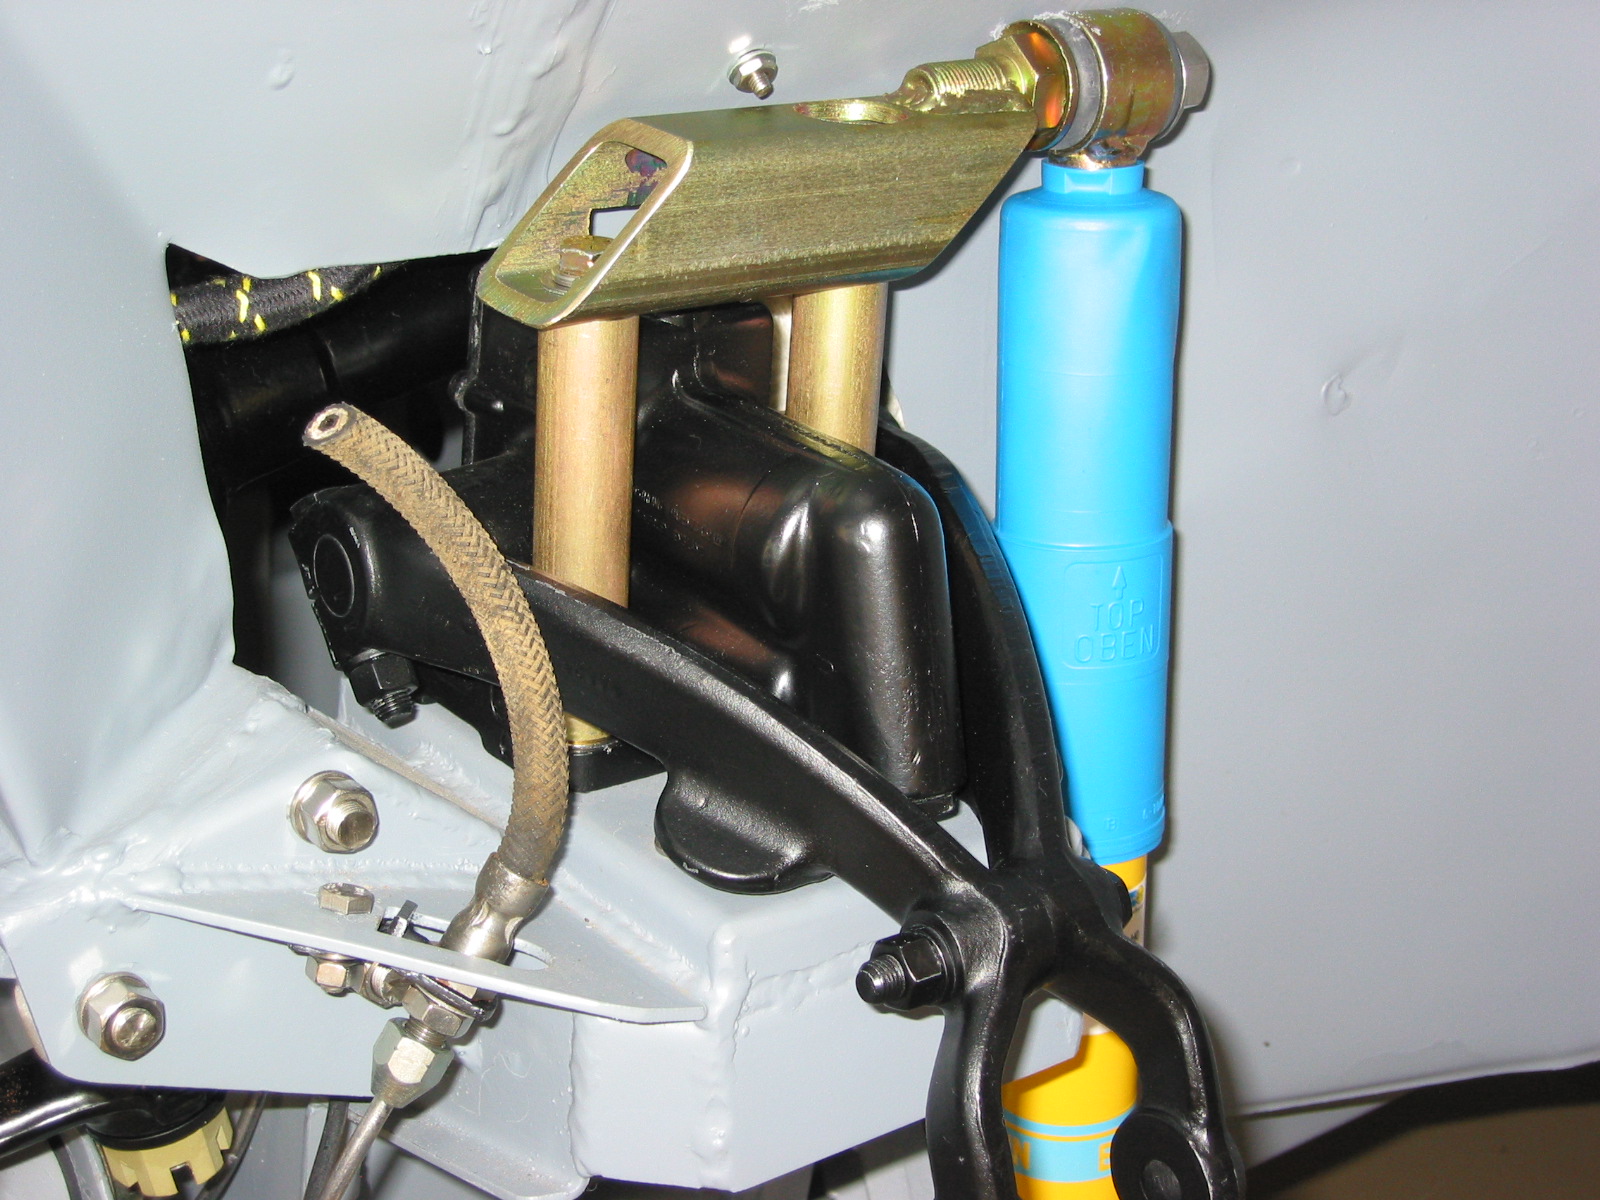
Installed Udo Putzke’s Blistein tube shock conversion kit in the front suspension. Two fabricated brackets on each side of the front of the car. Original lever shock is utilized in the process. To make sure the lever shocks would not leak fluid in the future, they were rebuilt by World Wide Imports in Madison, Wisc. The valves are removed from each damper. The standard bolts are used to secure the damper nearest the motor. Supplied long bolts and support rods are used for the outside two mounts. Front tube shock is F4-BE3-2576-HO. The brackets will need to be painted for final assembly.
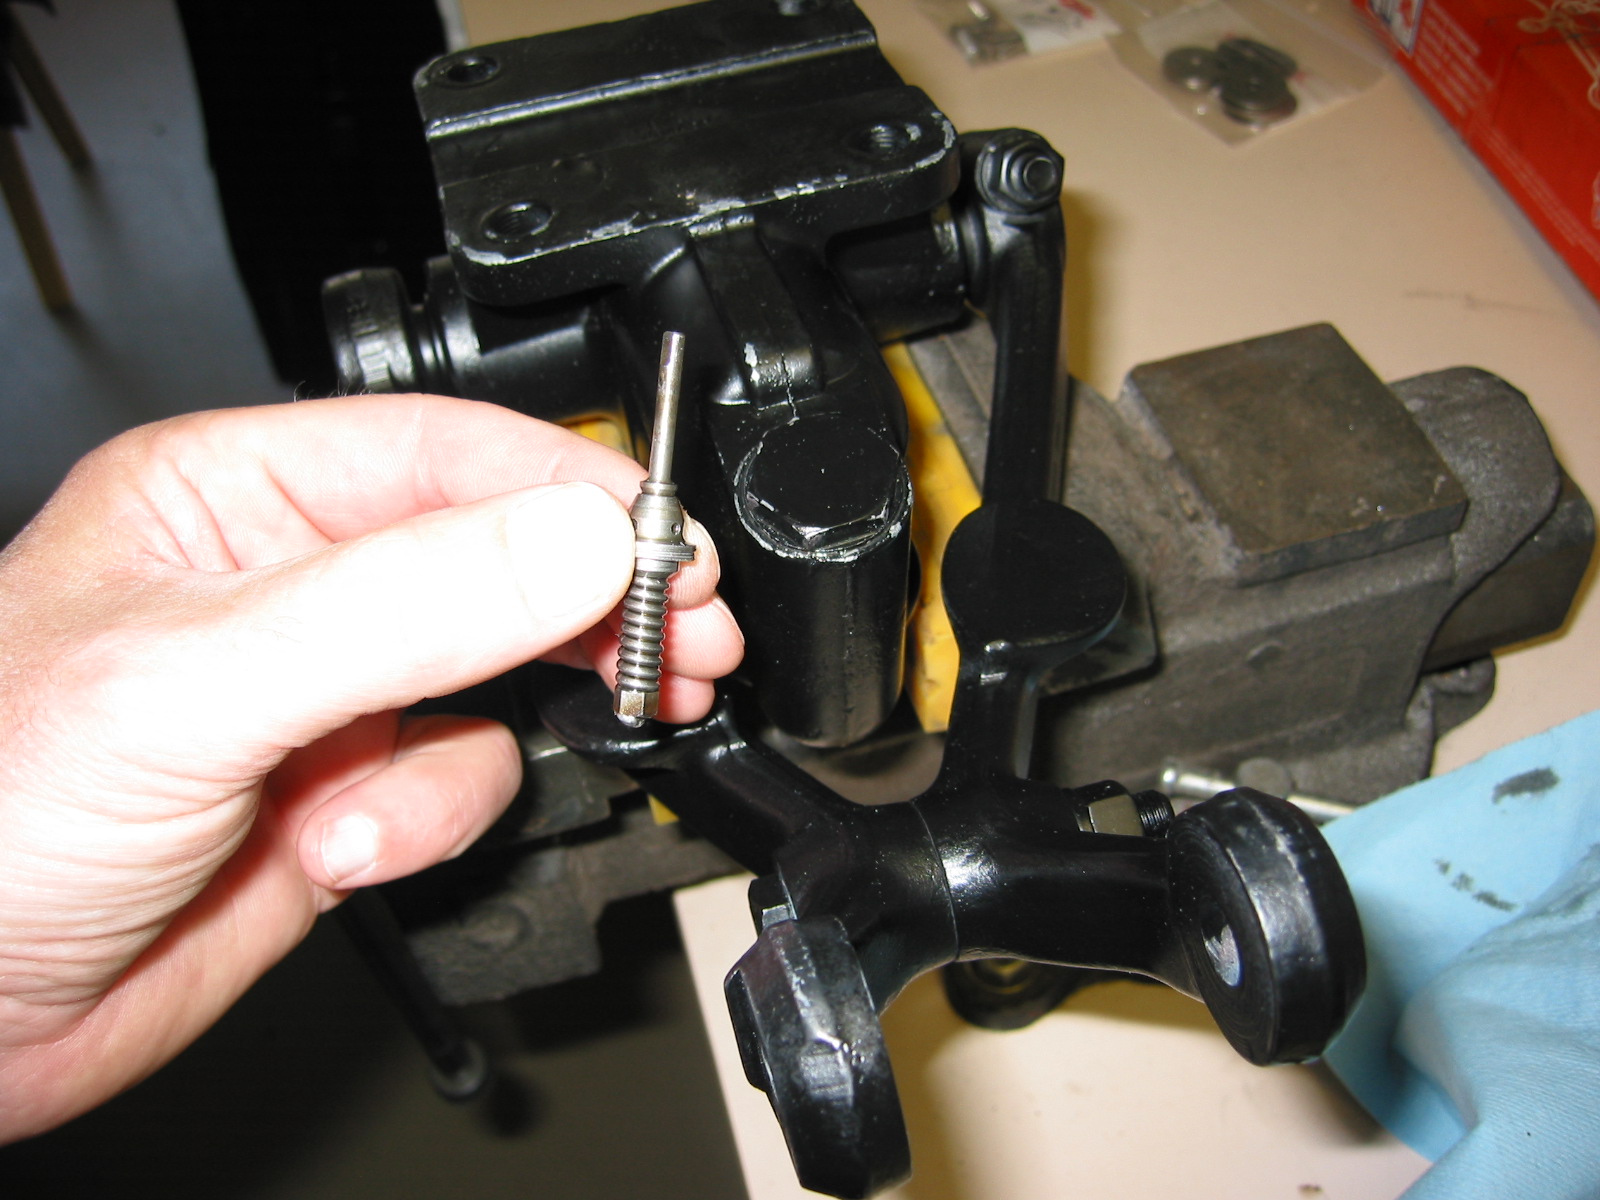
lever shock valving
front tube shock conversion 2
front tube shock conversion 1
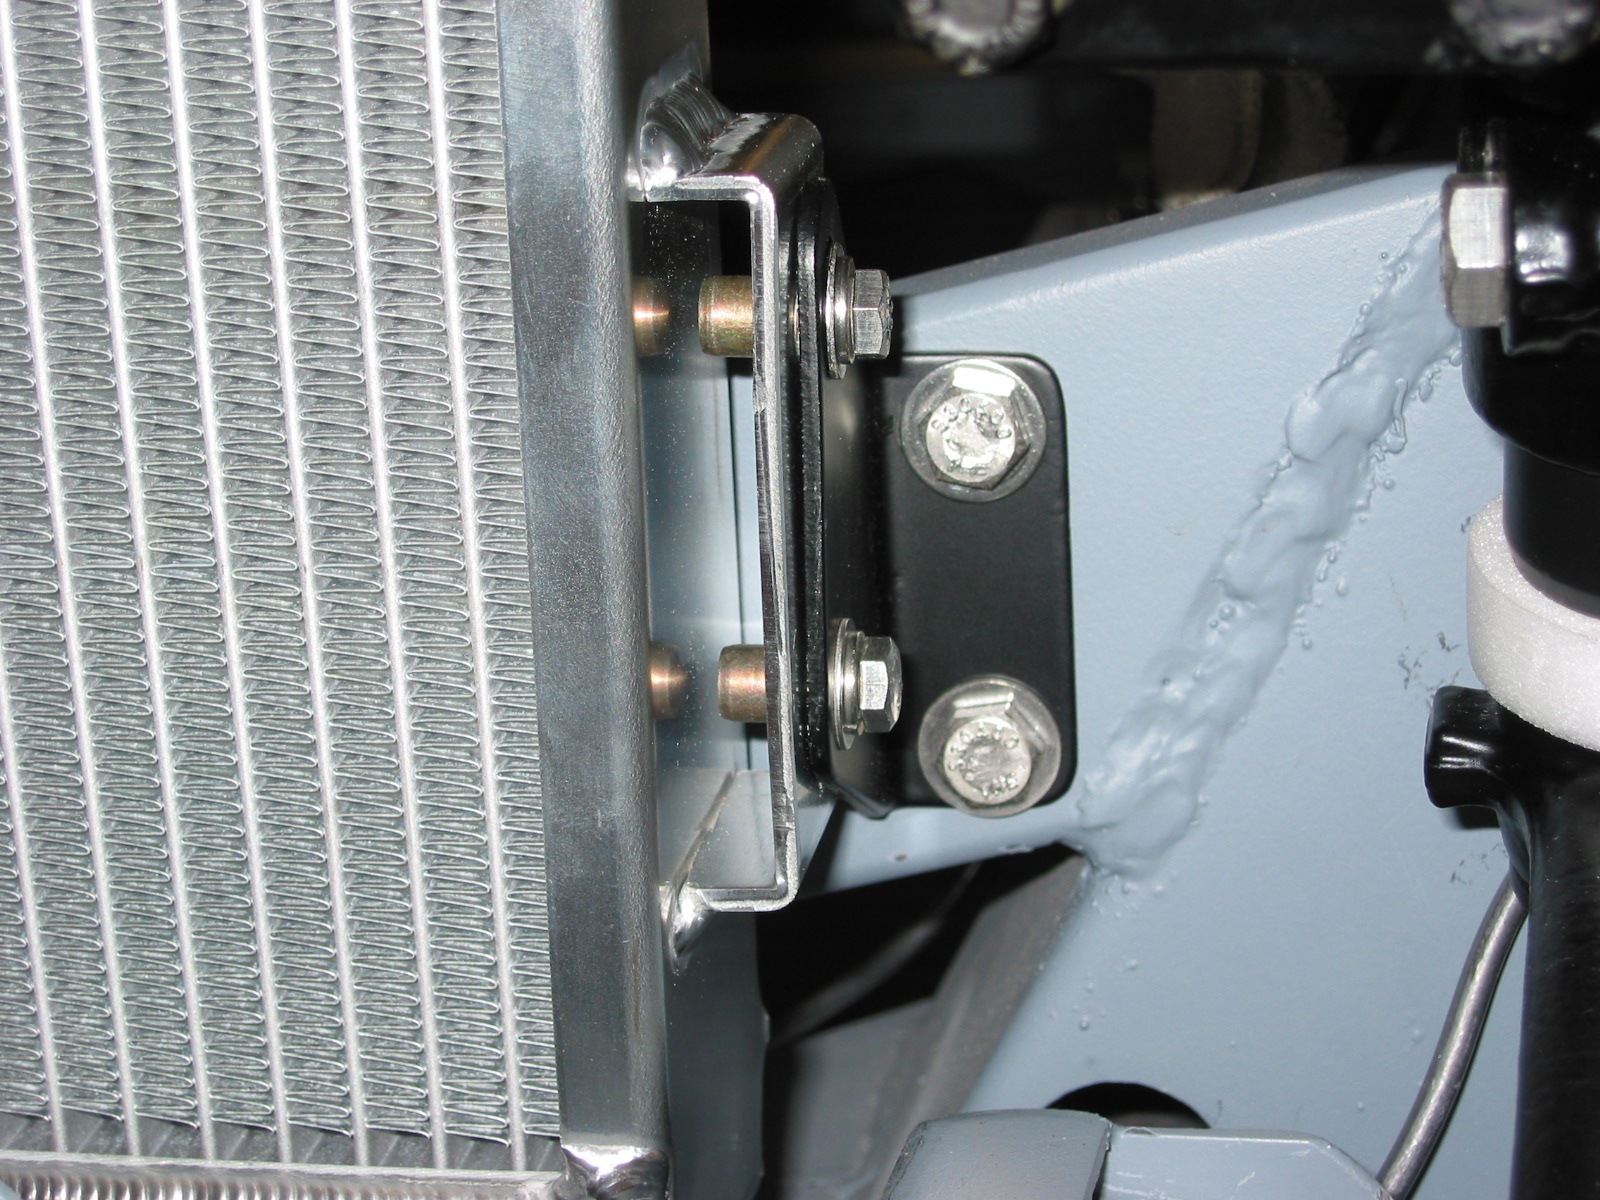
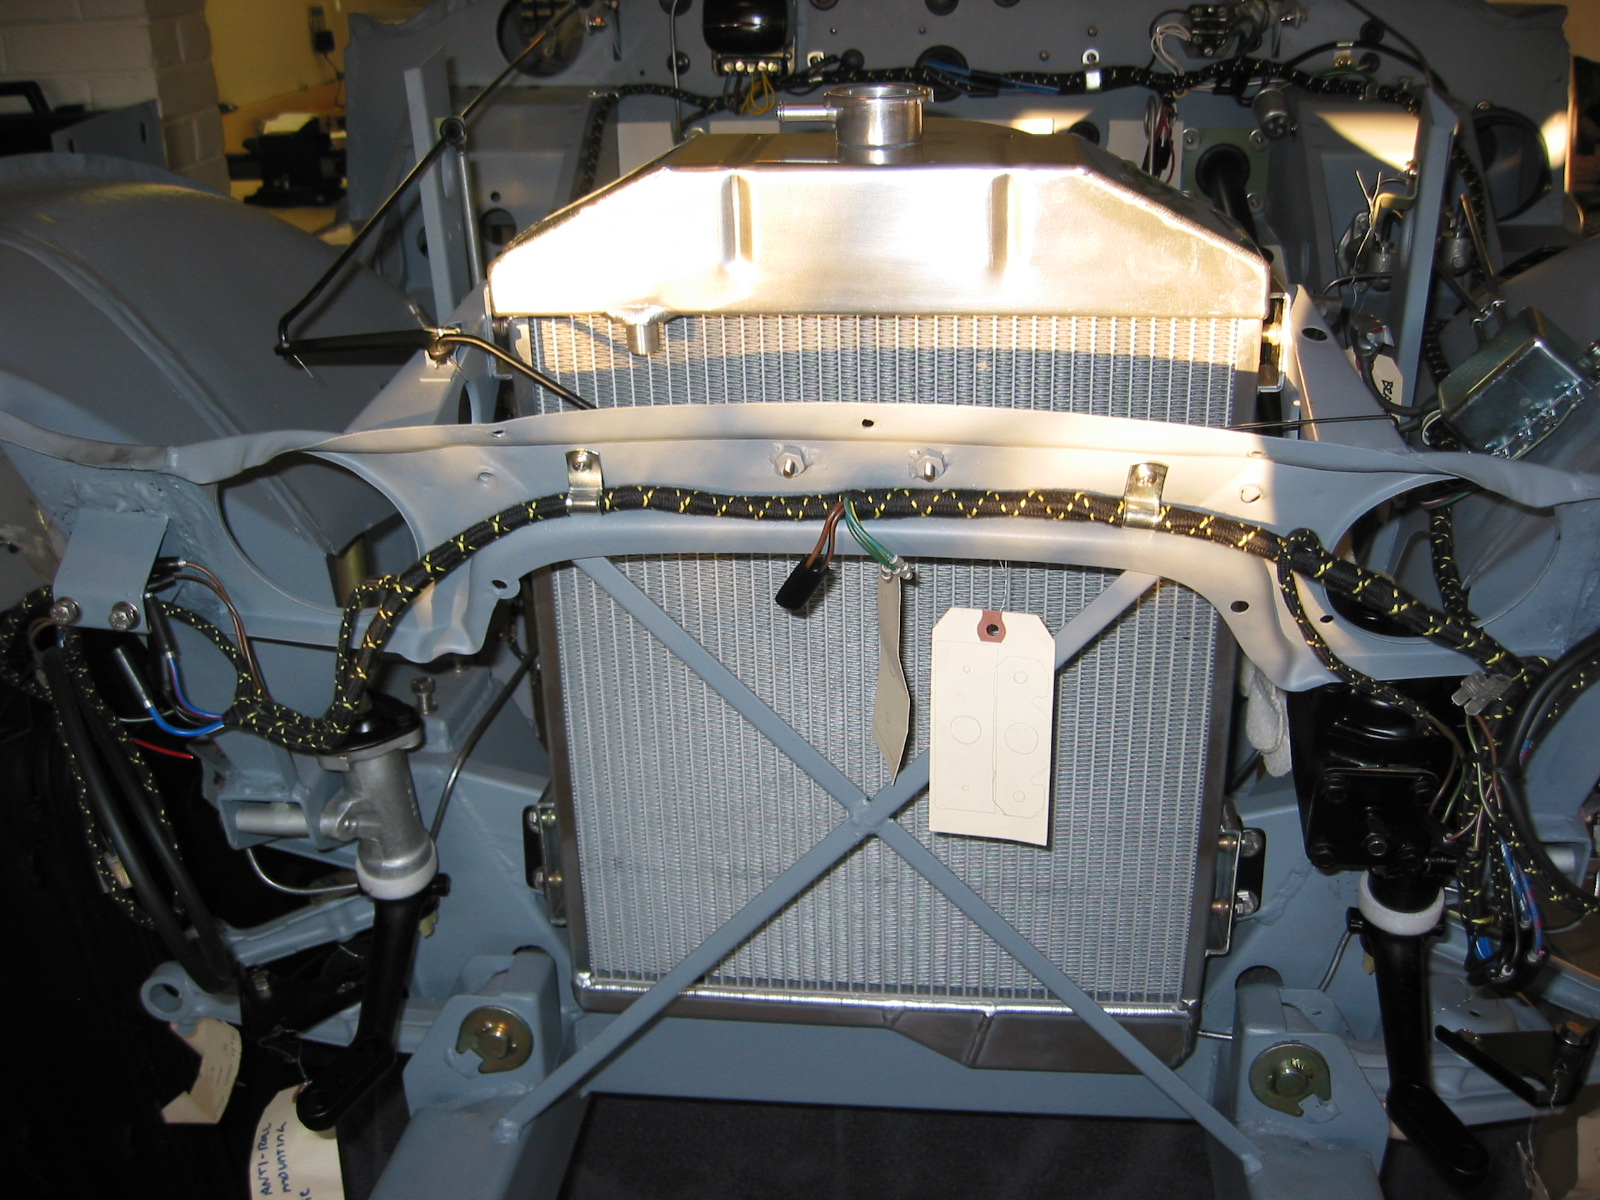
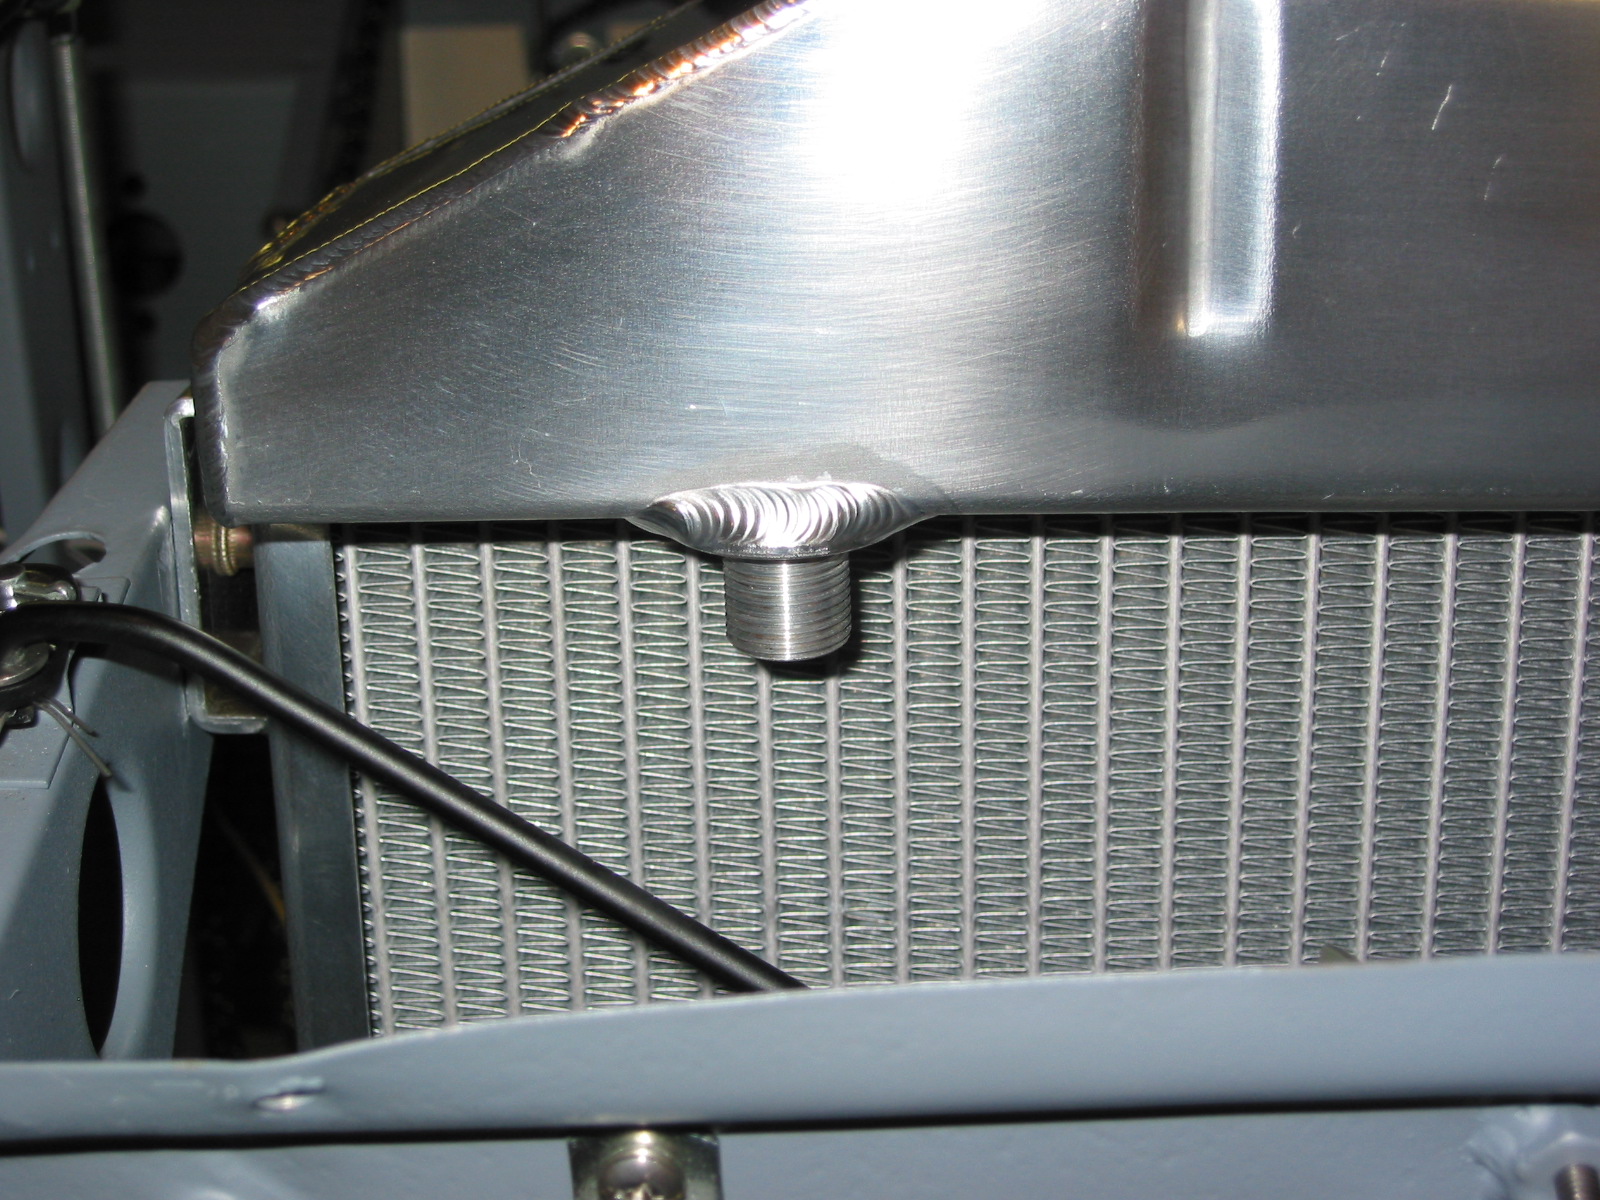
Aluminum Radiator – Installed a new aluminum radiator from Cape International. Christmas gift from Jude. It is a piece of art, almost hate to put it in the car! Fit was perfect, although mounting fittings were metric. Easy installation is to loosen lower brackets on frame, secure top two bolts first, then secure lower bolts to radiator. Finally, tighten lower brackets to frame. Pull unit to front of car when tightening to get maximum clearance for fan.

Aluminum Radiator 3
Aluminum Radiator 2
Aluminum Radiator 1
Aluminum Radiator 4