
The front cover has leaked oil for some time. In this post, I describe the process to remove the cover, replace the gasket and then reinstall the cover to the cylinder block. This process involves removing the alternator. When I restored my BT7 I “upgraded” from the original dynamo, or generator, to an alternator. At the time, I purchased a “kit” including the mounting brackets for the alternator. The kit was designed to use an easily obtained Delco Alternator: Delco SI 10 alternator with an internal regulator. (about a 72-on Chev). NAPA part # 2134011 and a NAPA Part # VRC 148 plug.
Instructions for the installation of the alternator are provided in the Electrical System entry of this Big Healey Valvechatter website. I will not repeat that information in this Blog entry.
The first step in this process is to turn off battery power with the switch in the boot. I then clipped the plastic tie I had used to secure the radiator overflow hose to the rear arm of the alternator bracket.
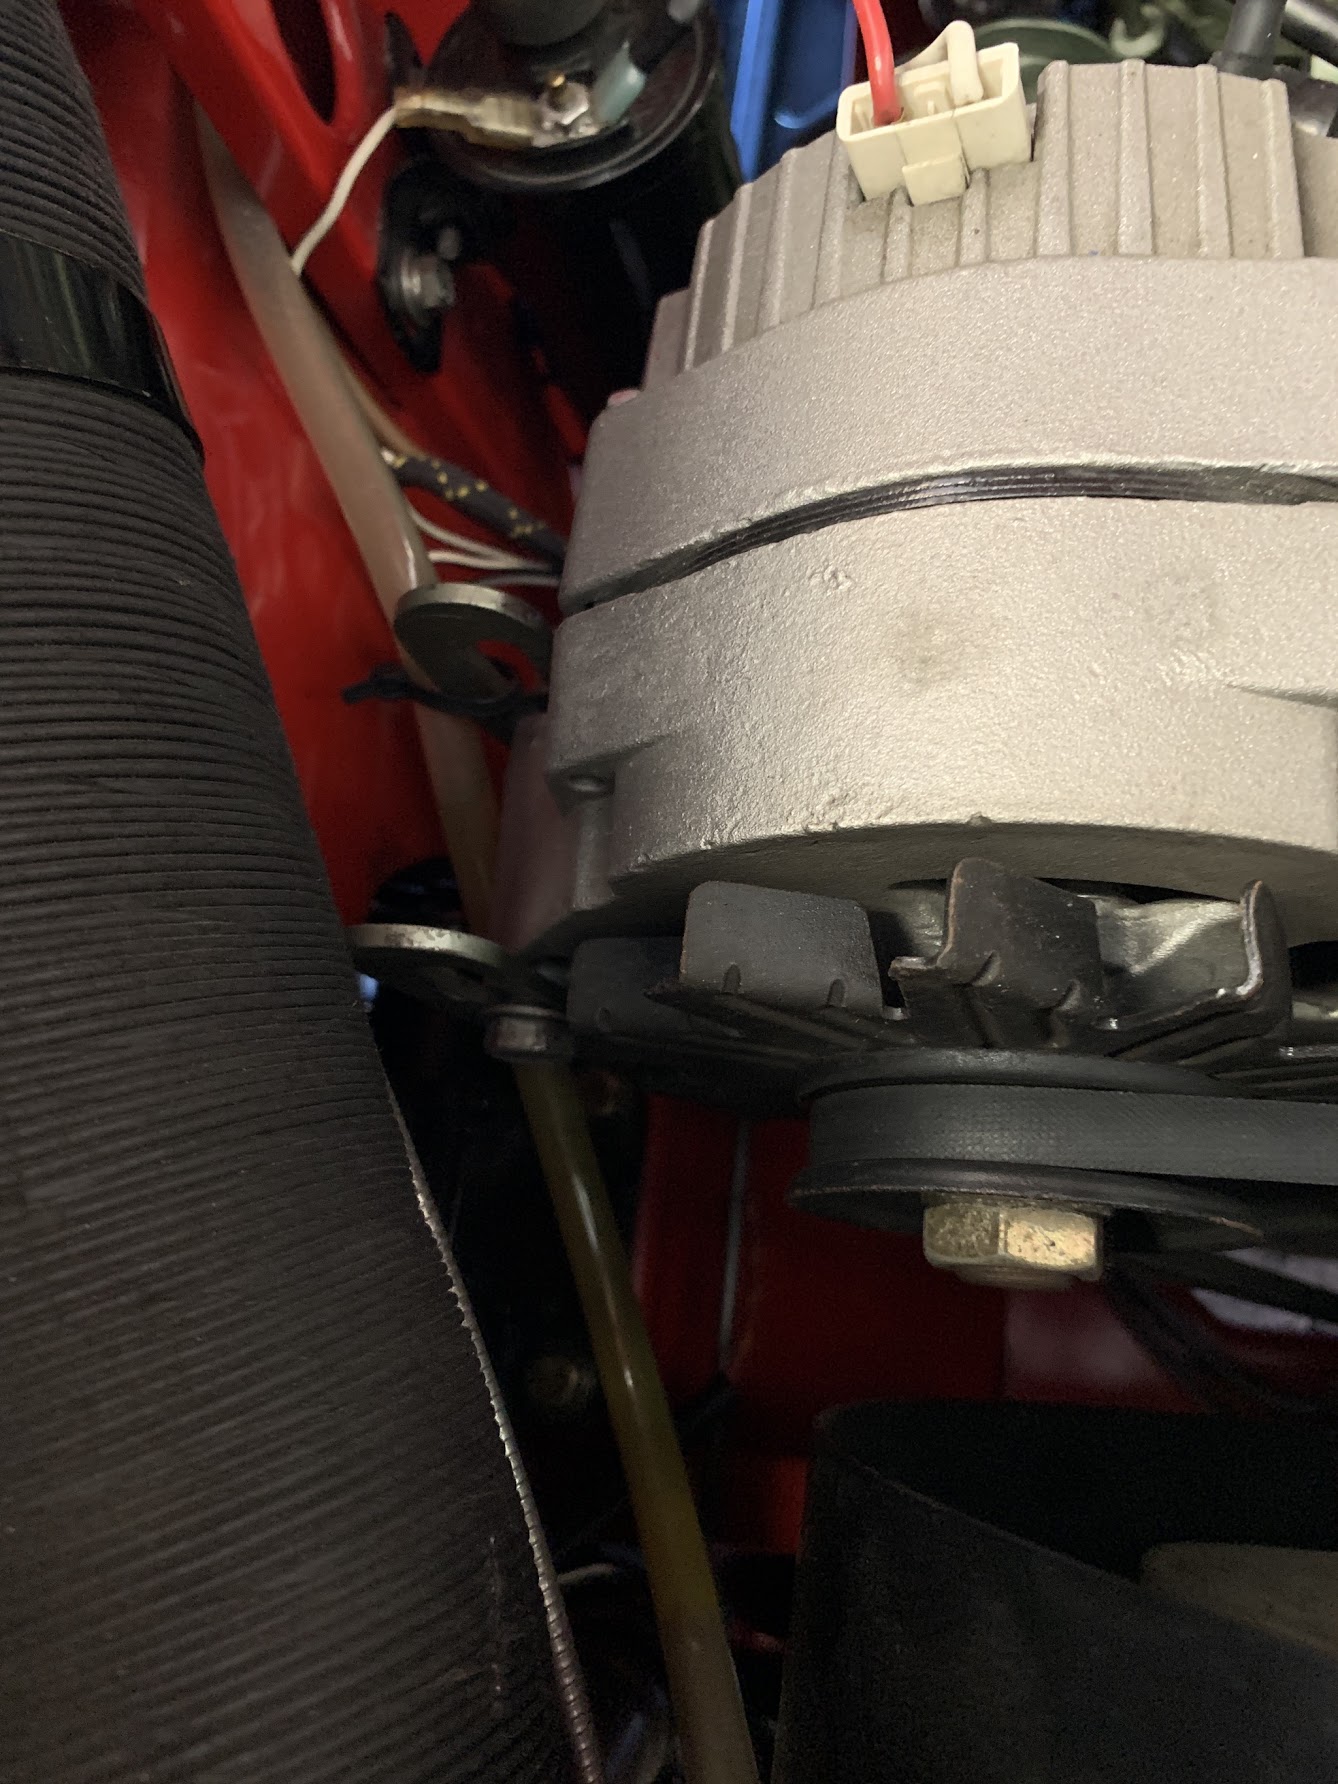
Alternator Slide Brackets Coolant Hose Tie
I then removed the bracket mounting bolt and nyclock nut on the swing bracket. The bolt is stainless and it is a 3/8″-24 x 3″ with flat washers and the nylock nut.
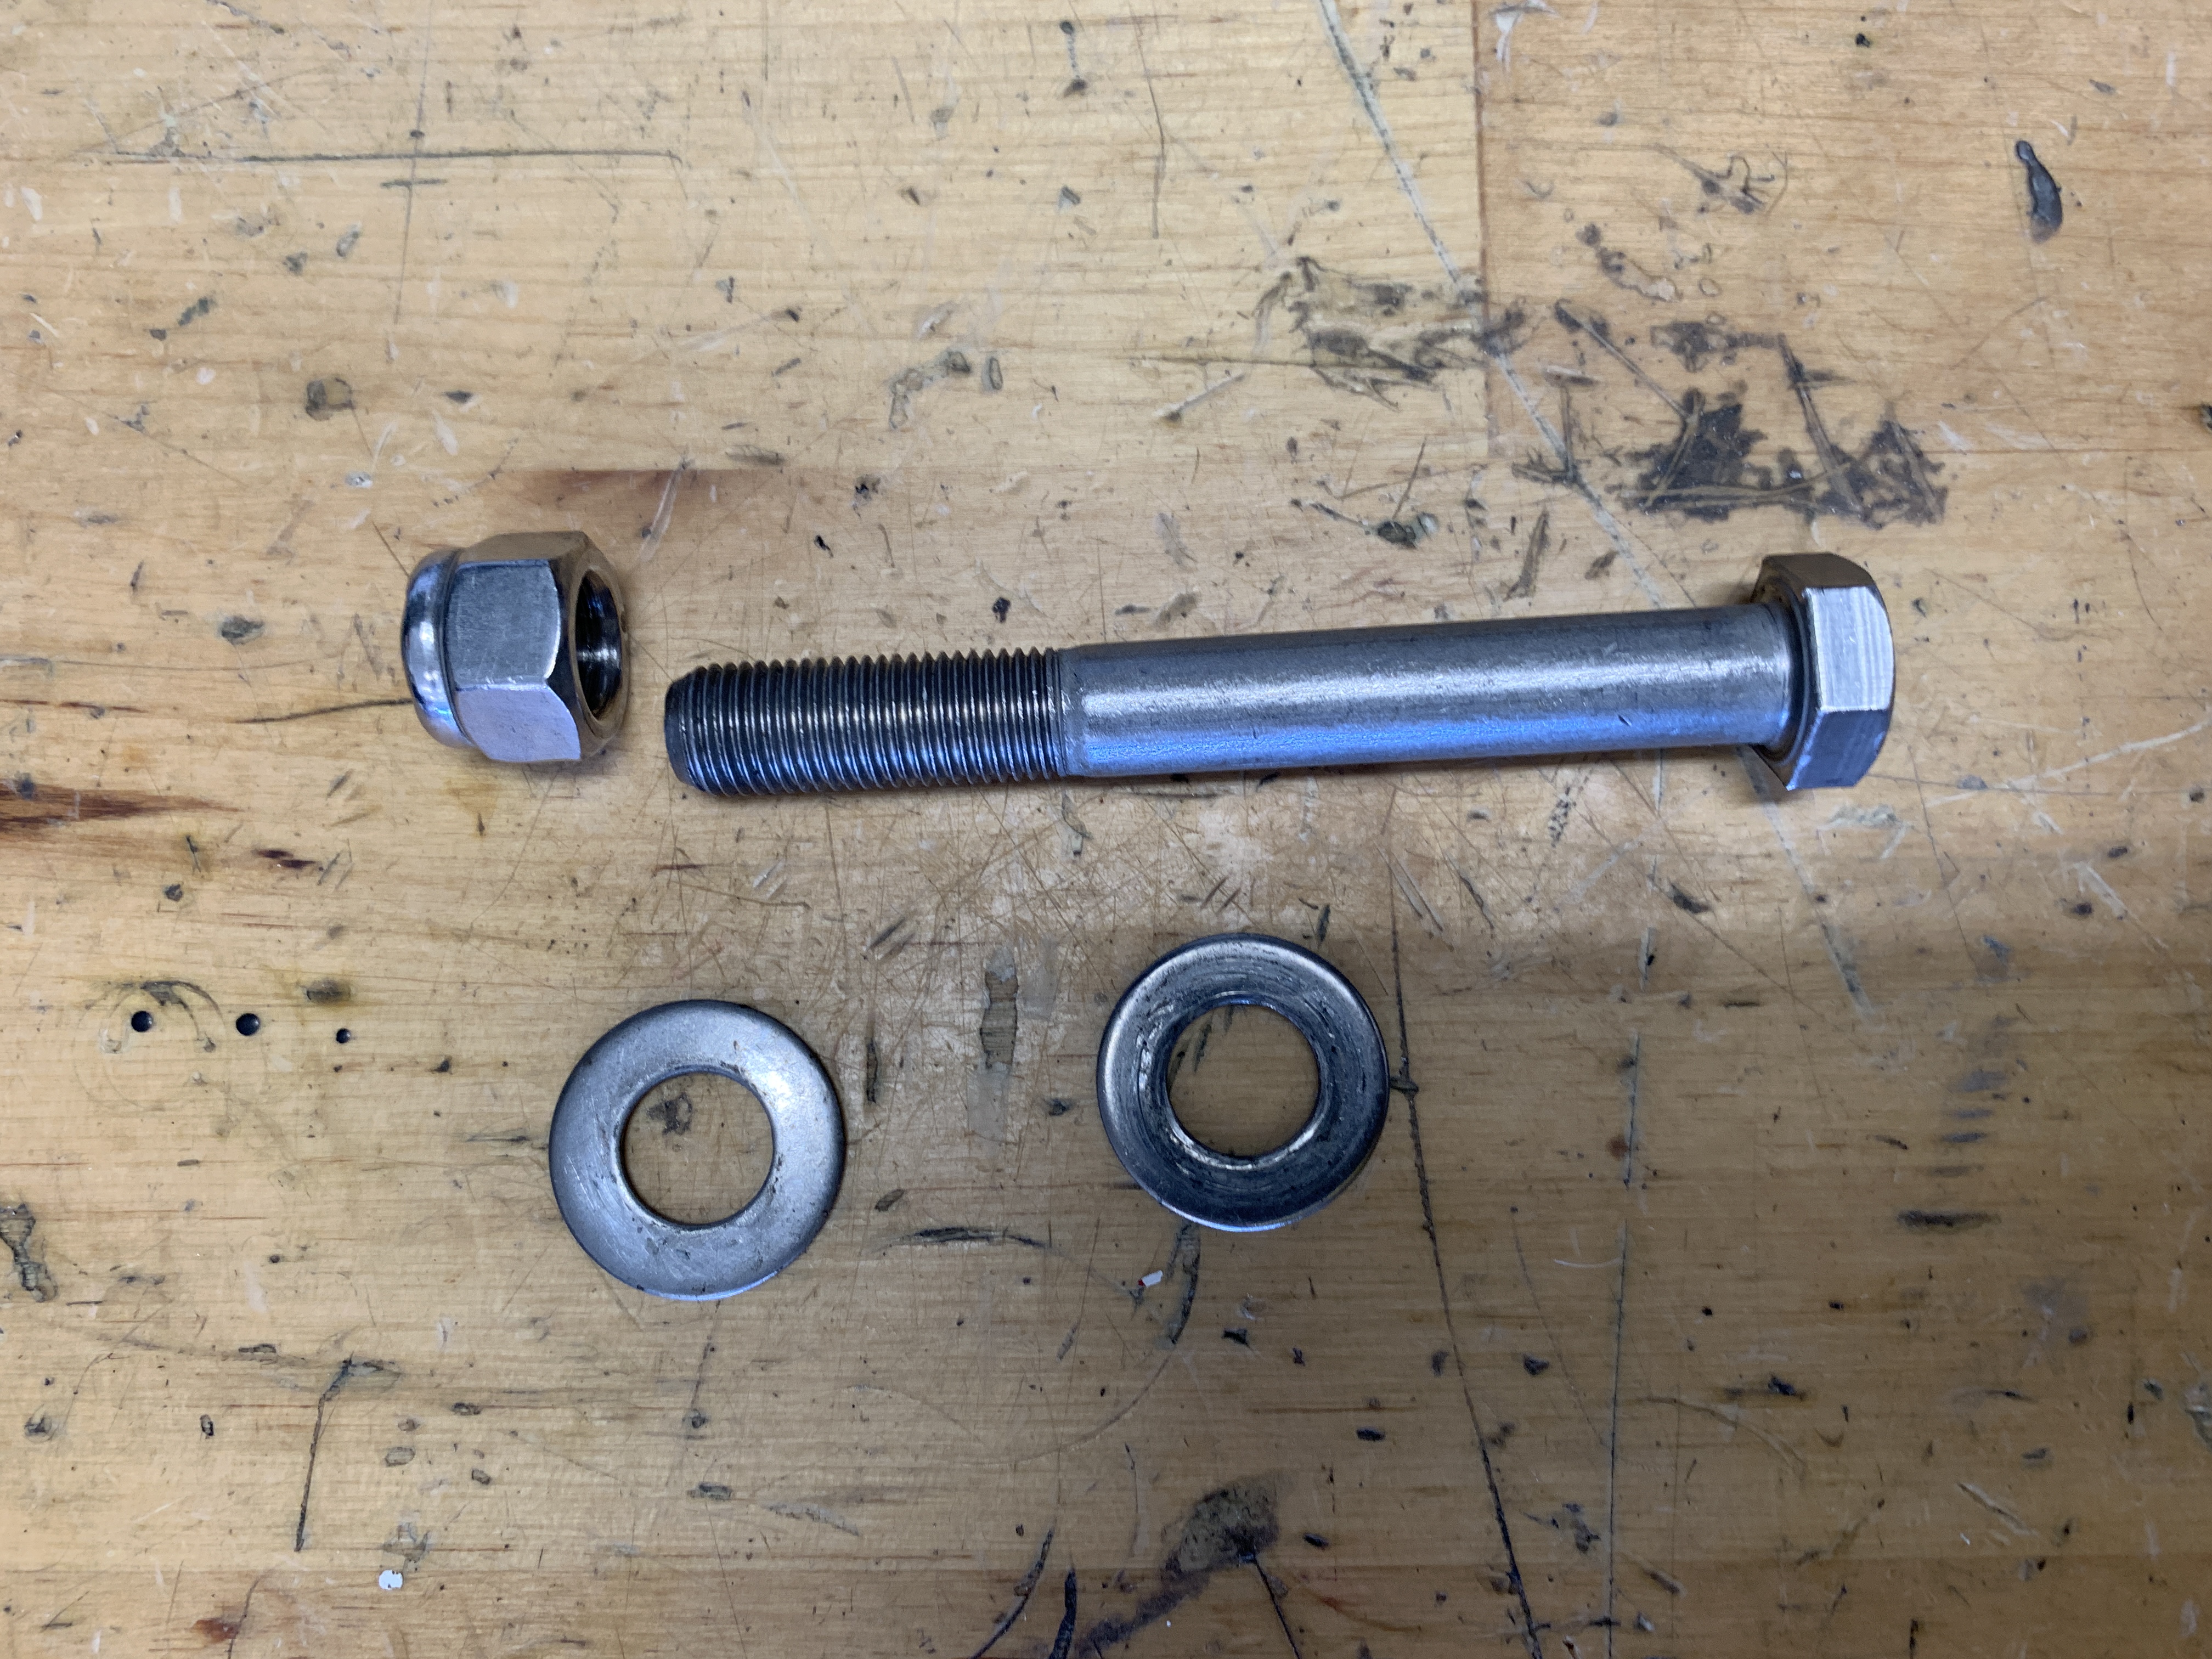
Alternator Bracket Mounting Bolt Fastener
The alternator wiring white pigtail connector with white and red wires was disconnected from the alternator body. I also disconnected the red wire and the heavy gauge brown wire from the screw post on the back of the alternator. The brown wire is routed to the alternator from the starter solenoid. The nut on the alternator wiring post is 10mm.

Alternator Wiring
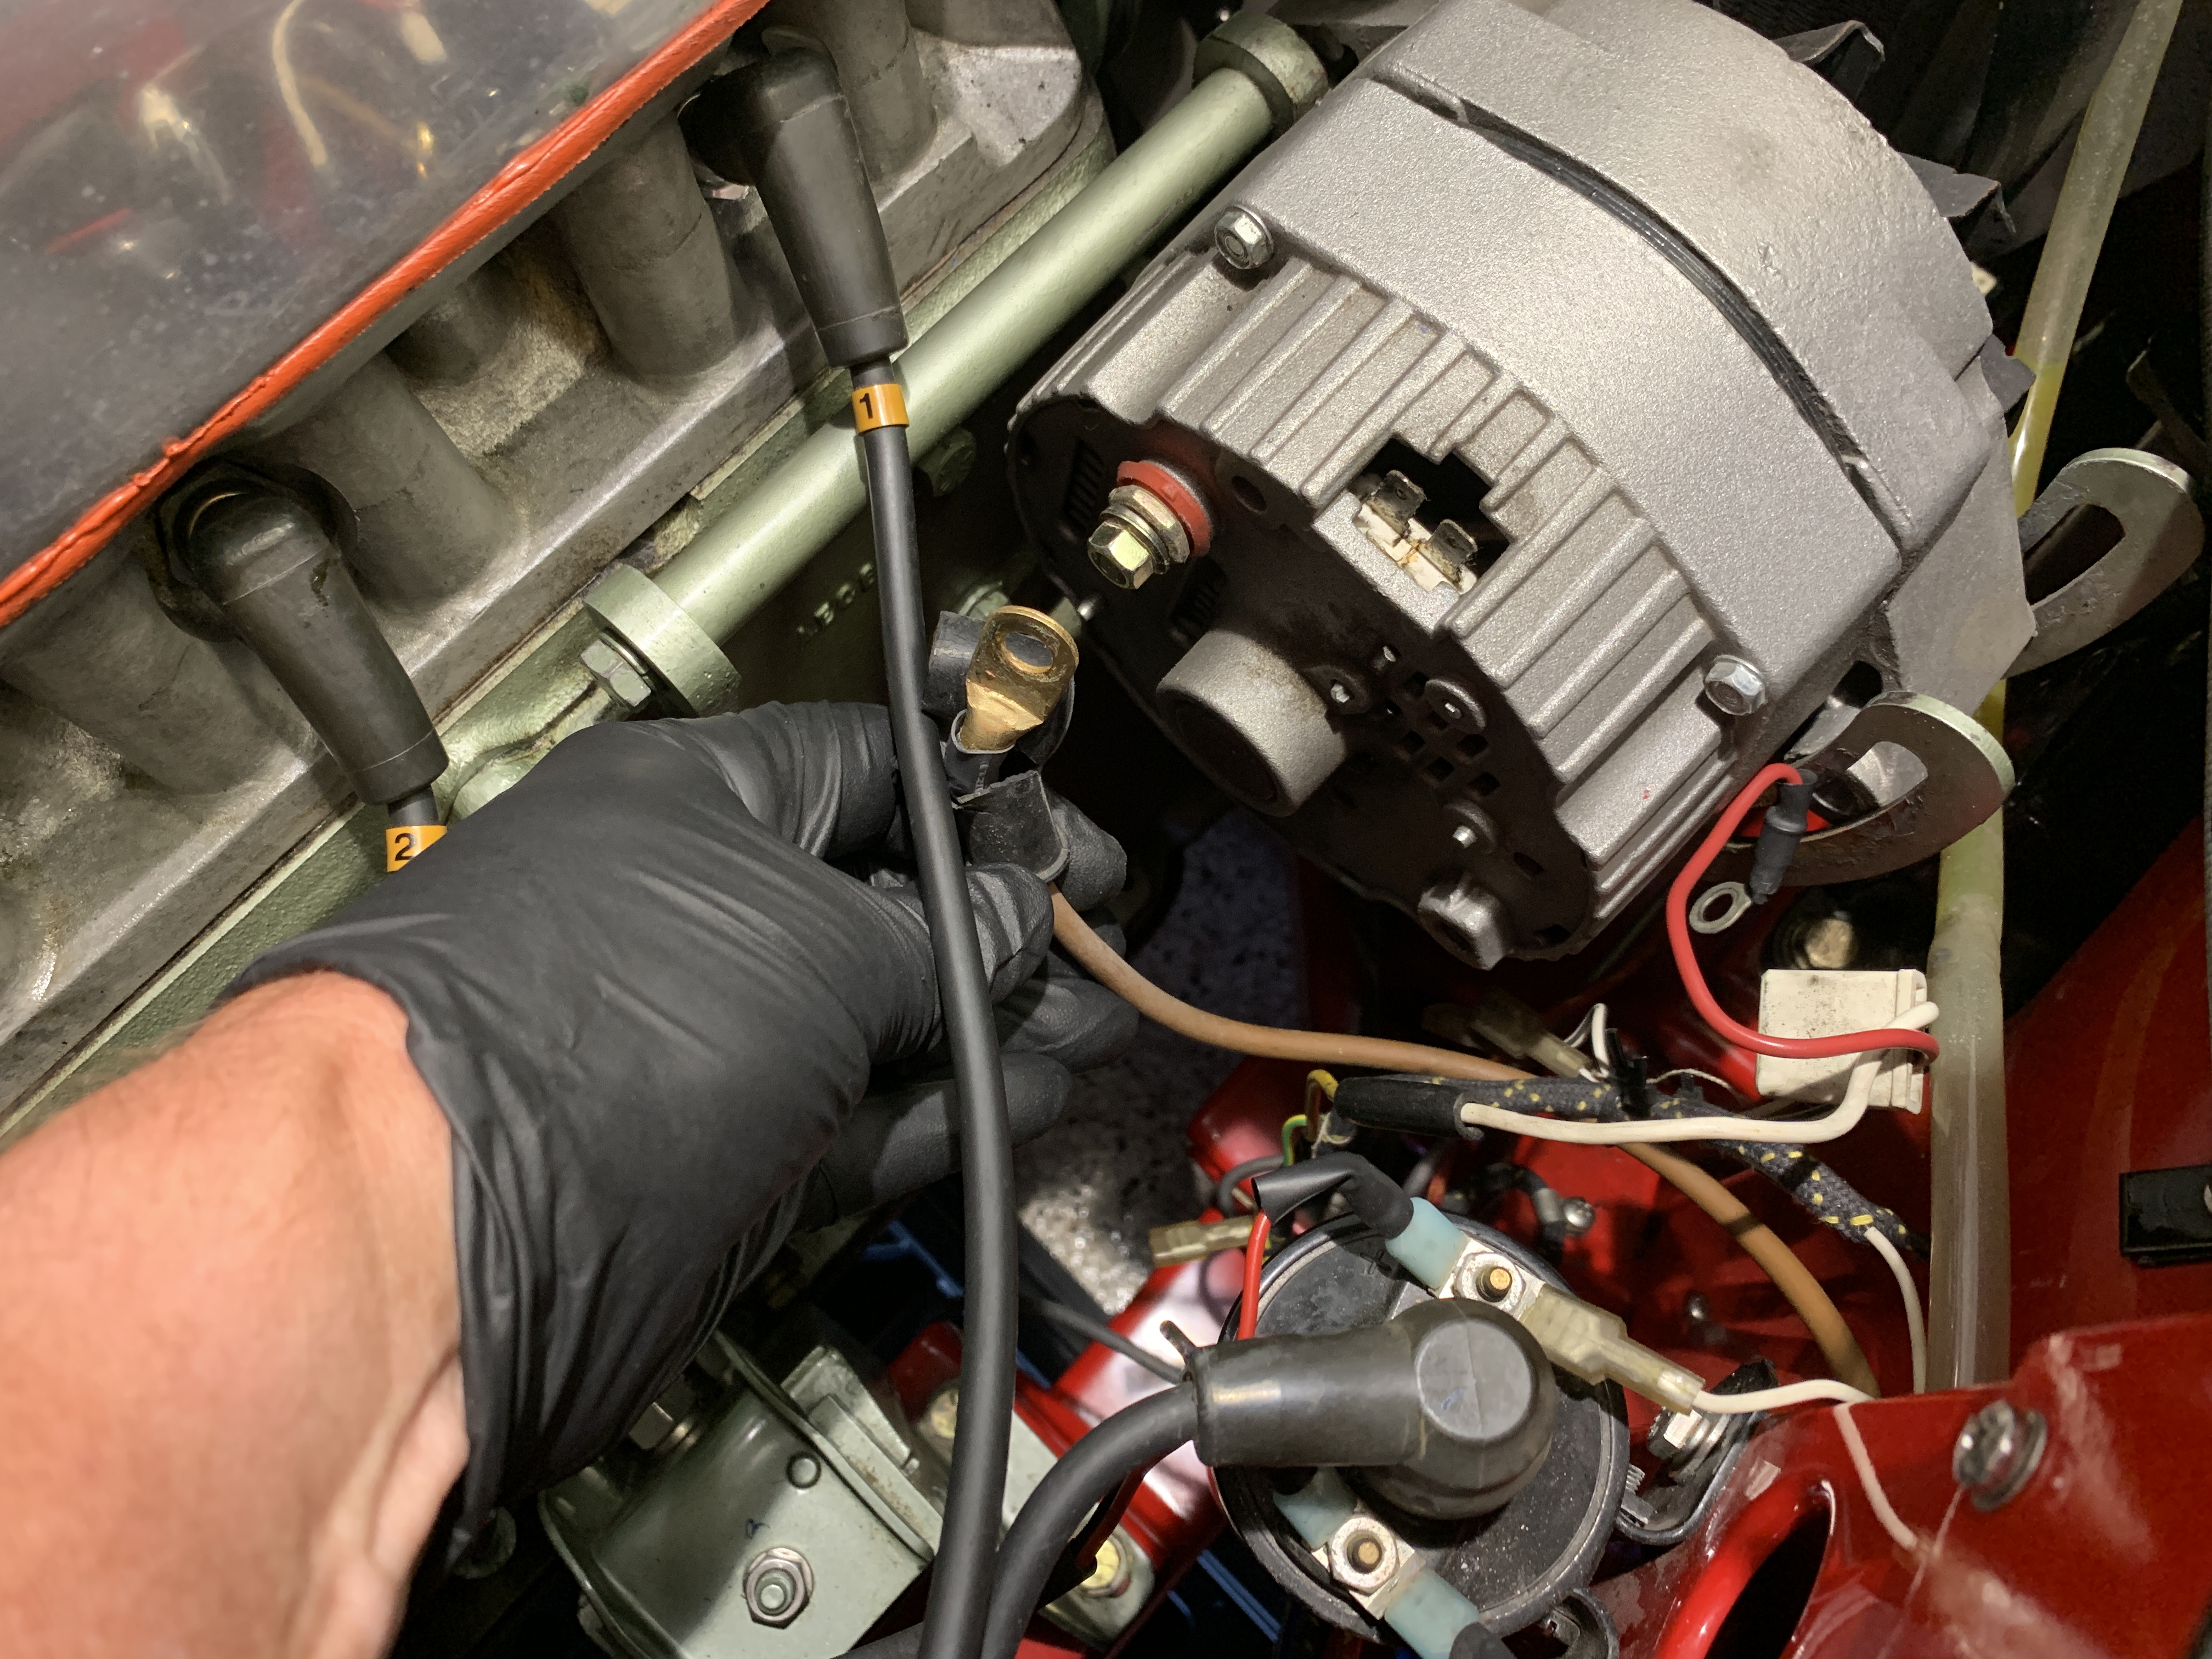
Alternator Wiring
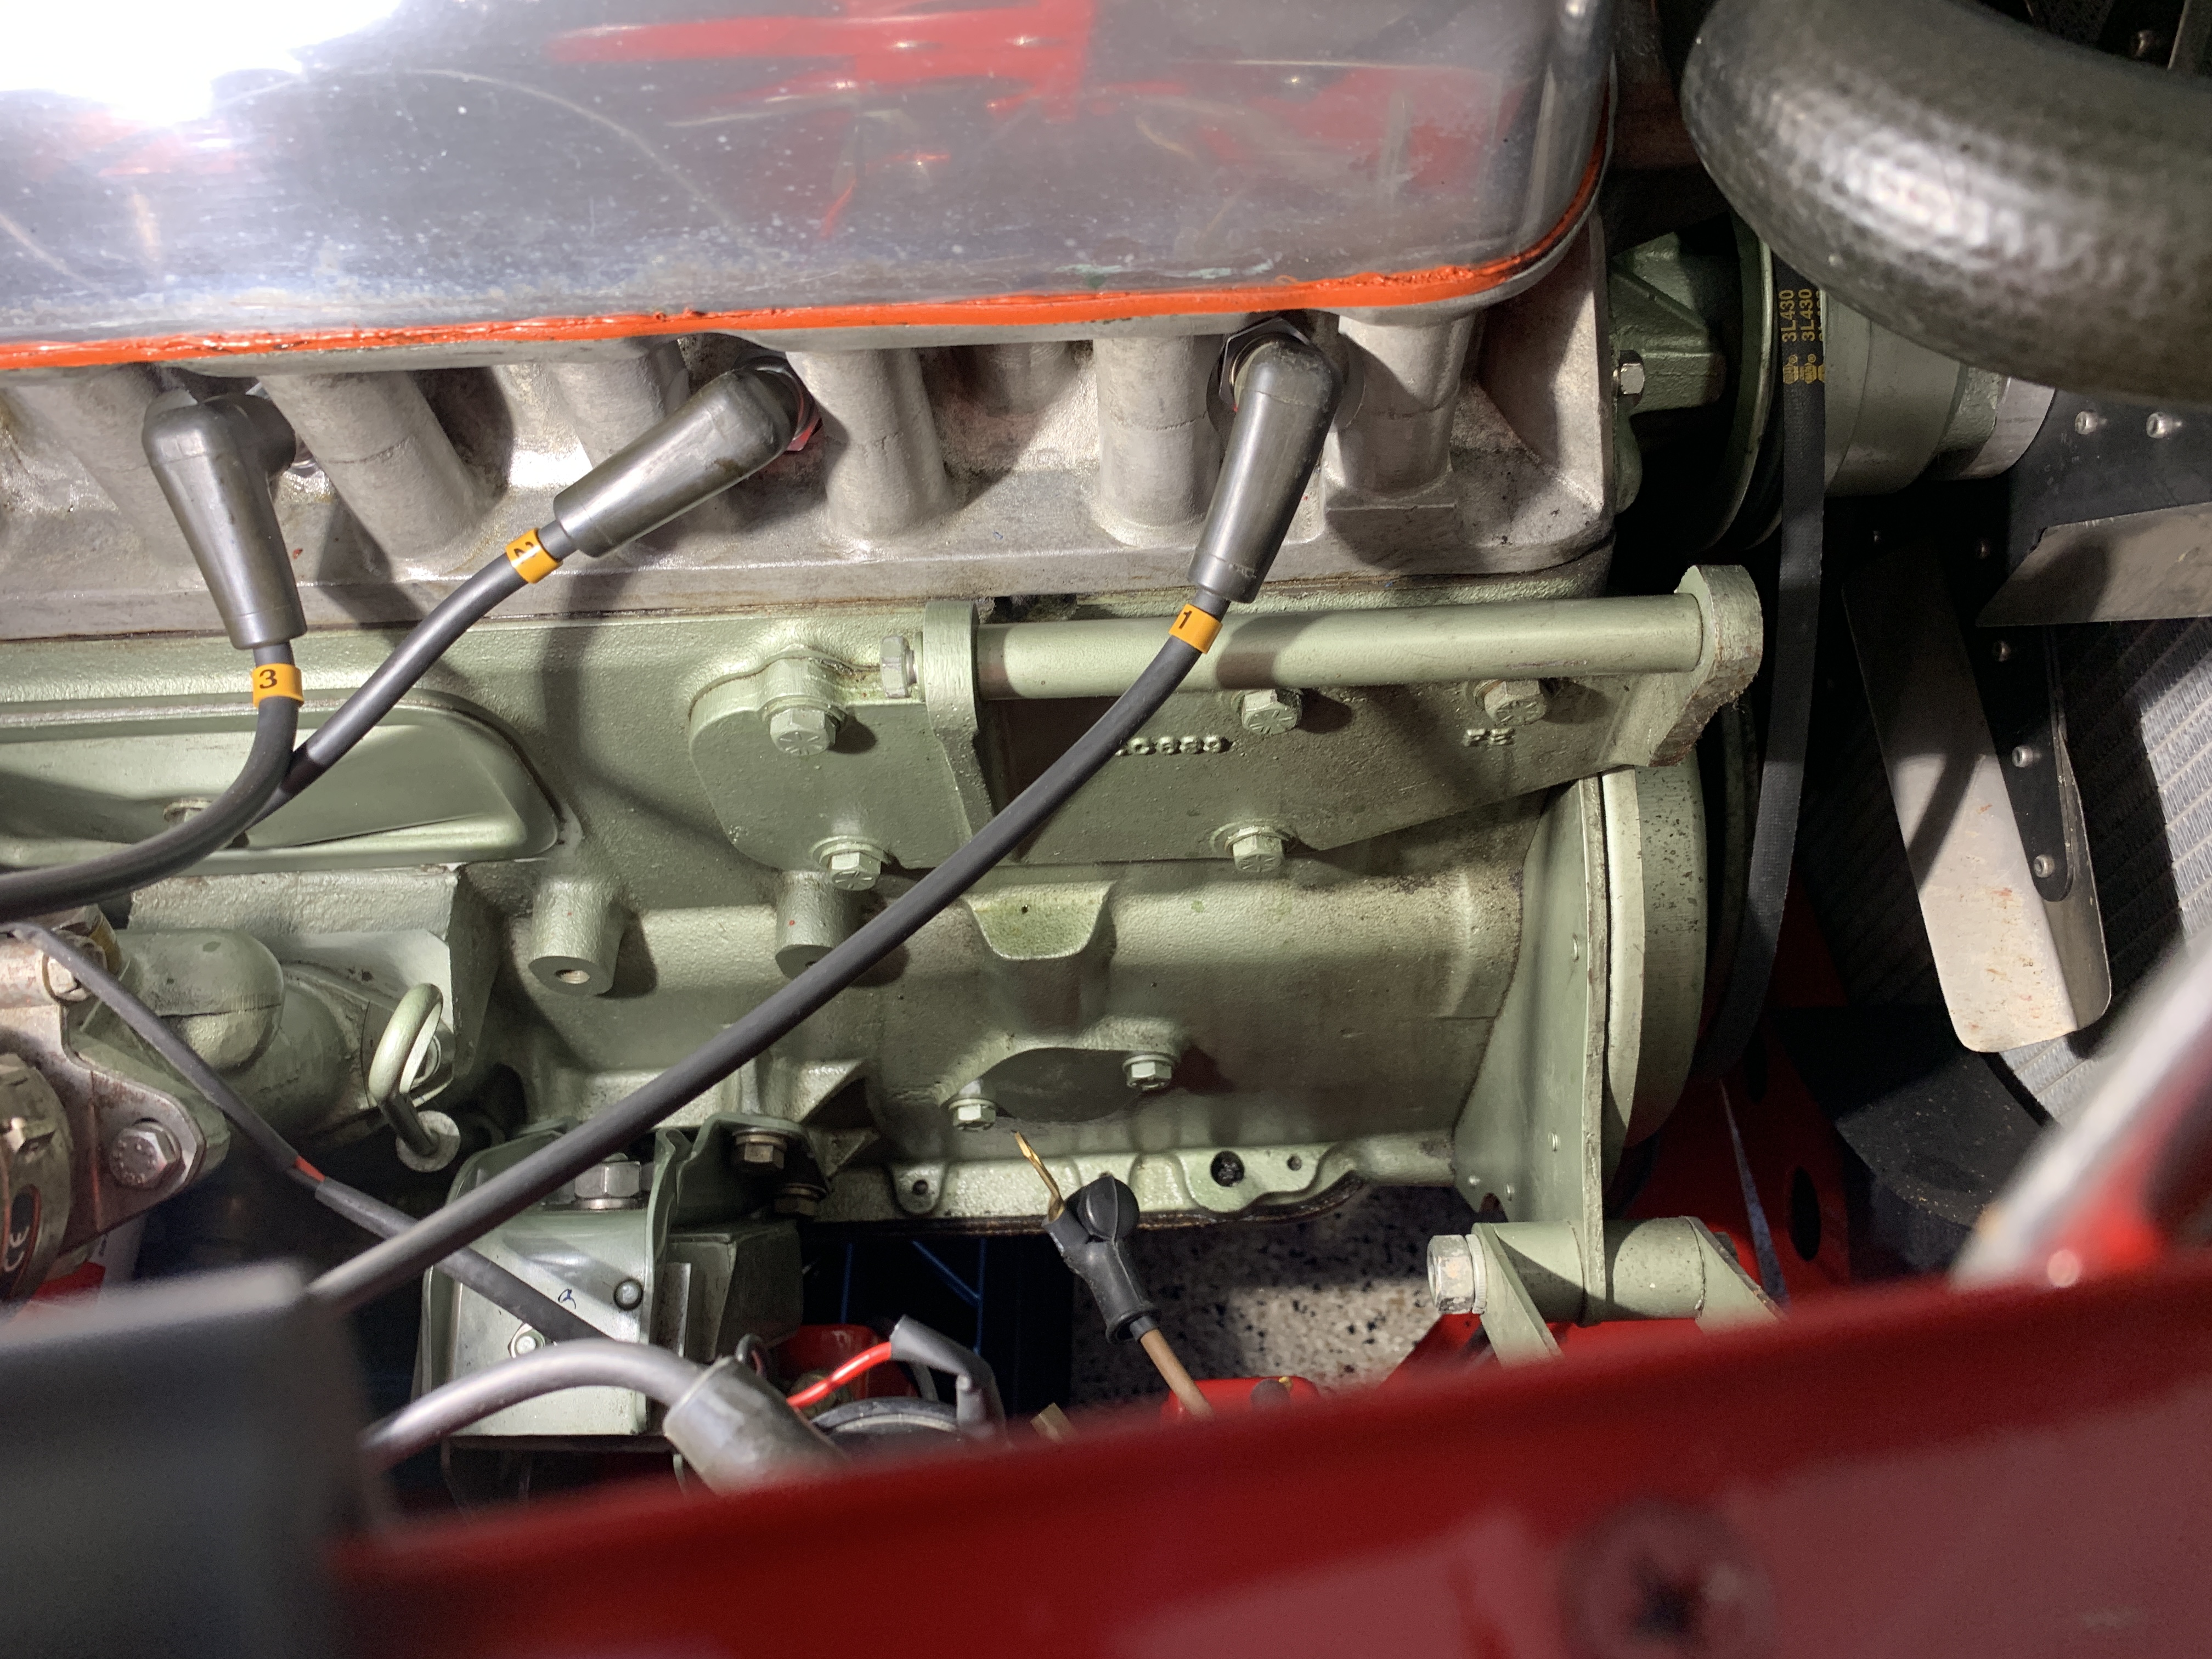
I then loosened and removed the 5/16″-18 x 1 3/4″ bolt with flat and lock washers that is inserted through the mounting ear of the alternator and into the spacer on the cylinder side front cover. Once removed the alternator can then be removed from the car.

Delco Alternator Removed
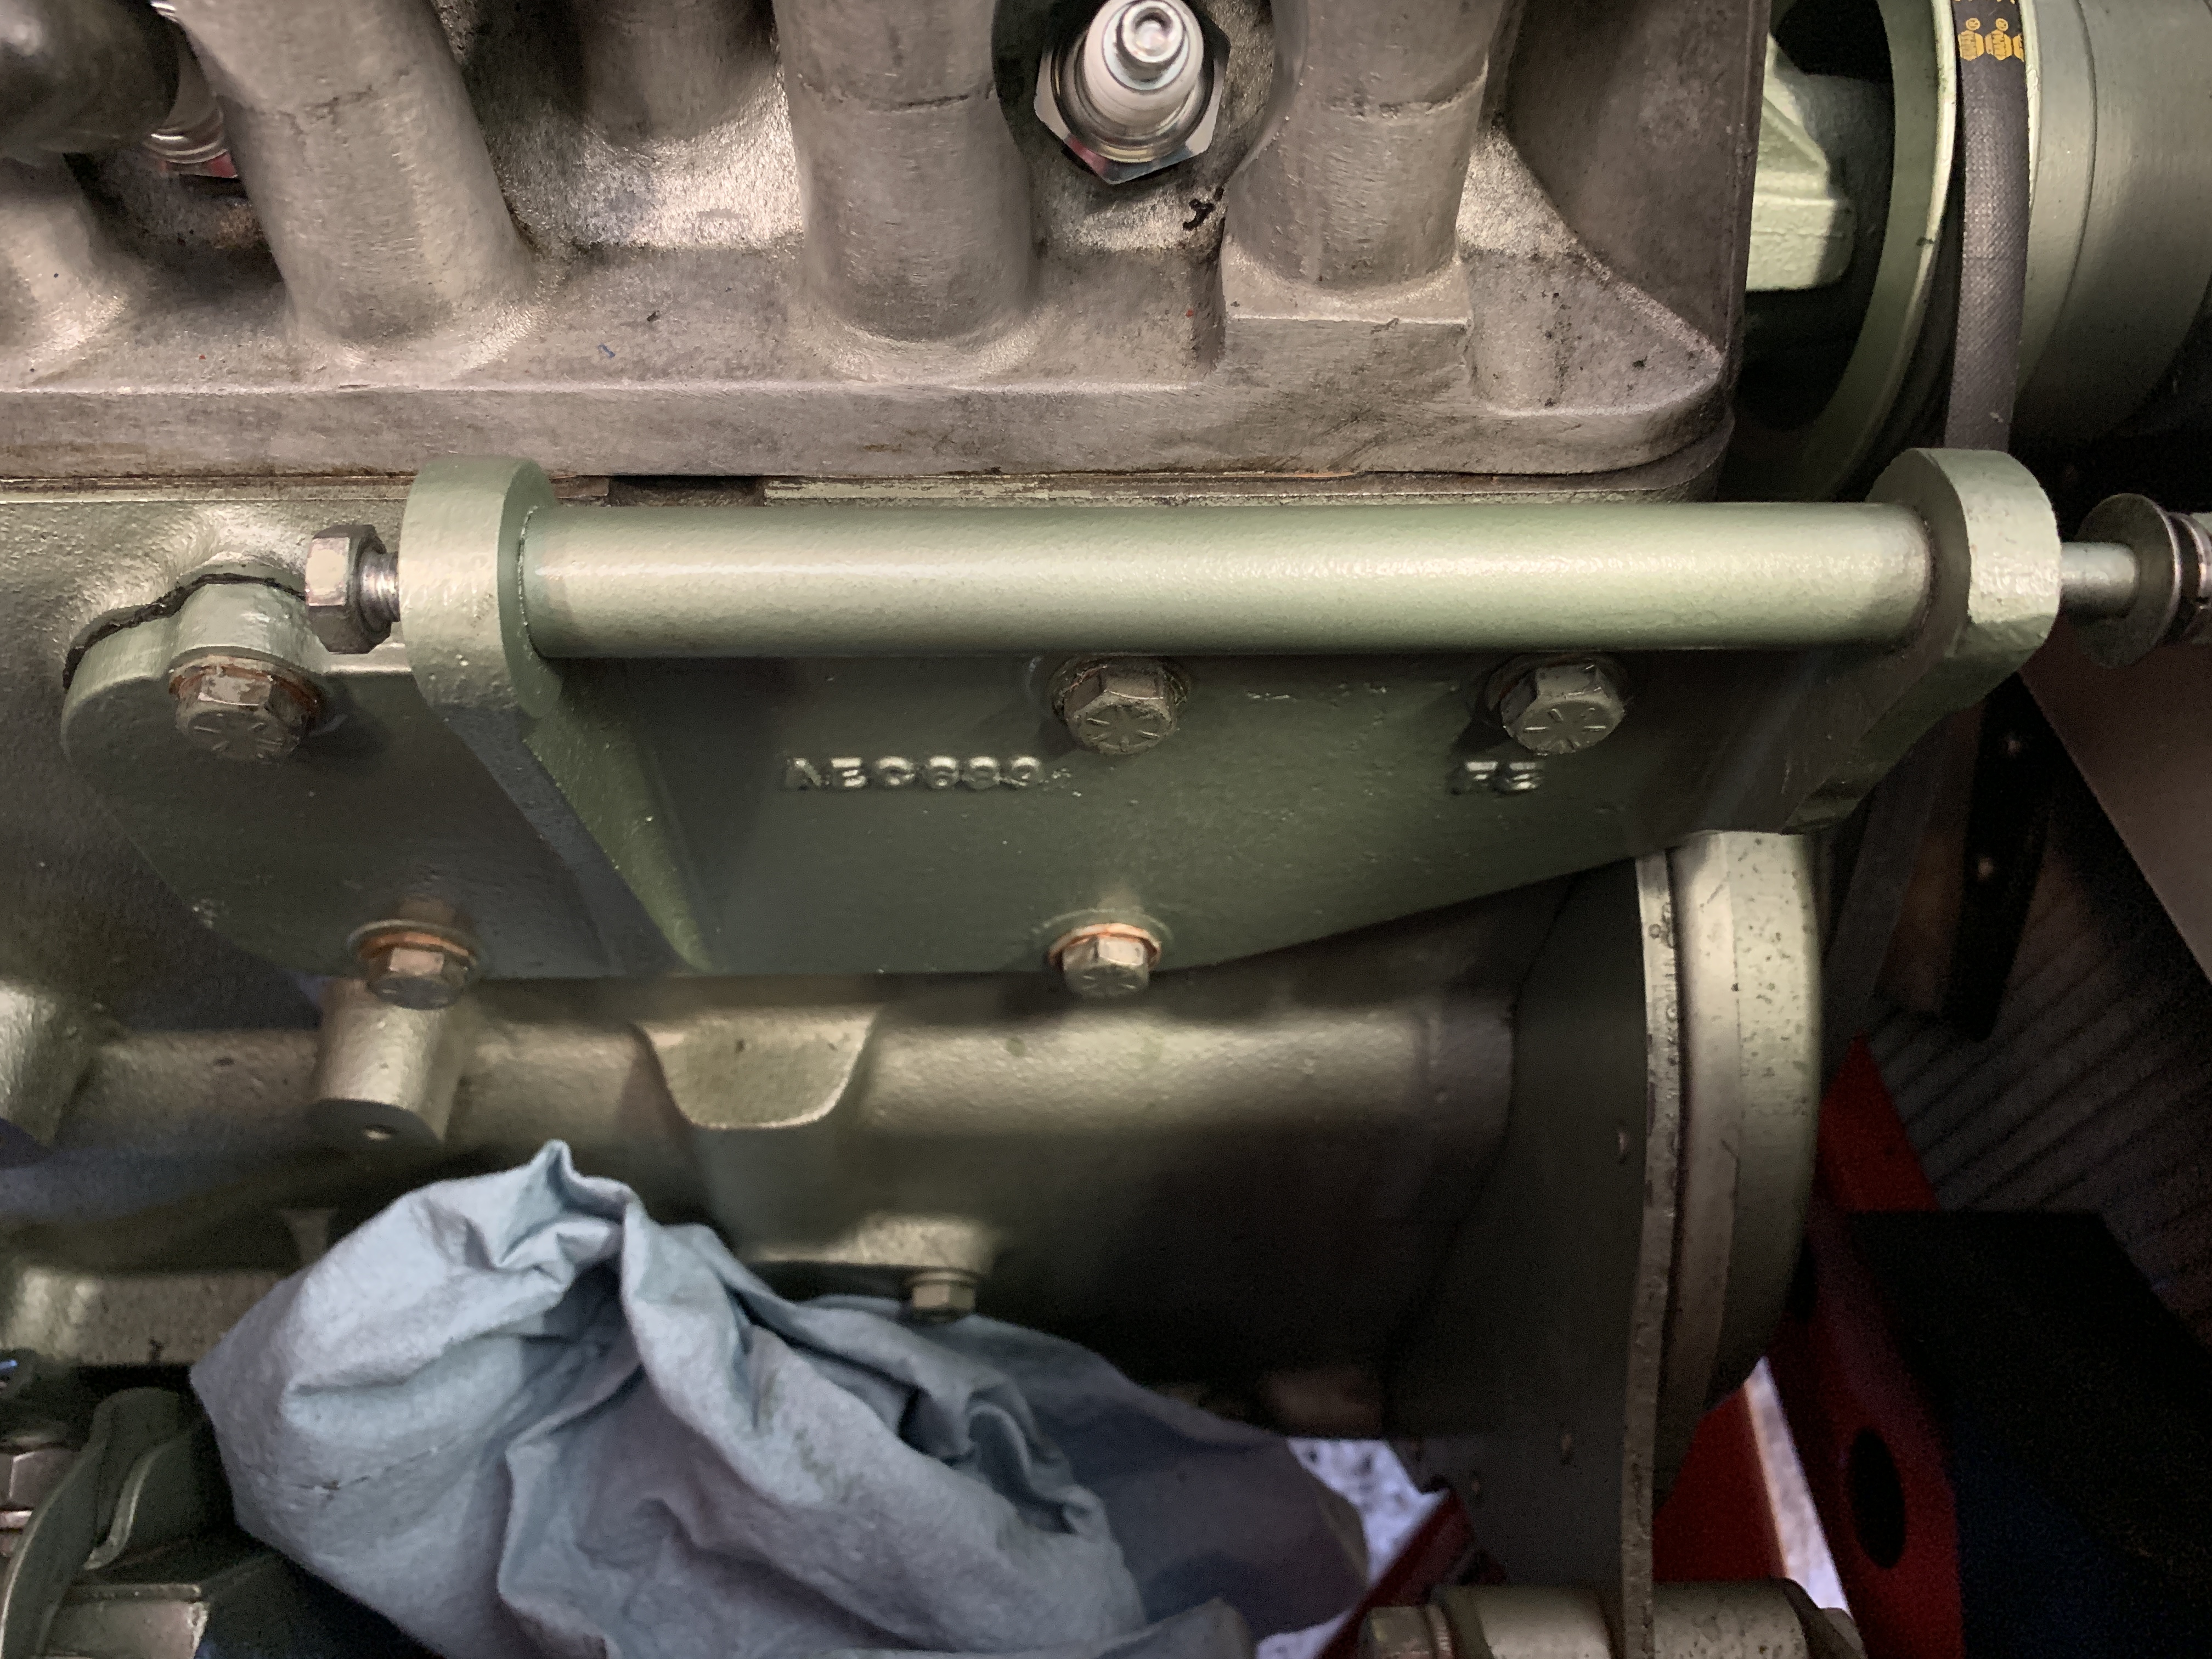
The five mounting bolts that secure the front cover to the cylinder block are now accessible. In the image below, oil residue from the leaking cover can be seen.
Front Cover Cylinder Side AEC689
The cover is removed by loosening and removing the five mounting bolts and copper flat washers.
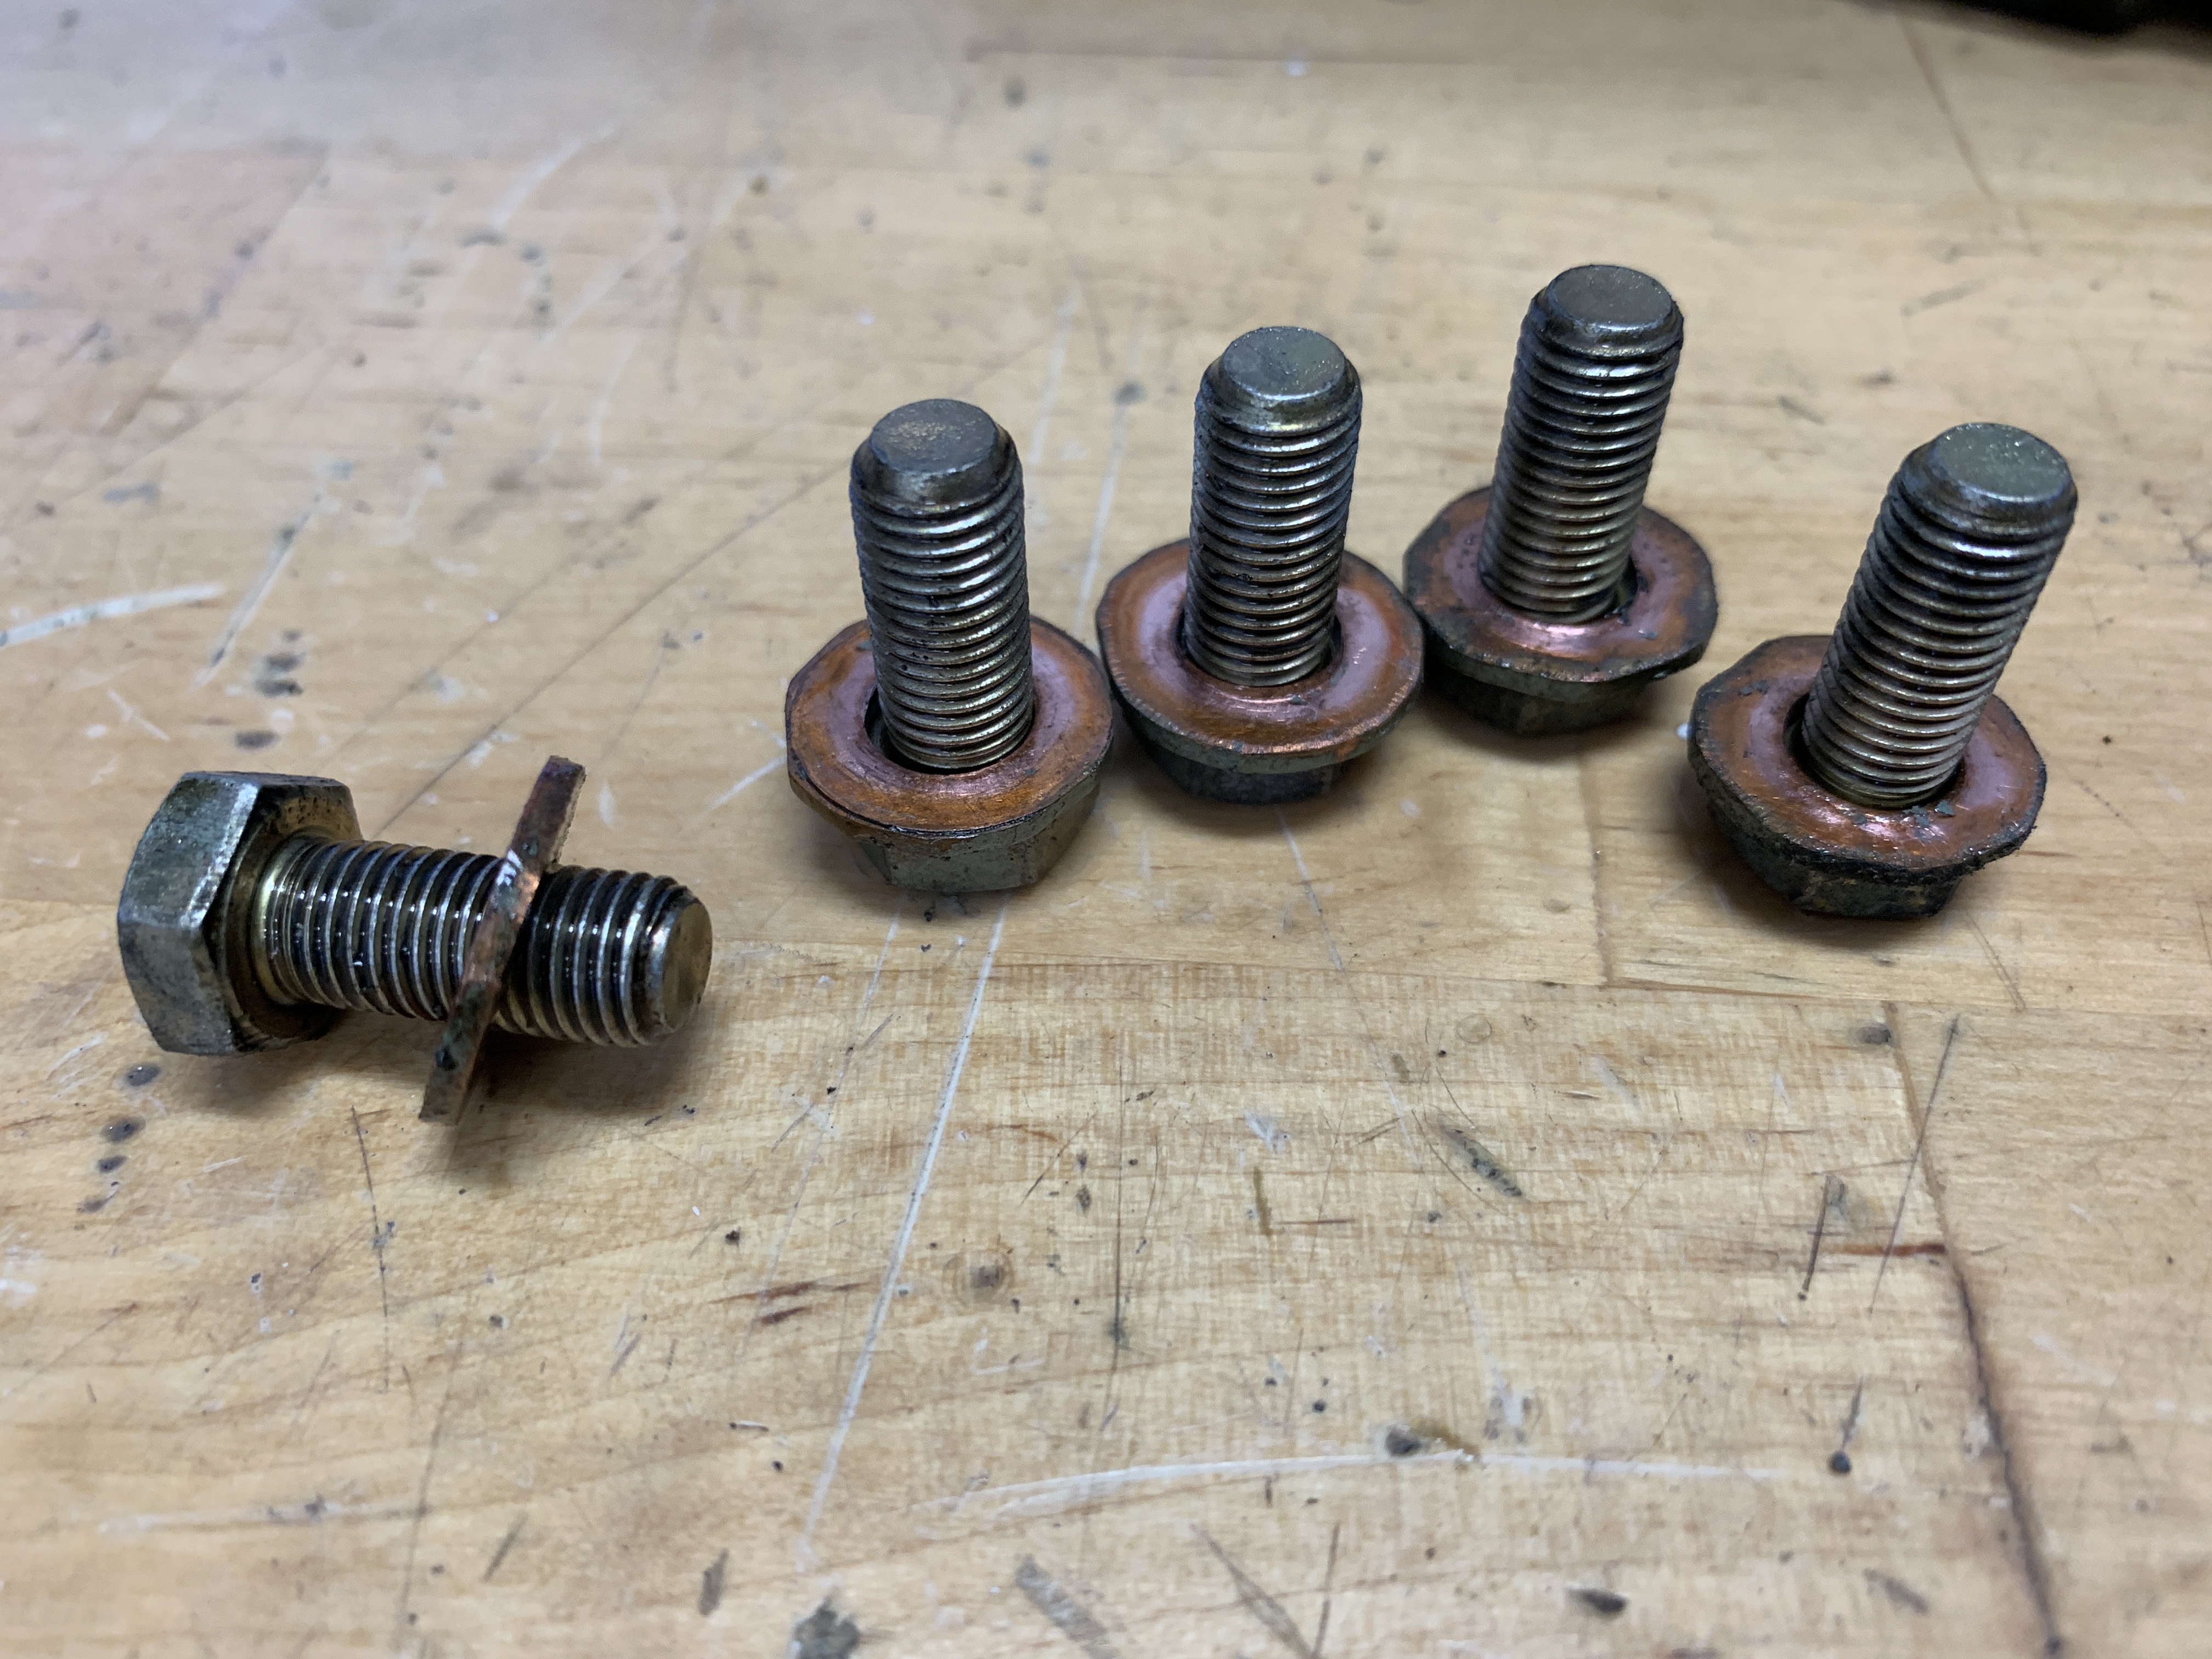
Cover to Cranckcase Screw HNS0506
The next task was to clean-up the cover by removing the old gasket and degreasing the part. I took advantage of the opportunity and repainted the cover prior to reinstallation.
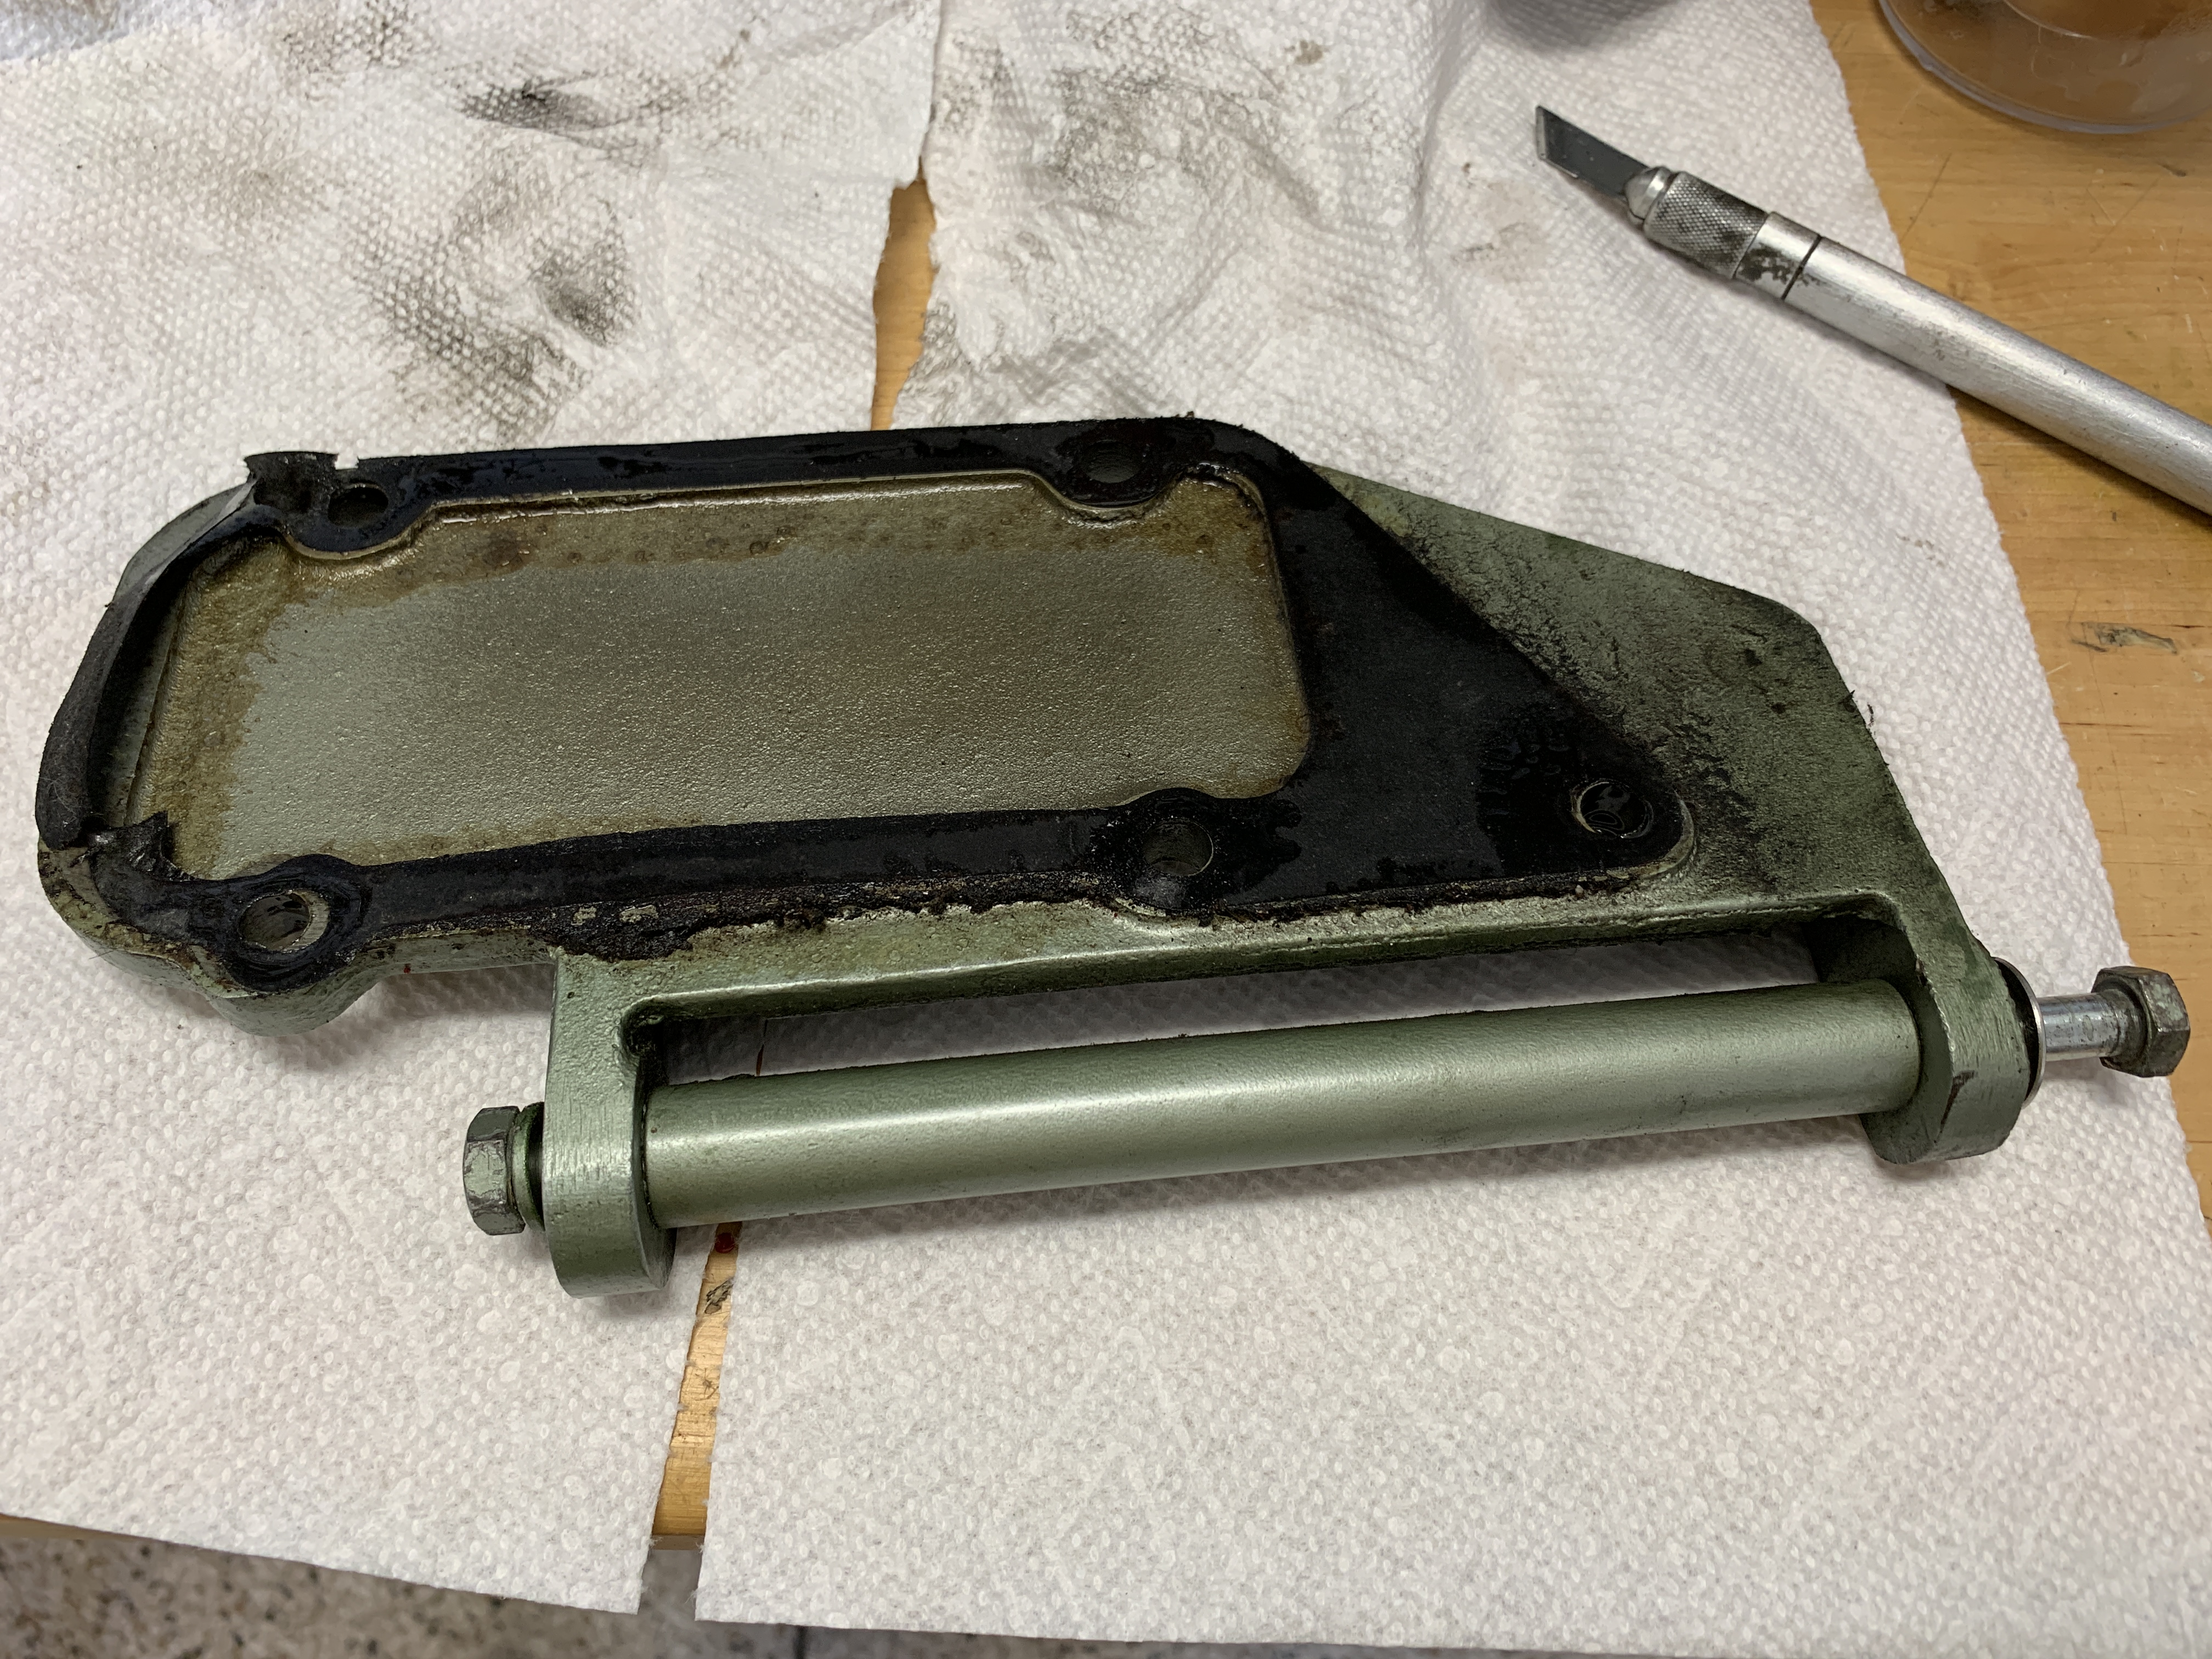
Removal of Cover Gasket AEC313
This is the freshly painted cover and the new paper gasket AEC 313.
Front Cover for Cylinder Side with new gasket and Custom Alternator Spacer
Before installing on the block I carefully cleaned the cylinder block and particularly the mounting flange for the cover.
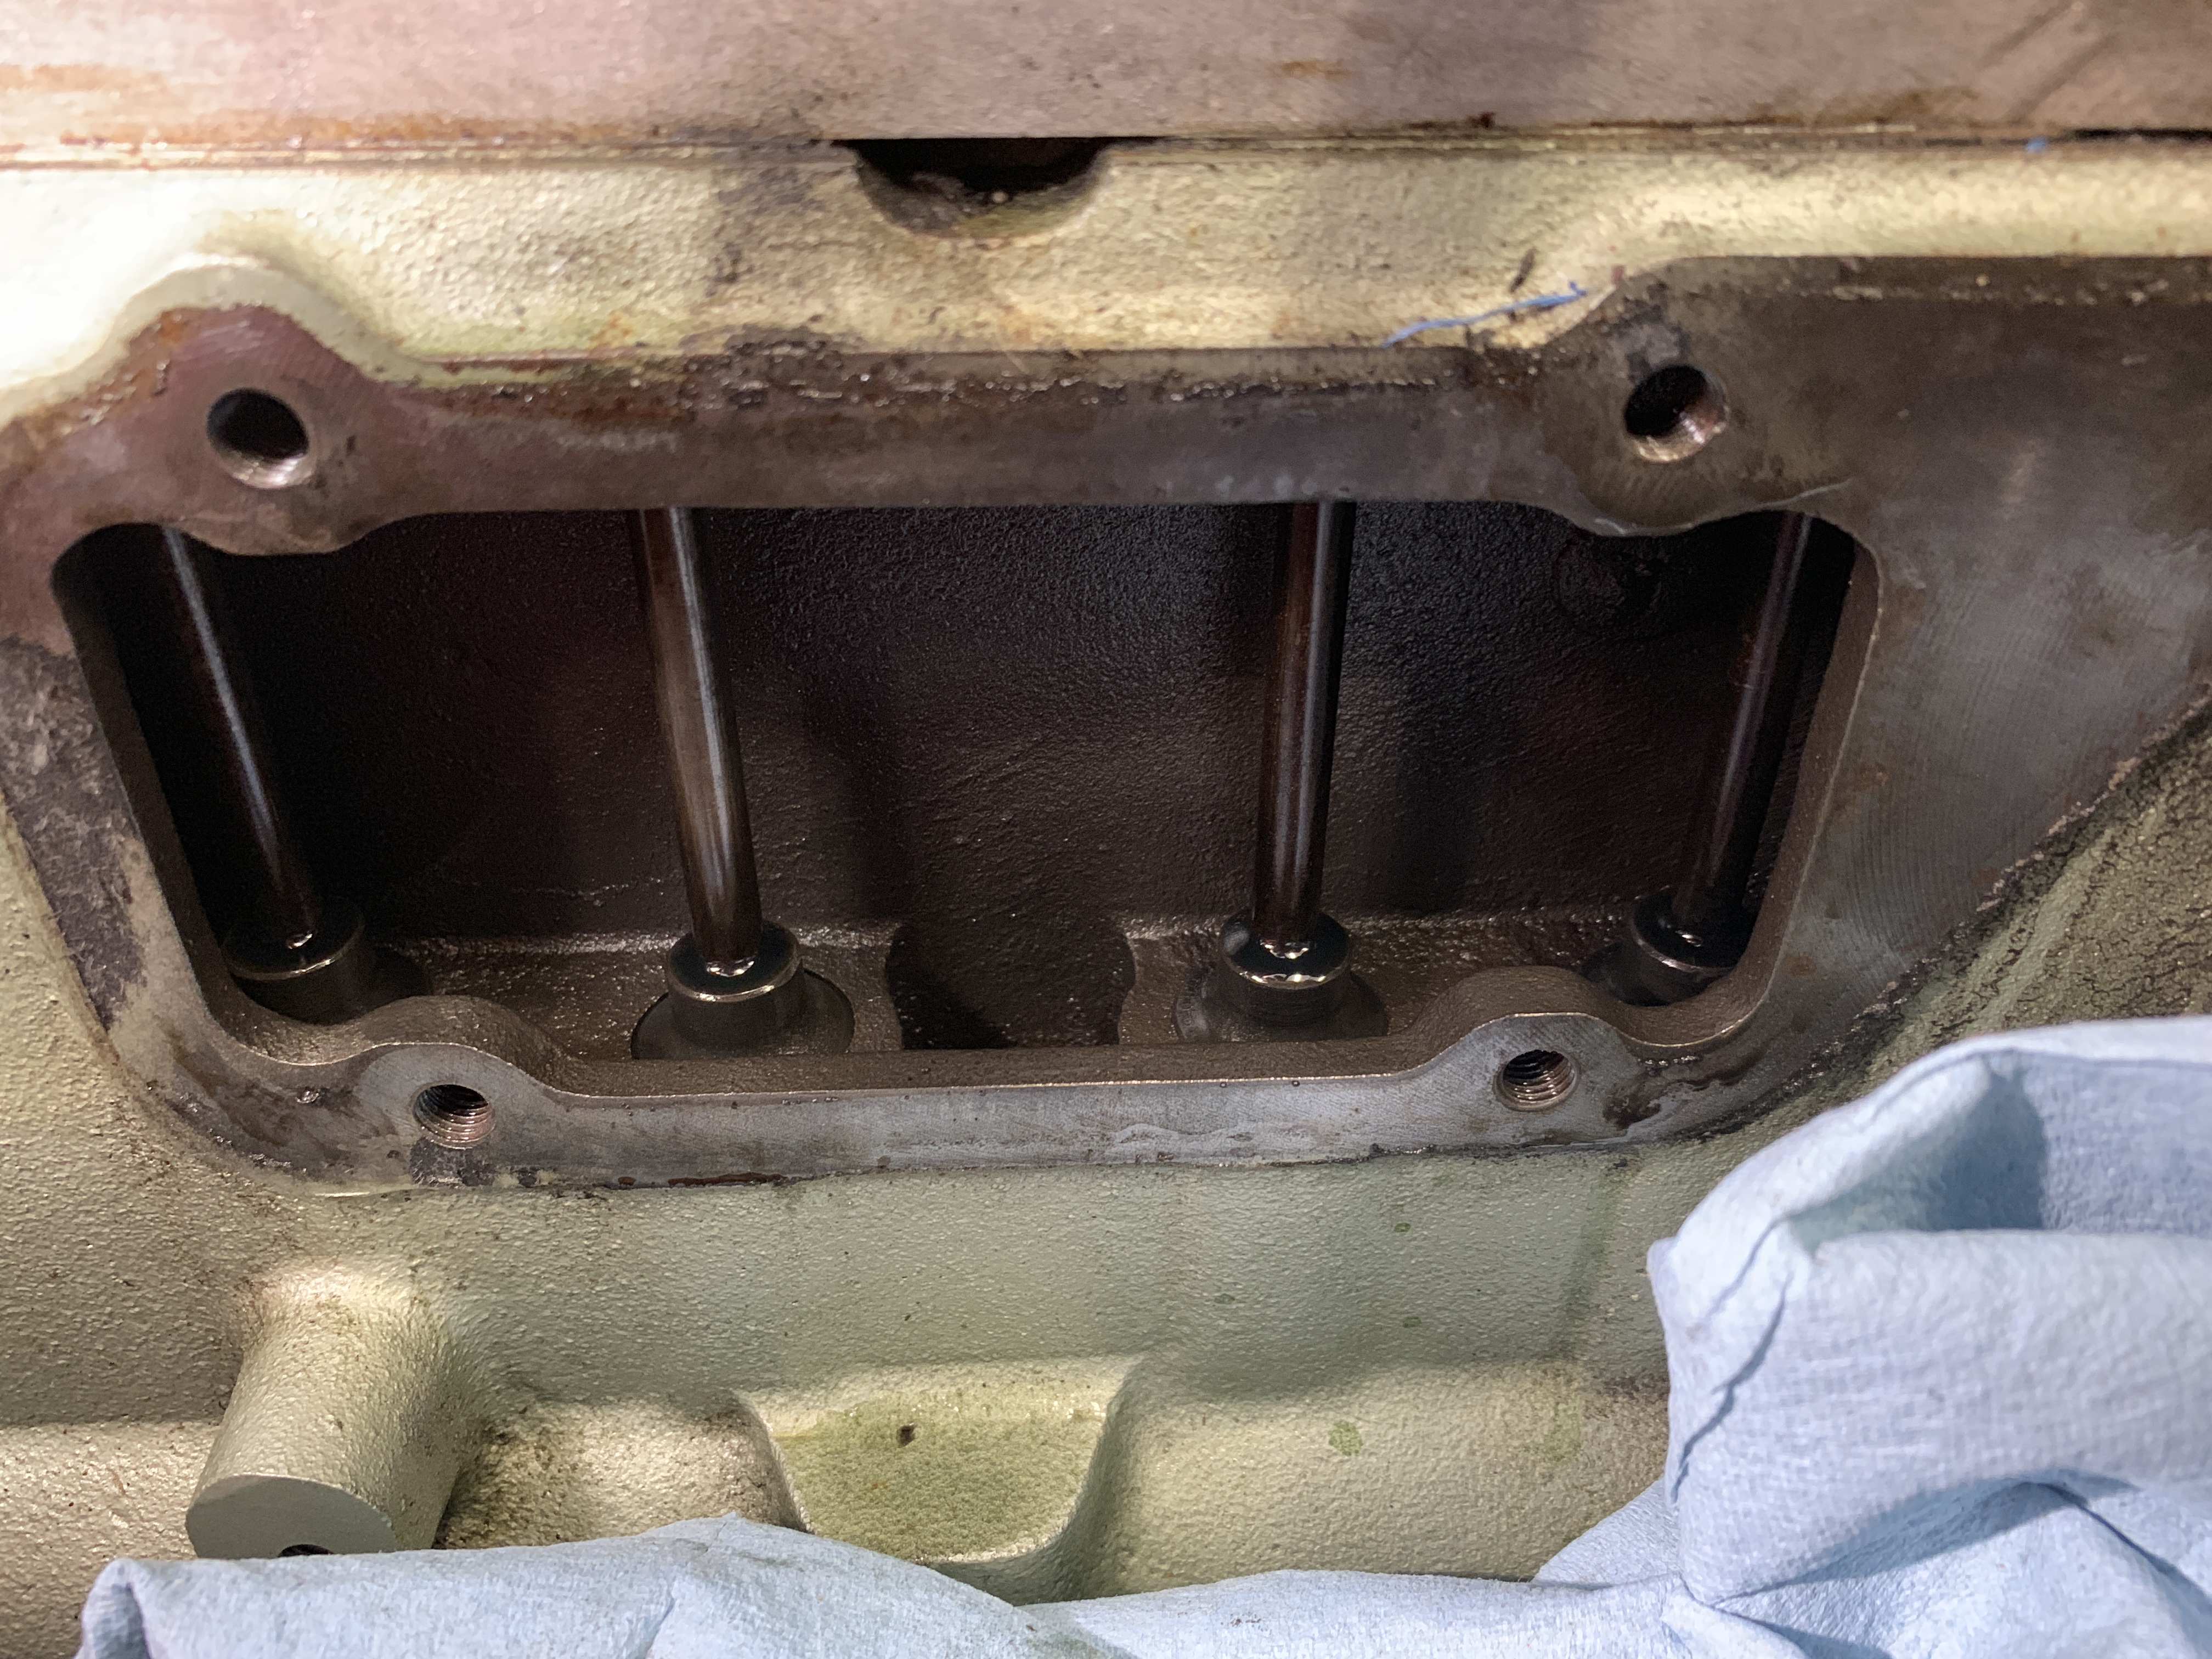
Cleaning gasket residue from cylinder block
I smeared a light coating of Permatex #2 Form-A-Gasket Sealant on the gasket and placed it on the cover, using the mounting bolts to center the gasket on the cover. I then smeared the other side of the gasket and then mounted the cover to the cylinder block using the five bolts and washers previously removed.
Front Cover Cylinder Side Reinstalled
While the alternator on the car was functioning just fine I decided to go ahead and install a new (rebuilt) alternator in its place. one must take care to ensure that the fan belt is properly located on the crank, water pump and alternator pulleys. With the alternator held in place the front mounting bolt can be reinstalled through the ear of the alternator, and the cover and then screwed into the threaded spacer tube.
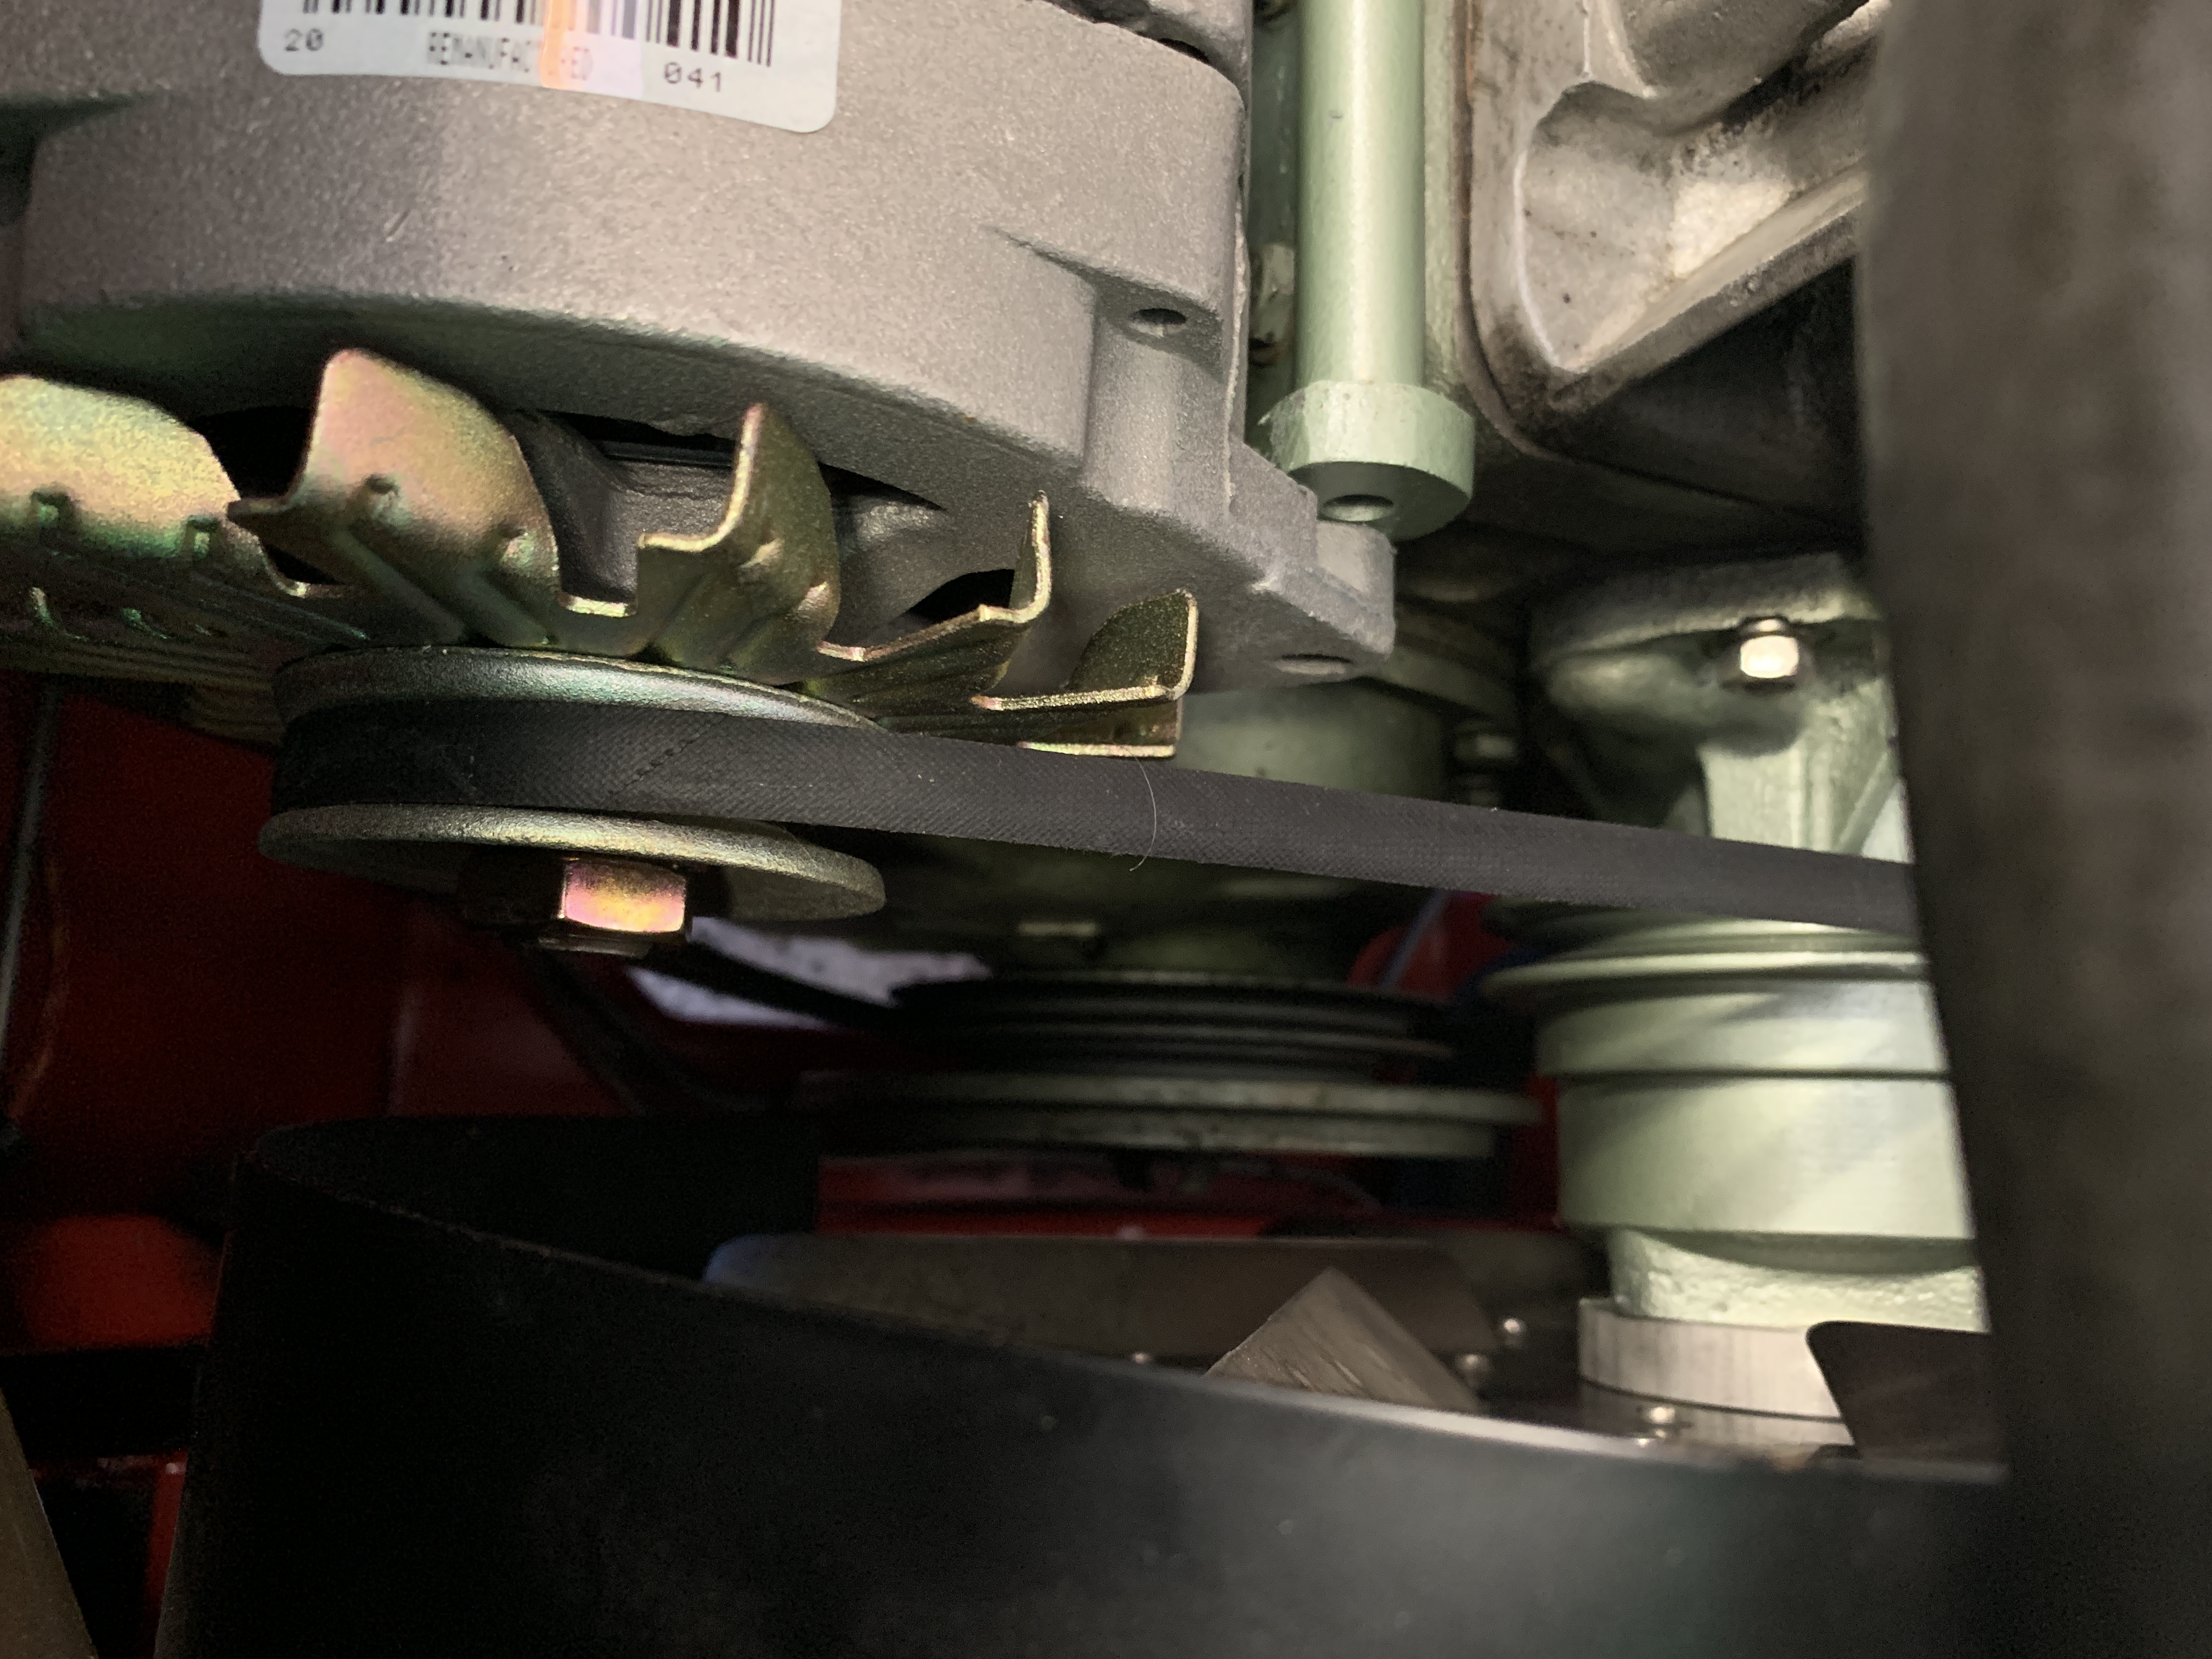
Alternator Mounting Ear
The 3″ bolt was then inserted through the swing bracket and the “wide” mounting ear of the alternator and tightened providing approximately a 1″ deflection of the fan belt.
Finally, all electrical connections were made and after a final check the boot master switch was turned to the “on” position.
The car was then test driven with the charging light on the speedometer switching off as the car accelerated.
One more job complete!