
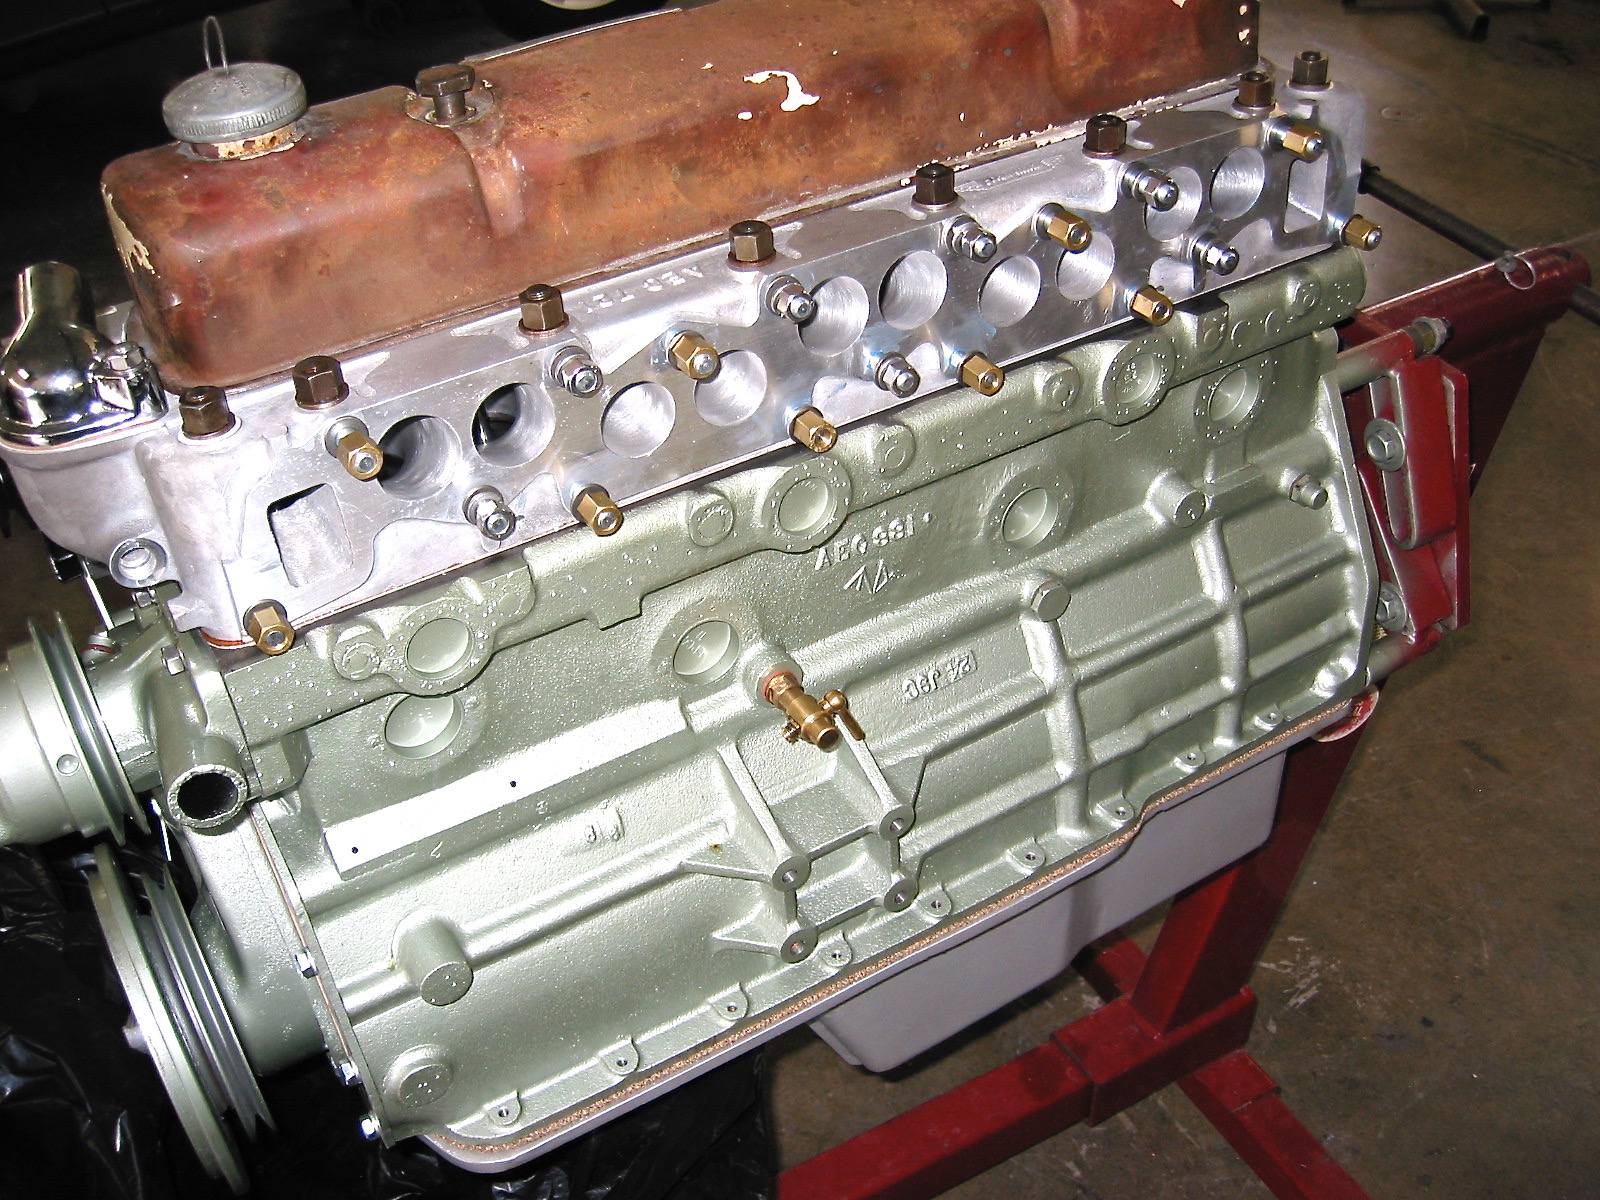
I went out to visit Jack at Coach Works and check on the progress of the motor assembly. I was pleased to find that he had mounted the spin-on oil filter, the alternator with the bracketing kit from Hendrix Wire Wheel (made by Don Lenschow), the rebuilt original water pump and pulley from World Wide Auto, the tach drive, the harmonic balancer and crank pulley, the oil feed line, the drain valve, the head gasket and Denis Welch aluminum head, the chain tensioner and timing chain, the timing chain cover, the tappet covers and the aluminum oil sump from British Parts Northwest. The BPN aluminum oil sump bolted right on with no adjustment required of the oil strainer or drain pipes.

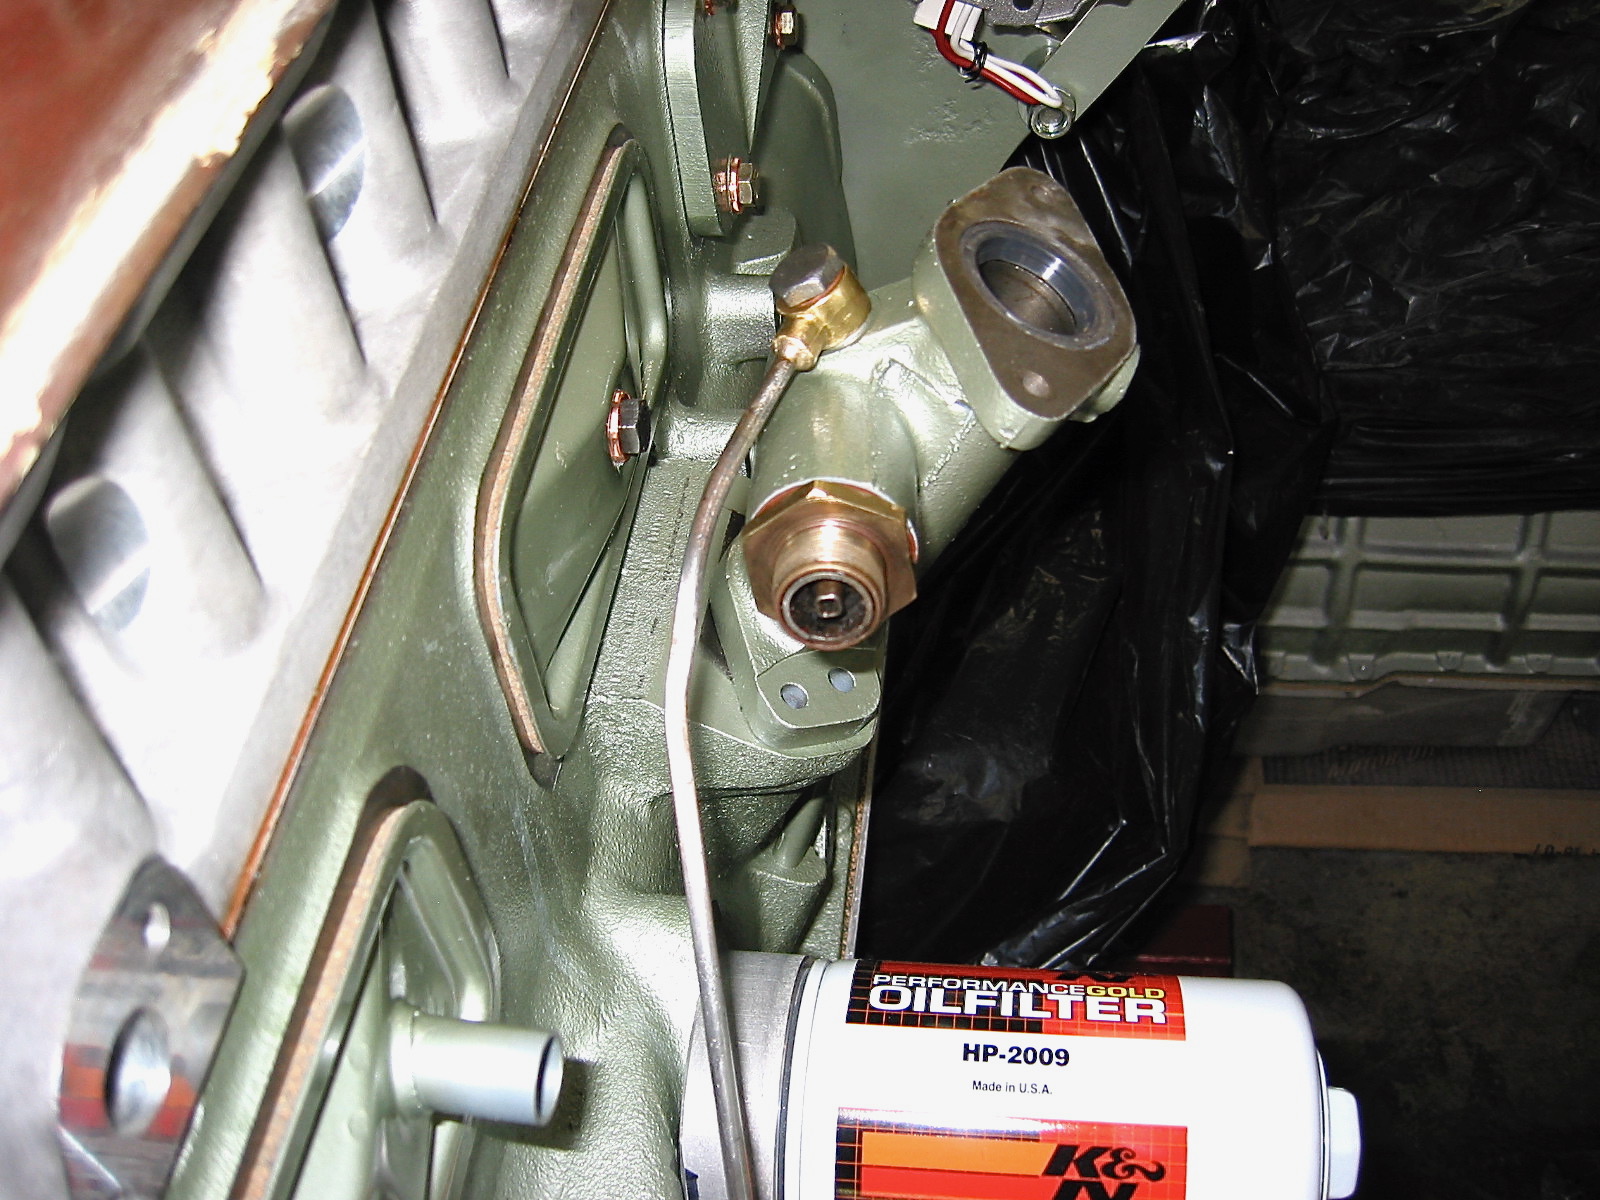
Spin On Oil Filter

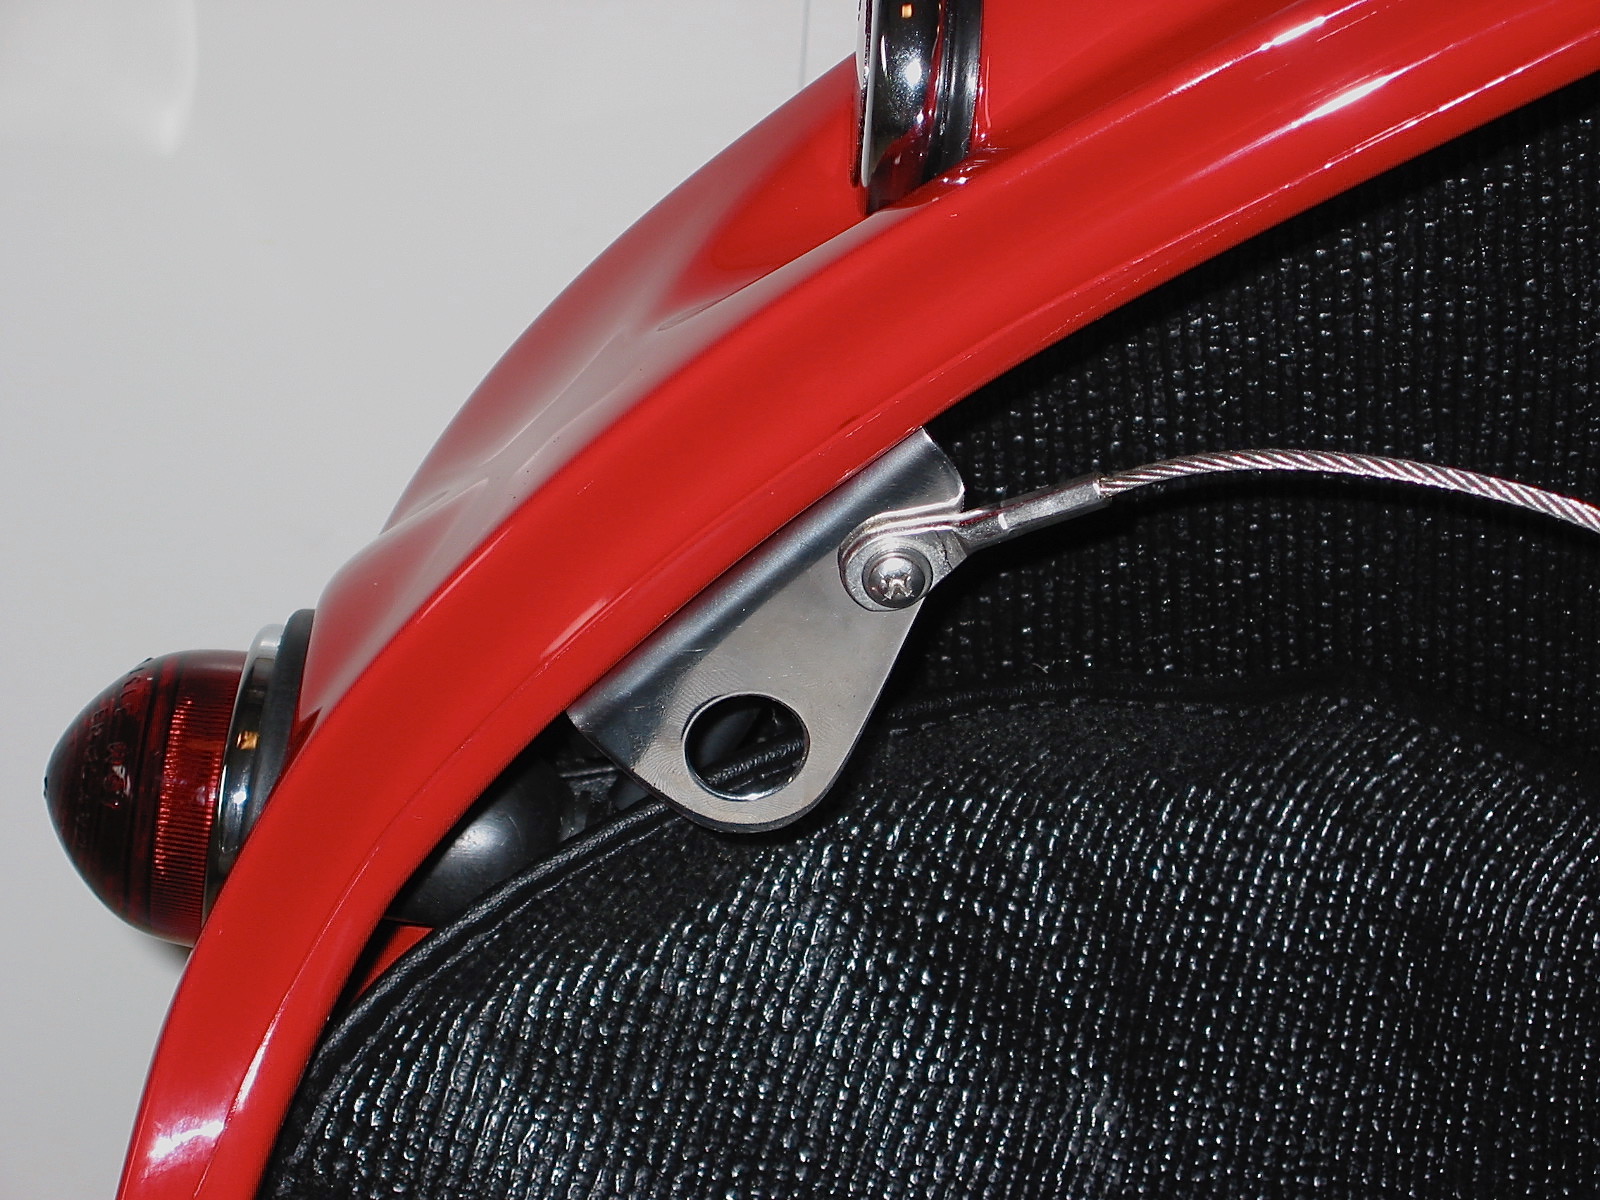
Water Pump and Alternator
Tach Drive
Coolant Drain Valve

Tappet Covers
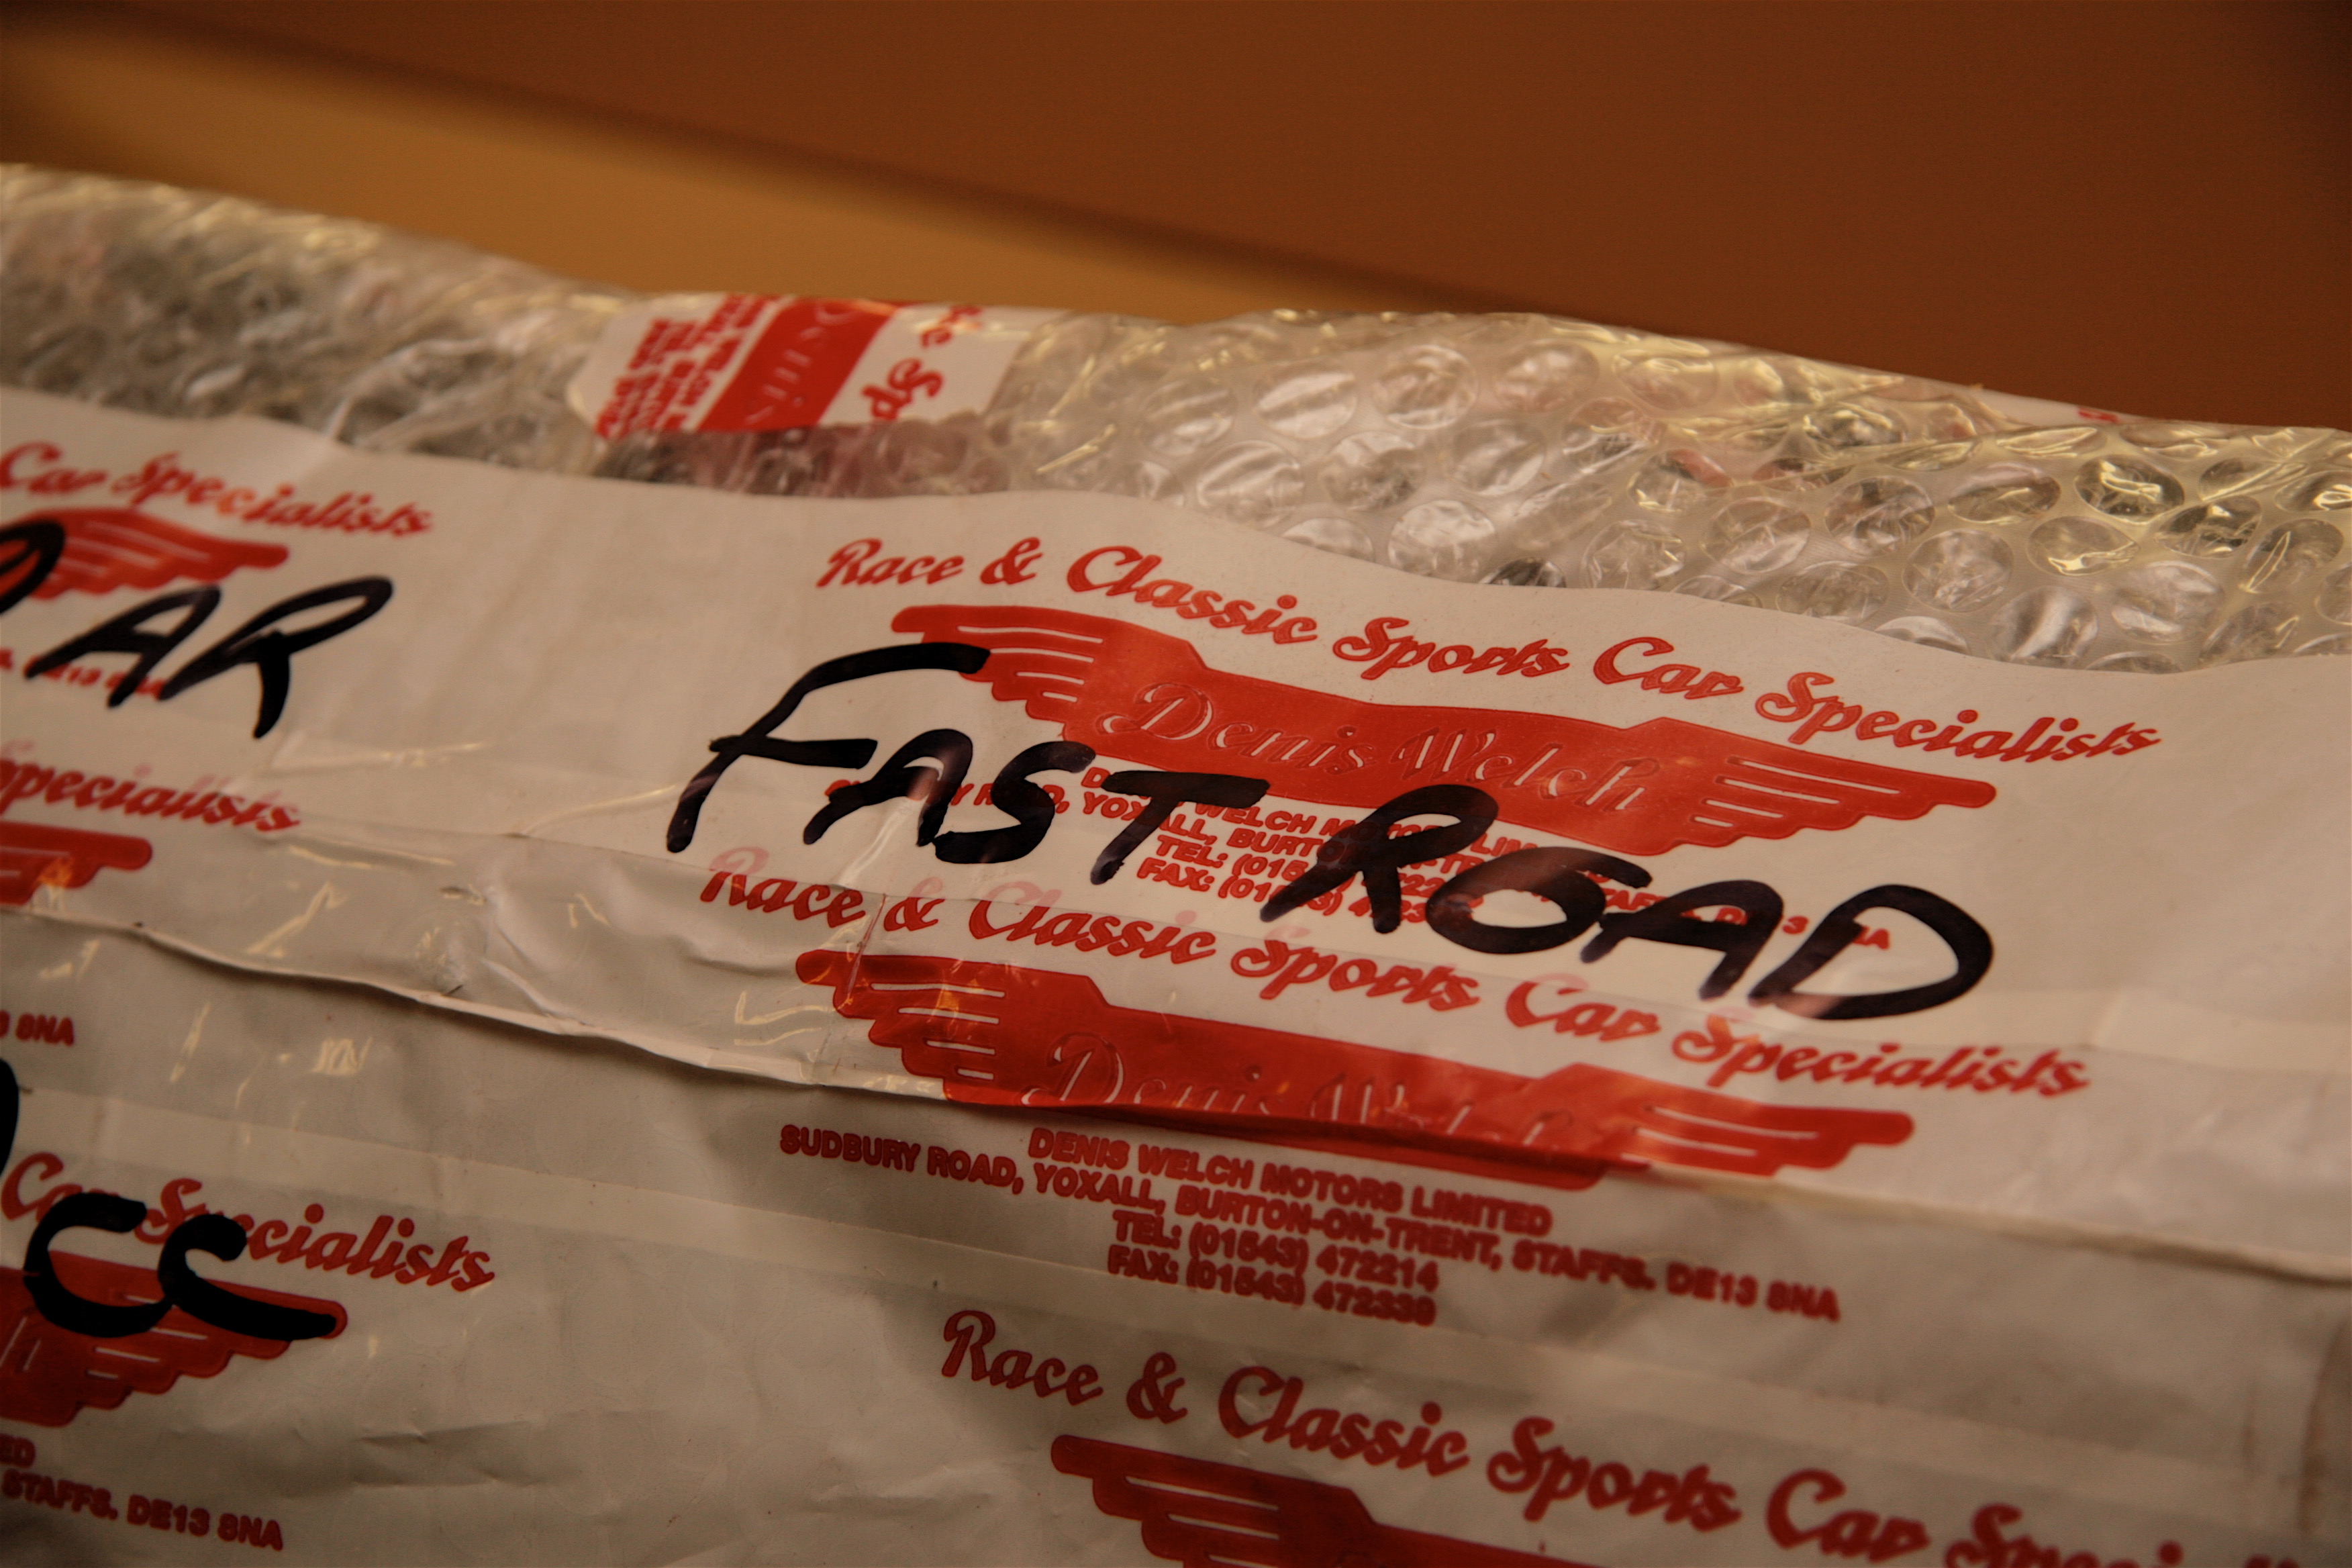
I failed to mention in earlier posts that I had ordered and received a new aluminum head with valves, springs and etc. from Dennis Welch Motosport. I ordered the “Fast Road” version. Yes, it did make me happy
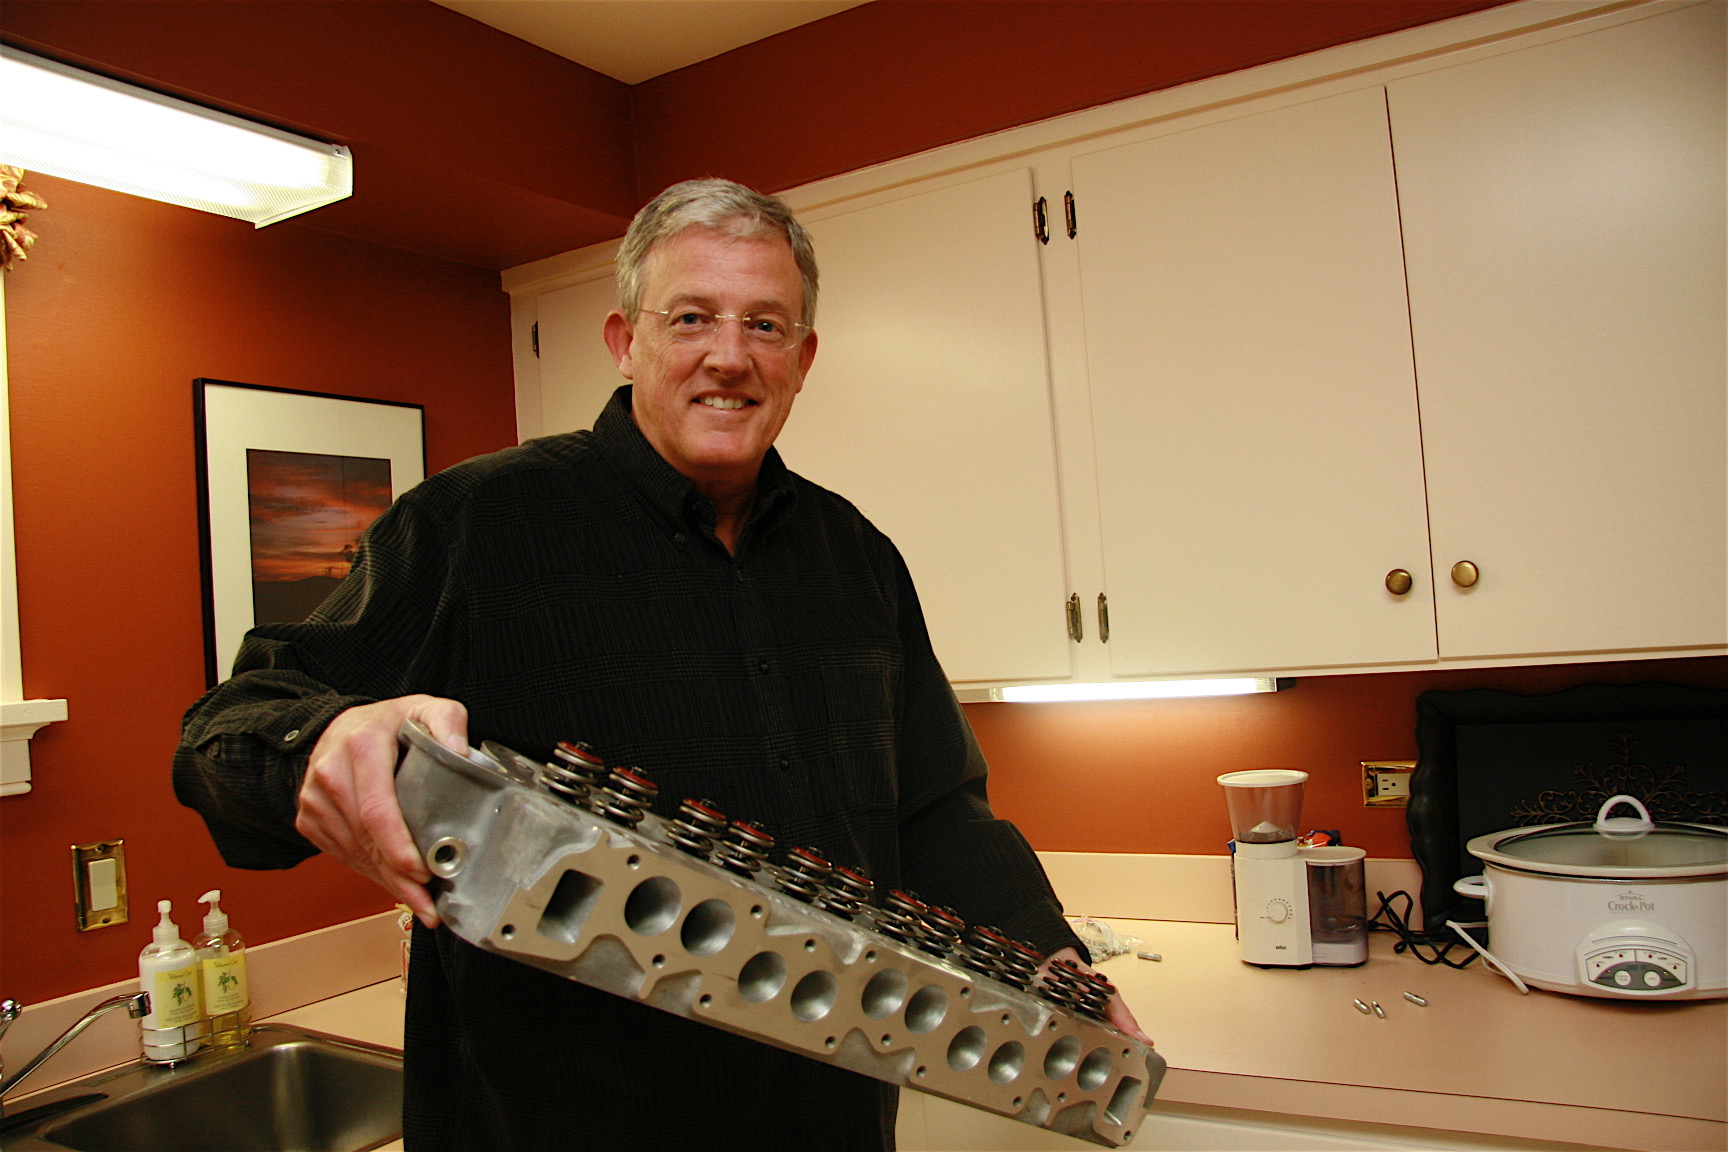
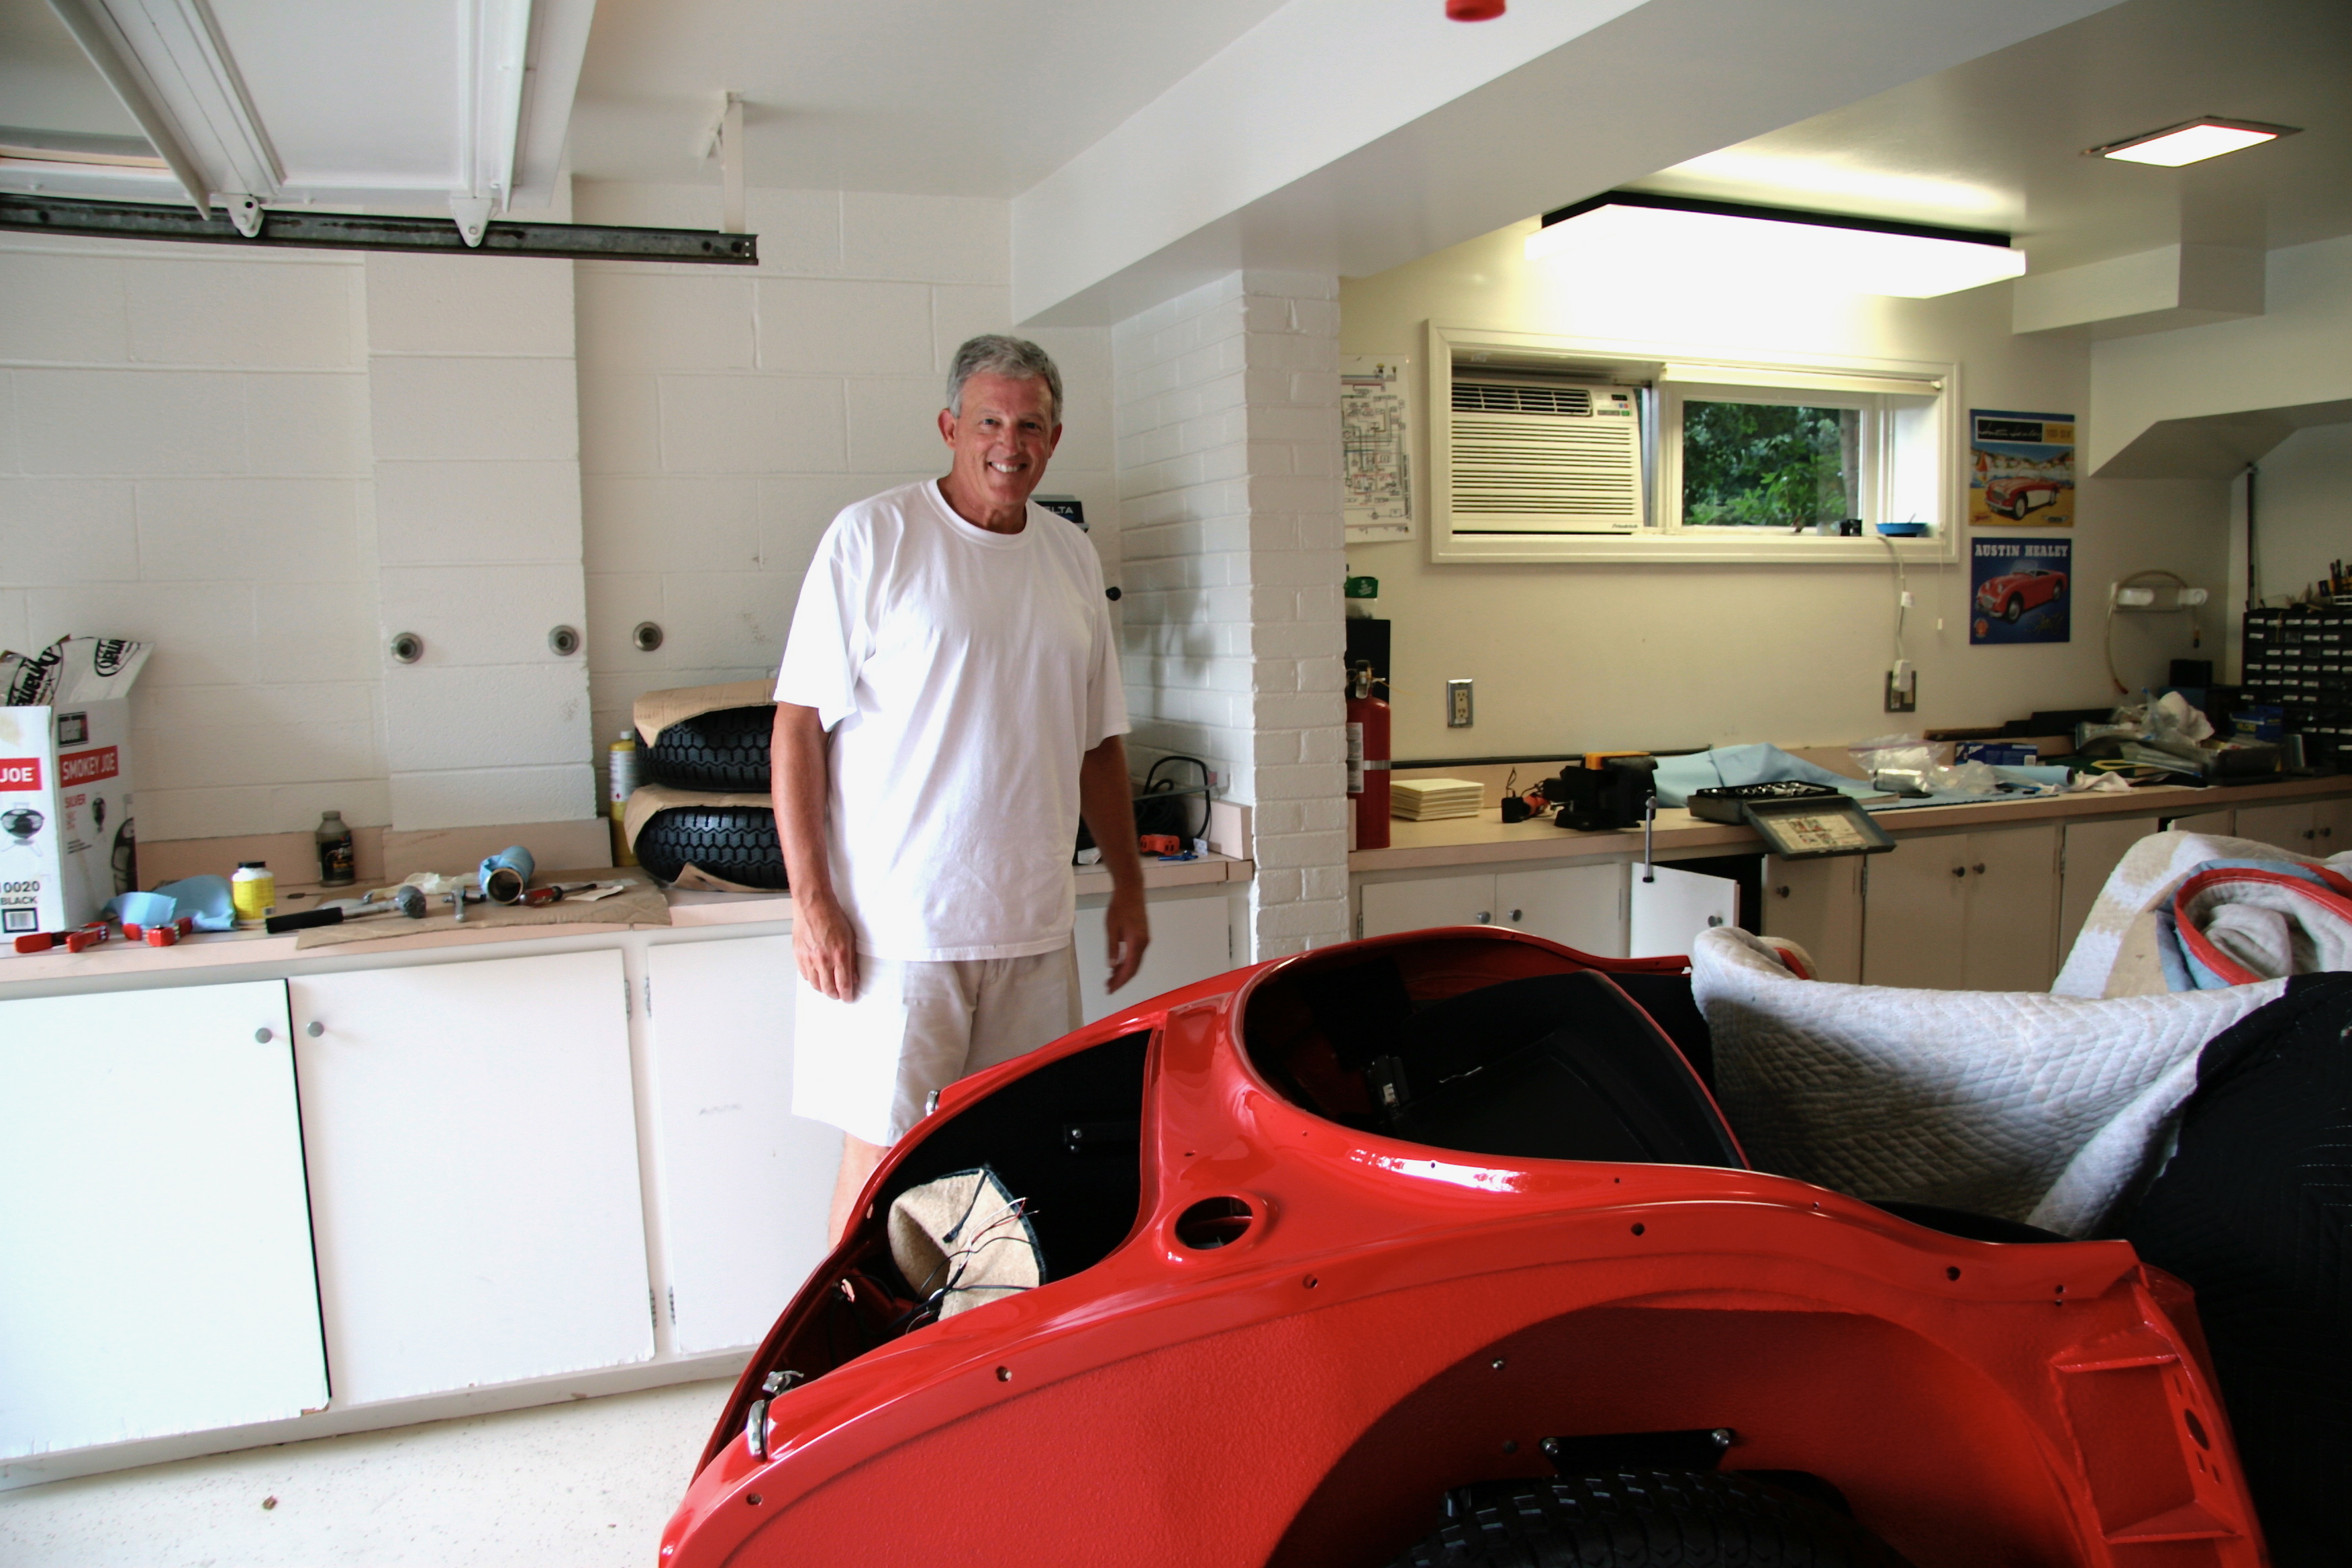
A present for myself!
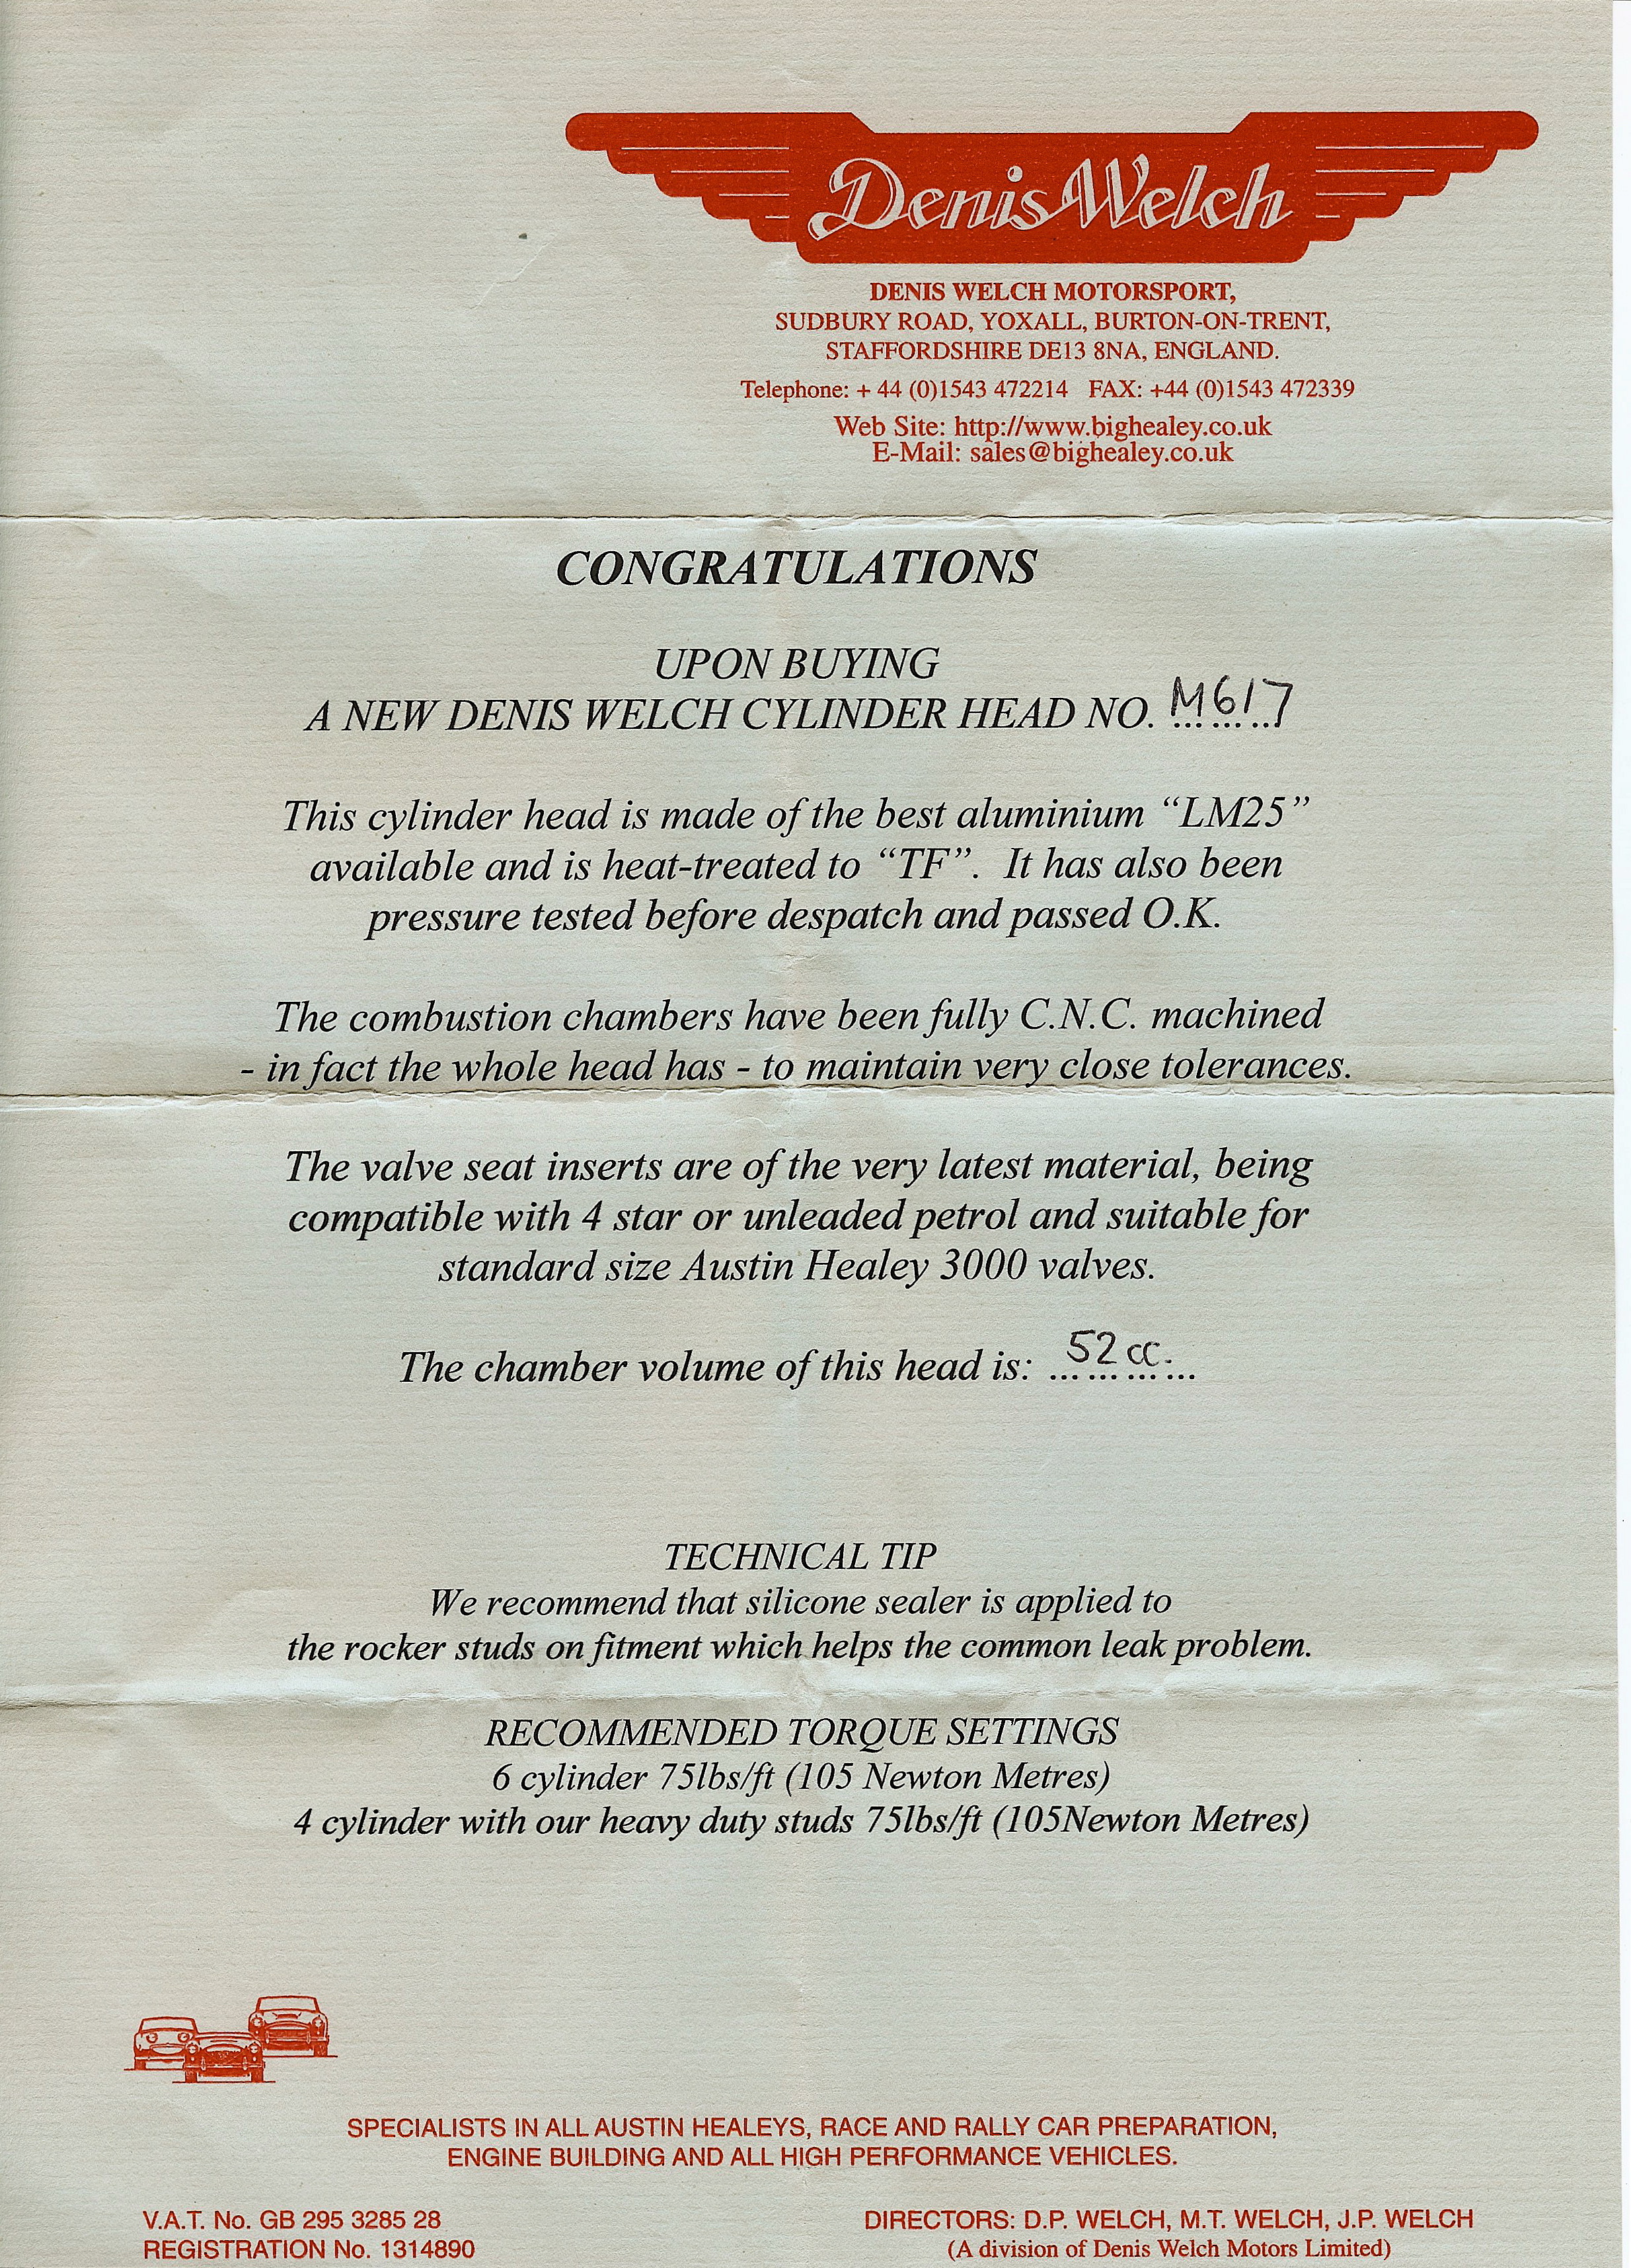
Aluminum Head Tech Sheet
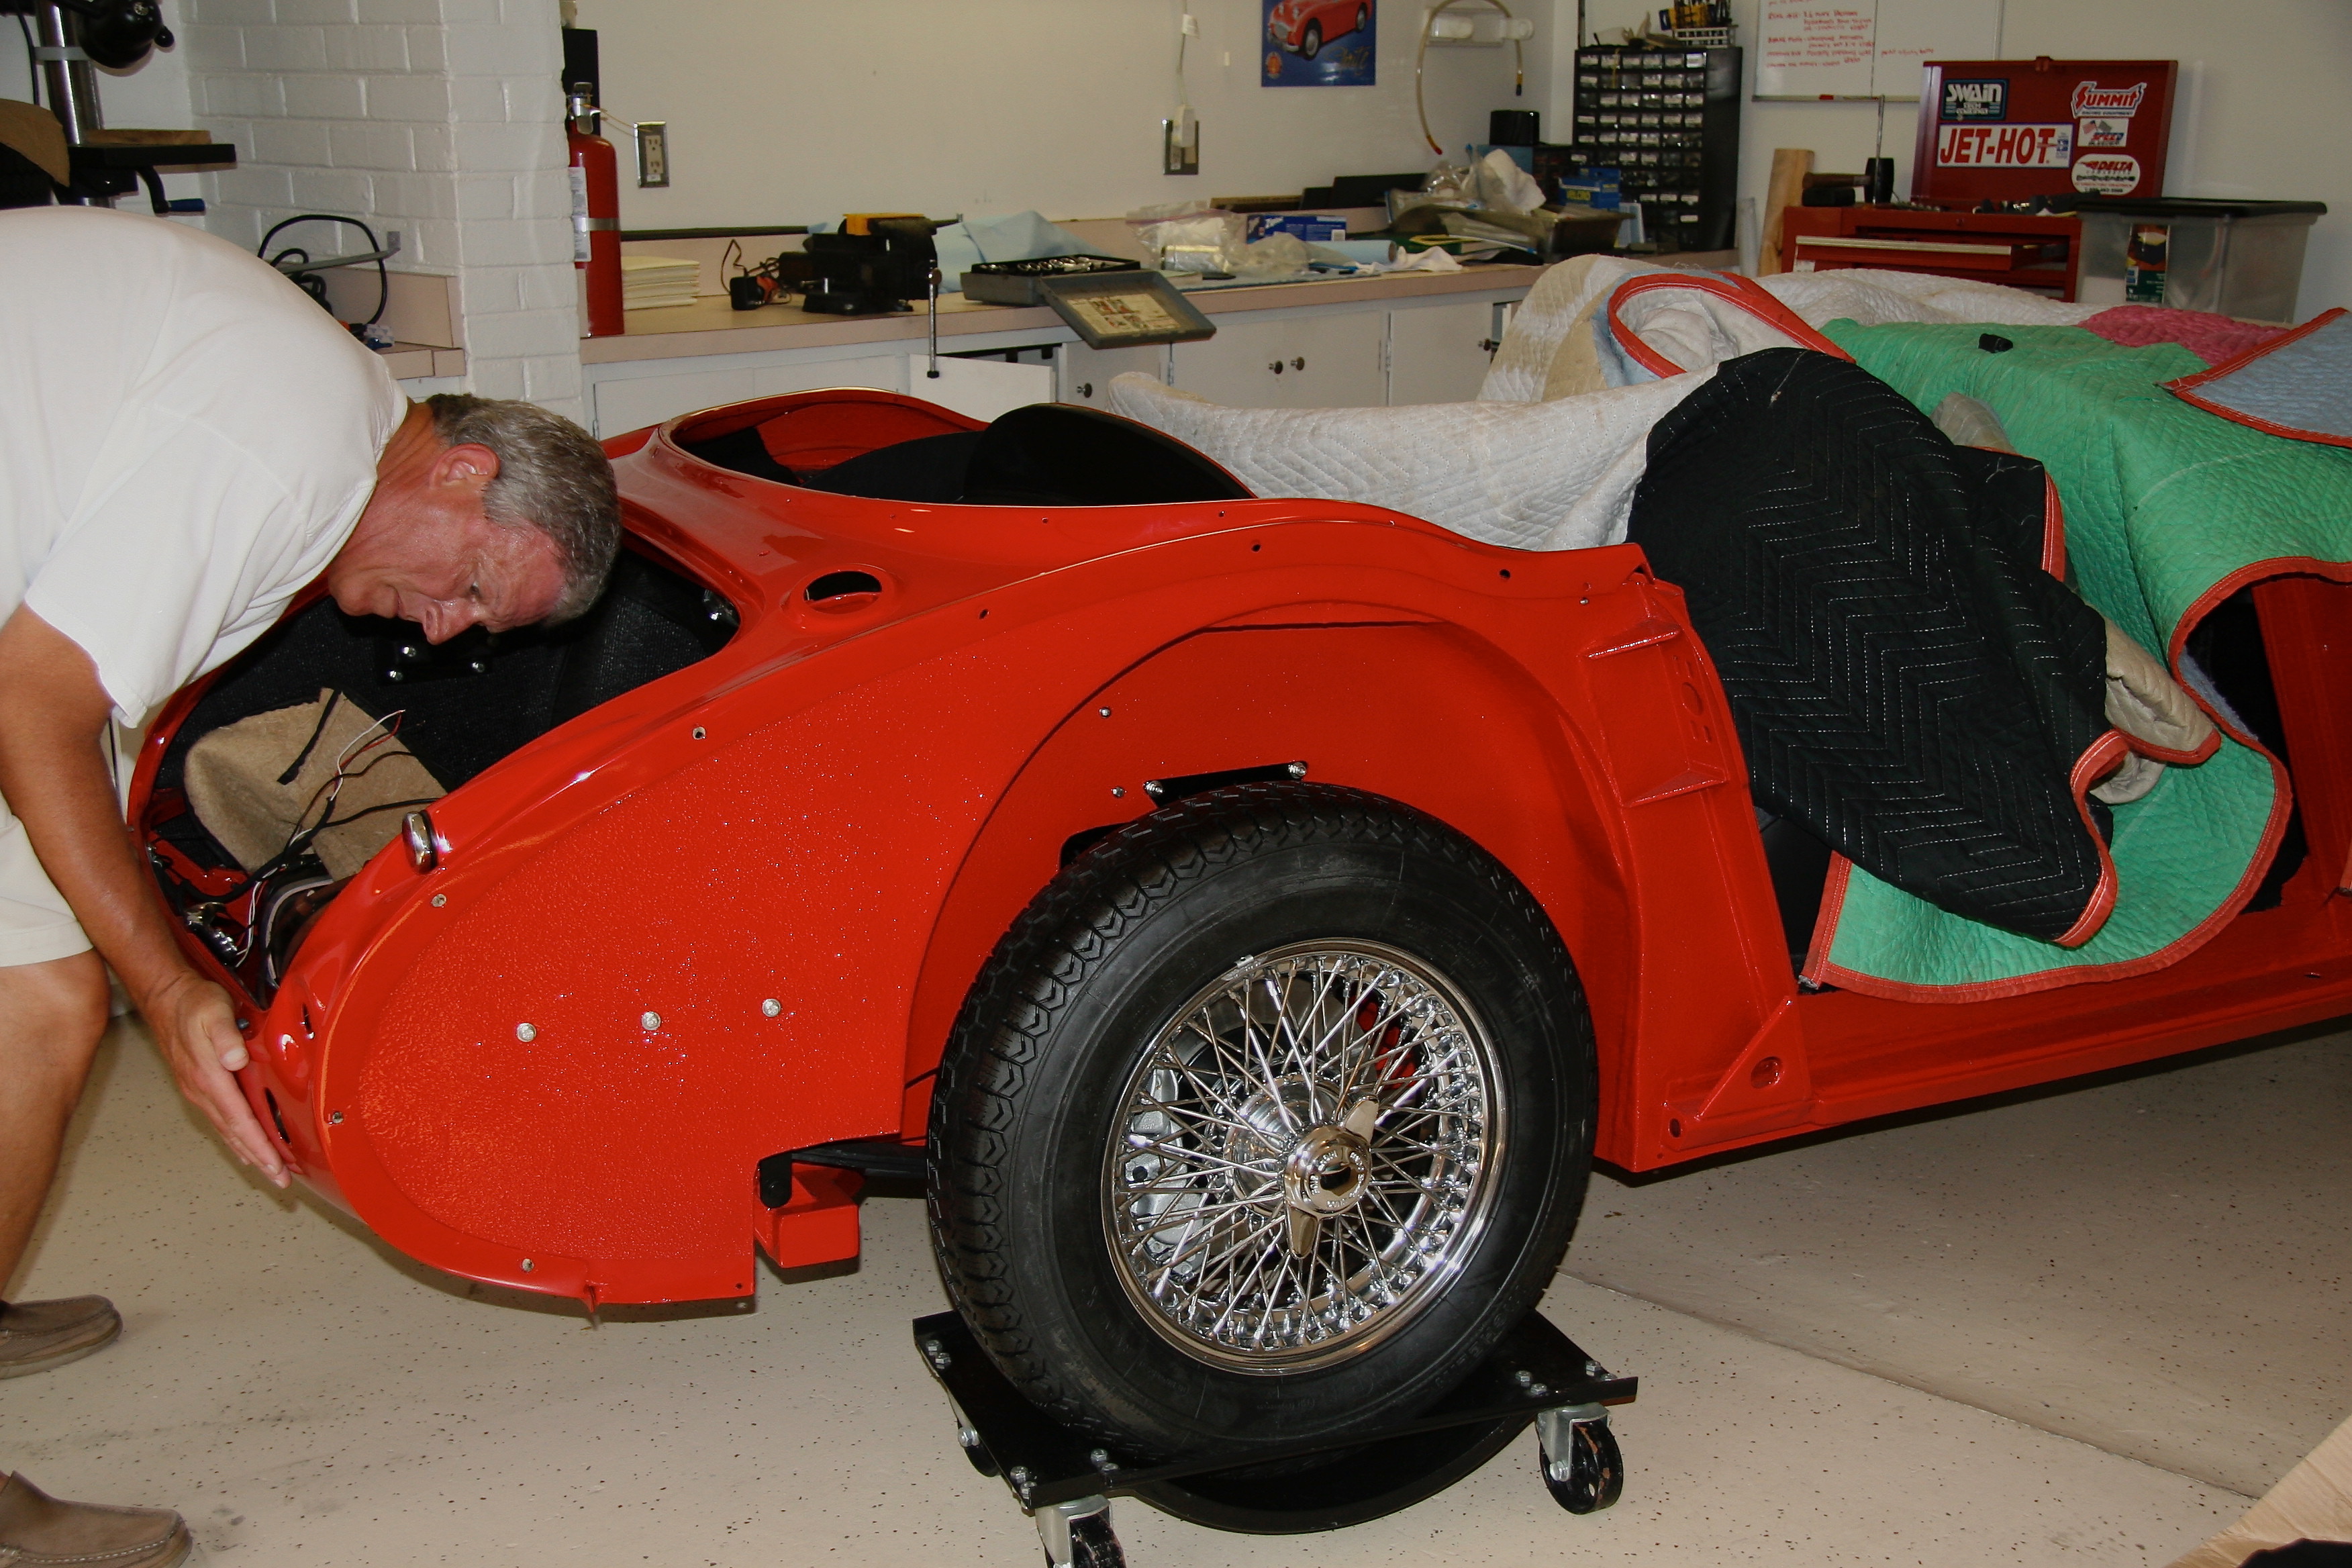
You got it!

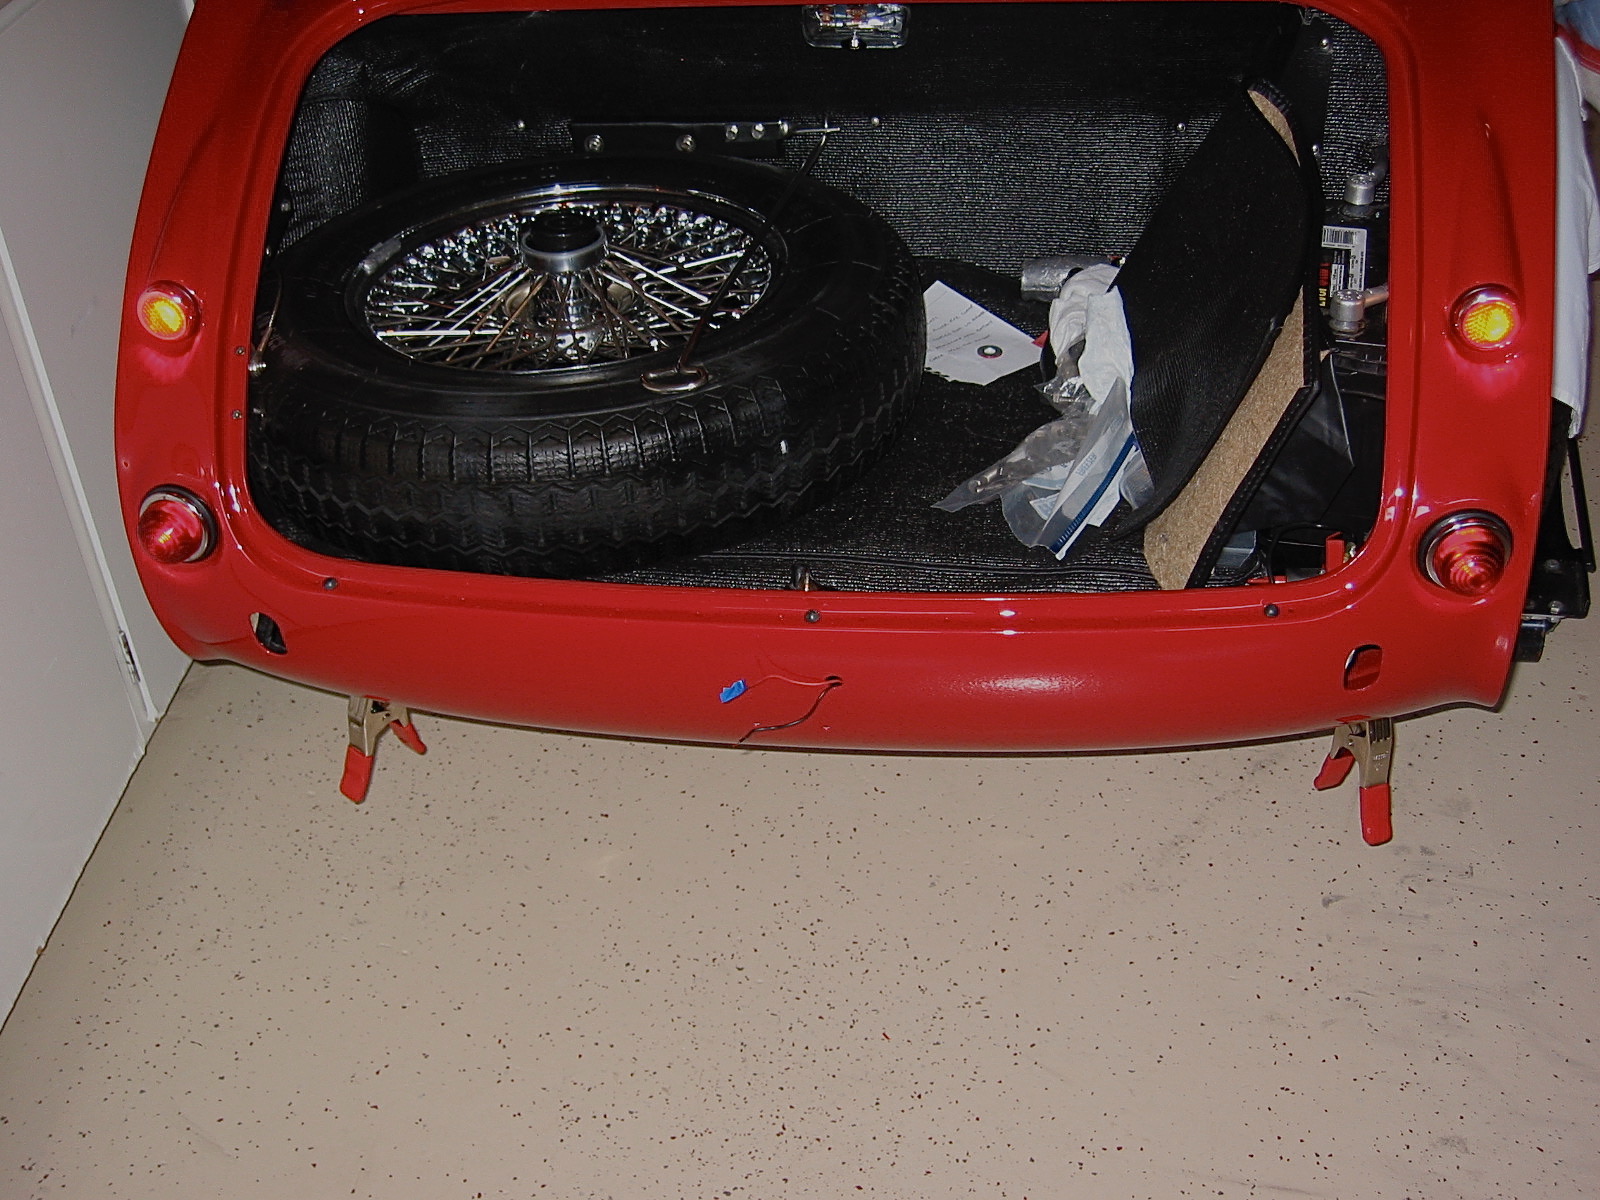
New Studs
I got over my fear of touching the rear shroud! I placed it on the superstructure and bolted it on through the two steel threaded mounting plates near the front of the shroud. I then clamped the bottom lip in the rear
Fitting Rear Shroud
Fitting Rear Shroud 4
I mounted the rear reflectors that I had converted to lamps A-H Reflector conversion Charlie Baldwin and the rear lights/turn signals.

Rear Lights
Rear Lights 2
I discovered one reality the hard way. On the left turn signal lamp you have a red wire, a white with purple wire, and a black wire (the right lamp is the same except the white wire has a brown stripe in it rather than purple). These red and white wires must go to their proper terminals or you won’t end up with the turn signals functioning properly. I also learned that those chrome trim rings can be a pain to install in the rubber lamp boots! Patience is required along with tools like a wooden cuticle tool and dental picks. I am sure they had those on the assembly line.
After installing the lights, I put the tenax studs in place for the soft top and tonneau. I used a leather washer against the car paint and then a nylon washer to lift the stud away from the paint slightly.
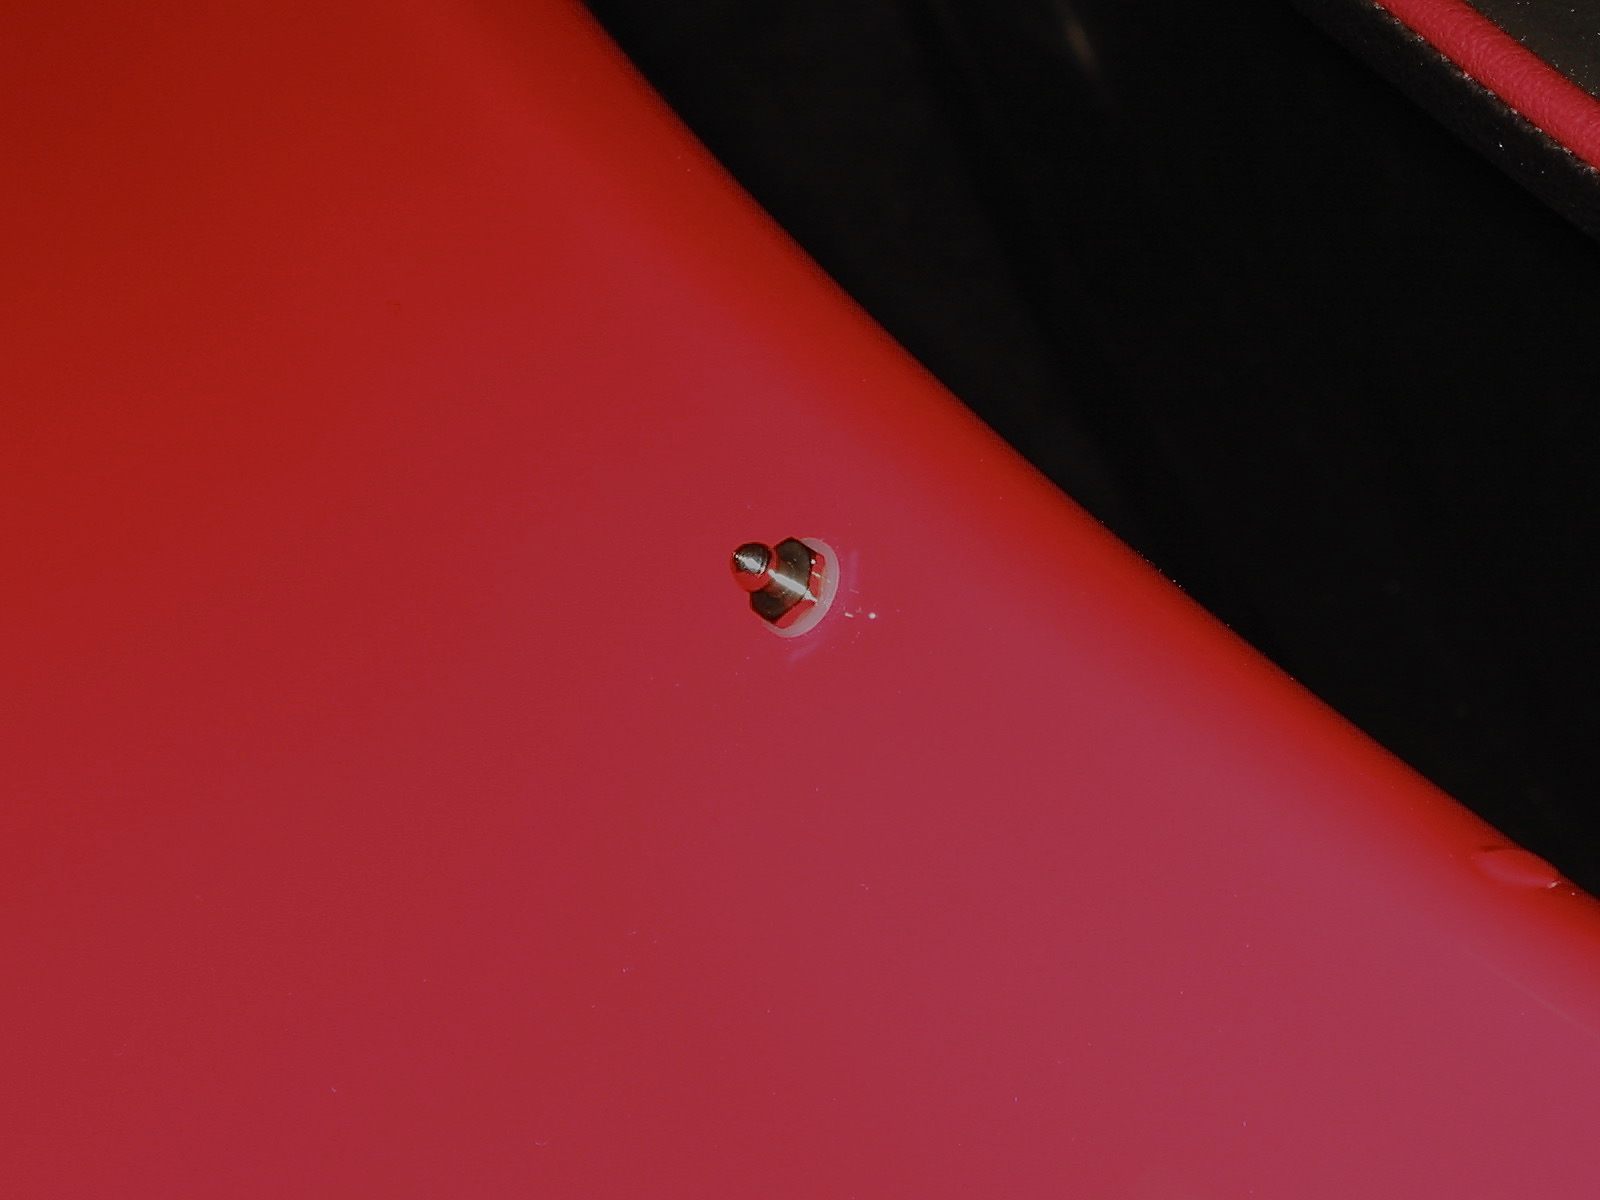
Tenax Stud
Next, I installed the fuel tank filler pipe and the aluminum Aston flip-top fuel cap. Not original, but I sure think it adds a nice touch!

Fuel Filler Pipe Joint
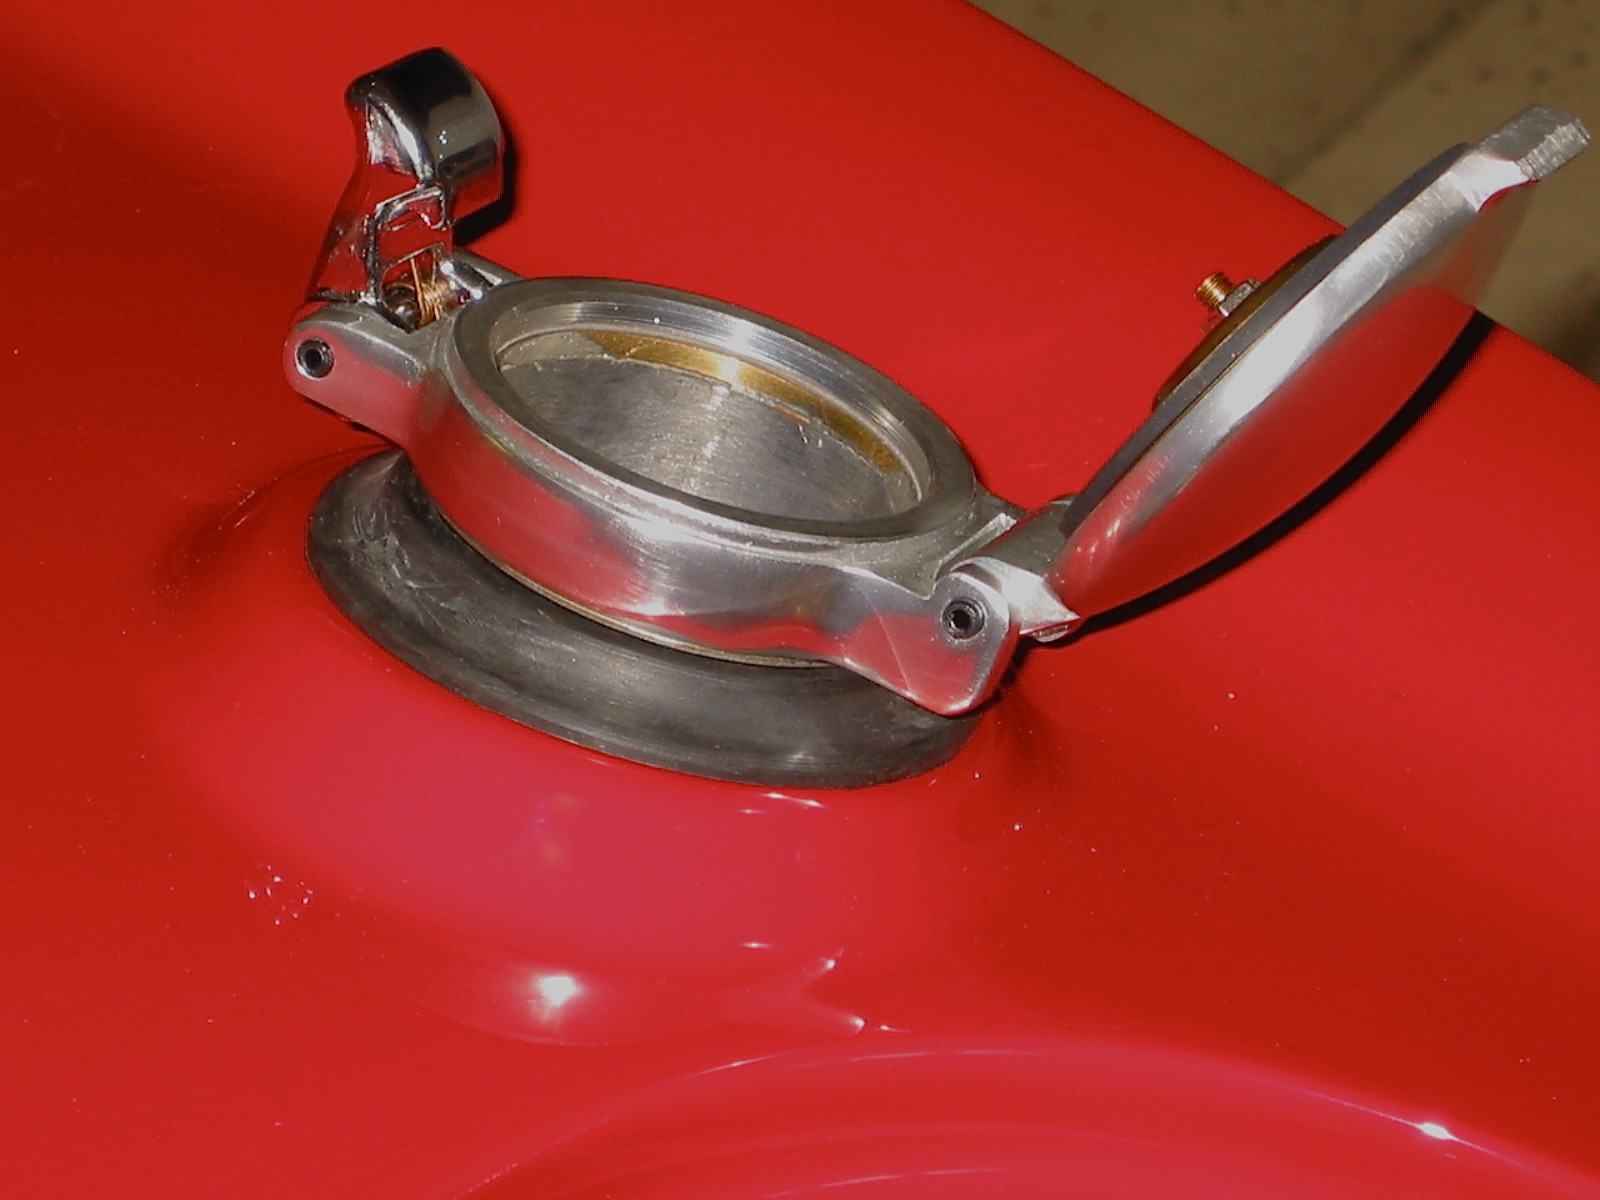
Aston Fuel Filler Cap 3
There are three rubber buffers that are inserted through the rear shroud and the frame hoop to help set the height of the boot lid on the shroud.
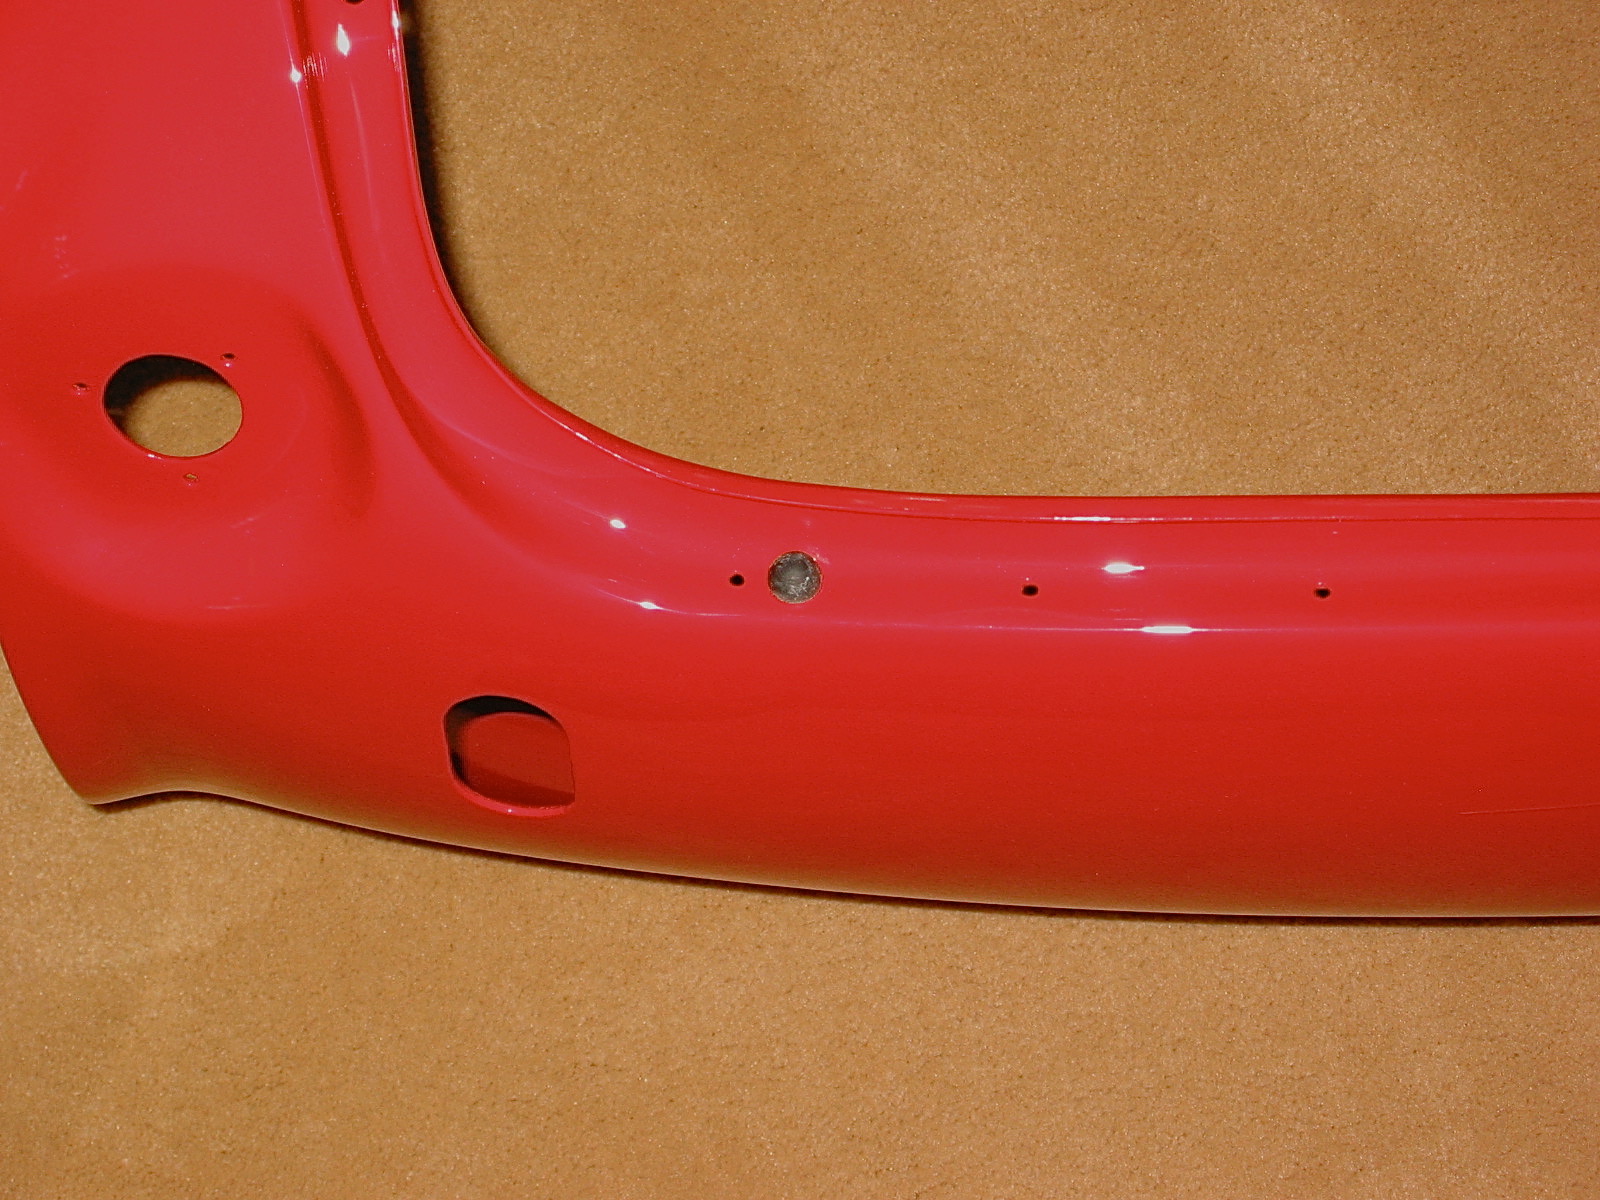
Boot Lid Rubber Buffers
I am going to wait another week or two to install the boot lid on the car, but I went ahead and attached the locking boot handle, the “Austin Healey” script badge and the “3000 Flash”. I also attached the prop rod rubber clip and the lock. I purchased stainless prop rods and prop rod stay brackets for the boot lid and bonnet from Wicker’s Paint and Body Shop (Unfortunately, no longer in business).

Boot Lid Hardware
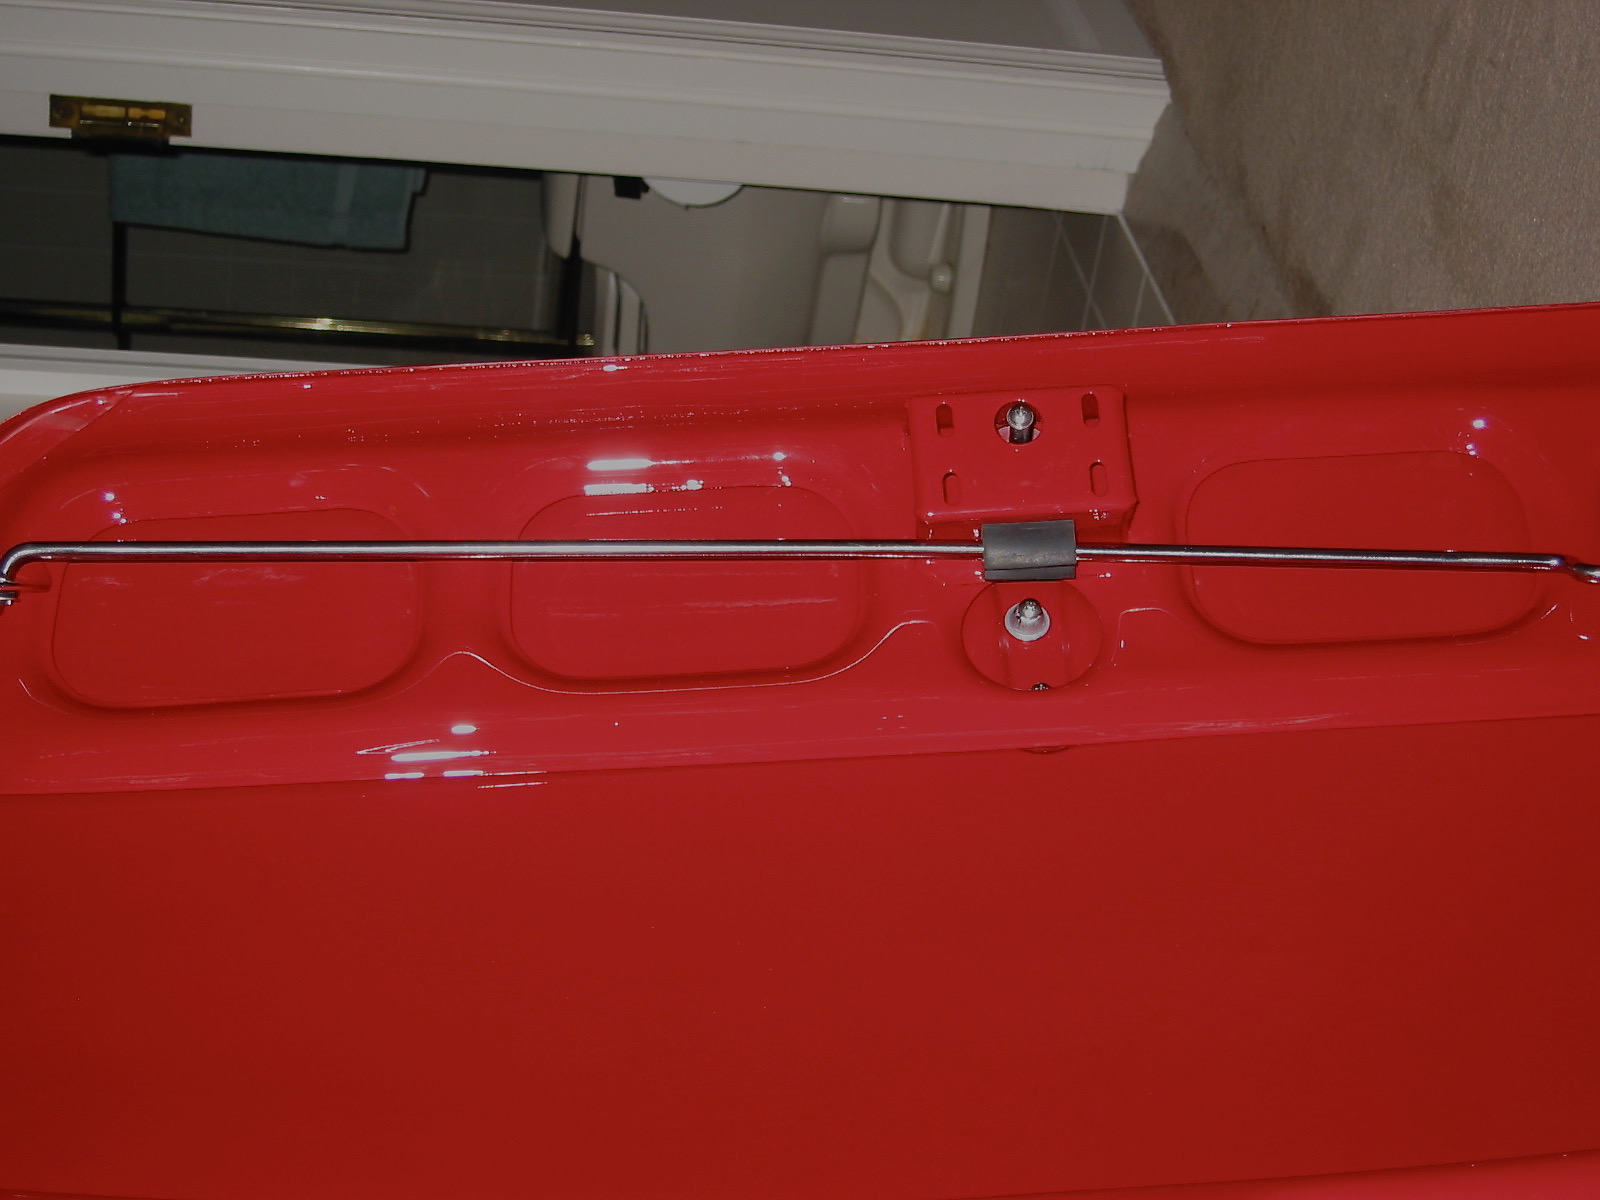
Stainless Prop Rod

Prop Rod catch
Prop rod stay bracket 2