
Cockpit Trim
I removed the pieces from the shroud.
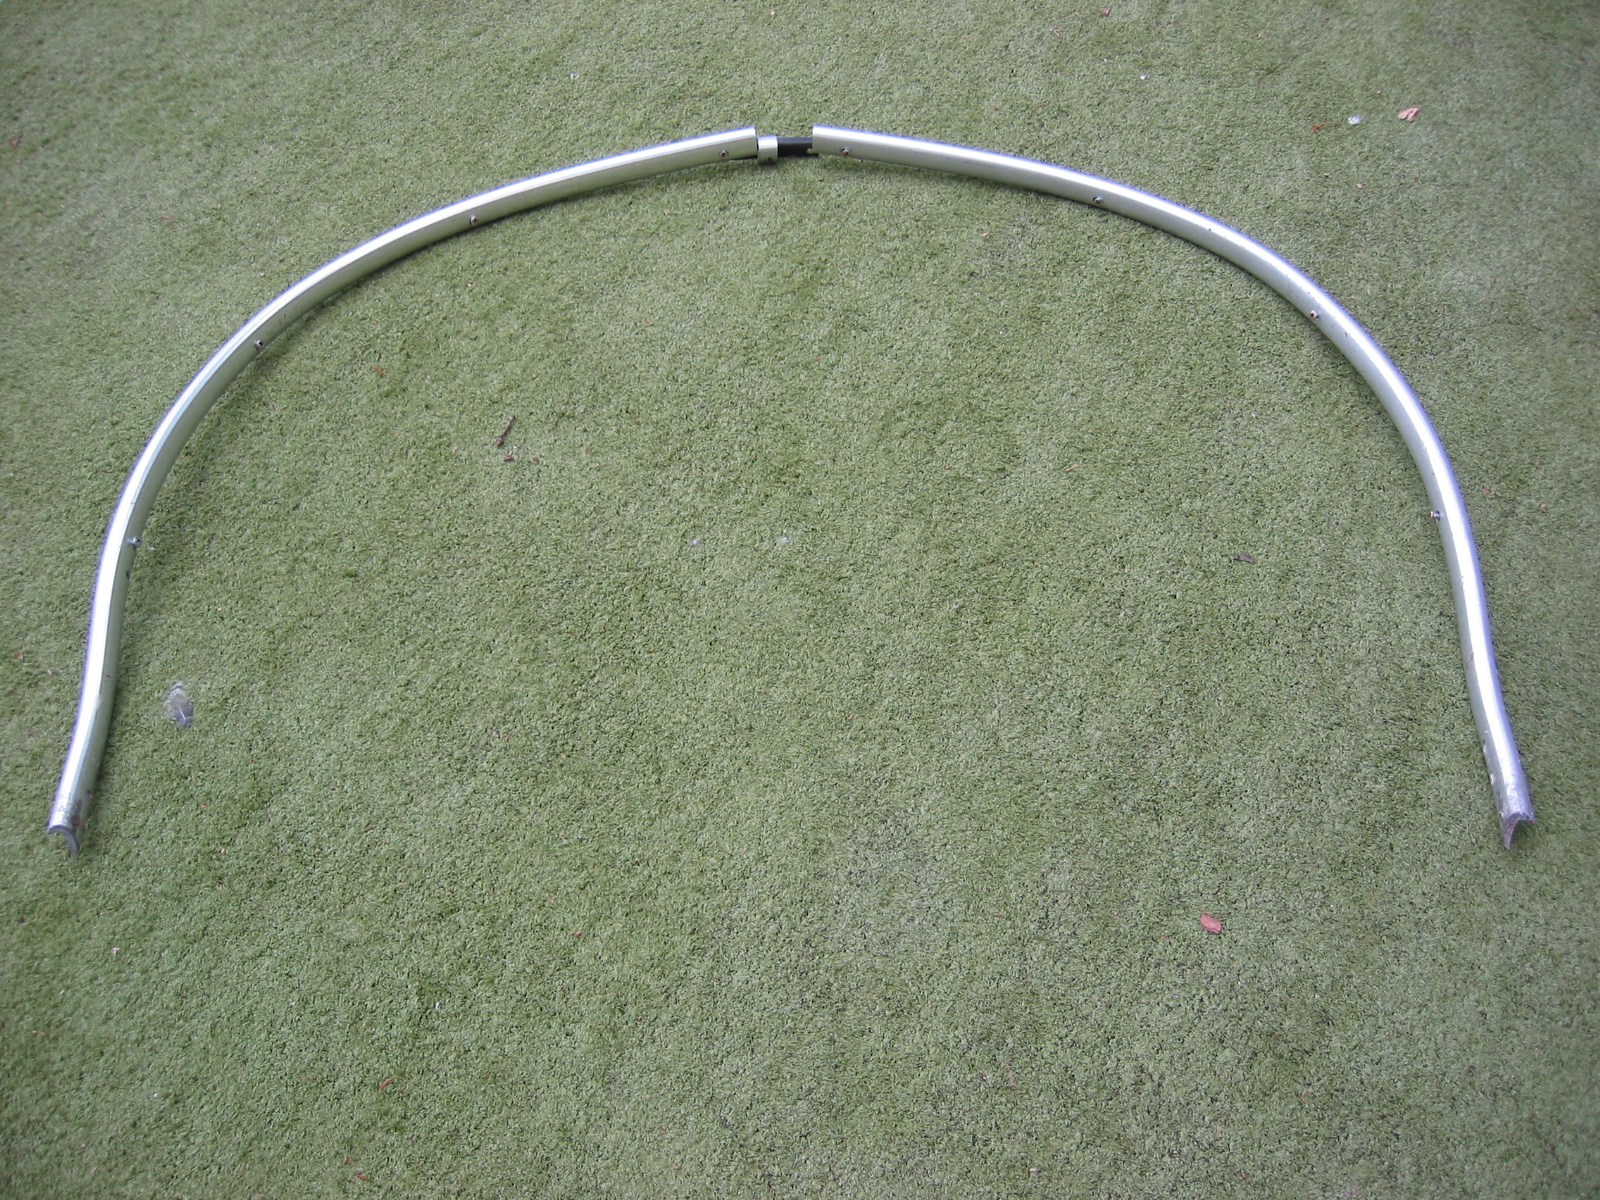
Cockpit trim
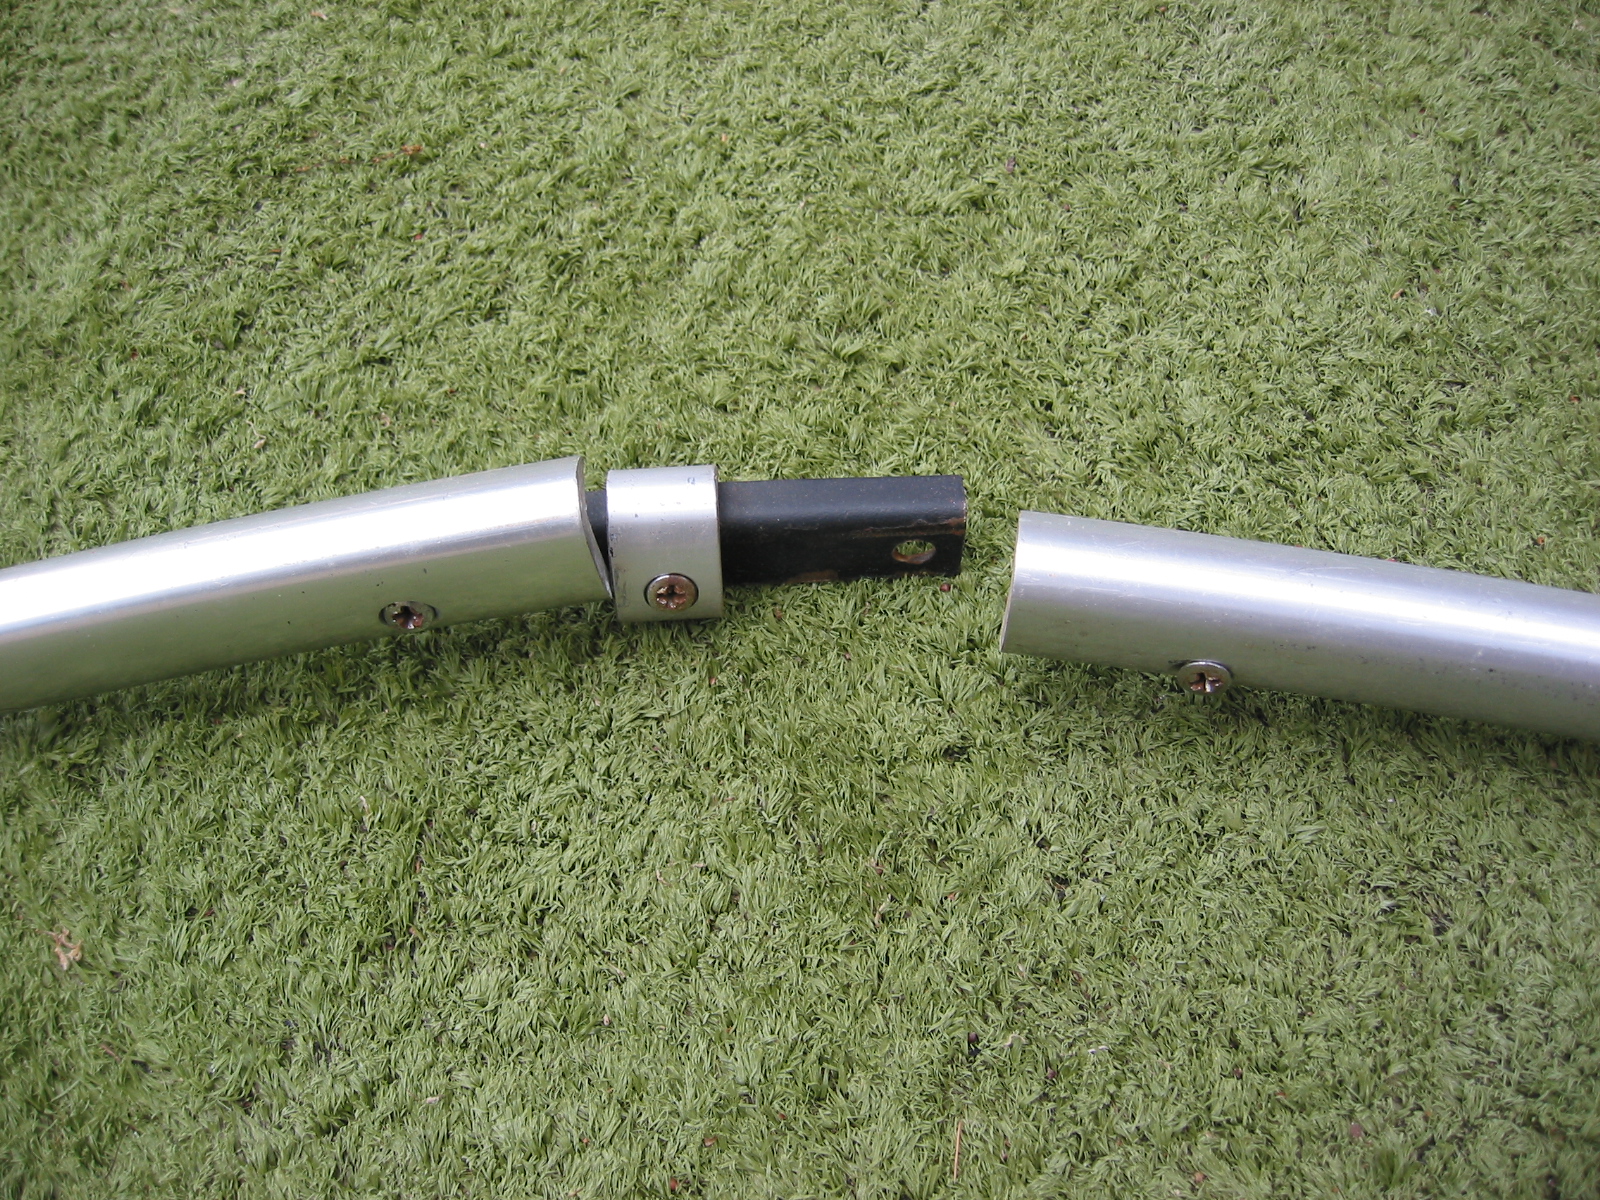
Cockpit trim fastener
Door Shut Face Finishers
Remove the vertical aluminum shut plate (back of door jamb) first. 7 chrome screws and 4 countersunk bolts for the door lock packing and tapped plate as well as the striker. Then removed bottom door sill threshold plate which is secured by 8 chrome screws. Then the door seals(draught excluder) and the aluminum finish plate for the inner door sill can be removed.
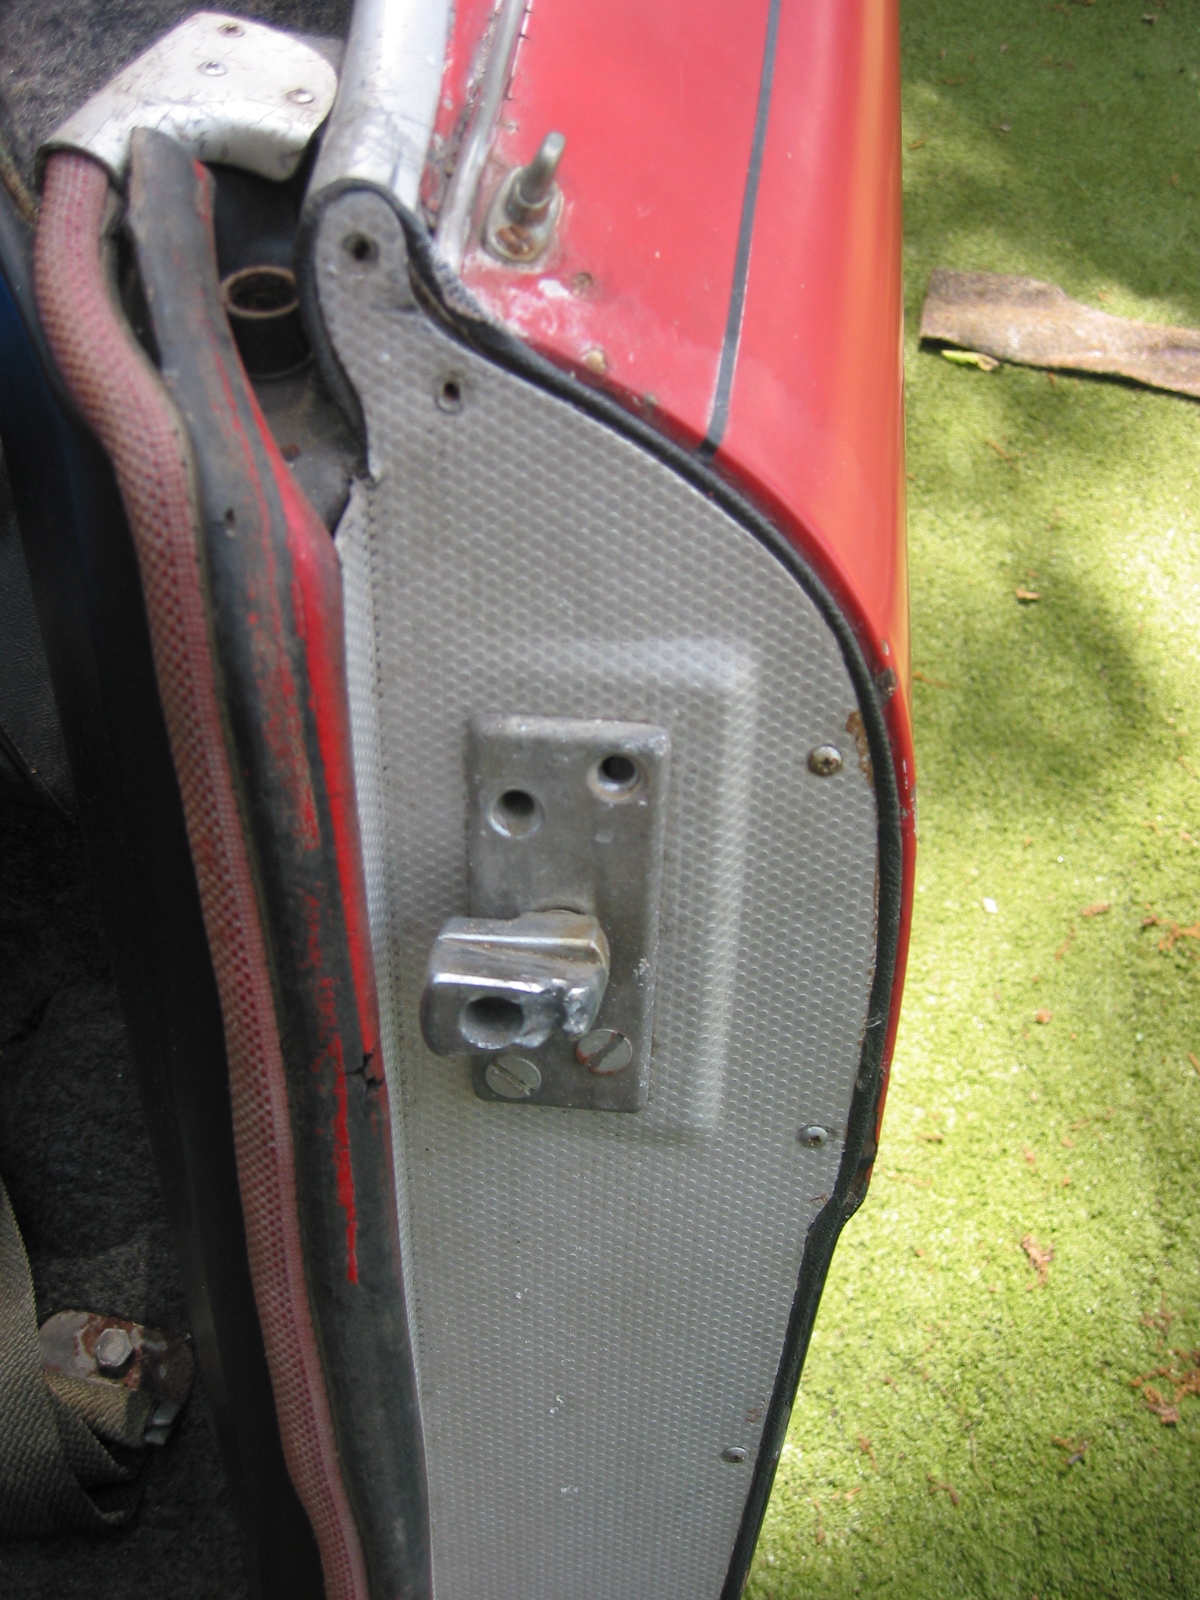
Door Shut Face Finisher
Rear Quarter Liner Assembly
Remove small wooden block topped by the aluminum hard top surround finisher plate. The aluminum finisher is secured by three small stainless screws. The wooden block is secured by a single self tapering screw that also helps to fix the rear quarter liner assembly. Four screws go through the door shut plate and into the wood of the rear quarter liner assembly. Once these are removed the assembly can be lifted free of the interior.
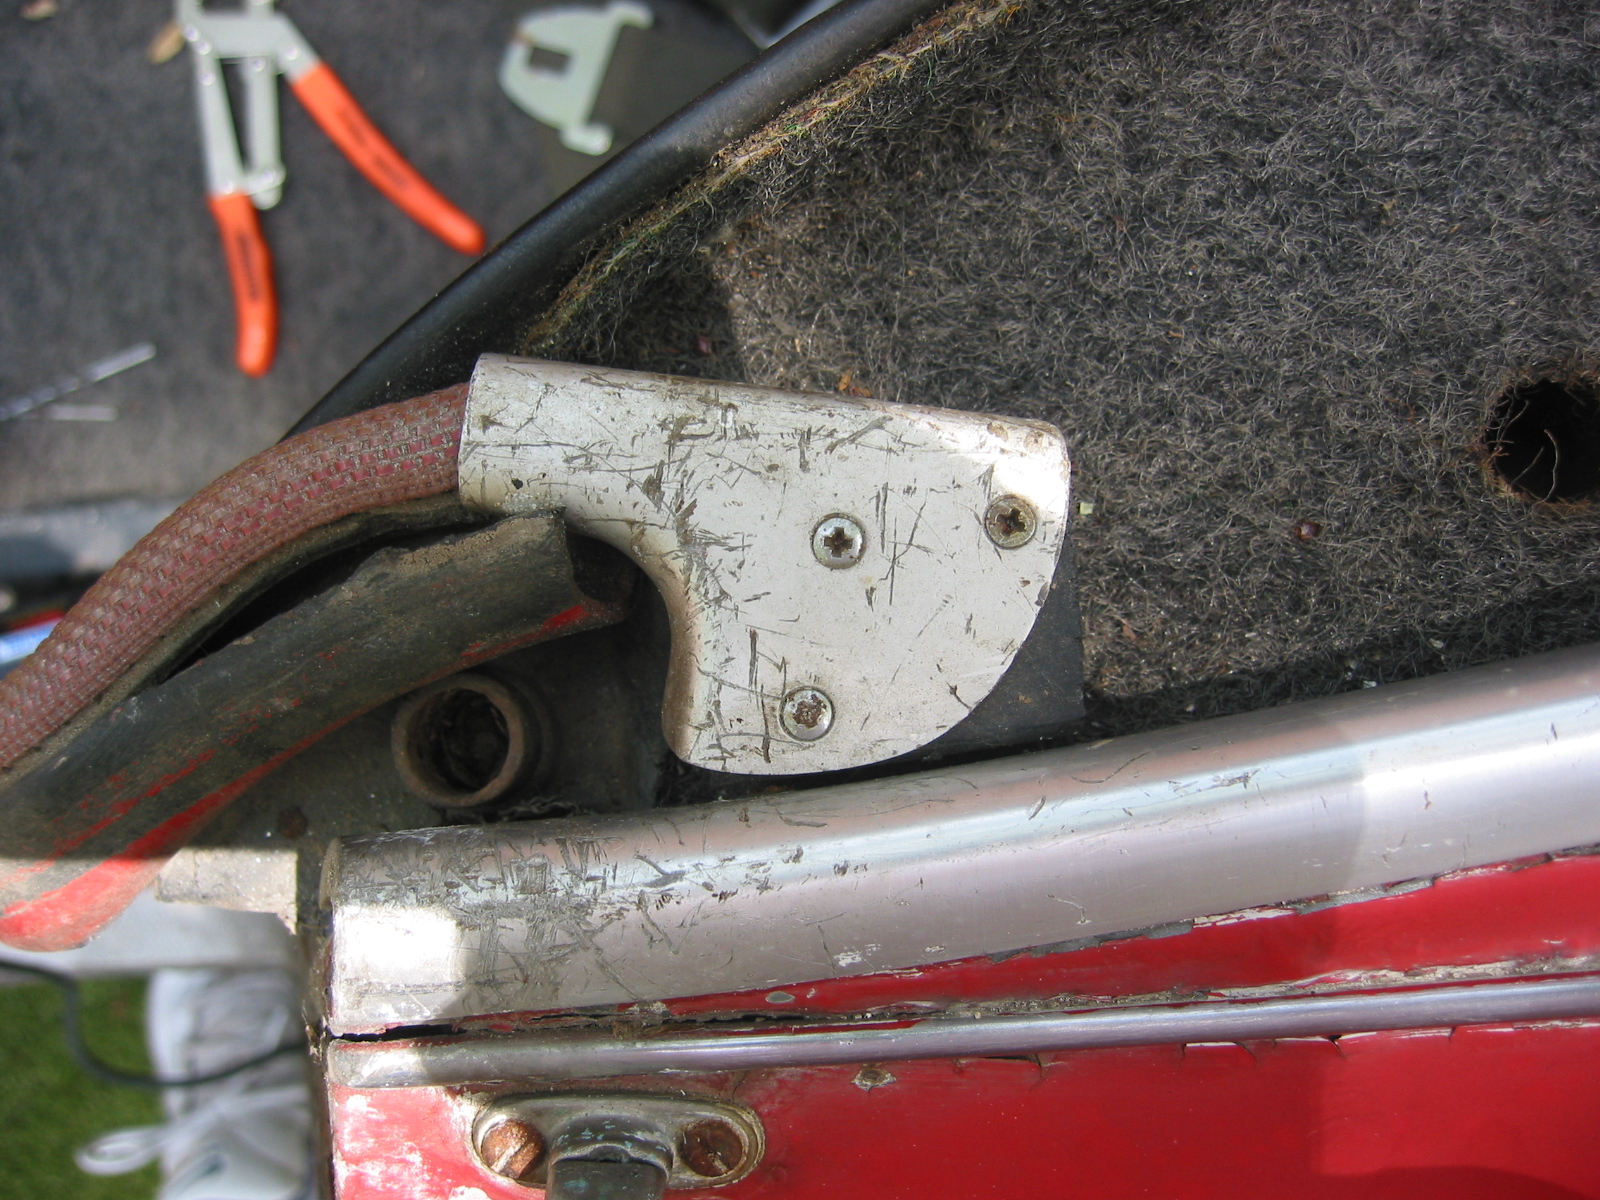
Door Seal finisher
May 25, 2002
Heater
Opened the drain plug on the radiator. Detached the rubber hoses to and from the engine so that they can be pulled through the firewall with the heater unit when ready. Removed the heater bracket just to the right of the steering wheel. Six #10 machine screws hold the bracket to the firewall. Loosened the wire clamps that secure the heater hose from the blower unit on the right front fender well and pull through the firewall. Disconnected the heater control cable from the water valve. Disconnected the demister hoses from the vents to the windscreen. Disassembled the unit and flushed the radiator. Removed rust, painted and reassembled.
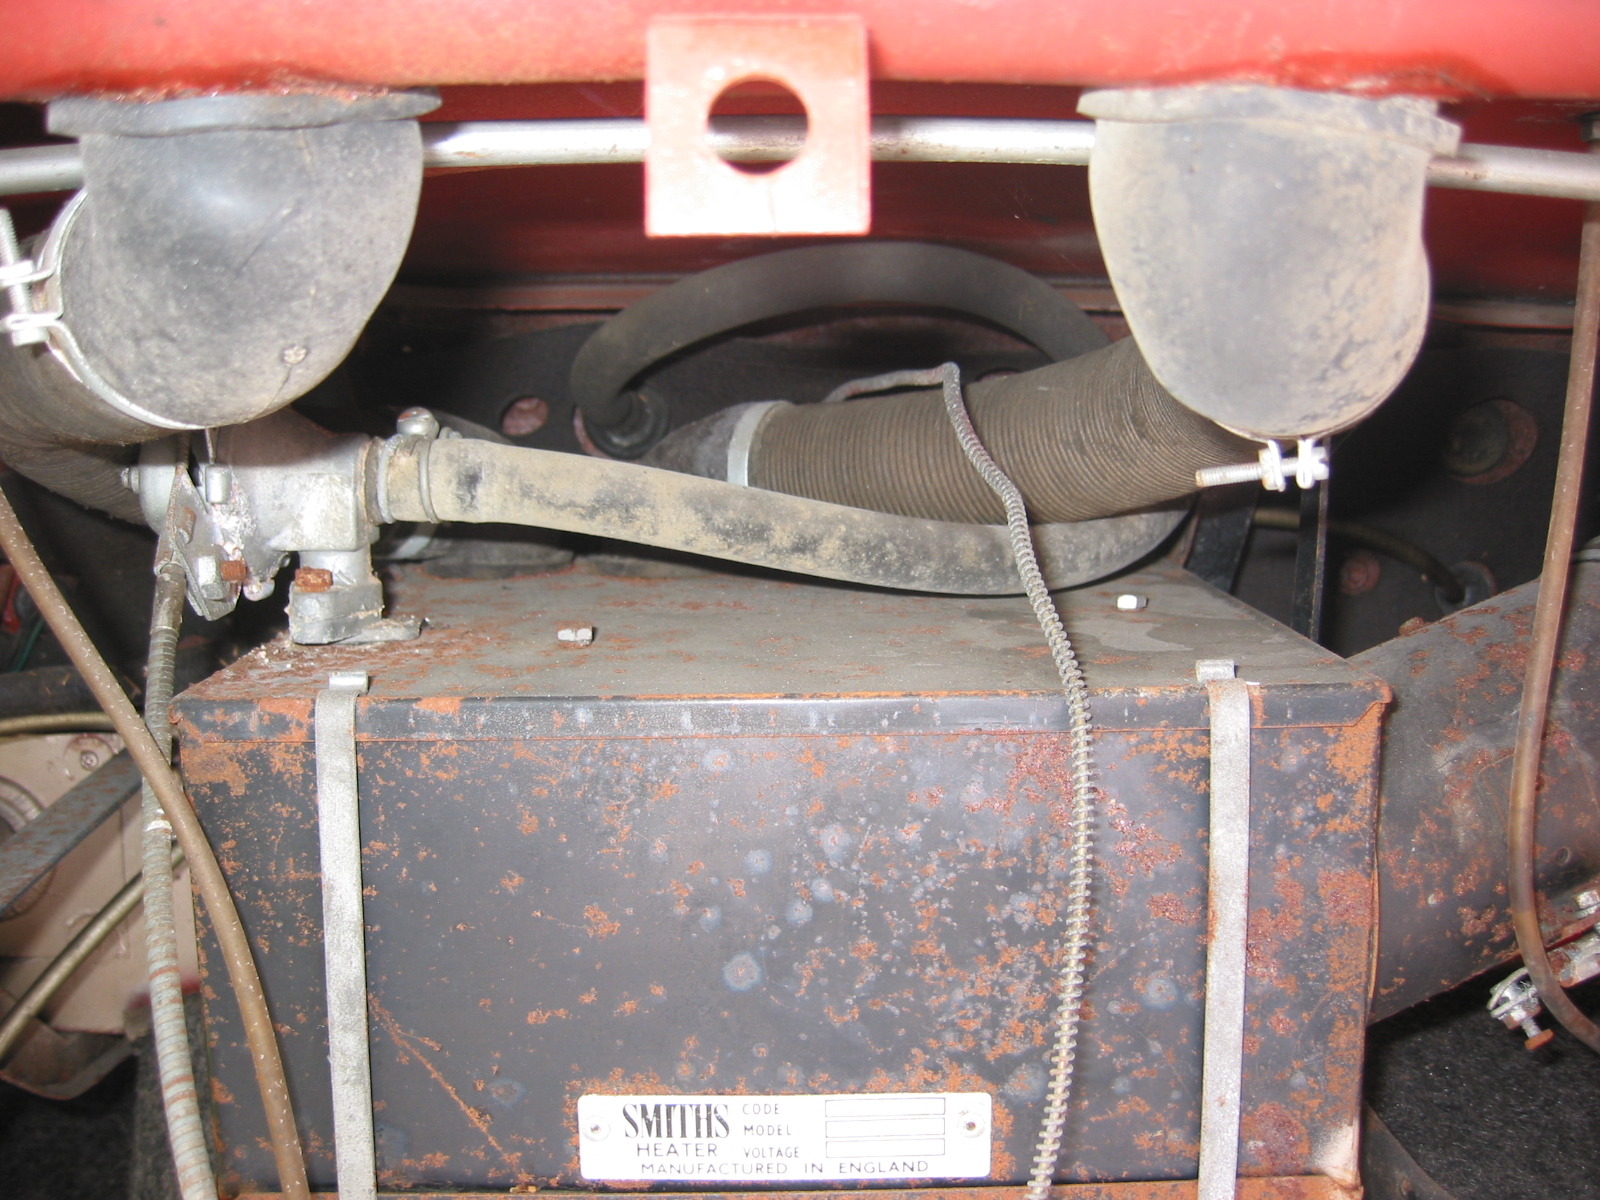
Heater Assembly Clips
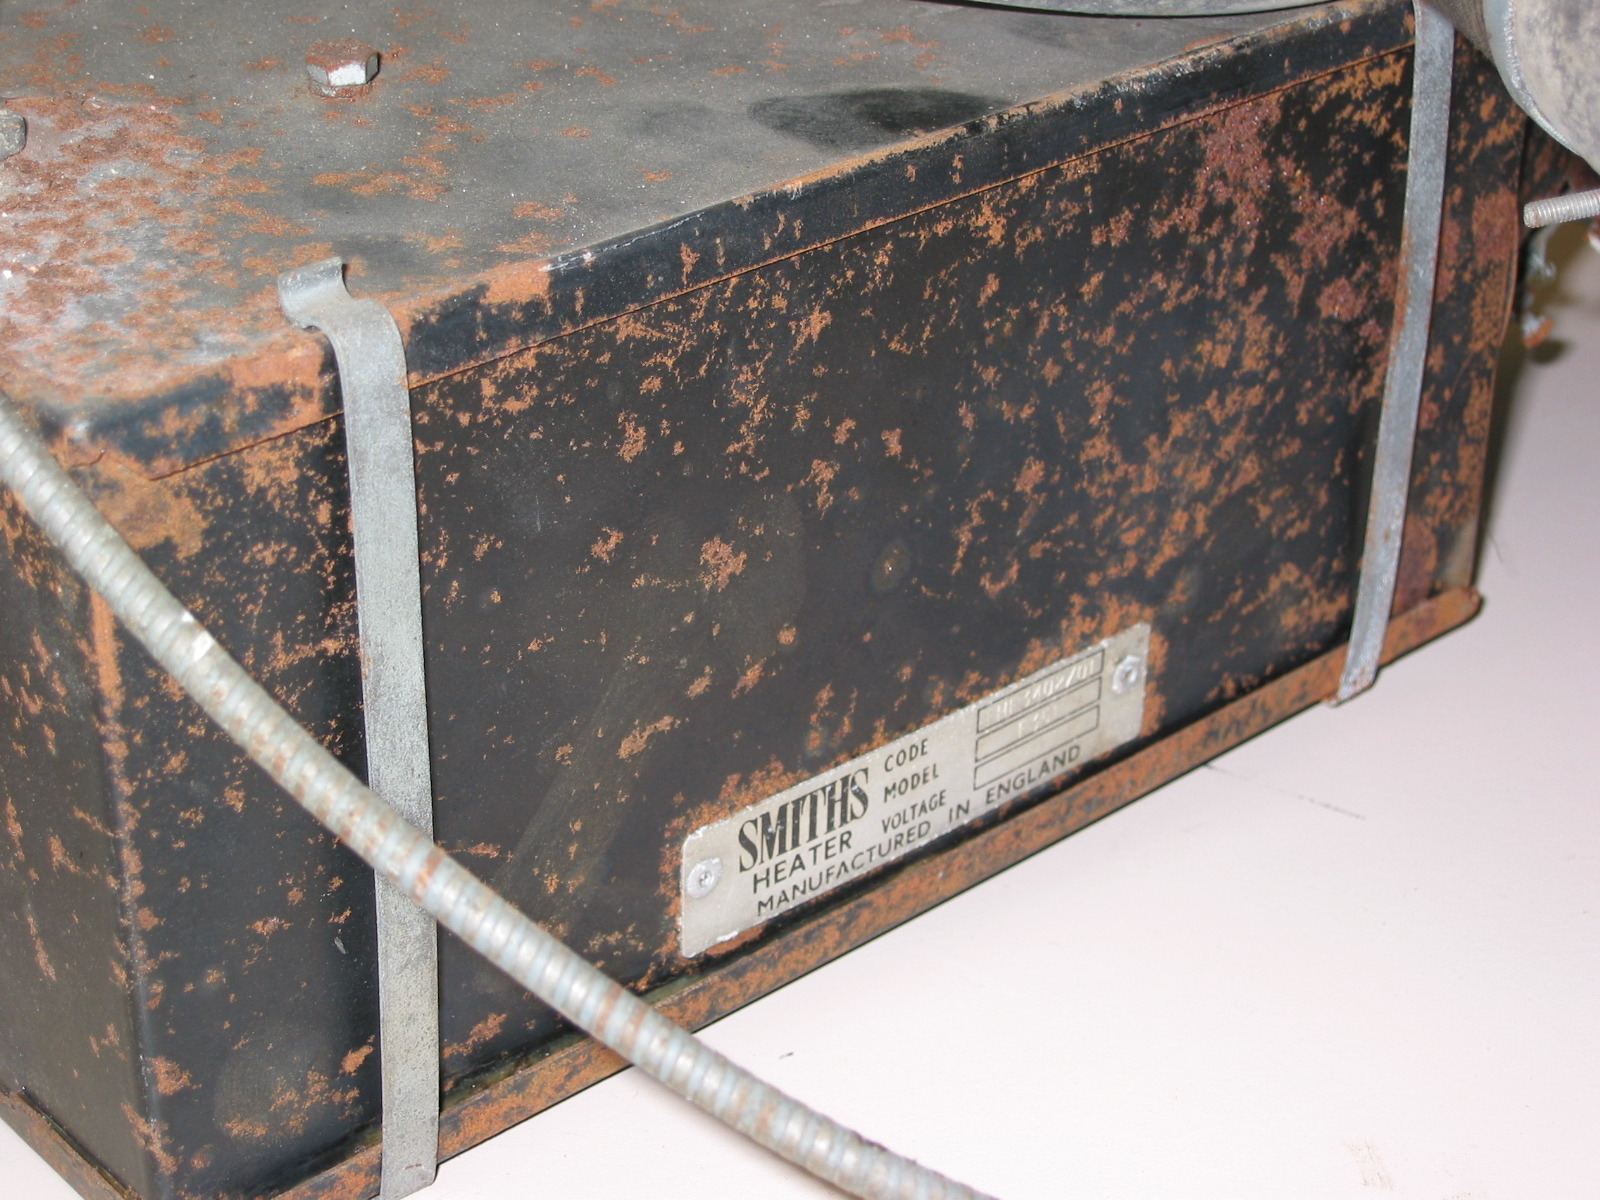
Smiths Heater Label
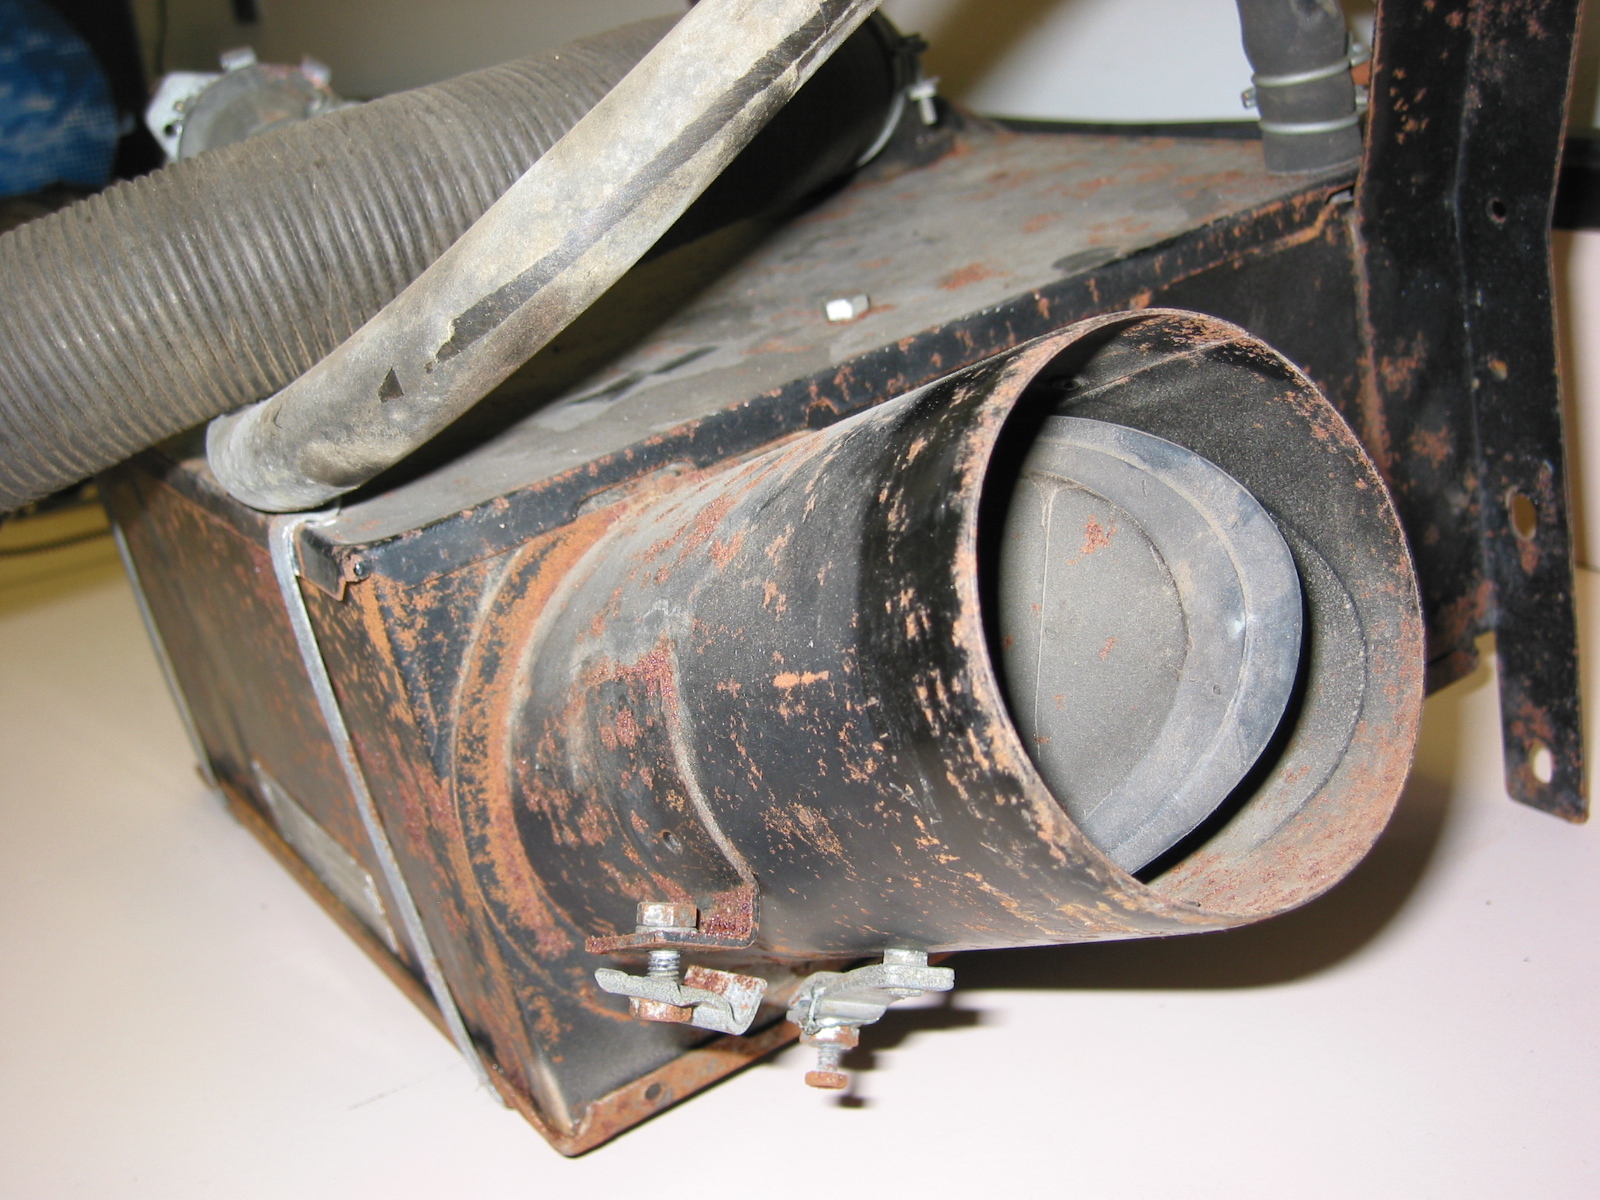
Heater Air Flap
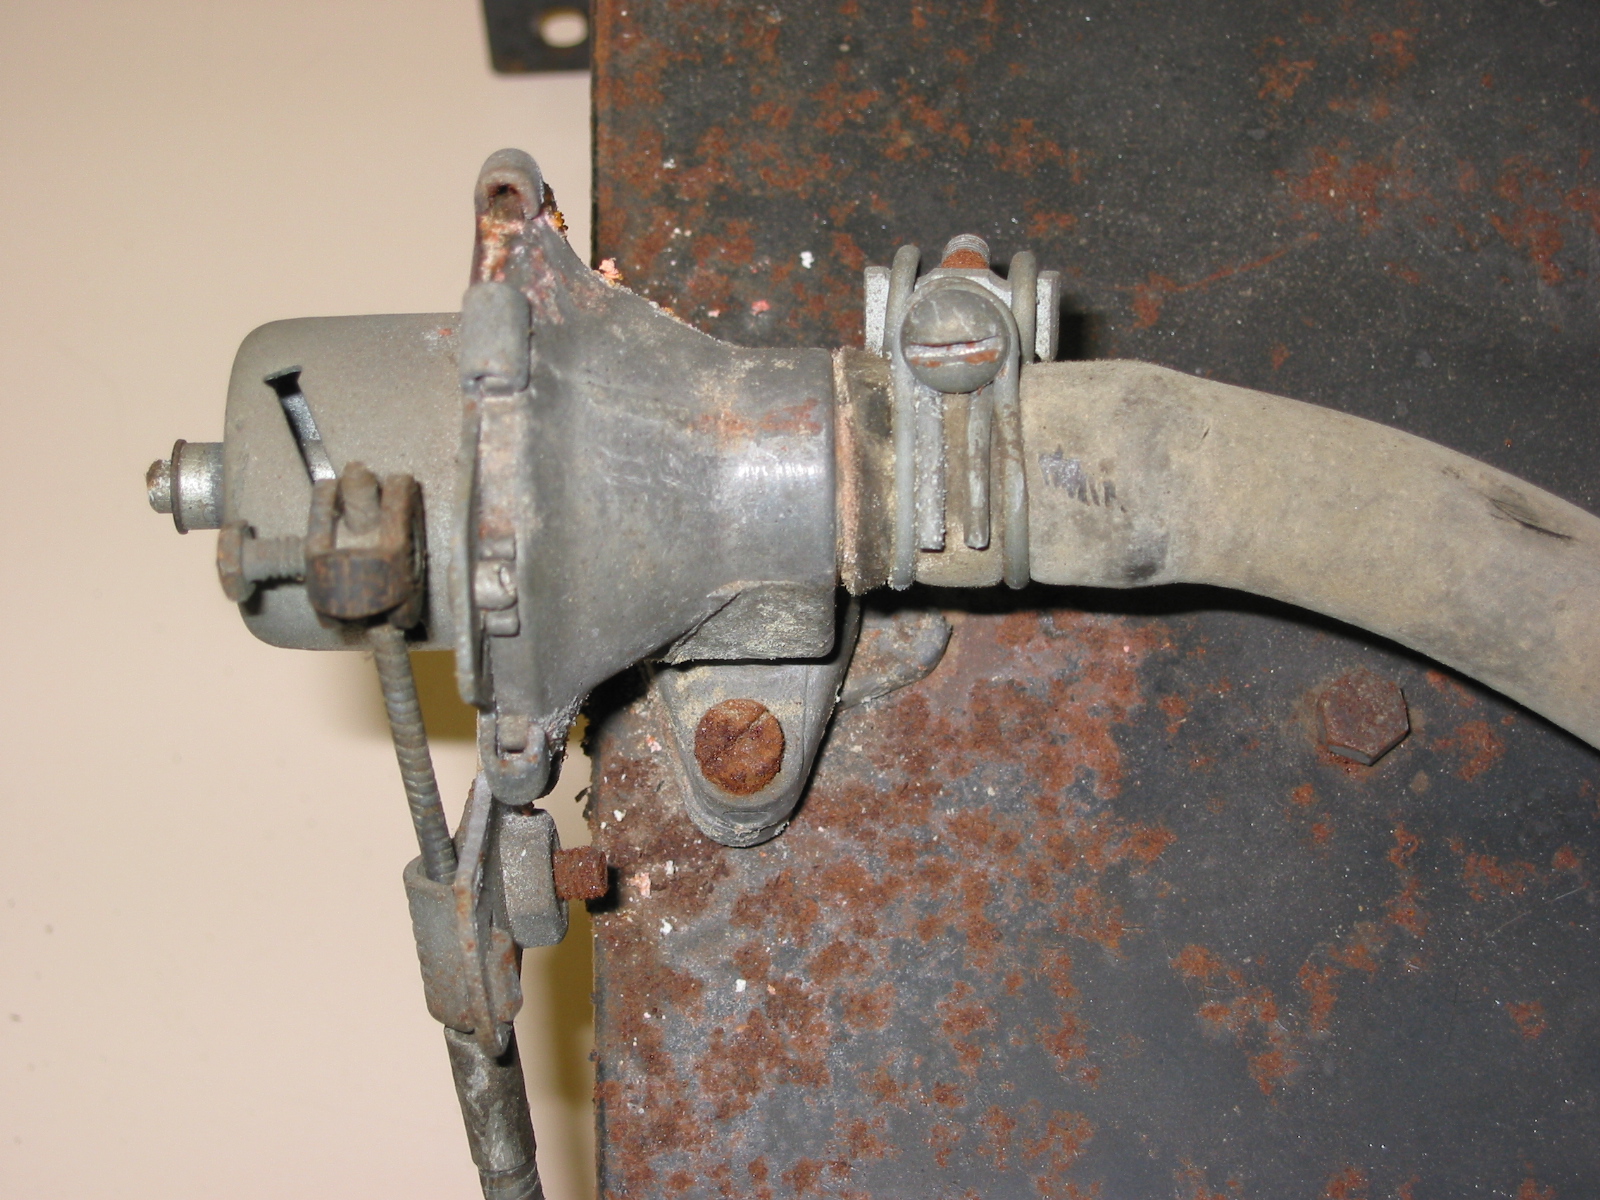
Heater Water Valve with Hose
Heater Water Valve Cable Attachment

Heater Water Valve
Radiator
Drained radiator of fluids. Disconnected the radiator to its mounting frame by removing 6 mounting bolts into threaded fixed nuts. Disconnected upper and lower rubber hoses. Lifted out the radiator.
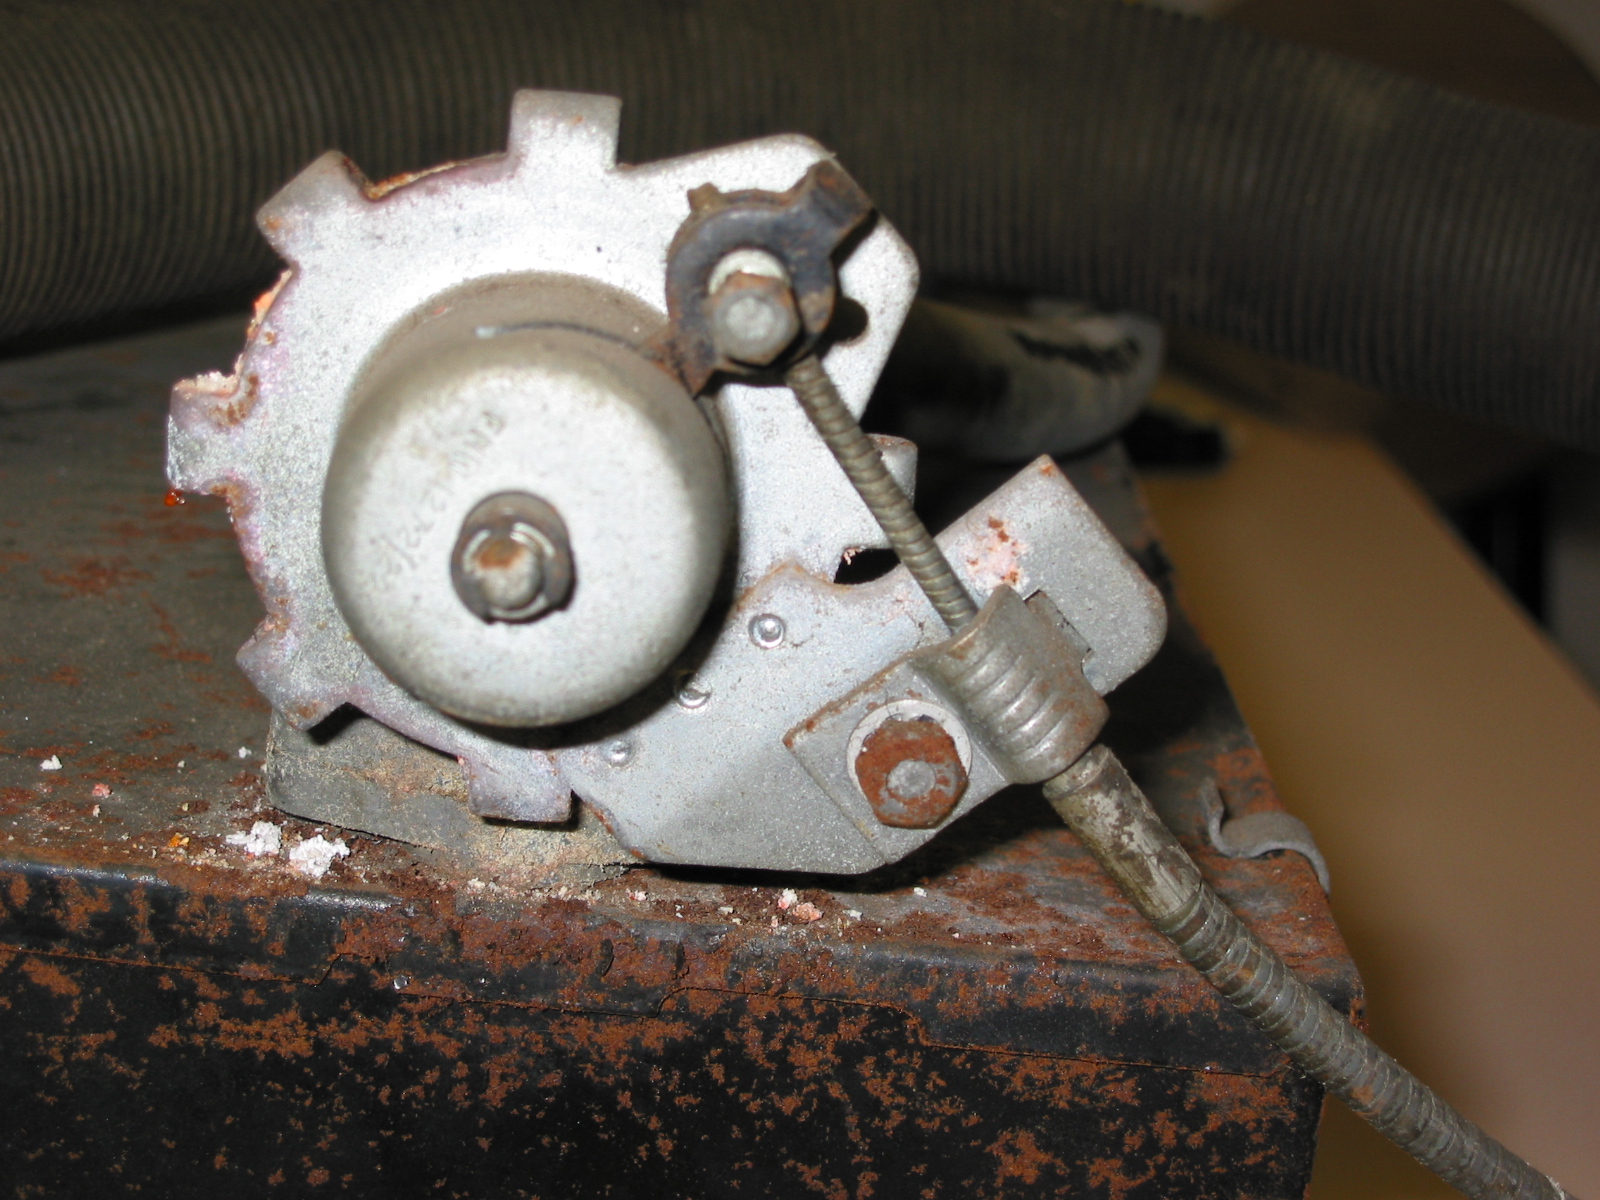
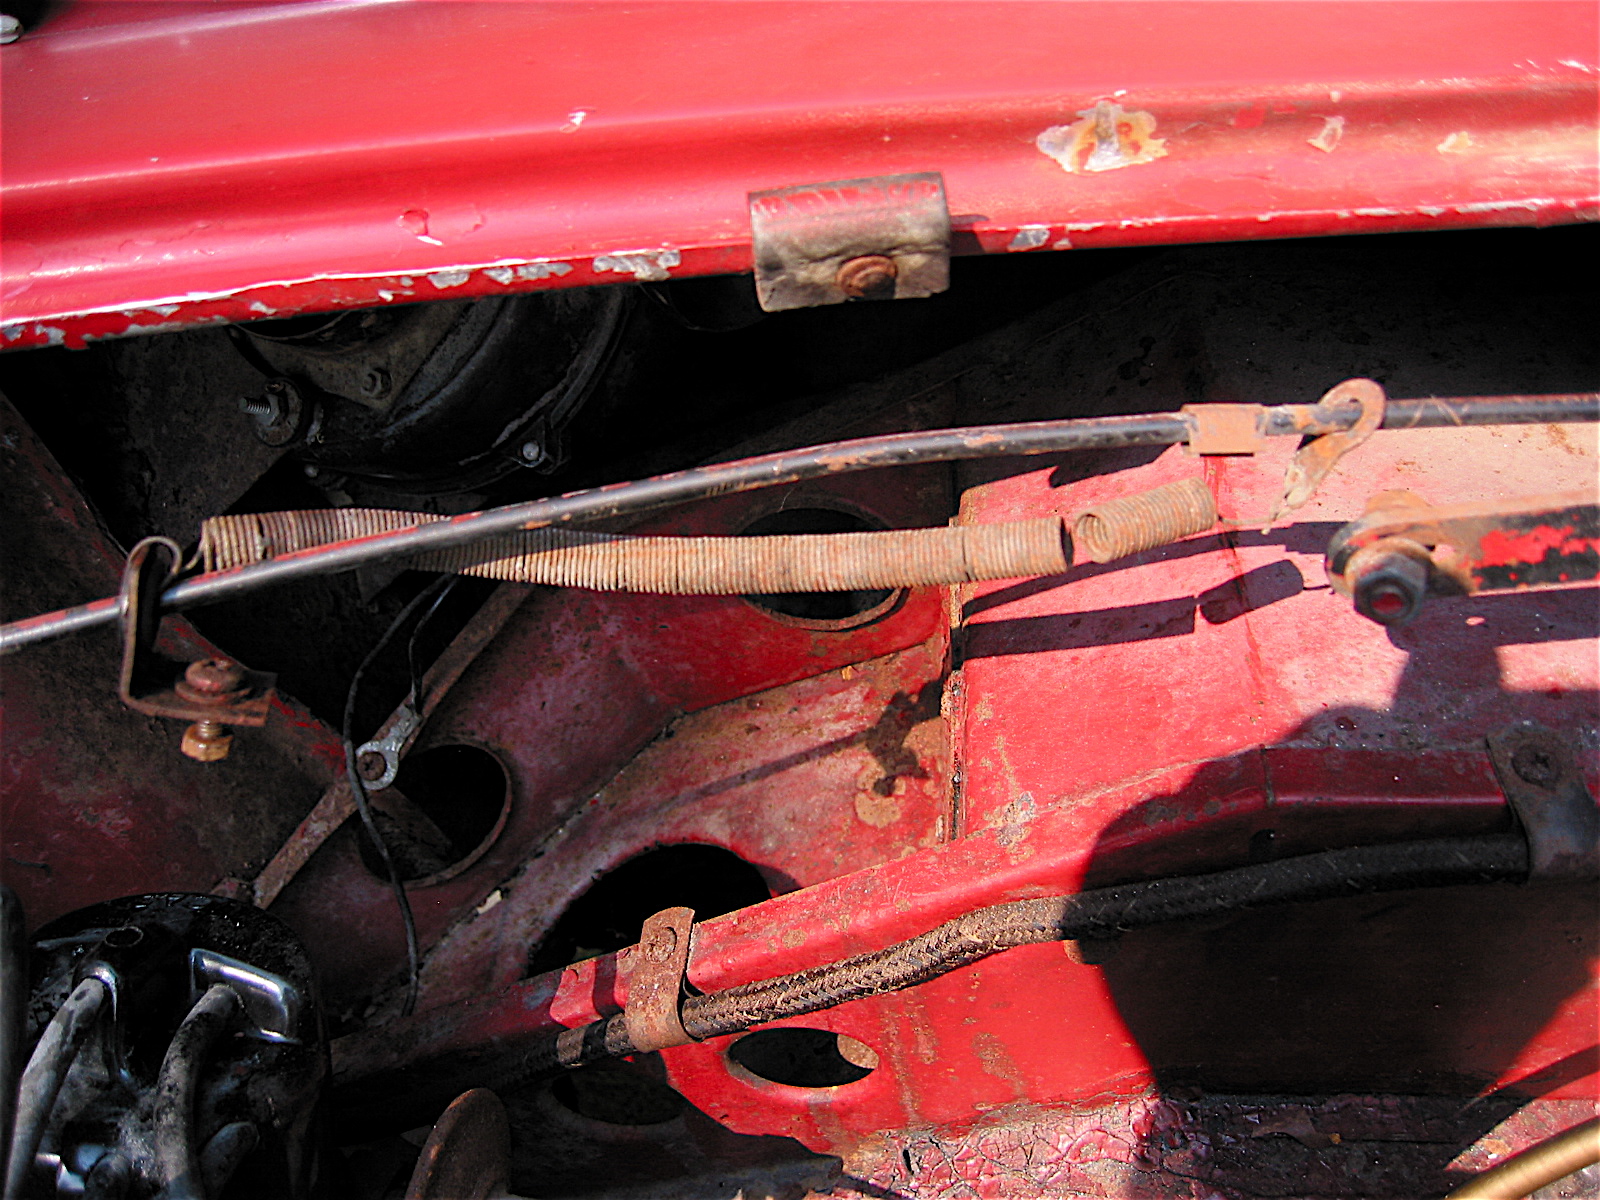
Bonnet Pull Rod
Disconnected the small split pin and washer at the front of the pull rod near the front of the latch. Removed the rod holder bracket from the shroud support channel and slid off the upholstery clip located 29 3/8” from the front of the rod. Disconnected the spring from the rod holder bracket and slid off the rod. Pulled the rod through two rubber grommets under dash toward rear of the car.

Bonnet Pull Rod Handle
Bonnet Pull Rod, Spring and Clip
Tachometer Cable
Detached the tach cable from the distributor drive and pulled from inside the cabin through to the engine compartment. The tach grommet is the lower hole in the firewall to the left of the voltage regulator.
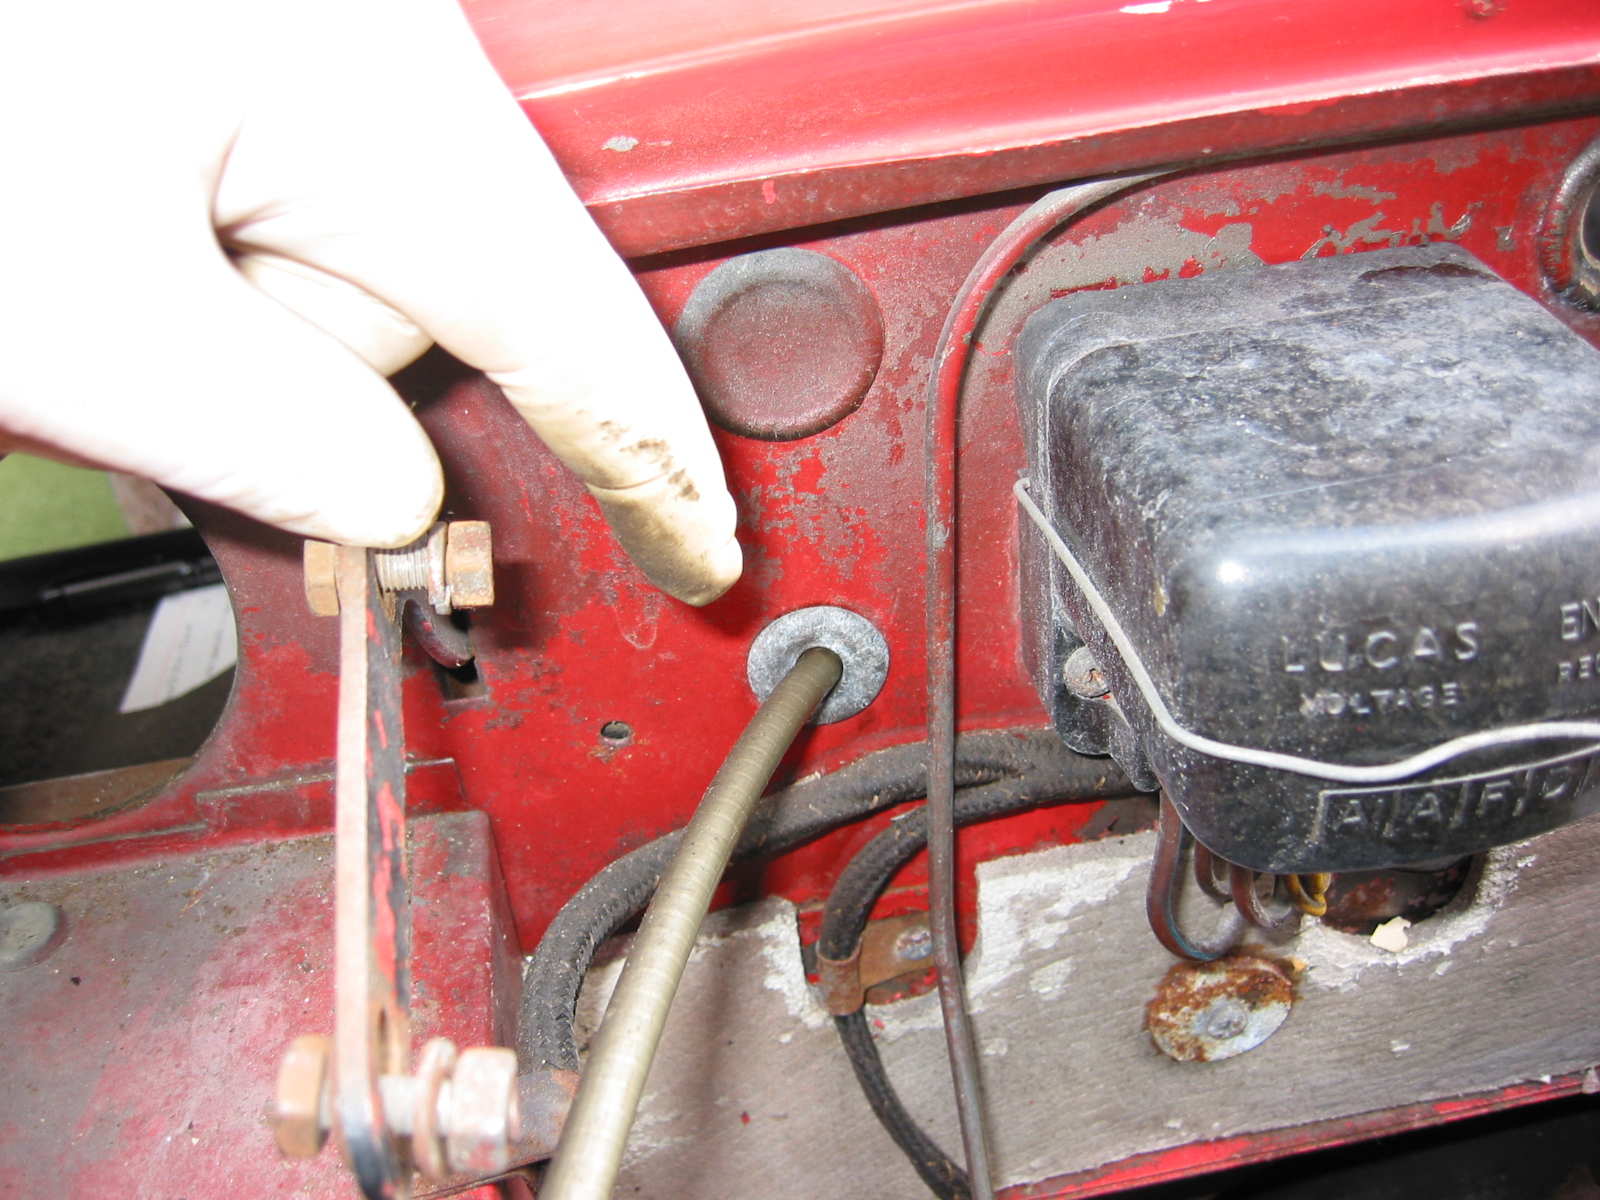
Tachometer Cable with Firewall Grommet
Choke Cable
The cable as removed on this car is not original. Disconnected from the carb choke bracket by the air cleaner. Pulled through the top firewall grommet and hole adjacent to the left bonnet hinge.