
After selecting the fuse/relay panel from Classic Technologies to be the heart of my new electrical system, the next issue was to decide about the wiring harness to be used. I could either select a pre-assembled harness from one of a number of vendors, knowing that I would have to modify it given the “personalizations” I would be incorporating, or I could build my own.
I decided to build my own. I must give credit where credit is due. I don’t know if I would have made the decision I did had I not known that Eric Kriss would also be concurrently (almost) building a new harness for his MK2. Eric’s knowledge of automotive electrical systems far surpasses my own, but I have courage and a desire to learn! Eric willingly shared his design work and I put his schematics to good use.
Marc Goldblatt from Classic Technologies who provided the relay/fuse box I am using provides a wonderful color wiring diagram that is also extremely helpful. Between Eric and Marc I felt pretty positive about venturing into the wiring world!
Undertaking this project is a big task that requires significant planning and advance preparation.
Advance Preparation – Out with the Old
I spent days “deconstructing” my MK2’s wiring harness and taking copious notes about the various gauges, switches, components, wire sources and terminations. While this step may not have been necessary, I learned volumes about the principles of wiring. Having a good wiring schematic is particularly helpful. There are a number of “after-market” exploded wiring charts available. The best one I found was by jagschemes@live.com.au. What is really nice about his schematic is that a vertical and horizontal legend is incorporated making it much, much easier to locate a component on the schematic than otherwise.
Tools and Materials
There are some “tools of the trade” that are really needed to do a good job with electrical connections. Using the proper tool also generally makes the job easier!
The crimper on the left makes easy work of crimping wire in insulated terminals. I used these extensively on my 14 and 18AWG wire. The next set of crimpers from the left side of the image are for pin and socket terminals used in Molex Connectors. Something like these are essential for a good job. Third from the left is a wire stripper and I could not imagine taking on a wiring job without these. Fourth from the left is a ratchet style crimper used for bullet terminals. Finally, snap connector pliers to push together 2-4 bullet terminals in snap connectors. Of course, one can always find and use more tools, but I regard these as the necessary for rewiring my Jaguar MK2.

Crimpers & Strippers
Terminals and Connectors
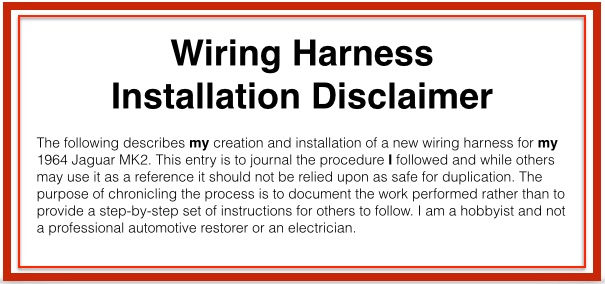
Most of my wiring is 18 and 14 gauge wire. I used a combination of bullet connectors and insulated spade terminals (male and female) to connect wires. Bullet connectors for the two sizes of wire are shown to the left below. Various sizes of snap connectors are also shown. These are available from British Wiring in Bally, PA. This company is very responsive and helpful.
Bullet Terminals and Various Size Snap Connectors
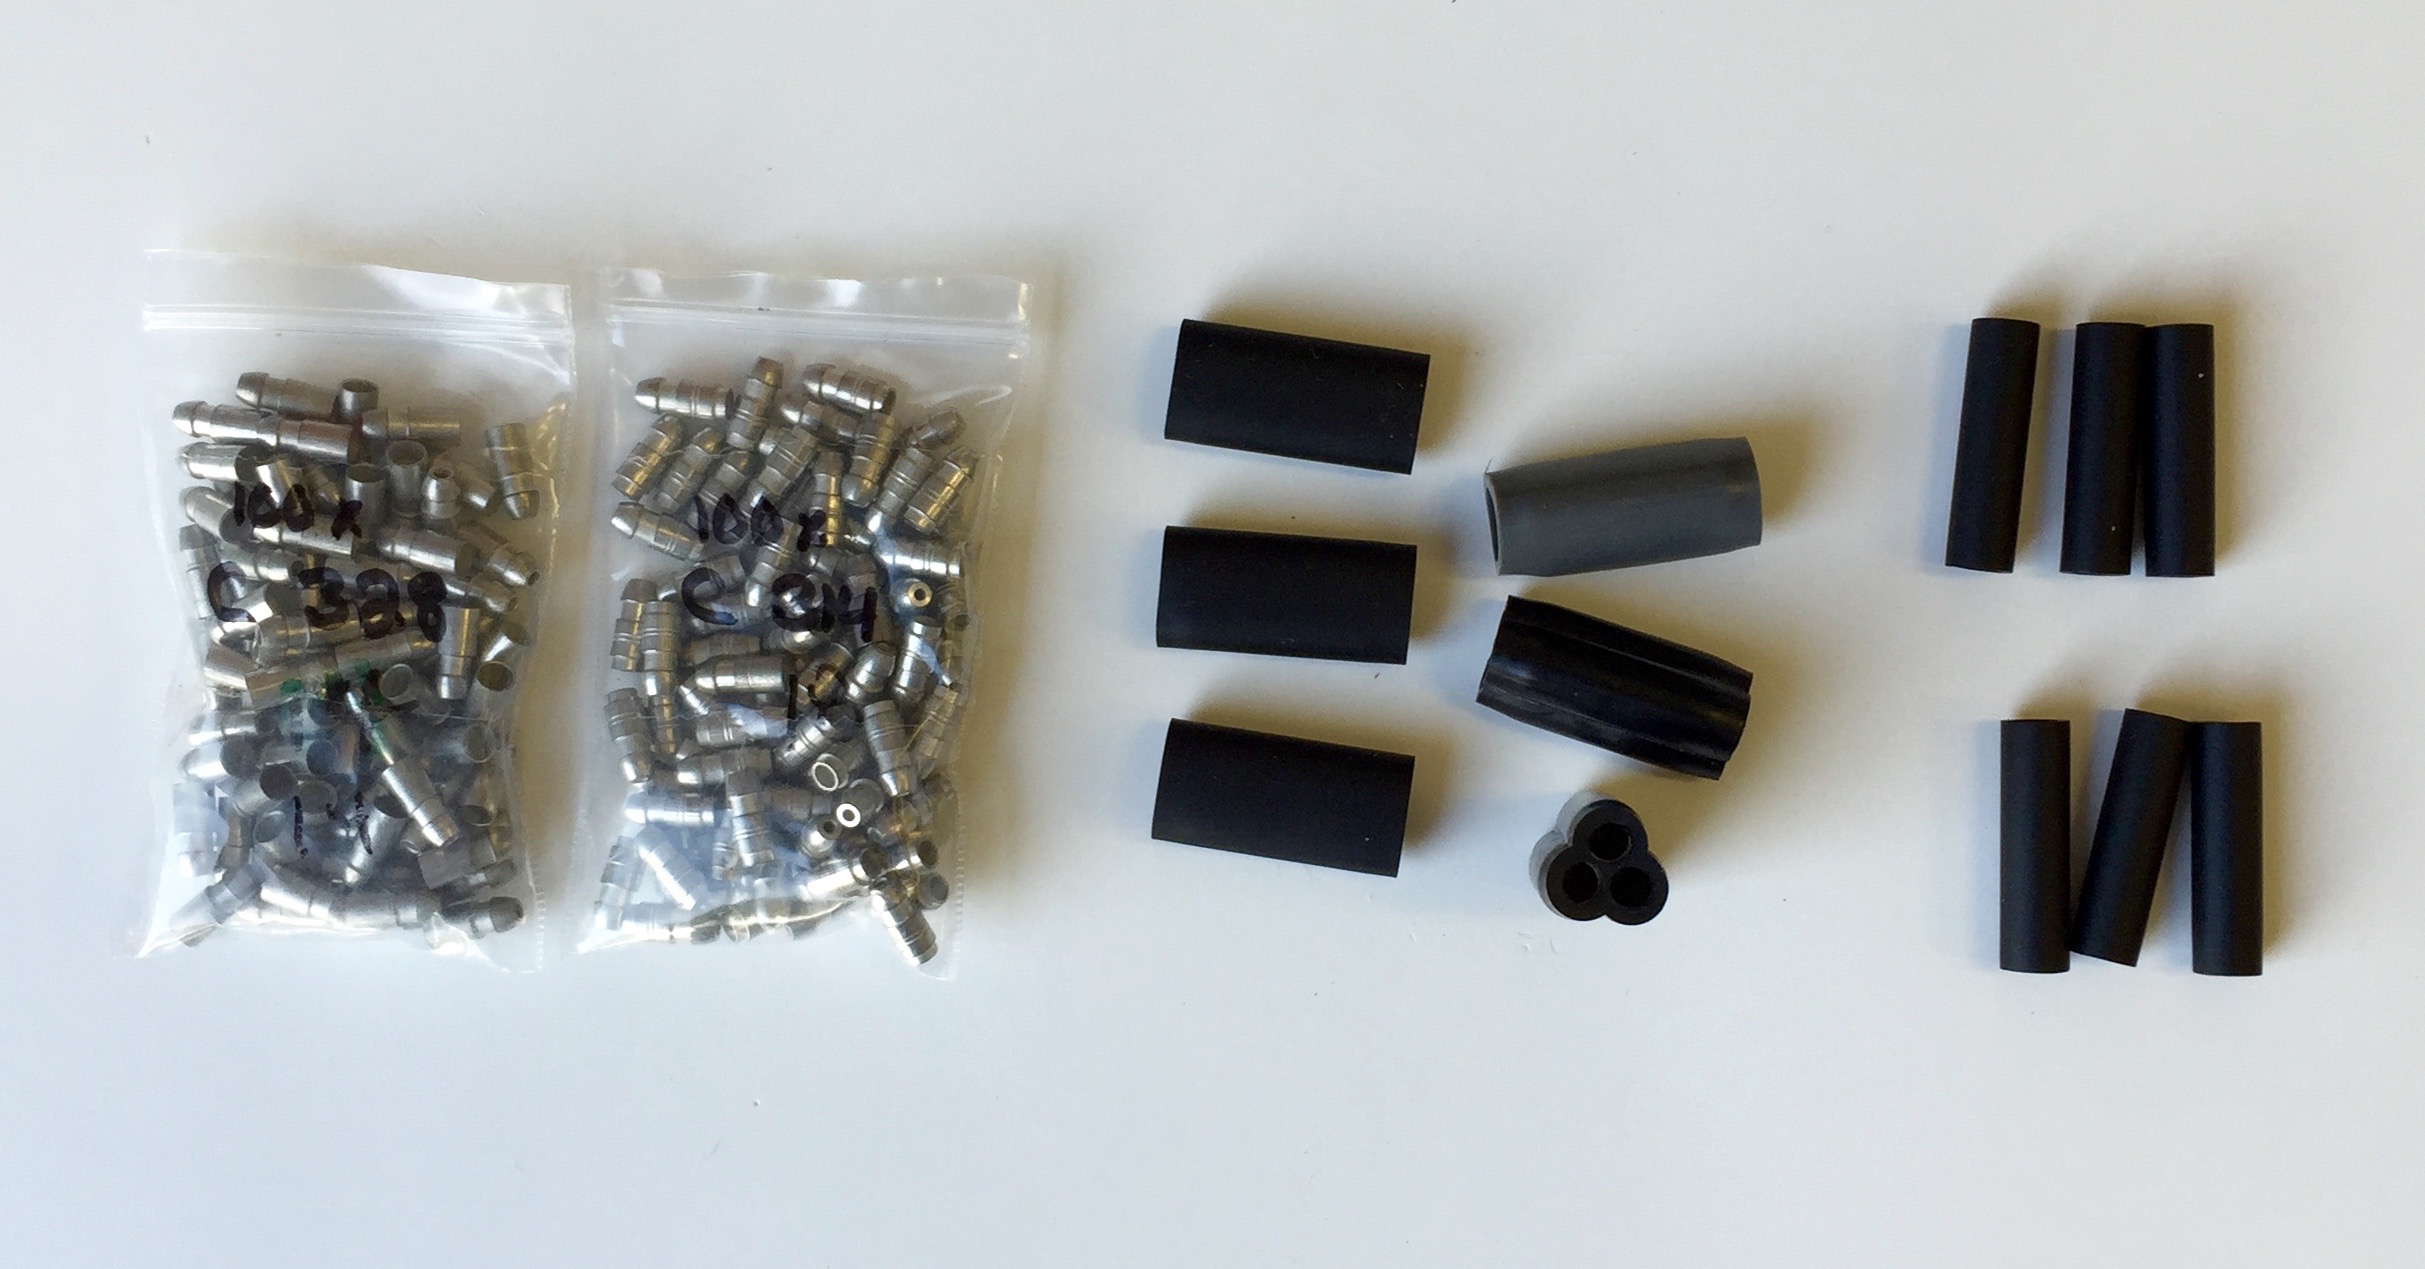
I put together a storage kit of various types and sizes of vinyl terminals to use on this and other projects: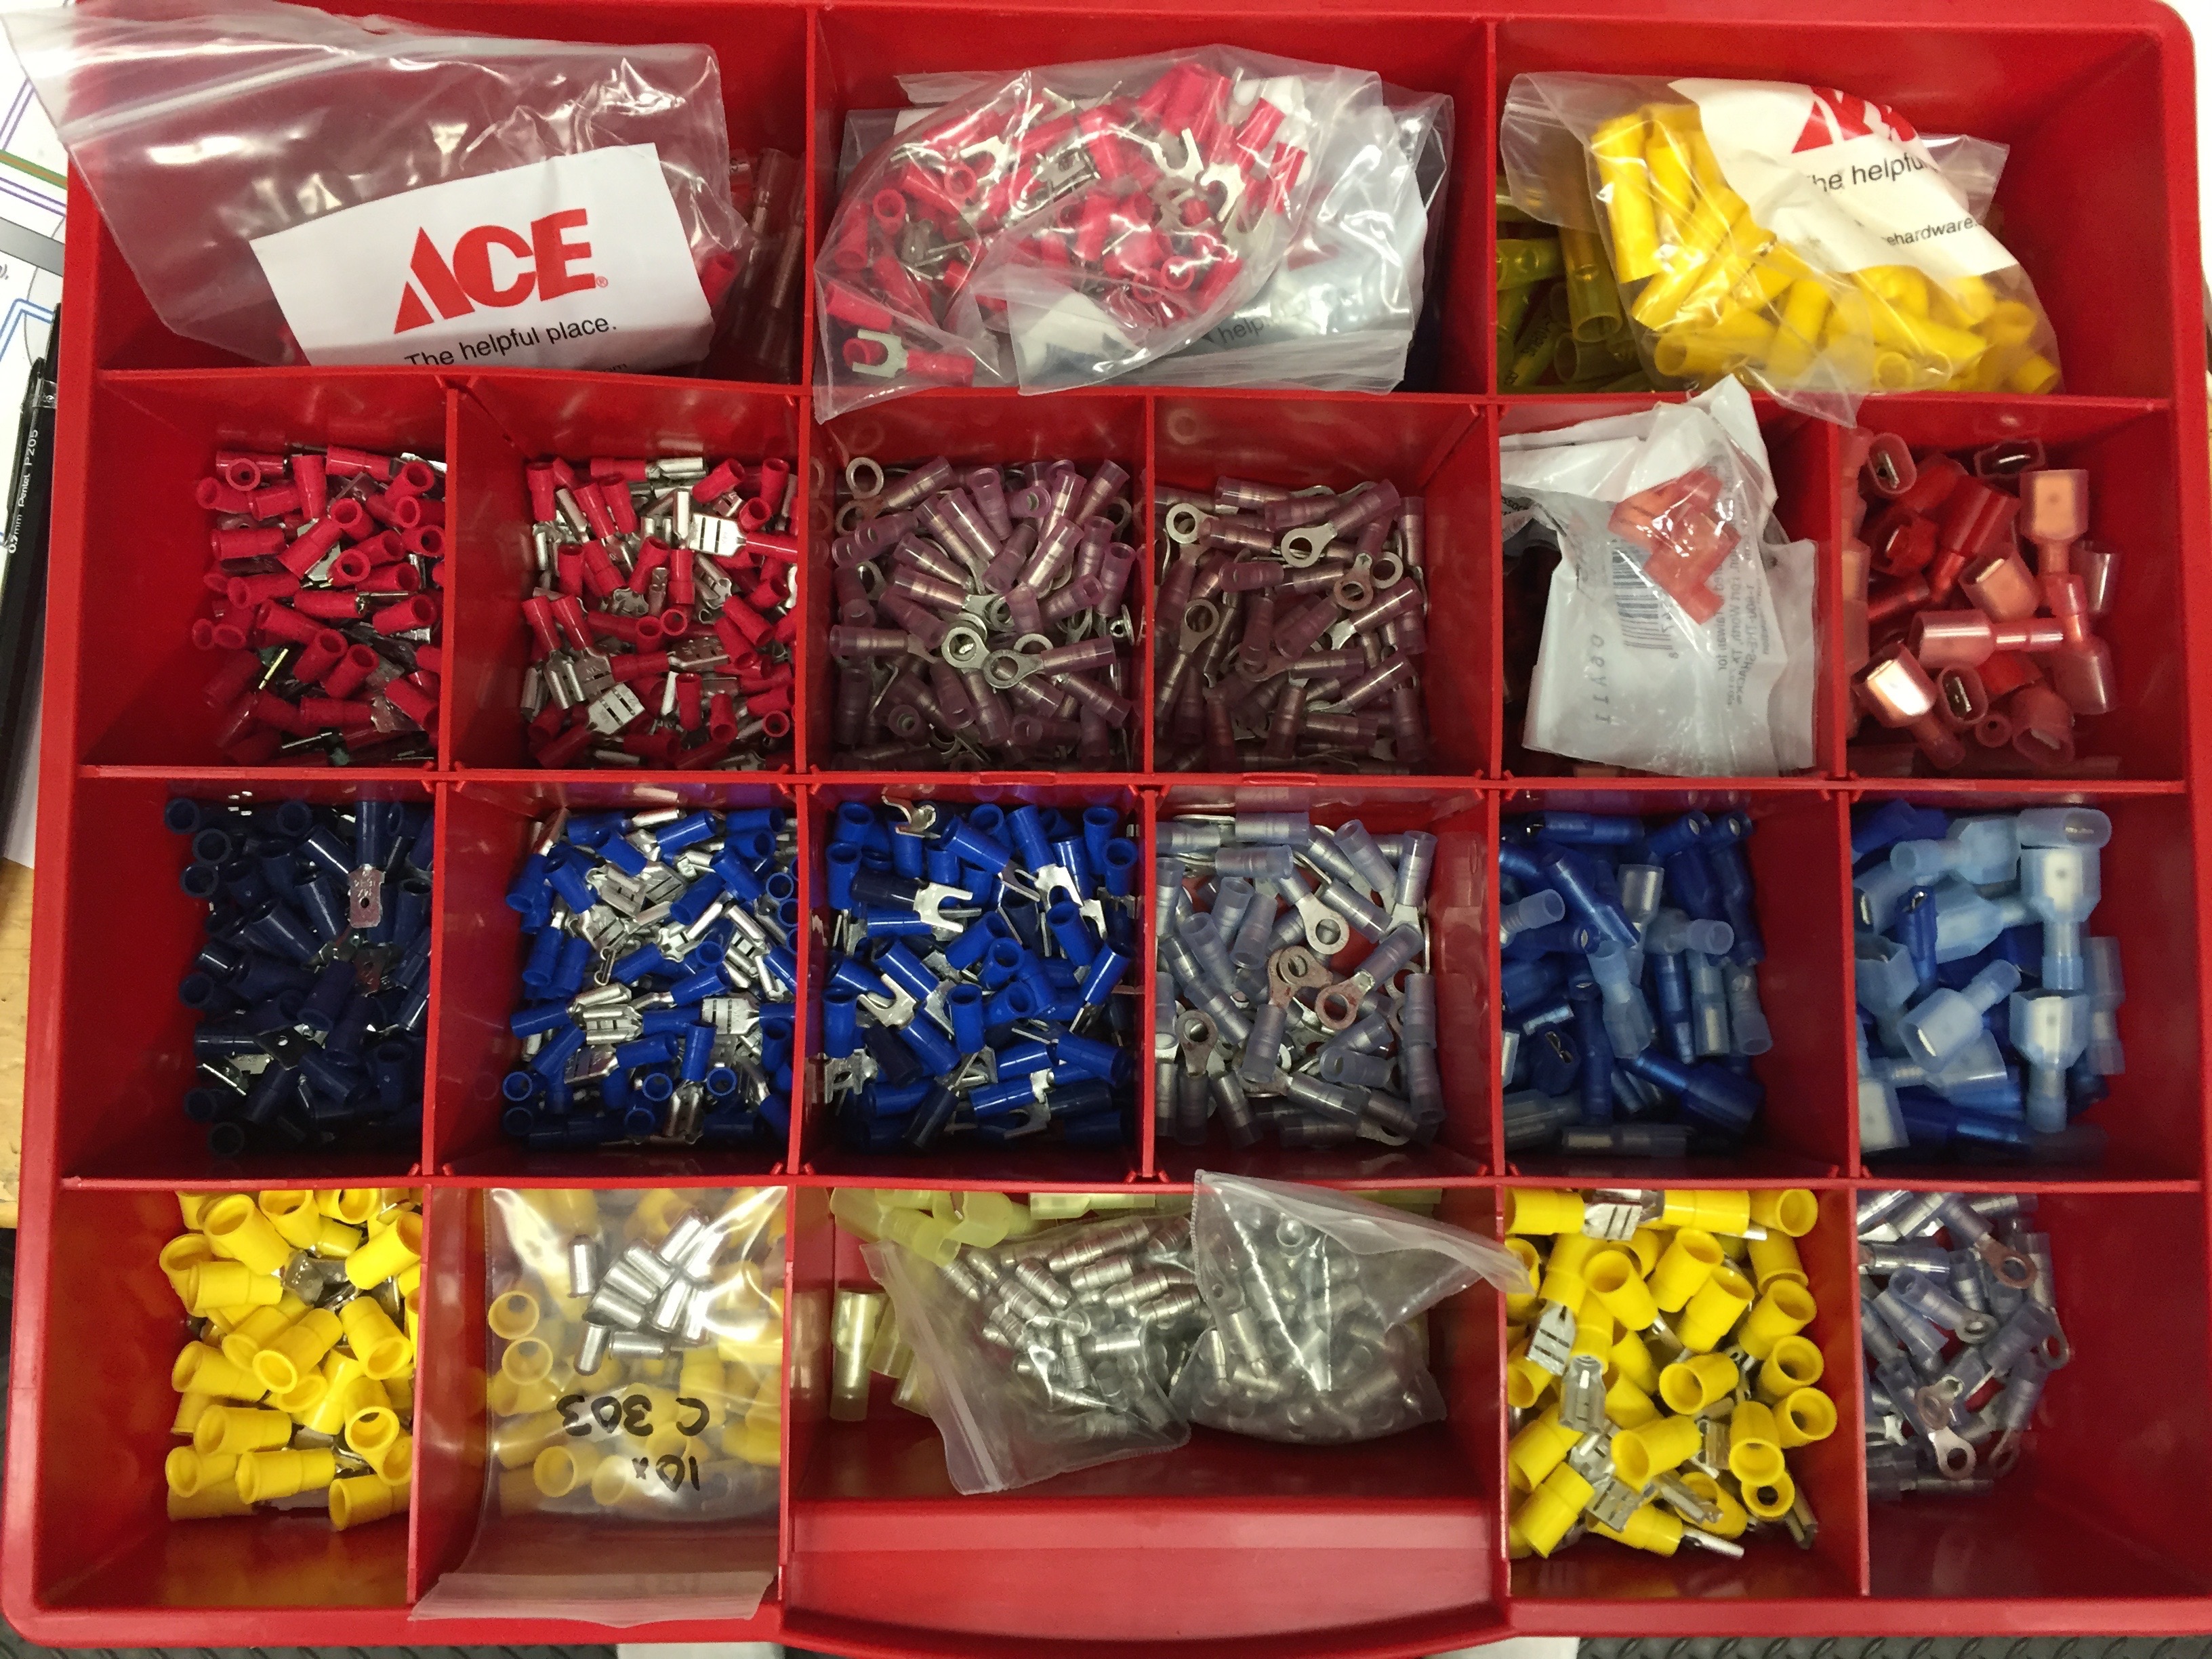
I ordered most of my connectors and terminals from Waytek, Inc., similar products are available from other suppliers but I was pleased with Waytek’s comprehensive inventory and selection. The one downside to Waytek is that for many parts you may have to order more of a particular item than you want or need – that is when the local ACE Hardware store comes in handy.
I suppose that it is not essential, but for many of my wiring connections I like to use shrink tubing to create a safe and good looking joint. A little heat from a heat gun or a flame and in seconds you have a very professional looking connection. British Wiring has many sizes of shrink tubing but it is also available from many other vendors.
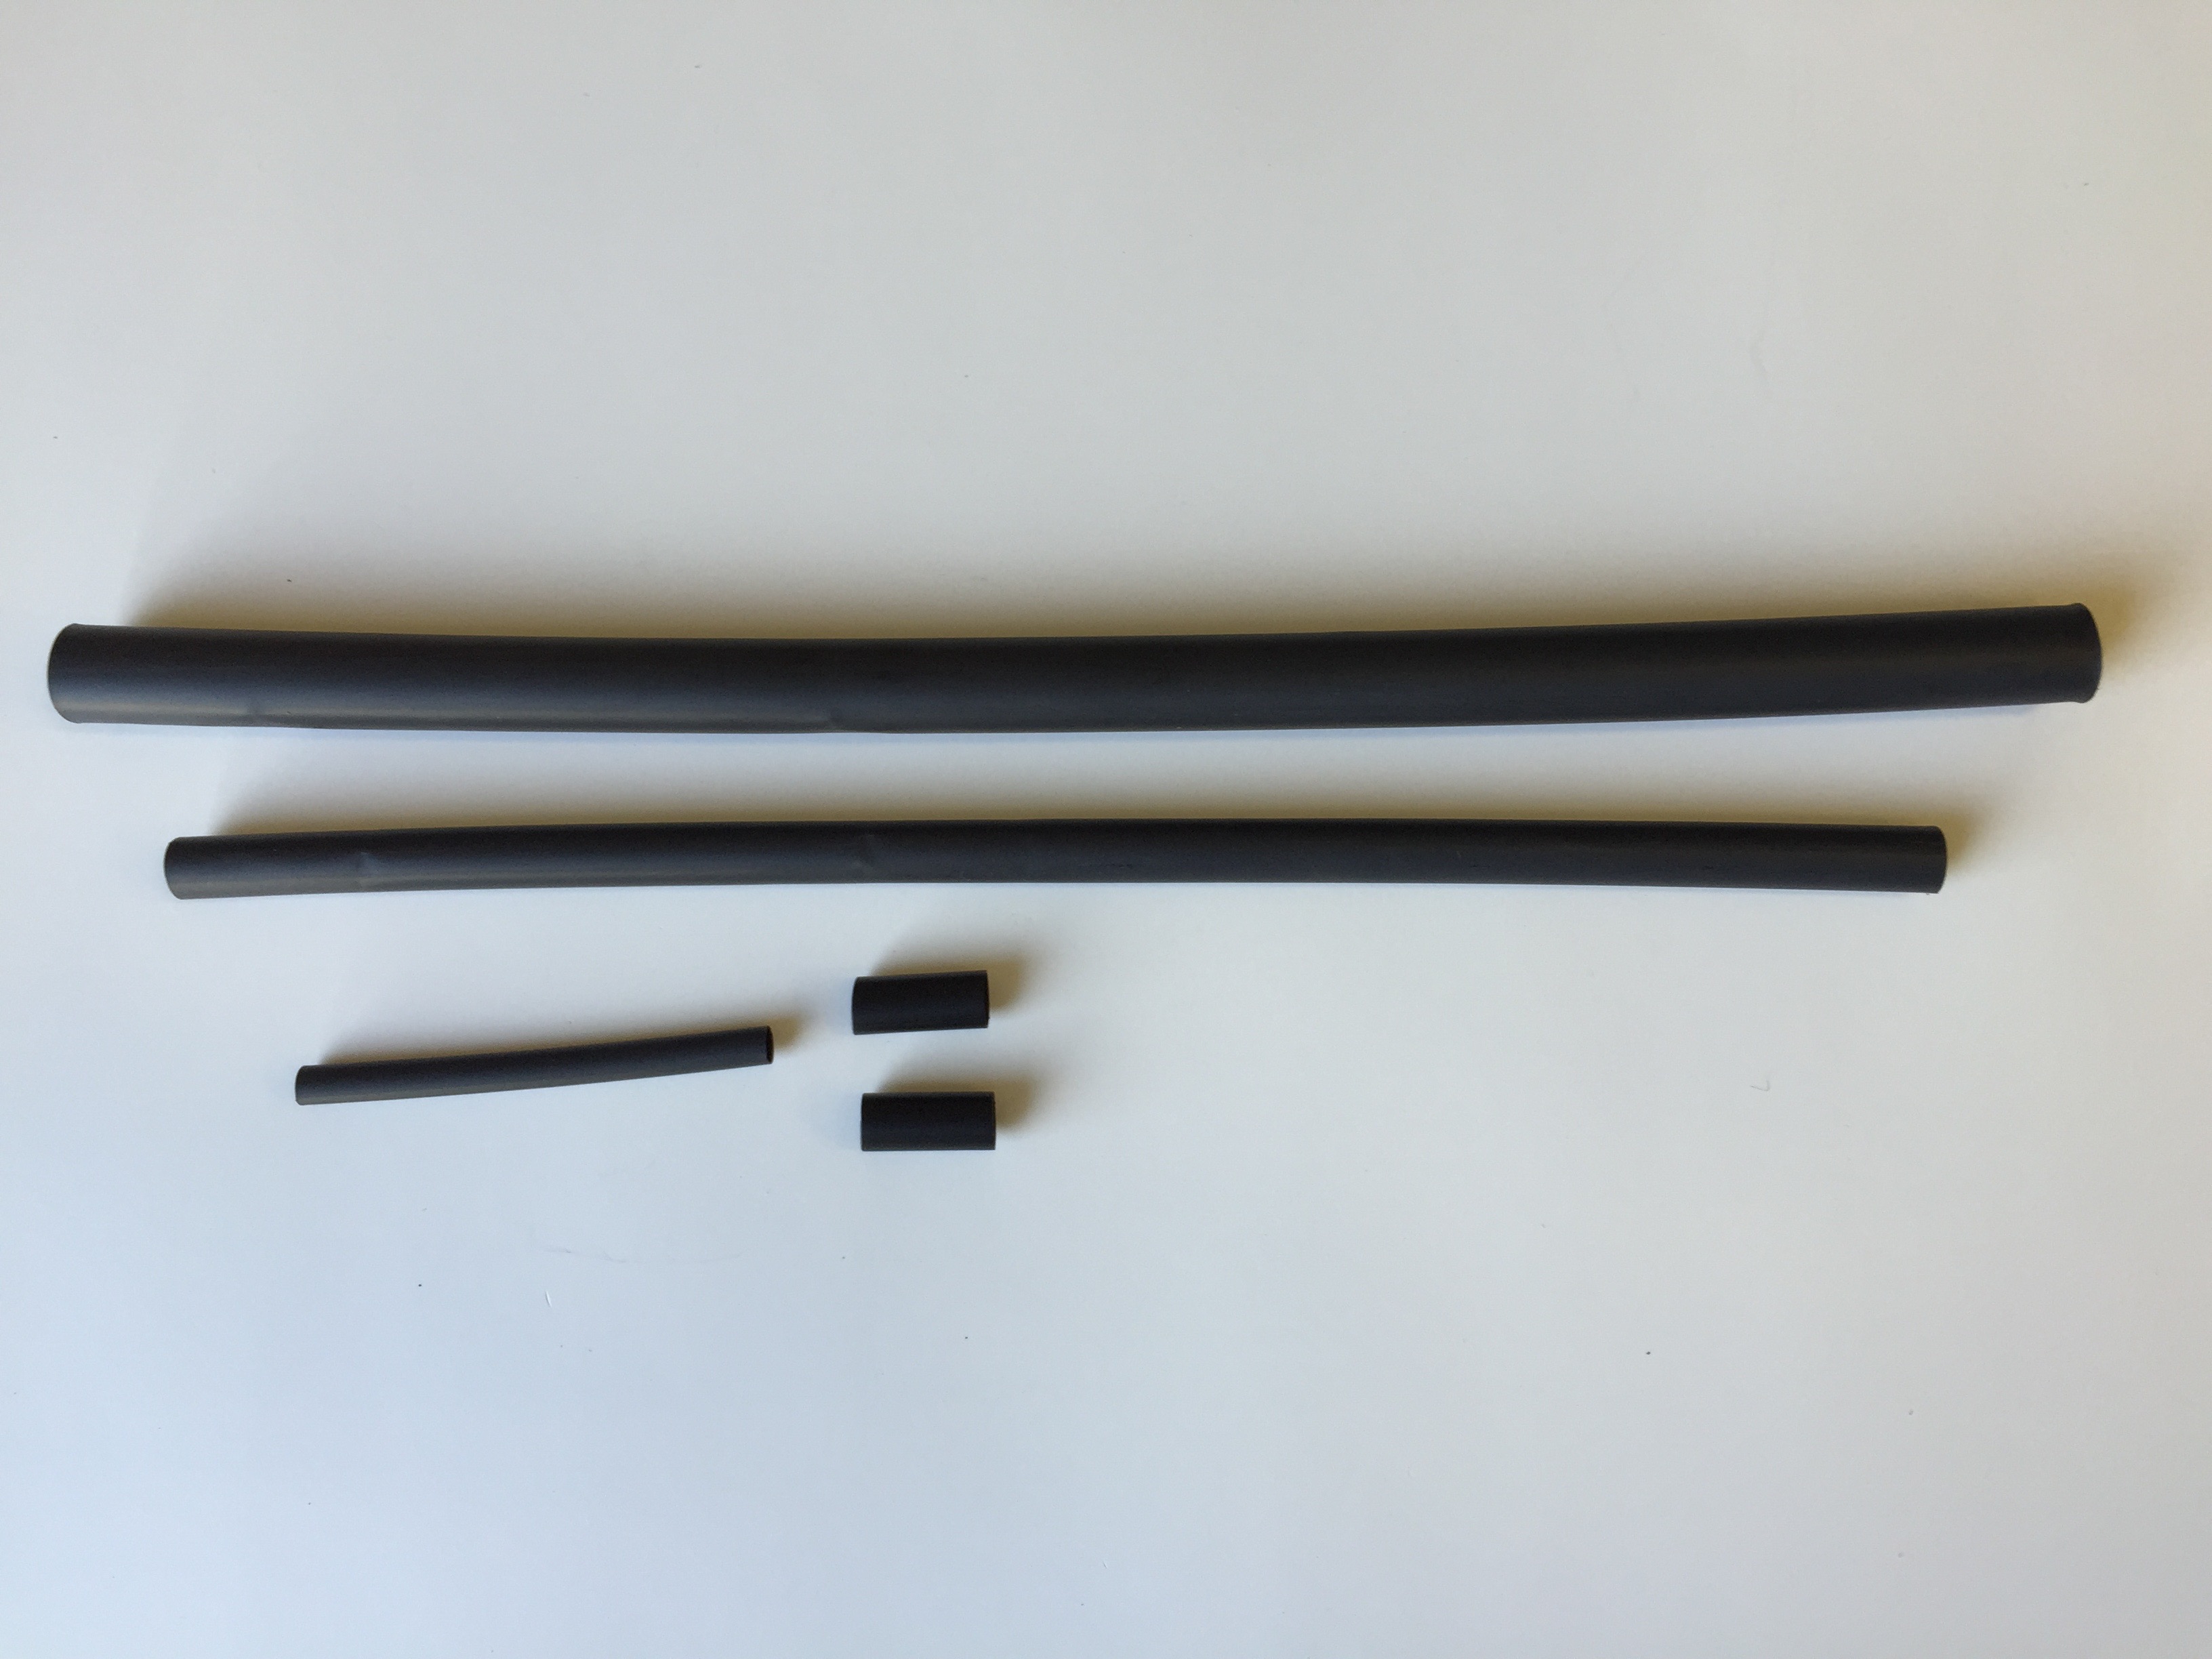
Shrink Tubing
Wire Labeling
Not in every case, but in most, I have labeled wires for future troubleshooting and as a reference guide. I used a DYMO LetraTag LT-100H Electronic Label Maker to make my labels and covered them with clear shrink tubing sourced from Pegasus Racing. A little heat on each of the label and it is sealed from the elements.
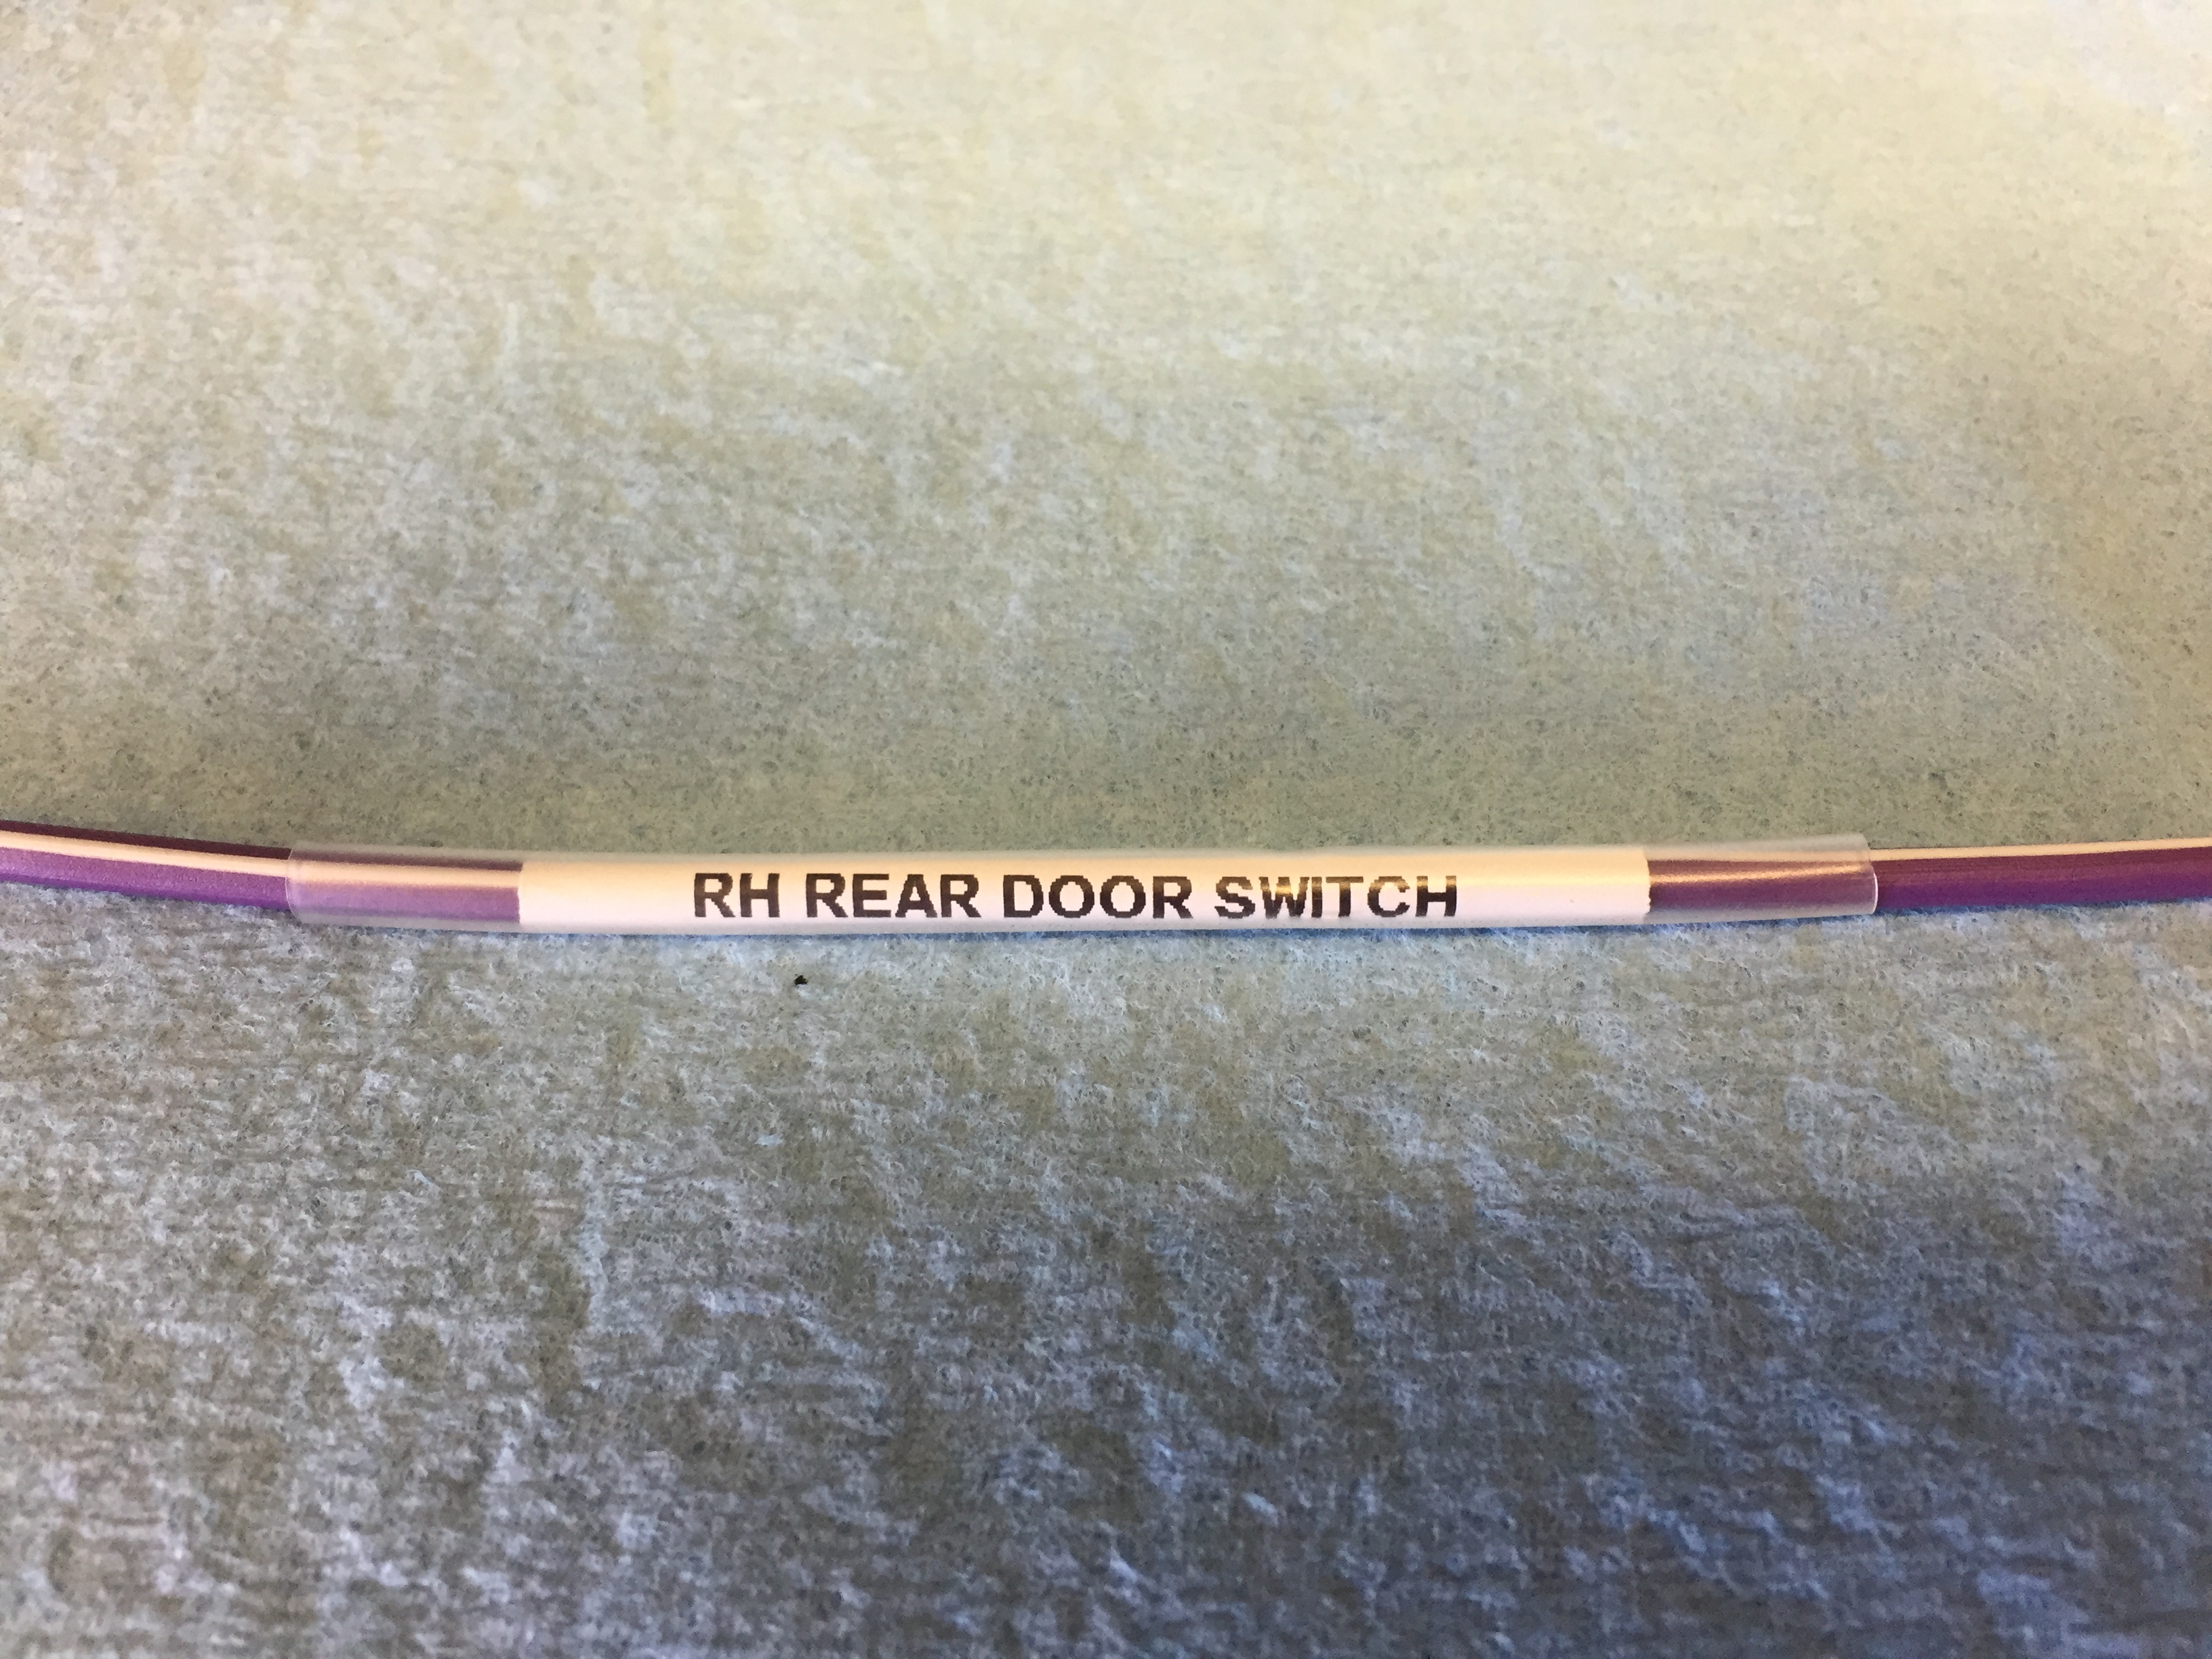
Wire Labeling

DYMO LetraTag LT-100H Electronic Label Maker
Barrier Terminal Blocks
Eric Kriss’s wiring plan, where possible, eliminates both long wiring runs and the use of the original snap “bullet connectors” by utilizing modern barrier terminal blocks as intermediate wiring connection points. This approach makes testing and chasing wiring problems considerably more straightforward and accessible when contrasted with the original wiring harness. Further modifications are also more easily accommodated. The trade-off is a bit more complexity in designing the harness.
The barrier blocks come in various sizes, some with clear plastic caps and others without.
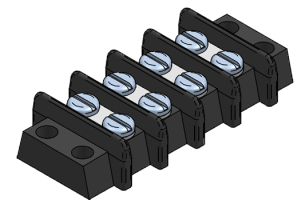
Typical 4-gang Barrier Block
In my design I used one 12 gang barrier block and one 6 gang barrier block under the dash, below the steering wheel on the left side of the car. Under the dash on the RH side a single 6 gang barrier block was used.
In the engine bay (and inspired by Eric Kriss’s work), hidden by the original fuse assembly cover, are three 4 gang barrier blocks with clear plastic covers.
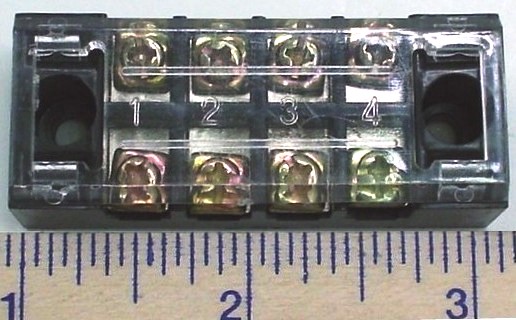
Barrier Block with cover
Finally one, small 4 gang barrier block, secured with velcro, was used in the central instrument panel assembly wiring.
Only time will tell if I made a good decision or not, but rather than mounting the under dash barrier blocks with self-tapping or machine screws, I epoxied strong magnets to the back side of the blocks making it possible to easily remove them from their location to ease access to connections. Rivet nuts and machine screws were used to fasten the barrier blocks in the engine bay.

Barrier Blocks with Magnets
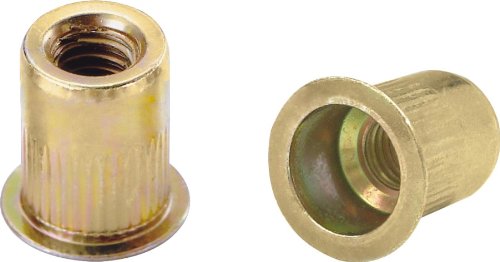
Rivet-Nuts
Wire
I ordered my wire from British Wiring. I began with the good intention of following British standard wiring codes, but to minimize waste I admit to ending up using wire colors that did not follow convention. However, all was well documented.
Lucas Wiring Color Codes
Mike McPhail, the president of the South Texas Austin-Healey Club, published an article in the July, 2010 issue of Regional Rumblings, the Club’s newsletter that provided an excellent color coded summary of Lucas wiring that proved helpful with the Jaguar as well. I didn’t always follow convention (for economy) but it is useful to know what you are supposed to be doing!
Testing Equipment
Testing connections and trouble shooting is always necessary. Whether simply checking for continuity or determining voltage or amperage a few appropriate tools are needed. I would suggest these two at a minimum:
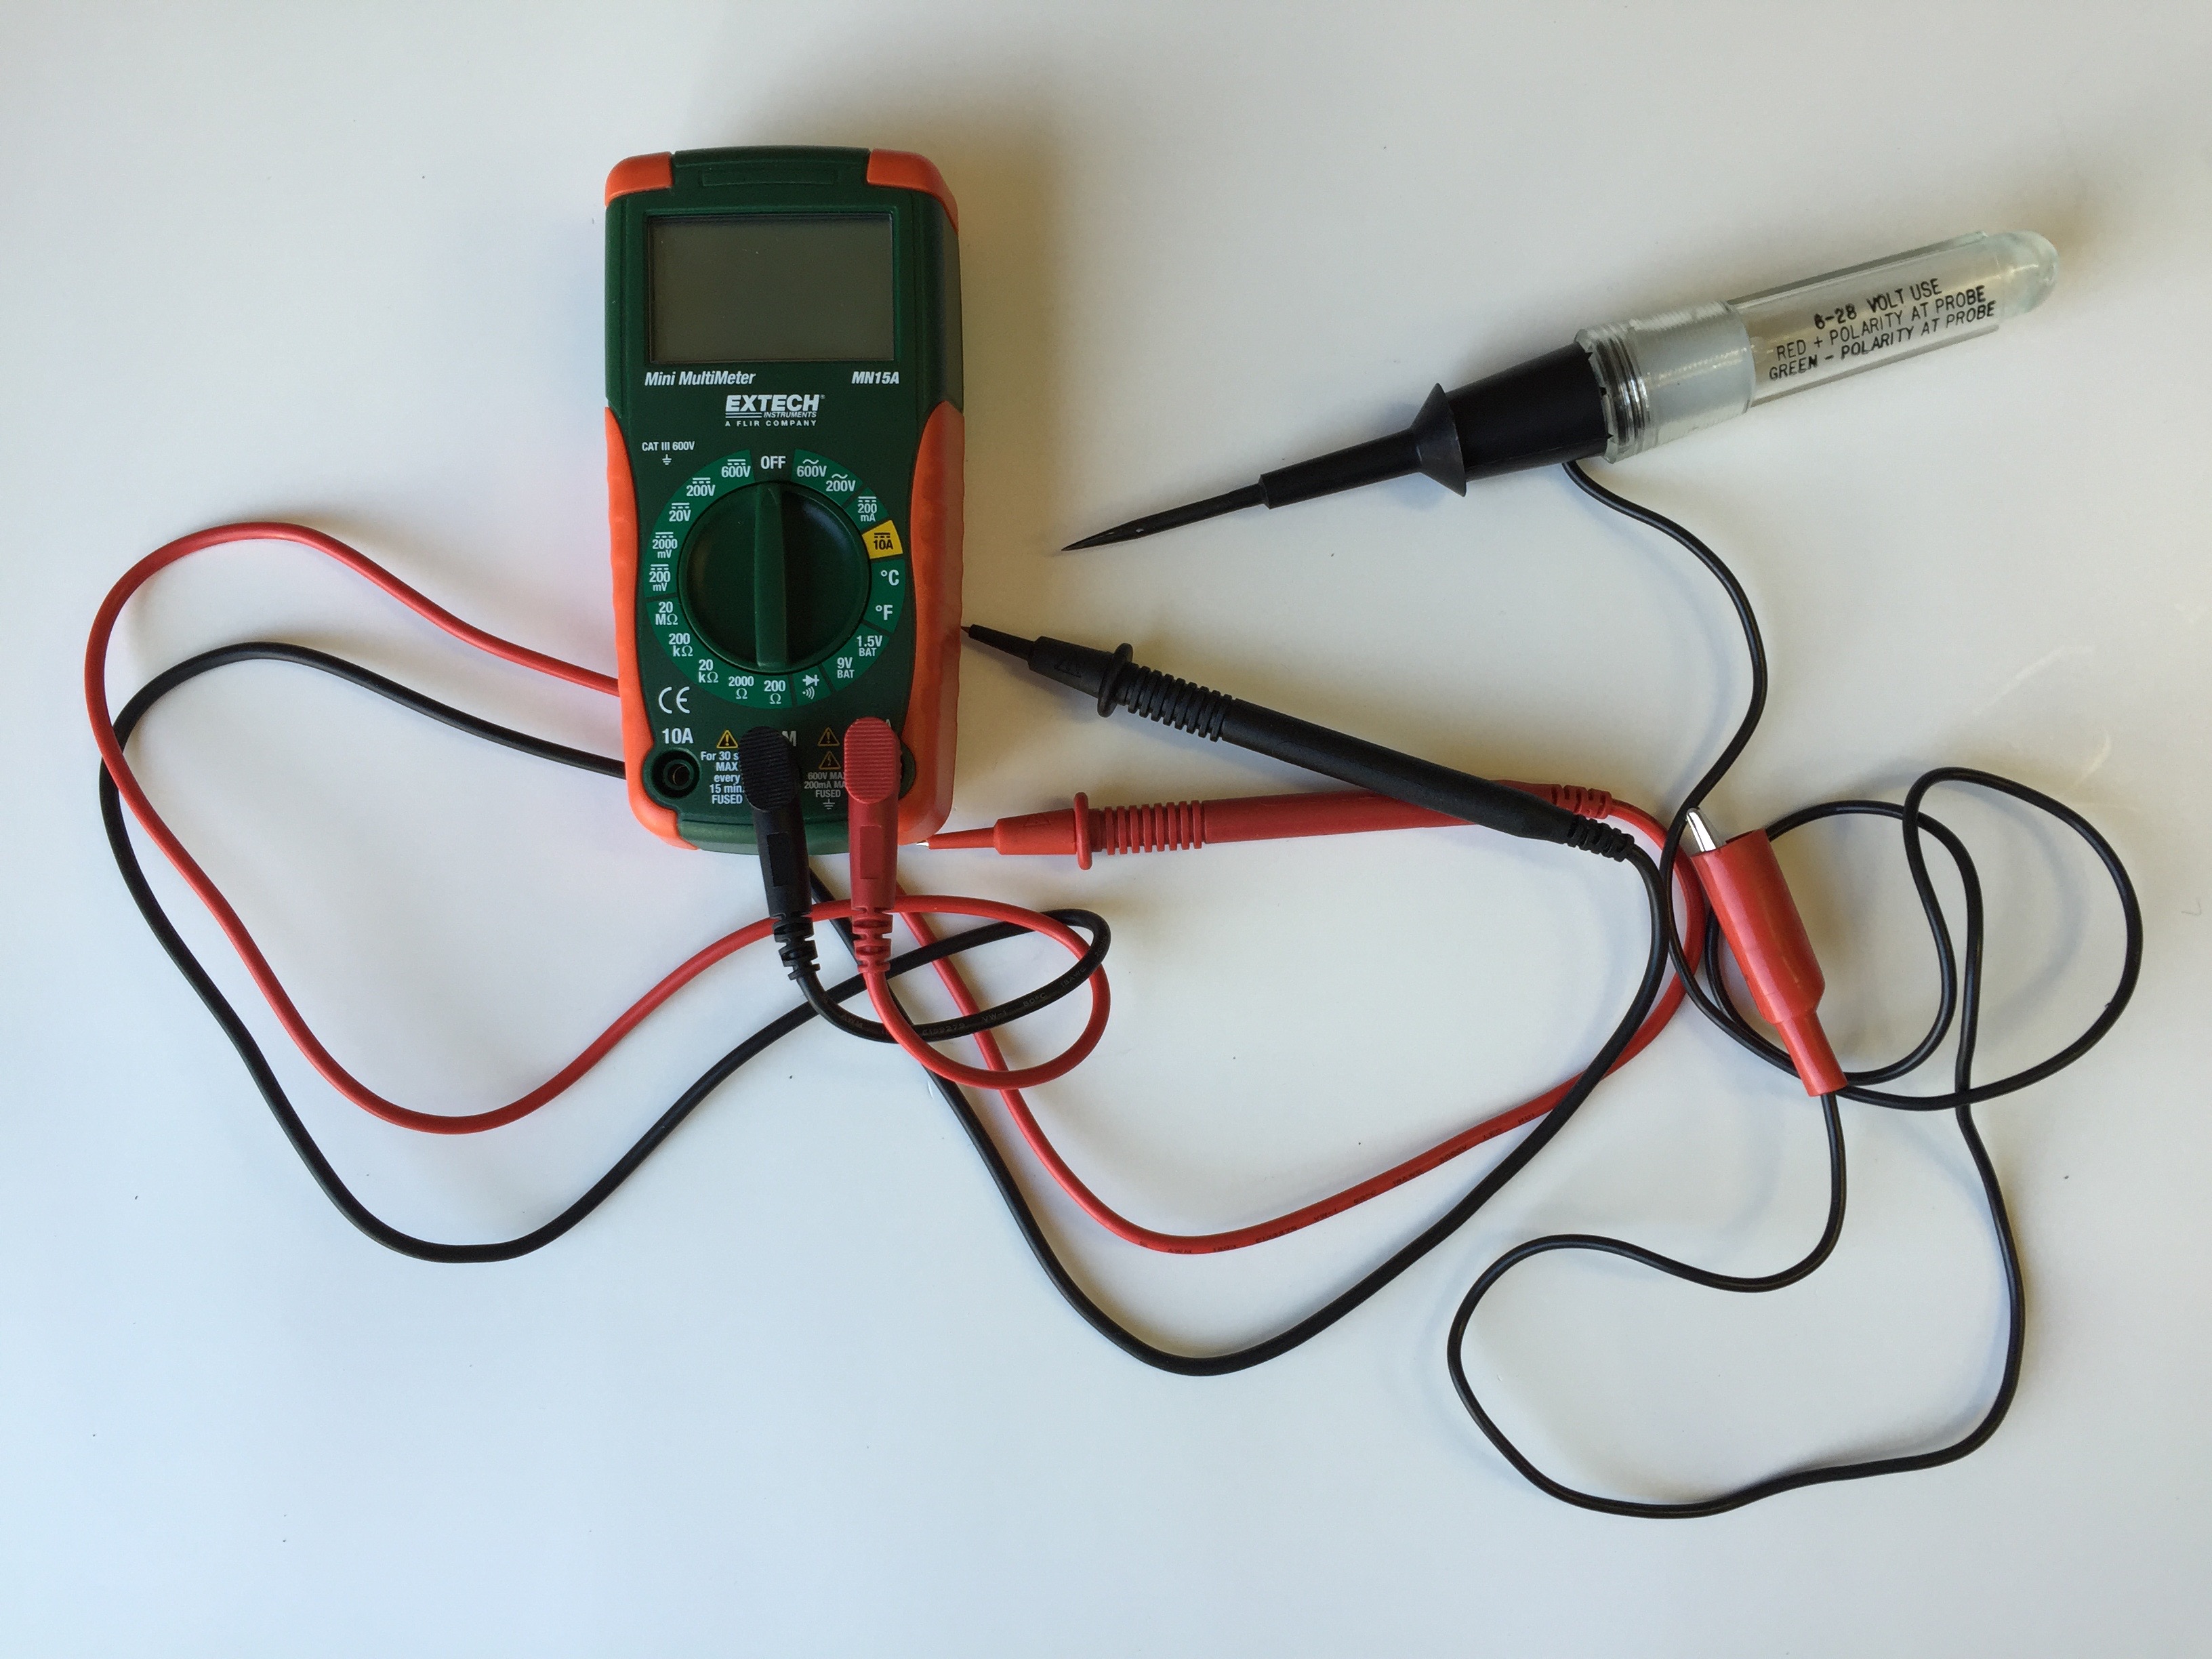
Multimeter and Circuit Tester