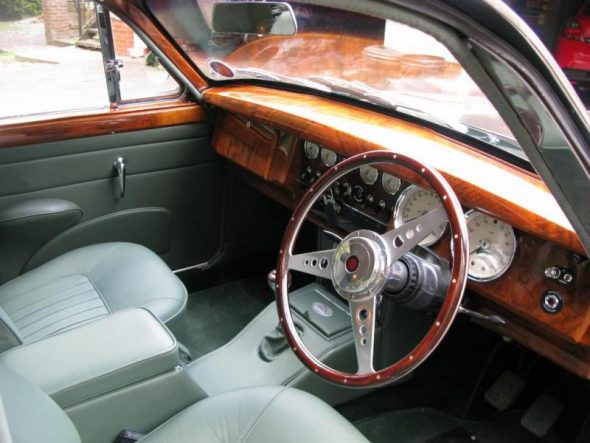
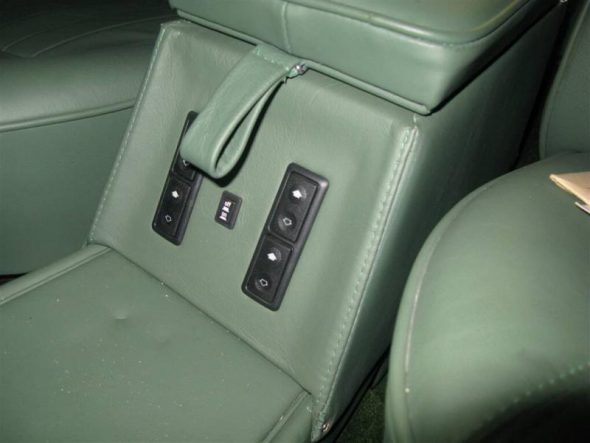
Inspired by Kevin Moore’s MK2 center console arm rest modification, I endeavored to create my own. I knew that I wanted to use an arm rest pad that would not look home-made, and that would also house the controls for the power seats and a USB dual port. These are images of Kevin’s console/arm rest:
I think that Kevin’s execution is spot on and well done. I can only hope that mine turns out as well!
My project began with an arm rest pad/lid and storage tray that I purchased on eBay. I believe they were from a mid-eighties XJ6. The size and shape of the arm rest determined the ultimate measurements of the box I would build. The XJ40 electrically controlled power seats in my car mount slightly rearward of the original MK2 seats so I determined that I would add a couple of inches of sheet metal to the rear end of the original MK2 console/heater pipe cover. I should also mention that I am not using the heater pipes to the rear in my car. Moving the “box” rearward also gives more room for shifting the gearbox.
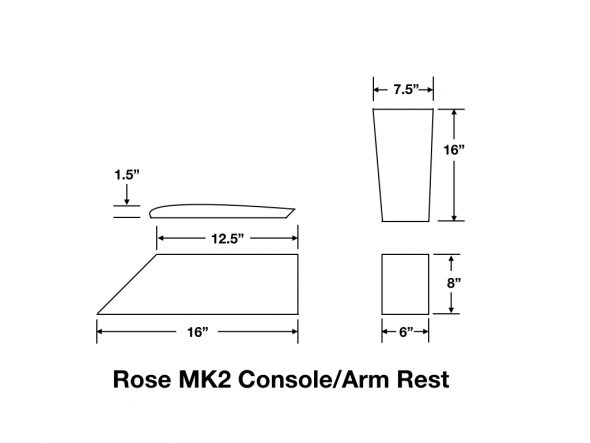
These are the outside dimensions of the “box” I constructed:
I constructed the “box” from a 1/2″ PVC panel. I chose the material primarily because it doesn’t absorb any moisture, but I also found that it is very easy to work with – much easier than plywood or some other composite material. A few 1-1/2″ poplar wood braces were also used for extra support. The panels of the box were all cut on a portable construction table saw, the holes for the seat switches were cut with a hand held saber saw, and the holes for the USB ports were cut using a hole saw.
My next step will be to cut matching panels from 1/8″ PVC. These will then be glued to the 1/2″ panels. This will completely cover all of the screw heads and mounting indentations and should produce a nice finished surface for the leather. Ultimately, I will mount the “box” to the original heater pipe cover and to the prop shaft tunnel as Kevin did.
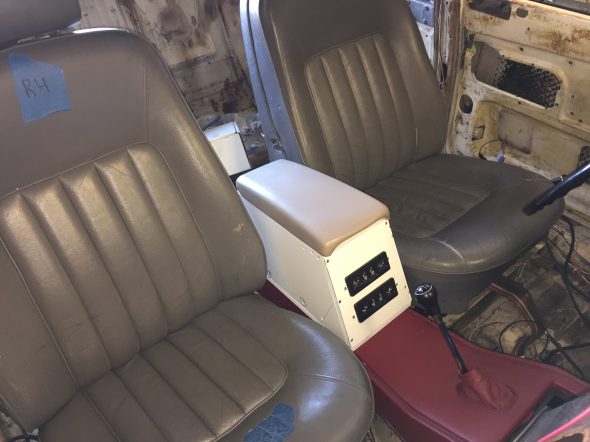
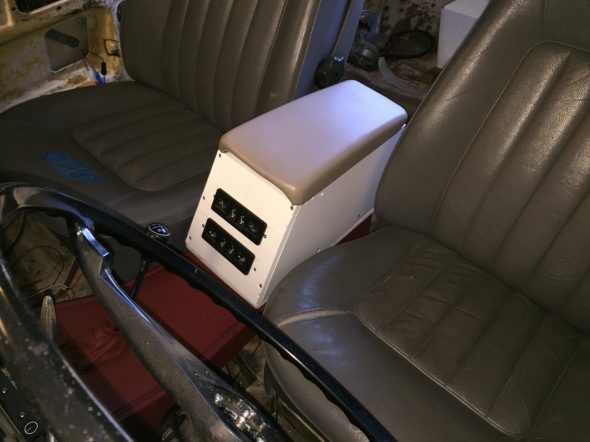
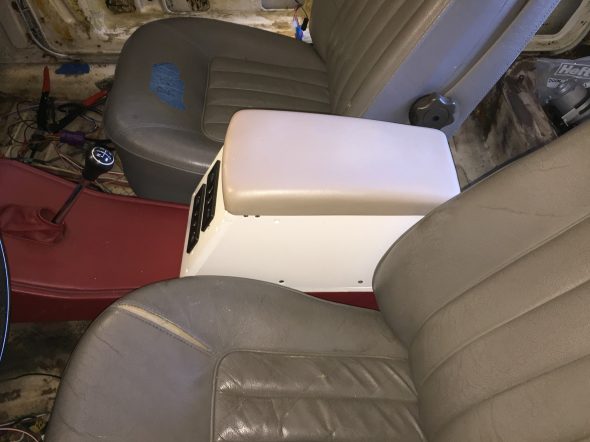
These are a few images with the “box” just sitting (not mounted) in position:
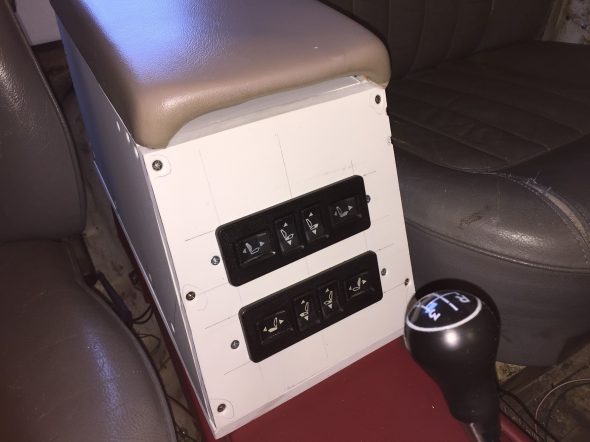
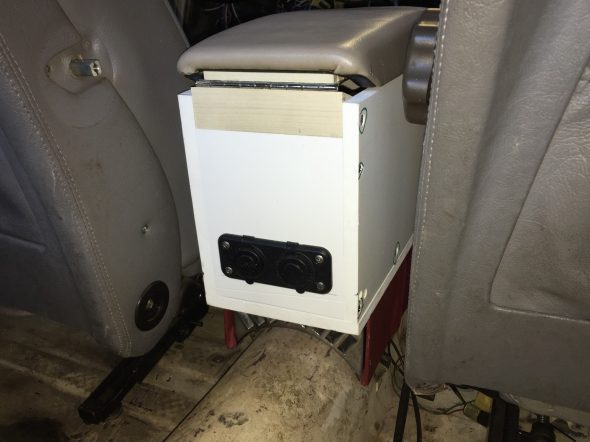
The following two images show the mounting of the electrical switches in the front and the twin USB ports in the rear. The screws in the face plate of the USB mounting bracket will be replaced with black screws. As I mentioned previously, additional sheet metal will be added to the end of the heater pipe cover so that it matches flush with the rear edge of the “box.”
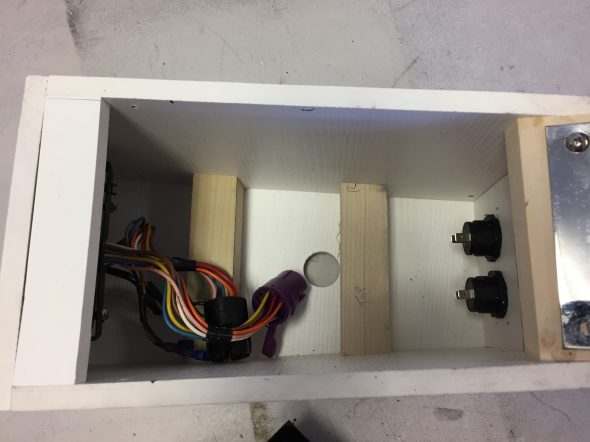
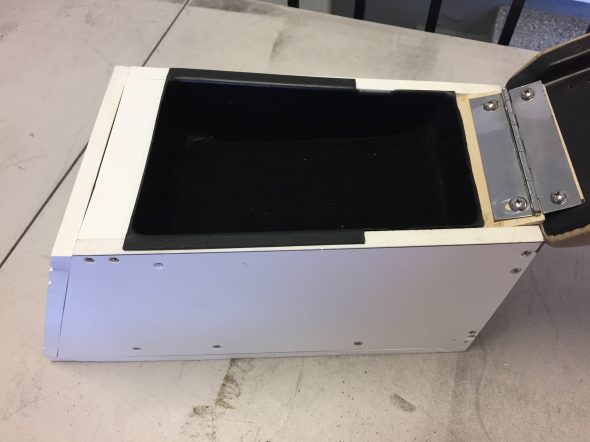
The last two images show the interior of the box with and without the storage tray:
Of course, the beige arm pad, the grey seats and the red original heater pipe cover will all get reupholstered in a single color leather!

