
Dash Components
Air Distributor Box
Details on the box which sits below the dash can be found under the Heater post: https://valvechatter.com/?cat=103
Mounting Bracket for Radio Control Panel
This bracket shares the mounting bolts with the air distributor box, and mounts behind and above it.
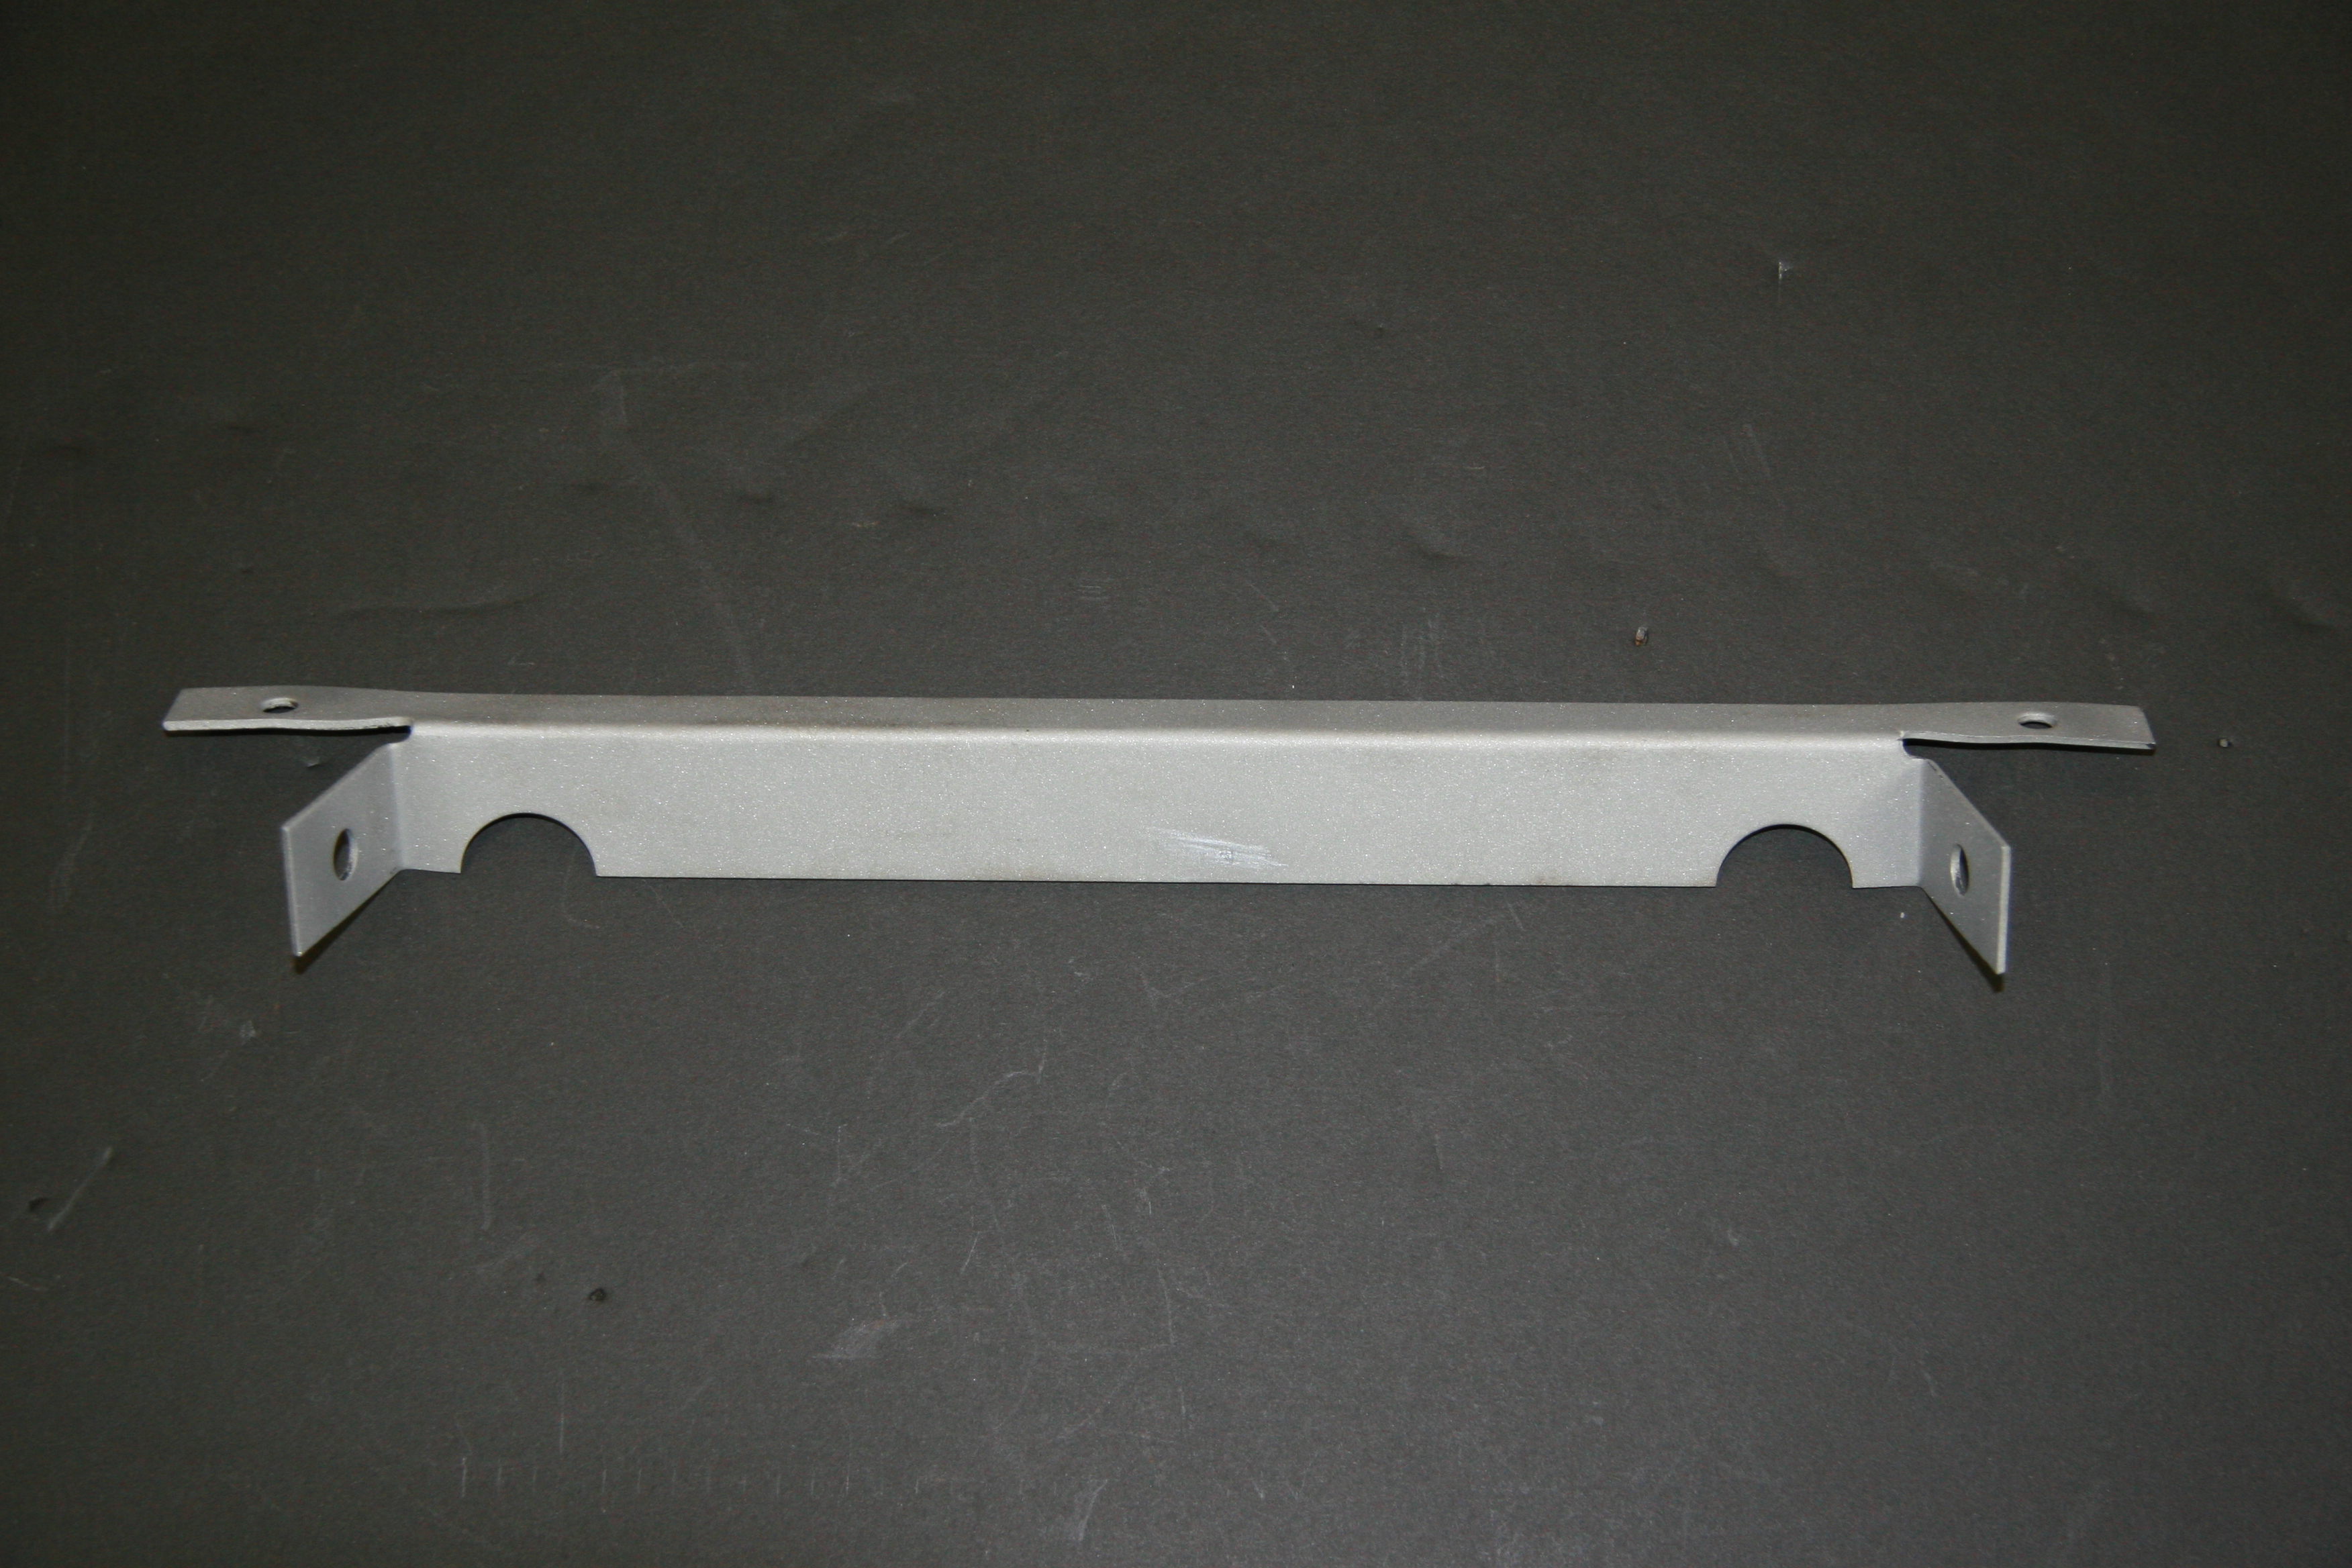
Mounting Bracket for Radio Control Panel
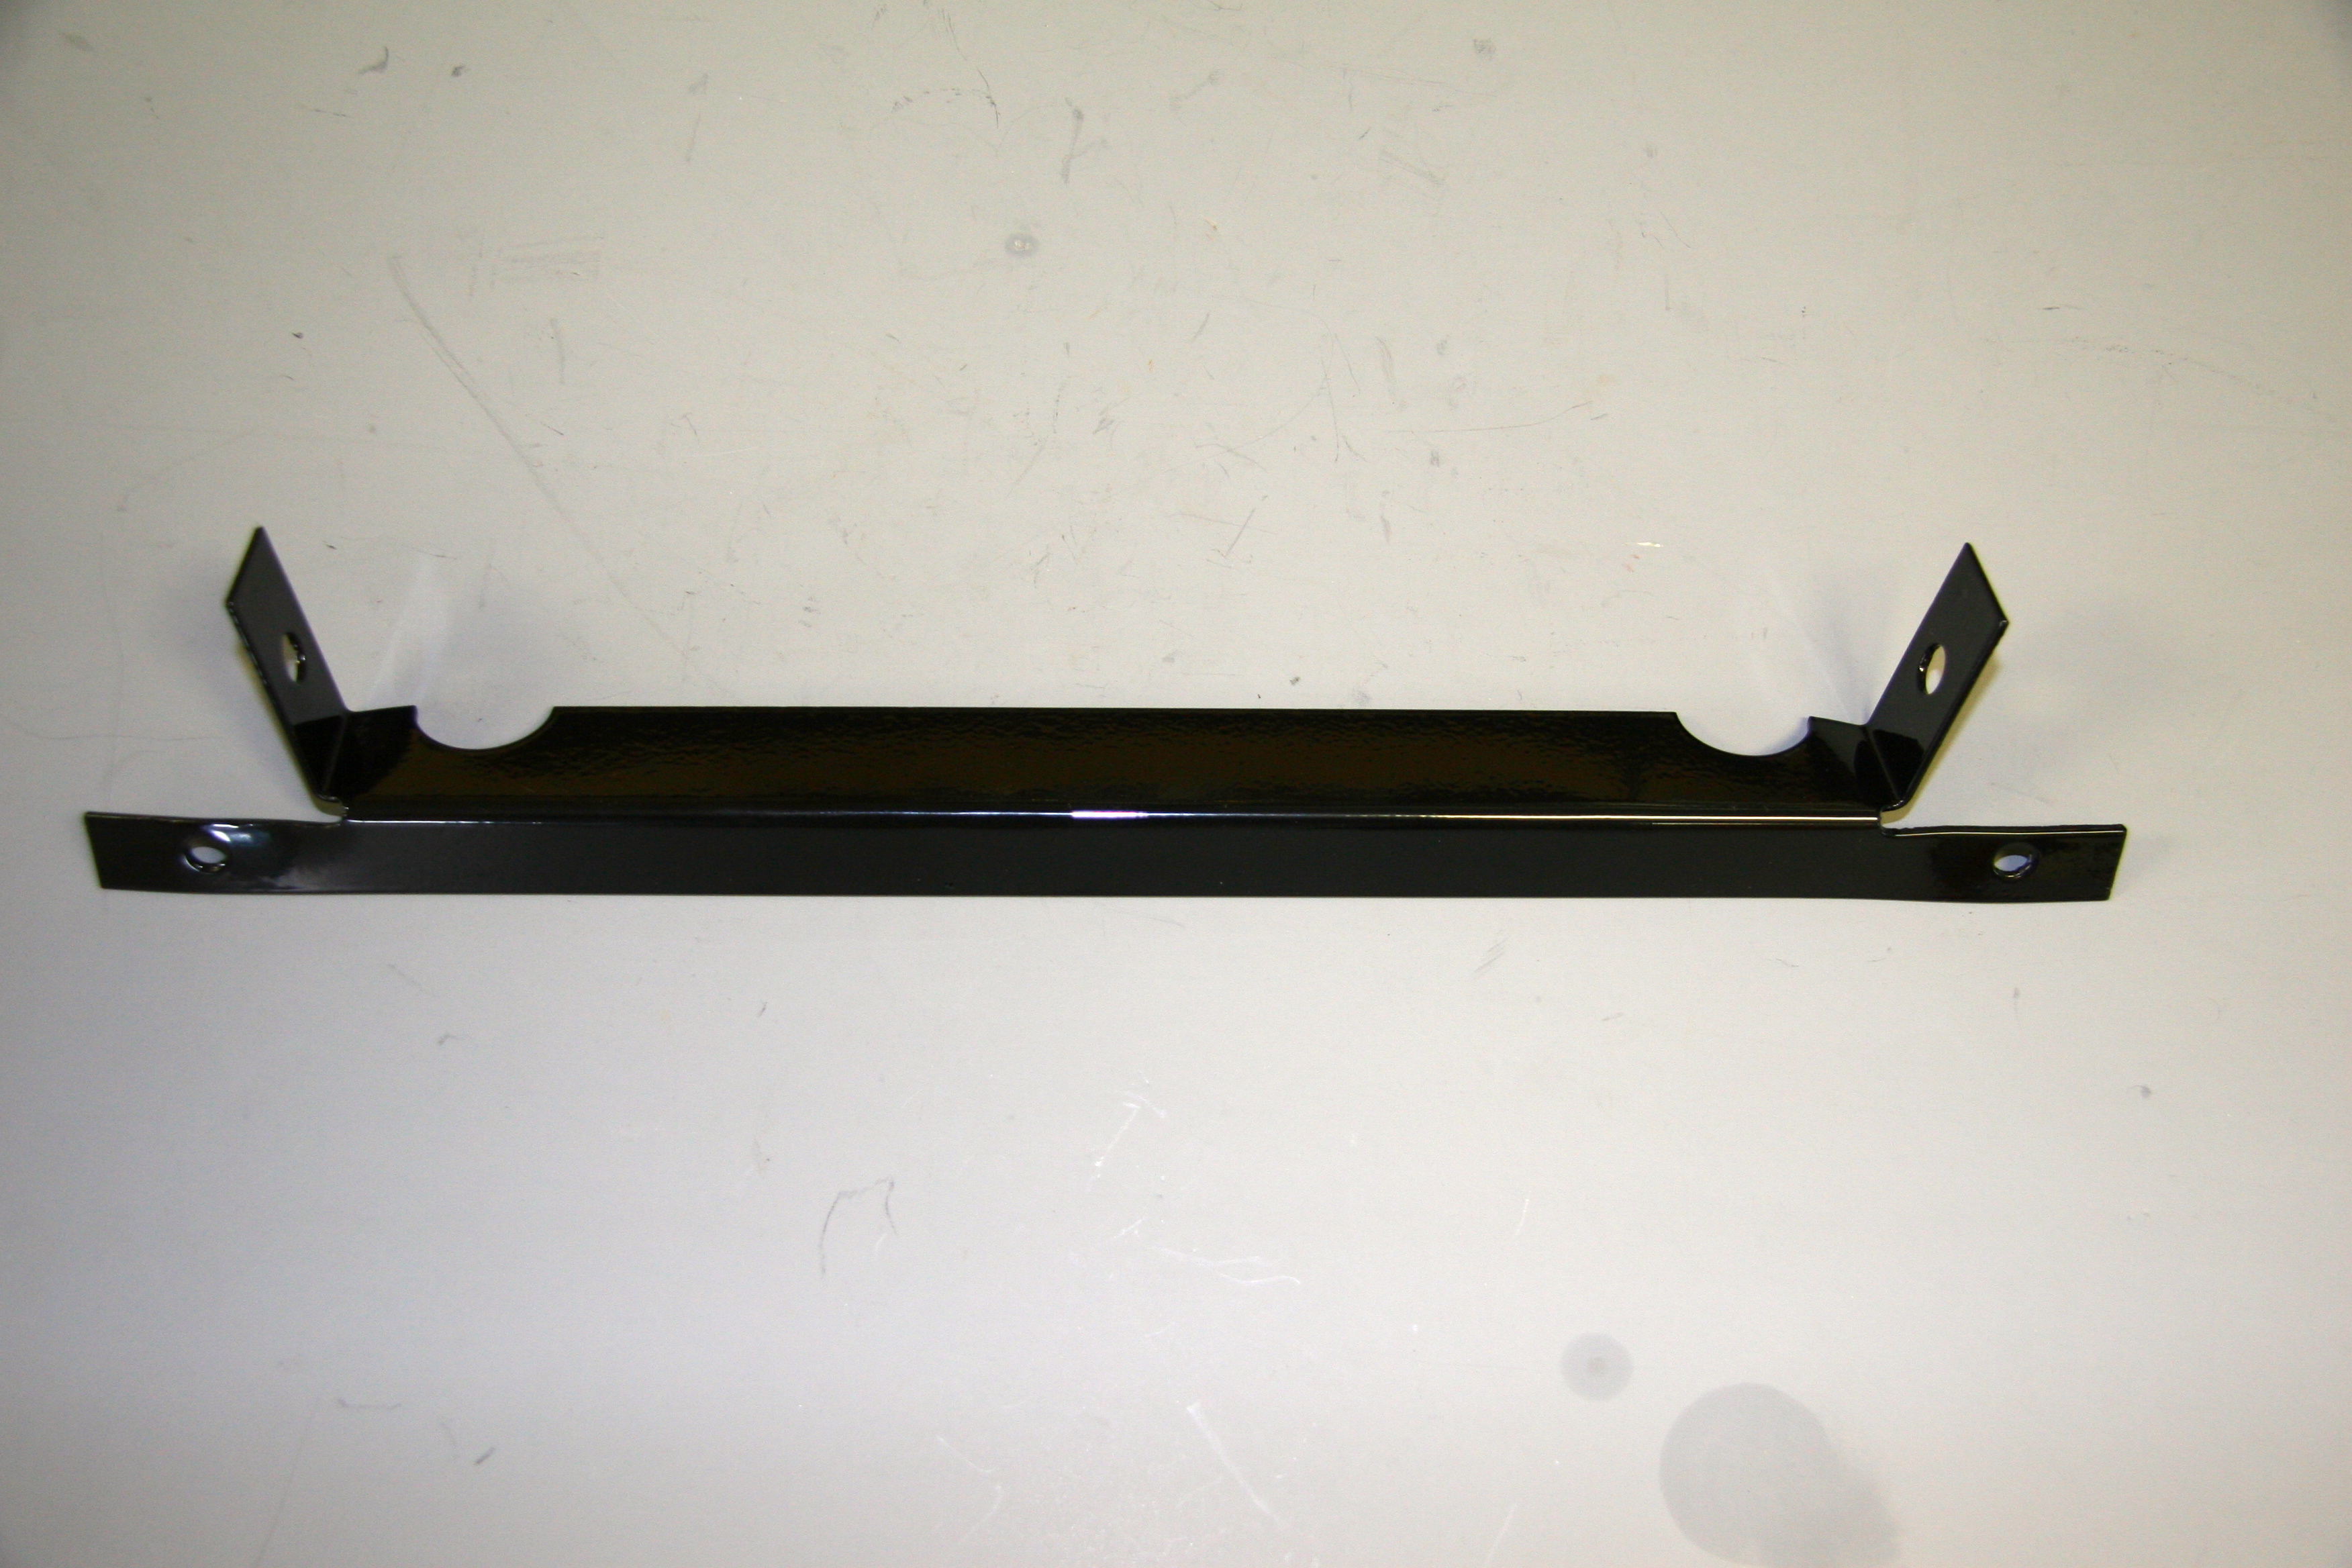
Powder Coated Mounting Bracket for Radio Control Panel
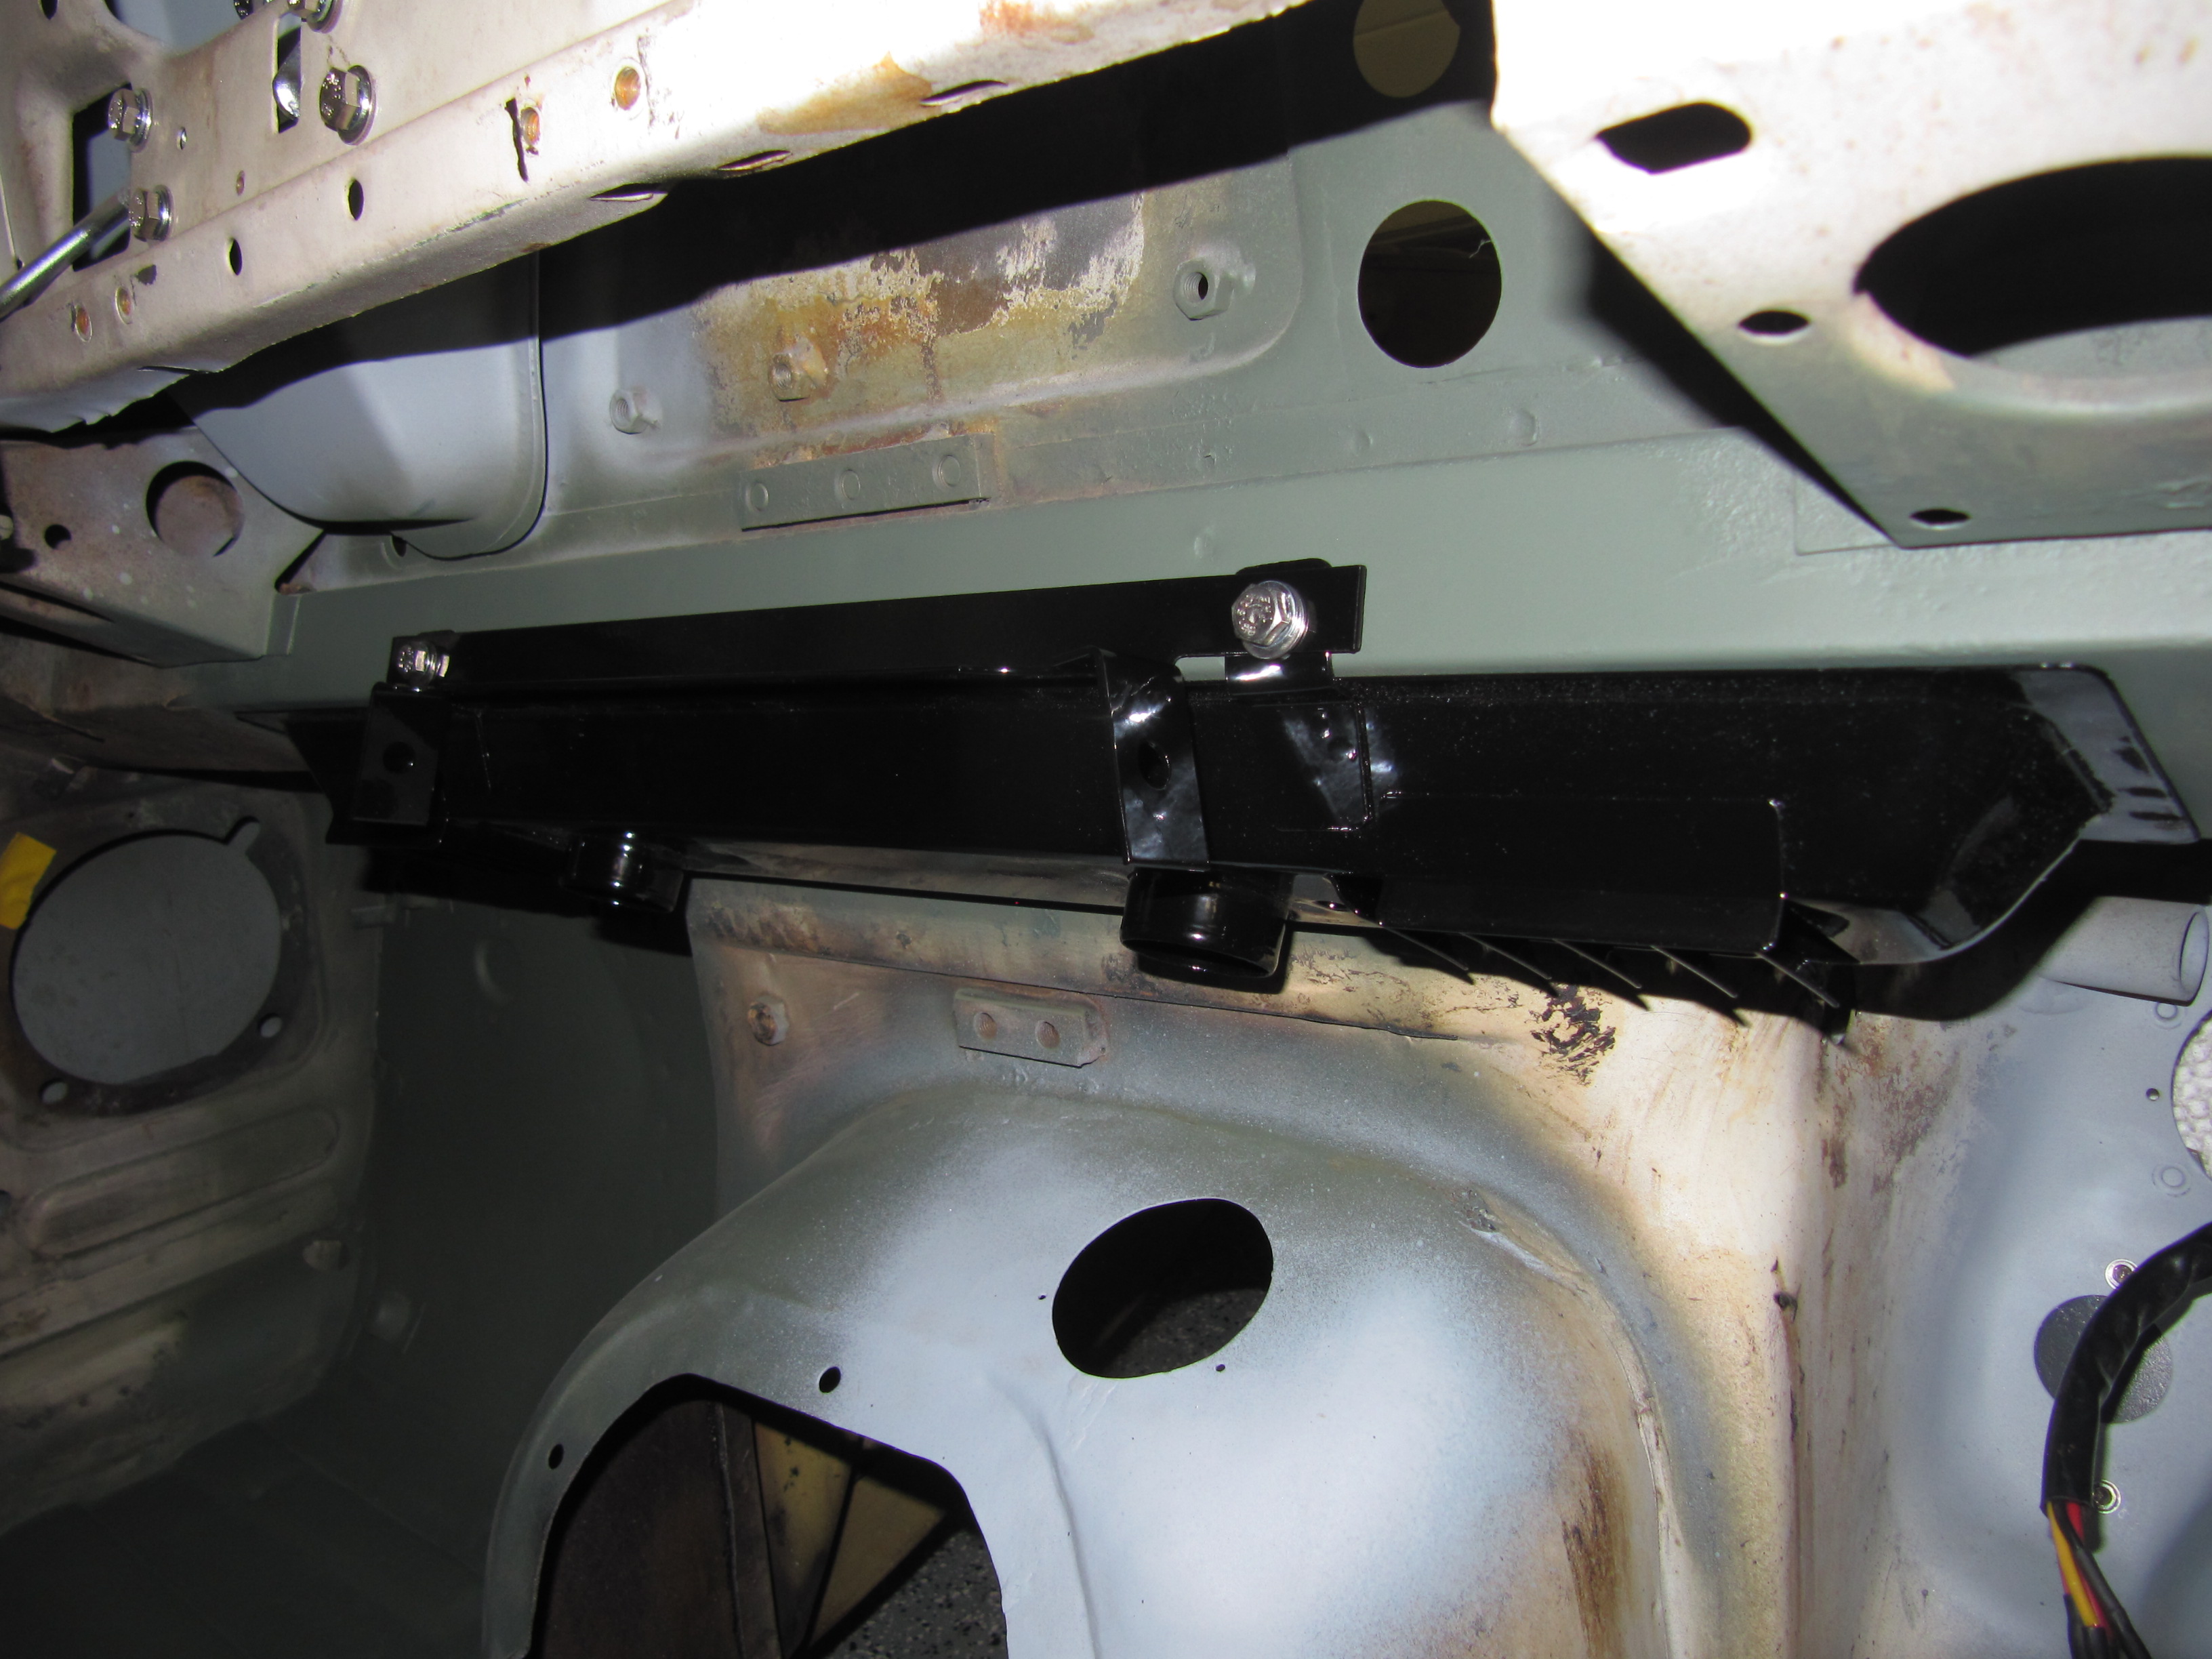
Air Distributor Box Installed
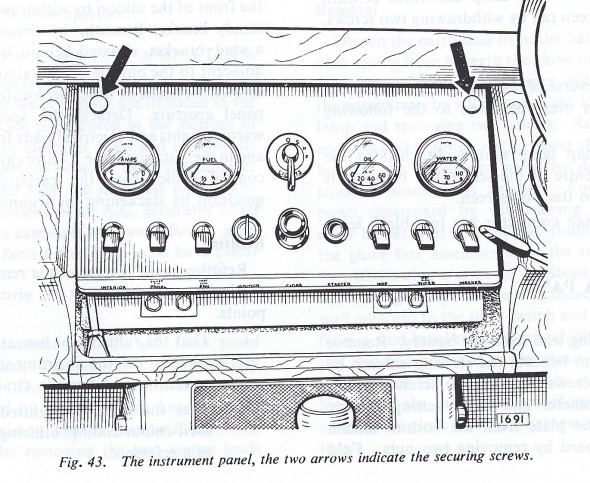
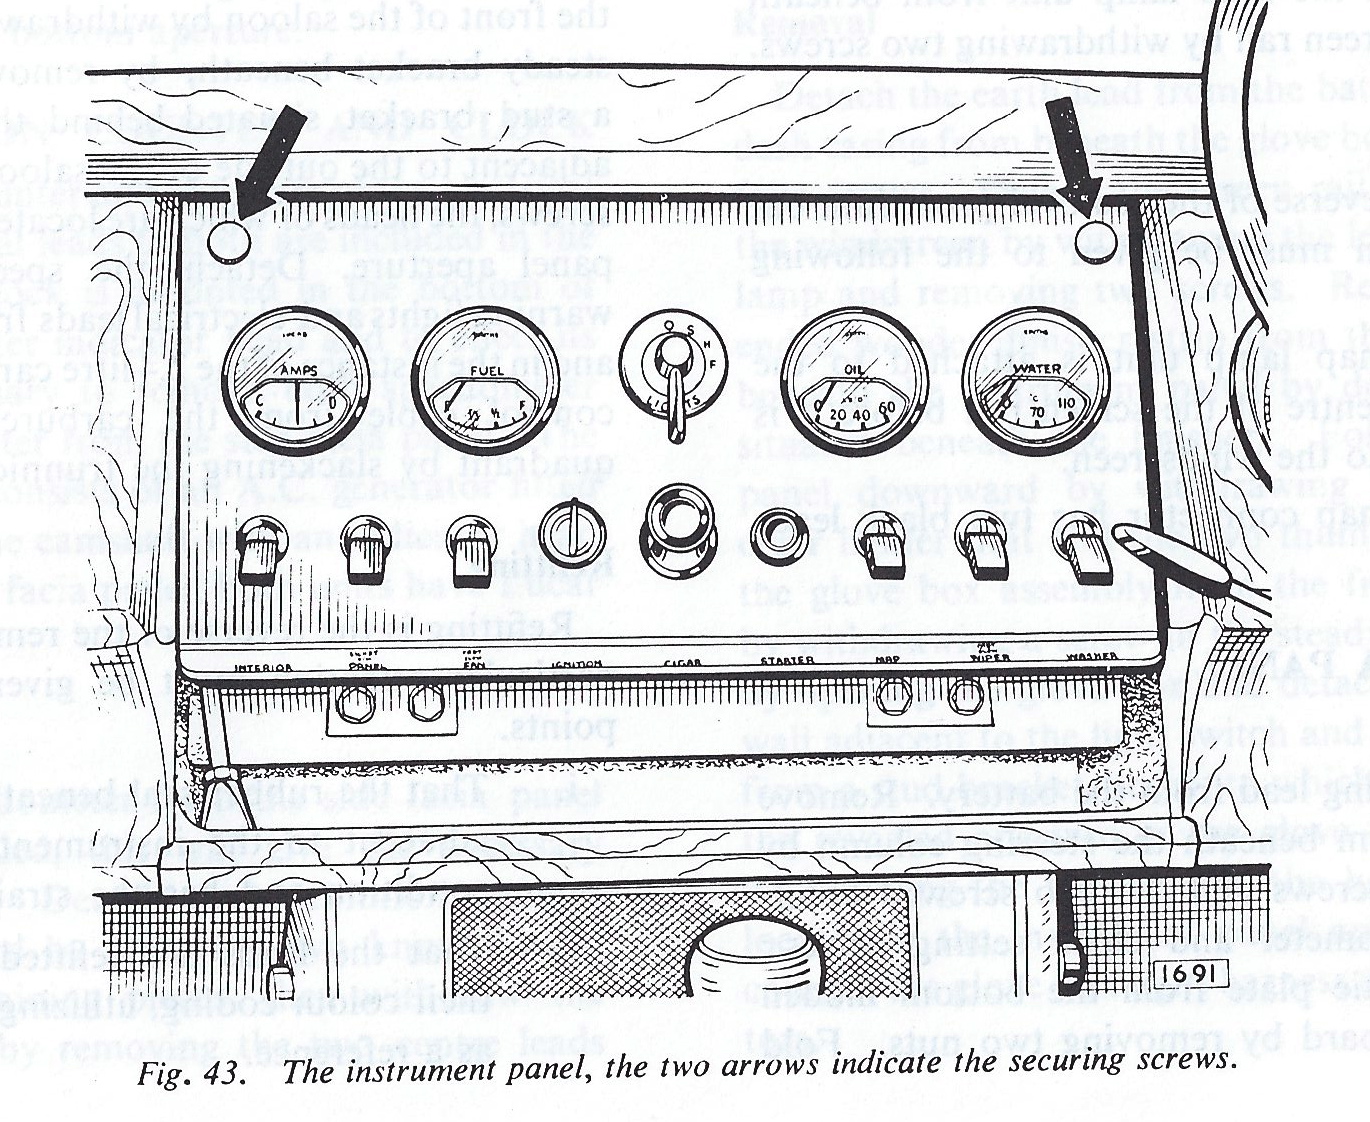
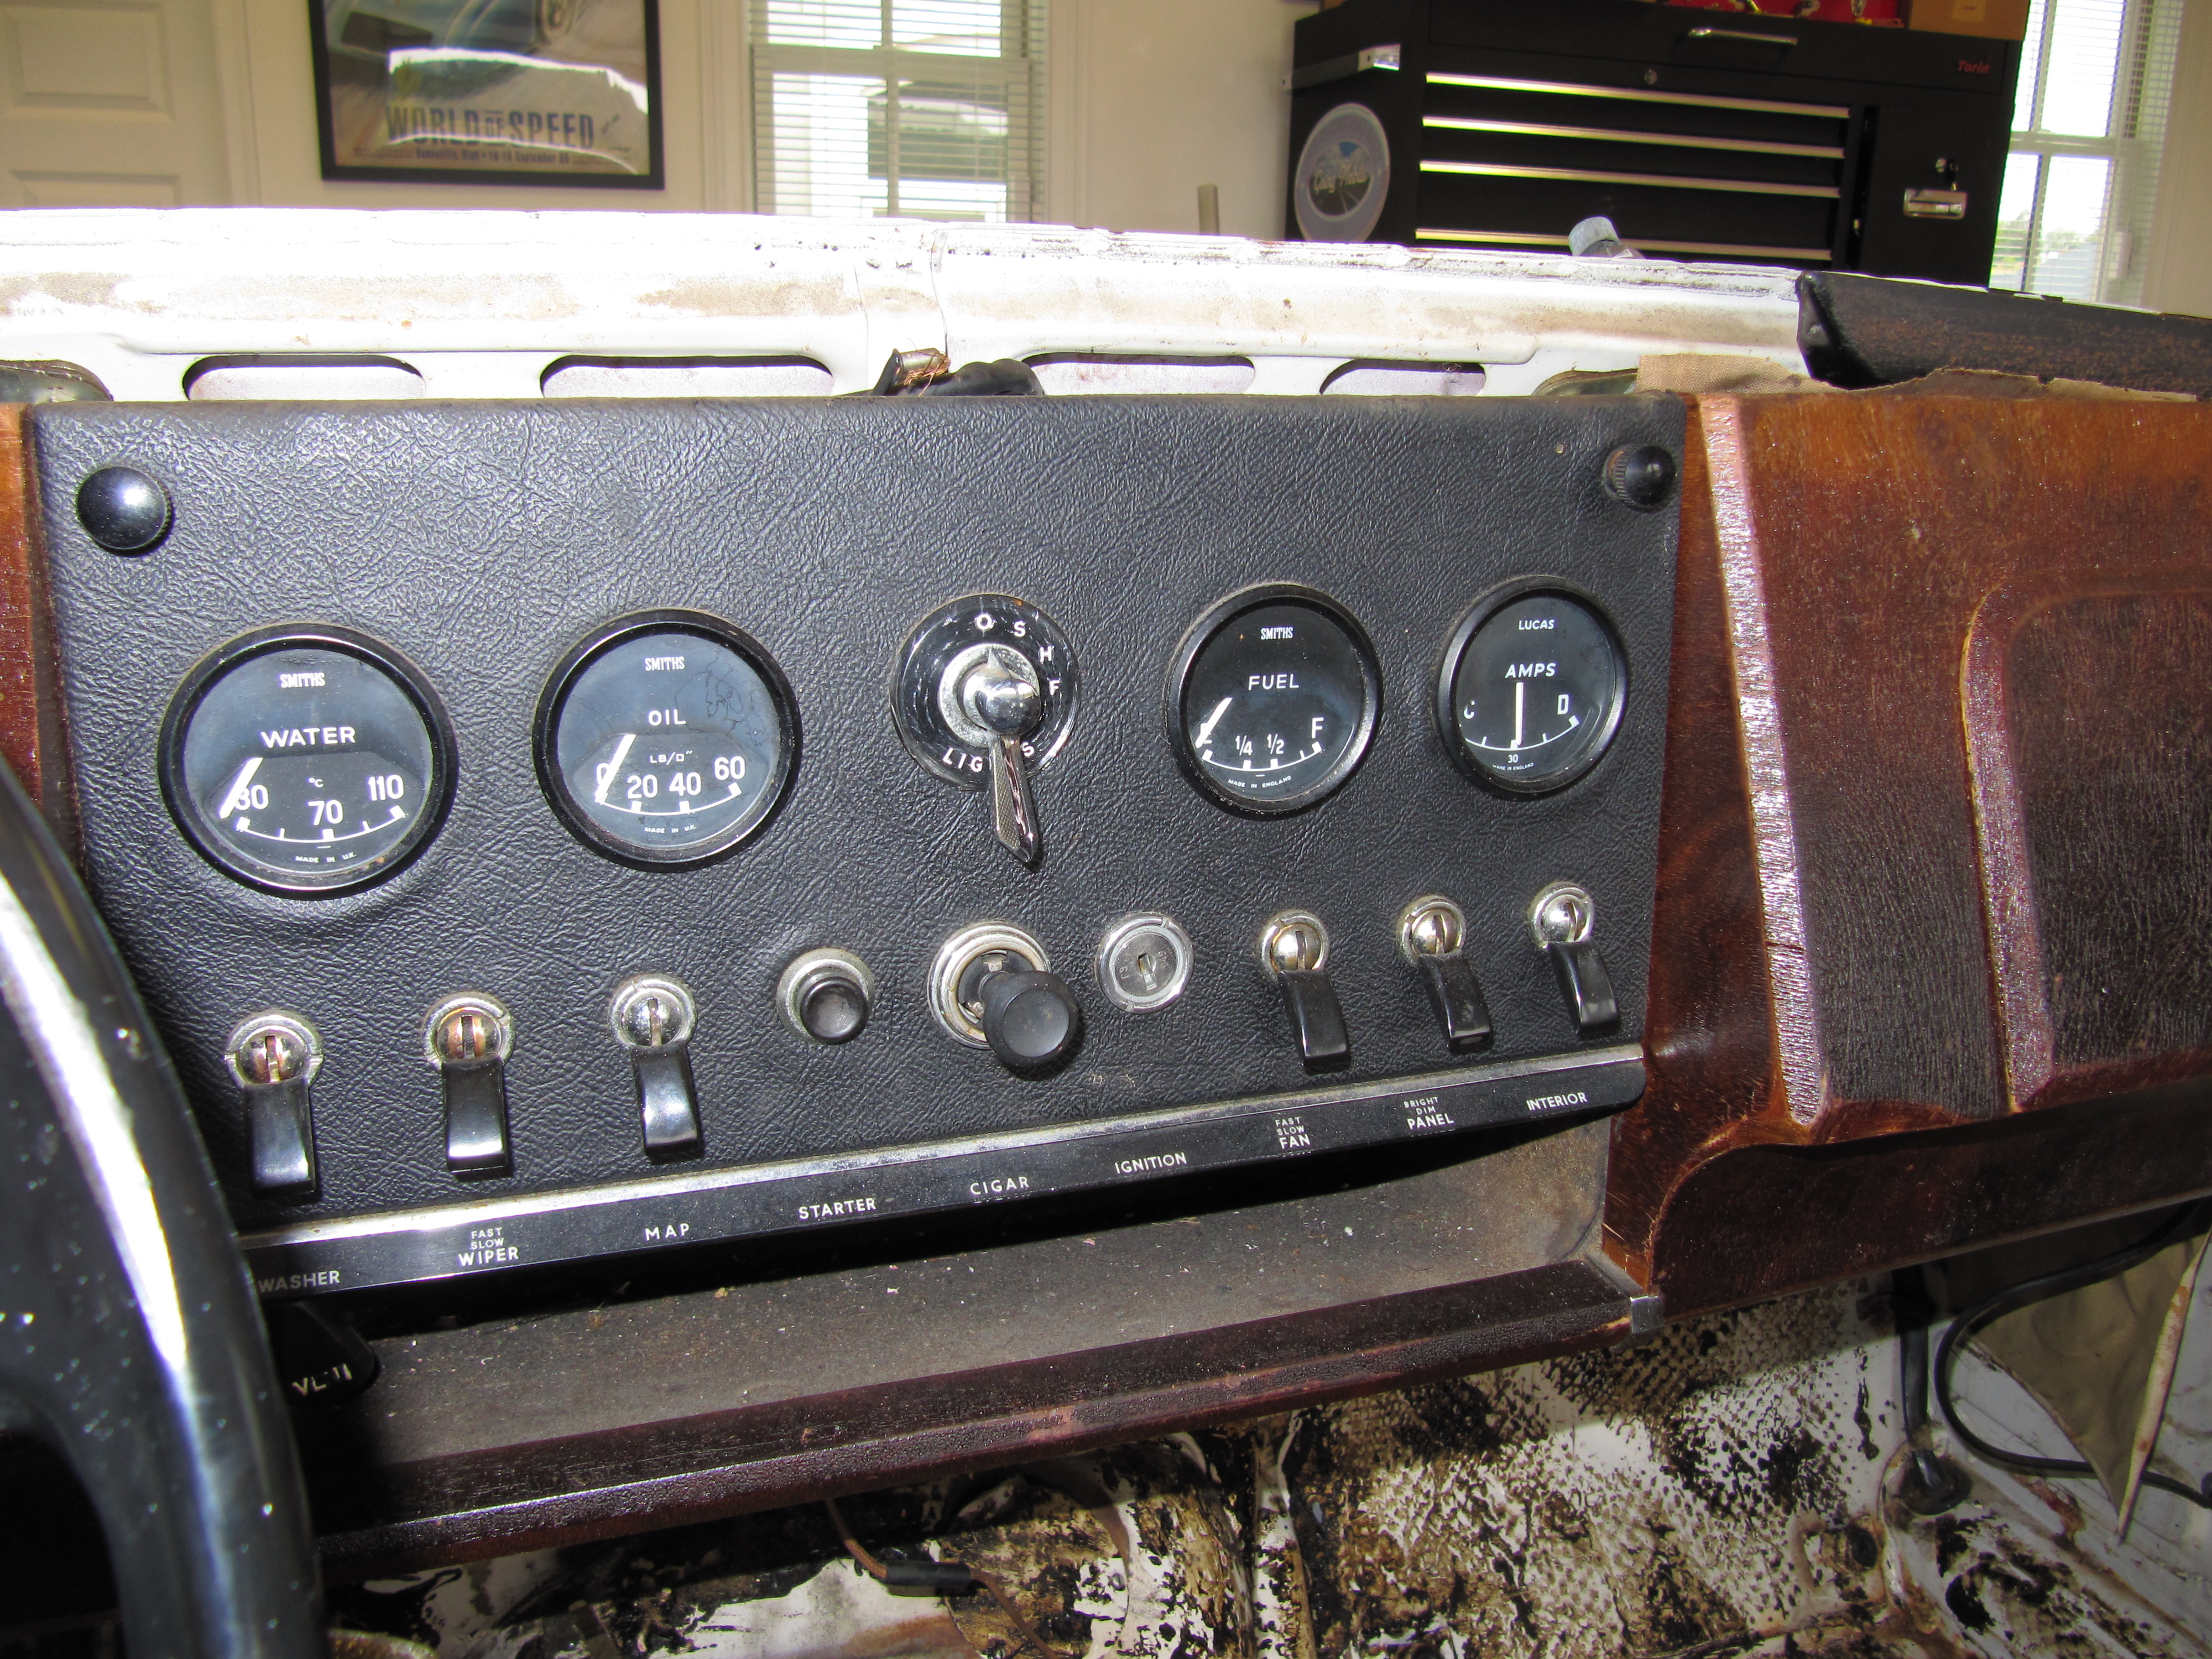
Instrument Panel Assembly
While the speedometer and tachometer are placed directly in front of the driver in the MK2, the rest of the gauges and most of the switches are located in a central panel in the dash referred to as the Instrument Panel Assembly. The panel is mounted with two thumb screws at the top corners of the panel that when released permits the panel to swing out on hinges.
Information regarding the individual gauges, instruments, and switches may be found under the “Gauges, Instruments and Switches” post.
-
Instrument Assembly Panel
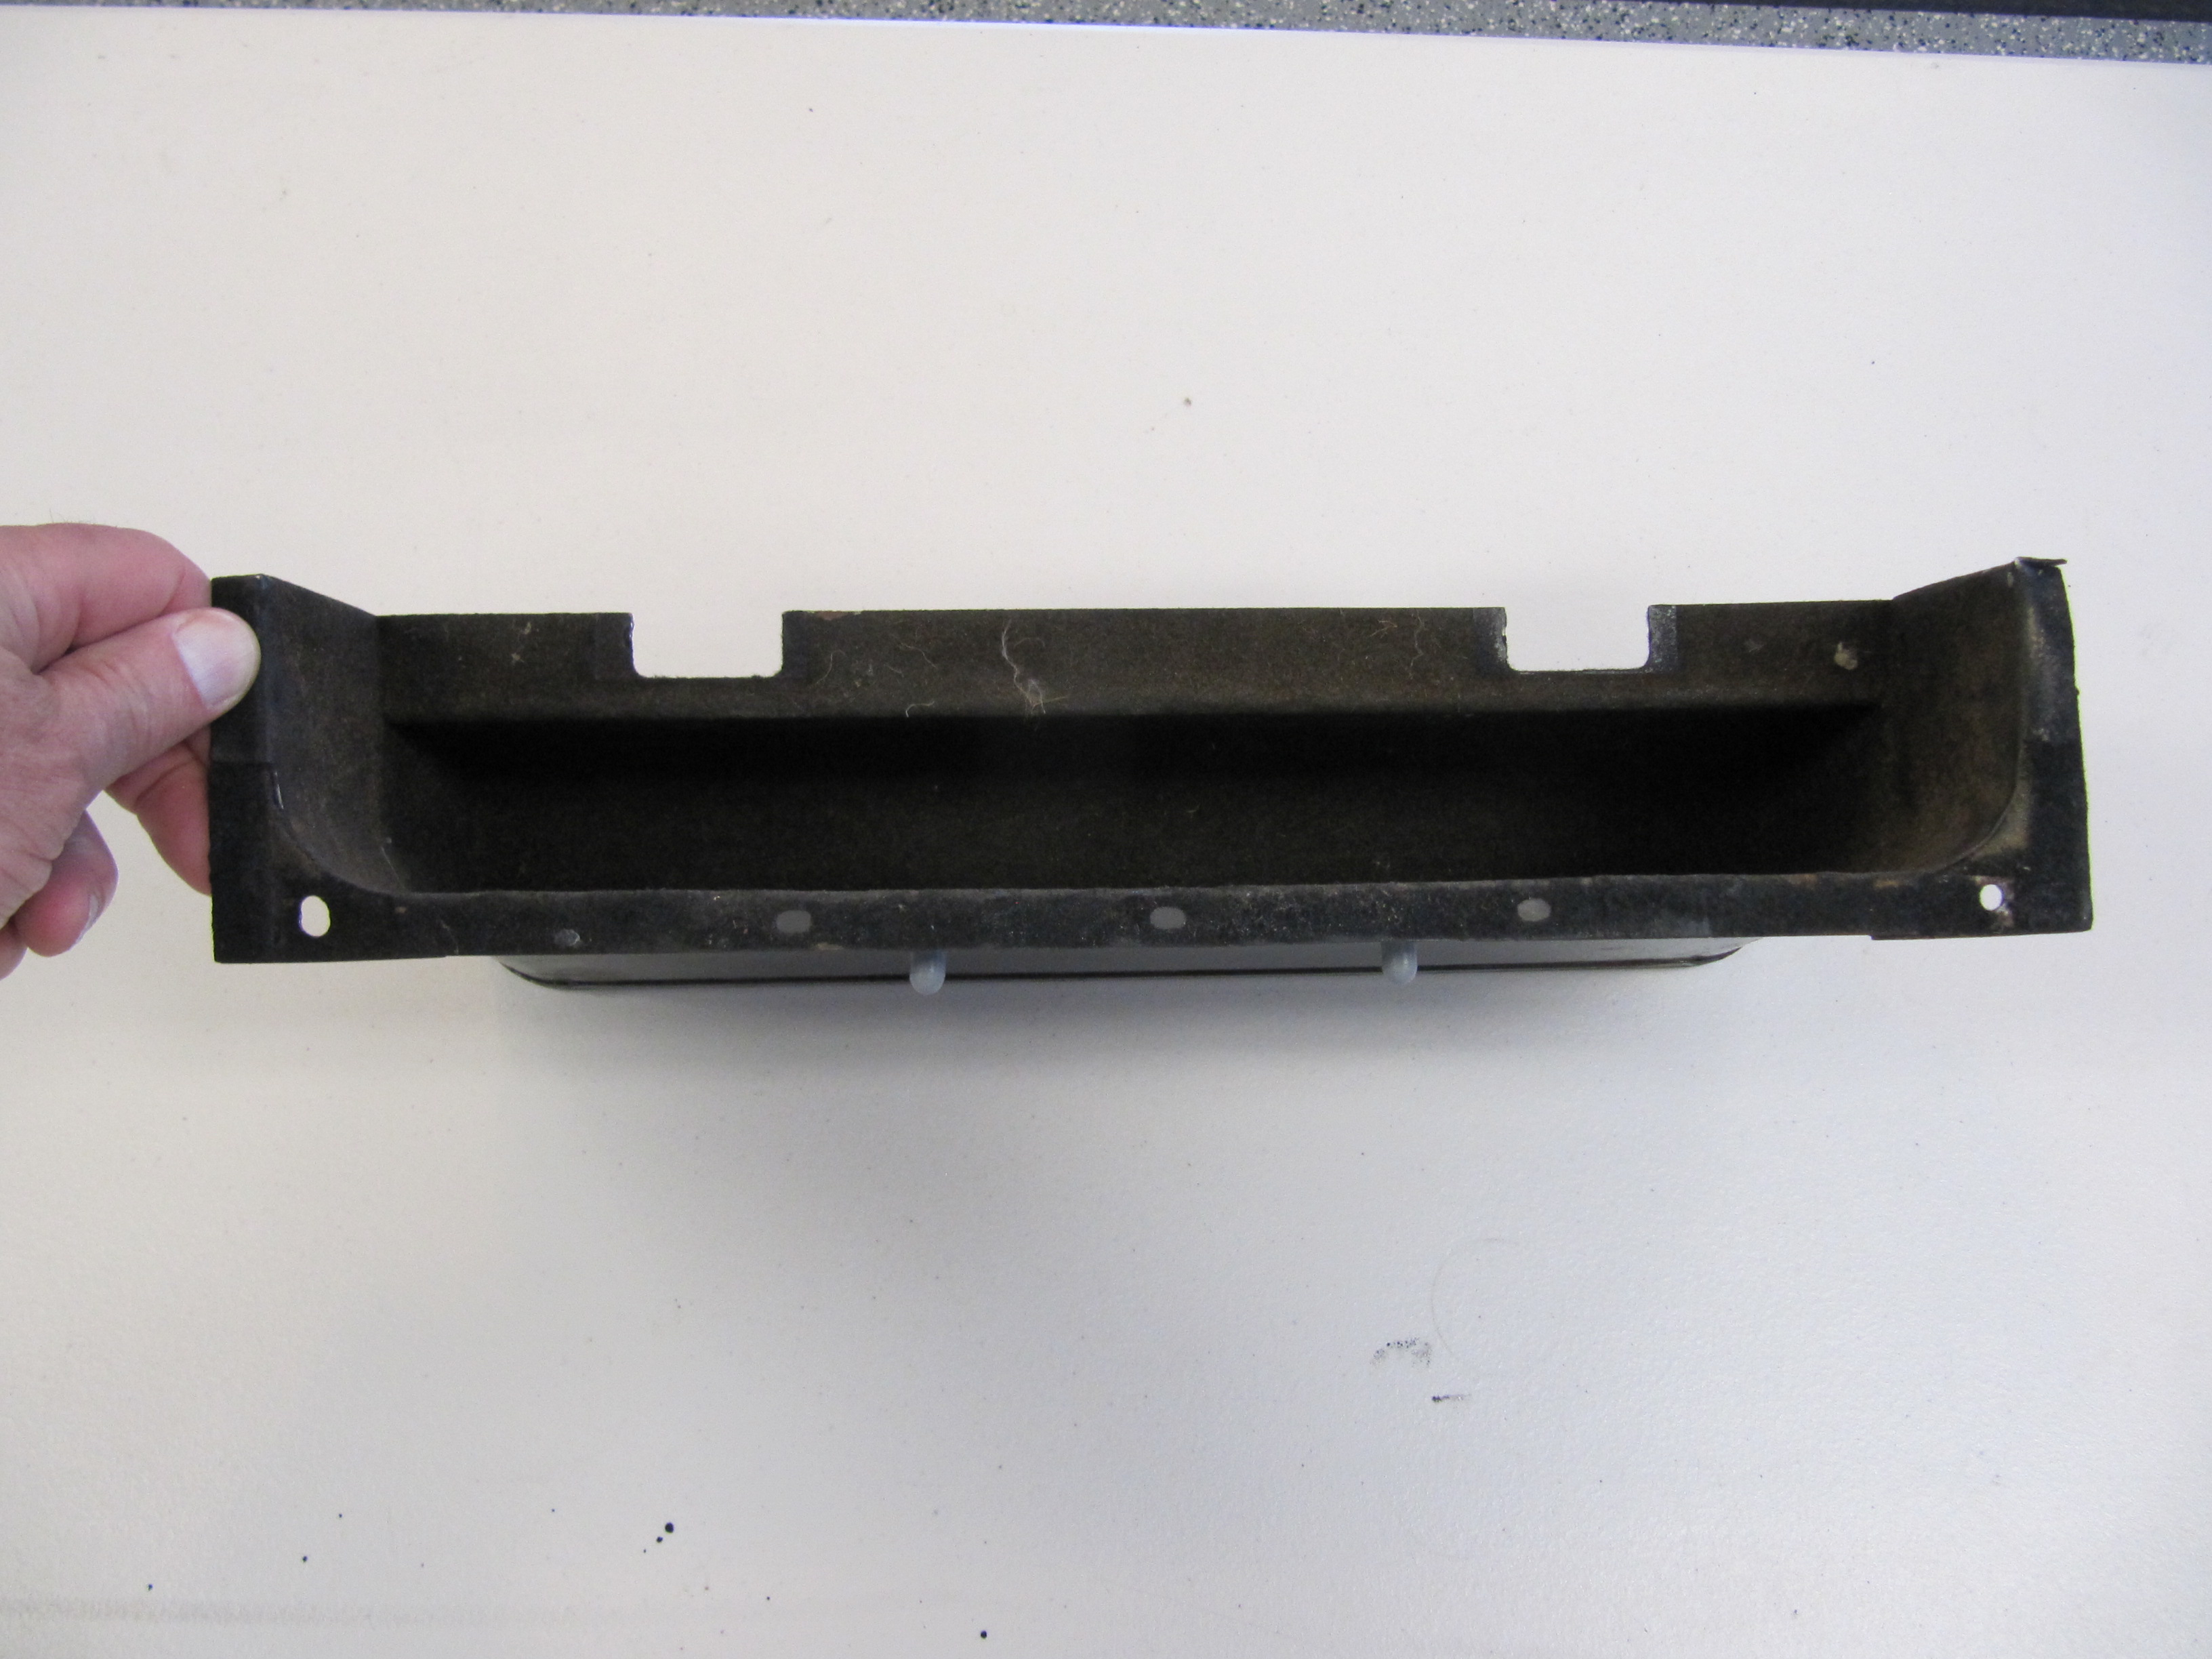
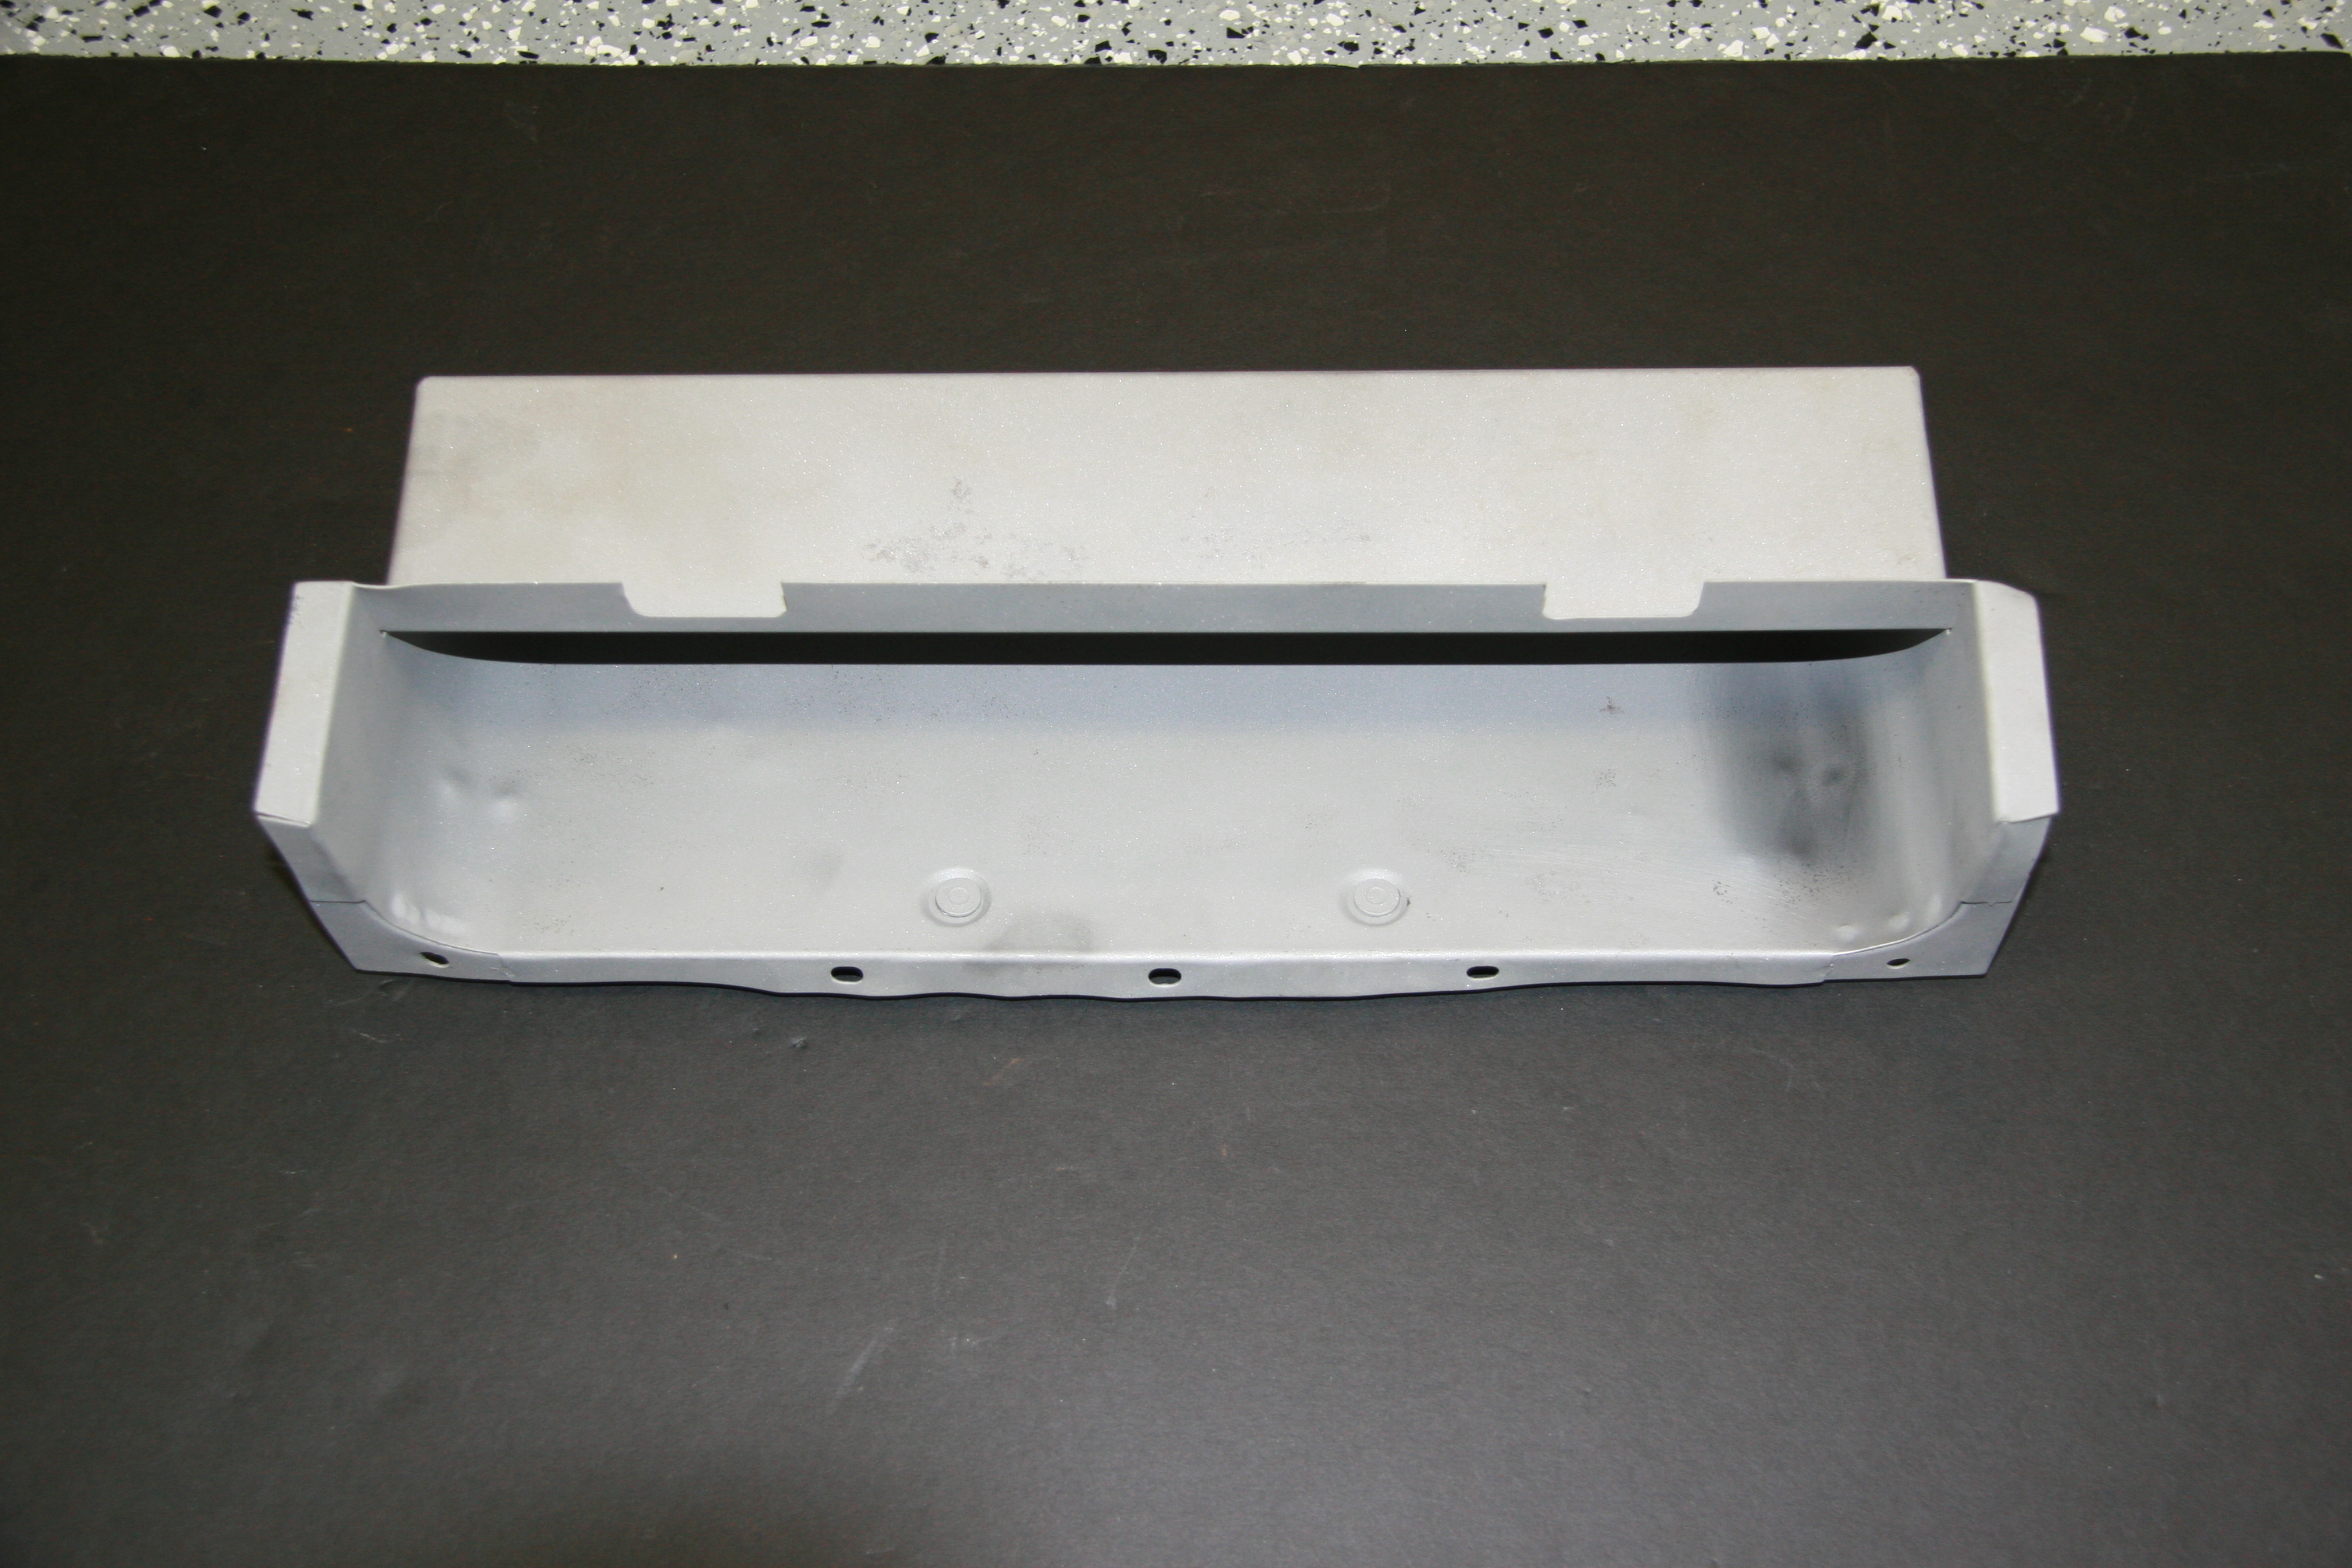
Newspaper Tray
The Newspaper Tray sits immediately below the gauge panel in the center of the dash.
Newspaper Tray
It is secured with two #10-32 nylock nuts and two rubber washers on the mounting studs.

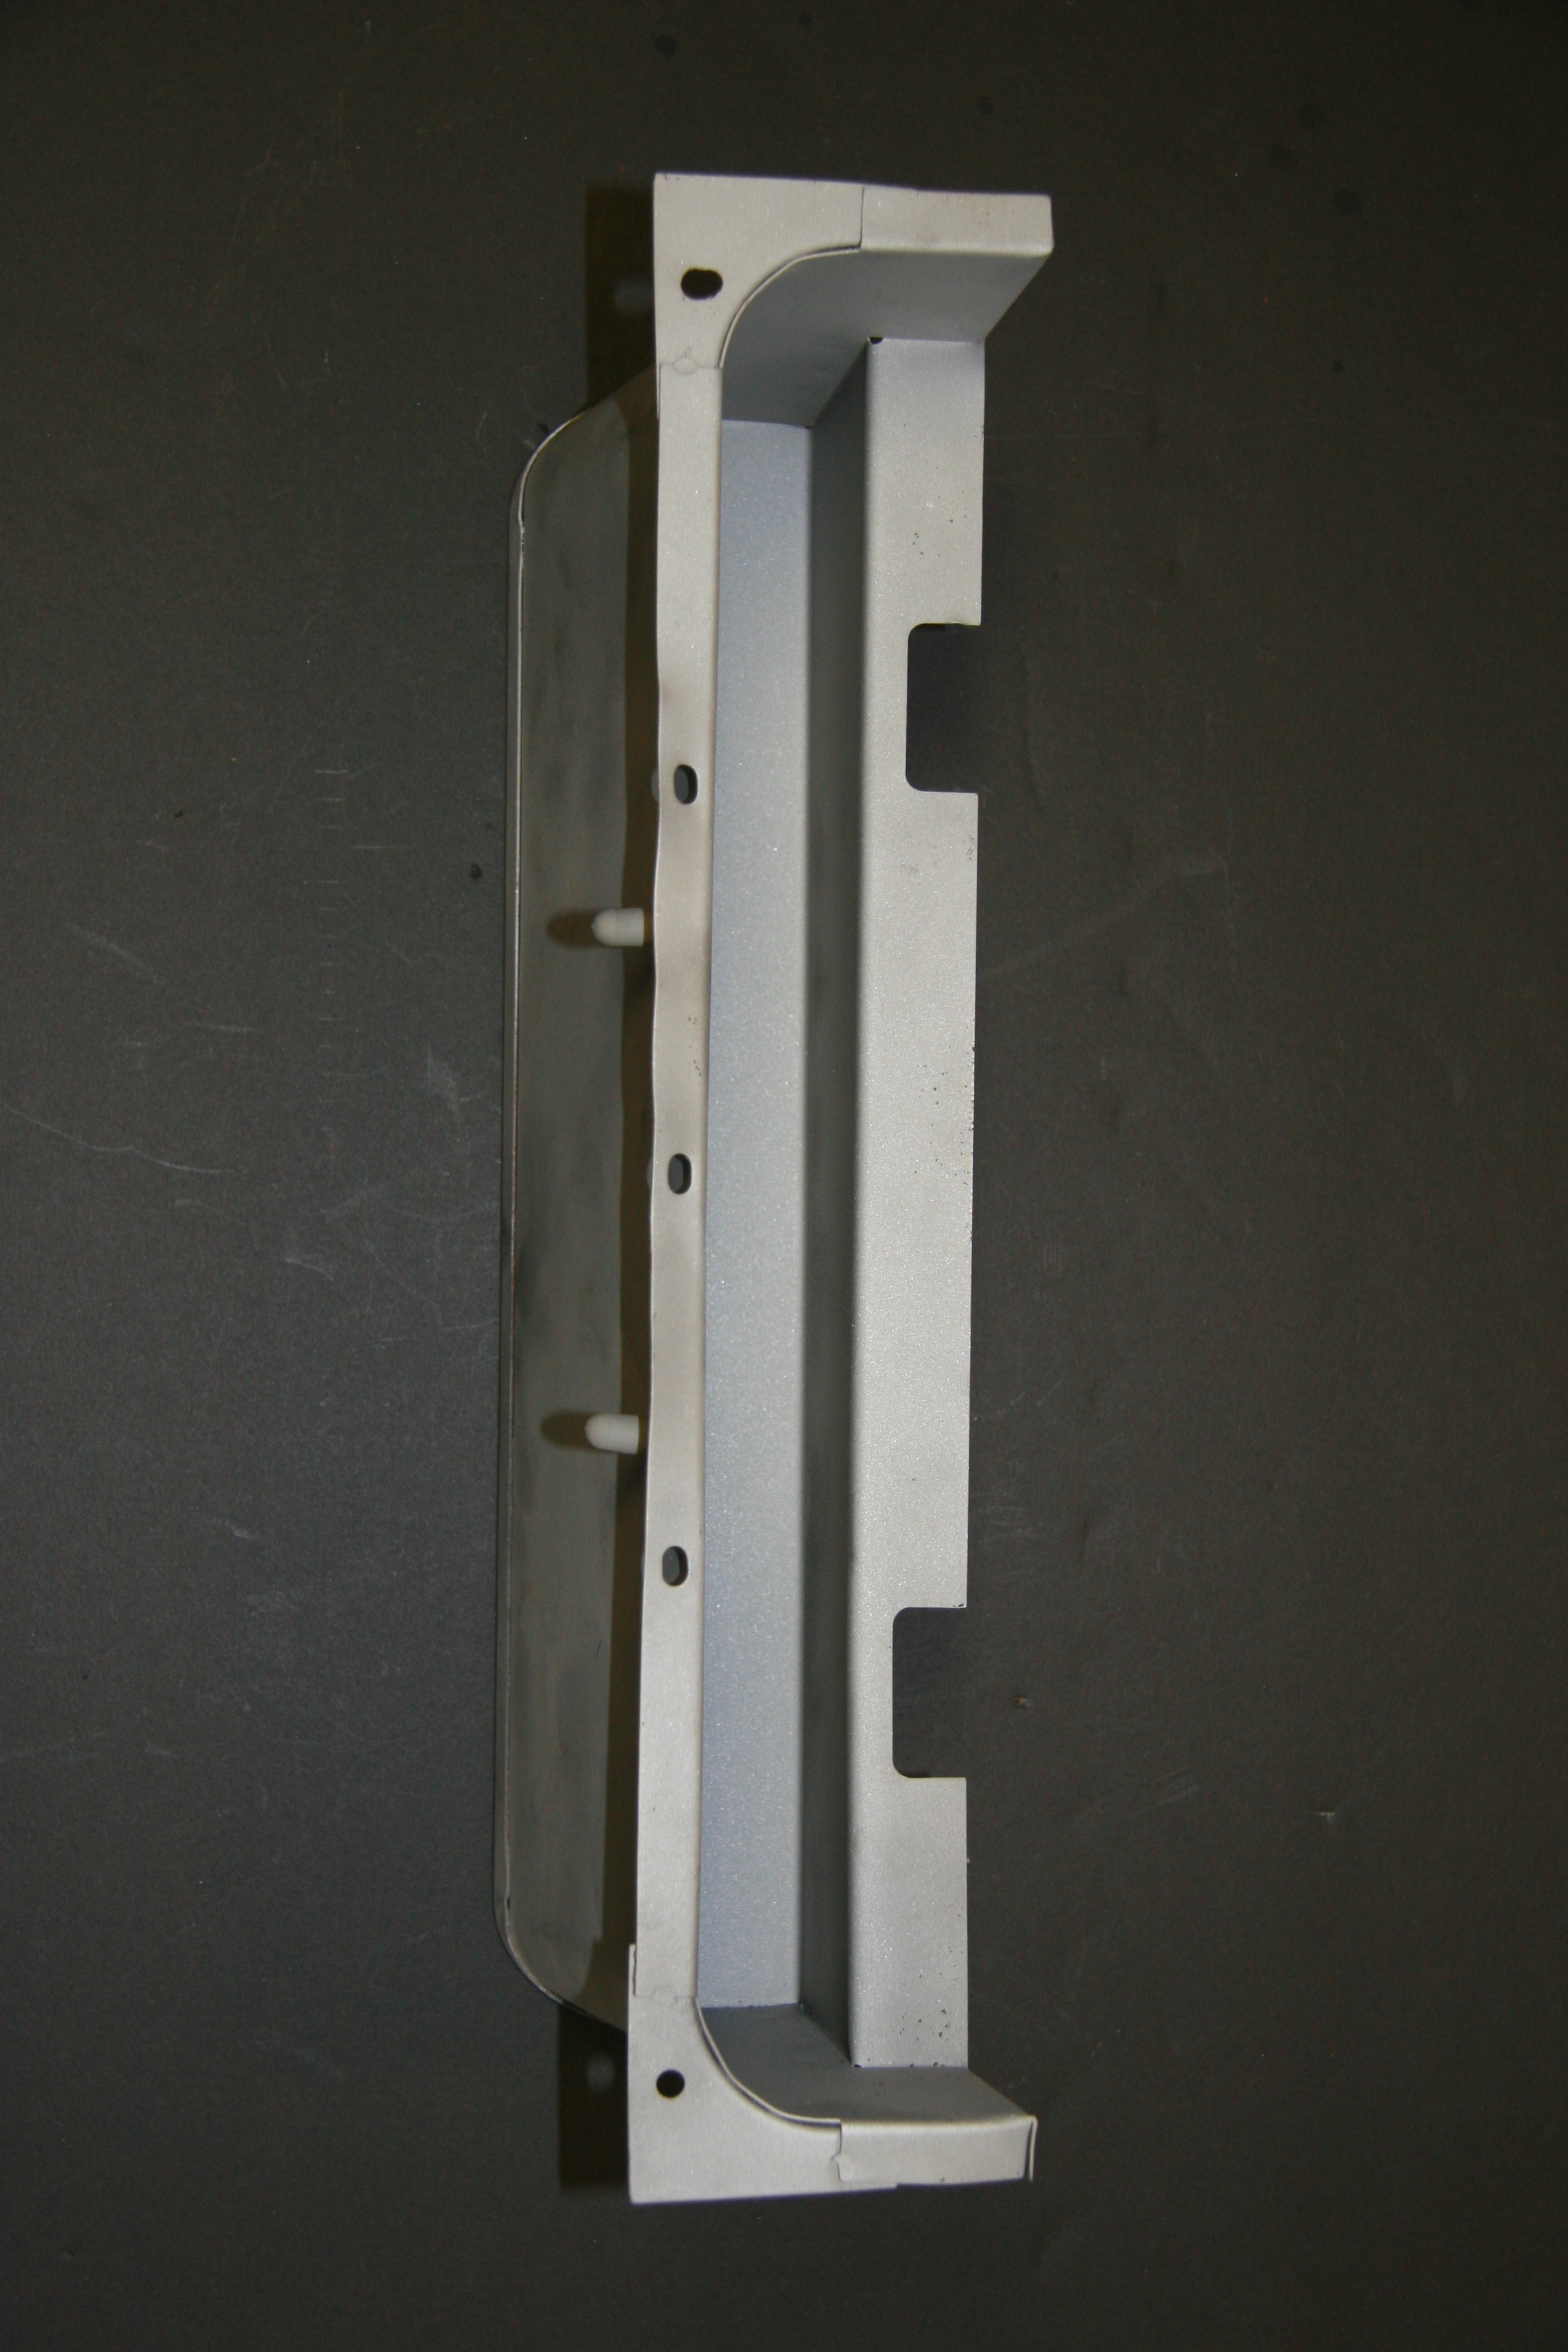
Newspaper Tray
Newspaper Tray
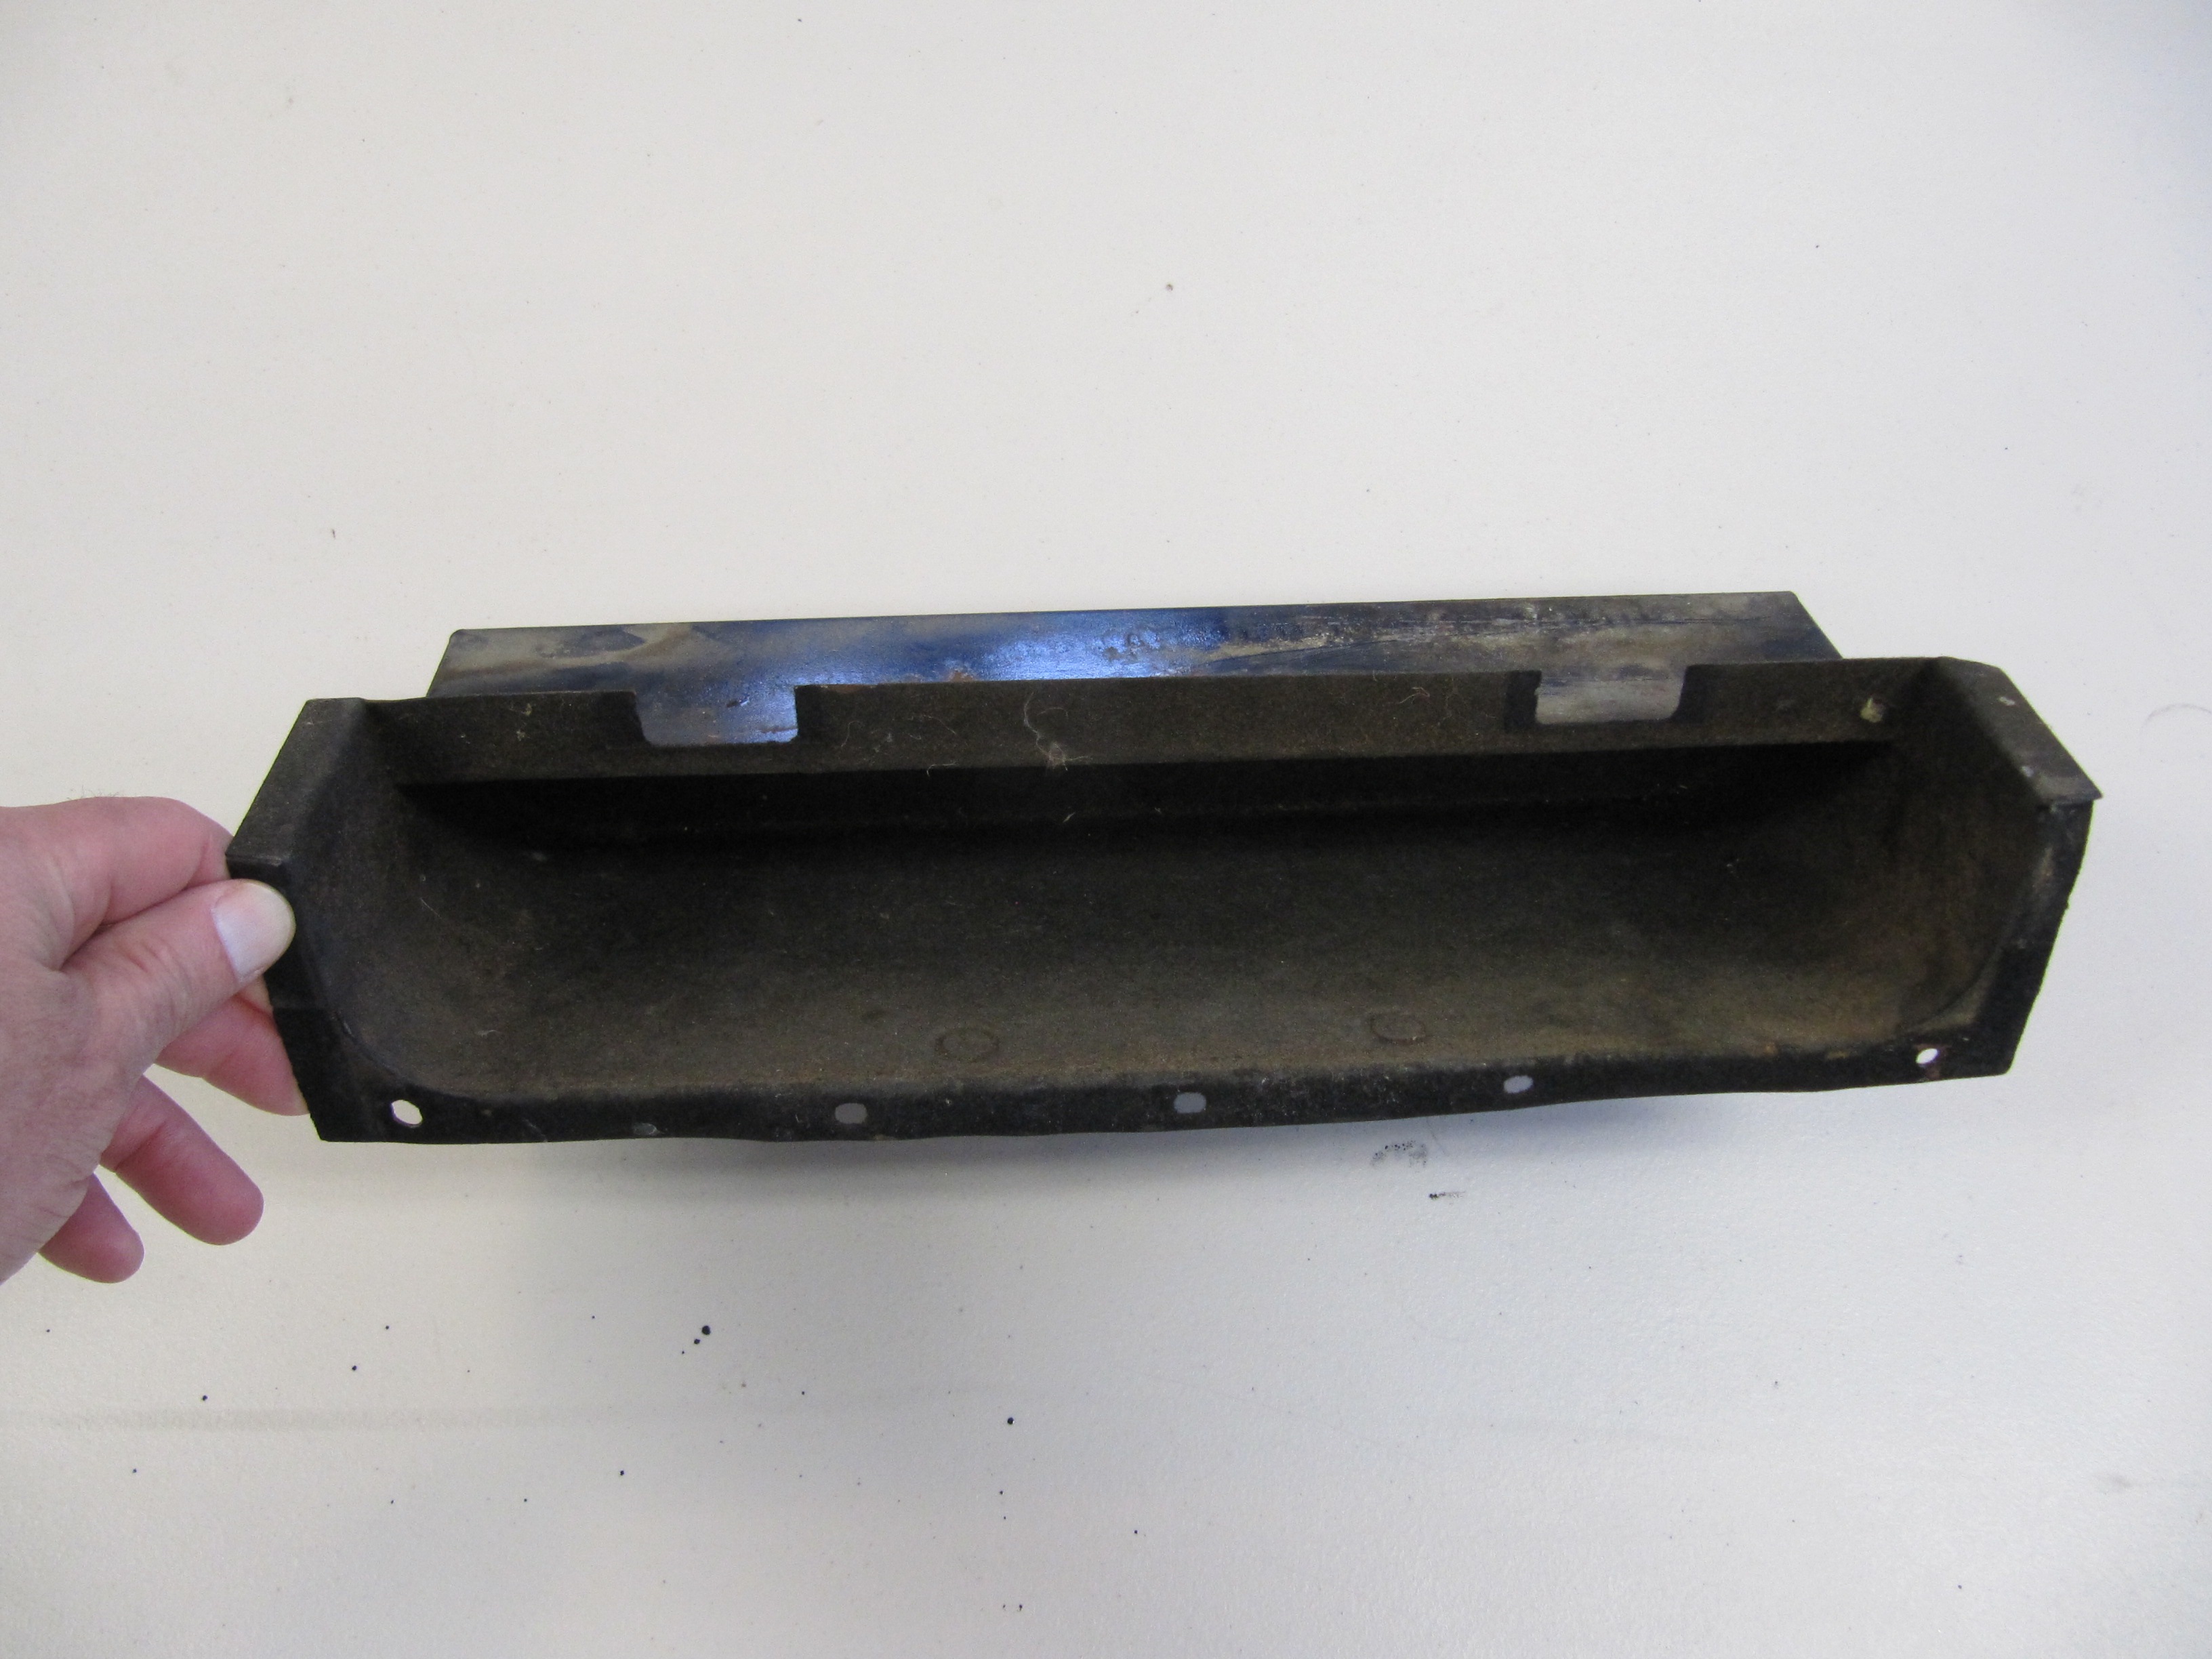
Newspaper Tray
The newspaper tray has a grey flocking on the interior of the envelope. At this time I am not sure how I will replicate the flocking, but I am sure that I will figure out something. I media blasted the tray to prepare it for powder coating.
Newspaper Tray
Newspaper Tray
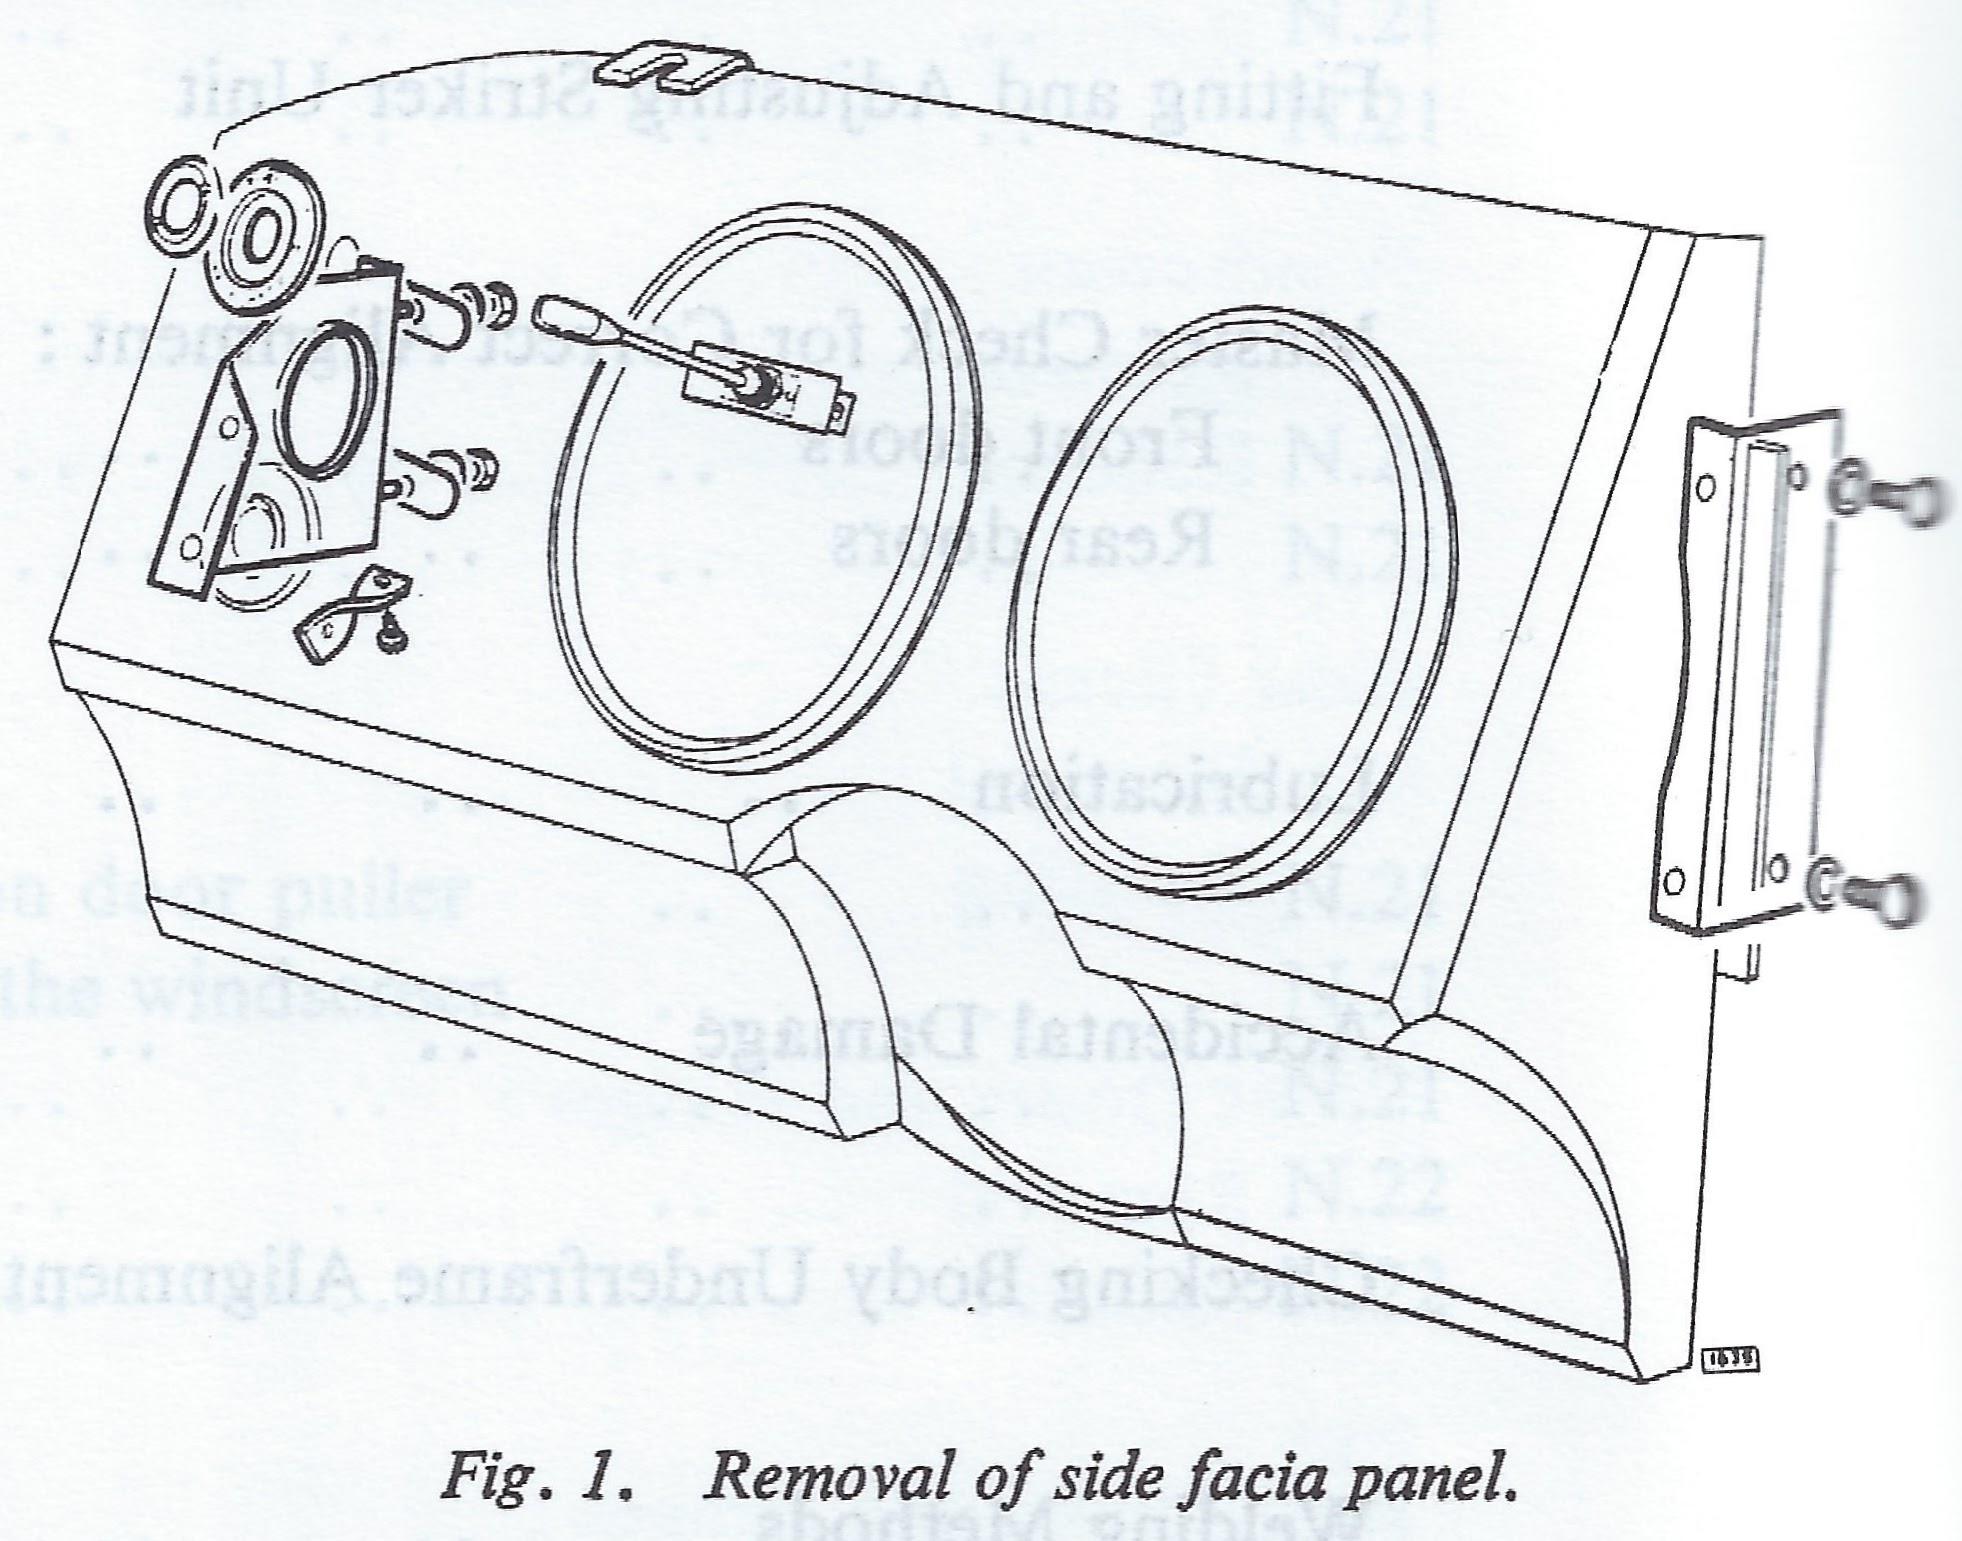
Right and Left Fascia Board Assemblies
For the purpose of testing my electrical system, gauges and instruments, I installed my yet to be refinished dash fascia boards. The driver’s side fascia board houses the Handbrake “ON” Position and Brake Fluid Container Level Warning Lamp, the speedometer and the tachometer with internal clock. The speedometer includes warning lamps for high beams, low fuel and ignition charging. The passenger side fascia board houses
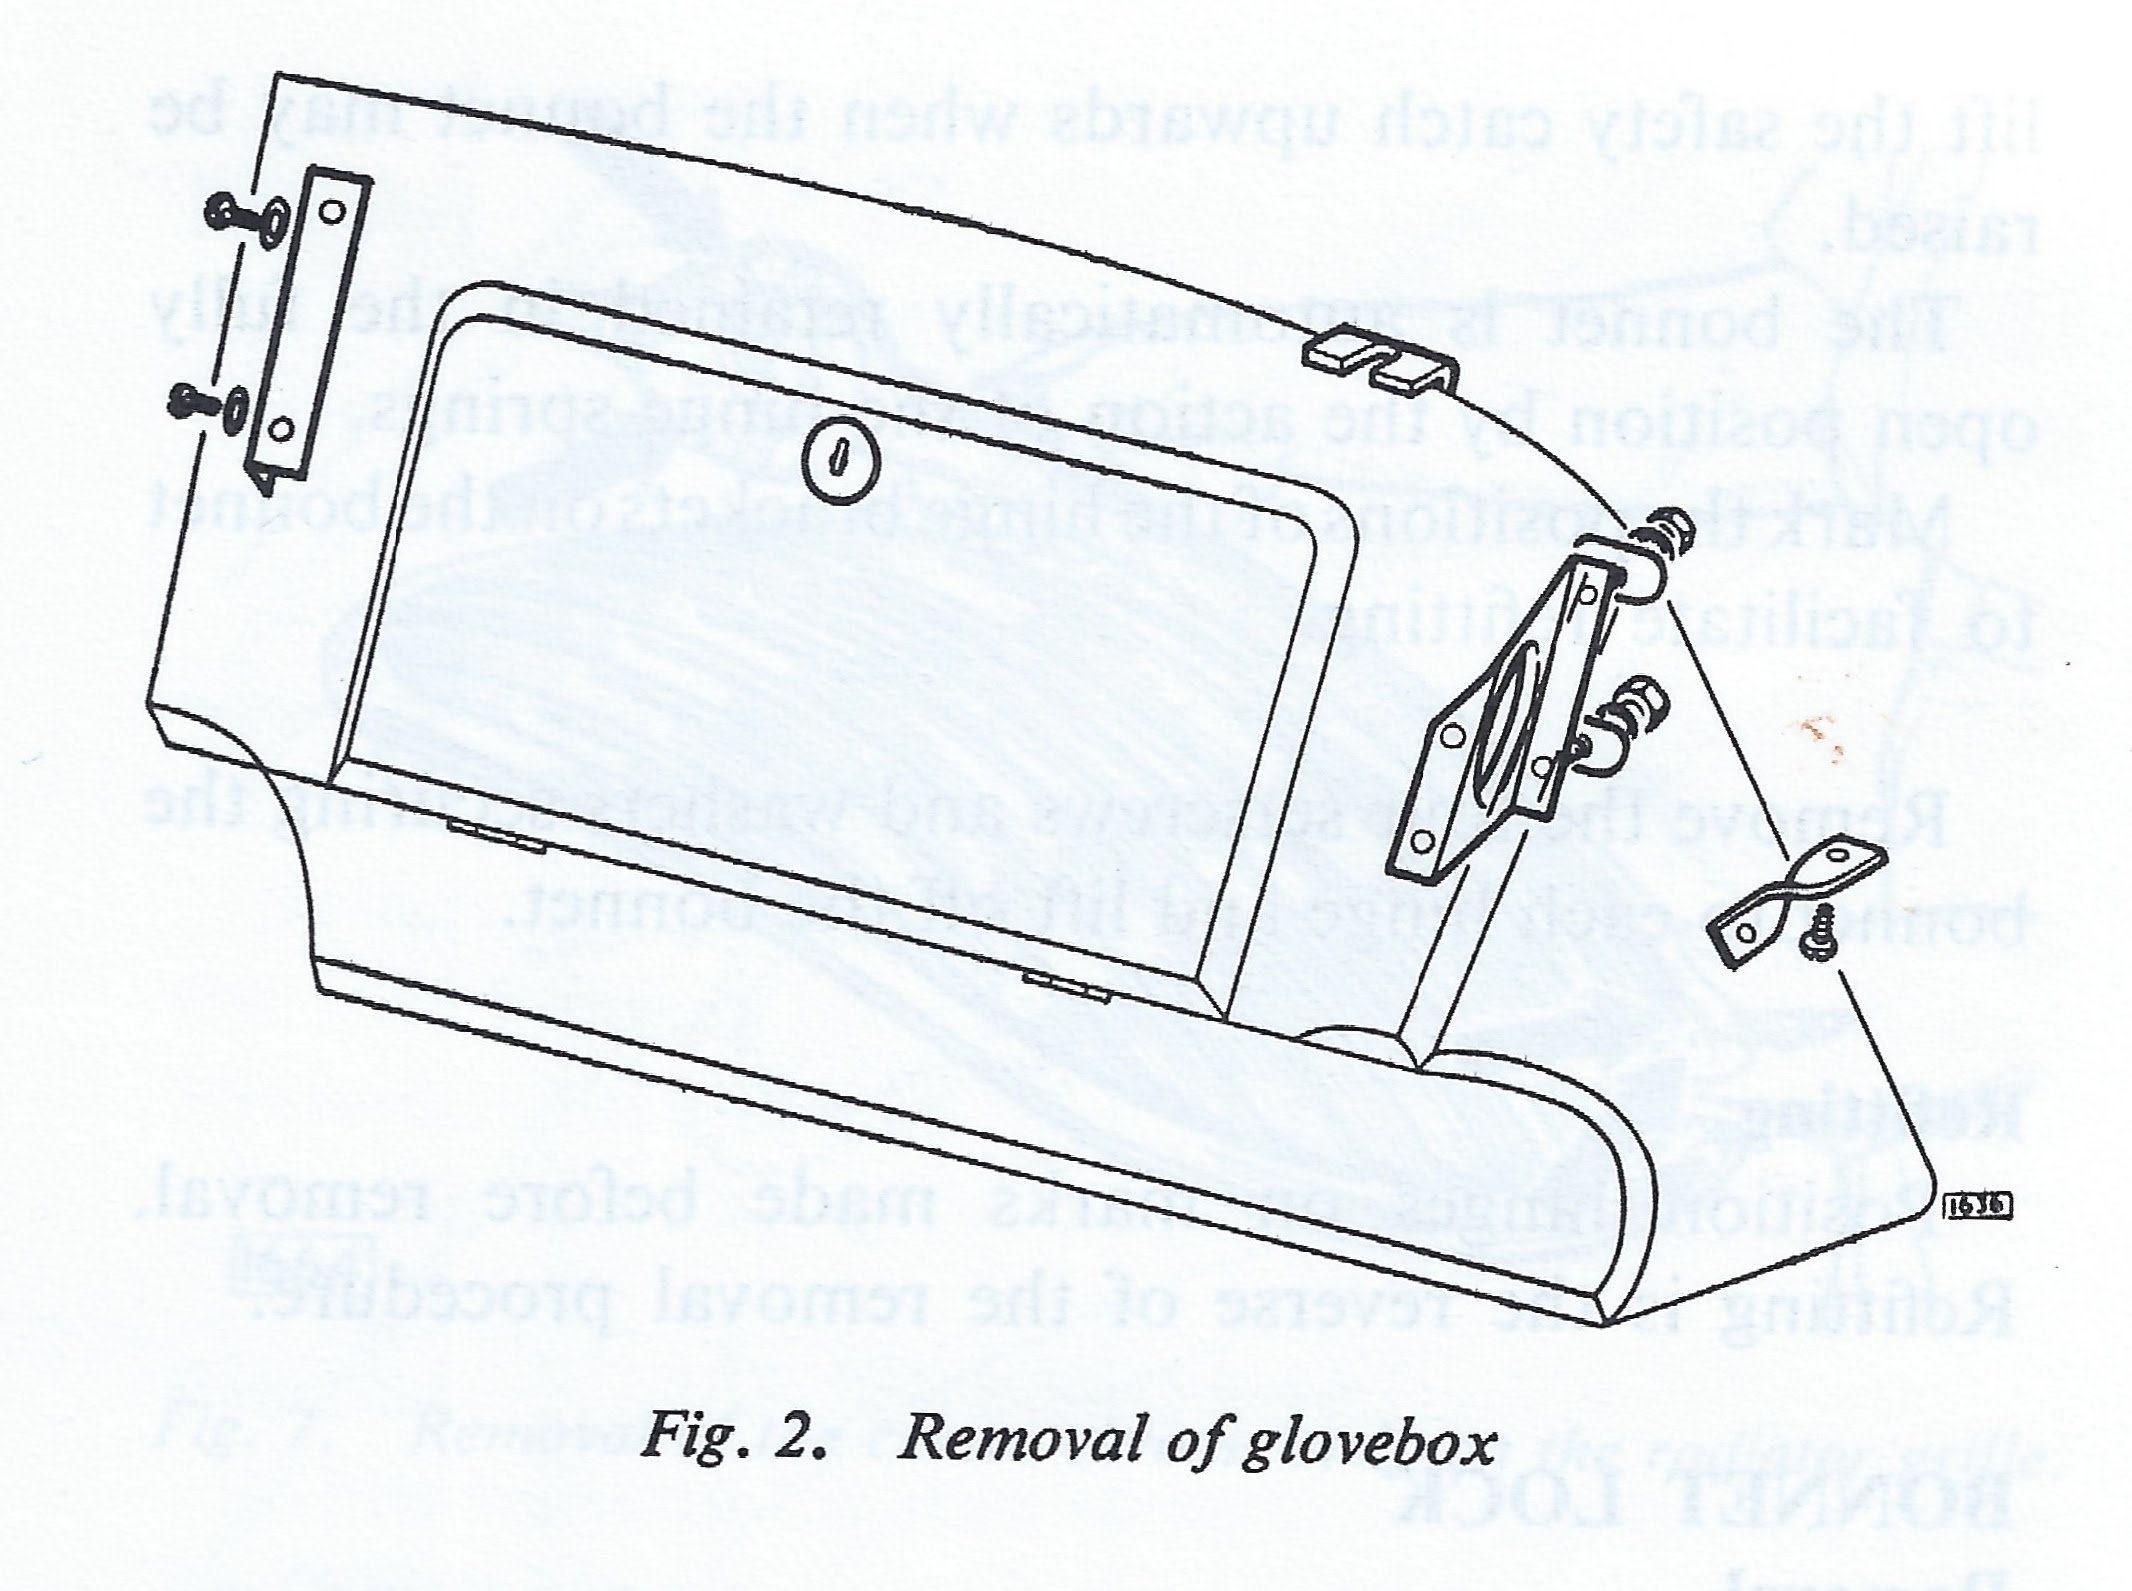
the “Cubby” glove box that incorporates a light that illuminates when the door is opened.
As the Service Manual suggests, fitting and removing the driver’s side Fascia Board is made easier (though not necessary) by dropping the steering column to the seat. The central instrument panel was already removed from the car.
Since this is not my final installation I did not install the small twisted (steady) brackets nor the top brackets for the mounting of the screen rail dash top.
Driver’s side fascia board
Passenger side fascia board
I did install the LH and RH mounting brackets to the wooden fascia as seen in the images above. The brackets were all cleaned, bead blasted and repainted before mounting to the fascia boards.
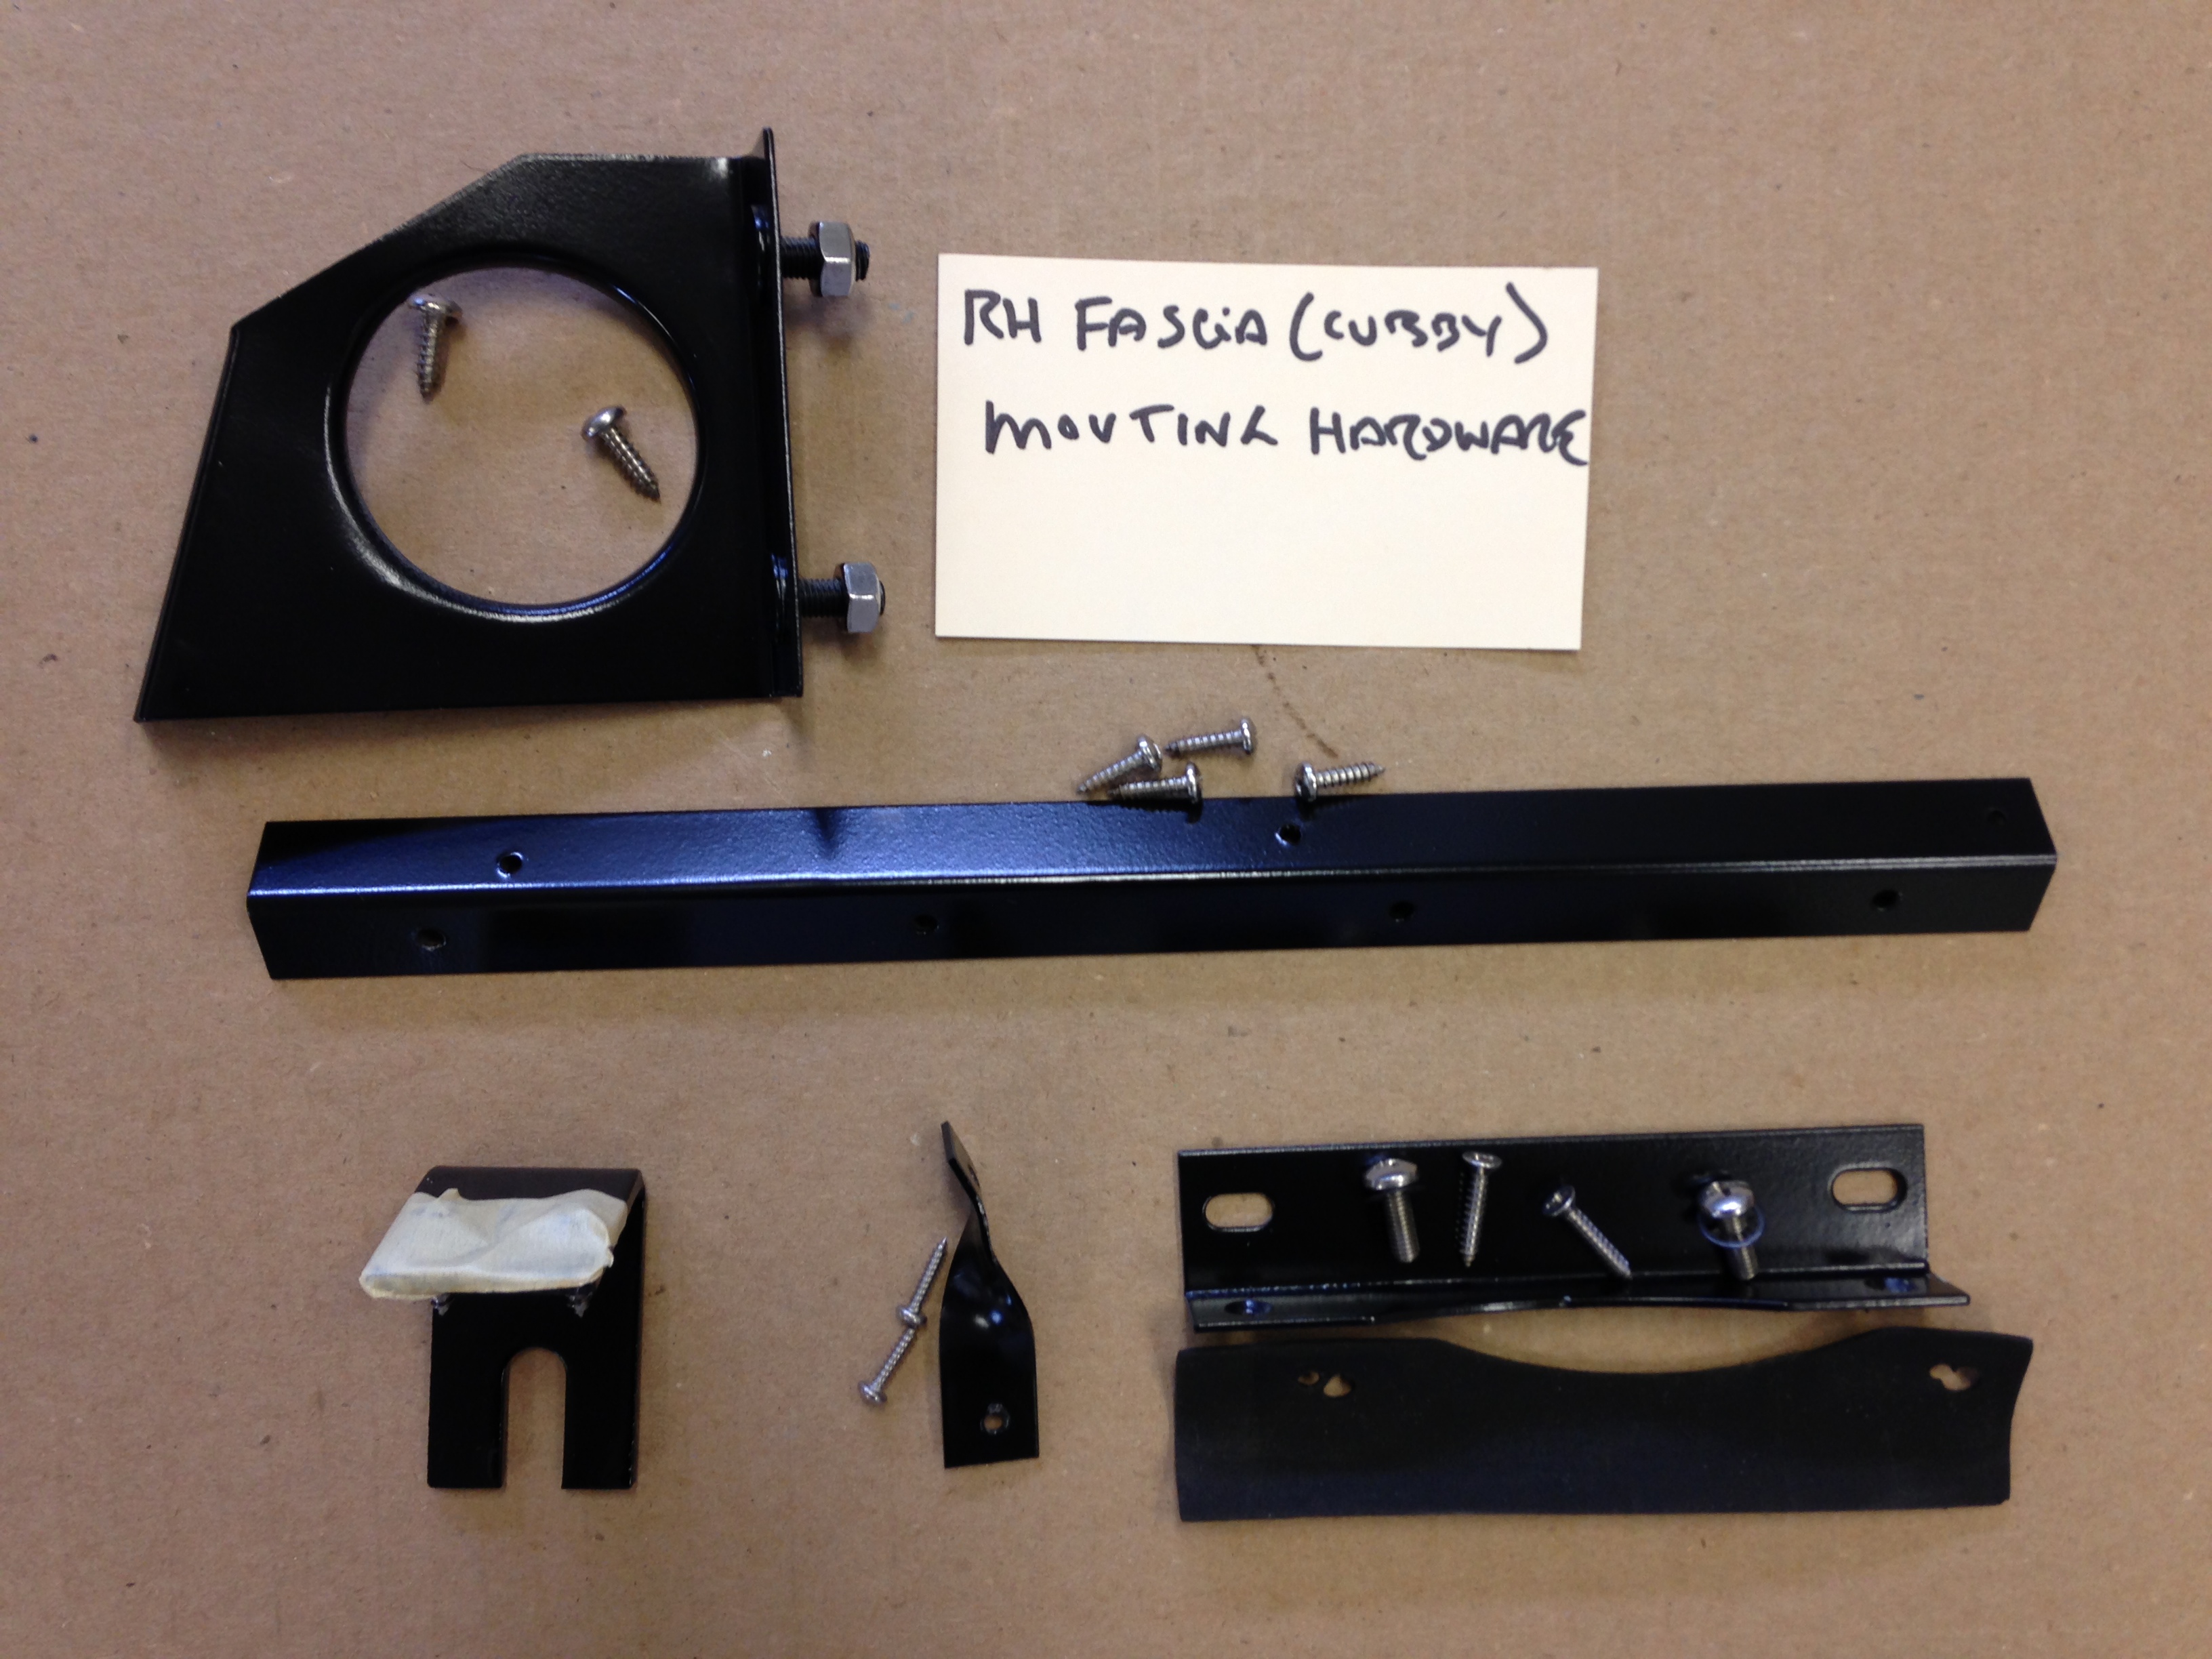
Fascia Board Refurbished mounting hardware
While I did not get a photograph of the wood when I reinstalled the renewed brackets one can see in this image that outside brackets for both fascia boards have studs that go through holes in the car’s body bracing and are then secured with “special” oval washers, split washers and nuts.
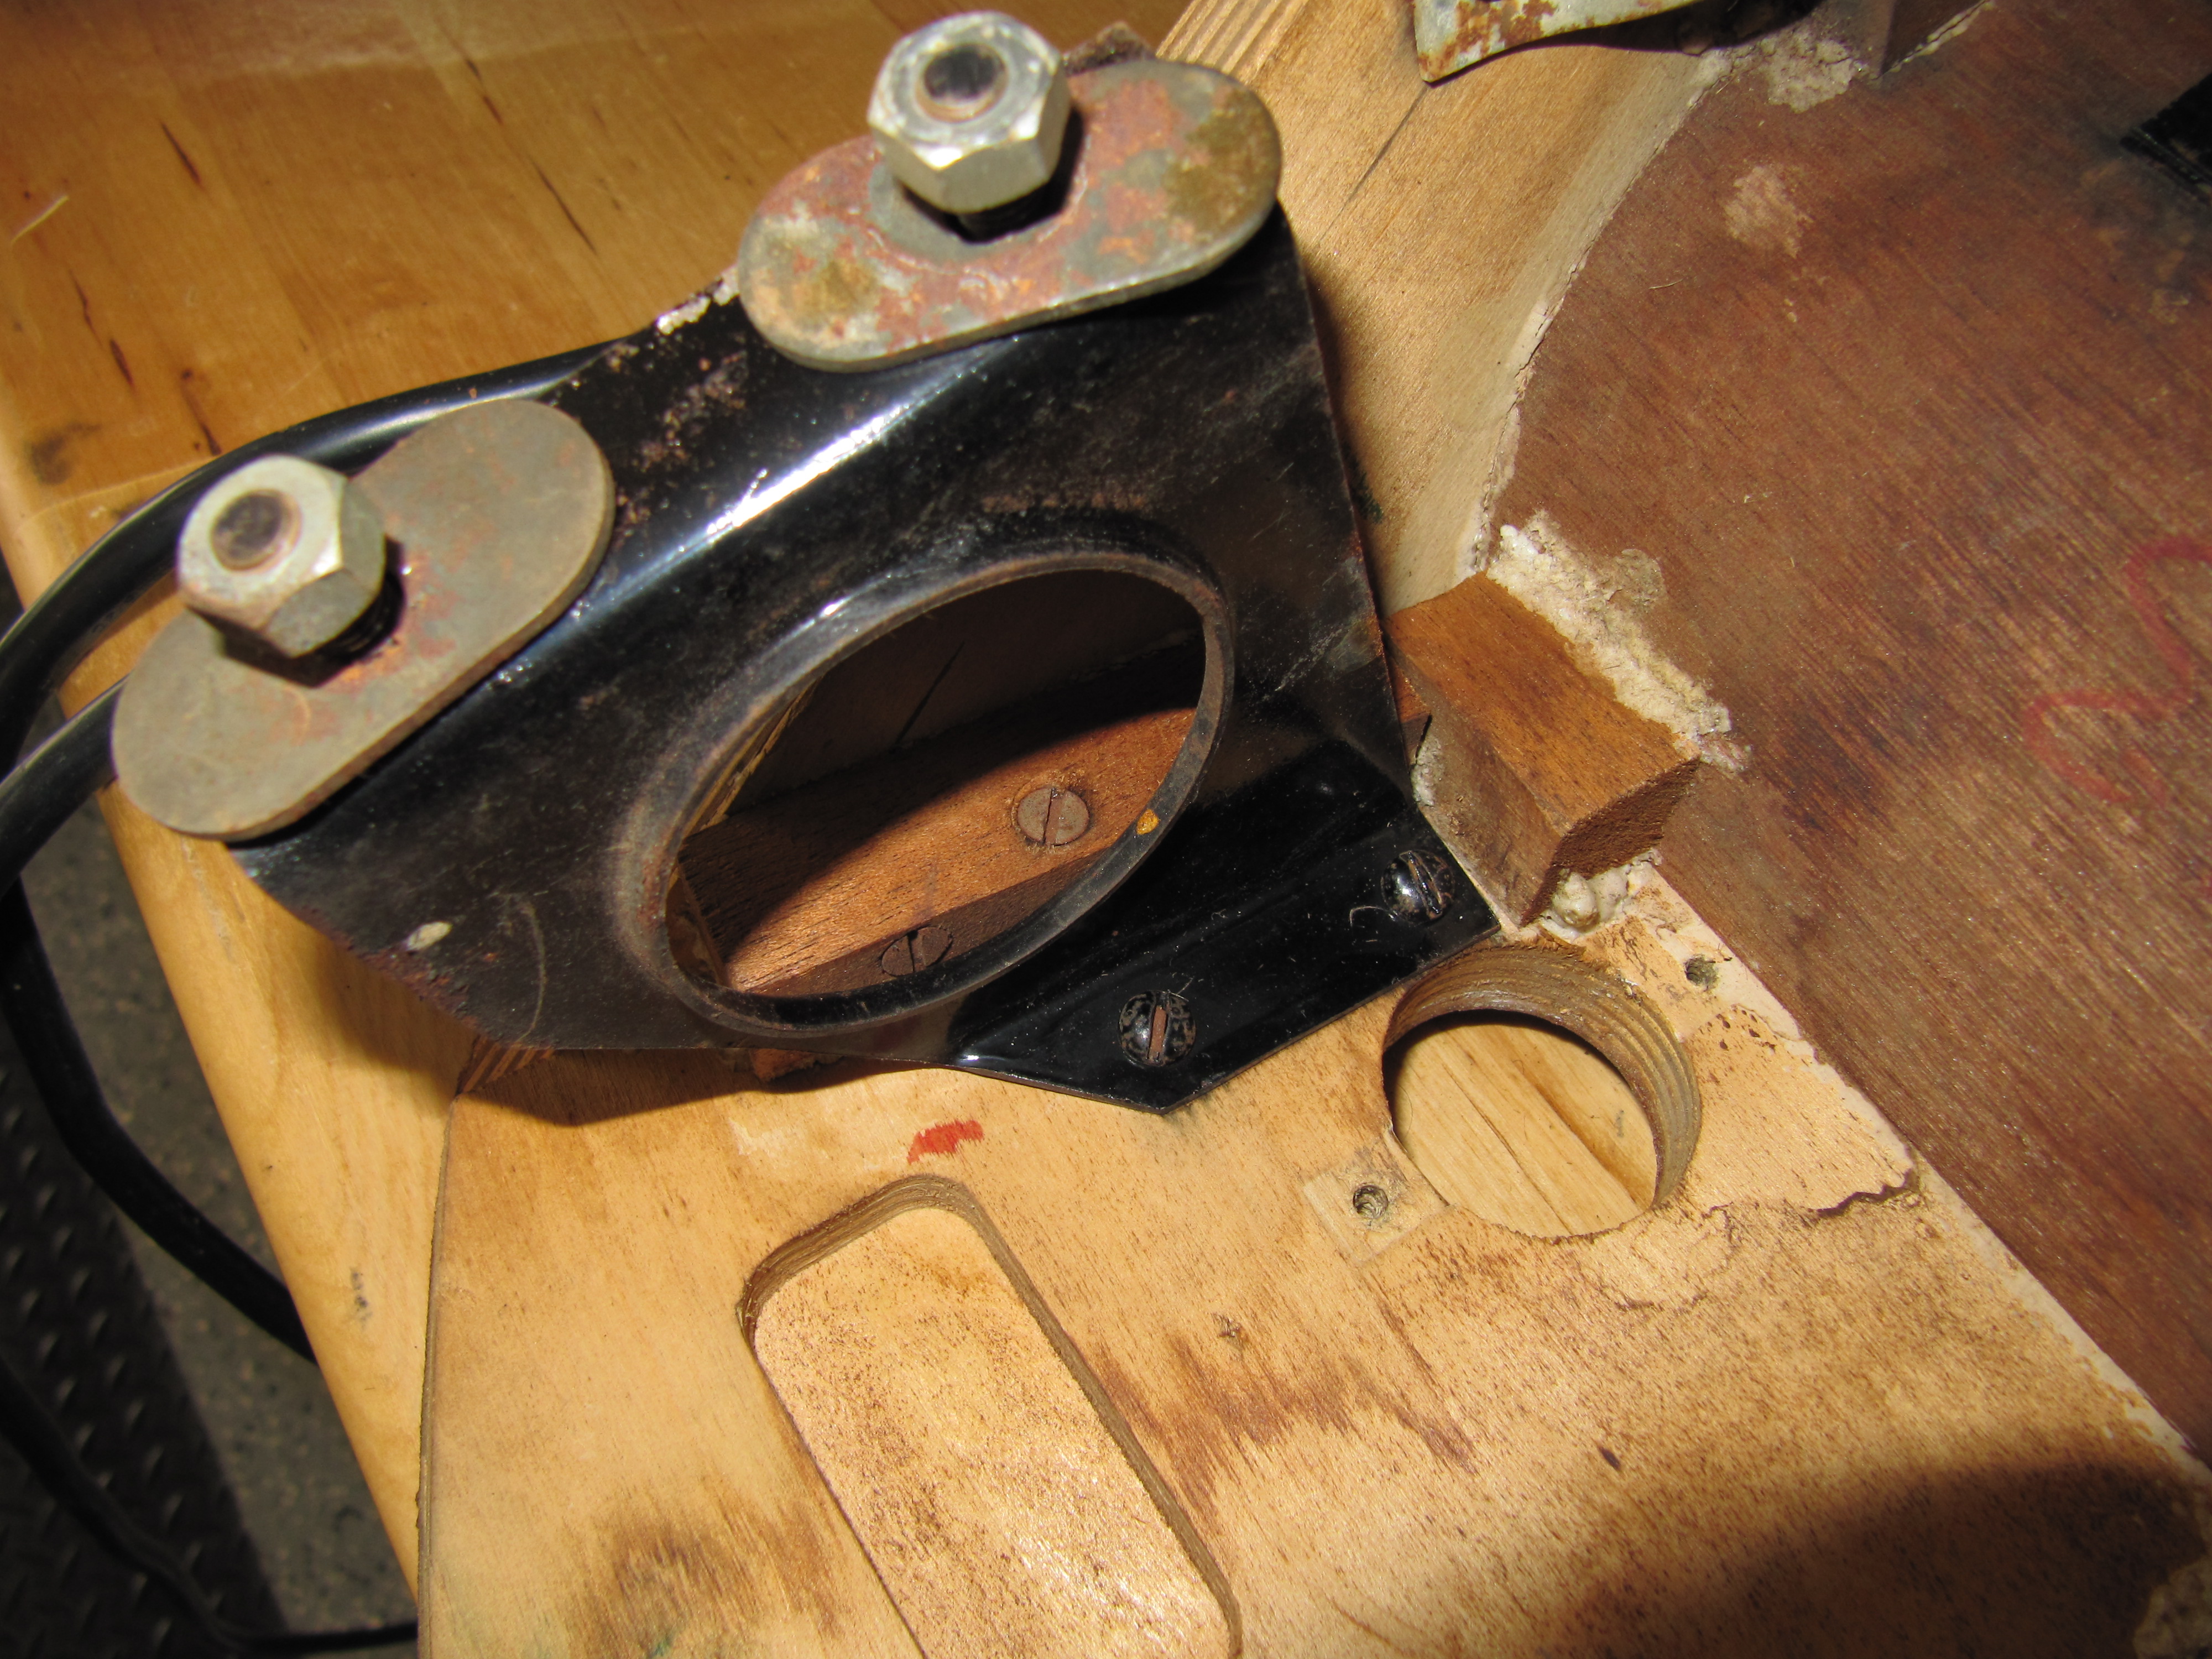
Driver’s side fascia board outside mounting bracket
The inside brackets for both fascia boards have rubber seals that I assume are to block light that might escape from behind the instrument panel. Two #10 – 32 x 1/2″ machine screws mount through the inside brackets into the car’s body.
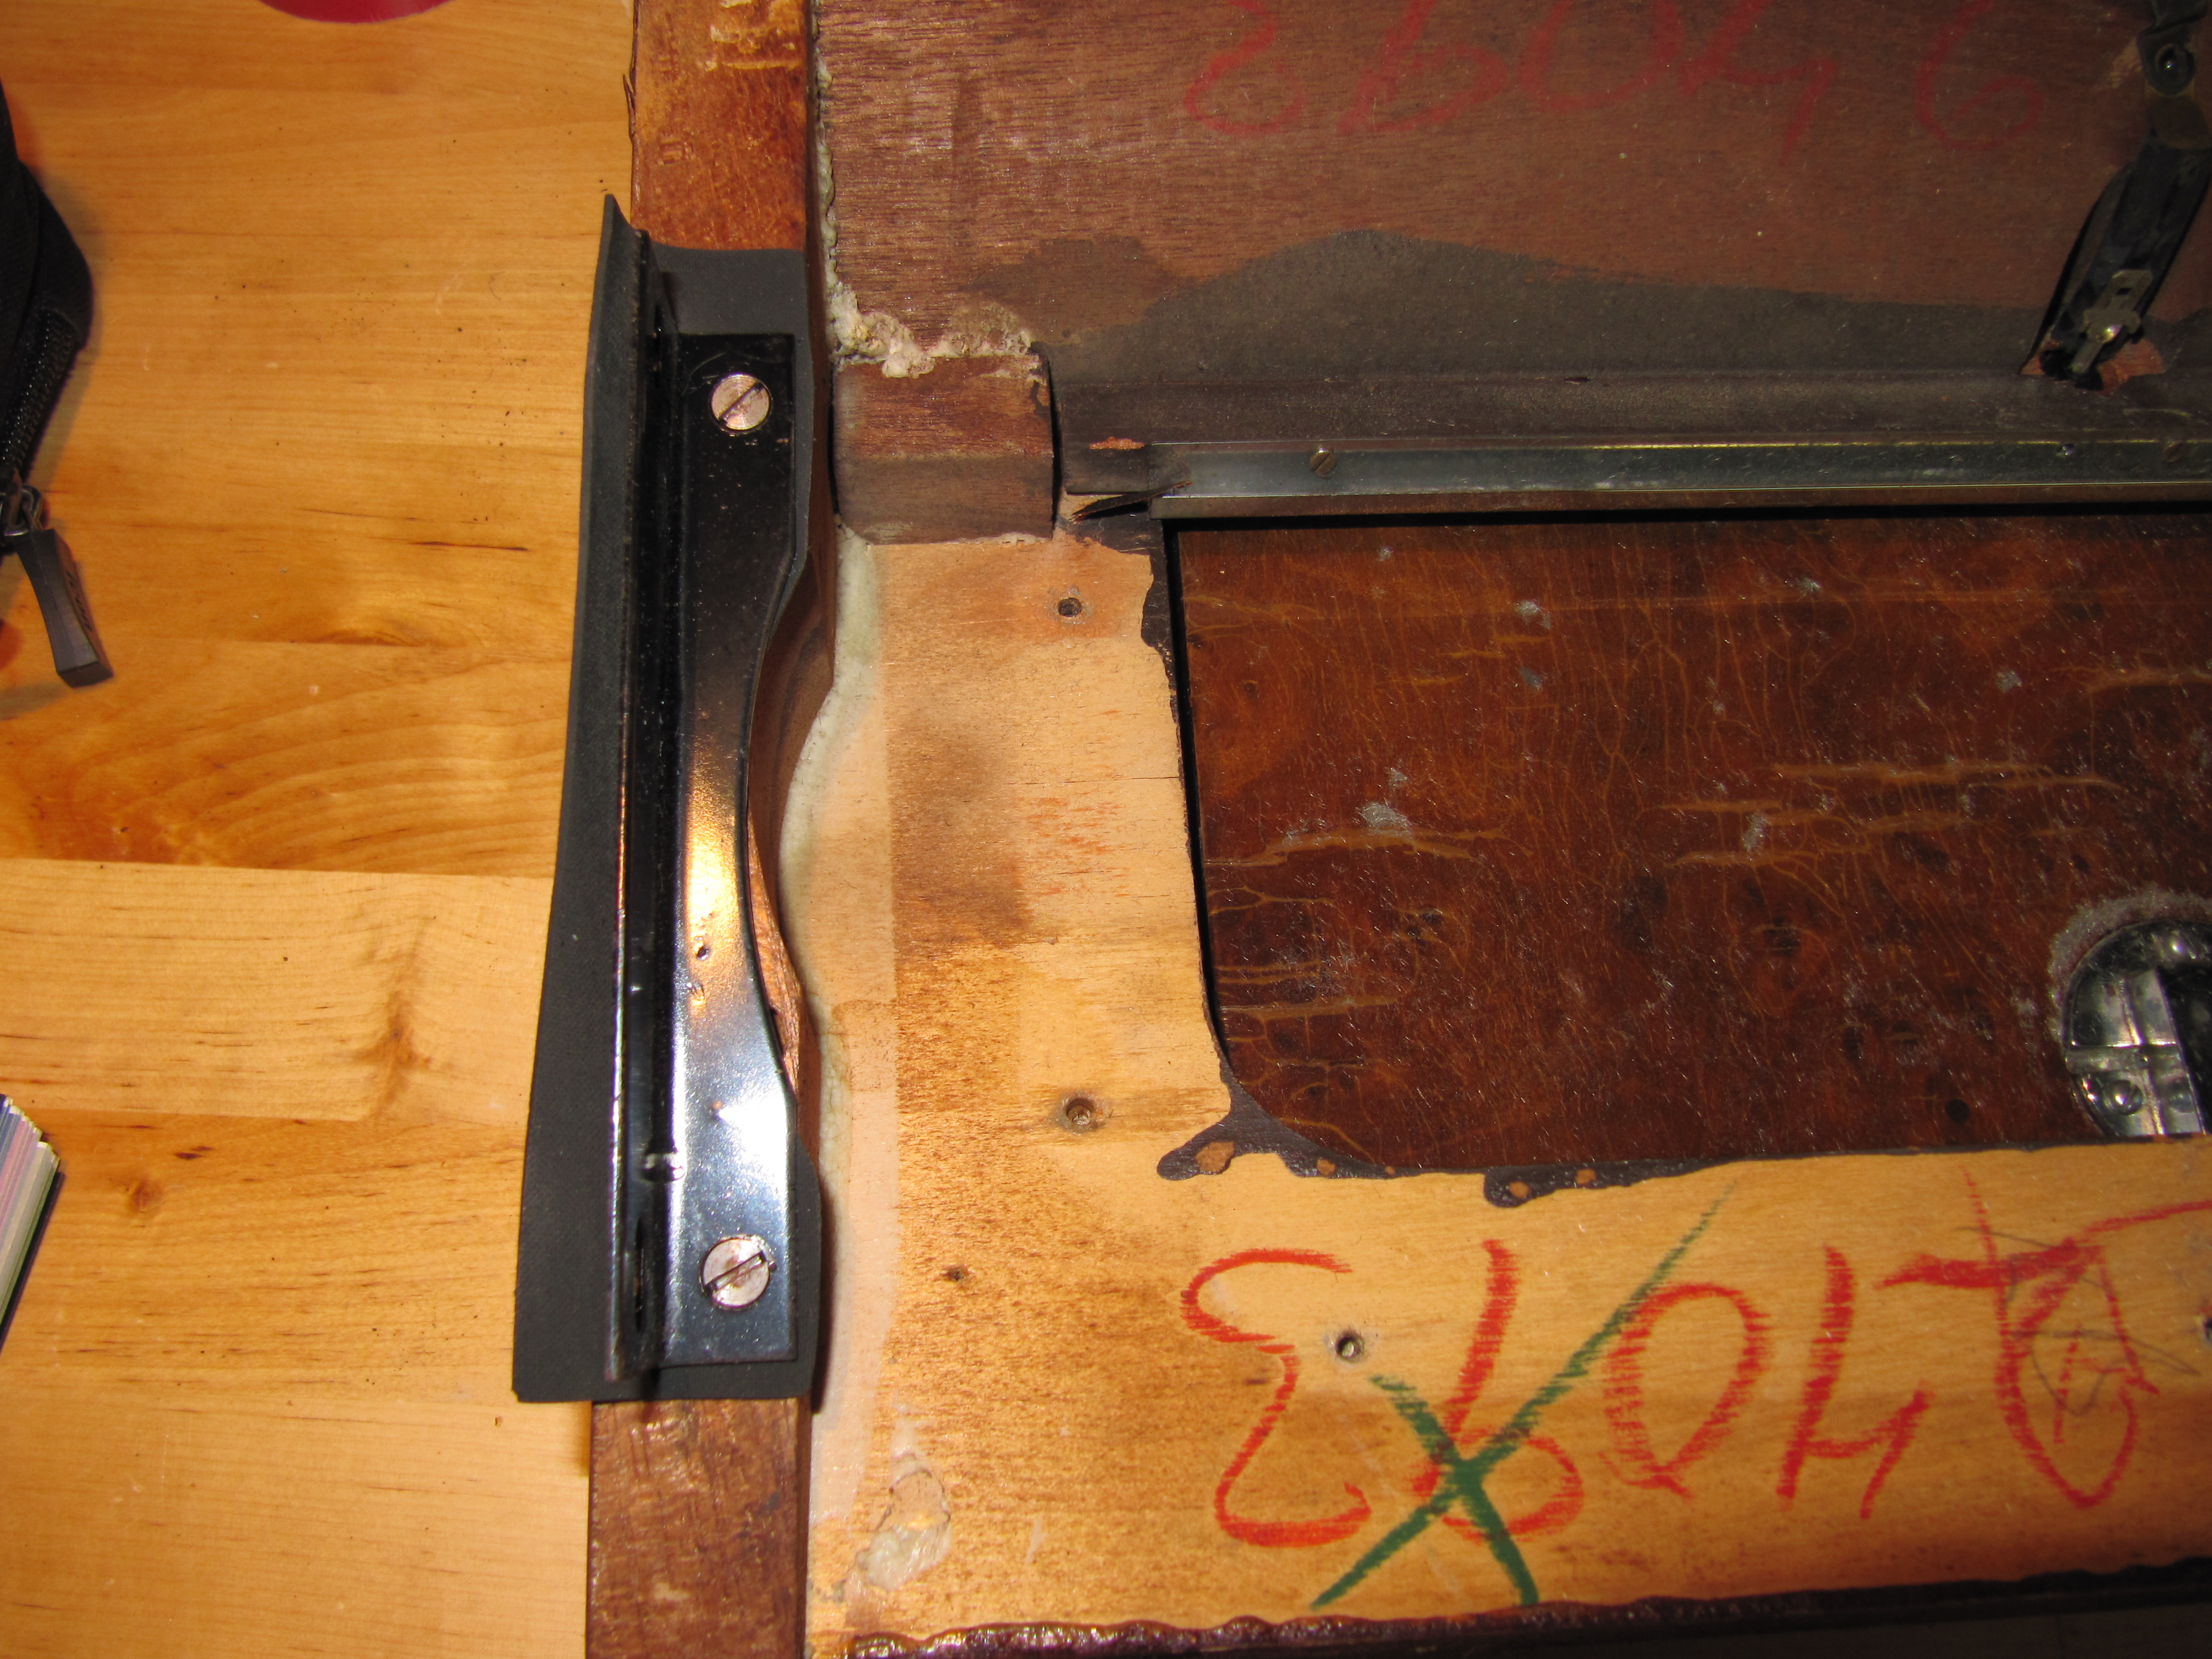
Passenger side fascia board internal mounting bracket
Cubby Box Door Hinge
The Cubby Box Door Hinge is a chrome sliding hinge, being in excellent condition, I simply cleaned and polished the hinge. It is attached to the Cubby Box with four chrome slotted wood screws.