Chapter 89 Week Fifty-Nine January 28, 2008

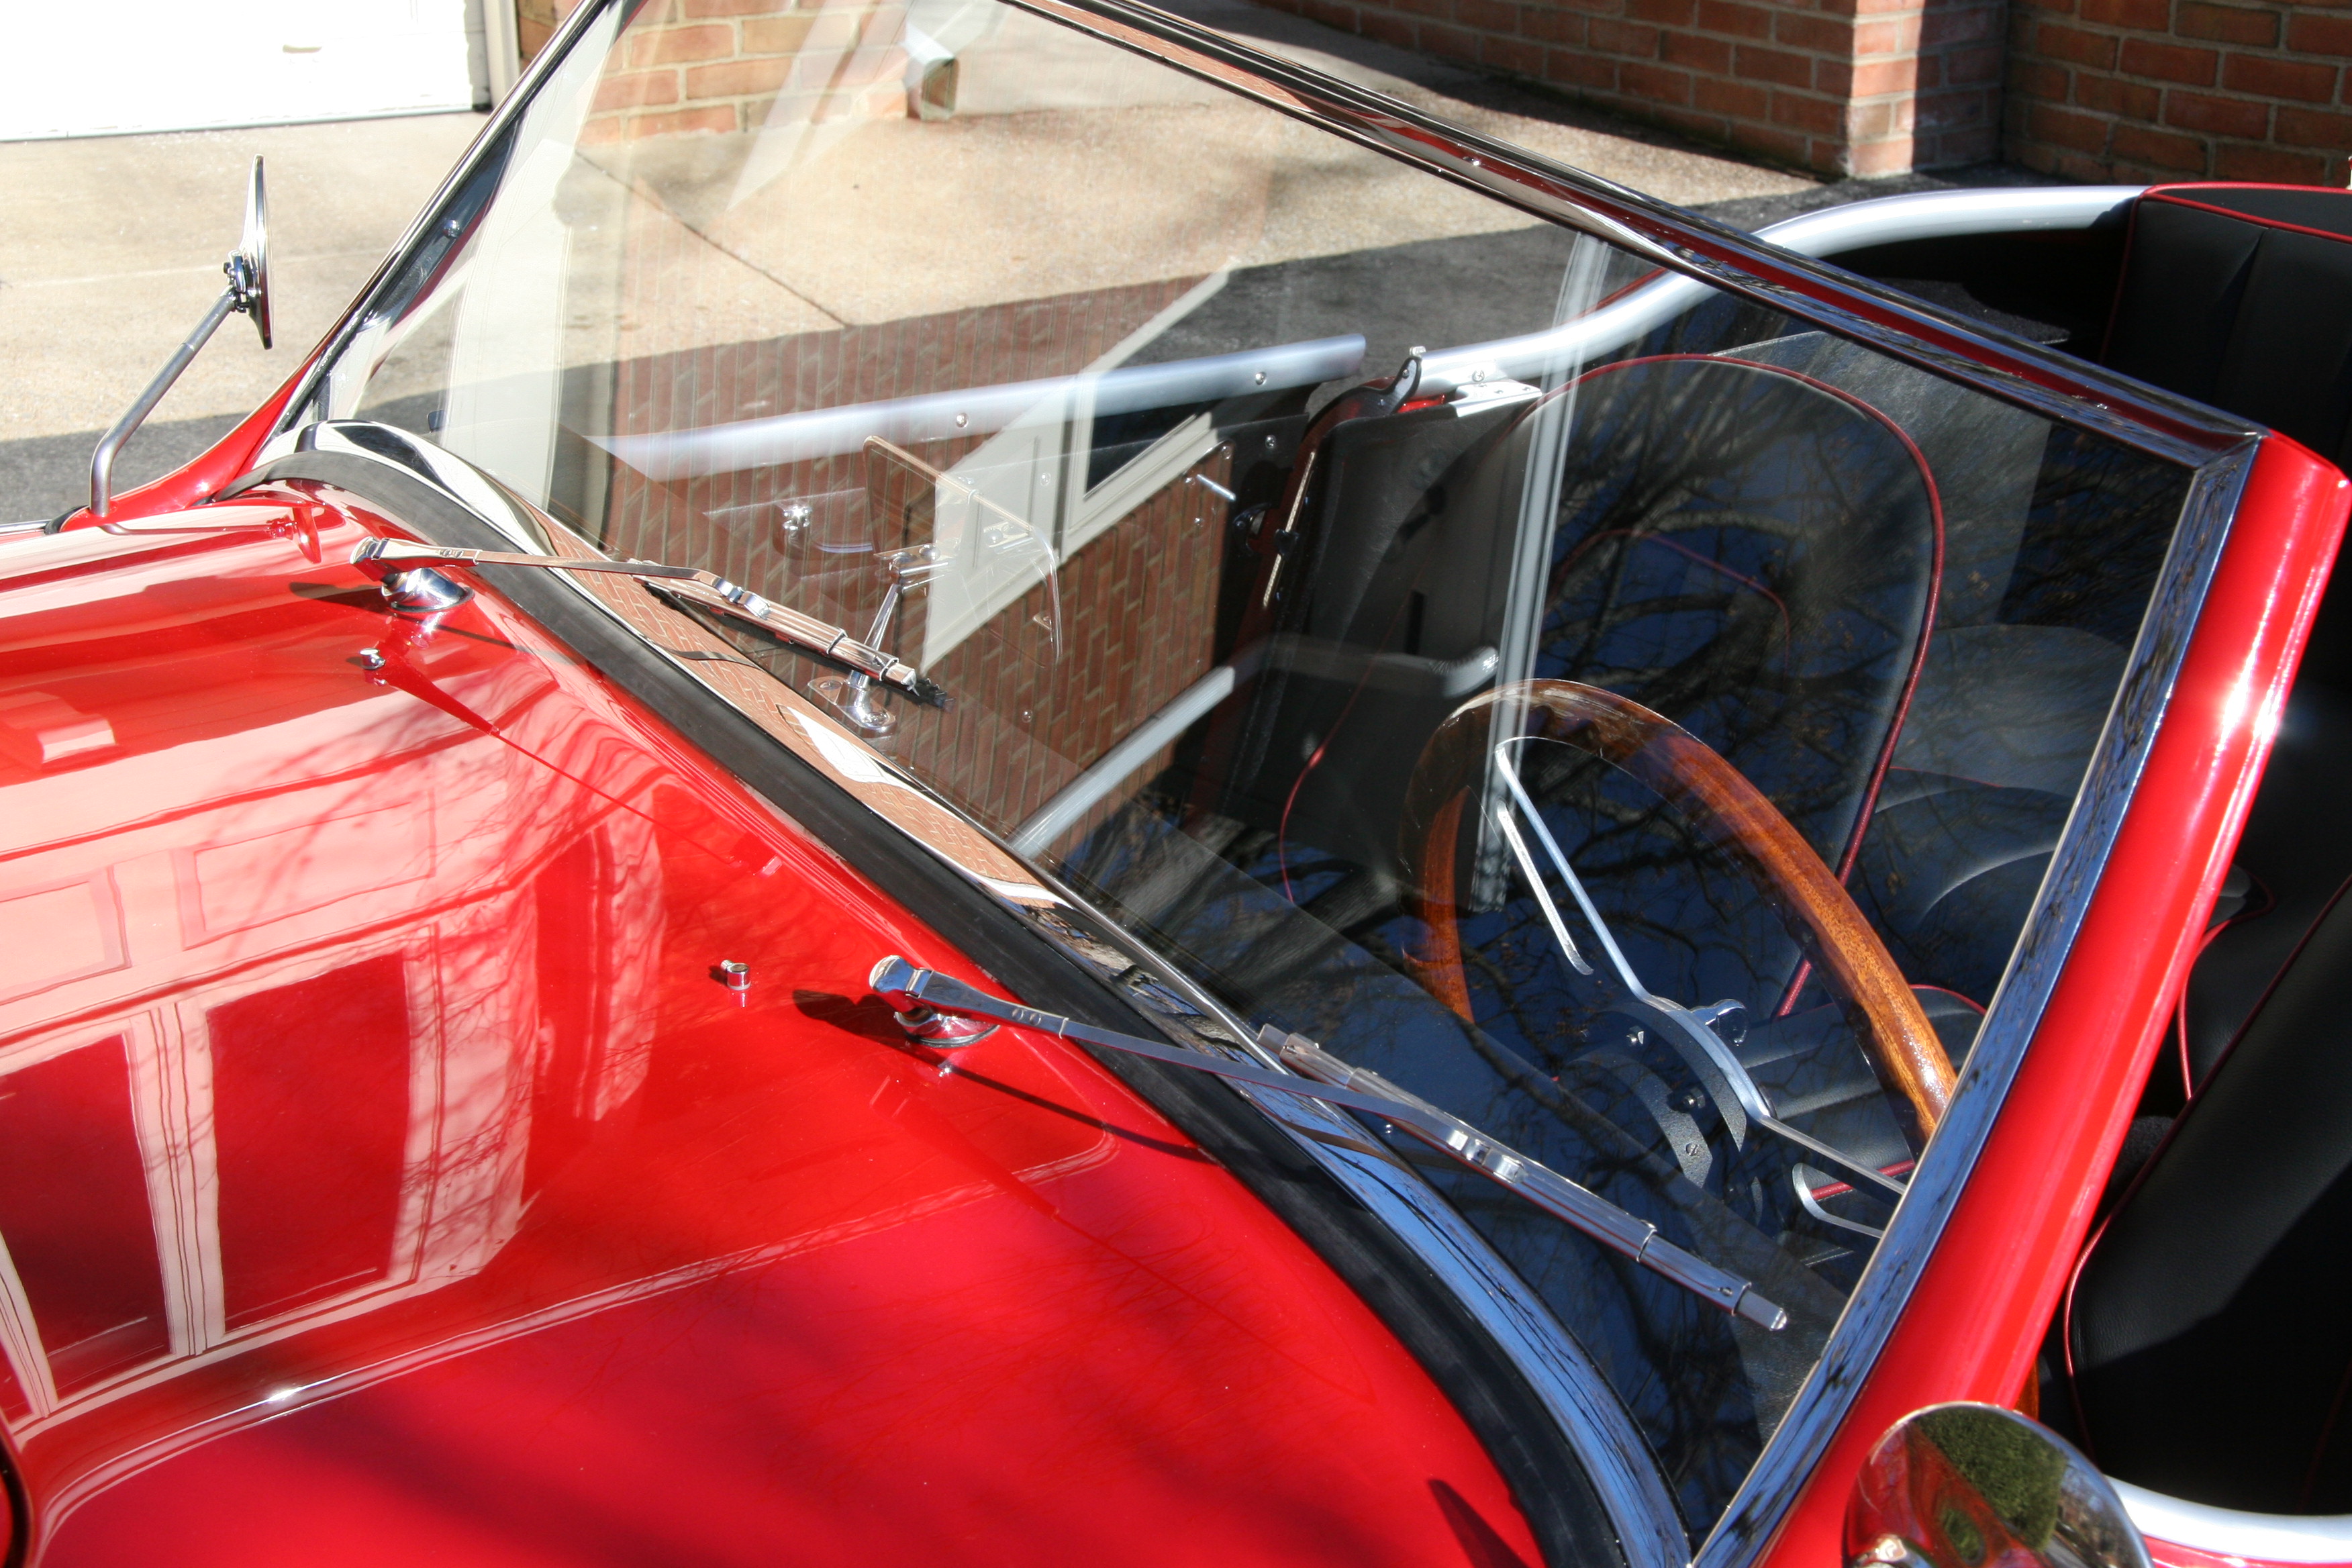
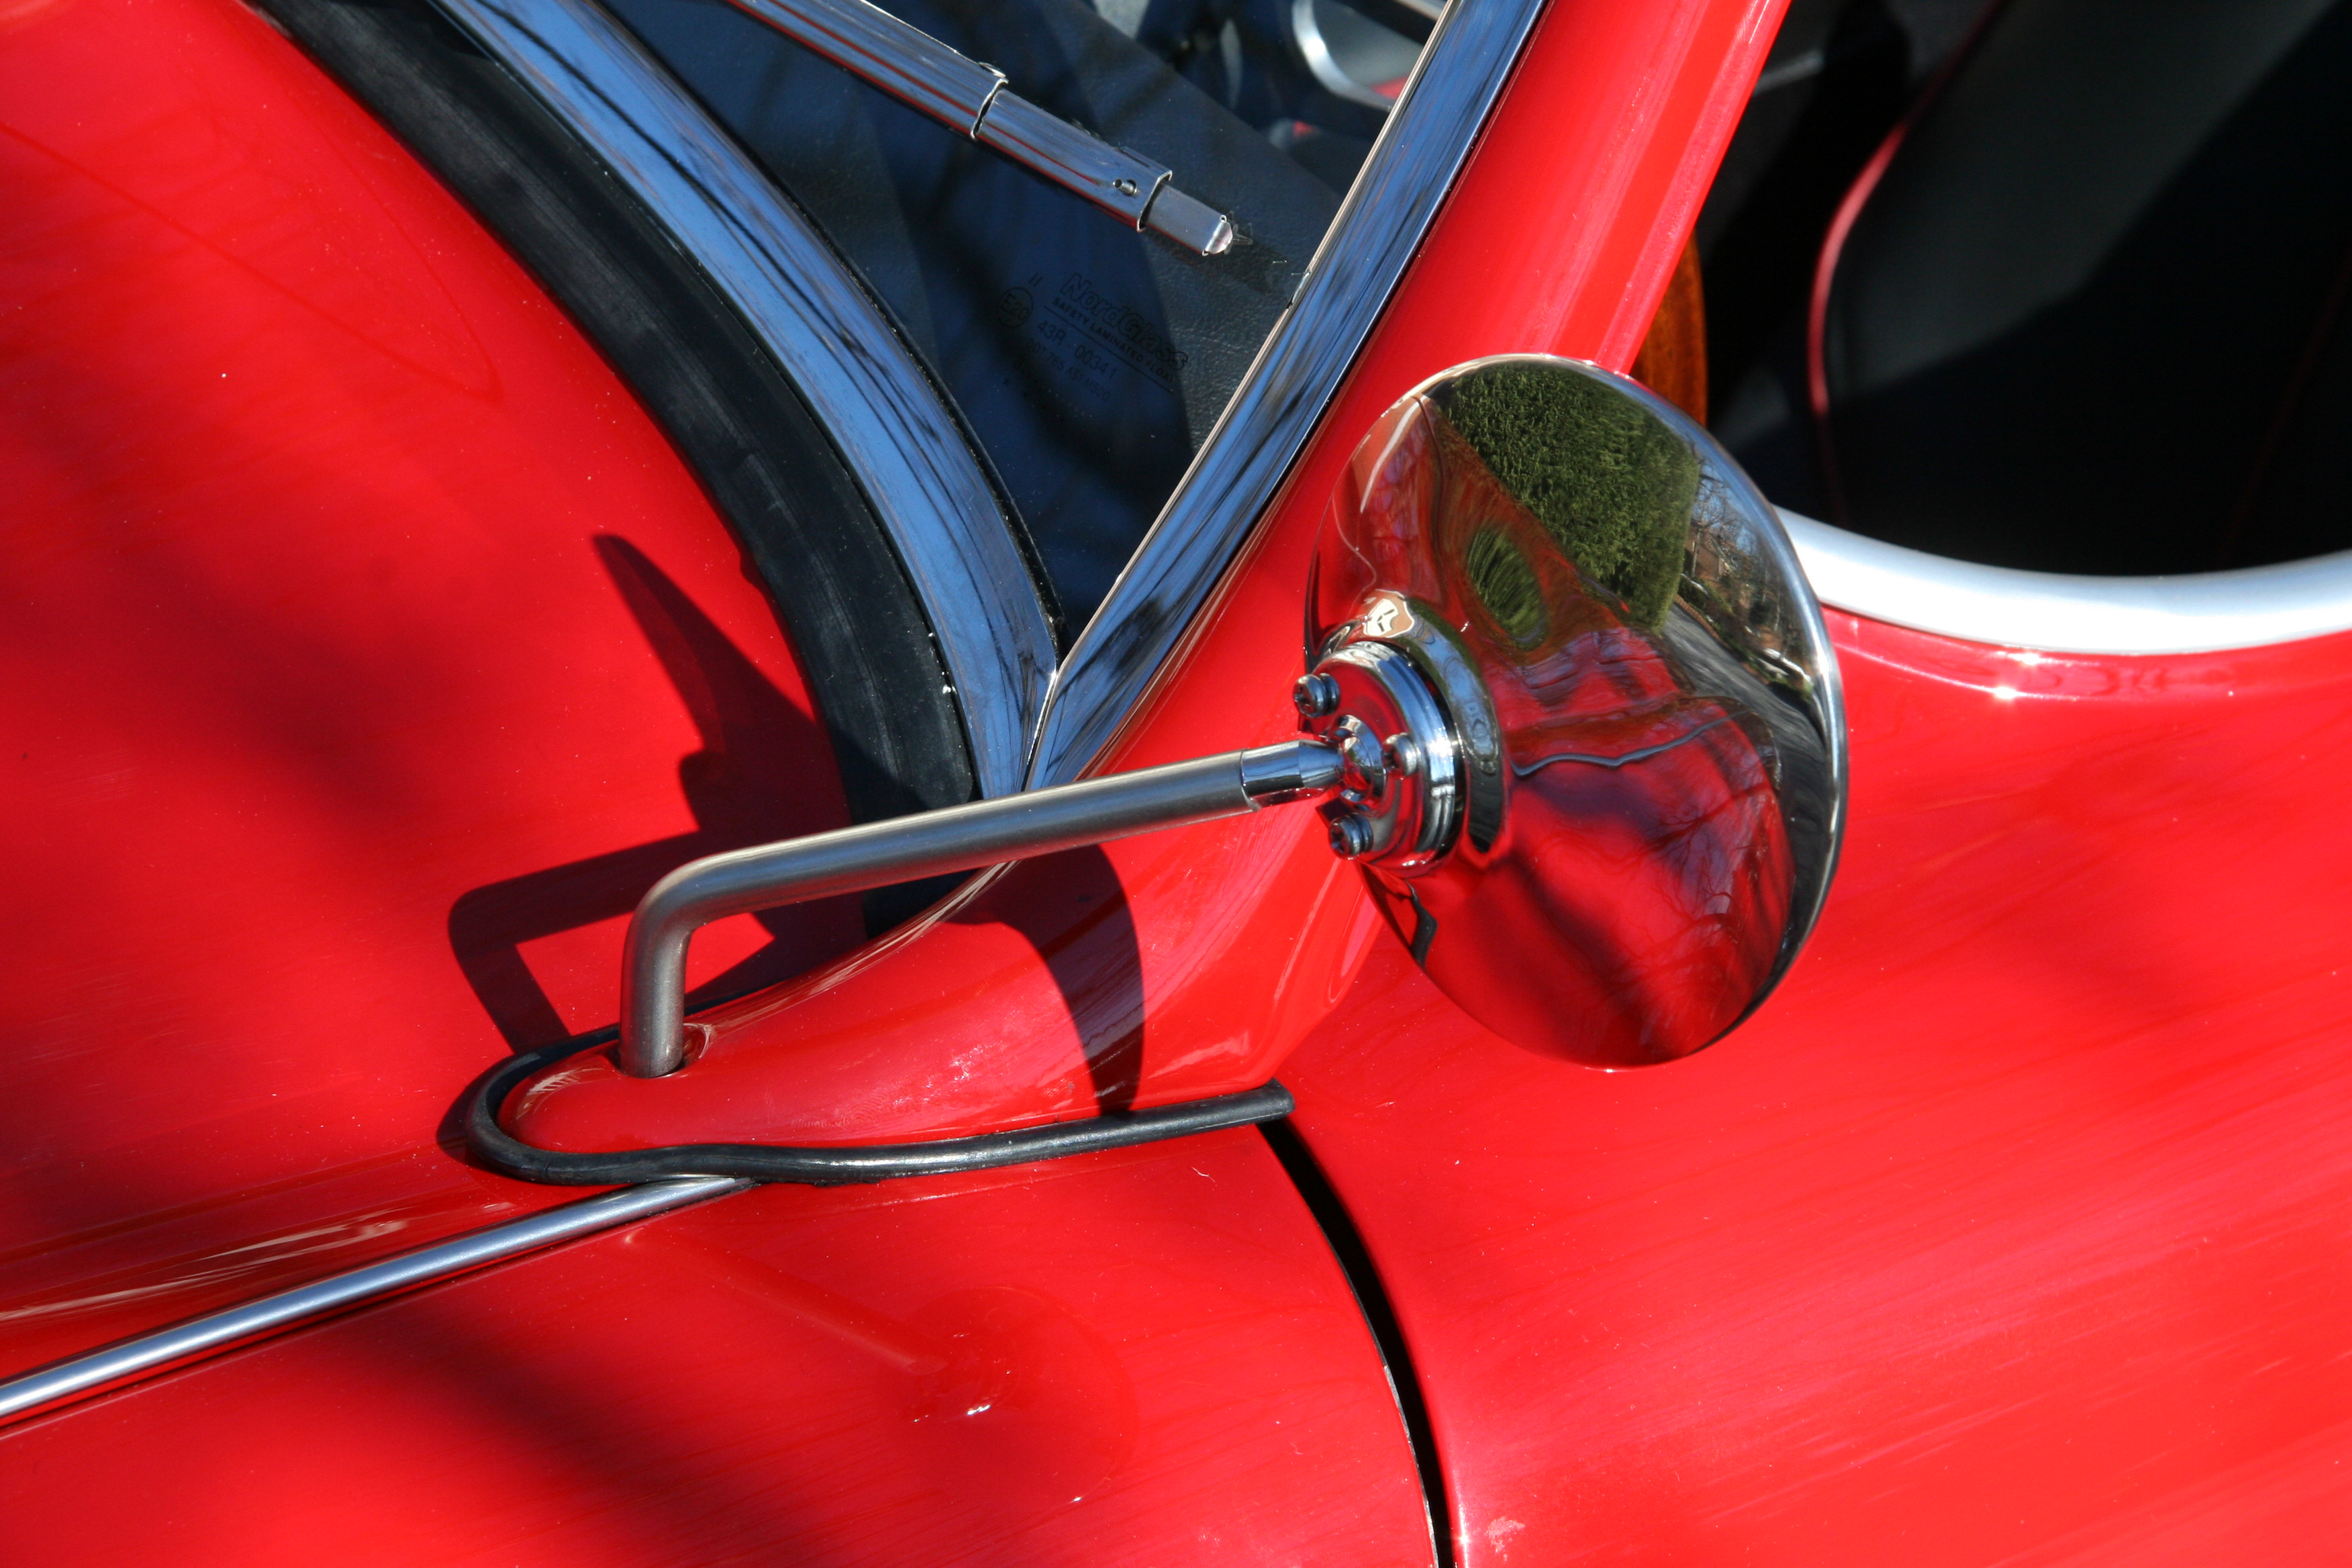
I began some work on the hardtop. The first step was the installation of the aluminum trim and cant rails, followed by the headliner and finally the rubber seals and the windlace. The article prepared by Roger Moment and the photos provided by John Homonek were a big help, but I discovered that advice on hardtop restoration was very limited, so to help others in my spot for the future, I kept a diary of restoration progress. It is available at this web site location: Hardtop

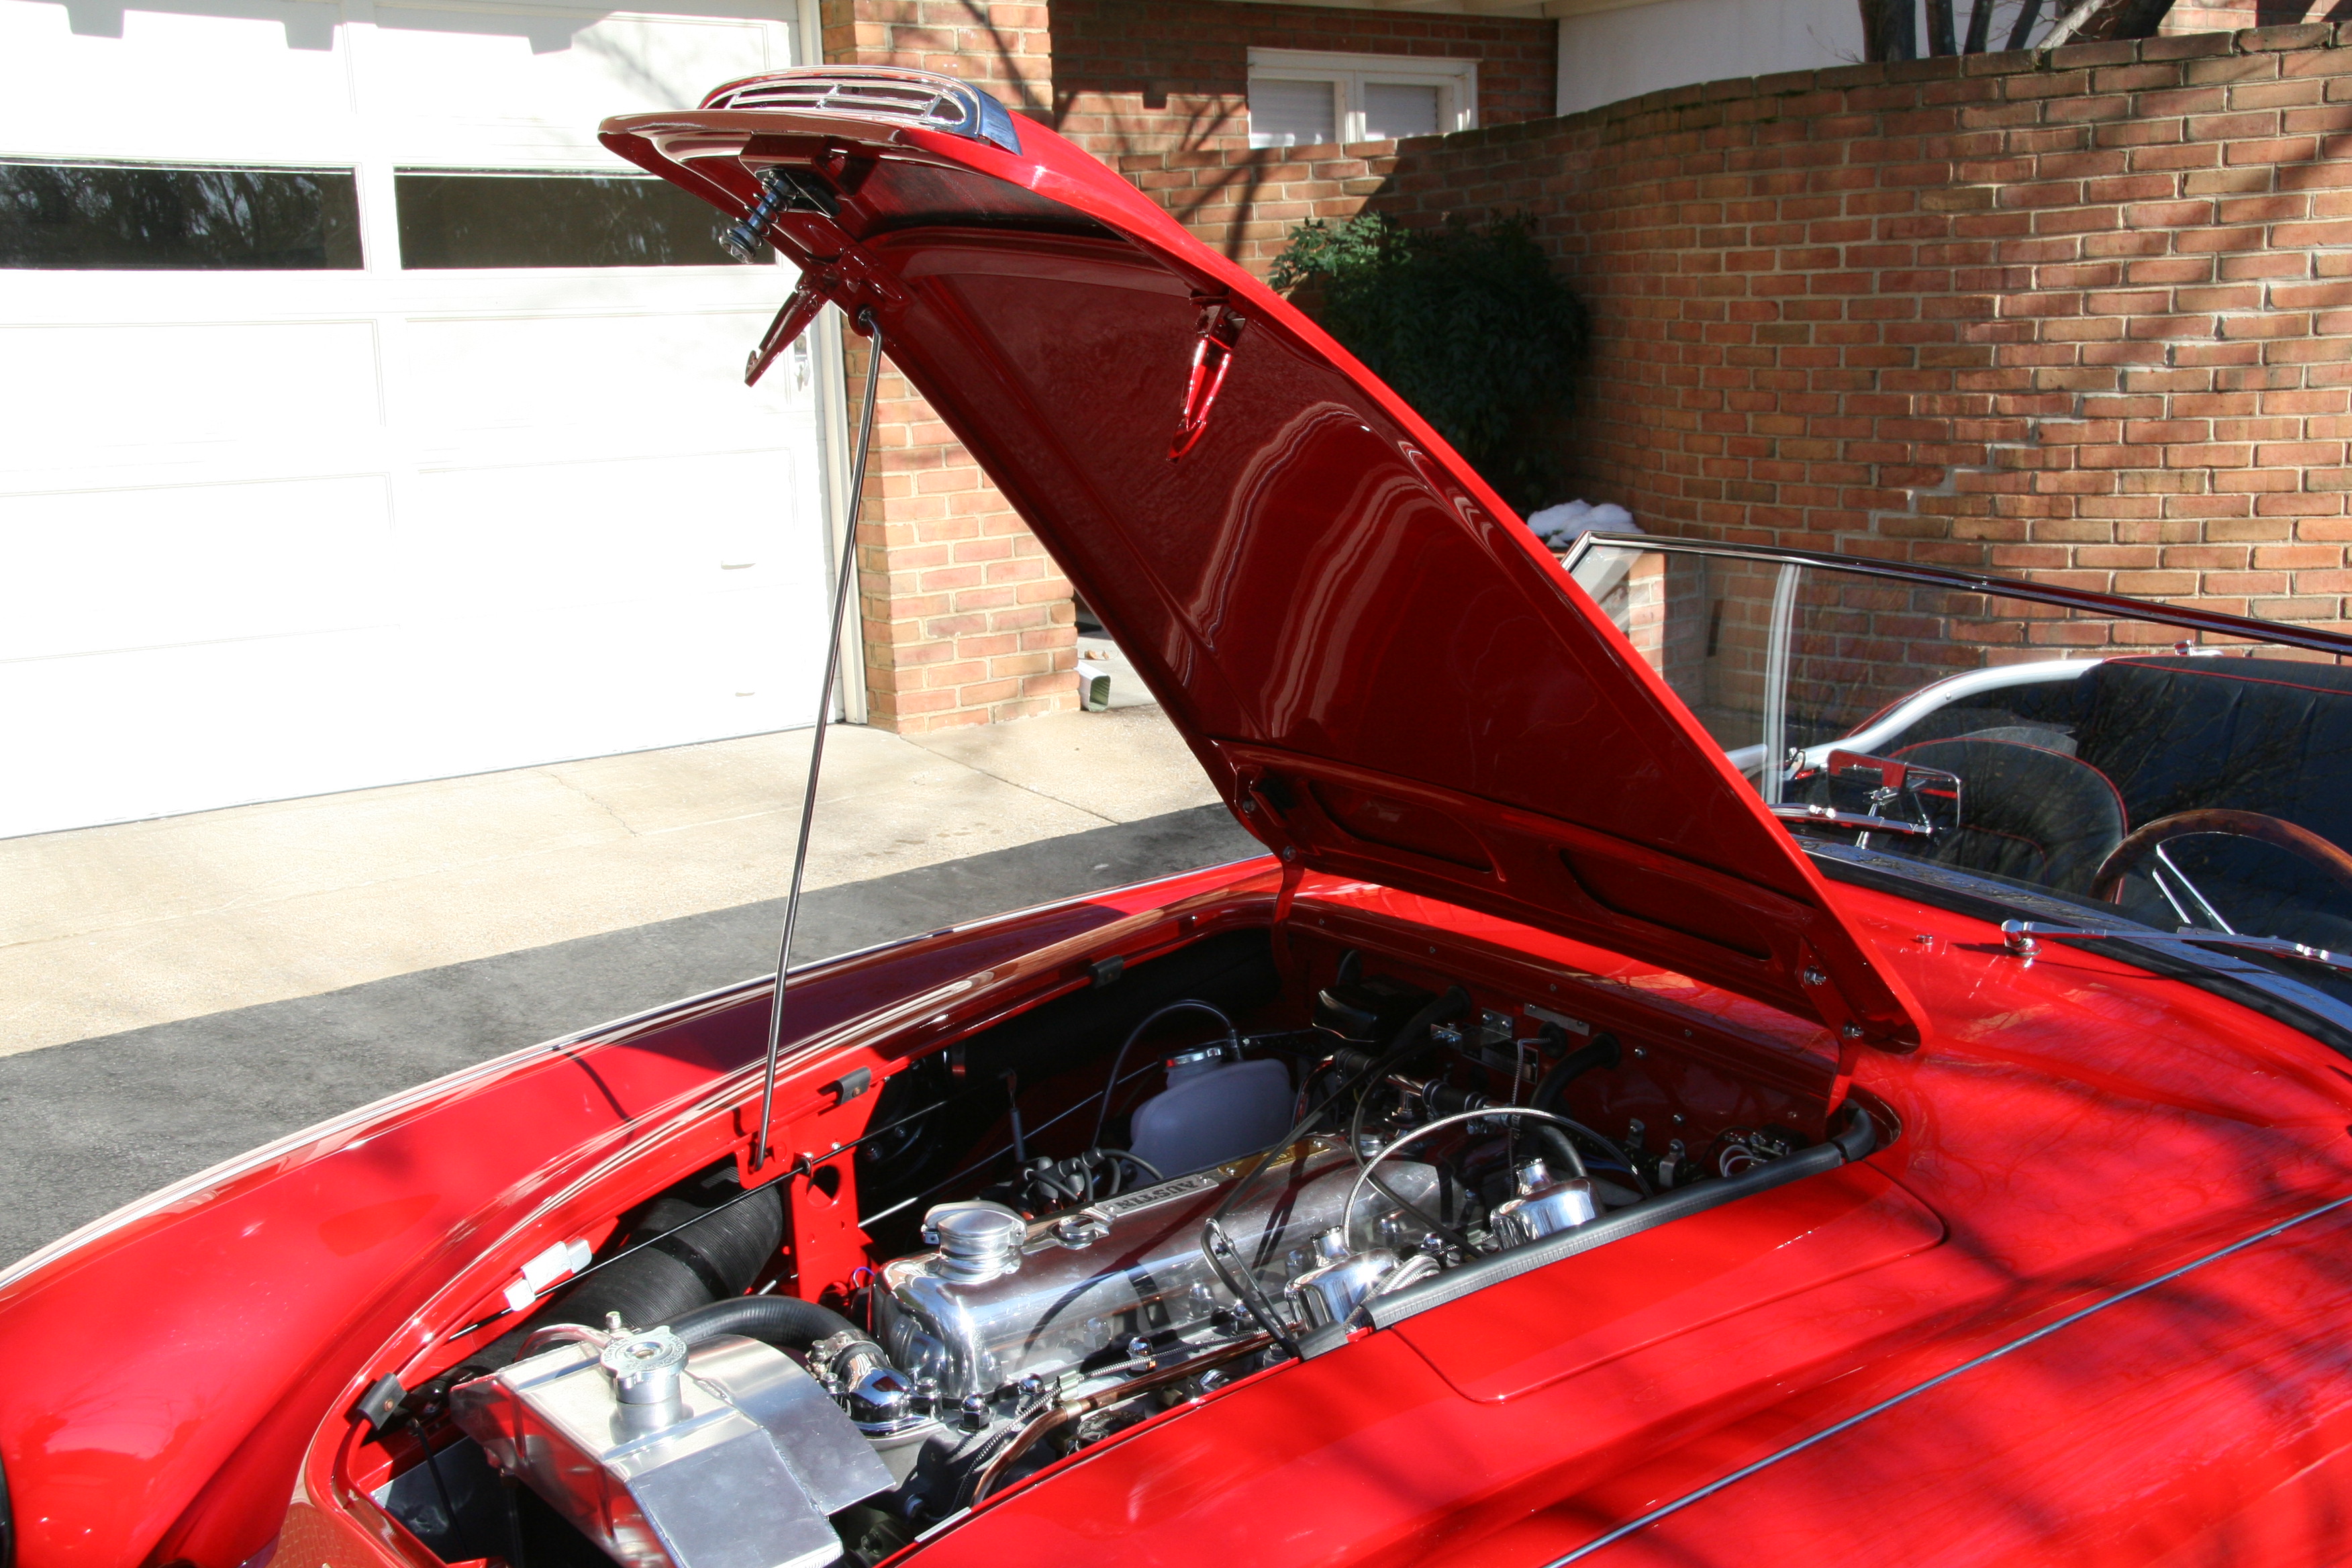
In the photos below, I included an image from 1976 with the hardtop on the car.

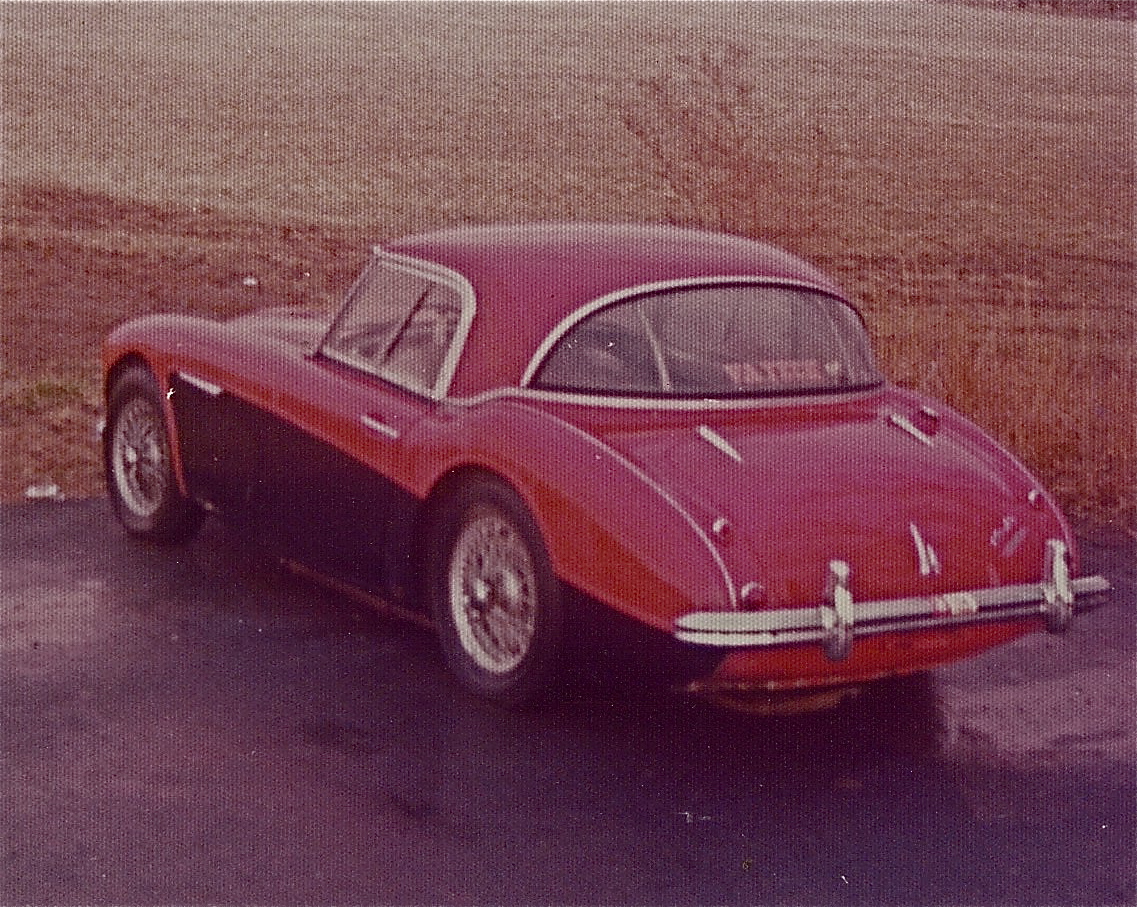
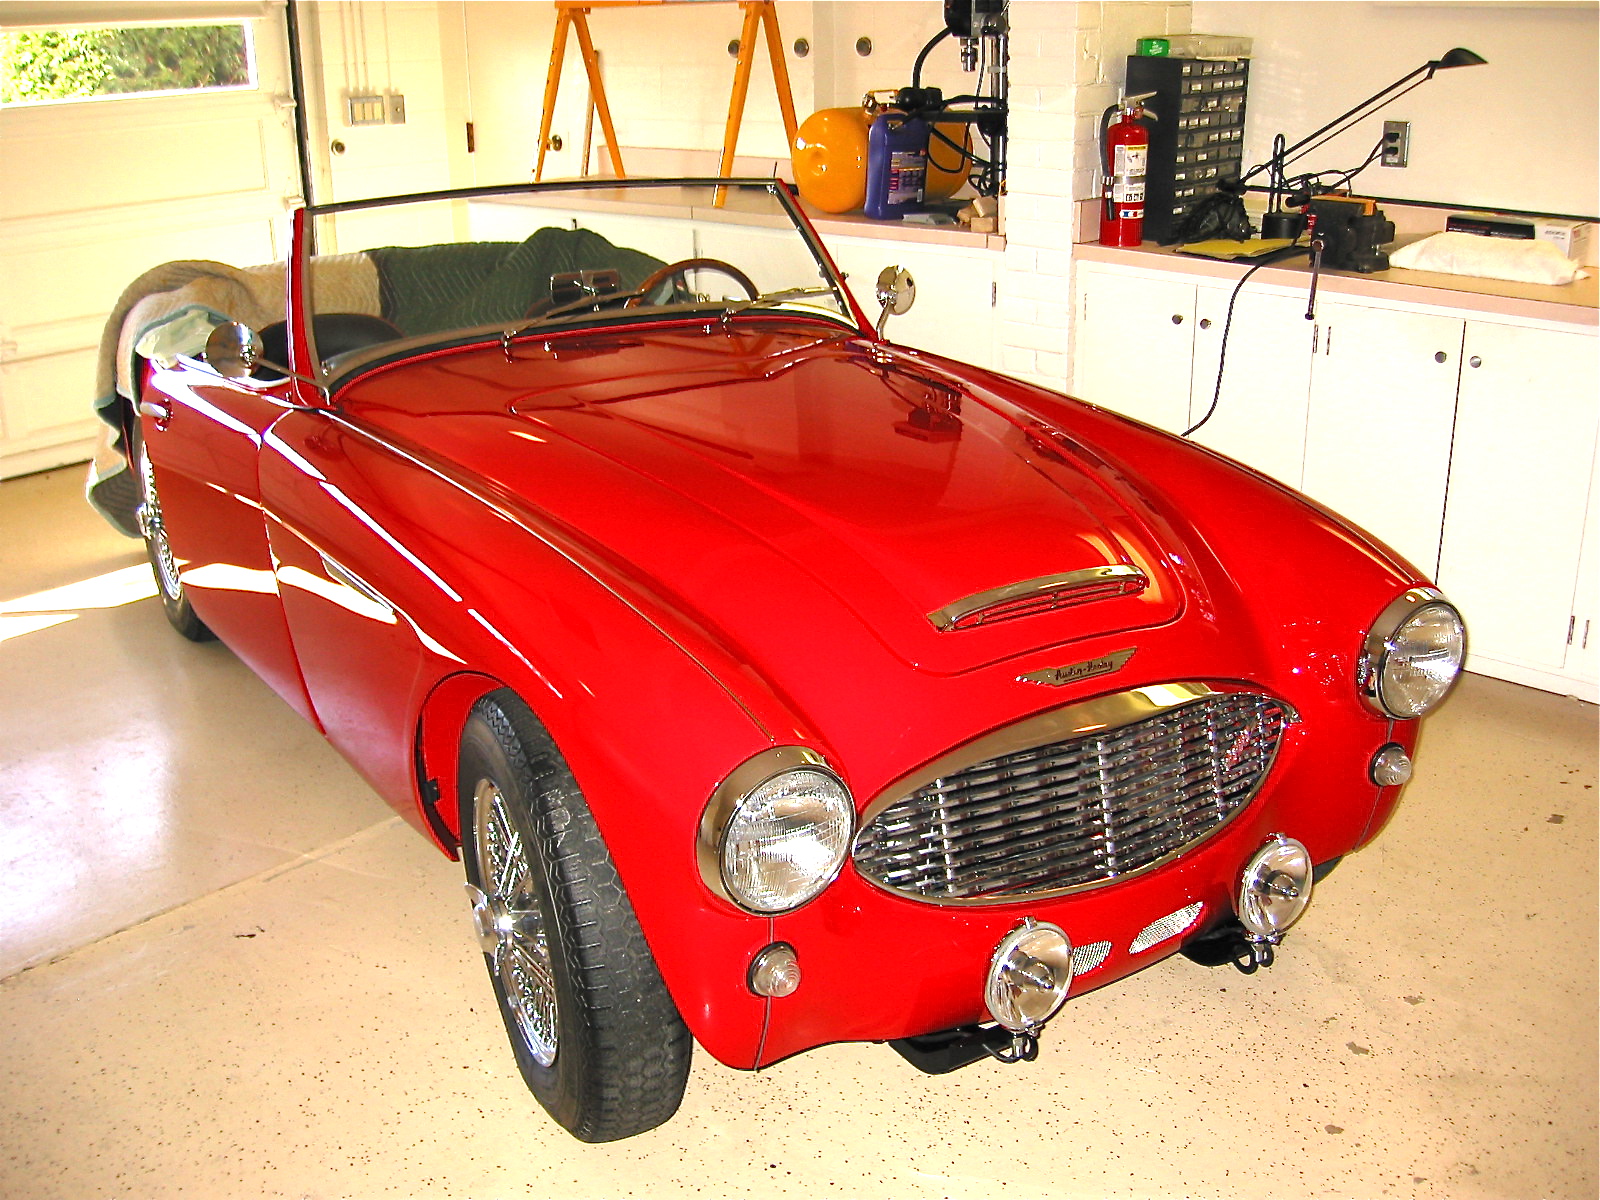
Bloody Beast 1976 with hardtop
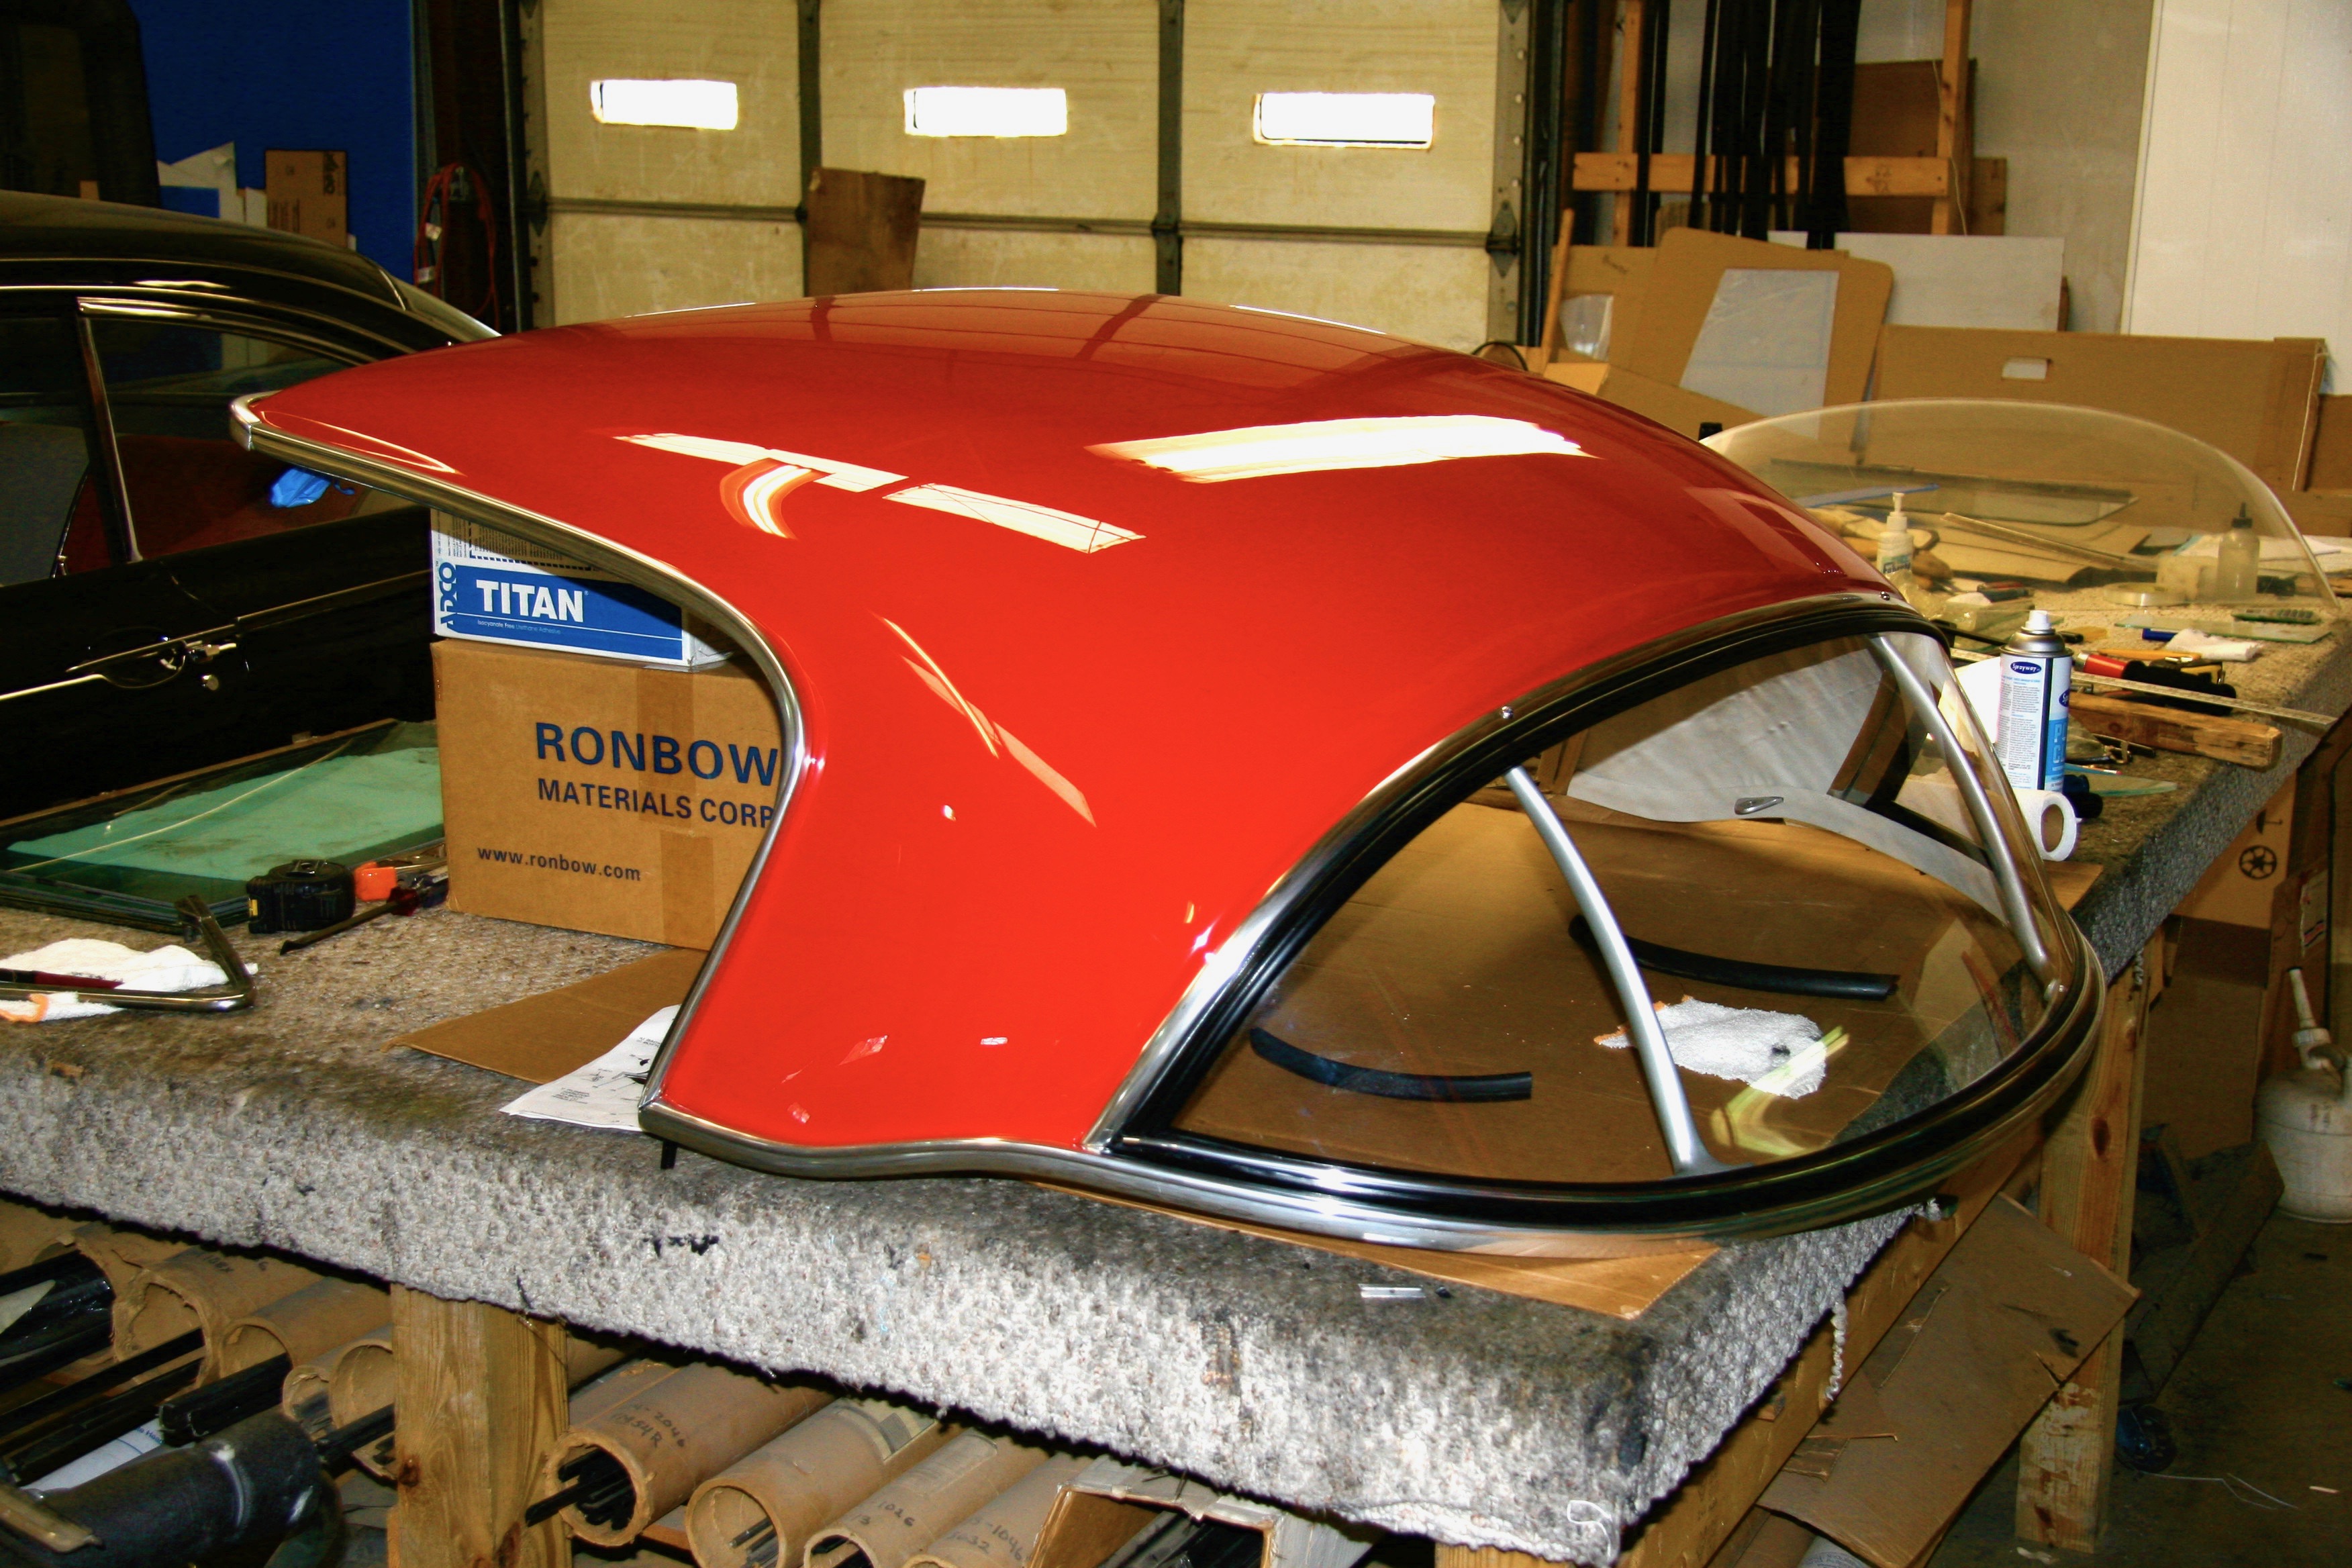
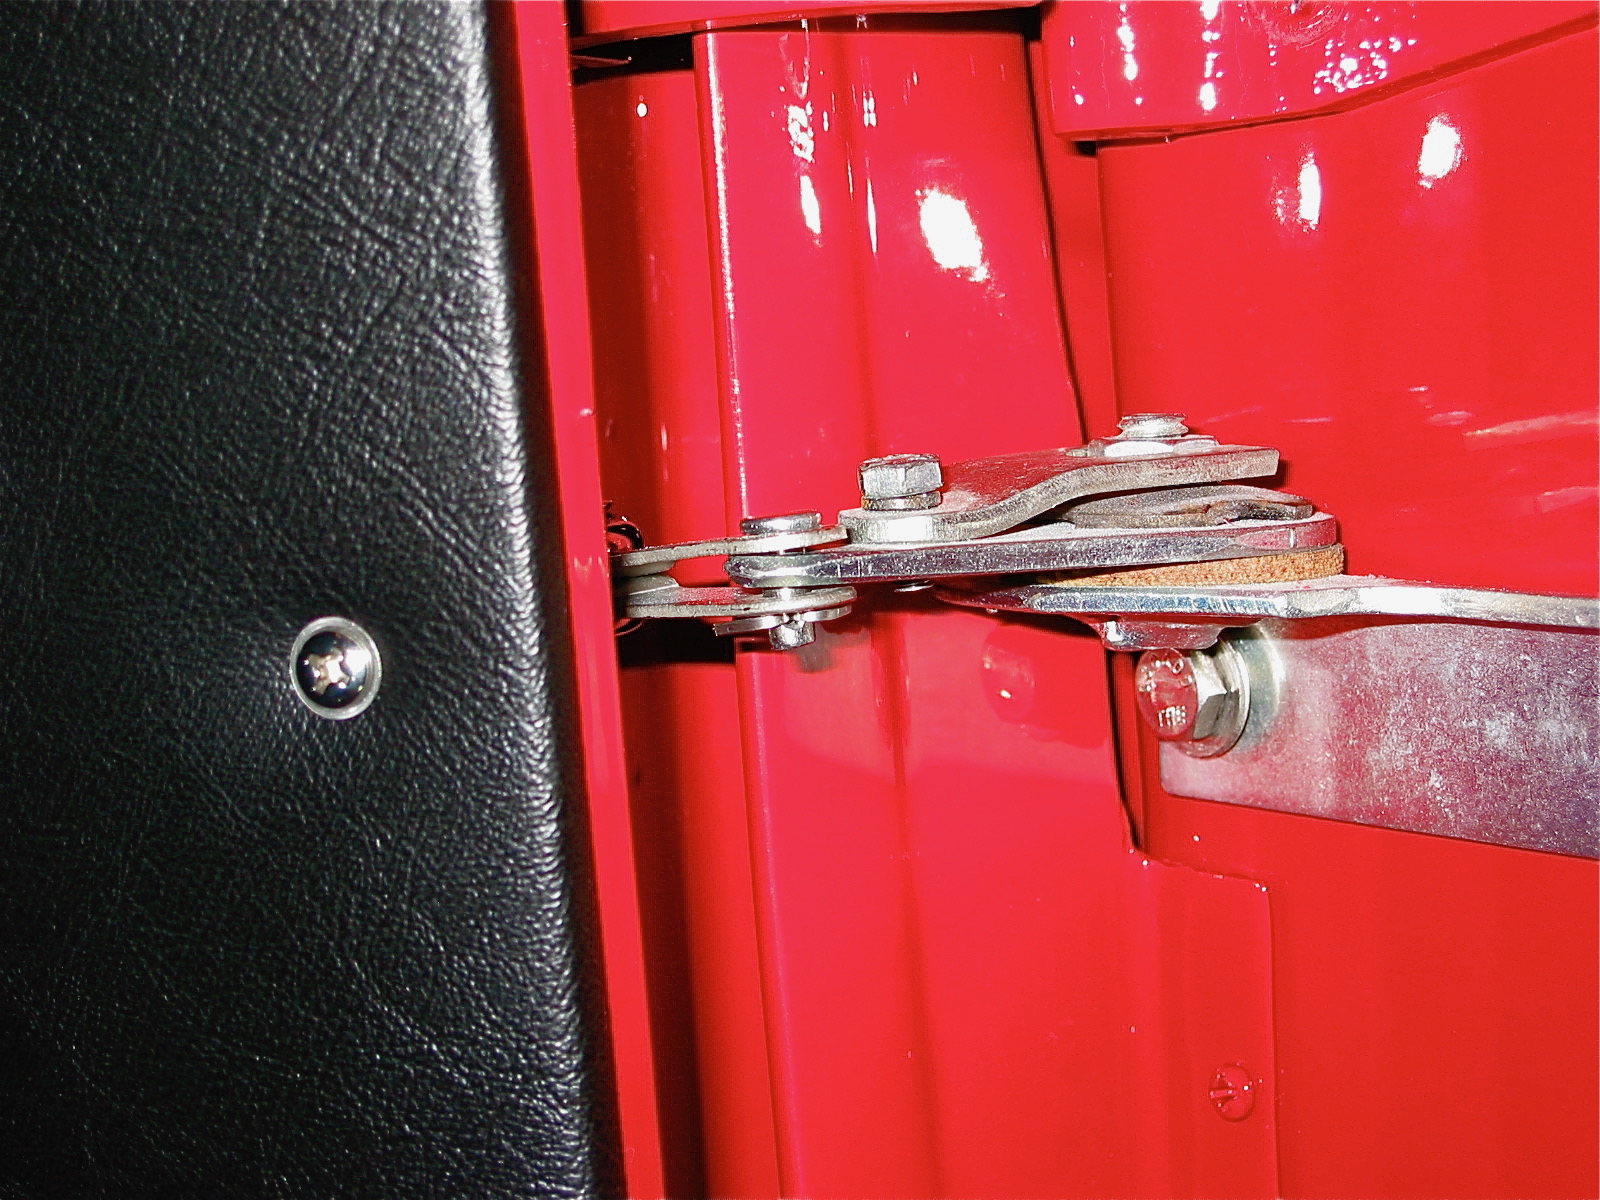
Finished Job 3

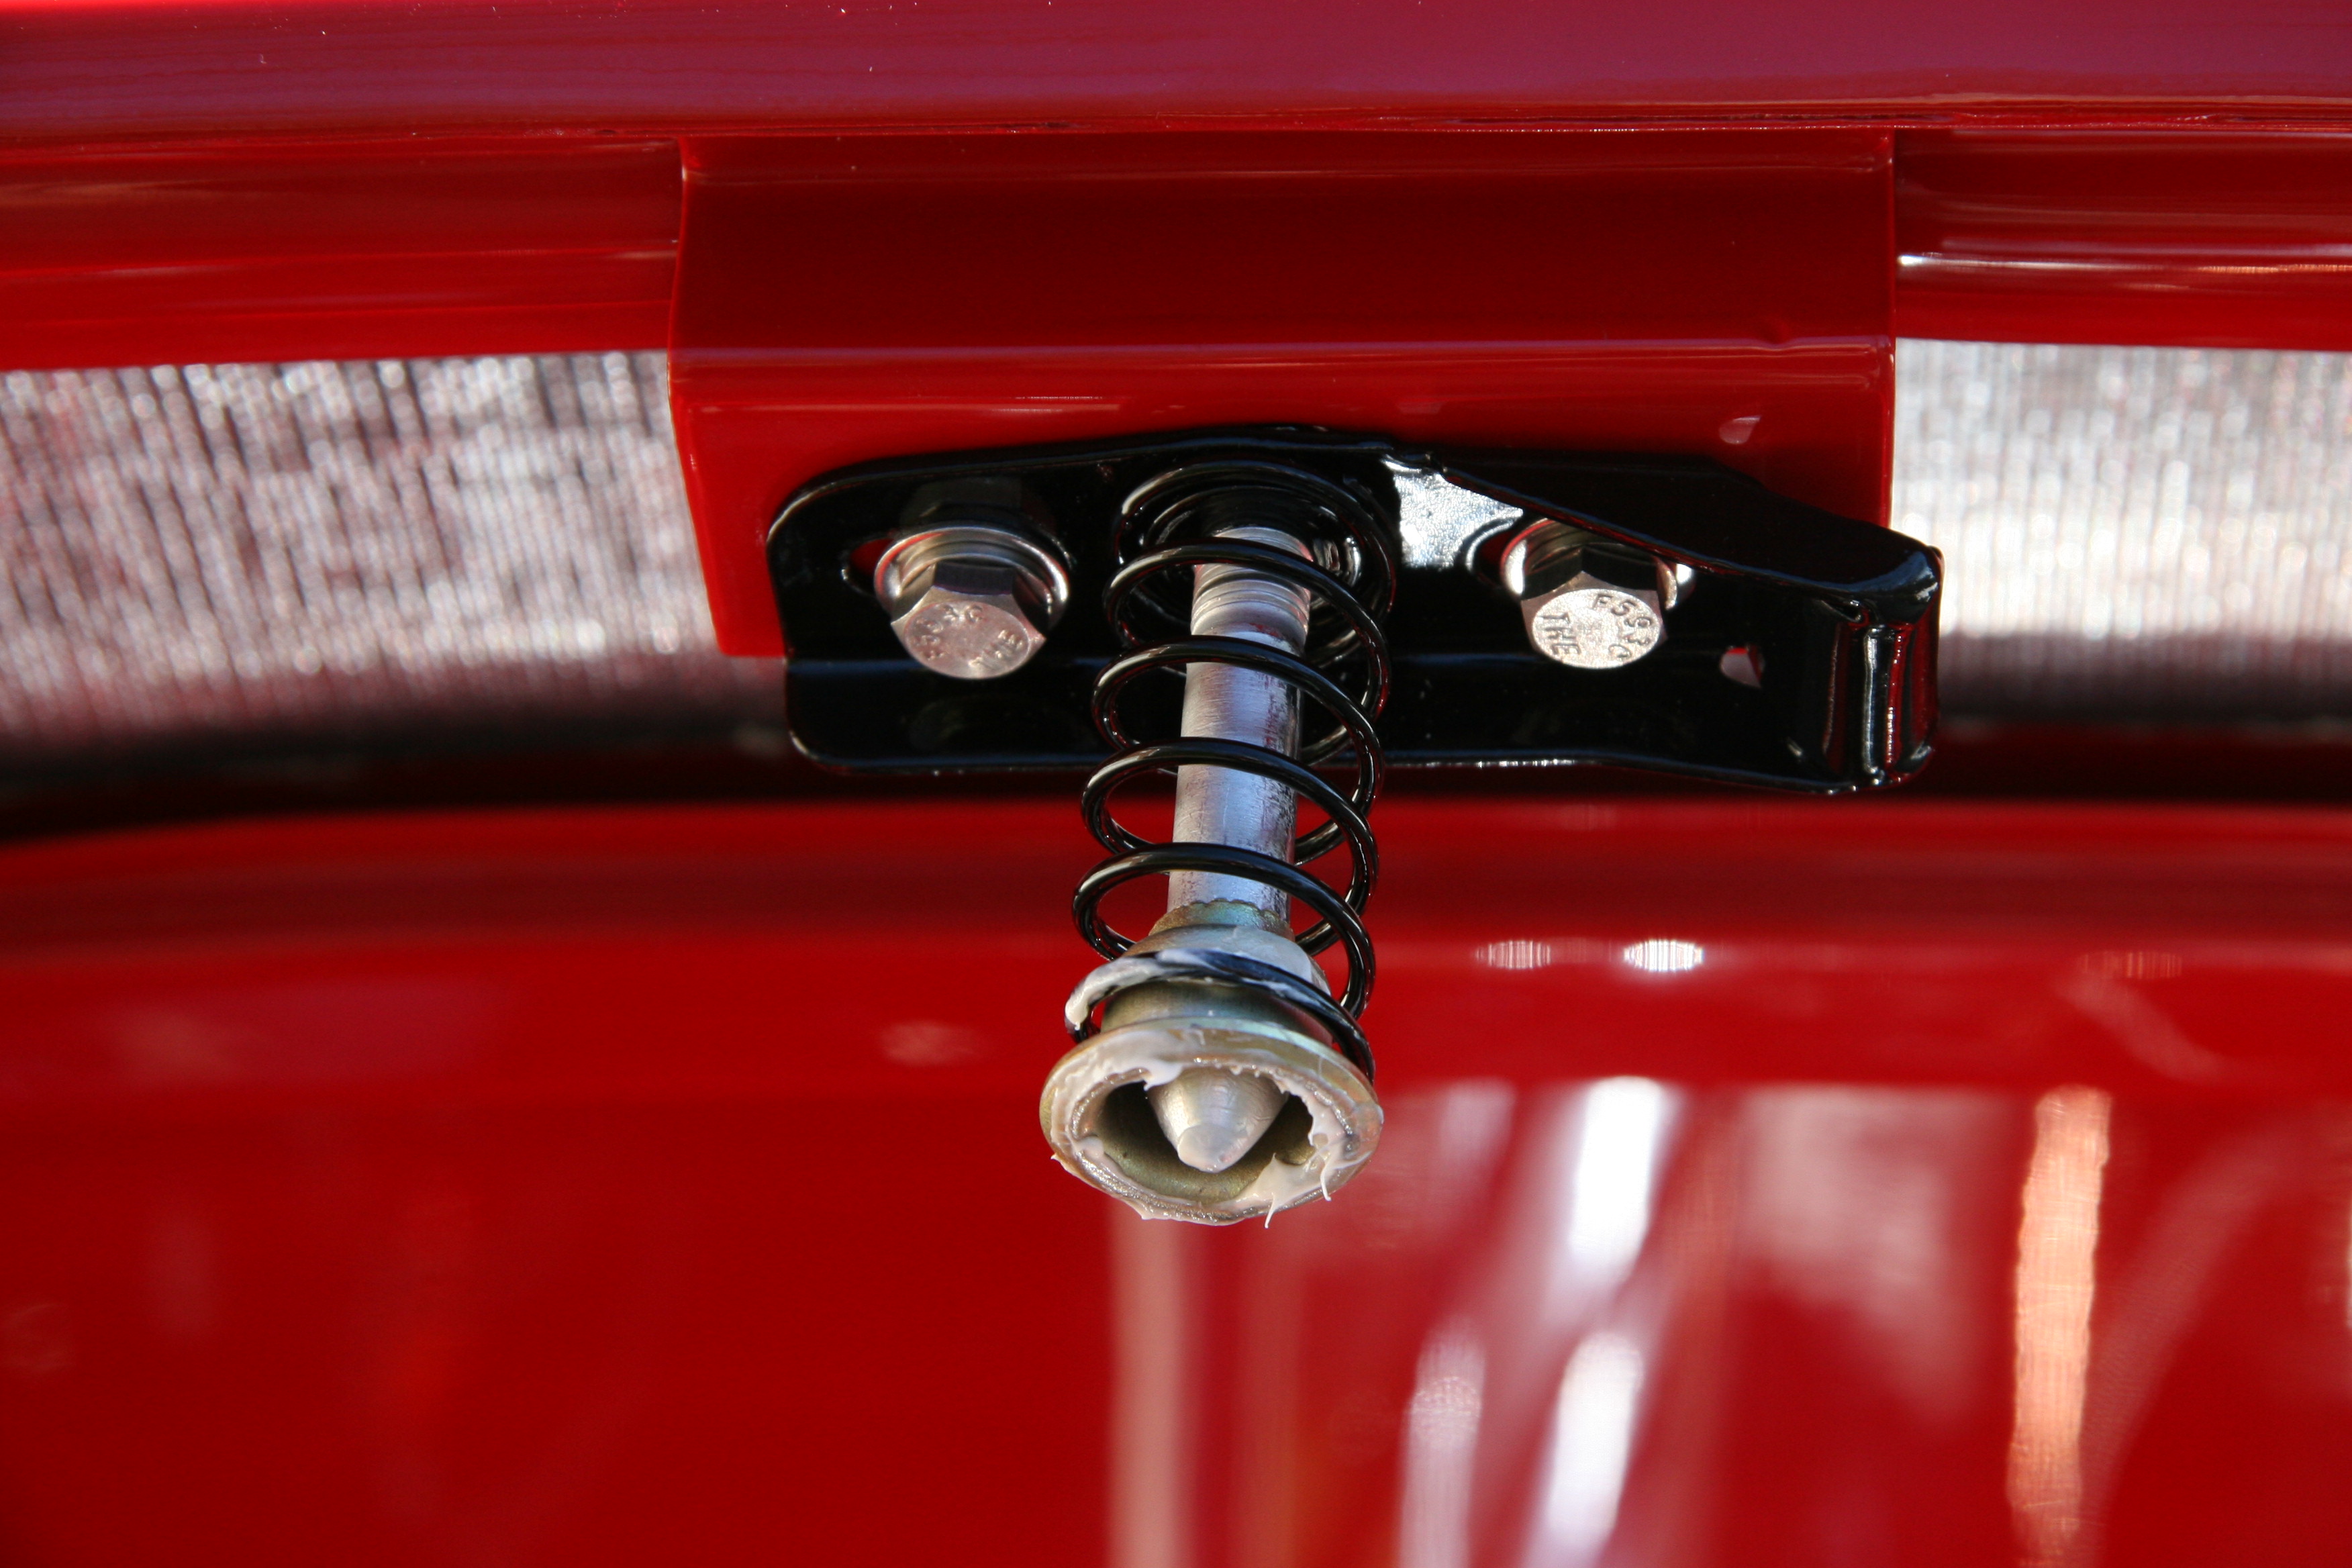
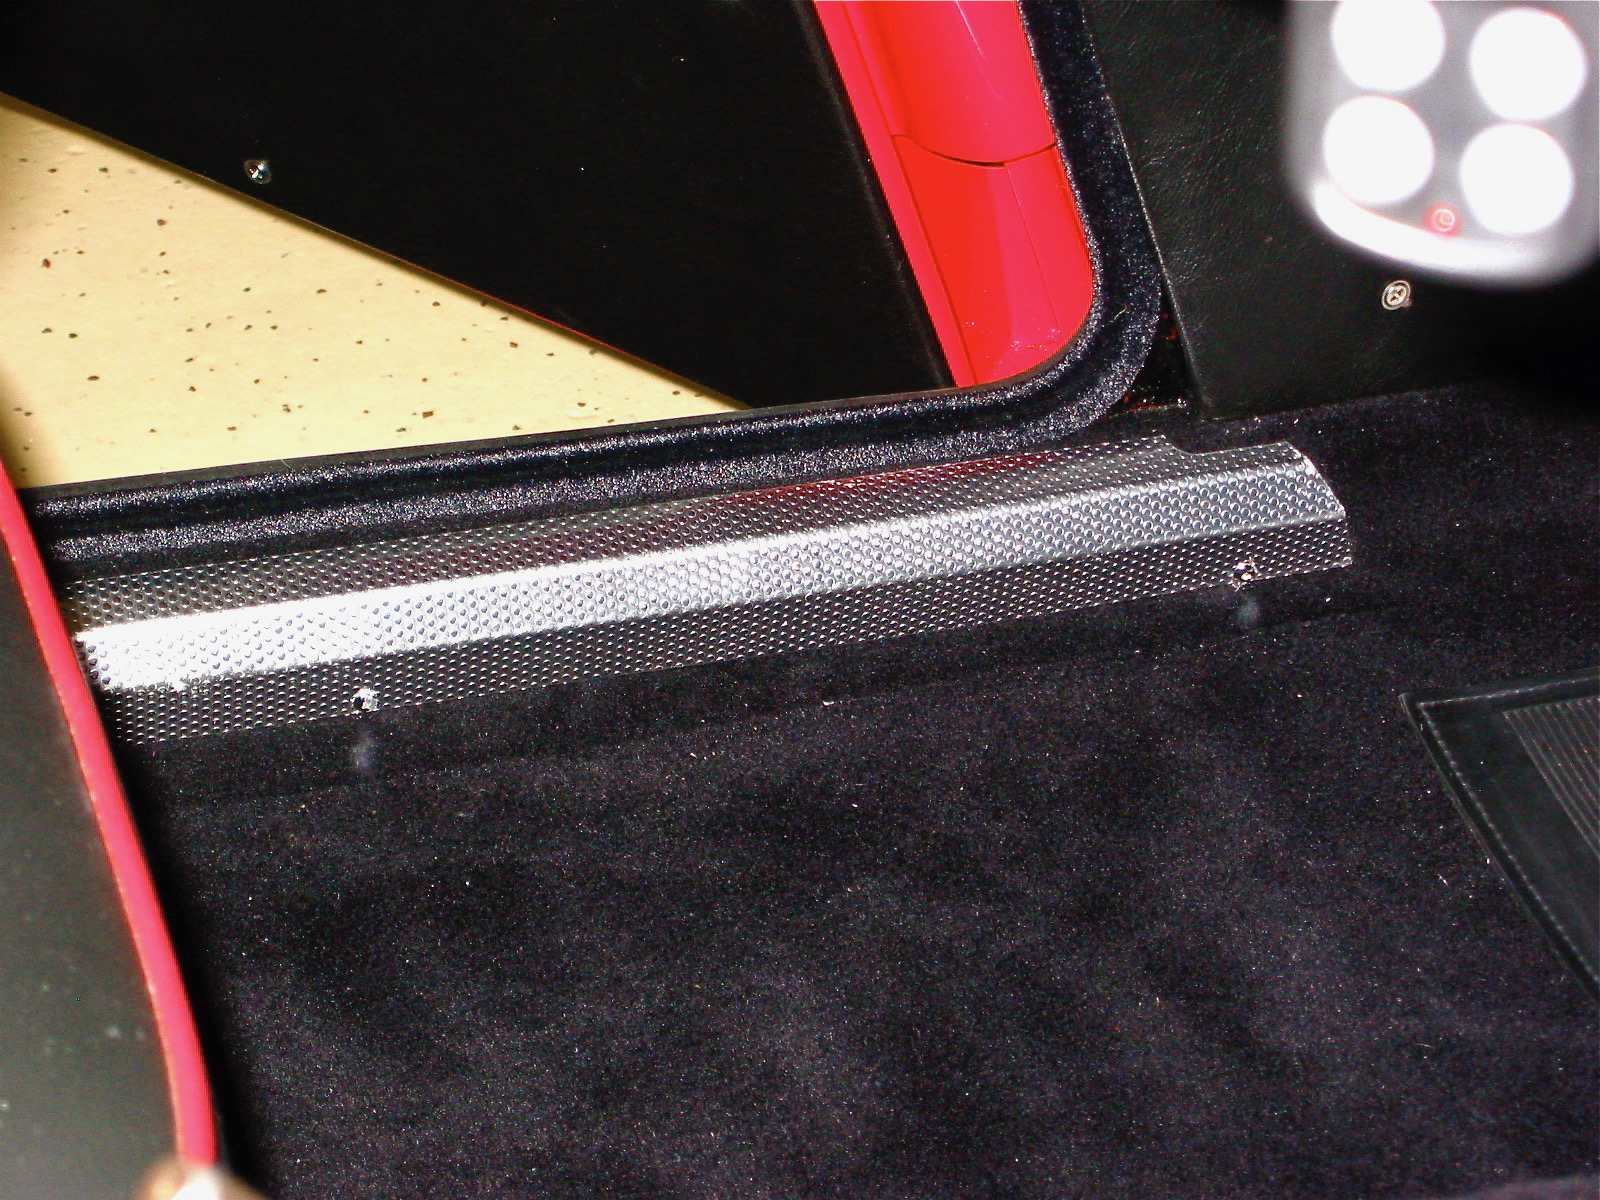
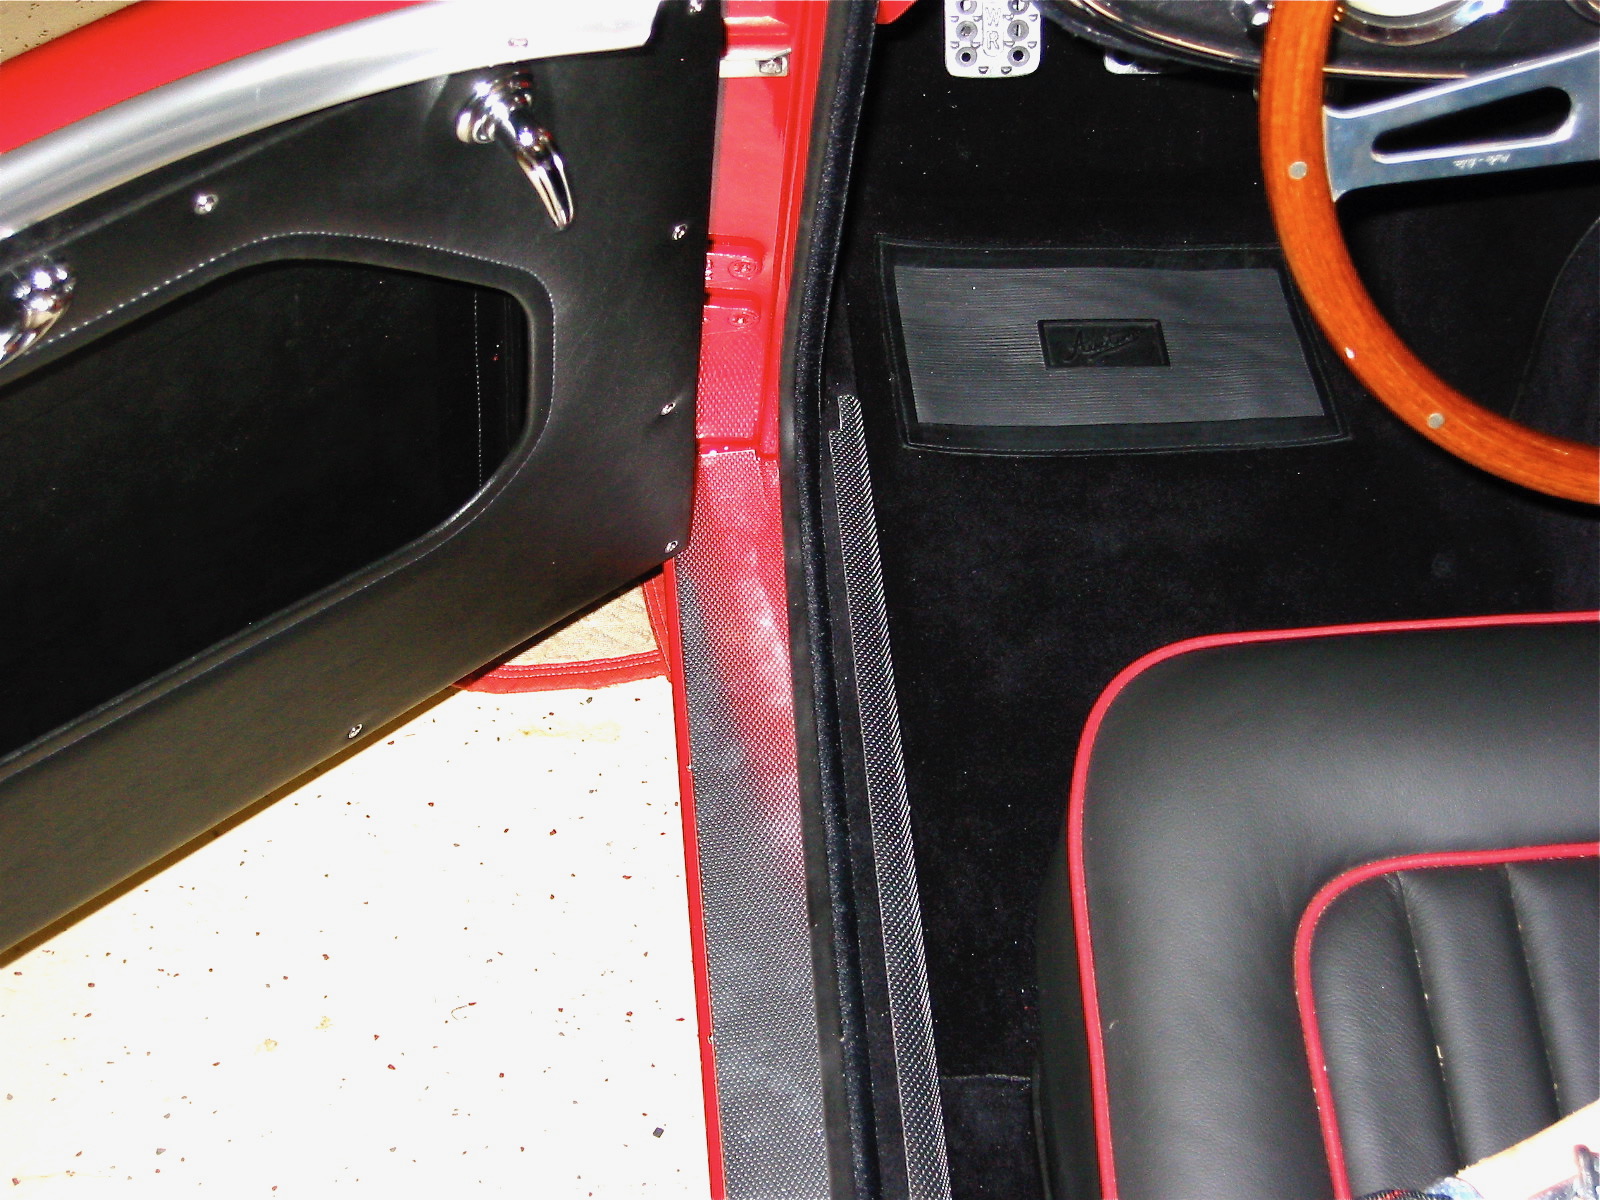
Small rubber packing strip
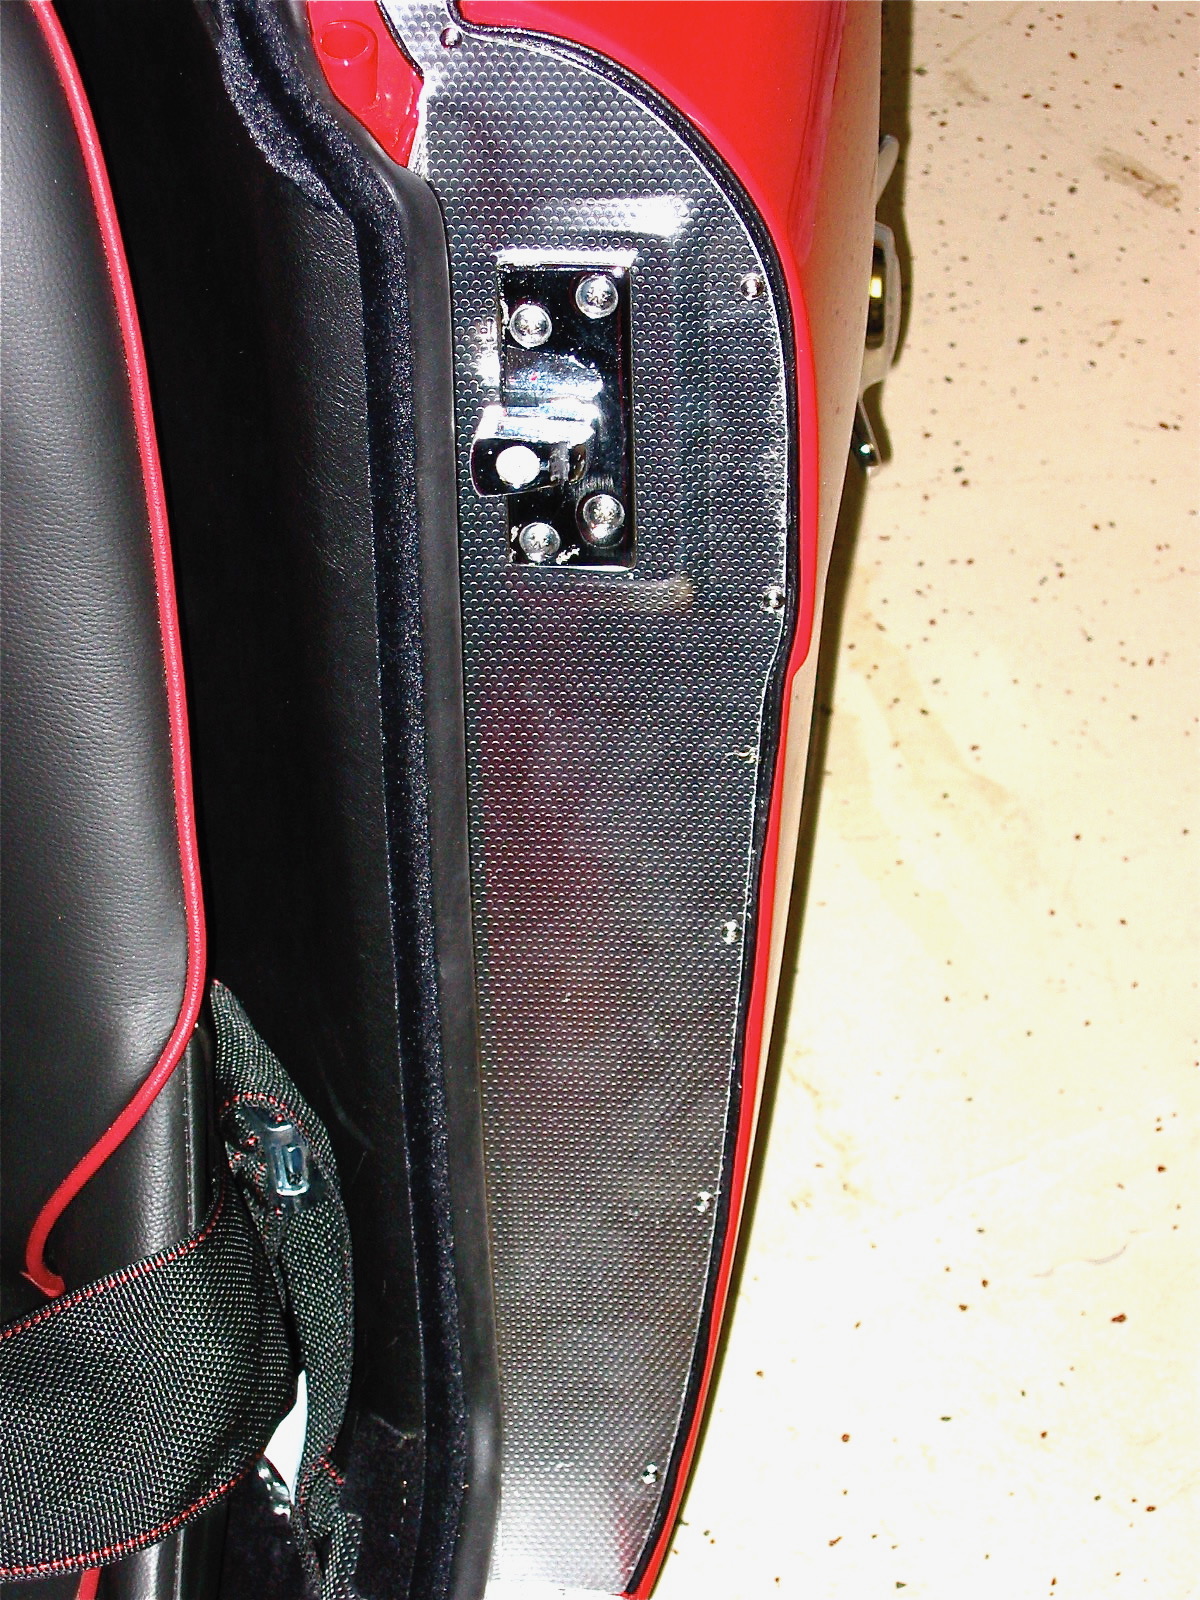
Hardtop Mounted

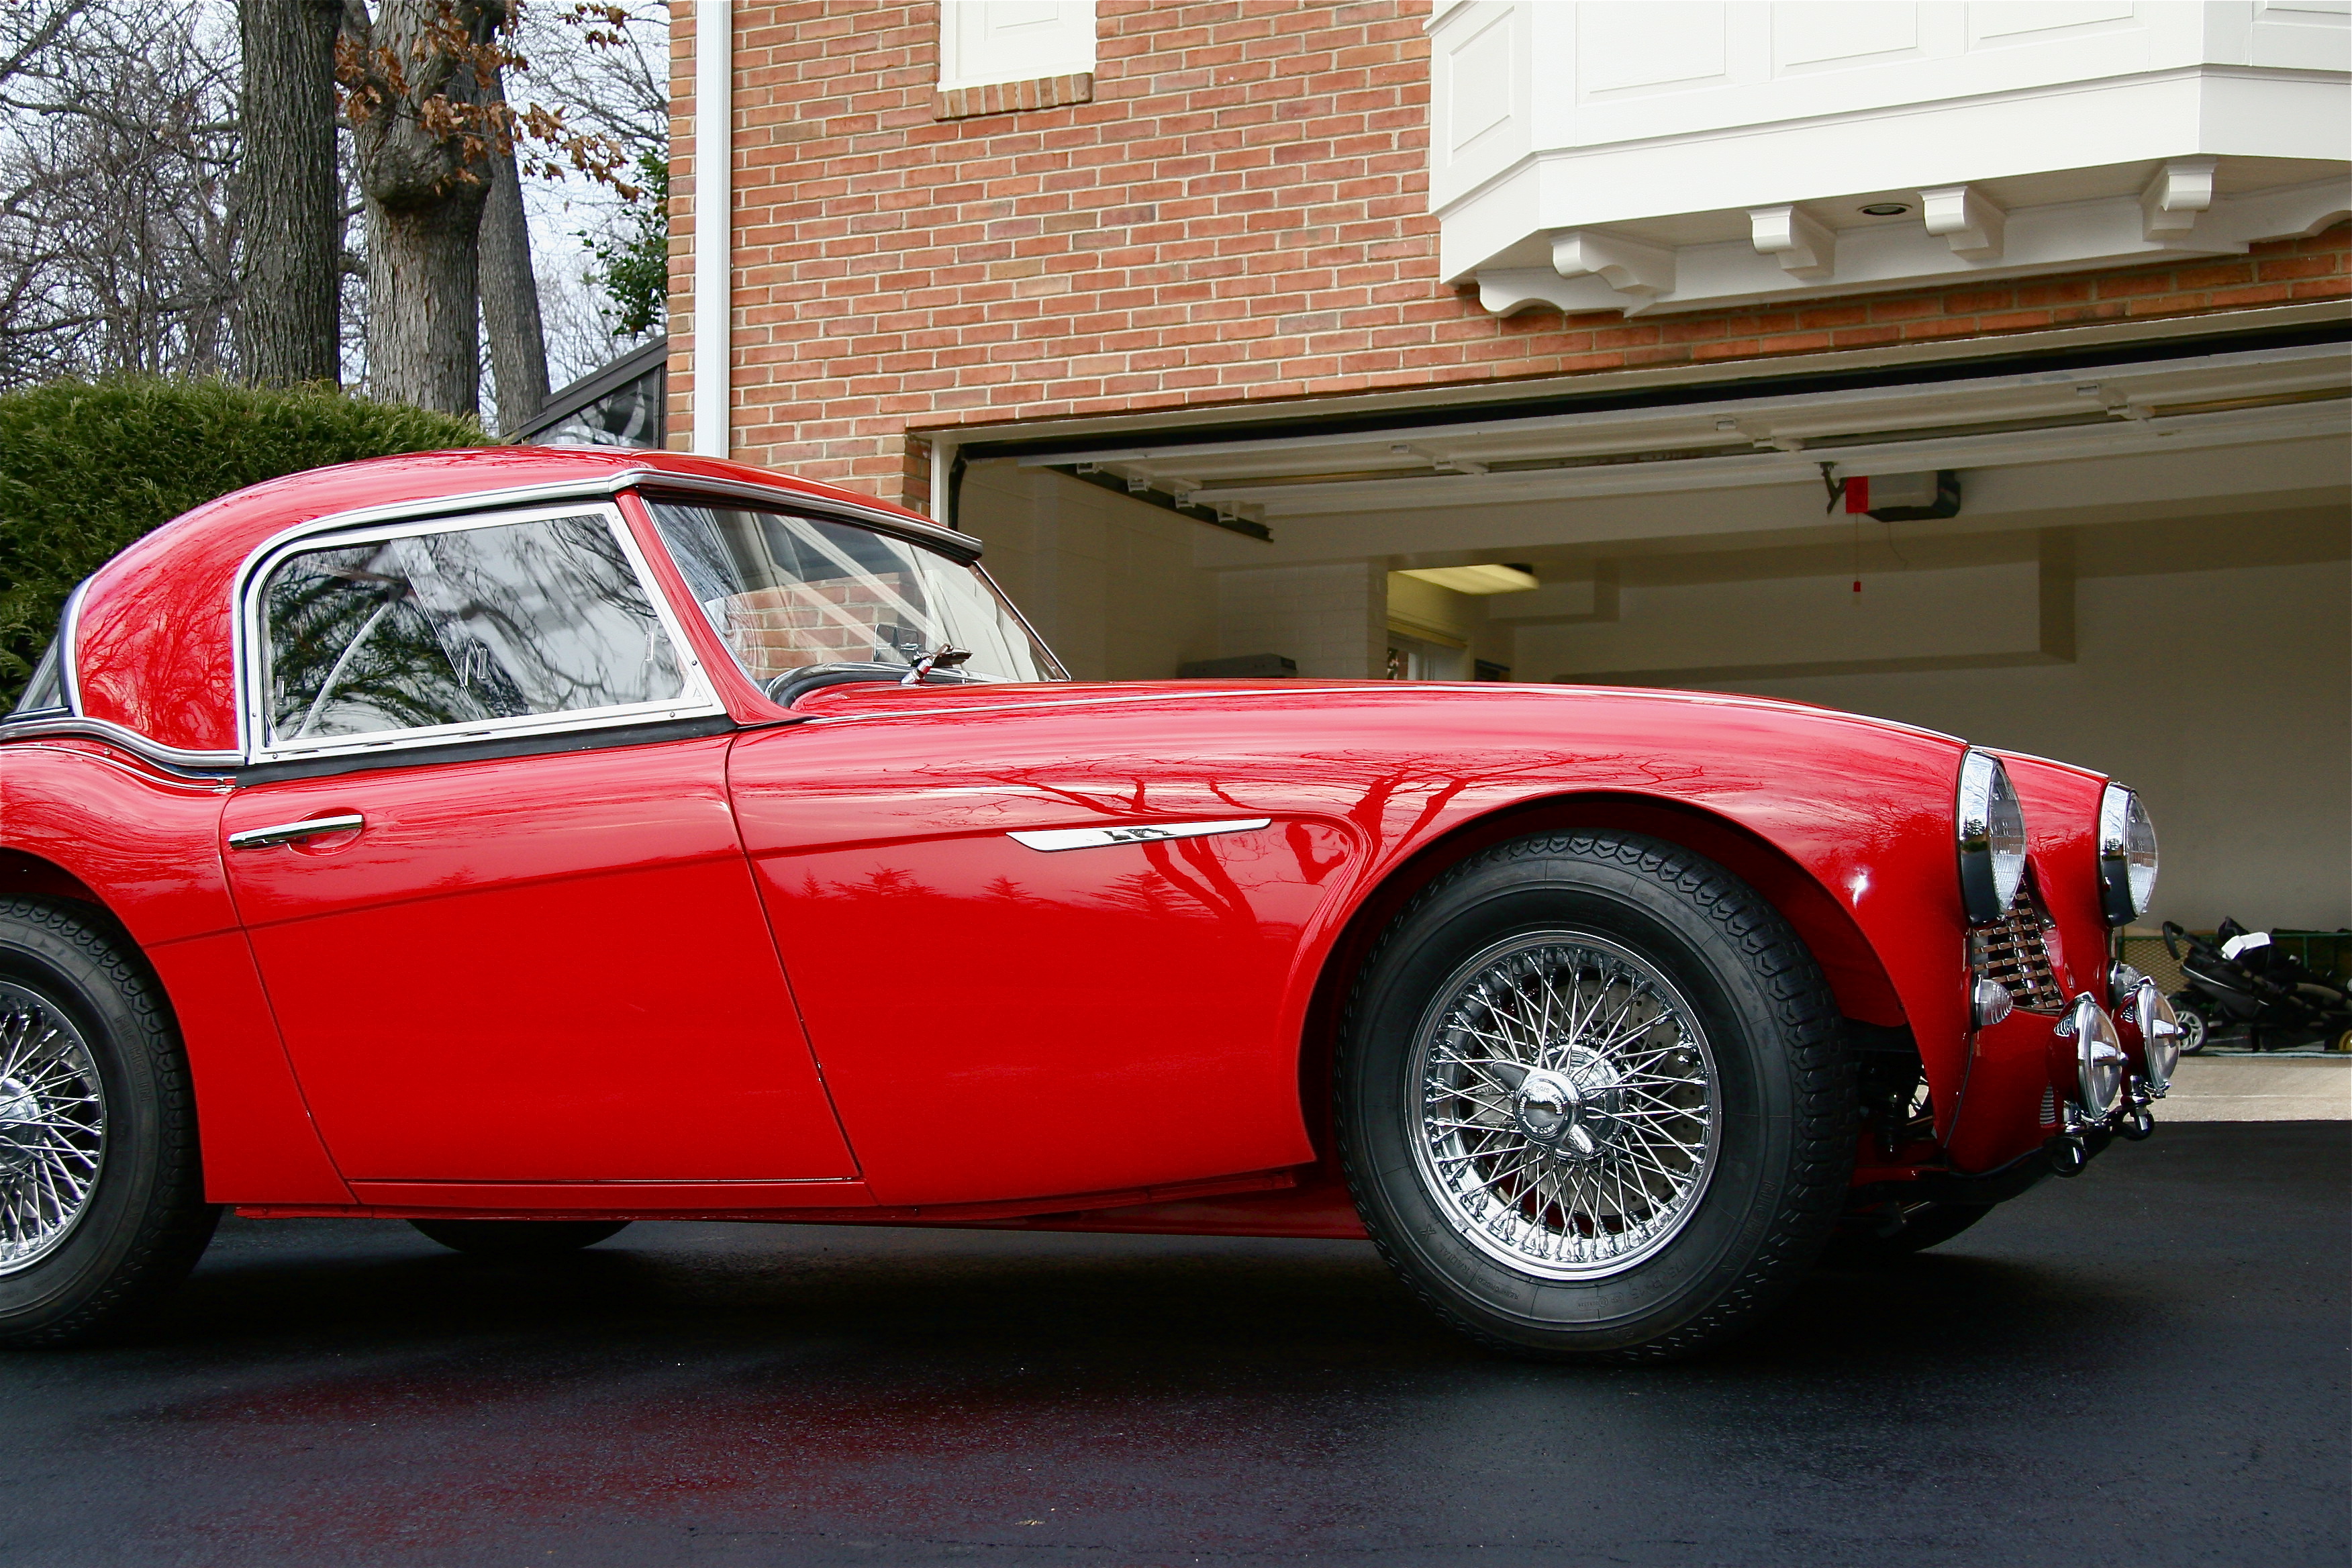
Hardtop on and Looking Good!

Chapter 88 Week Fifty-Eight January 21, 2008

Jeremy Turner came by the house and helped me make final adjustments to the doors. The fit is good, but not quite as nice as I would prefer. The aluminum wings just don’t fit as well with the doors as the original steel wings, but as my wife, Judith, says, “only you and a concourse judge will see that the fit isn’t perfect!”

Finished Door Assembly 5

Finished Door Assembly 1

LH Door

After finishing up the doors, I put the exhaust clamps on the exhaust system. With the headers and big bore pipes, the exhaust note is a bit louder than the original system, but it sounds great and I can still hear the sound system over the rumble!

The tops and tonneau are the only components that remain. I must say, it feels pretty good to take a look at the Bloody Beast in the driveway. I know it will be even more gratifying to get the Healey out on the road.

Shane and “Little” Shane paid us a visit and, of course, “Little” Shane wanted to inspect the progress on the red car.

Shane & Shane

Little Shane

Chapter 87 Week Fifty-Seven January 14, 2008

The windscreen was a very tight fit! I suppose that it should be to minimize leaks, but it took some tugging on a drift through one of the lower mounting holes in the stanchion and a lot of pushing to finally get the uppermost capscrew to thread into place. The RH side didn’t require any shimming, but the LH did. You do want to make sure that there is no undue force on the stanchions or you might end up with a broken glass! I added a little 3M caulk strip under the post pad seals and between the windscreen frame seal and the post pad. I decided to run the seal under the post pad, though consulting with the “experts” resulted in at least three ways to do this job: under the pad, between the pad and the post, and cut off flush with the pad. I am using post mounted driving mirrors from Cape International, so they were mounted at this time and tightened through the posts.

Windscreen and wipers installed

Capesport Mirrors

After finishing the windscreen, I fixed the original “rainbow” wipers with new rubber to the wiper posts and following the addition of some windscreen washer fluid to the parcel tray mounted fluid reservoirtried out the wipers. All worked fine, including the intermittent wiper rheostatand electric washer pump I has installed previously. The kit from Ed Esslinger also turns on the headlamps when the wipers are activated – a requirement in many states now. 

Next was the installation of the bonnet. I first removed the striker pin assembly so that I could have the bonnet lie flat in the surround. Four 1/4” bolts with the heads to the outside are used to fasten the hinges to the bonnet hinge brackets. This process took some adjusting to get things right and at least one assistant is essential! After getting the bonnet lined up I re-secured the striker pin assembly to the bonnet and adjusted it and the bonnet latch support bracket to align all. The anti-rattle spring was then connected to the hood latch remote control rod and the bonnet release mechanism was tried with success.

Bonnet Latch Assembly

Strike Pin Assembly

Bonnet down

Bonnet Up


Chapter 86 Week Fifty-Six January 7, 2008

After a week away from the Healey, I was eager to get back to the final assembly work. Connecting the check strap to each of the doors with the clevis pin was next. I found that making sure the check strap nut was sufficiently tight to hold the door open needed to be done first, then the clevis pin inserted. Both doors stayed open as designed. The RH check strap nut is threaded left handed.

Check Strap Clevis Pin Install

I had pre-drilled the aluminum shut face finishers that were installed following the doors. I discovered that Kilmartin’s are the only ones available that come close to fitting properly. They were sourced from British Car Specialists. The lower sill plate was attached first, followed by the “B” pillar plate. The vertical plate has a piece of vinyl beading glued to the back side to give a finished look to the edge. The aluminum interior door finisher was installed last.

Door Shut Face Finishers 1

Door Shut Face Finishers 2

Door Shut Face Finishers 3

The door striker assembly was then installed and adjusted to line up with the door properly. The assembly consists of the striker, a spacer plate and a drilled back plate. Then the bristleflex door seal from McGregors was installed and the length trimmed to fit properly into the aluminum door seal cap which is screwed into a vinyl covered block of wood.

Furflex Door Seal

With the doors finished, it was time for the installation of the windscreen.