Wiper System Upgrade
I am upgrading the wiper system with a kit provided by Classic Motor Cars. http://www.classic-motor-cars.co.uk/servicing_types/mk2-lorem/.
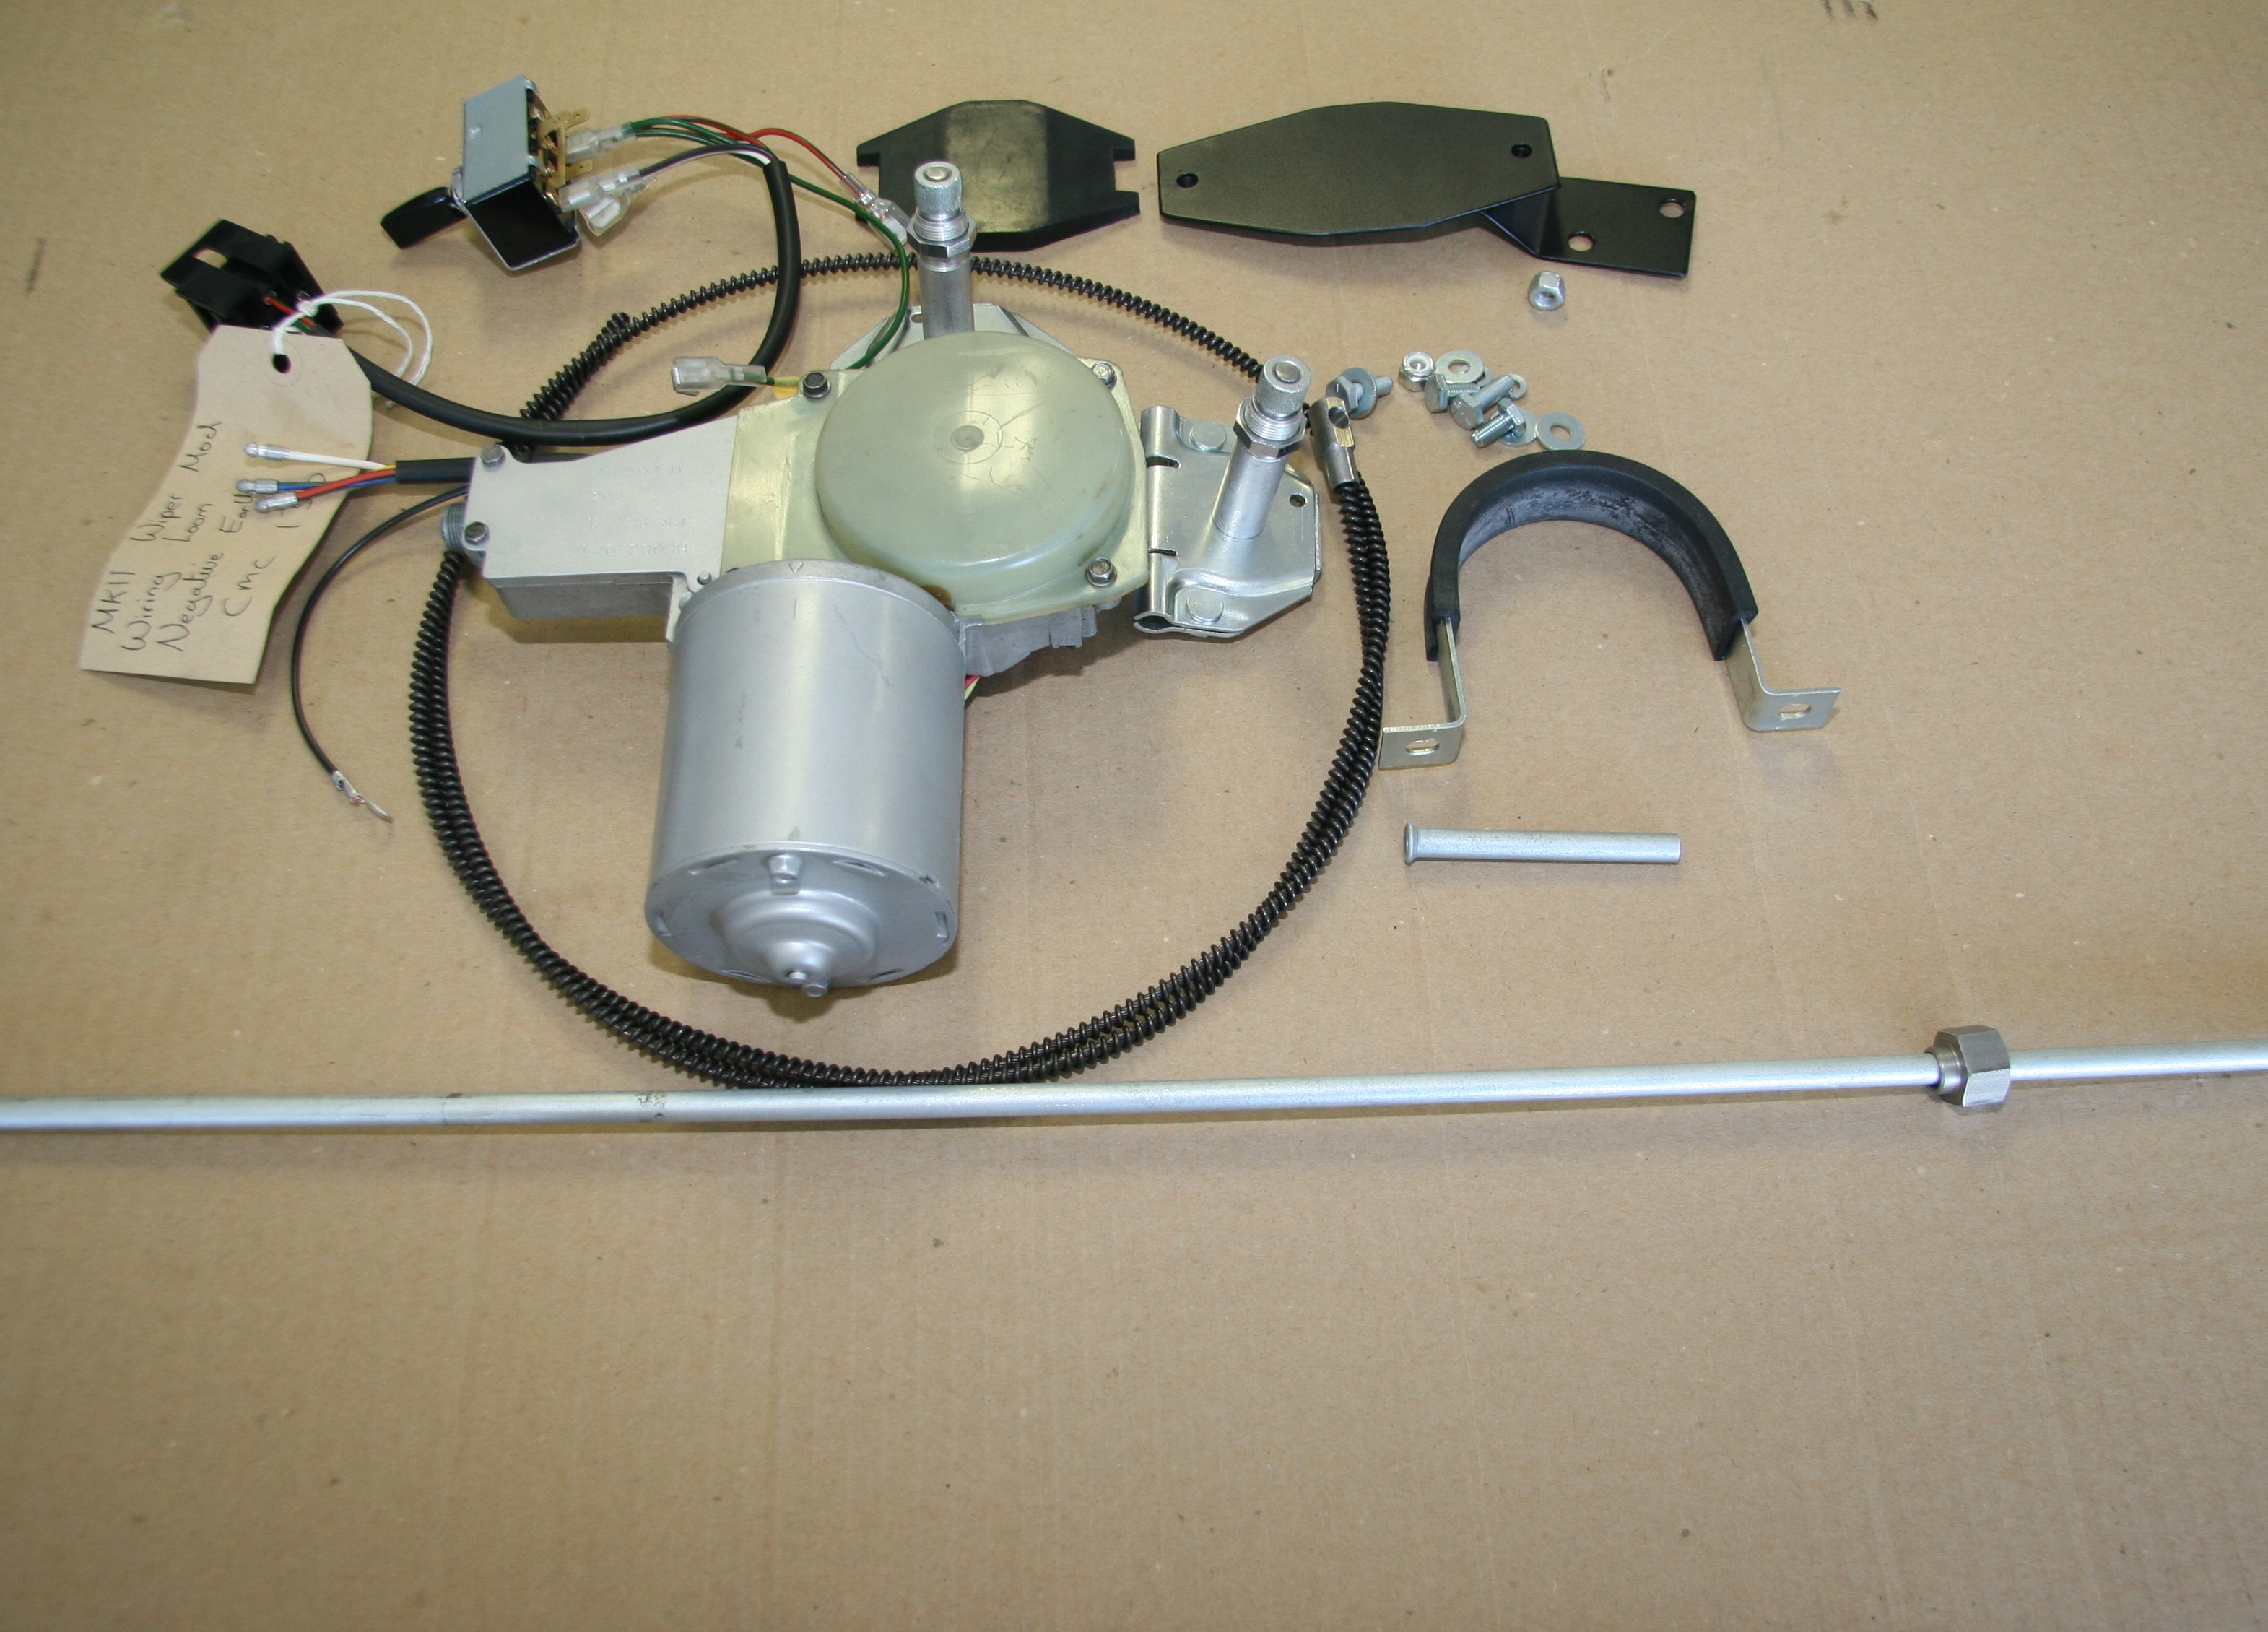
The kit uses a model 29 W Lucas Motor, part# 75967D that I believe was used for XJ series Jags in the eighties and early nineties with a modified original switch to operate the system.

CMC Improved Wiper System Kit Contents
These are the instructions provided for the kit:
CMC Improved Wiper System Instructions
Installation
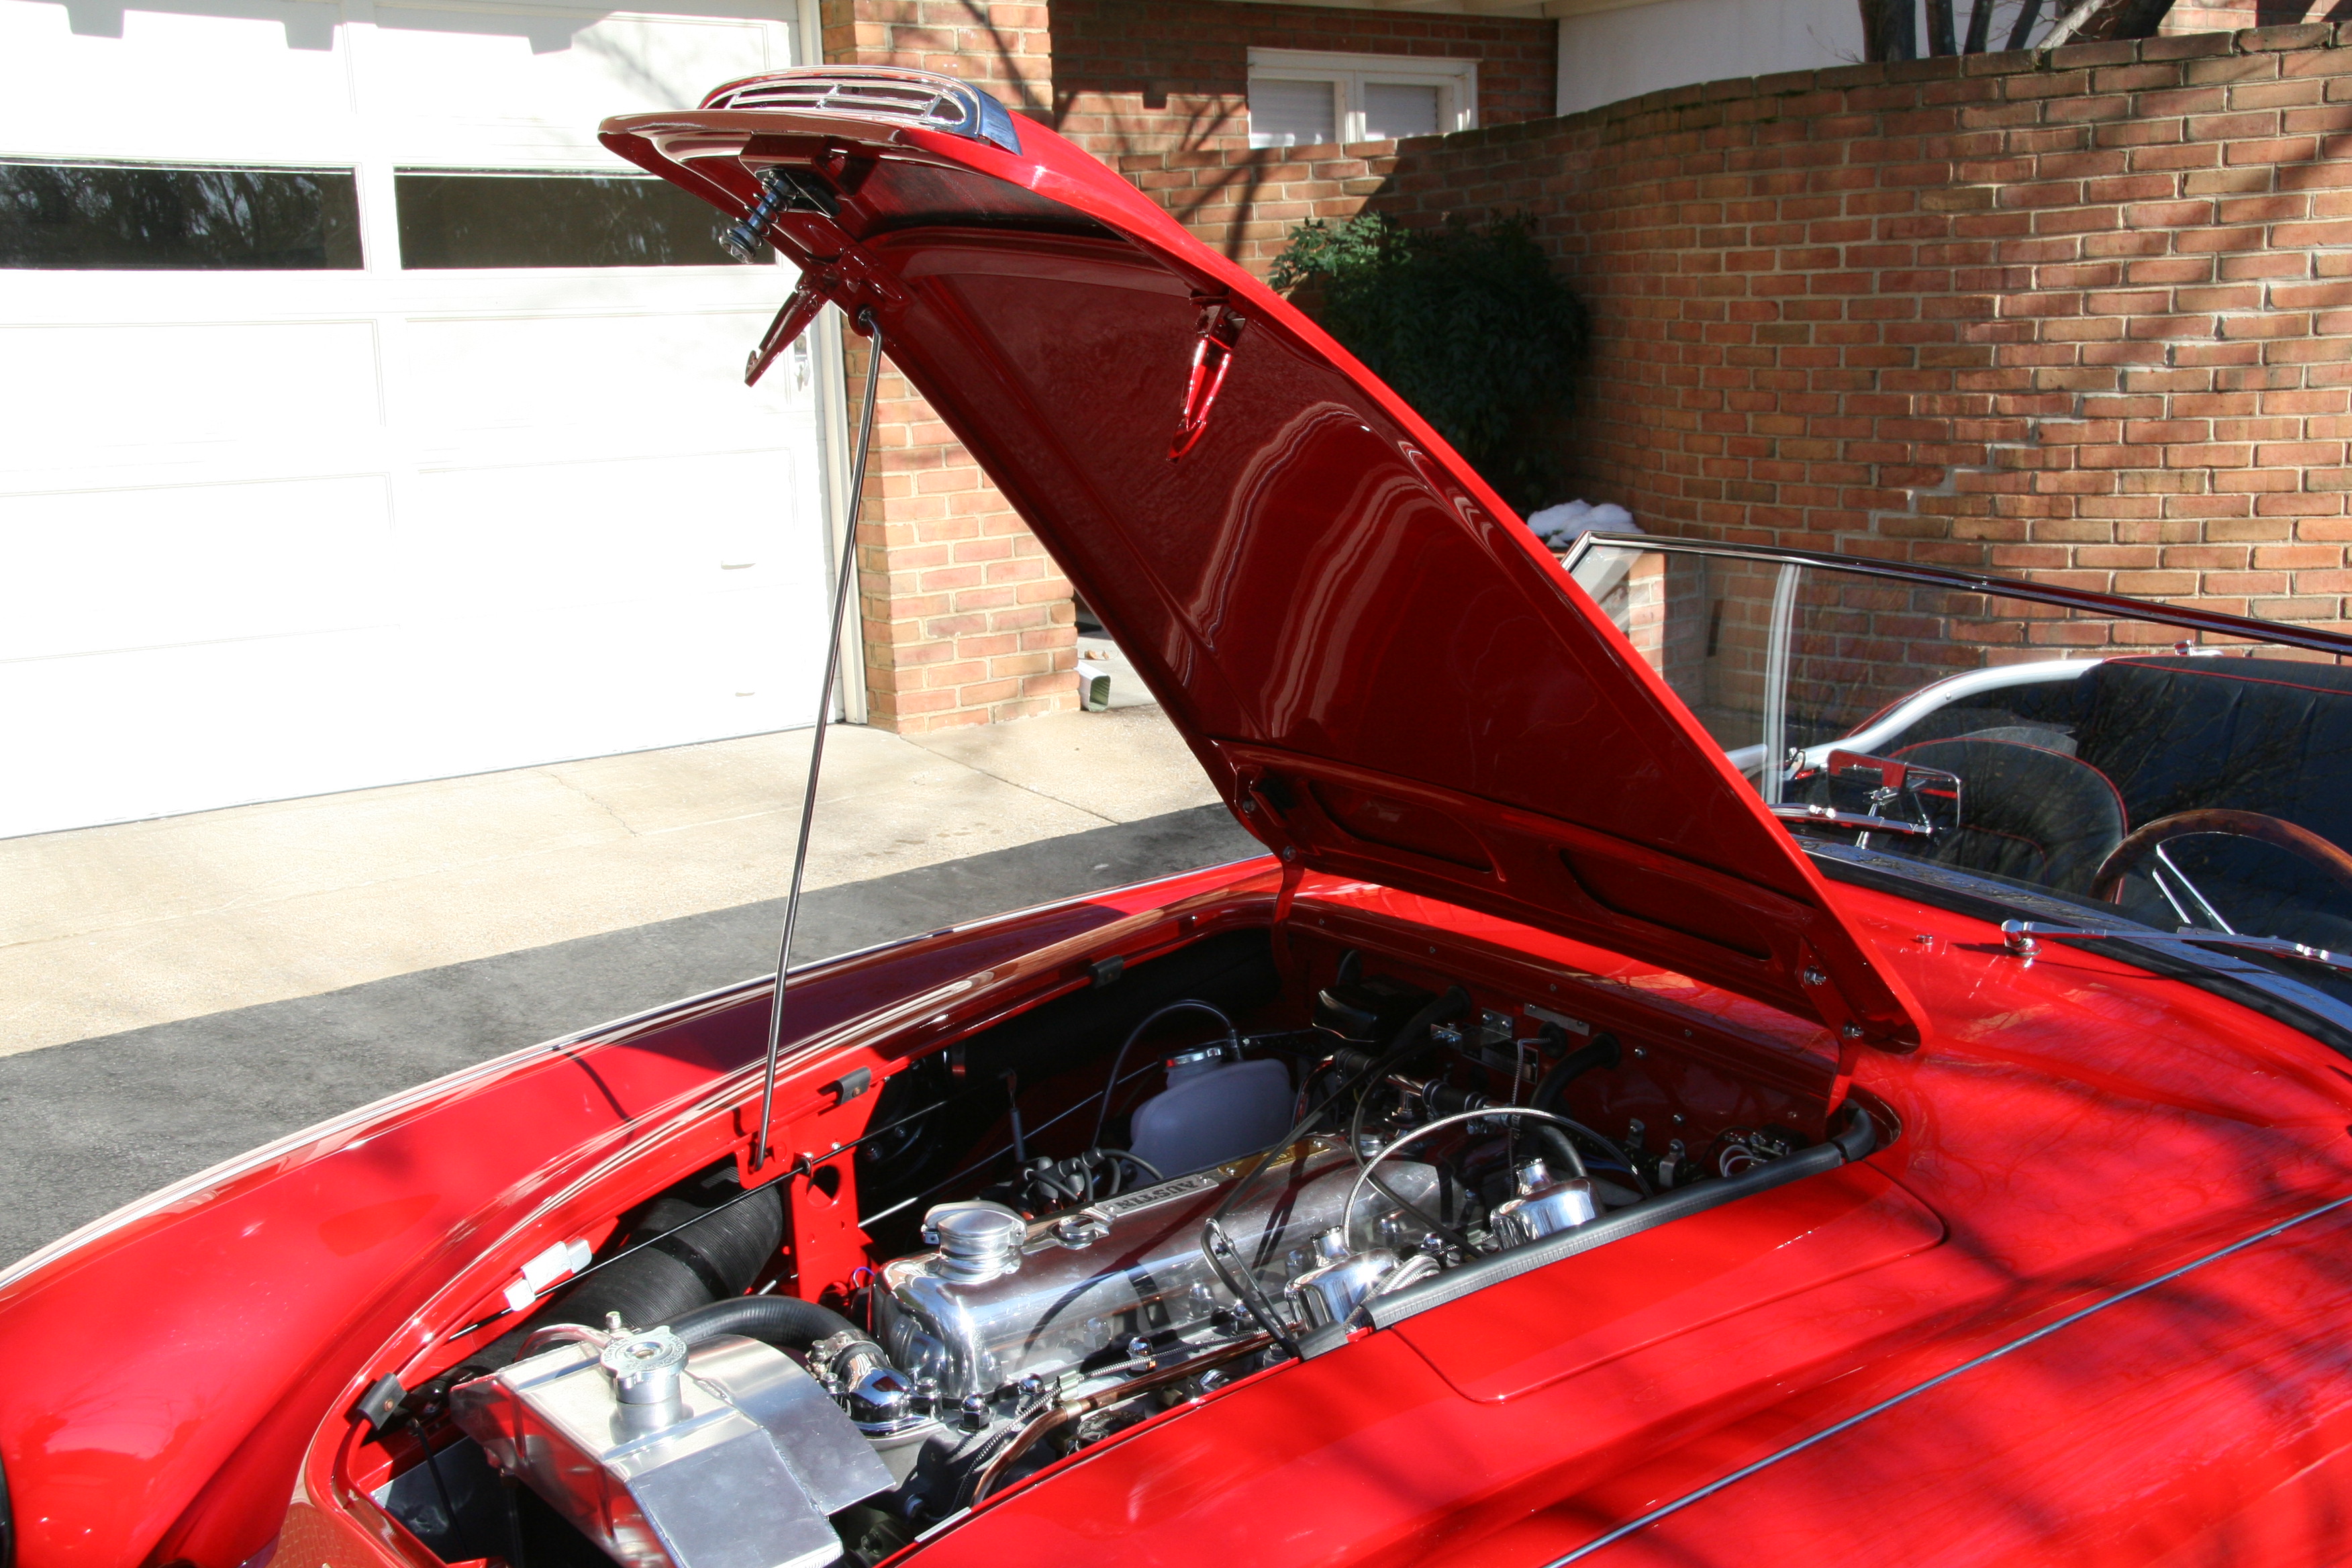
I had already removed all of the original wiper system from the car. I installed the RH Bonnet Hinge and the Fuel Filter and Fuel Pipe to make sure that the mounting of the wiper motor would not foul or interfere with these components.
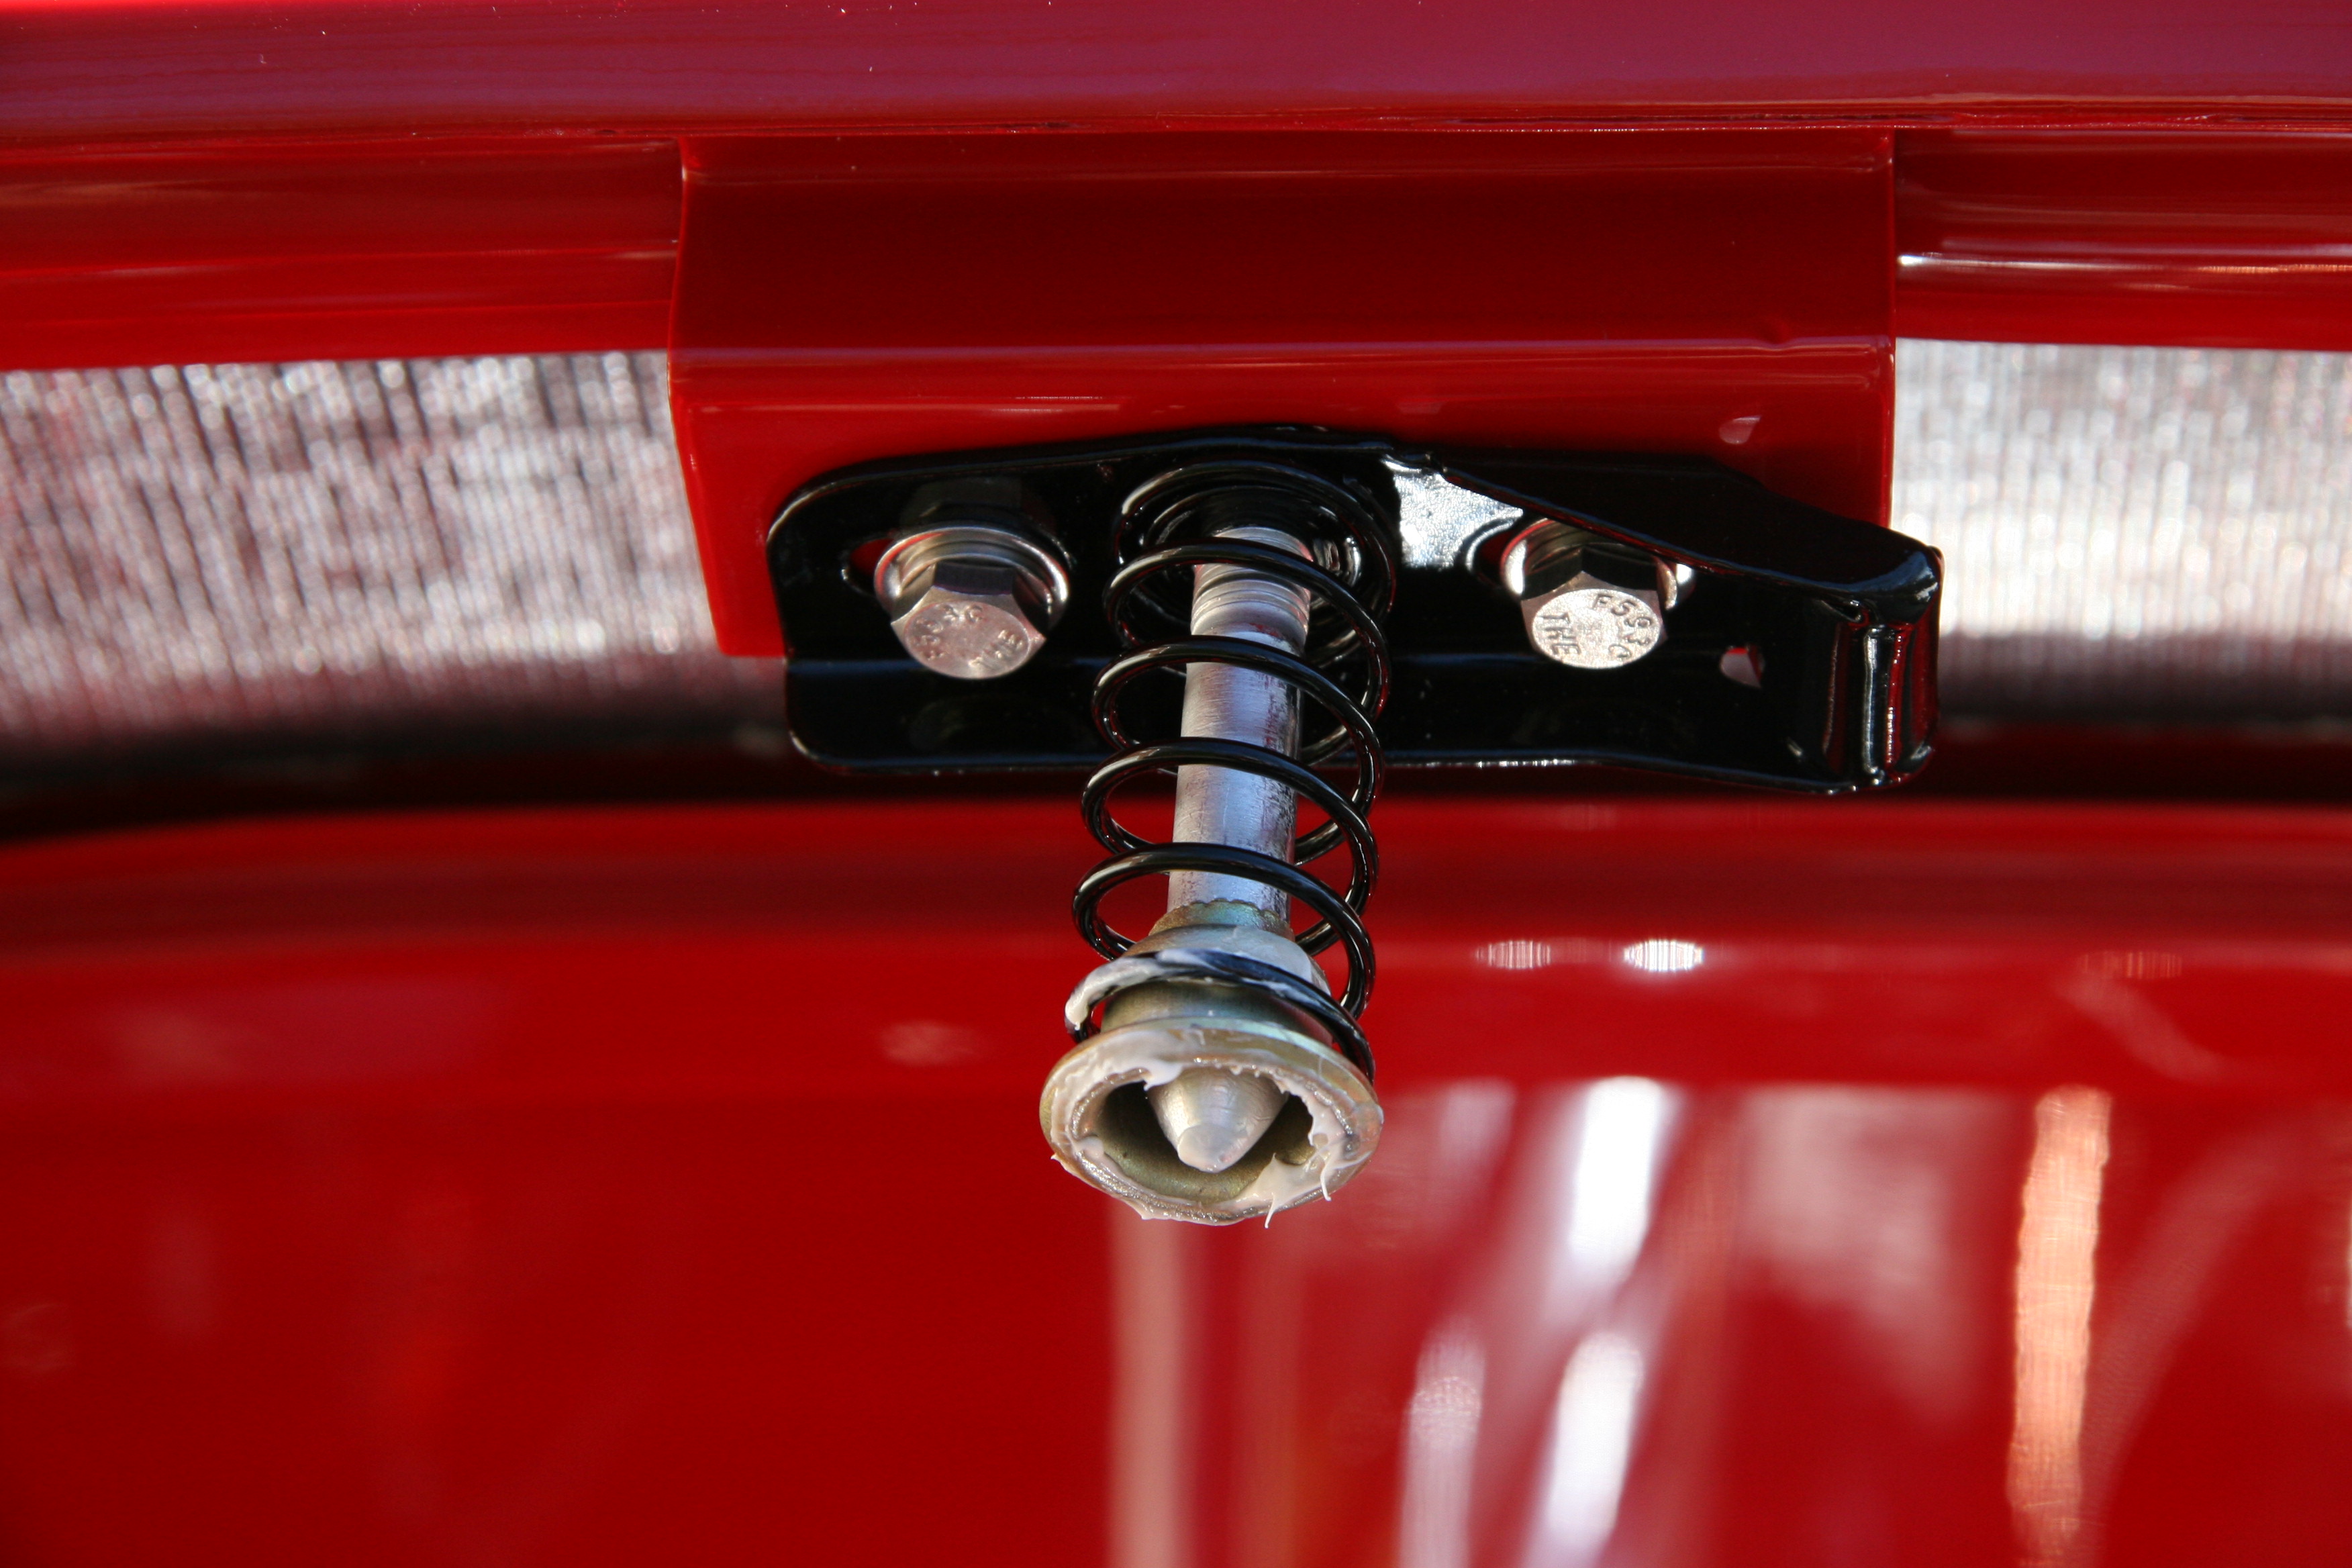
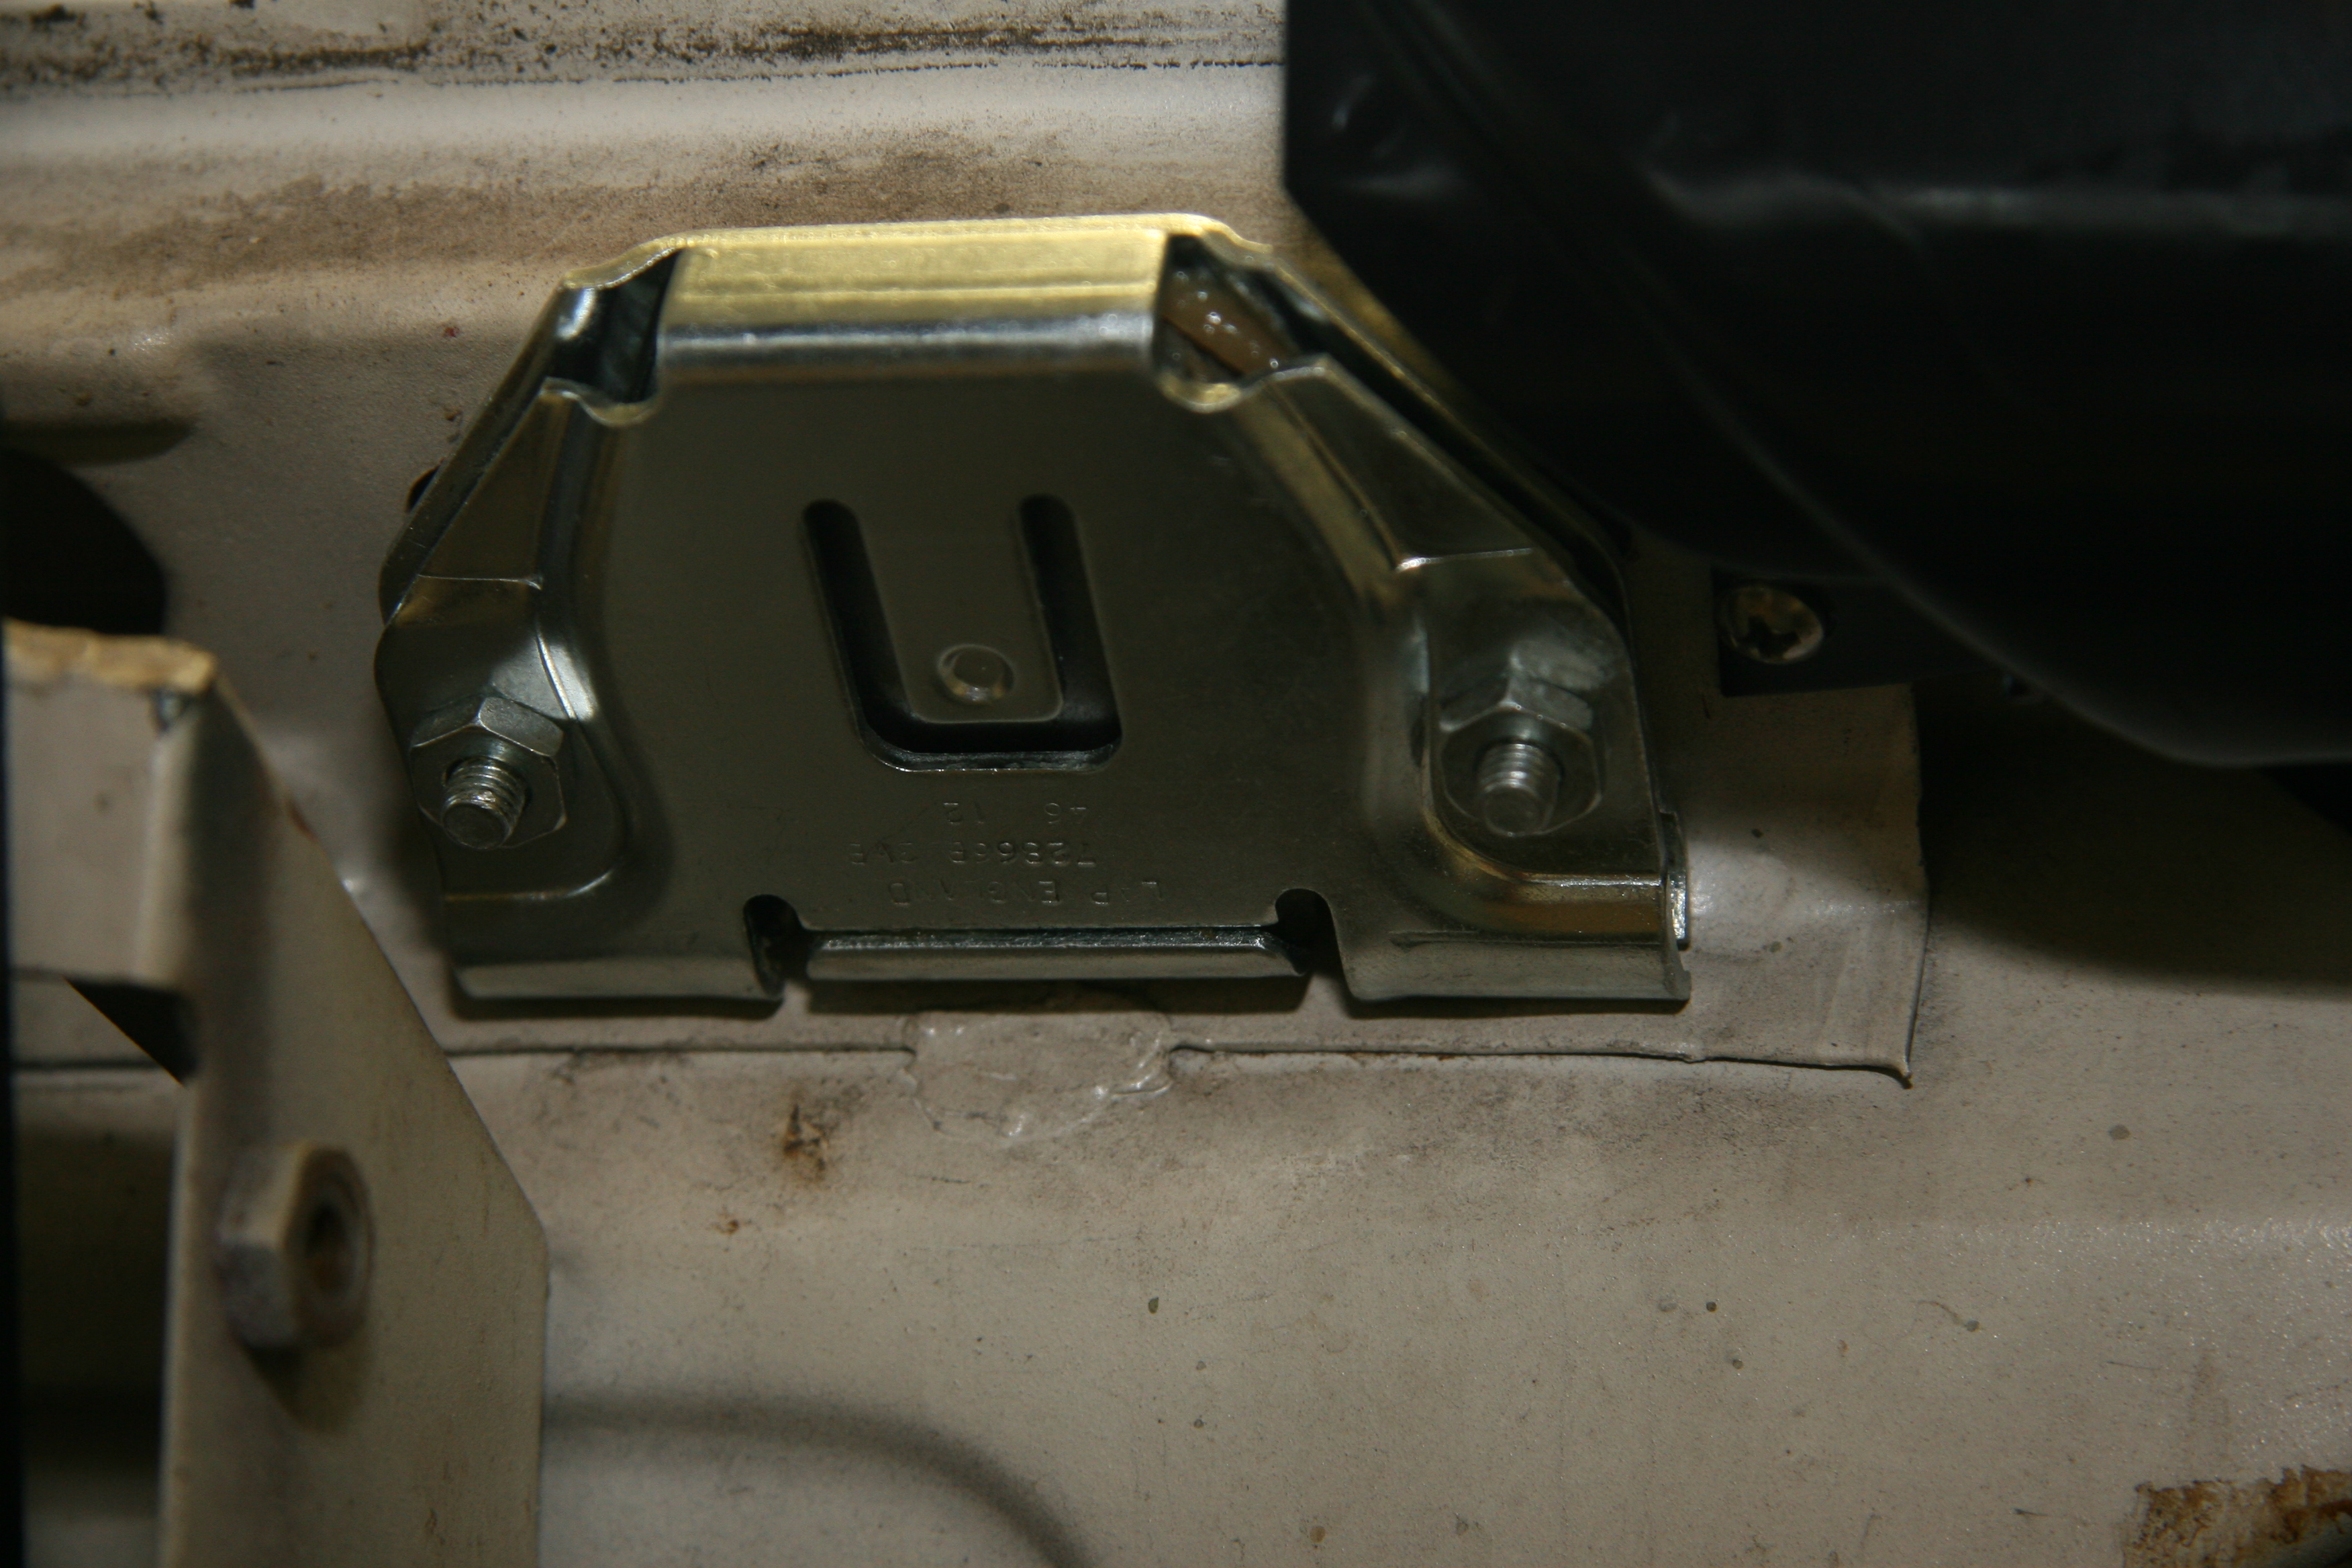
1. The first step was to install the new wheel boxes. These are a slightly different shape than the originals but held by new chrome nuts supplied in the kit they went right into place.
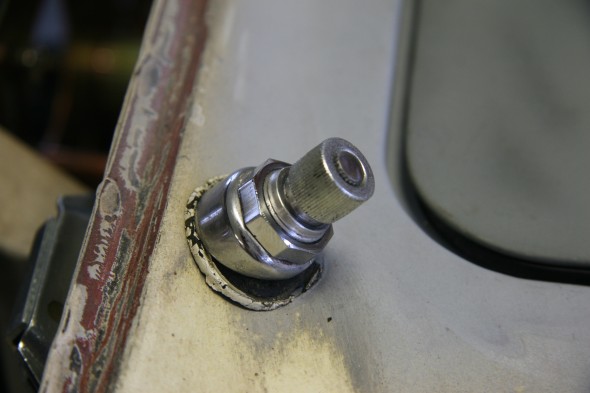
New Wiper Wheel Box Installed
New Wiper Wheel Box Installed

New Wiper Wheel Box Installed
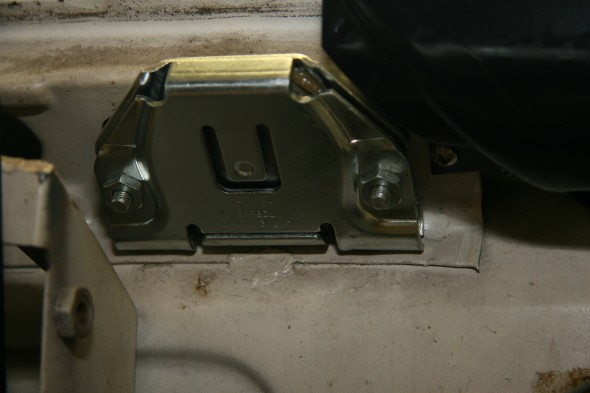
2. I attached the wiper motor to the kit-provided mounting bracket using the hoop clamp and the rubber cushion to address vibration. The bolts were also provided with the kit.
3. The original rack tube is used between the two wheel boxes. This is a straight piece that drops in once the covers for the wheel boxes are loosened.
4. A new rack tube end piece (about 3″ long) is provided in the kit and is shown in the last of the previous images. It is open at the end to permit the rack to slide through. The provided rack is longer than it needs to be to allow for flexibility in mounting I assume? The open-ended tube allows one to determine how much of the rack is to be removed.
5. Using the original curved rack tube that extends through the firewall as a guide, the new tube provided in the kit is bent to conform to the same shape.
6. I then tested my bending skills by inserting the tube through the firewall and connecting the one end to the wheel box and the other to the motor while holding the motor on its bracket roughly in place on the RH valance in the engine compartment. Once satisfied with the fit, I marked the location for the two hex head bolts that mount the motor bracket to the valance. I then disconnected the tube at both ends and withdrew the motor and tube from the car.
7. I drilled two 3/8″ holes in the RH engine bay valance to secure the motor bracket.
8. The rack was then fit to the motor. This required taking the cover off the motor and inserting the rack end fitting to the peg on the action lever in the motor. I then buttoned up the cover and slid the curved rack tube over the rack and tightened it to the motor.
9. I then fed the rack through the RH wheel box, the center straight tube, and then the LH wheel box. This required an additional helpful person to hold the wiper motor in the engine bay while I fed the rack through the boxes.
10. I then bolted the motor bracket to the valance using two hex head 5/16″ – 24 x 3/4″ bolts, with flat and shake-proof washers. The kit provided 1/4″ bolts, but I substituted the 5/16.”
11. The rack was approximately 6″ longer than it needed to be, so I trimmed it to proper length with a dremel tool.
12. The kit provides a relay, a modified switch and some wiring. To make sure everything was functional I connected all terminals between the motor, the relay and the switch, secured the ground connections and attached it all to a power input. Everything worked properly.
13. After the car is painted and before final installation, I will grease the rack for smoother operation and add a grommet to the firewall for the rack tube and one for the wiper motor wiring. I plan to use:
Molykote® Bearing Grease Designed for Extreme Low Temperature ApplicationsMIDLAND, Mich. – August 12, 2005 – With a service temperature range of -100° to 400°F (-73° to 204°C), Molykote® 33 Extreme Low Temperature Bearing Grease is effective at lubricating plastic gears, bearings and cams, as well as metal and rubber parts that must remain operable when subjected to low operating temperatures, severe weathering and oxidation.
Molykote 33 Extreme Low Temperature Bearing Grease can be used on freezer cart casters and cold room conveyor equipment; utility disconnect switch contacts; plastic electric clock motors; maximum-demand meters, power-factor meters, watt-hour meters; windshield wiper motor gears; photographic, optical
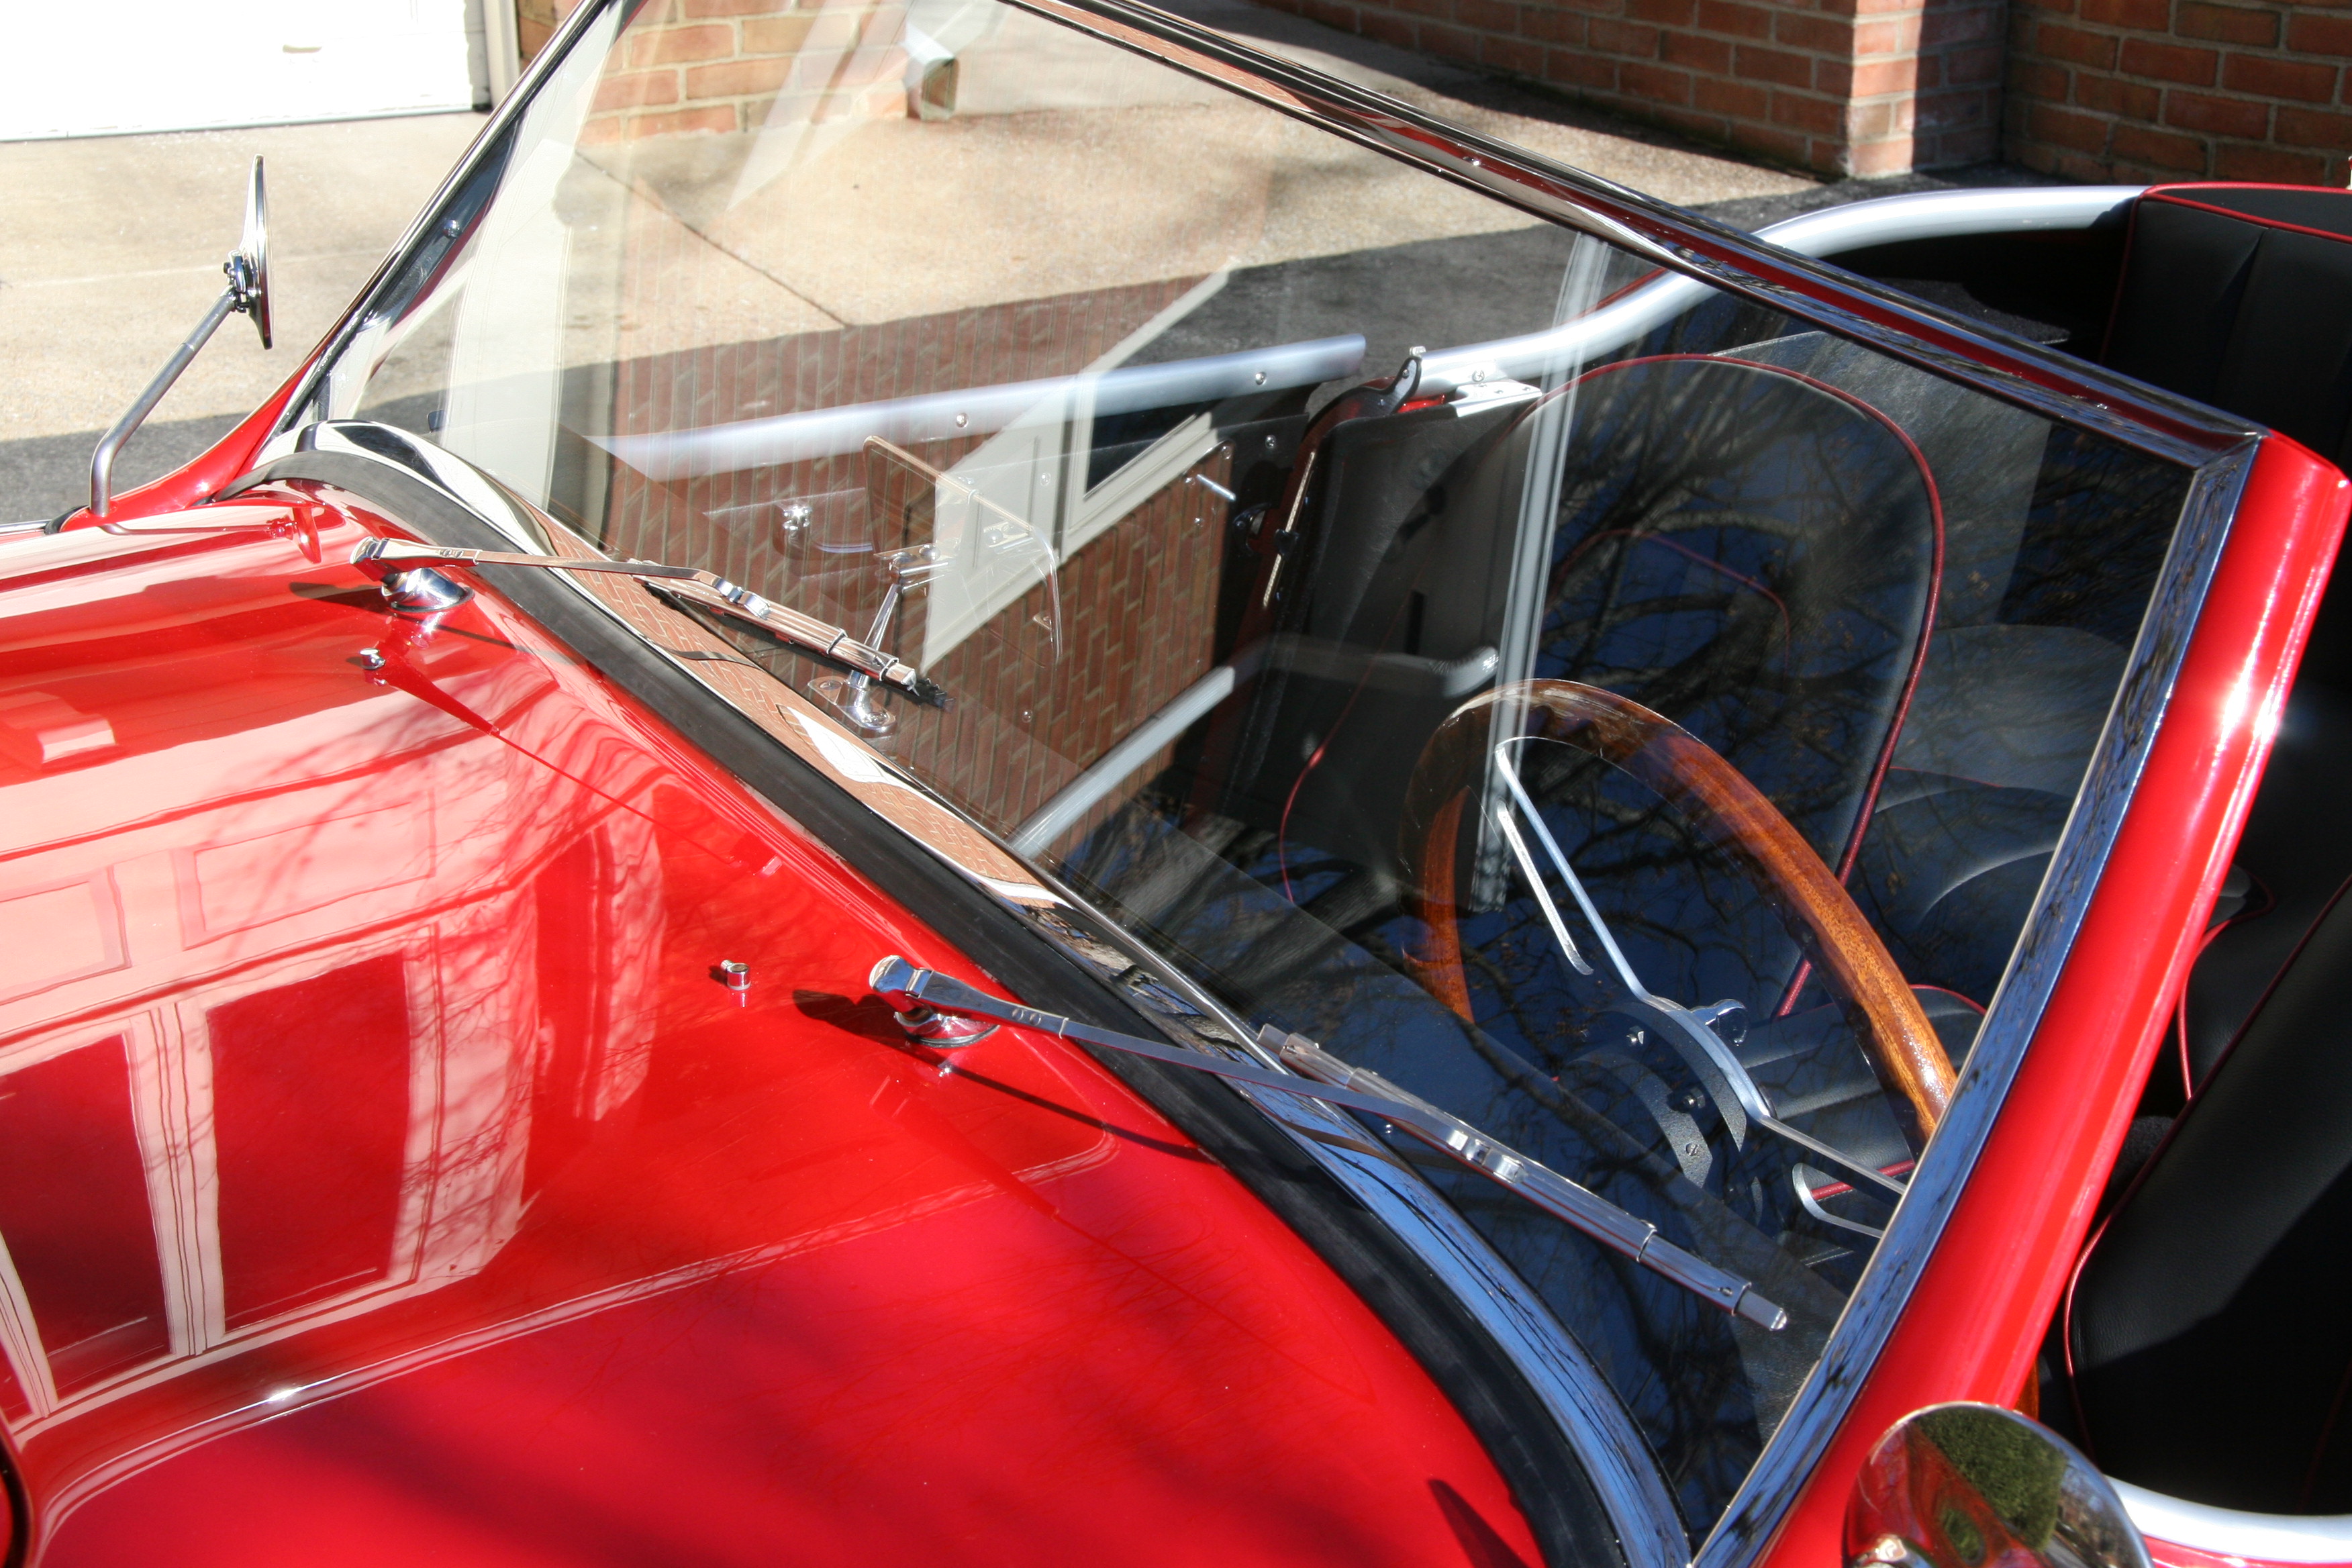
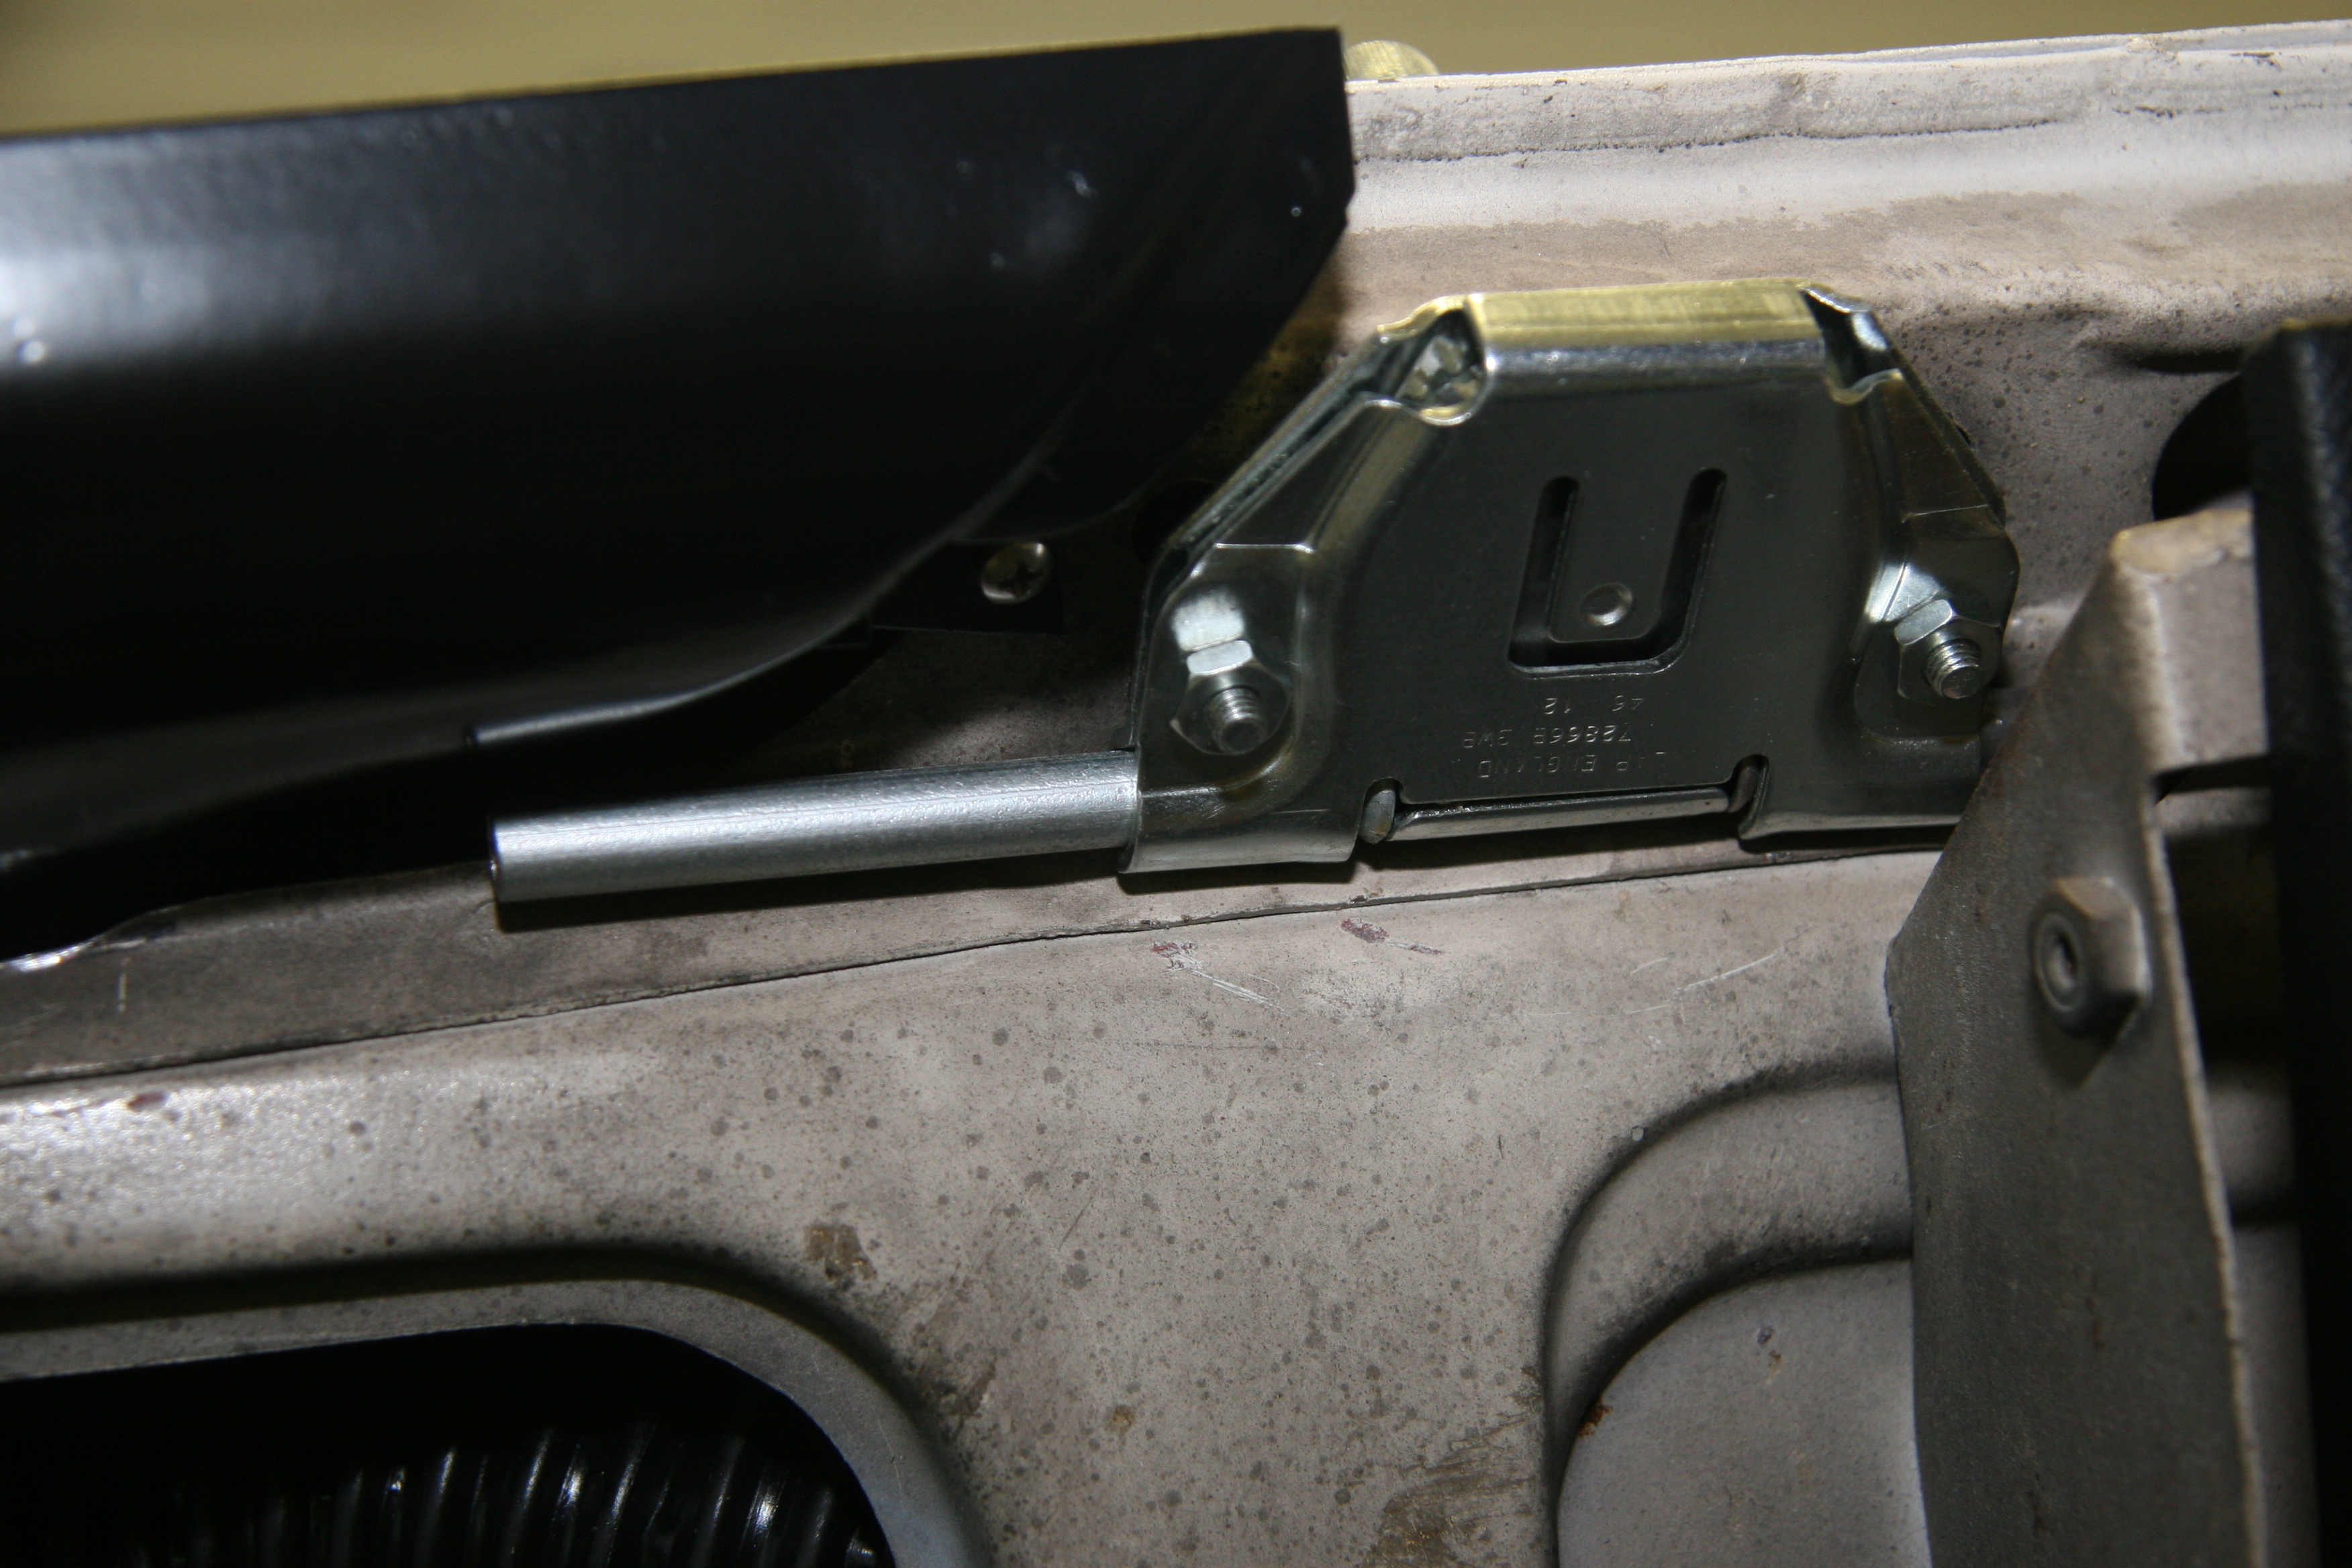
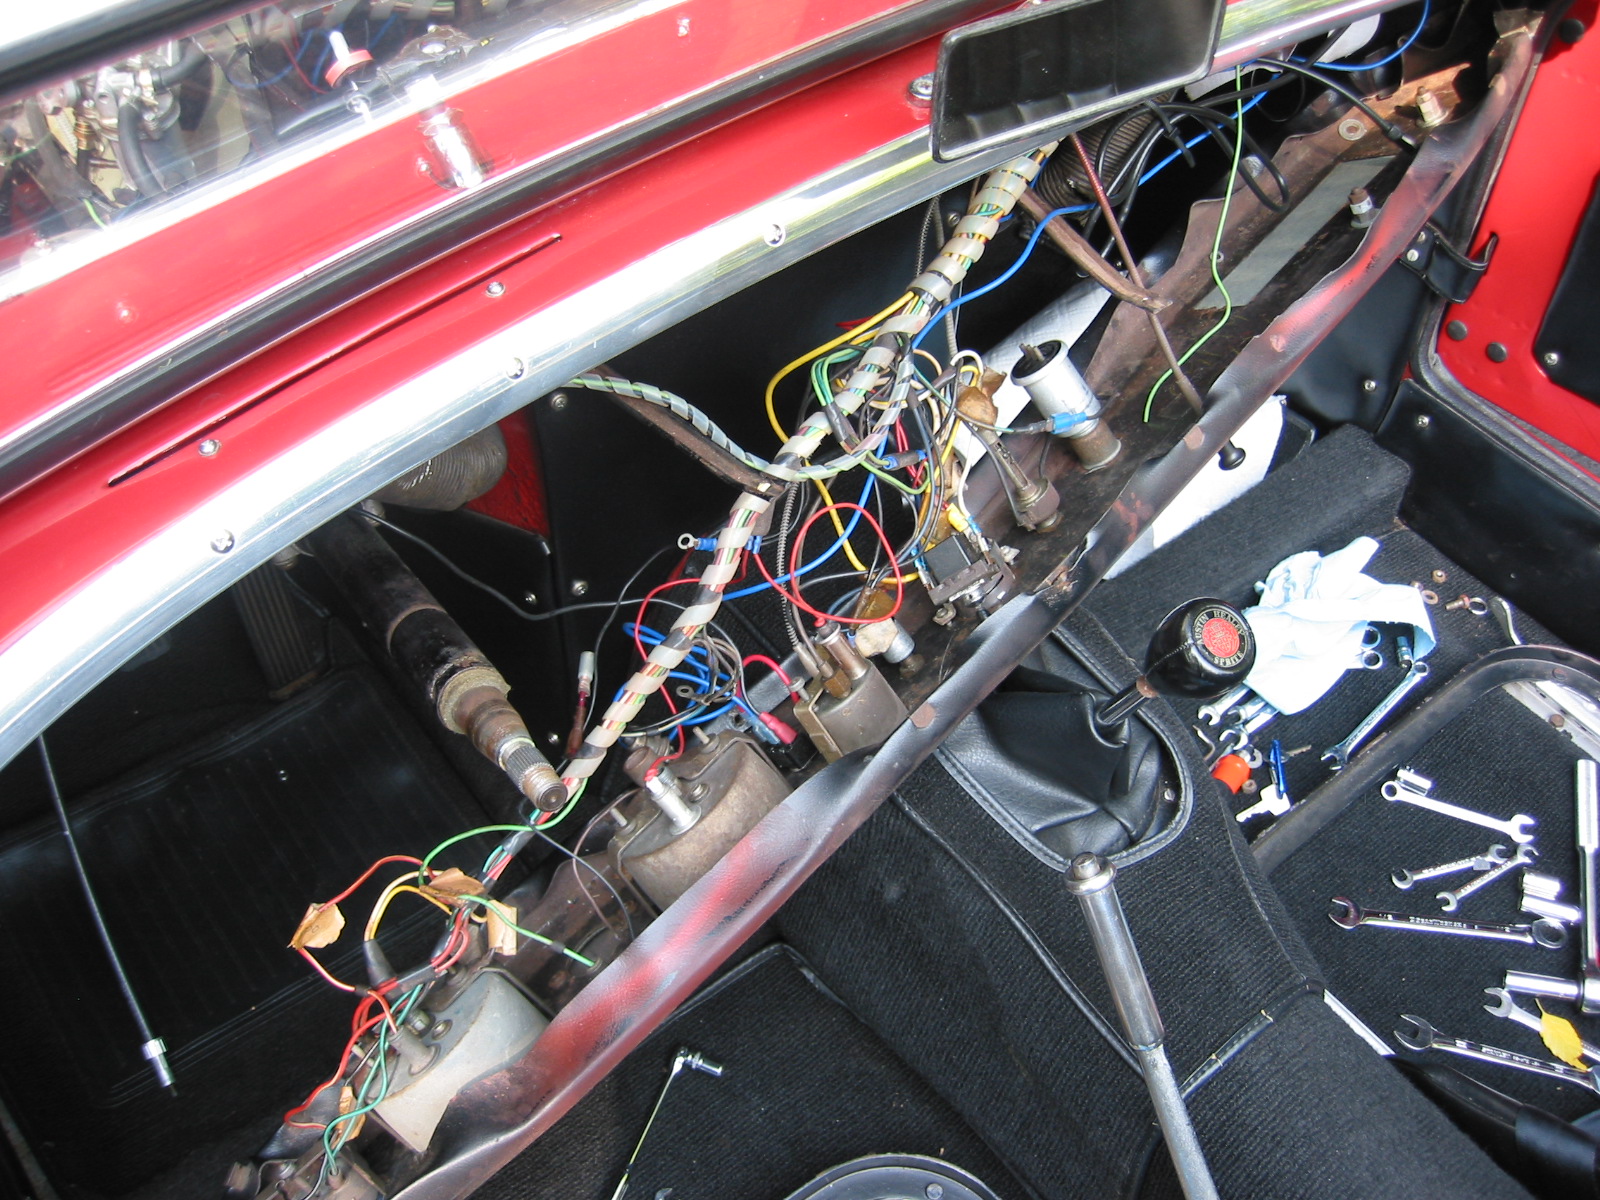
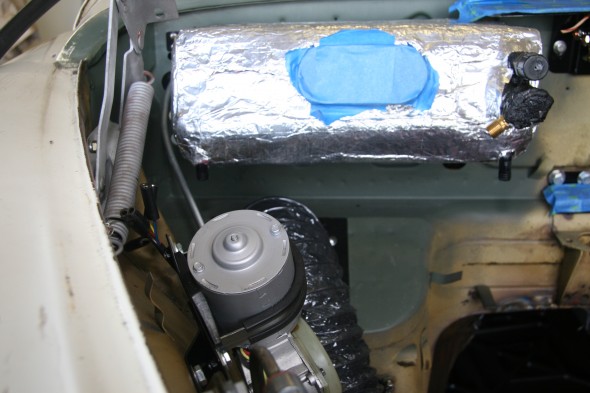
The three images below show the mounted wiper motor and the rack tube through the firewall.

CMC Upgraded Wiper Motor Kit Installed

CMC Upgraded Wiper Motor Kit Installed
Wiper Rack through Firewall