
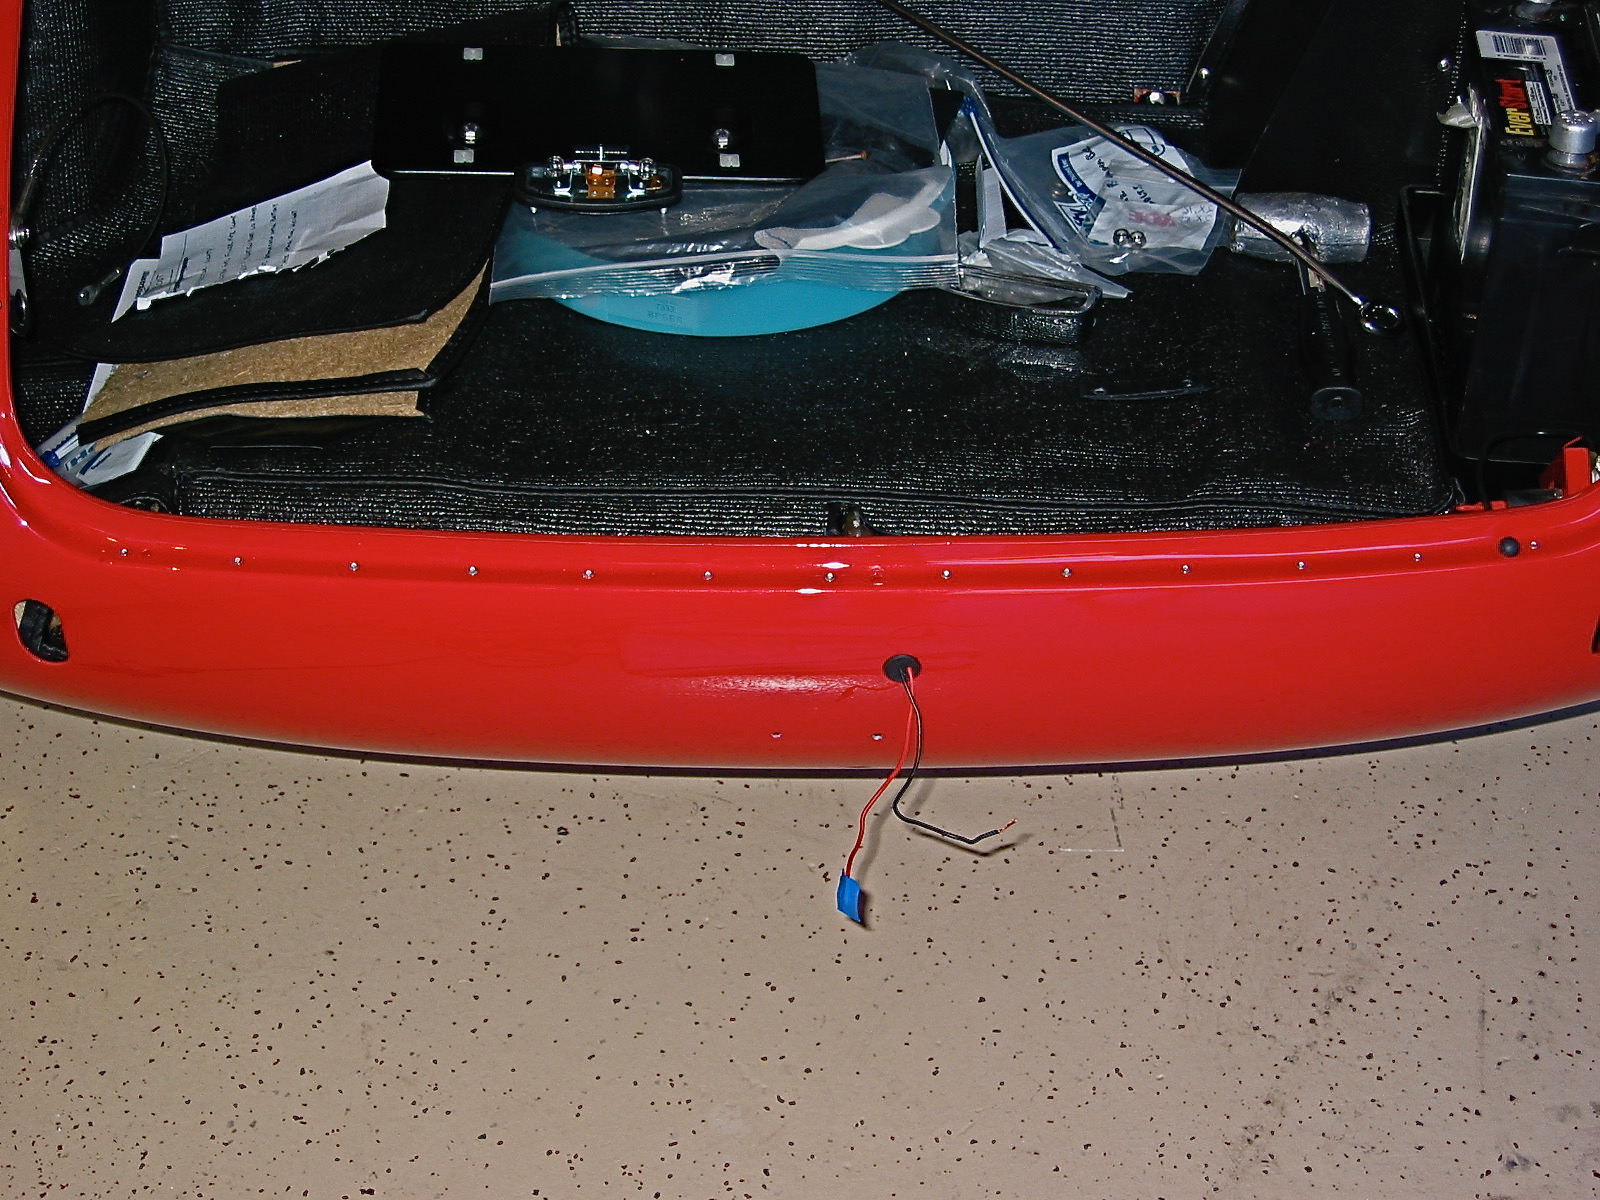
The next job to be tackled was the installation of the rivets for the rear shroud to the frame. There are 19 aluminum flush face rivets for the lower lip of the car and another 13 rivets that attach the shroud to the rear boot frame rail.
First, I put a healthy bead of 3M body caulk between the two pieces to keep water out of the boot. I clamped things together as best I could and inserted pop rivets in the frame rail just to line the components up properly. The aluminum rivets for the lower lip were sourced from British Car Specialists. I purchased a rivet squeezer tool from Brown Aviation Tools with the 2003-16 1/8” rivet set to use for the job. An expensive tool at $135 for one little job! The tool worked nicely. After an initial “squeeze” with the tool, I put five small #10 washers on the rivet set to pull them closer together and squeezed the rivet again. I ended up with a very satisfactory job. As per original specifications, I then painted the lower lip satin black.
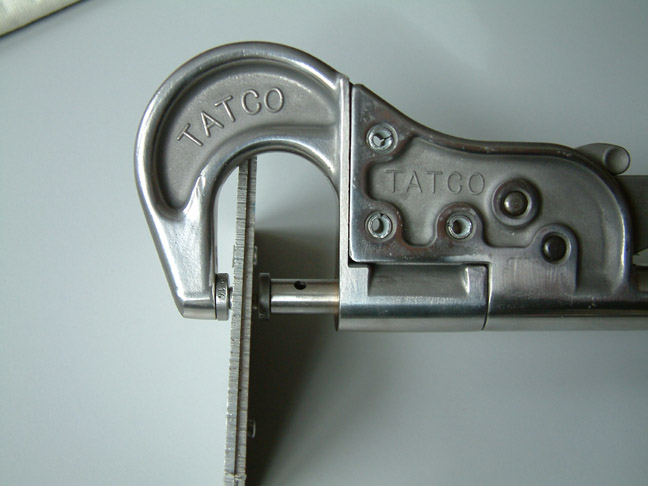
Rivet Squeezer
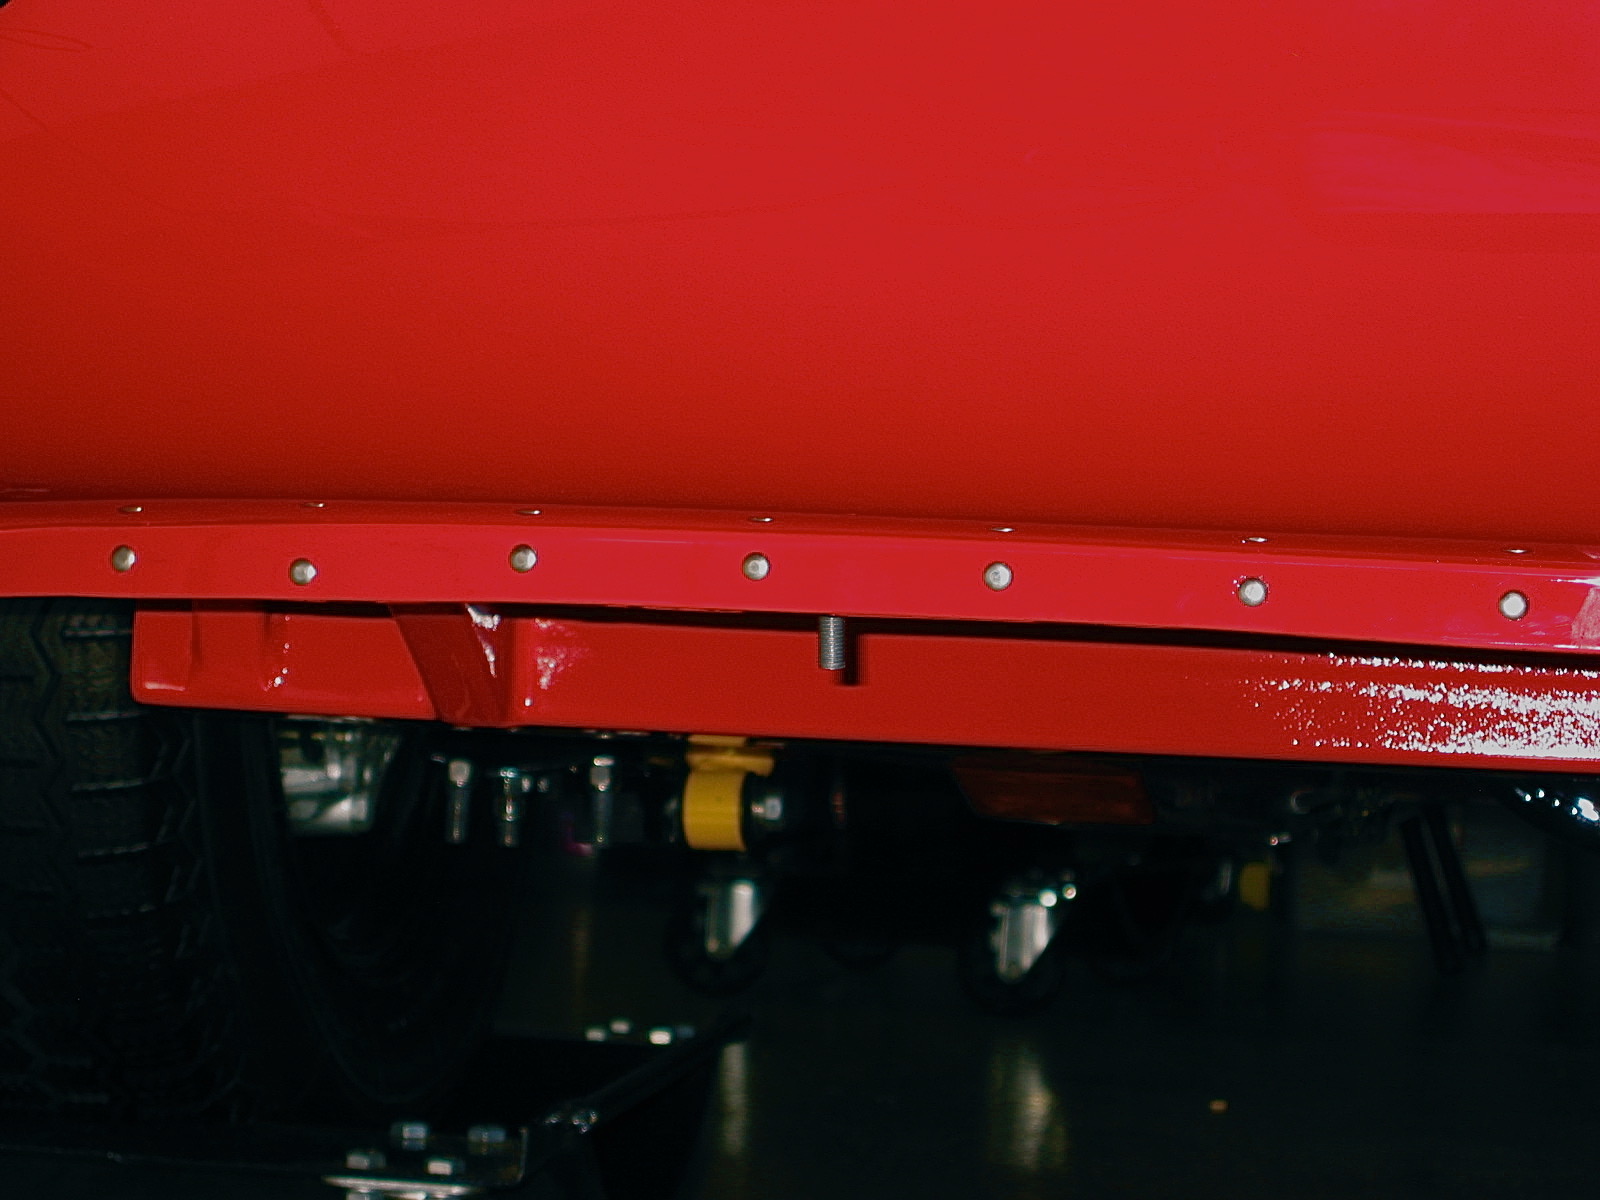
Lower Rivets installed
There just wasn’t room to use the rivet squeezer for the boot rail-to-shroud assembly so I used 1/8” diameter, 1/4” long aluminum pop rivets for the job. The nose of the rivet gun wanted to hit the boot lip so I put about three thicknesses of blue painter’s masking tape around the area to protect the paint. I did get two small nicks that were touched up, but otherwise the project was a success. It pays to take your time on the rivet job if you are assembling after painting.
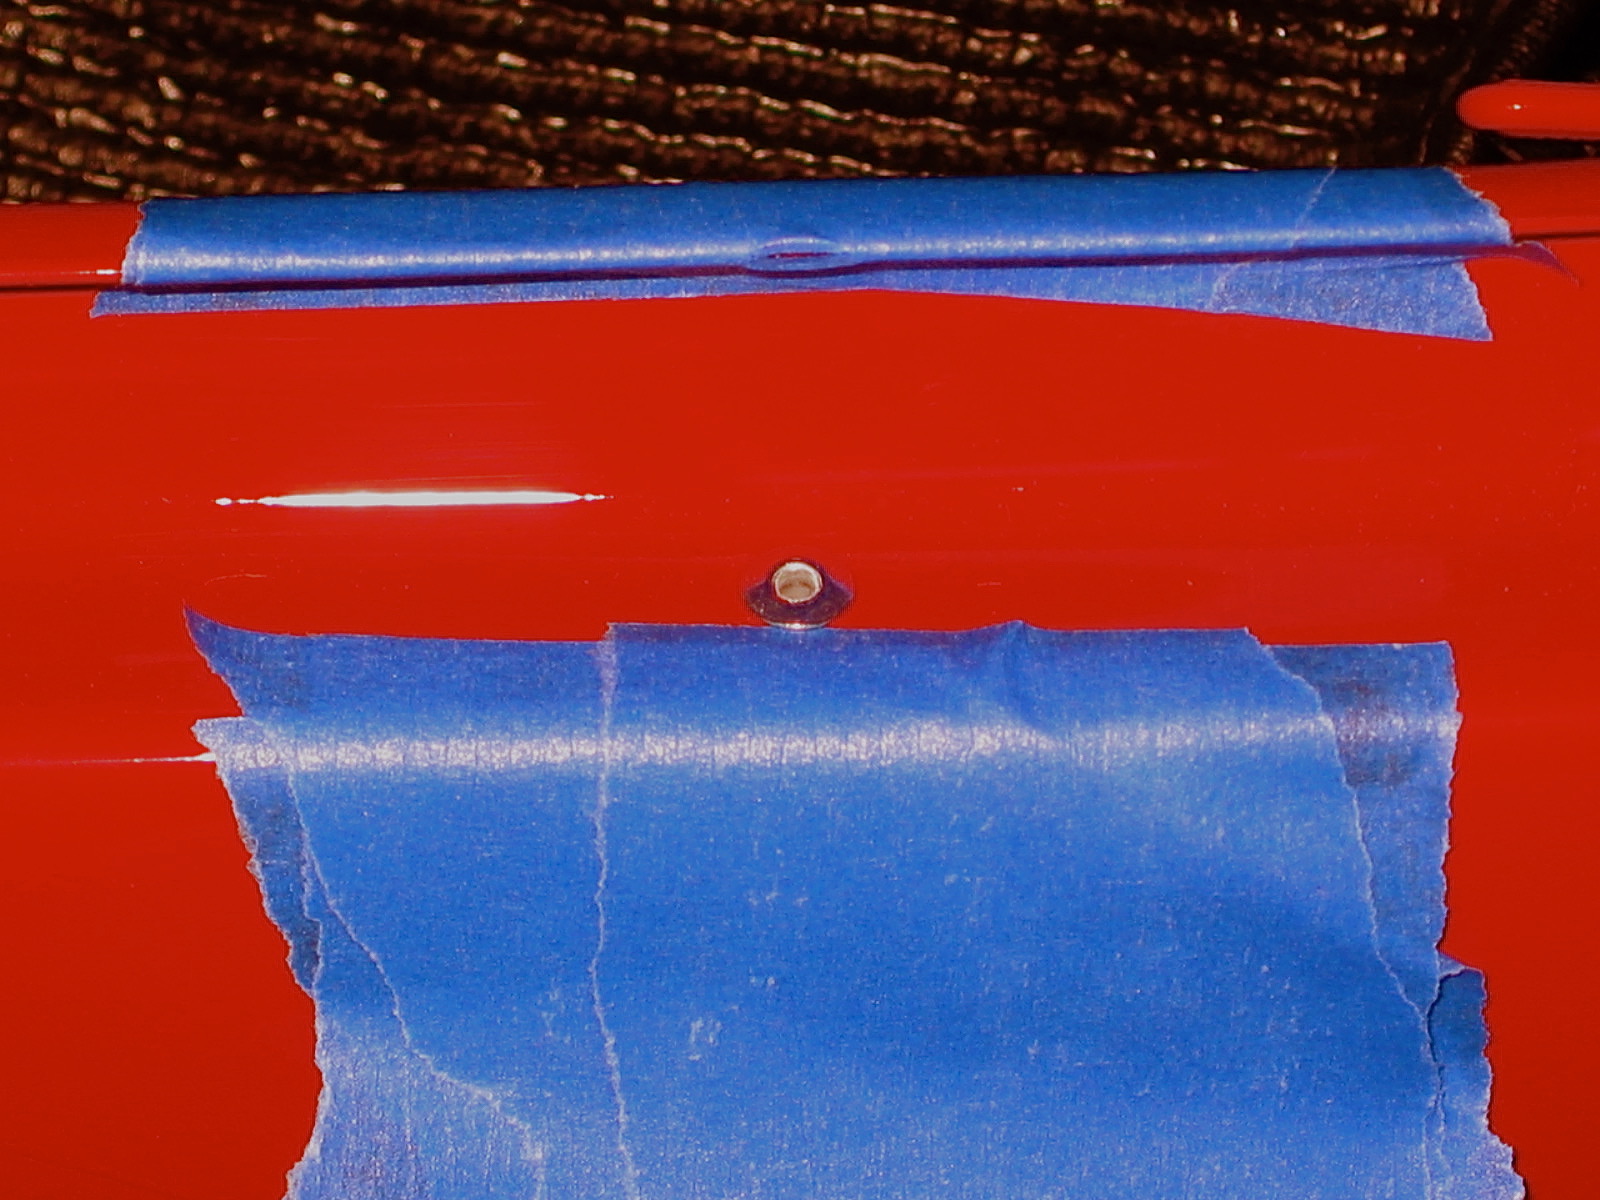
Rivet paint protection
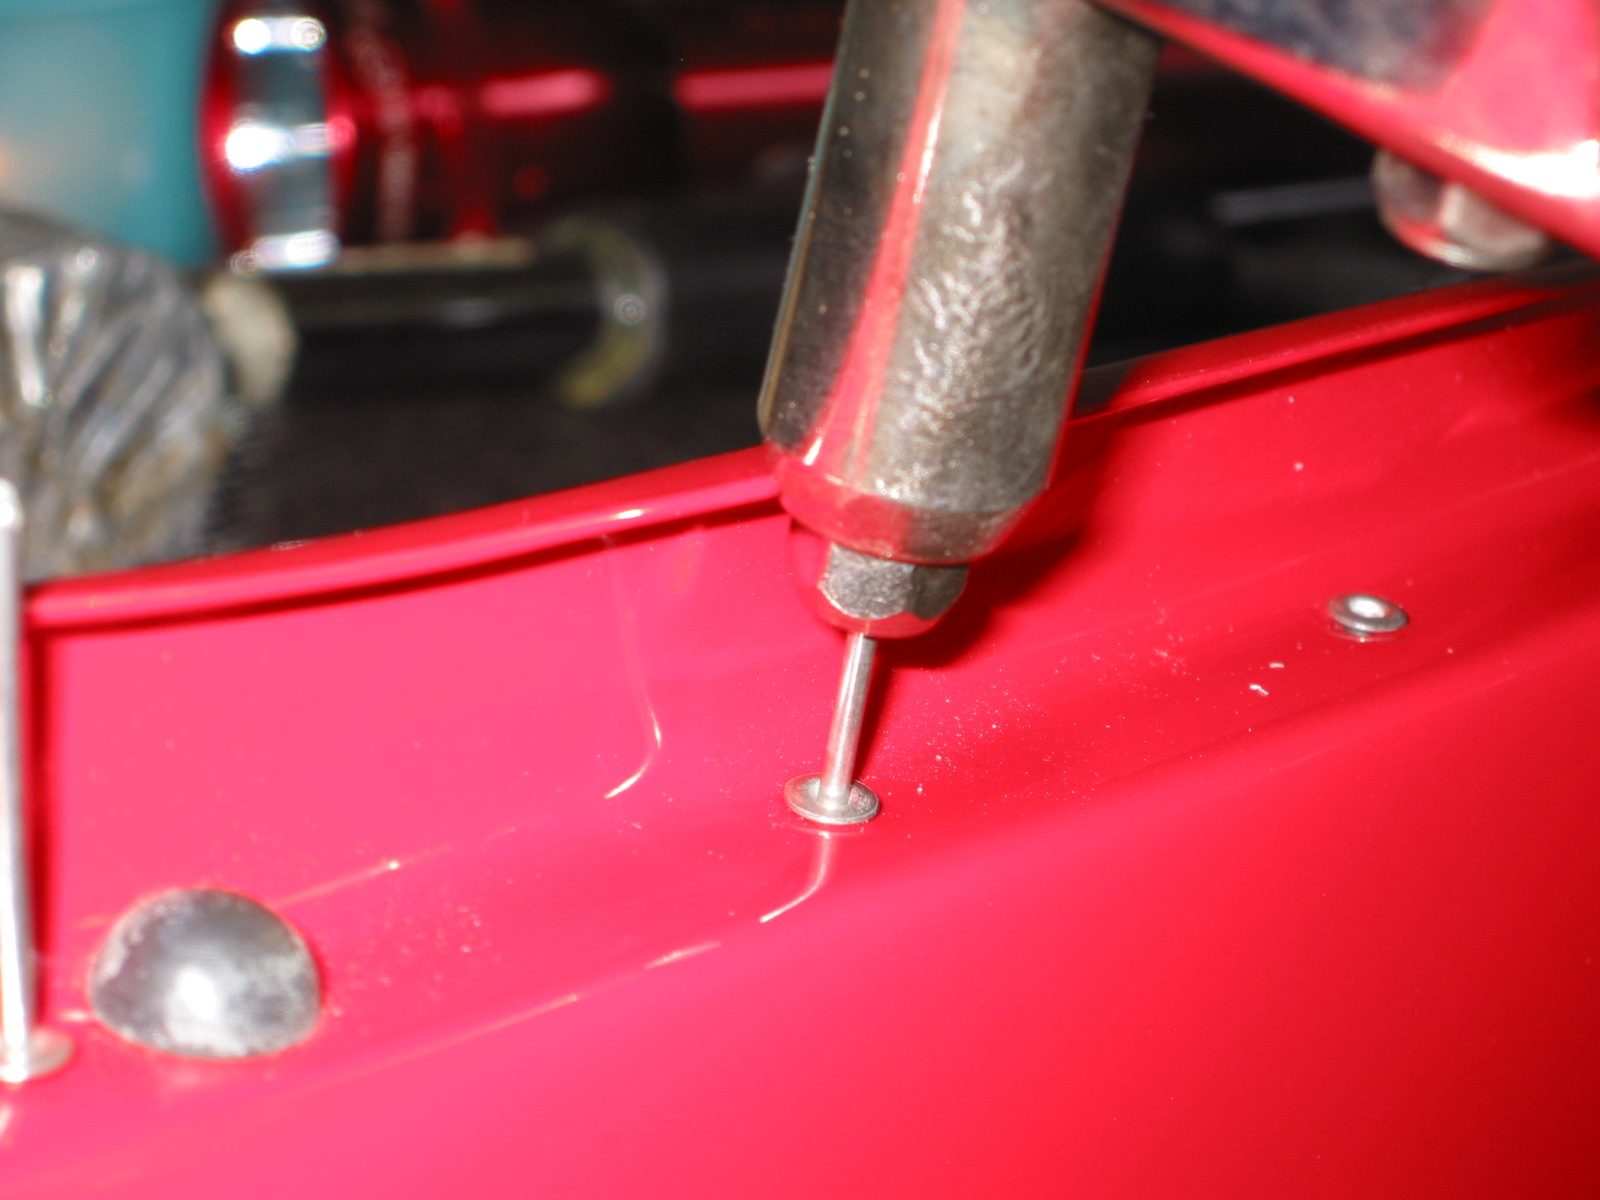
Pop Riveter
Pop Rivets installed
Following the rivet work I installed the rear bumper bars and rally bumpers supplied by Cape International. New rubber grommet seals were installed on each bar, paying attention to the LH/RH designation. I am very pleased with the look of the rally bumpers, although one is not afforded much protection by these full bumper replacements!
Rally Bumpers
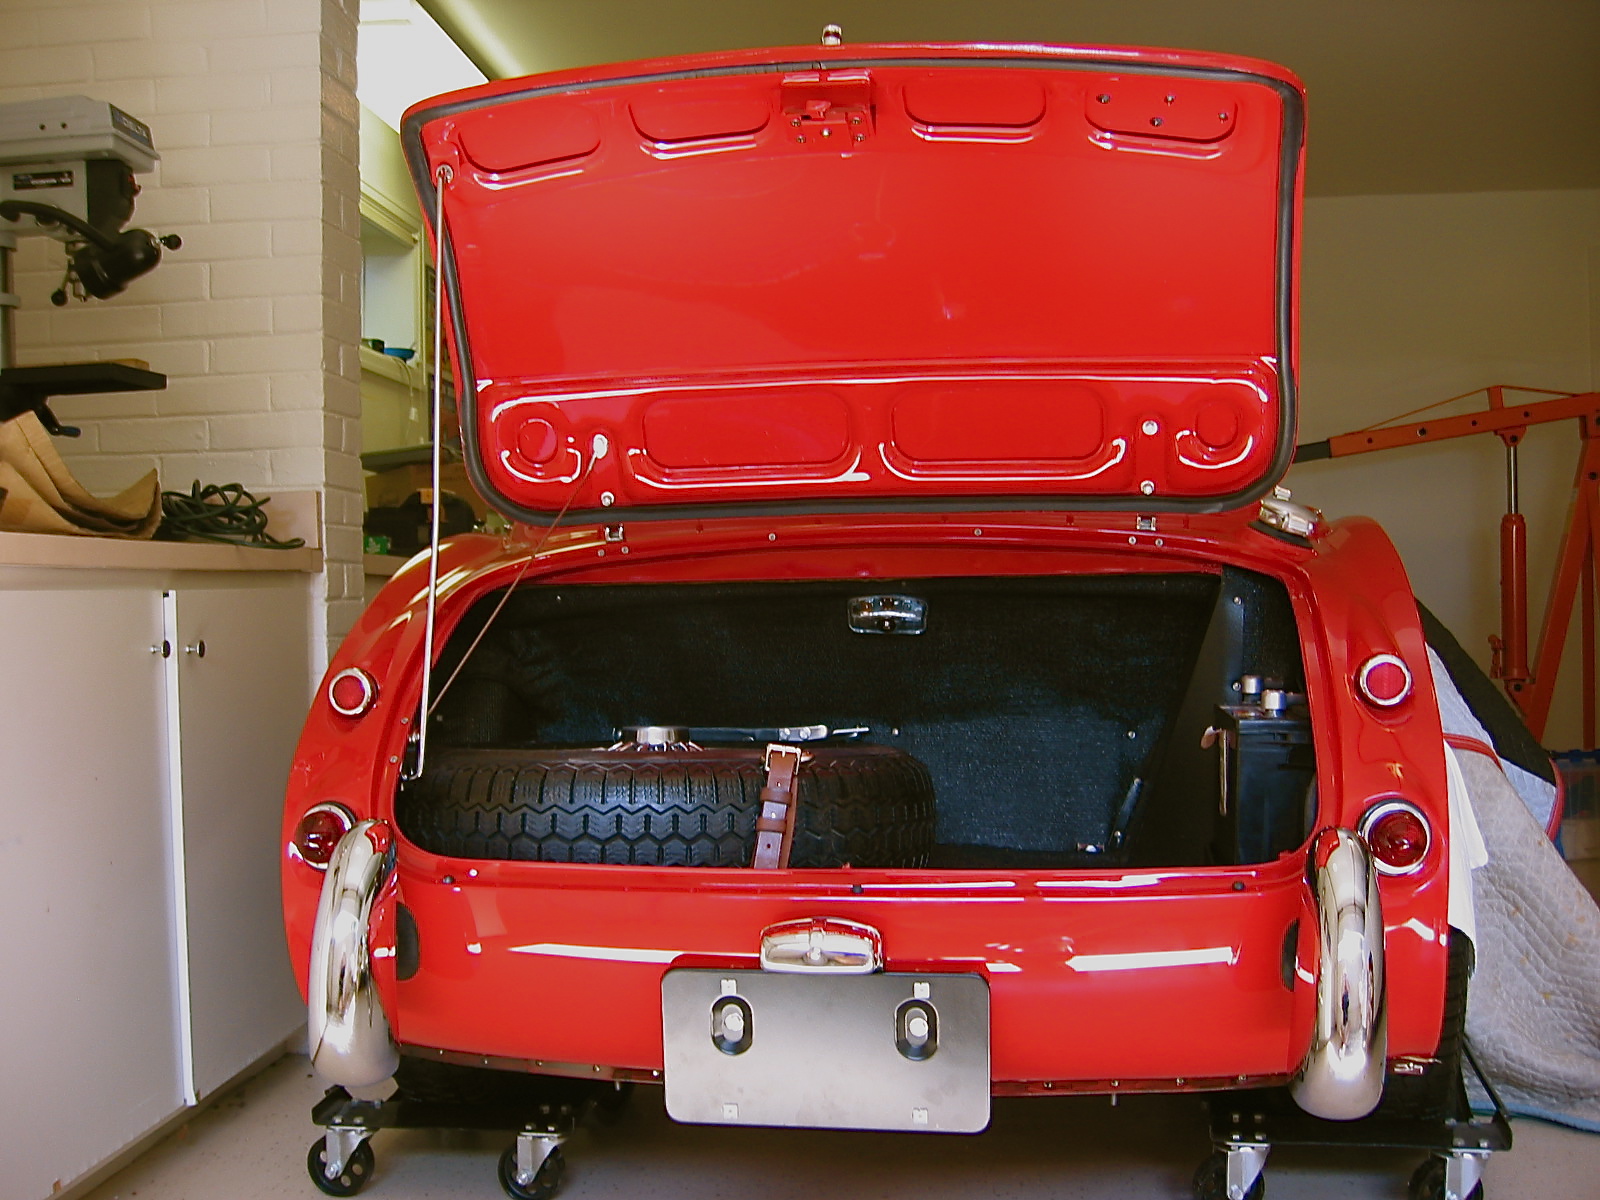
The next task was to install the boot lid. This turned out to be pretty easy. Again I protected the body with some blue painter’s masking tape and with the help of my wife, put the lid in place and tightened down the boot hinges. After getting the lid in place, I needed to adjust the boot lid striker so that it would fit properly to latch the boot lid. I then attached the boot lid control cable to the lower hinge post and I was in business!

Boot Lid Installed 2
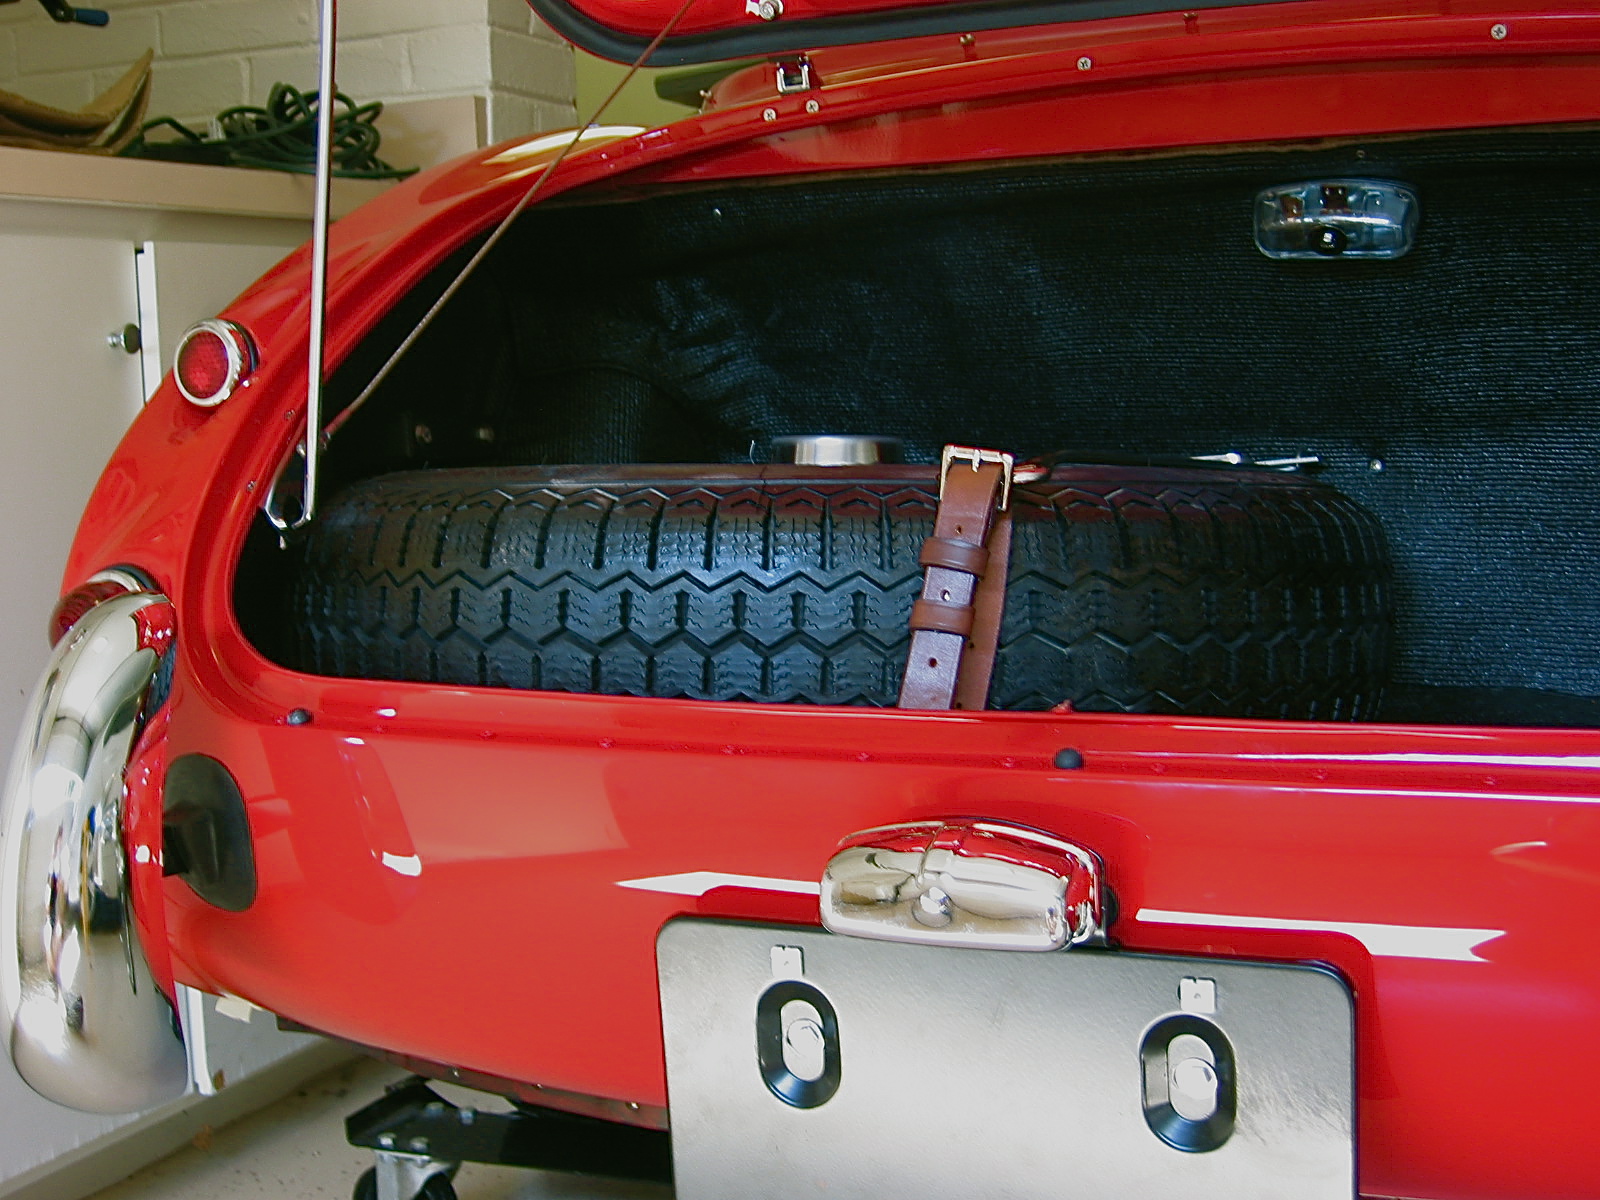
Back End Finished
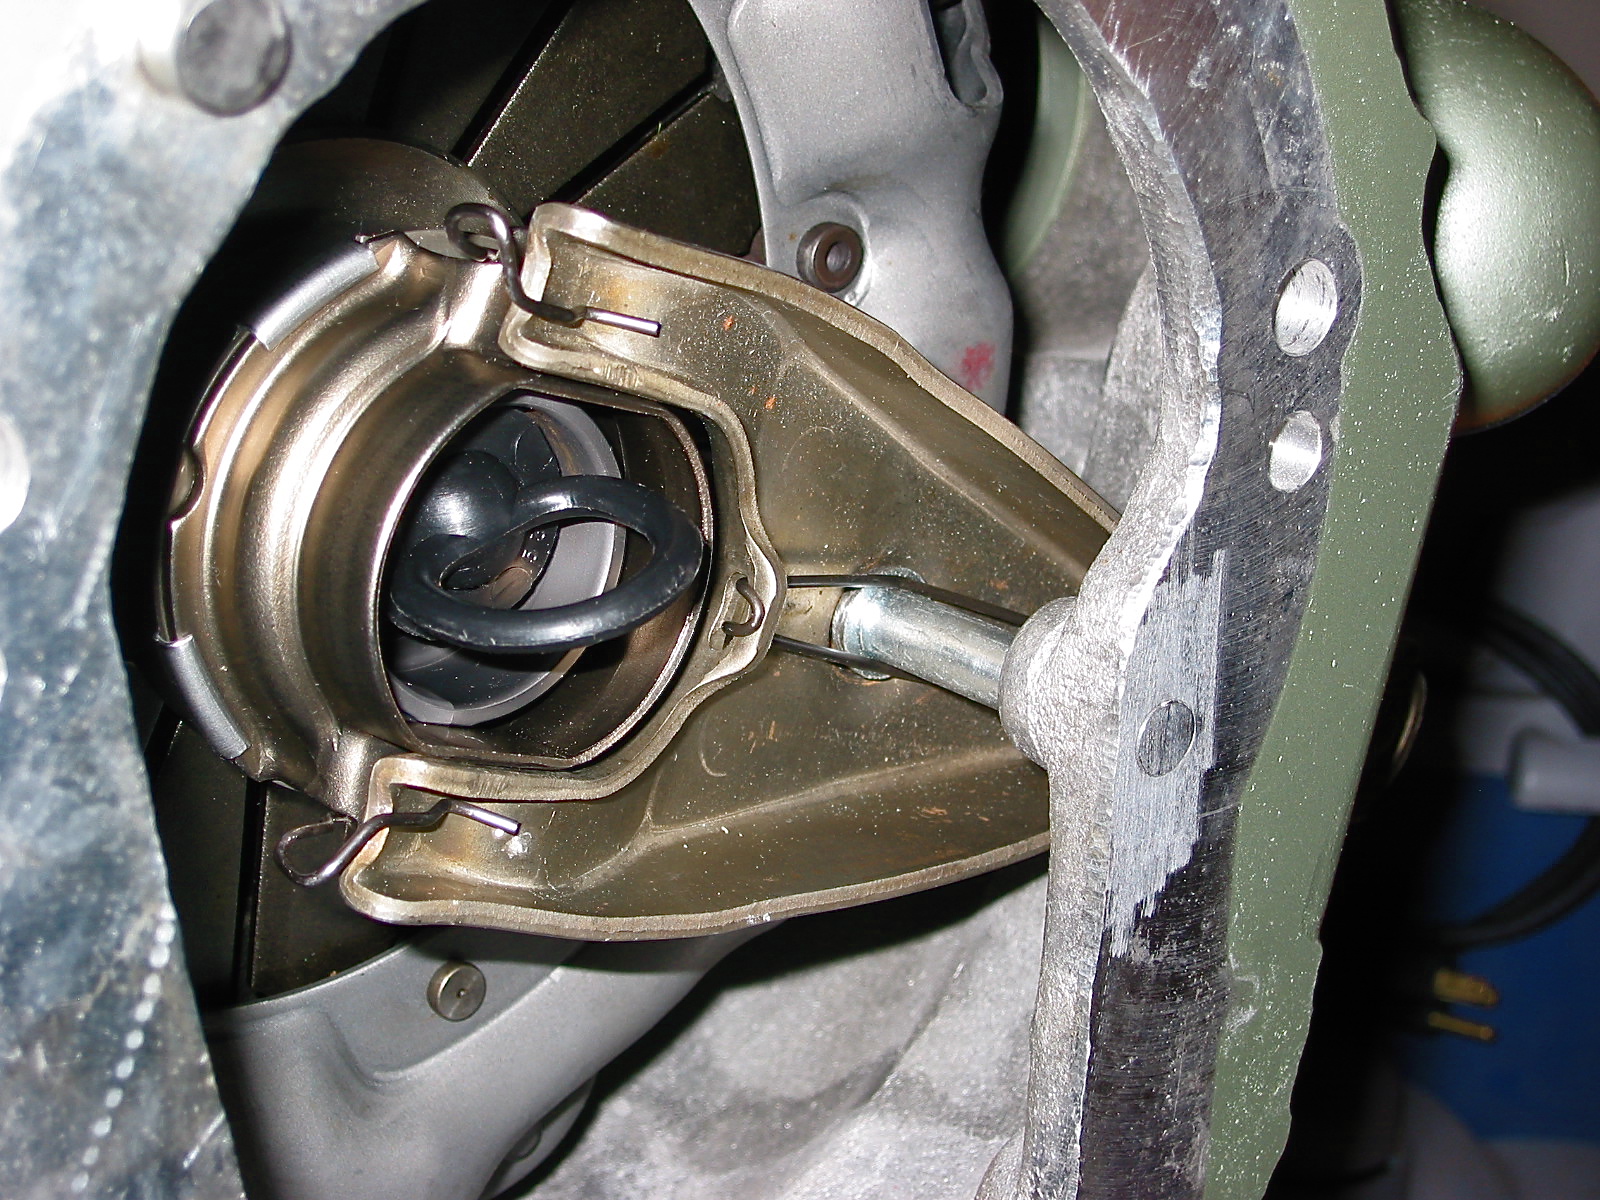
Before the final installation of the engine, I decided to fit the clutch assembly and Smitty Bellhousing to the block and put in the car to make sure the clutch was working properly. I wanted to make sure that I had sufficient room for the clutch fork to function once connected to the slave cylinder. Some might call this a little anal, but if you install with just the bellhousing and not the gearbox, you can view everything to ensure success later!
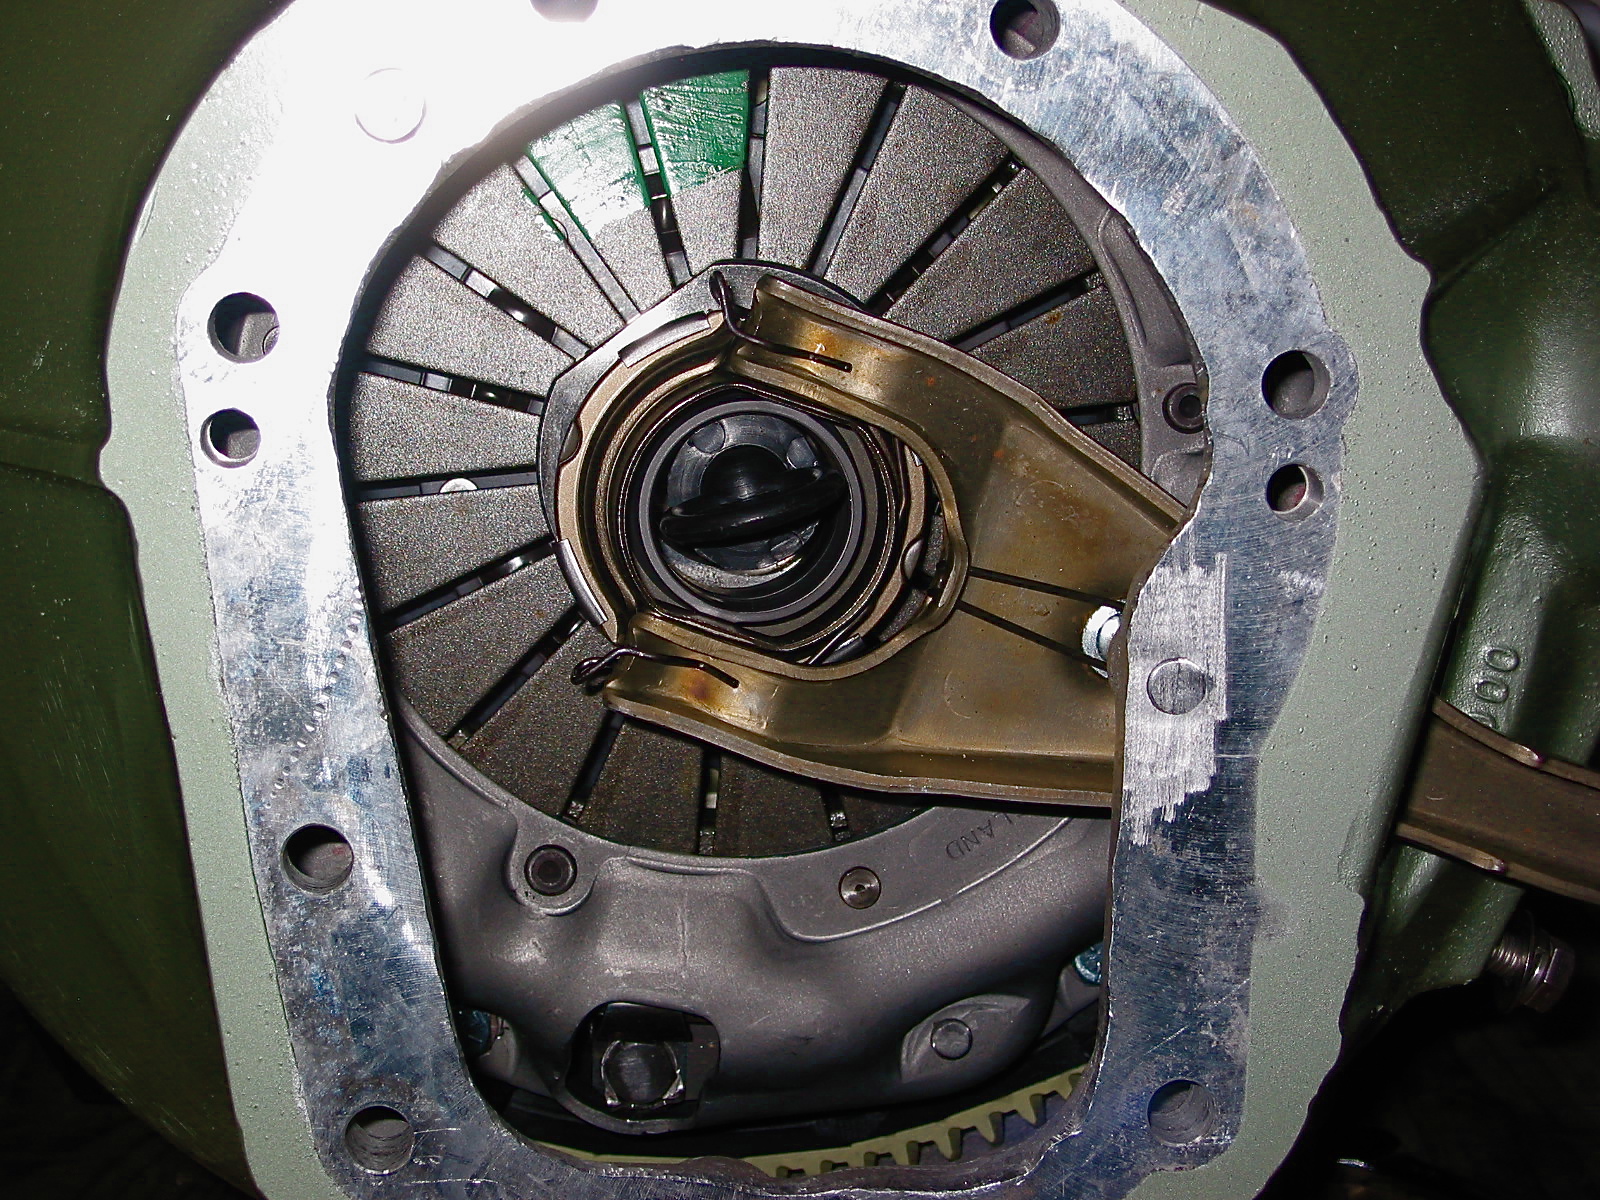
Clutch Fork 1
Clutch Fork 2
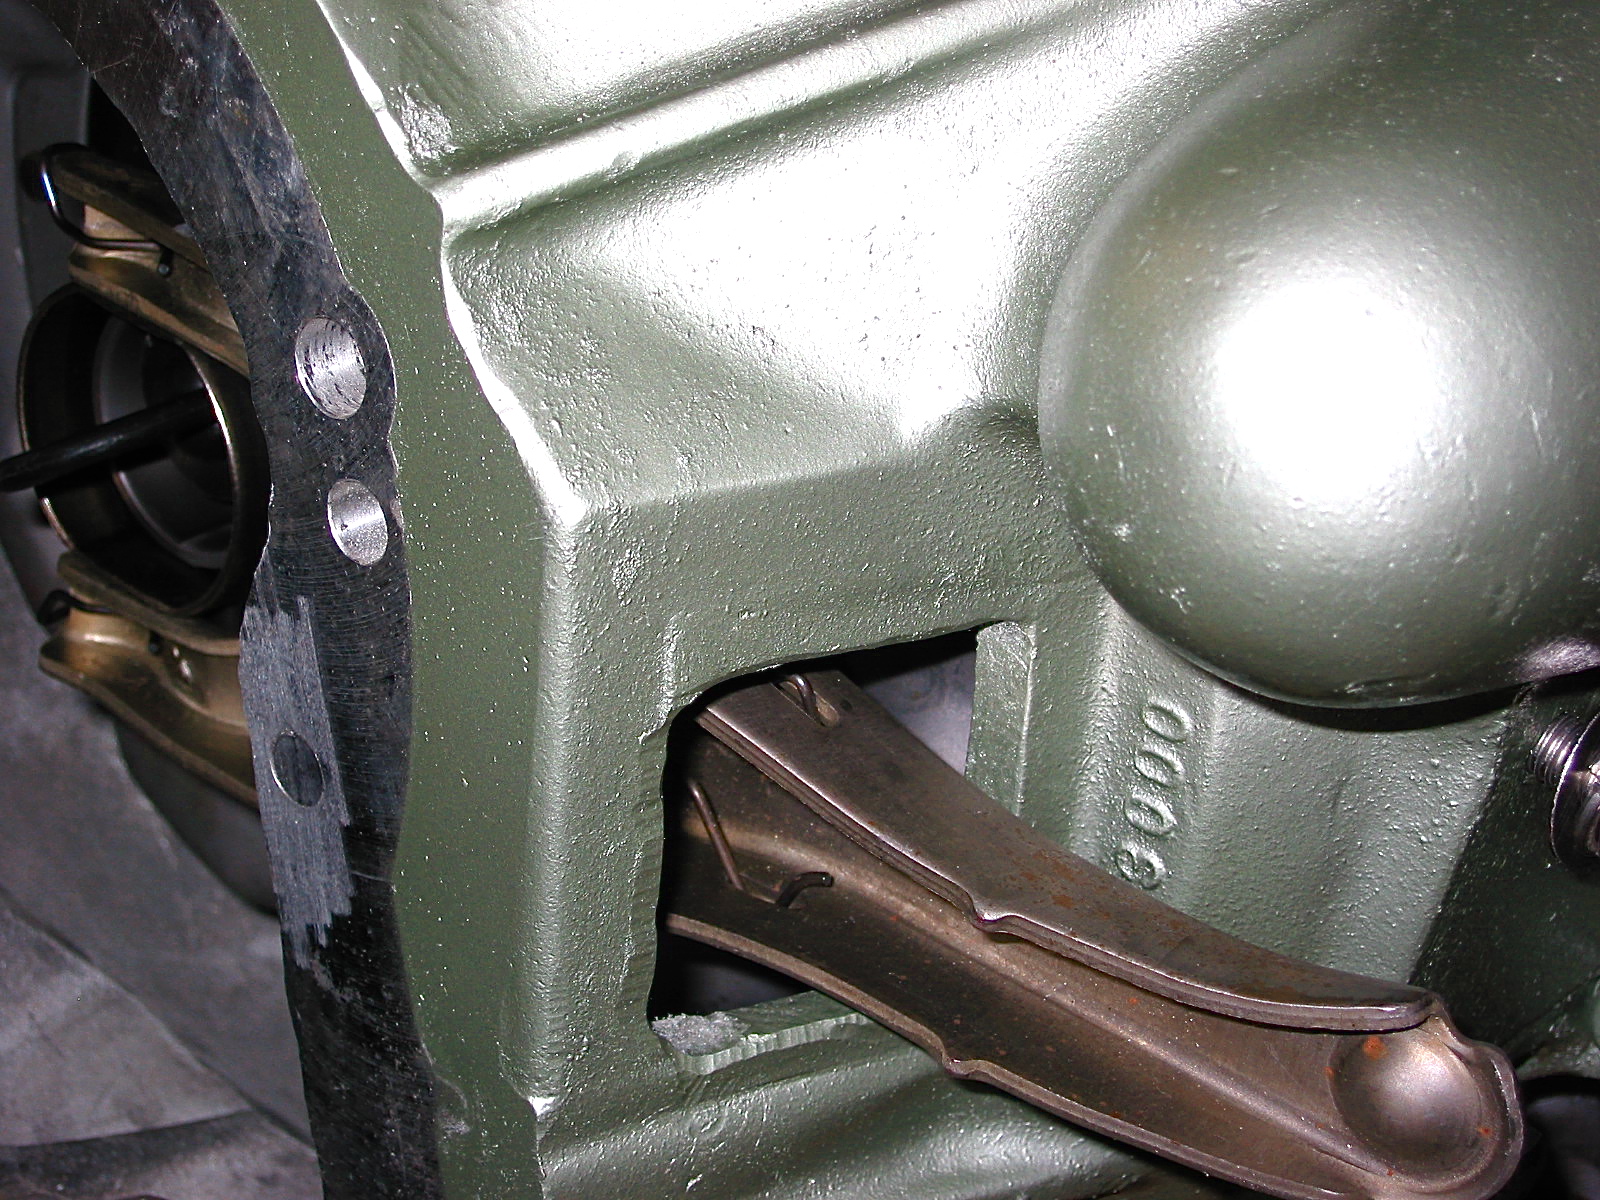
Clutch Fork 3