
Battery Relocation to the Boot
Installing the RetroAir air conditioning kit requires the relocation of the battery, and the most commonly used place is the shelf in the MK2 boot. The RetroAir kit provided a plastic battery box, battery cable and various connectors, but I chose to “upgrade” the kits components.
Battery Cable Lugs
First I decided to use battery lugs to take the battery cable through the boot floor rather than taking the cable directly through a rubber grommet in the floor. I used Waytek’s “Battery Feeder Stud” for this purpose. http://www.waytekwire.com/products/ One in black for the ground cable, part# 36663, and one in red for the power cable, part# 3662. I located these to the right of the battery mounting.
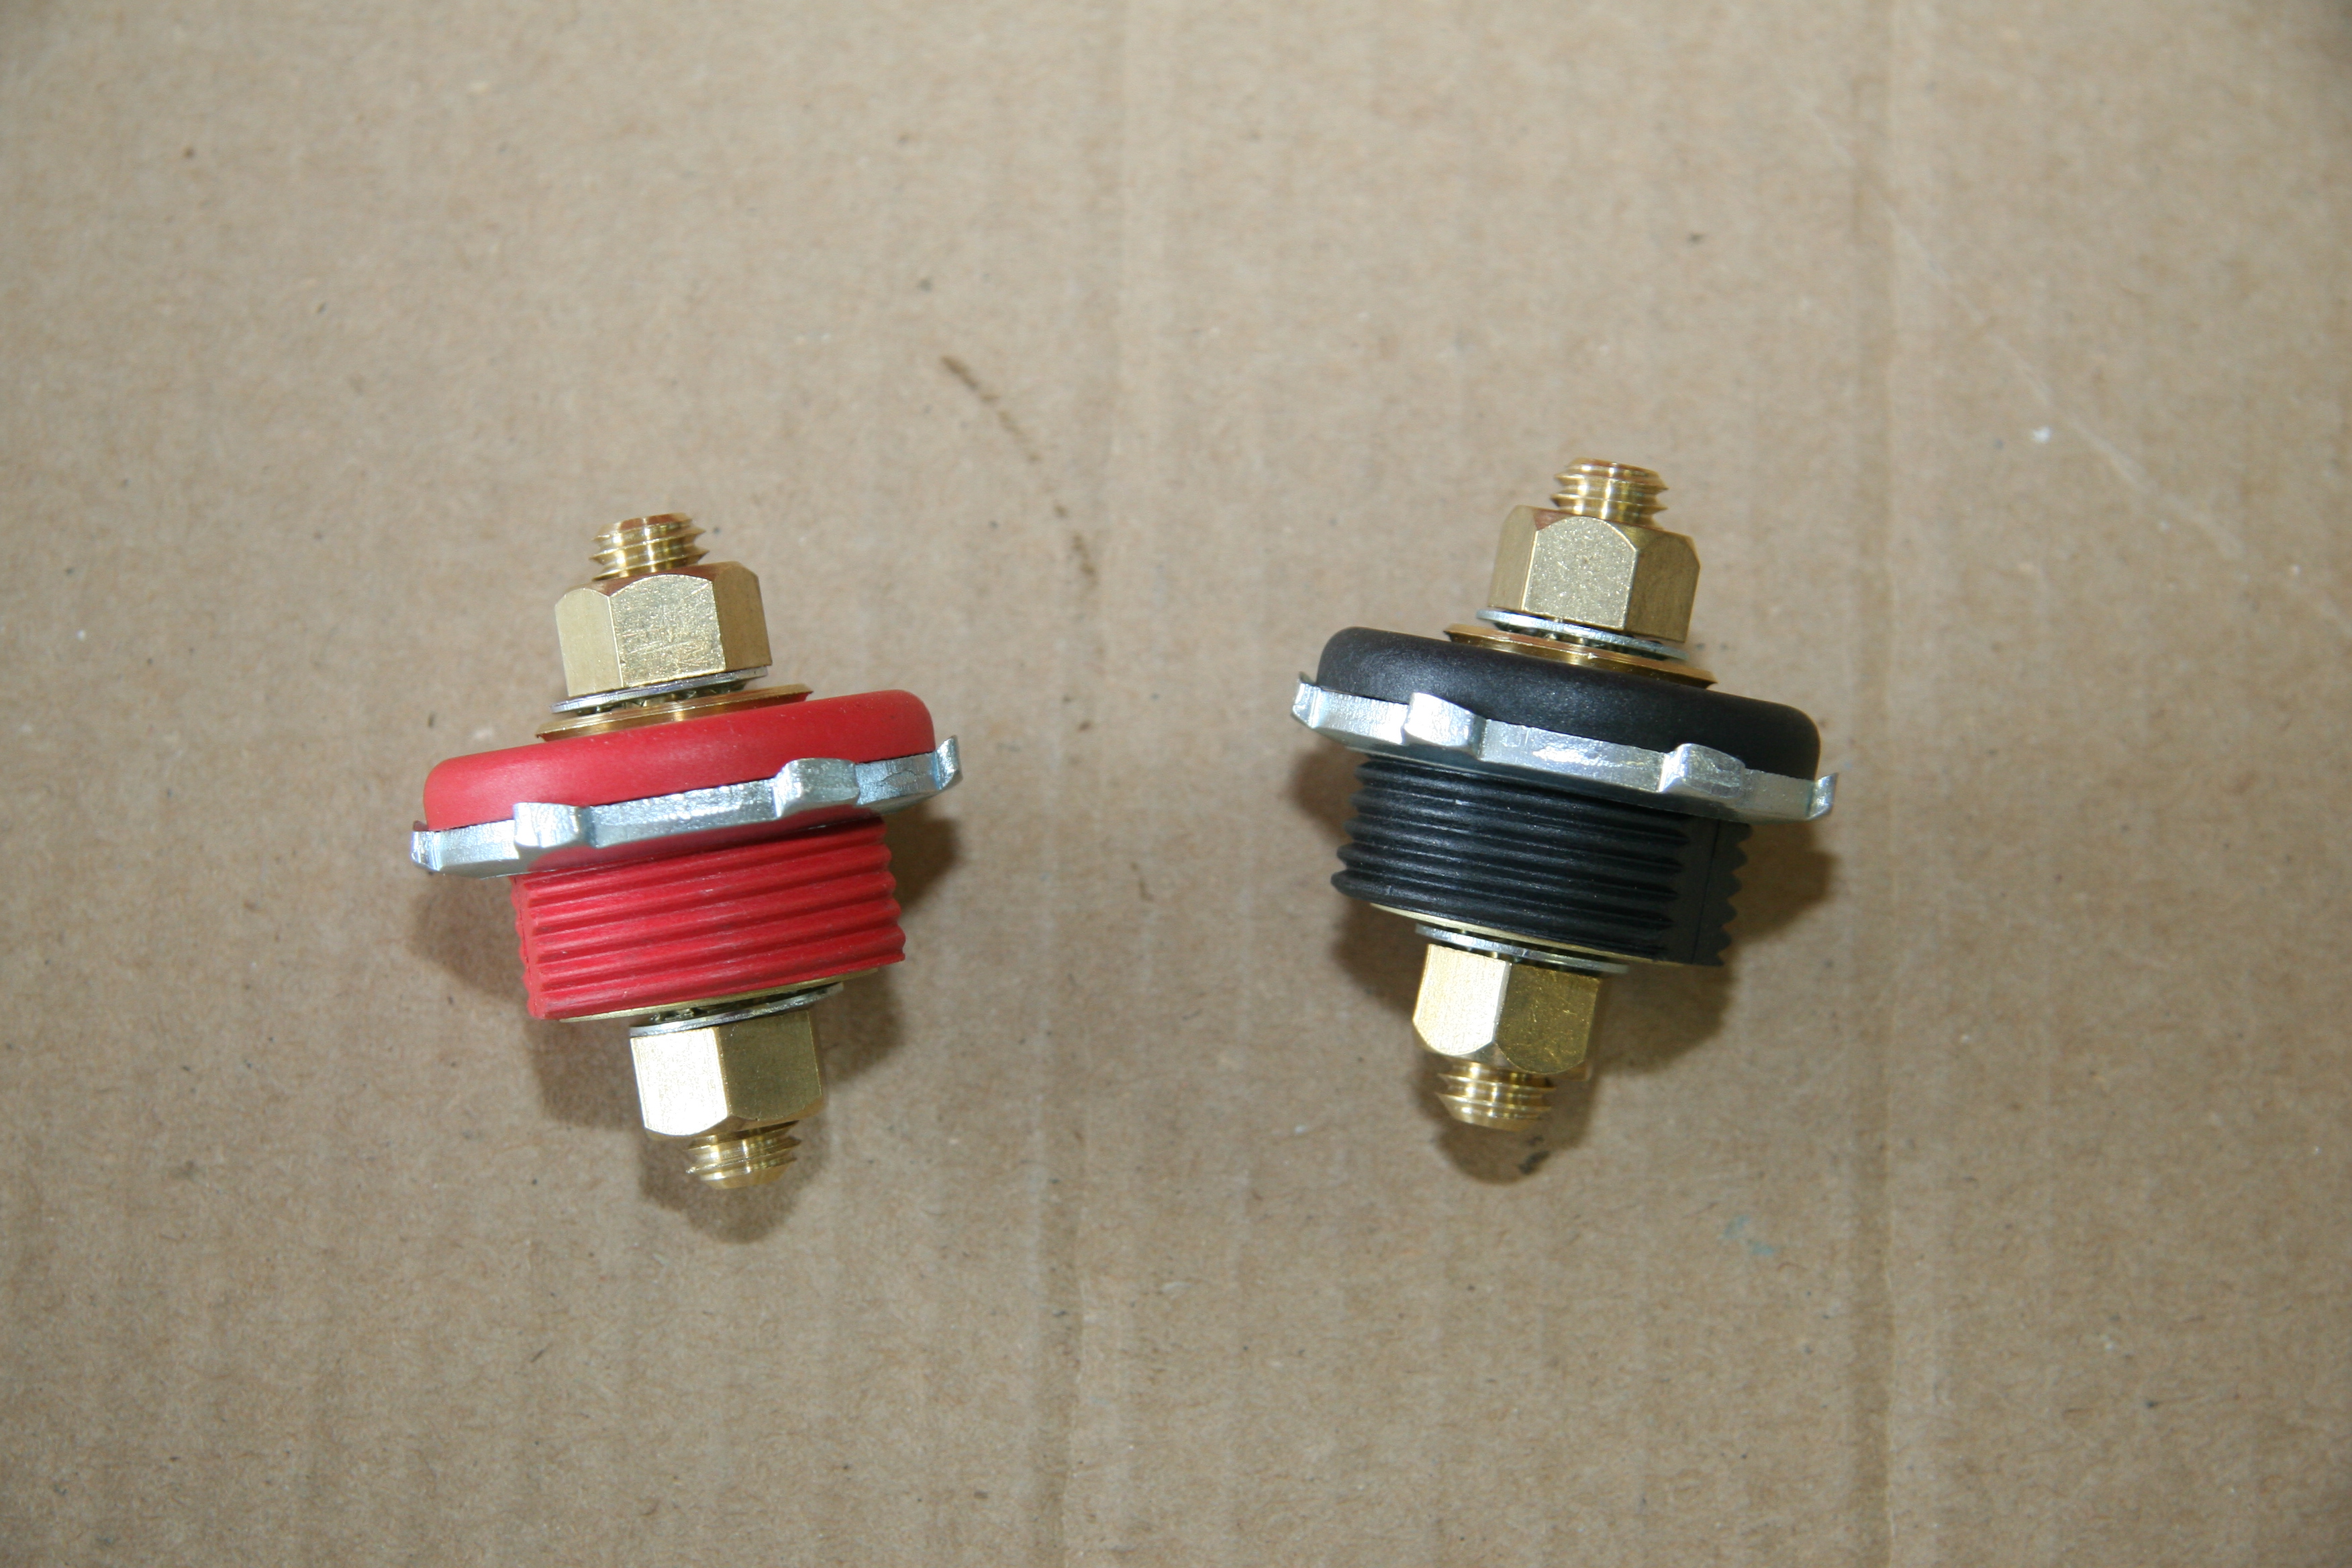
Waytek Battery Lugs

Battery Lugs Mounted – Under Carriage View
Battery Lug Rubber Covers
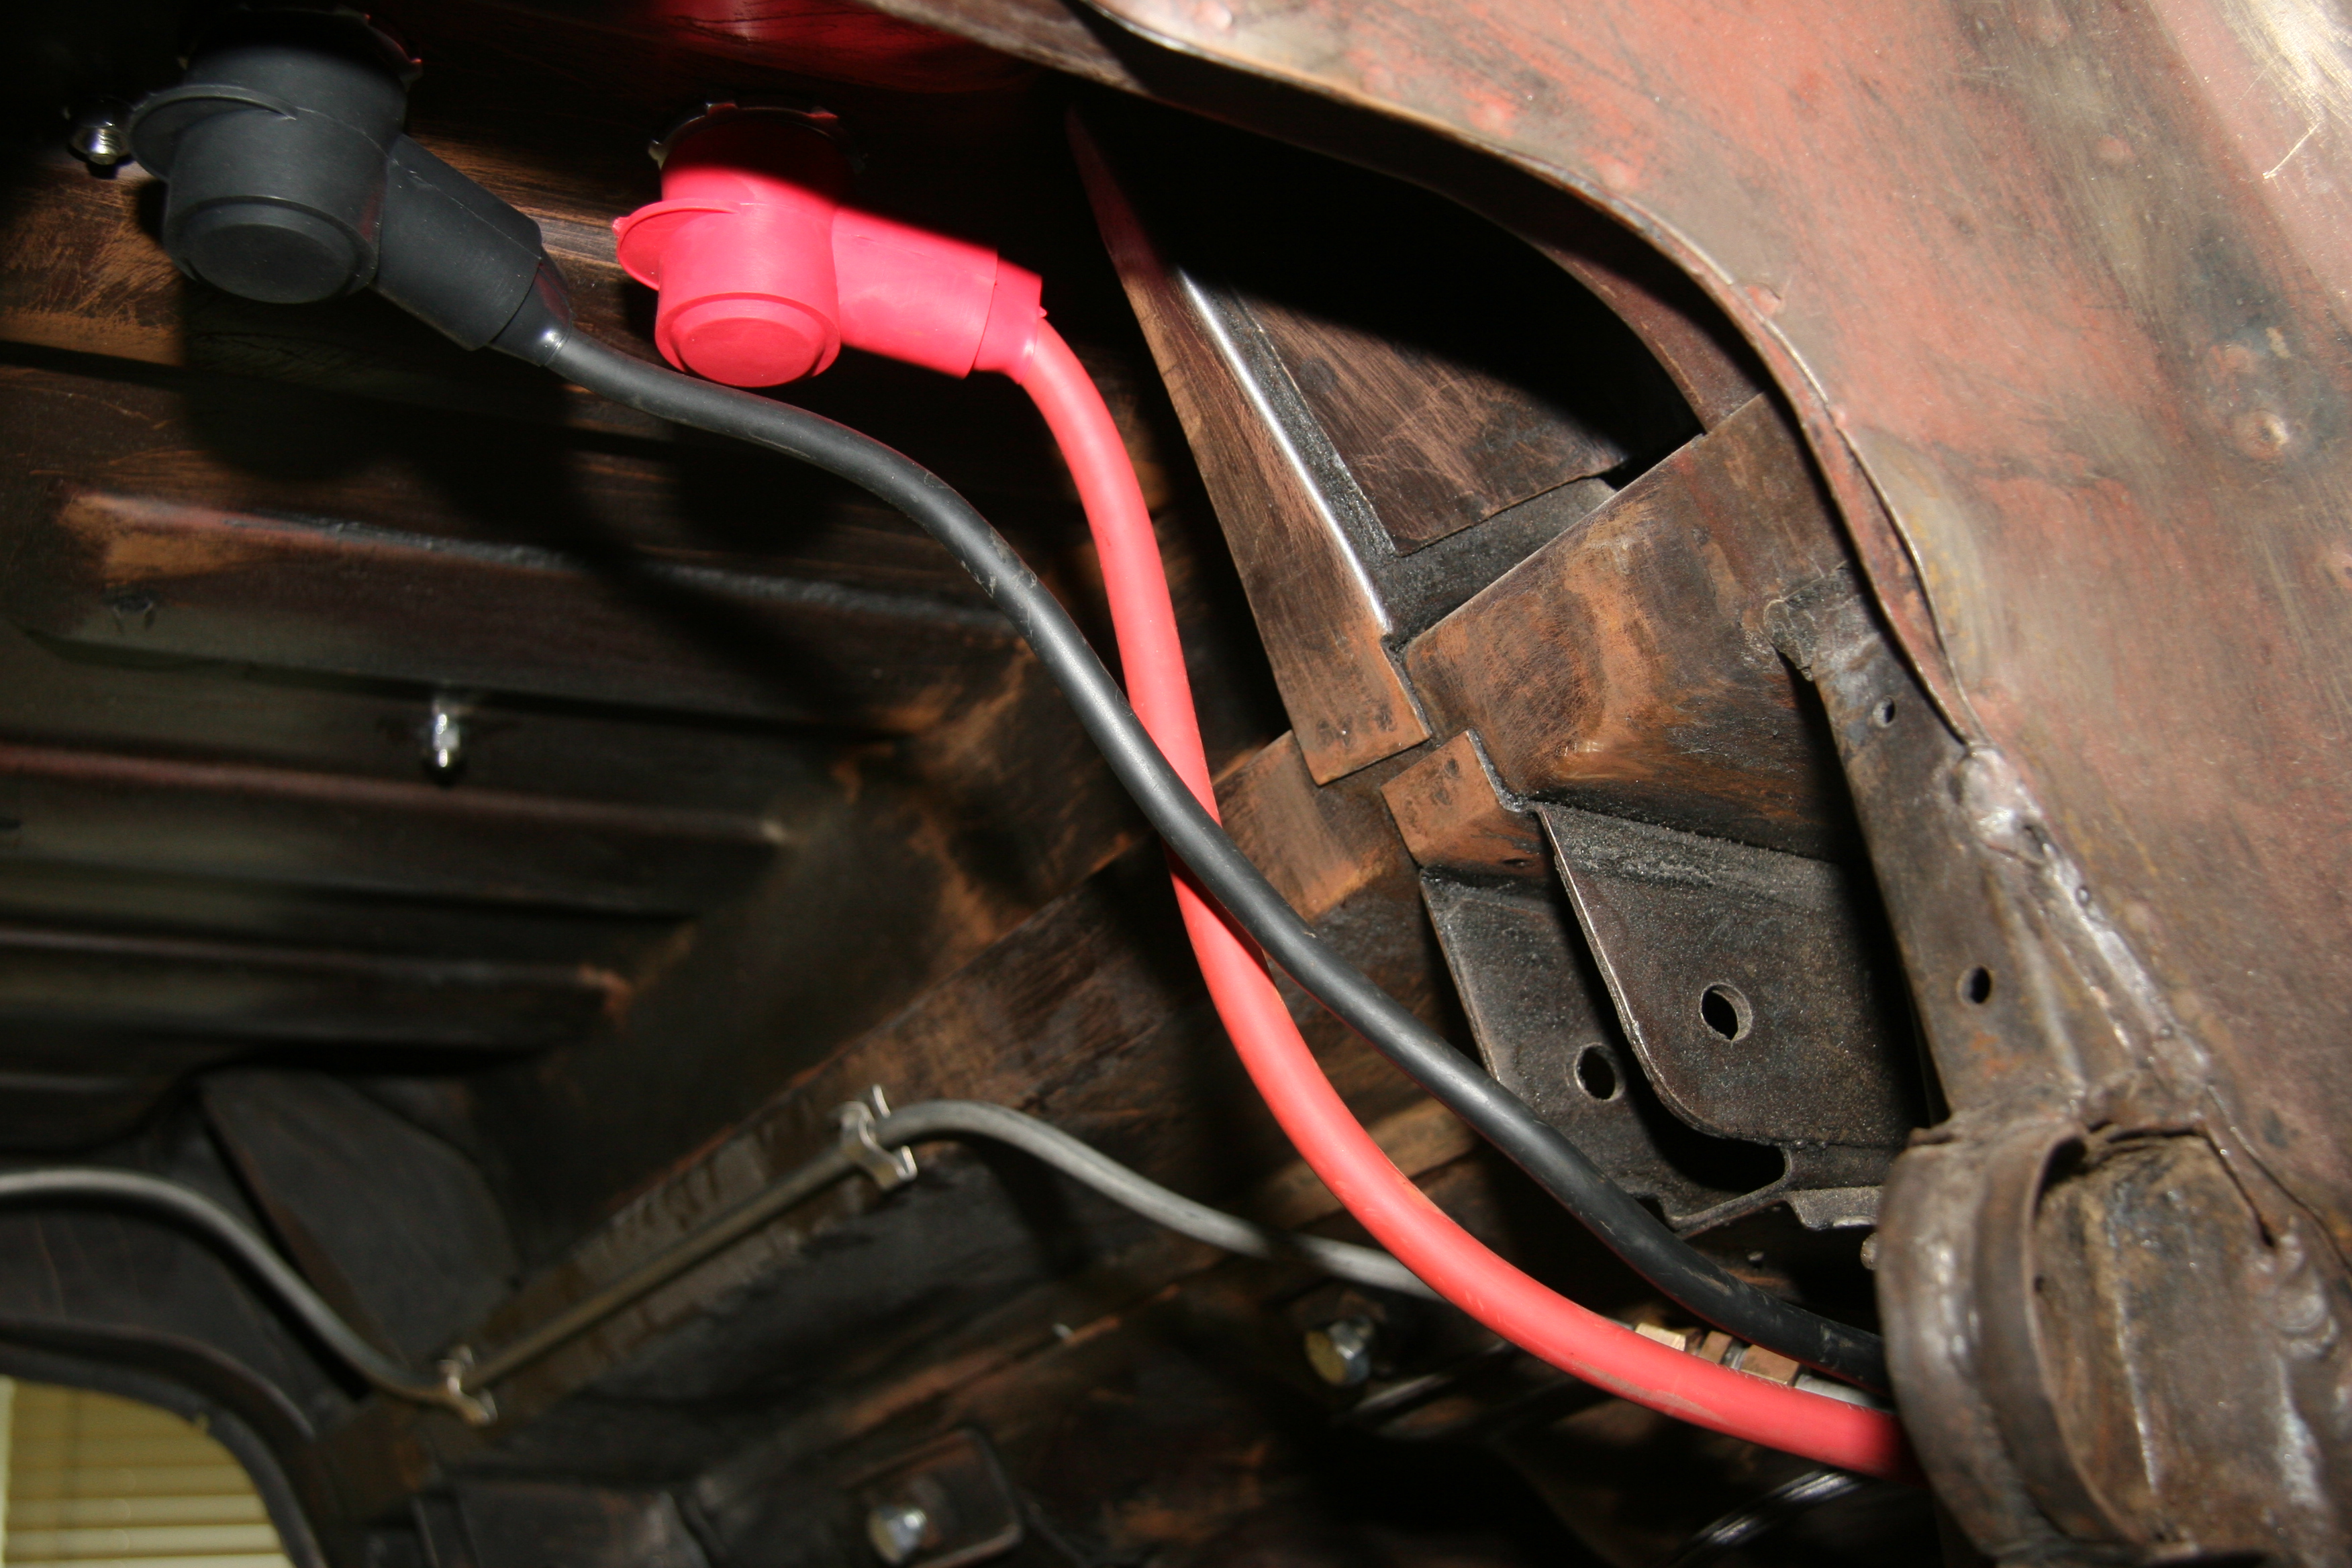
I found some rubber covers for the battery terminals and lugs that work quite well. They were sourced on-line from the Electrical Hub.
http://www.electricalhub.com/battery-terminals-and-lugs/insulator-battery-boots
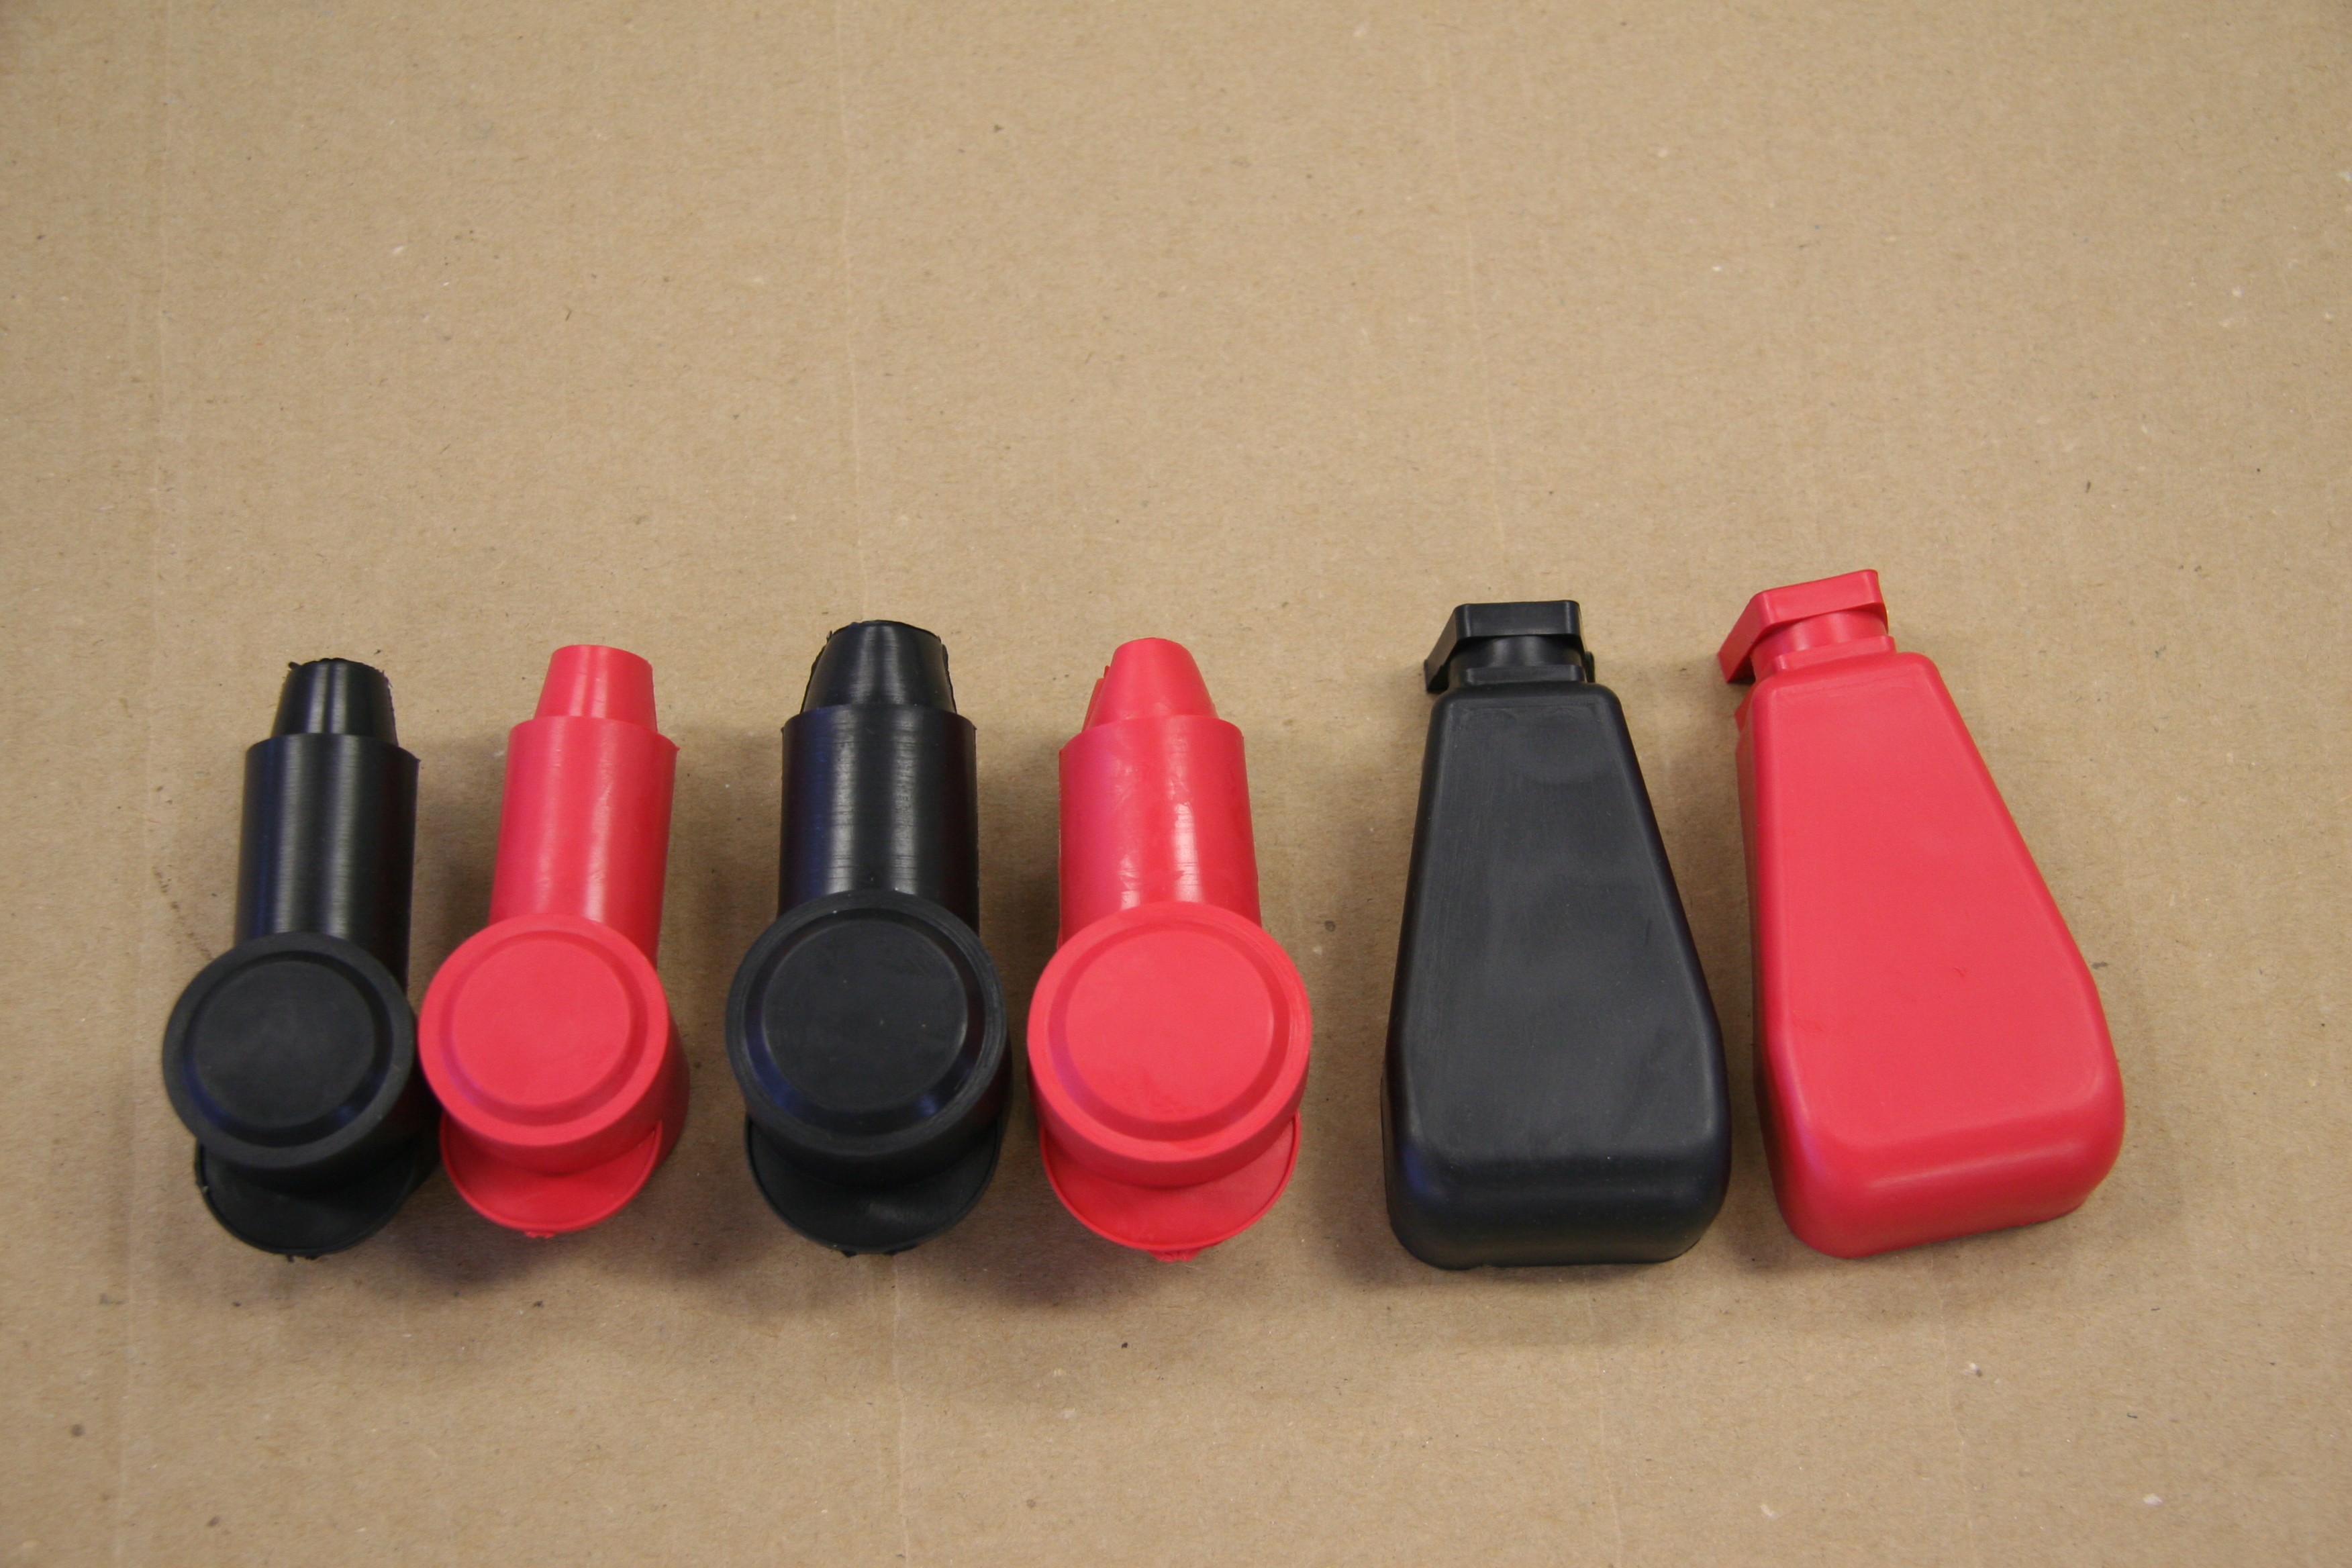
Battery Terminals and Lugs Rubber Covers
Battery Hold Down Mount
While the plastic box provided in the RetroAir kit would certainly work, it took up considerable space as well as not being very attractive – even if it does go in the boot! I chose to use a Billet Specialties product http://www.billetspecialties.com, part# 248910, that in my opinion is both attractive and space saving. I mounted this as far to the right side of the car as possible. The tray mounts to the boot floor with four 1/4″ – 24 x 1″ hex head stainless bolts, flat and shake proof washers.
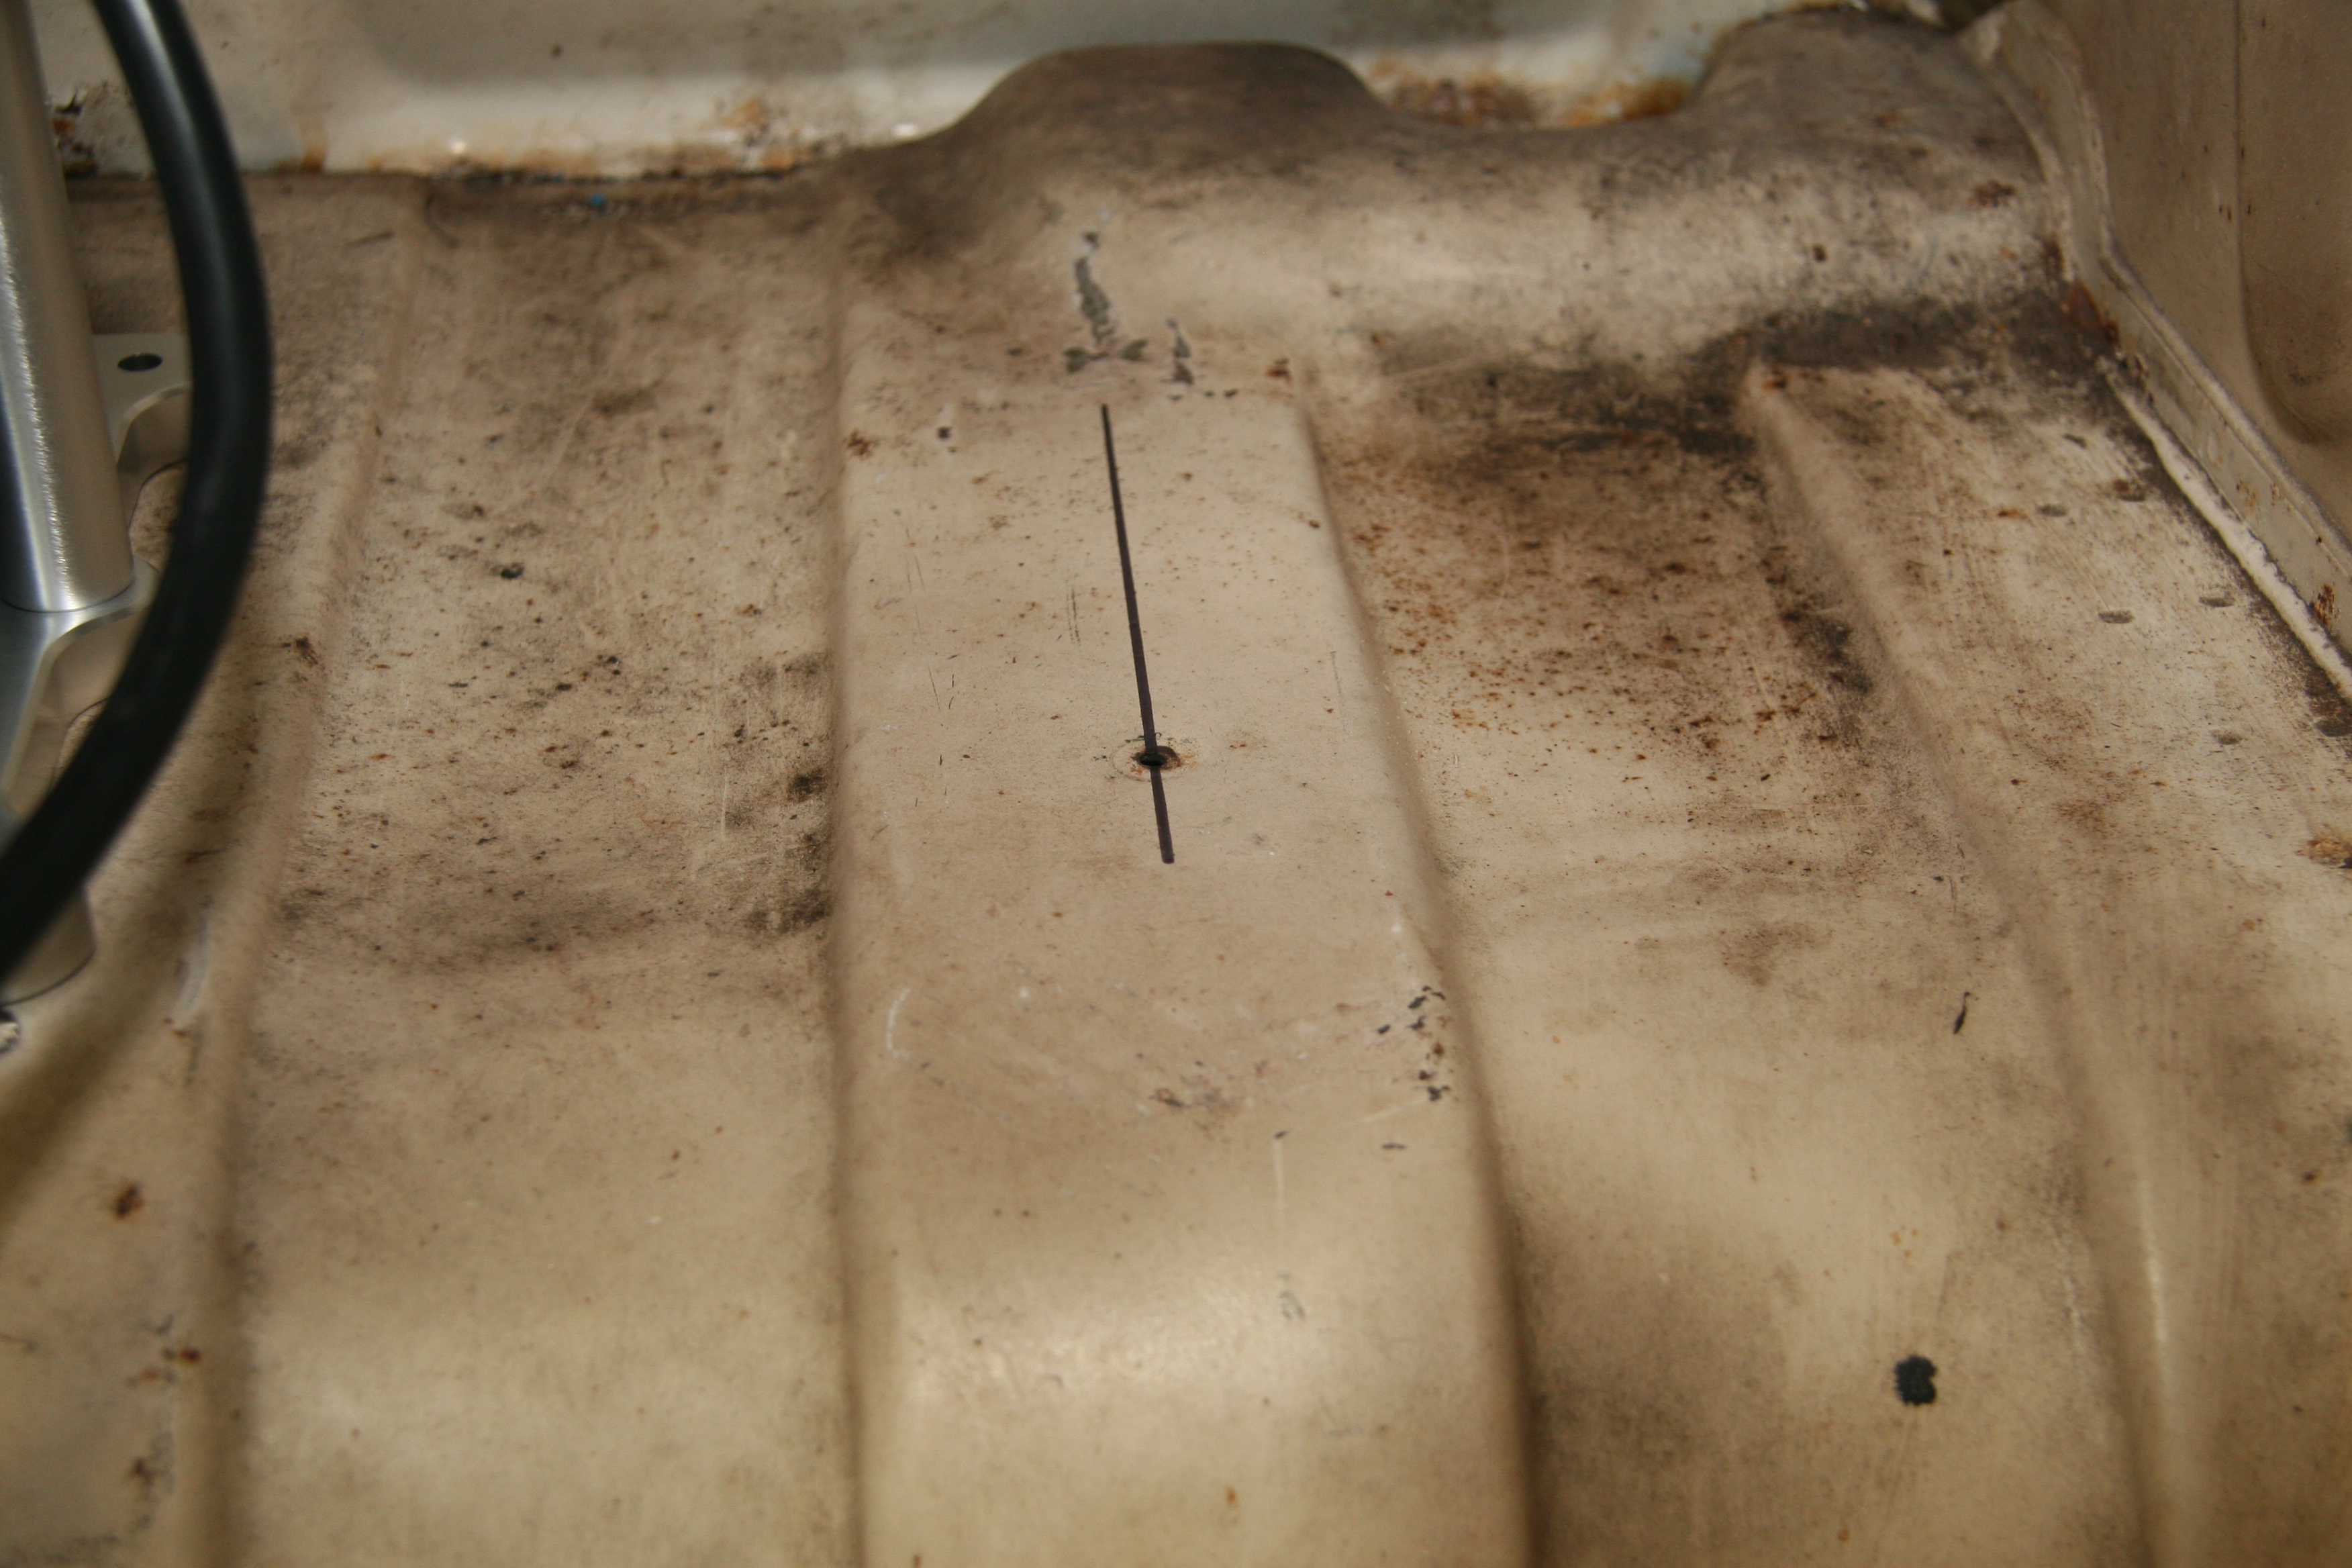
Markings to Locate Battery Tray
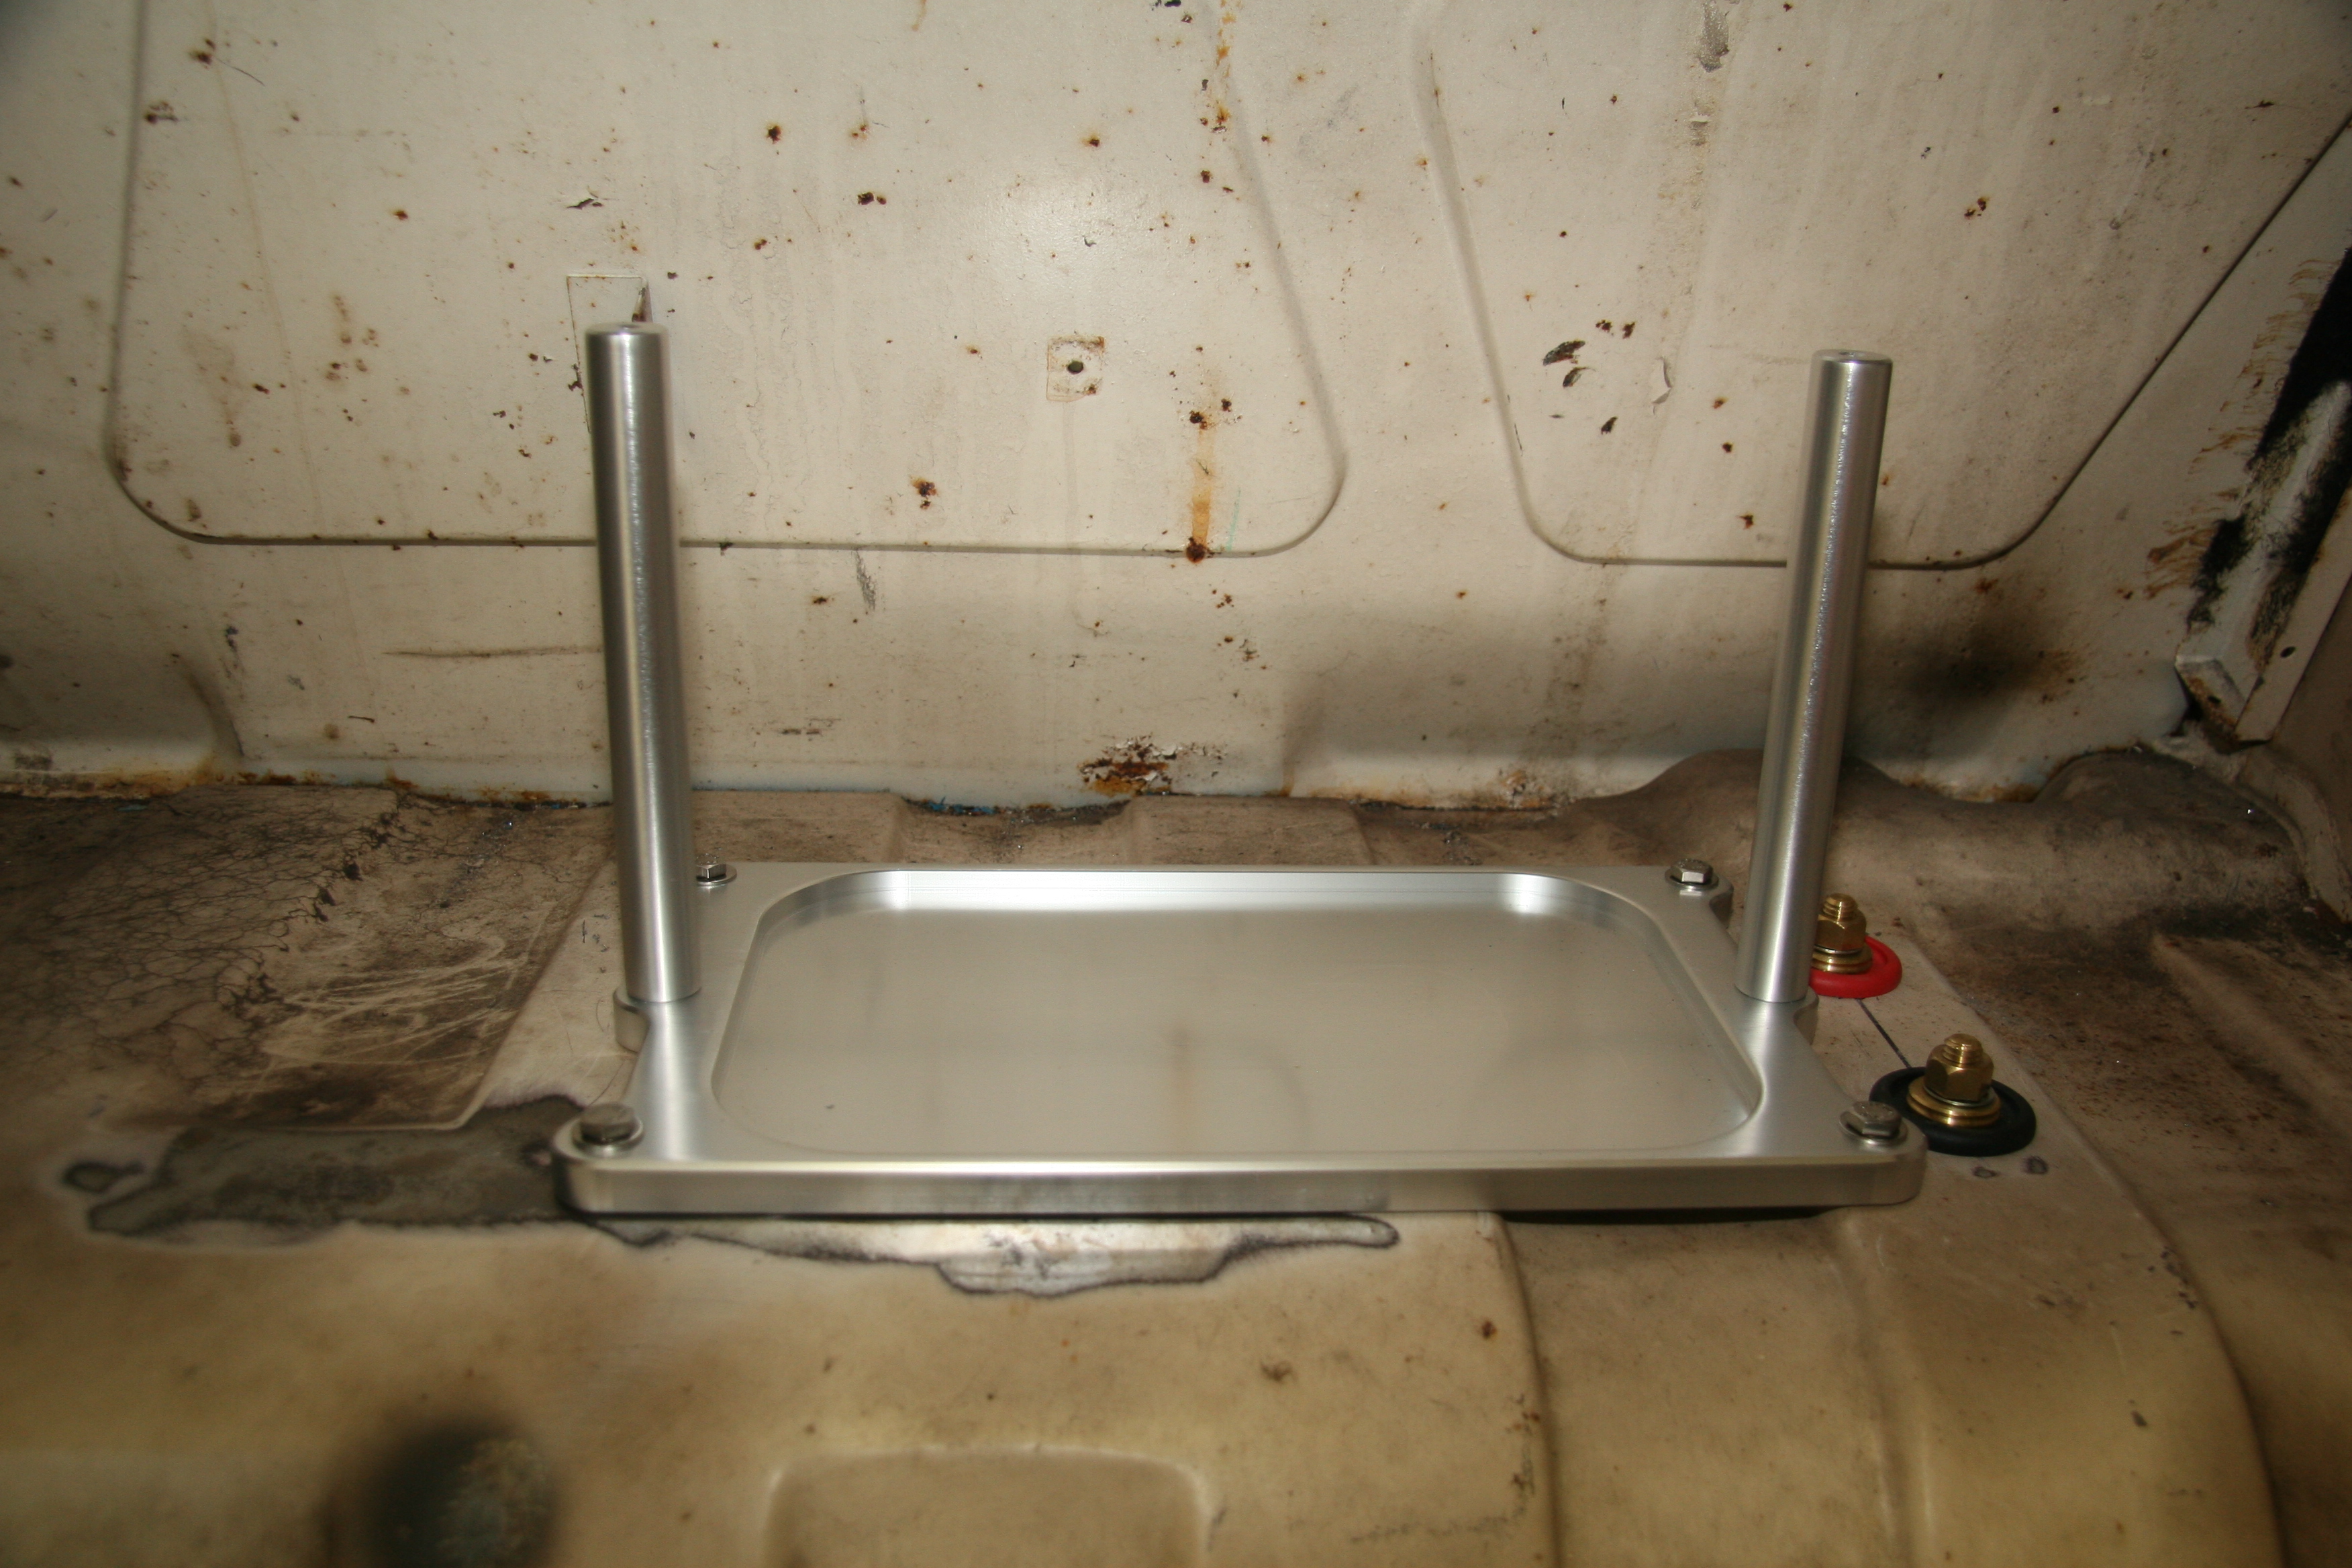
Billet Specialties Battery Tray Mounted
I intend to make a carpet-covered plywood panel to hide the rear compartment of the boot. Similar to this one:
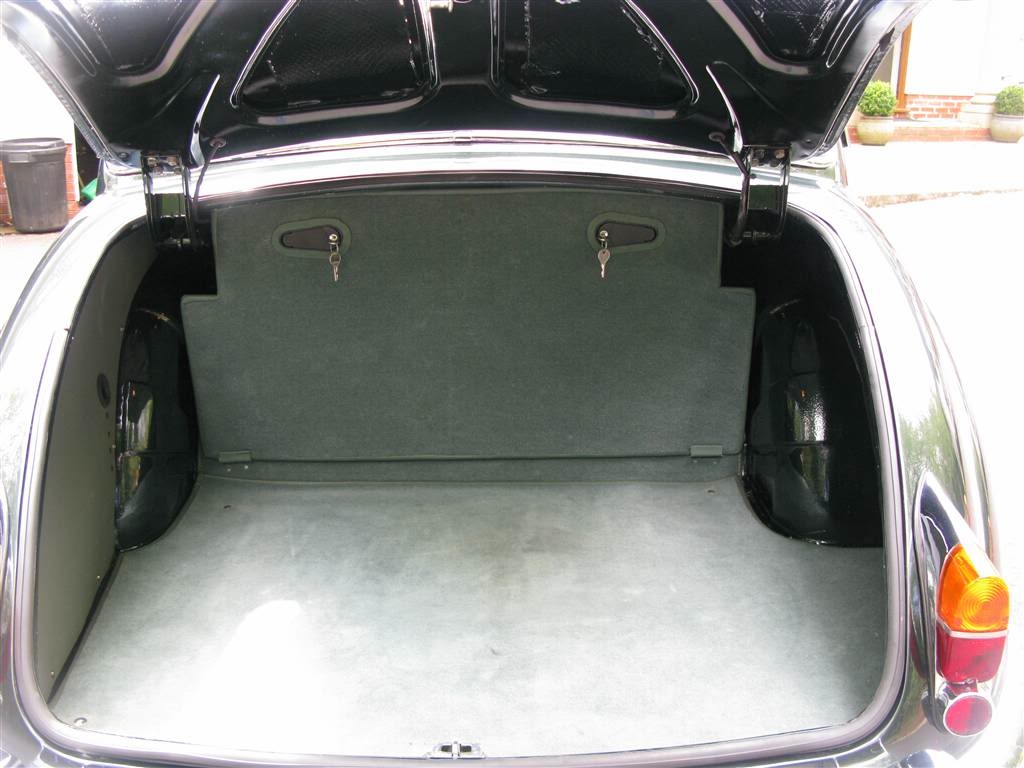
Boot Panel
Battery Isolator Switch
And, I will install a Waytek battery Isolator Switch with a detachable key, part# 44075, in the upper right corner of the panel. It certainly won’t stop professional car thieves but it does provide one more deterrent to the criminal. The lower photo shows the Optima Red Top battery (borrowed from my Austin Healey for fitting purposes) and the approximate location of the isolator switch. A 20″ red power lead part #35976 also from Waytek was used to provide the connection from the battery to the red lug. A 15″ black ground lead, part number 35965, was used to connect the battery to the black lug.
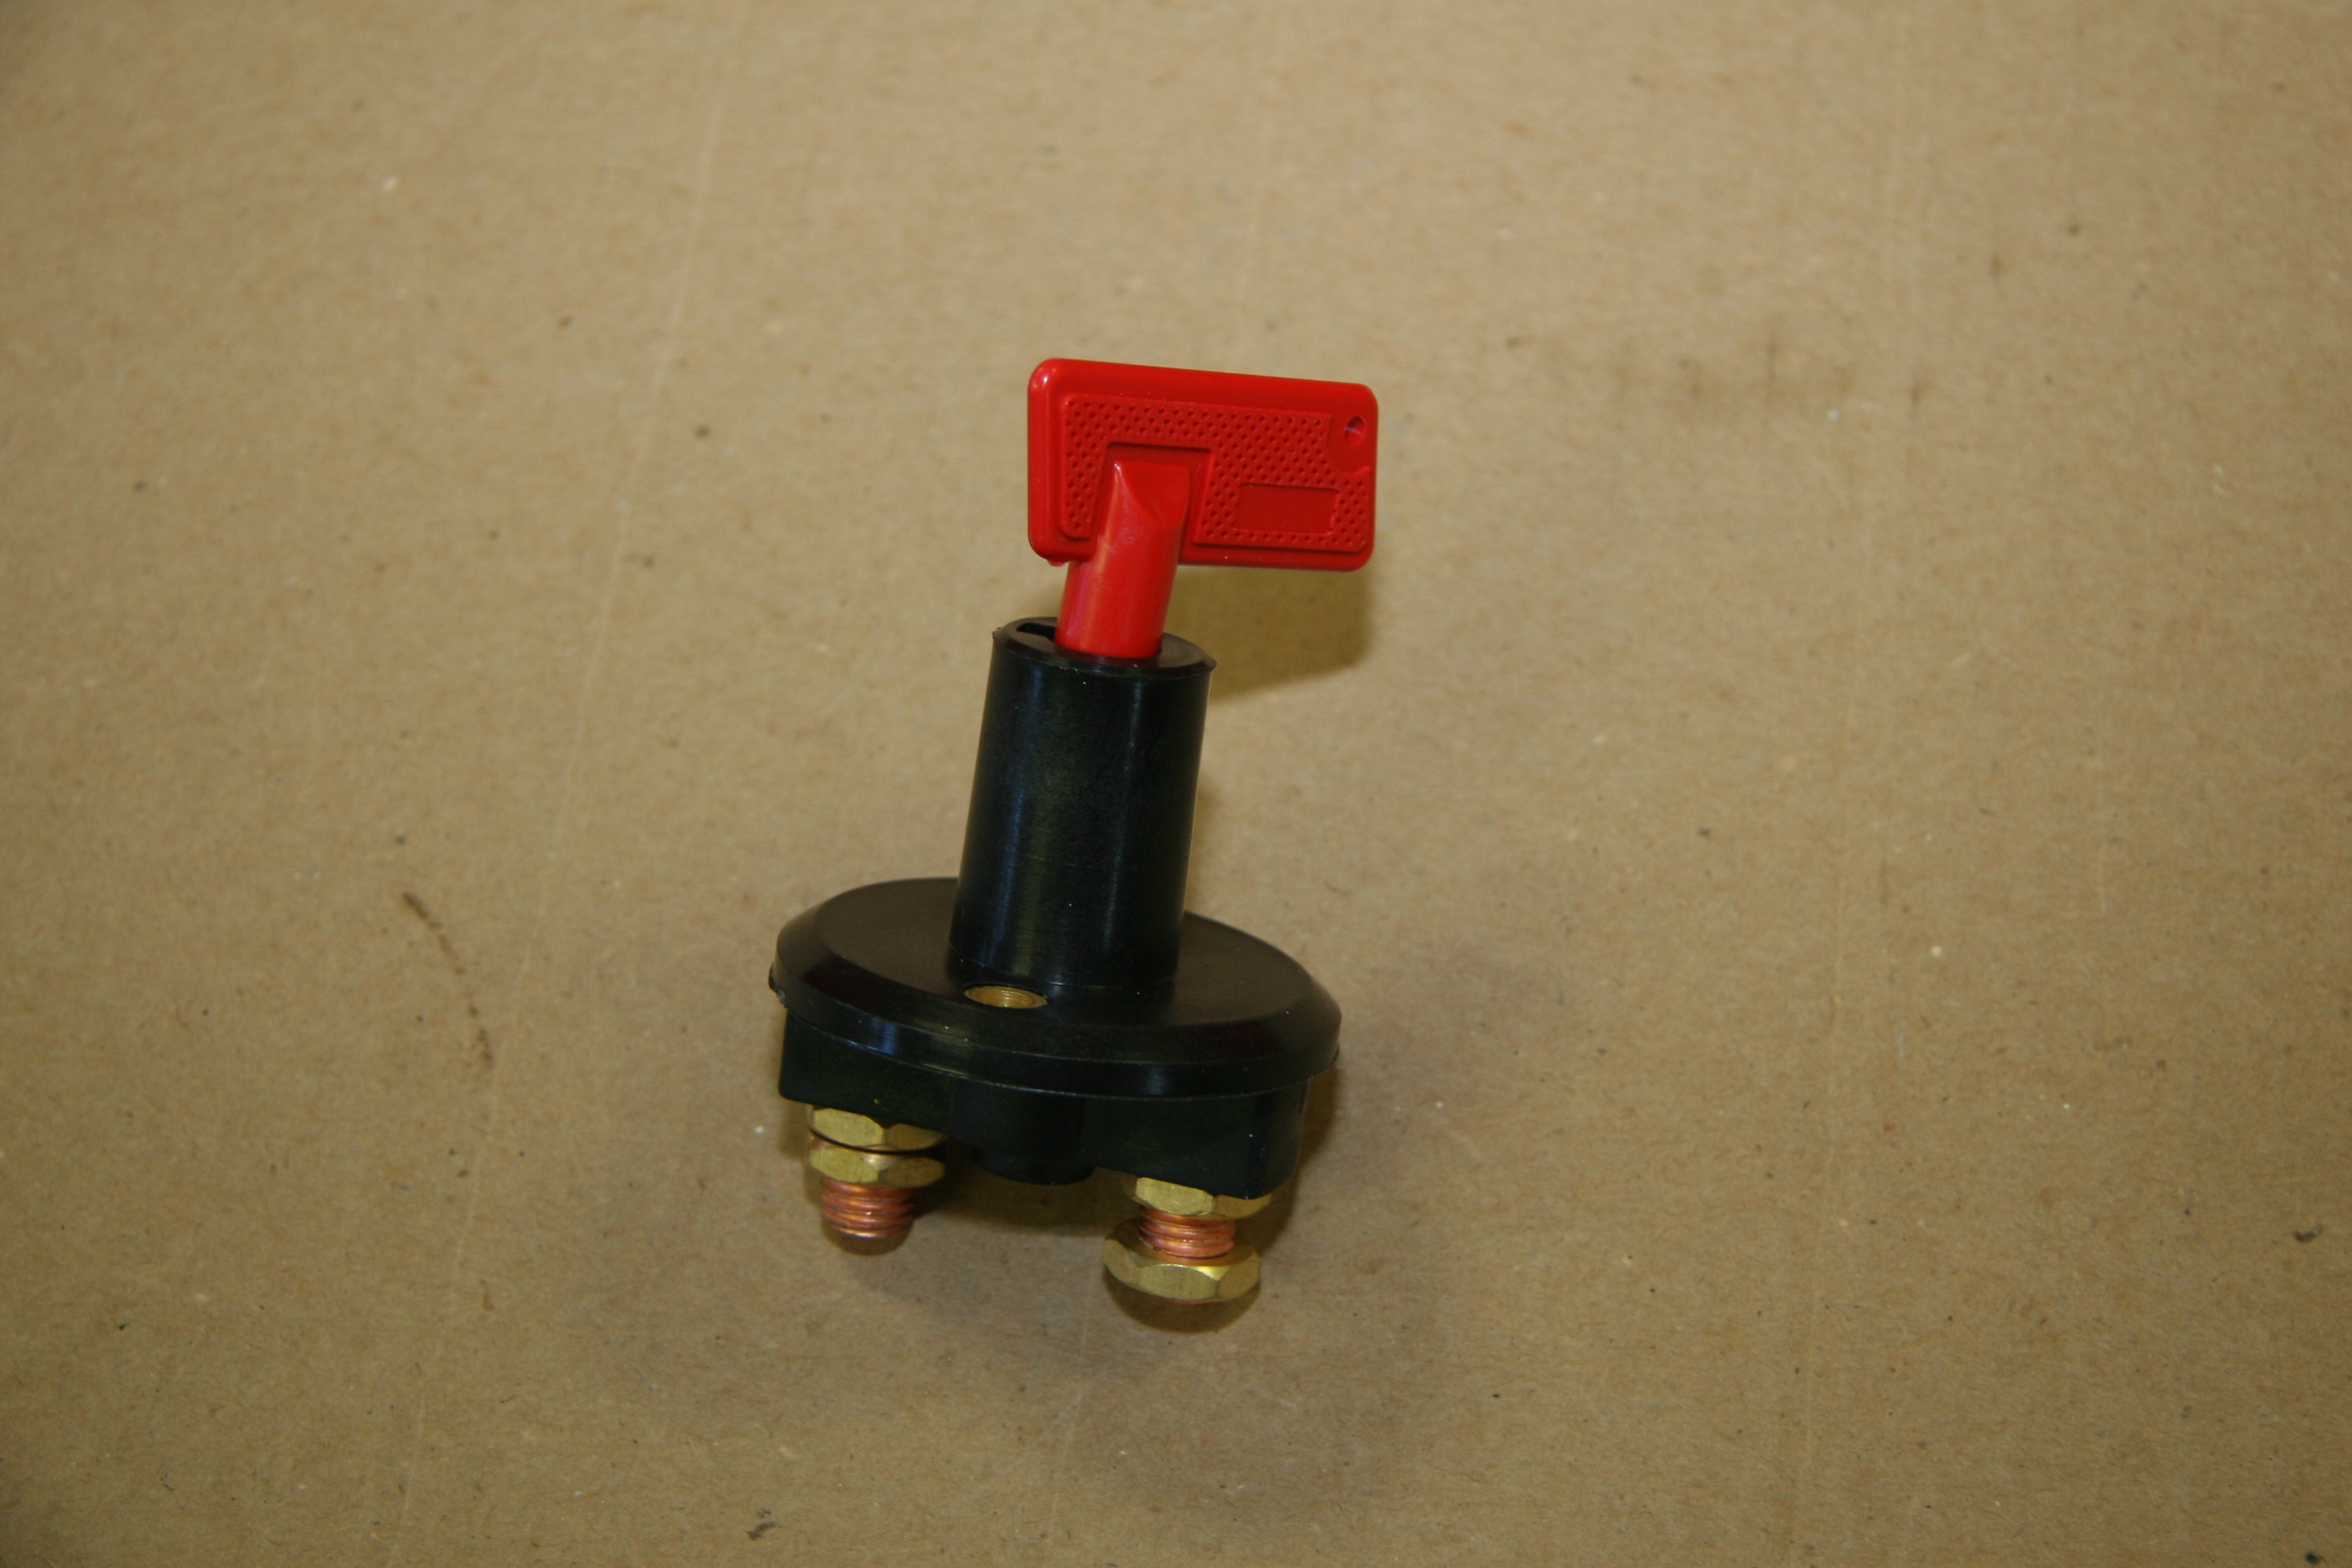
Waytek Battery Isolator Switch
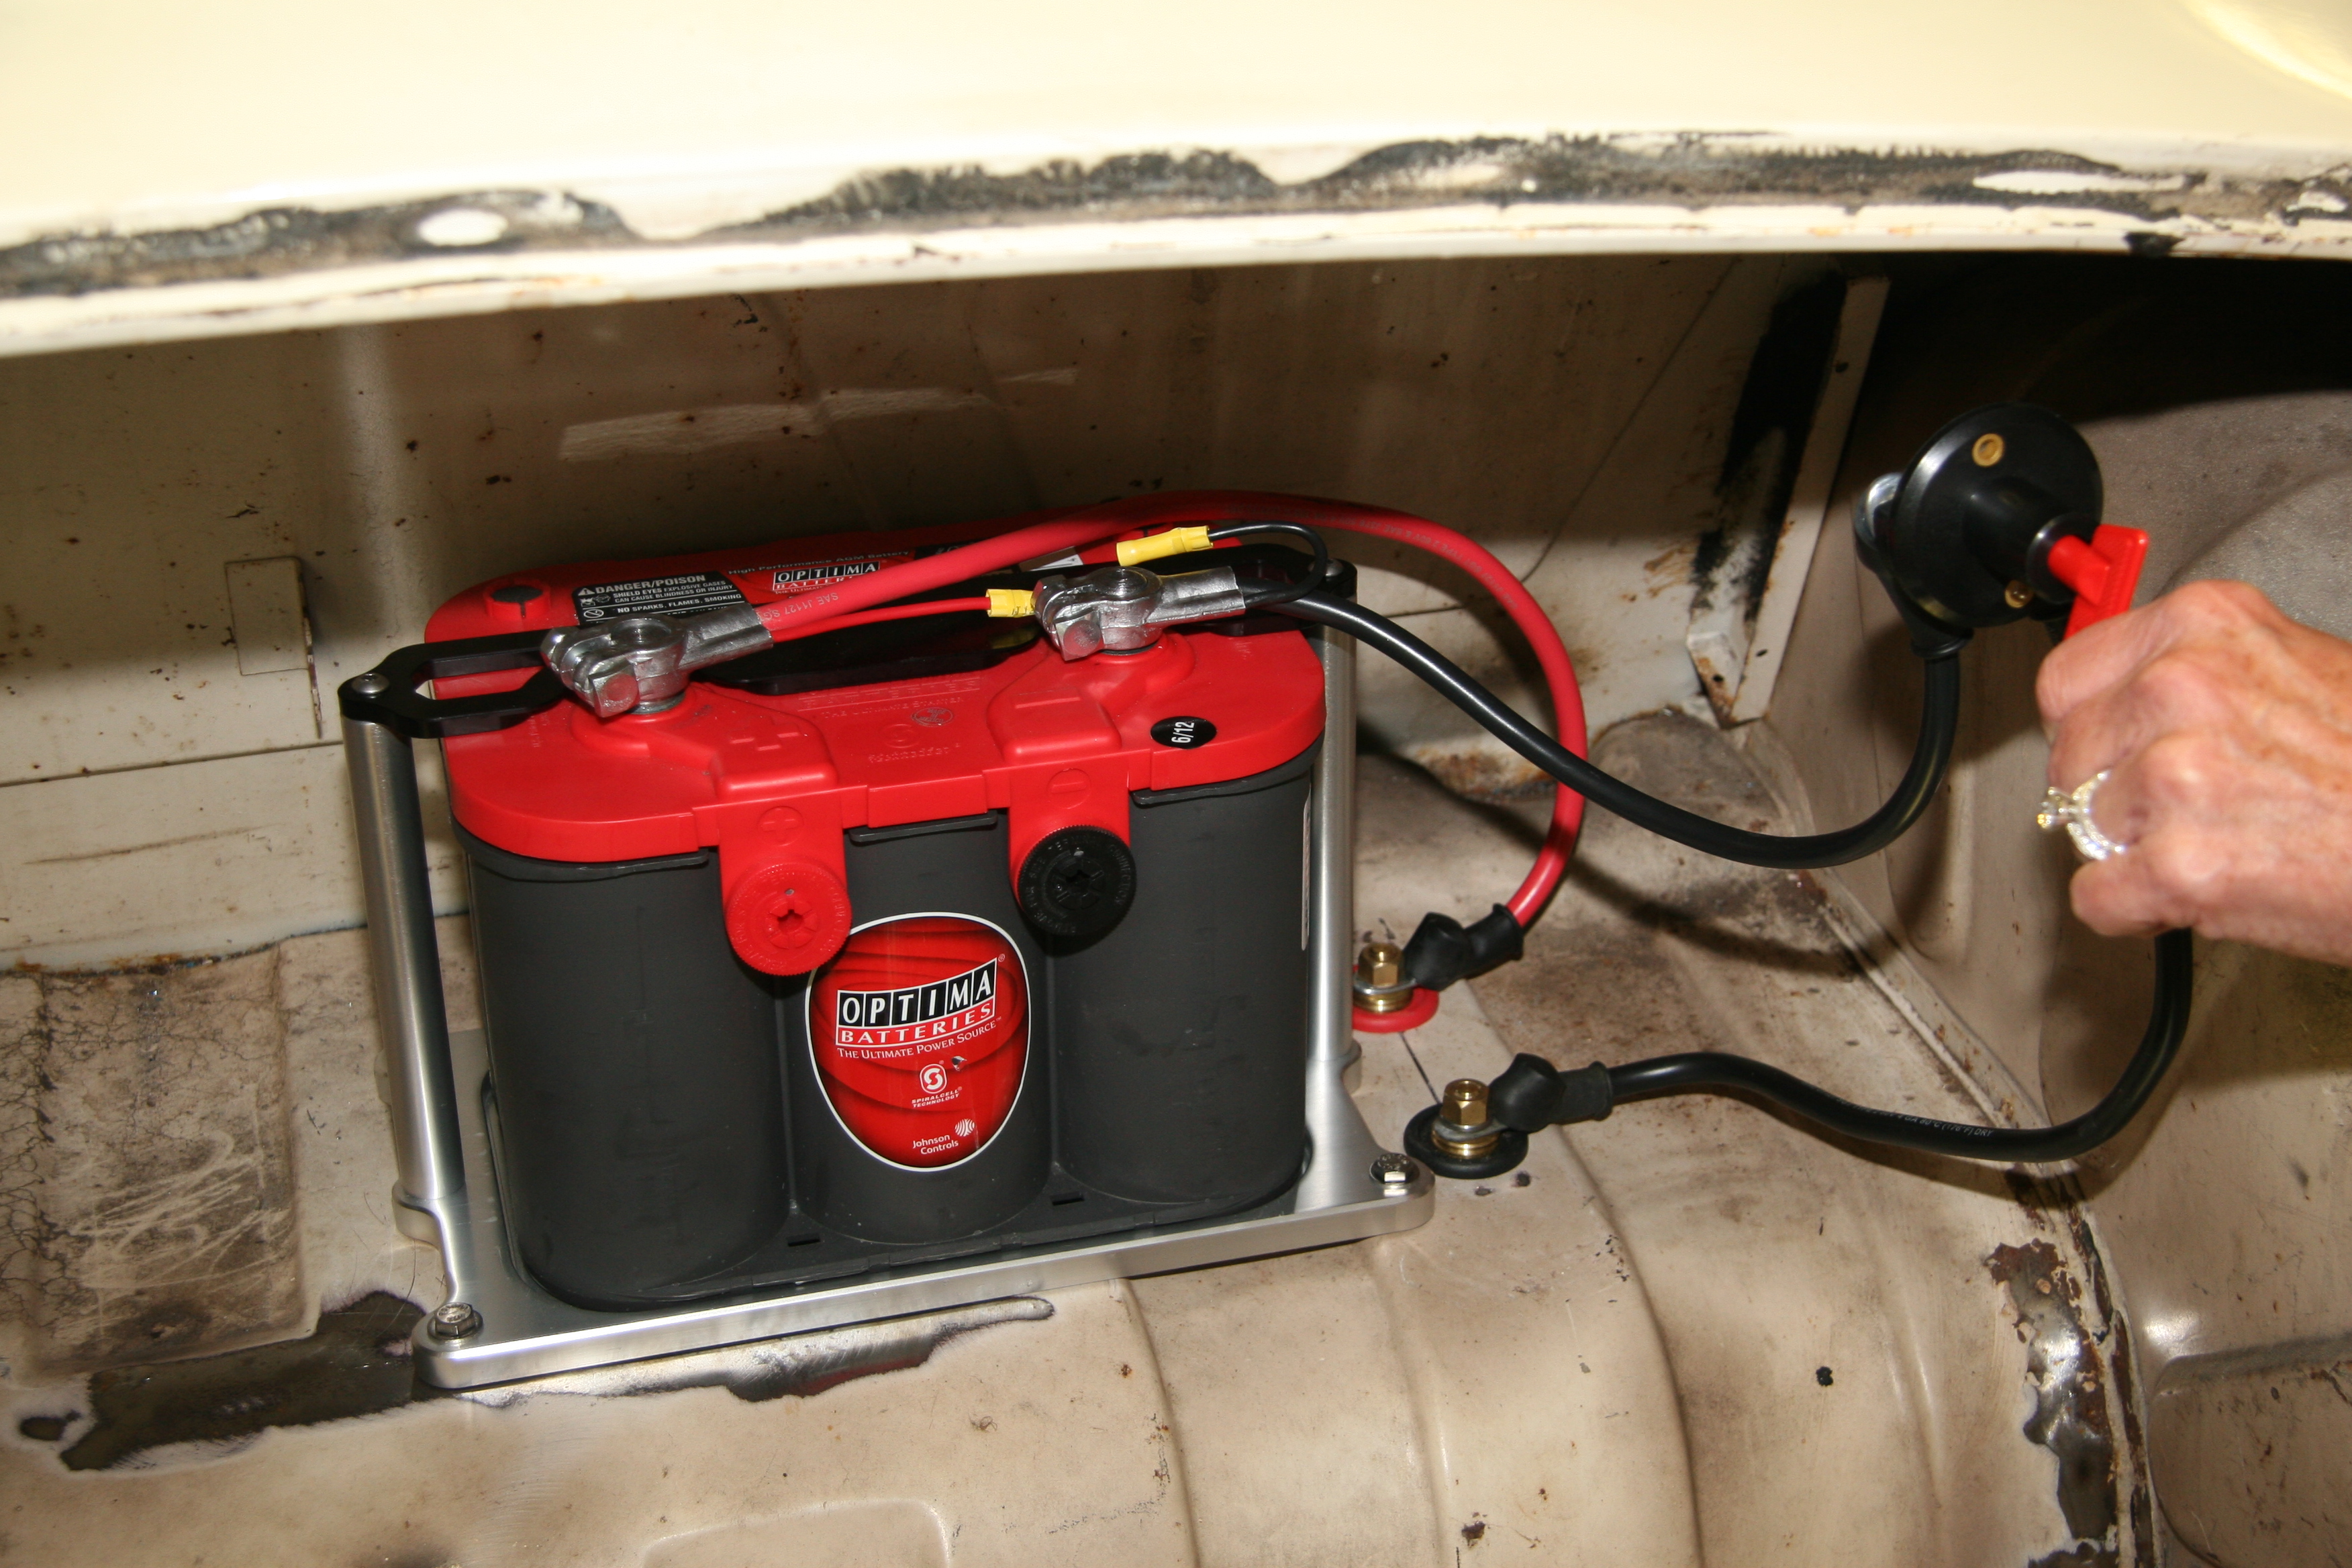
Battery Mounted with Isolator Switch
Battery Cable to the Engine Bay
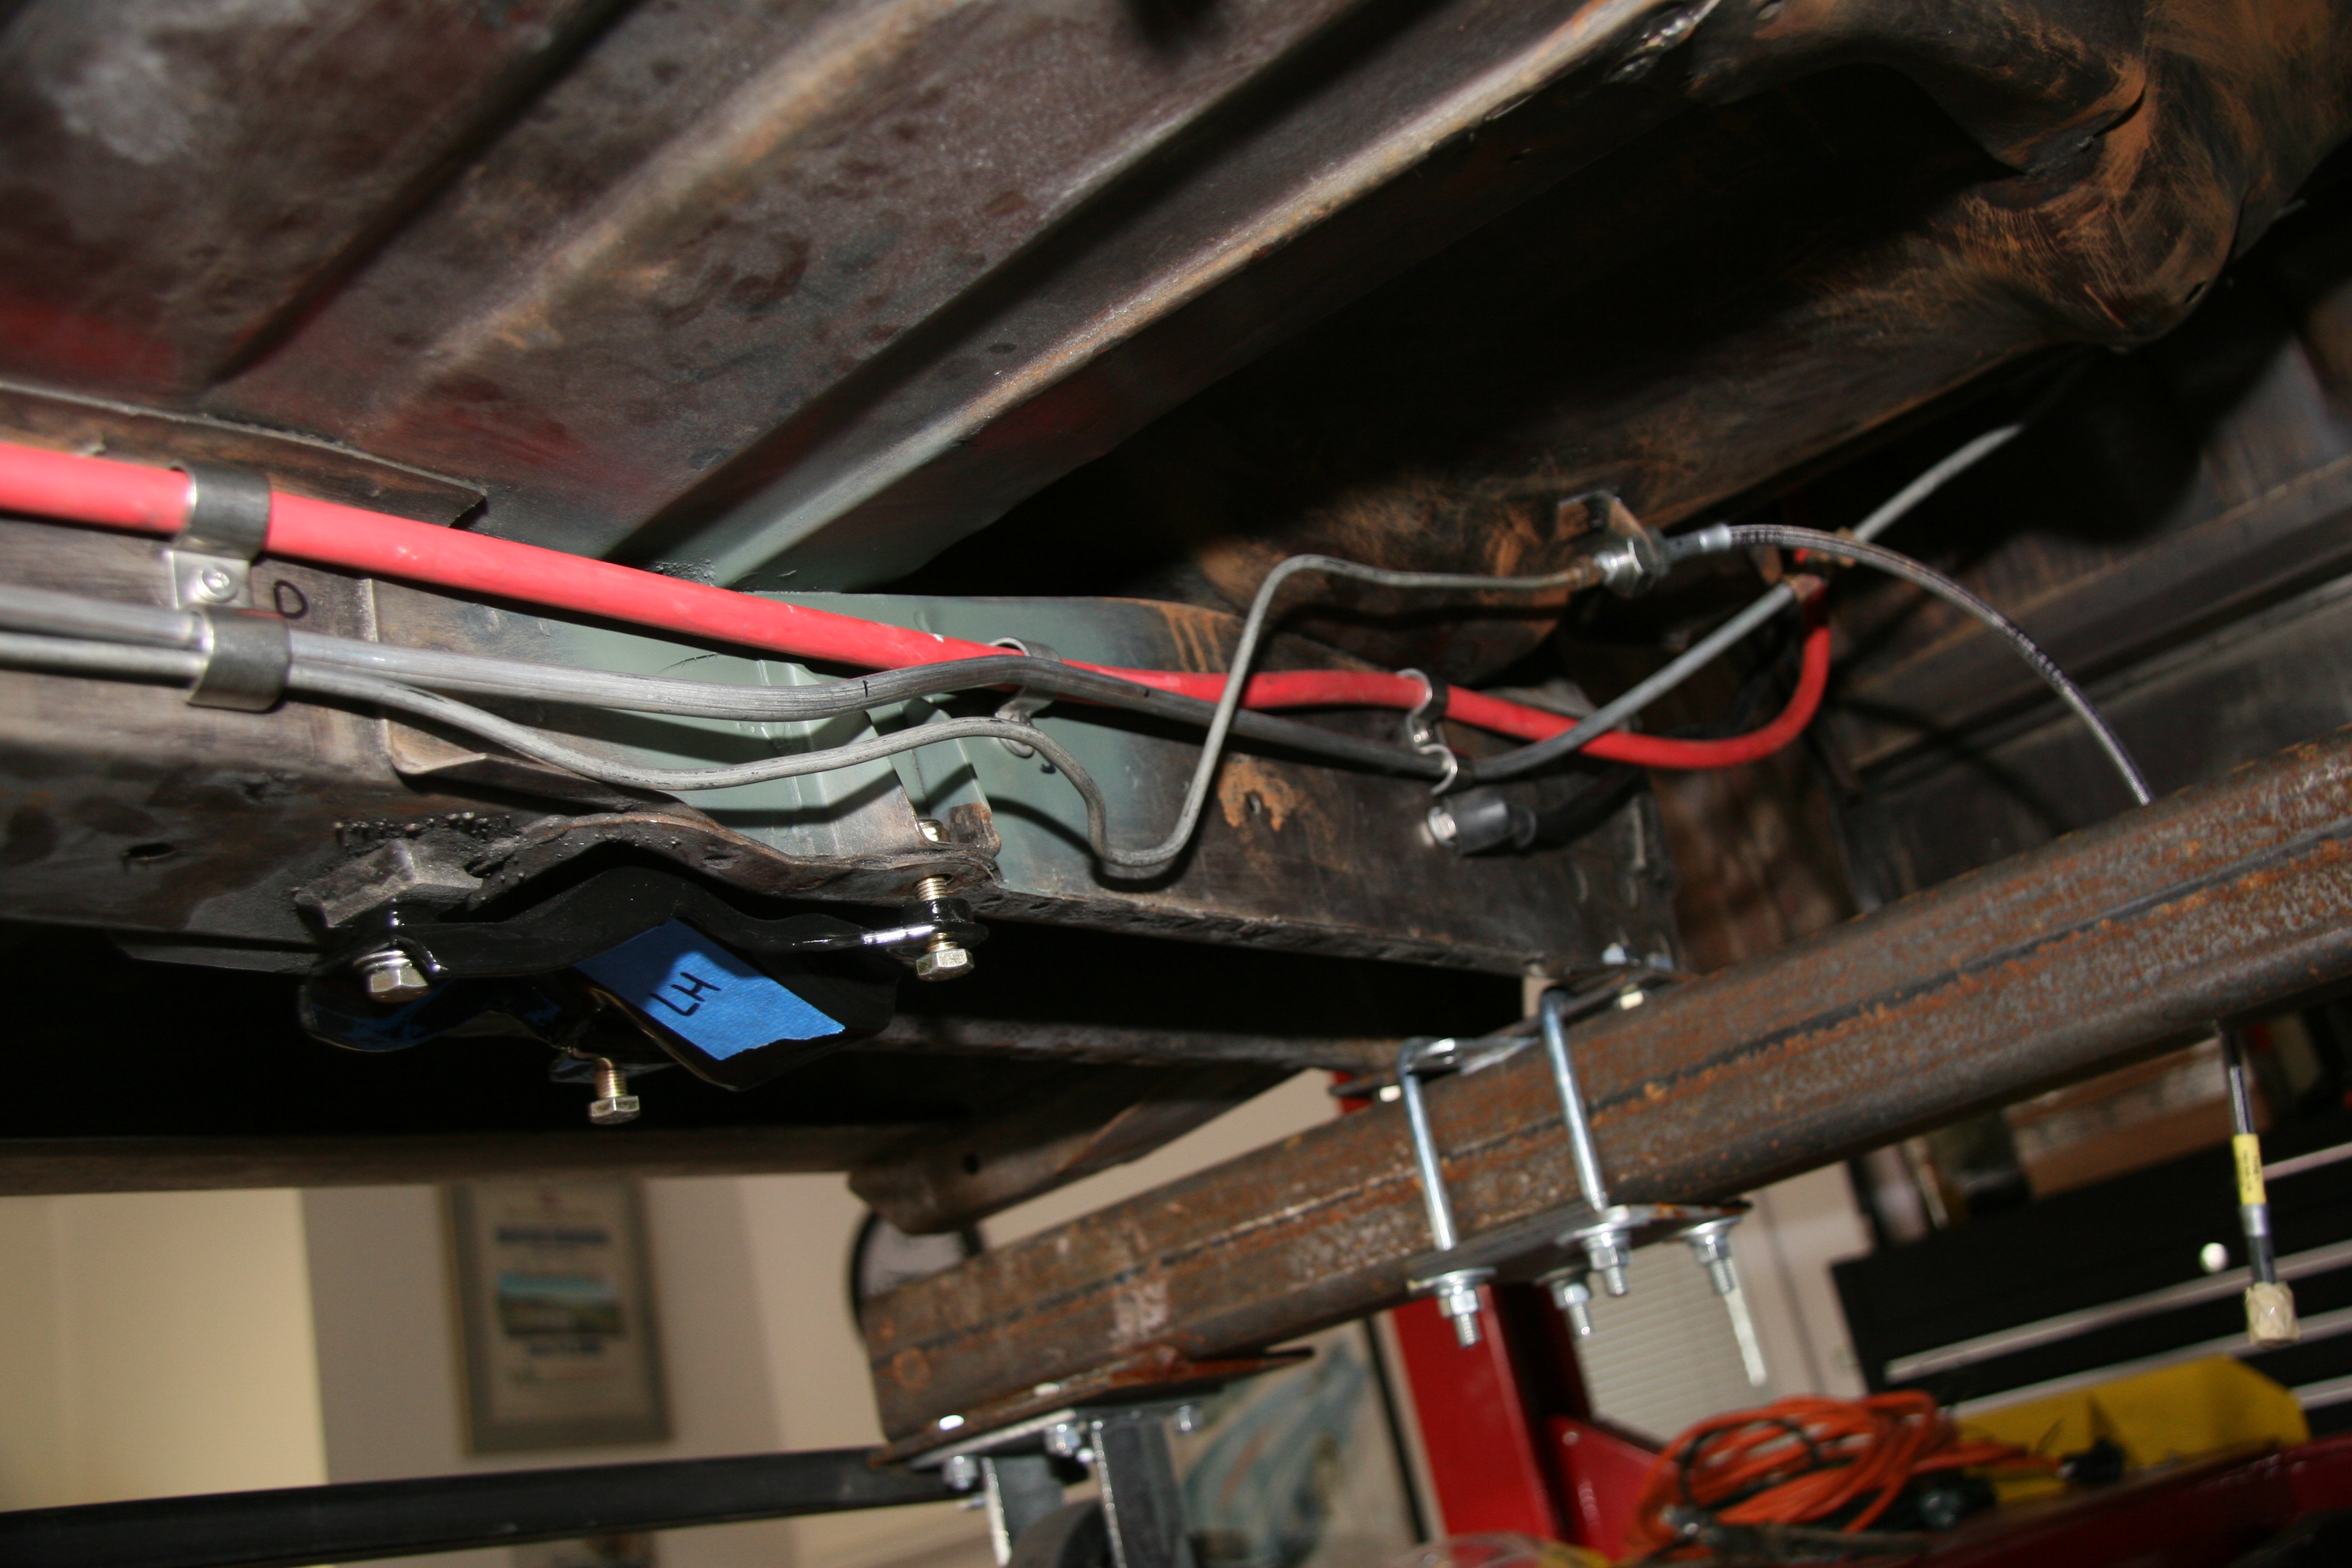
I debated about running the battery cable along the RH frame rail or to route the cable through the interior to the engine bay. I ultimately decided to mount it on the frame rail. The brake line to the rear axle and the fuel line from the fuel filter in the engine bay to the fuel pump also run along the RH frame rail.
I used a combination of single and double stainless steel clamps to secure the battery cable, brake line and fuel line to the frame. http://tinyurl.com/kuzn3k8 The upper clip was used for the battery cable and the fuel and brake lines were housed in the lower clip.
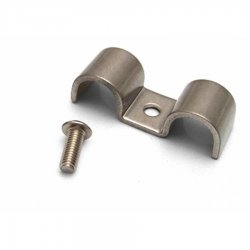
Double Line Clamp
I used #10-24 rivet nuts or nut serts set into the frame rail to attach the clamps. The rivets require a 19/64″ hole in the metal stock and conveniently the holes already in the frame for the original brake/fuel line spring clips were that size of at east very close to it. This meant that I did not have to drill any new holes. The rivet nuts are easy to install using an inexpensive little tool. The nuts are screwed on to the threaded rod and inserted into the frame hole. One holds the larger nut (7/8″) stationary while tightening the outside smaller (11/16″) nut. This pulls the nut firmly against the frame rail creating essentially a captive nut.
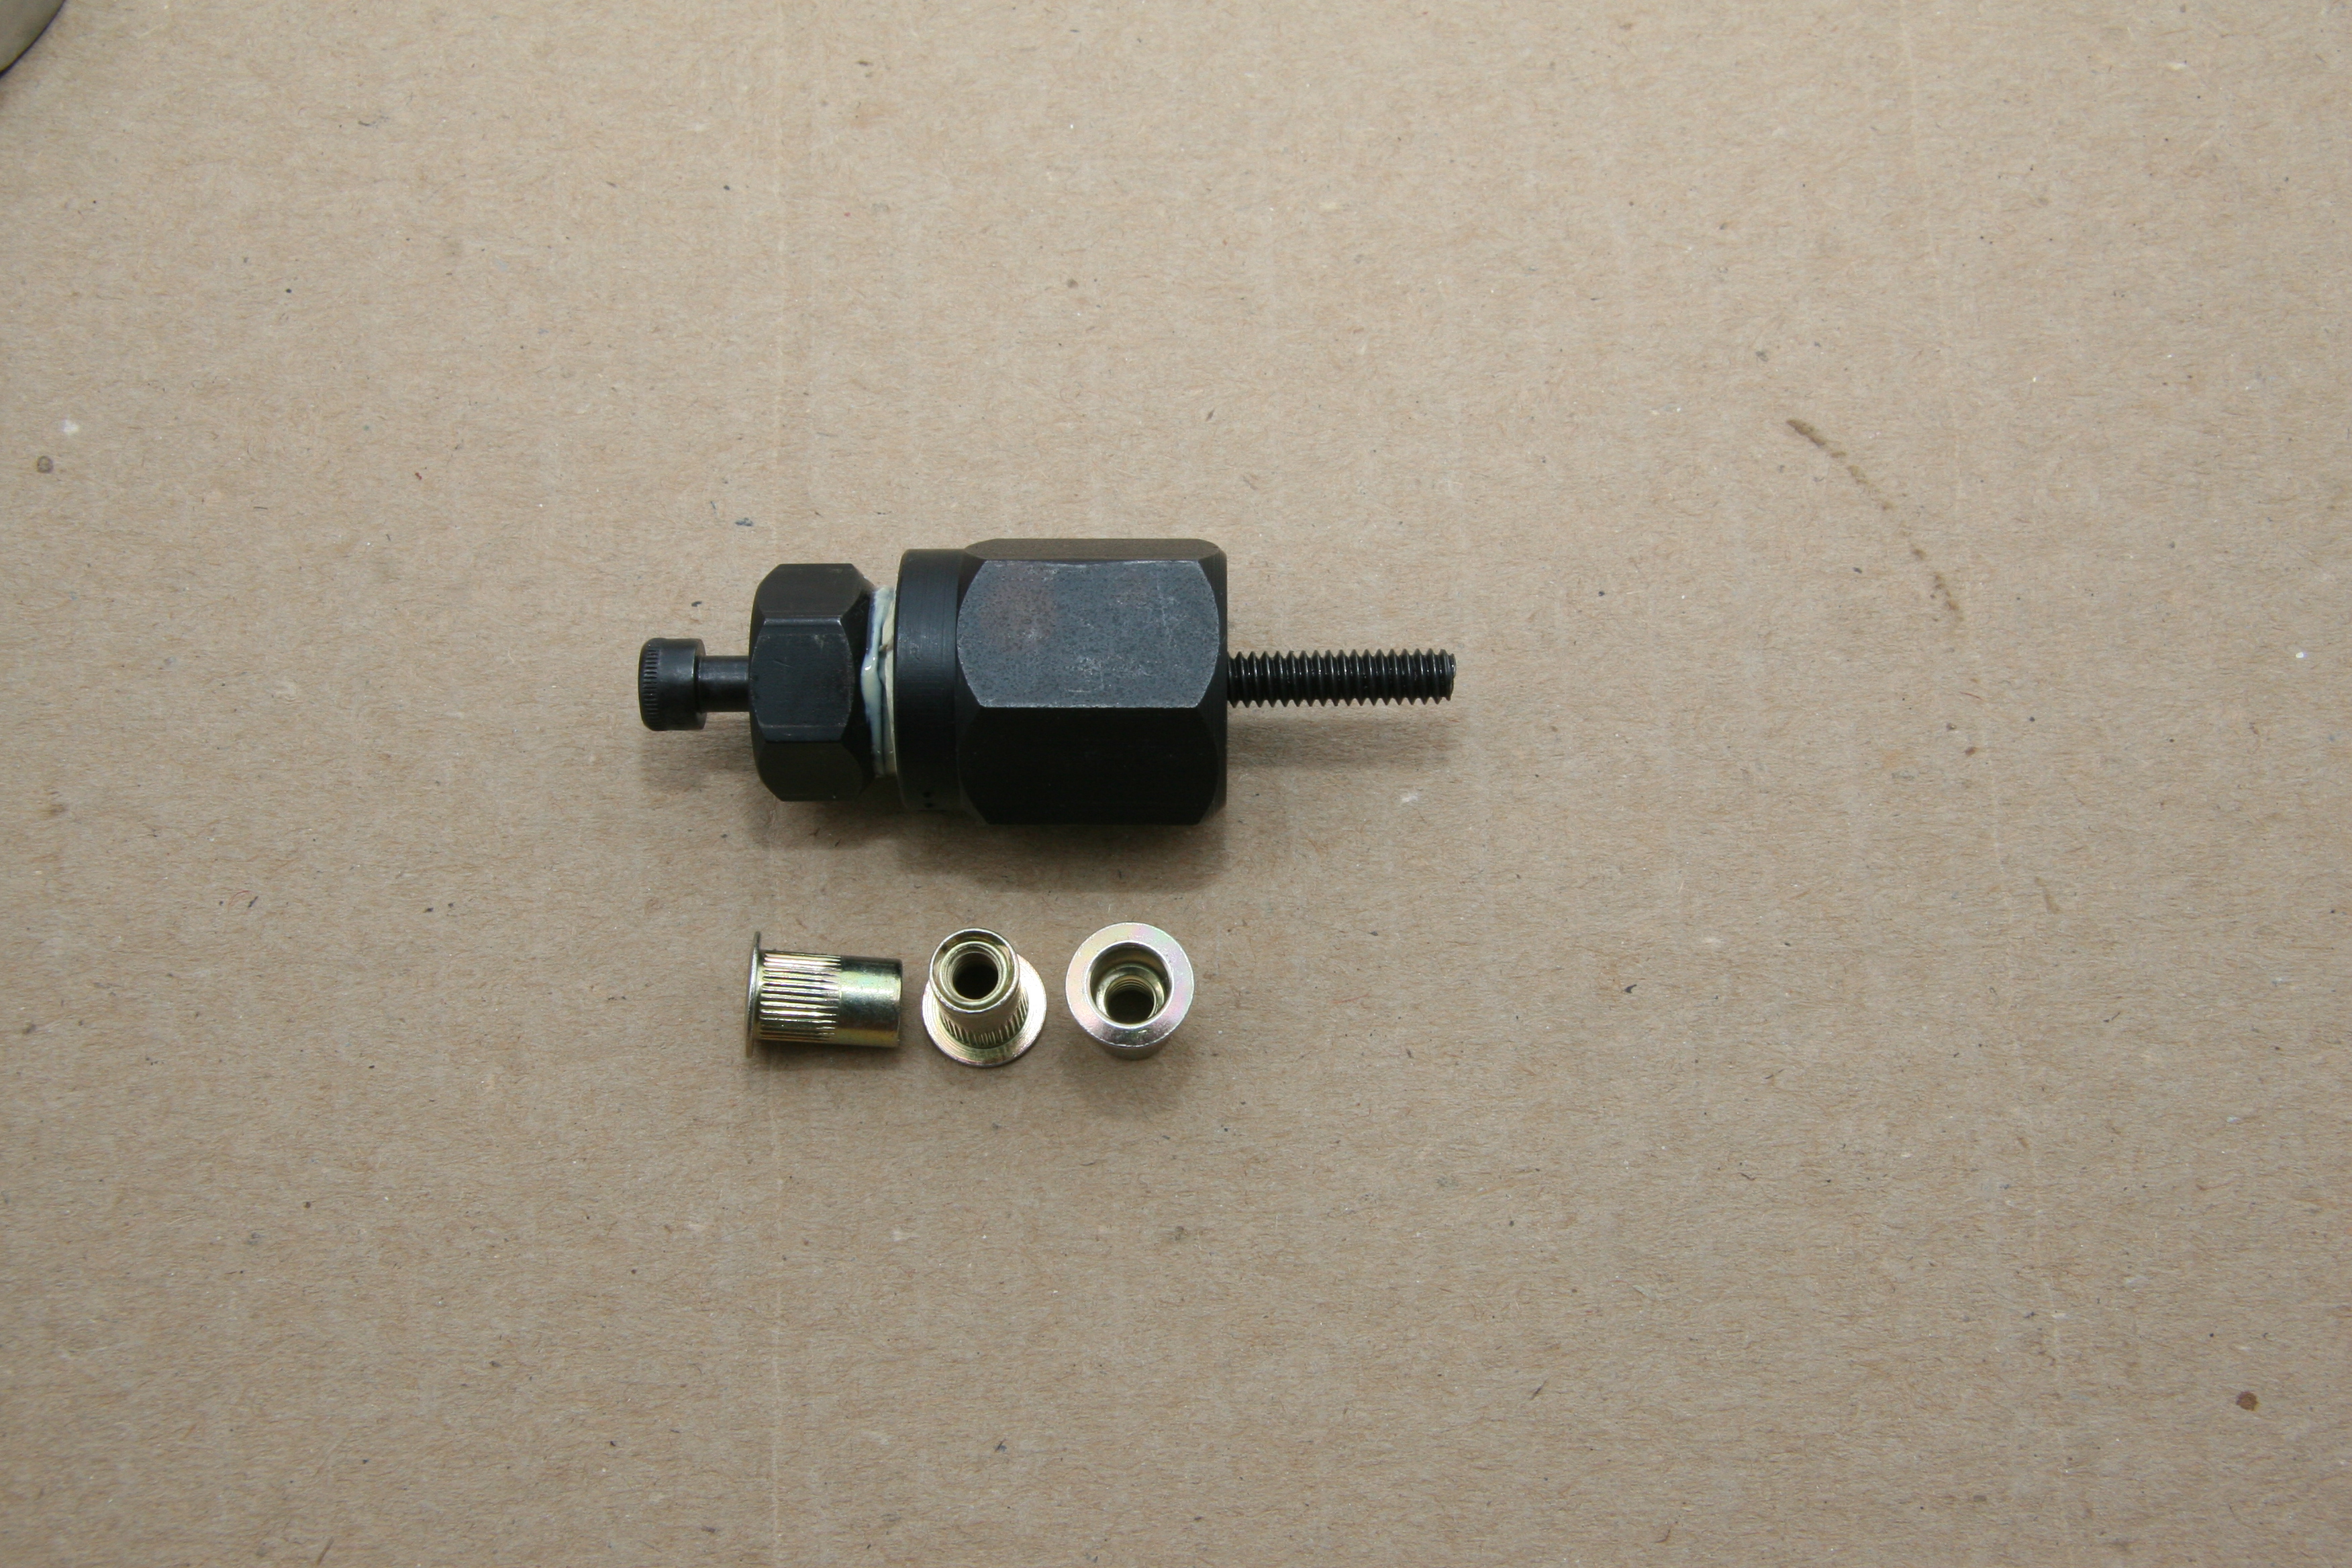
Rivet Nuts and Tool

#10-24 Rivet nut installed in frame
The following images show the installation of the cable and brake/fuel lines. The battery cables runs from the lugs below the boot floor. the black ground cable is securely bolted to the frame while the red cable runs to the engine bay.
Wiring From Battery Lugs
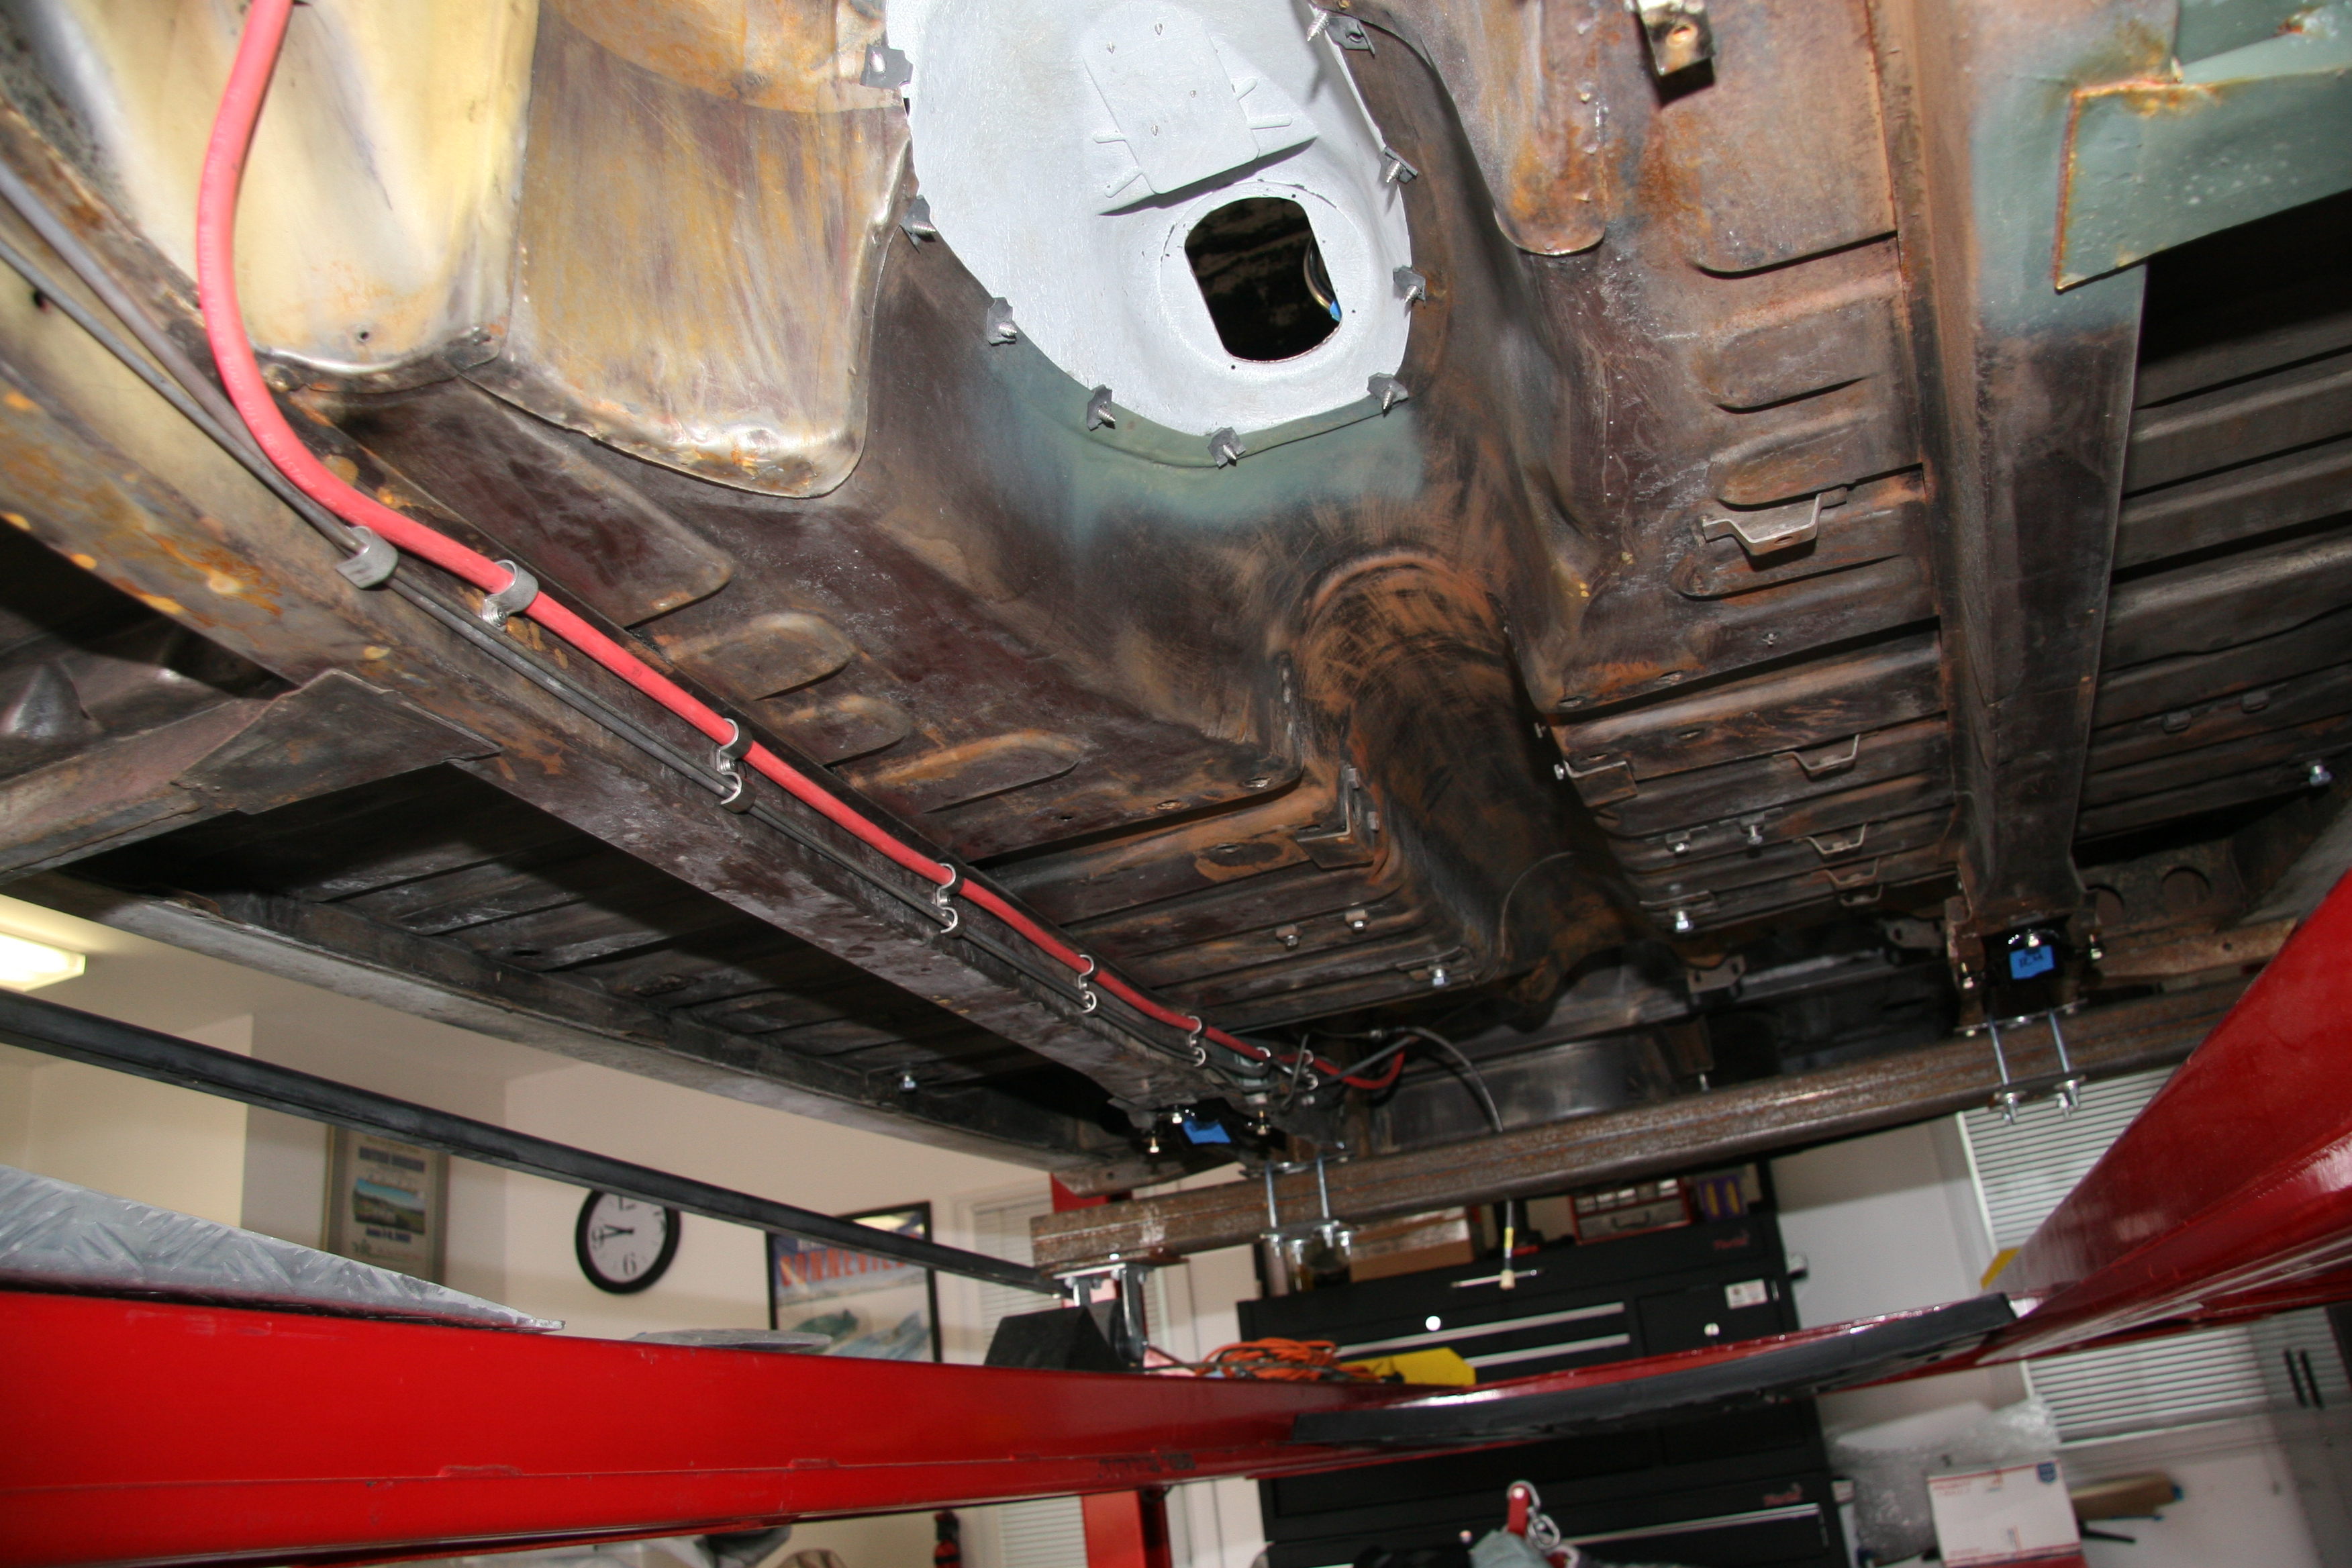
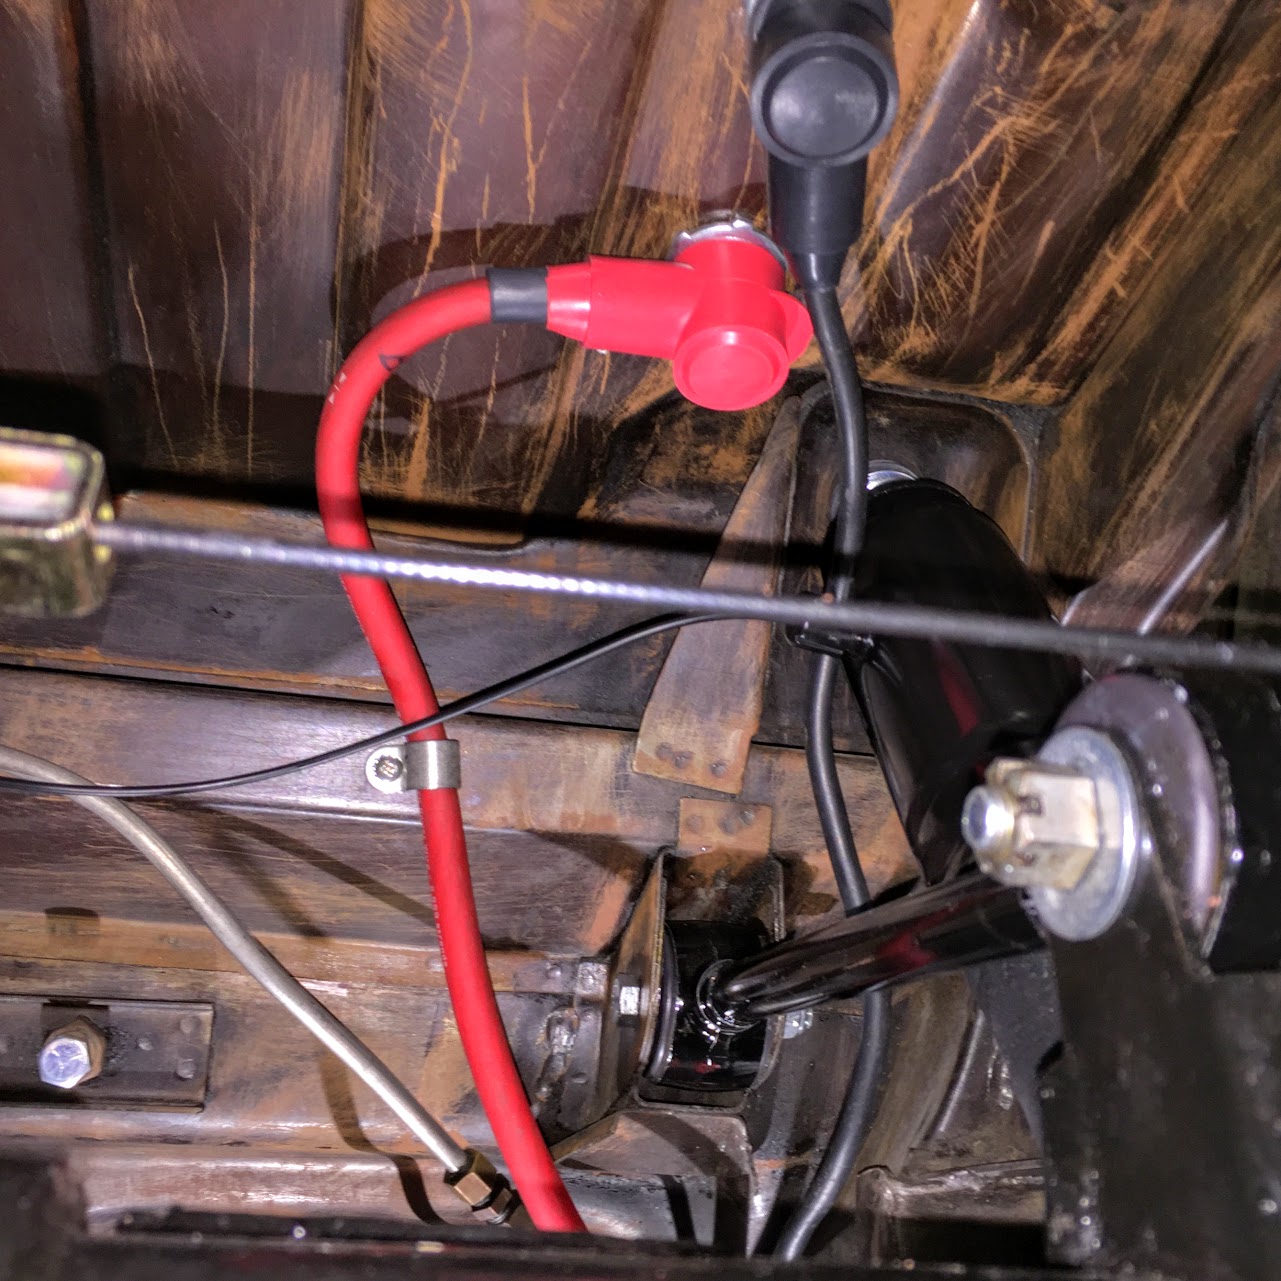
I left some slack in the cables because I still need to install the rear suspension torque arm and panhard rod which may require moving the cables a bit.
Spaghetti?
Battery Cable Routing from Rear Lugs to Starter Solenoid
I will cut the cable to the desired length, solder a terminal on the end and mount it on the rear-most solenoid terminal post after more engine bay items are mounted.

Battery Cable Routed from Boot to Starter solenoid
The image below shows the battery cable trimmed to the proper length, covered with Techflex F6 wire sheathing and mounted to the front-most post on the starter solenoid. The cable to the starter is mounted to the rear-most post on the starter solenoid. Total cable length was about 150 inches.
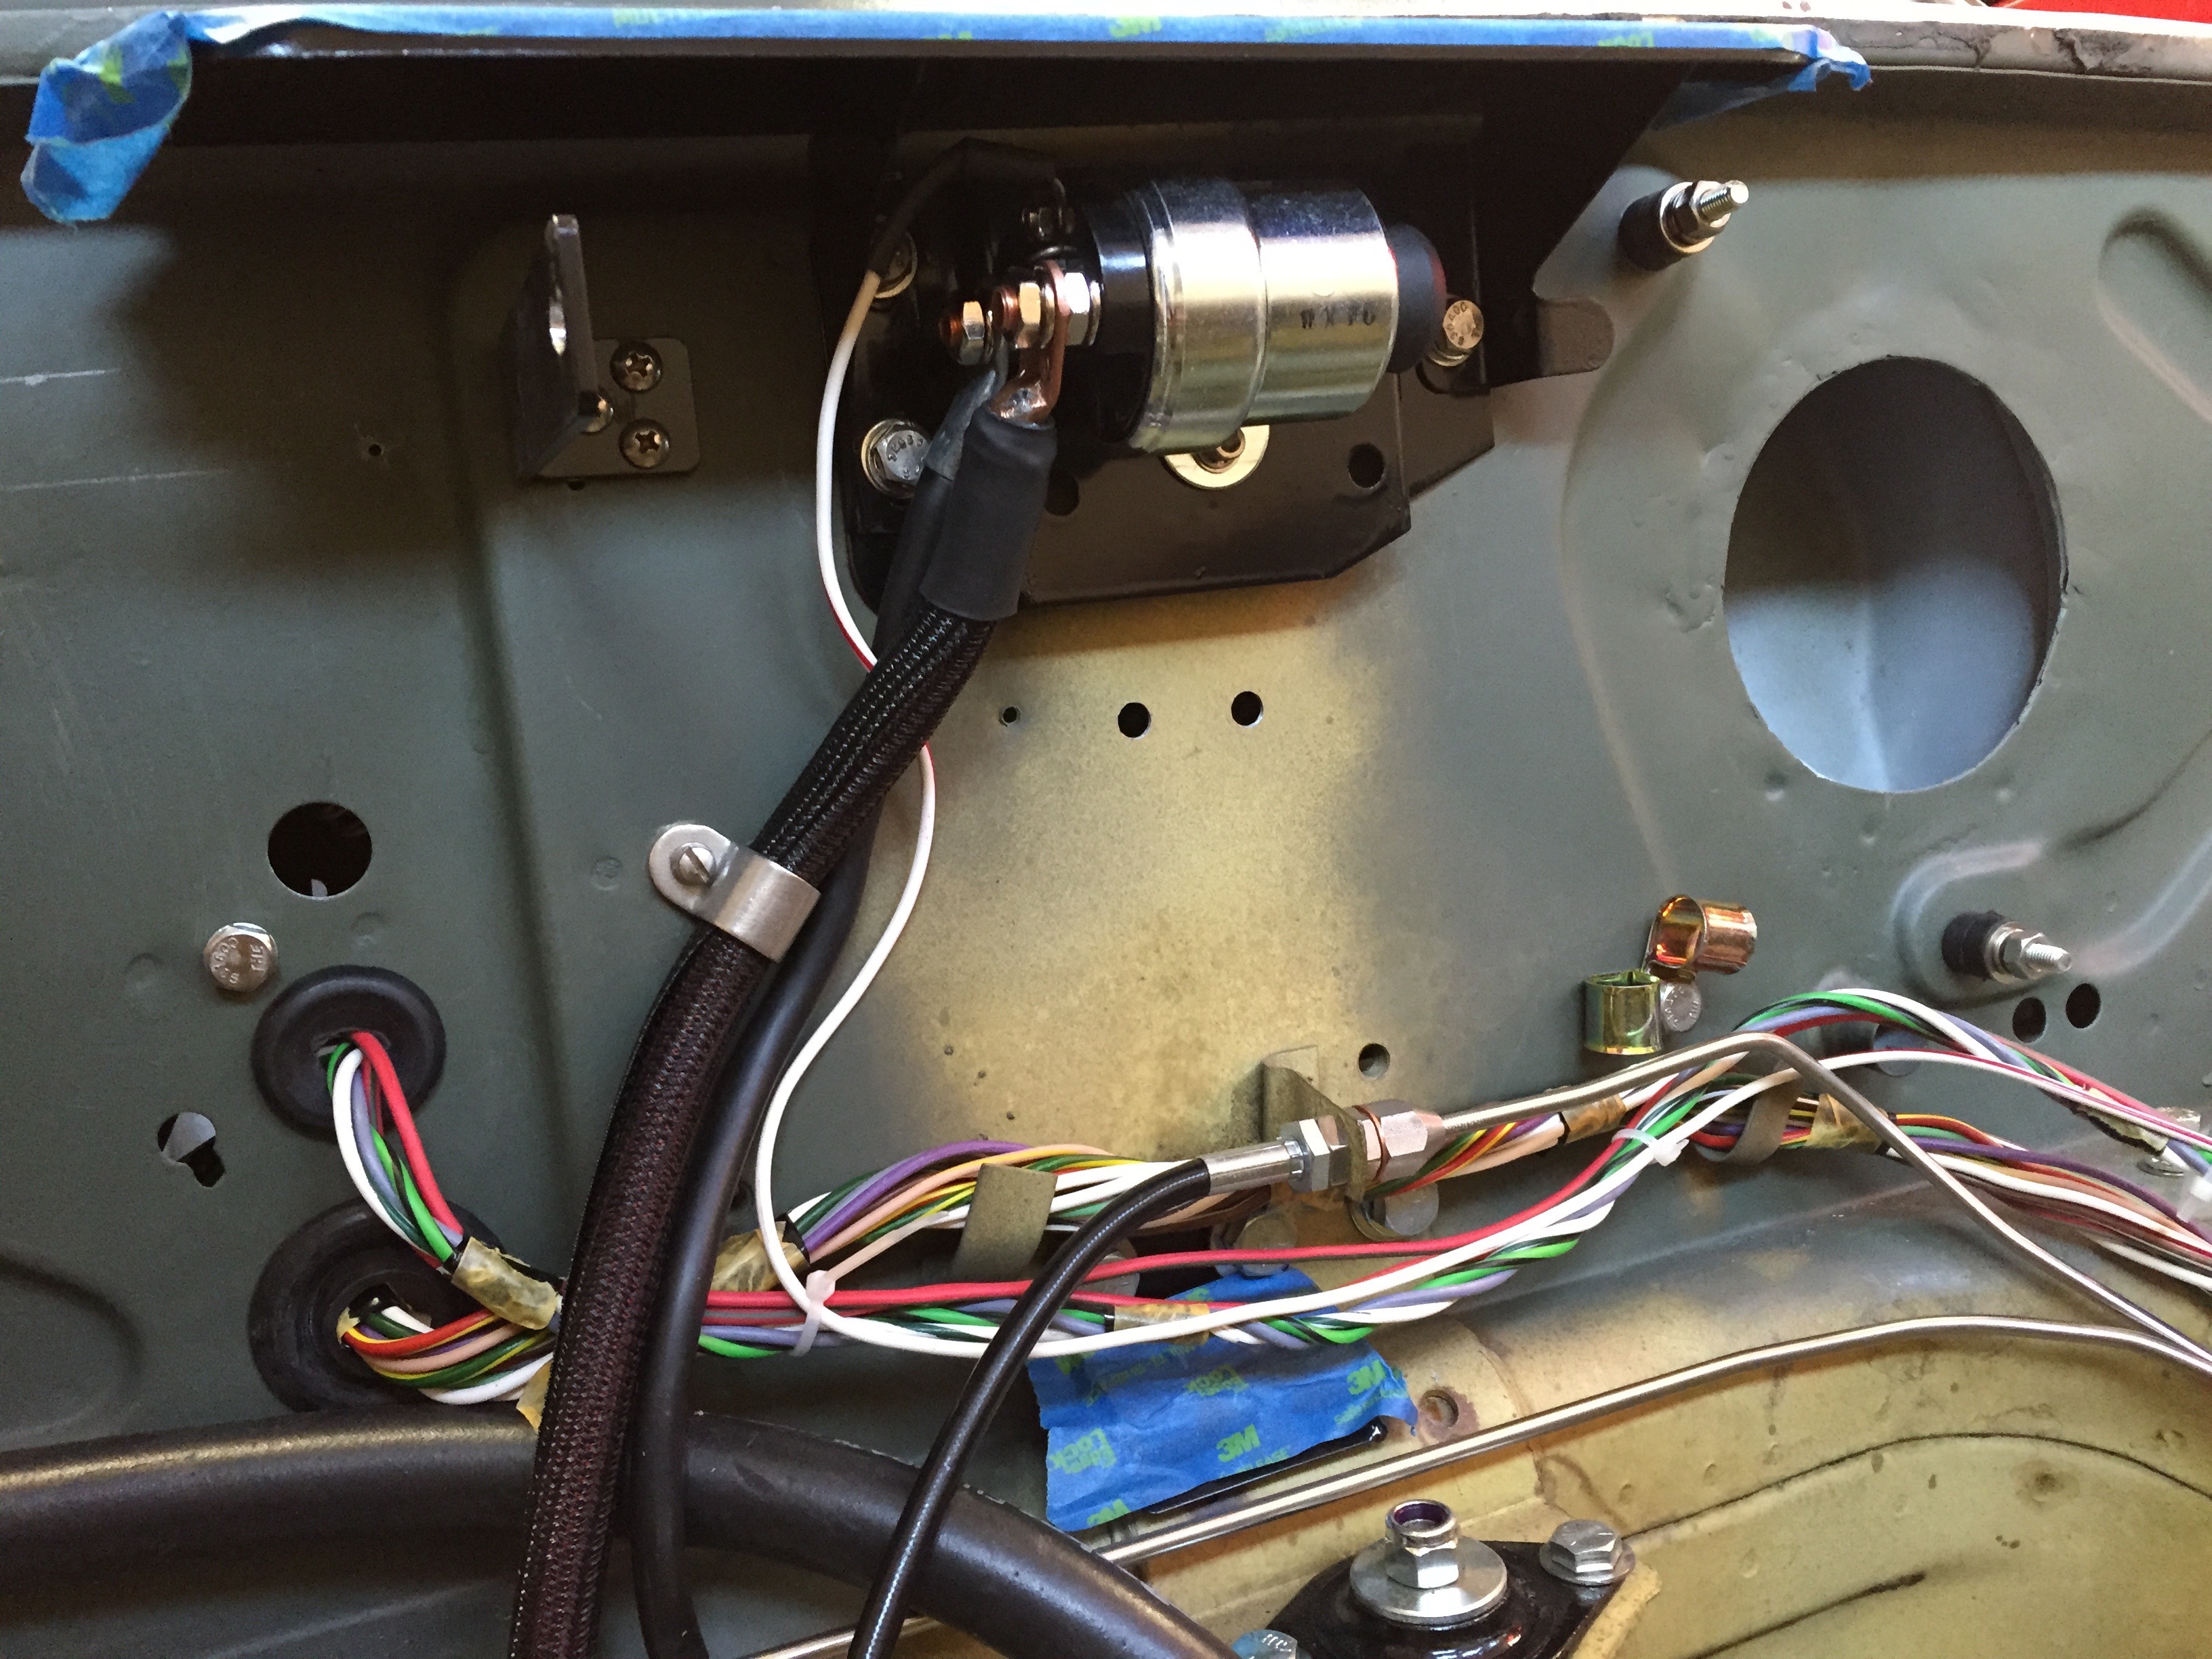
Starter Solenoid, Battery Cable, Starter Cable
This image shows the final cable locations in the rear after the rear suspension components were installed:
Battery Cables from Boot Final Adjustment