I am seeing a very slight seeping of brake fluid around the clutch master cylinder on the pedal box inside the cockpit. So as a preventative measure I’m going to go ahead and replace both the brake and clutch master cylinders. This was last done in 2014.
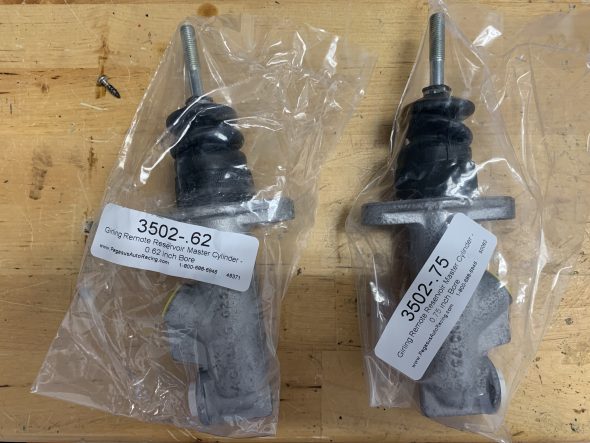
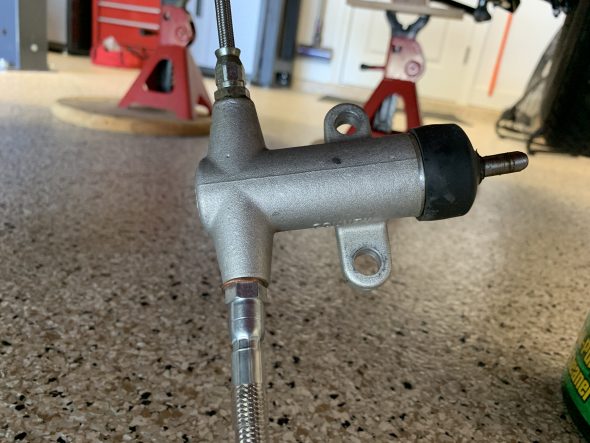
The original manufacturer of the master cylinders was Girling, and they are still available today. I am counting on them being a higher quality than what’s available from many of the typical vendors. These masters came from Pegasus auto racing and cost $125 each.
The clutch master cylinder has a .62 inch bore while the brake master cylinder that I’m using has a .75 inch bore. As shipped, the master cylinders have threaded pushrods to make them adjustable in length. I will replace the adjustable length push rods with the push rods that are currently on the master cylinders on the car.
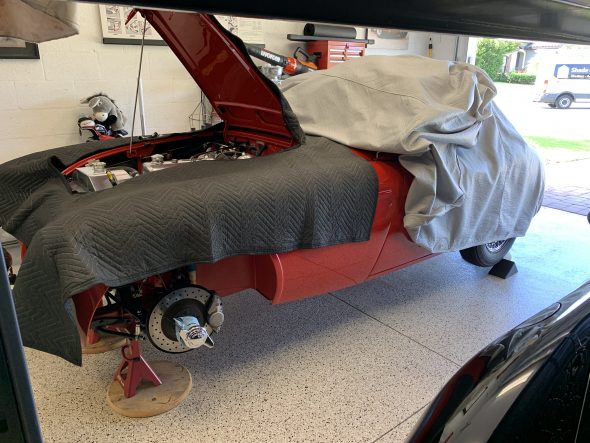
I’m going to tackle the clutch master cylinder replacement first. In preparation for the work I have raise the car onto jackstands. This will make it easier to get to the bleeder valves on each of the brake calipers at the wheels.
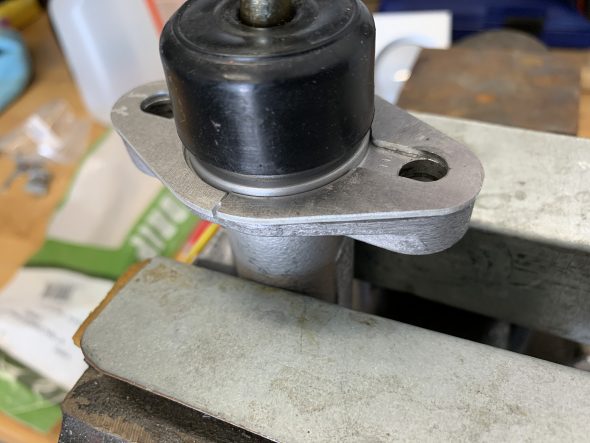
The parts manual states that the brake master cylinder should have shims and that shims for the clutch master are optional. That is how I have the master cylinders installed at the present time. However, the brake pedal is closer to the firewall than the clutch pedal (they don’t line up evenly) so when I put the new master cylinders in I will install the shims on both the brake and clutch master cylinders. The shims, or packing pieces, are only about 1/8″ thick and are made of aluminum. I sourced new shims from Moss Motors.
I used super glue to adhere the shims to the masters. If you don’t secure the shim to the master cylinder, it is very difficult to install the lower shims once the master cylinder is in the car.
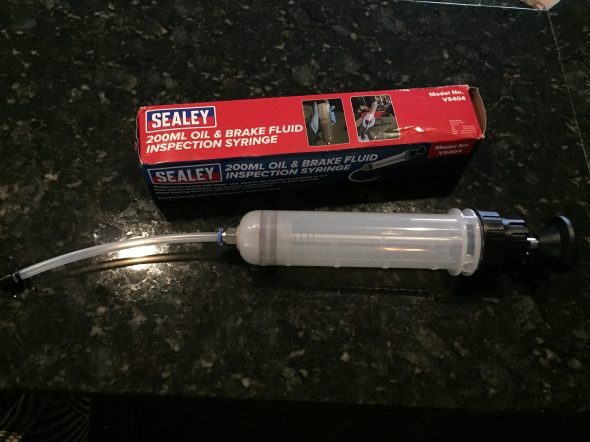
As a first step, I removed as much of the brake fluid from the reservoir as possible using a syringe. I used this same syringe later in the process to pull fluid through the clutch and brake hydraulic systems.
The tube within the reservoir holds the clutch hydraulic fluid.
Of course, there is still hydraulic fluid in the lines but as you can see in this photo the reservoir for the clutch is now empty. I did this so when I disconnect the hydraulic pipes from the clutch master there is little fluid as possible to leak onto the car! Brake fluid eats paint so you need to be as careful as possible!
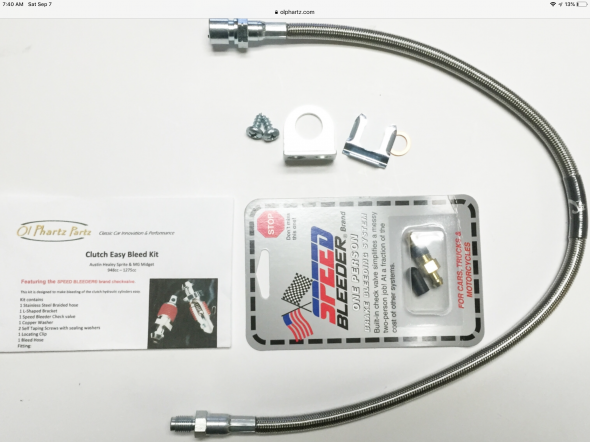
My job is made a little more complicated because I replaced the Dennis Welch bleeder kit with one from Ol Phartz.
Clutch Easy Bleed Kit Ol Phartz
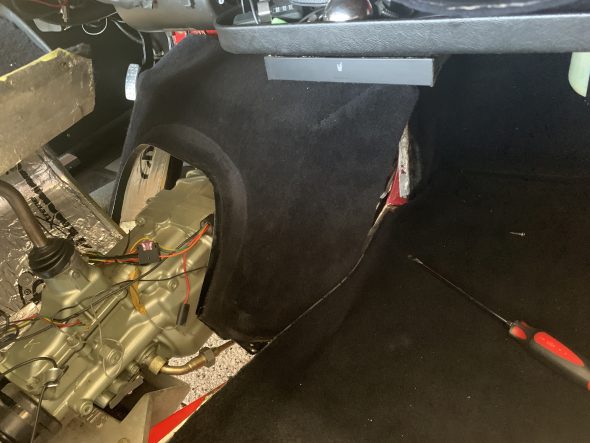
The Dennis Welch kit tended to leak. Replacing the bleeder hose required access to the bleeder valve on top of the slave cylinder and you just cannot get there from under the car! This means that I had to remove the transmission tunnel and its extension from the interior. Argh!!! To do so means that I first had to remove both LH and RH seats and set aside the hardware. Then I removed the screws securing the transmission cover and the extension. These components were then set aside and out of the way. In my case I have cruise control and the control unit is in the ash tray. So, to be able to actually remove the transmission tunnel cover I had to first disconnect about a half-dozen wires below the car.
This is the RH side:
And, the LH side:
Removing the transmission cover extension was next:
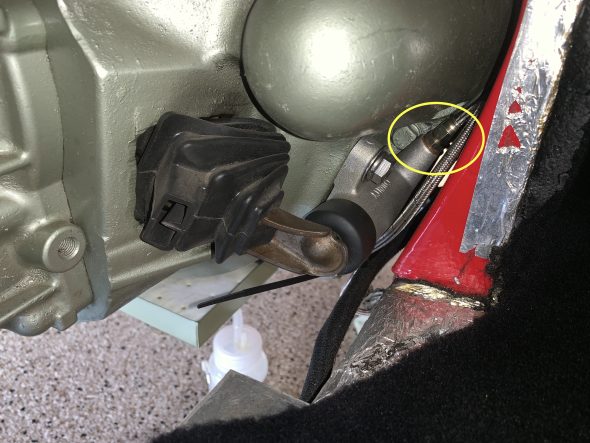
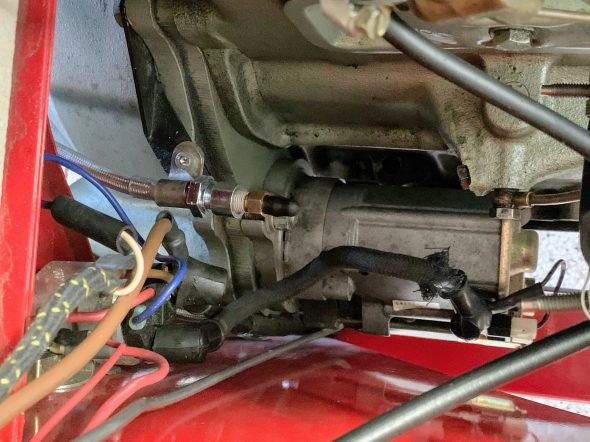
Once the Extension was out of the way, I then had access to the to the slave cylinder! The slave cylinder is bolted to the gearbox with two 3/8”-16 x 1” (course thread) bolts with flat and split washers.
I then removed the slave cylinder. Unfortunately, it is necessary to get to the bleeder hose that I want to remove (Dennis Welch) and to install the Ol Phartz bleeder cable. The slave cylinder is bolted to the gearbox with two 3/8”-16 x 1” (course thread) bolts with flat and split washers.
After removing the DW bleeder hose, I installed the OP hose being sure to place the supplied copper crush washer over the end of the hose fitting.
I then reinstalled the slave cylinder and routed the Ol Phartz cable up to the top of the gearbox (though the routing is not shown in this image).
I decided to reuse the slave cylinder that was on the car. It had been installed in 2014. It was not showing any signs of leakage, but you never know when that might occur. My thinking was that if the slave cylinder leaks it will only leak onto the floor – not nice red paint! Only time will tell how long it lasts.
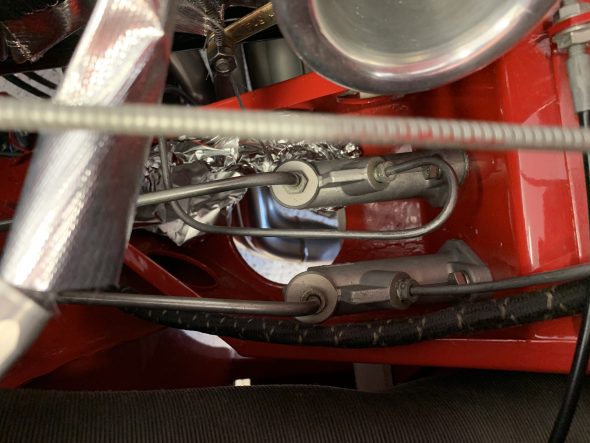
It was then time to finally move to the removal of the clutch master cylinder. In the photo below the clutch master cylinder is closest to the bottom of the image. You can see that I had some paint damage when the brake master failed in 2014. Fortunately, this time I caught the problem before any damage occurred.
That big hole in the diagonal firewall brace (see above) provides nice access to the lower mounting bolts for both master cylinders. One can get below the car and with a short extension on a ratchet with a 1/2″ socket loosen and remove the bolts. I removed the lower bolt and split washer for the clutch master cylinder. I then loosened but did not remove the upper bolt.
There is some tension on the hard line fittings from both the reservoir and the supply pipe that runs along the firewall ultimately connecting with the stainless steel hose to the slave cylinder. Unless the pipe fittings are properly aligned with their home, it is VERY EASY to cross thread the mounting points in the master cylinder. The pipe fittings are steel while the masters are soft aluminum!
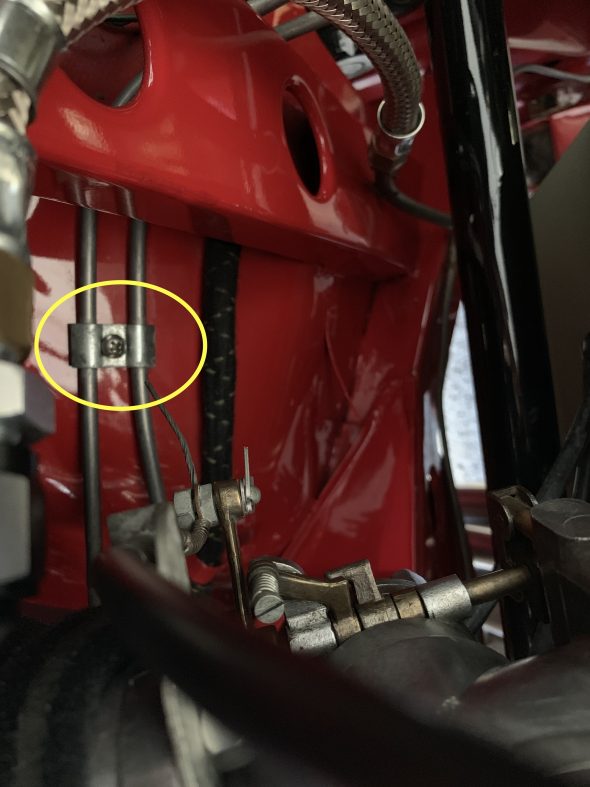
Because of this I like to relieve as much pressure as possible when removing and installing the pipe fittings. To do this I first removed the securing clip on the LH wheel arch:
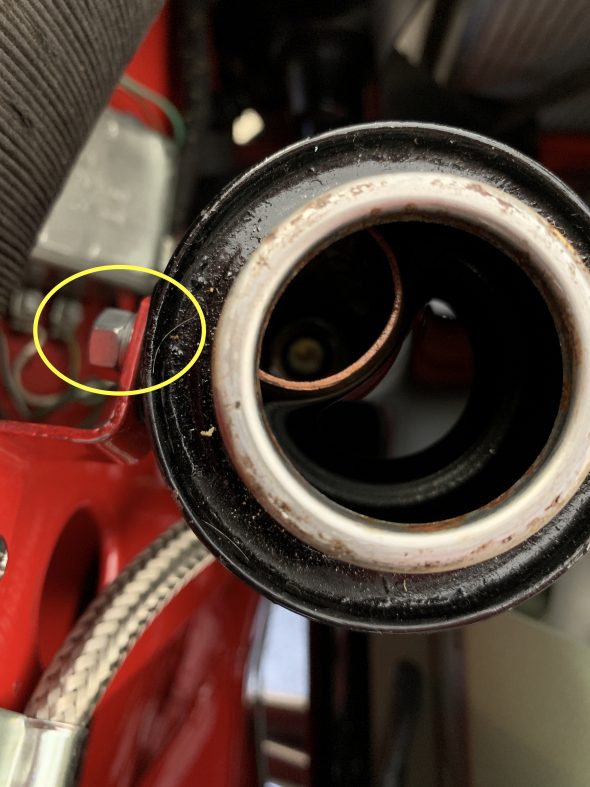
After siphoning out the fluid from the brake side of the reservoir, I removed the nut (circled in yellow below) securing the reservoir canister to its mounting clip. All tension is then removed and it becomes quite easy to loosen and tighten the pipe fittings to the masters.
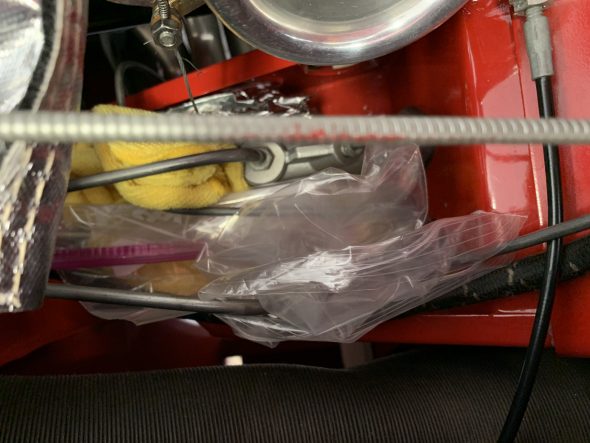
I put a rag under the hydraulic line fitting to the master. I also had some rubber plugs to place over the ends of the pipes, and had a spray bottle of water ready to rinse off any fluid that will surely spill. I disconnected the pipes without incident and after placing the plugs over the pipe ends I put both ends in a plastic bag for extra protection – as it turned out this extra level of protection was not needed.
I then removed the cotter pin at the clutch pedal from the master cylinder push rod fork and clevis pin. The head of the clevis pin was toward the center of the car. After freeing the pedal from the push rod I completely loosened and then removed the top bolt on the master. The master cylinder could then be pulled through the opening in firewall/pedal box and carefully removed to avoid spilling fluid.
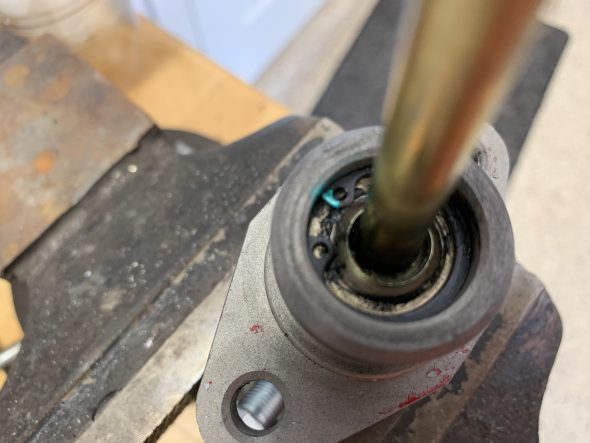
To install the new master cylinder I first had to remove the push rod from the old cylinder which was accomplished with some circlip pliers, and remove the threaded push rod that was supplied with the new Girling master cylinders. The original push rod was then installed on the new masters.
I then installed the new clutch master cylinder into the car. With the master against the firewall I inserted the upper mounting bolt through the sleeve of the master but left it loose. I discovered that you need to put this bolt in place BEFORE you install the clutch supply pipe fitting into the master cylinder, because once the pipe fitting is mounted one cannot get enough clearance to install the bolt. I then screwed the clutch supply pipe fitting into the rear port of the master cylinder. This was followed by the installation of the pipe from the reservoir to the front port of the master
With both pipes in place on the clutch master I then got under the car, put my hand up through the frame brace hole, and threaded the second bolt to the lower fixing point. It helps to center the master on the firewall/pedal box hole with a tapered punch. Using the ratchet and 1/2″ socket I fully tightened the lower bolt. Returning to the top of the car, I fully tightened the upper mounting bolt for the master cylinder.
One then needs to stand on one’s head in the interior, sliding upside down under the steering wheel to reach the pedals. The pedal mount is then lined up with the push rod fork, the clevis pin is inserted, and a new cotter pin is installed.
That completes the installation of the new clutch master cylinder. It is now time to complete the same process for the brake master cylinder. The very same process was followed.
Bleeding the system
Once the new brake master was installed in the car, bleeding the clutch and brake systems was undertaken.
I bled the clutch system first. I filled the fluid reservoir with Dot 4 brake fluid. I typically use Castrol but it was not immediately available so I used a Valvoline product instead. I then opened the bleeder on the clutch bleeder hose and attached my Sealey Syringe and pulled fluid, and air, through the piping and hoses. I then closed the bleeder valve and turned to the traditional two person pedal down, pedal up process. Opening the bleeder to push the pedal down and then closing the bleeder to let the pedal up. This prevents air from entering the system. This process resulted in the evacuation of some more air. Pedal movement actuated the throw out arm for the clutch as it should.
I then routed the bleeder hose to where it will be permanently mounted. In the future I will bleed from this location.
I then used the syringe on the bleeder valves of each of the four wheel calipers (I have 4 wheel disc brakes). I began with the LH rear, then the RH rear, then the LH front and finally the RH front. After sucking out fluid and most of the air, like the clutch, I turned to the traditional two person pedal down, pedal up process. This resulted in a pretty firm brake pedal.
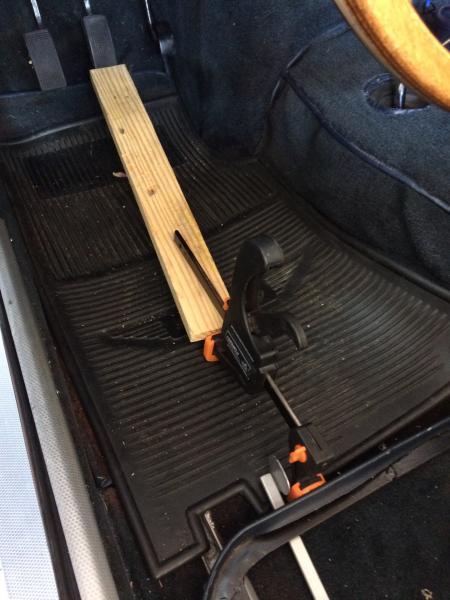
As a final step I used a technique suggested on the British Car Forum. One depresses the brake pedal and leaves it overnight. Mysteriously the process seems to firm-up the pedal beyond what one accomplishes through traditional bleeding.While this image is not of my car, I used precisely this arrangement and it worked beautifully!
I found that using the syringe to draw fluid through both systems made bench bleeding the masters unnecessary. I did not bench bleed (in the car or on the bench) the masters and I have a perfectly functioning clutch and a nice brake pedal feel. Happy with the results, and hopefully leak free for at least another five or six years! As a final step, I re-fastened the double pipe clip for the reservoir pipes to the left hand fender valance.

