Suspension/Axle

The Original Front Suspension

The front suspension used coil springs, a 5/8” anti-sway bar, rubber bushings and Armstrong lever shocks.

 Front Suspension Modifications

Tube Shocks

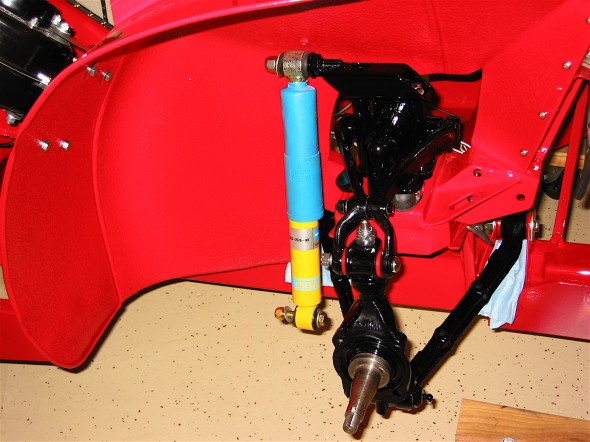
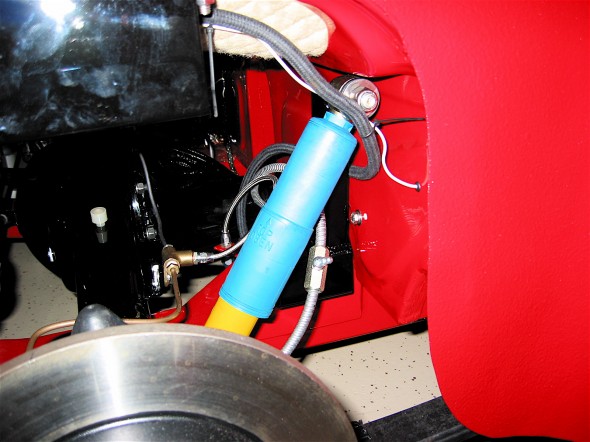
I had the front shocks rebuilt by World Wide Auto Parts http://www.nosimport.com/, but decided to install Bilstein Tube shocks supplied in Udo Putzke’s Fahrspass http://www.putzkes-fahrspass.com/Eng/kits.html Tube Shock Kit. I ave been very pleased with the performance of the shocks. This is a document describing the installation: Putzkes Fahrspass Tube Shock Kit.

Blistein Tube Shocks

Blistein Tube Shocks

Anti-sway Bar

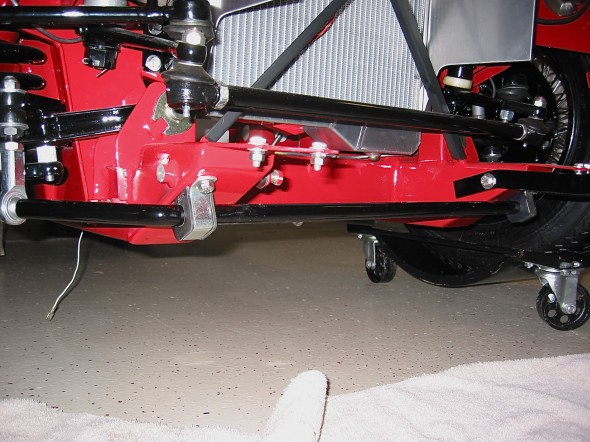
I replaced the standard 5/8″ bar with a heavy duty 7/8″ sway bar with poly bushing and rose joint links sourced from Cape International. http://www.cape-international.com/

Anti-Sway Bar

Anti-Sway Bar

Poly Bushings

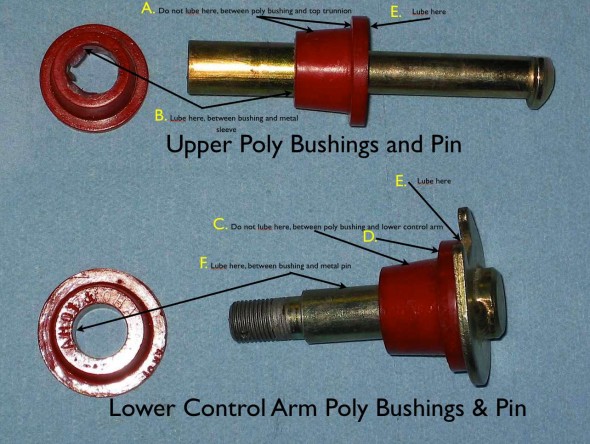
All of the front suspension rubber bushings were replaced with poly bushings purchased from Putzke’s Fahrspass http://www.putzkes-fahrspass.com/Eng/BigHealey_poly_page.htm   Lubricating poly bushes is important. The image below illustrates the proper lubricating surfaces.

Putzke's poly bush lubrication

Putzke’s poly bush lubrication

Coil Springs

At the recommendation of others, I replaced the BT7 springs with springs from the BJ8.

Front Lowering Kit

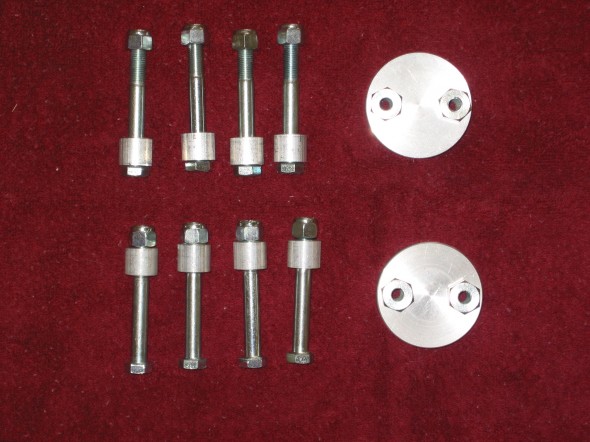
I like a slightly more aggressive look accomplished by lowering the front end so I purchased a lowering kit from Denis Welch Motorsport http://www.bighealey.co.uk/content/lowering-kit. When you lower the front end it is also necessary to add a spacer to the rubber bump stop. This was also sourced from Denis Welch http://www.bighealey.co.uk/content/bump-stop-spacers-and-tube-nuts.

Lowering Kit

Lowering Kit

 Ball Joint Dust Covers

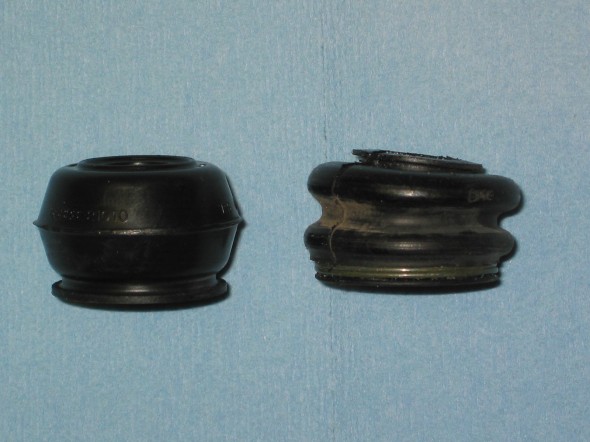
Rubber components in today’s restoration world are often very poor quality. Someone on the Healey list serve discovered that Hyundai ball joint covers, past #56828-21010, are of superior quality to that available for the Healey. I ordered and used them and they worked perfectly!

Tie Rod Dust Seals

Tie Rod Dust Seals

Original Rear Suspension/Axle

 Semielliptic leaf springs, solid axle with transverse panhard rod, 3.909 rear differential

 Rear Suspension/Axle Modifications

Tube Shocks

As with the front shocks, I decided to install Bilstein Tube shocks supplied in Udo Putzke’s Fahrspass http://www.putzkes-fahrspass.com/Eng/kits.html Tube Shock Kit in the rear. I ave been very pleased with the performance of the shocks. This is a document describing the installation: Putzkes Fahrspass Tube Shock Kit.

Bilstein Tube Shock

Bilstein Tube Shock

Rear Leaf Springs

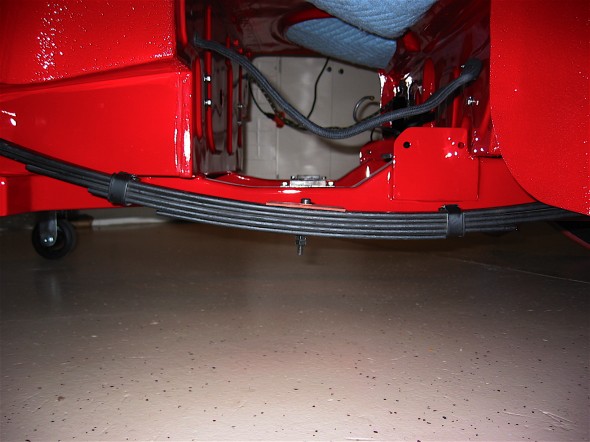
Having used the Jule Enterprises frame, I also decided on Martin Jansen’s custom made leaf springs. They worked perfectly. Ride is great and the car sits nicely with the proper gap between the tires and the body. Martin’s springs use BJ8 mounting hardware.

Leaf Spring

Leaf Spring

Rear Differential Gears

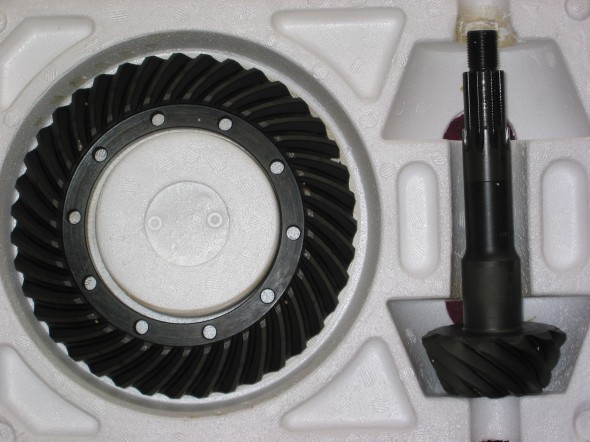
Many Healey owners who converted to the Toyota 5-speed gearboxes suggest that the 3.54 gears in the rear end make for a nice combination. Mike Lempert, who makes Healey steering wheels also arranged for the manufacture of the 3.54 gear sets. I was fortunate to be able to purchase a set and install them in the Bloody Beast.

Lempert 3.54 Gears

Lempert 3.54 Gears

zz

Chapter 49 Restoration Assembly, Week Nineteen 4/23/2007

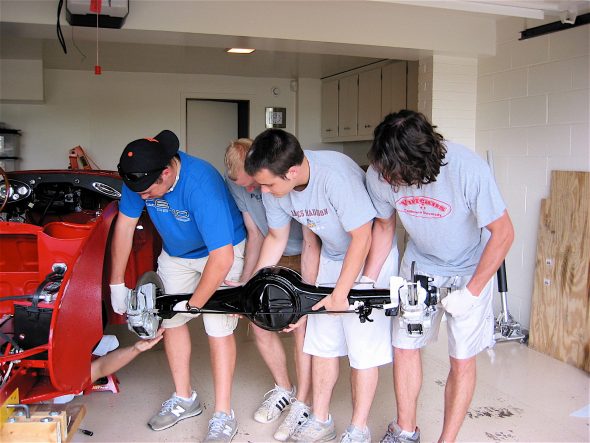
Four university students (young, strong backs) arrived and helped me install the assembled rear axle in about five minutes. The install was accomplished with just one minor scratch!

Rear axle help

I am pleased that I assembled everything on the bench first. I don’t know if it would have worked with the panhard rod in place, but since I am using the Jule frame I don’t have a panhard rod.

I put the rubber buffers in place on the axle and installed the U-bolts supplied by Martin Jansen to fit the springs he had made for me. I did need to open the hole in the spring plate to accommodate the larger pin in the springs.

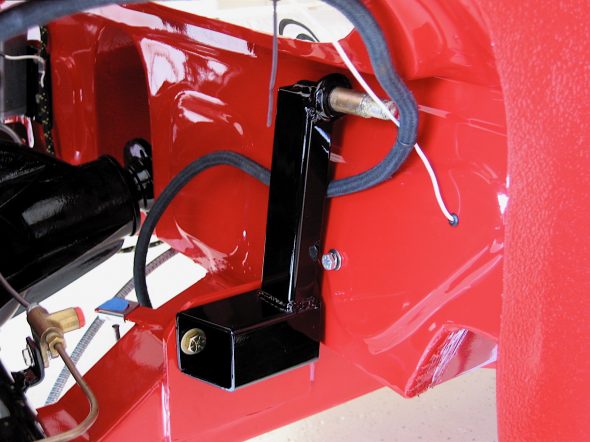
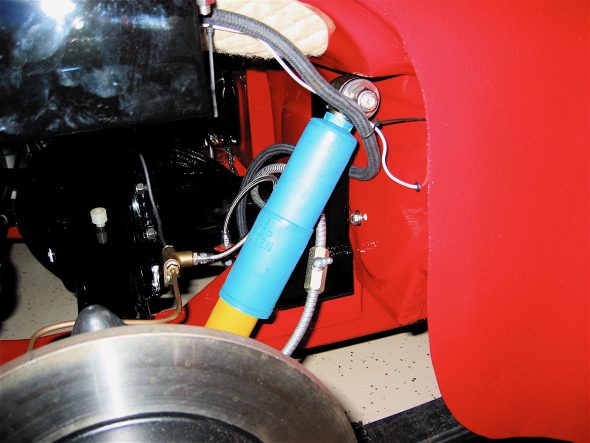
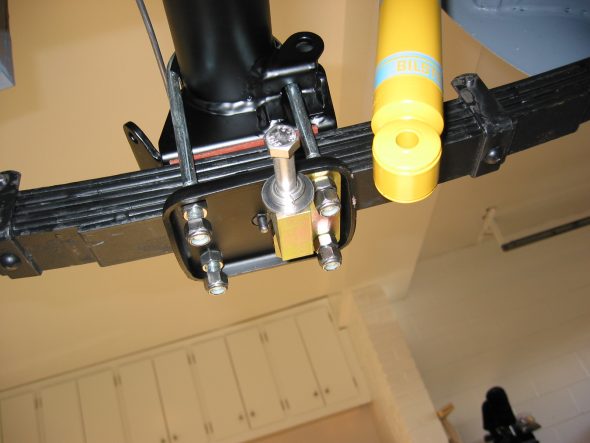
The lower brackets for the Udo Putzke Bilstein shocks were attached to the spring plates. The next task was to bolt on the upper brackets for the Bilstein tube shocks to the original shock mounting brackets. The Bilstein shocks were then installed on the brackets.

Rear Tube shock bracket

Bilstein Tube Shock in Place

The handbrake cable was then put into place and adjusted for the the proper tension on the emergency brake calipers.

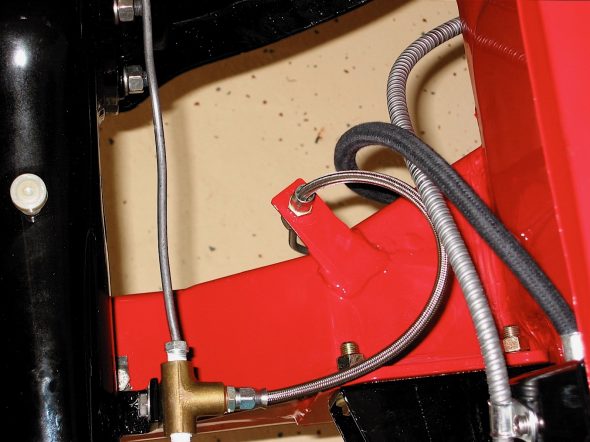
The rear flexible stainless steel flex pipe for the brakes was then mounted to the car.

SS brake line

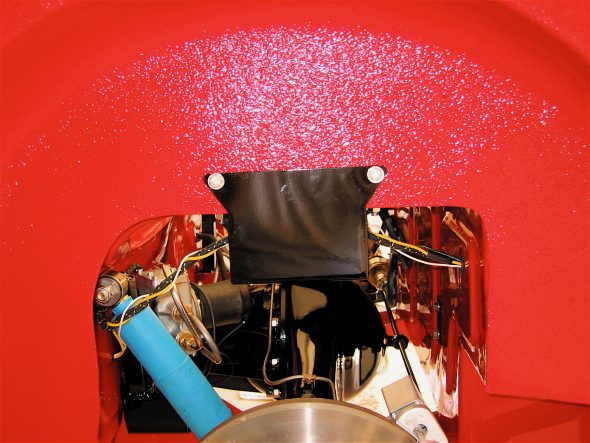
Final fuel hose connections were then made from the two pumps to the steel line running to the carbs.

Bump box LH

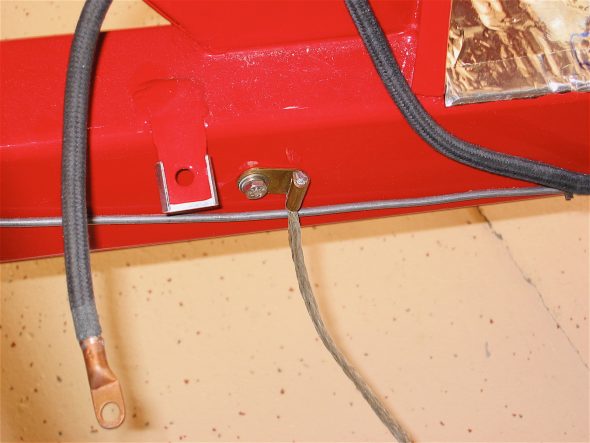
The ground strap was connected to the frame. The other end will later be fixed to one of the bell housing bolts.

Ground Strap Engine

Chapter 16 – Cleaning and Trial Fitting

November 16, 2003

Front Suspension 

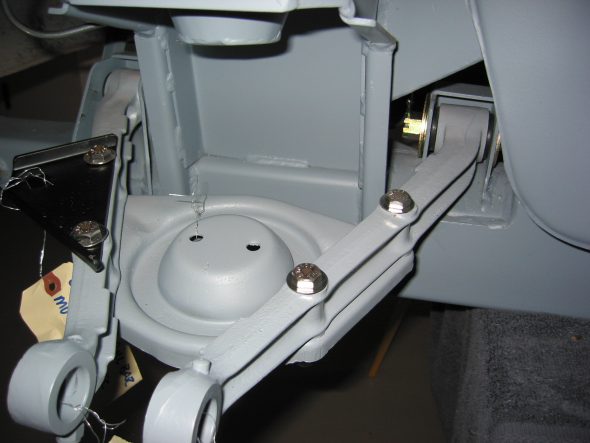
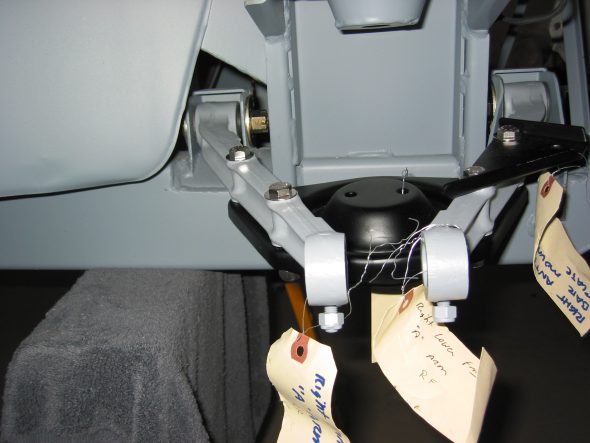
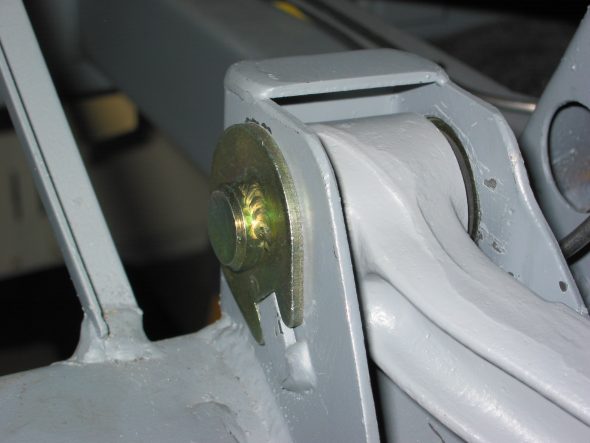
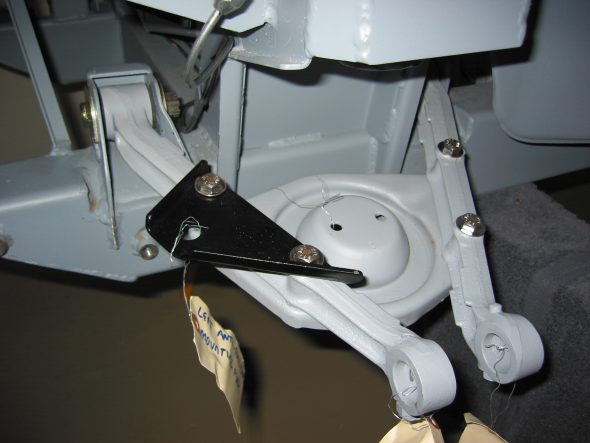
Control Arms and Bushings – Installed left and right lower control arms with rubber bushings and fulcrum pins.

Left control arm 3

Right Control Arm 2

left control arm 1

Left control arm 2

December 14, 2003

Steering

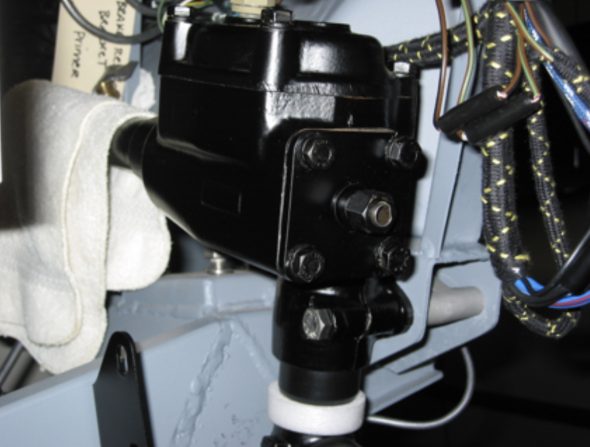
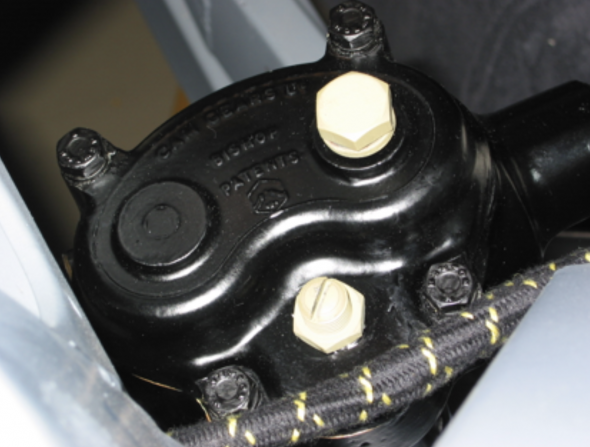
Steering Box and Idler – Picked up the painted steering box and steering idler from Jeremy Turner. Jack Harper disassembled the units and reassembled following painting. Jeremy did a great job on the steering wheel shaft as it was pitted near the box. Installed the Box and idler. Note for future – install box and idler before front brake hose bracket, as the bolts/nuts get in the way.

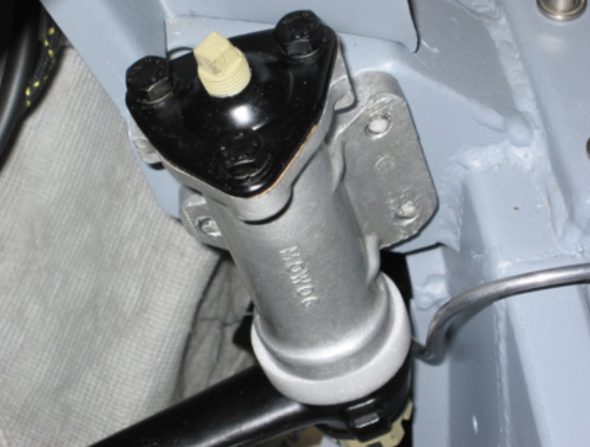
Steering Box Installed

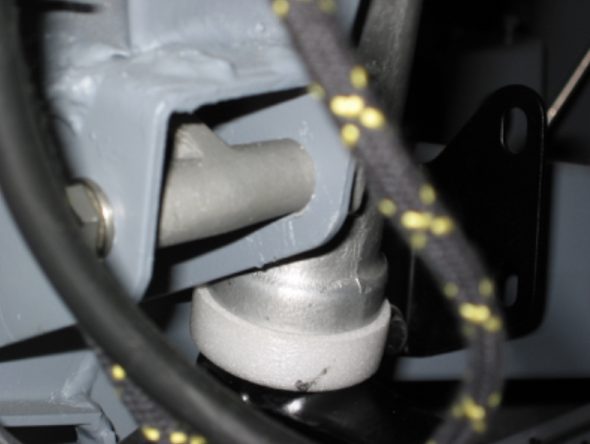
Steering Box In Place – Fill Plug & Adjuster

Steering Idler in Place

Steering Idler Installed with Aluminum Spacer

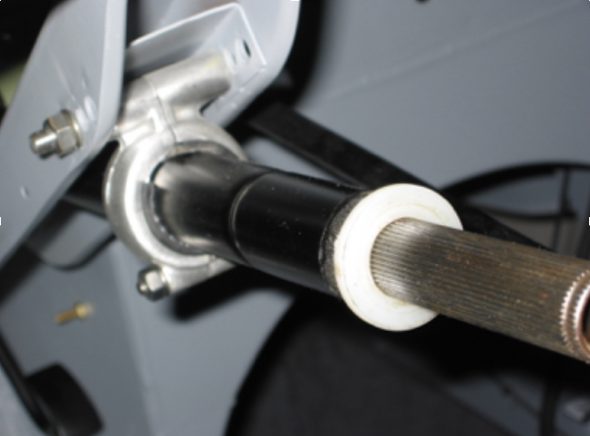
Steering Column with Brace

January 10, 2004

Blistein Tube Shock Conversion 

Rear Tube Shock Conversion

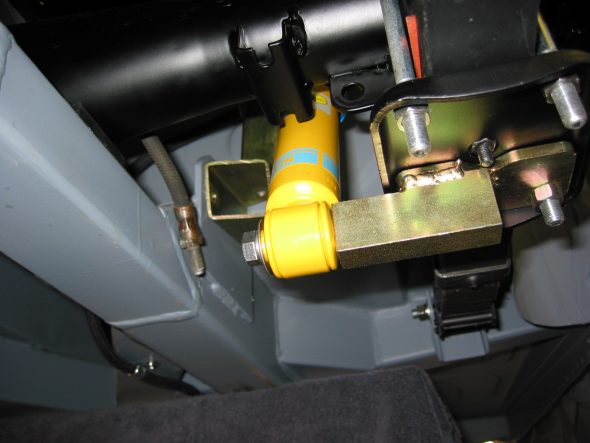
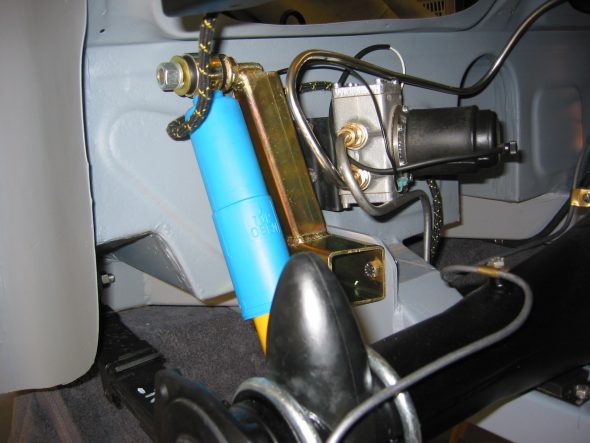
Installed Udo Putzke’s Blistein tube shock conversion kit in the rear suspension. Two fabricated brackets on each side of the rear of the car. Original lever shock is abandoned completely in the process. Couldn’t complete the final connections because when the leaf springs were jacked up to align the shock for fastening, the entire car raised since the engine is not in the car, thereby giving it sufficient weight. Will have to complete later in the assembly process. Rear tube shock is F4-BE3-2577-HO. The brackets will need to be painted for final assembly. They should be installed prior to the fuel pump.

Tube shocks rear 4

Tube shocks rear 6

Tube shocks rear 2

Front Tube Shock Conversion

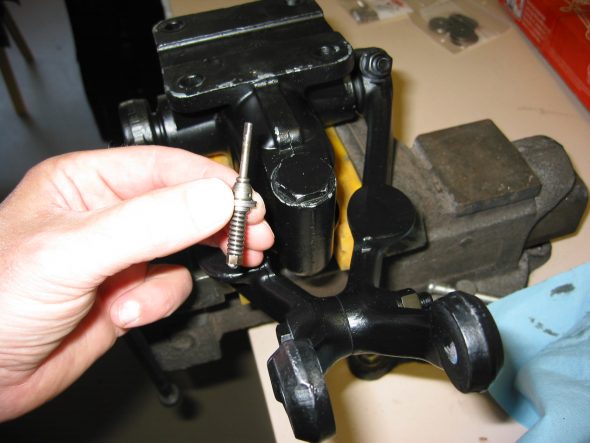
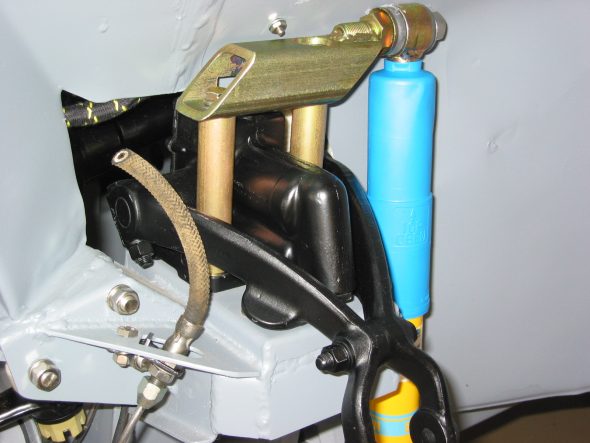
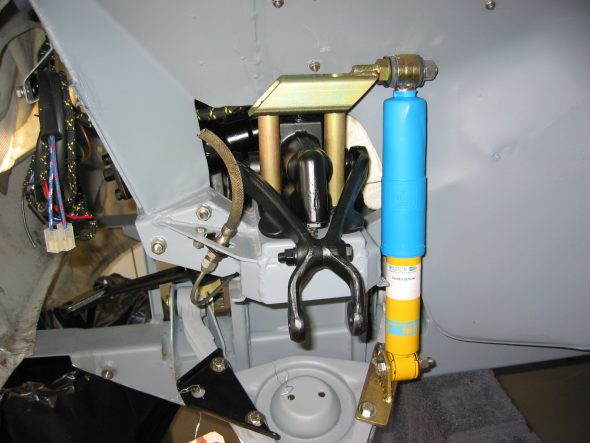
Installed Udo Putzke’s Blistein tube shock conversion kit in the front suspension. Two fabricated brackets on each side of the front of the car. Original lever shock is utilized in the process. To make sure the lever shocks would not leak fluid in the future, they were rebuilt by World Wide Imports in Madison, Wisc. The valves are removed from each damper. The standard bolts are used to secure the damper nearest the motor. Supplied long bolts and support rods are used for the outside two mounts. Front tube shock is F4-BE3-2576-HO. The brackets will need to be painted for final assembly. 

lever shock valving

front tube shock conversion 2

front tube shock conversion 1

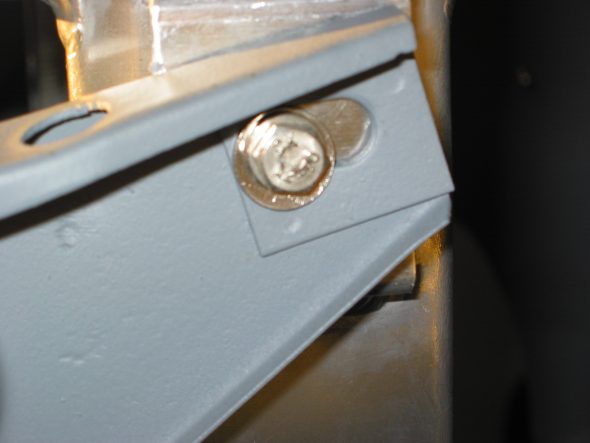
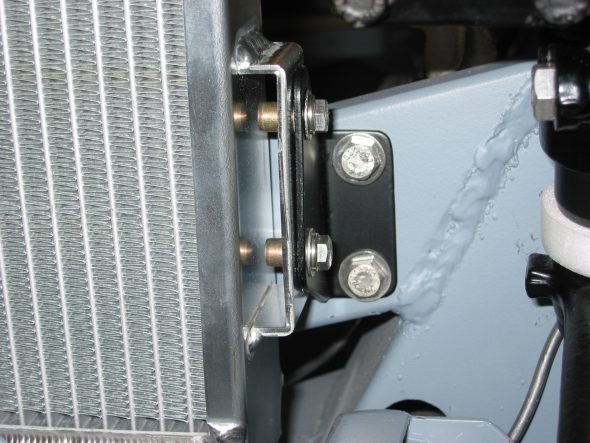
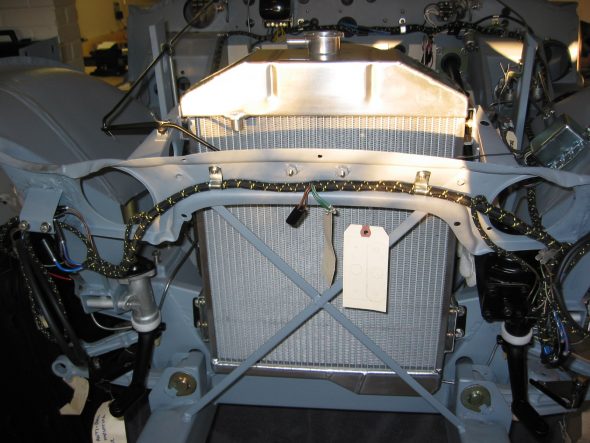
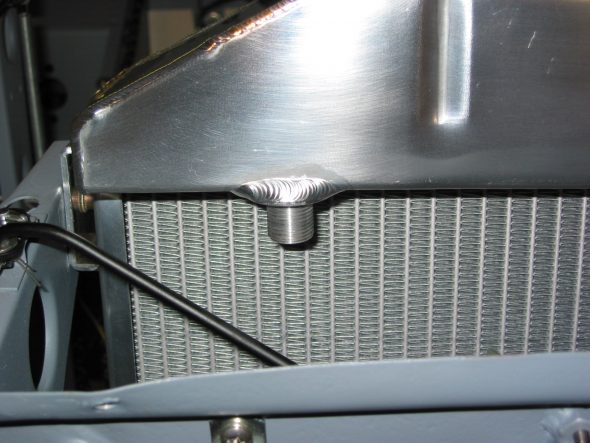
Aluminum Radiator  – Installed a new aluminum radiator from Cape International. Christmas gift from Jude. It is a piece of art, almost hate to put it in the car! Fit was perfect, although mounting fittings were metric. Easy installation is to loosen lower brackets on frame, secure top two bolts first, then secure lower bolts to radiator. Finally, tighten lower brackets to frame. Pull unit to front of car when tightening to get maximum clearance for fan.

Aluminum Radiator 3

Aluminum Radiator 2

Aluminum Radiator 1

Aluminum Radiator 4