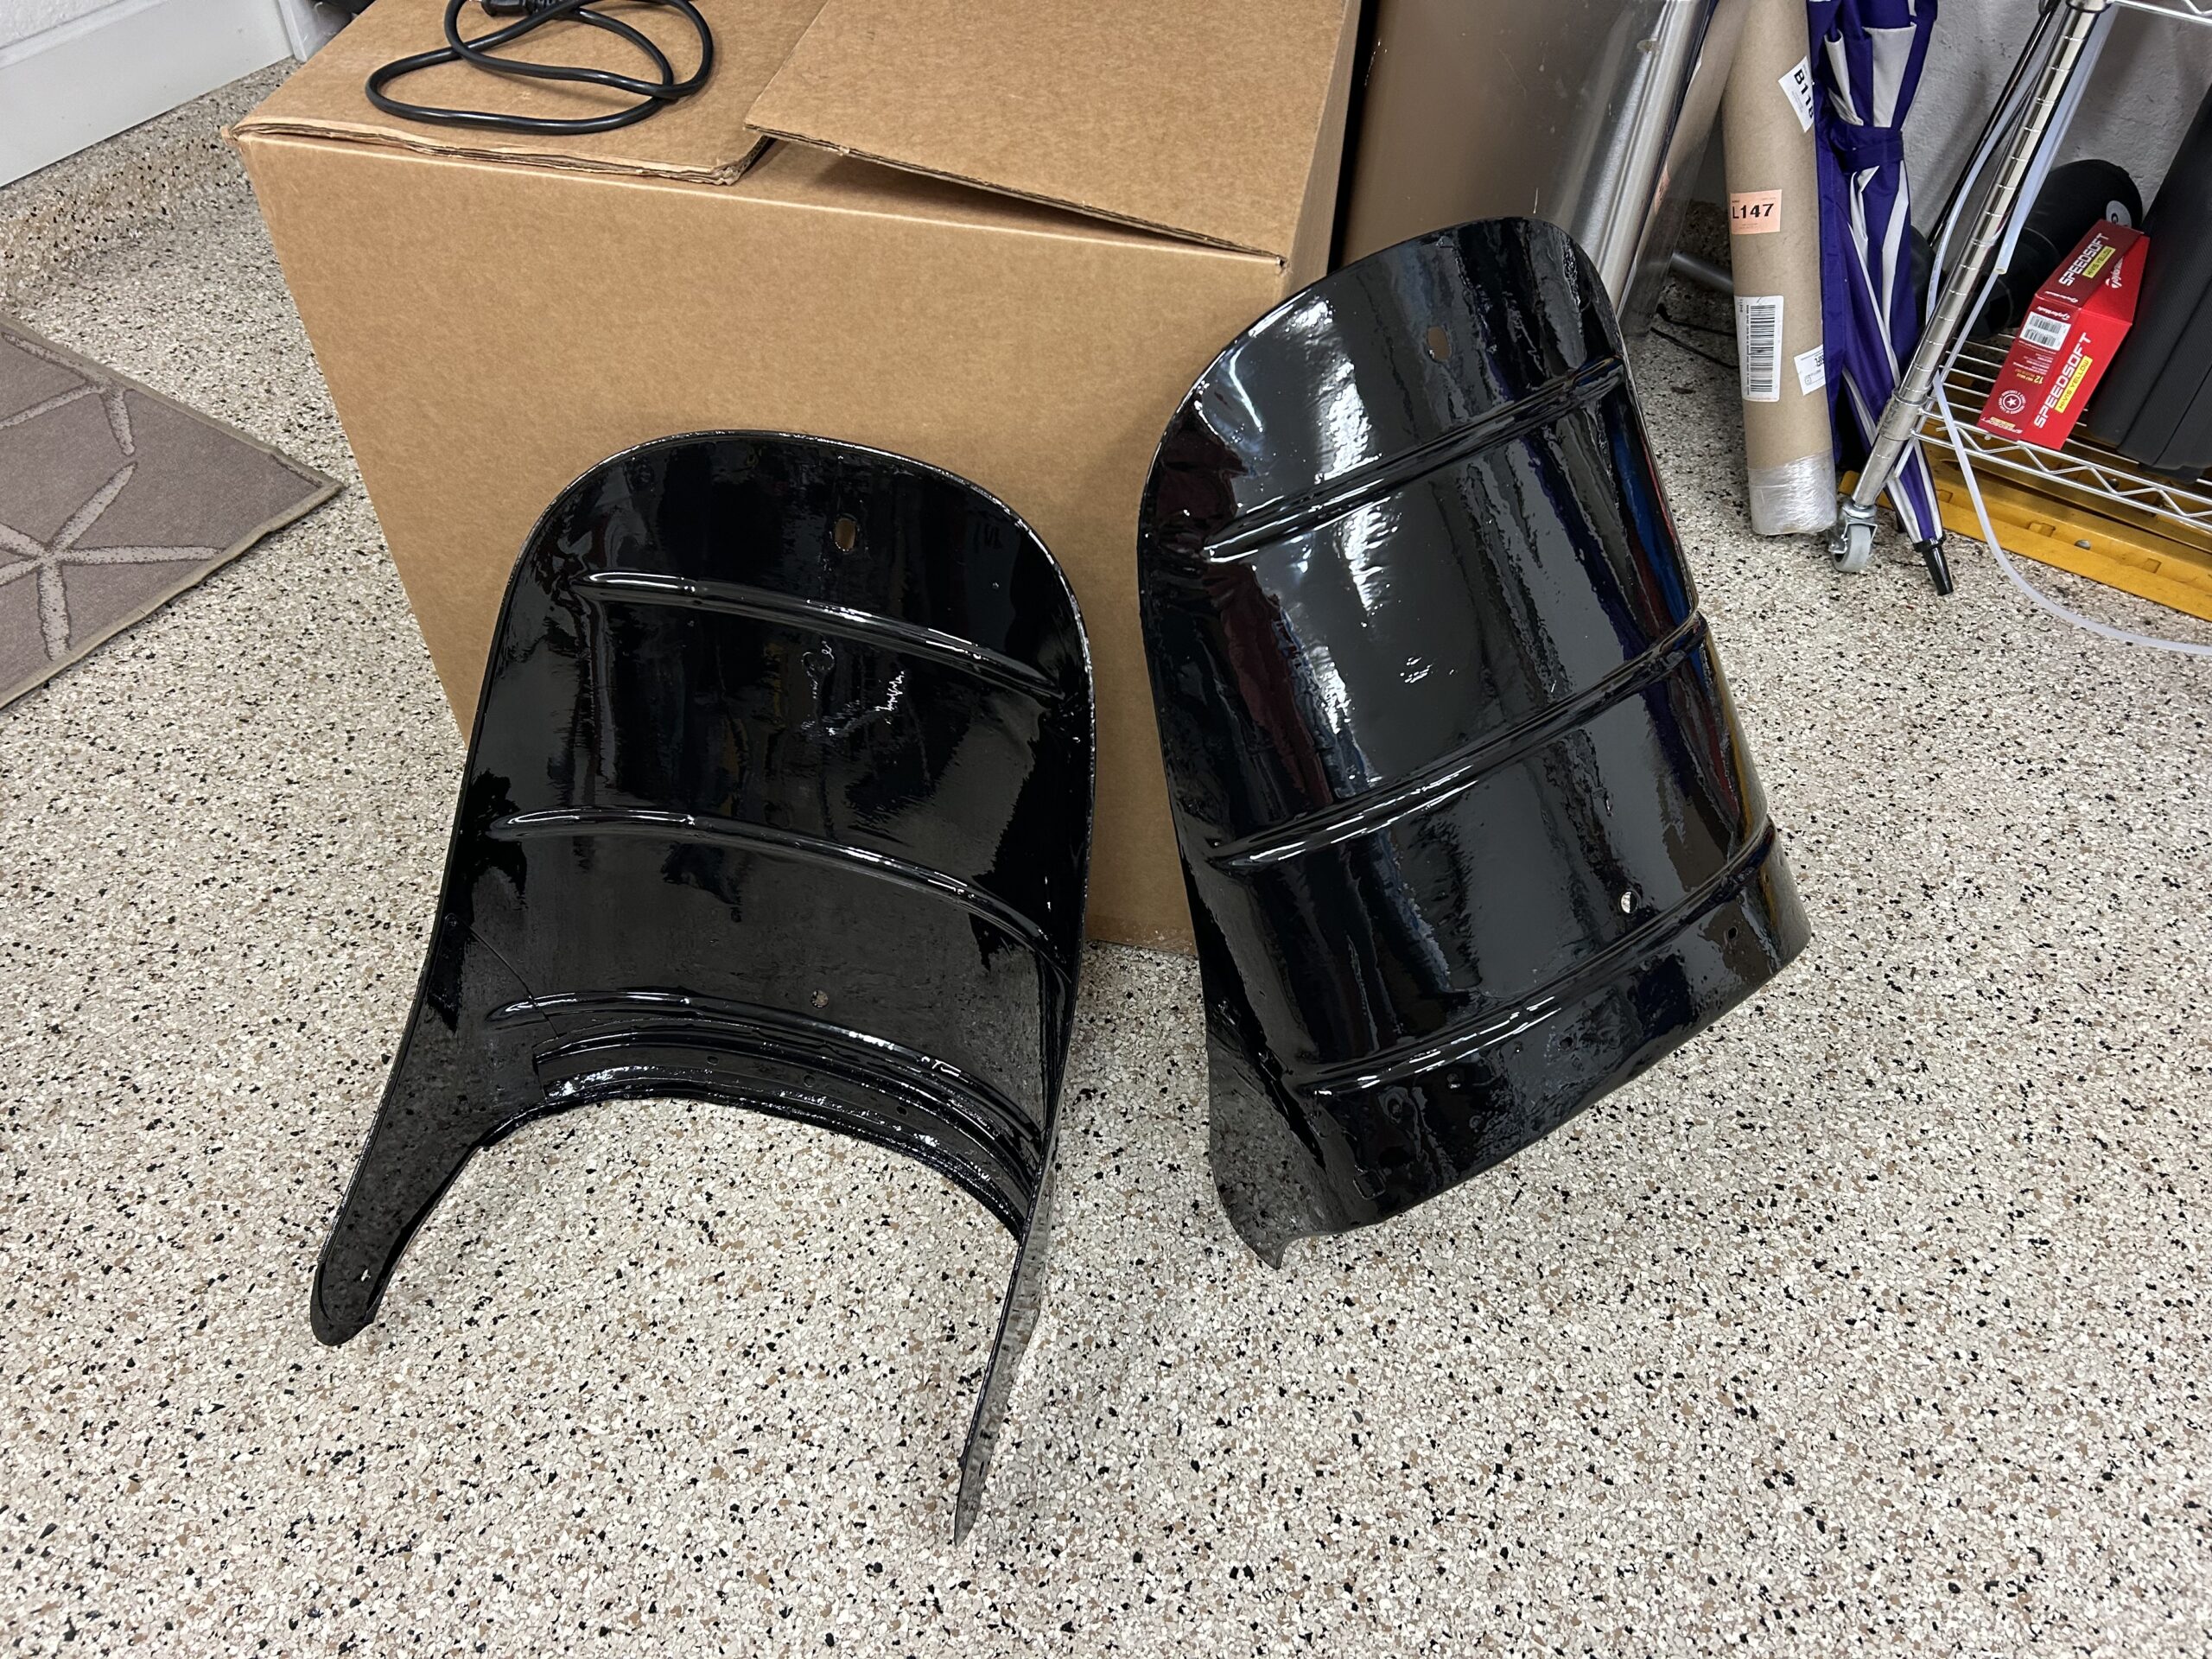
The Bugeye seats were the subject of an earlier post in the restoration section: https://valvechatter.com/?p=14315 This post explains our decision process on the type of seat cover we would use and also reviews the refurbishment of the seat frames and backs.
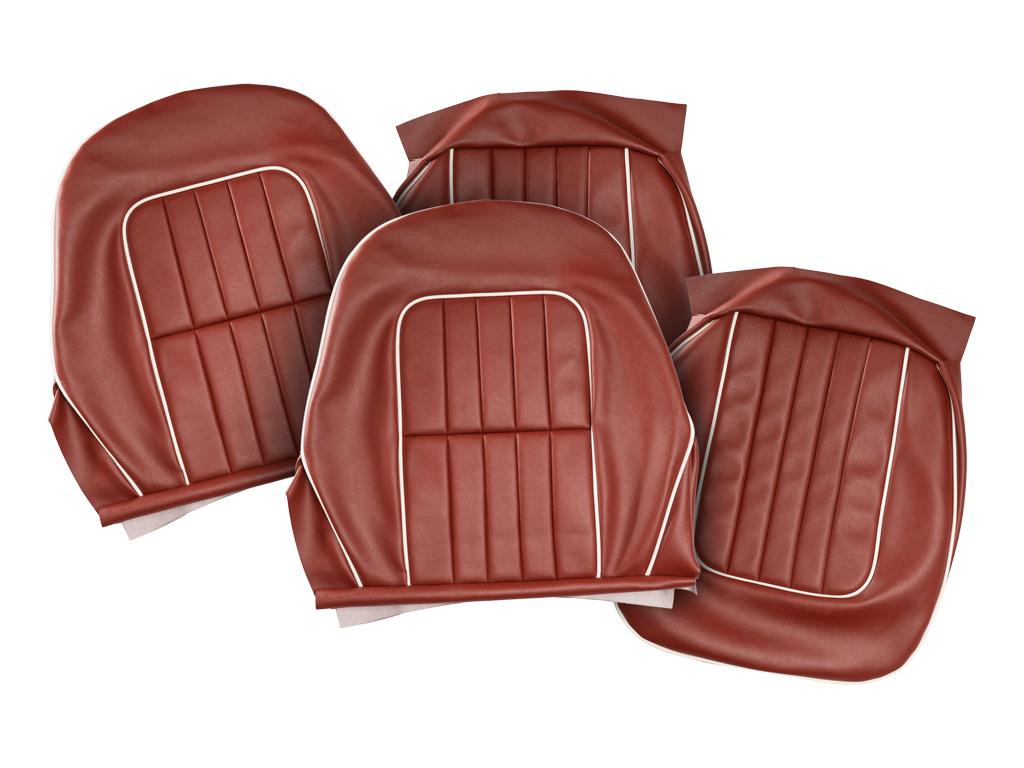
Geoff Chrysler, owner of Rightway Heritage Trim did a beautiful job with the seat upholstery. We could not have been happier with the leather color or his craftsmanship.

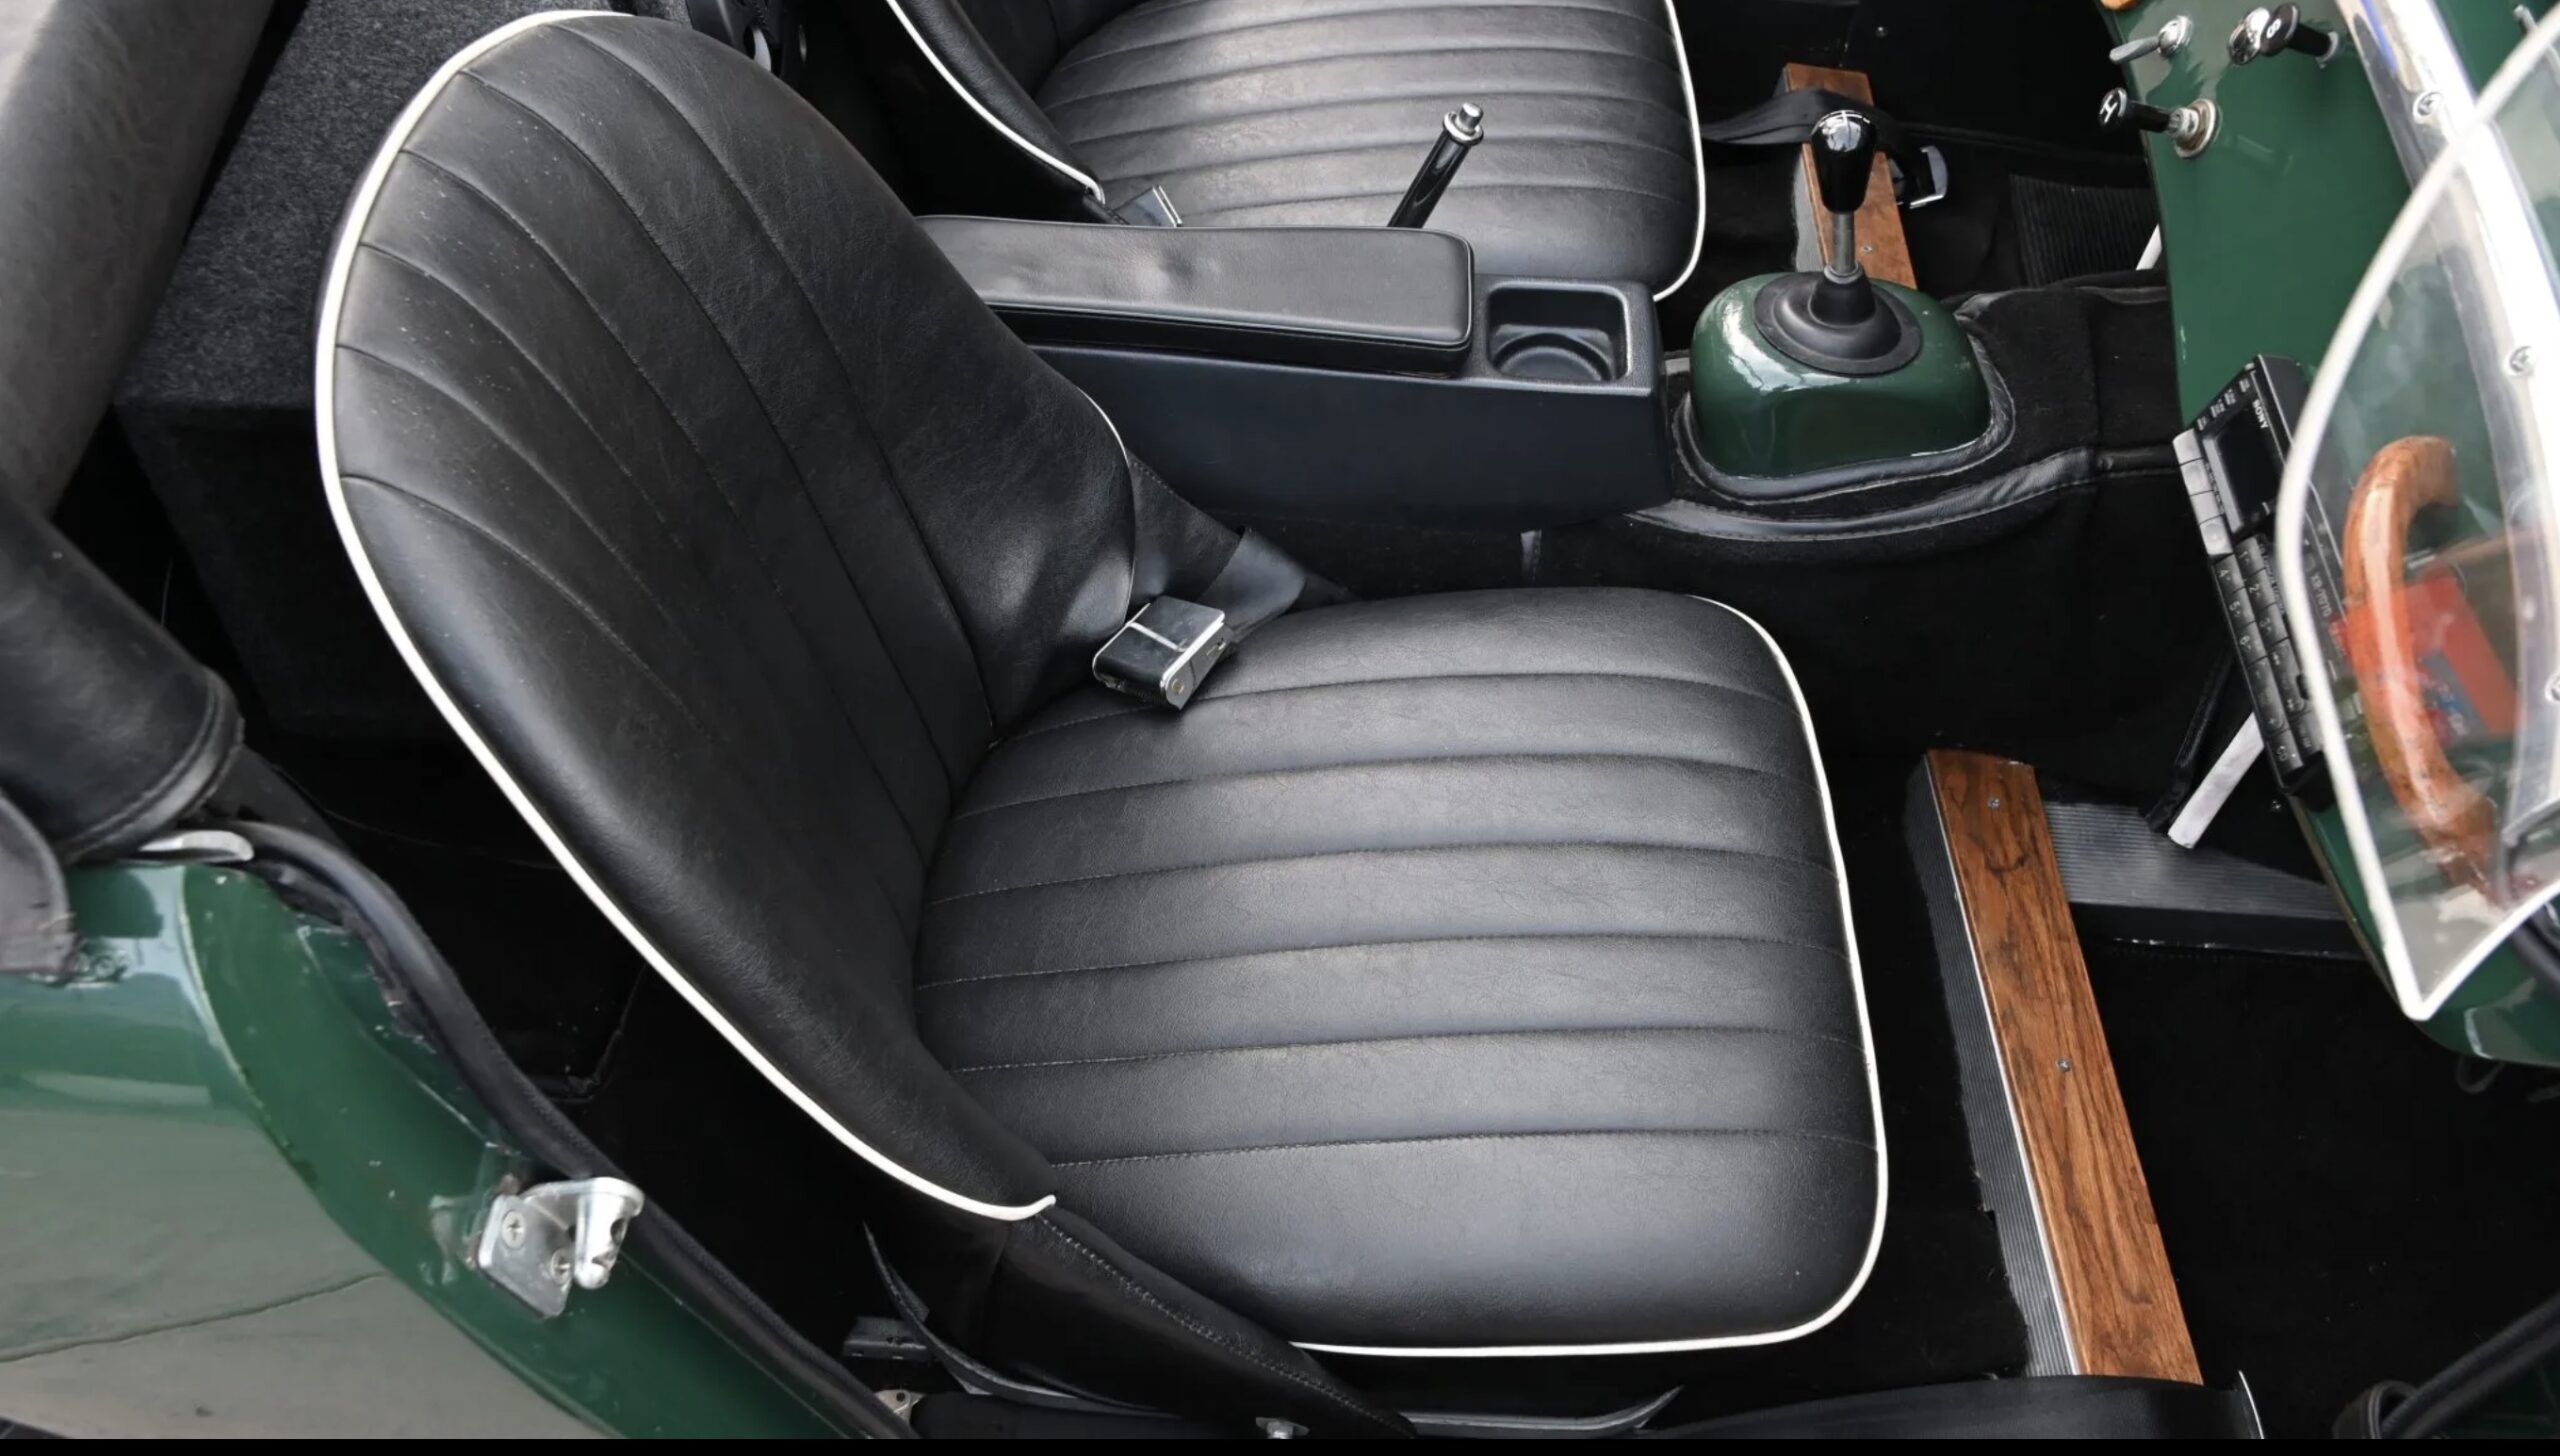
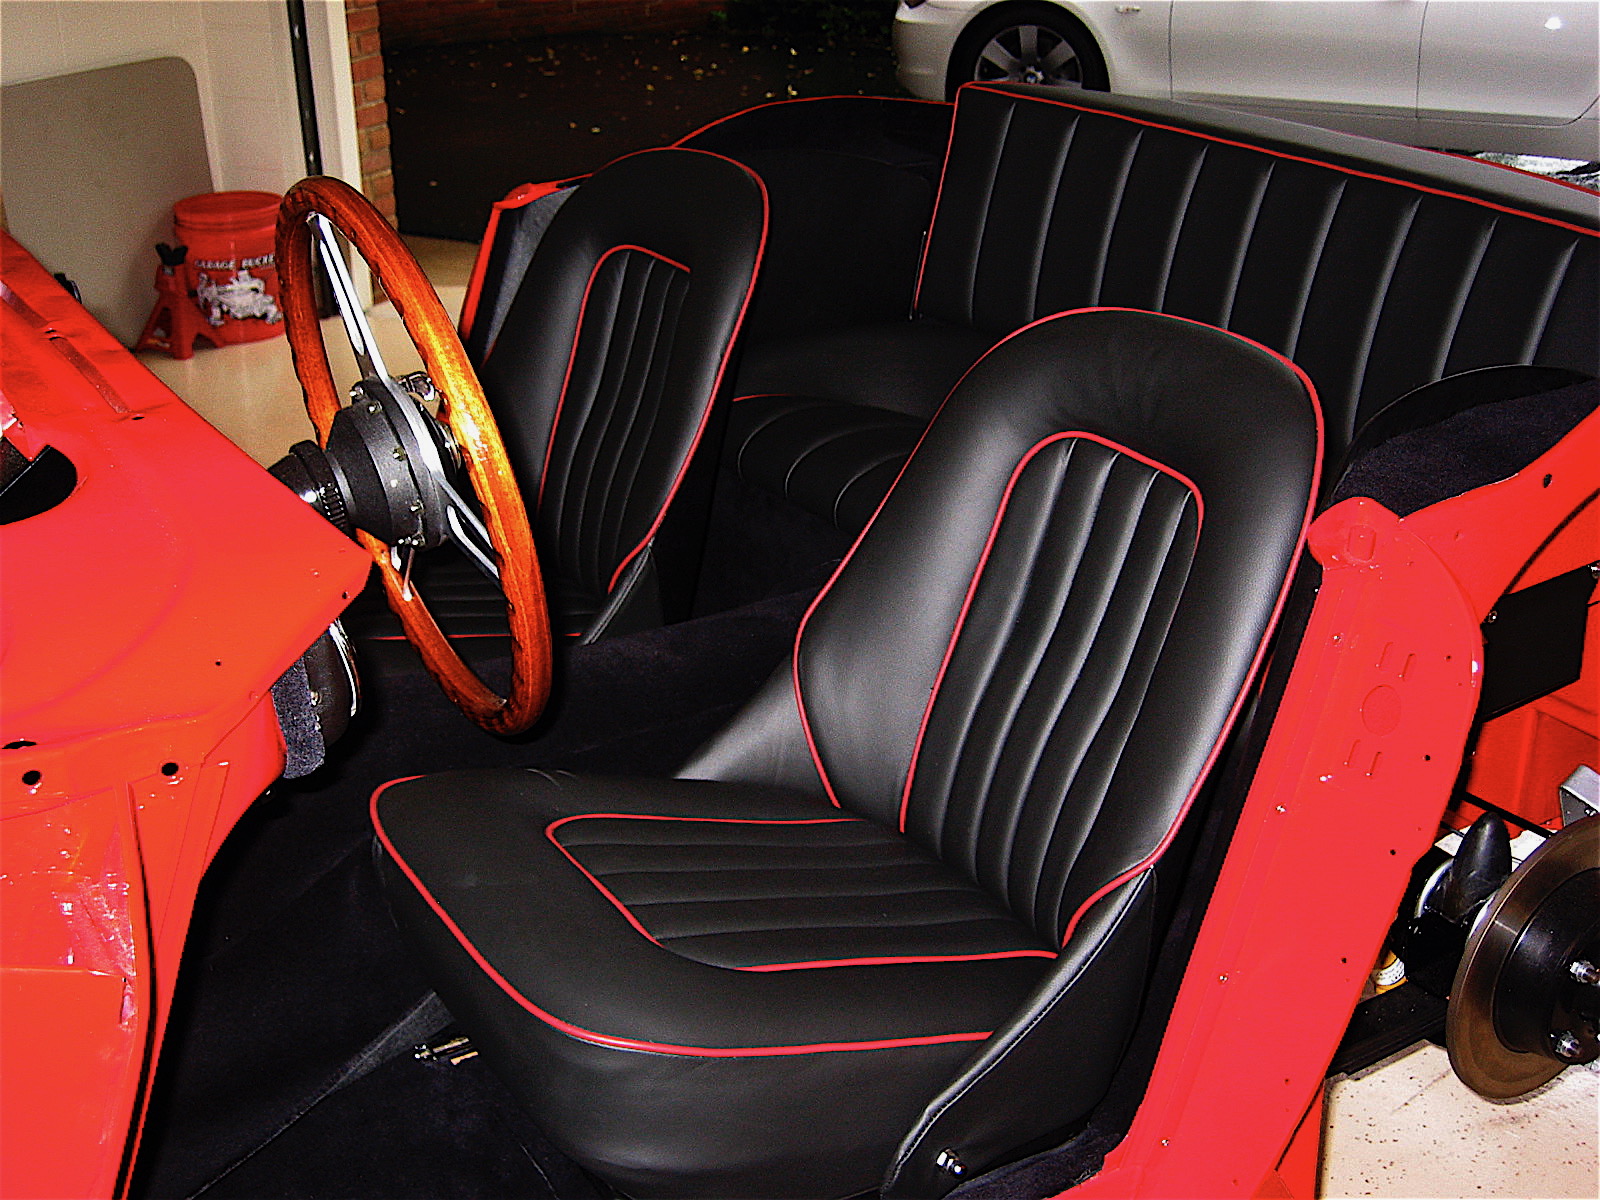
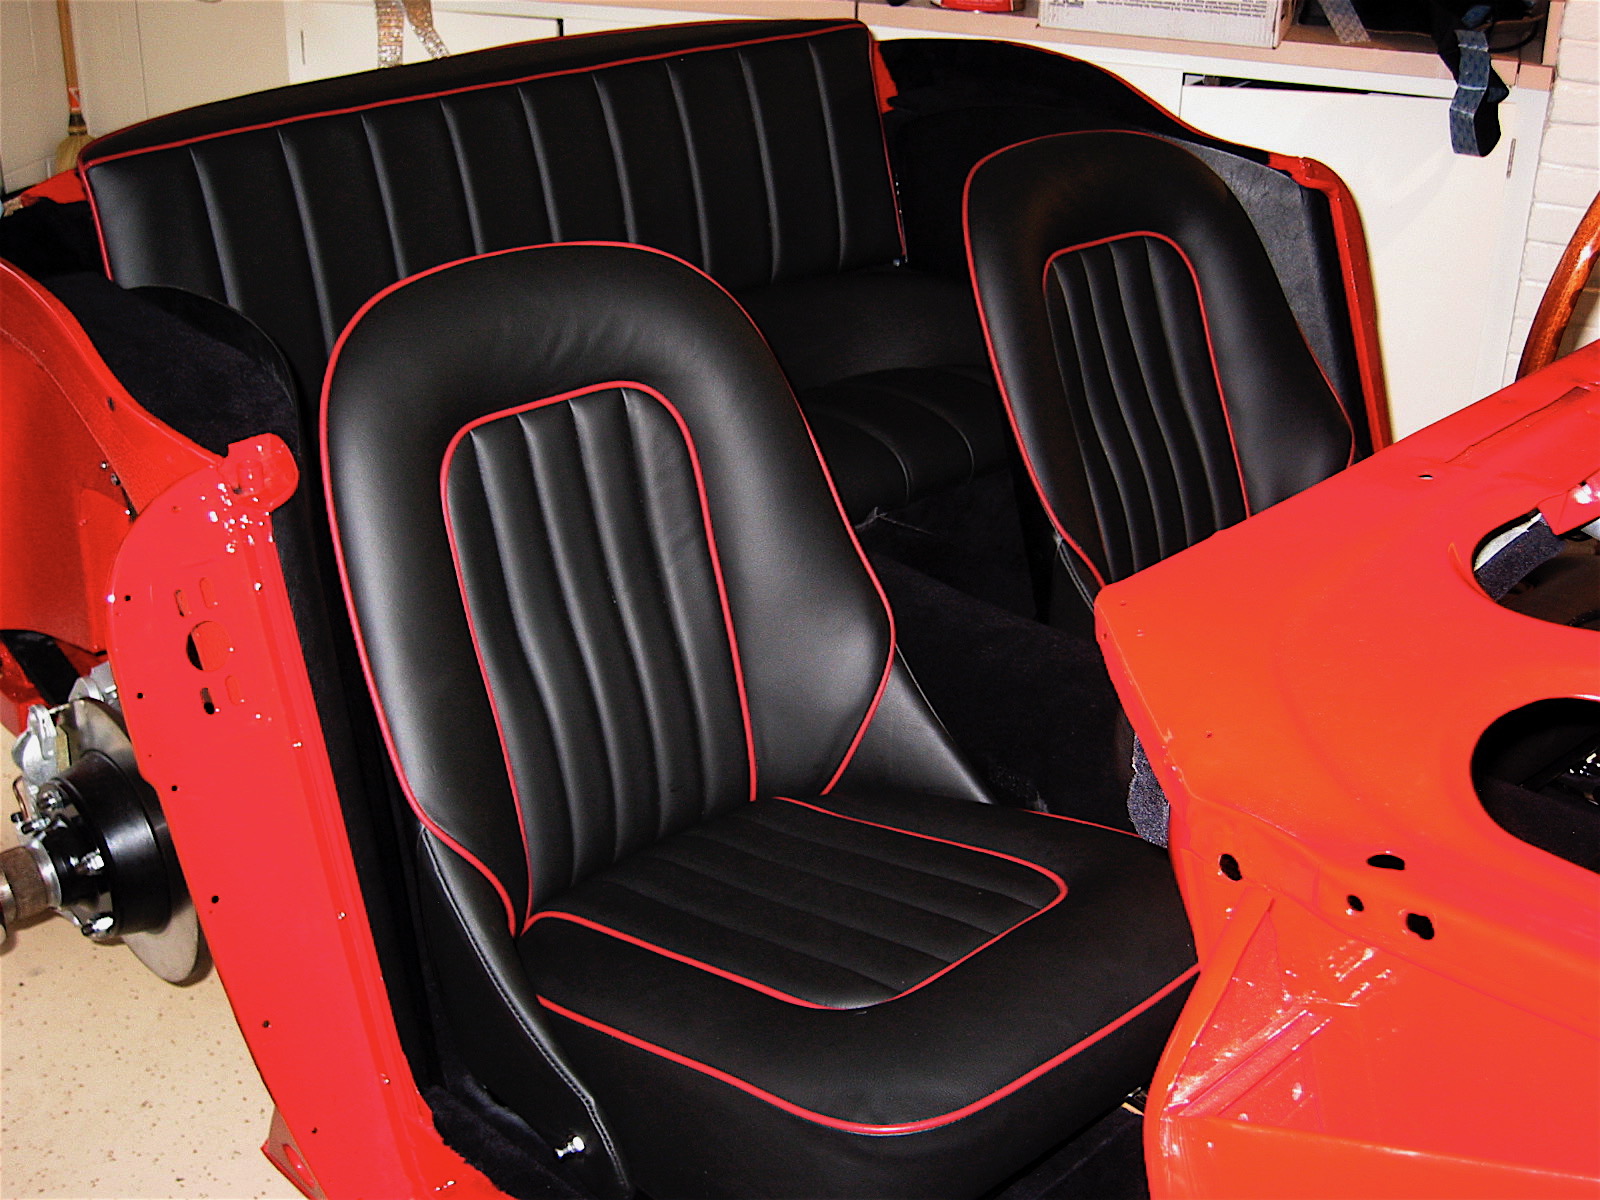
MK2 Seat with inserts and horizontal stitch
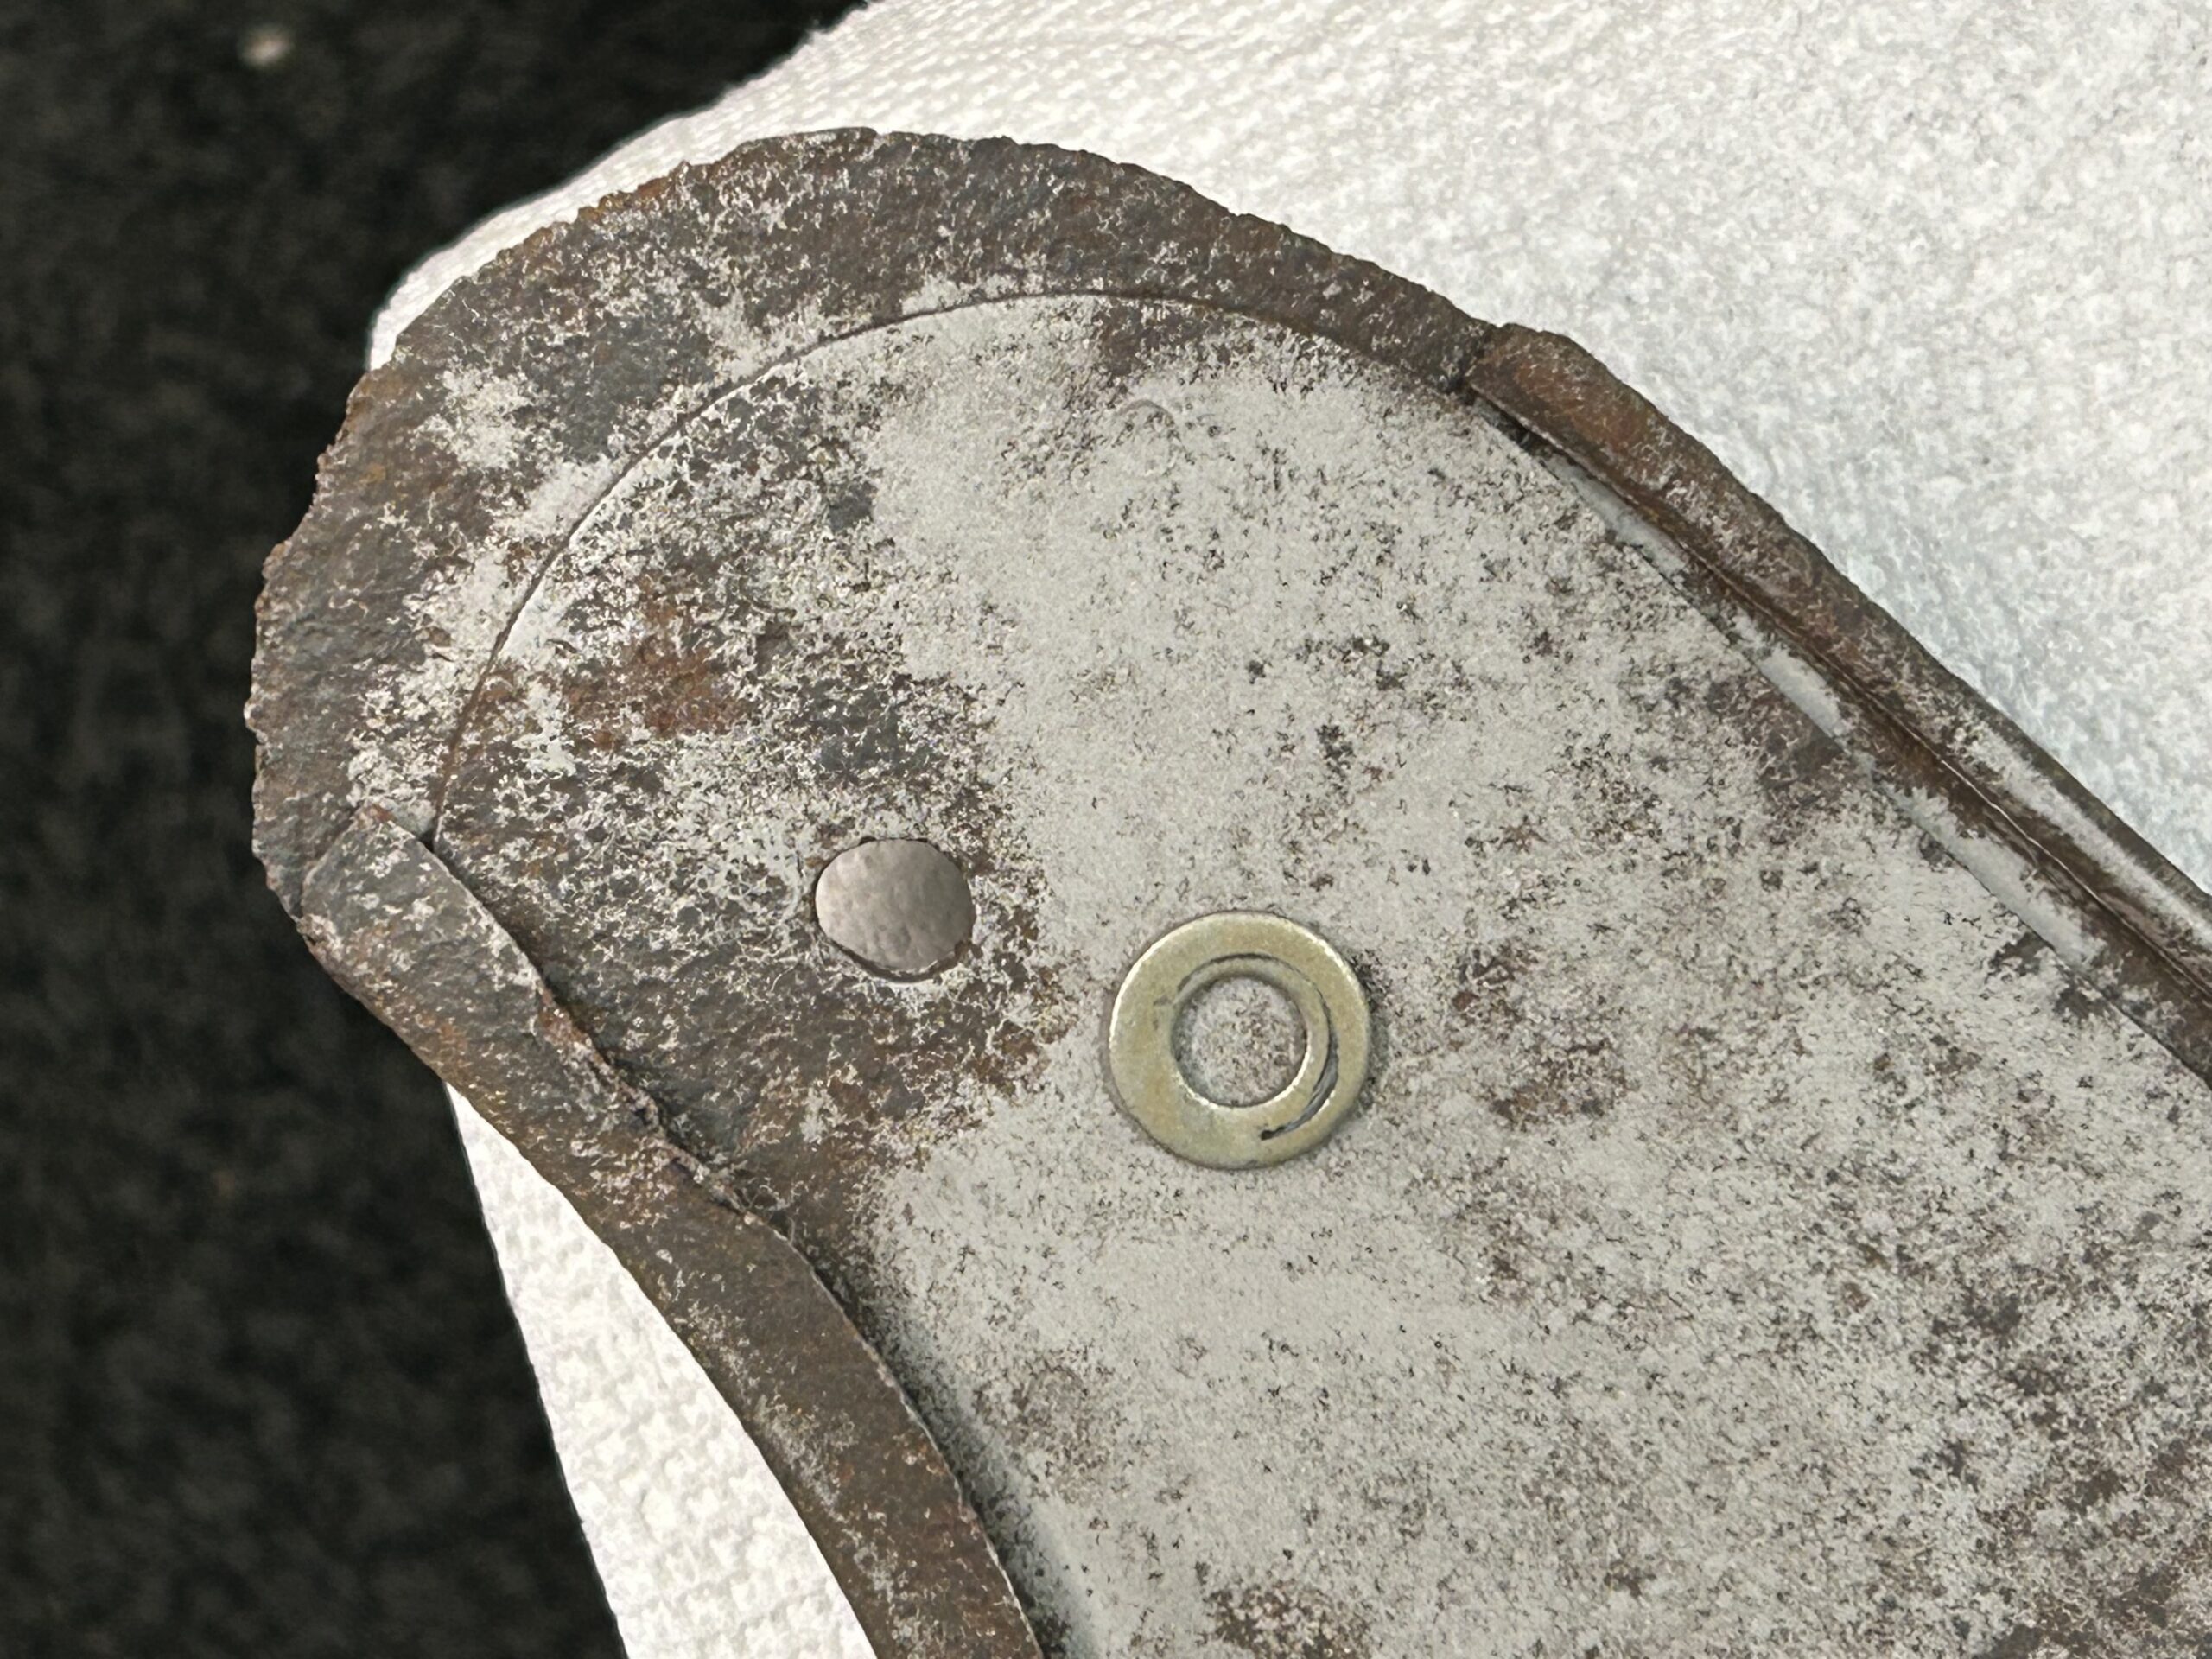
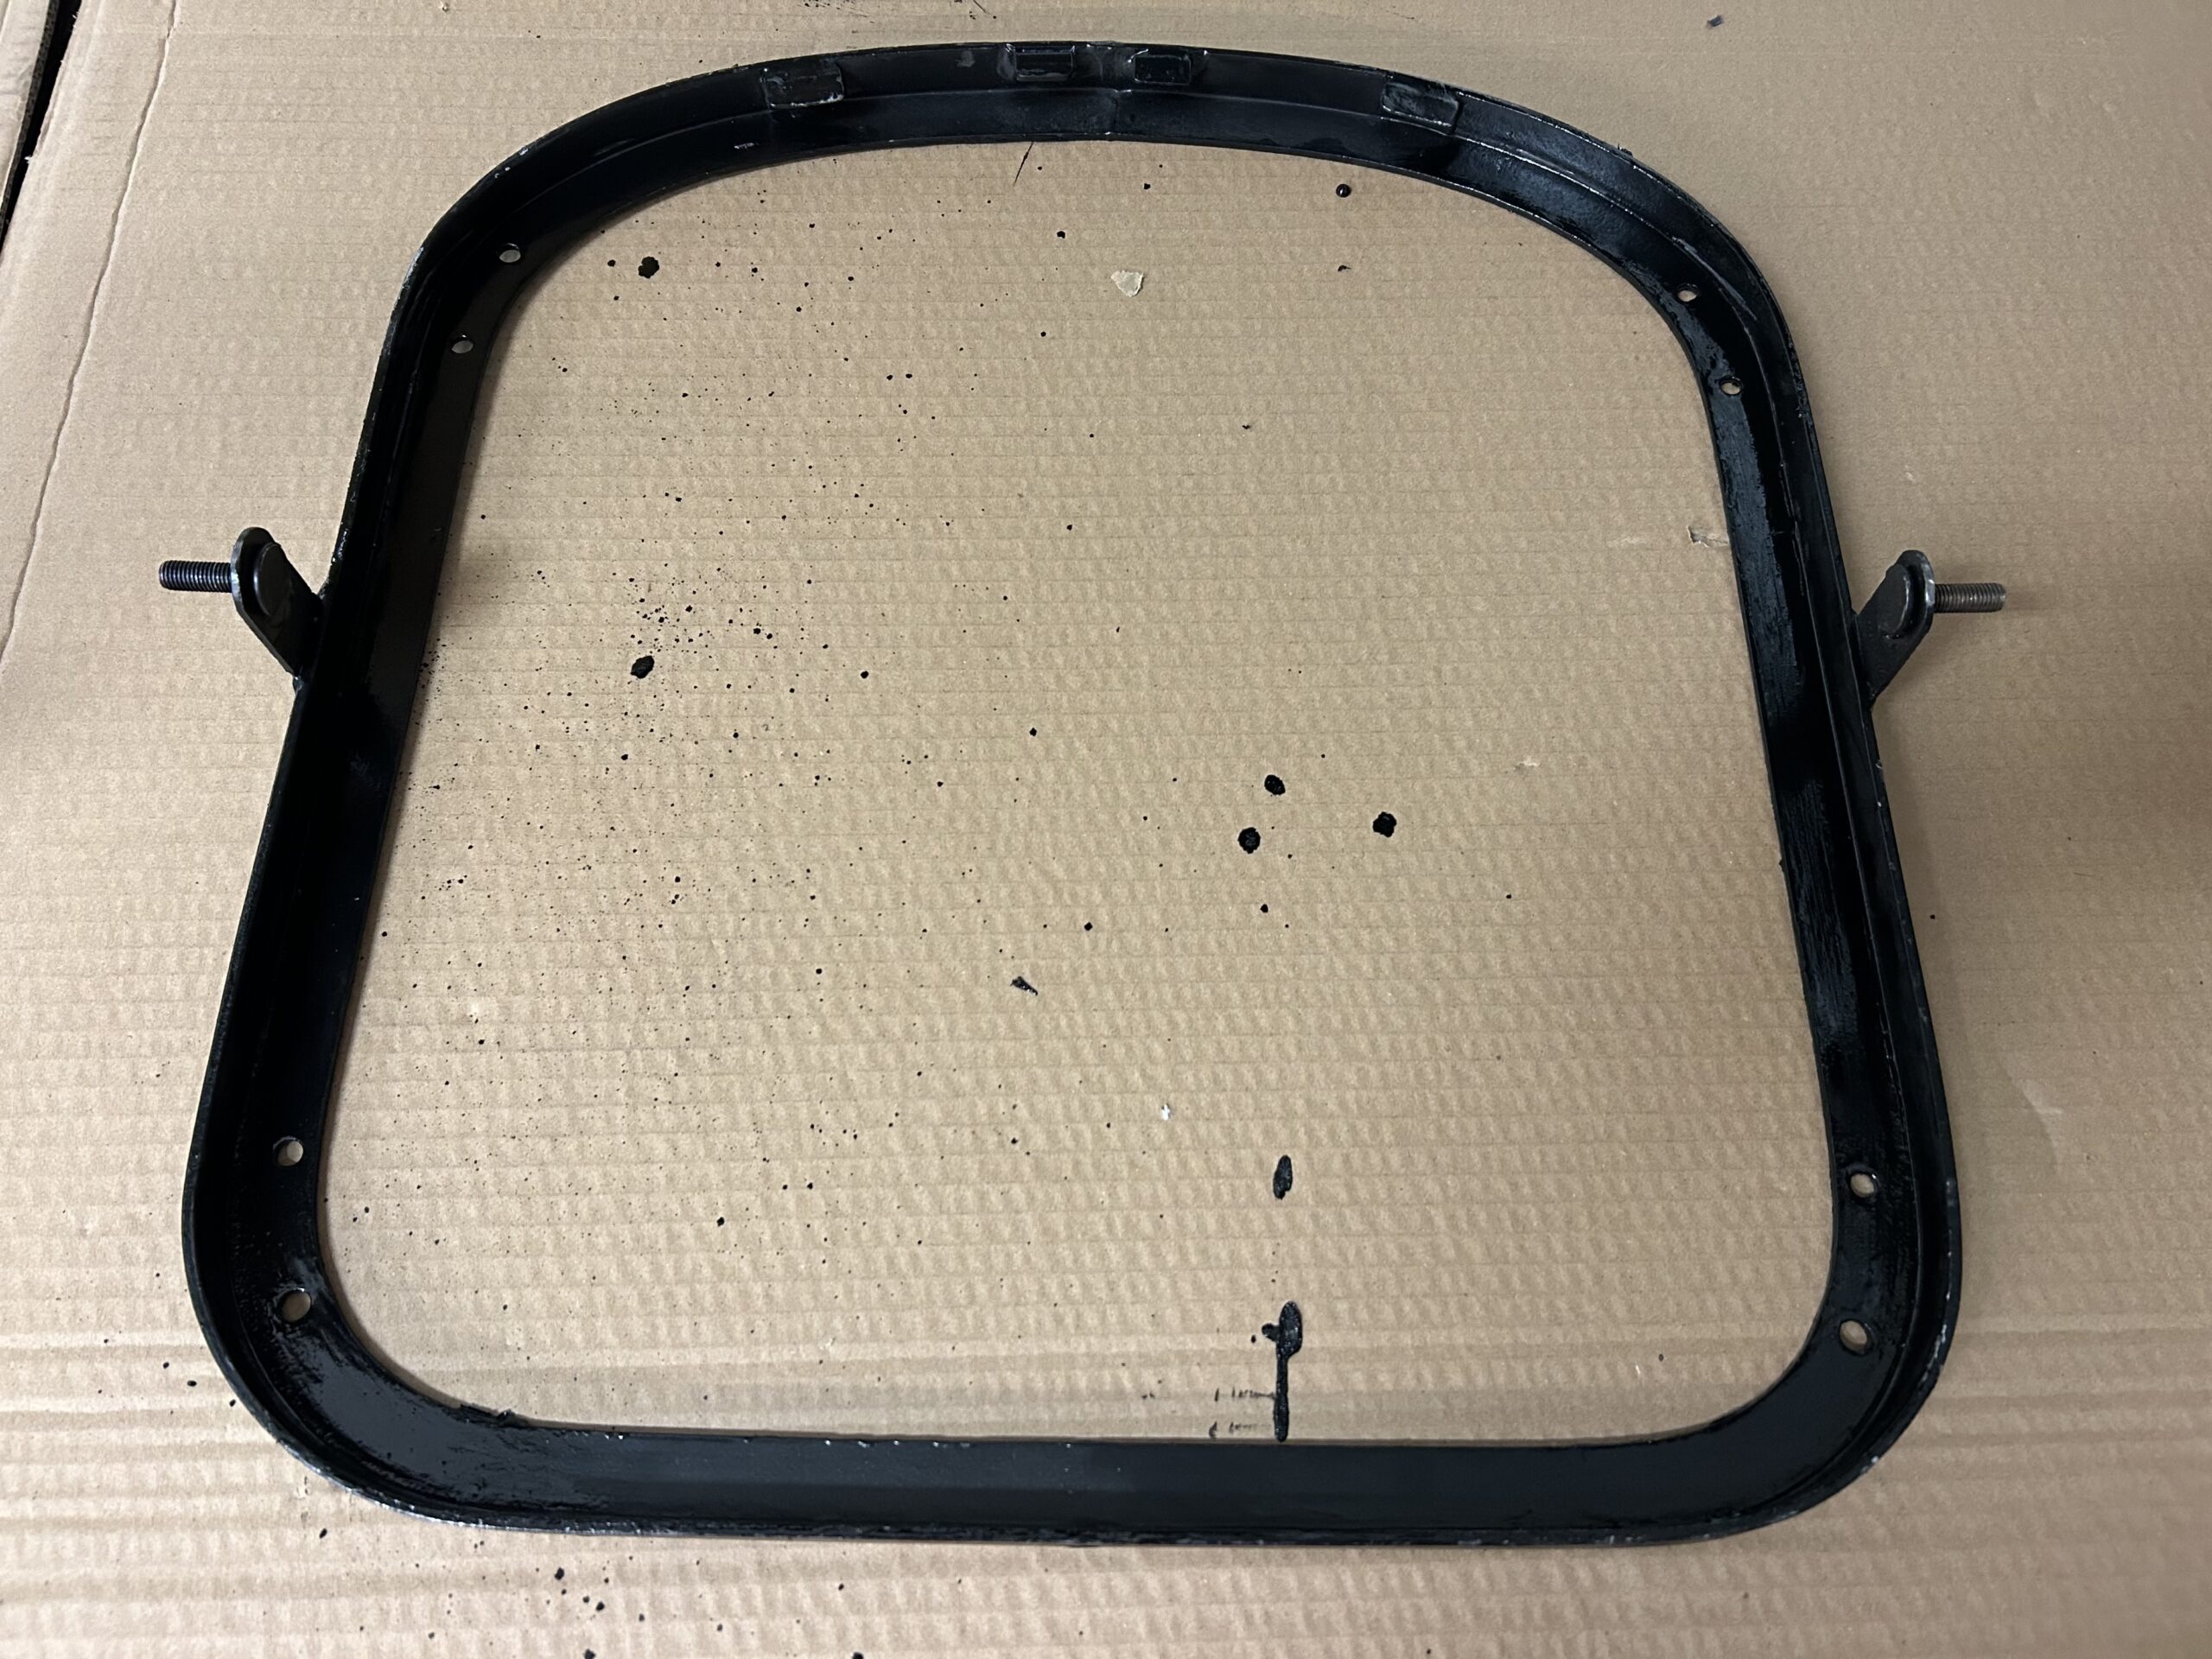
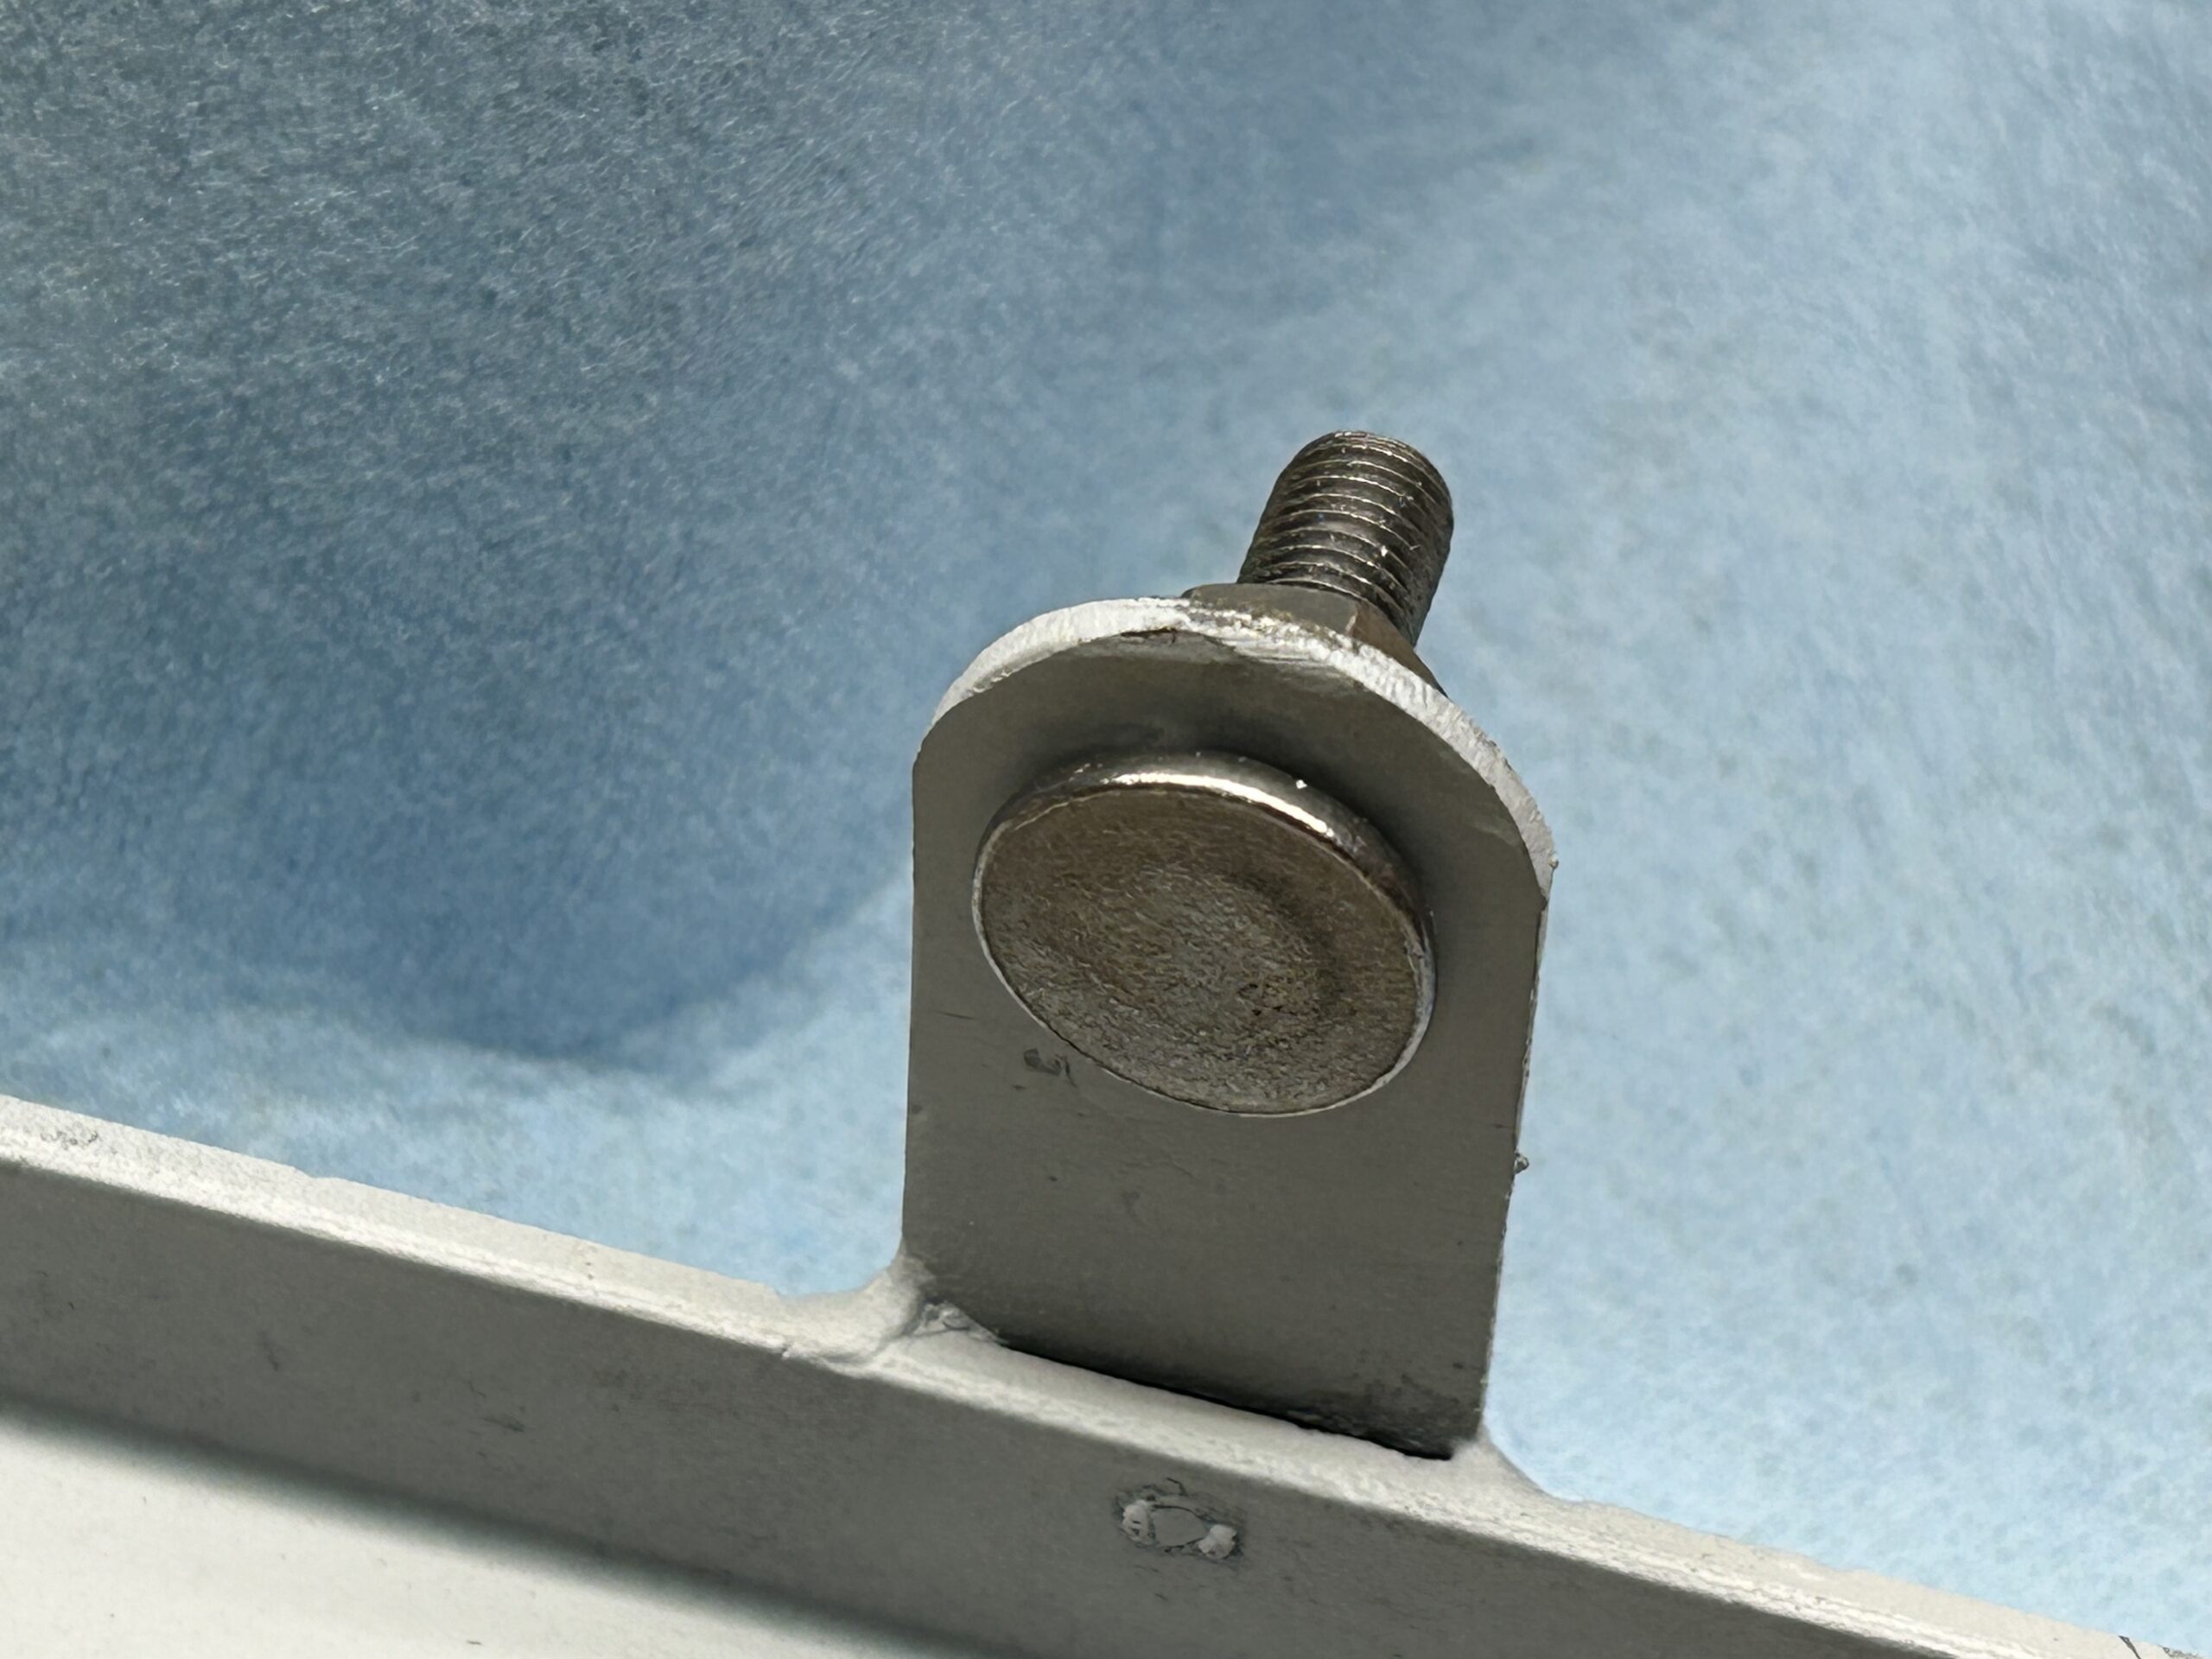
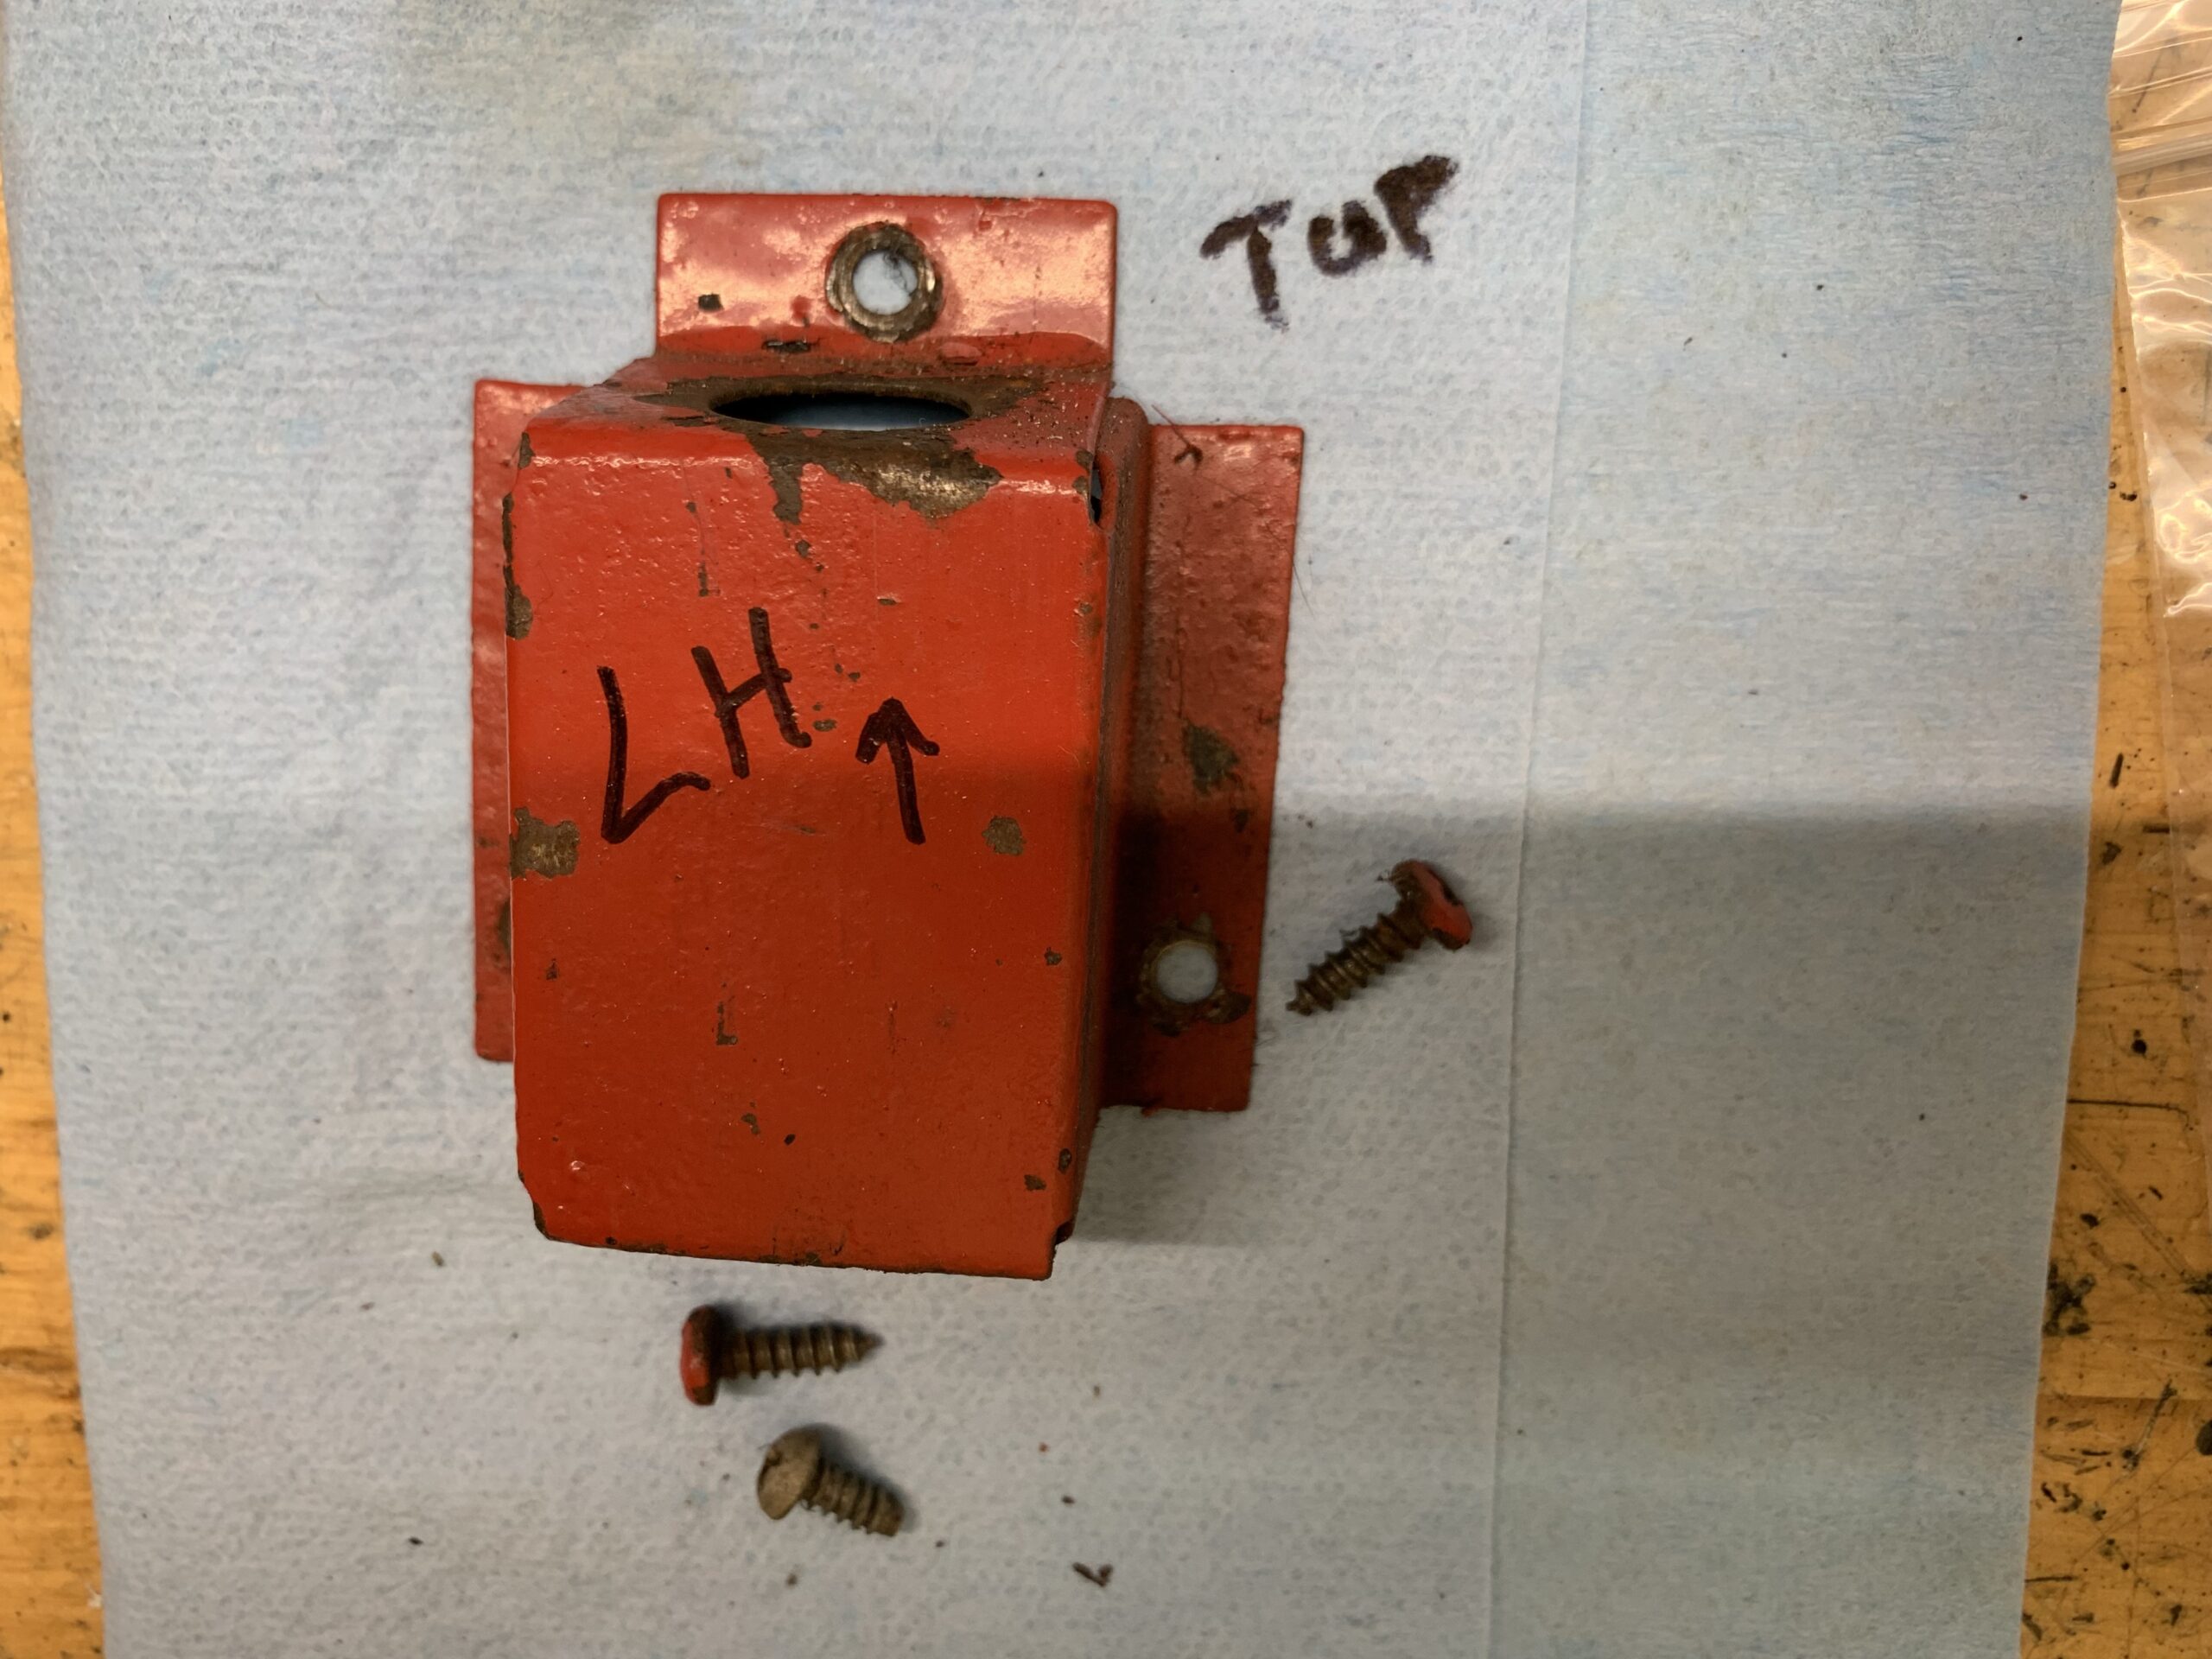
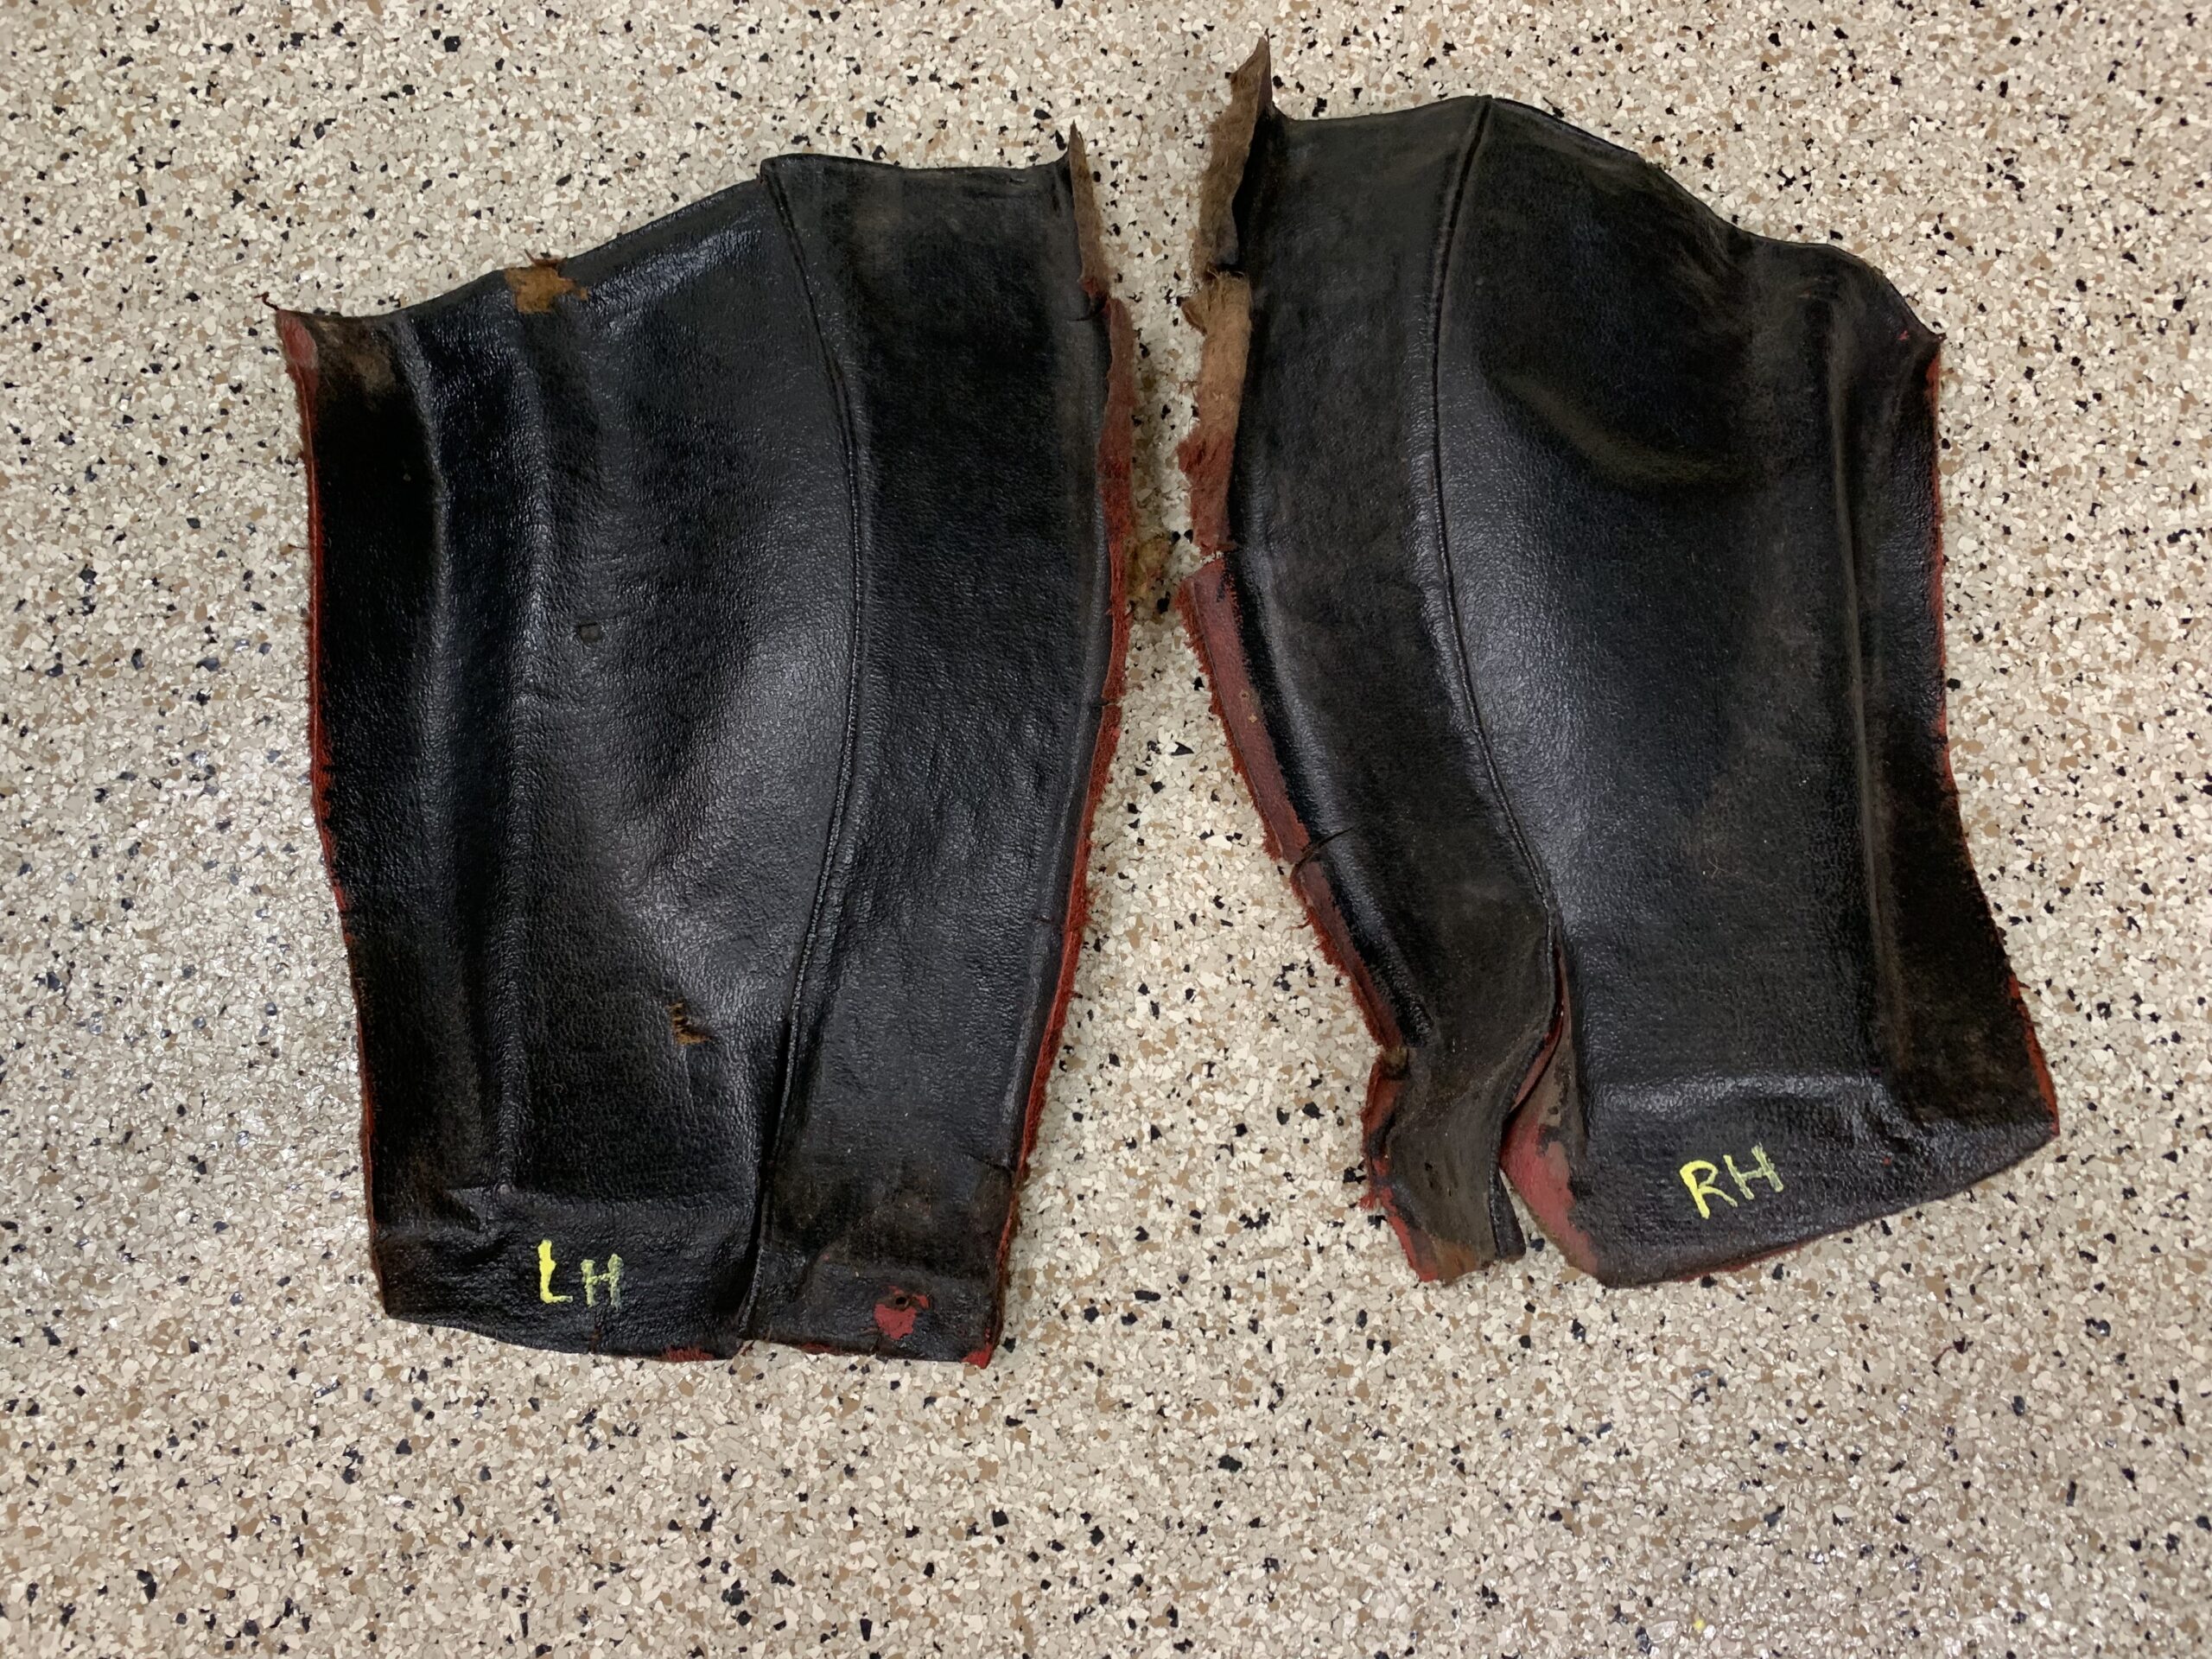
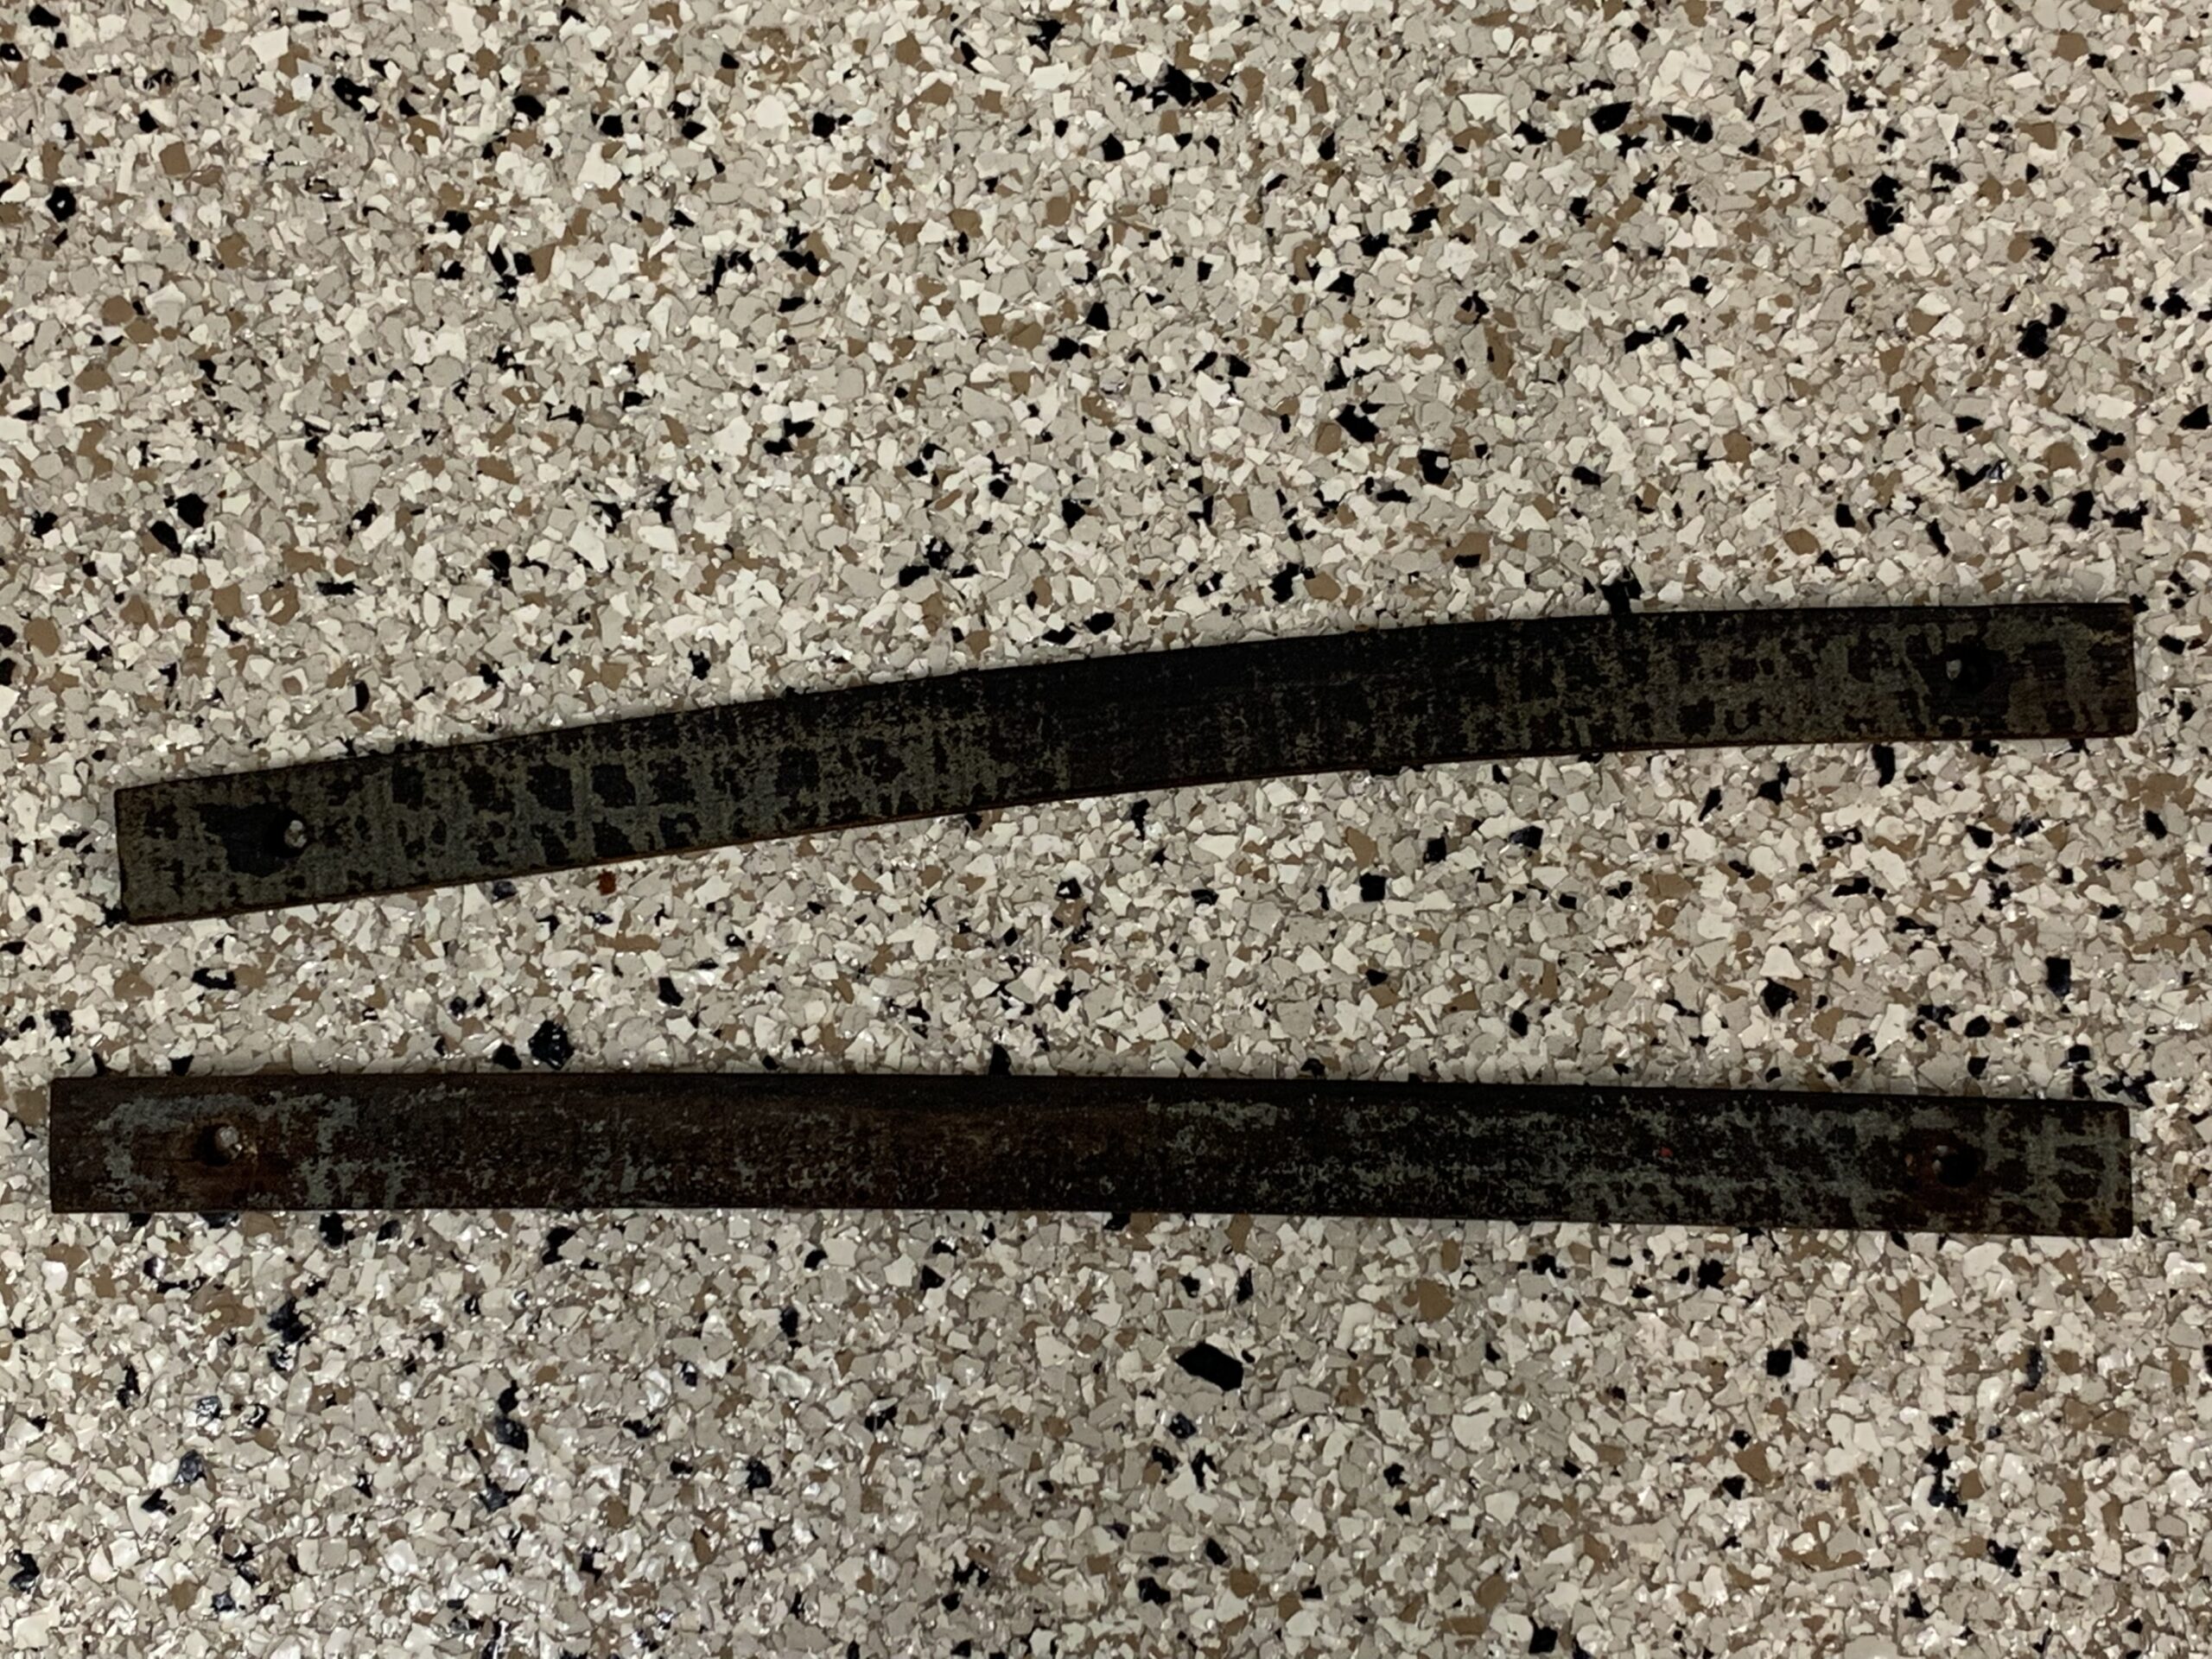
The seat tracks were originally screwed to the lower seat frame with 1/4″-28 x 5/8″ flat-head screws, but before long in the production cycle the screws and nuts were replaced with rivets. Several of the rivets in the Bugeye seat tracks were loose and resulted in sloppy seat travel. We decided to drill out the rivets and return to the use of screws and nuts to hold the pieces together. We also sent the seat tracks and rails to Jartex in Forth Worth, TX to have the pieces cleaned and zinc plated. They did a very nice job. We are now ready to assemble the components.
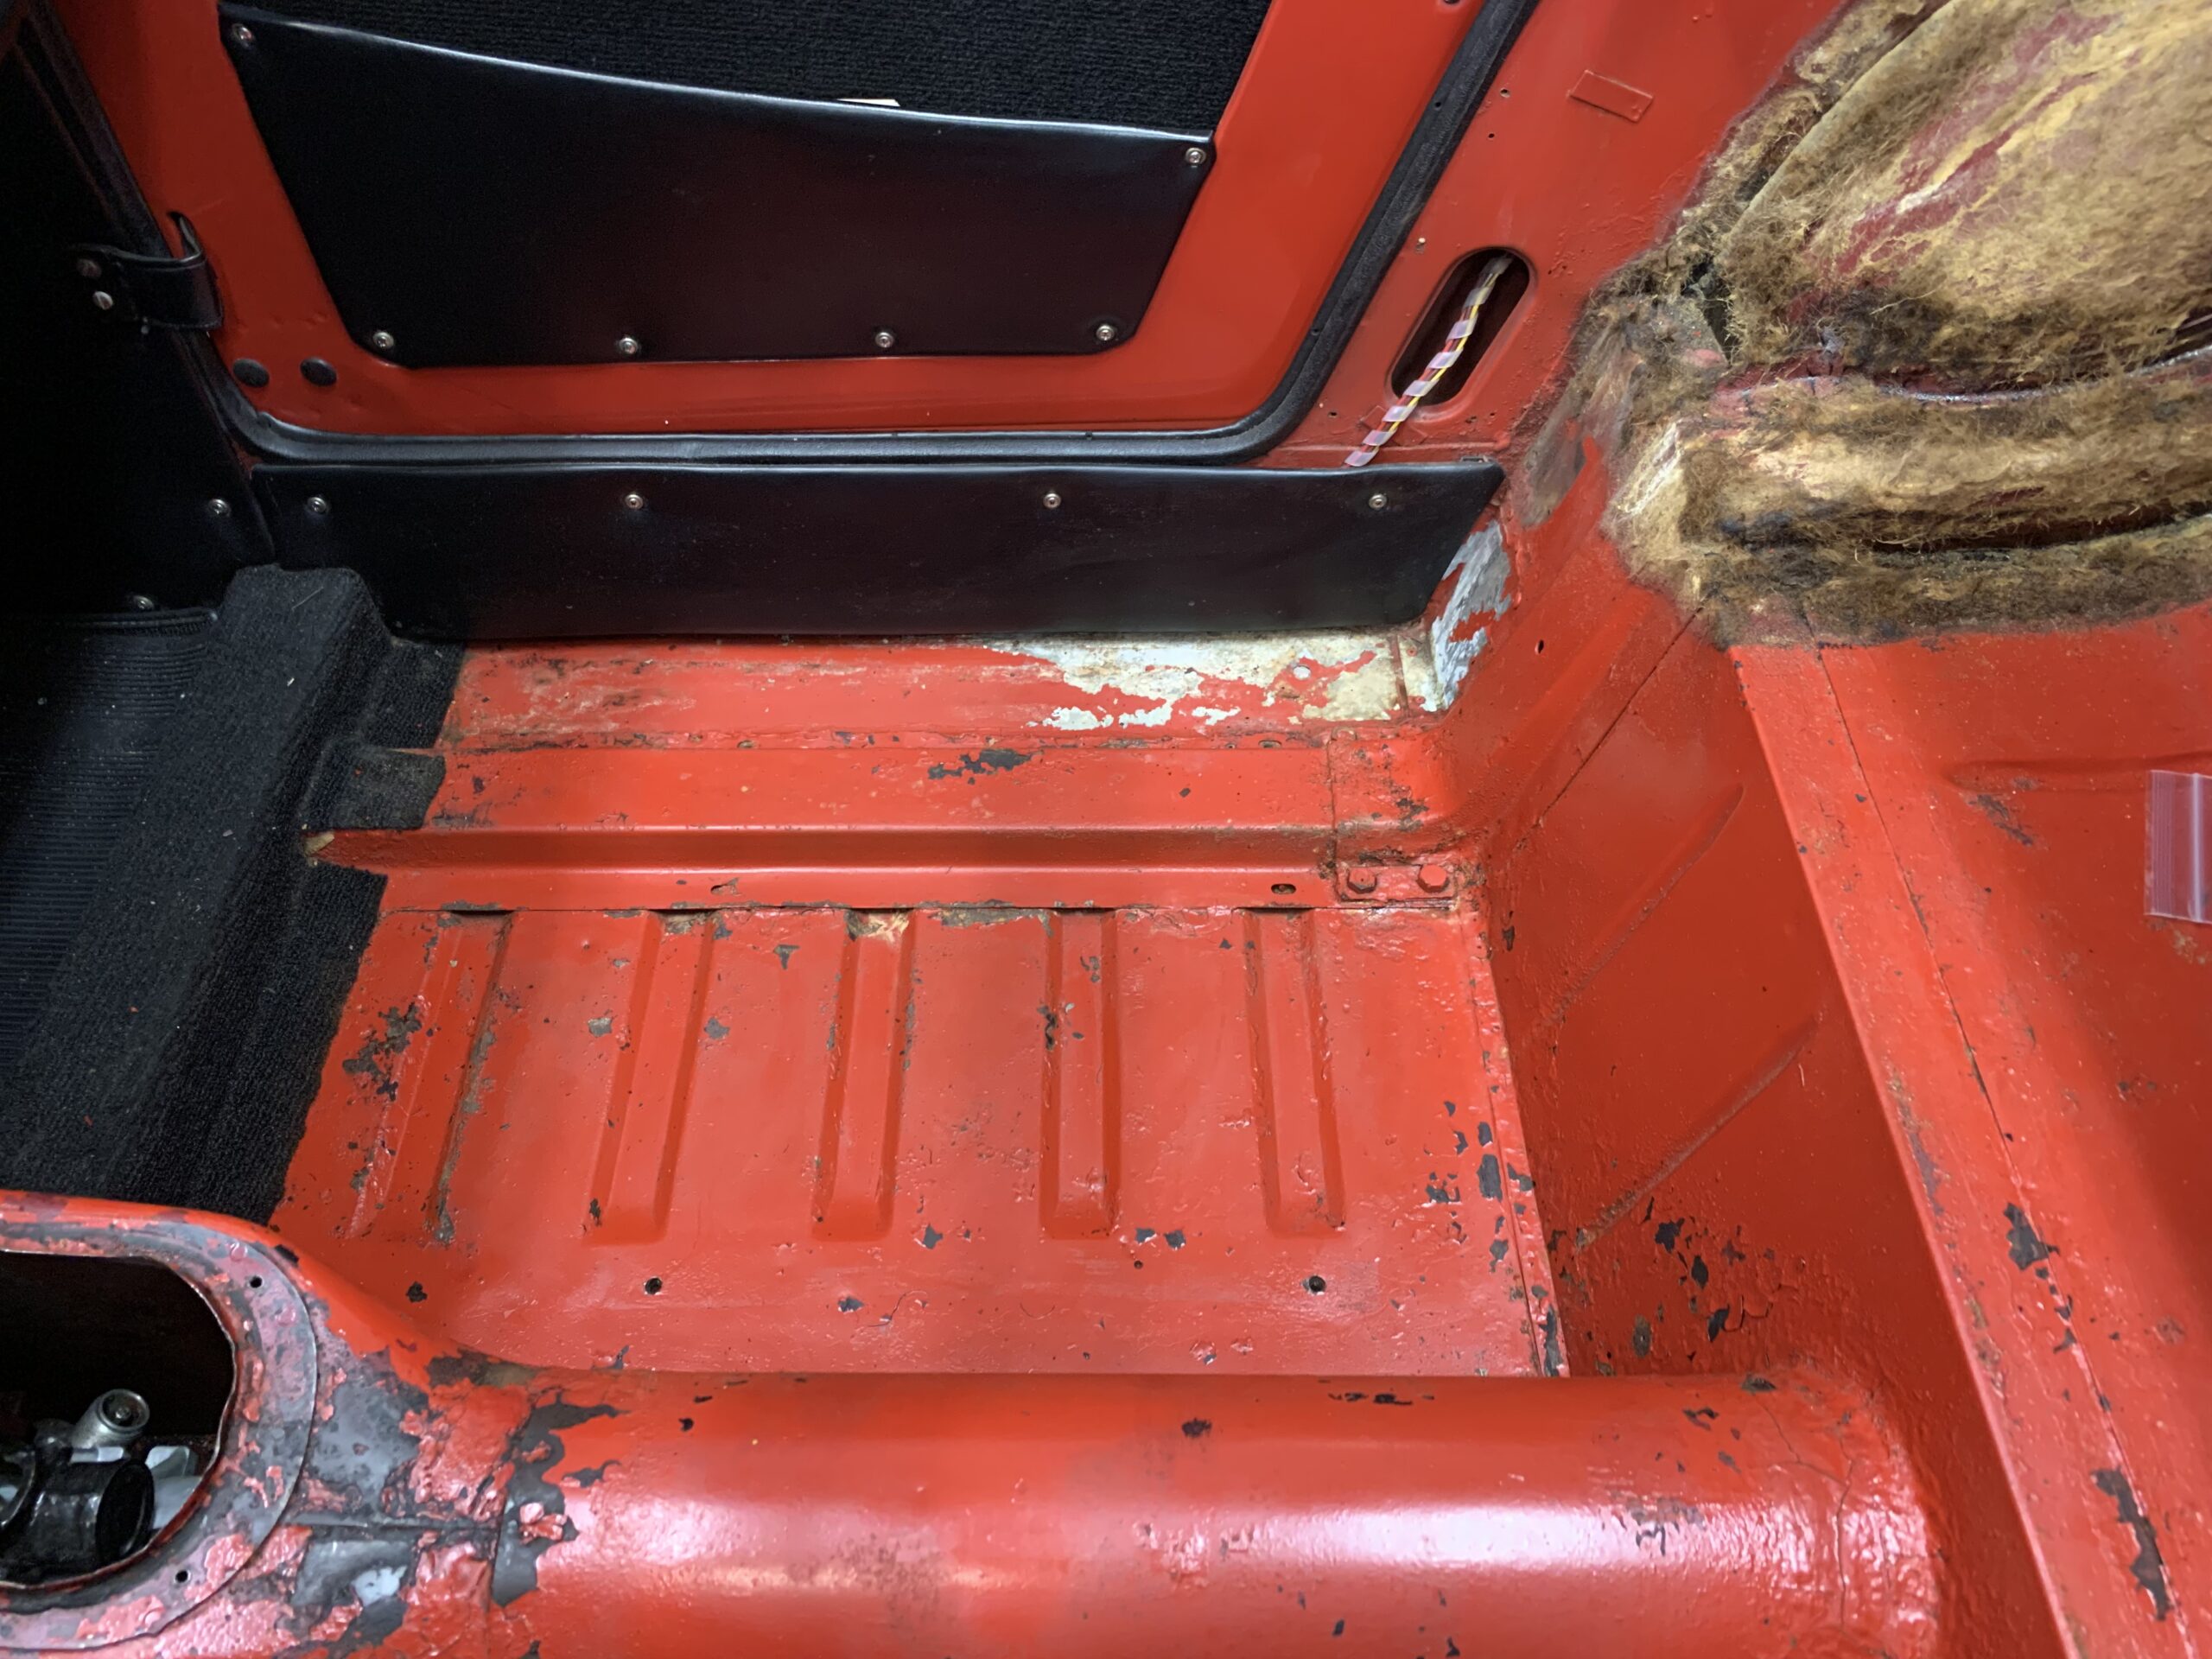
As produced at the time, only the driver’s seat had an adjustable slider track. The passenger seat was bolted in place with four brackets to the floor. However, we also have the adjuster for the passenger seat and will be installing it. It is hard to imagine ever adjusting the seats given how little room there is in the Sprite. They will probably be pushed all the way to the rear and then never moved!
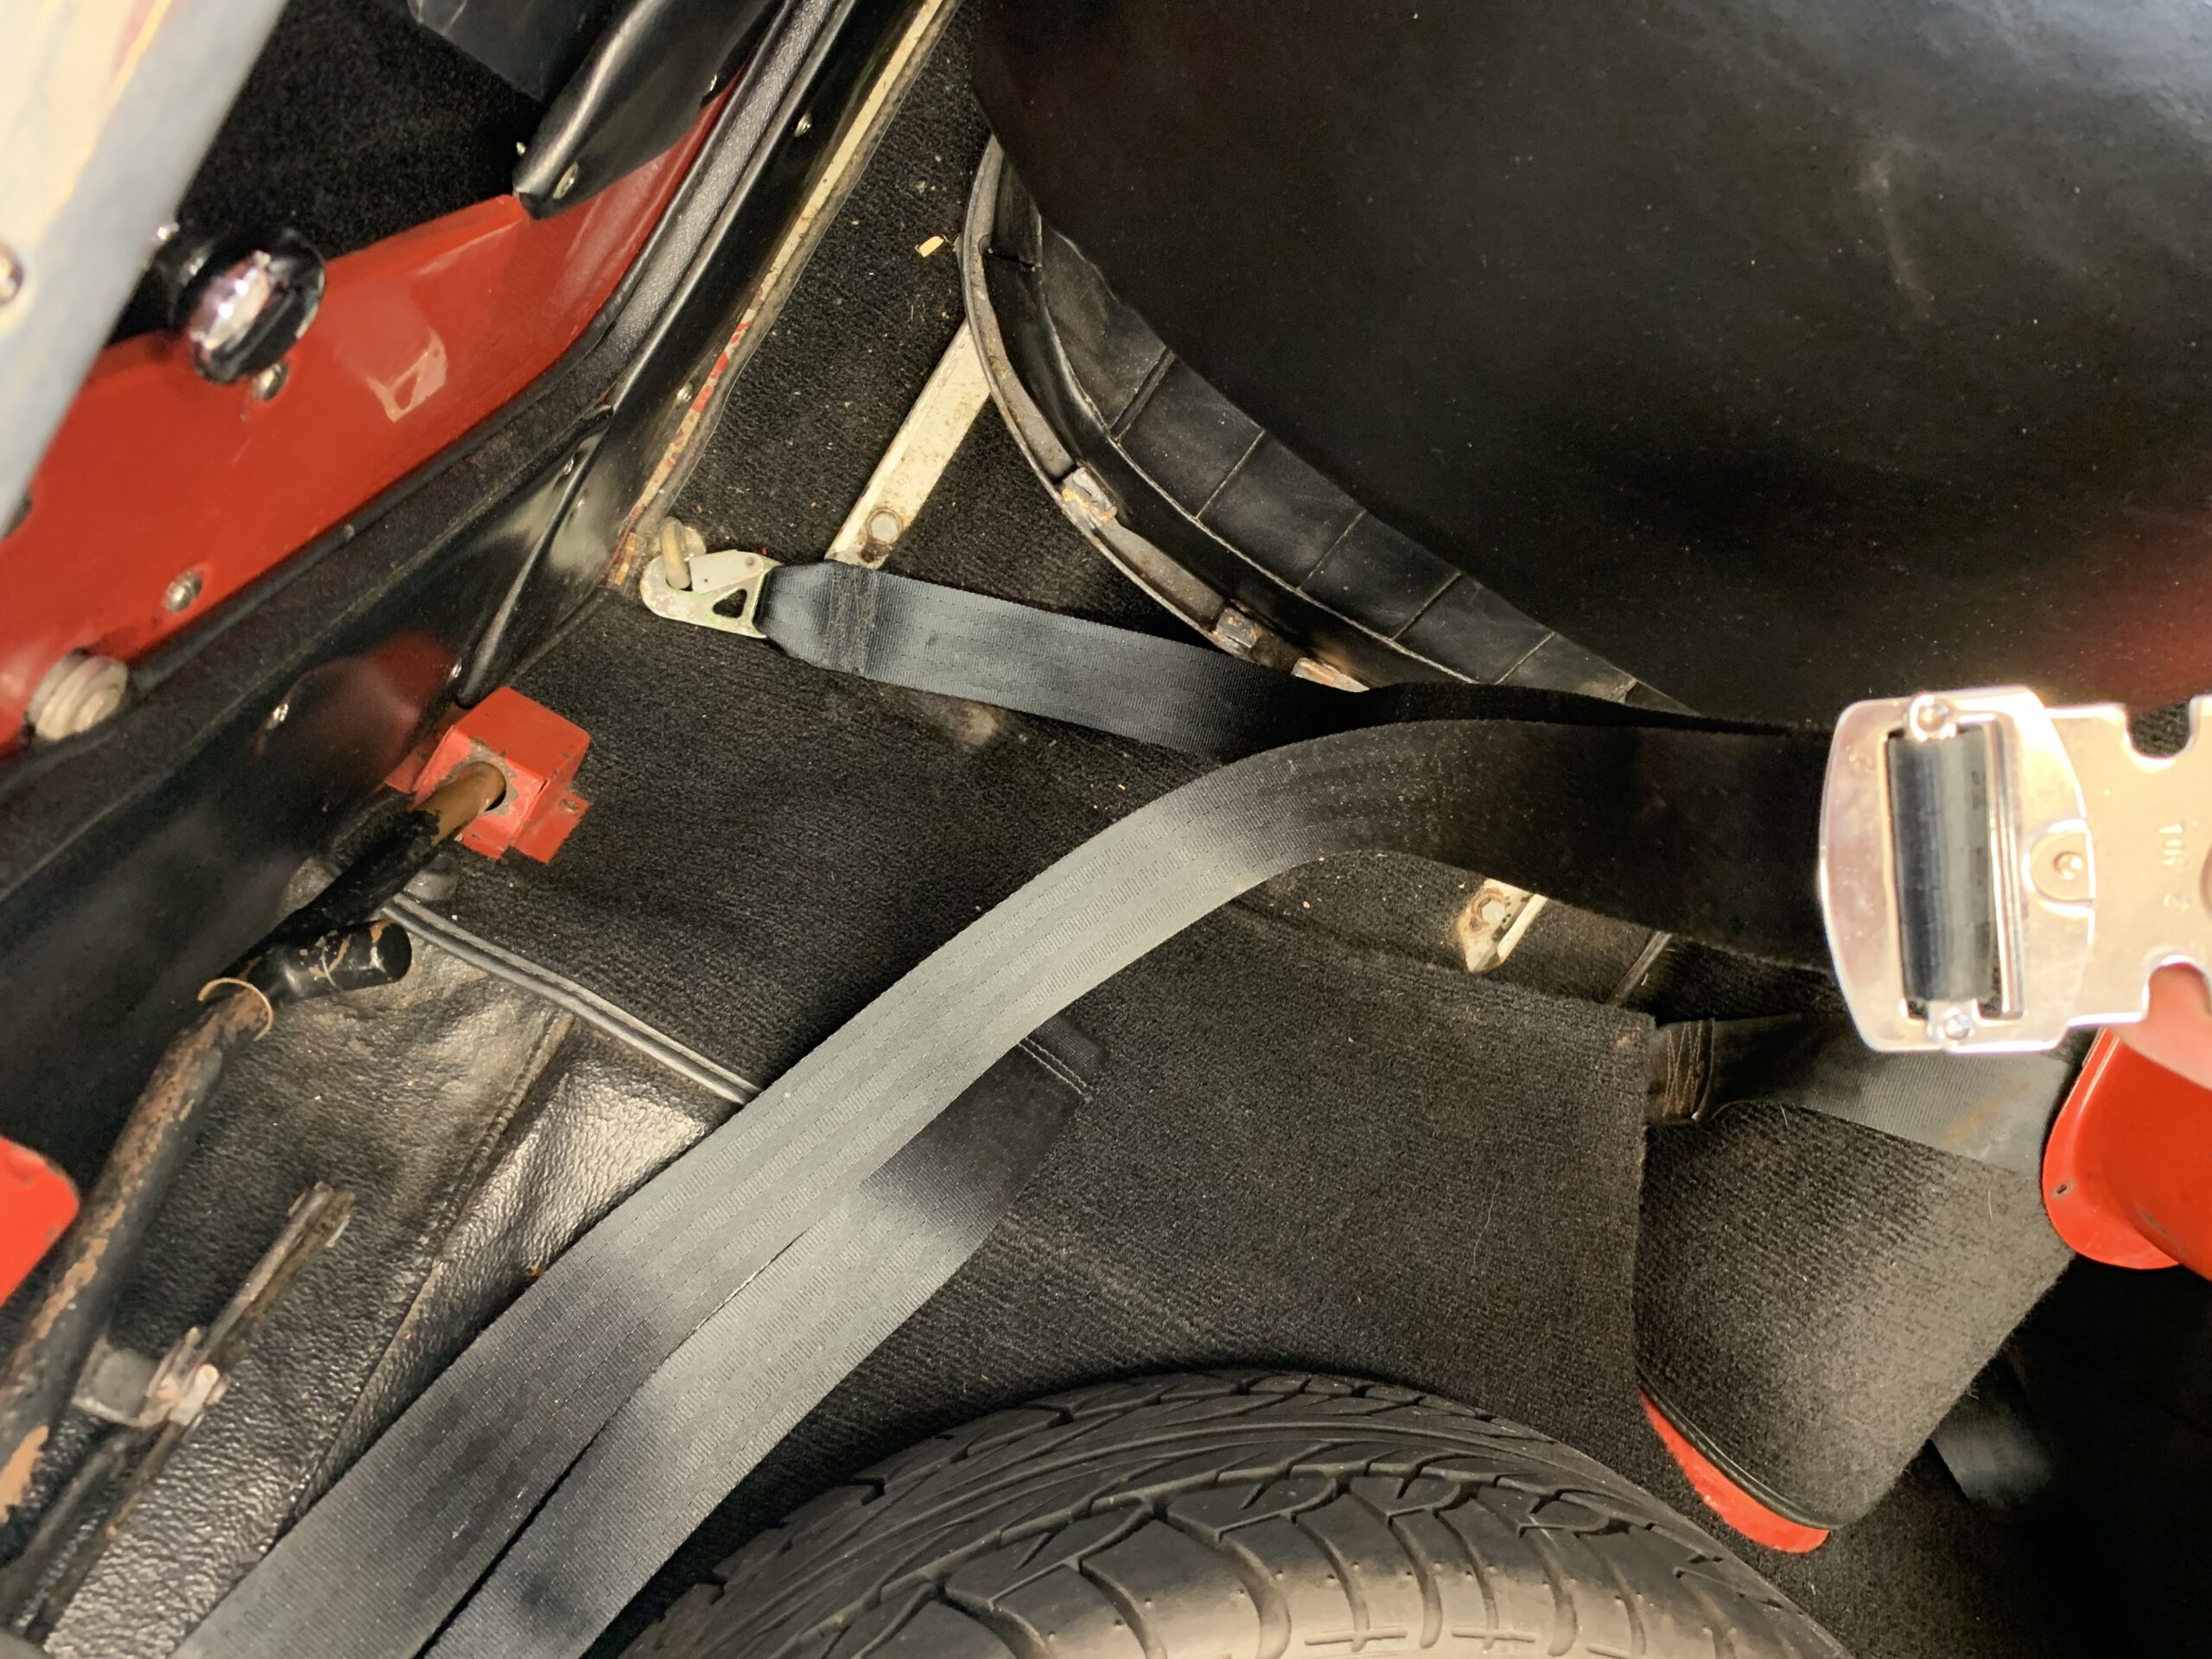
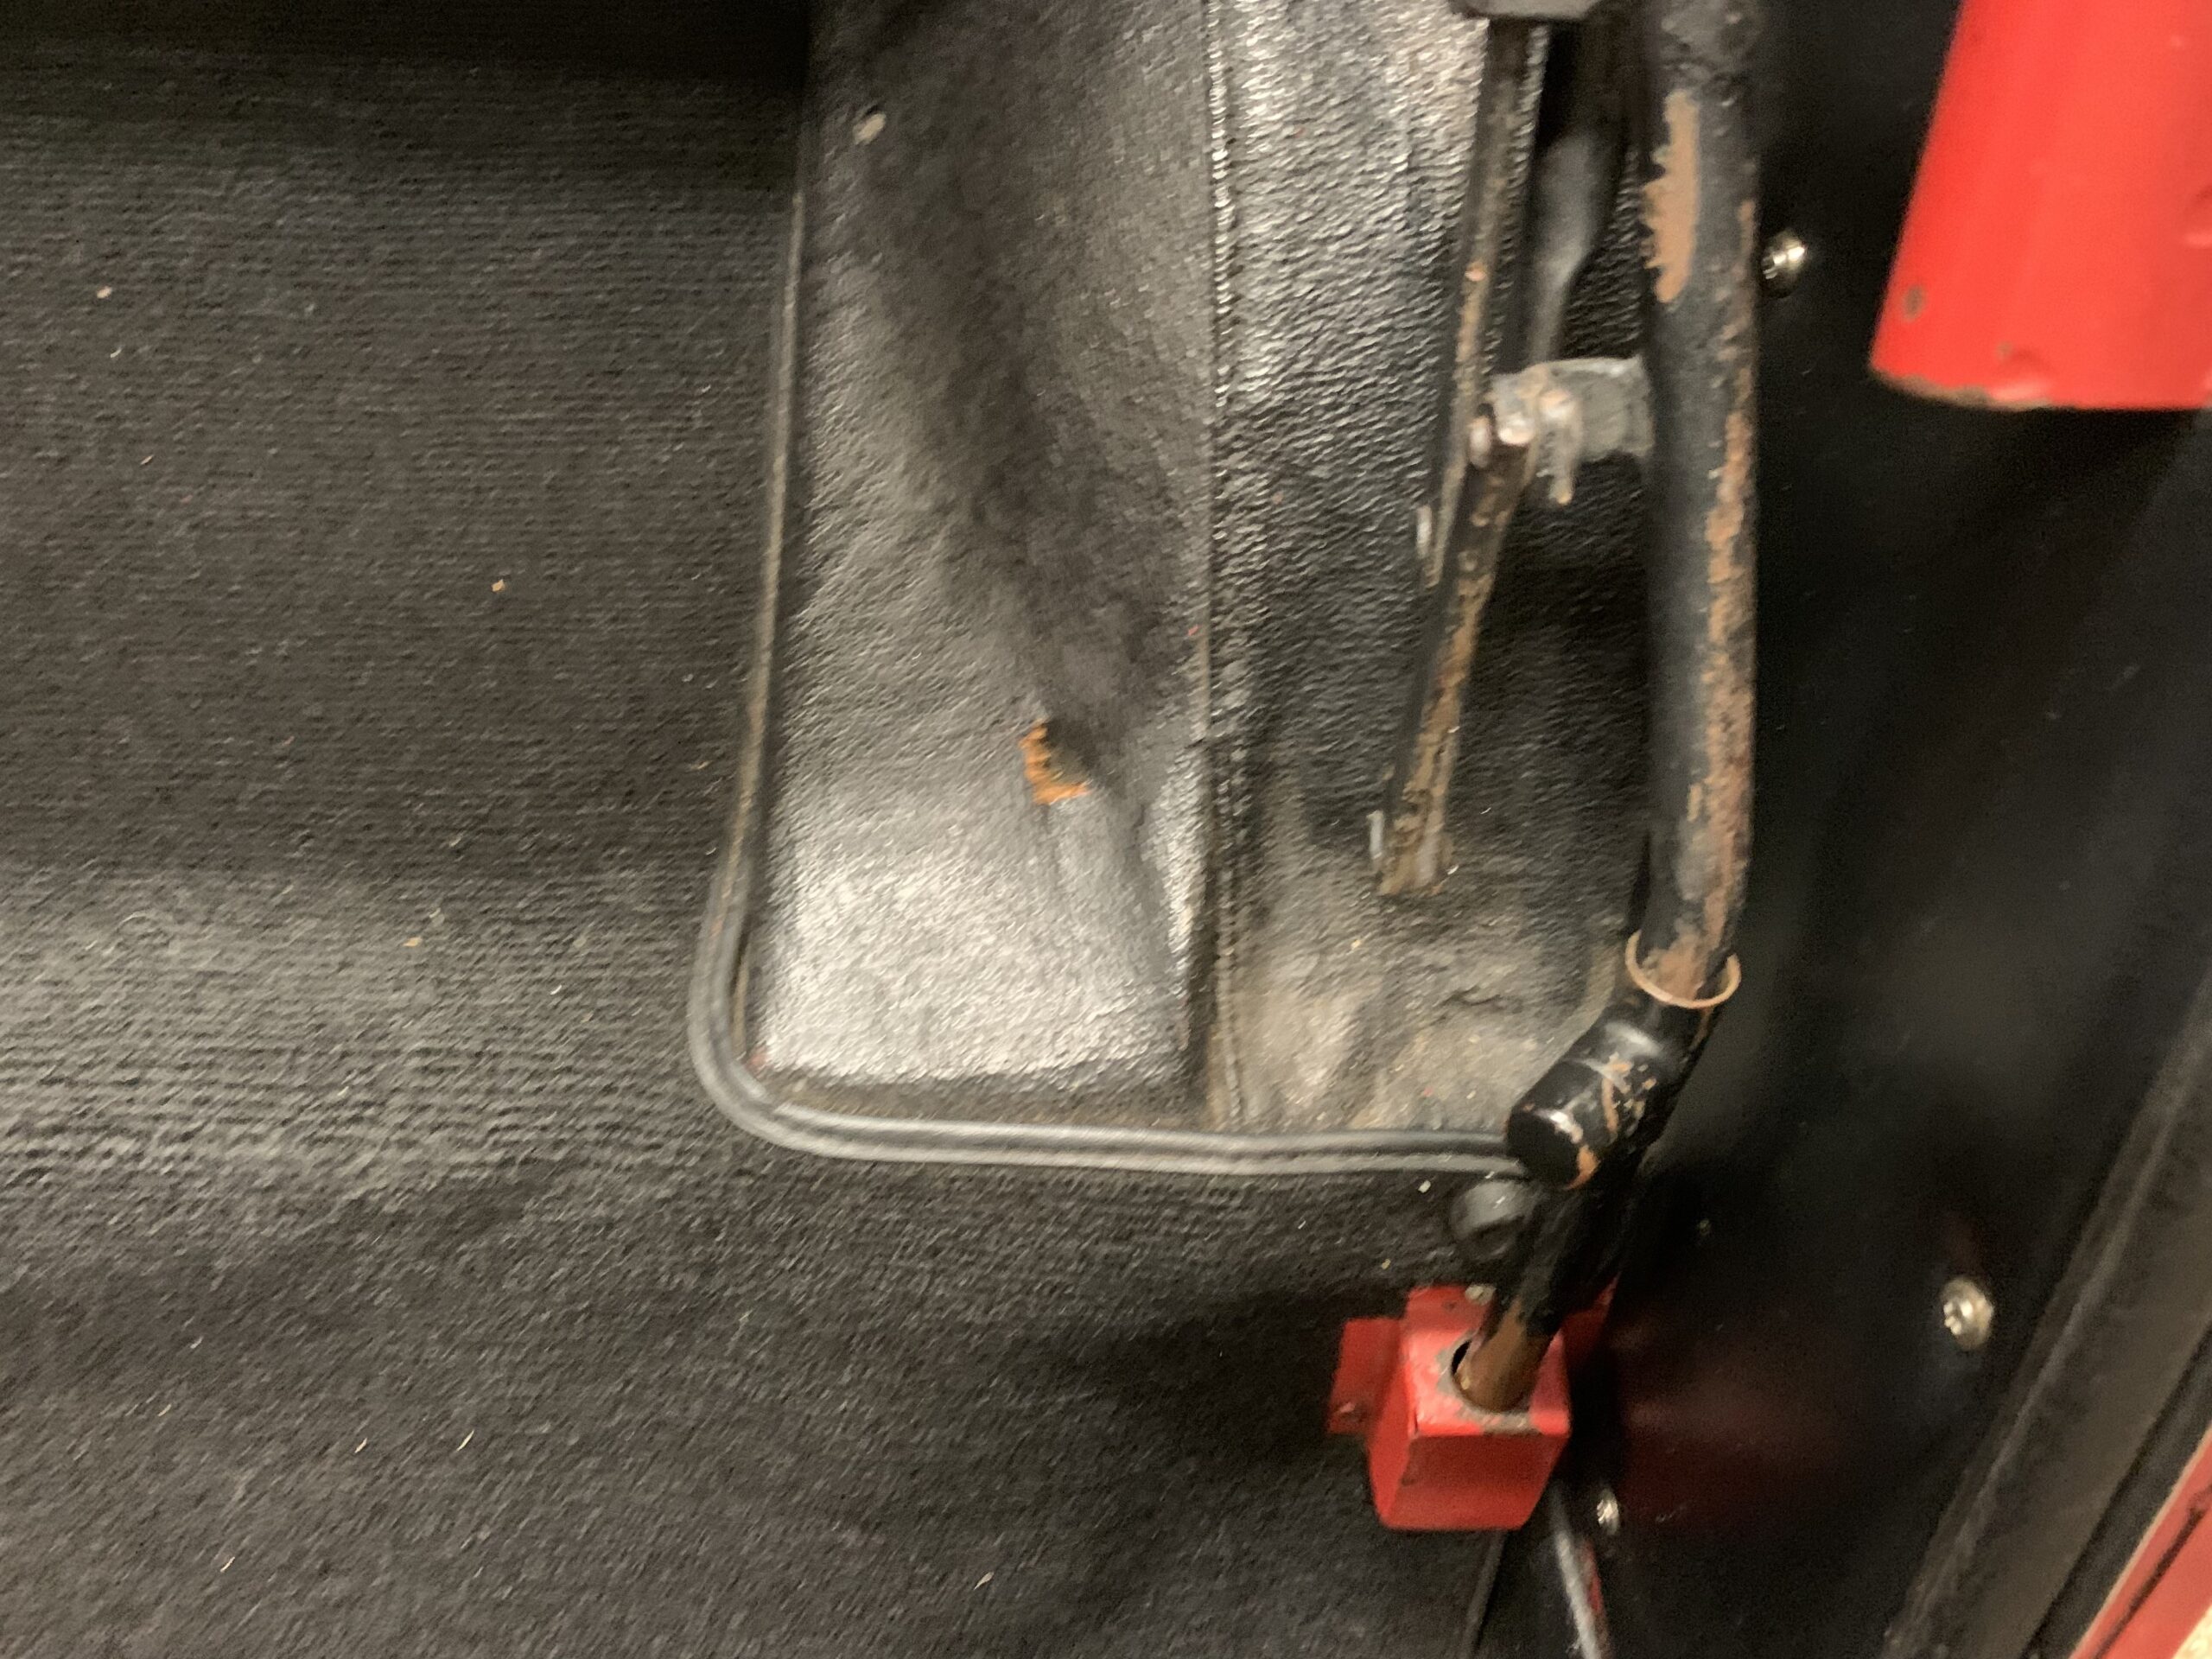
We installed three-point retractable shoulder harnesses and seat belts sourced from Bugeyeguys.com. The belts and their installation were covered in an earlier post which includes a video showing the modifications to the chassis to accommodate the fixing points.https://valvechatter.com/?p=14383
This is the finished product:
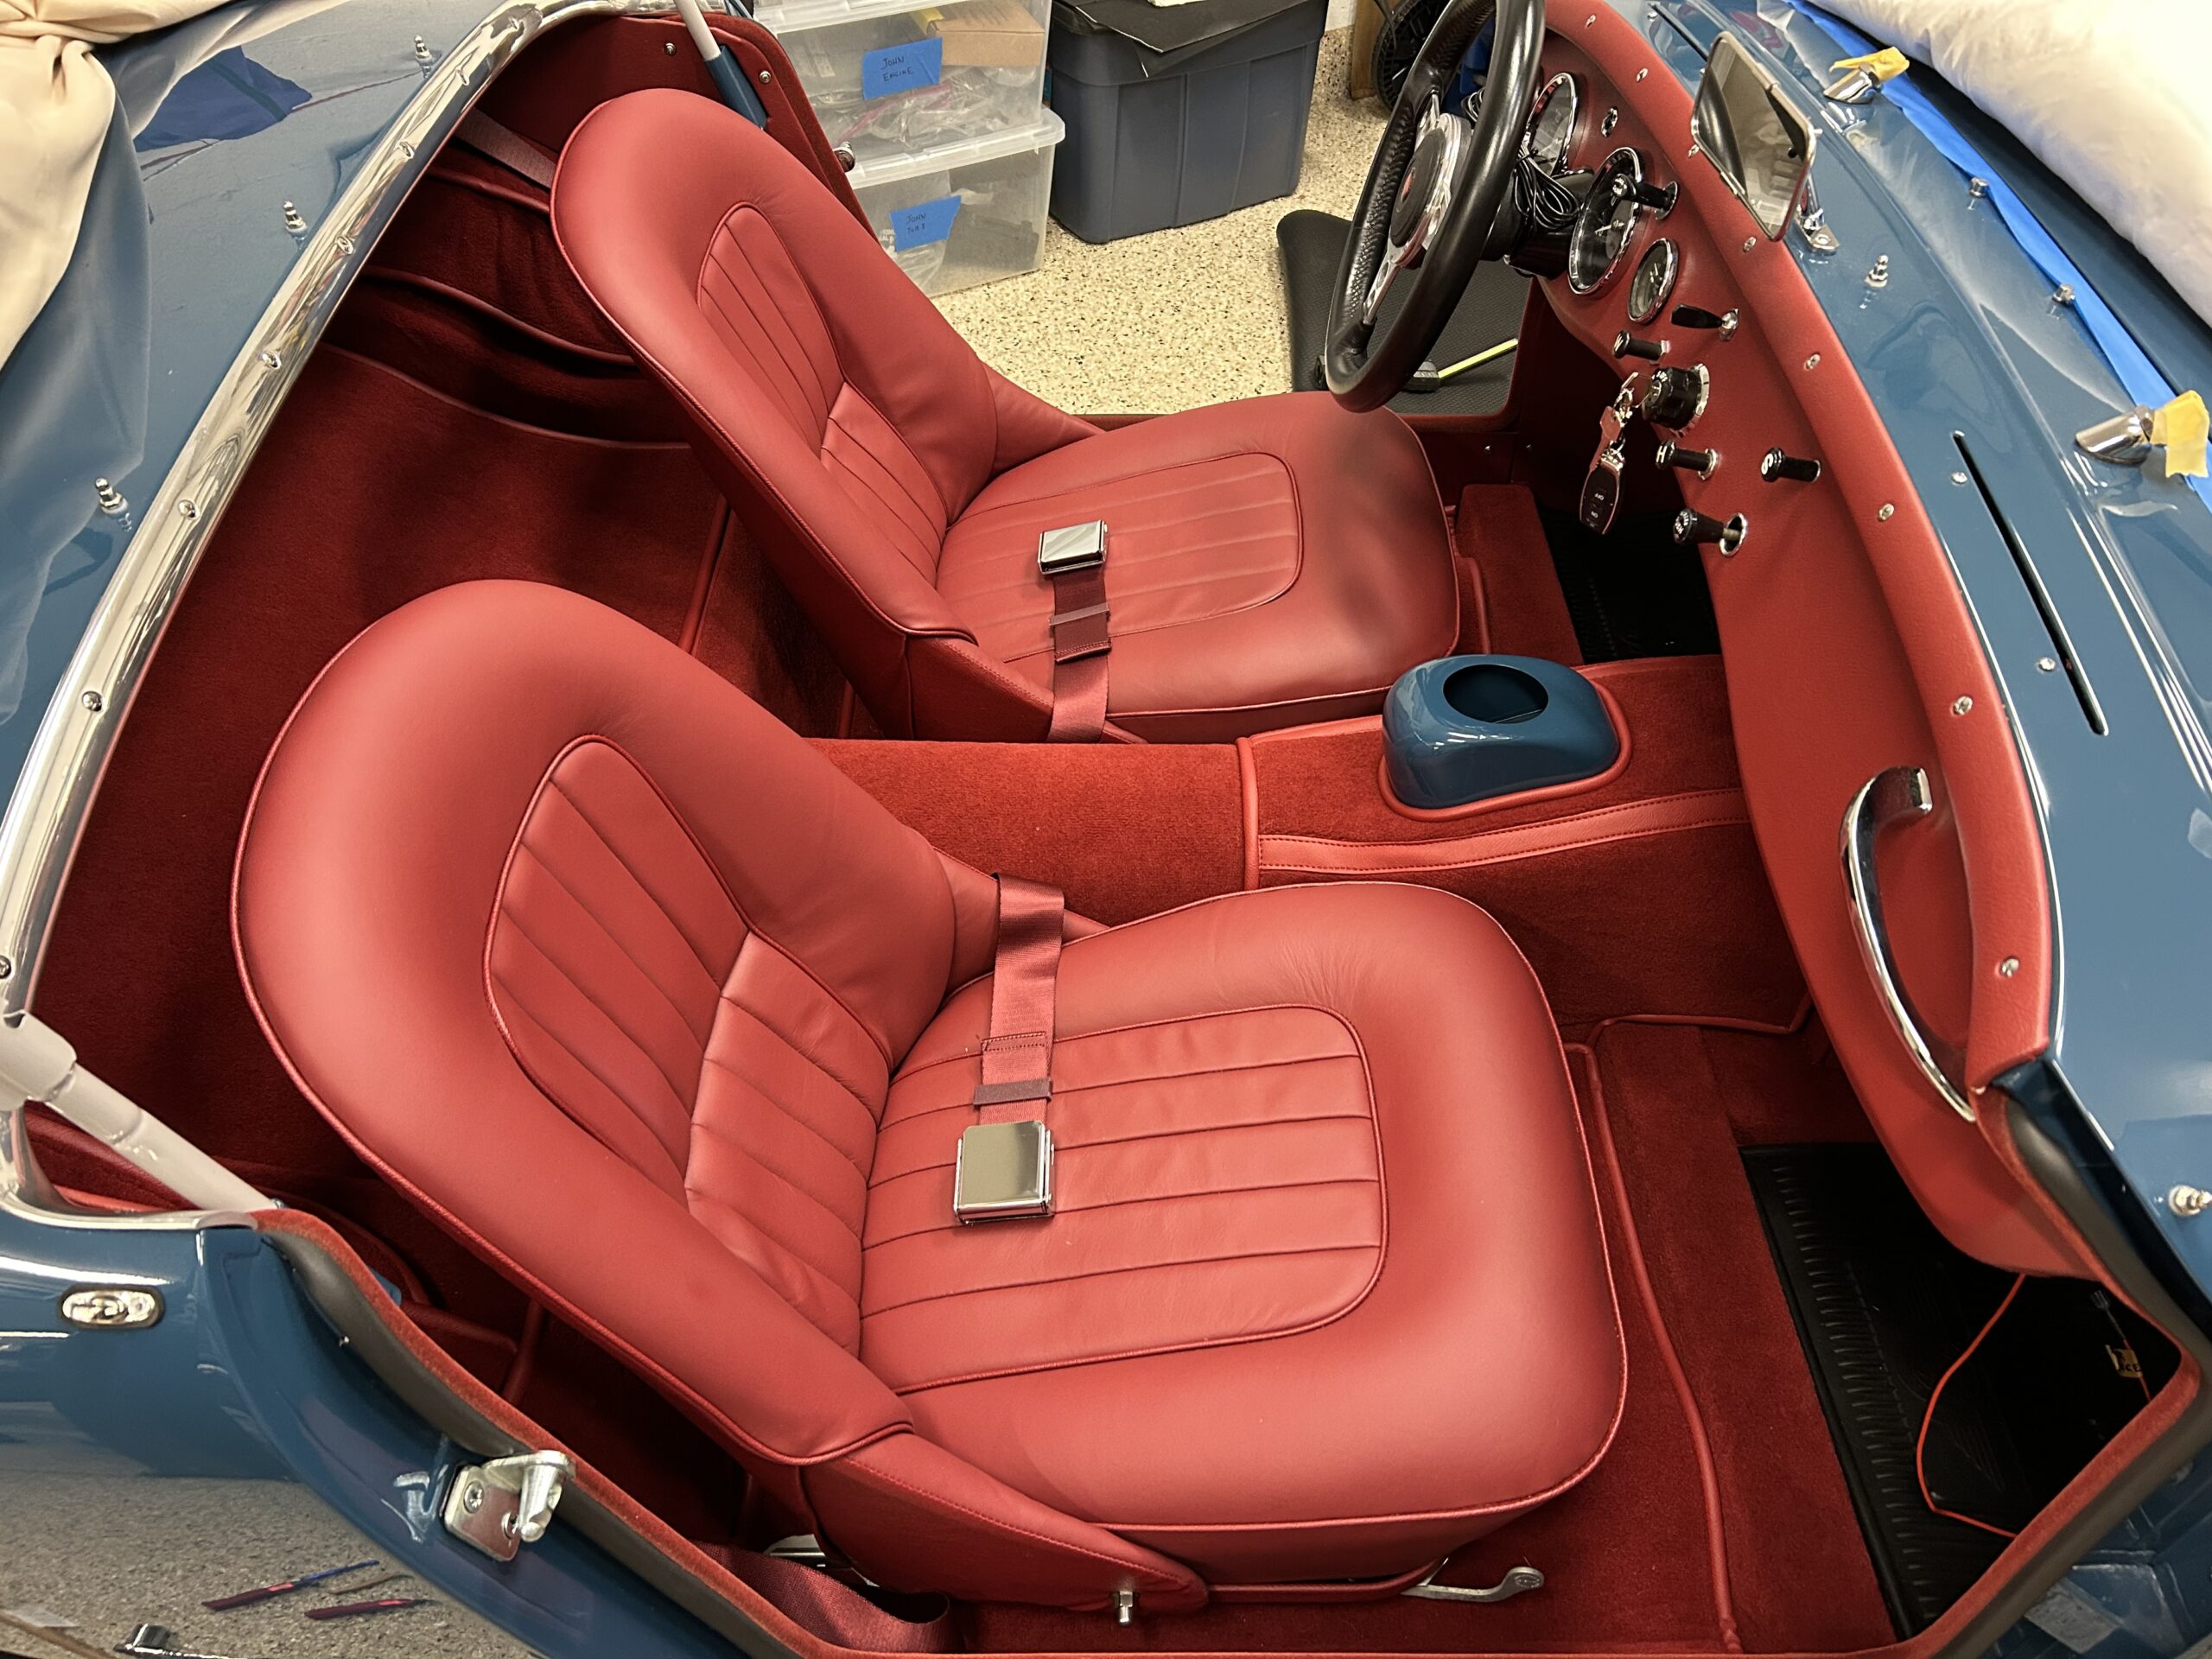
The Finished Product
Bugeye Restoration Video Episode Ninety covers the installation of the seat tracks, the retractable seat belts and the seats: https://vimeo.com/1032472964/0a8578978f?share=copy