
 It is time to fix some of the problems we have lived with for a while and to make a few improvements. The oil leak we caused when we failed to seal the oil sump properly, the gear grinding in 2nd and 3rdin the gearbox, jet coating the headers among other things will improve the car for the future. These improvements require pulling the engine. We bought a cherry picker and an Oberg tilt lift rather than continuing to rent at $45 a pop. The following details the process to get ready to lift out the engine: Disconnected the battery positive lead from the terminal. Drained the engine oil, tried the gearbox, but couldn’t get the plug out so will return to that. Disconnected the ground strap and removed the two gearbox mounting bolts from the bottom of the car.

Ground Strap
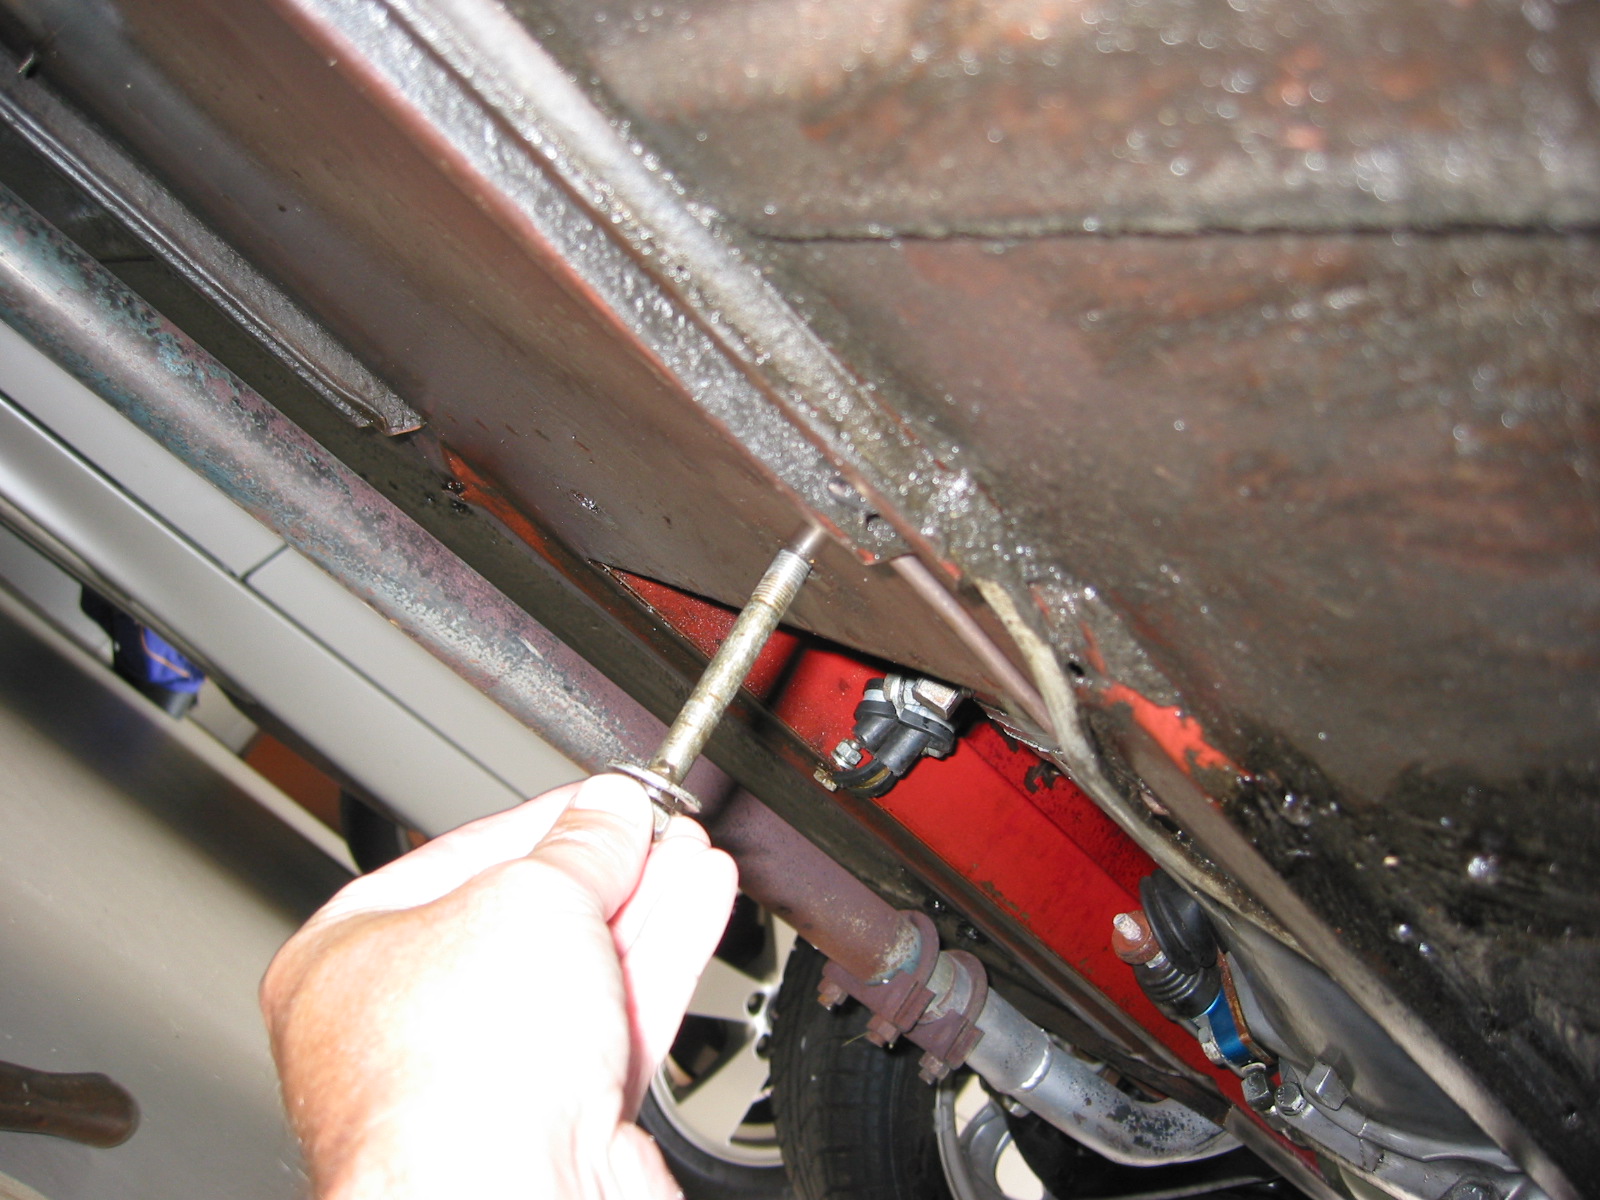
Gearbox Mount Bolts
Disconnected the fuel line at the carbs and pulled out of the way, and disconnected the temperature sensor from the head.
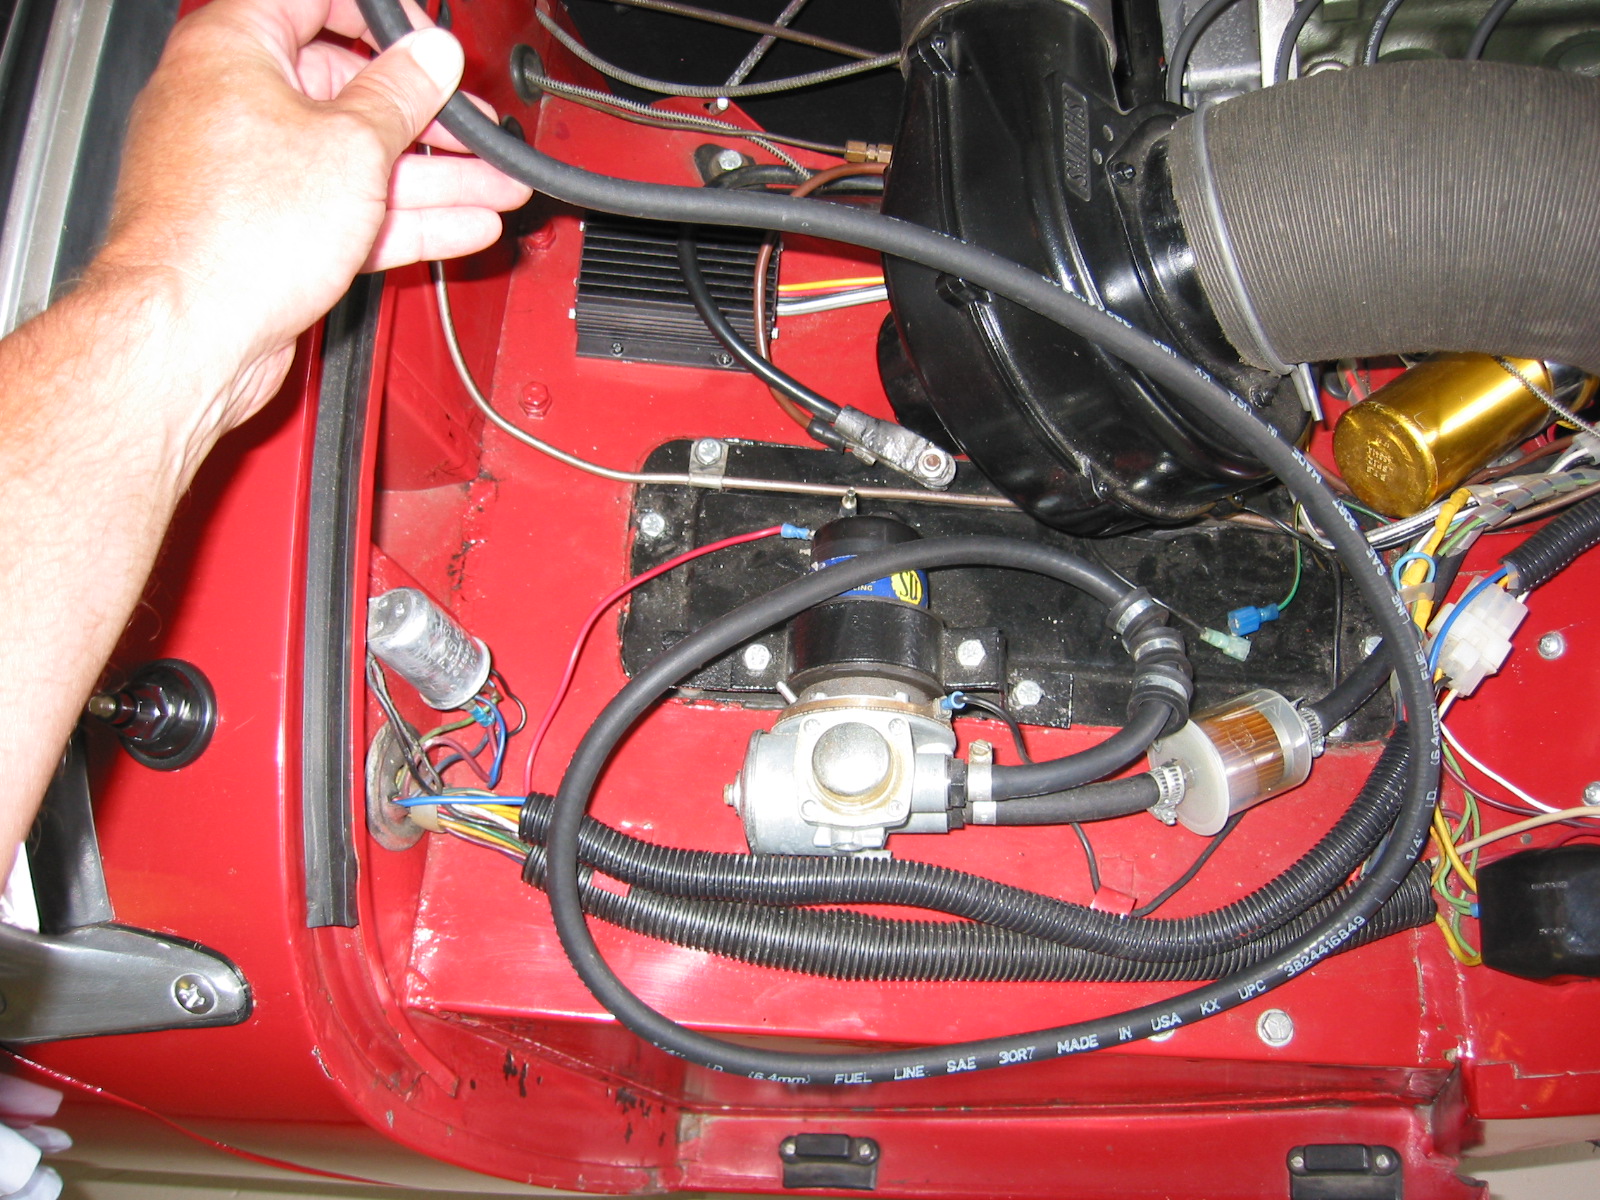
Fuel Line

Temperature Sensor
Disconnected the oil pressure gauge line and the oil feed line from the engine block, and disconnected the cable from the starter solenoid to the starter.
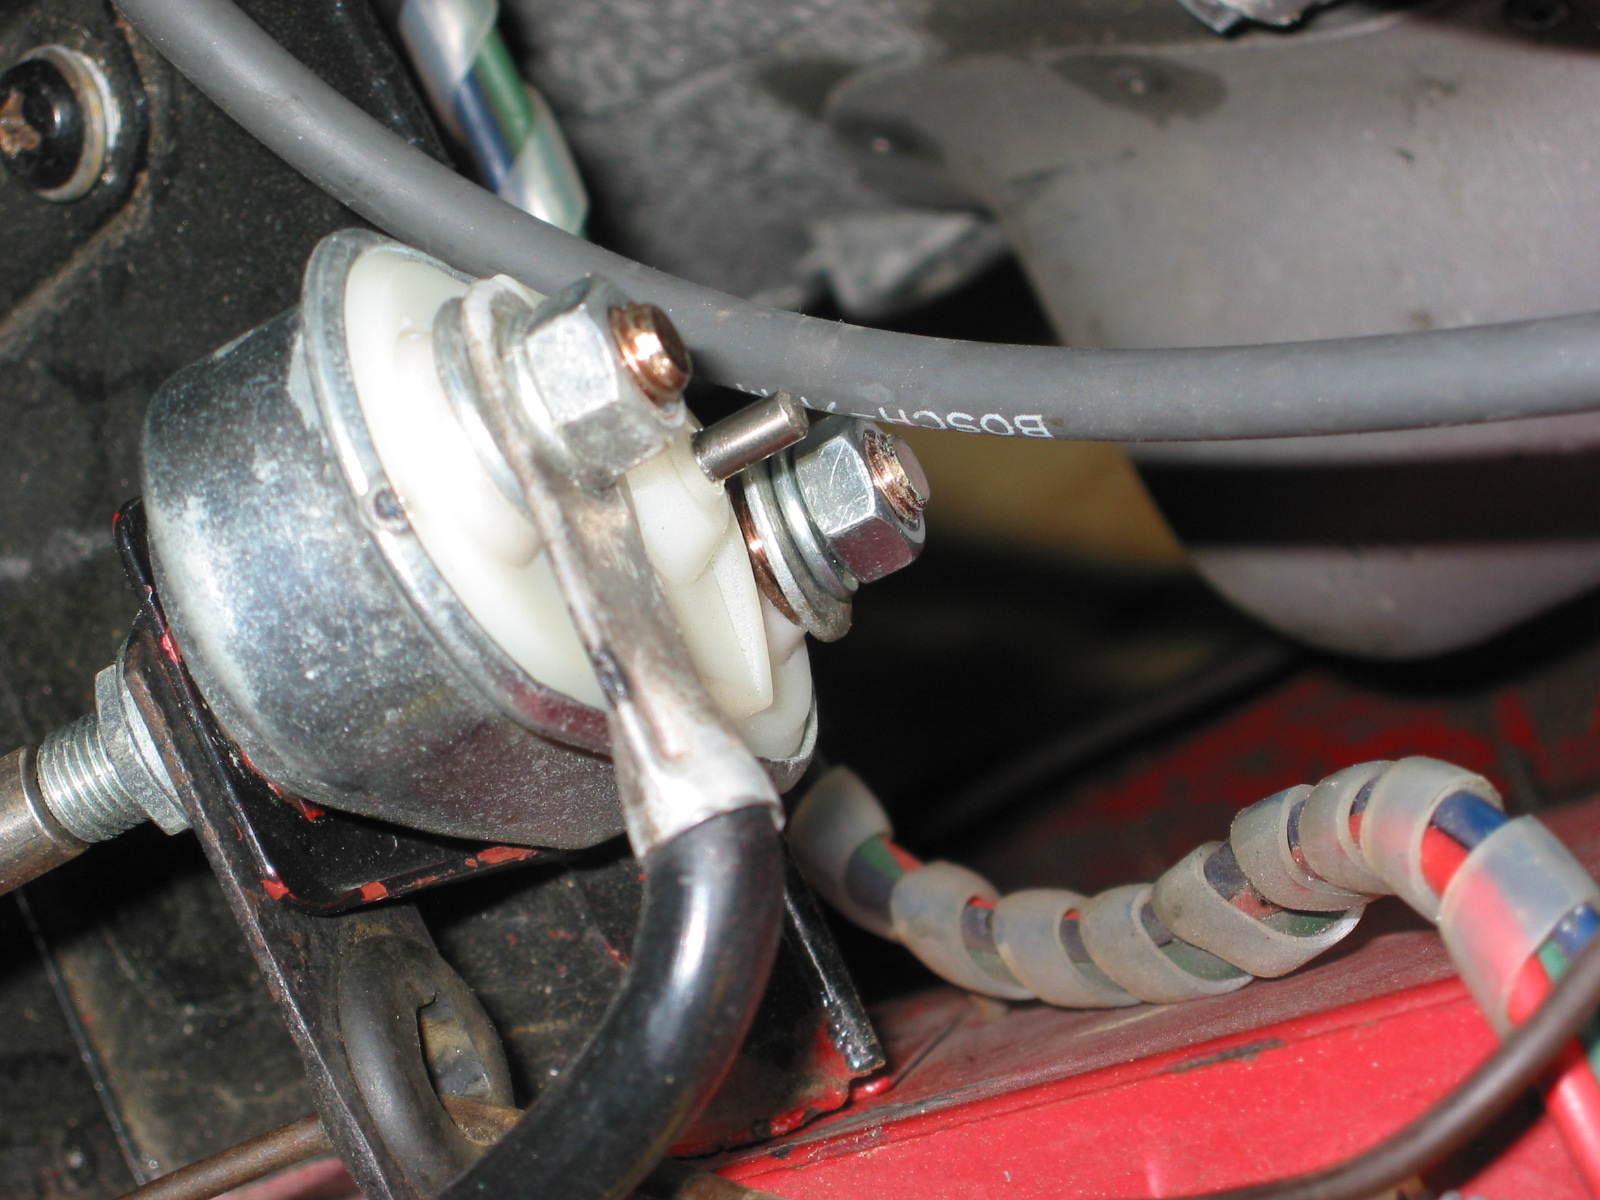
Solenoid Connection
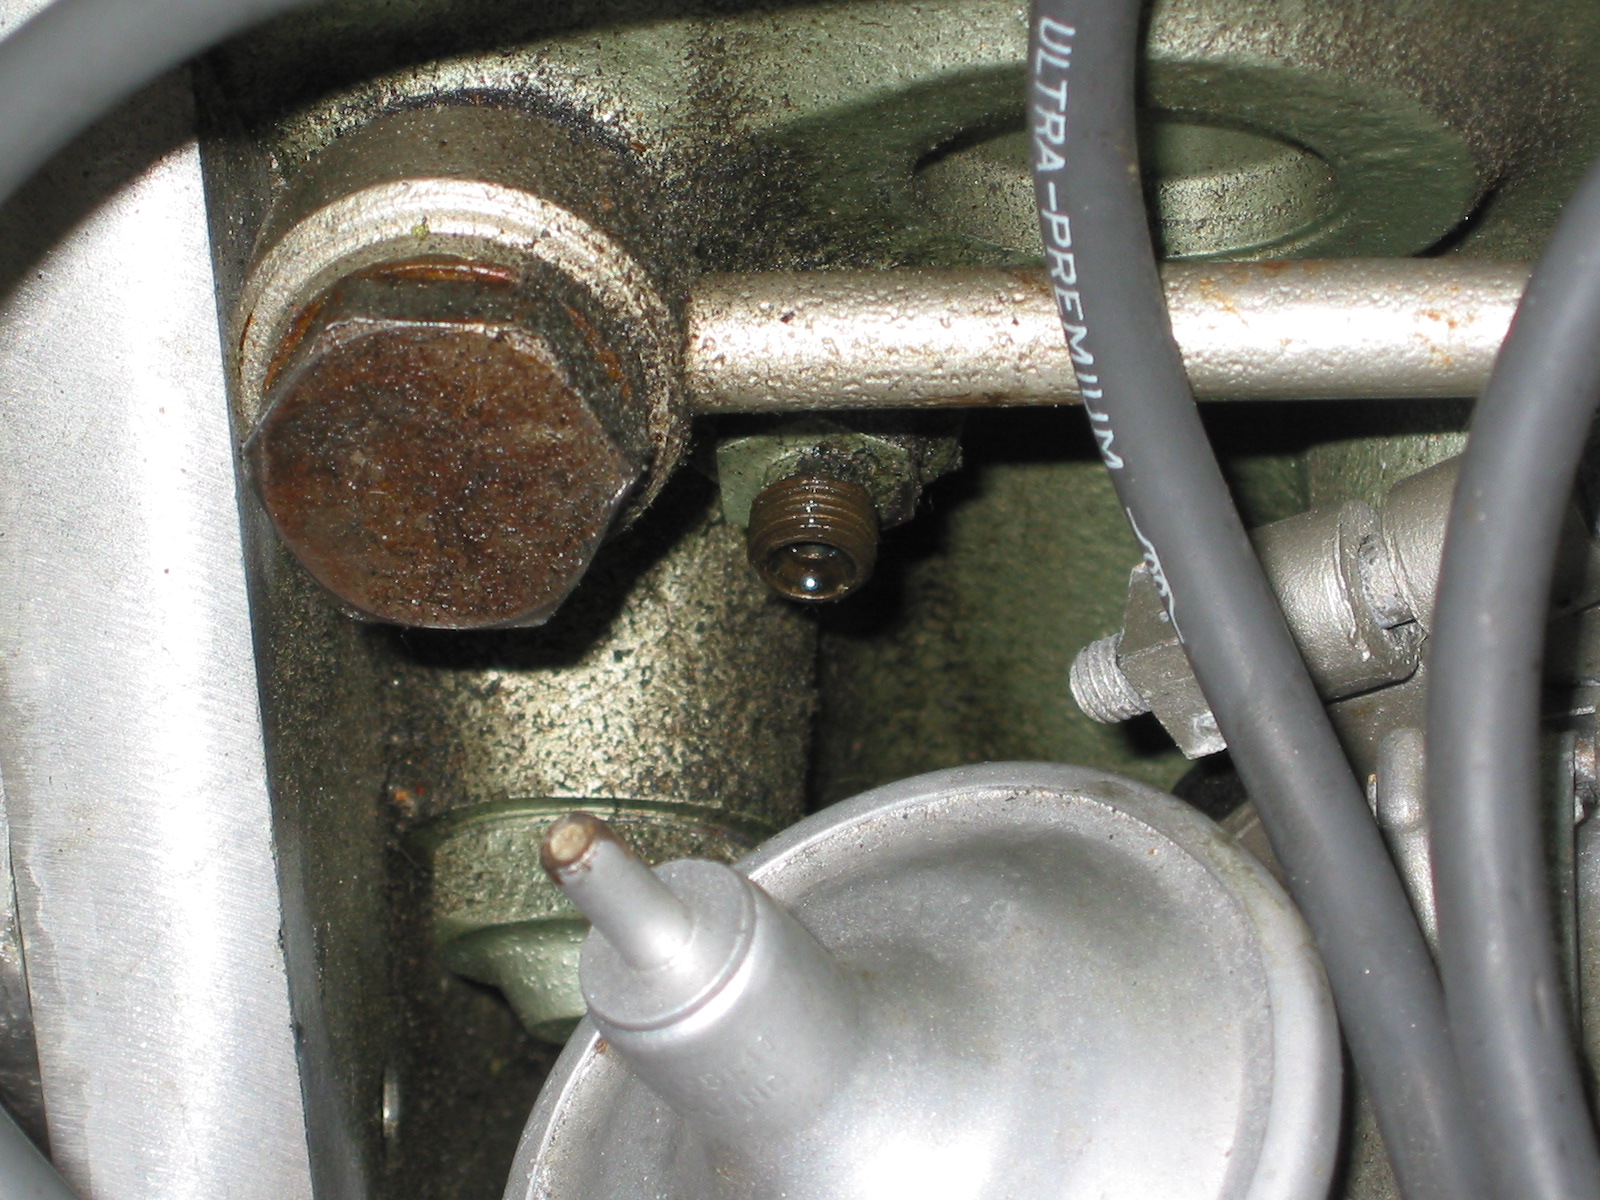
Oil Temp Connection
Unsnapped the plastic connector for the white/black line to the distributor from the electronic ignition device, and disconnected the plastic terminal (3 wires) to the alternator.
Ignition Wiring
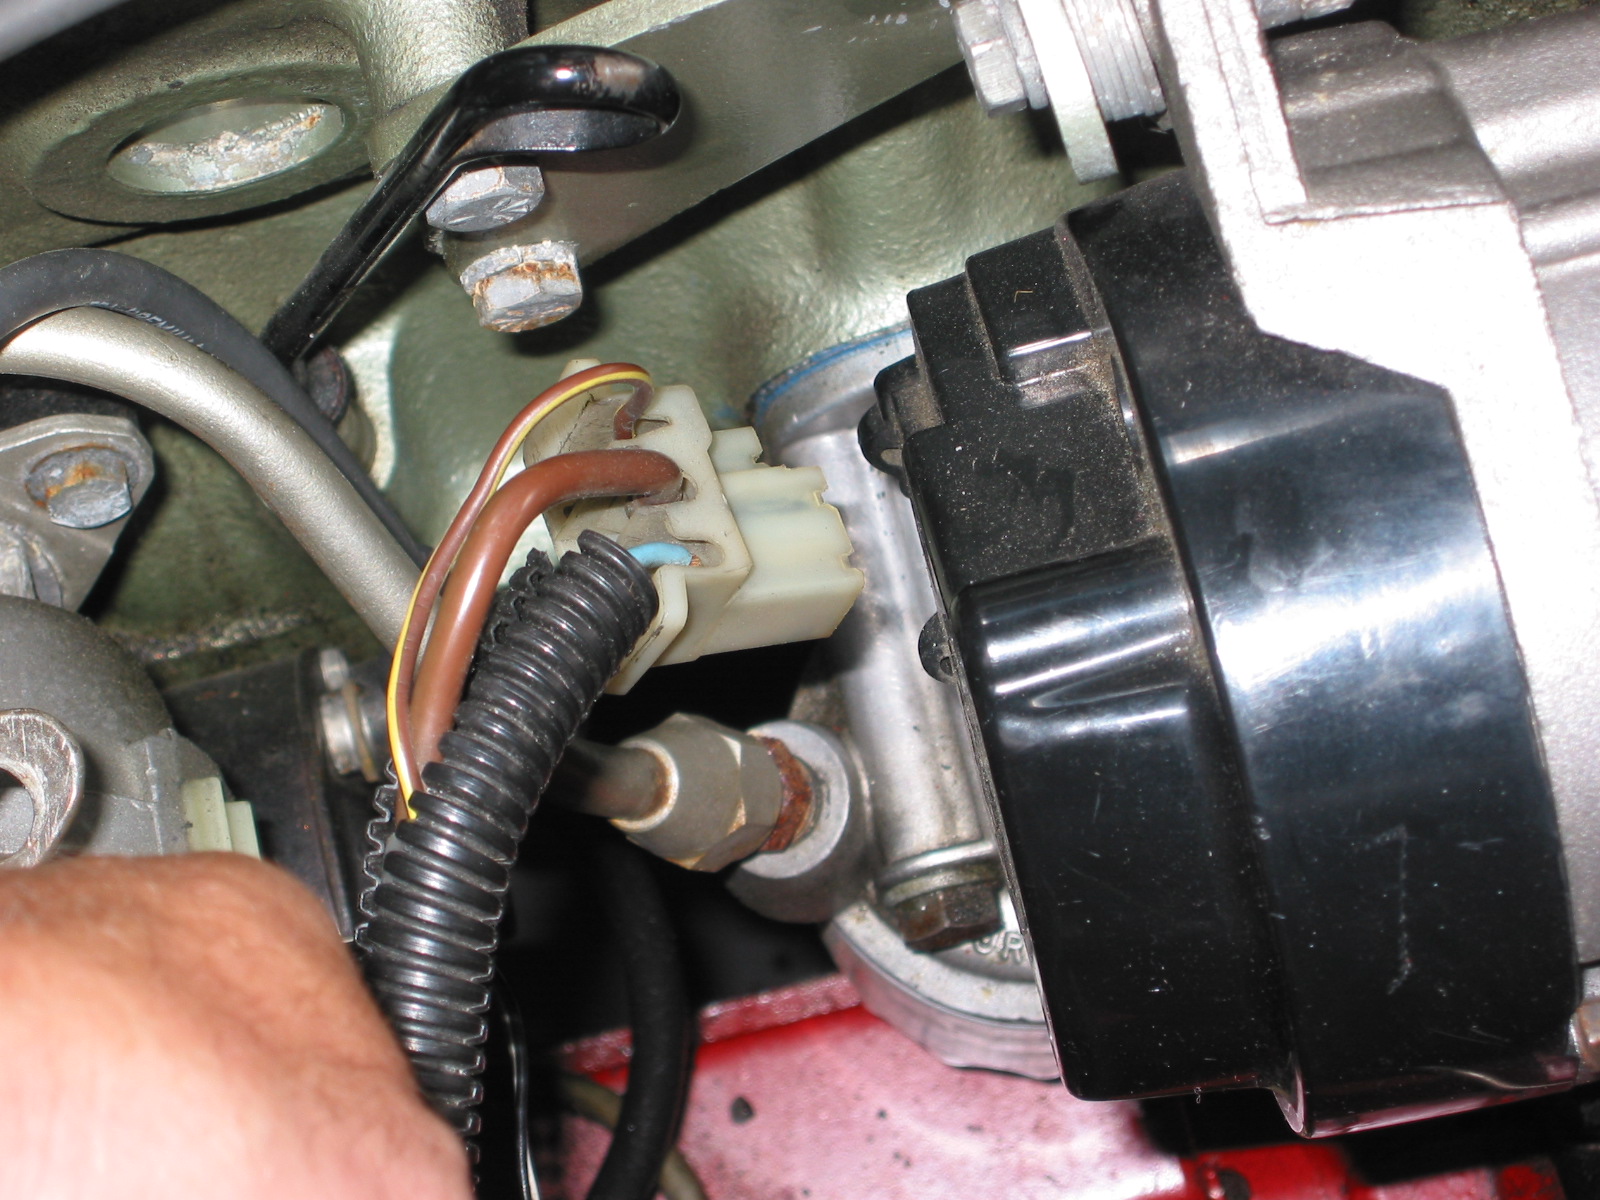
Alternator Wiring
Disconnected the high tension line from the distributor to the coil. Disconnected the short hot water hose from the hot water valve control on the head and then the longer line on the other side of the engine to the copper tube. It is easier to put the clamp on the hose/copper pipe when the copper pipe clips are loose from the manifold.
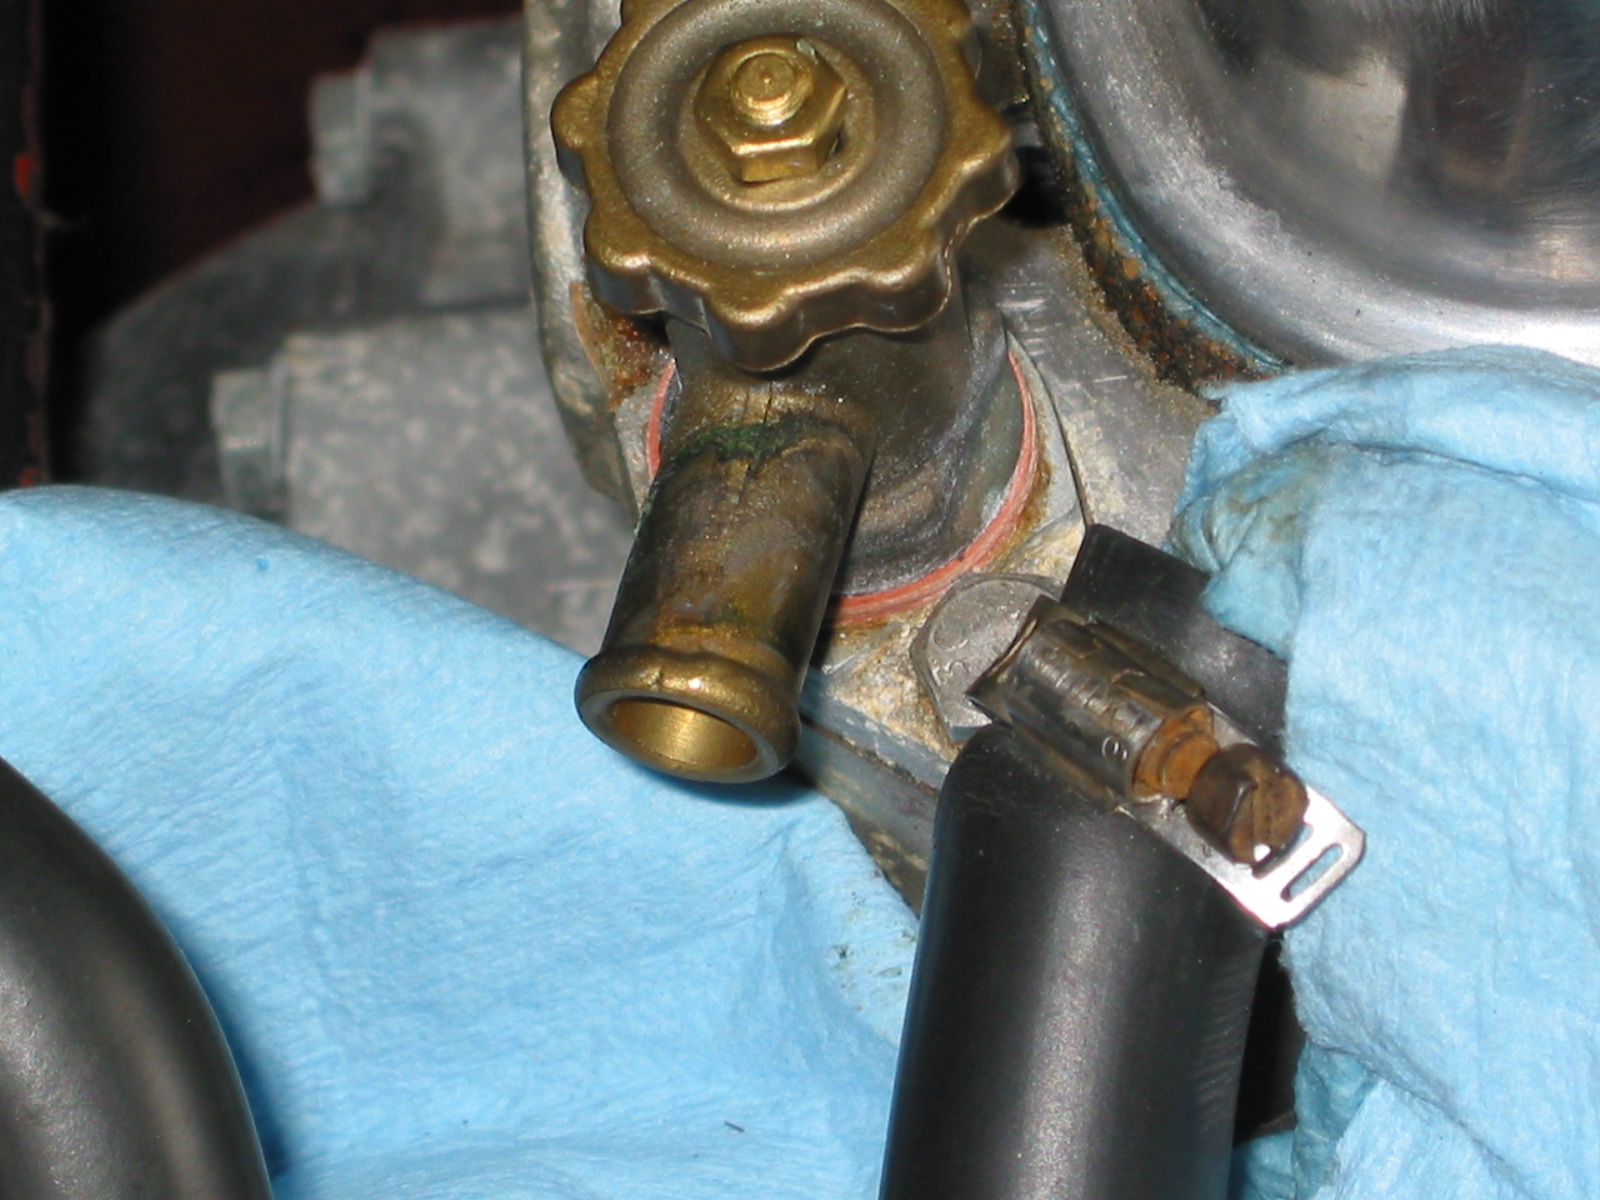
Water Valve
Heater Hose
Disconnected the throttle cable at the carb linkage and pulled it out of the way, and then also disconnected the choke cable at the carb.

Throttle Cable
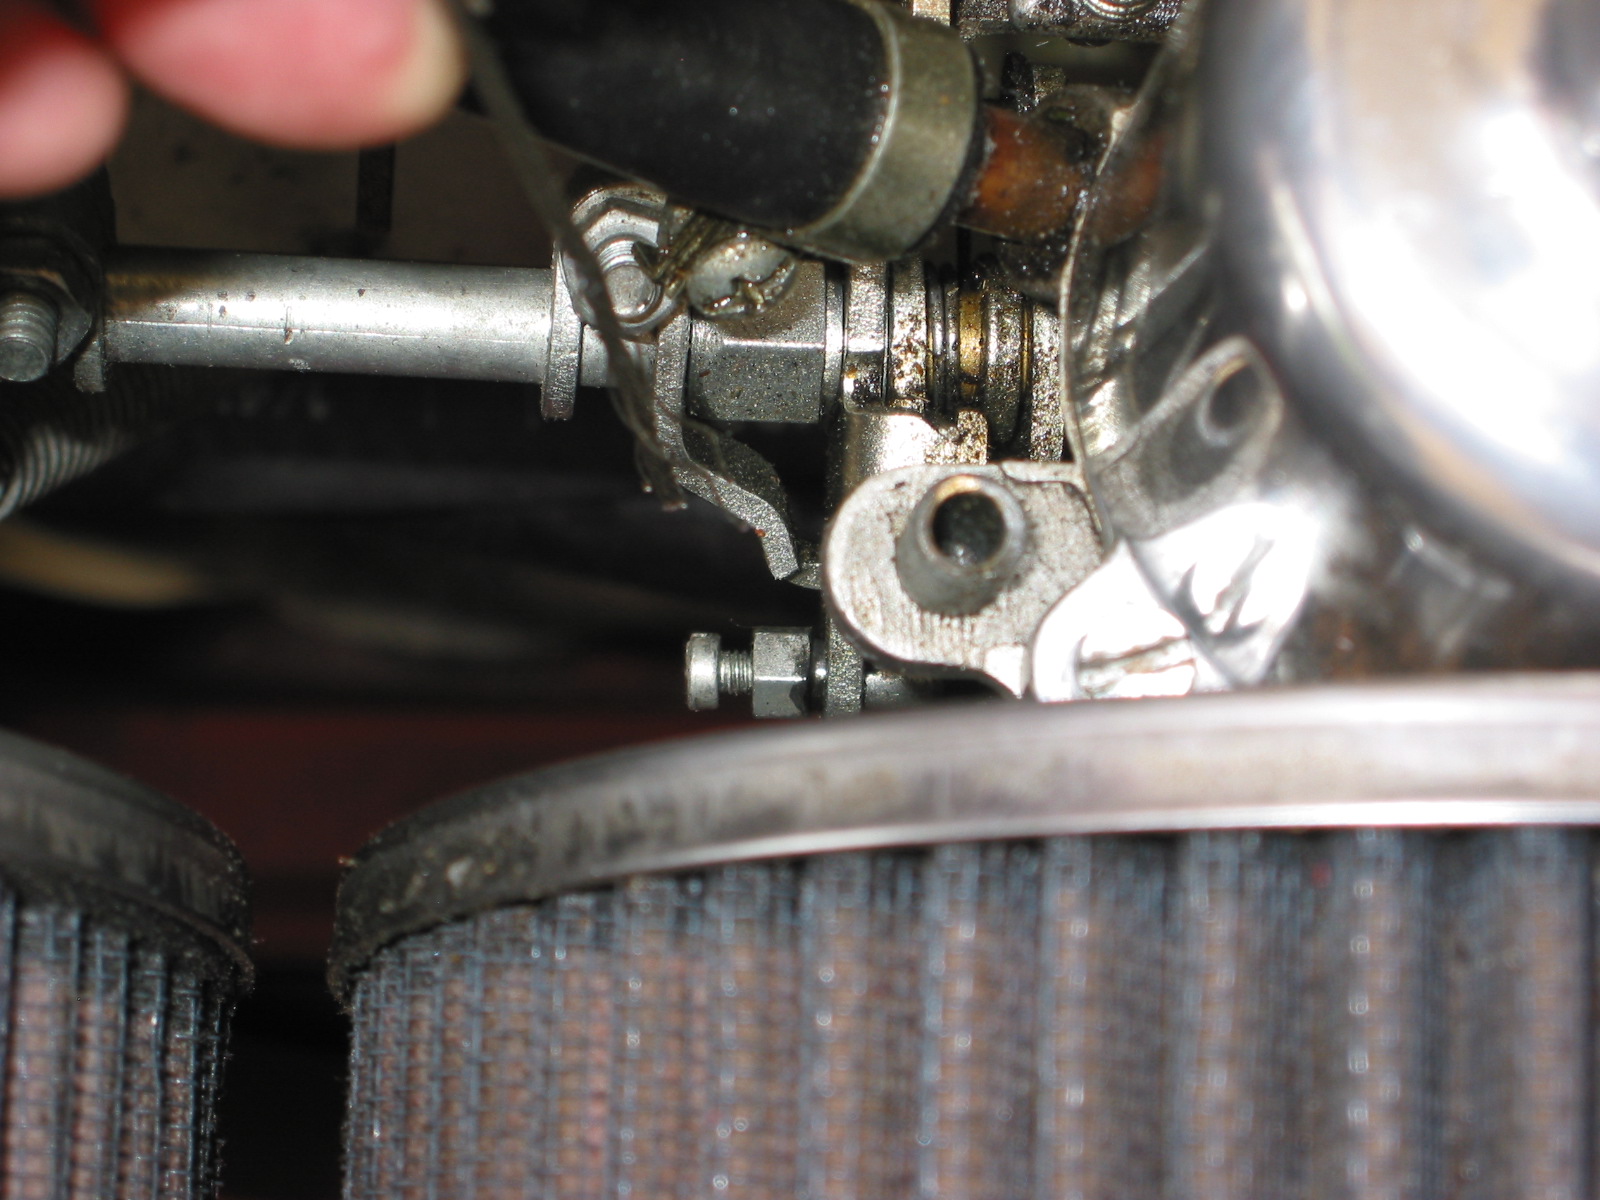
Choke Connection
Disconnected the fitting at the slave cylinder (and got brake fluid everywhere).

Fuel Drain Line

Intake Manifold

Very Ugly Header
Removed the manifold brass nuts from the head and lifted the intake manifold and carbs free of the engine. The carb drain lines tied together with plastic straps will need to be rerouted to the retainer clips upon installation again. The headers will not come out of the engine bay until the engine is pulled or the heater is removed. Need to set the headers in place prior to the engine install.
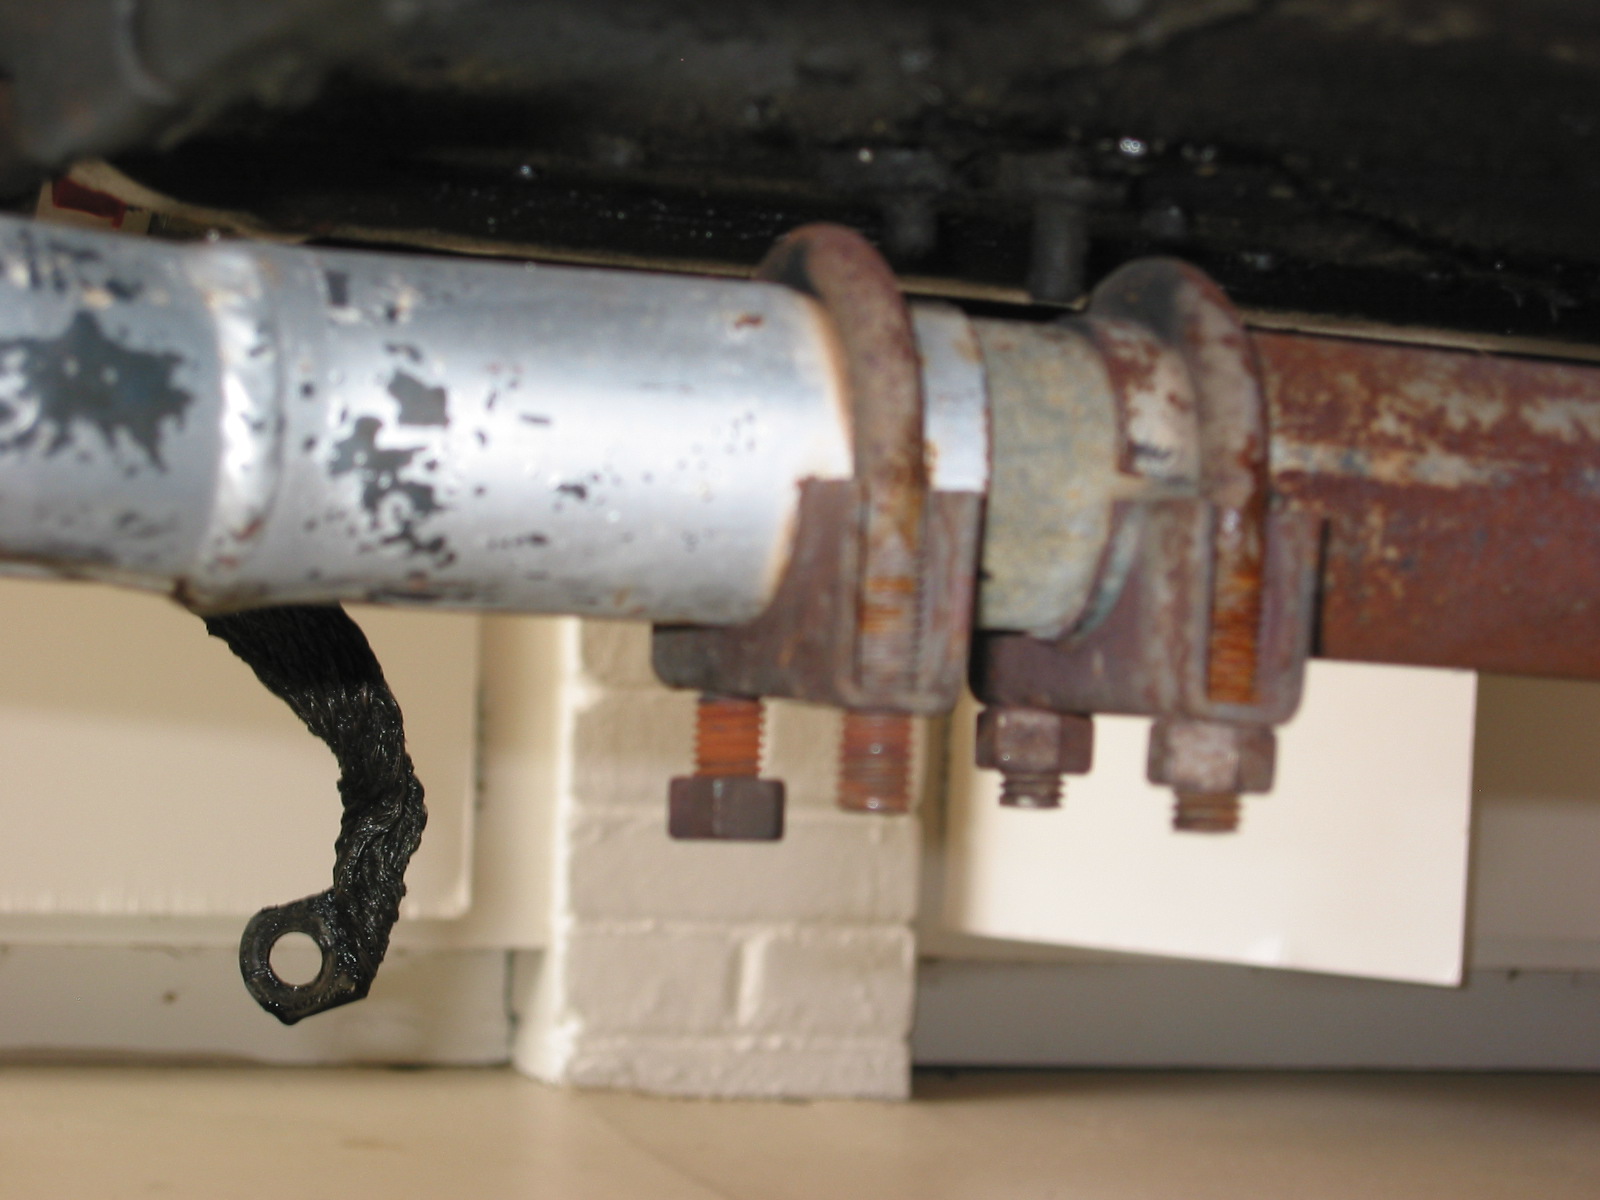
Exhaust Clamps
Exhaust Mount

Exhaust Clamp
Removed four Phillips screws attaching the shift boot to the gearbox tunnel, the shifter knob, and removed two bolts on each side of the tunnel securing the gearbox bracket to the car. Use of the offset wrench made this an easier job.

Shifter Trim Ring
Gearbox Rear Mount

Shifter Connection
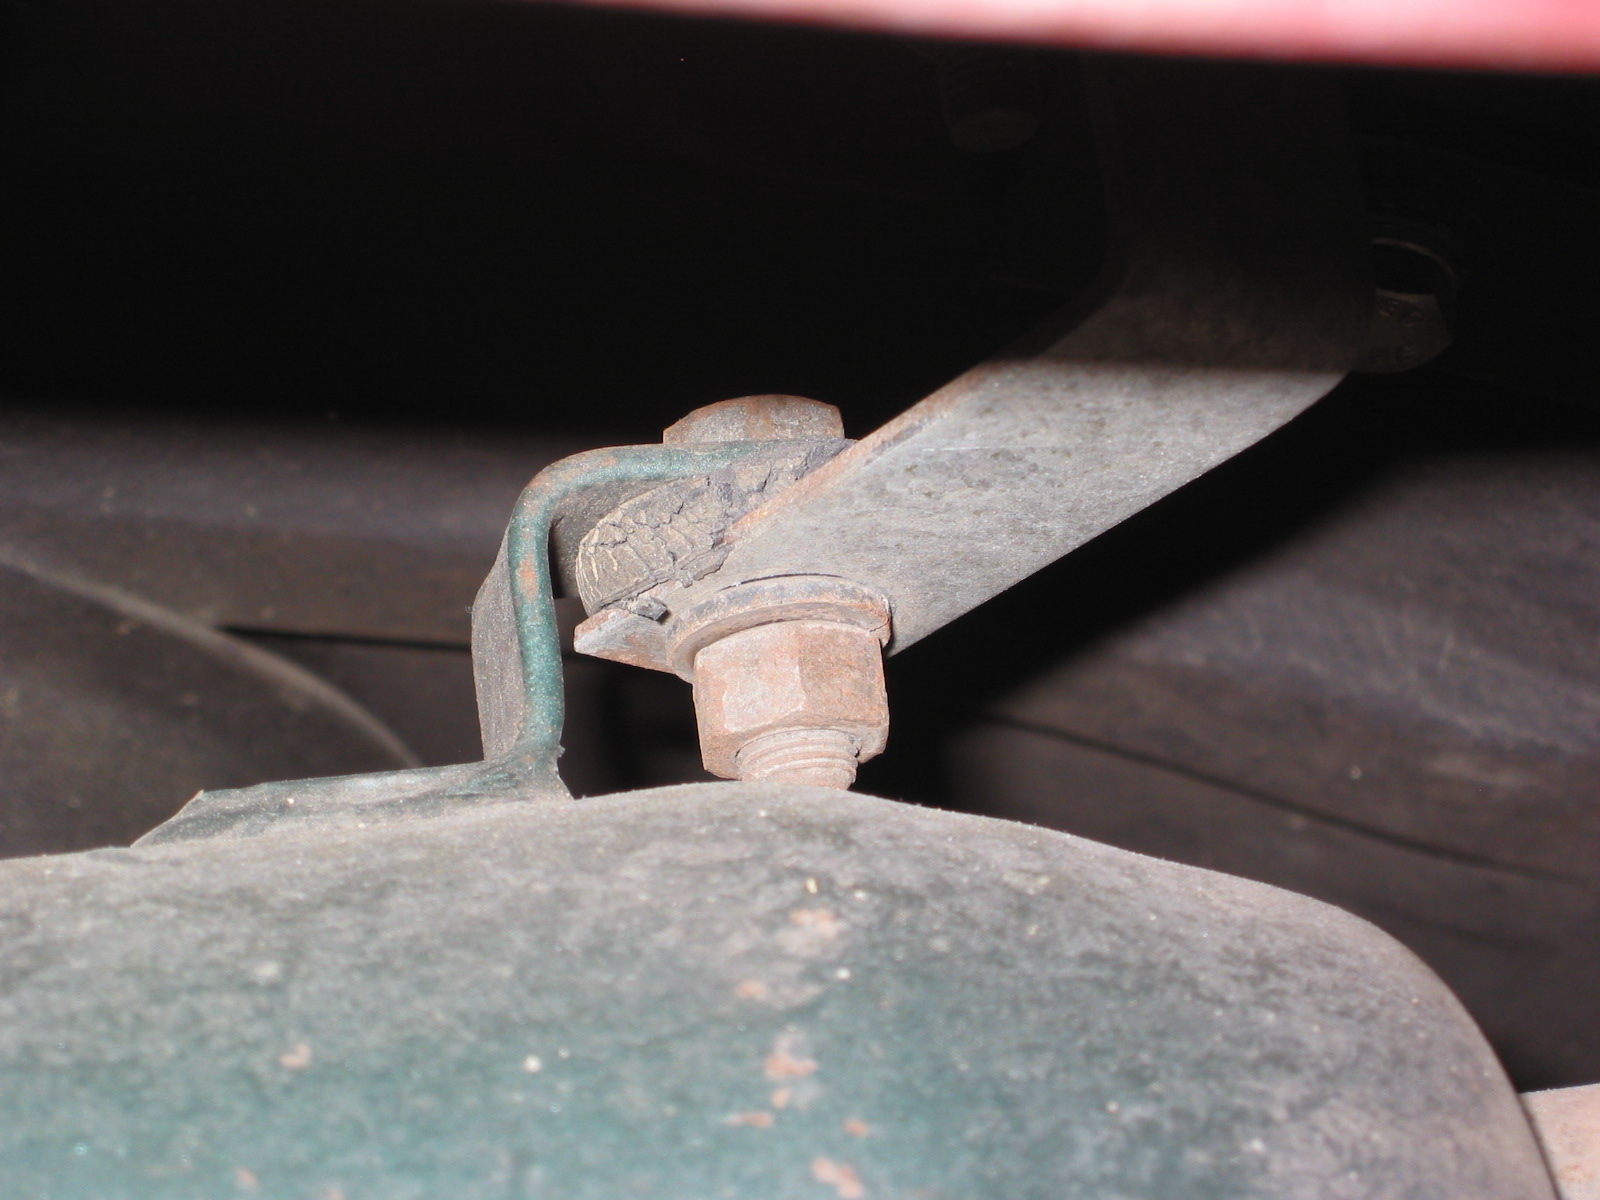
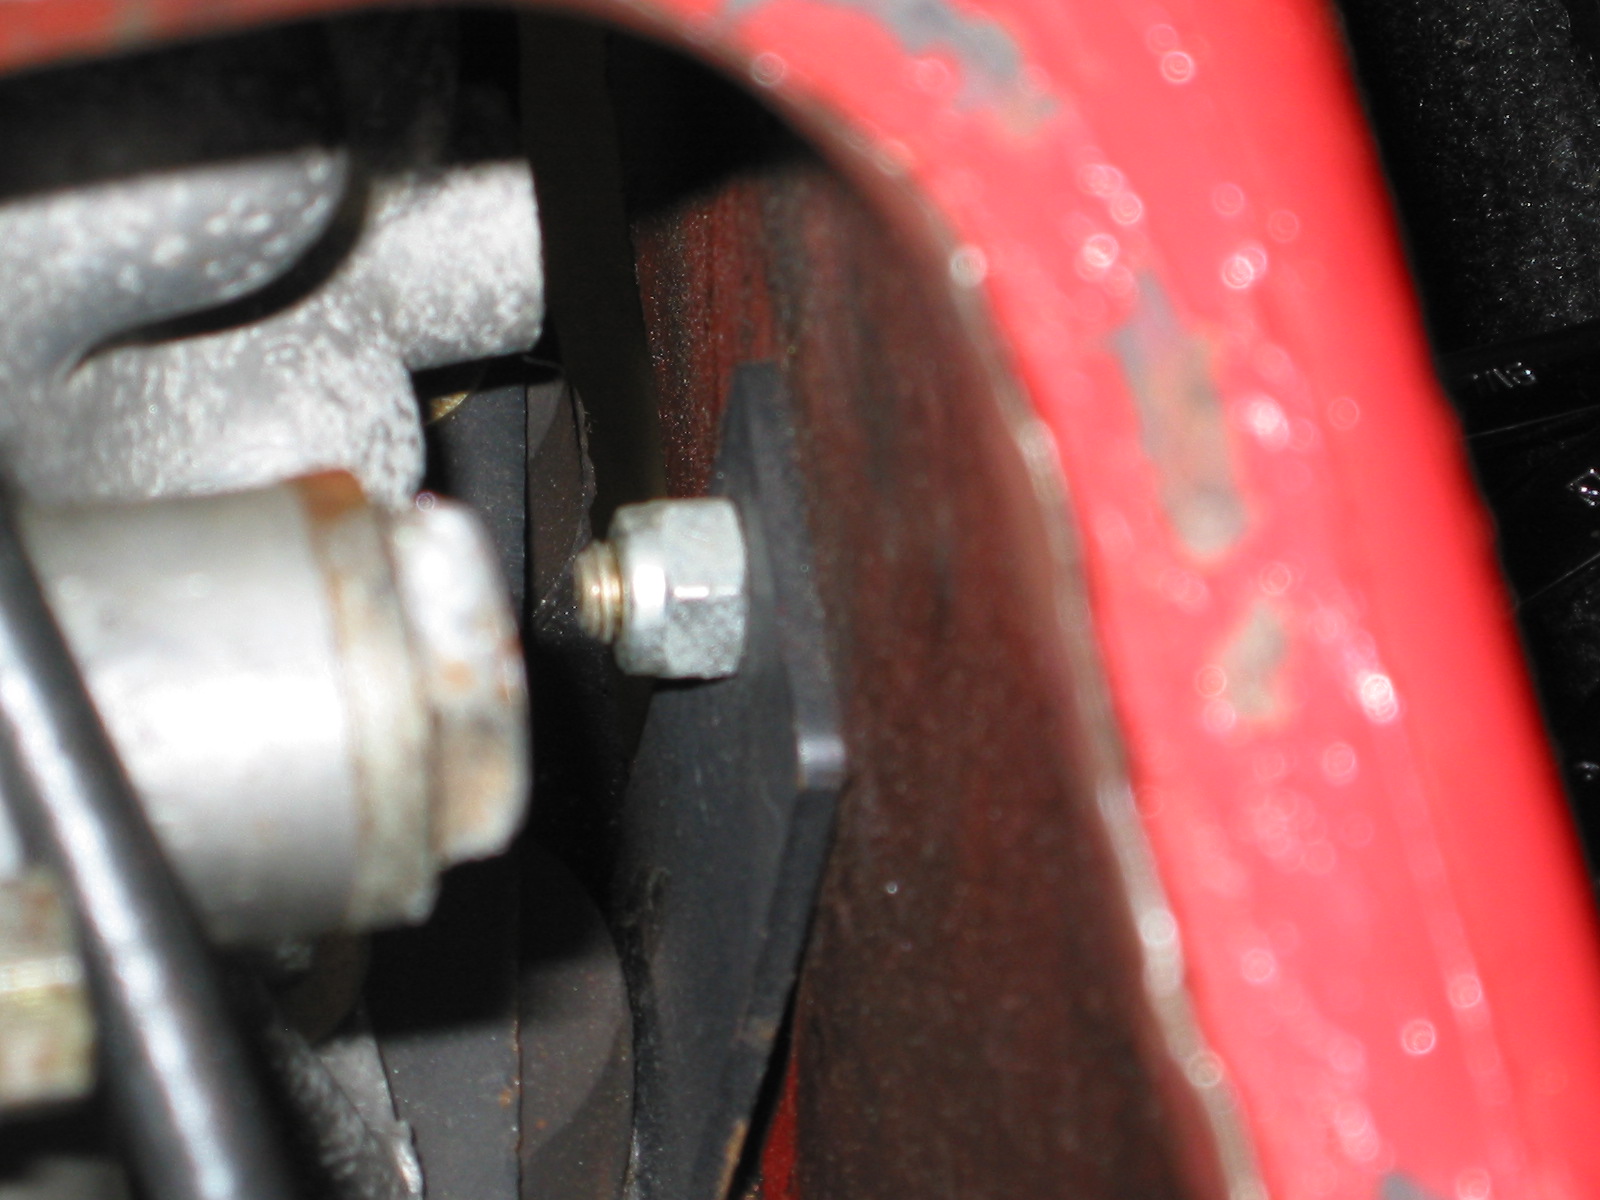
Loosened the right hand motor mount from the car so that it will lift free with the engine, but will not completely disconnect until the engine lift has the pressure off of the mounts. Loosened the screws to the engine at the mount on the left side of the car. The left mount will stay in the car.
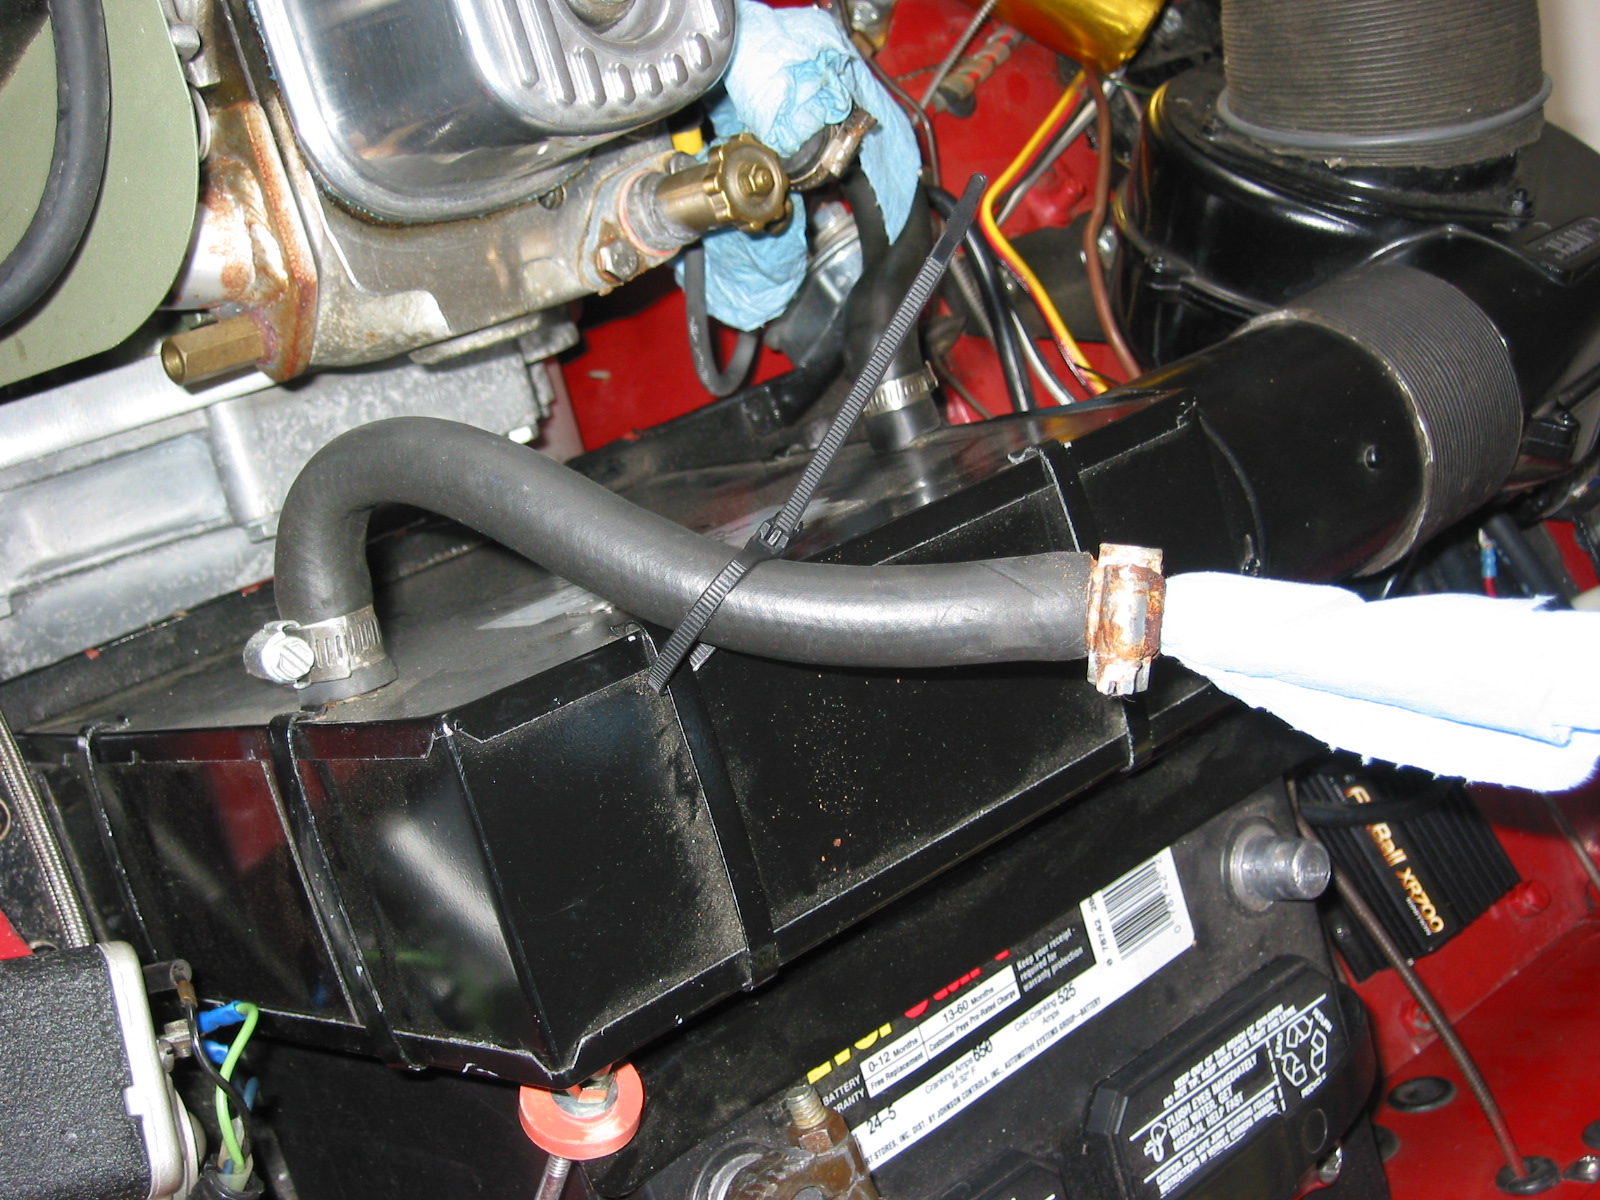
Removed the cardboard heater hose to have it out of the way from the engine when it is lifted.
Connected the Lift Chain to the Rocker Shaft mounting studs and lifted the engine from the car.