Clean-up Before Rebuild
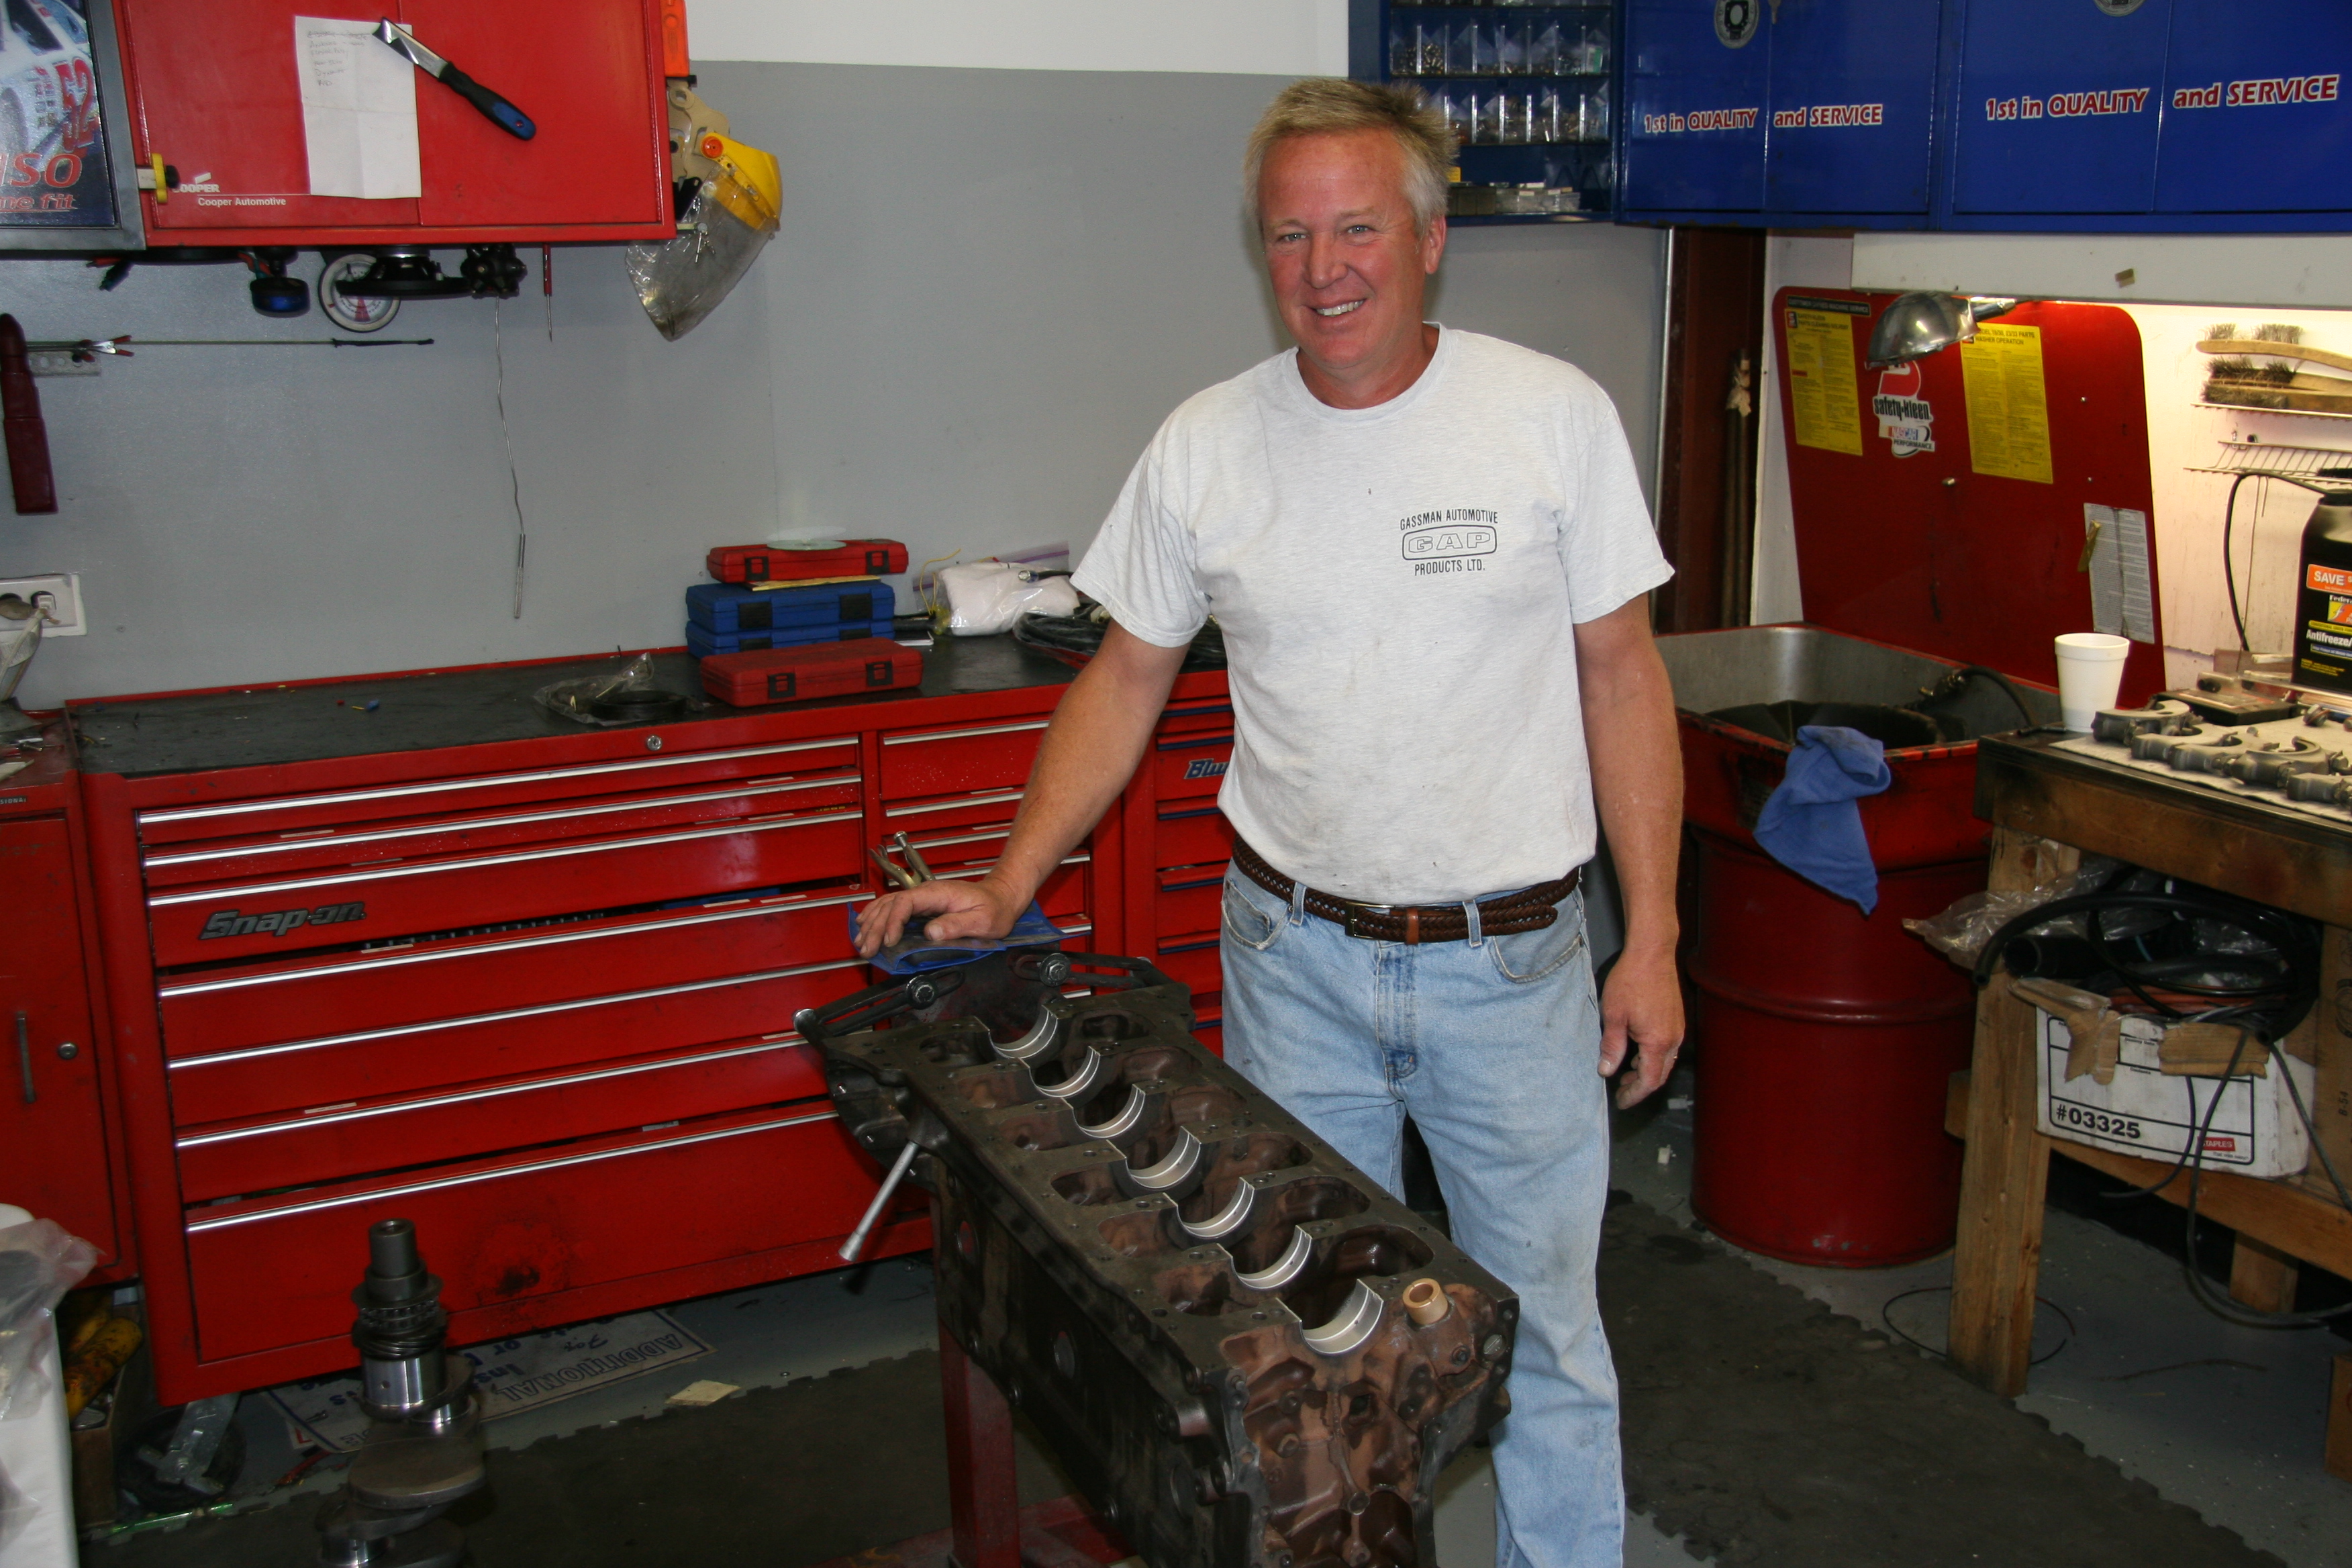
I had thought about outsourcing the machine block cleaning and machine work and then rebuilding the engine myself, but thought better of it given time limitations and decided to go ahead and give the complete engine to Mike Gassman at Gassman Automotive http://www.gassmanautomotive.com for a soup to nuts rebuild. Mike and his team had done XK motors before and are experienced with the motor, ignition, fuel system and etc.
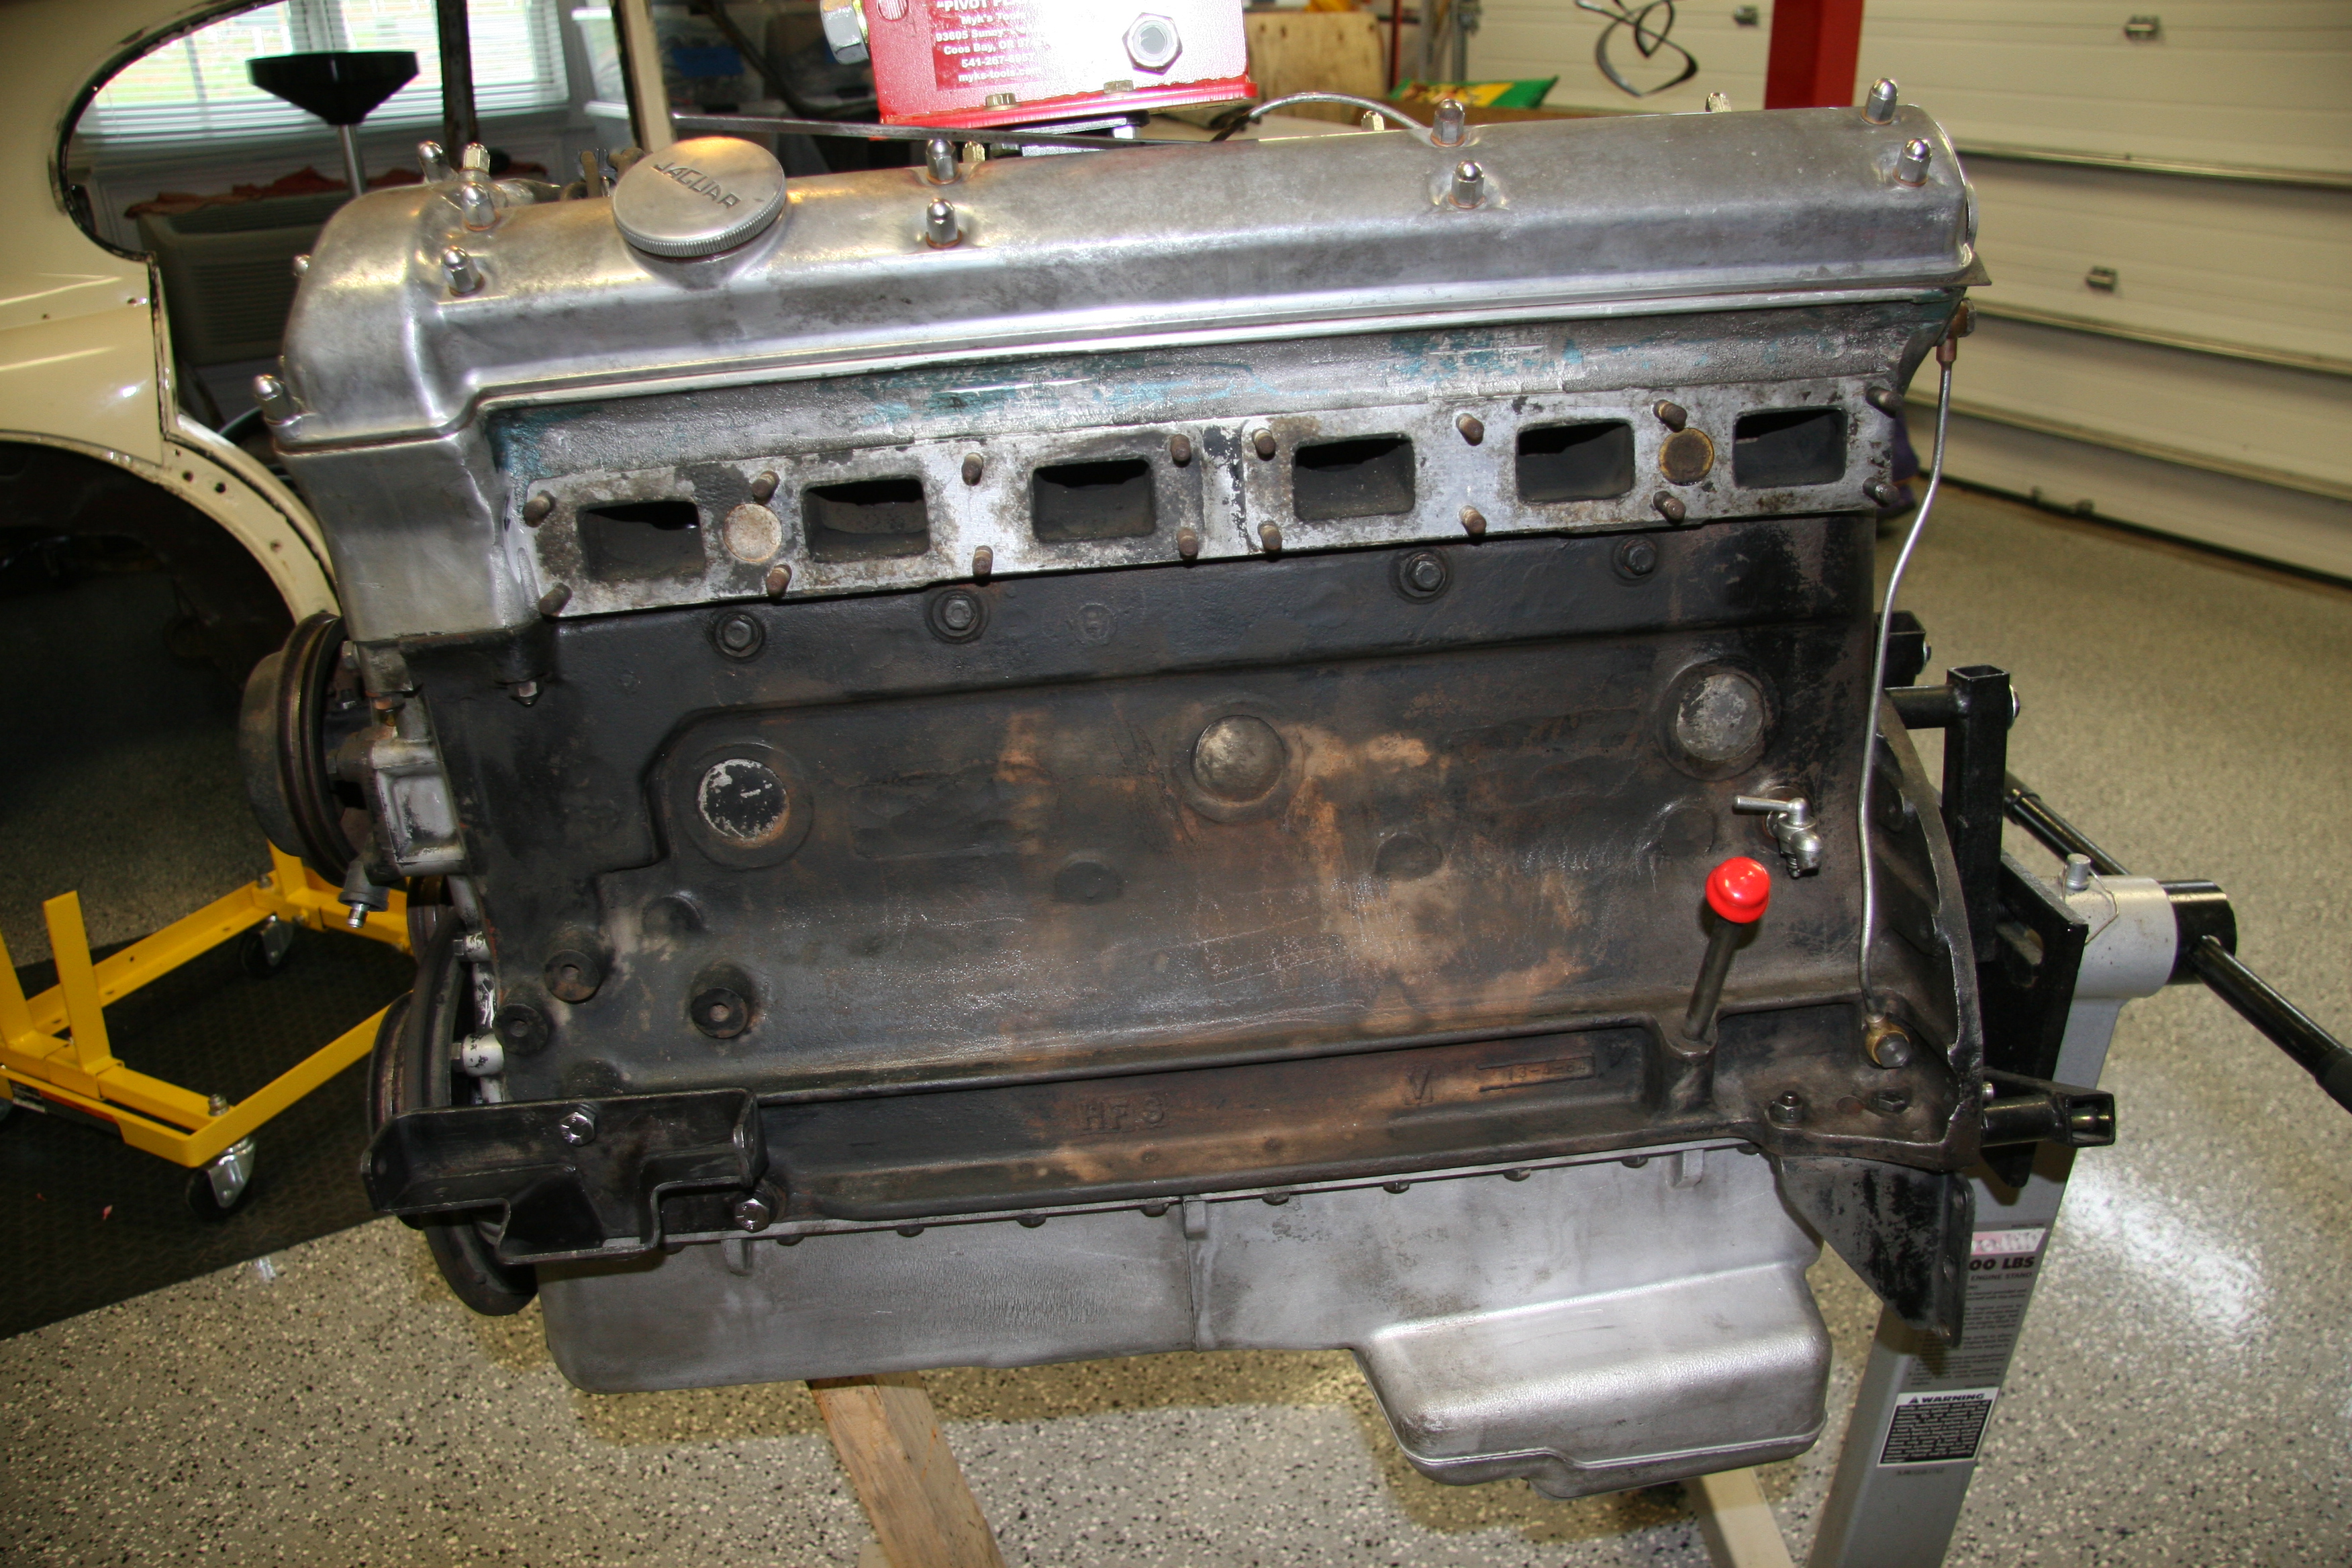
I spent a few days cleaning the block and head to remove as much grease and grime as possible before turning everything over to Mike.

Front of Cleaned Engine Before Rebuild

RH Side of Engine
LH Side Engine
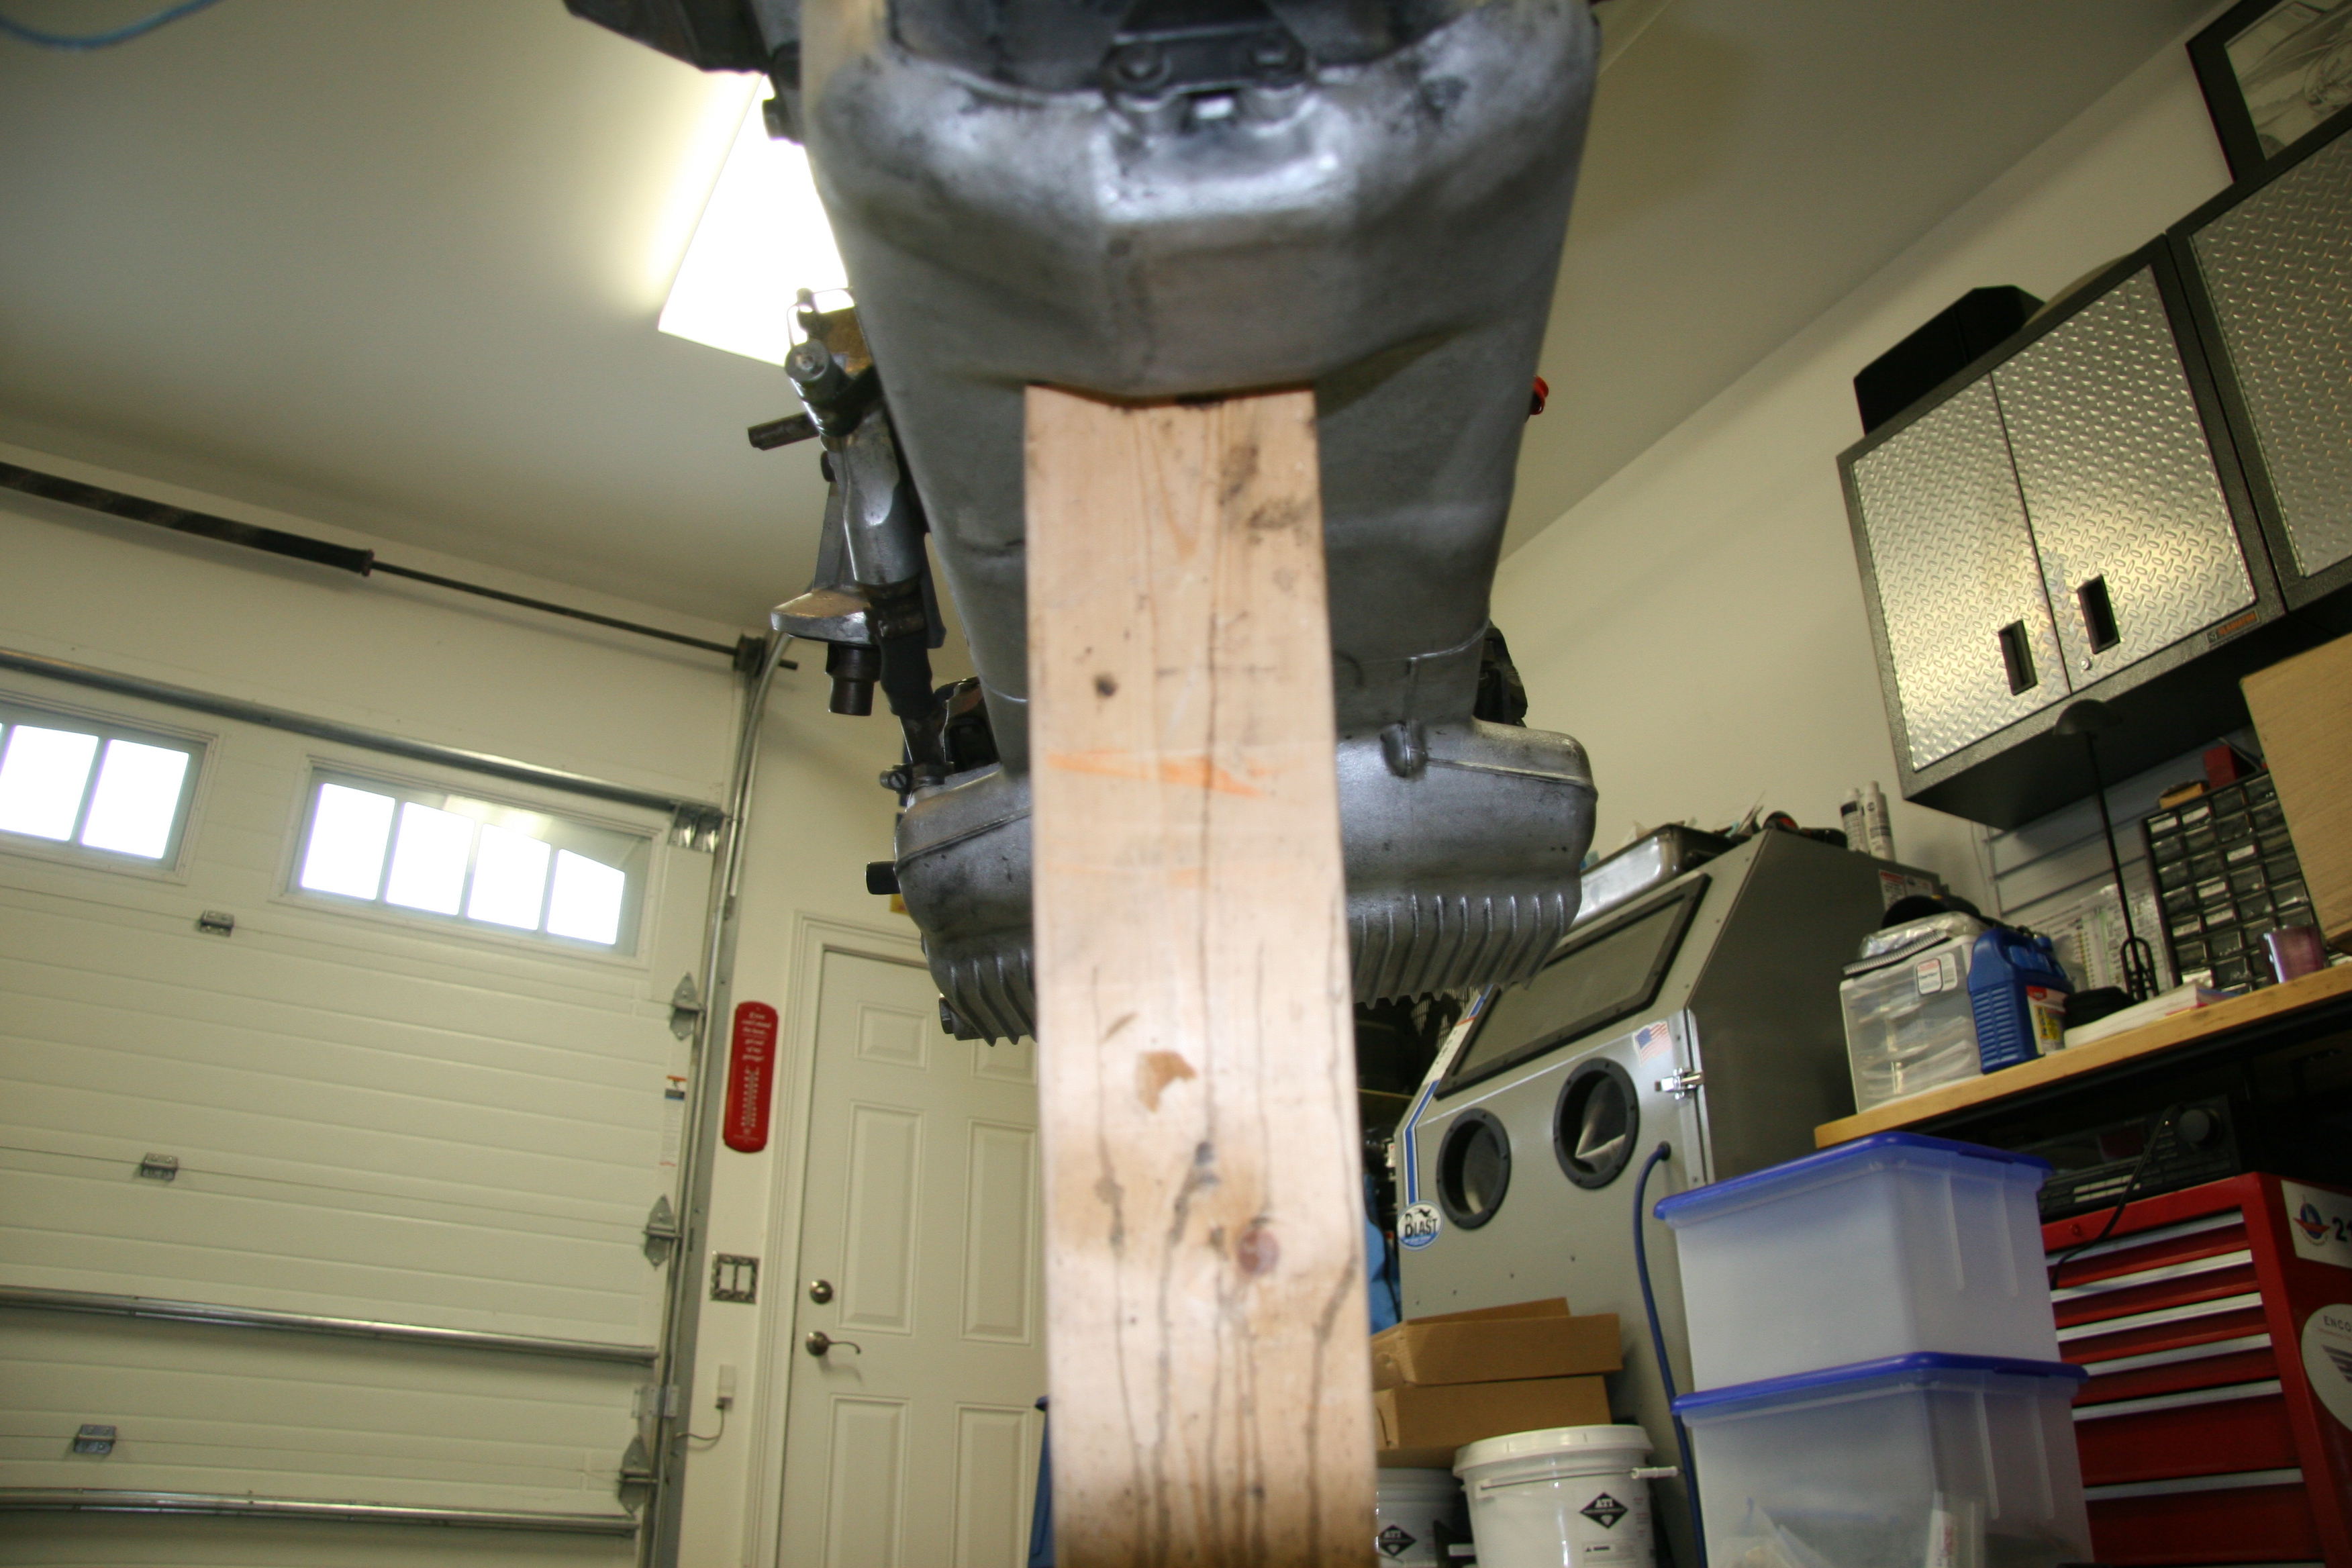
Underside of Engine
Rebuild Engine
Machine Work:
- Resurface Head
- Valve Job
- Install Guides
- Pressure Test
- Resurface and weld Exhaust Manifold Cracks
- Drill for Oversize Lifters
- Drill for Hold Downs
- R&R Pistons
- R&R Bushing Under Over
- Recondition Big End
- Grind and Polish Crankshaft
- Magna-Flux Crankshaft
- R&R Crank Plugs
- Rebore and Hone Block
- Pins
- Replace Core Plugs
- Balance Pressure Plate, Cylinder Block
- Resurface Flywheel
- Magna-Flux Block
- Resurface Cylinder Head
- Polishing Two Valve Covers, Two Carbs Dashpots, Intake Manifold, Oil Cap, Cover and Water Neck
Parts:
Where possible used components in good shape were used in the rebuild; however, in many instances new parts were required to replace worn or broken bits. The original compression for the 3.8 MK2 engine was 9:1; however, primarily because of the lower octane rating of fuel today and due to the way I plan to use this car, I decided to use 8:1 compression Mahle pistons in my rebuild. This is not a complete list and it is in no particular order, but new parts ordered included the following:
- Cam bearing Set
- Engine chrome hardware
- Oil Filter
- Spin-On Oil Filter Kit
- Payen Brand Head Set
- Cylinder Head Studs
- Seal Kit
- Lock Tab Kit
- Thrust Washer Set
- Piston set
- Tri-metal Connecting Rod Bearing Set
- Tri-metal Main Bearing set
- Core Plug Set
- Pilot Bushing
- Clutch Kit
- Water Pump
- Timing Chain, Guide and Tensioner kit
- Lower Gasket Set
- Tappet Hold Down Kit
- Tappet Guide
- Valve Spring Set
- Oil Pump
- Oil Pump Adapter
- Bronze Valve Guide Set
- Intake Valves
- Exhaust Valves
- Oversize Tappets
- 10W30 Break in Oil with Zinc Additive
- 15W50 Oil with Zinc
- Engine and Bearing Assembly Lubricant
- Sealants/Sealers/Cam Lube
- Gloss Black paint
- Metallic Blue Spray Paint for the Cylinder Head
- Flamethrower Coil
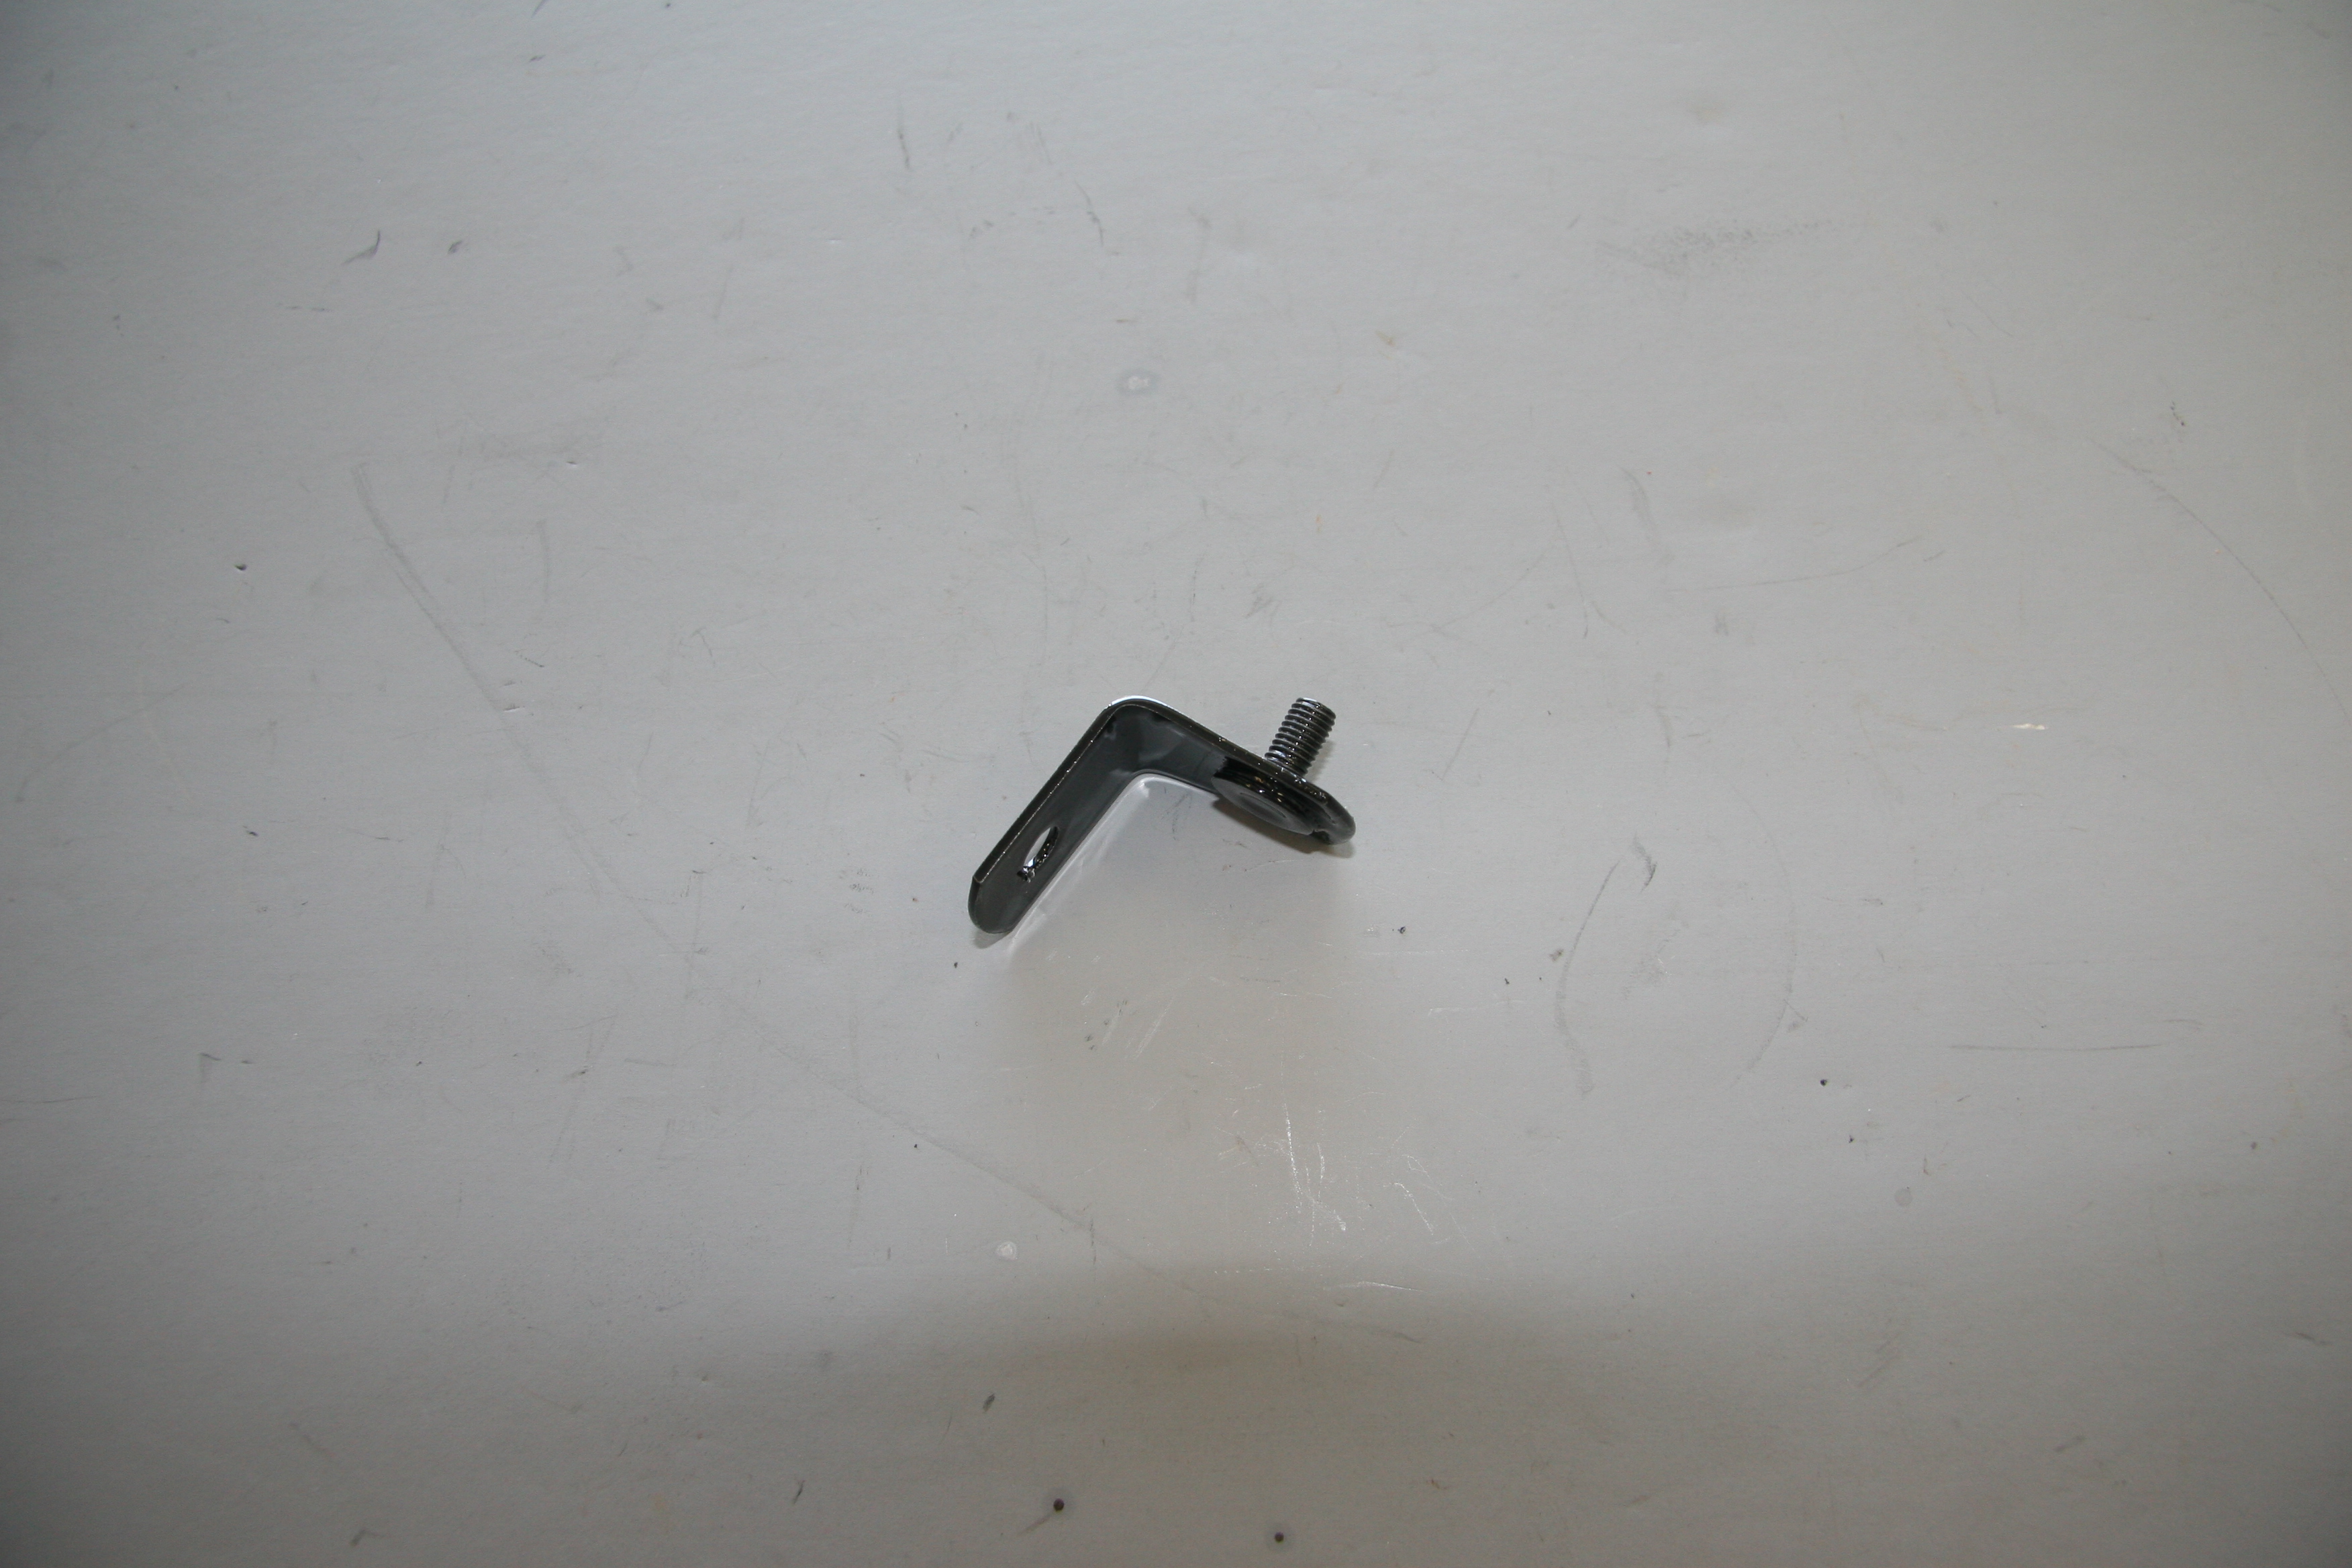
- Chrome Coil Bracket
- Flamethrower Ignition Leads
- Spark Plugs
- 123 Distributor
- Brass Nuts
- Thermostat
- S.U. Throttle Shaft 1 3/4″ Butterflies
- S.U. 1 3/4″ Butterflies
- 5/16 22 BSF Banjo Bolt HD Starting Carb
- 3.8 MK2 SM/1402 Carb Kits
- Drive Belt
- Hoses to Radiator
- Radiator Hose Clamps
- Heater Hose
- Heater Hose Clamps
- Gear Reduction Starter
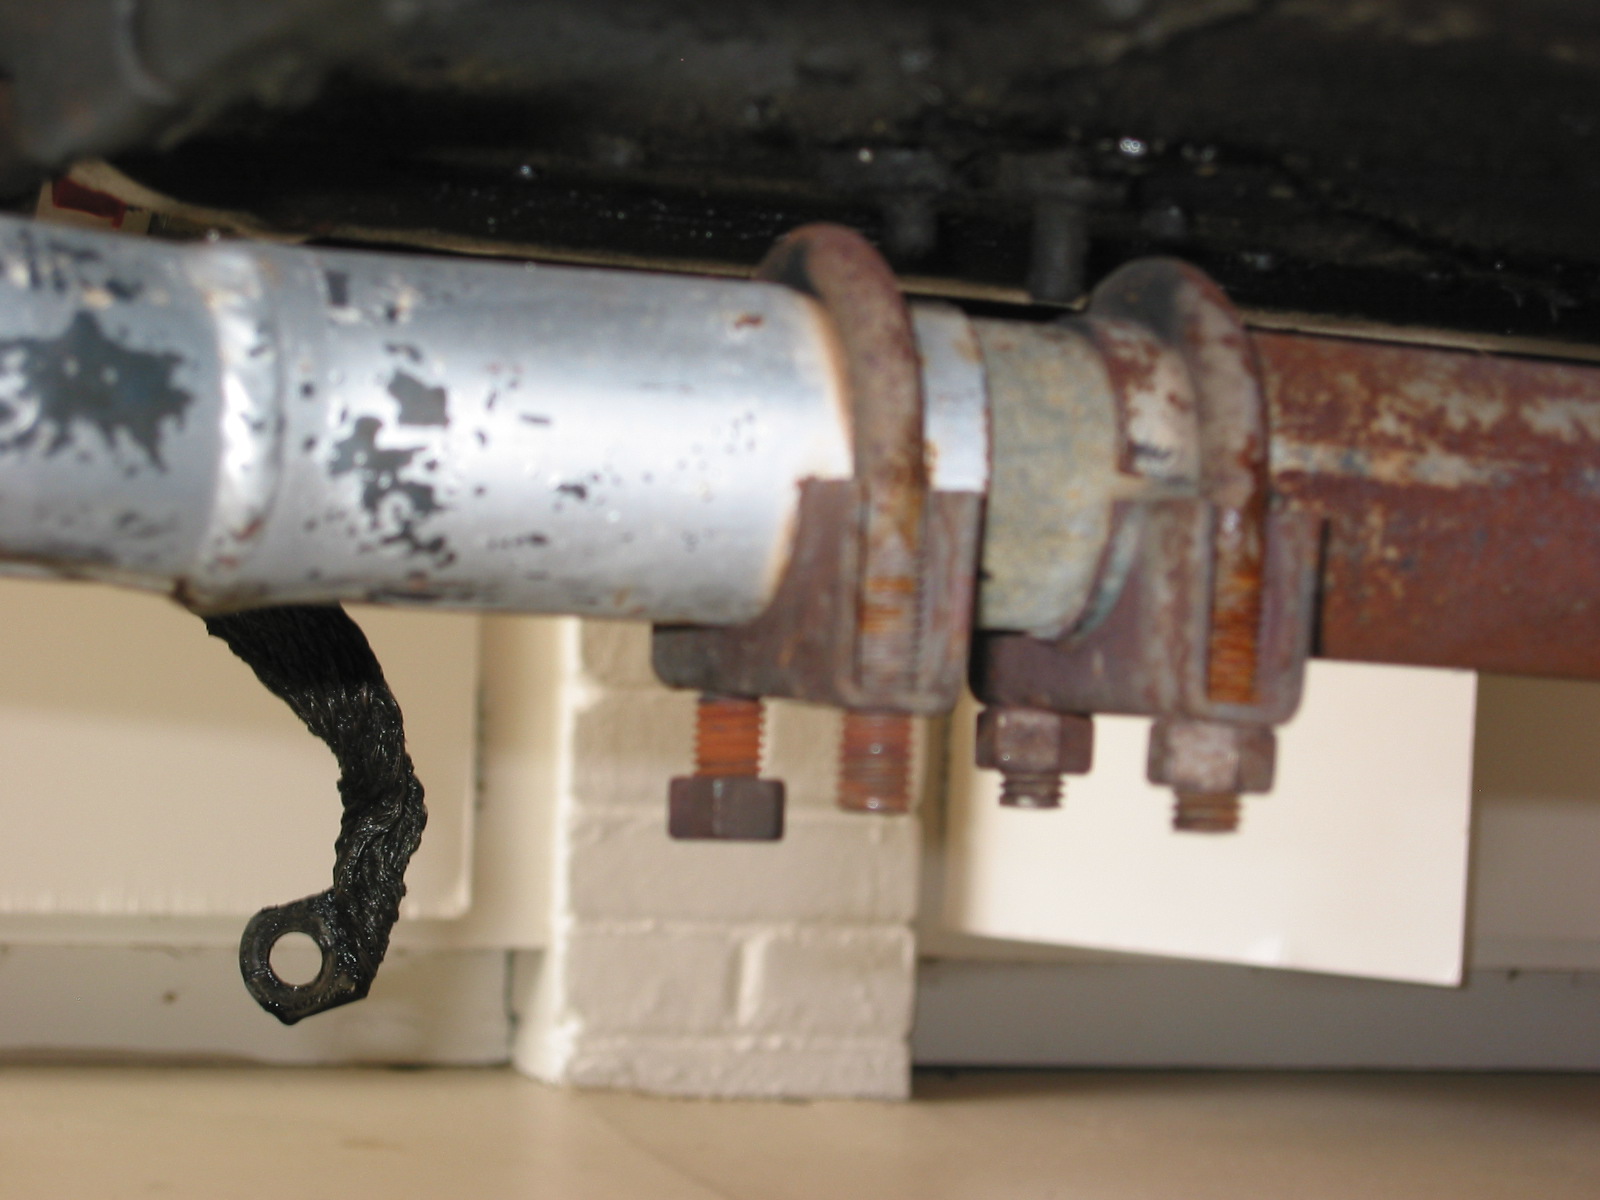
- Engine Ground Strap
- Oil Pressure Sender
- Oil Quick Drain Valve
- Blast, Anneal and Porcelain Coat Exhaust Manifolds
- Carb Banjo Bolts and Washers
- Alternator and Mounting Bracket
Rear Main Crankshaft Seal
I did some research on the replacement of the rear main crankshaft seal. A number of the usual vendors sell modern upgrades for this seal to help prevent oil leakage. The apparent most popular upgrade kit does require some machining of the crank.
After checking with those on the saloon-lovers forum and a few other MK2 owners, the consensus seemed to be to stay away from the upgrade kits. However, Peter Wise aka “Old Goat” p.wise45@yahoo.com recommended a GraphTite seal made by BEST Gaskets as a modern material upgrade to the original rope seal. The kit is available from EGGE Machine http://www.egge.com part number: 6382S and it is for a Pontiac 1968-76 8 cylinder 428-455. It is a direct replacement for the rope and does not require any machine work. I cannot explain why the Pontiac V-8 seal works in the MK2 3.8 but Pete claims that it works quite well. I have ordered the kit and Mike and his team installed the seal upon rebuild. The seal kit included an installation tool for $17.39!

GraphTite Rear Main Seal
Dynamo Mounting Bracket and Spacer
I probably will not use the dynamo bracket with my alternator, in favor of a turnbuckle brace, but I cleaned it up and painted it – just in case.
Dynamo Adjustment Bracket
Dynamo Bracket
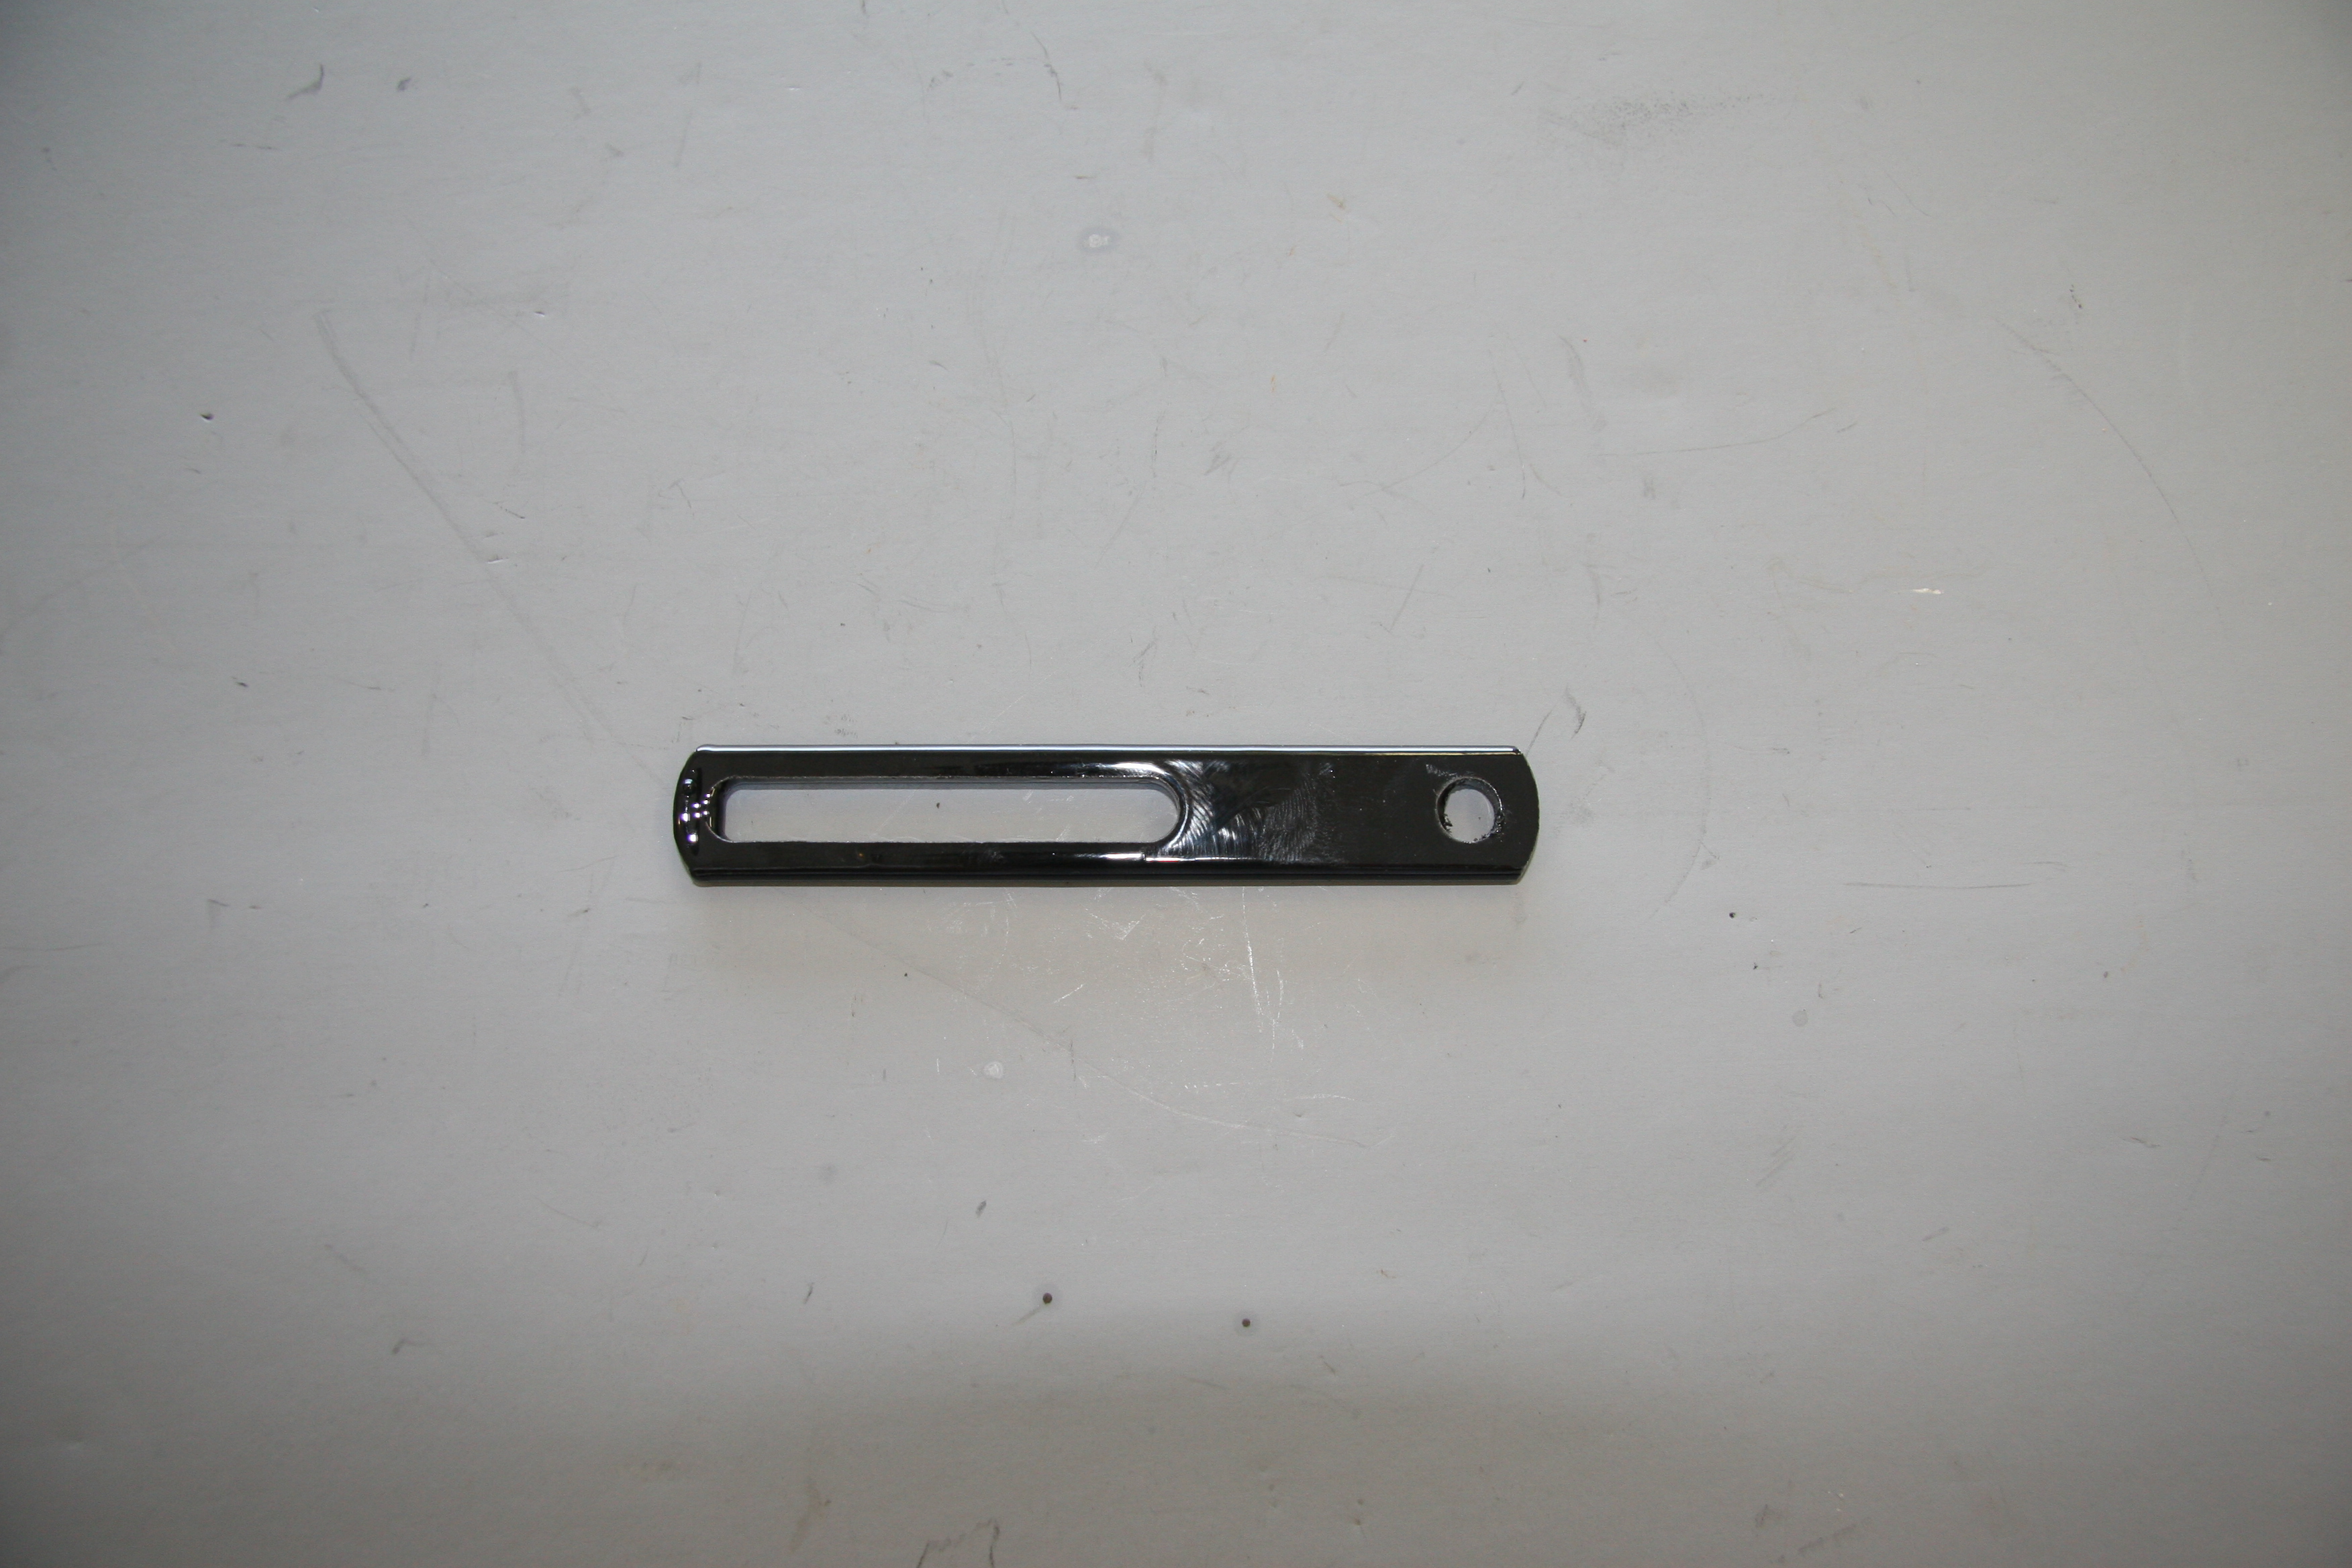
Coil Bracket Extension
Coil Mounting Bracket Extension
Spin-on Oil Filter Kit

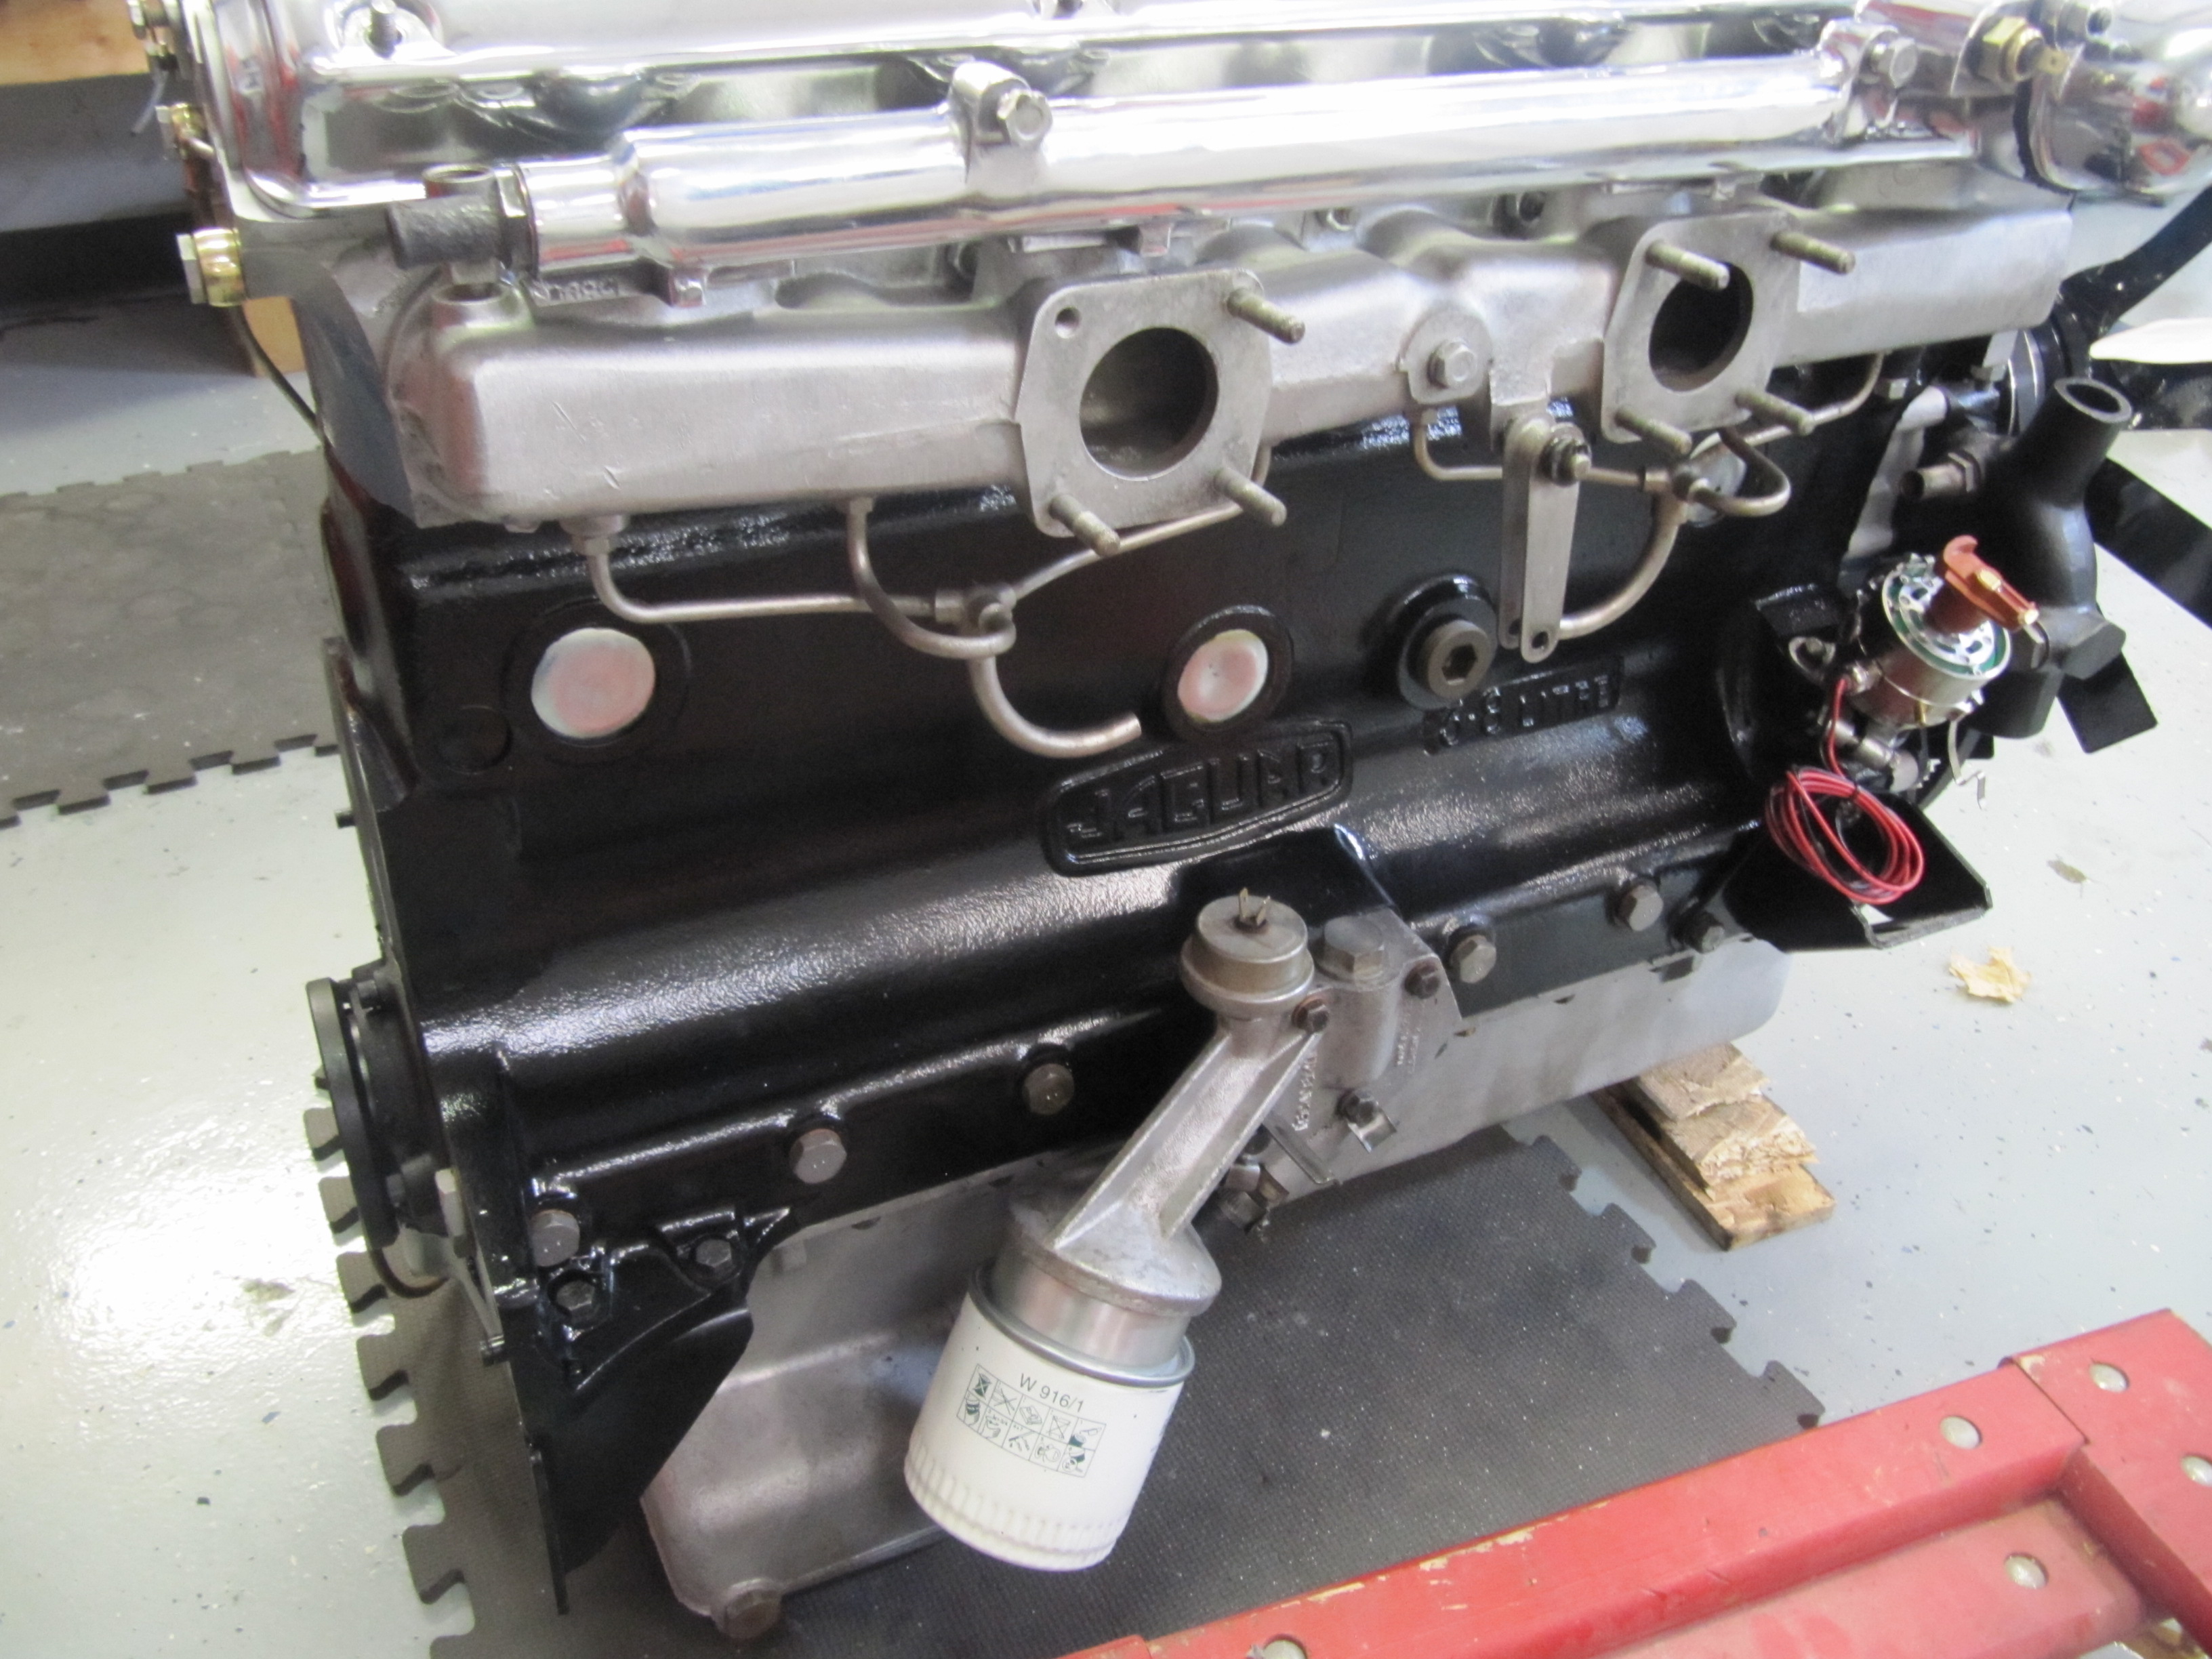
Oil Filter Assembly
As seen in the image above, the original oil filter is a full flow type and has a renewable felt or paper element. Modern spin-on alternatives are available and I installed the kit provided by SNG Barratt. Purists may object, but most who have installed the spin-on arrangement report success and it is certainly much easier to change.
Spin-on Oil Filter Instructions

SNG Barratt Spin On Oil Filter Kit
Harmonic Balancer
I decided to have the harmonic balancer rebuilt by Dale Manufacturing http://hbrepair.com/harmonicbalancer_018.htm in Salem, Oregon rather than purchase a new one. The rebuild was under $150 and the final product looked pretty good.
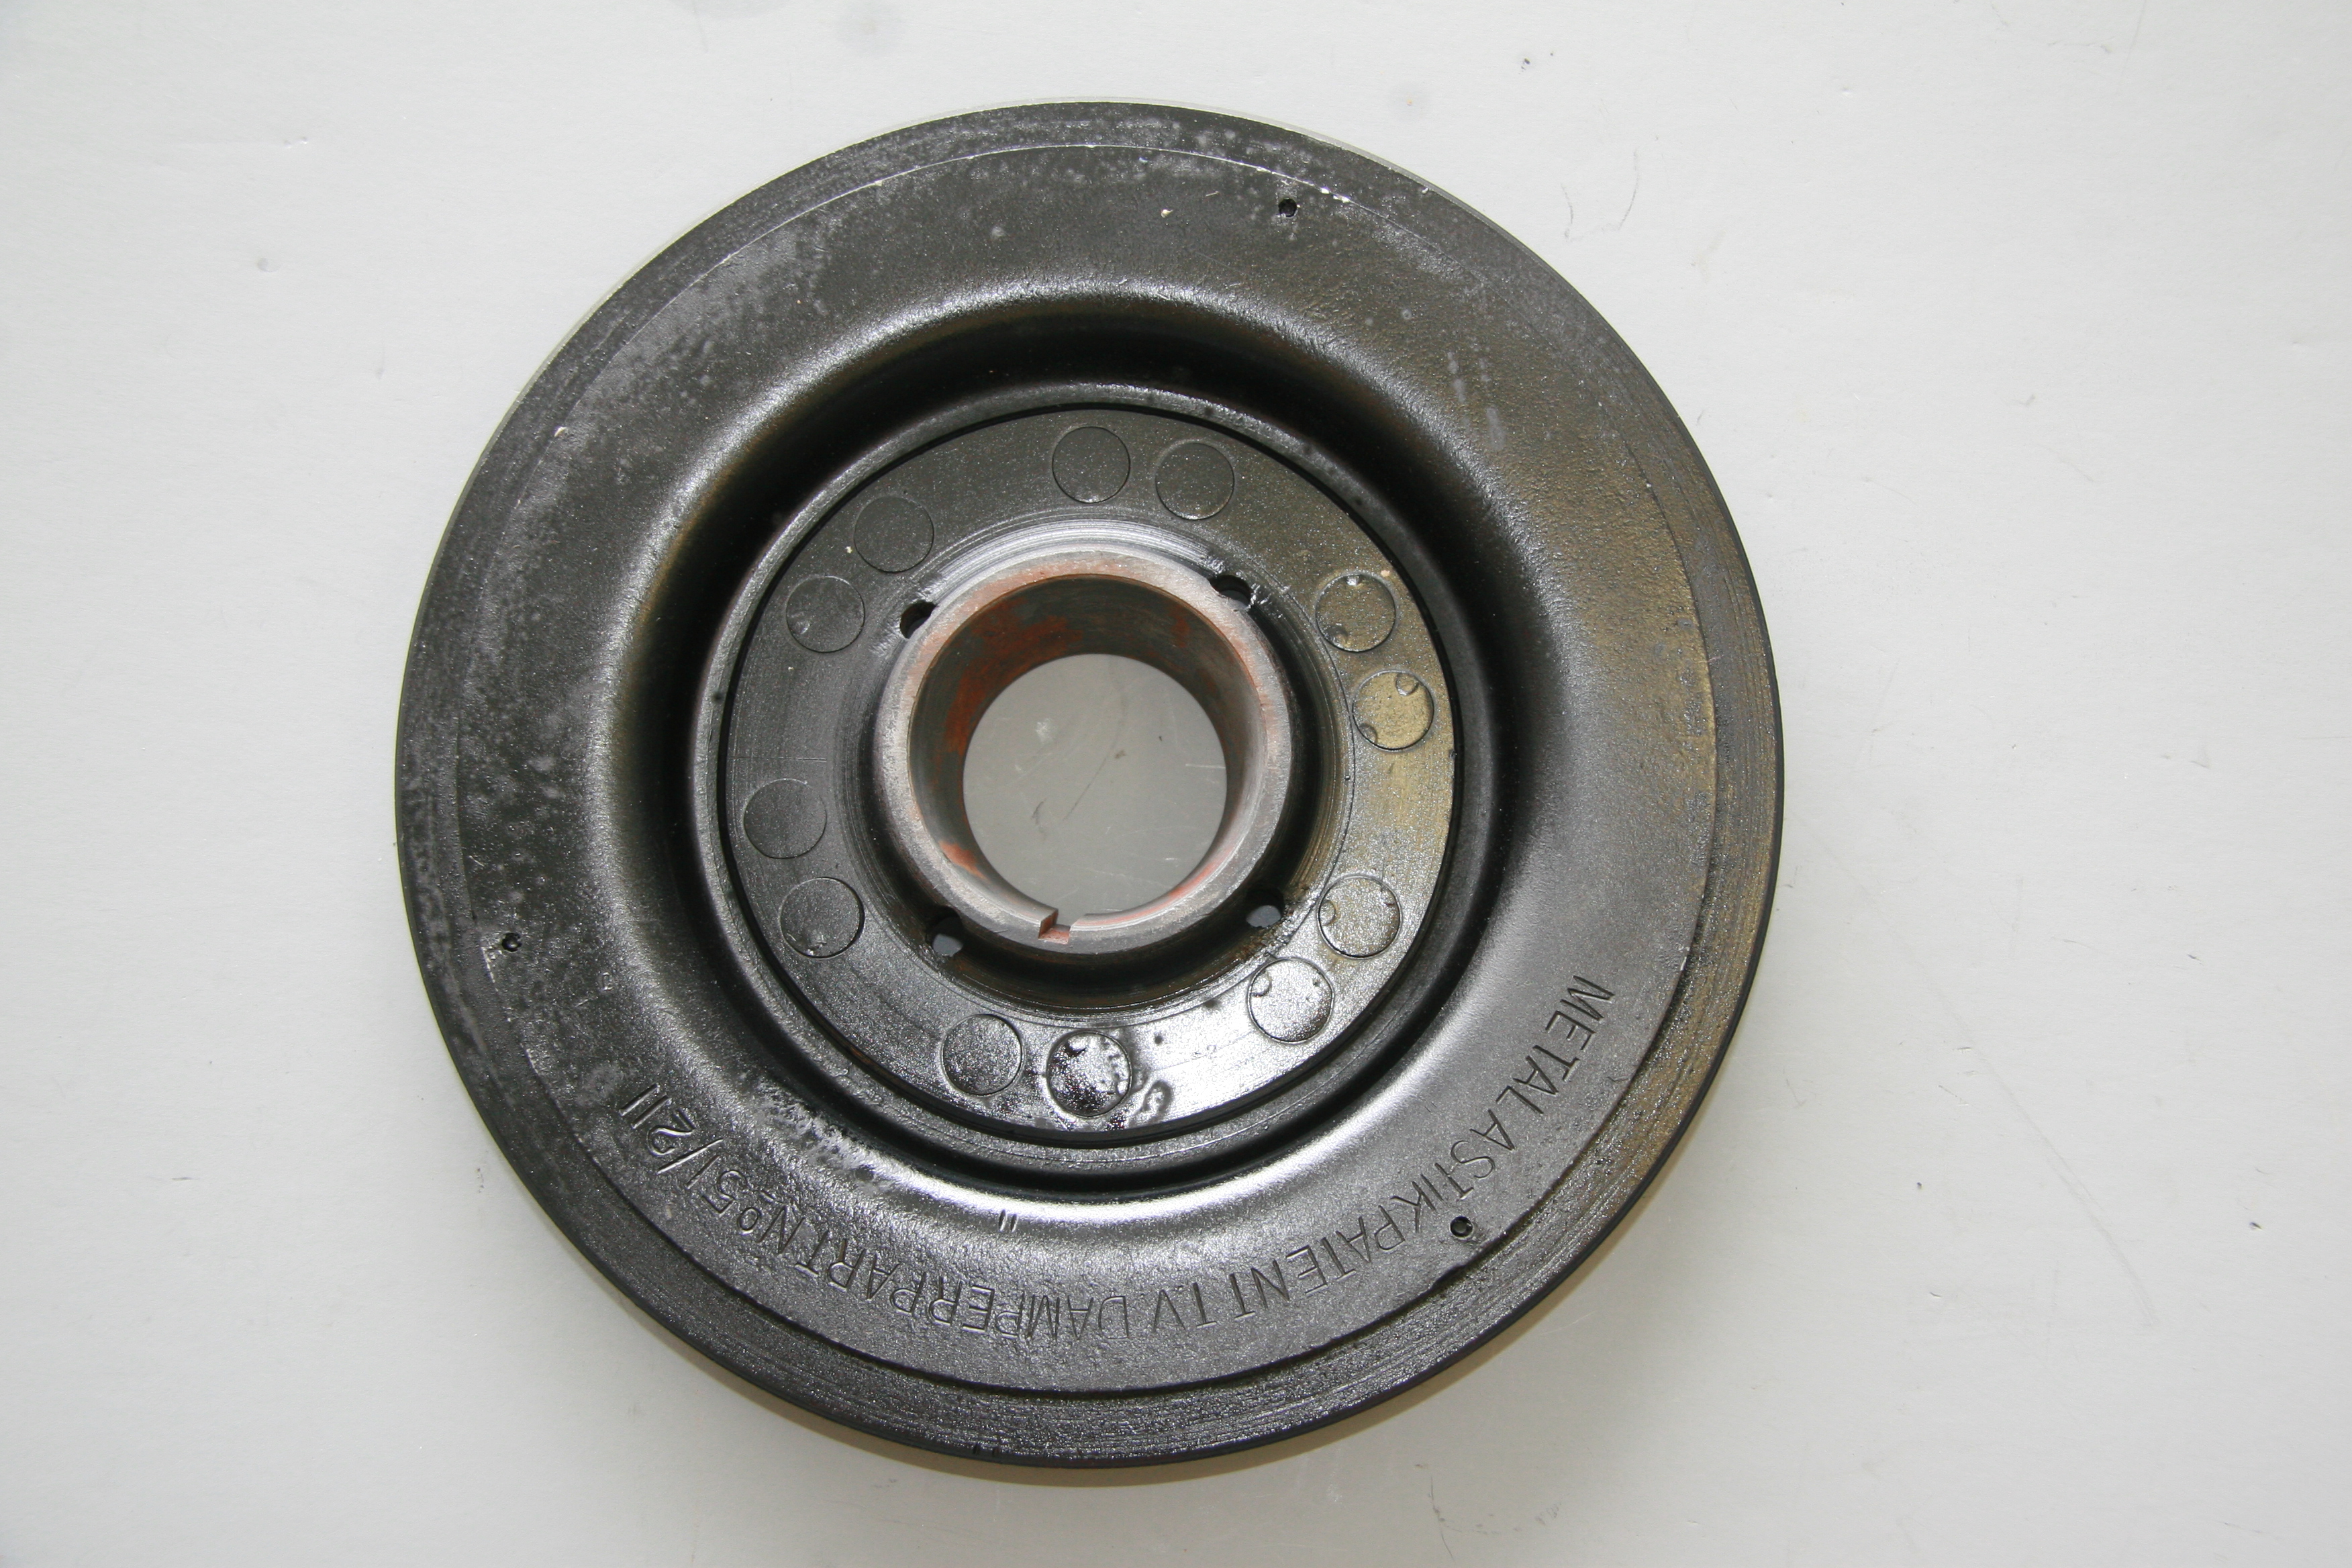
Harmonic Balancer
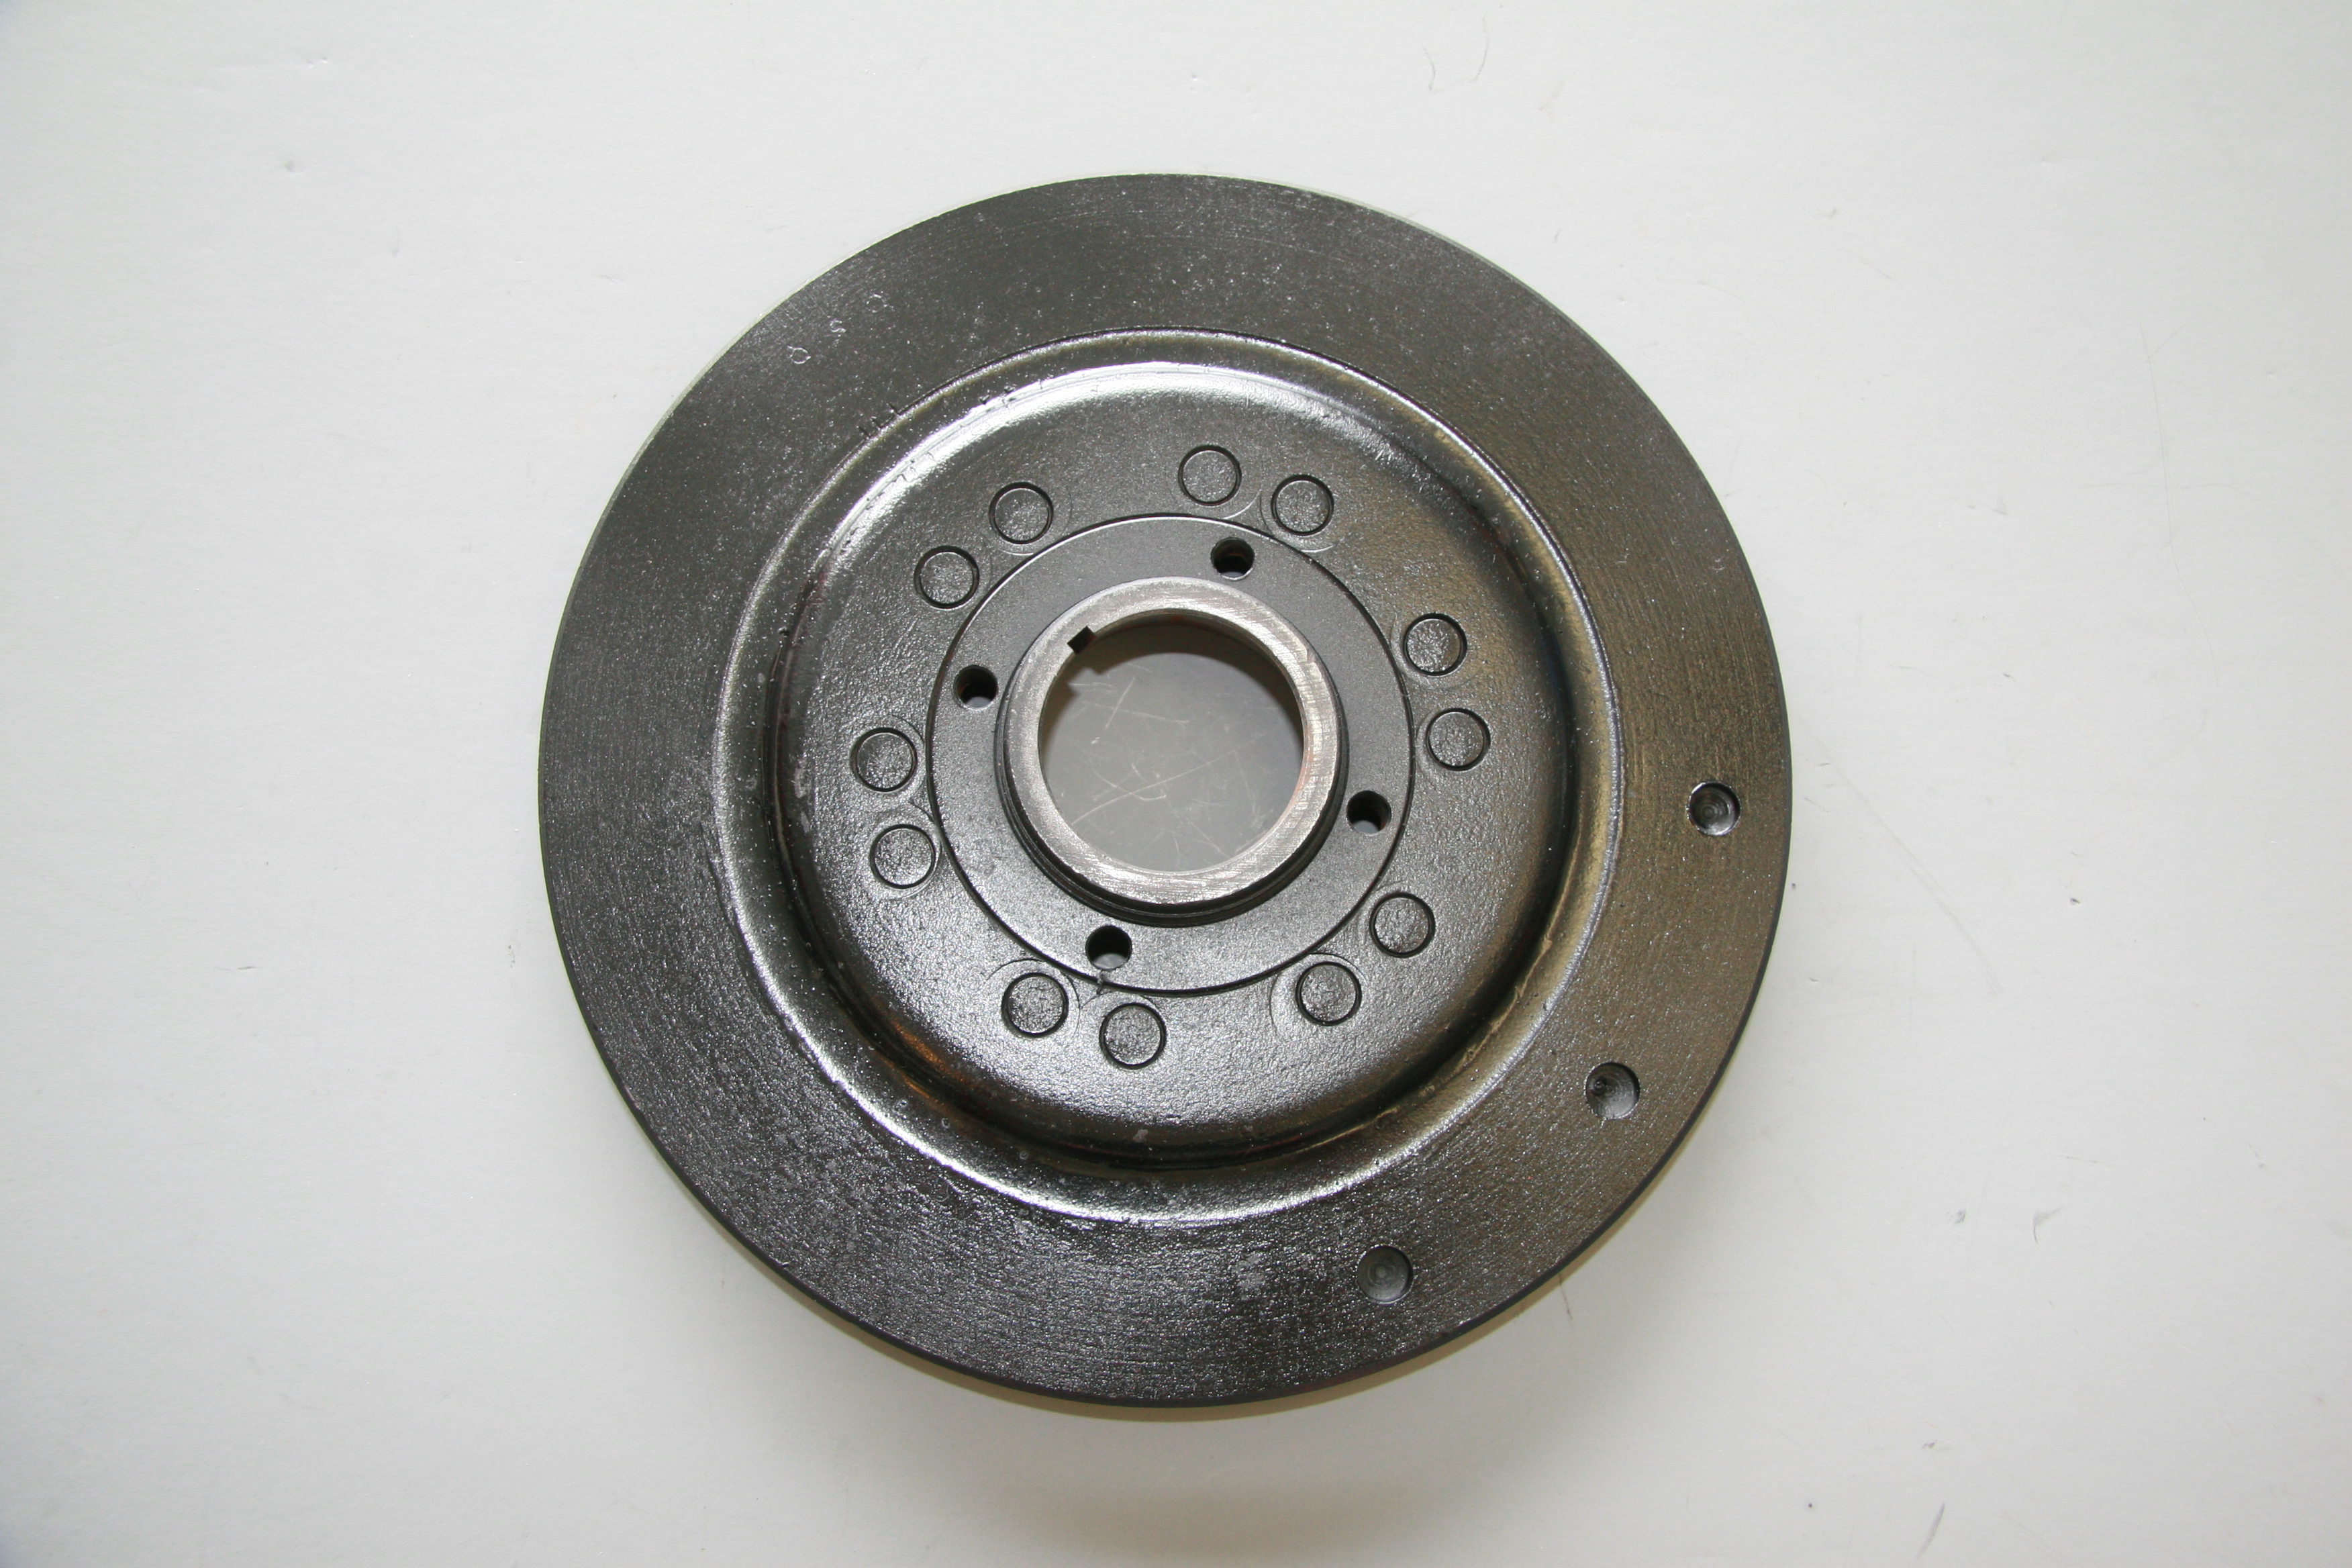
Harmonic Balancer
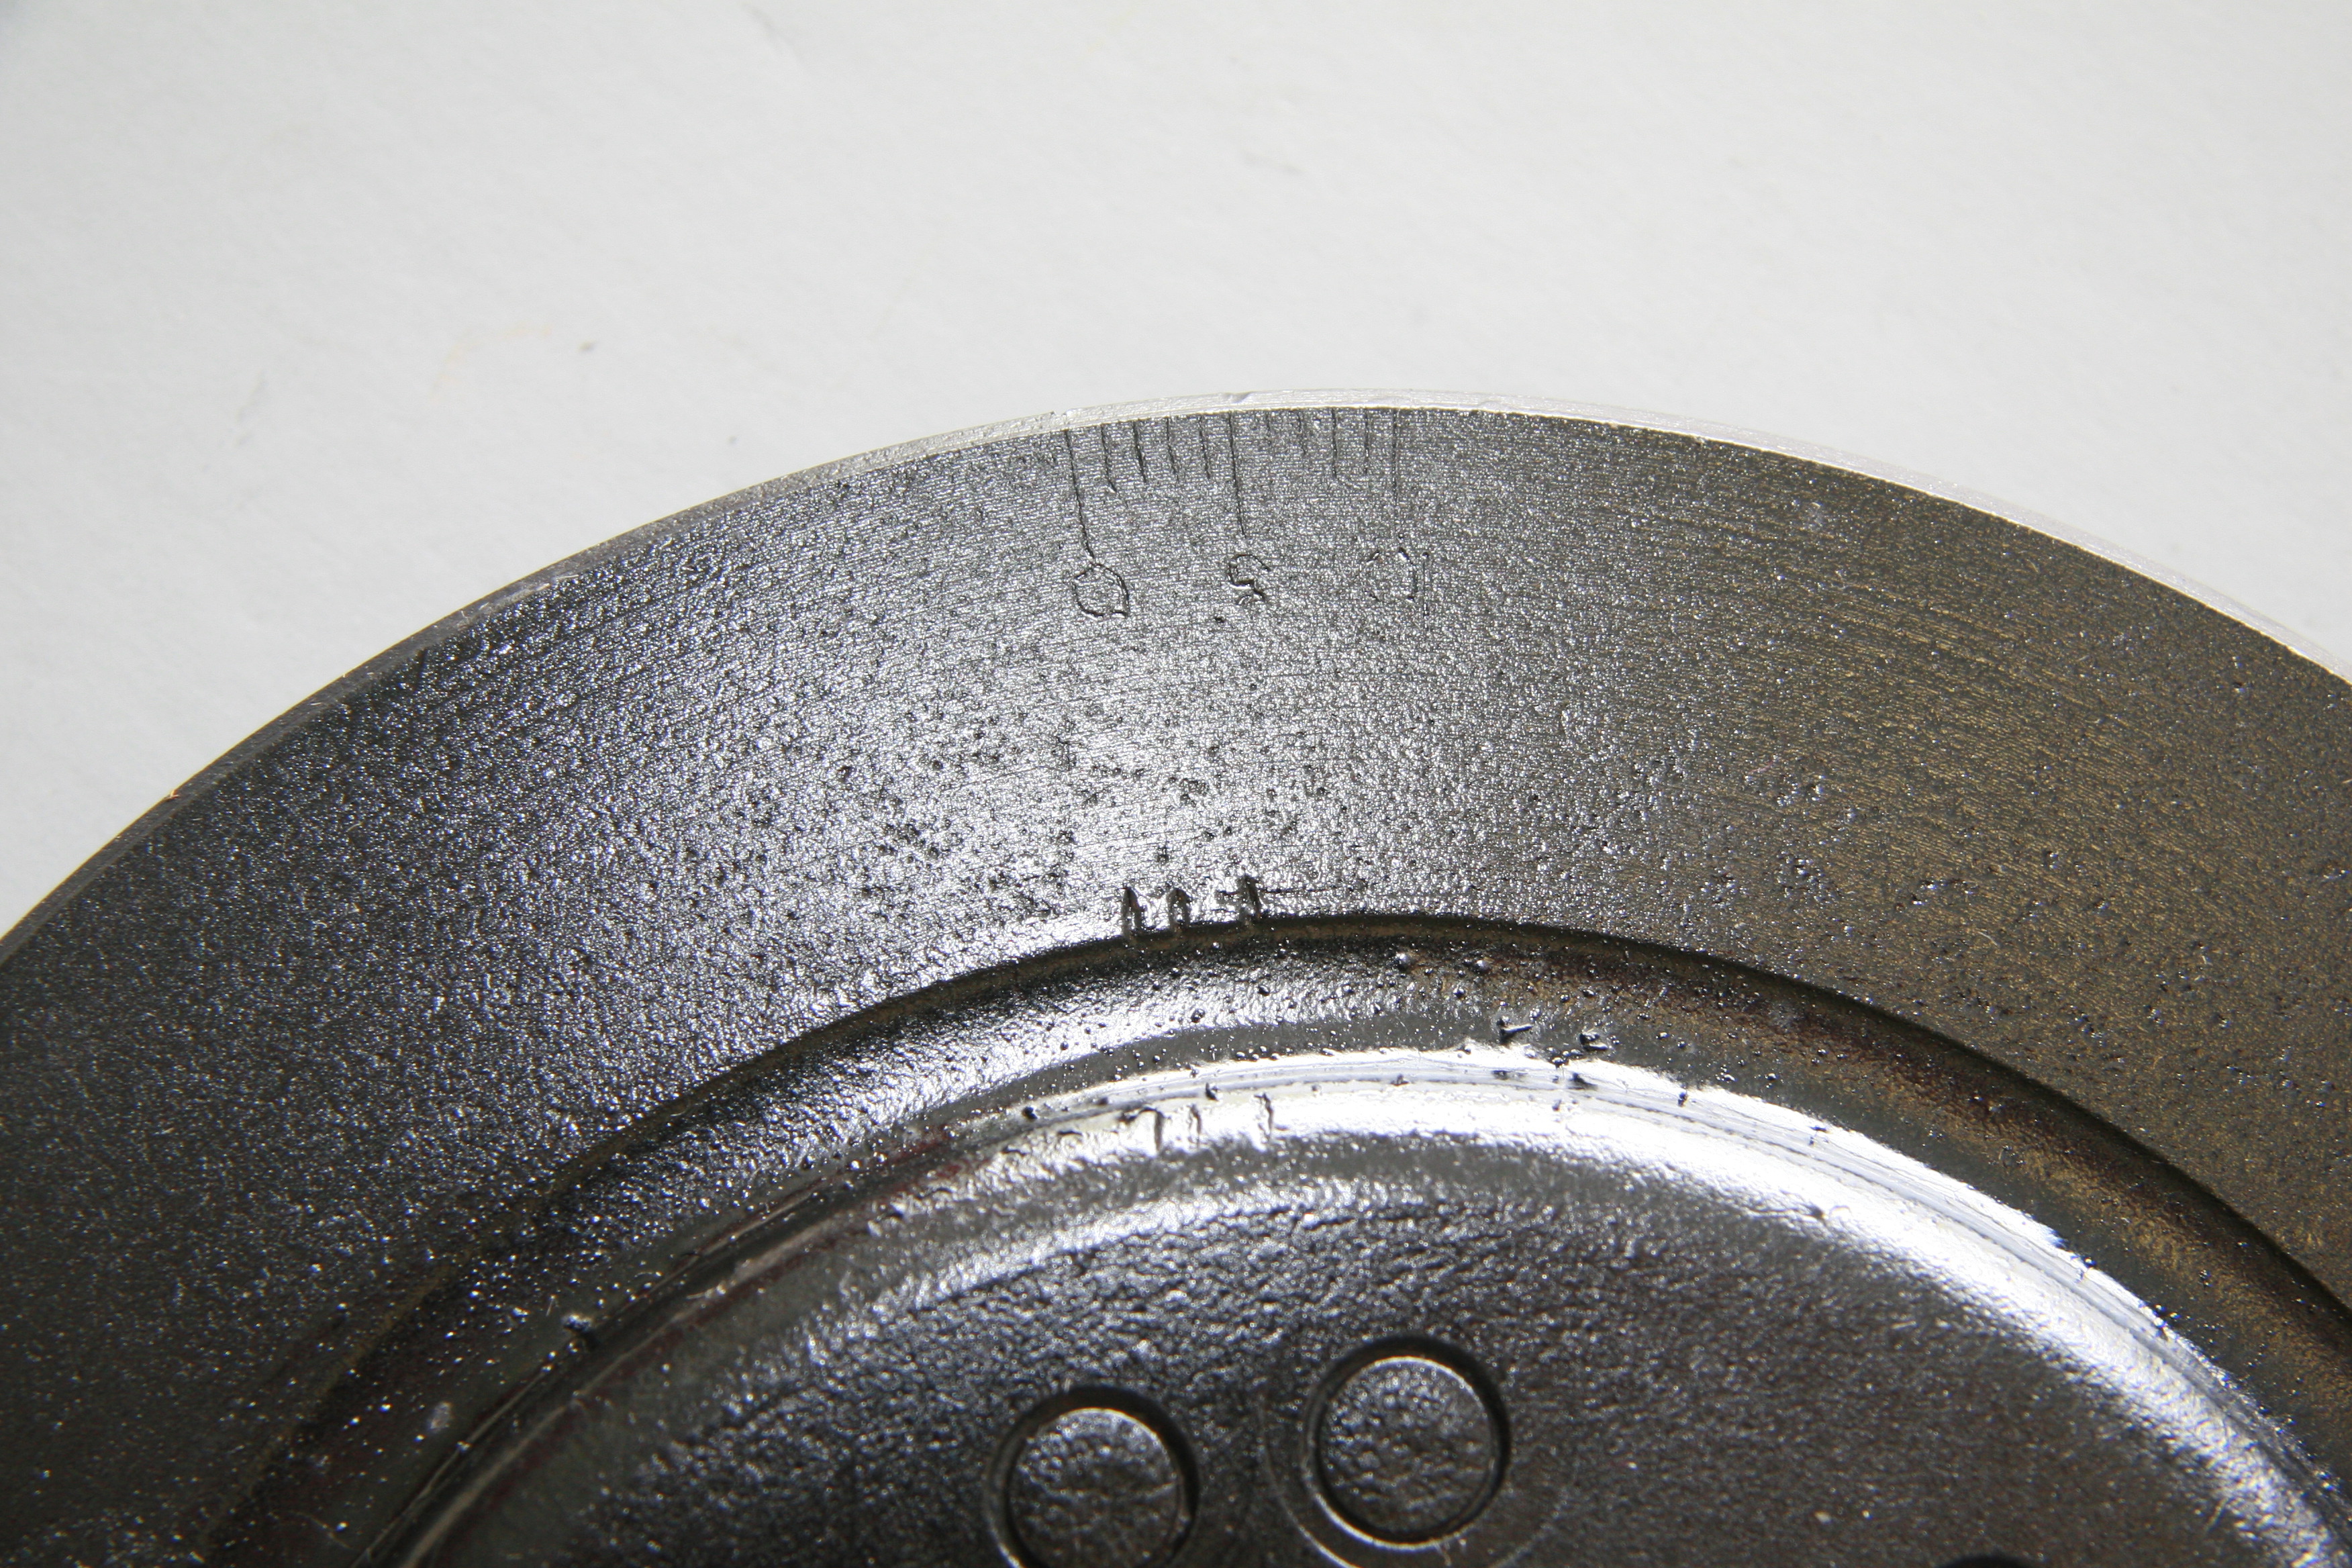
Timing Marks
Oil Sump Dipstick
Got the dipstick back from the plater. I vaguely recalled that the background on the handle was a somewhat unusual blue color. Someone on the Forum indicated that Revlon’s After Party nail polish was the perfect color, so I ordered some and painted the handle:
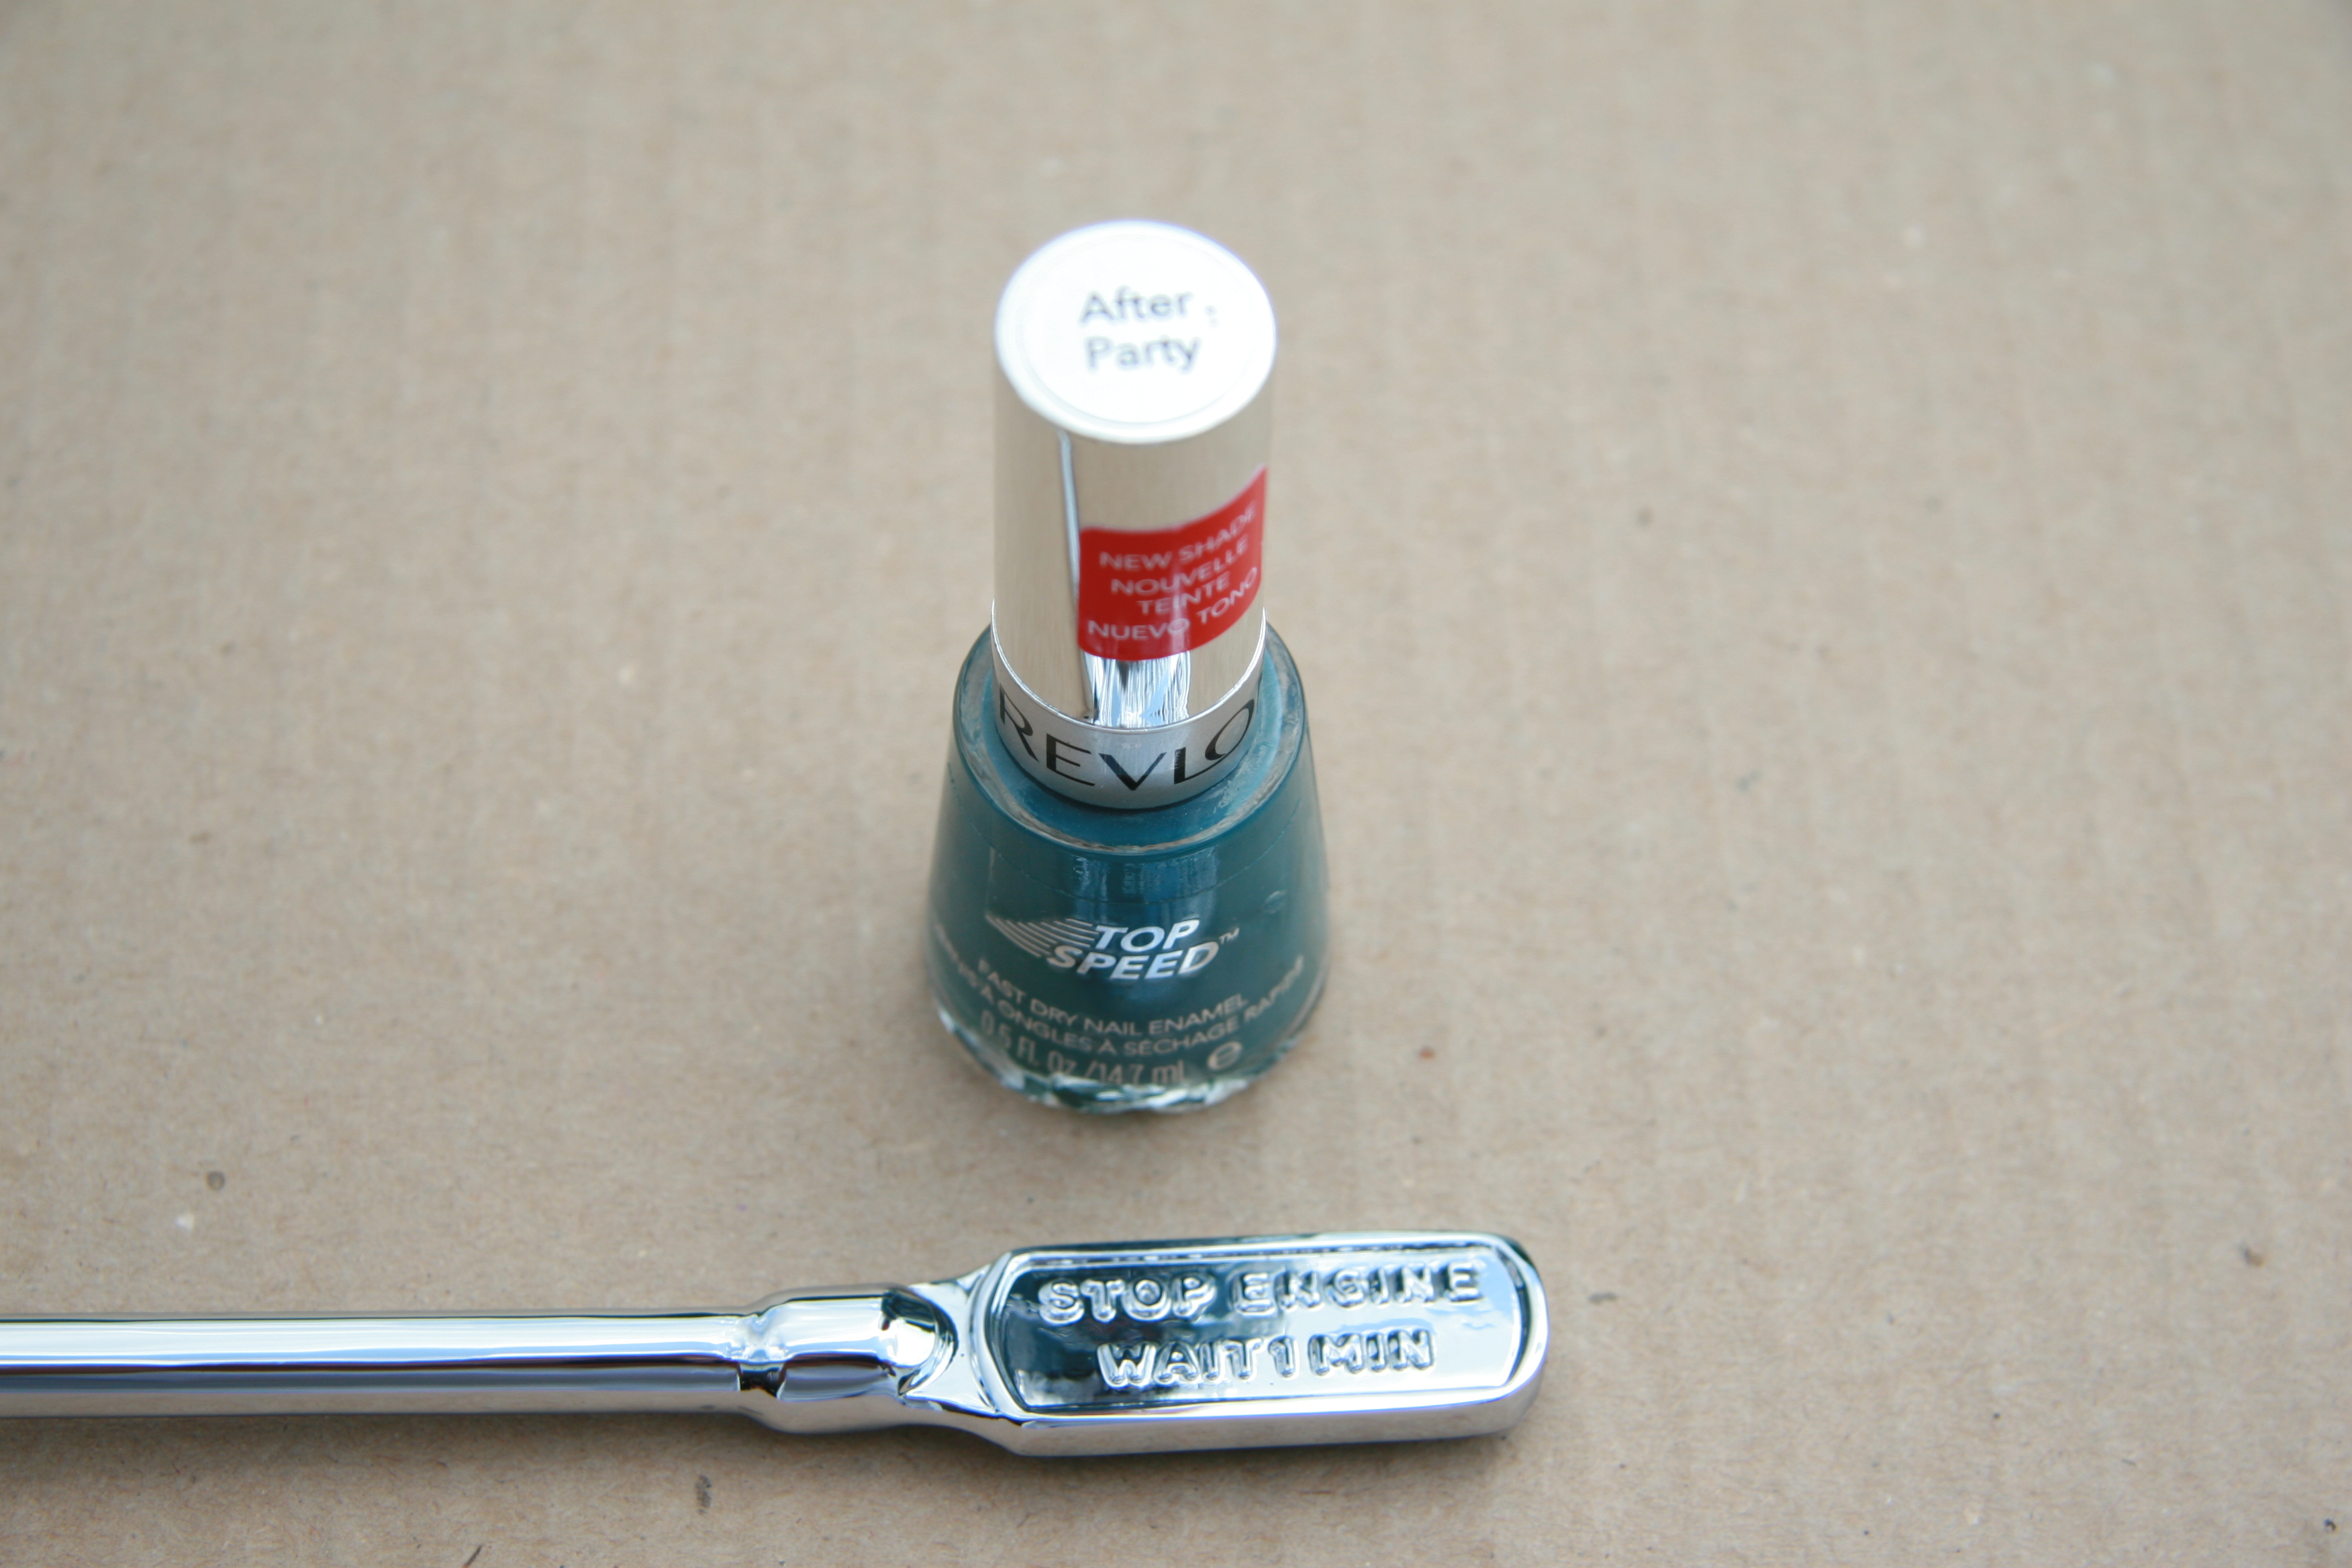
Revlon’s After Party Nail Polish

Revlon’s After Party Nail Polish after Application
Oil Drain Plug
I ordered an EZ Oil Drain Valve for XK Engines from Cool Cat Express just to make the oil drain process a little easier. As their advertisement says; “This all aluminum drain valve mounts permanently in place of your drain plug. A simple twist of the wrist will open and close it. No more stripped threads, no more lost plugs. One piece aircraft quality 6061 aluminum and 302 stainless steel. Aluminum has clear anodized finish for long, corrosion free life. Seals are replaceable. Nothing to break, nothing to lose: saves labor, saves your oil pan, save aggravation. The perfect companion for our spin on conversion kits! Fits all Jaguar oil pans with 5/8″-18 thread. This includes ALL XK motors, and many V12’s.”
This is a photo of the Valve and the plug it replaces:

Cool Cat Express Oil Drain Plug
Here is a photo of the new valve installed:
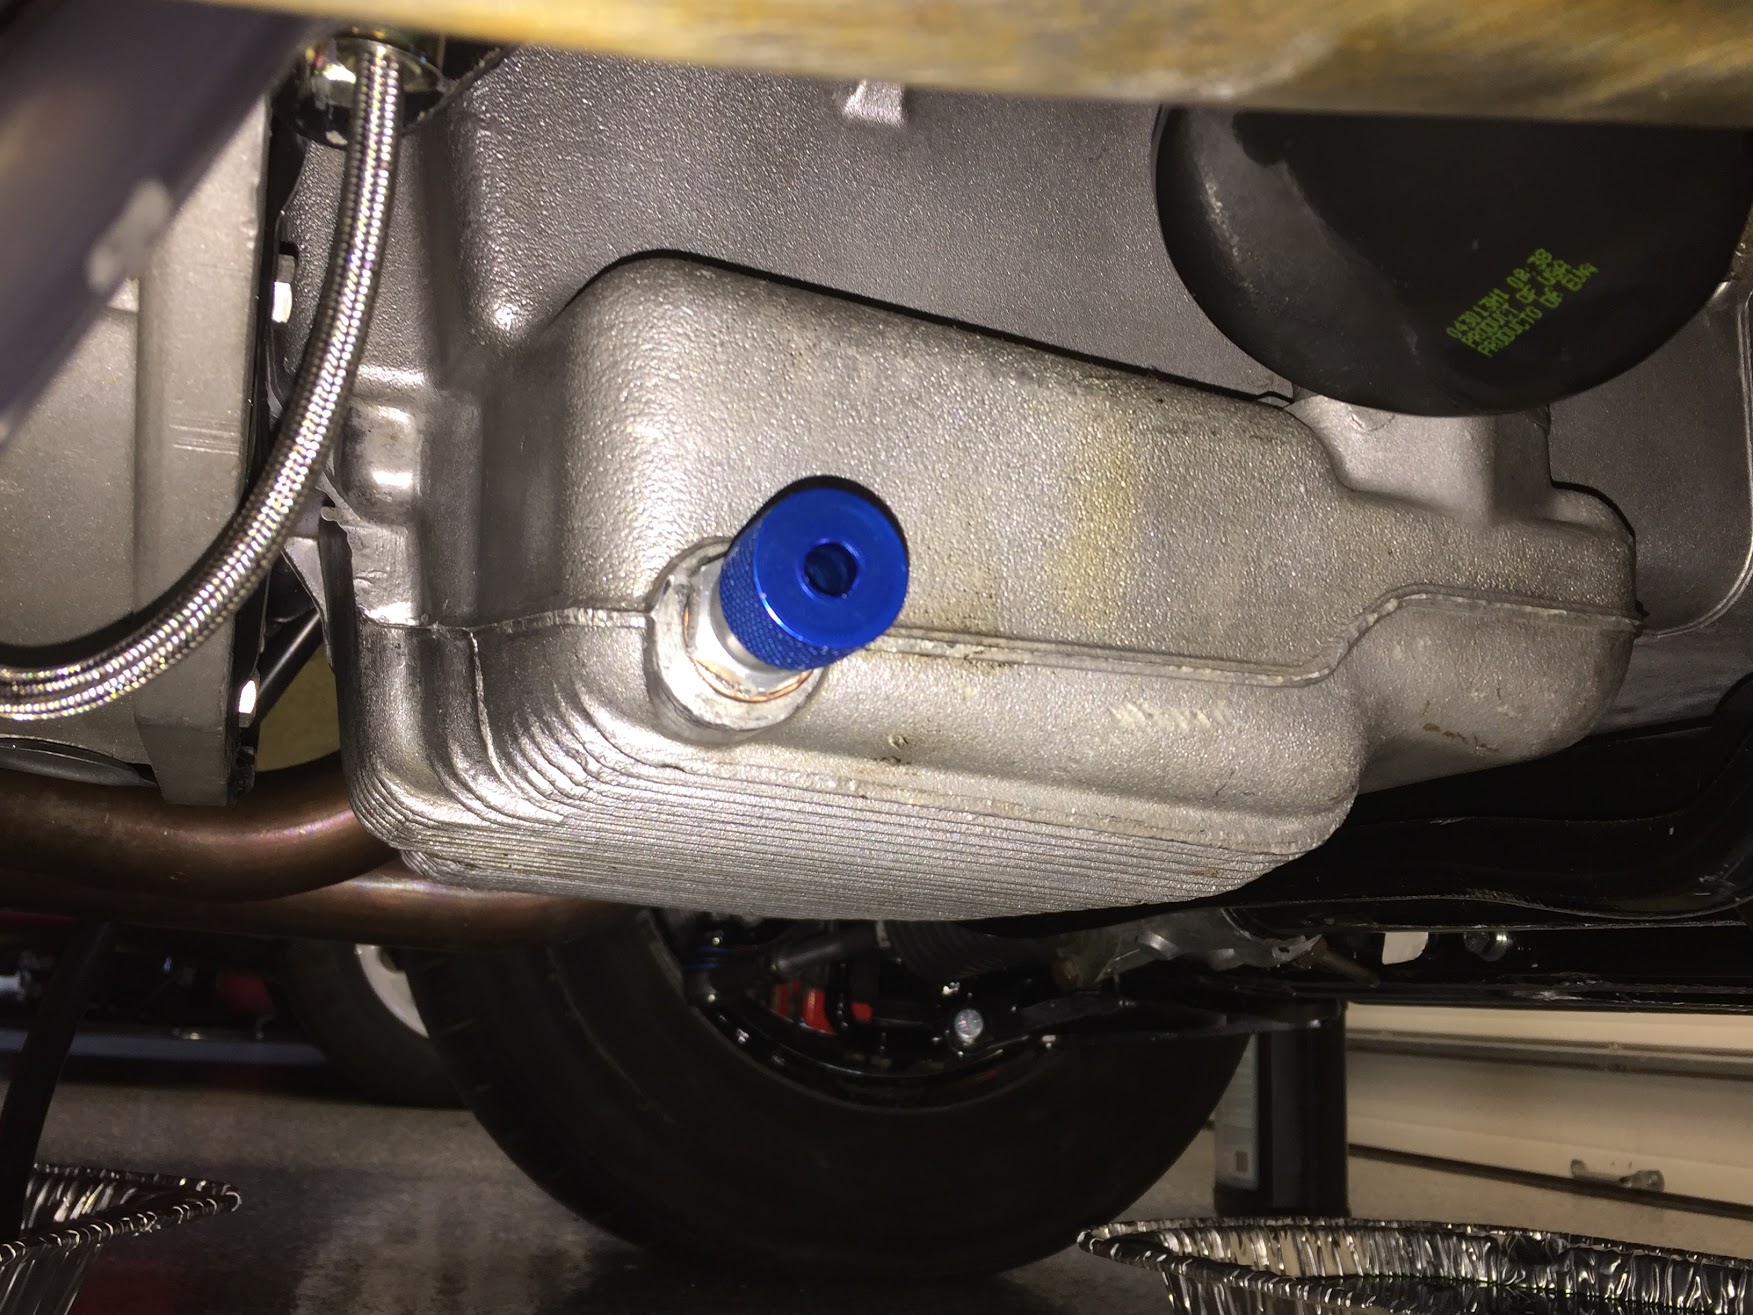
Cool Cat Express Oil Drain Valve Installed
Engine Rebuild Process
Mike Gassman Installing Bearings

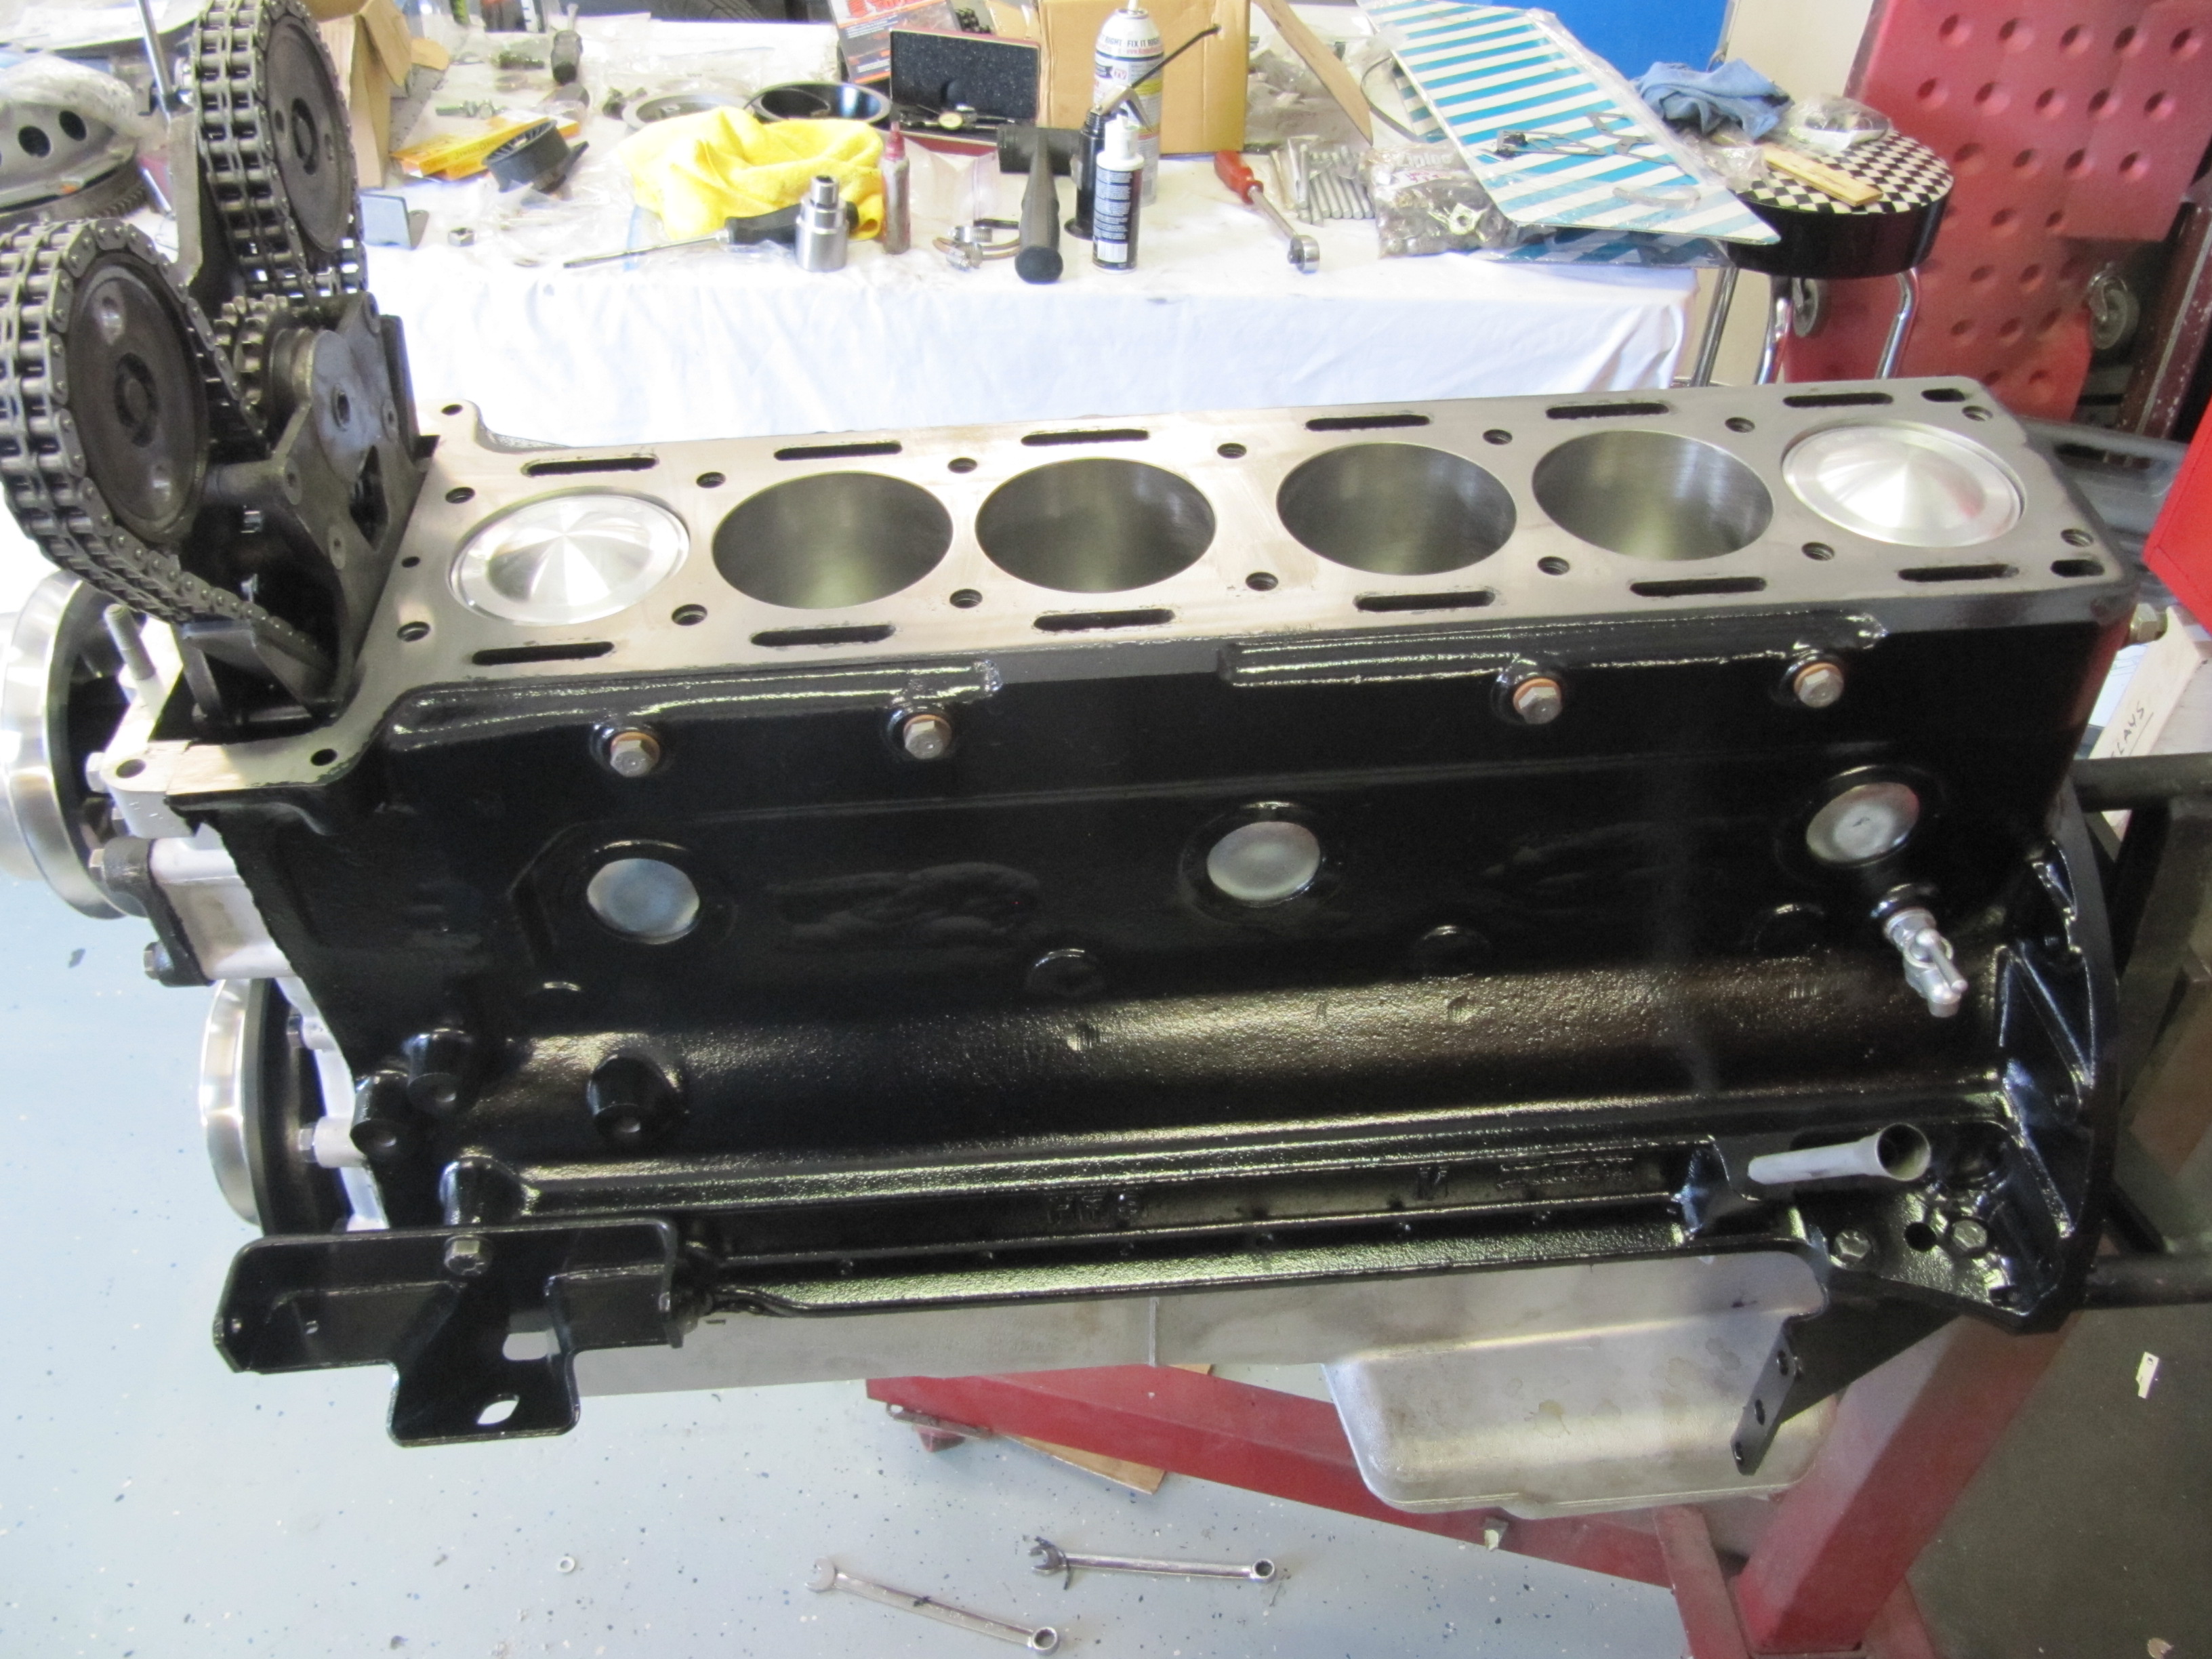
Engine Block
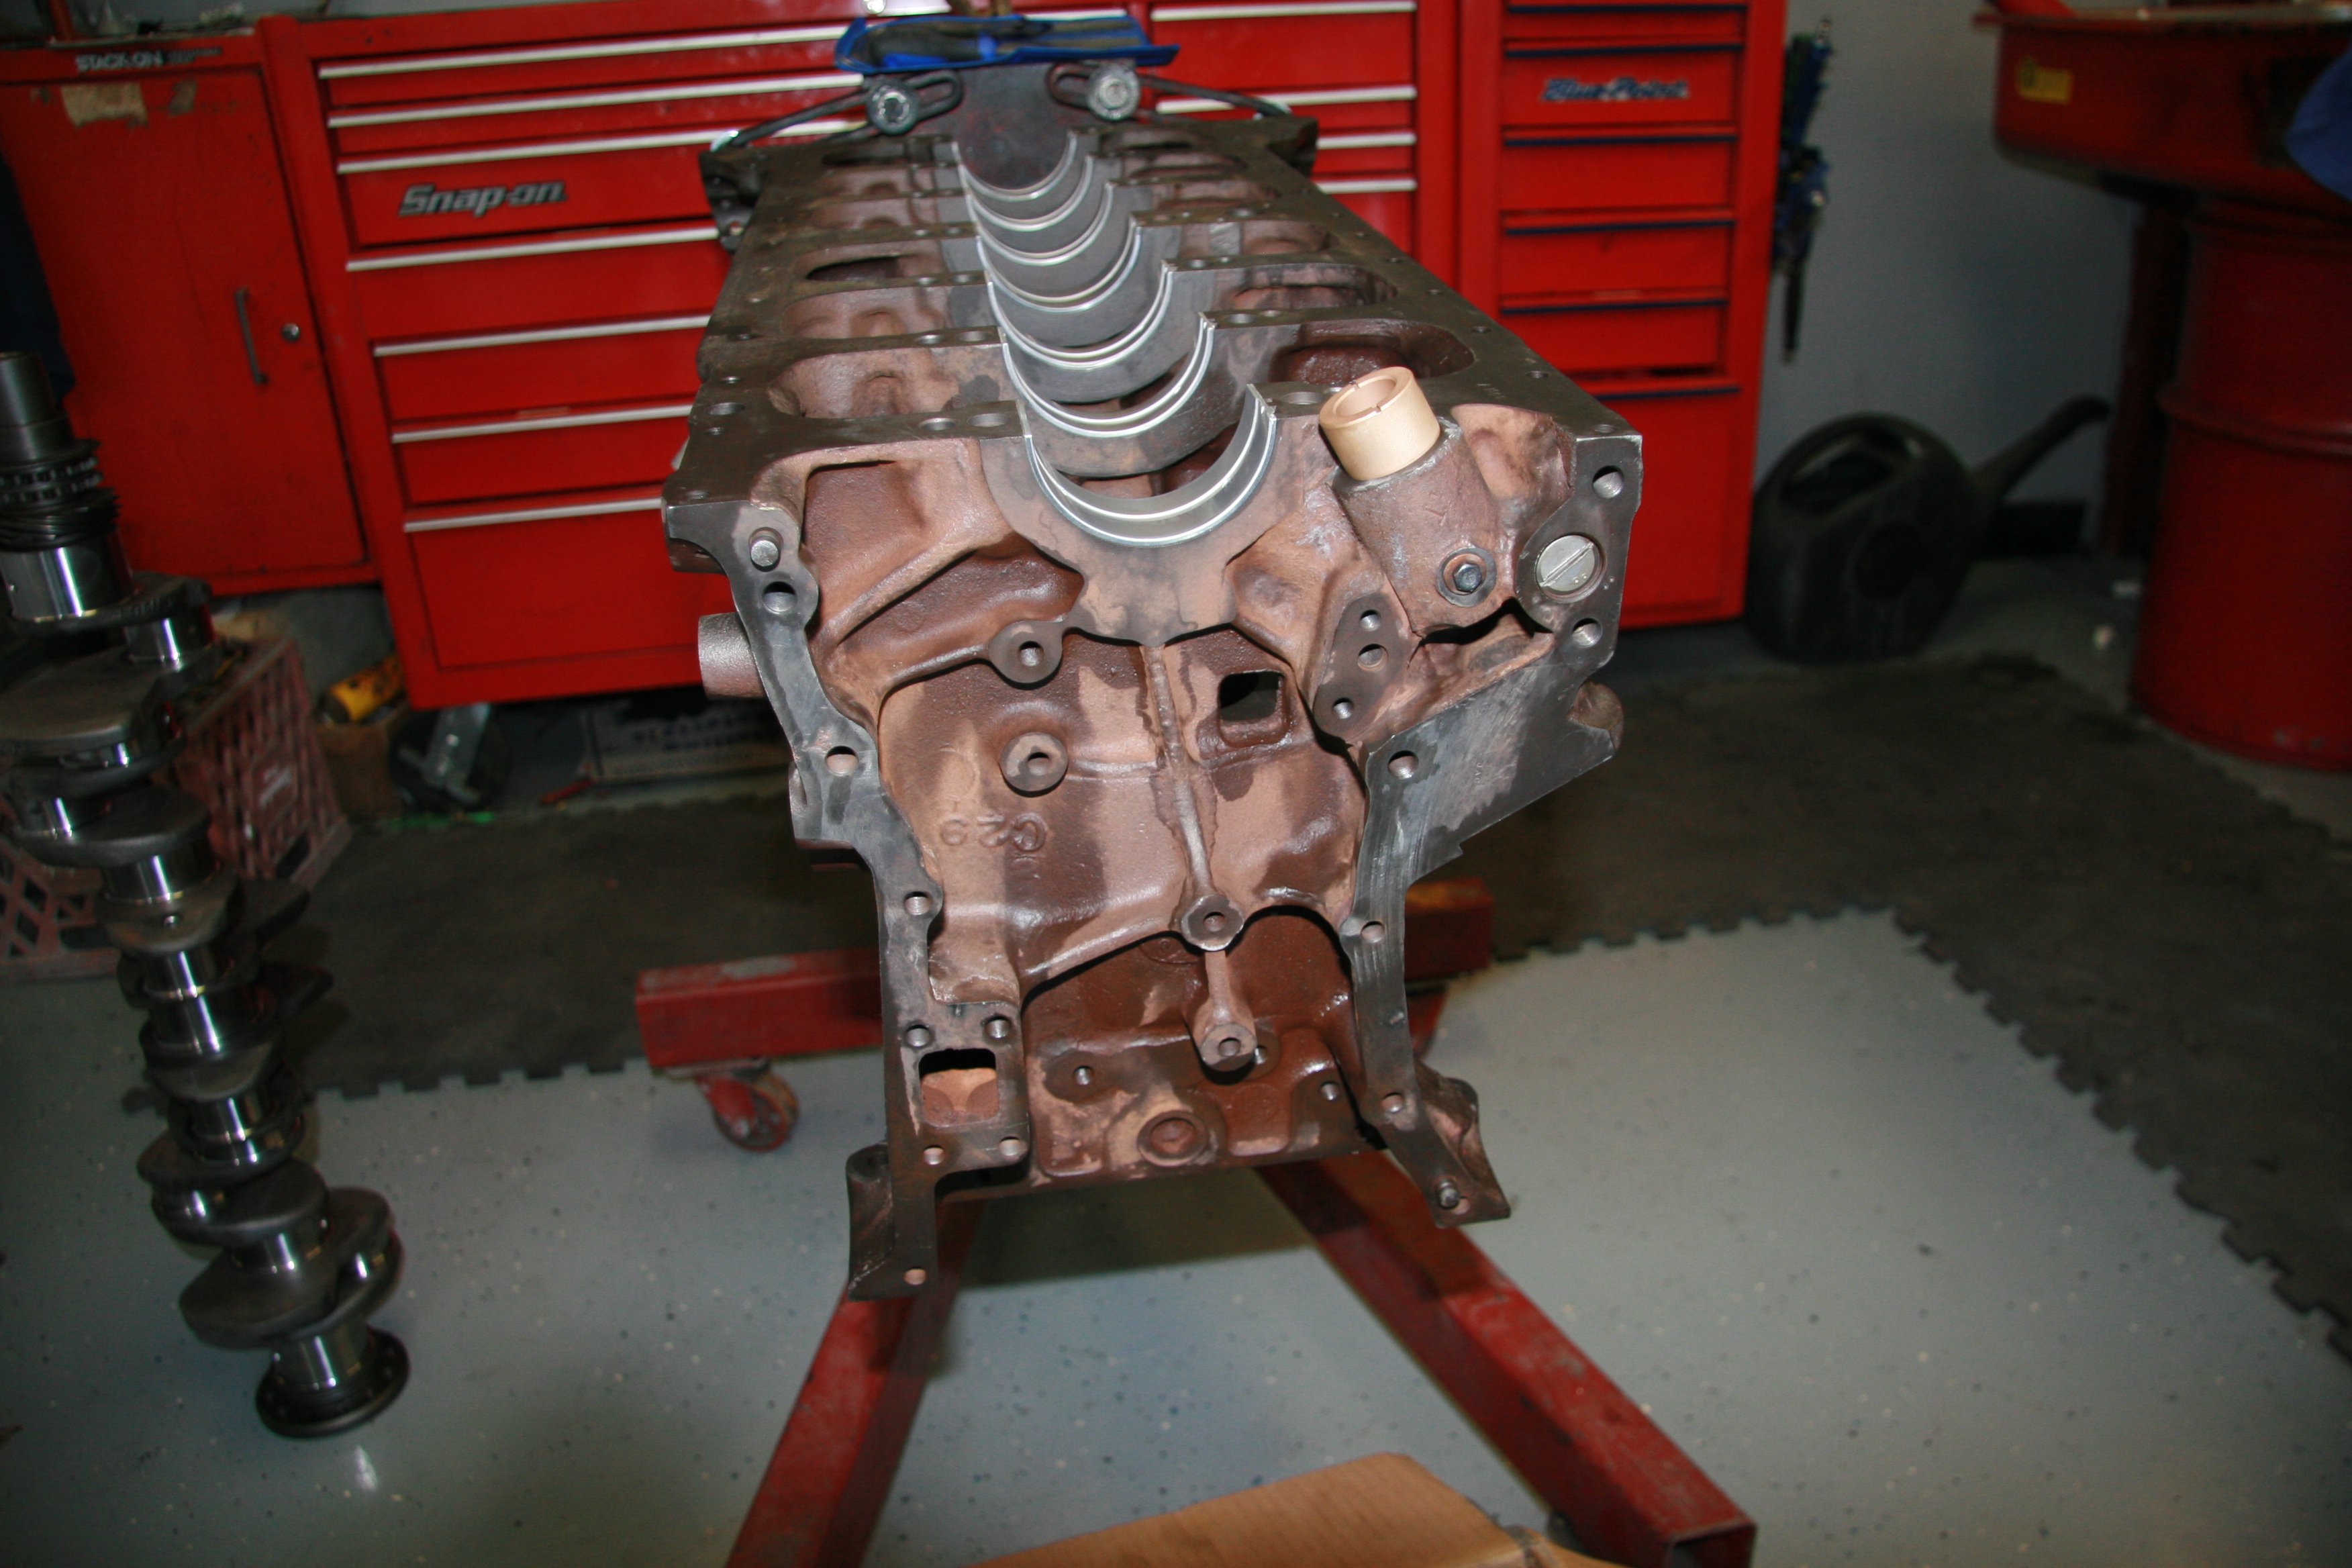
Engine Block
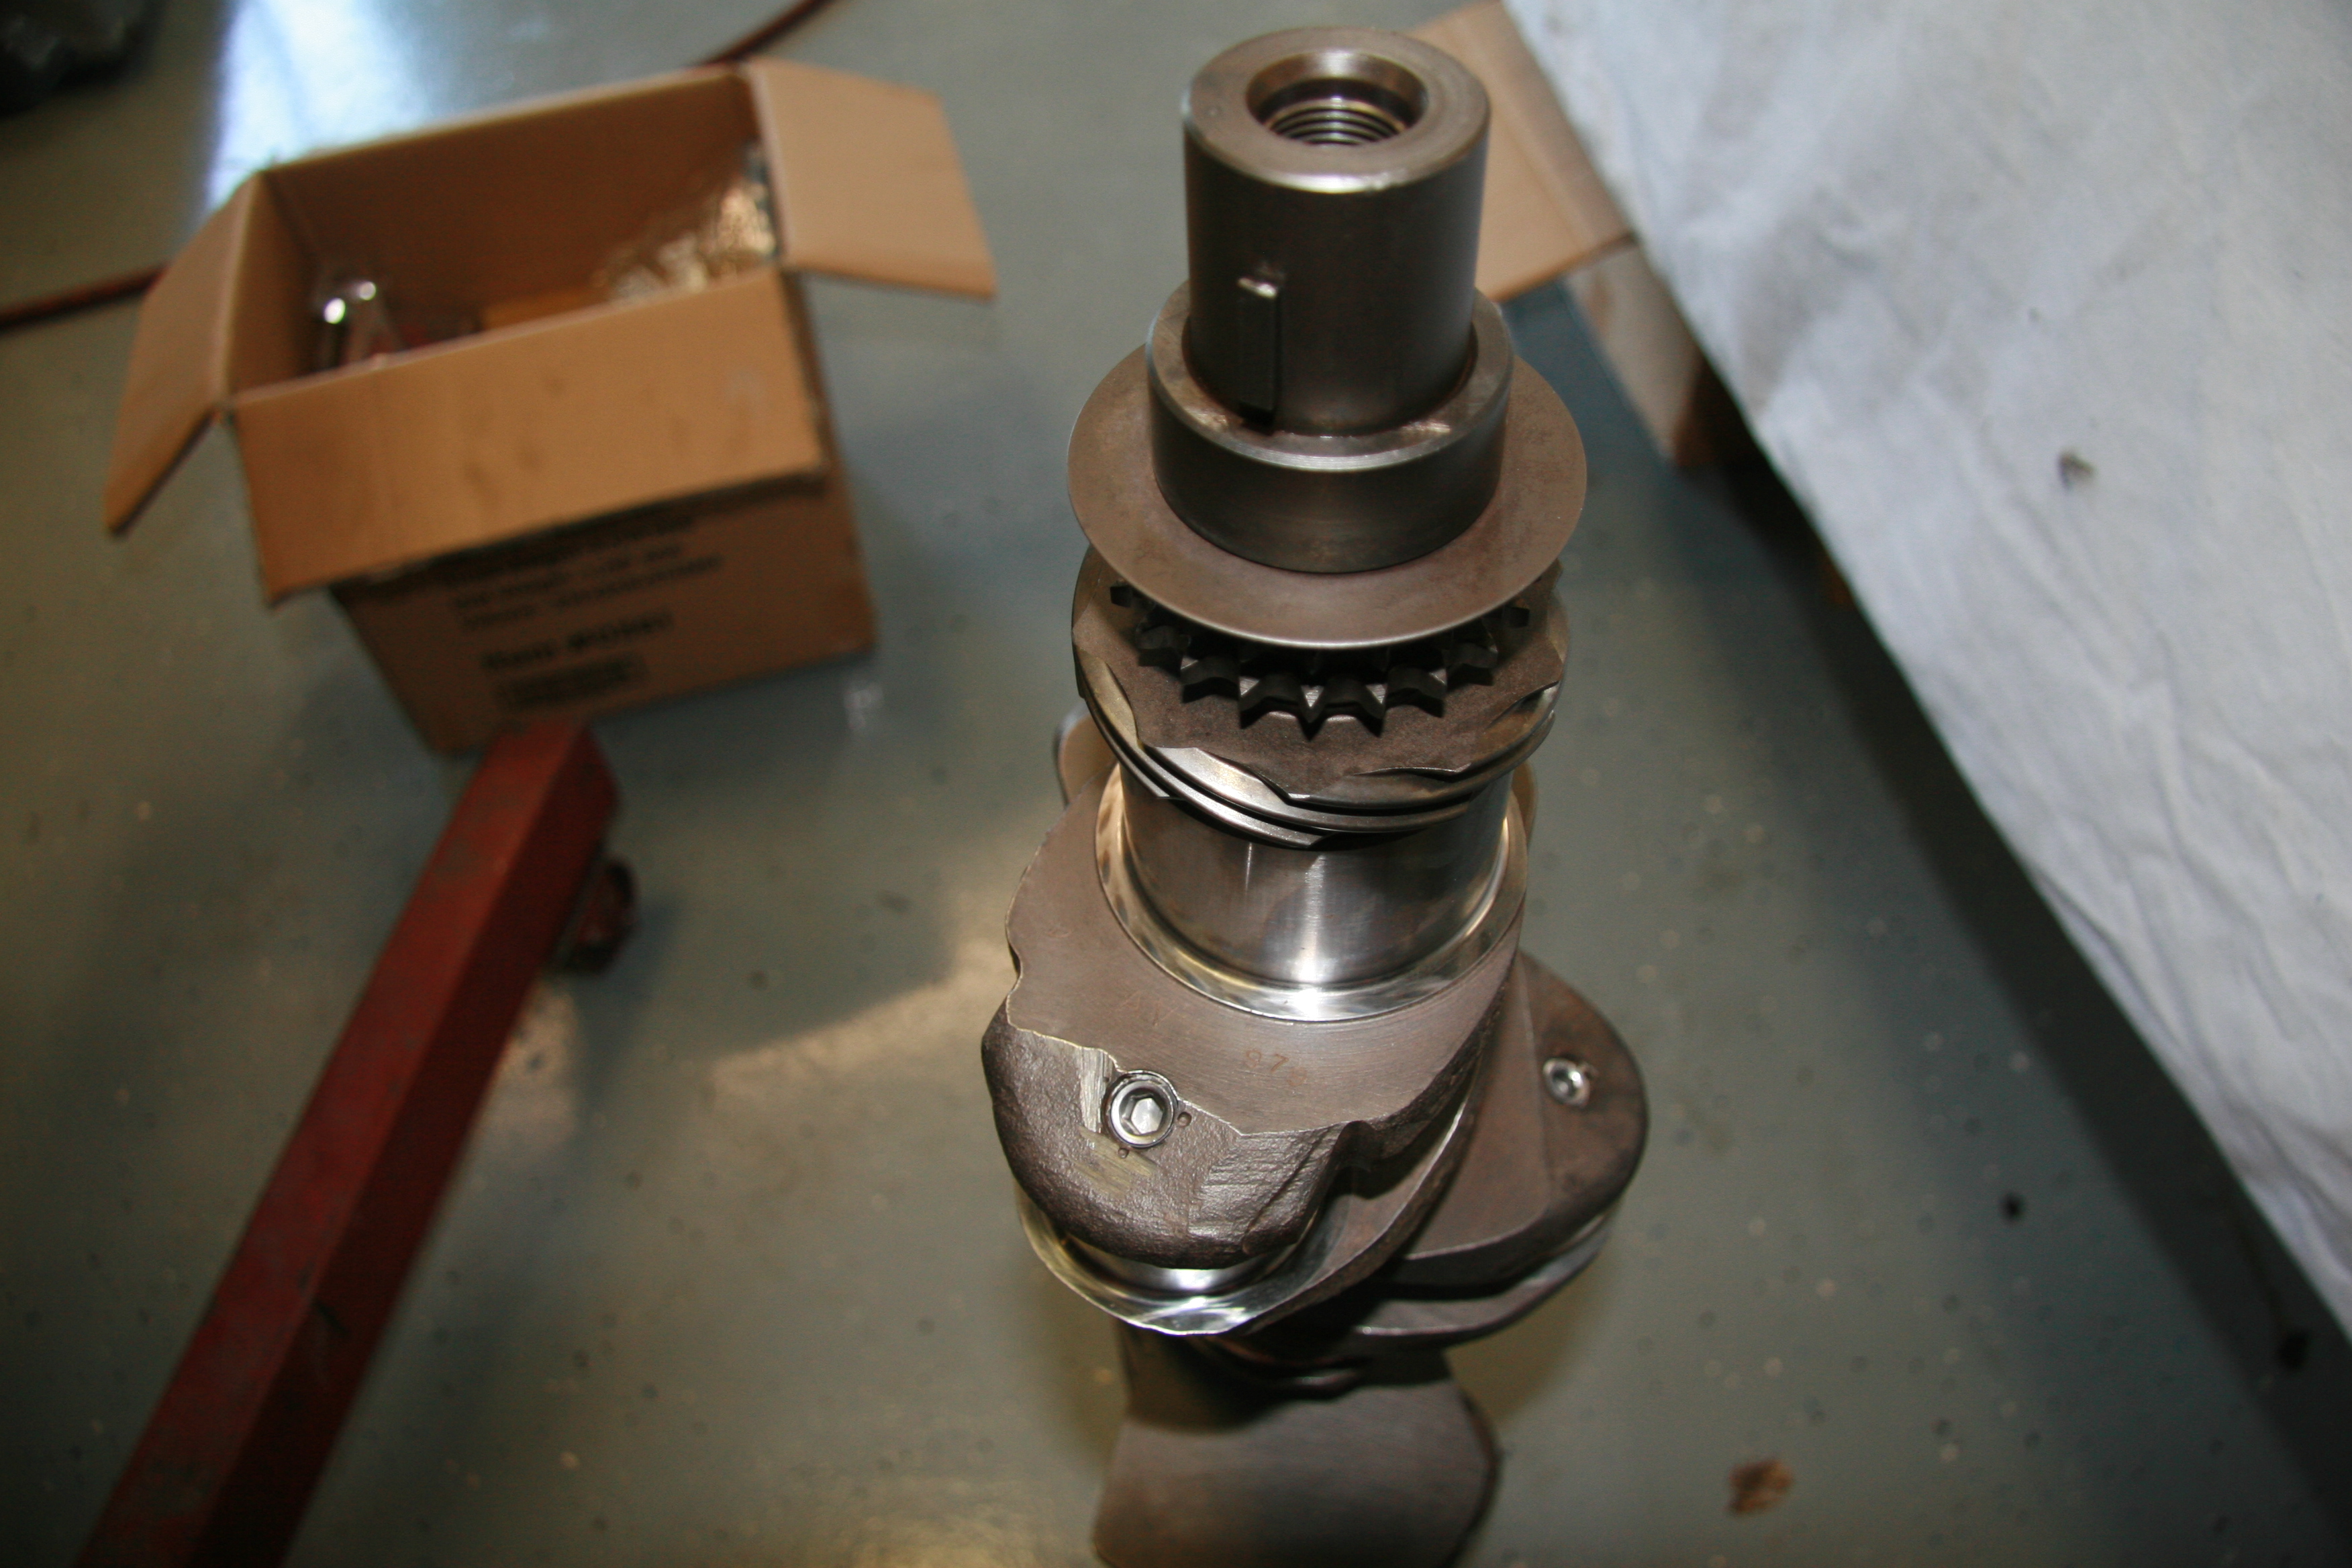
Crankshaft
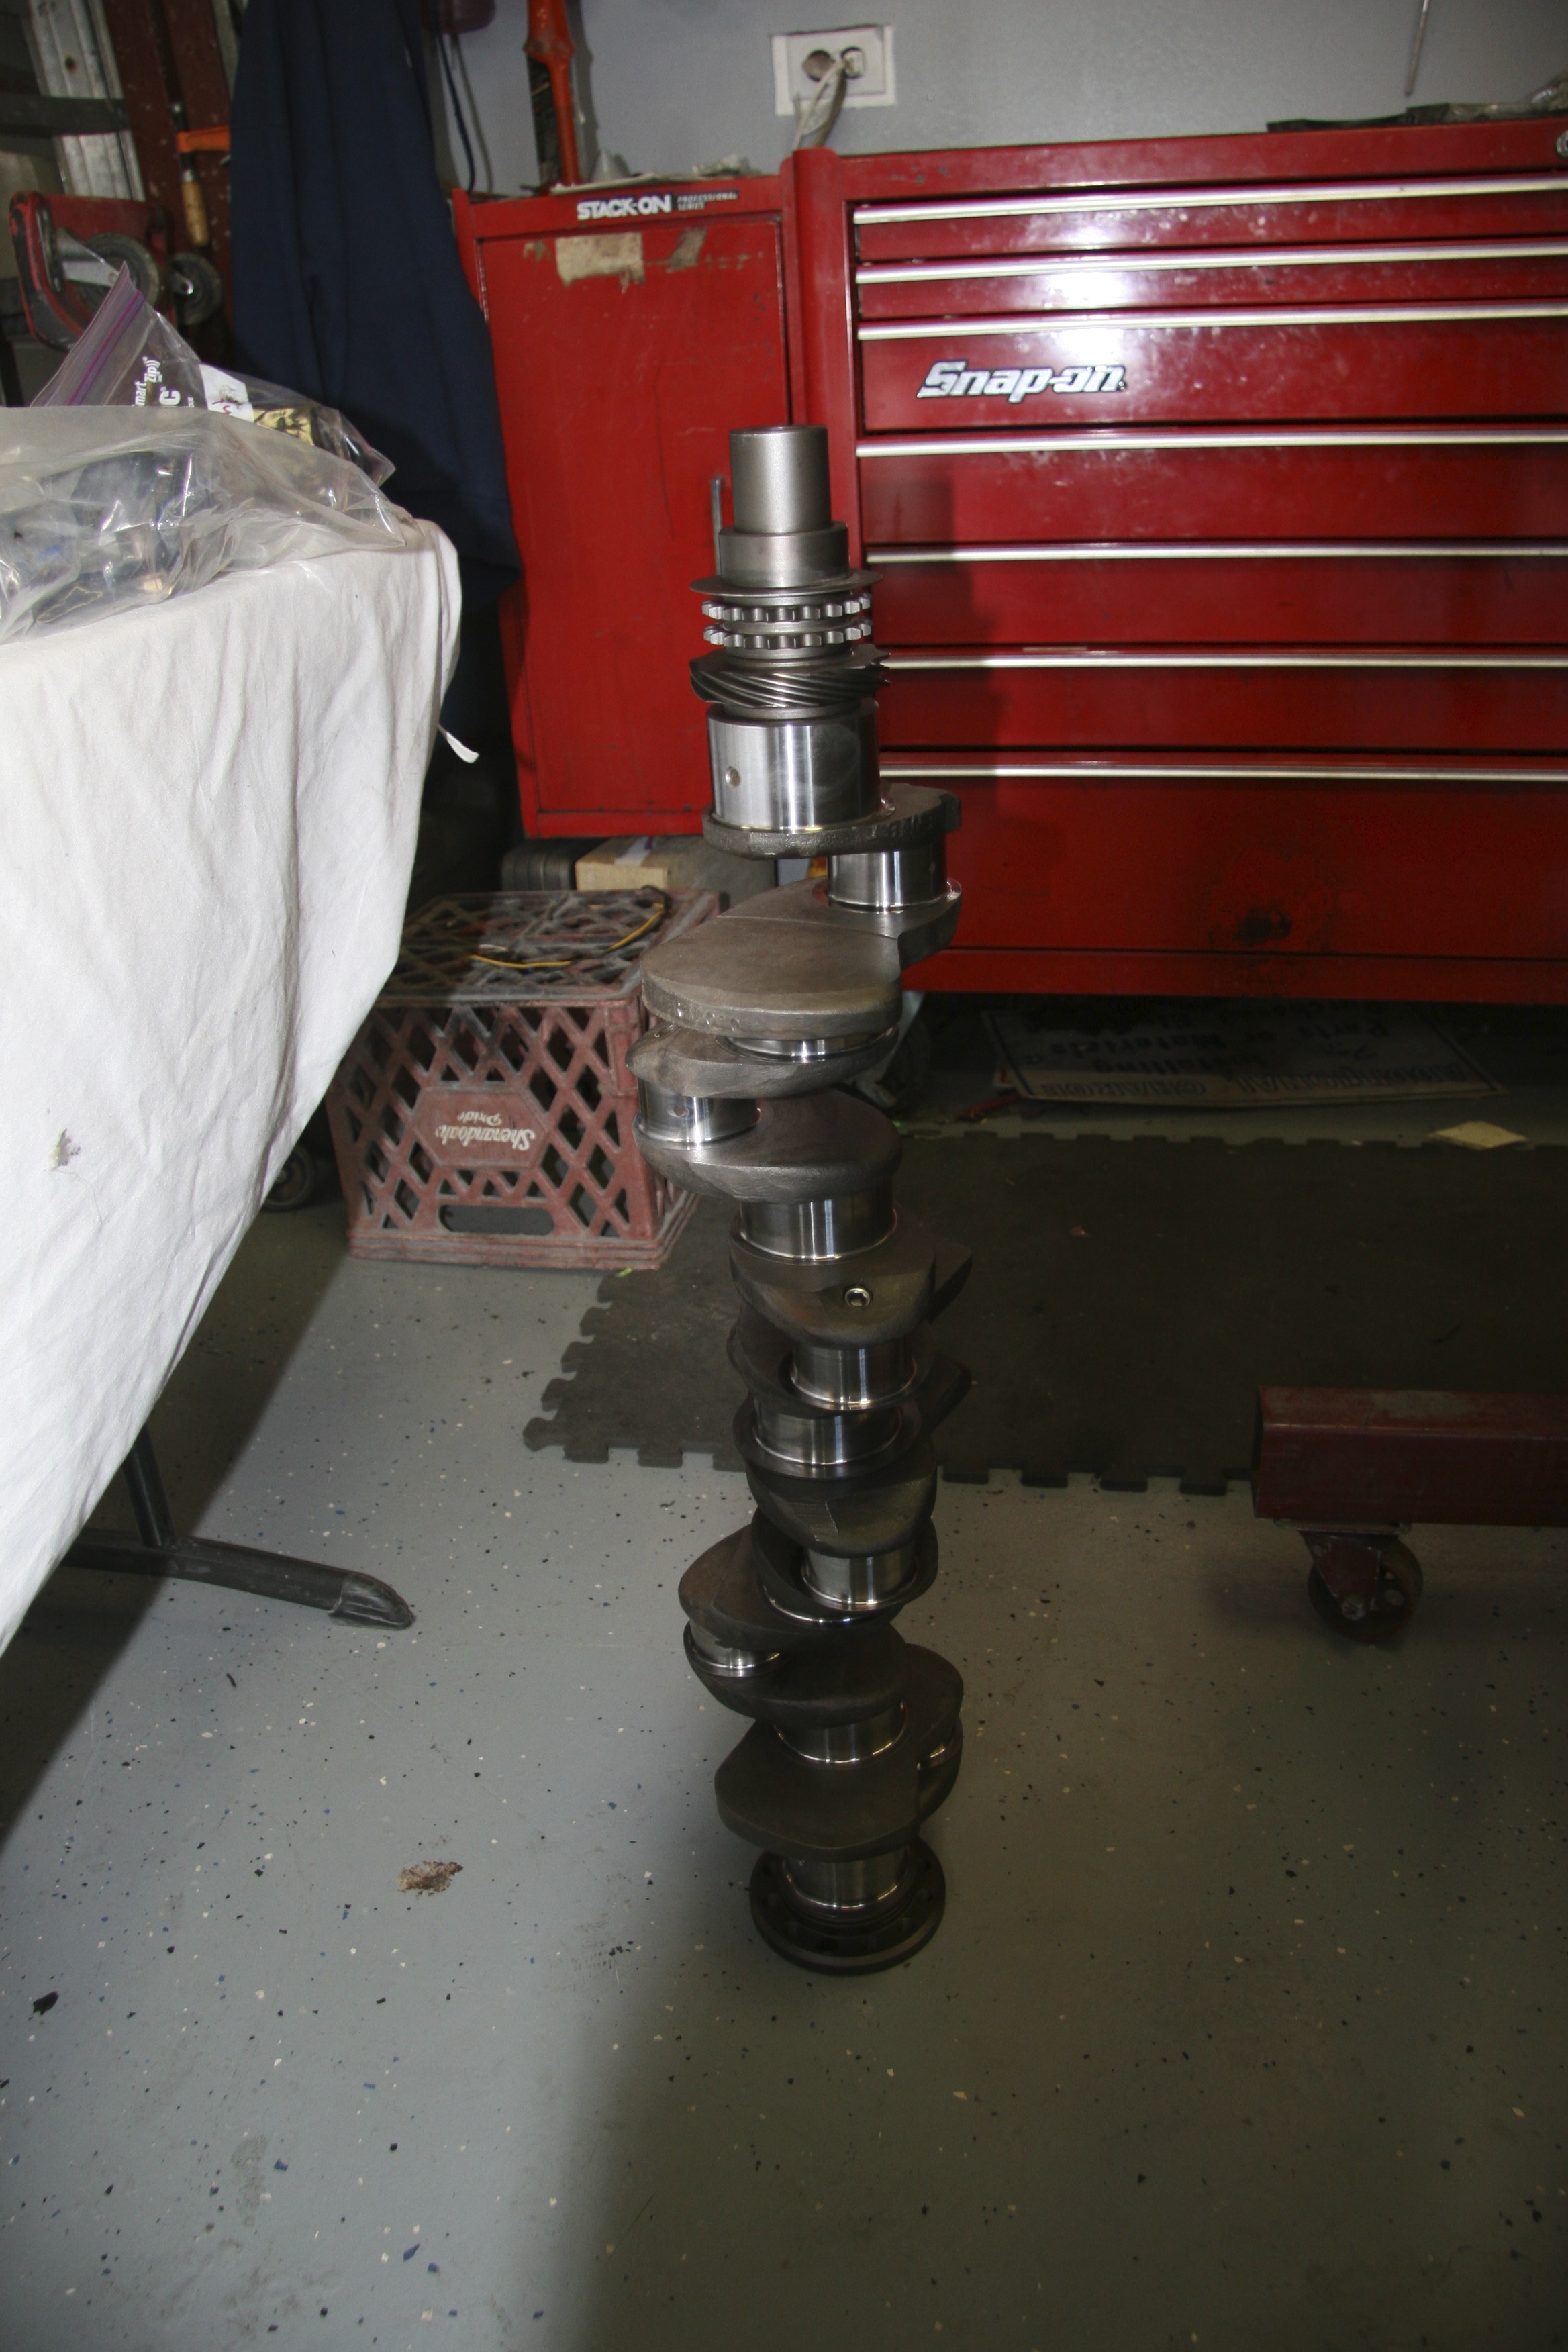
Crankshaft

New Main Bearings
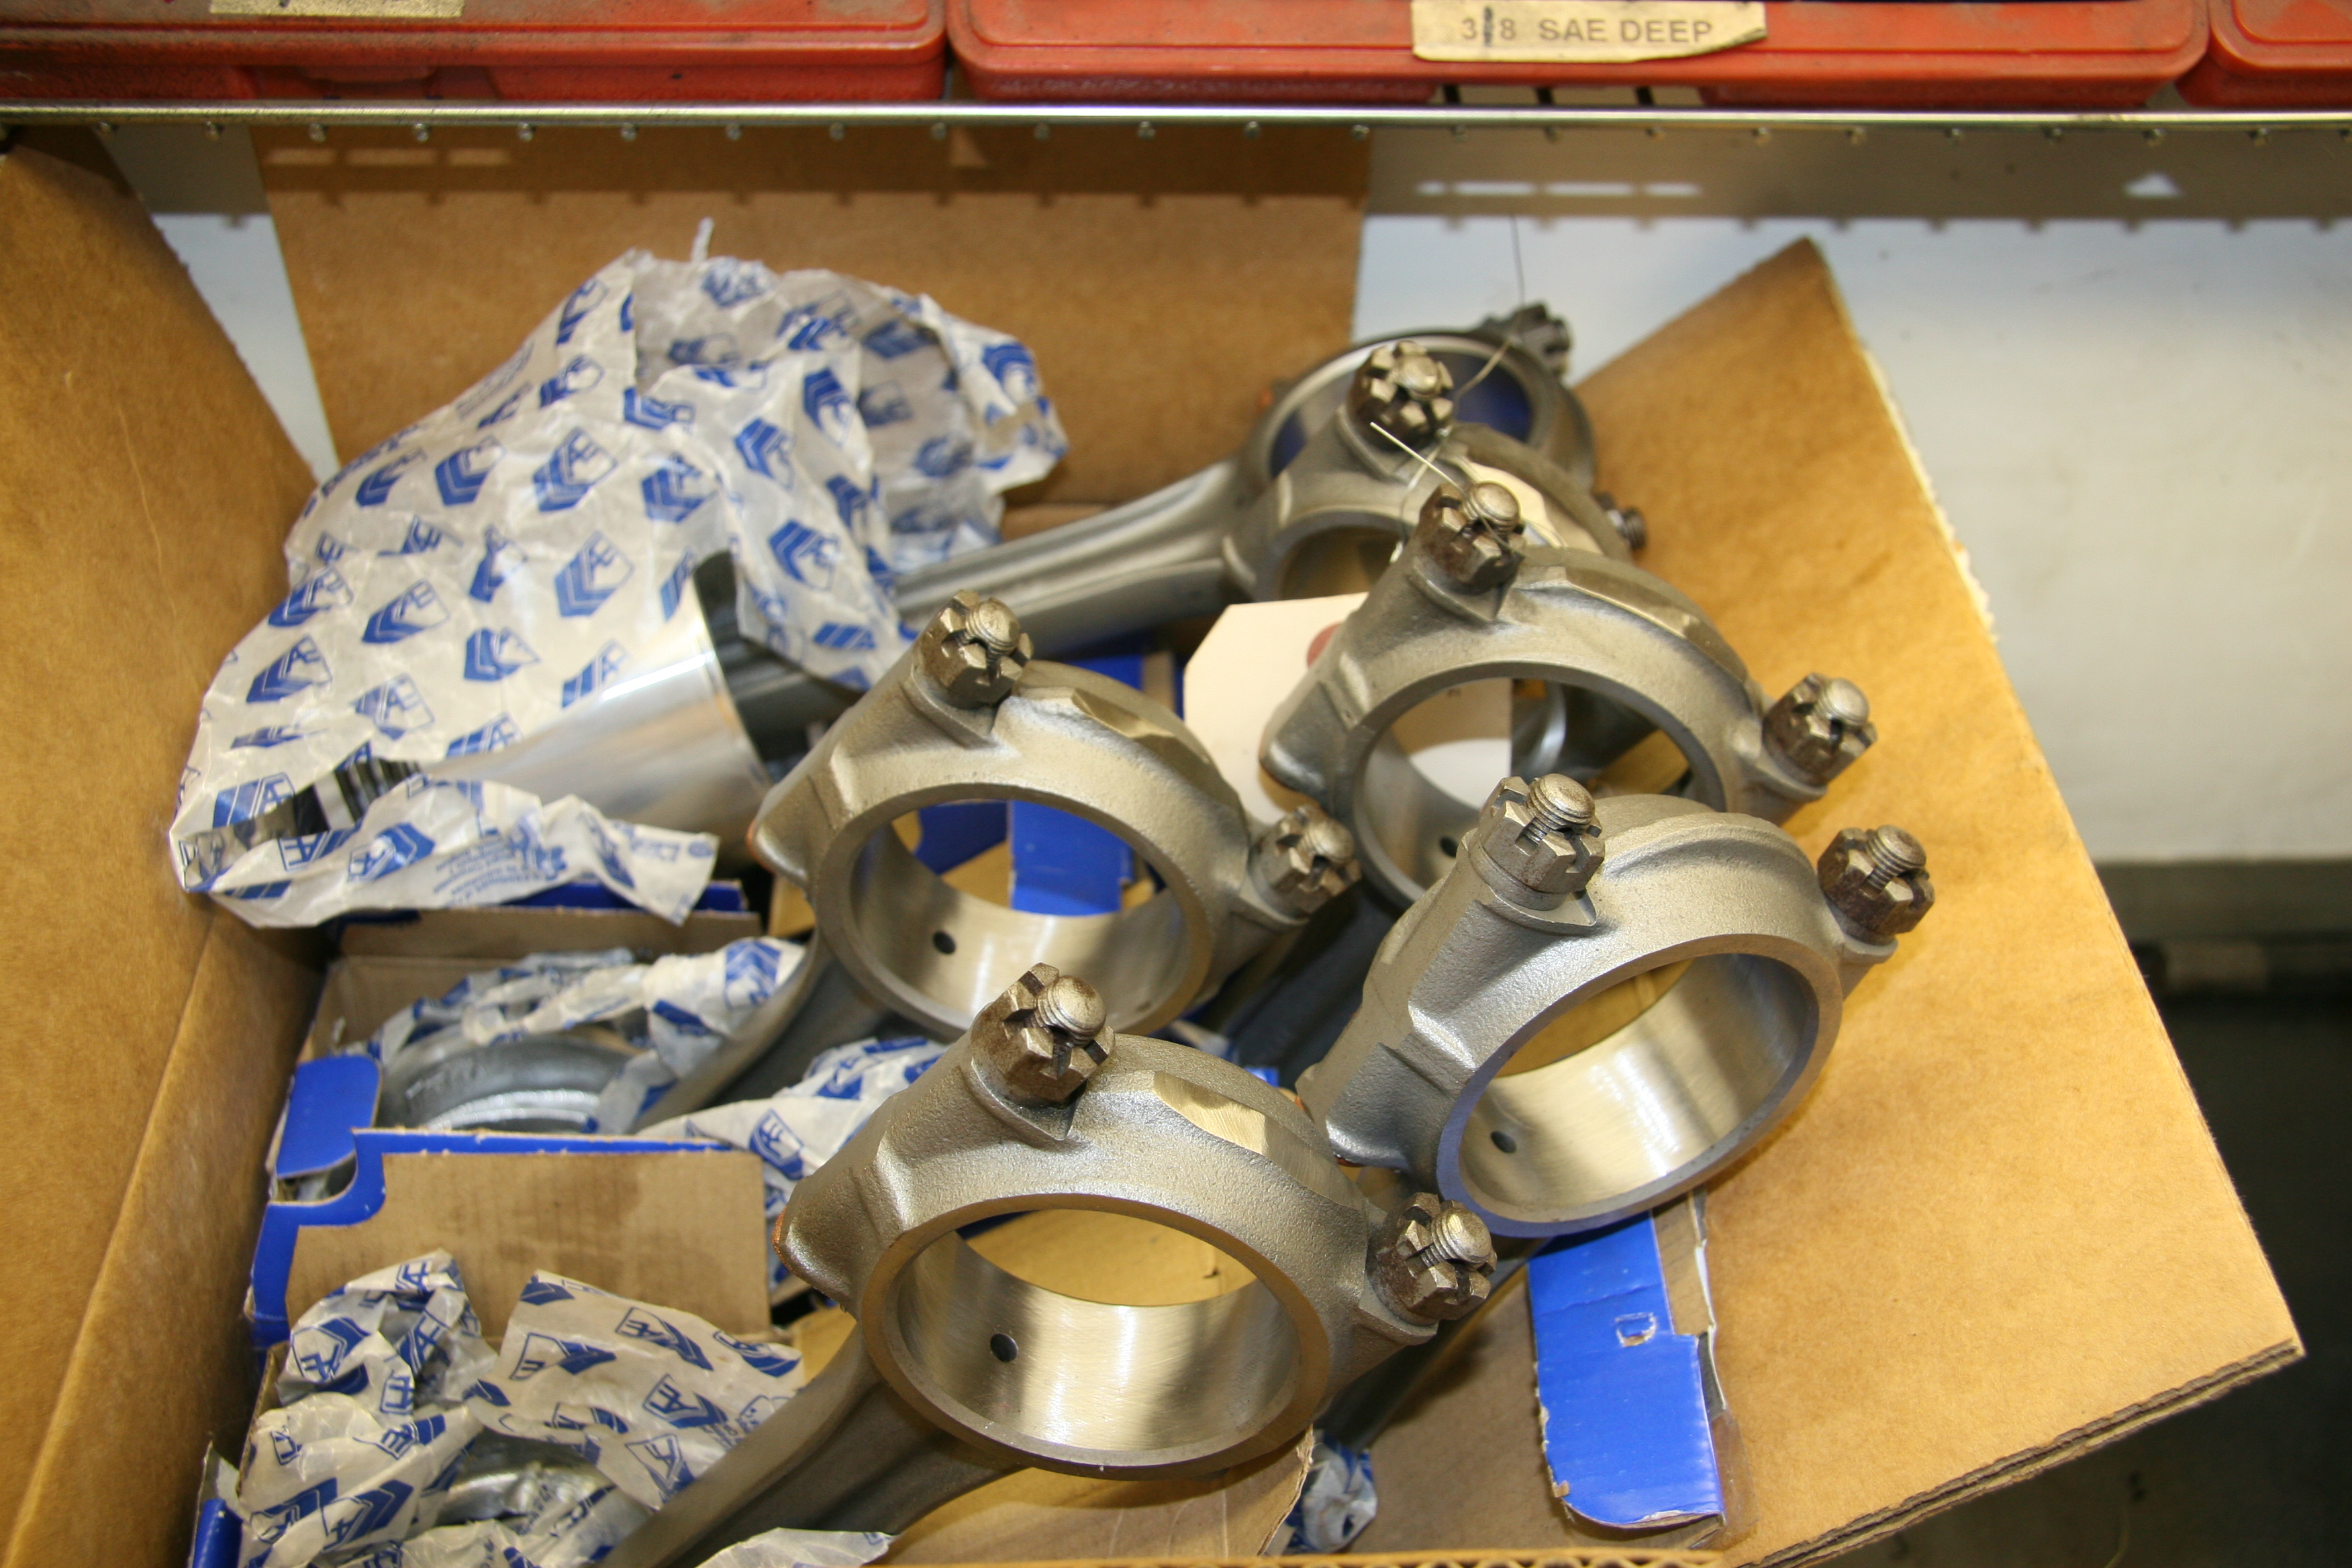
Connecting Rods

Timing Gear Chain
Pistons & Timing Gear

RetroAir Aluminum Pulleys
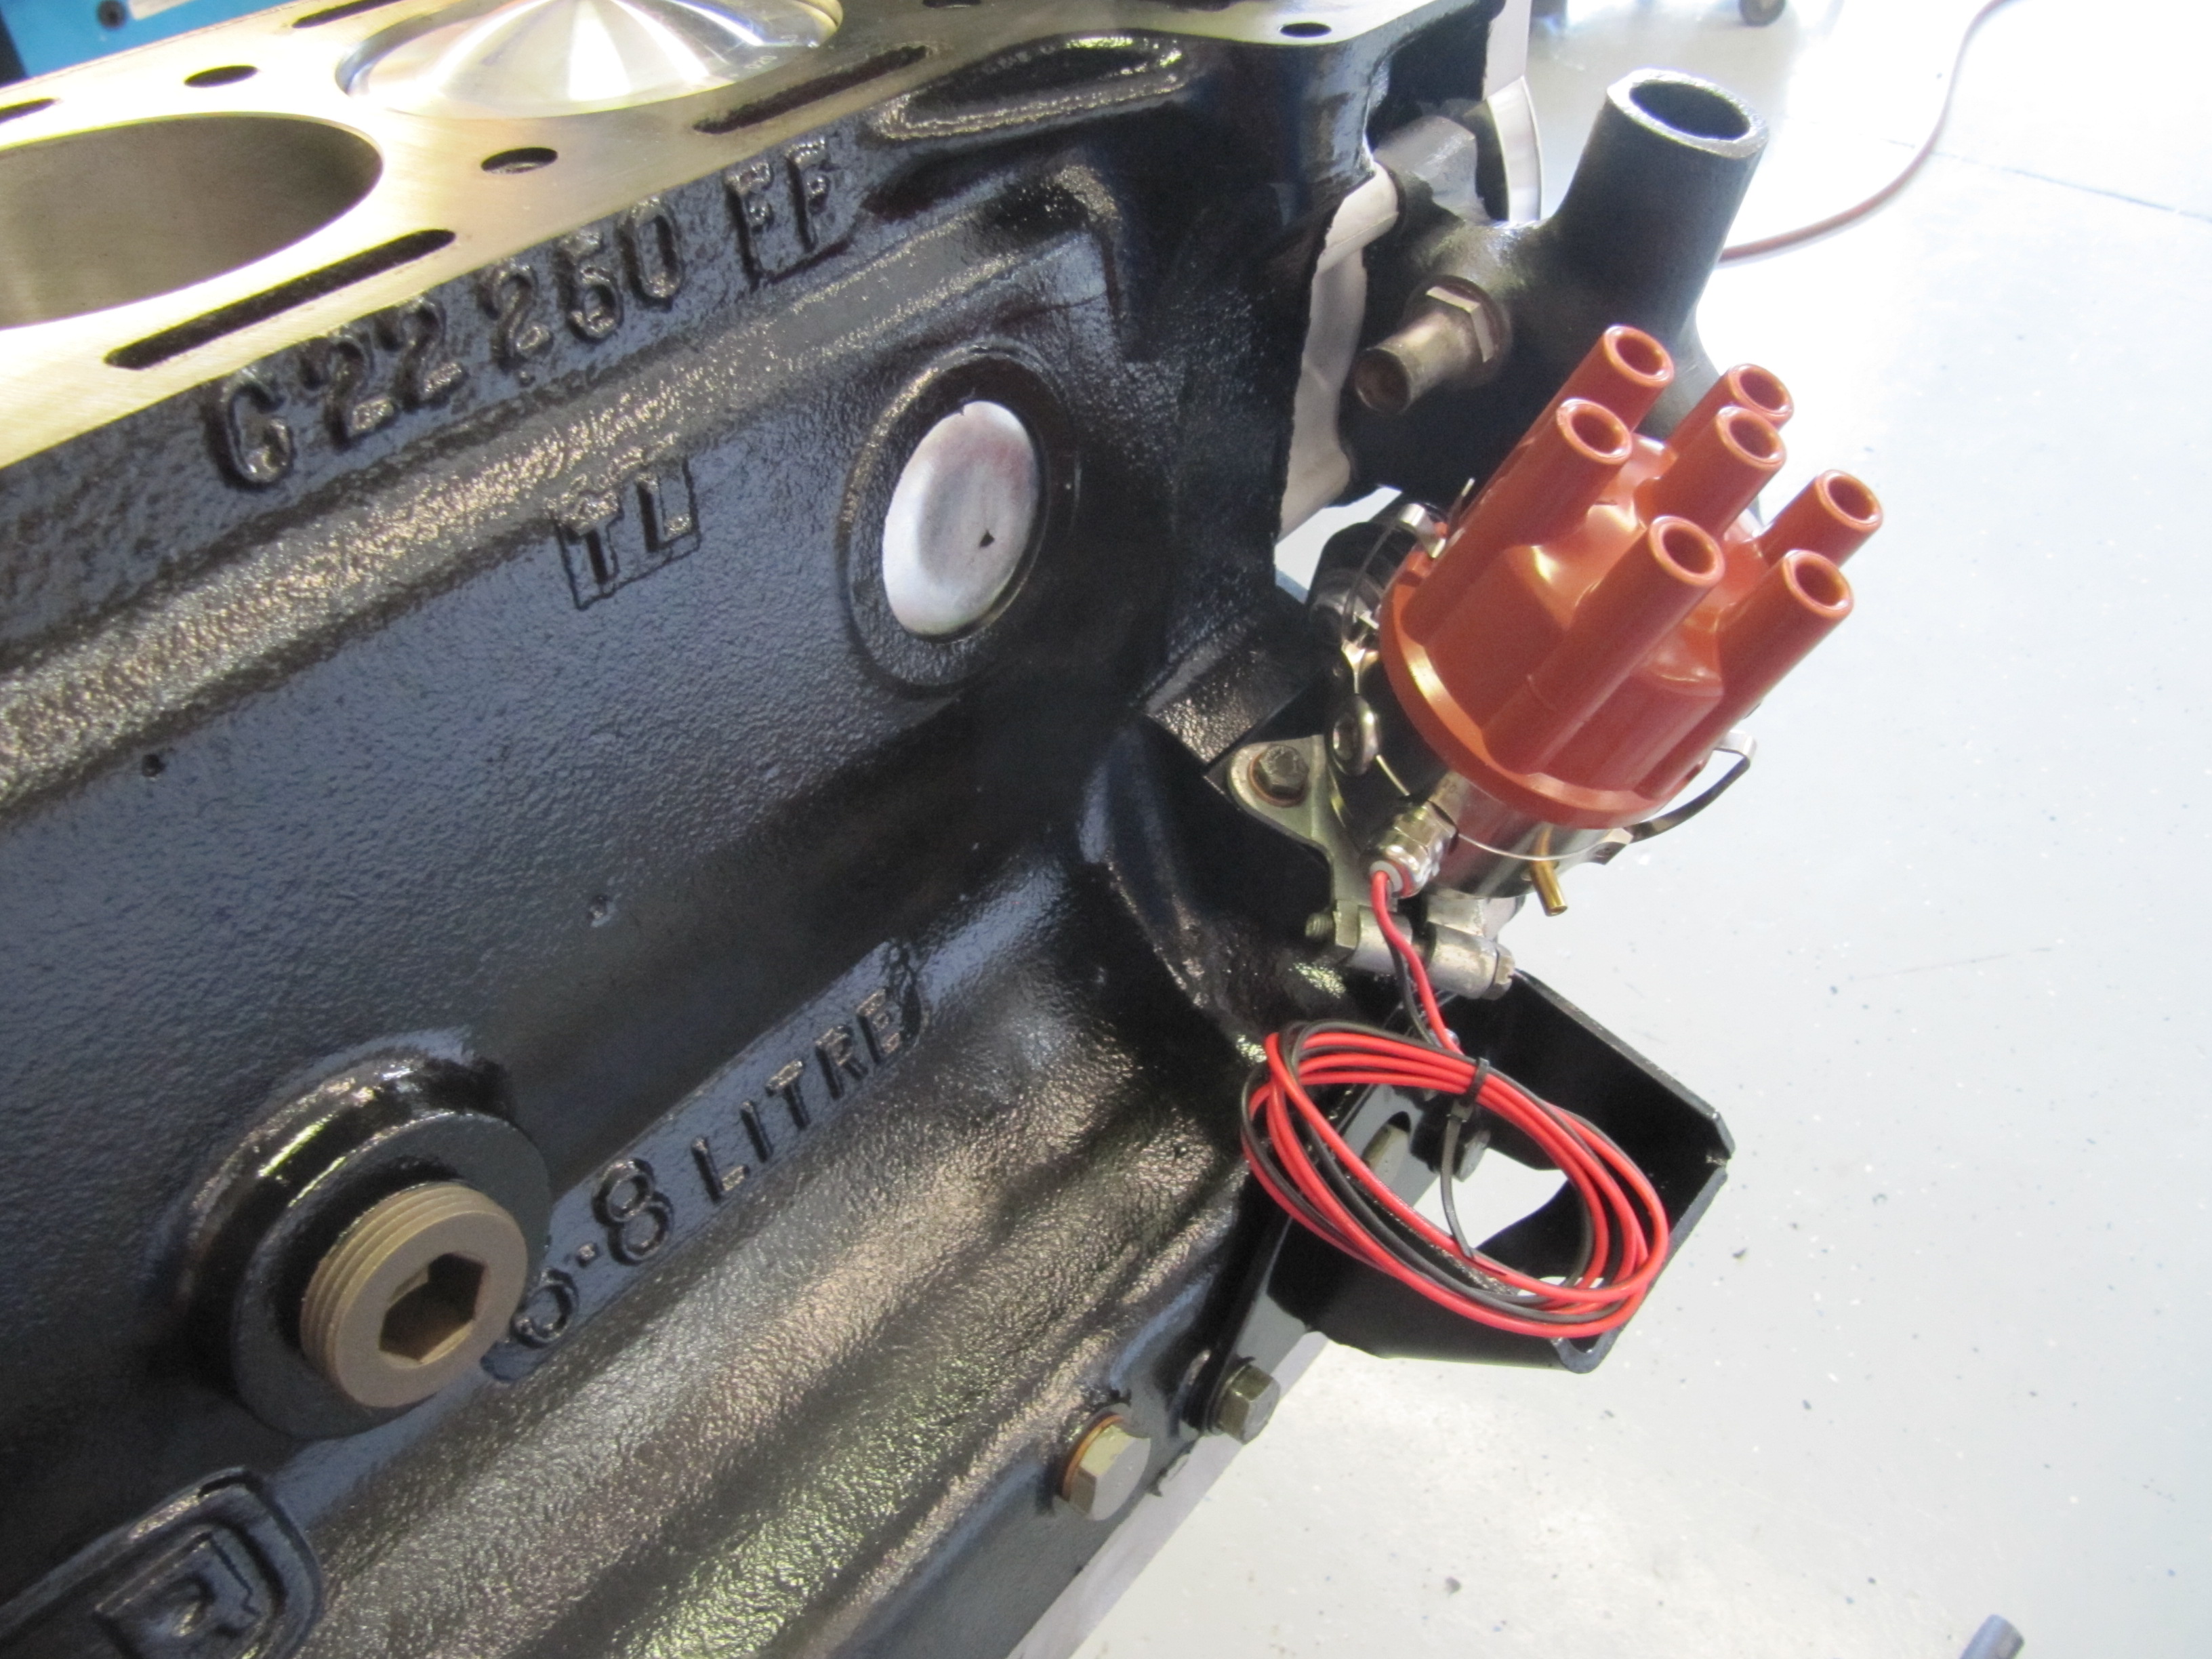
123 Distributor
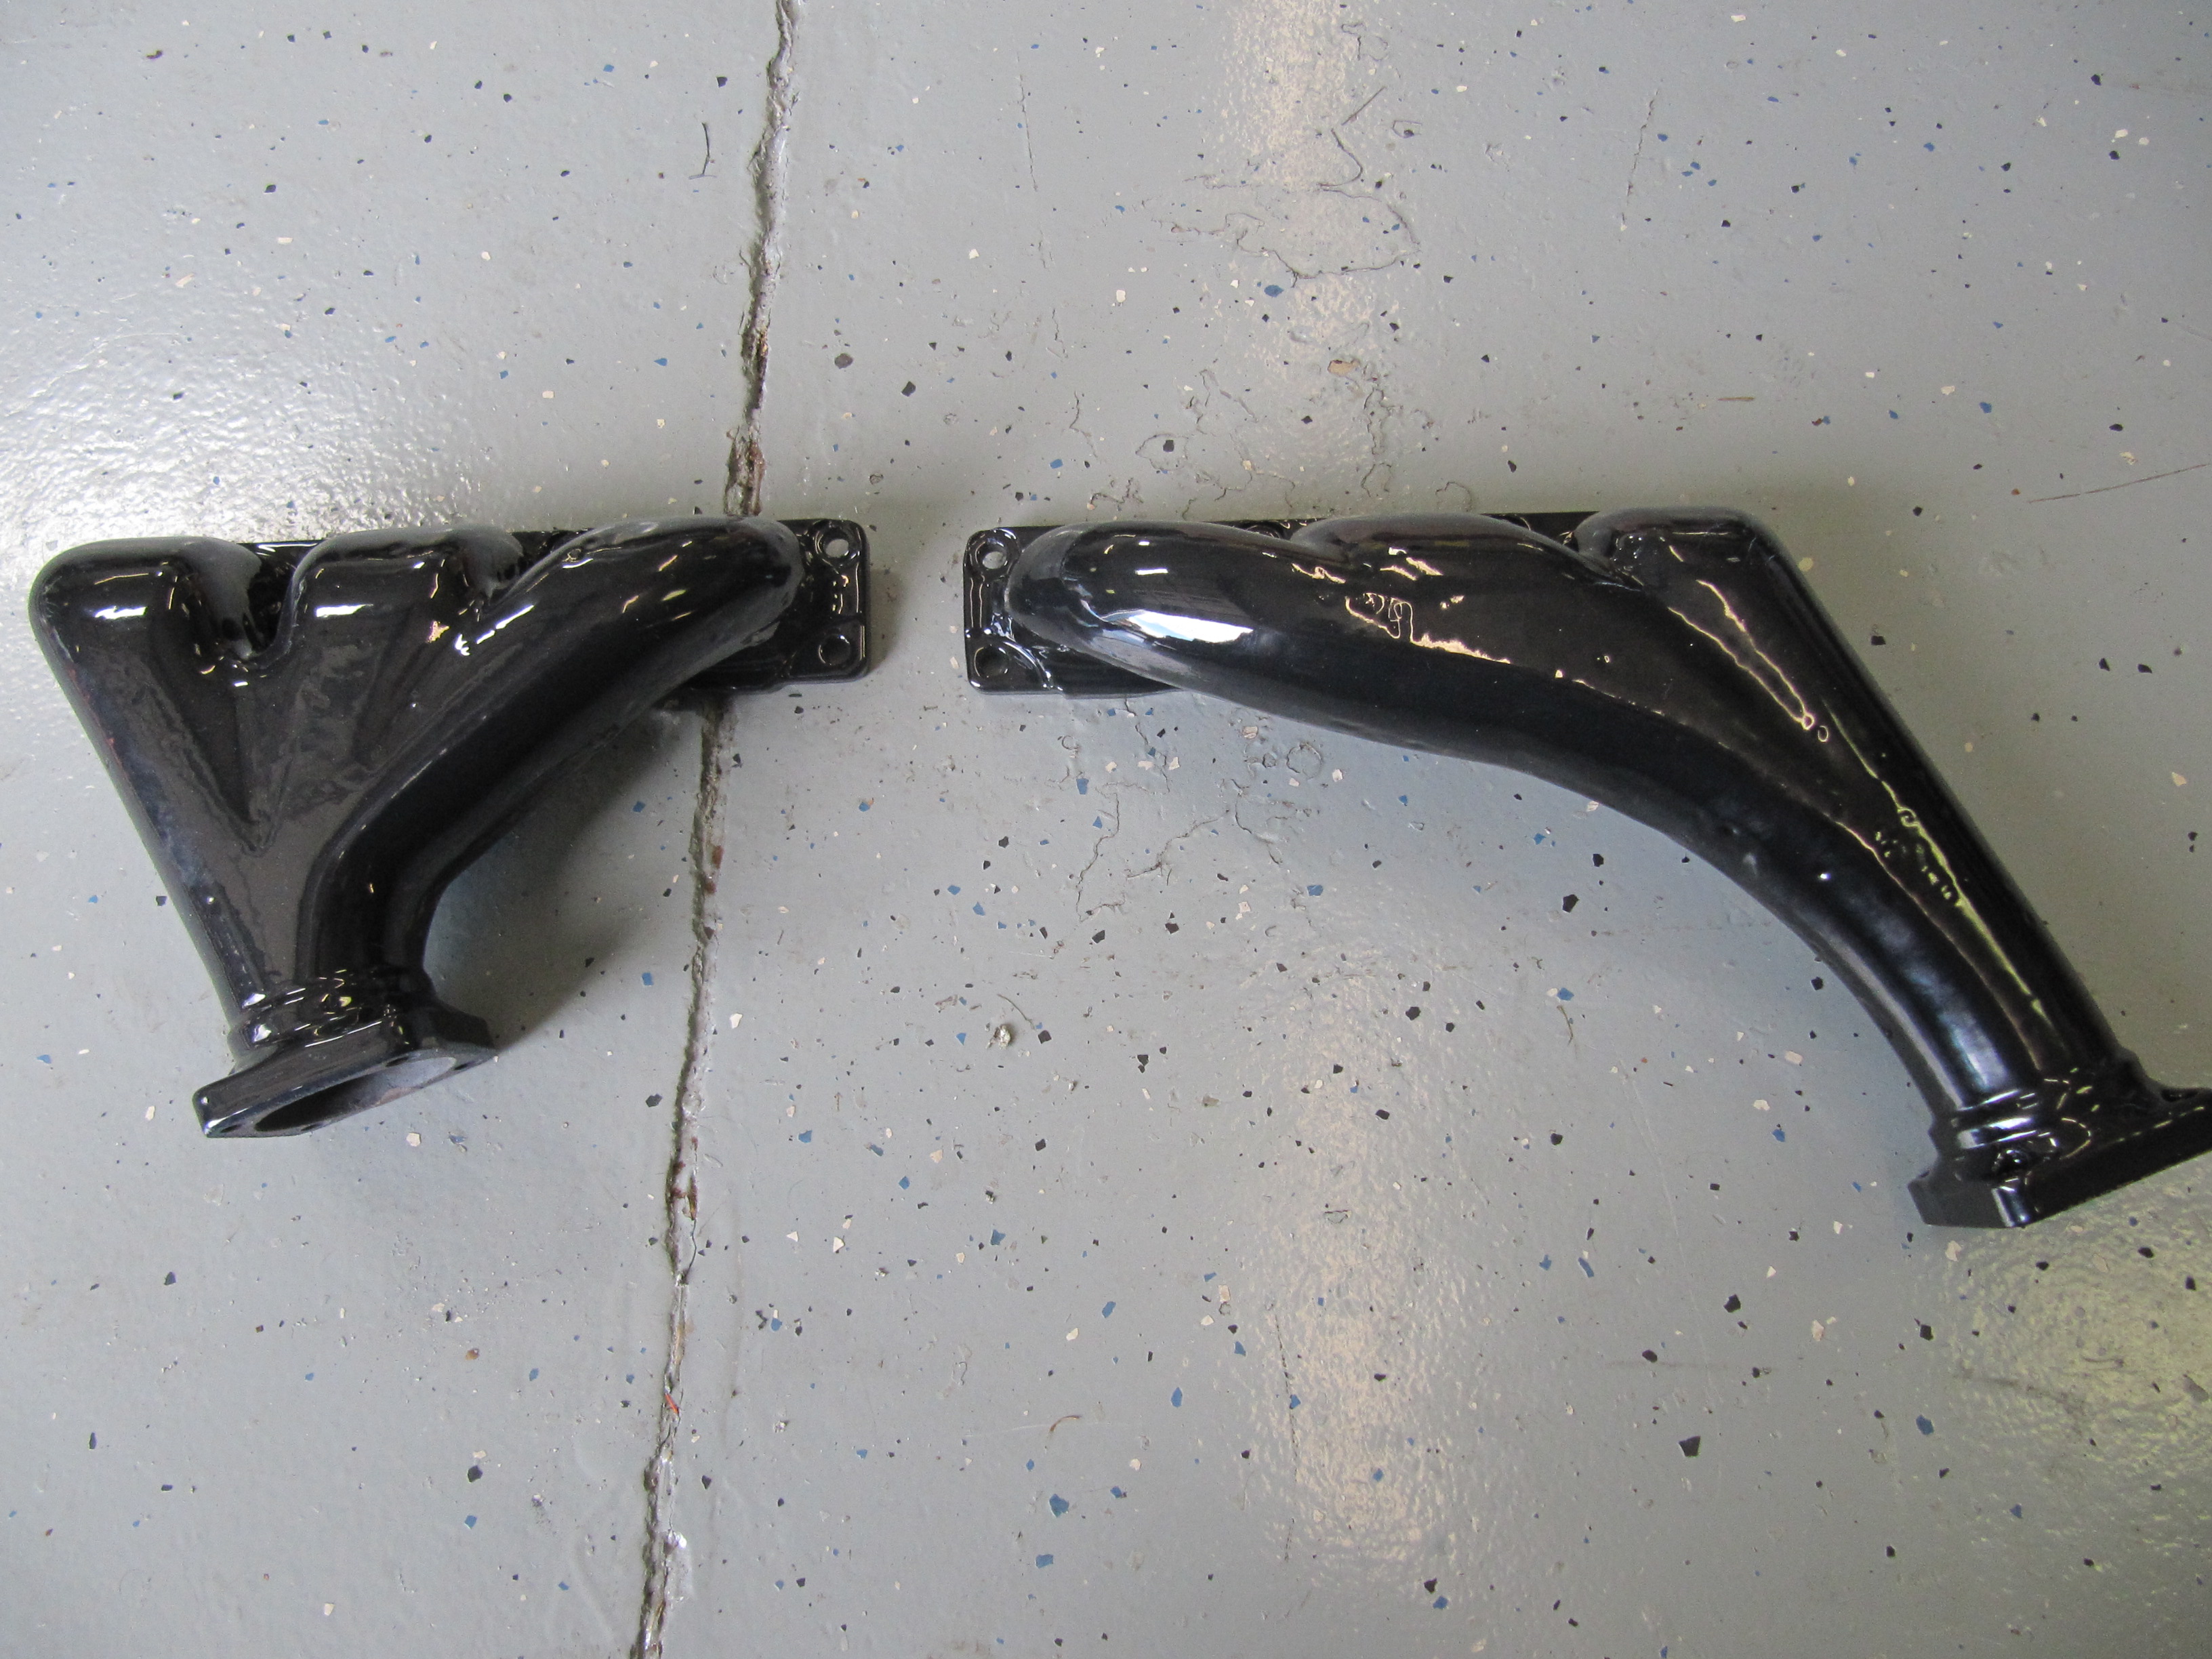
New Porcelain Exhaust
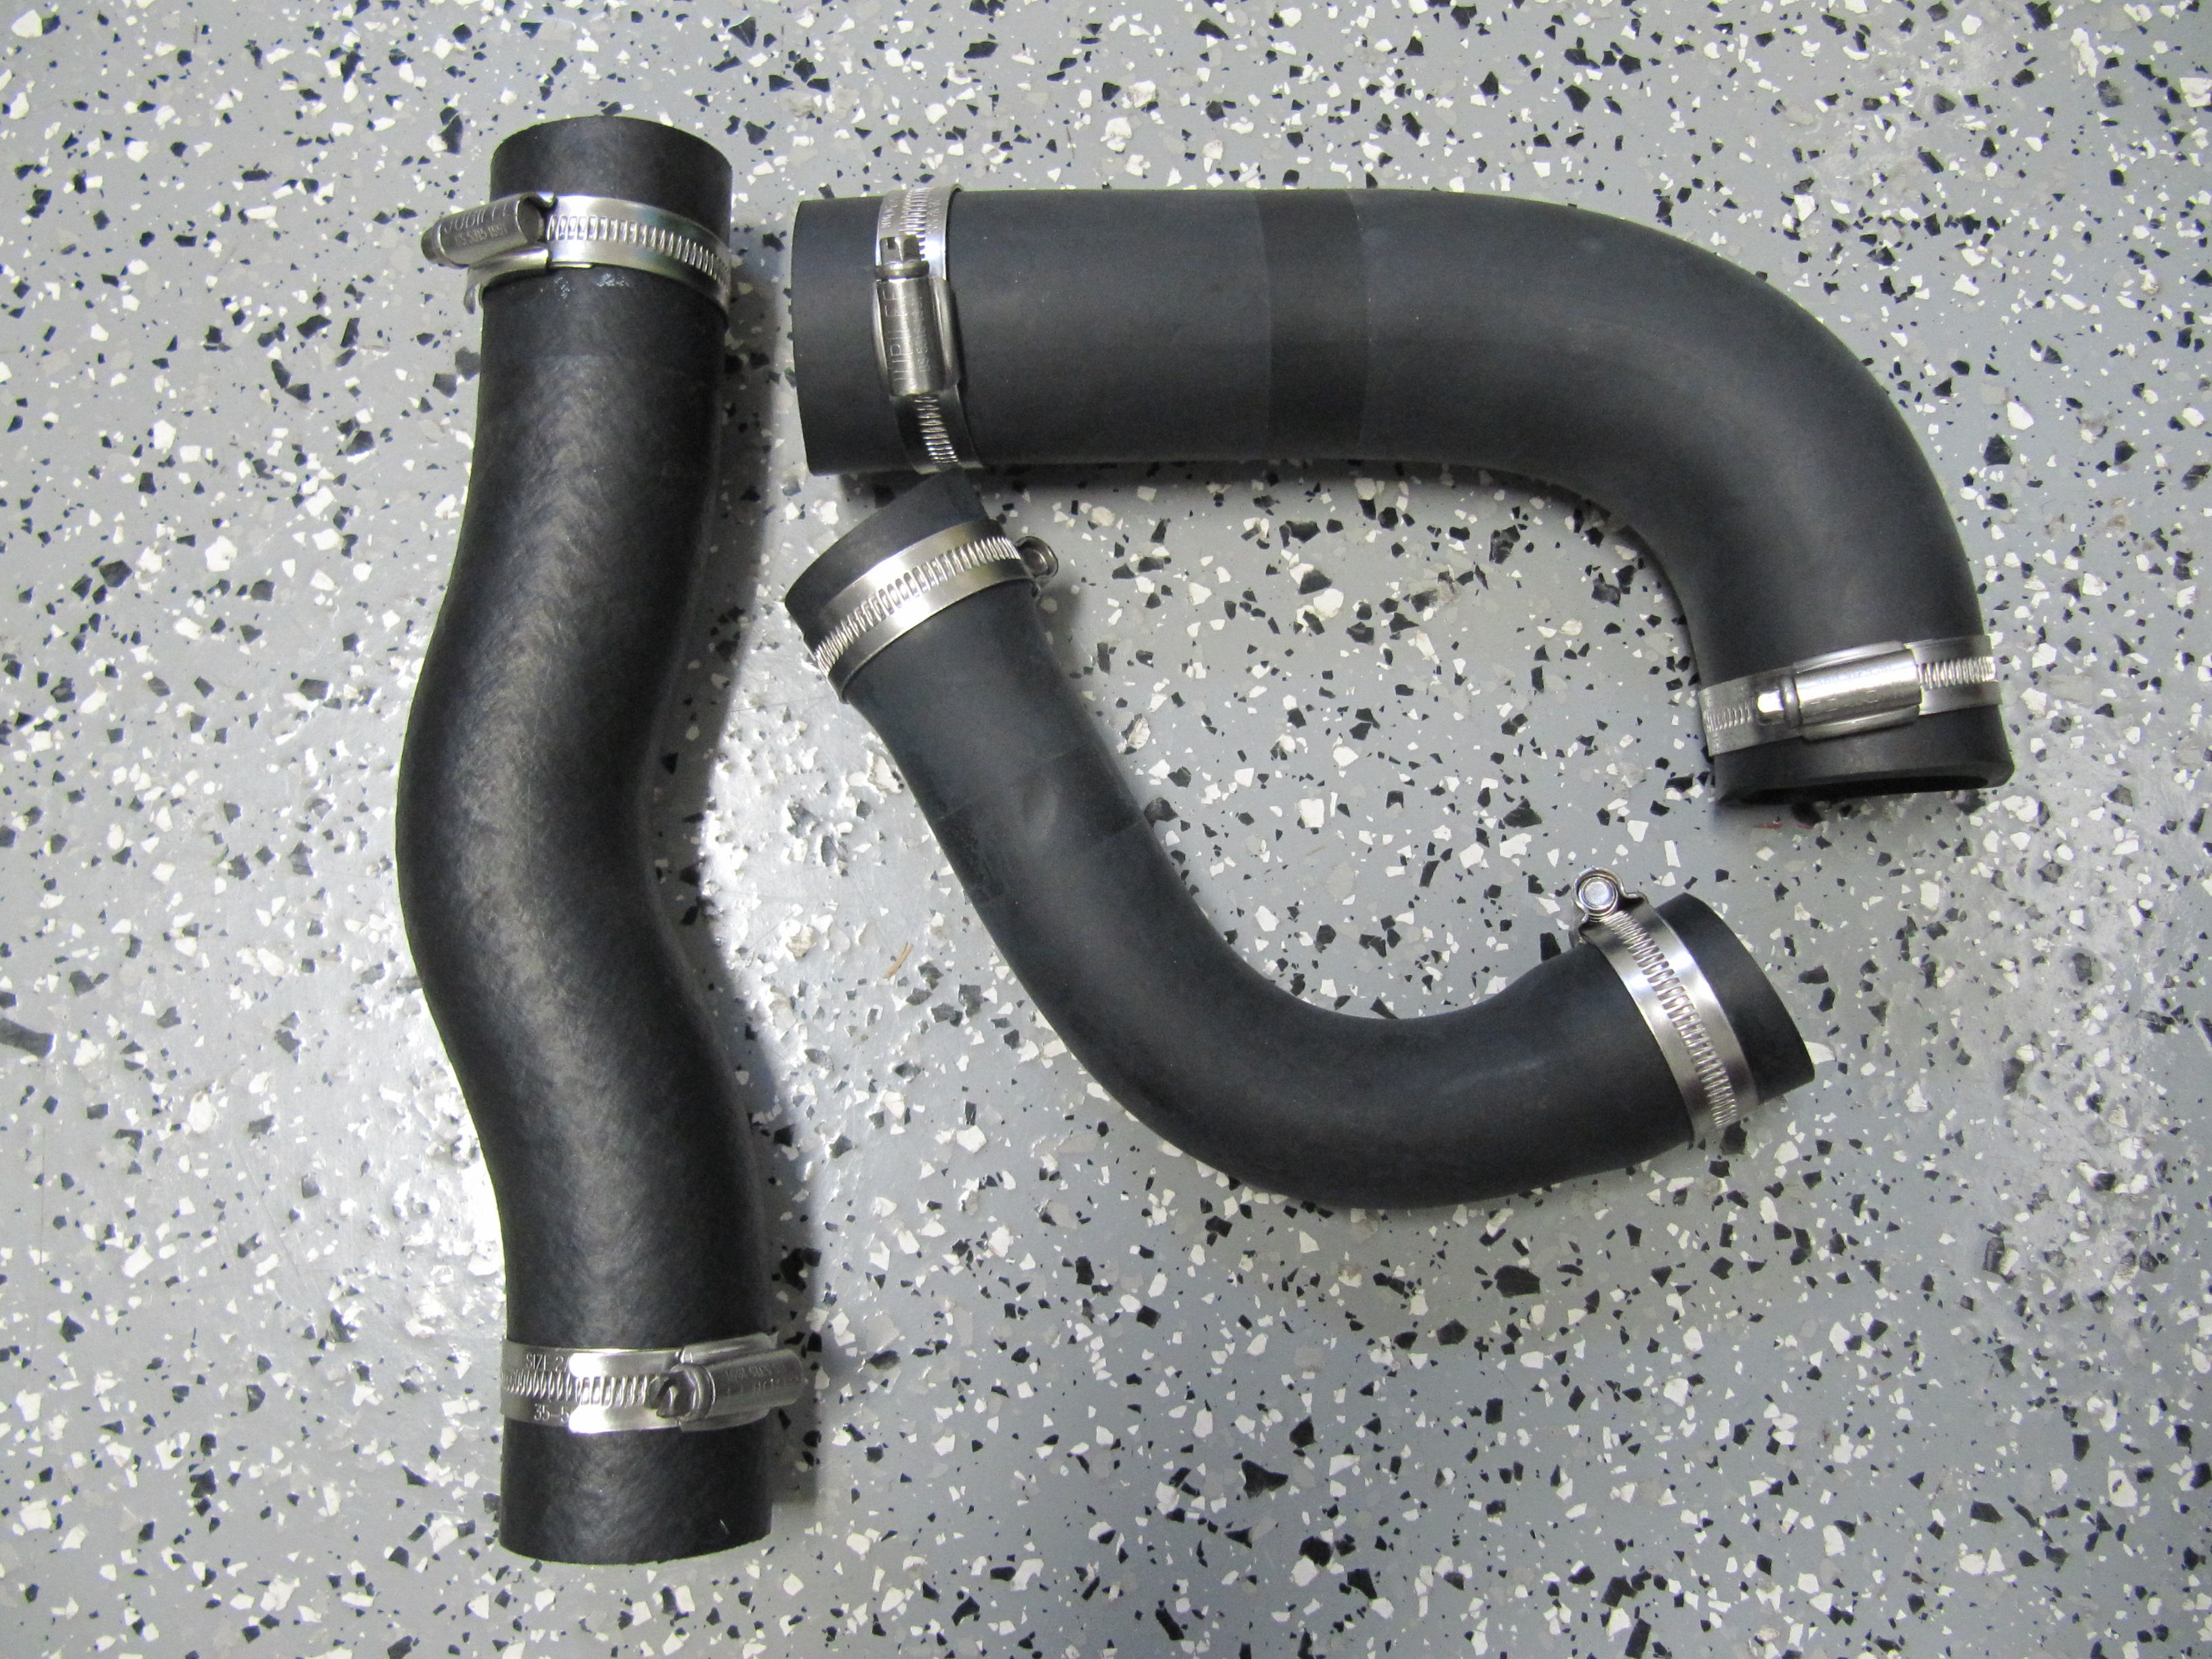
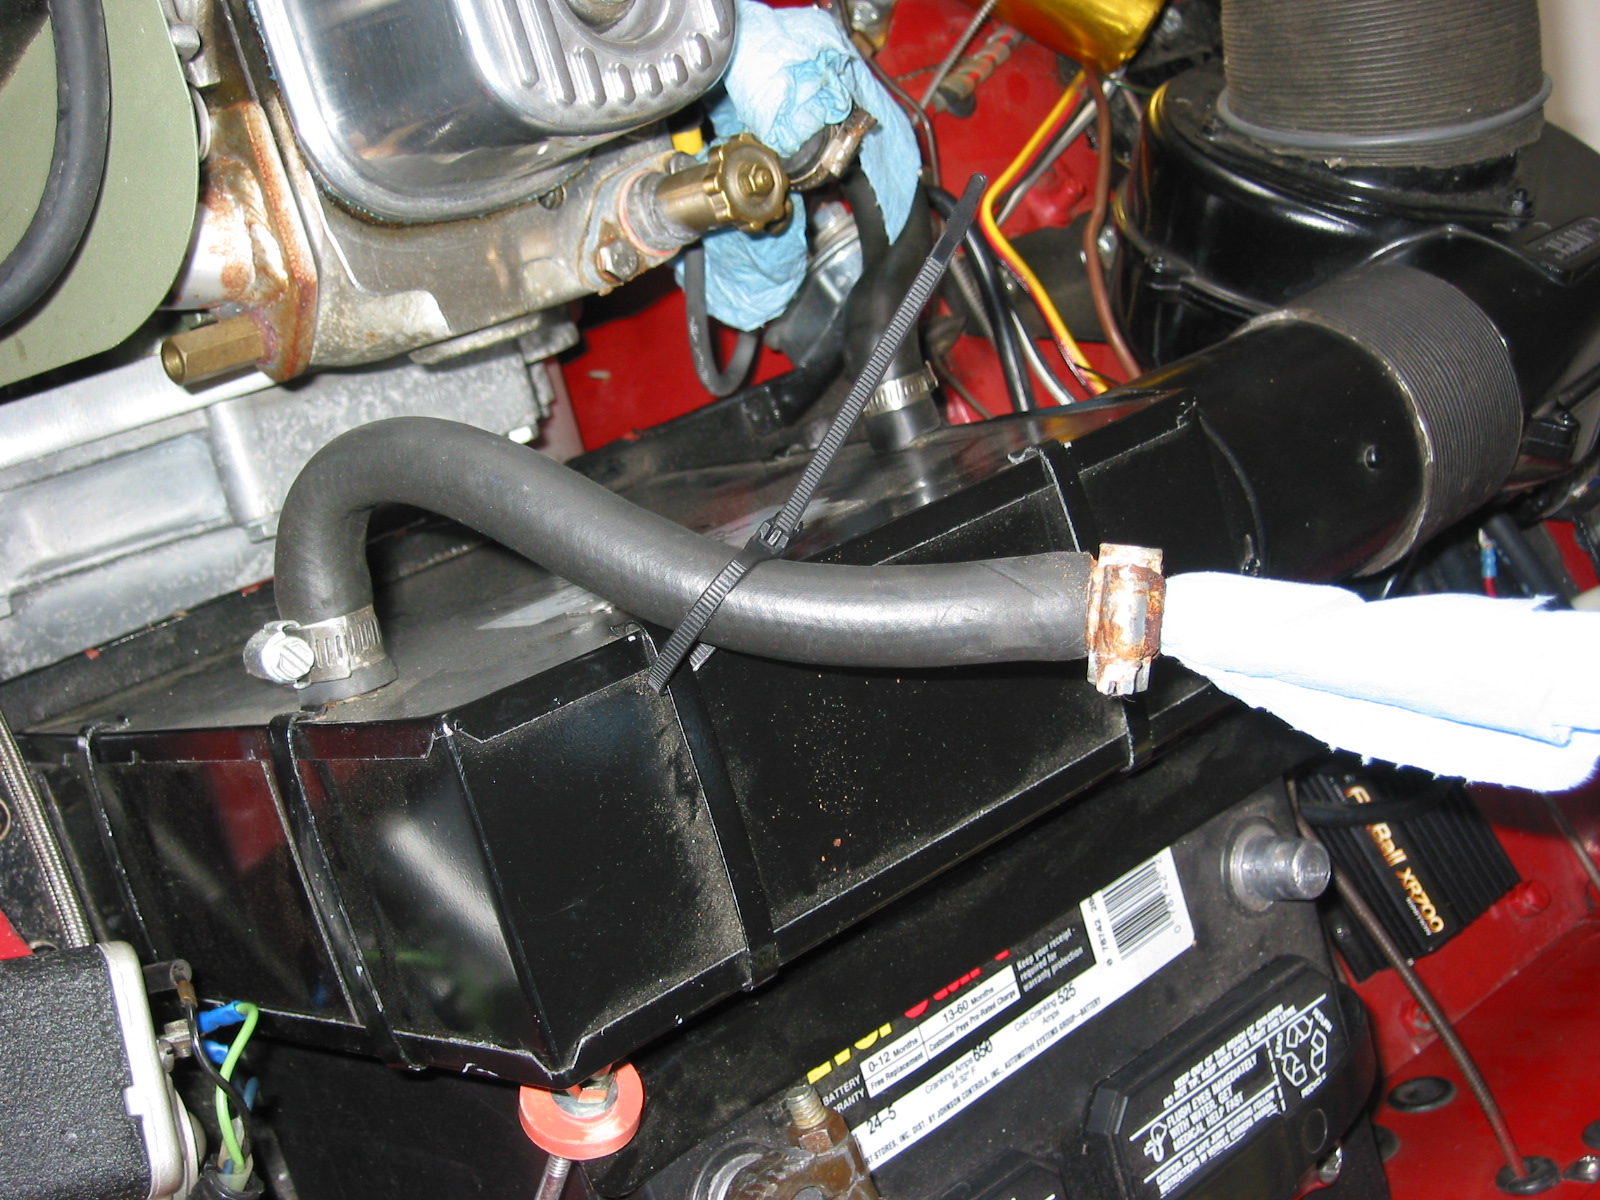
Primary Coolant Hoses
Engineering Art

Compressor & Shield

New Belt Routing
Distributor
Spin-on Filter

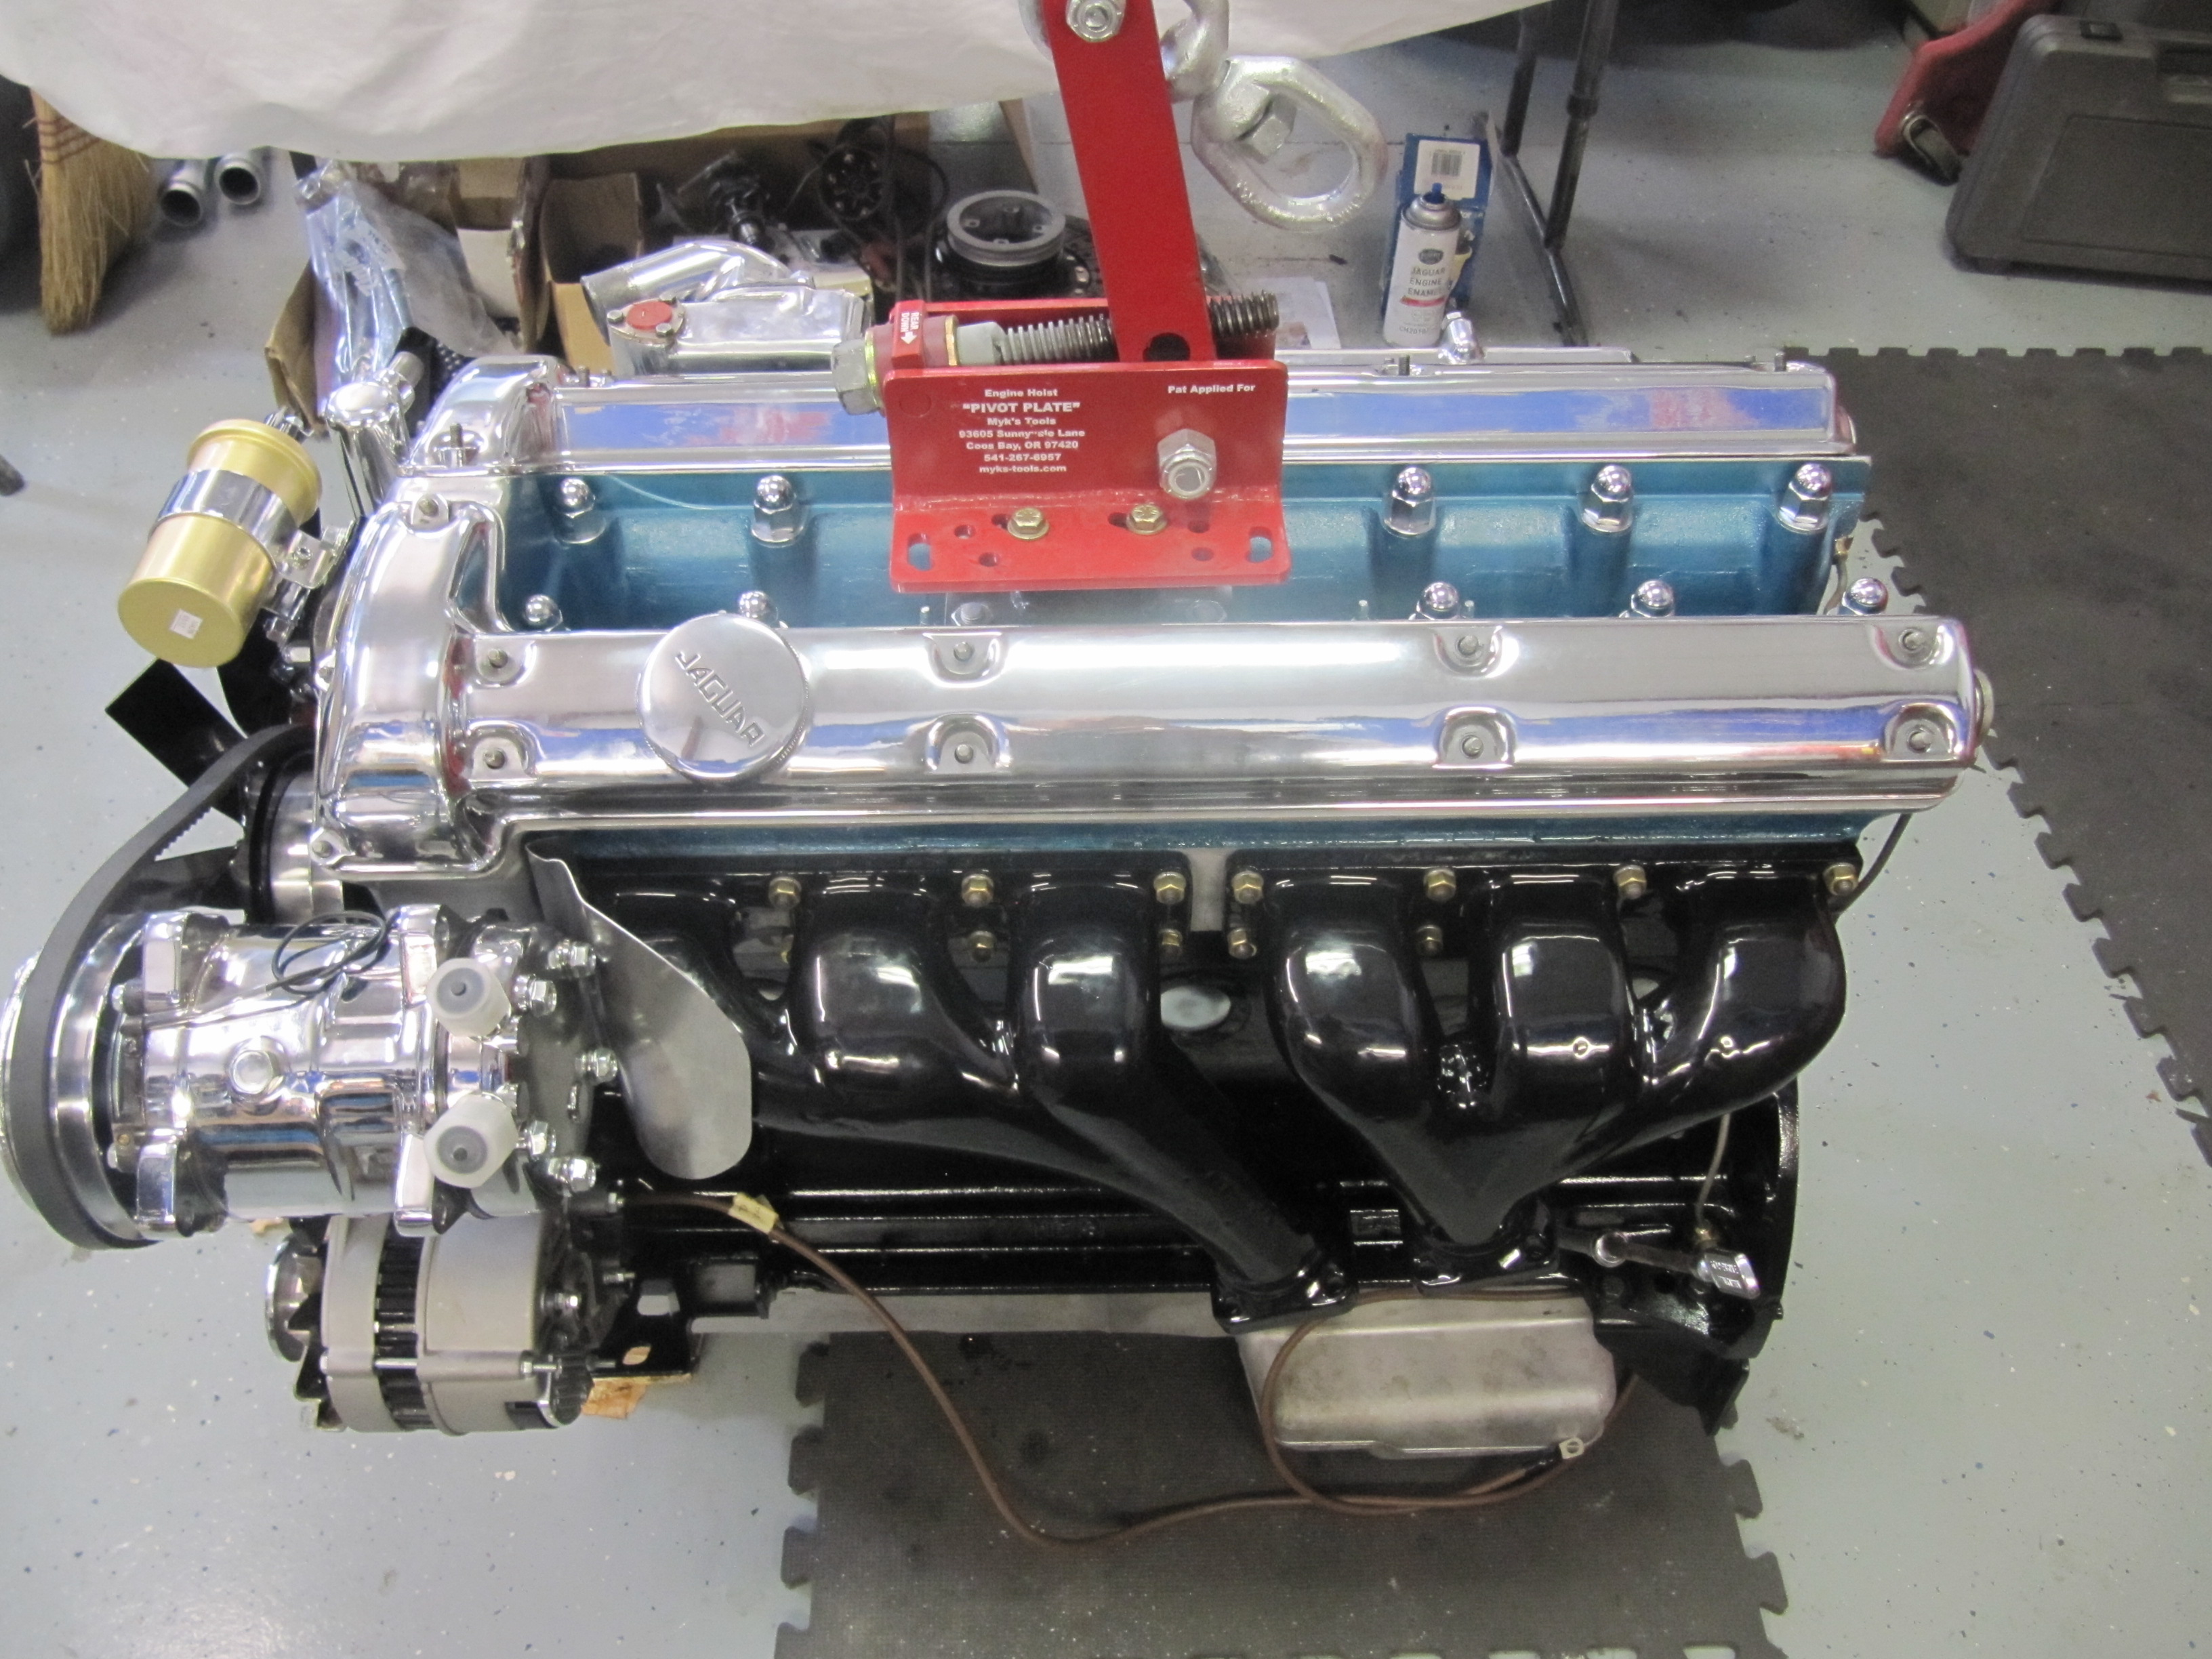
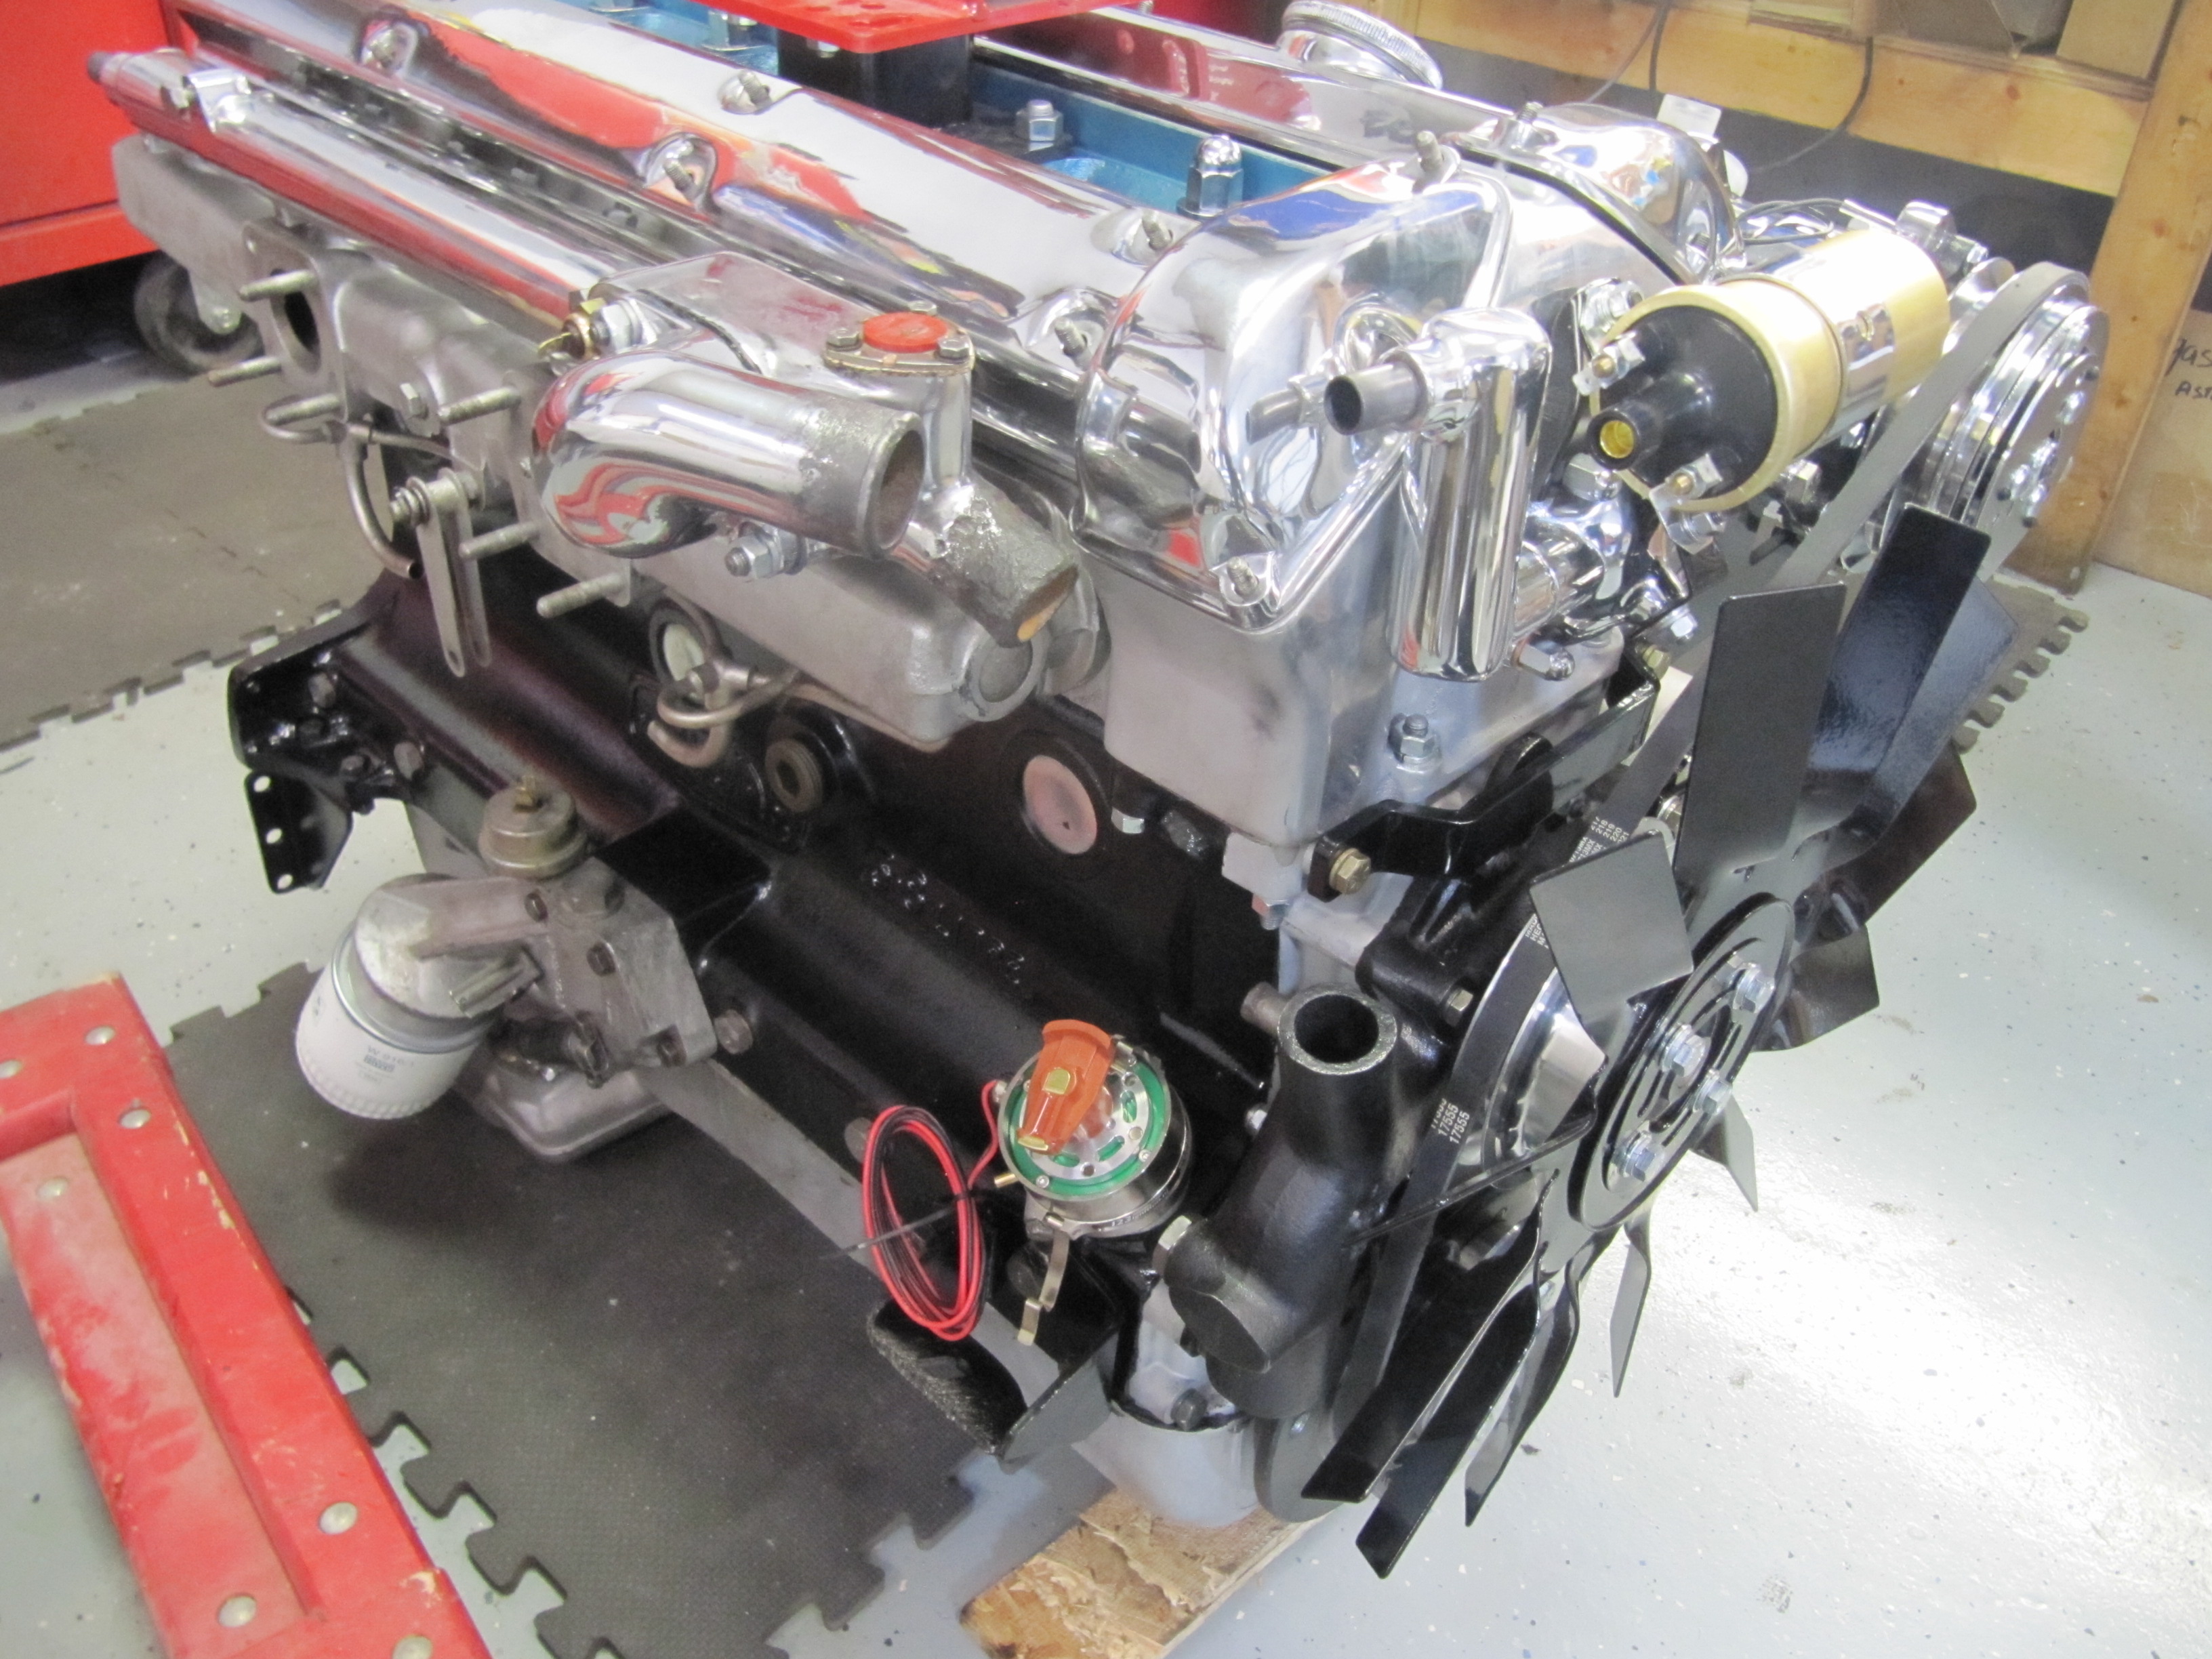
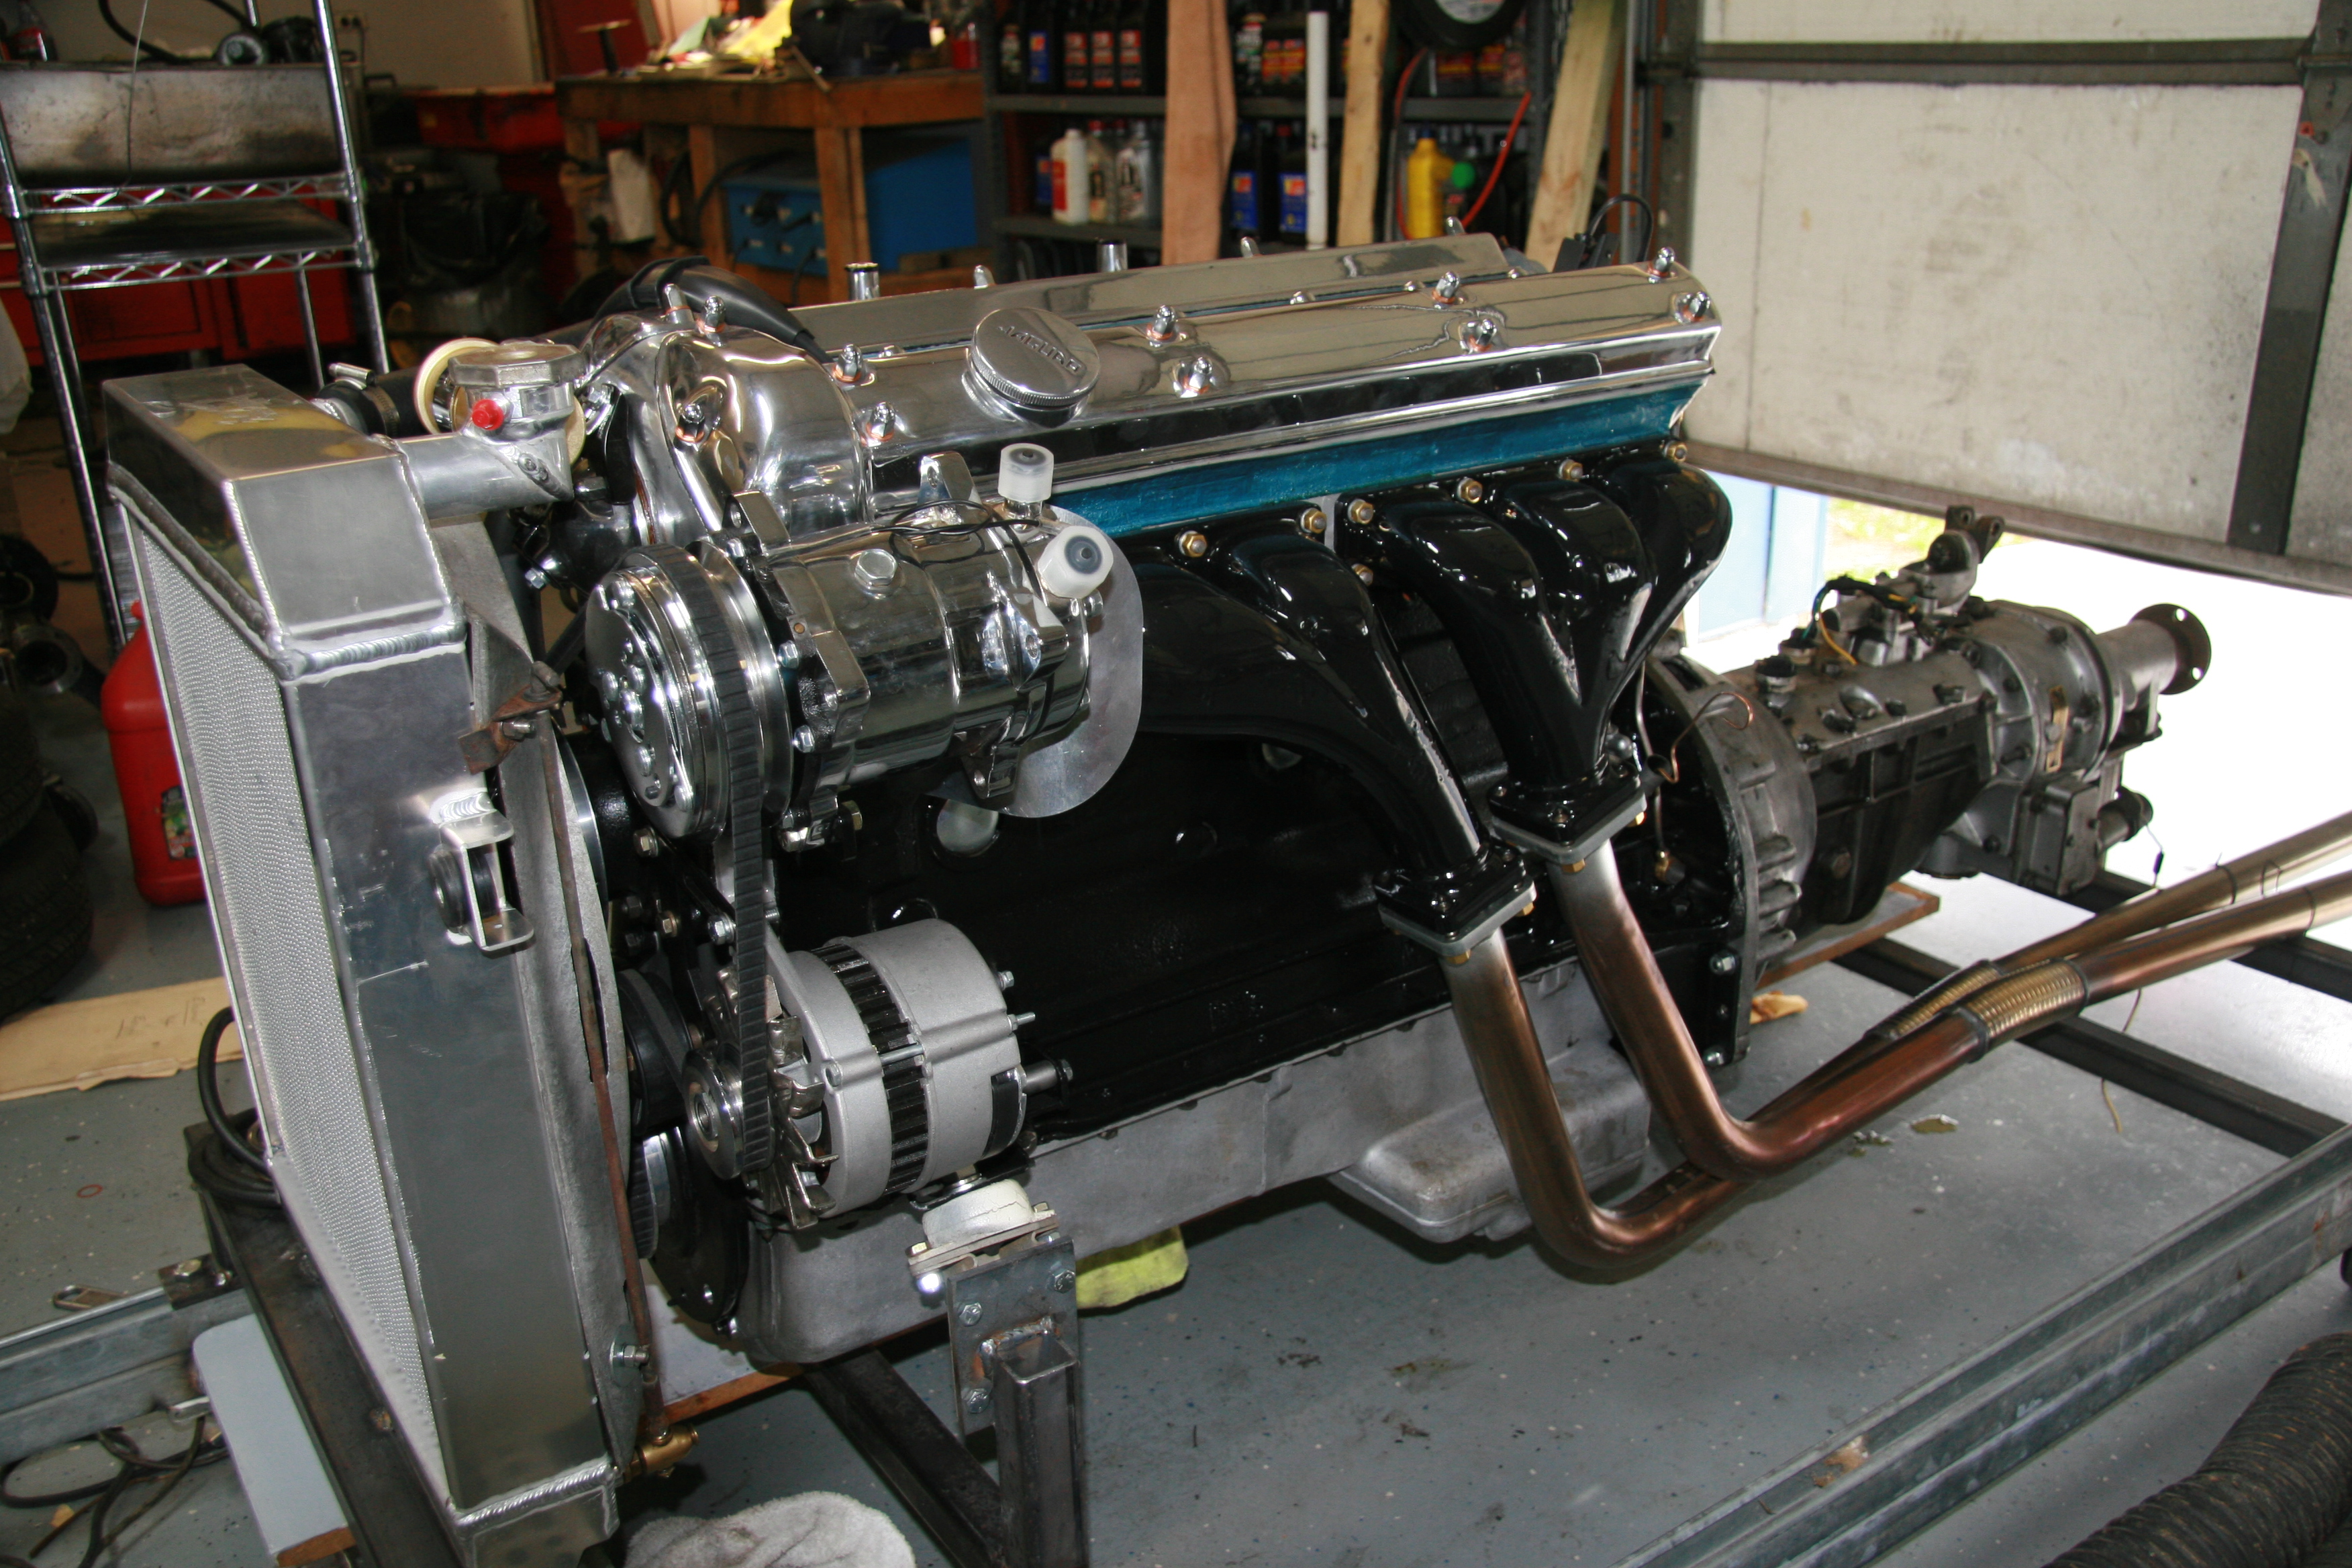
Front View
Engine Run-In
After Mike and his staff got the engine together they made a test stand so that we could do preliminary adjustments and make sure we were leak free. I am trying Evans Waterless Coolant in this engine and it was used in the testing.
All of the attention to balancing really paid off as the engine runs very smoothly with very little vibration. Everything checked out beautifully.
Thanks to Mike for a beautiful engine and a beautiful job. I recommend him to others without reservation.
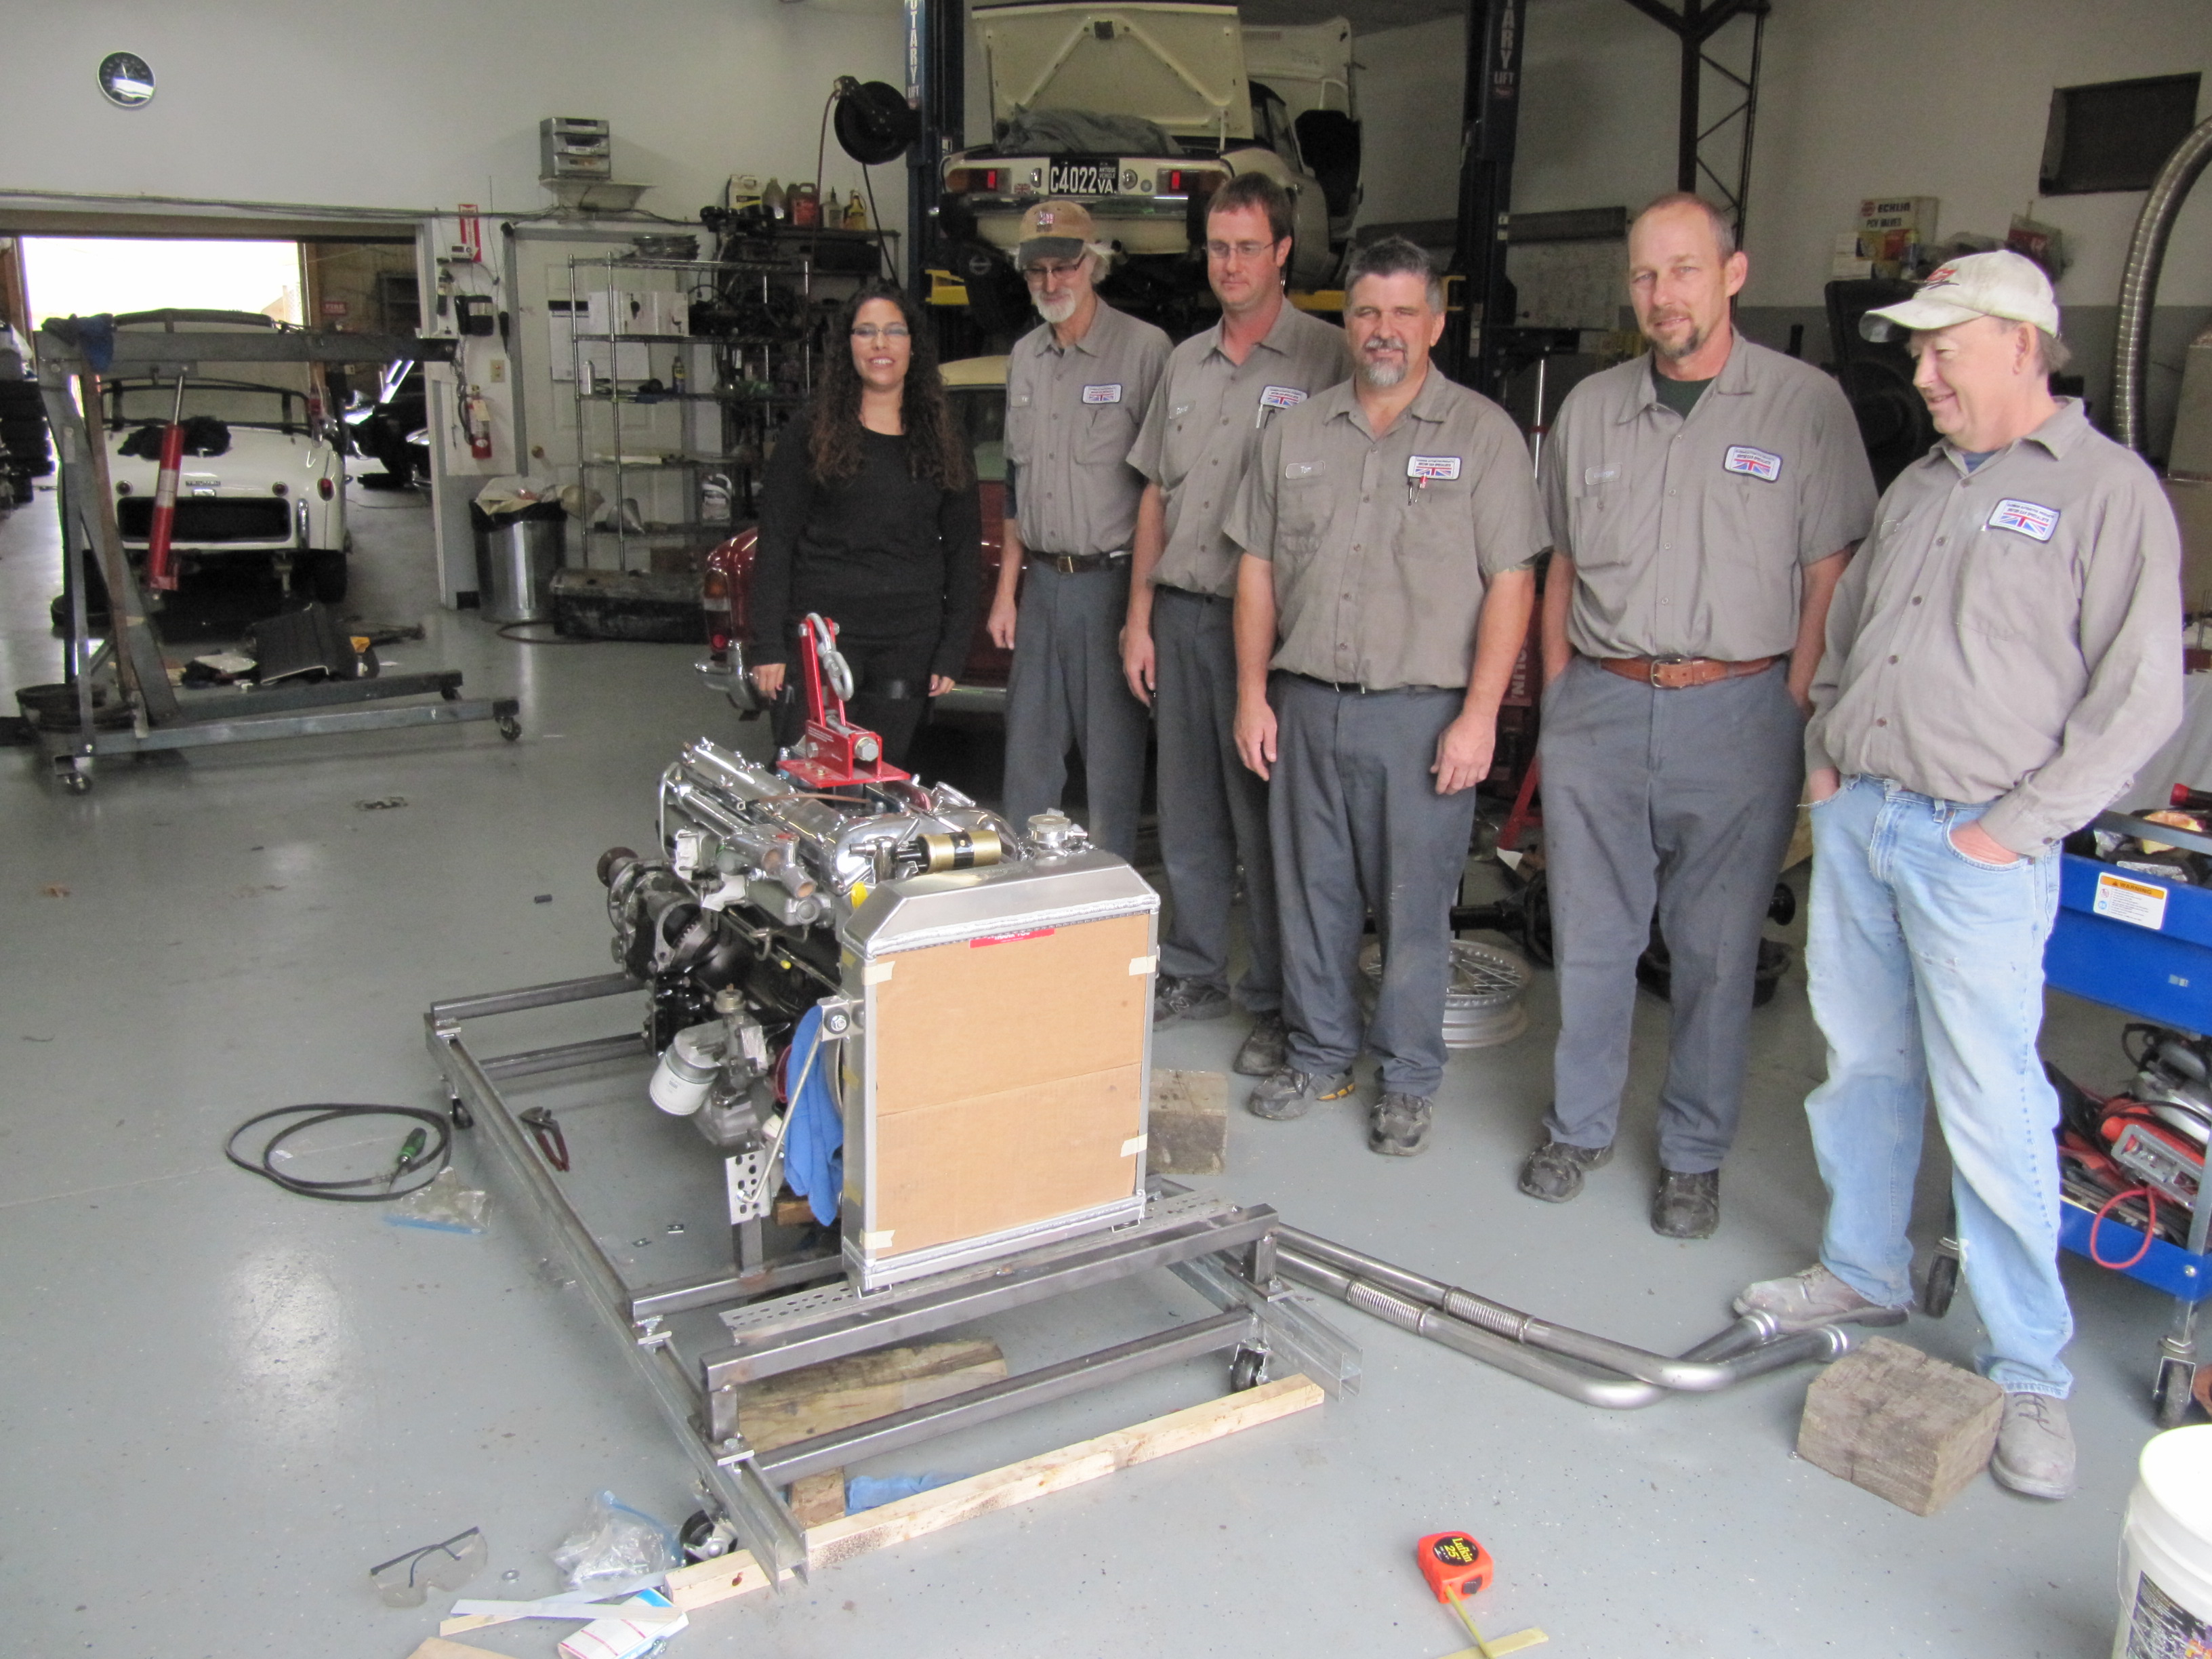
The Gassman Team
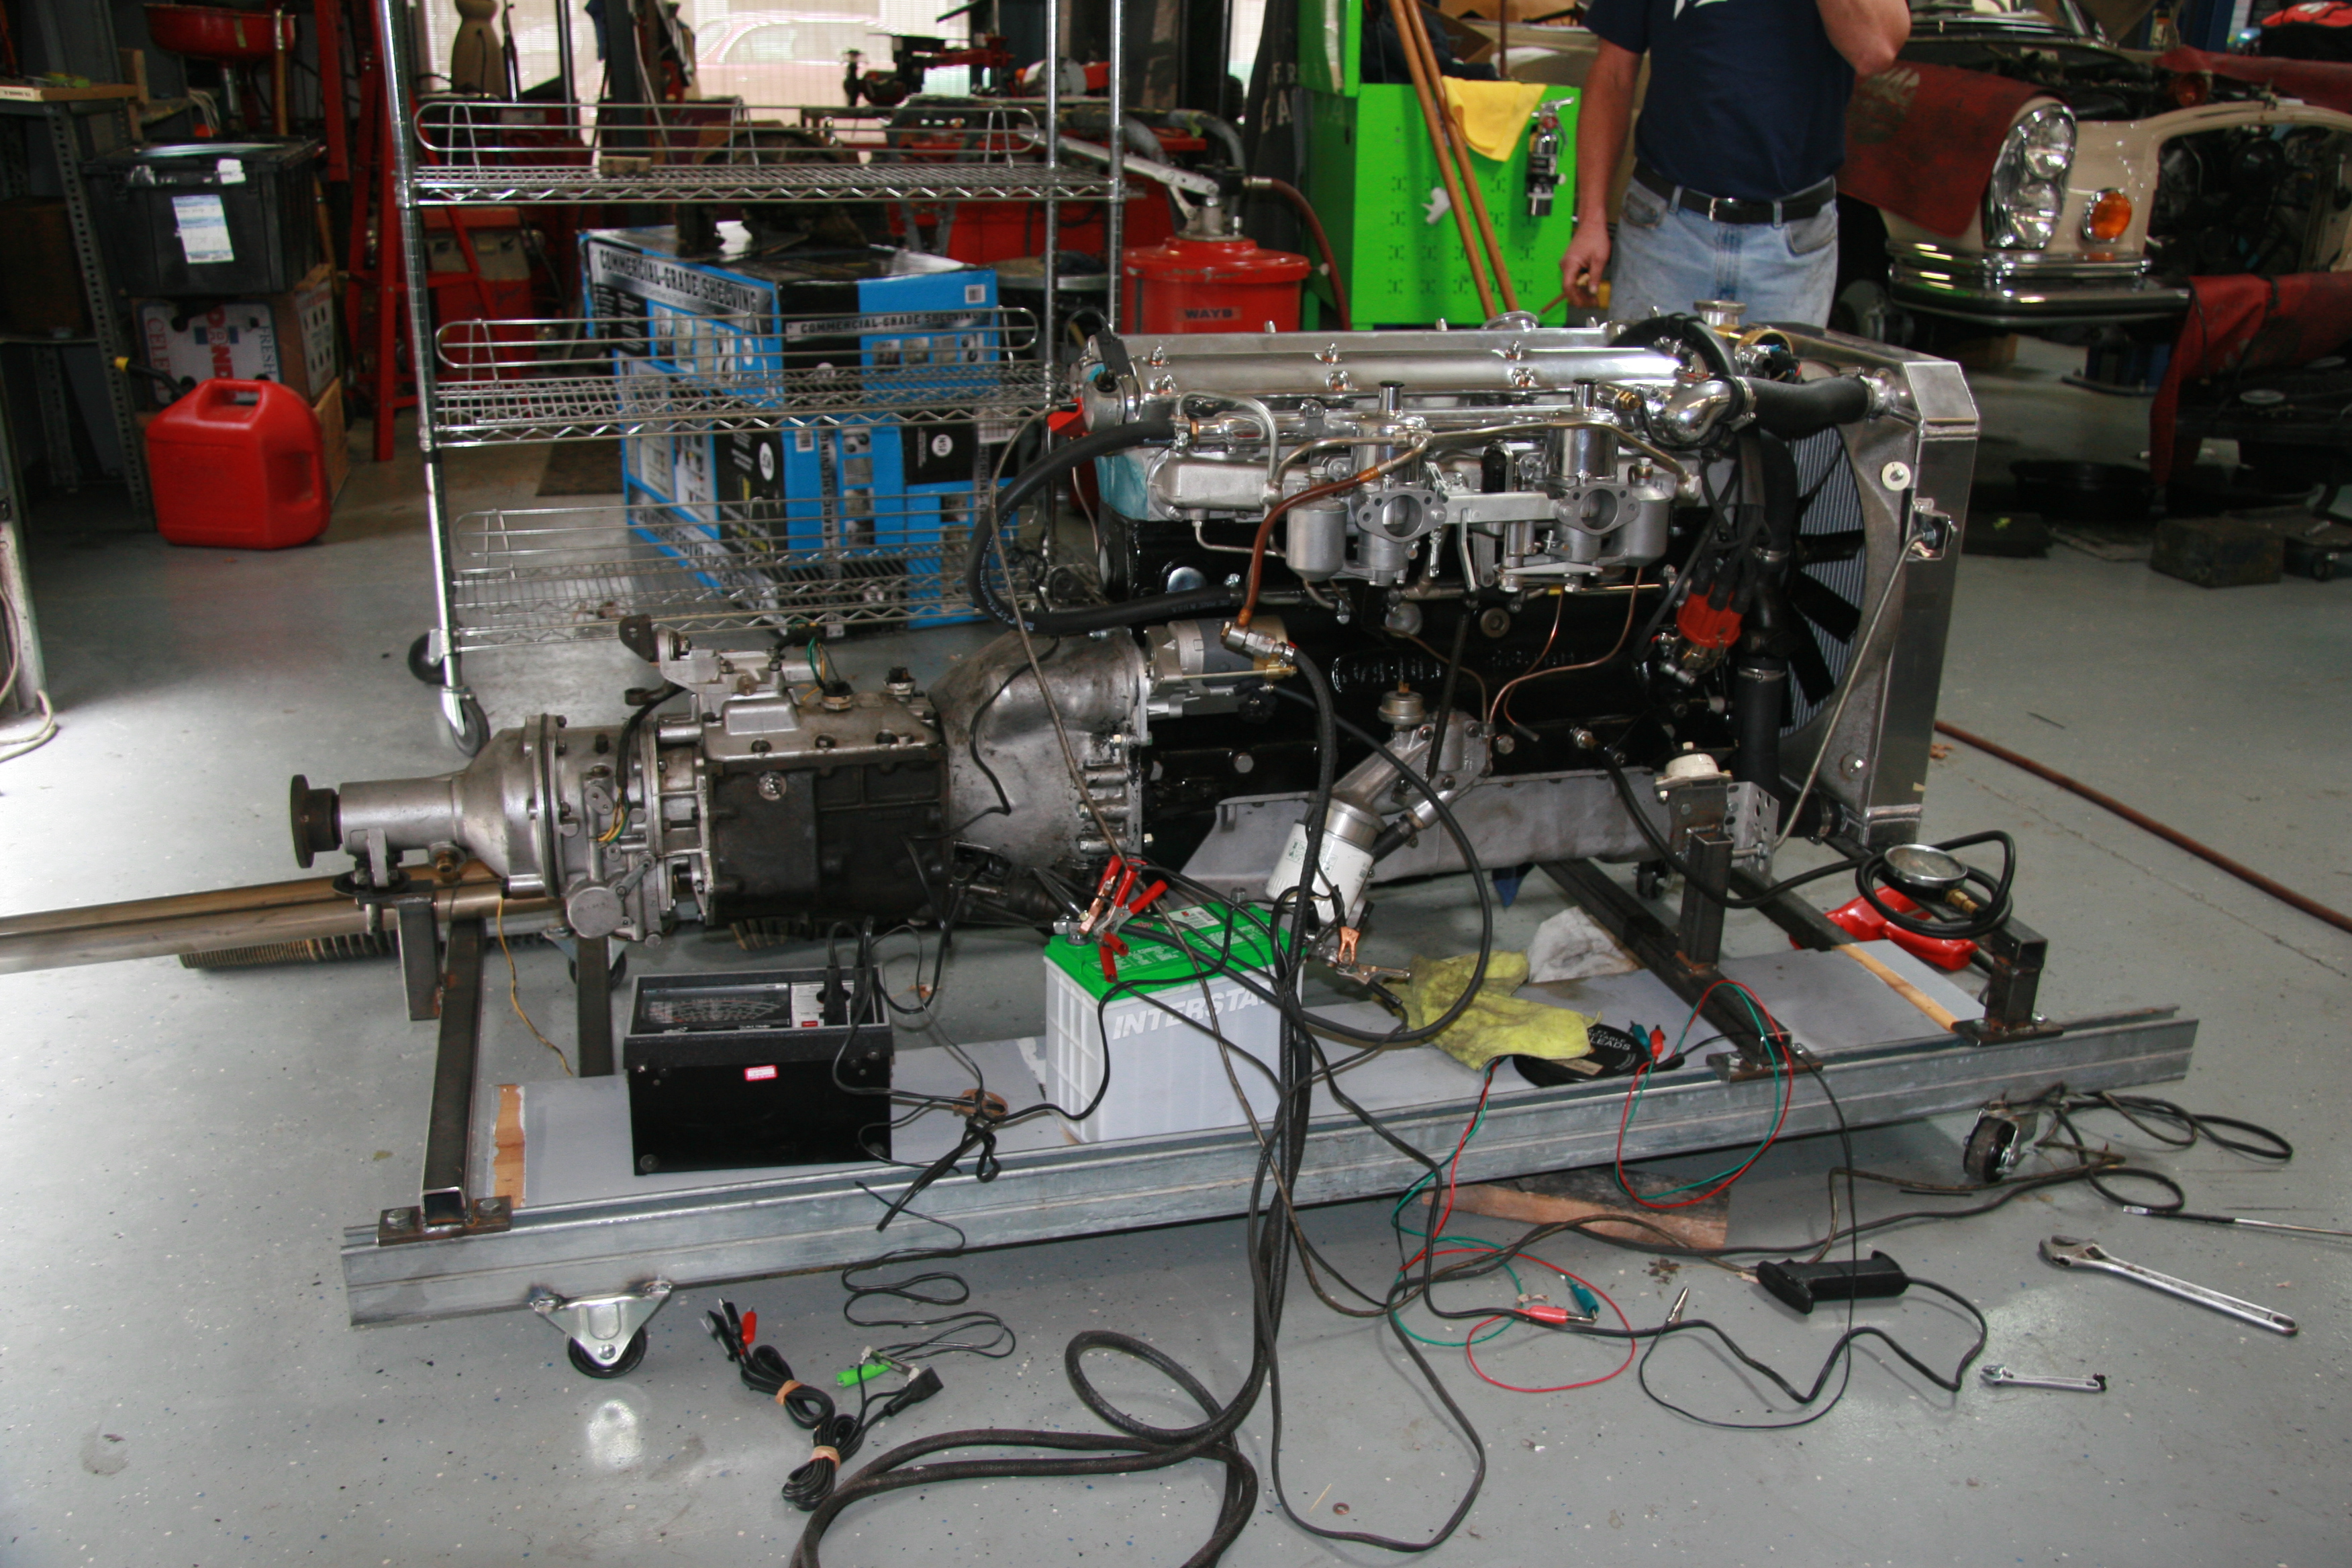
Engine Testing
Engine Testing

Engine Testing
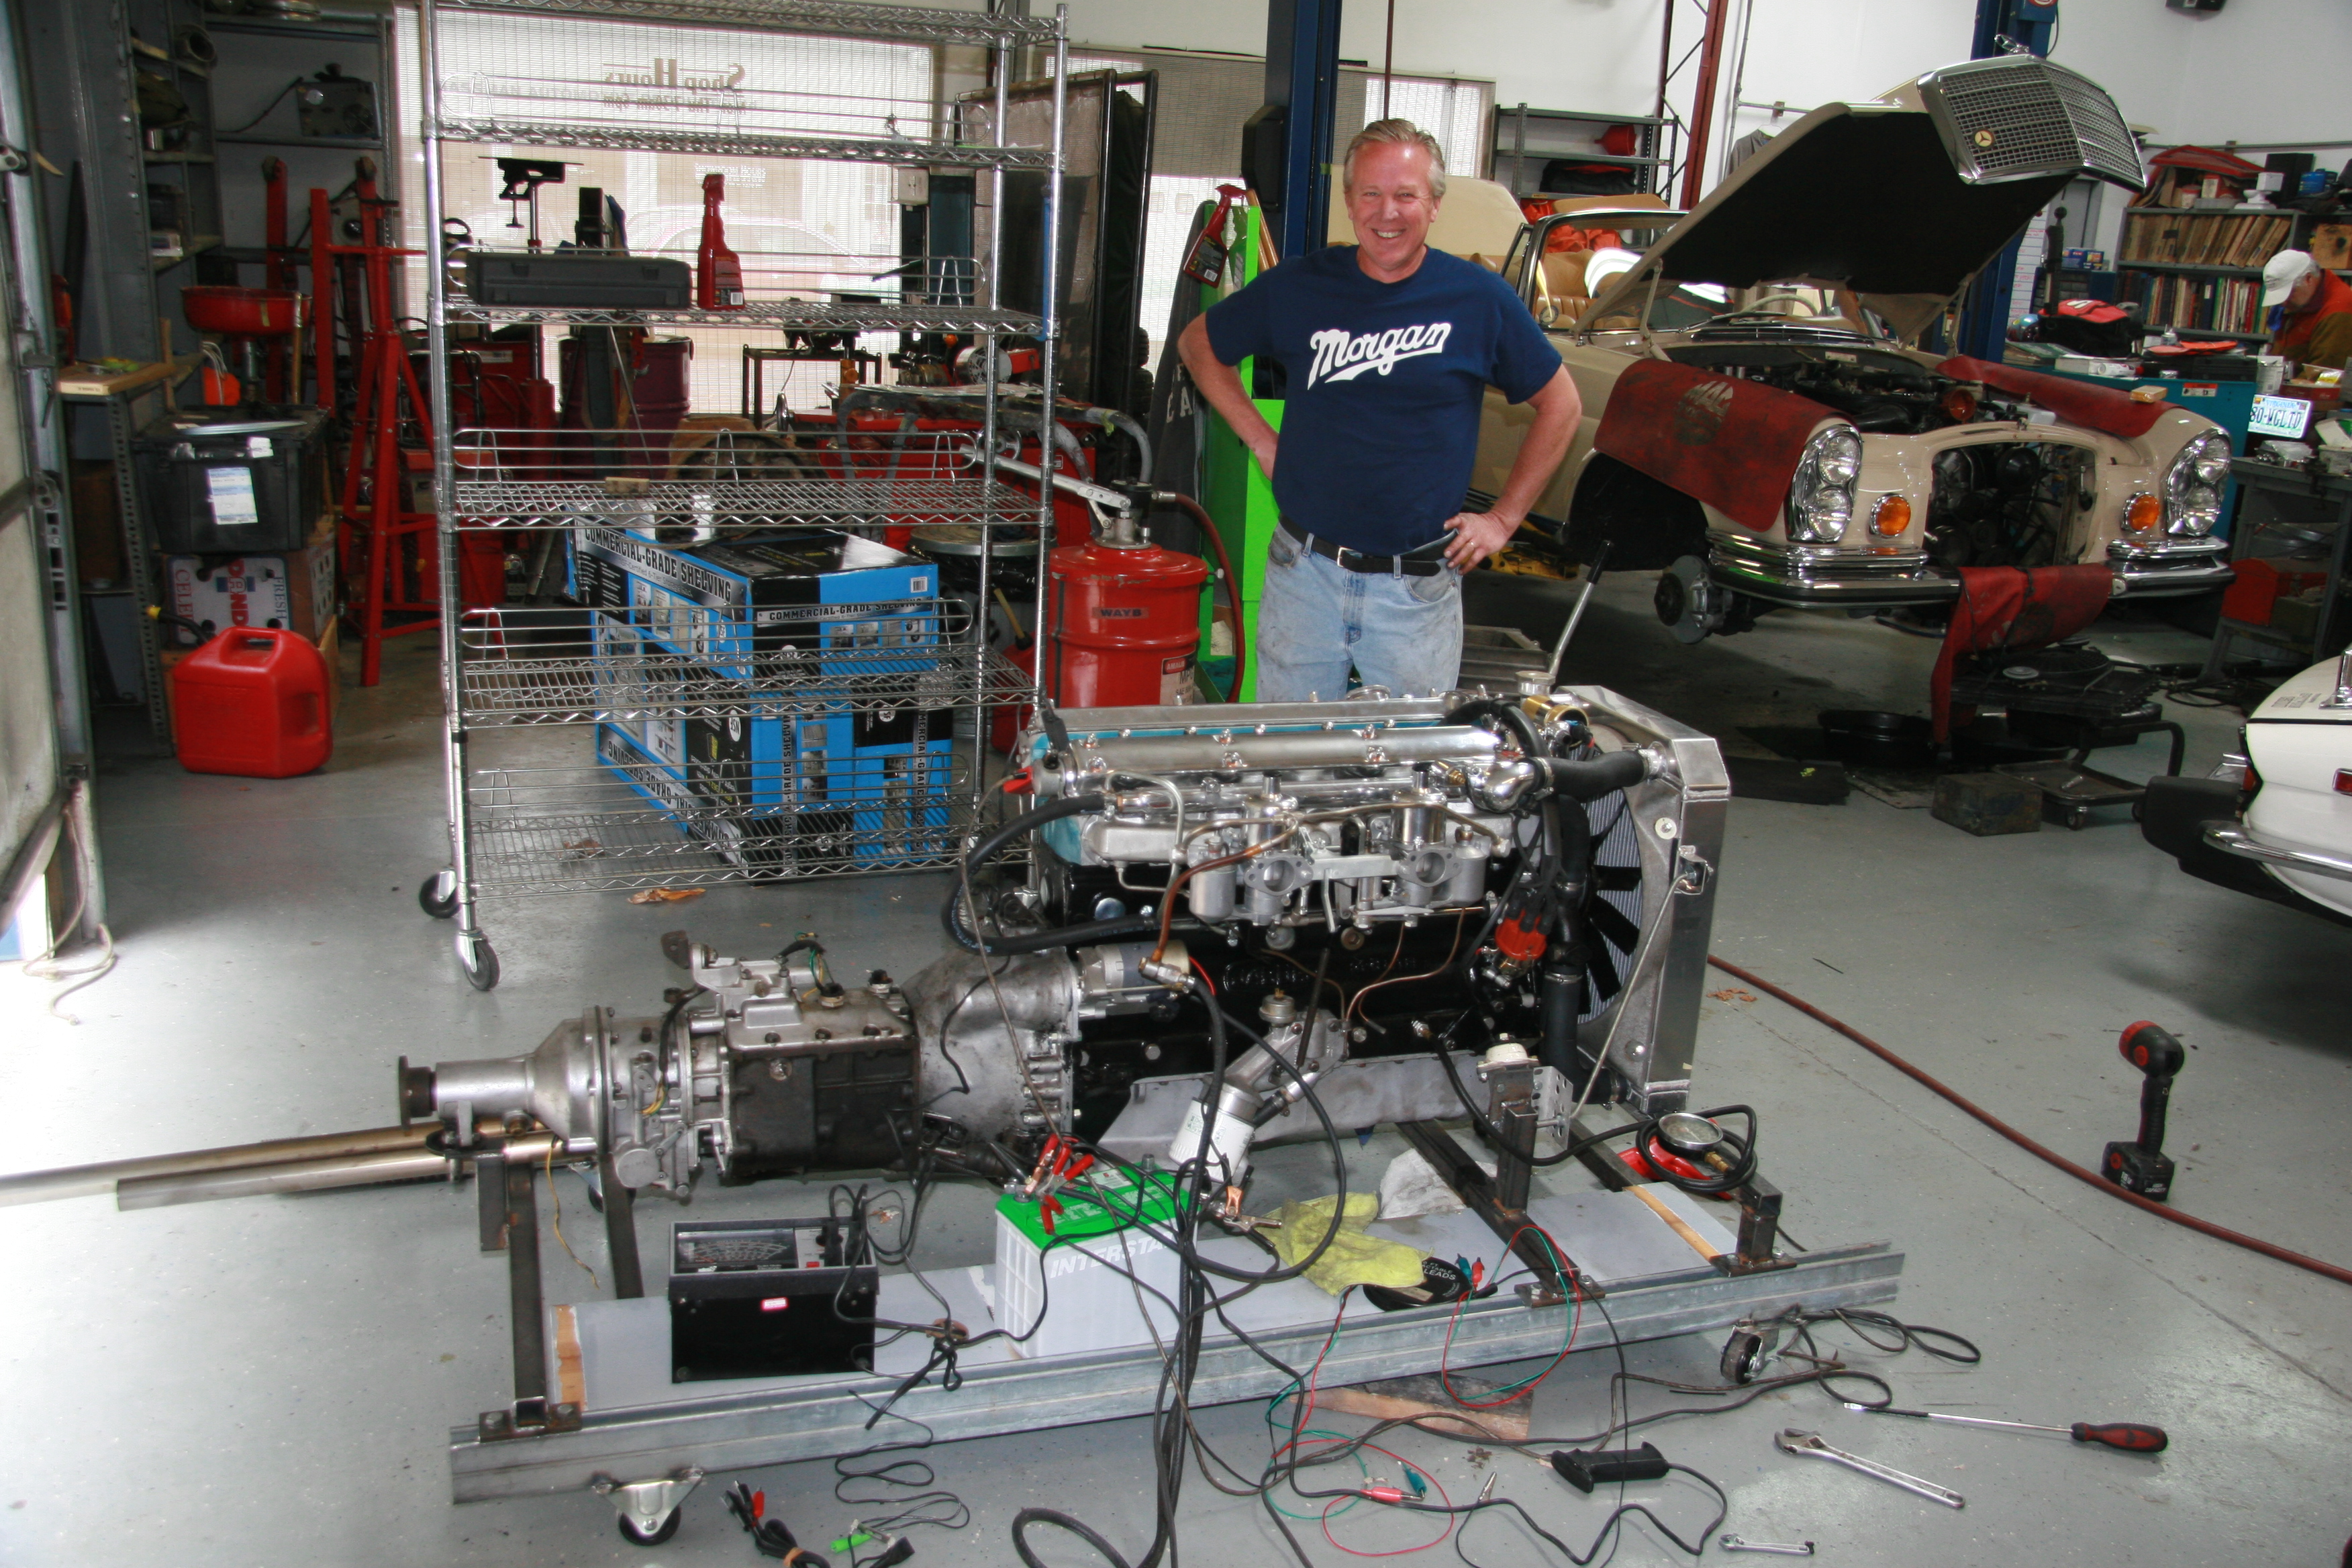
Maestro Mike