The Front-tilt Bonnet Hinges
The Bugyeye has had a front tilt hinge mechanism installed for some time. We originally used the kit sold by Mini-Mania.
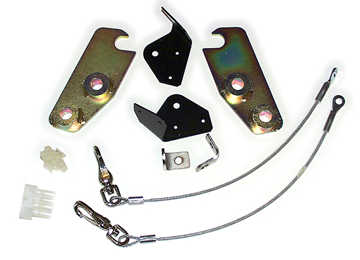
Mini-Mania Hinge Kit
The front hinge concept has become very popular because it provides much better access to the engine bay than the original rear hinge set-up. Today, front hinge kits are sold by many of the usual vendors such as BugeyeGuys, and Speedwell Engineering. Most are based on the innovation and work done by Gerard Chateauvieux who sold his kit through Gerard’s Garage. There have also been many approaches to latching or anchoring the bonnet to the chassis. Some have also installed gas struts to assist and control the process of opening and closing the bonnet.
In anticipation of using both a front hinge kit and gas struts, we made a few modifications to the Bugeye front bonnet to strengthen the stress points, particularly around the radiator air box. We wanted to accomplish these changes prior to paint and we were successful. We first fashioned a couple of gussets, drilled them for plug welds, primed them with weld-through primer and welded them in place on both sides of the bonnet.
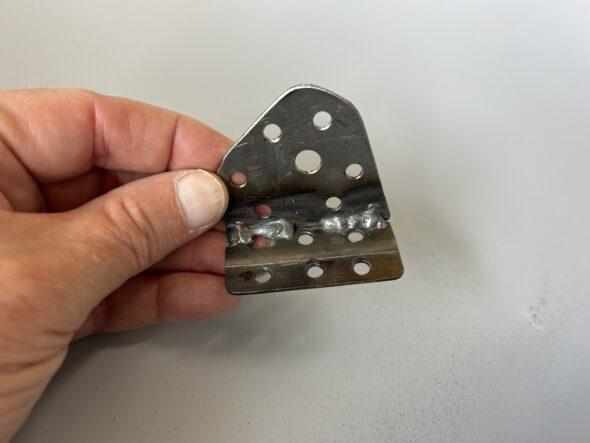
Gas Strut Gusset
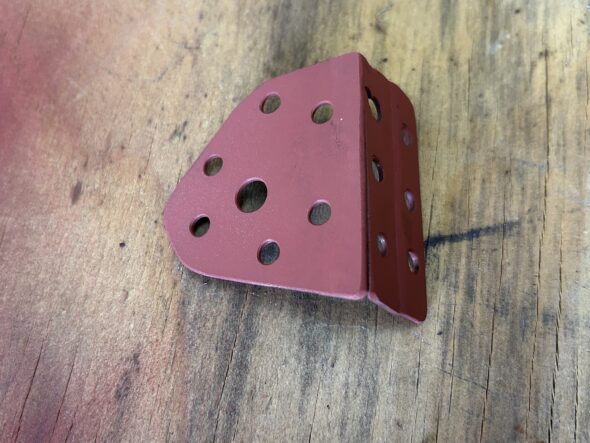
Primered Gusset
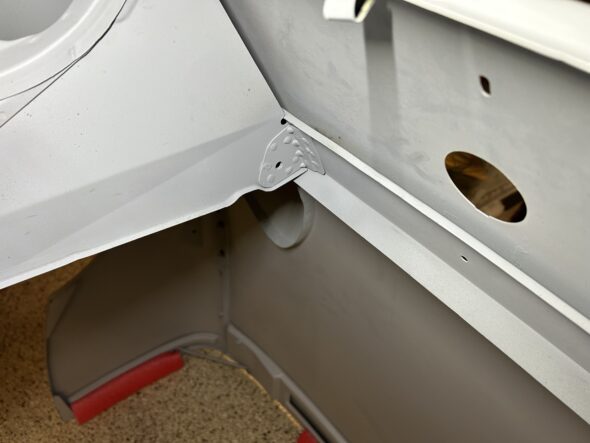
Gusset welded in place on bonnet
We also used the little brackets that came with the Mini-Mania hinge kit to strengthen the air box by riveting the bracket to the side of the headlight bucket rim. Four rivets were used with each bracket. As an added bonus, these brackets have holes that can be used to attach a range-of-motion limiter cable.
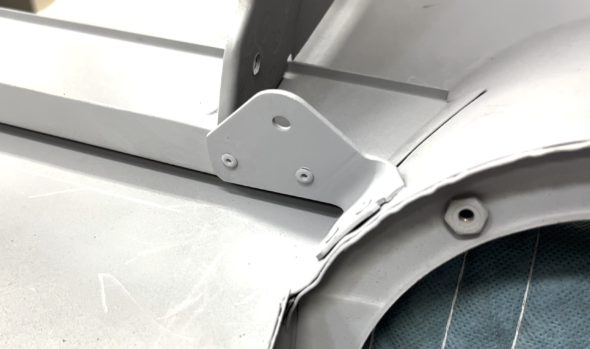
Mini-Mania bracket
After considering various front hinge kits for the Bugeye bonnet we decided to go with the hinges made by Erick Moser of Q1 Classic Engineering. Erick makes his hinges from high grade aluminum and supplies delrin washers/fittings and fasteners with his kit. What really appealed about Erick’s kit is that the hinges mount without having to drill additional mounting holes in the body or cutting the threaded bushings on the frame rails. We powder coated the components in satin black and substituted stainless hardware.
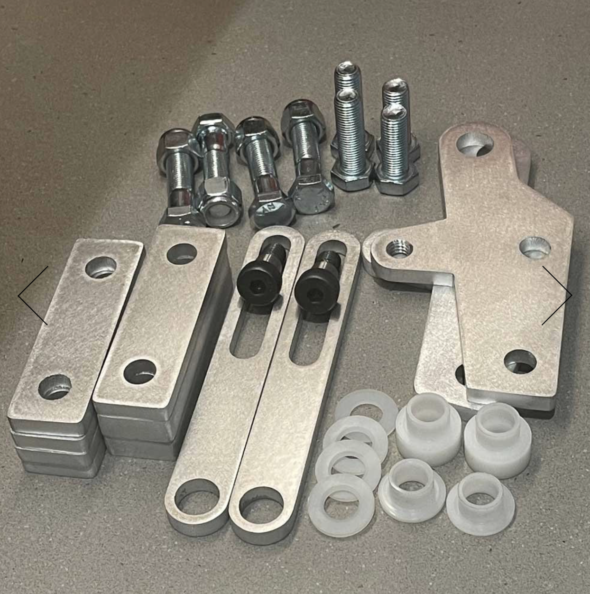
Q1 Classic Engineering Bonnet Hinge Kit
We decided to make some small reinforcing plates of 1/8″ steel to add support at the upper mounting point of the hinge. At that point the securing bolt only goes through the radiator shroud sheet metal so the extra “beef” should be helpful. We painted these black and installed them with the kit.
Getting the bonnet hinges to work effectively involved some trial and error. We ended up having to modify the hinge plates and the sliders, but Erick was great and assisted in making the necessary modifications.
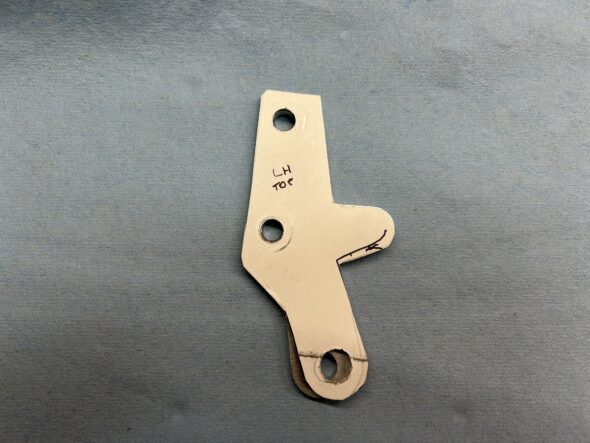
Template for Modified Hinge Plate
We ended up with a very functional and good looking bit of kit. We will paint or powder coat the modified hinges when we remove the bonnet to install the motor.
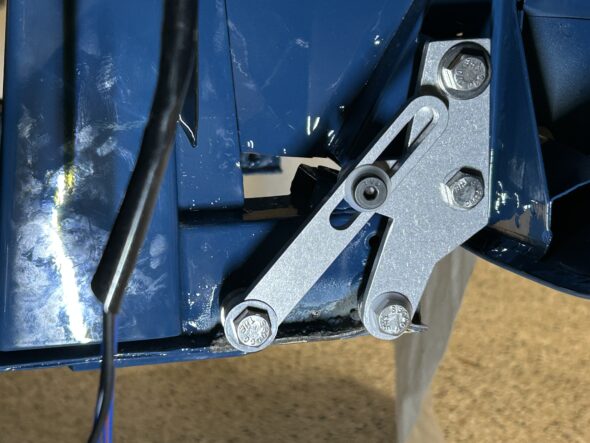
Q1 Classic Engineering Bonnet Hinges
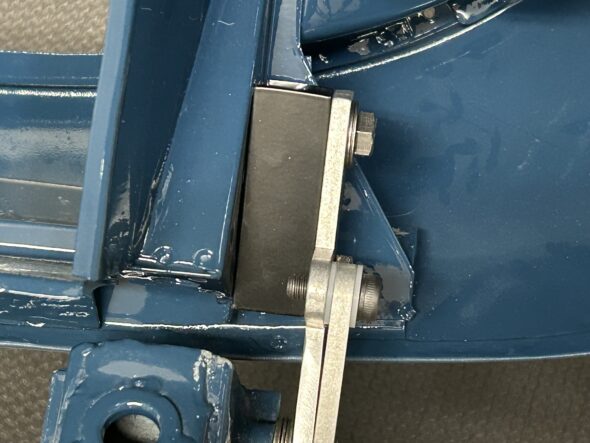
Hinge Spacer Block 1″ Wide
We also added gas struts purchased from Amazon. The struts we installed are 16″ long. We tried both 28 lb. and 35 lb. struts and found the 28 lb. units to work the best. The heavier struts tended to pull the rear edge of the bonnet way from the cowl.
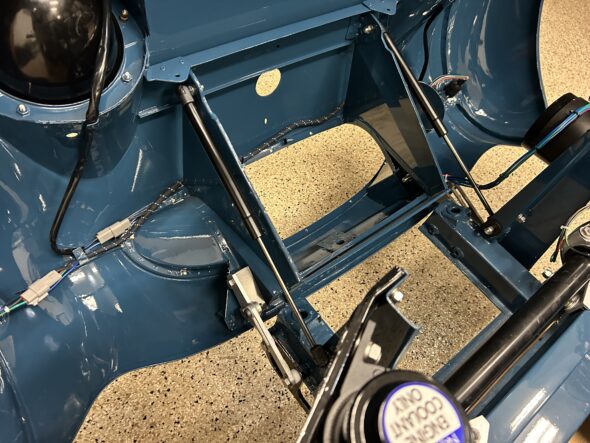
Gas Struts 16″ 28 Lbs
The front tie-down brackets/tow hooks were also purchased from Q1 Classic Engineering. Nicely made and heavy duty. We painted them and installed between the hinge plates and the chassis rails.
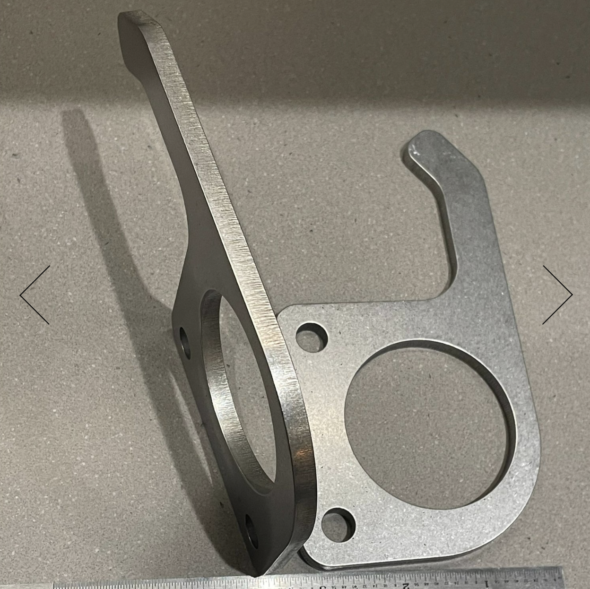
Q1 Classic Engineering Tie Down Brackets
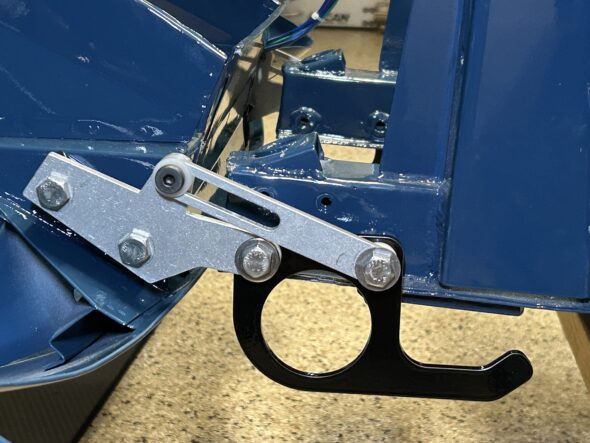
Q1 Classic Engineering Tie Down Brackets Installed
Mounting of the bonnet hinges, gas struts and the toe down brackets is shown in Bugeye Restoration Video Episode Ninety-four:
https://vimeo.com/1043279717/37ec3901e6?share=copy


