Dash and Custom Wiring Harness – Part 2

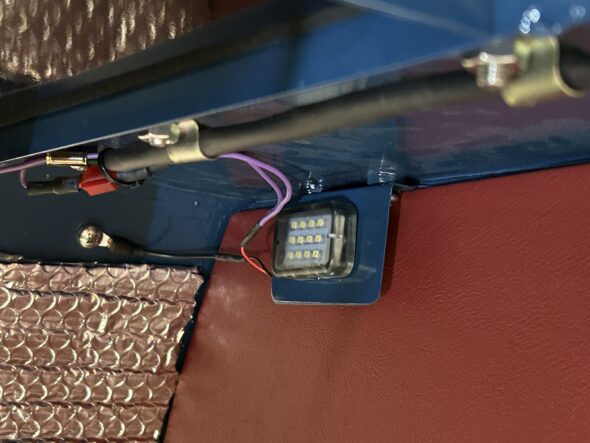
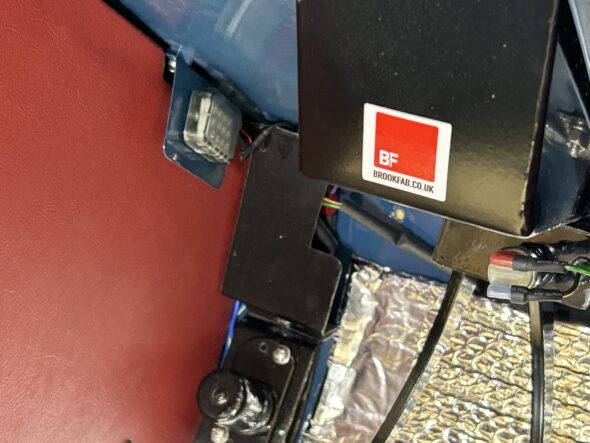
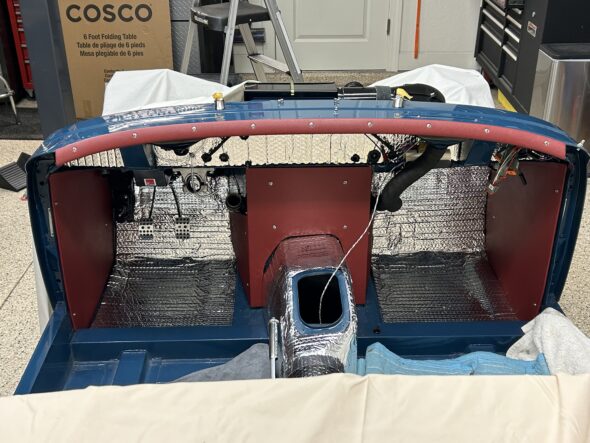
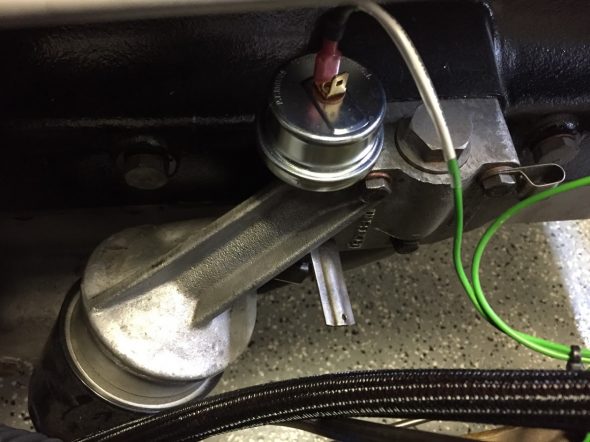
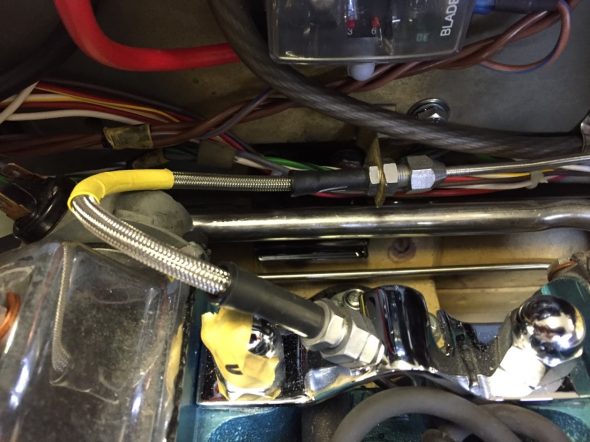
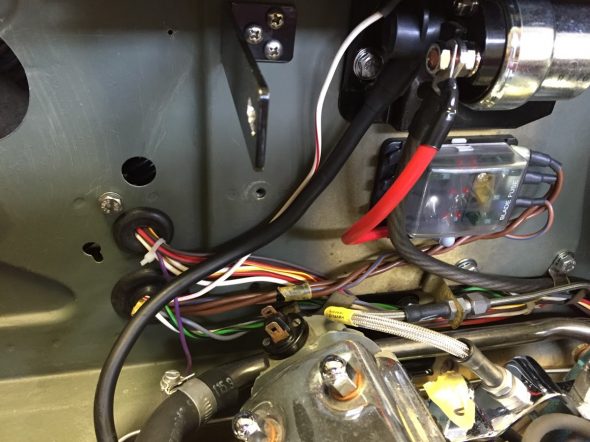
Before installing the dash we wanted to complete the installation of the front courtesy lights as they are not easy to access without the dash, much less with dash in place. We also completed the wiring and testing for the pedal brake switch that can also be seen in the photo below.

LH front courtesy light

We then covered the front aluminum cockpit molding with our red vinyl and installed it on the body. It looks quite handsome.

front cockpit molding vinyl covered

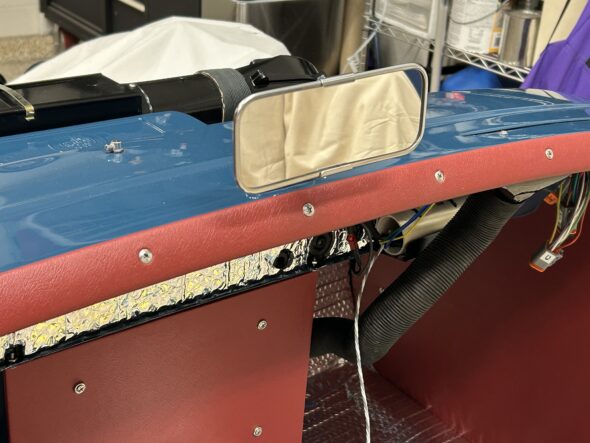
Just to add a touch of bling to our work the chrome rear view mirror went on next. Two chrome oval head #10-32 x 5/8″ machine screws secure the mirror to the captured nuts in the body.

Rear View Mirror

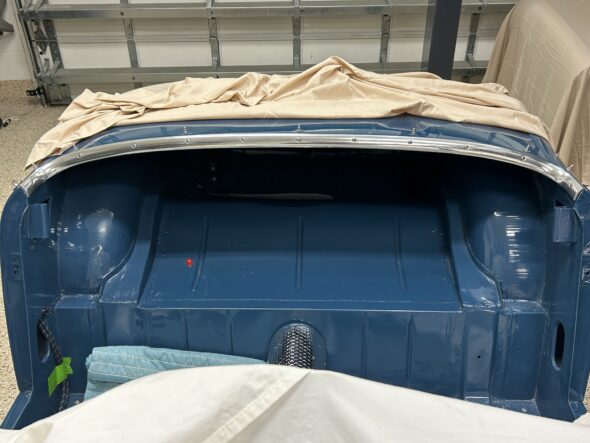
We then added the rear cockpit molding:

Rear cockpit molding

We then installed the LH demister hose to the elbow and nozzle vent. We will be using an AFR gauge to assist with tuning but do not plan to leave it in the car permanently so we ran a red wire from fuse position #19 in our fuse box, through the firewall an into the interior. This wire can be easily removed after we finish tuning.

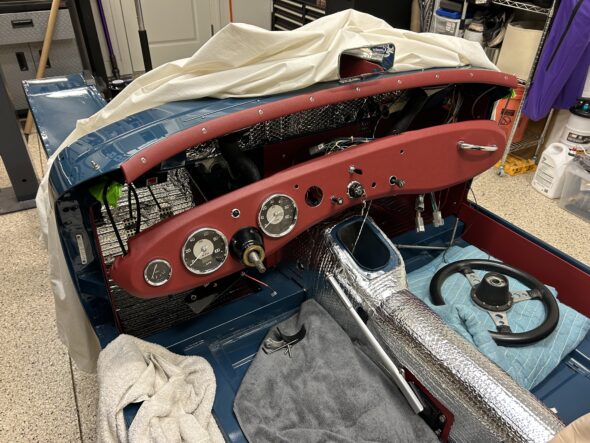
We then began the actual installation of the dash with all of its wiring, gauges, switches and etc. in place. We had seen a tip on the internet to make this task easier. That is to use large zip ties to support the corners of the dash. This allows easy access from above for mating Deutsch connectors, finishing up with a few loose wires and for running cables through the dash and the firewall. As it turned out, it was a great tip and made the job quite a bit easier than it might have otherwise been.

Dash with zip ties to the body

We could then gradually tighten the zip ties and move the dash closer to the body. Ultimately, we cut the zip ties and inserted the 1/4″-28 – 1″ hex head bolts and tightened each corner.

Care must be taken with three items 1. one must keep an eye on the steering shaft so that it remains free in the column bezel. 2. There are two braces under the dash that secure the dash to the firewall. The braces must be above the lip that they mount to on the firewall before the dash to body bolts go in on the corners, otherwise they are difficult to properly position. This is especially true in our case since the braces serve as the platform for our supplementary switch panel behind the dash. 3. Routing the capillary tube for the water temperature gauge and the copper pipe for the oil pressure must be approached cautiously to avoid damage to either.

The installation of the individual items associated with the dash is covered in the attached video. Once we had the dash in place we began testing all of our circuits. Everything seems to functioning properly! A major achievement in the process toward assembling the Bugeye.

Bugeye Restoration Video Episode Eighty-six:

https://vimeo.com/1006256130/a0a01395e3?share=copy

0:00 – Front courtesy lights connected

0:21 – Brake light wiring

1:11 – Covering and installing the aluminum cockpit molding

2:56 – Rear view mirror installed

3:18 – Rear cockpit molding installed

3:50 – LH demister hose installed

4:00 – Temporary AFR gauge wiring installed

4:22- Dash wiring and installation

8:00 – Zip tying the dash to the car

8:47 – Wiper controller rheostat installed

9:07 – Water temperature & oil pressure gauge & pipes installed

10:00 – Windscreen washer pump hoses and wiring connected

10:19 – Brake wiring connected

10:48 – Started cable installed

11:05 – Heater switch installed & wires connected

11:12 – Choke cable installed

11:24 – RH ground bus bar wiring

11:39 – Dash to body mounting bolts and braces

12:08 – Electrical circuit testing begins


Chapter 74 Week Forty-Four October 15, 2007

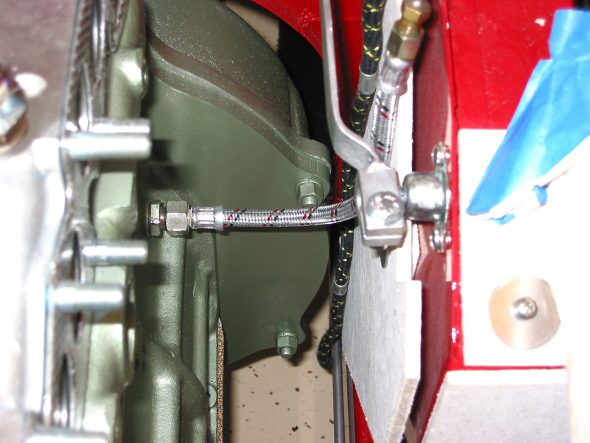
With the engine in place, it was now time to complete the assembly of the various engine components, but first I installed the clutch slave cylinder with the push rod provided in the Smitty conversion kit. It went in without any problem and lined up perfectly. The clutch pedal seemed to work smoothly. The bleeder extension pipe was attached to the bracket I made to support the pipe. Bleeding the slave cylinder will now be a much easier job. Thanks again to Mr. Finespanner – Doug Reid.

Slave cylinder bleeder extension 2

Just to fill the holes and to prevent anything from dropping in unexpectedly I went ahead and loosely fit the NGK Spark Plugs BP6ES, stock number 7333.

To make installation a little easier I attached the gear reduction starter to the engine prior to installation in the car, and it was now time to hook up the wiring. I shortened the heavy duty starter cable that connects the solenoid and the starter and secured it to the starter with rubber insulation boots attached. Since my intention is to still rely on the original starting configuration, that is, using the external solenoid, I connected the small wire on the starter to the terminal post also used to connect the cable from the solenoid.

Starter

The installation of the breather pipe and hoses was next on my list. Since I will be taking off the rocker cover for valve gap adjustment once the engine is started, I left the clamp to the “T” connection on the cover loose. The inlet heater hose from the heater to the heater control tap on the motor. While in that location I went ahead and connected the tachometer cable to the tach drive housing.

Breather Pipe 2

Tach Cable to Drive Gear

Others have suggested the addition of a PCV valve connecting the breather “T” to the intake manifold to assist in minimizing oil pressure leaks. I bought a little kit from the British Car Specialists that included the valve, rubber piping and a connector for the intake manifold. It will be interesting to see if it does aid in respiration.

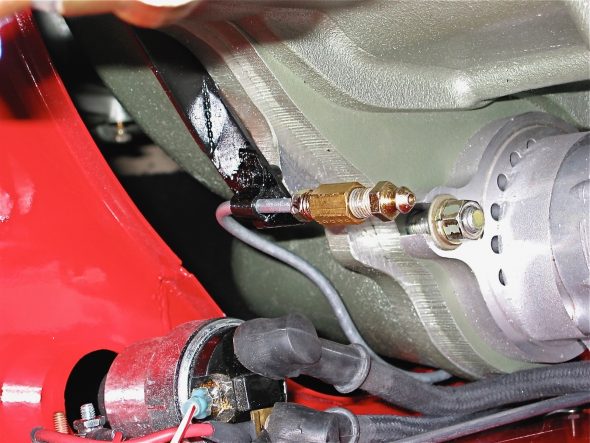
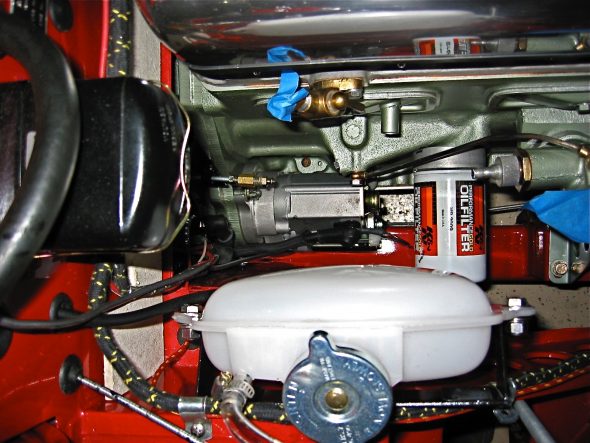
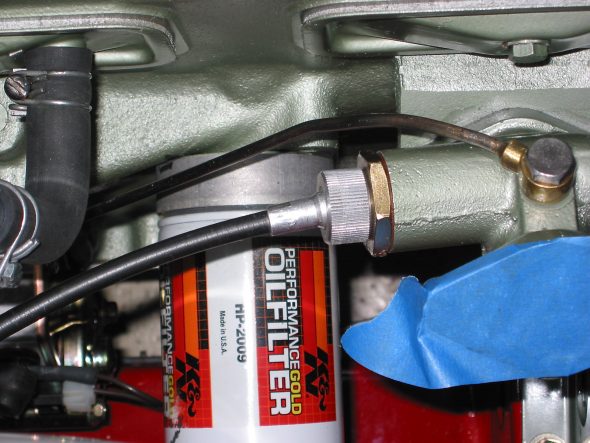
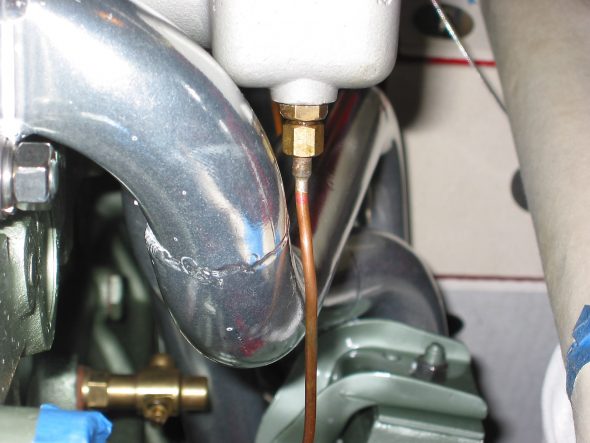
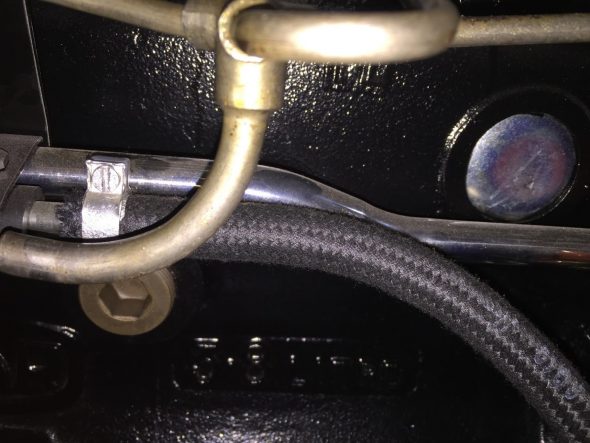
The oil gauge flexible hose was connected next. It connects to a fitting on the block and to the steel oil line that connects to the back of the oil pressure/water temperature gauge.

Oil Pressure Line


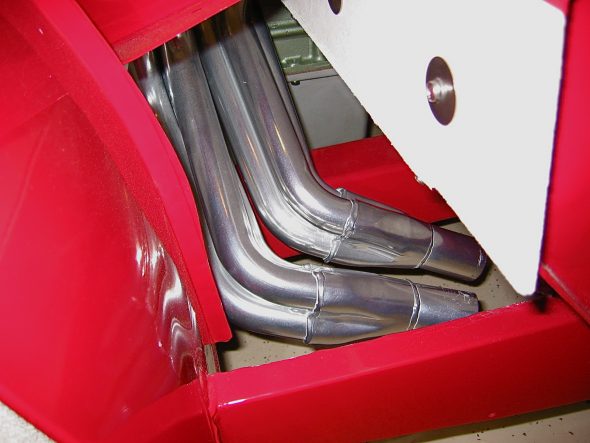
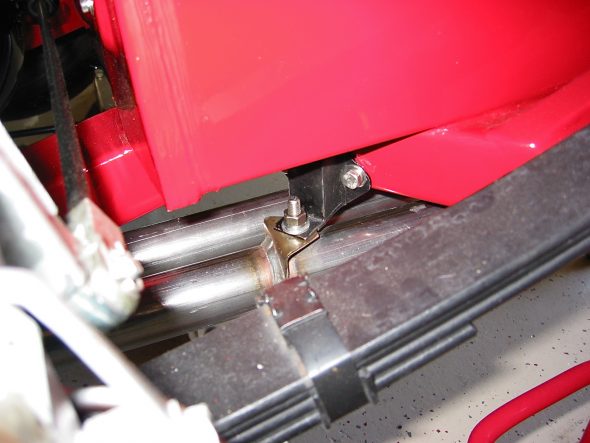
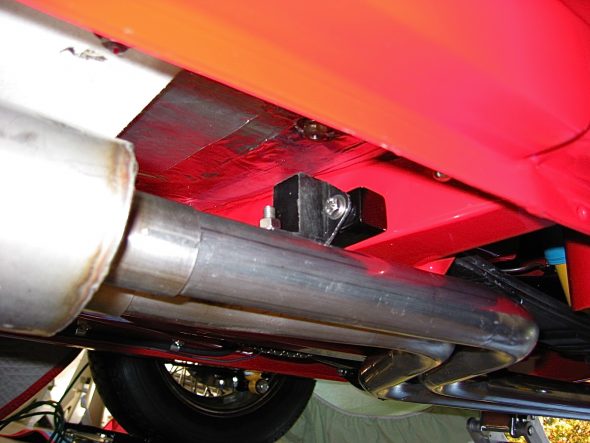
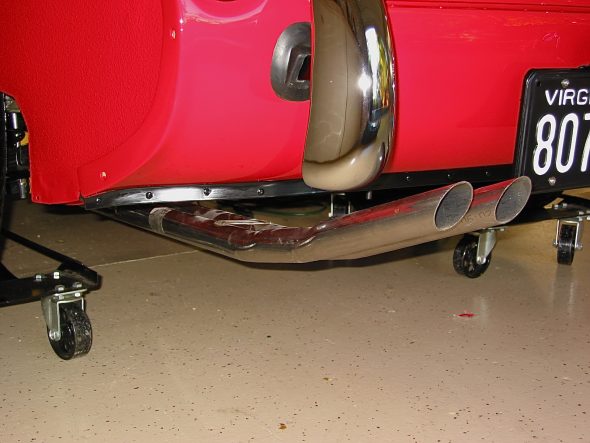
The exhaust headers were next to be installed. These are Phoenix headers and the full big bore exhaust system was sourced from AH Spares. The headers fit perfectly without any adjustments. I had them Jet-Hot coated in the sterling finish to keep them looking nice and to improve thermal qualities. Stainless steel flexible pipe (1 7/8”) was used to connect the headers to the stainless steel silencer and the big bore tail pipes. The front hanger bracket is in the wrong place for a BT7, so I made a custom spacer for that hanger. The rear hanger worked just fine. I was pleased with the final installation of the system.

Headers 1

Headers 3

Rear Hanger 2

Middle Hanger


Tail Pipes 2

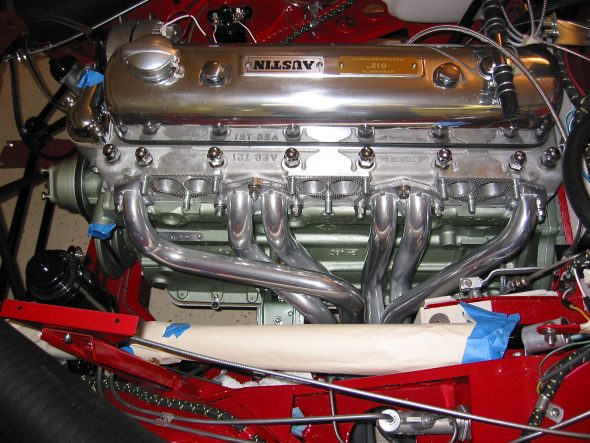
I assembled the intake manifold, heat shield and carbs to the Bloody Beast. Those lower mounting nuts are not easy to access! The stainless steel flexible fuel lines were connected to the steel fuel line and to the two SUs. I had to pull everything off the engine when I realized that I had not yet attached the manifold fuel drain pipes!! As it turned out they are very close to the header pipes, but after checking with a few people who are more informed about such matters than me, I think I am comfortable leaving them as they are. They should have been installed along with the vacuum line BEFORE the rest of the engine components!!!!

Front fuel drain line

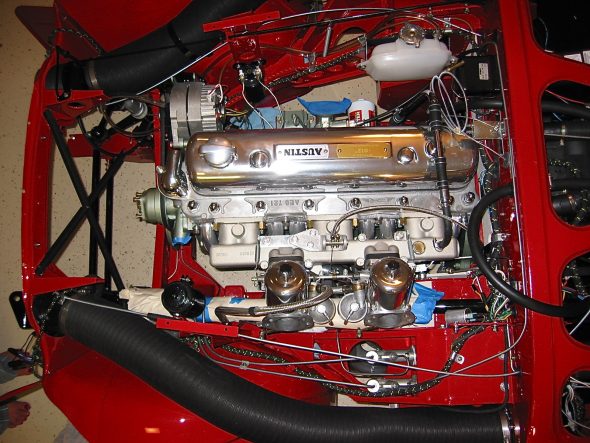
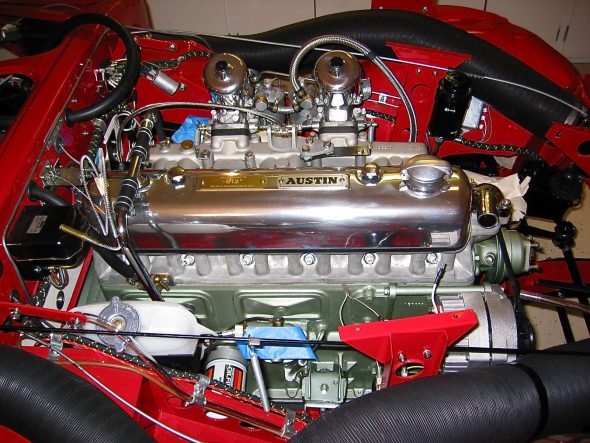
Engine from above

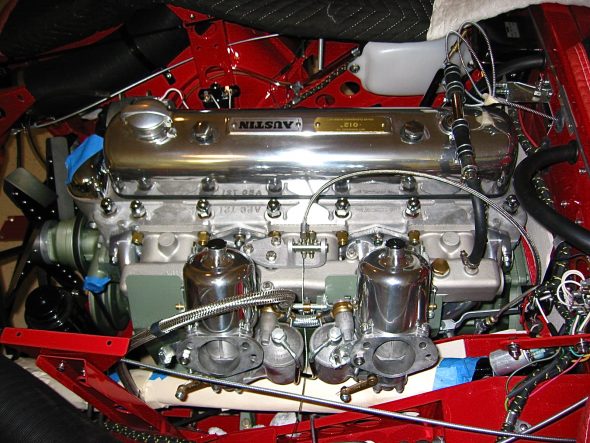
Engine from right

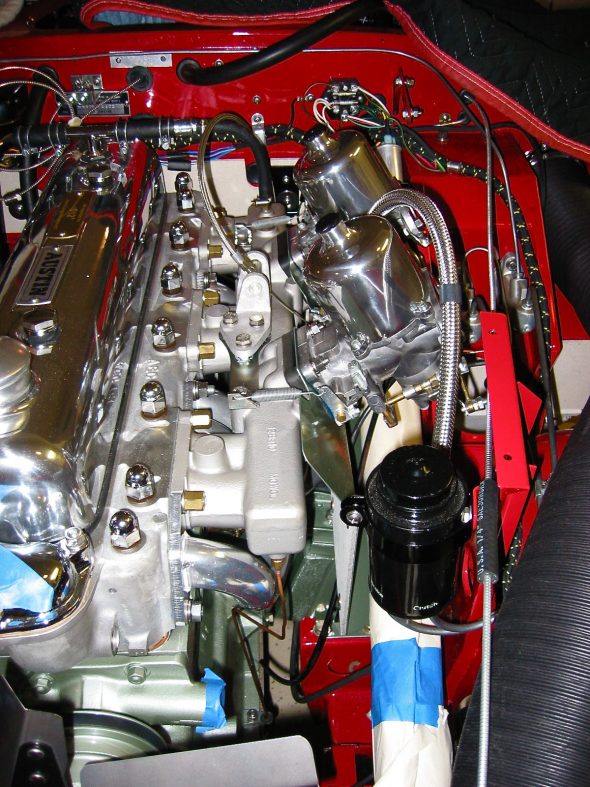
Engine LH view

Engine front view

Engine Post-Installation Check List

Having just installed my engine and gearbox into the car chassis, I thought it might be useful to keep track of the various related installations and connections that need to be made before one turns the ignition key and hits the starter button to fire-up the refreshed engine. I will try to journal this check list of items in the sequence that they are addressed, though I may find that I need to modify the chronology as things unfold.
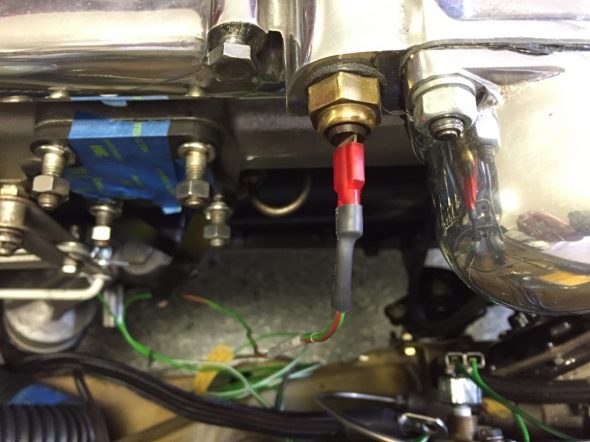
1. Water temperature sensor wire:

Water Temp Sensor Wire at Intake Manifold

Water Temp Sensor Wire at Intake Manifold

2. Oil Pressure Sensor Wire:

Oil Pressure Sensor Wire

Oil Pressure Sensor Wire

3. Dip Stick – I discovered that the placement of the electric steering pump interfered with the free travel of the dip stick. I found it to be easier to shorten the dipstick than to move the pump!

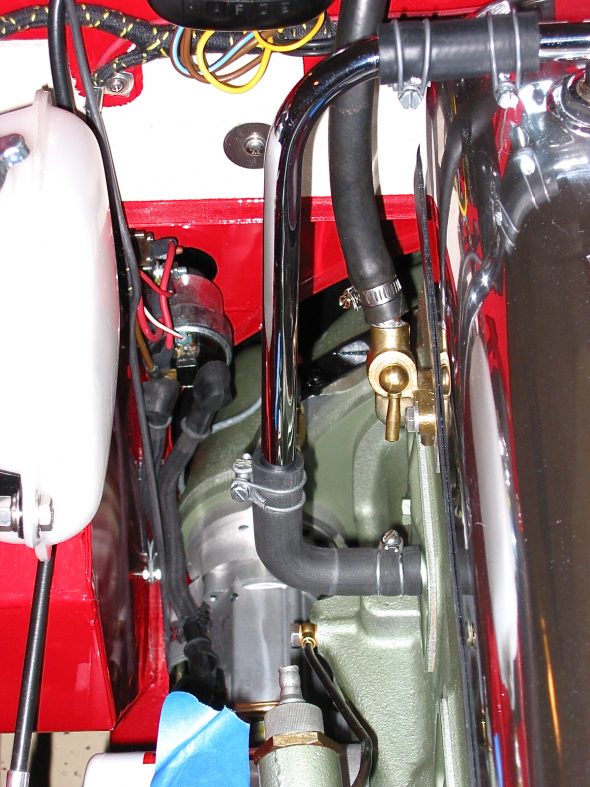
4. Heater Feed Pipe Hose Connection to Intake Manifold:

Intake Manifold Feed Hose to Heater

Intake Manifold Feed Hose to Heater

5. Heater Return Pipe Hose Connection to the Front Return Pipe at the Side of the Cylinder Head – the XK’s Unlimited stainless pipe does not fit well so I have ordered and offset hose to hopefully compensate for the poor fit.

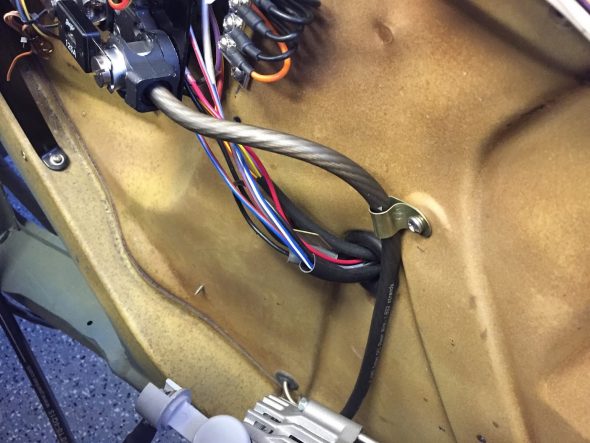
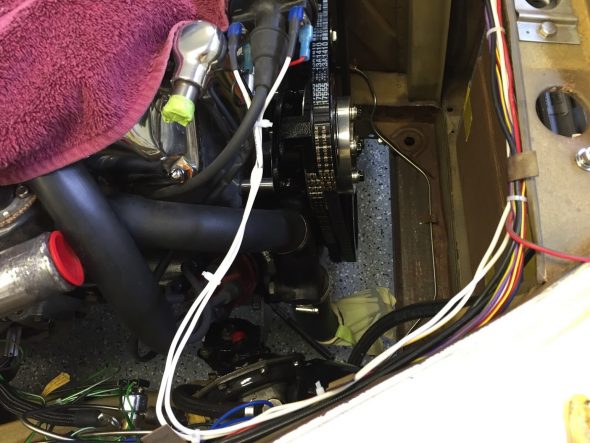
6. Checked the firewall wiring Ground Strap to Chassis path to make sure all of the wiring is routed under the heater pipes, clutch hydraulic pipe and hose and the alternator cable, note the position of the clips. On final assembly the loose wiring will be in a wire look cover:

Firewall Wiring

Firewall Wiring

7. Wiring Clips below the heater. Two yellow zinc clips, one for the alternator cable, and the other for the collection of smaller gauge wires:

Yellow Zinc Wiring Clips Installed

Yellow Zinc Wiring Clips Installed

8. Flexible Hydraulic Stainless Steel Hose at rear of the cylinder head:

Goodridge Flexible Clutch Hose

Goodridge Flexible Clutch Hose

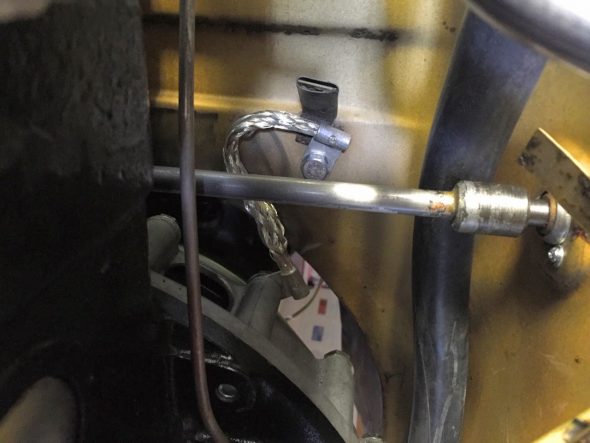
9. Starter Cable – The cable was previously connected to the starter. The other end was routed to the rear lug of the starter solenoid and secured with a rubber boot over the connection:

Cable from Starter to Solenoid on Firewall

Cable from Starter to Solenoid on Firewall

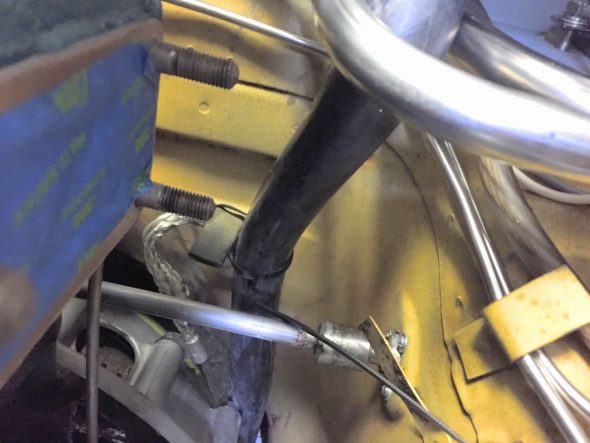
10. Ground (Earth) Strap – Connected to the firewall with a 5/16″ shake proof washer and a 5/16″ – 24 x 1/2″ hex head bolt:

Ground Strap to Chassis

Ground Strap to Chassis

11. Plenum drain hose – The drain hose was secured to the plenum pipe at the firewall with a hose clamp and routed between the chassis and the transmission, behind the throttle linkage. I zip-tied it to the ground cable at the firewall to make sure that it did not rub against the throttle linkage:

Plenum Hose clamp at Firewall and wiring below pipes

Plenum Hose clamp at Firewall and wiring below pipes

Plenum Drain Hose zip-tied to Ground Cable

Plenum Drain Hose zip-tied to Ground Cable

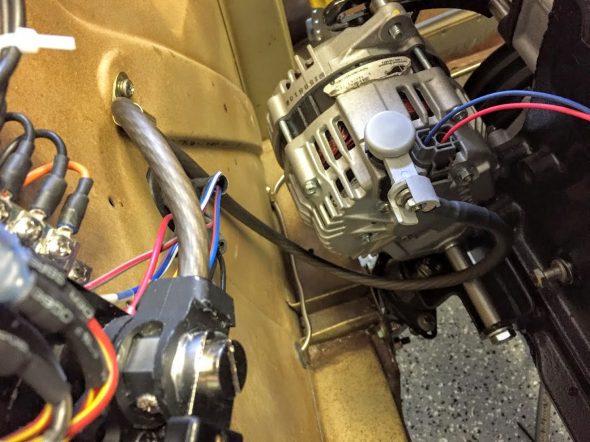
12. Installed the alternator and its primary cable from the ANL Fuse on the LH engine bay valance. I took advantage of a captive nut already located on the valance as a place to install a yellow-zinc clip to secure the alternator cable.

Alternator to ANL Fuse Cable Installed

Alternator to ANL Fuse Cable Installed

Alternator Cable Valance Clip

Alternator Cable Valance Clip

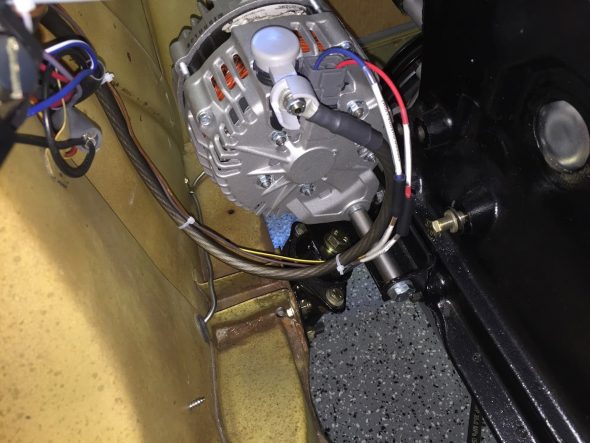
13. Alternator Pig Tail wiring leads:

Alternator Cable and Pigtail Installed

Alternator Cable and Pigtail Installed

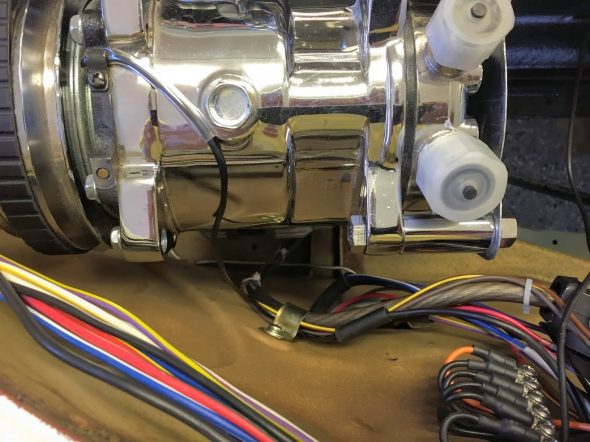
14. Compressor – connected the black wire from the compressor with the black wire from the air conditioner drier.

Compressor Wiring to Valance

Compressor Wiring to Valance

15. Coil wiring – white wire from ignition, fuse position #6 to positive terminal at coil; and white/yellow wire from tachometer to negative terminal at coil:

Coil wiring Installed Tach to - terminal FP6 to + terminal

Coil wiring Installed Tach to – terminal FP6 to + terminal

16. Reservac Tank Vacuum Hose – from brake servo reservac tank check valve to the vacuum line at the RH side of the cylinder block:

Vacuum Hose from Reservac Tank Installed

Vacuum Hose from Reservac Tank Installed

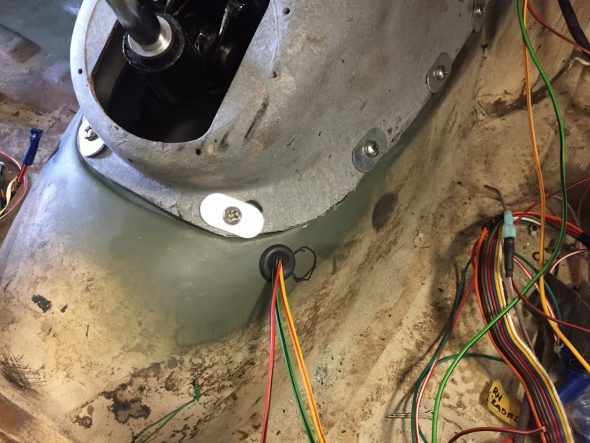
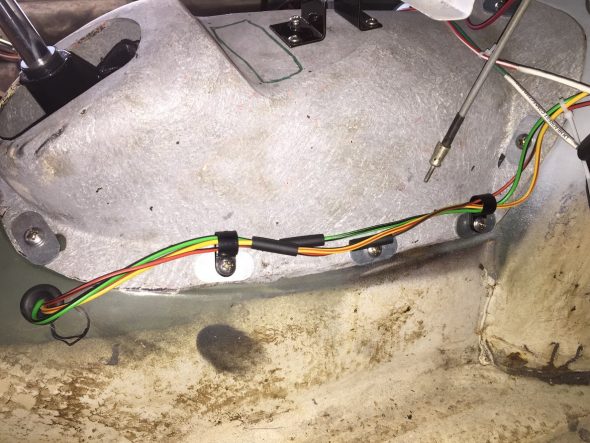
17. Reverse and Top Gear Switch Wiring at Gearbox – Rather than routing these wires as Jaguar did (through the gearbox tunnel) I decided to install a rubber grommet in the tunnel and run the wiring to the interior of the car. Each wire was then connected with two-way snap connectors and will be hidden by the central console:

Grommet for Reverse and Top Gear Wiring

Grommet for Reverse and Top Gear Wiring

Reverse and Top Gear Wiring at Gearbox Cover

Reverse and Top Gear Wiring at Gearbox Cover

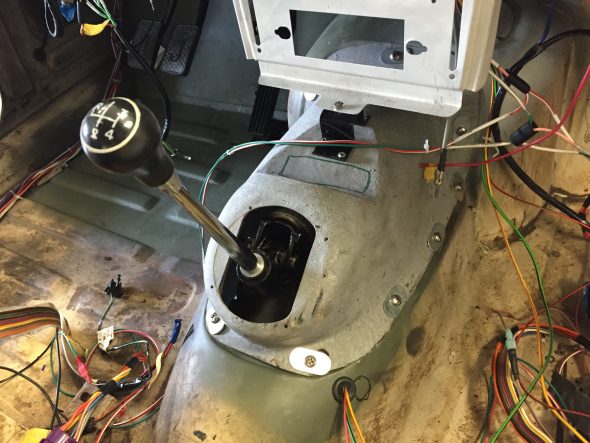
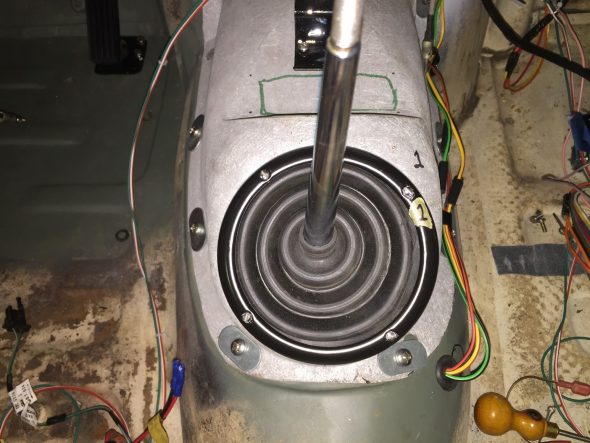
18. Change Speed Lever, Rubber Grommet and Retaining Ring – I removed the lever knob and slid the grommet over the lever shaft ( a little petroleum jelly doesn’t hurt), punched holes in the grommet with an awl and installed the ring and grommet with four #4 x 1″ chrome slotted finishing self-tapping screws.

Gear Selector Installed

Gear Selector Installed

Rubber Grommet on Gearbox Cover for Change Speed Lever

Rubber Grommet on Gearbox Cover for Change Speed Lever

19. Breather Assembly – The breather hose/pipe for the engine originally routed to the air cleaner where the mist would be recirculated into the carburetors. In my case, I am not using the original air cleaner and I did not want to recirculate the emissions from the breather pipe to the fuel system anyway.

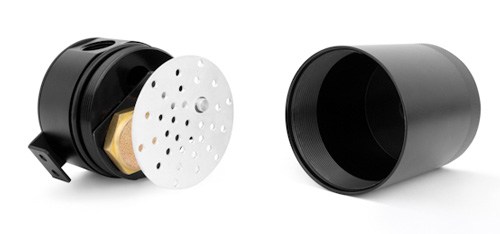
I chose to use a catch can manufactured by Mishimoto. The can is a very clever design.

Mishimoto Compact Catch Can

Mishimoto Compact 2 Port Catch Can

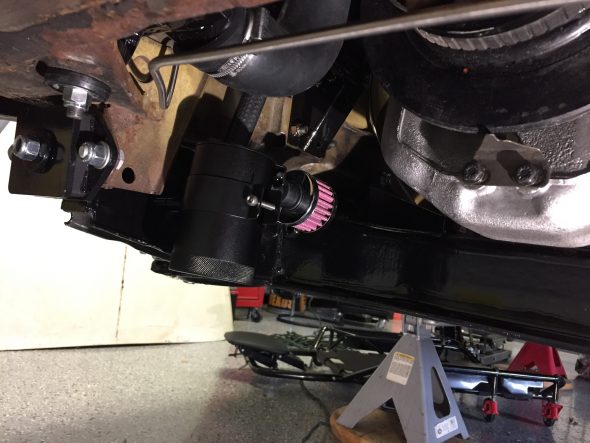
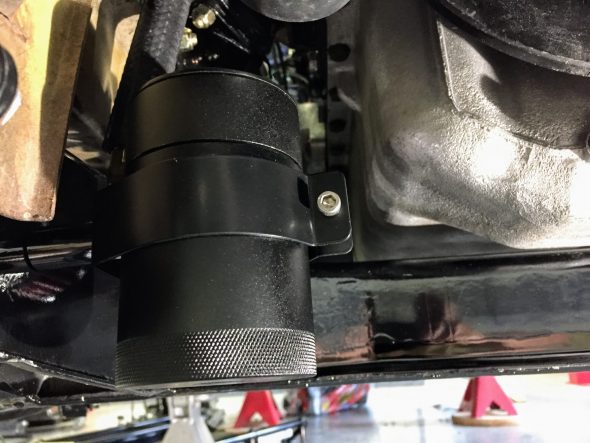
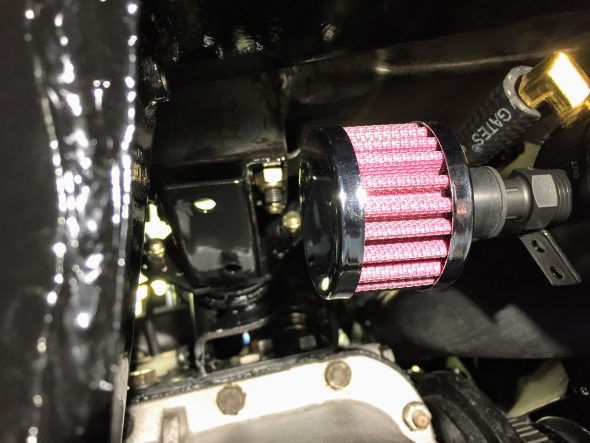
Of course, a Jaguar owner cannot have a product with a Japanese name on it visibly mounted in the engine bay, (never mind that many of the newer parts used in the restoration probably were produced in China!) so I chose to mount the can on the front suspension crossmember. At this location it is very easy to access to check accumulation. I also used a K&N Filter for the outlet port.

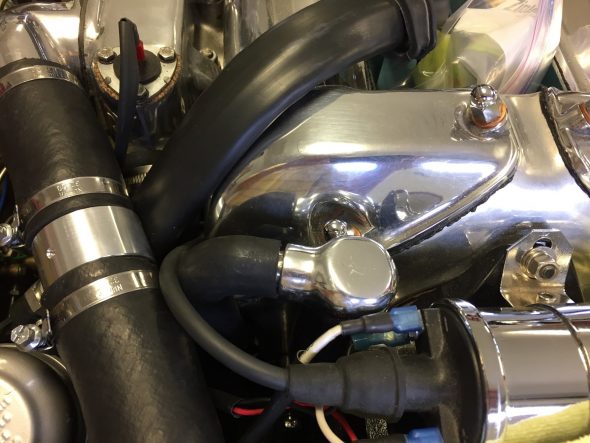
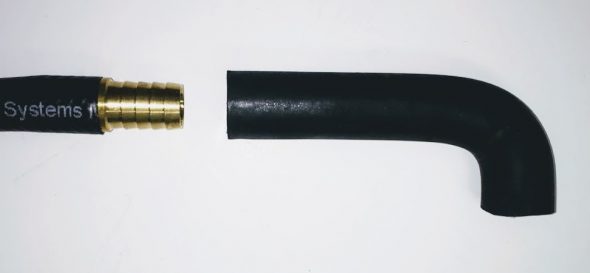
The elbow hose from the breather port on the engine is a 5/8″ I.D. but the fitting on the catch can is a 3/8″” barb so I used a barbed brass step down fitting between the 5/8″ hose and a 3/8″” hose. The straight emissions hose runs from the elbow almost straight downward, and parallel to the servo breather hose, to the catch can.

Breather Elbow Hose

5/8″ to 3/8″ Brass Step Down Fitting for Breather

These photos are dark and it is a challenge to see the mounting of the can. I was able to use a hole that was already in the front crossmember so it was not necessary to drill any holes to mount the catch can. Always a pleasing outcome!

Mishmoto Catch Can Mounted on Front Suspension Crossmember

Mishmoto Catch Can Mounted on Front Suspension Crossmember

K&N Filter on Catch Can Outlet Port