November 28, 2004
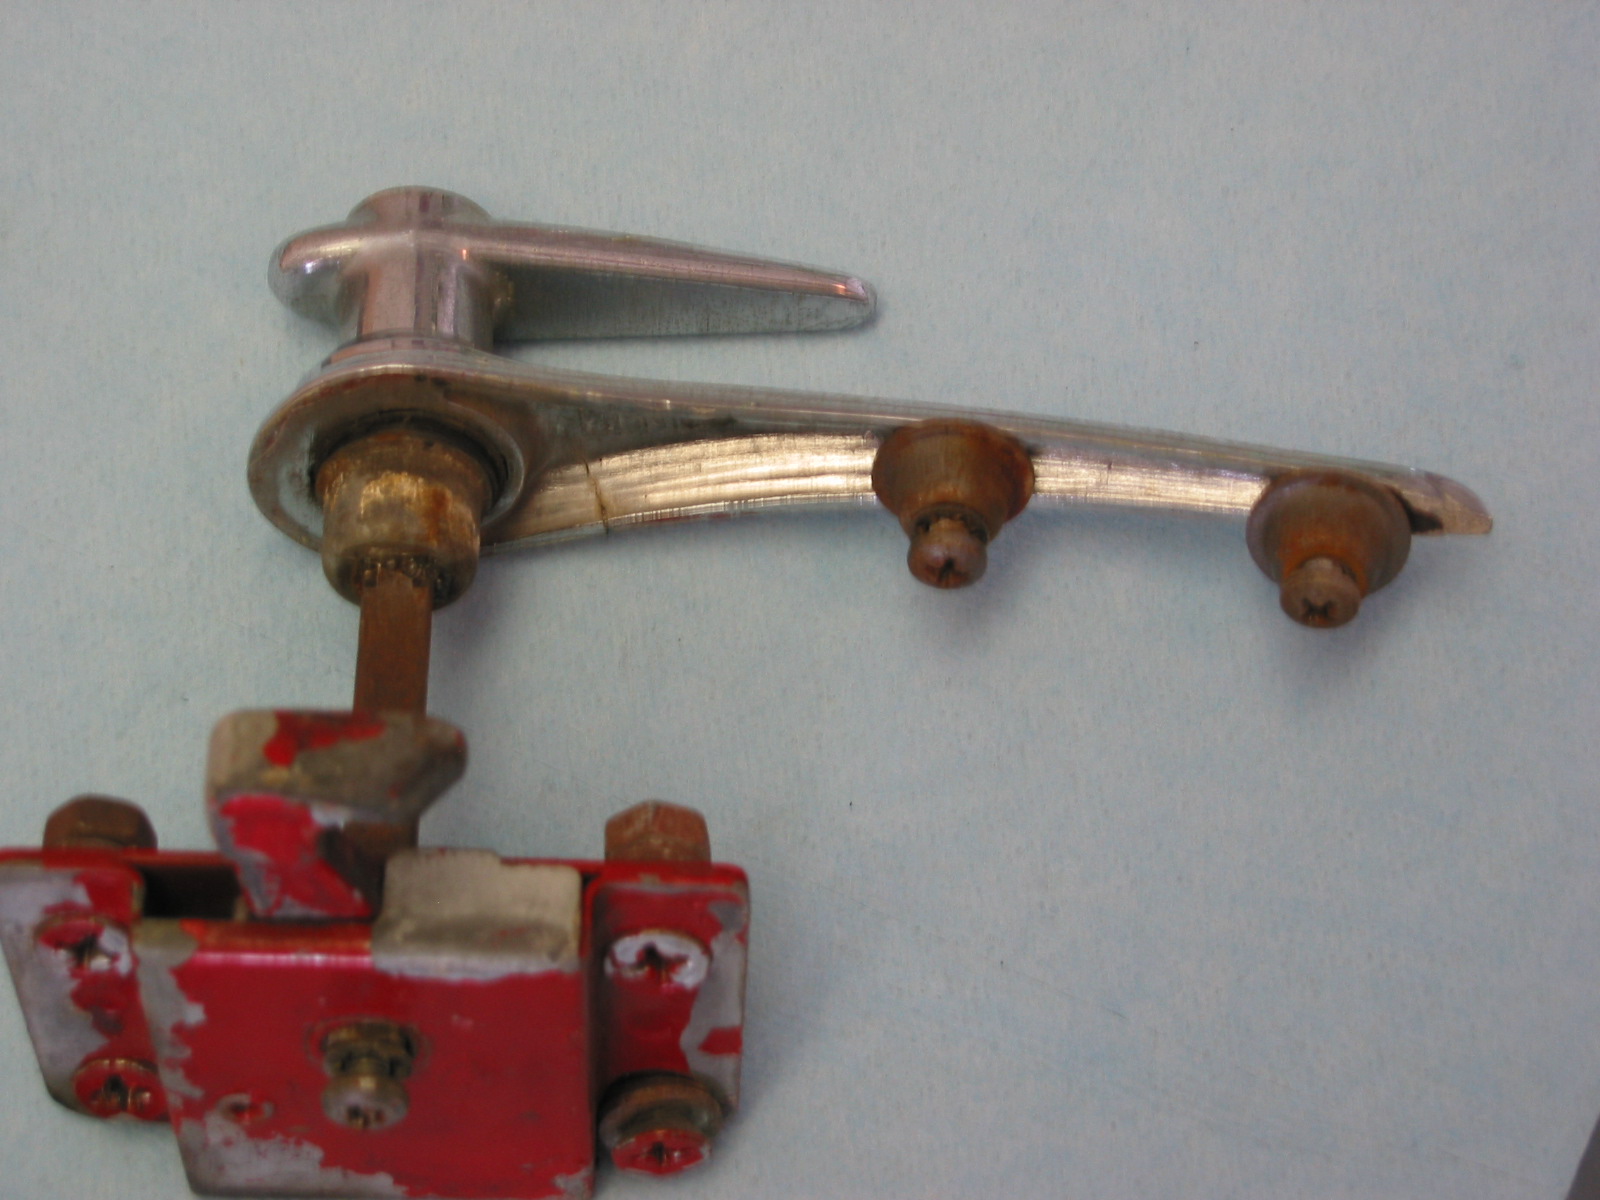
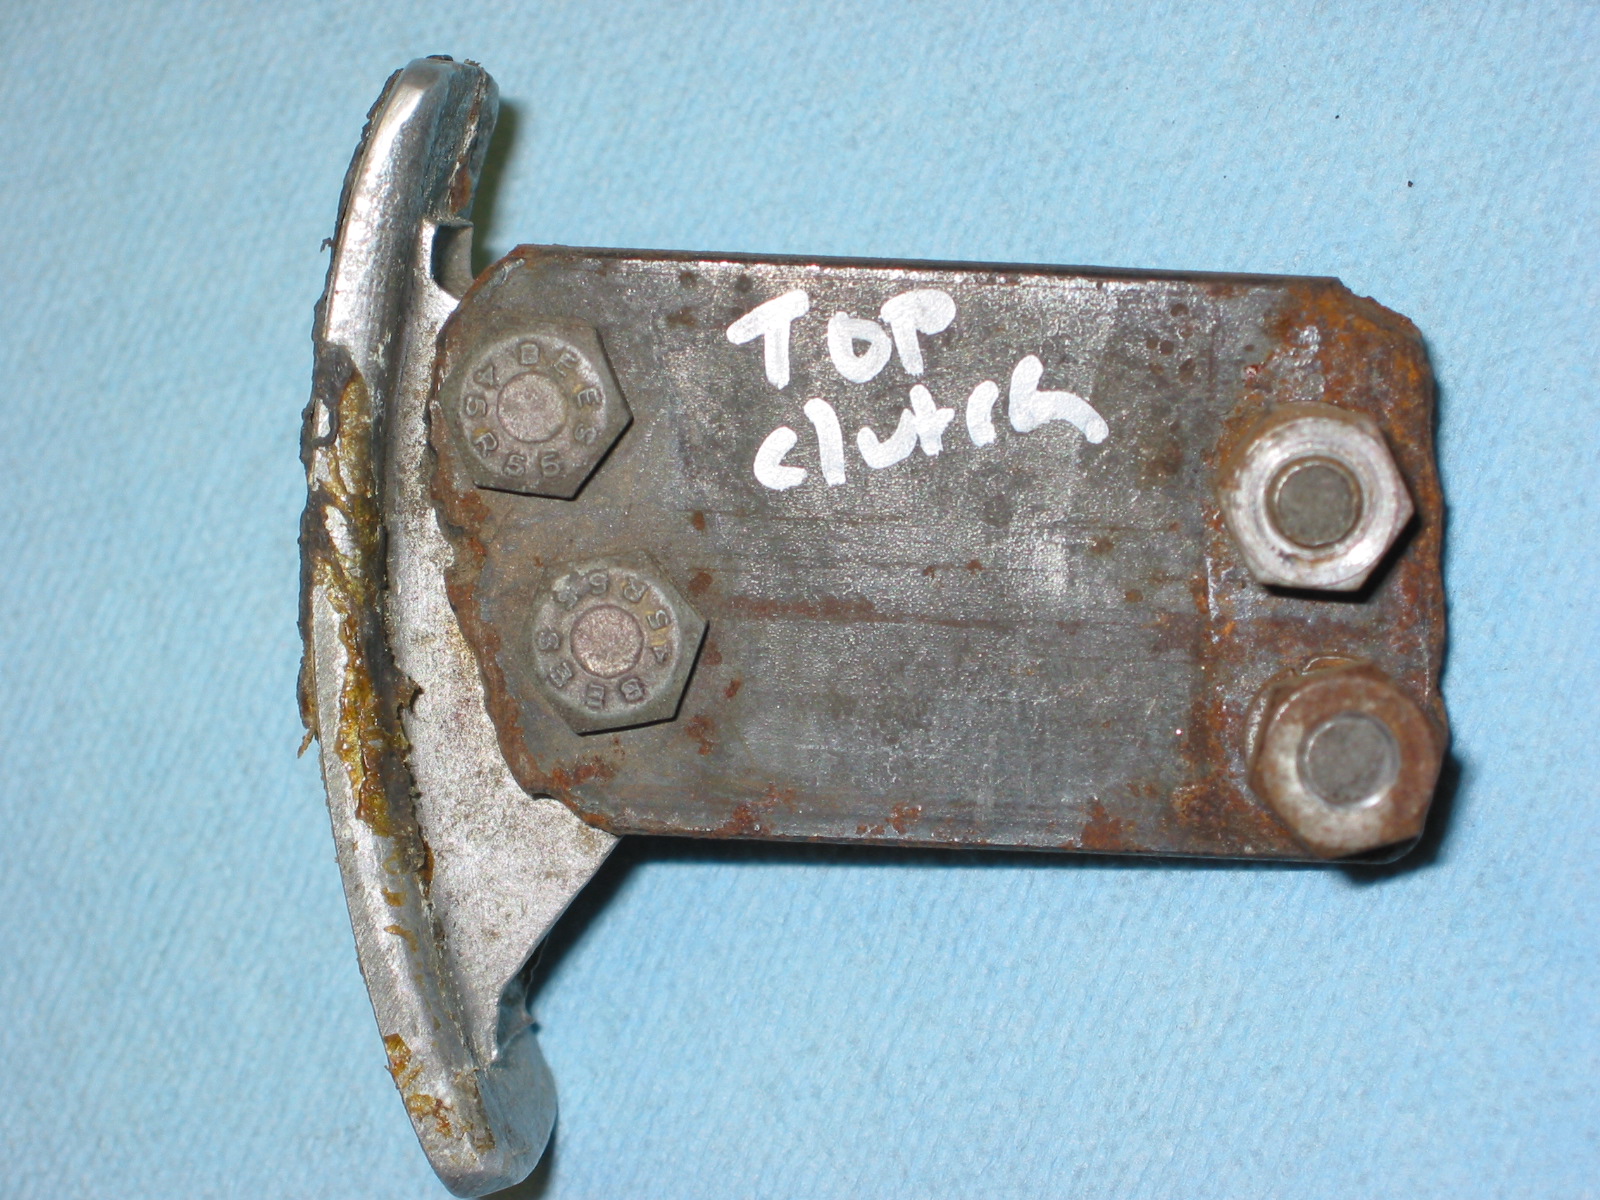
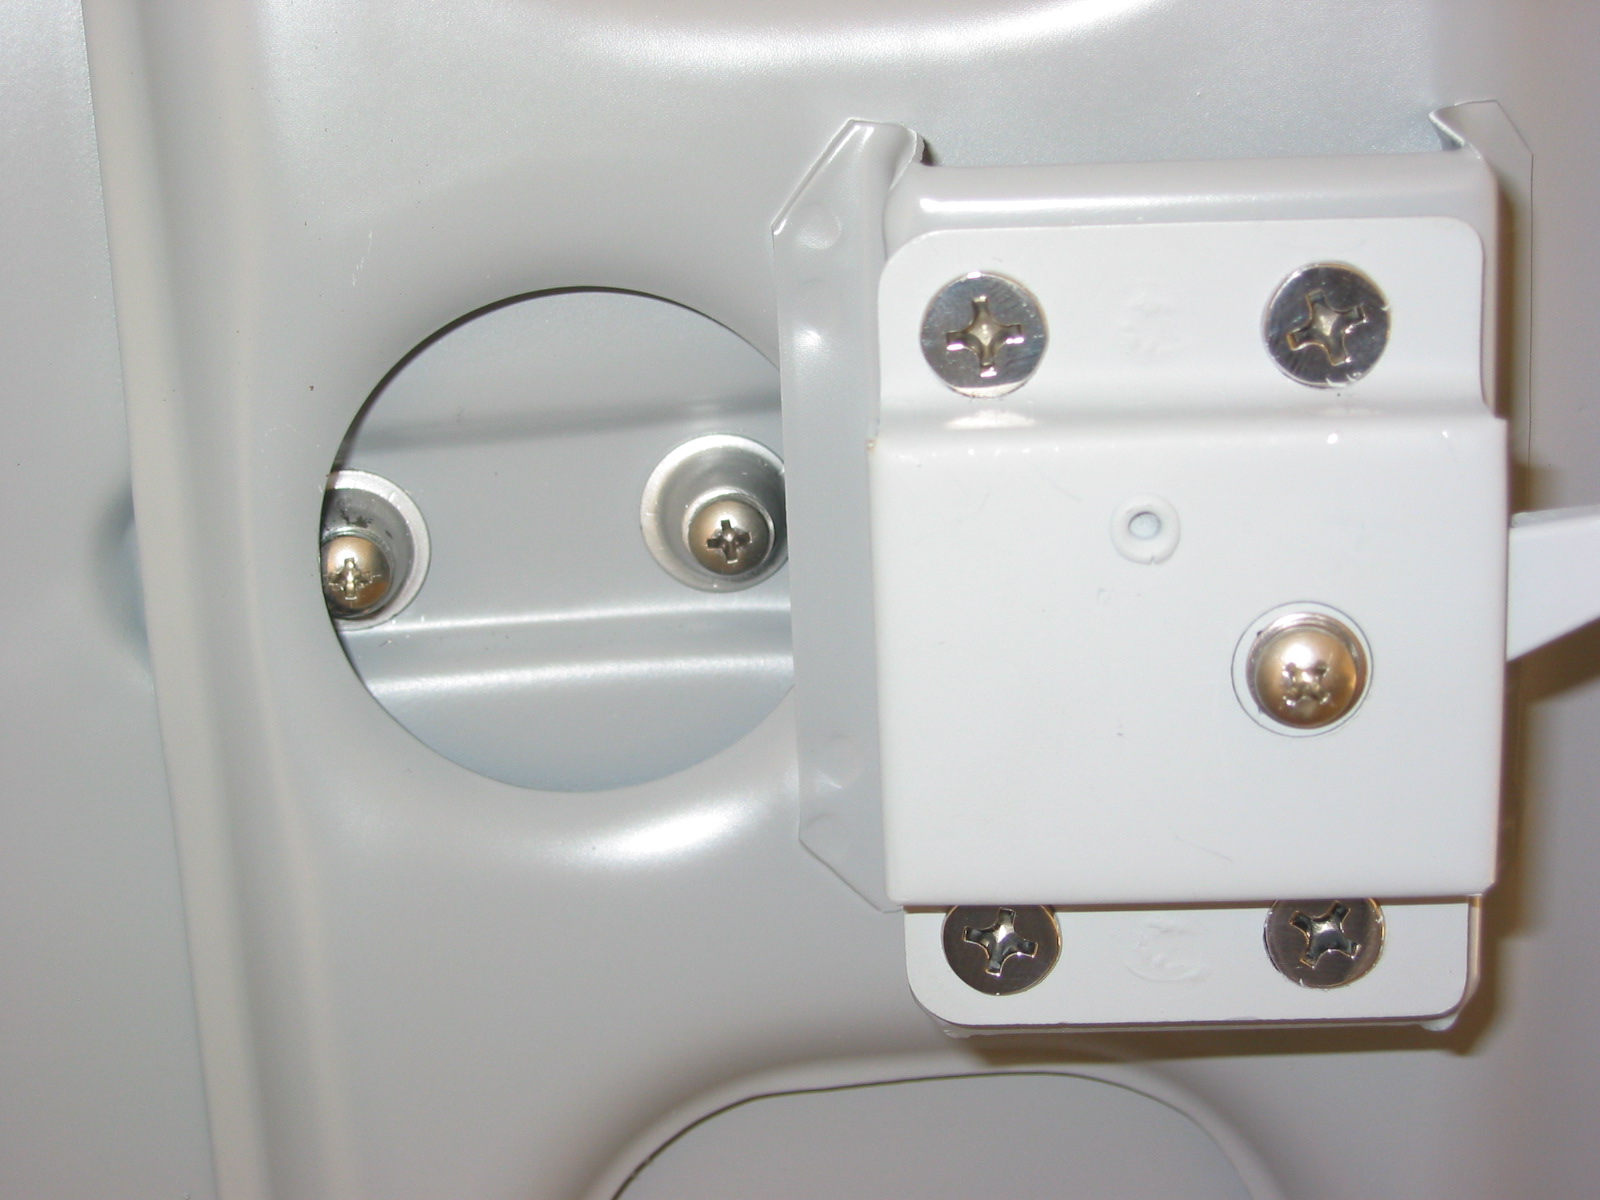
Boot Latch/Lock Assembly
Boot Latch/Lock Assembly Installation – Installed the boot lock and handle assembly along with a new rubber gasket that looks like it will need to be slightly trimmed before final installation. The striker plate mounted to the frame assembly with three bolts needed to be loosened and shifted upward as far as it would move. The lock mounted in the boot lid needed to be shifted downward before tightening.
Boot lock handle 1

Boot lock handle 2
Spare Tire Leather Retaining Strap – This was hard to find and I finally ordered it from Cape International.
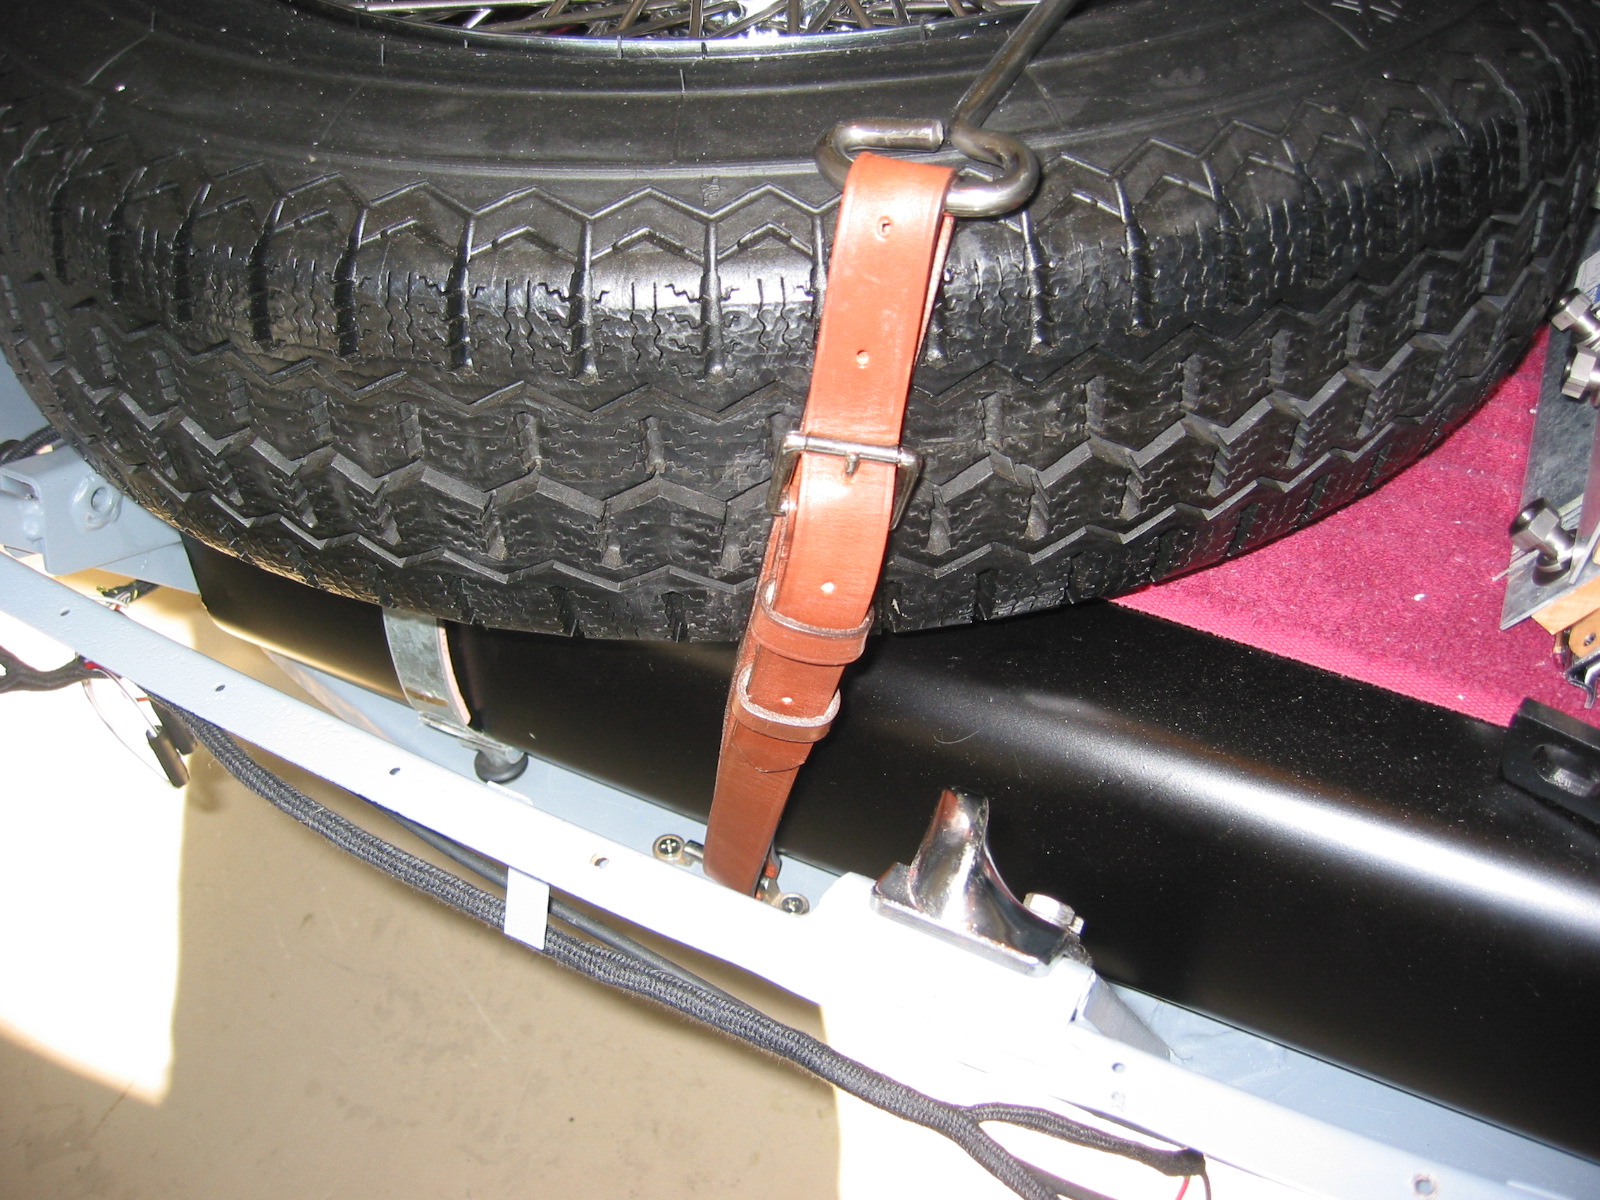
spare tire leather strap 1
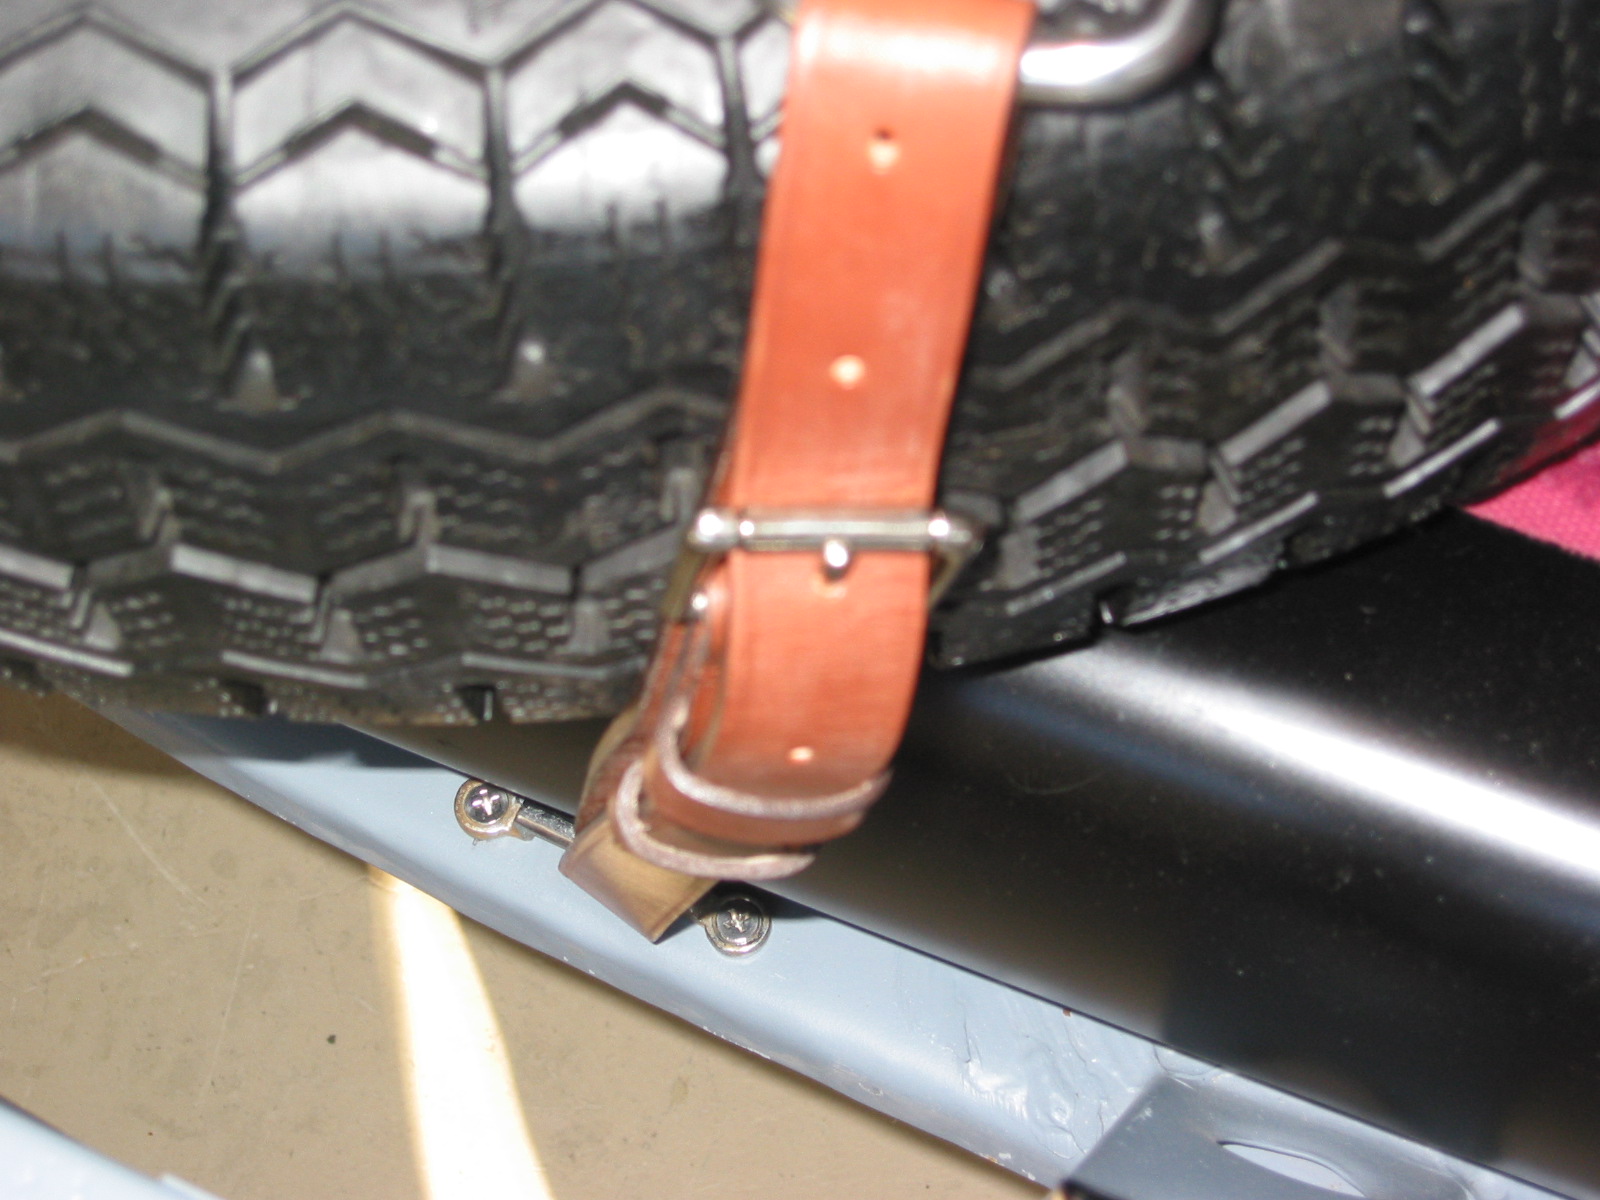
Spare tire leather strap 2
Gearbox cover extension panel – Jeremy Turner modified the extension panel for me to fit the Toyota tranny. As usual he did a wonderful job. I tried it out and it appeared to fit well. I called Duncan at Heritage Upholstery and Trim and ordered the light beige Wilton wool carpet with their domestic pad for the car. I sent them the extension panel to cover with carpet since it would be a custom fit. I also asked him to provide the carpet for the sideshift gearbox cover, but with no hole for the shifter. I will cut it to fit after trying it in the car. He will include the “parchment” vinyl for trimming the gearbox cover and around the handbrake lever for the propshaft tunnel. As usual with the british car vendor fraternity Heritage was very helpful to make sure I got what I needed.
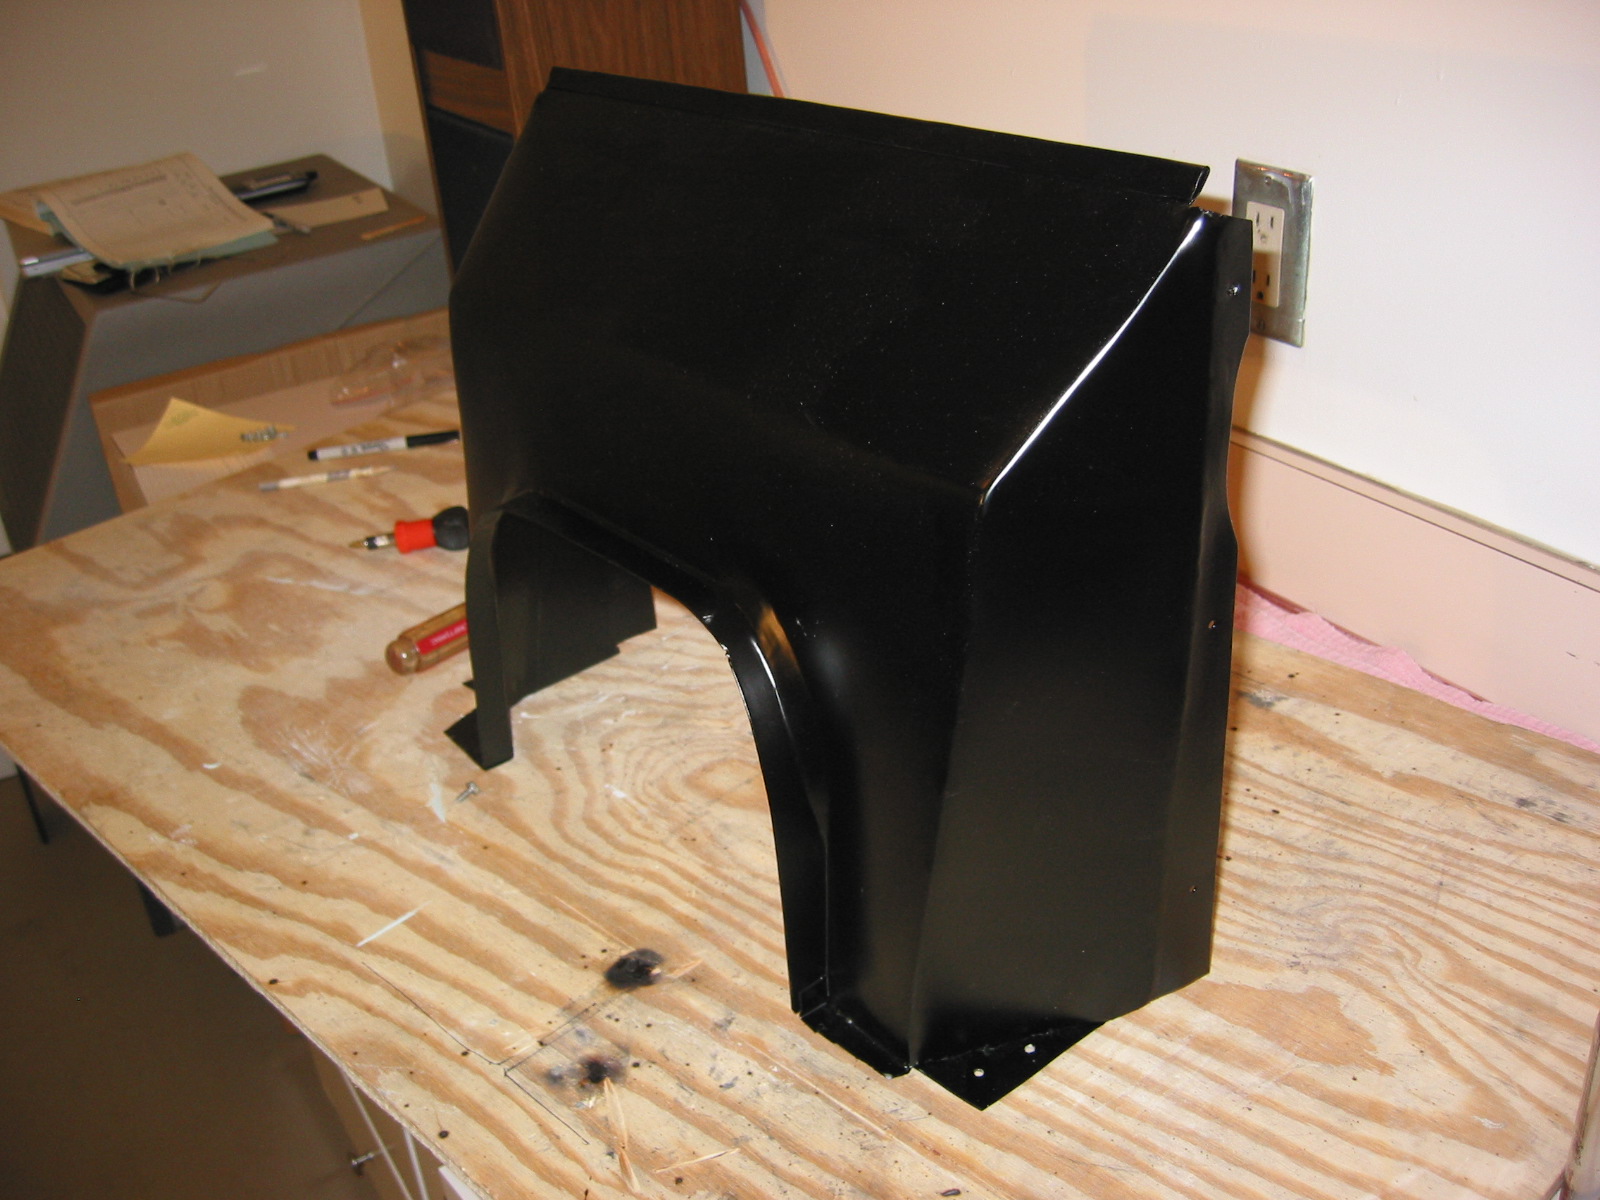
Gearbox cover extension 2
Soft Top Frame – I also picked up the reconditioned and painted soft top frame from Jeremy. He custom matched the paint color and again did a beautiful job.
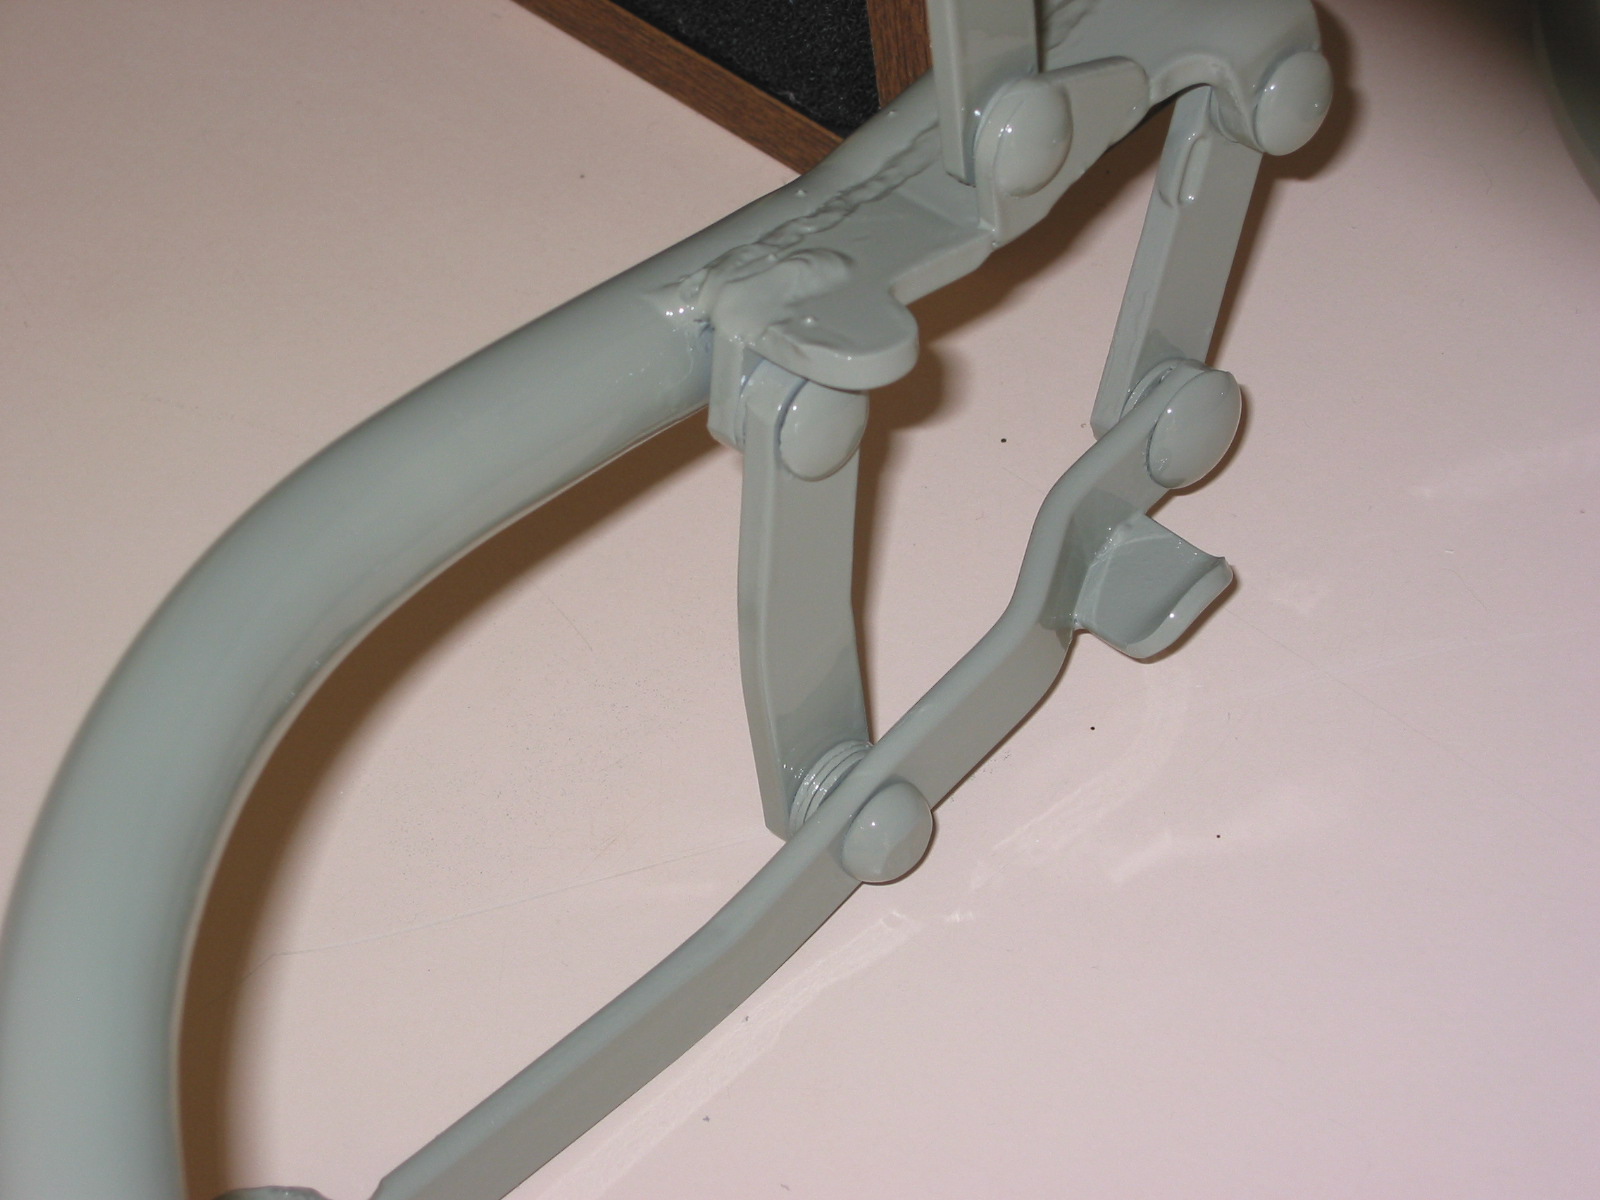
Soft top frame 2
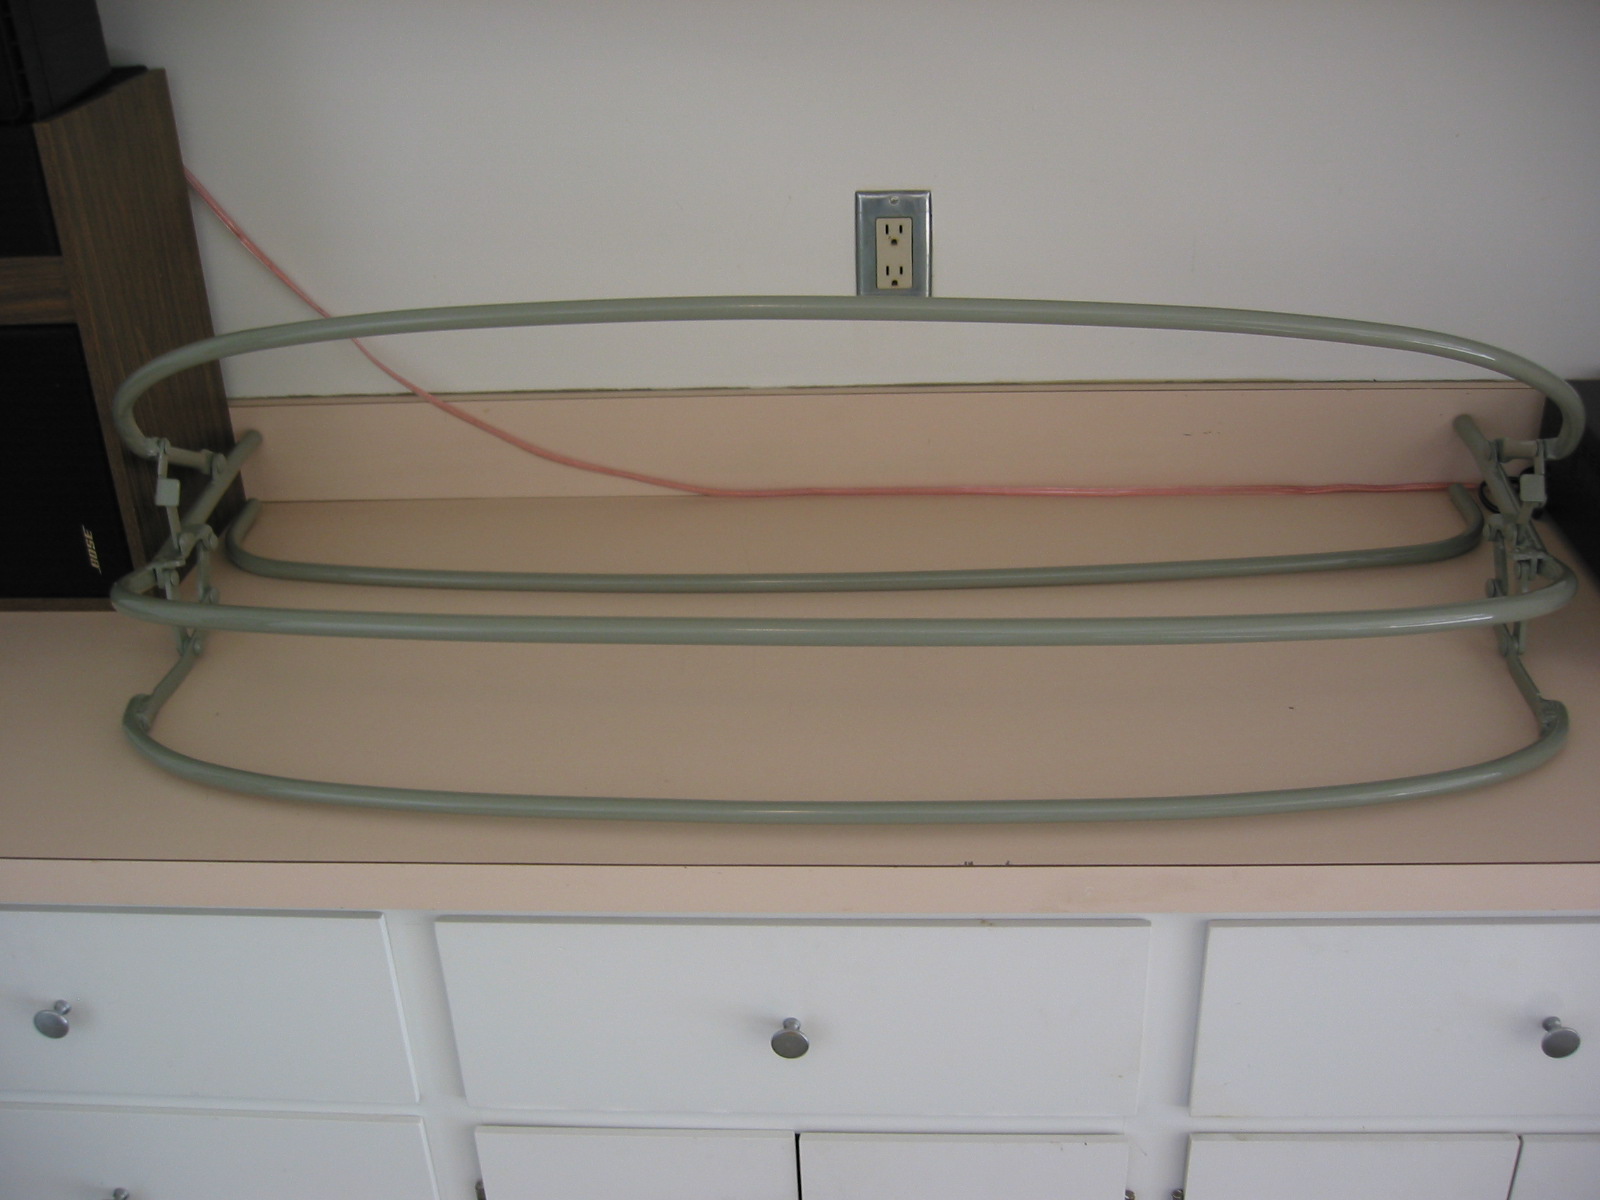
Soft top frame 1
Soft top frame 3
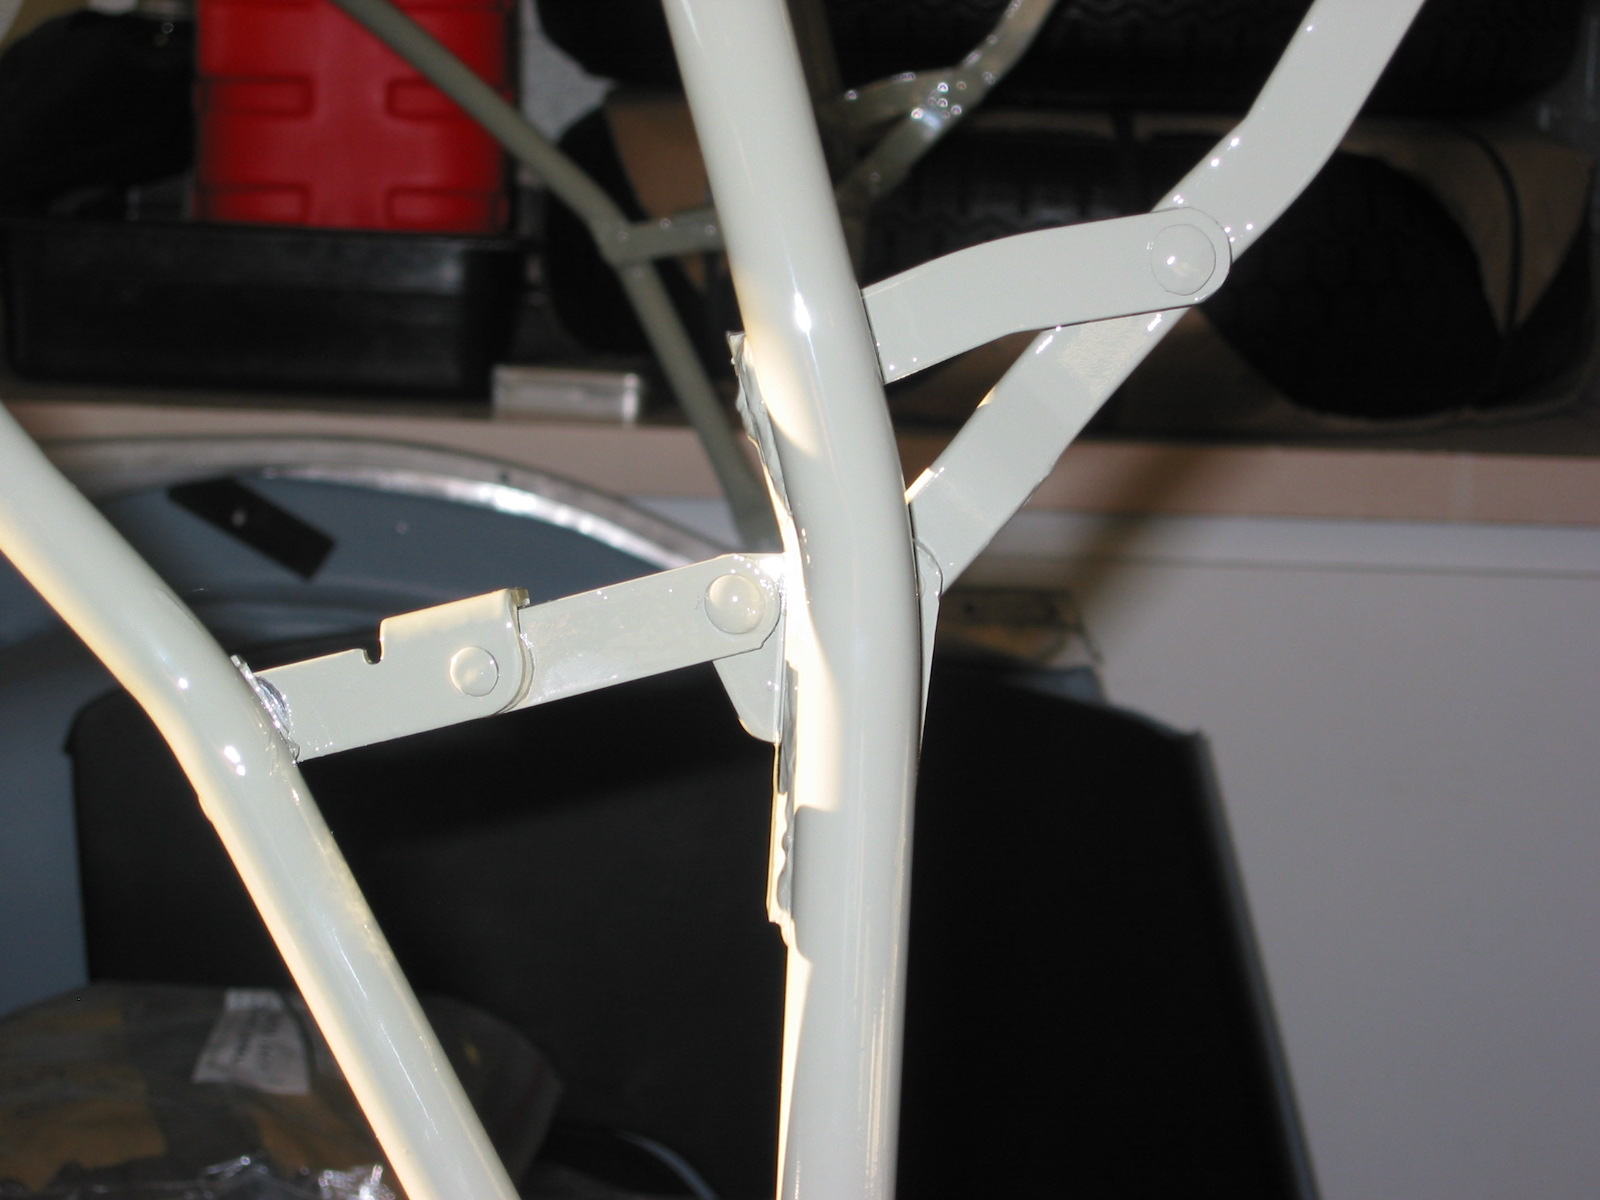
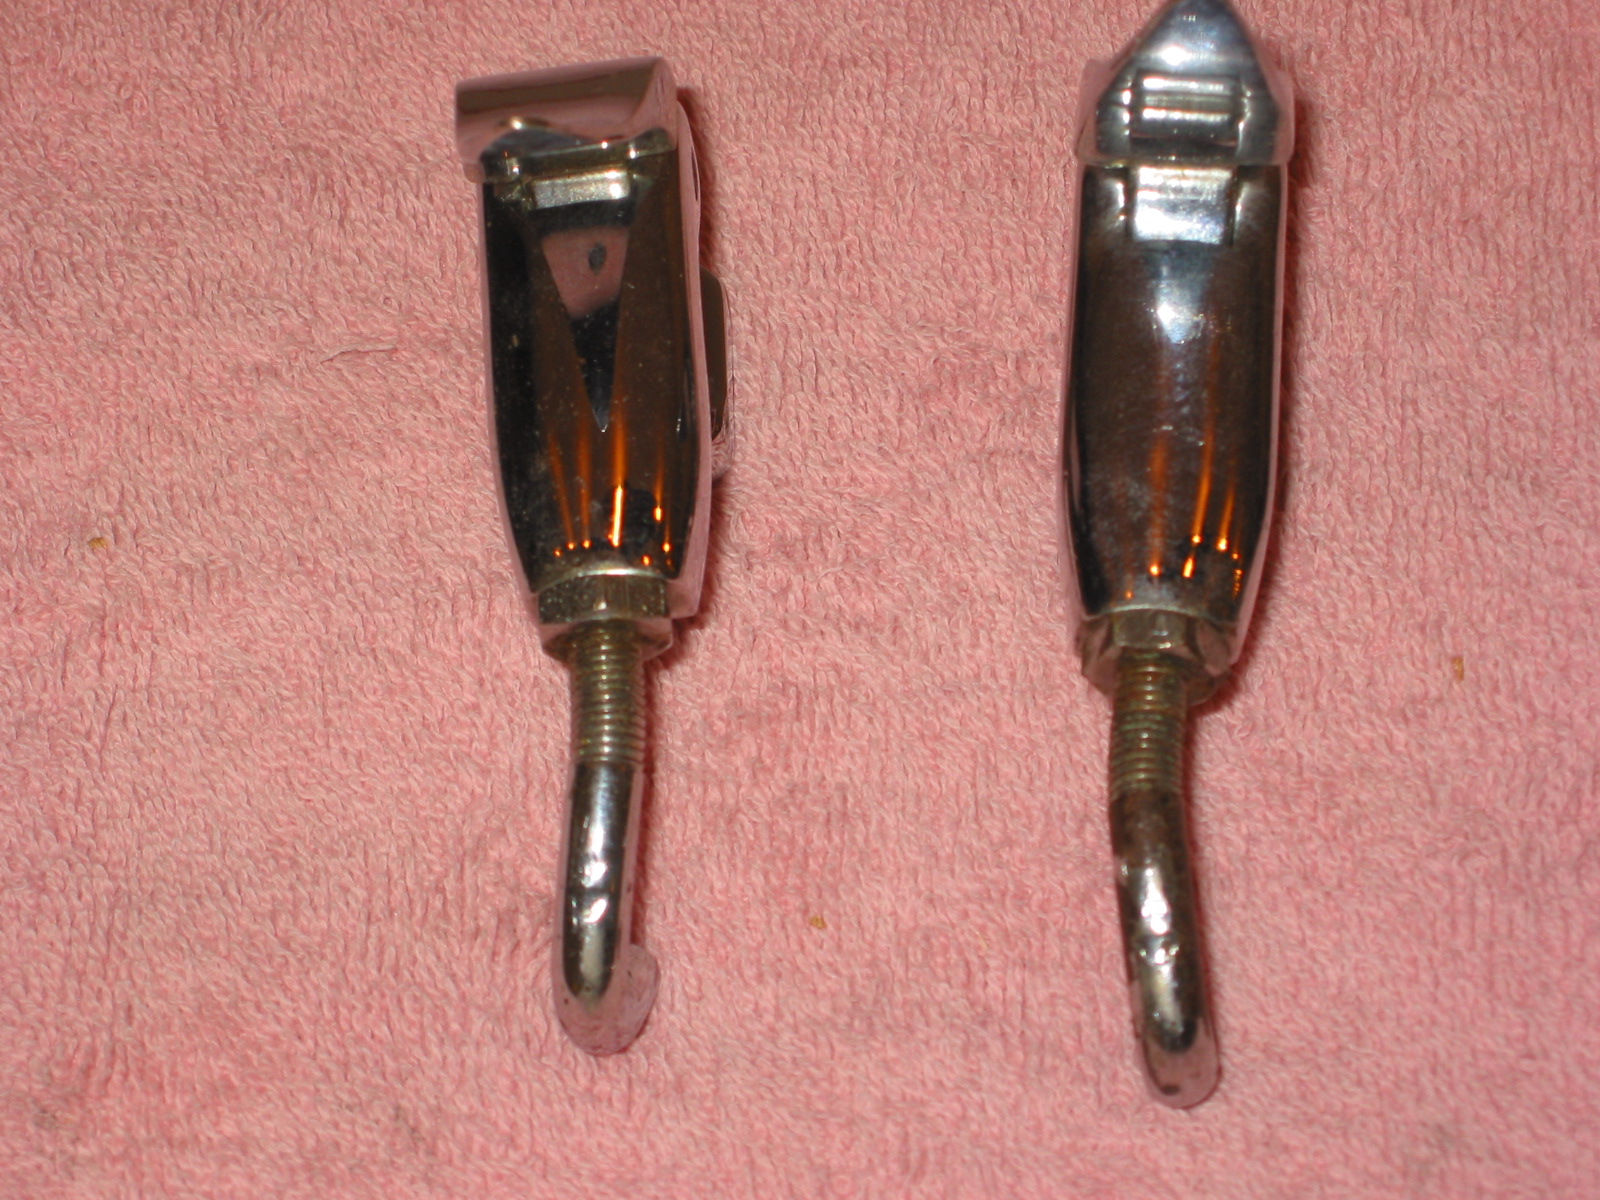
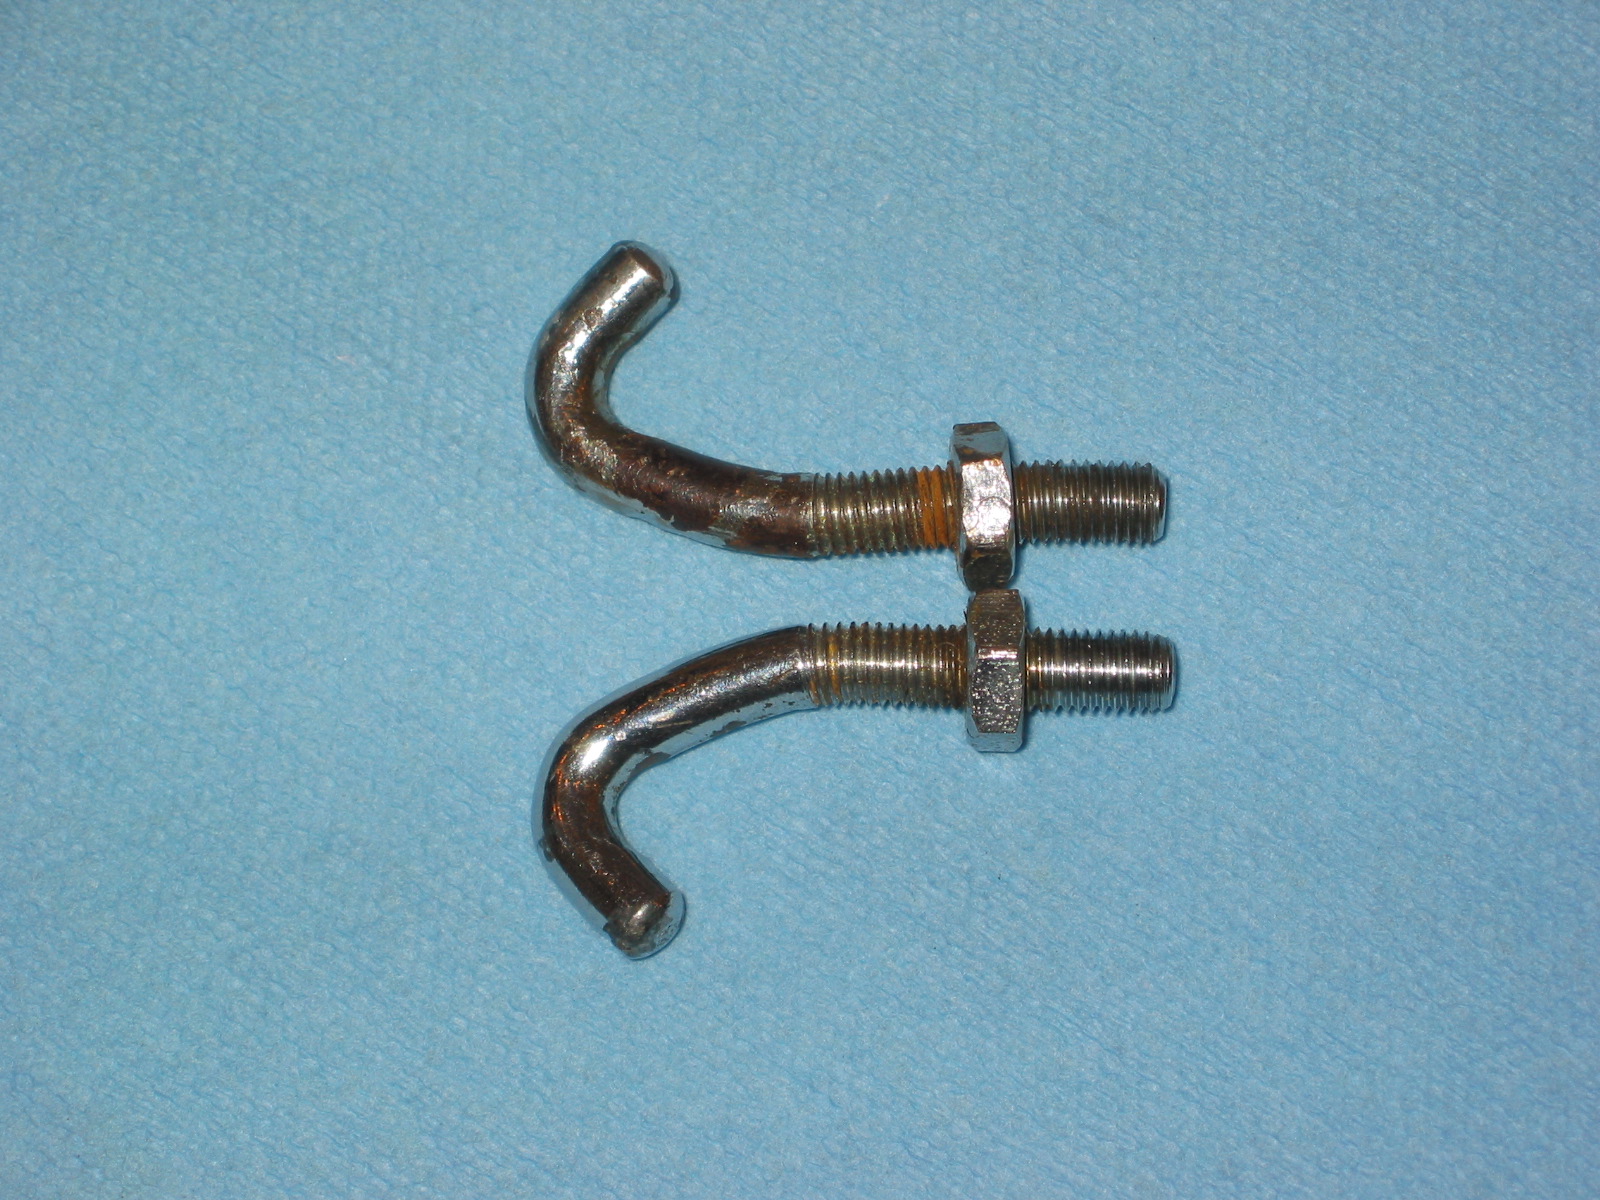
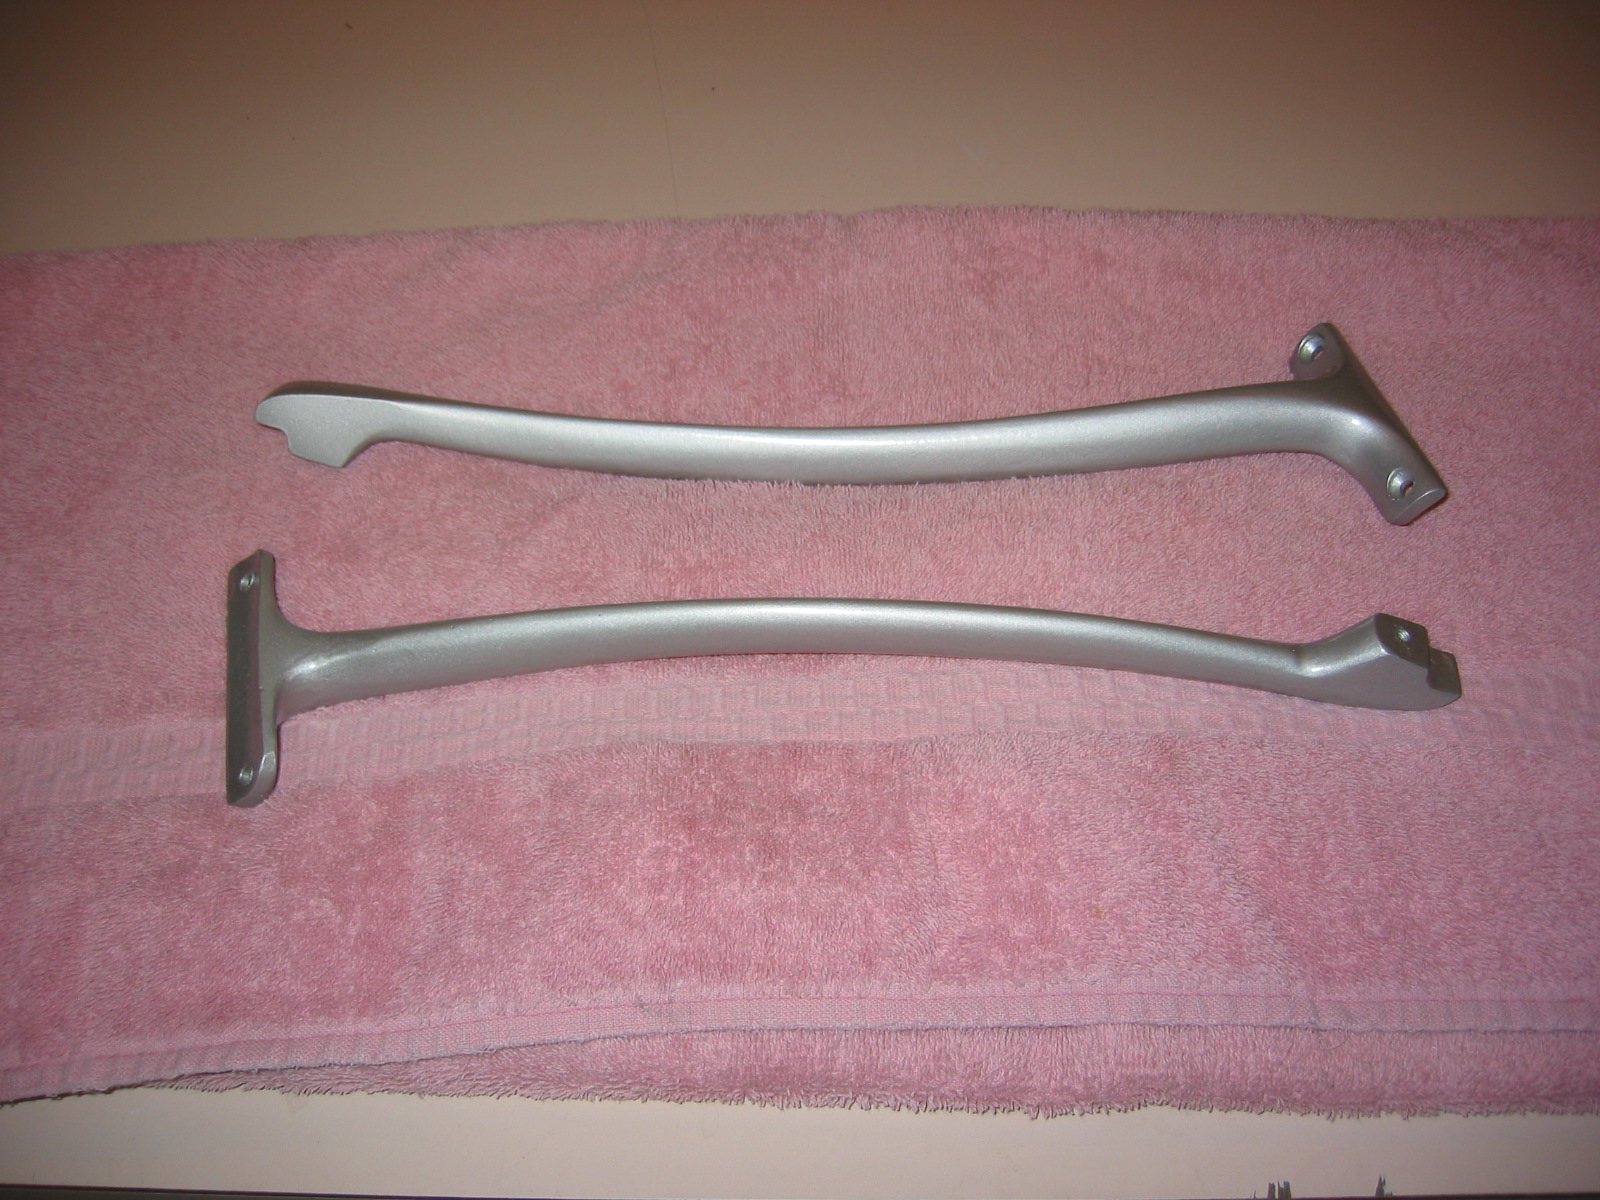
Hardtop “J” Hooks – I disassembled the front J hooks for the hardtop and will send the hooks by themselves to the chromer. Both J hooks have about 7/16” of the threads exposed after the tightening nuts.The clamps are in good condition and I will just polish them.
I ordered new J hooks for the rear side clamps for the hardtop from Cape International as well as new mounting brackets. I have not decided yet if I will use the new ones or the originals.
Hardtop front clasps 1
Hardtop front clasps 2

Hardtop J hooks 1
Wooden soft top front bow – Secures the bow to the aluminum front rail with approximately 15 1/2” #8 counter sunk wood screws.
Hardtop Hardware – I cleaned and painted the hardtop vertical support braces as well as the front corner brackets with Eastwood wire wheel silver and clear coat paint. They turned out very nice. I also cleaned and painted the mounting clips for the cockpit aluminum molding.

Shroud trim nuts 1
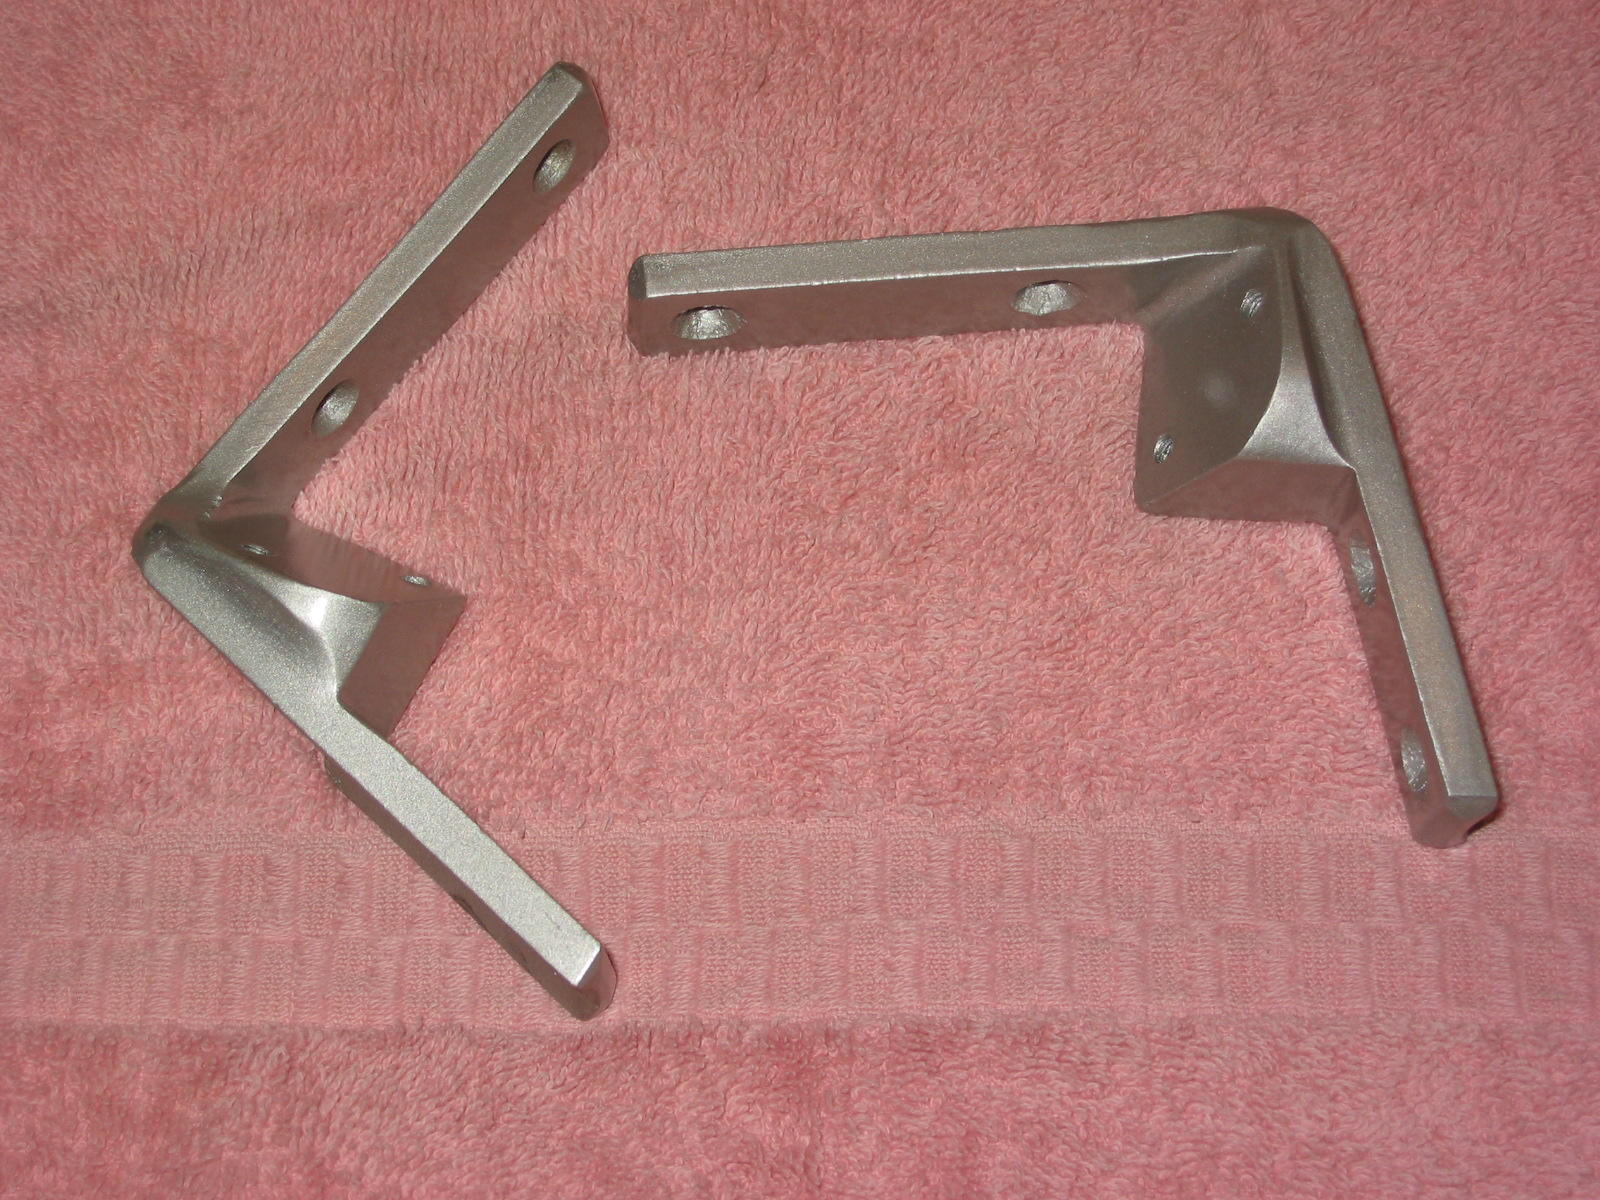
Hardtop front brackets
Hardtop braces 2