January 1, 2005
Soft Top Frame
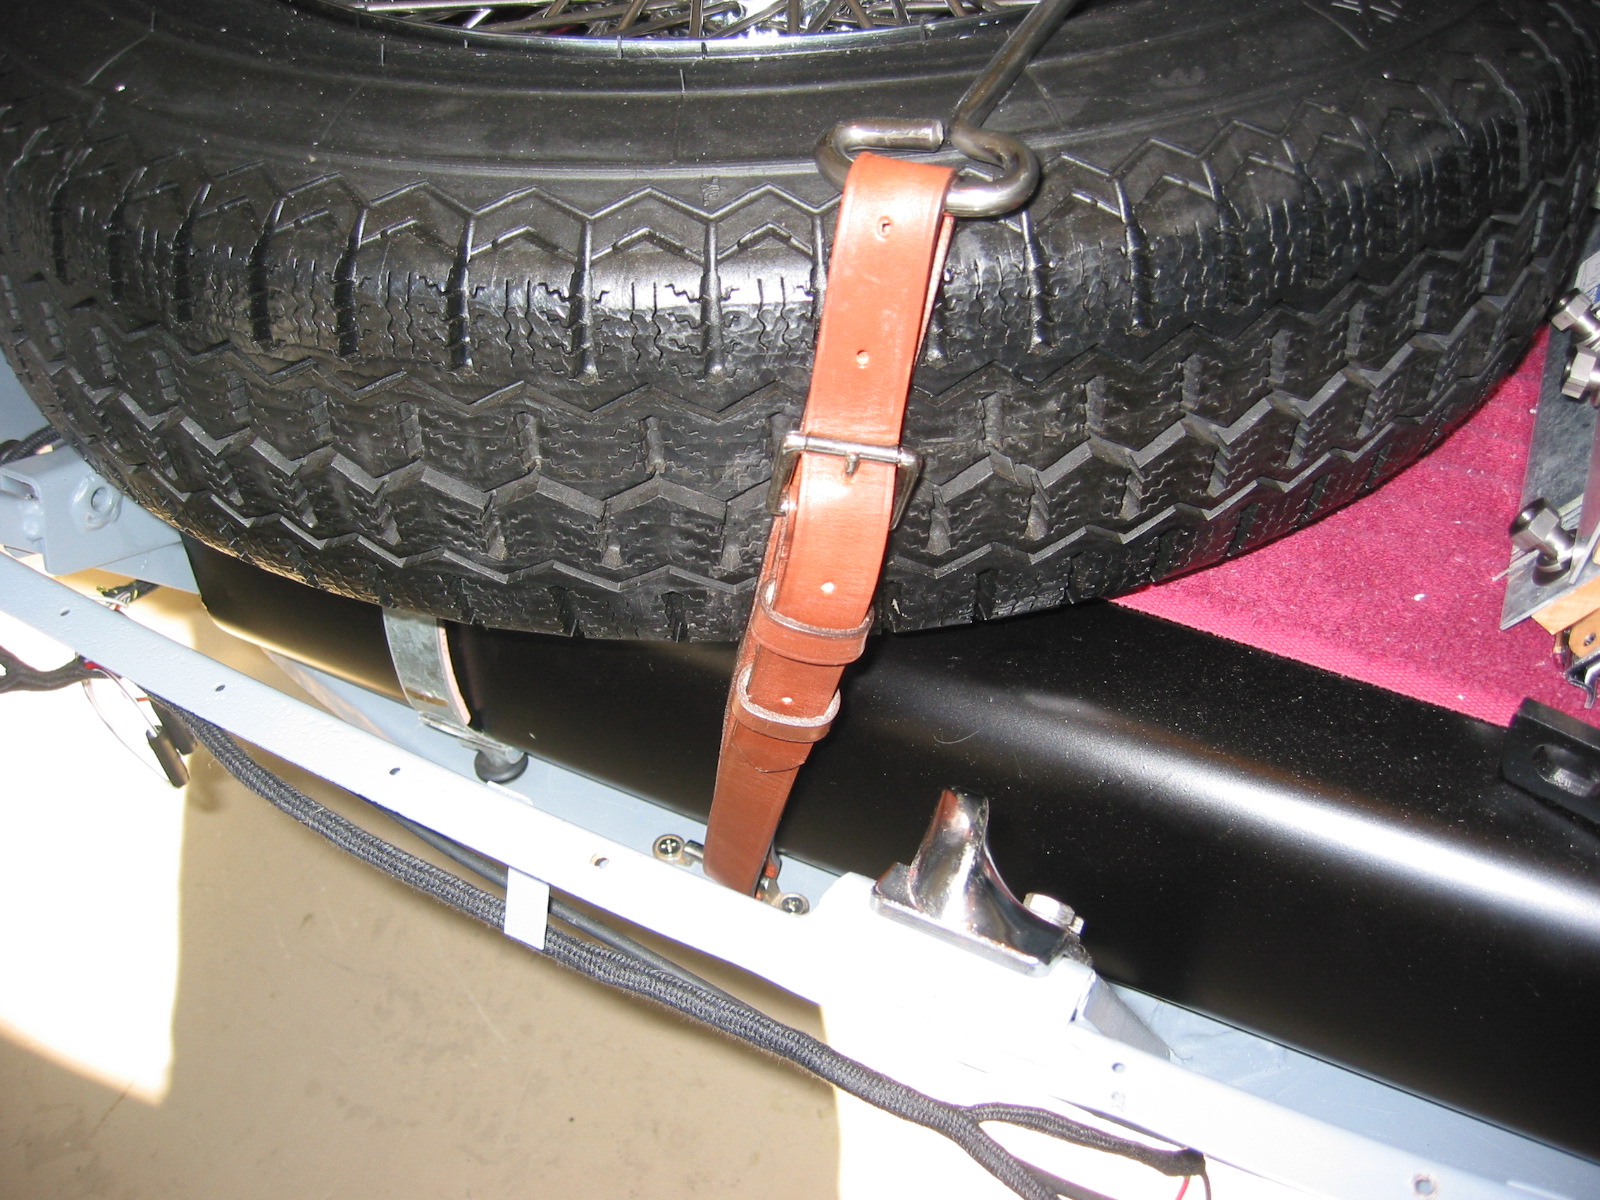
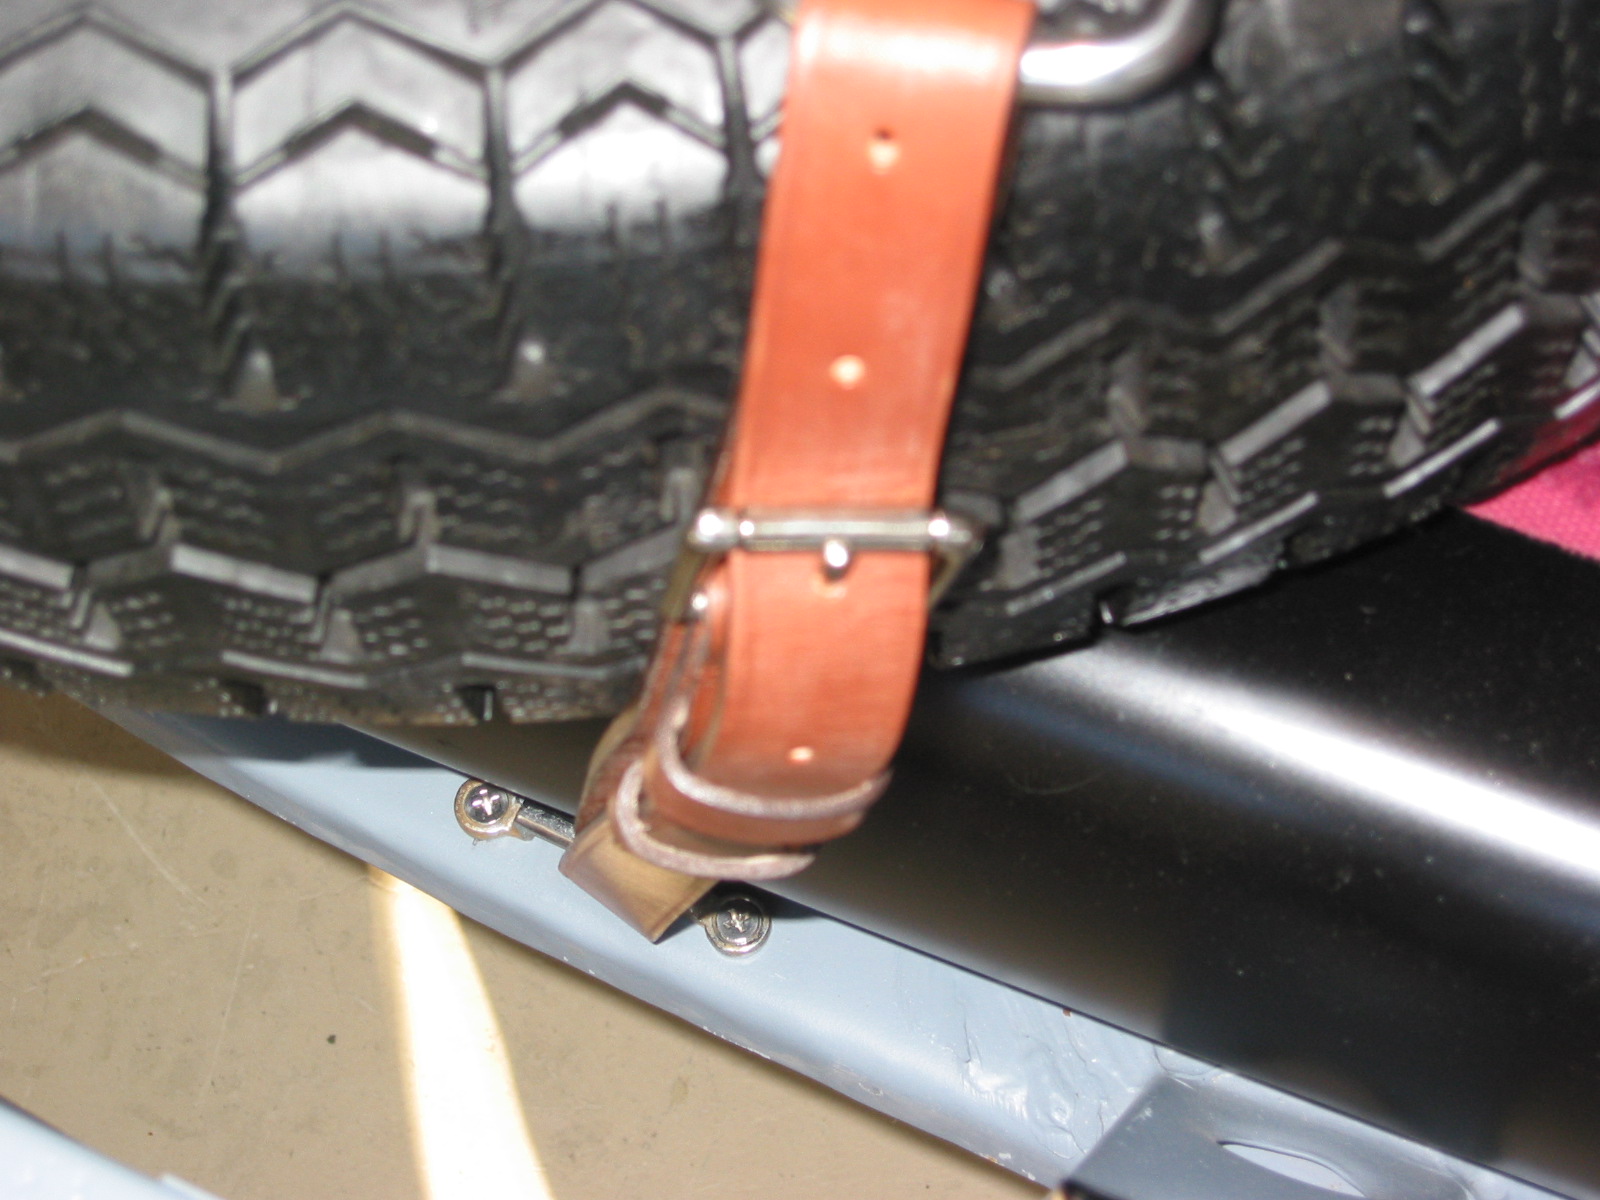
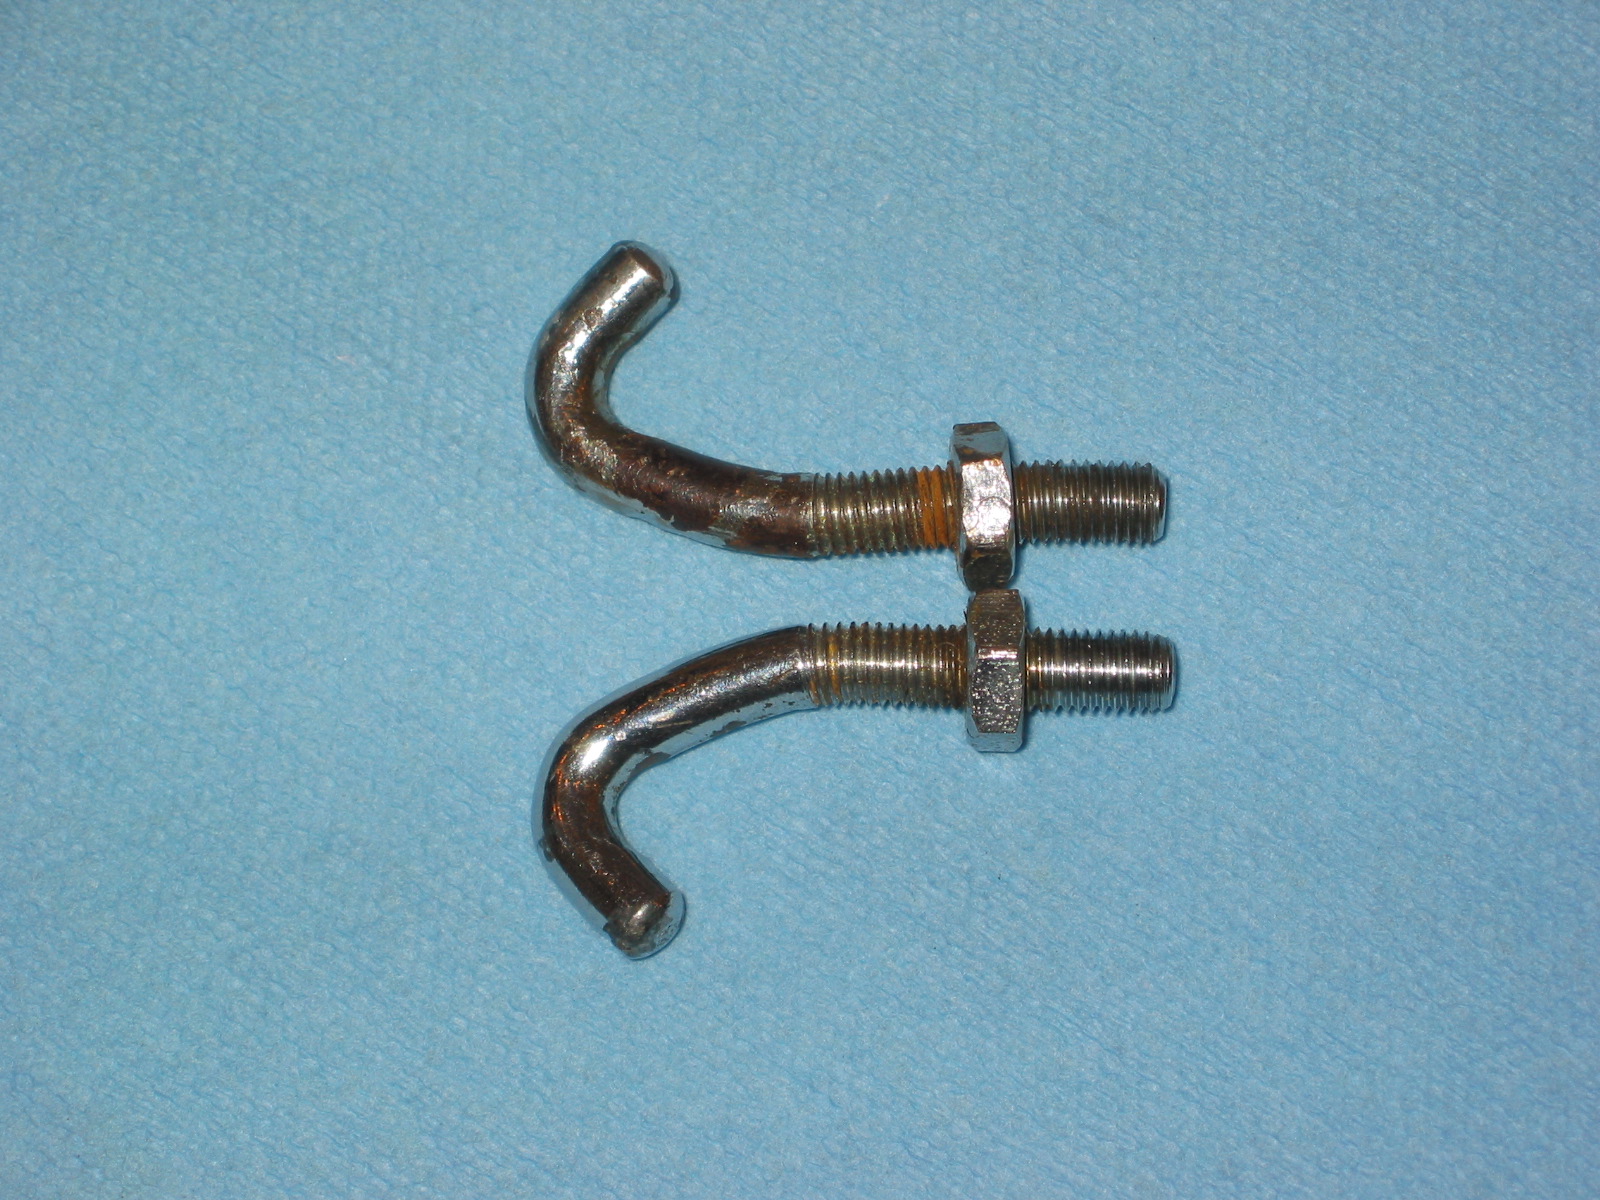
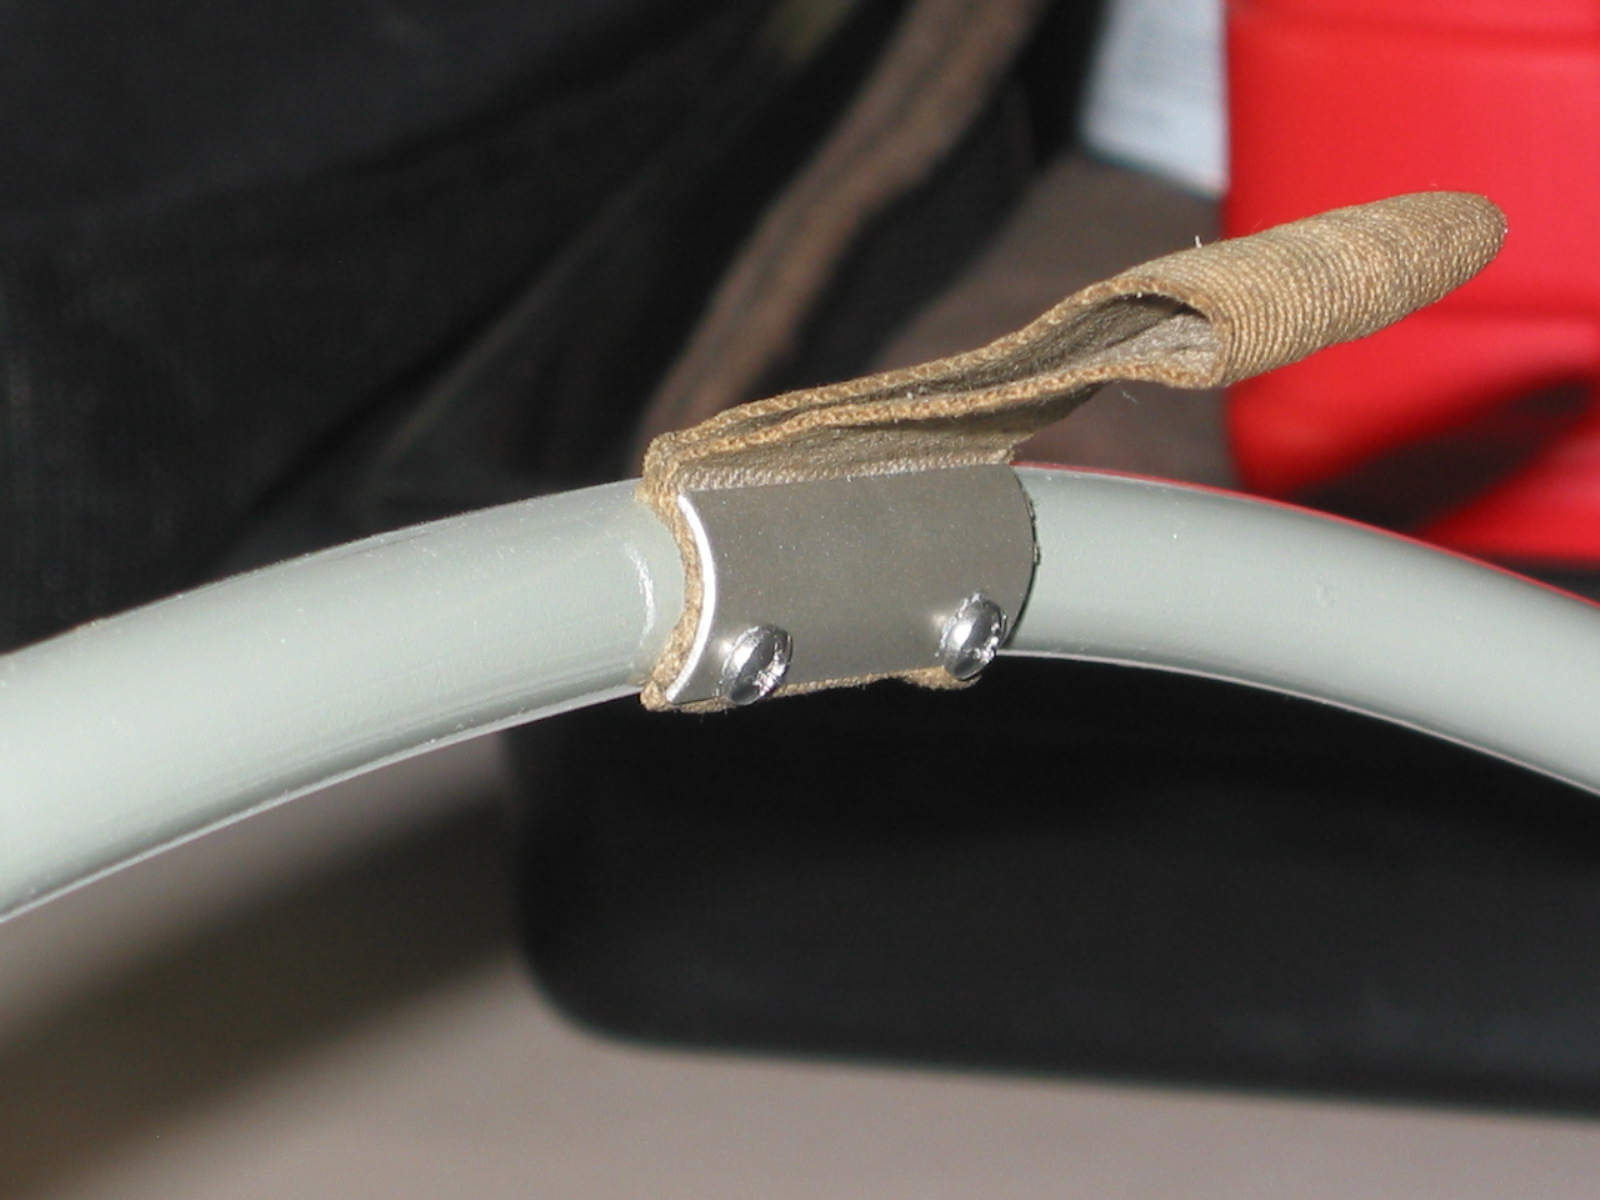
Installed the webbing pull tabs on freshly painted brackets. Used four number 6 stainless sheet metal screws to the frame.
Soft Top Pull Strap
Soft top frame webbing 1
Hardtop Headliner Installation
Hardtop Headliner – I took the unrestored headliner on its frame to Gerry Smith at Classic Upholstery to have him look at it before I took it apart. He will install the new headliner on the frame. The fabric came from Bill Bolton. Gerry was ready for the task so I headed home to take things apart to clean up and paint the frame.

Headliner old – on frame

Headliner-old- on frame 4
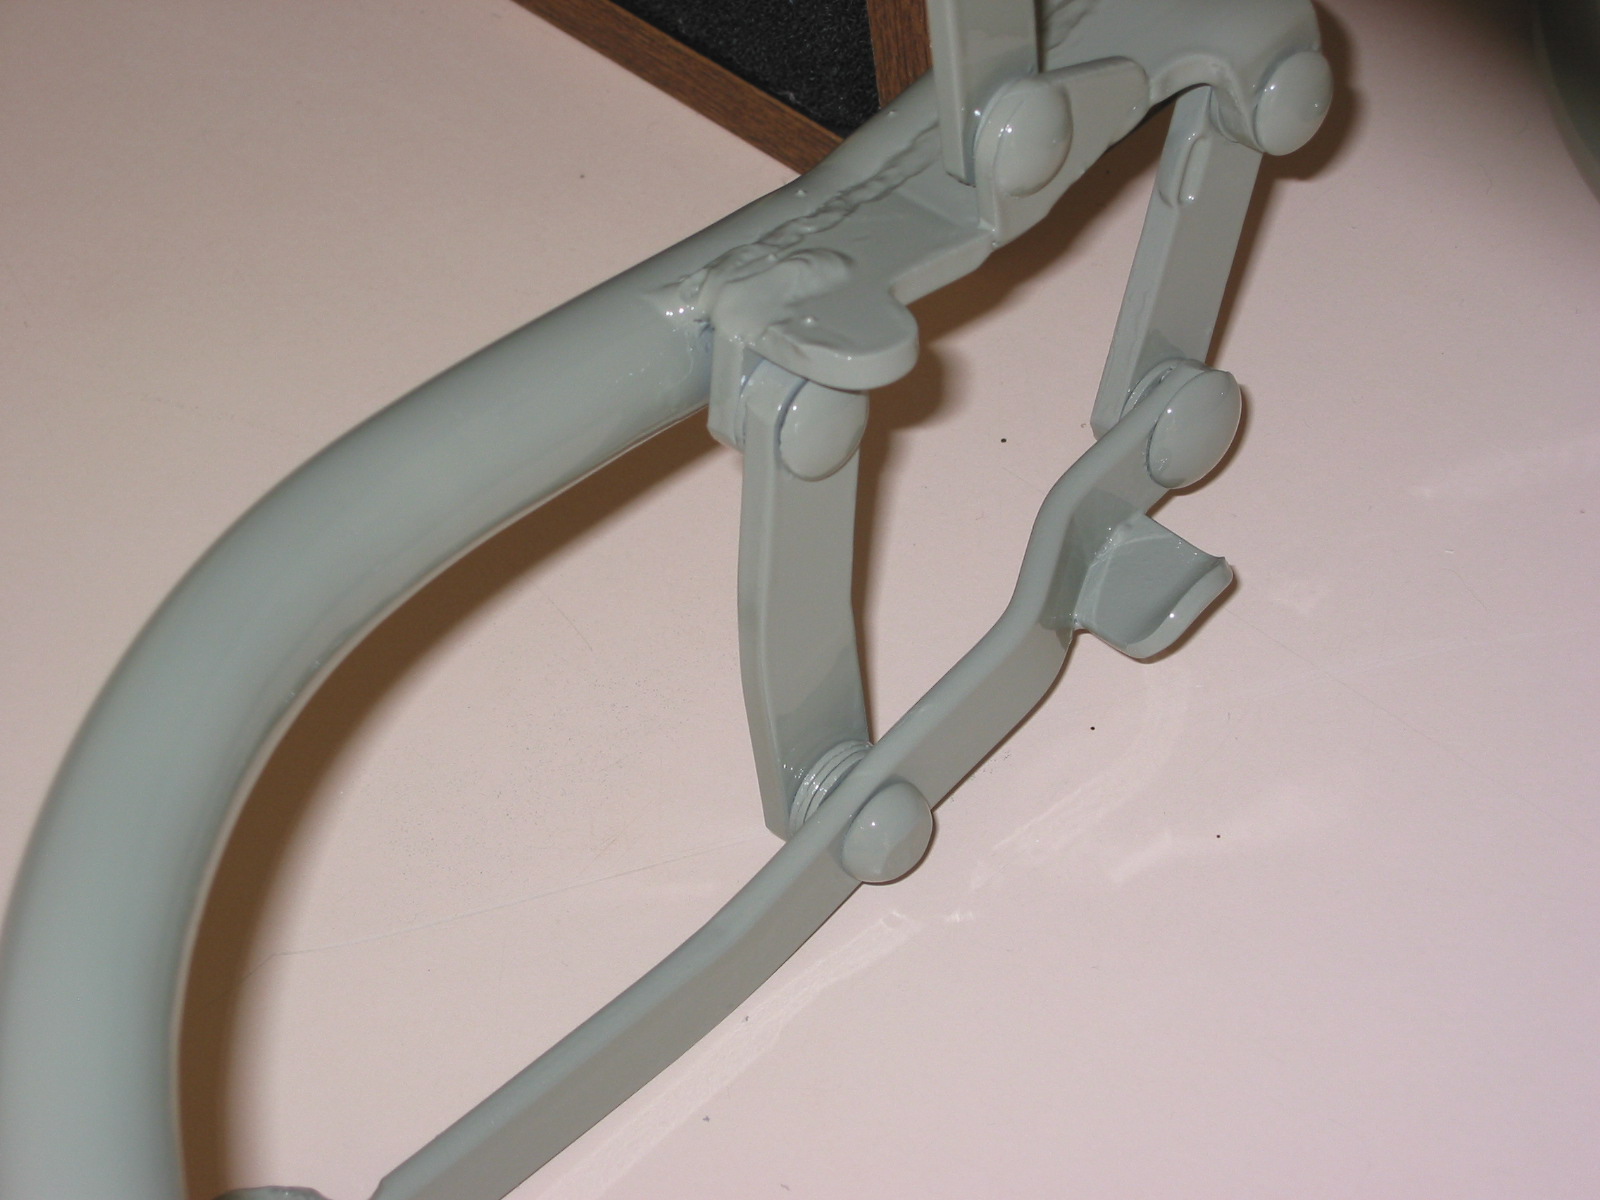
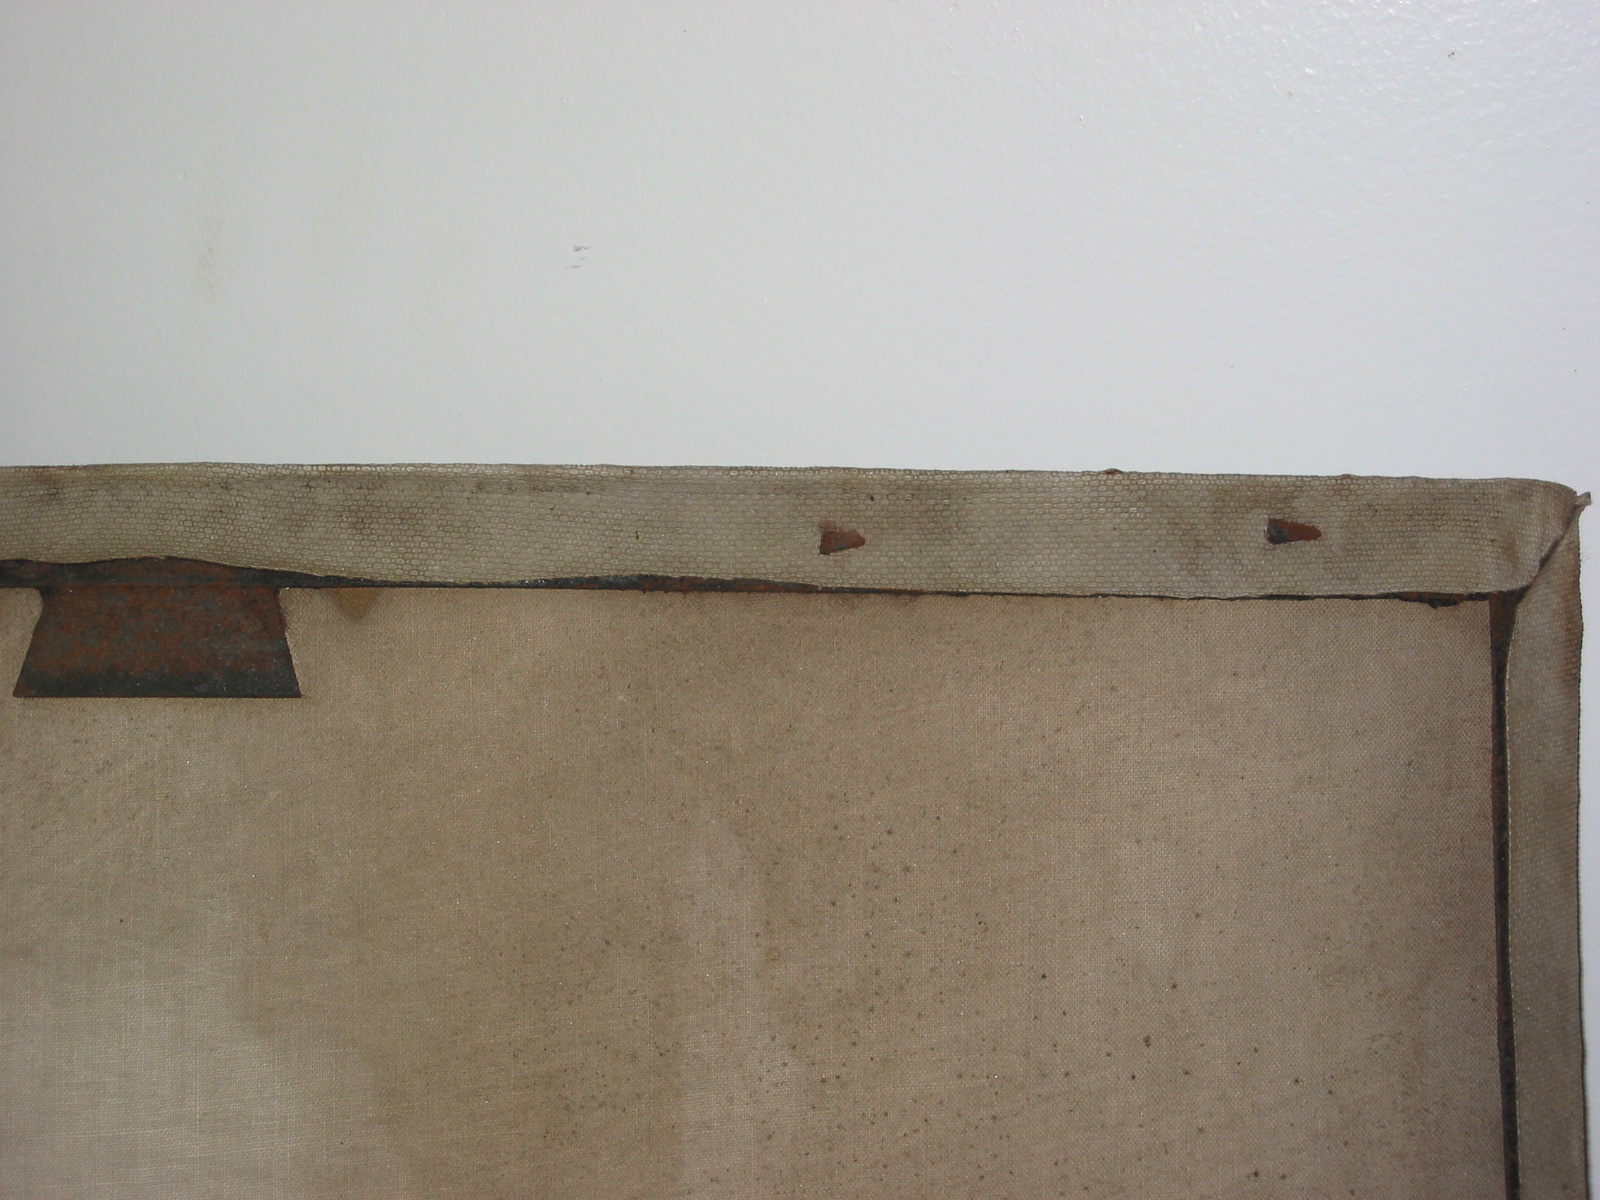
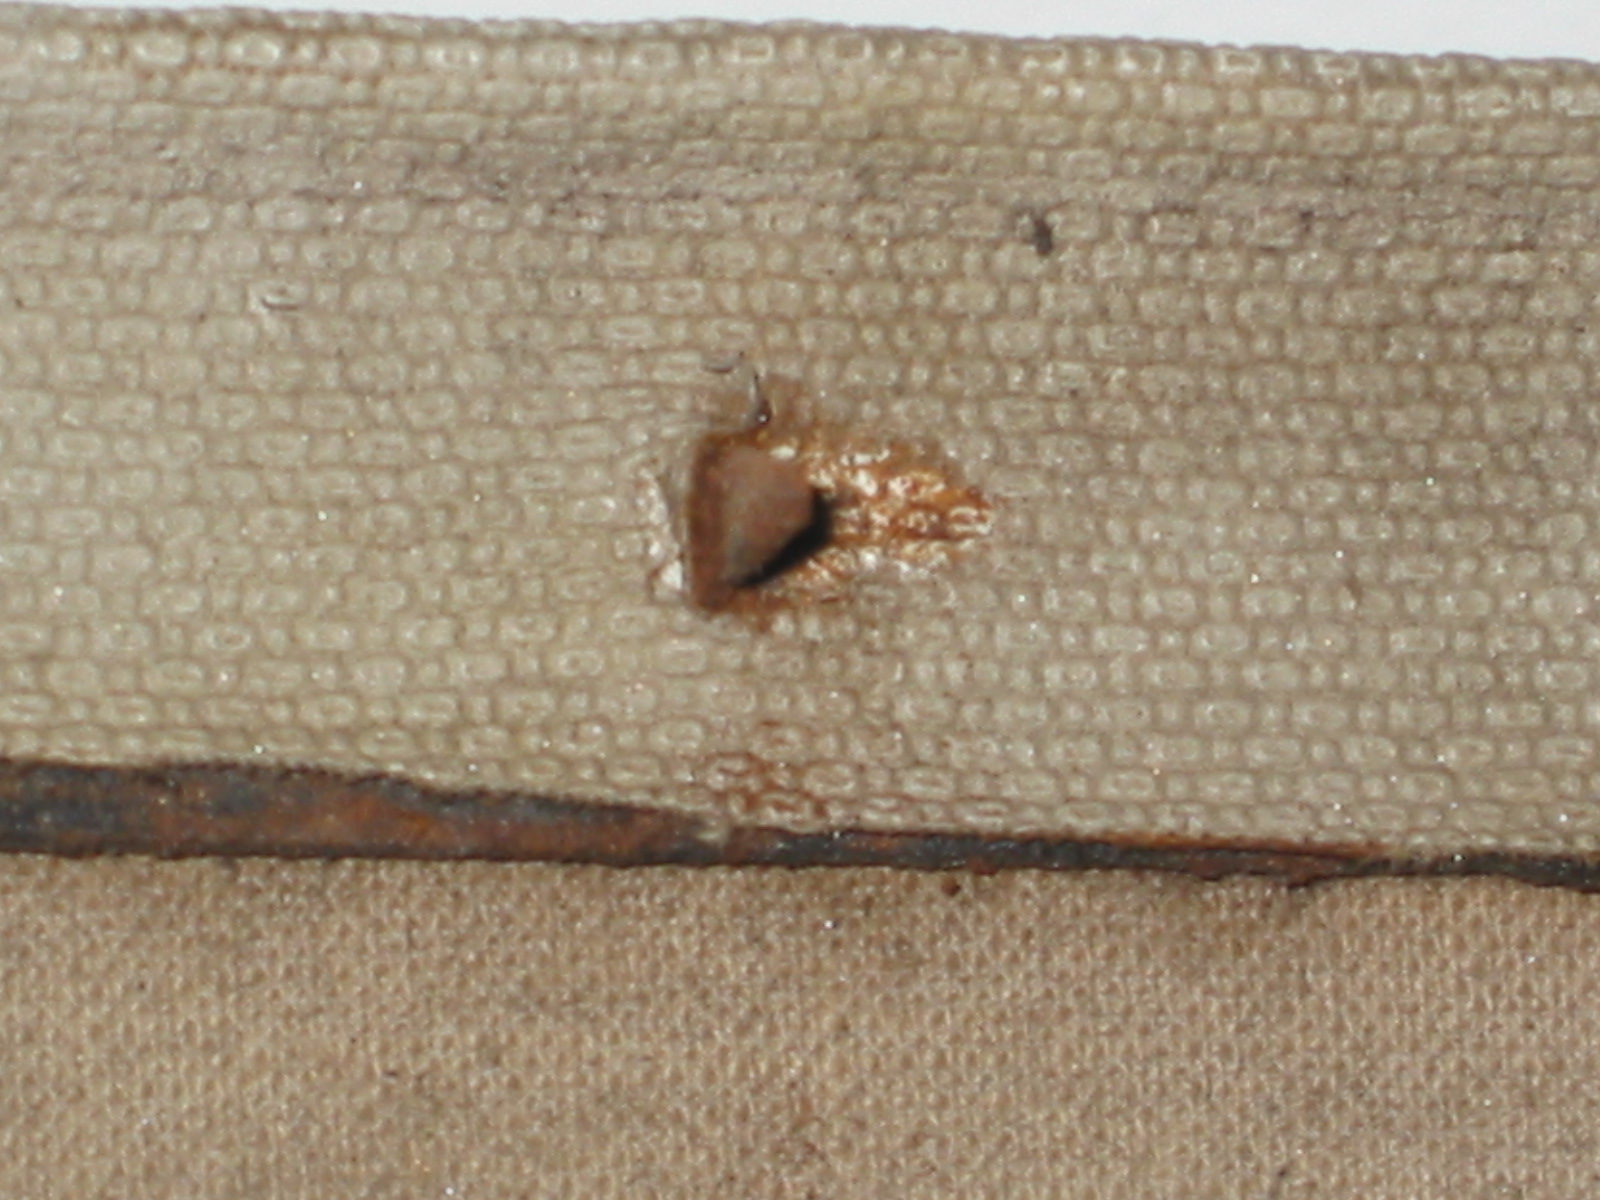
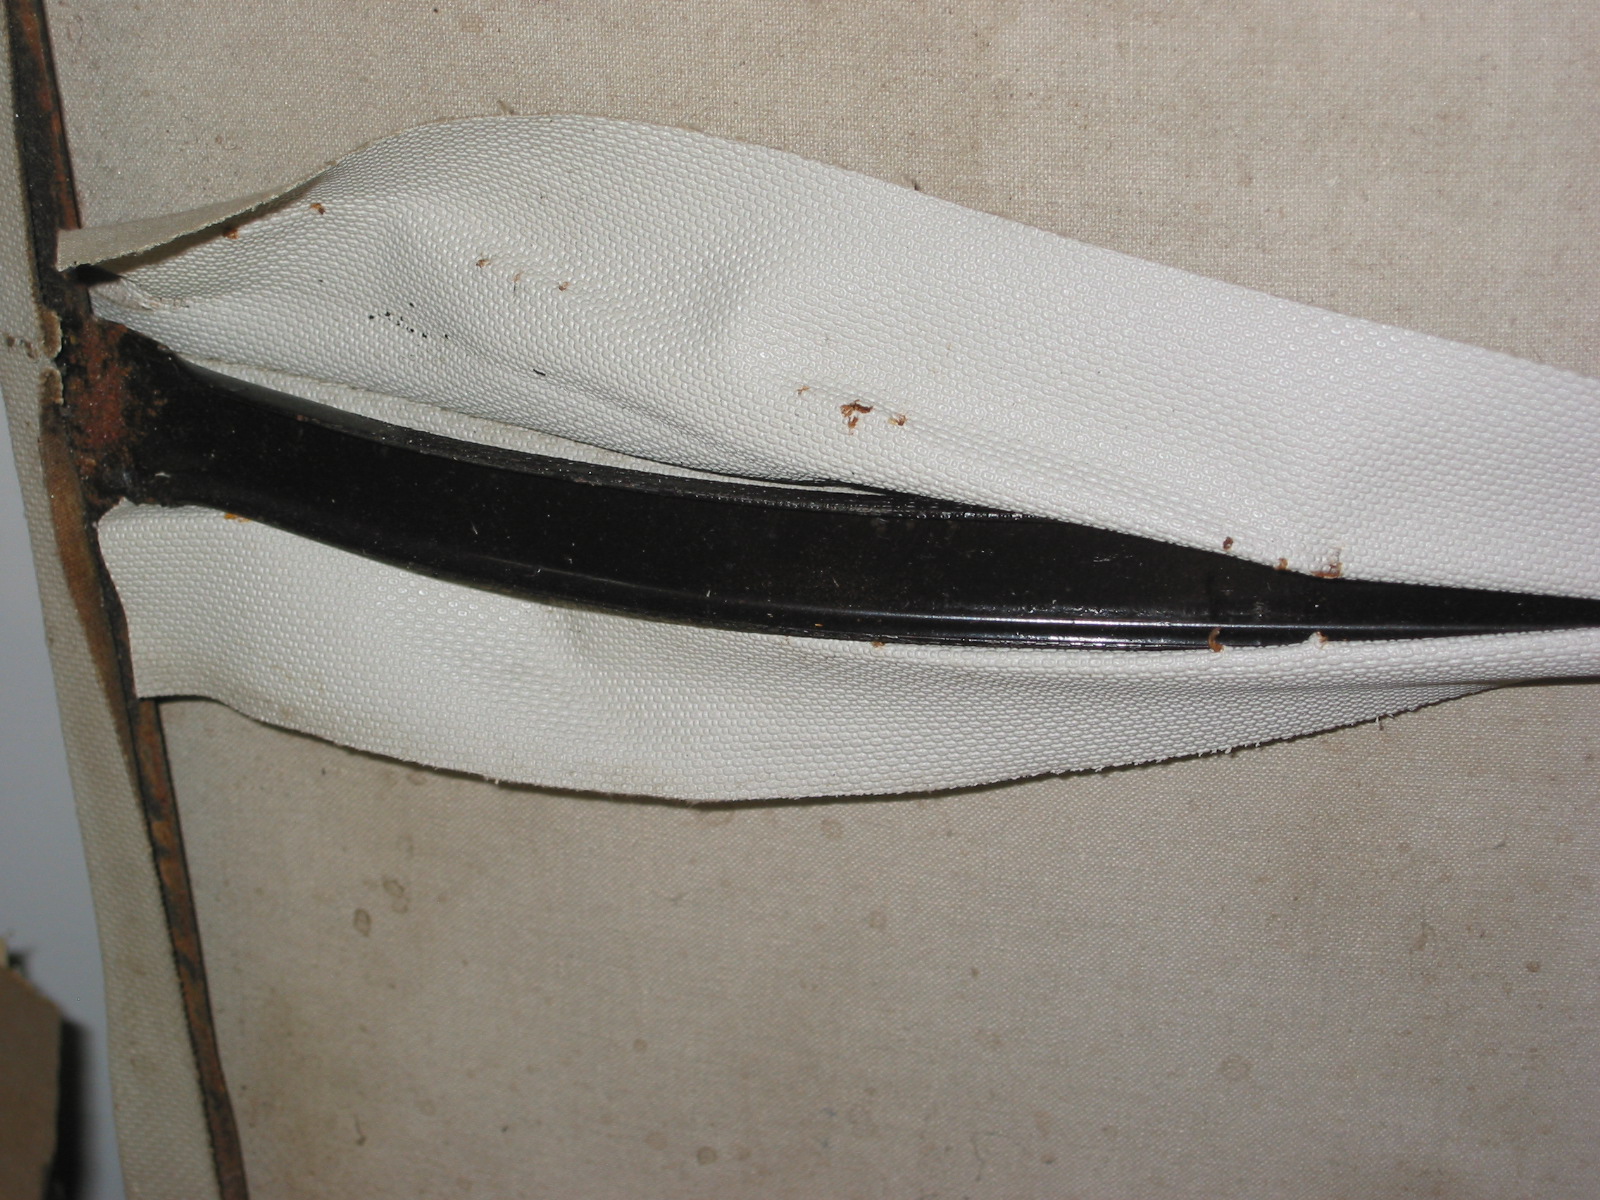
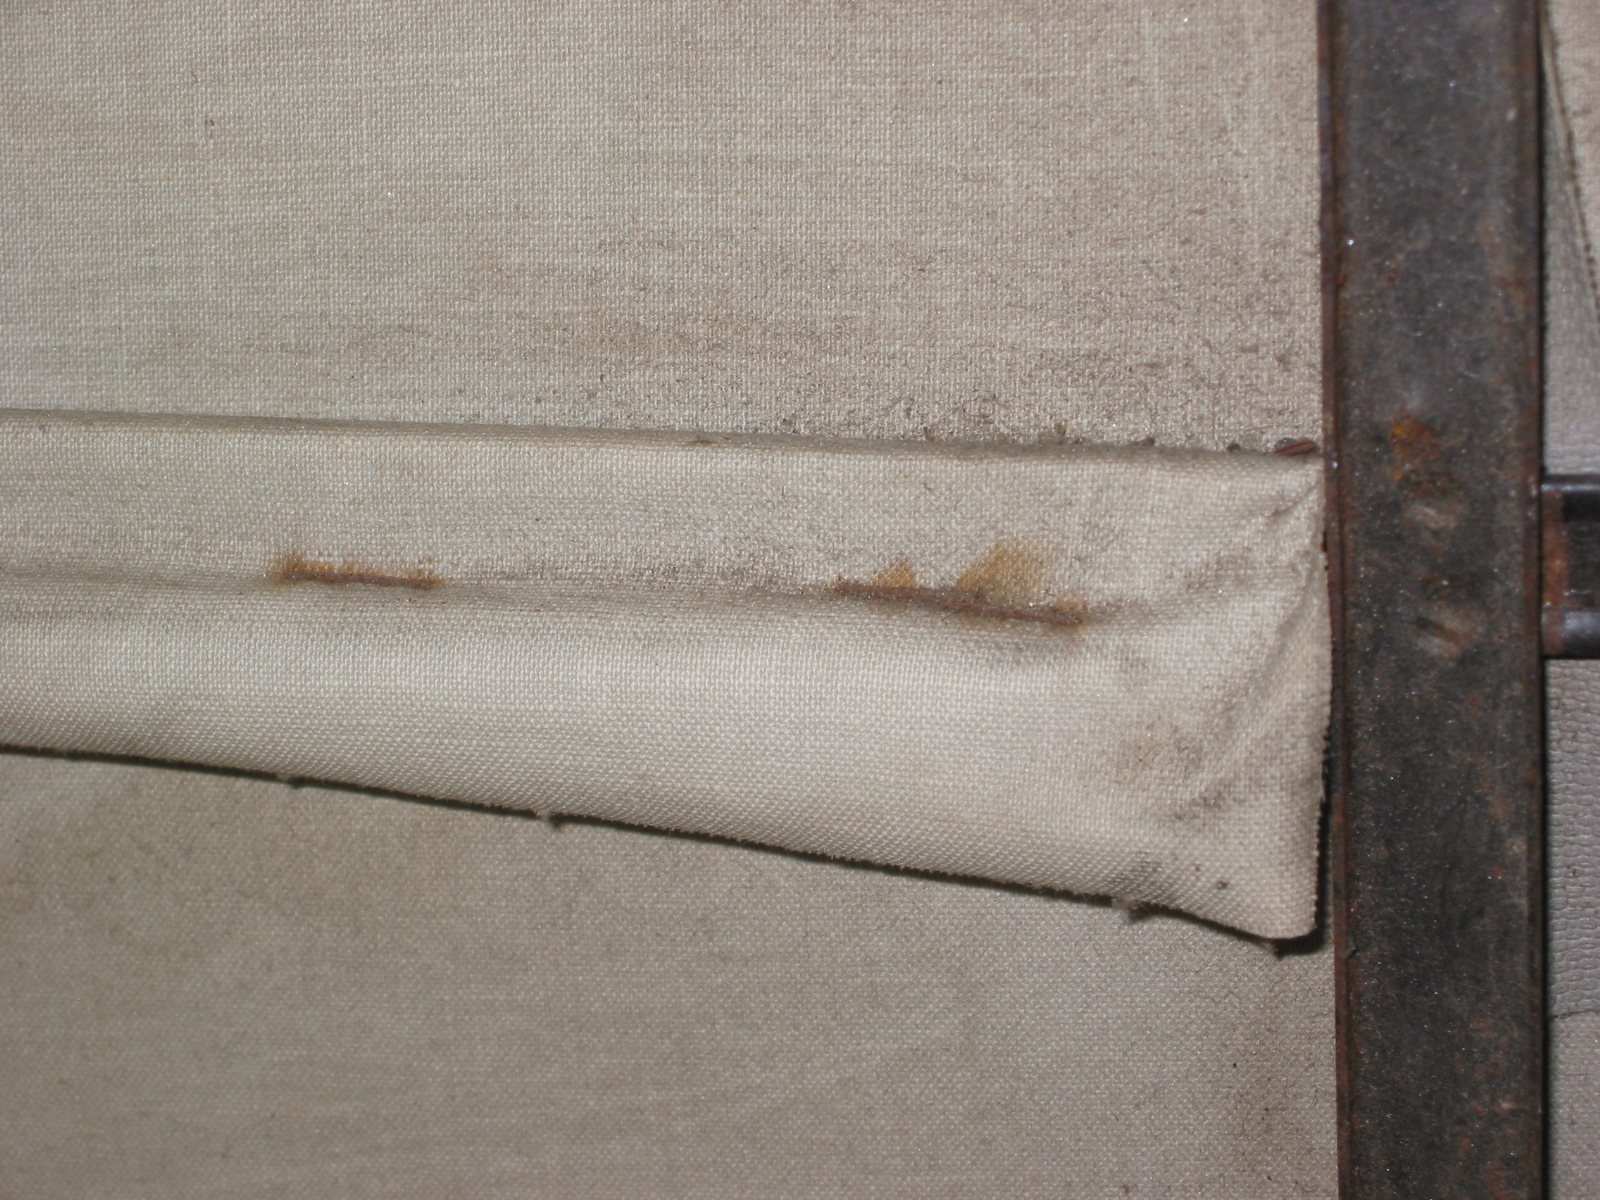
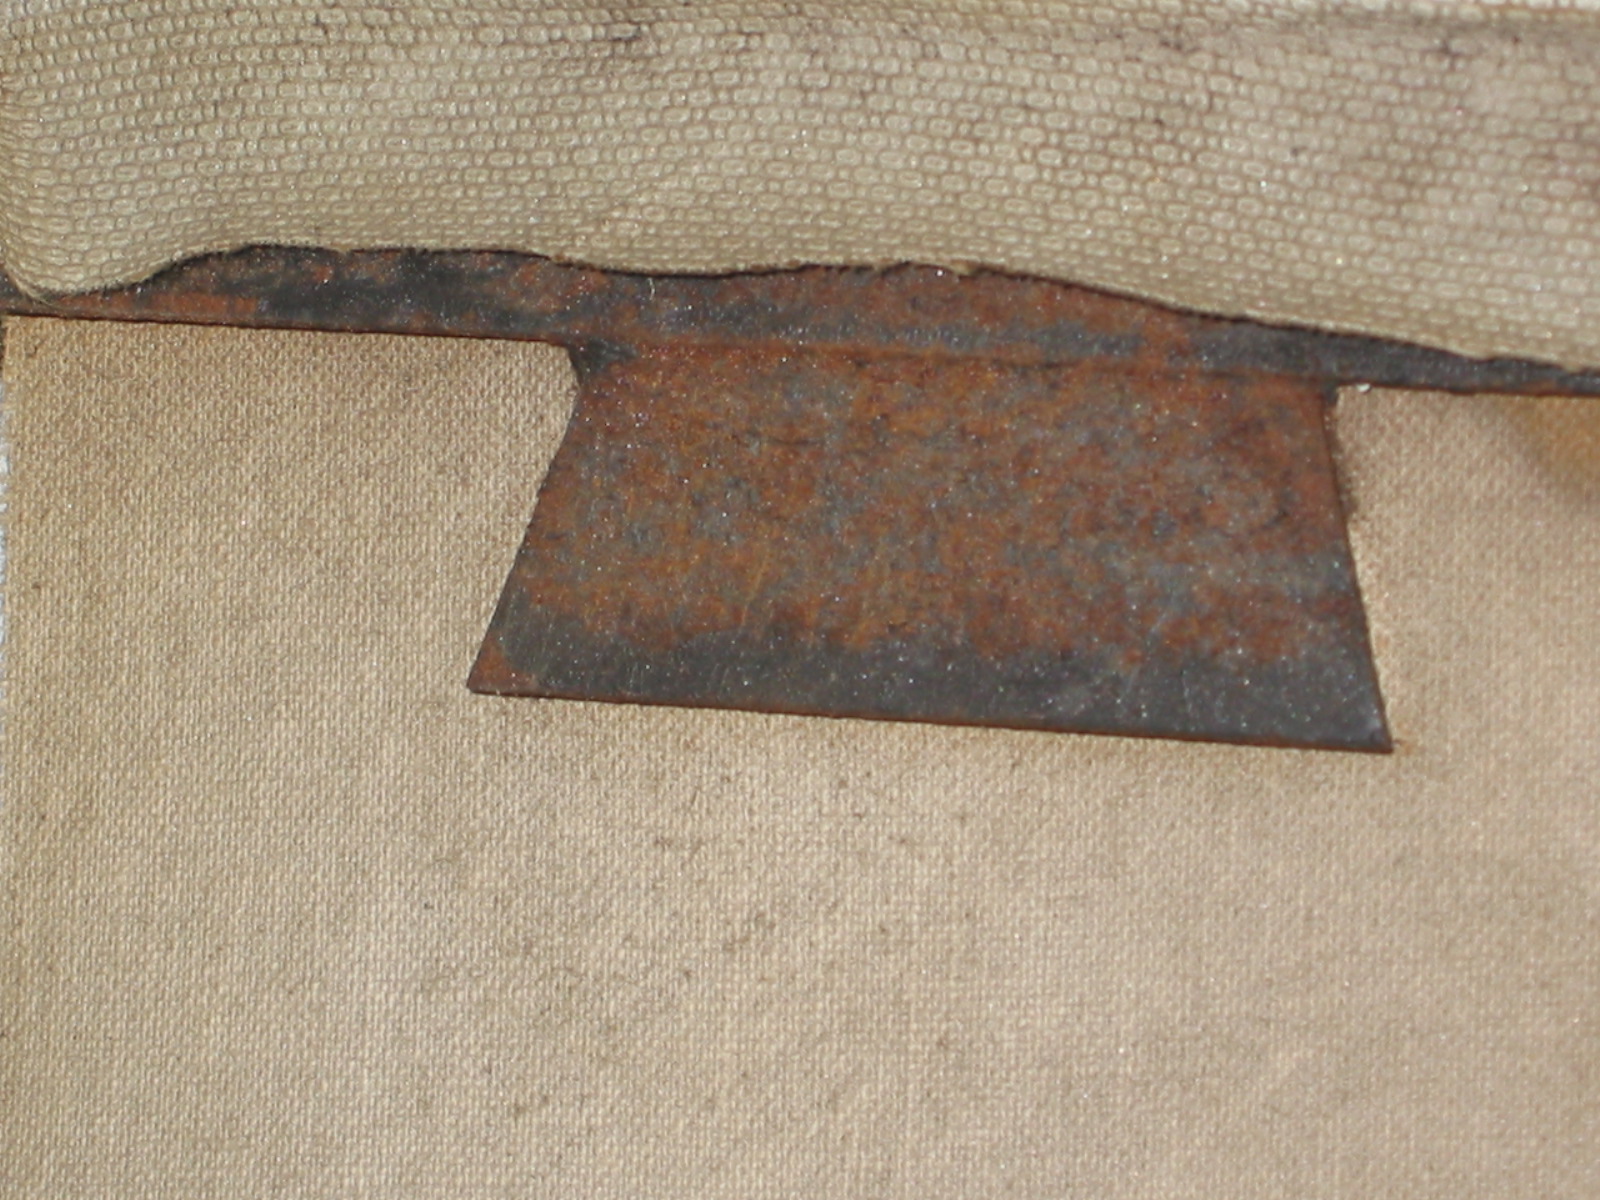
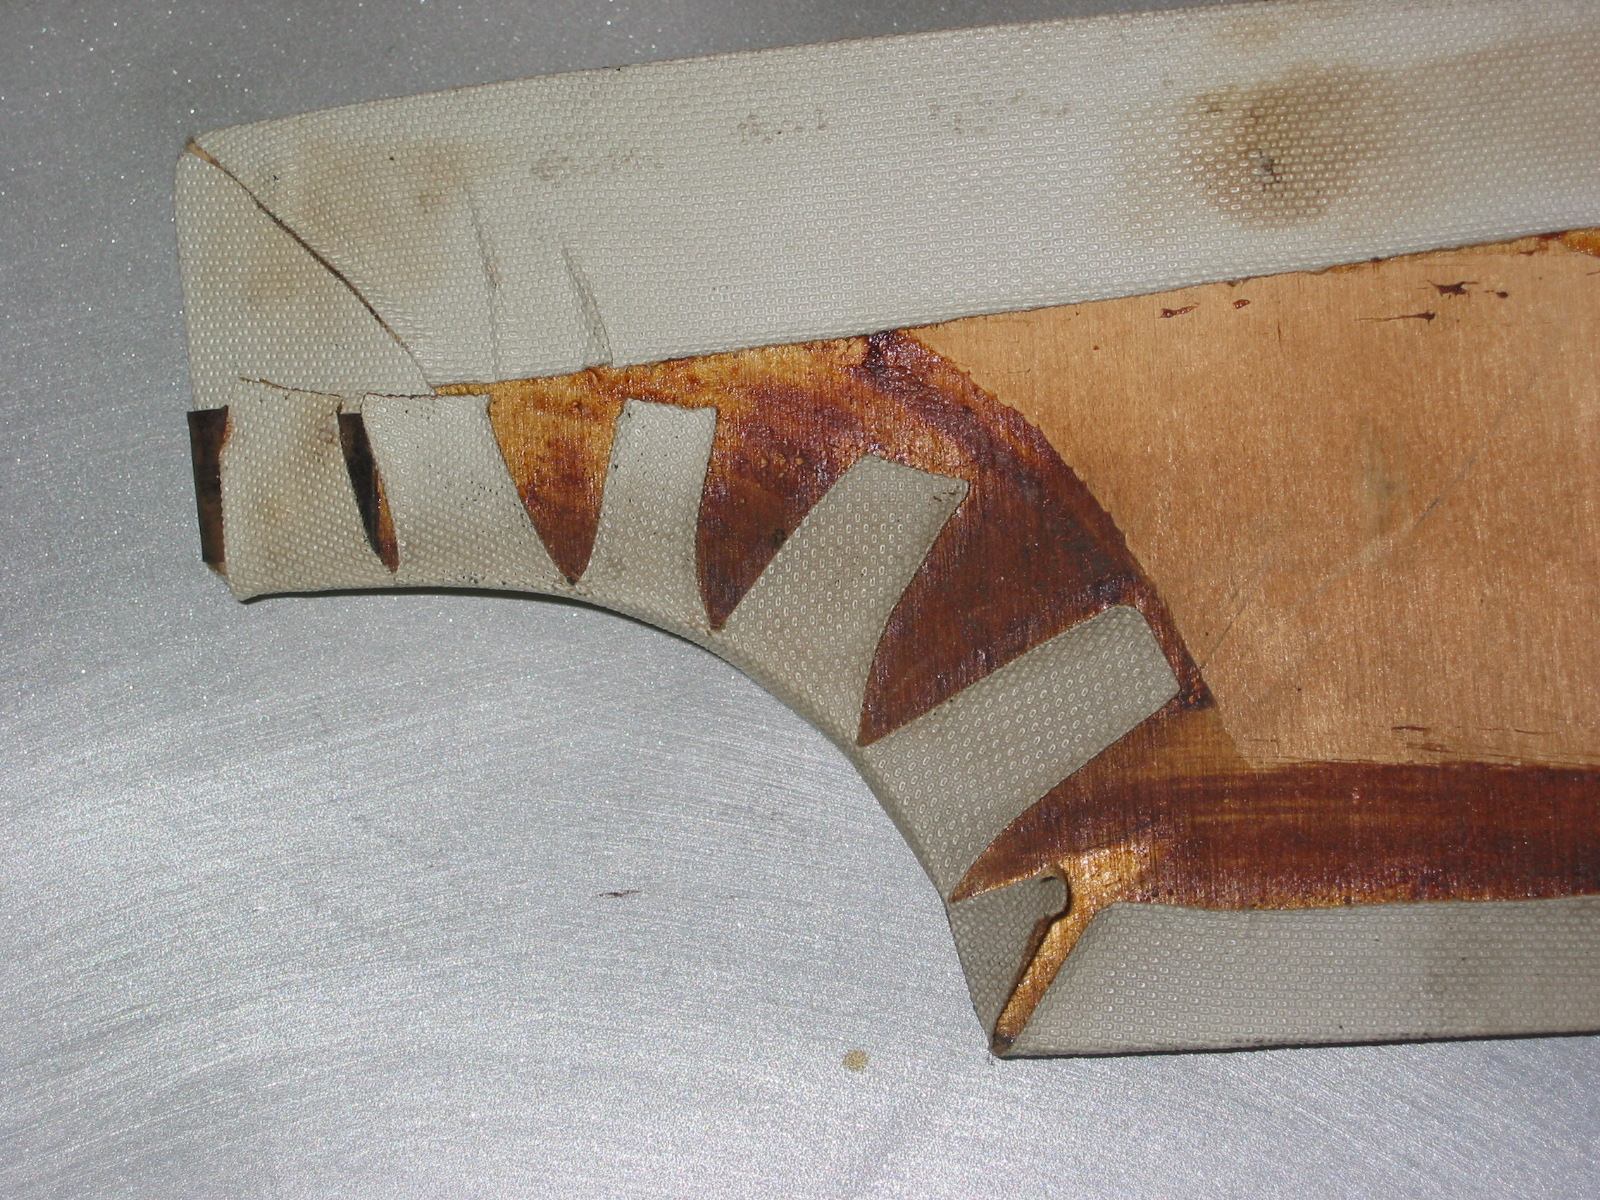
I bent back the securing tabs on the inside of the frame rails. There were six tabs on the front rail, all bent to the right. On the right vertical rail there were 3 tabs all bent down. On the left side there were also 3 tabs, but they were bent up. The bottom rail had 6 tabs, all bent to the right.
Headliner-old- on frame 8
Headliner-old- on frame 9
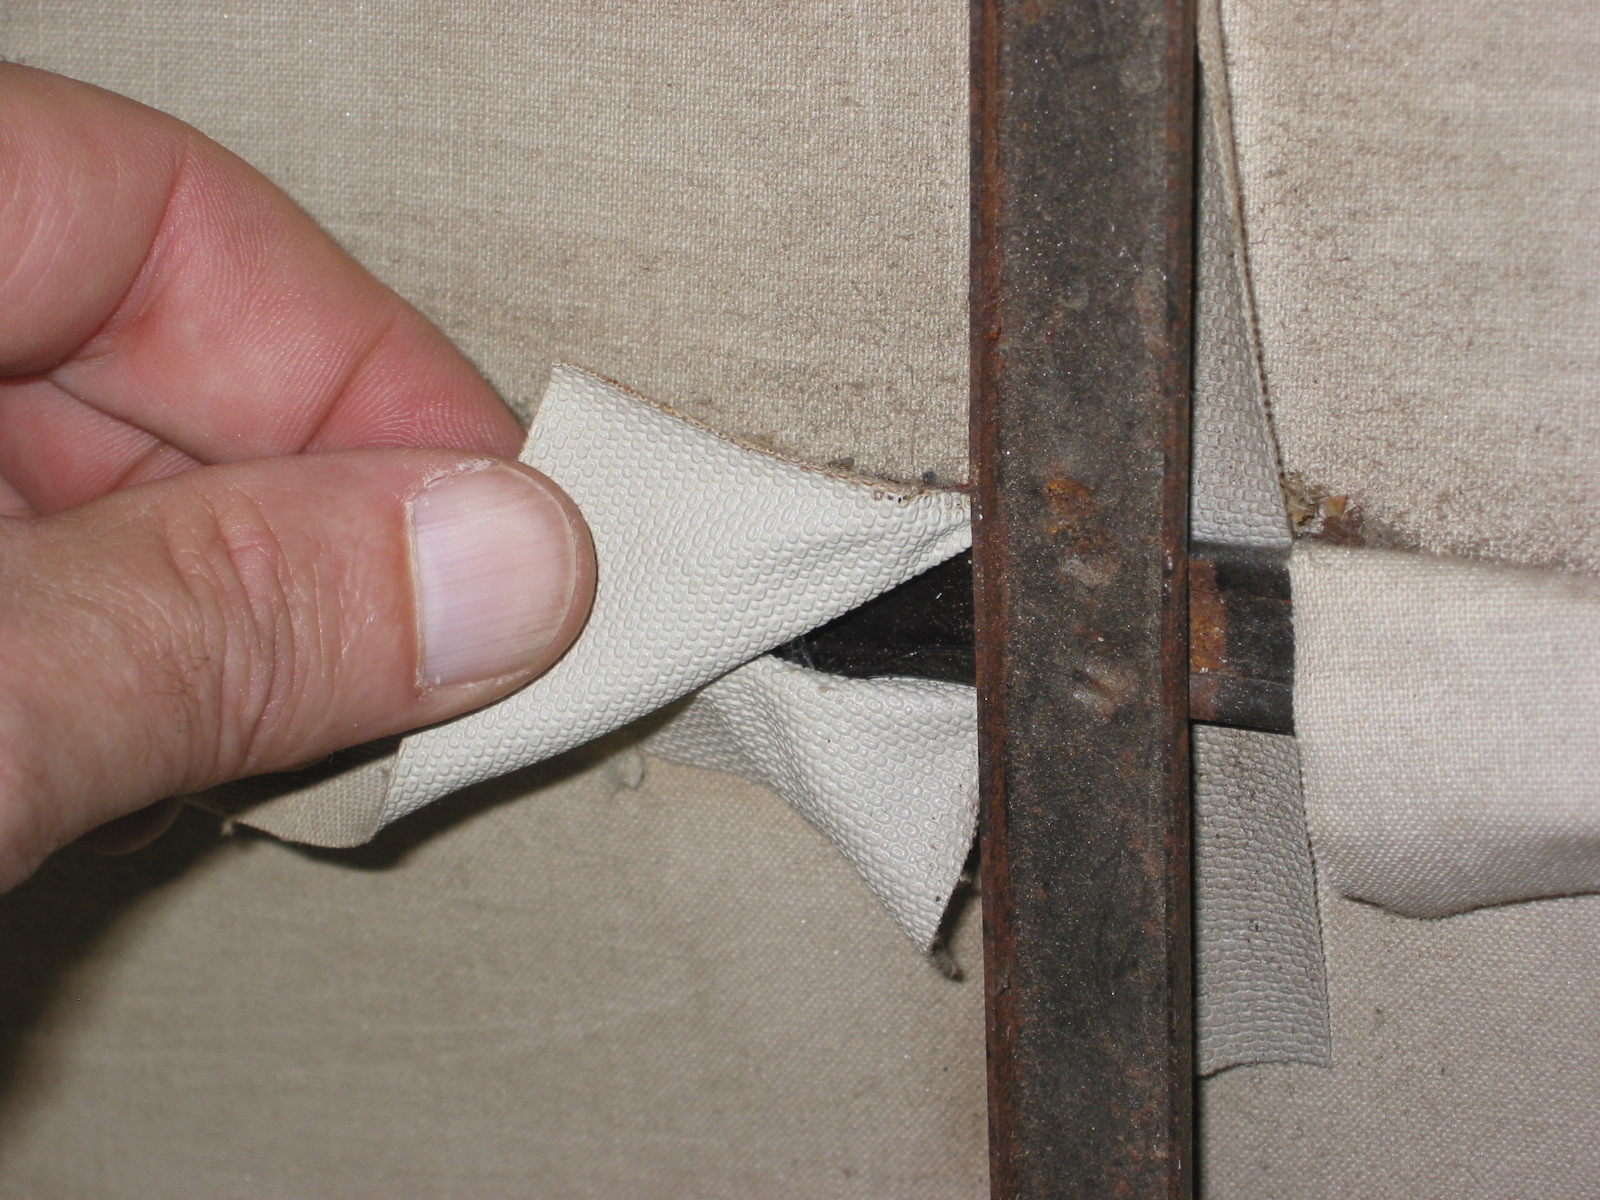
The headliner is actually three separate pieces of fabric sewn together and fastened to the frame with staples. The extra material at each seam is folded around the frame rails. There were approximately 6 staples in each section.
Headliner-old- on frame 2
Headliner-old- on frame 5
Headliner-old- on frame 6
Headliner-old- on frame 7
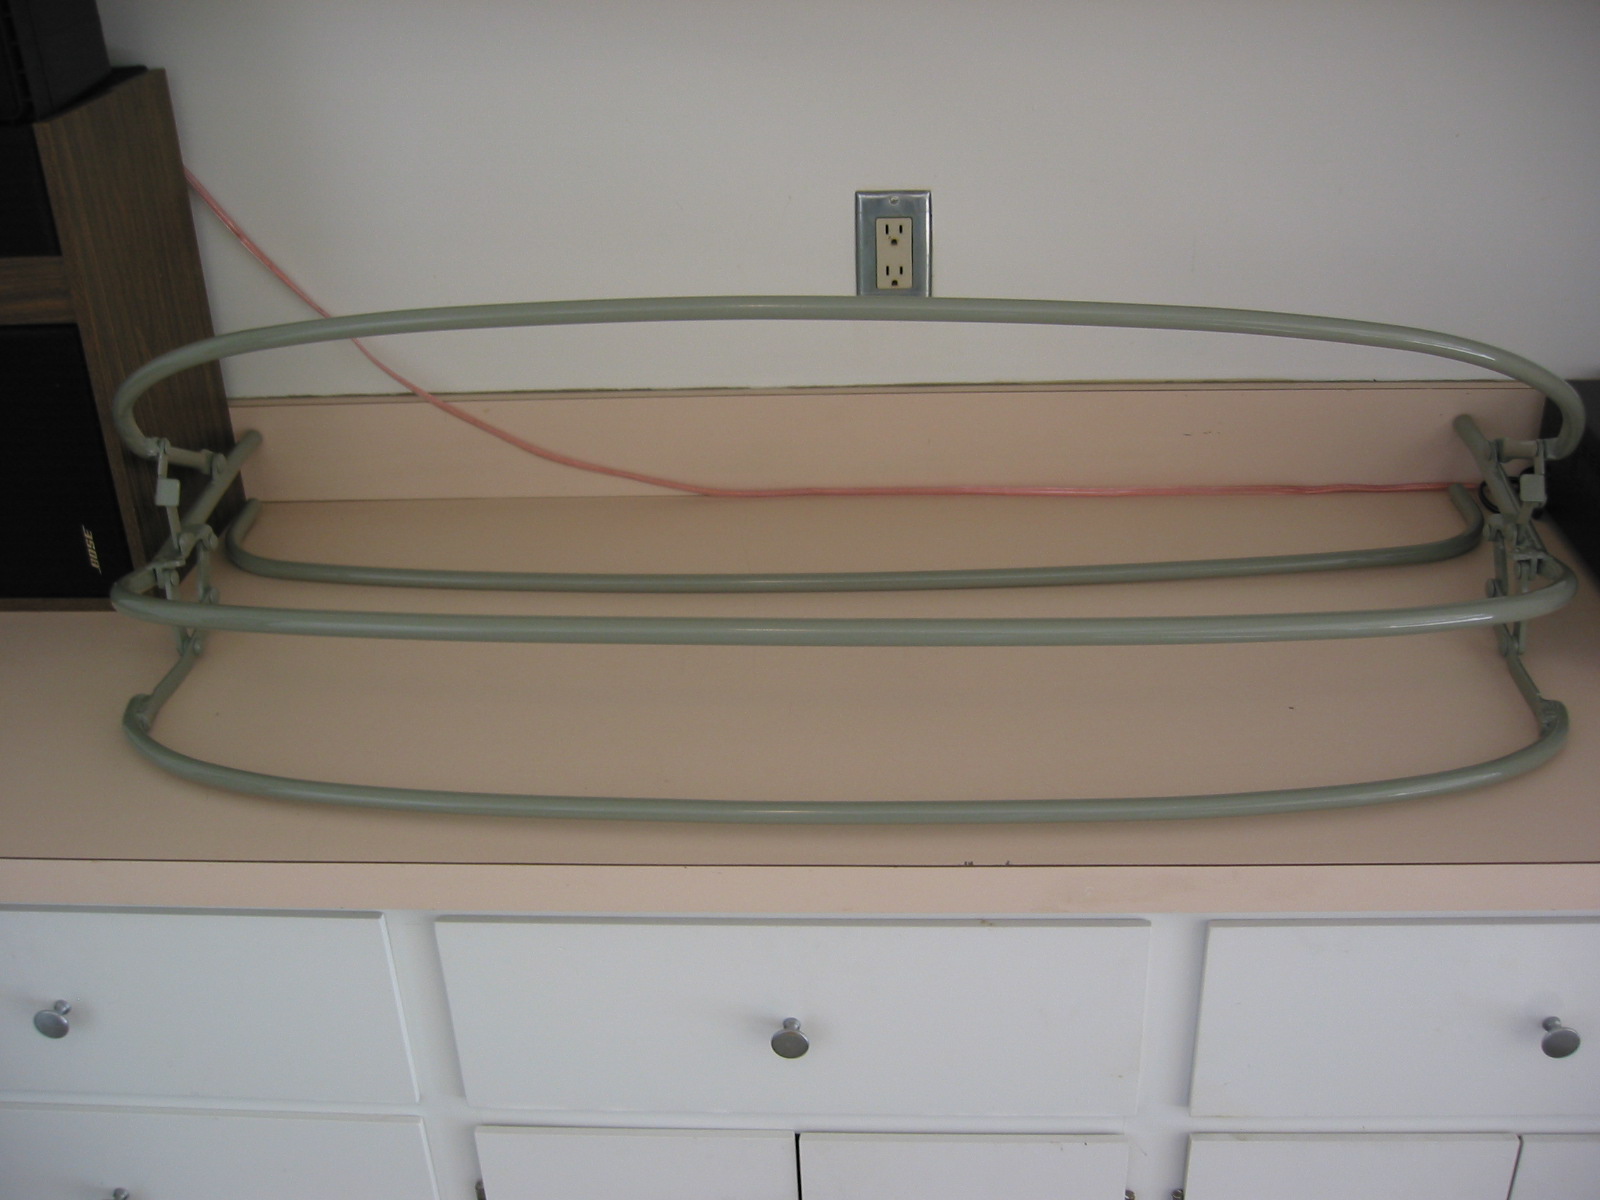
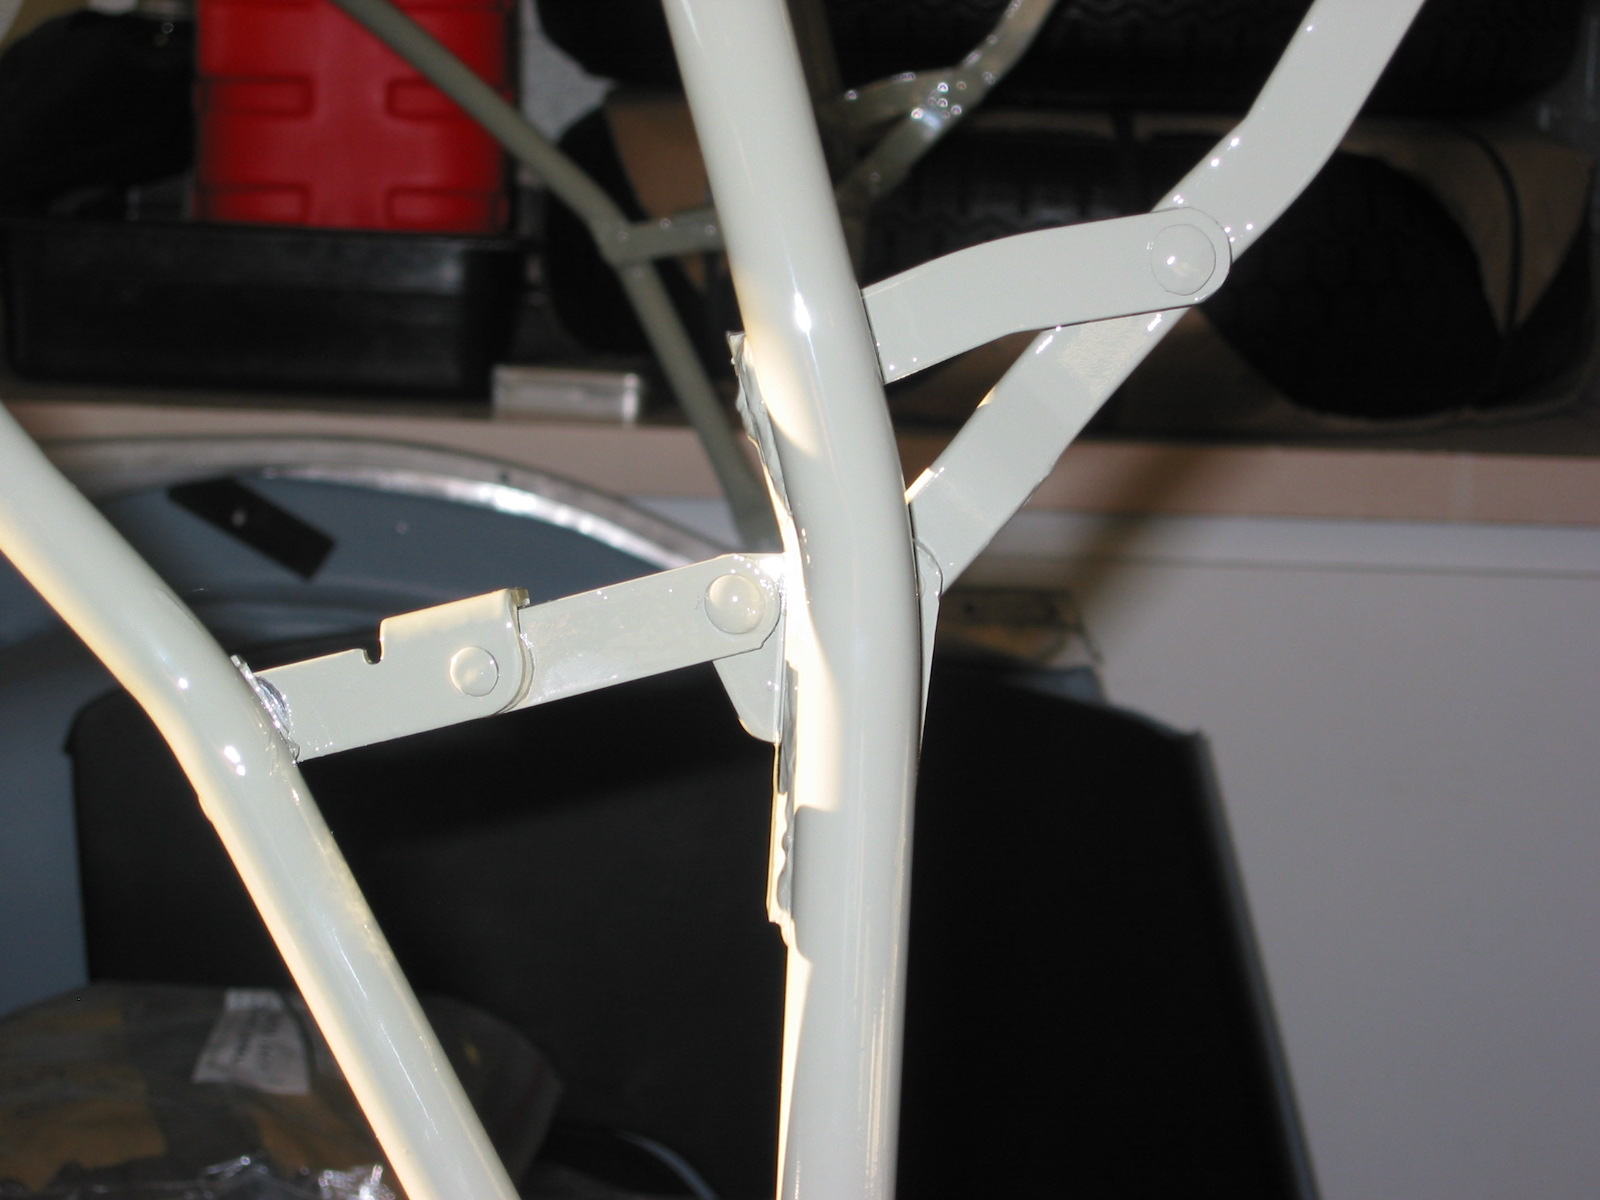
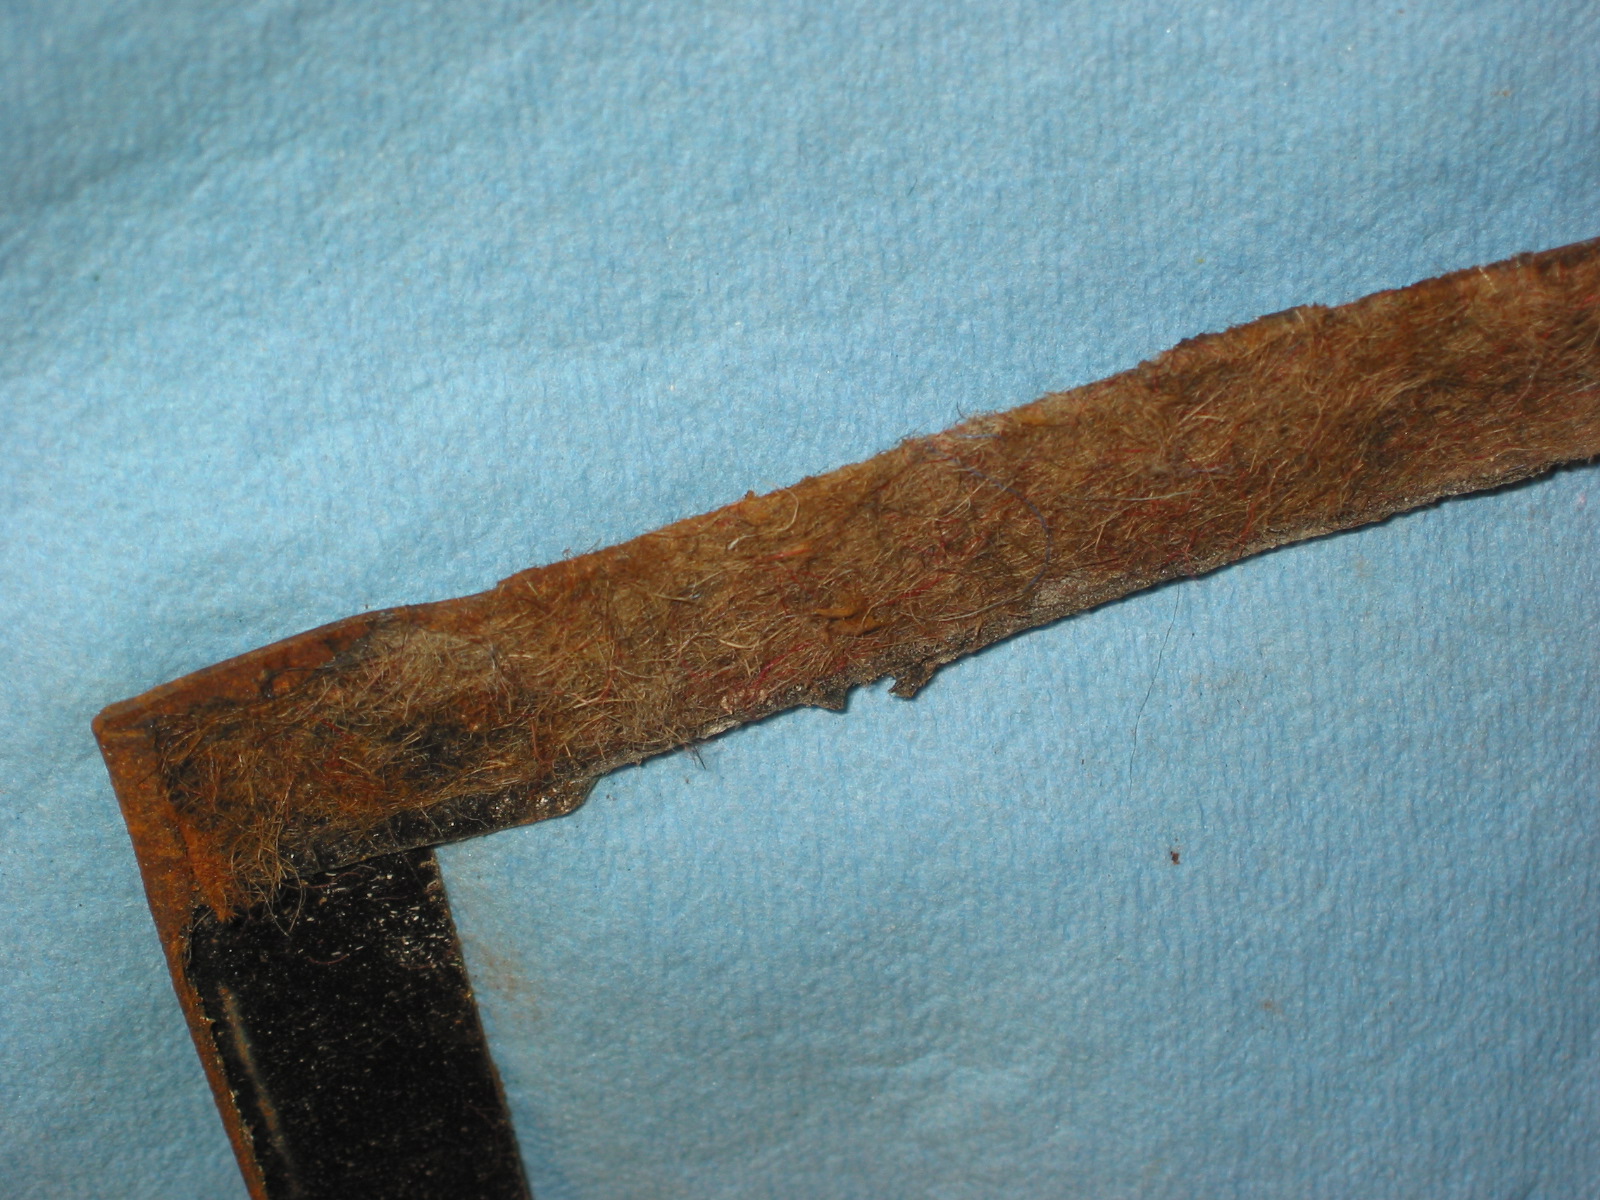
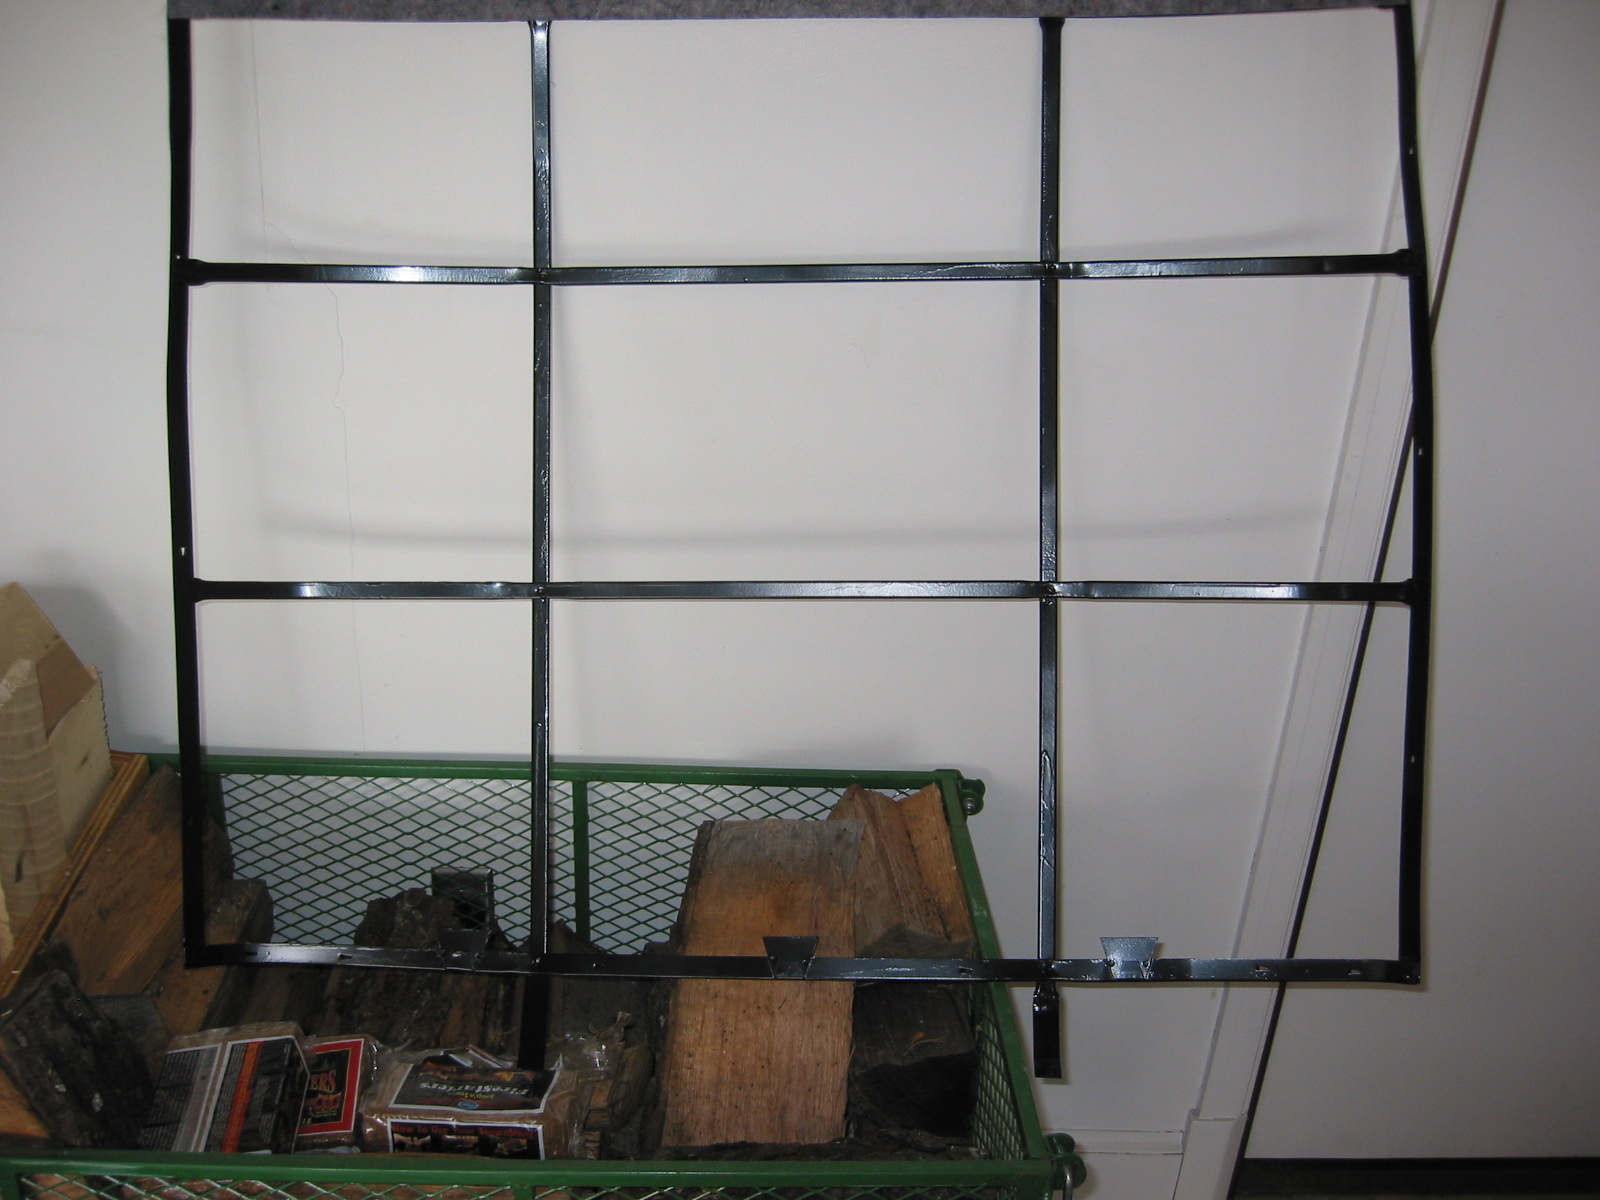
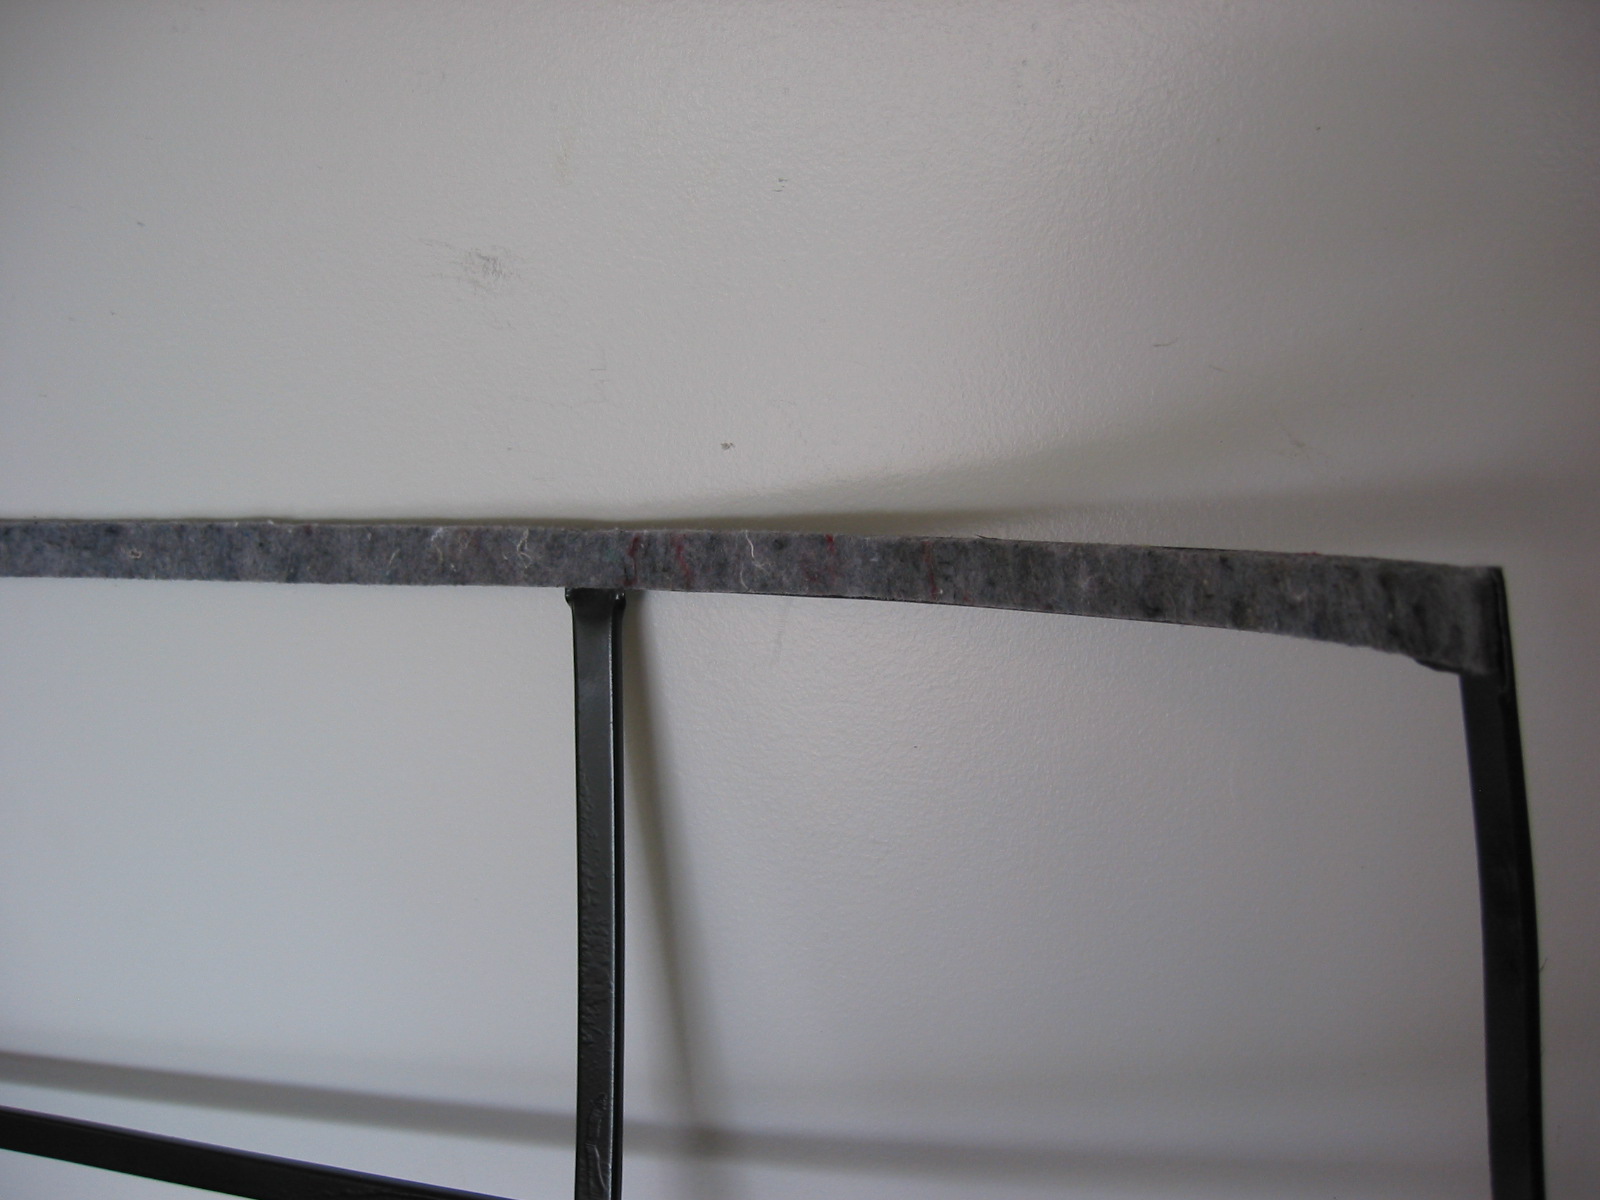
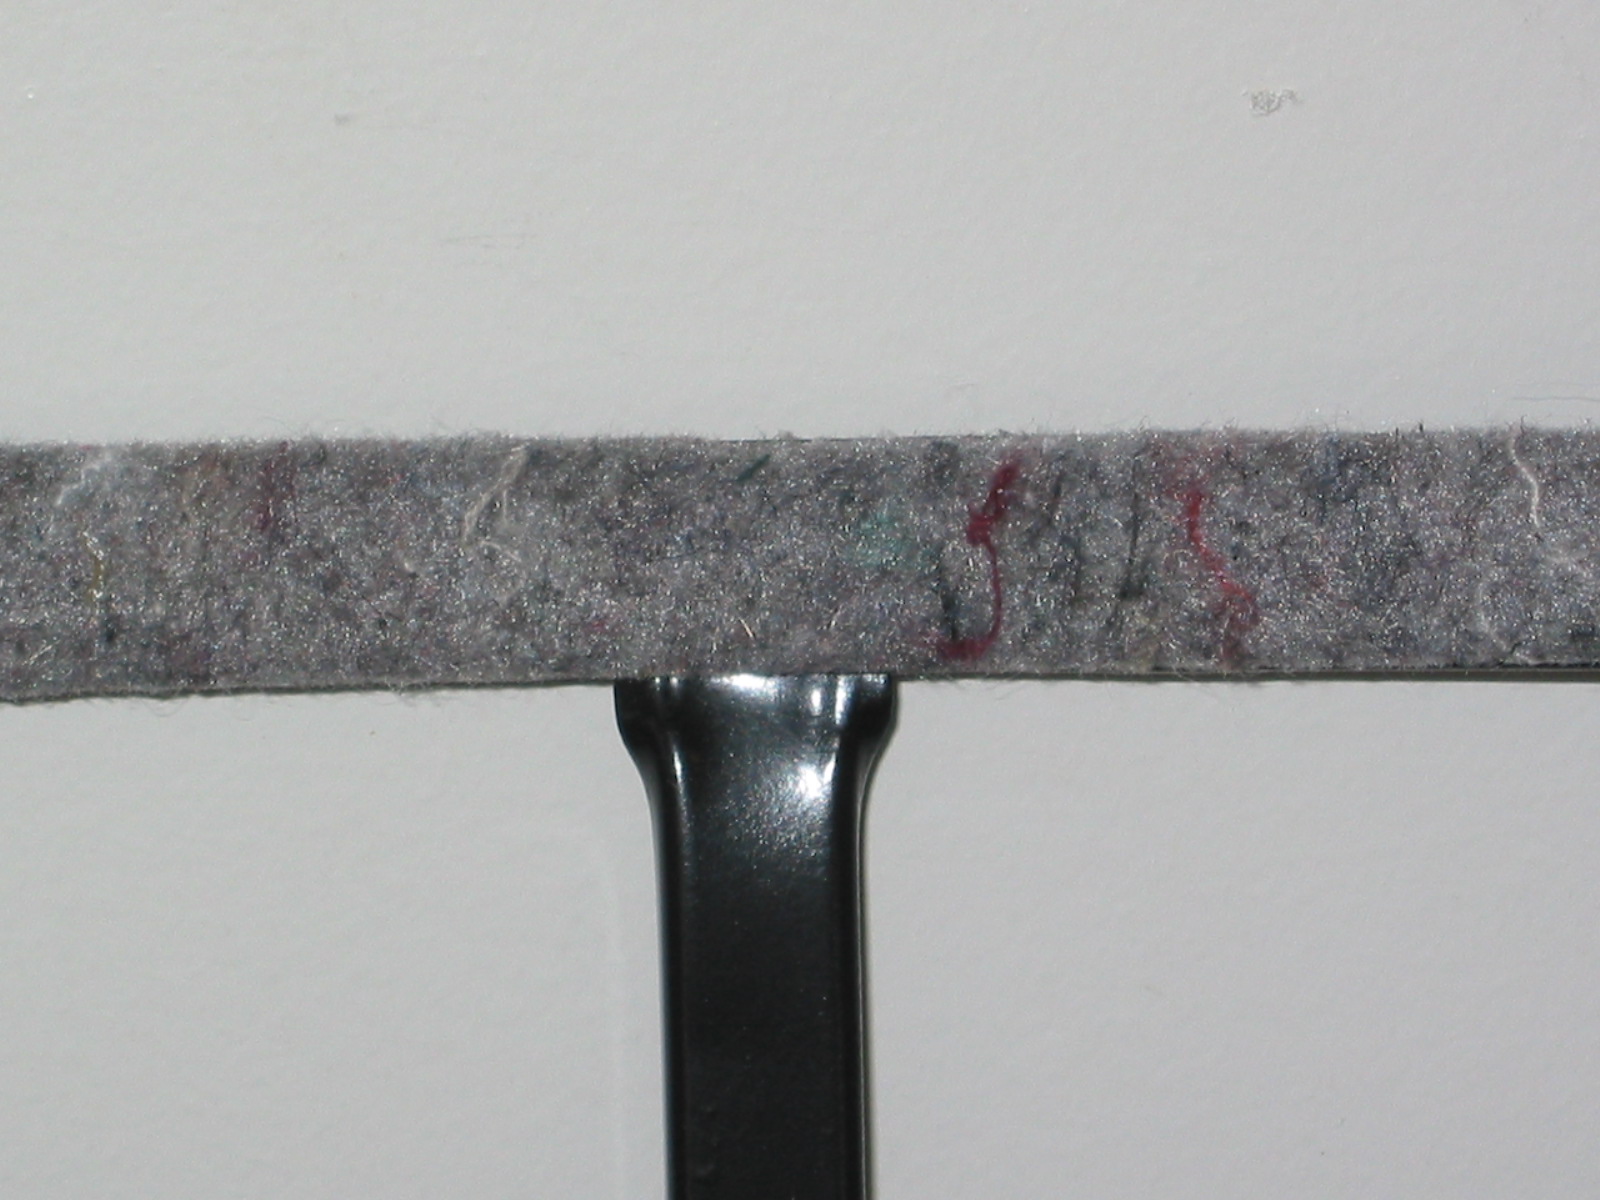
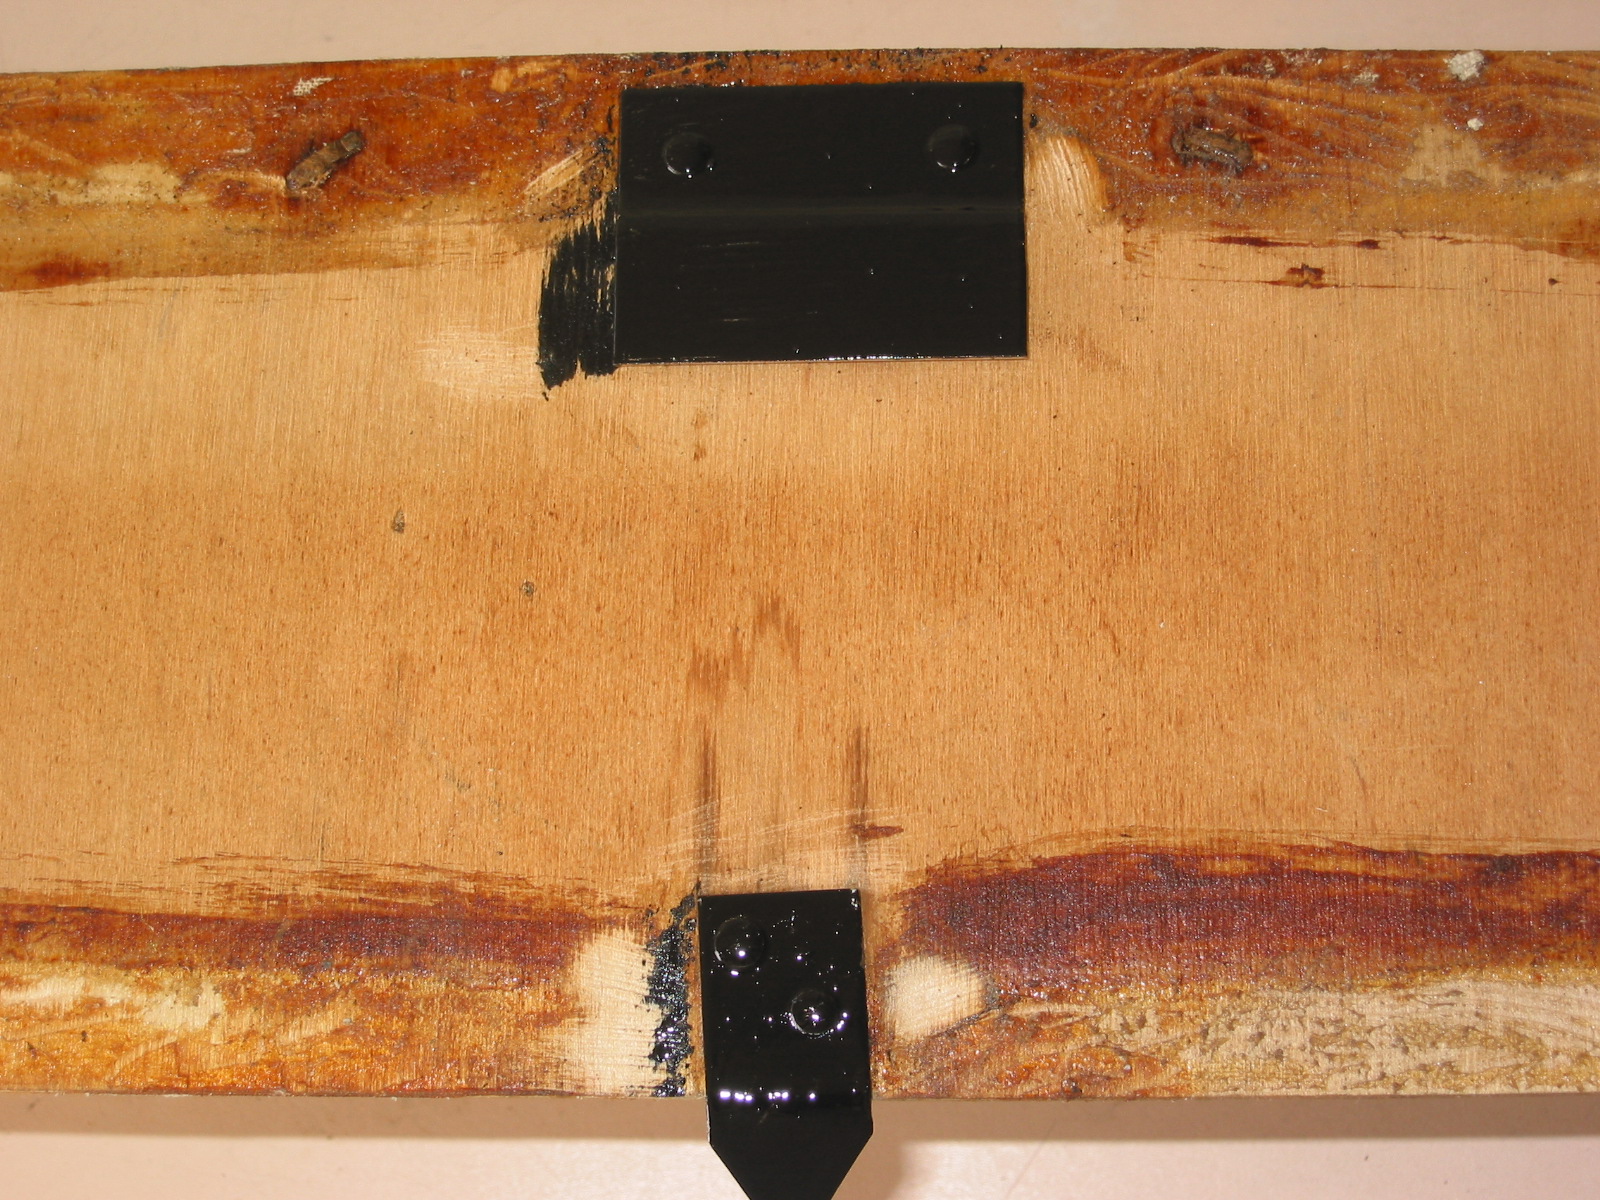
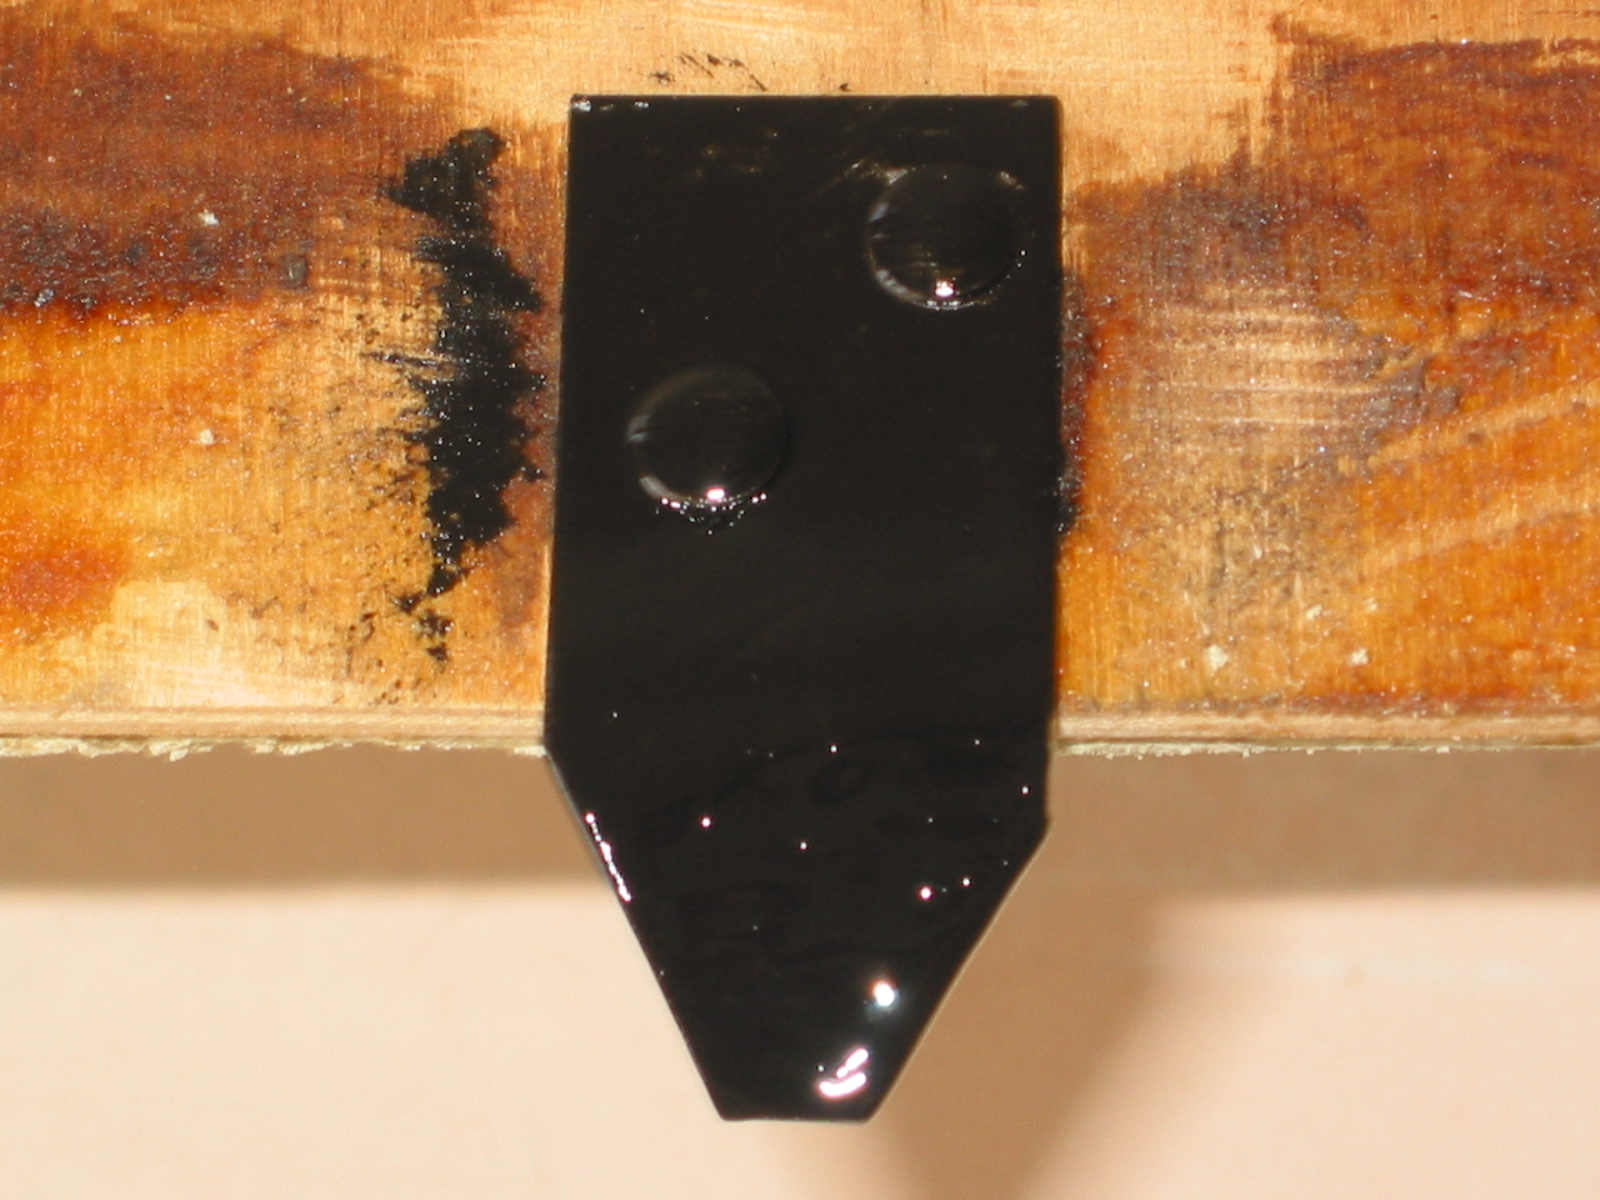
Hardtop Headliner Frame – The frame rails had contact cement on them to secure the fabric in addition to the tabs. The rear rail had felt on the inside (toward the headliner & interior).

Headliner-old- on frame 10

Headliner-old- on frame 11
Headliner felt on frame 1

Headliner felt on frame 2
Cleaned up! Painted and new felt.
Headliner frame restored
Headliner frame new felt
Headliner new felt 2
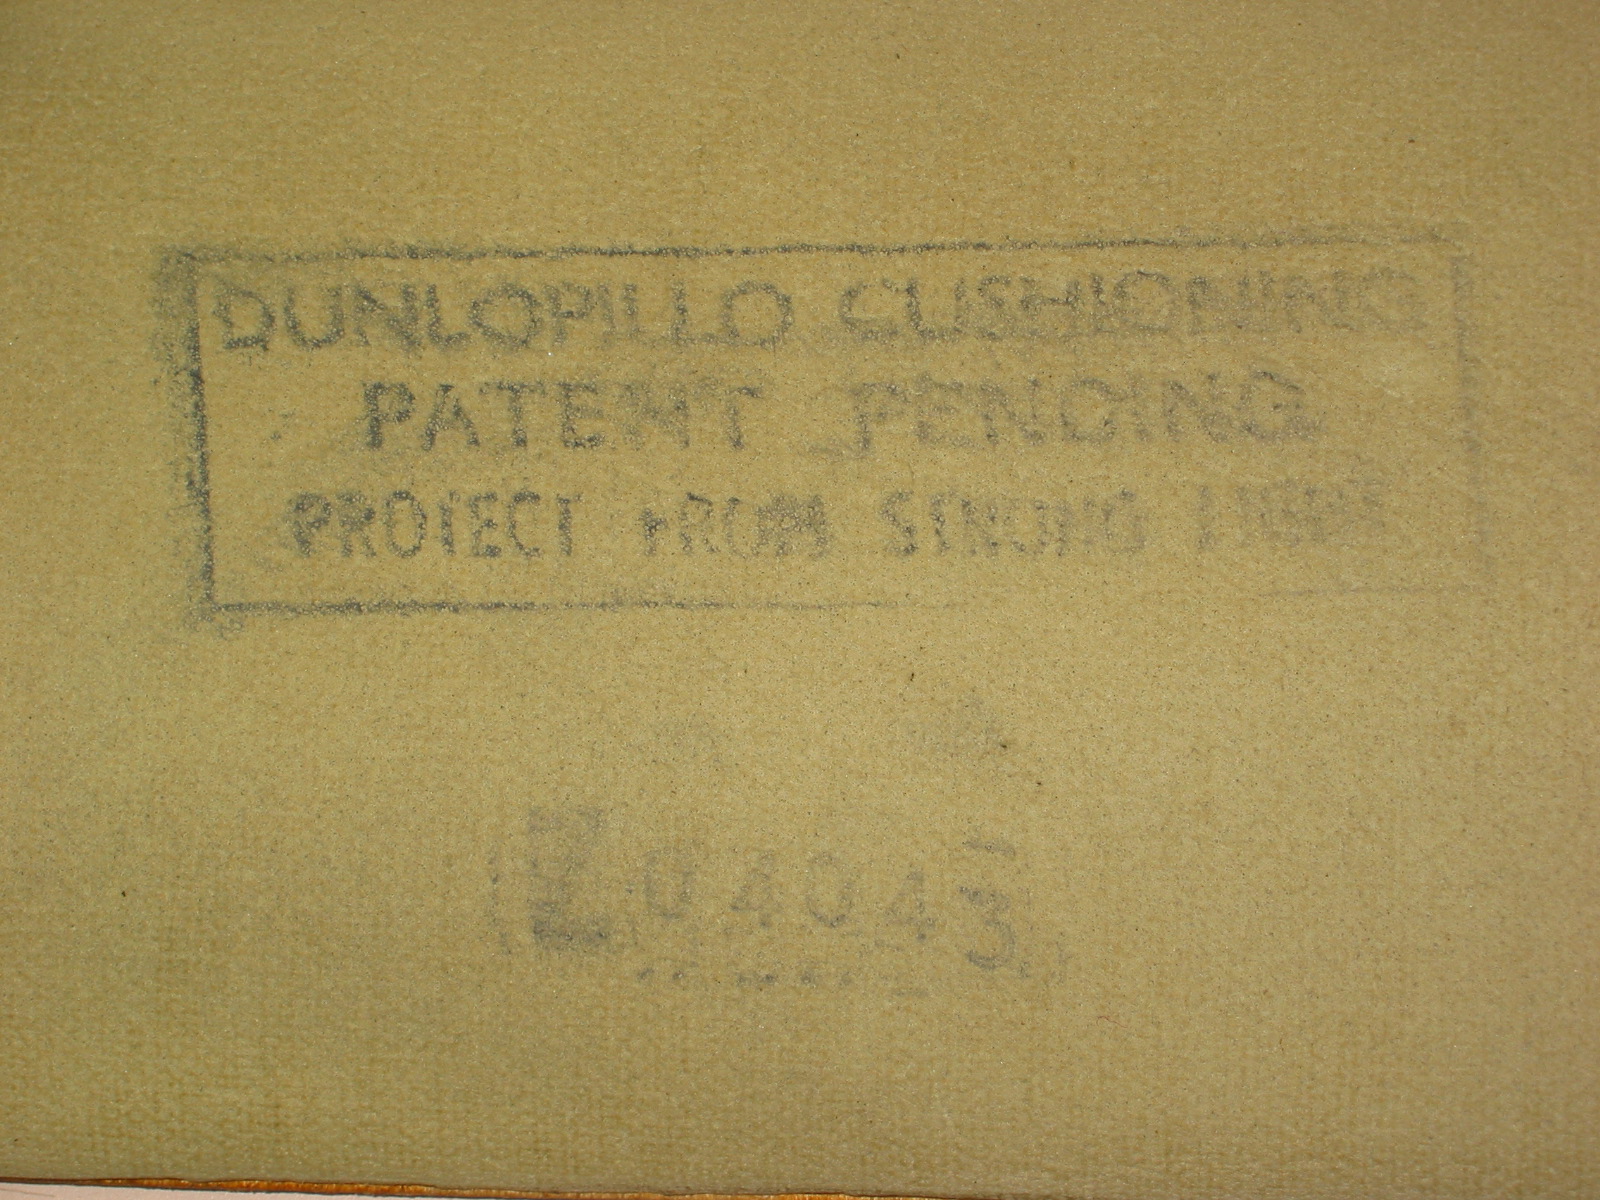
Hardtop Headliner Front Pad – Then I went to work on the front pad for the headliner. The foam rubber was in remarkably good shape for 45 years old! It will be fine to use again. It was apparently made by an Italian division of Dunlop?

Headliner front pad 1
Headliner front pad 2

Headliner front pad 4
Headliner front pad 5
Headliner front pad 8
Headliner front pad 9
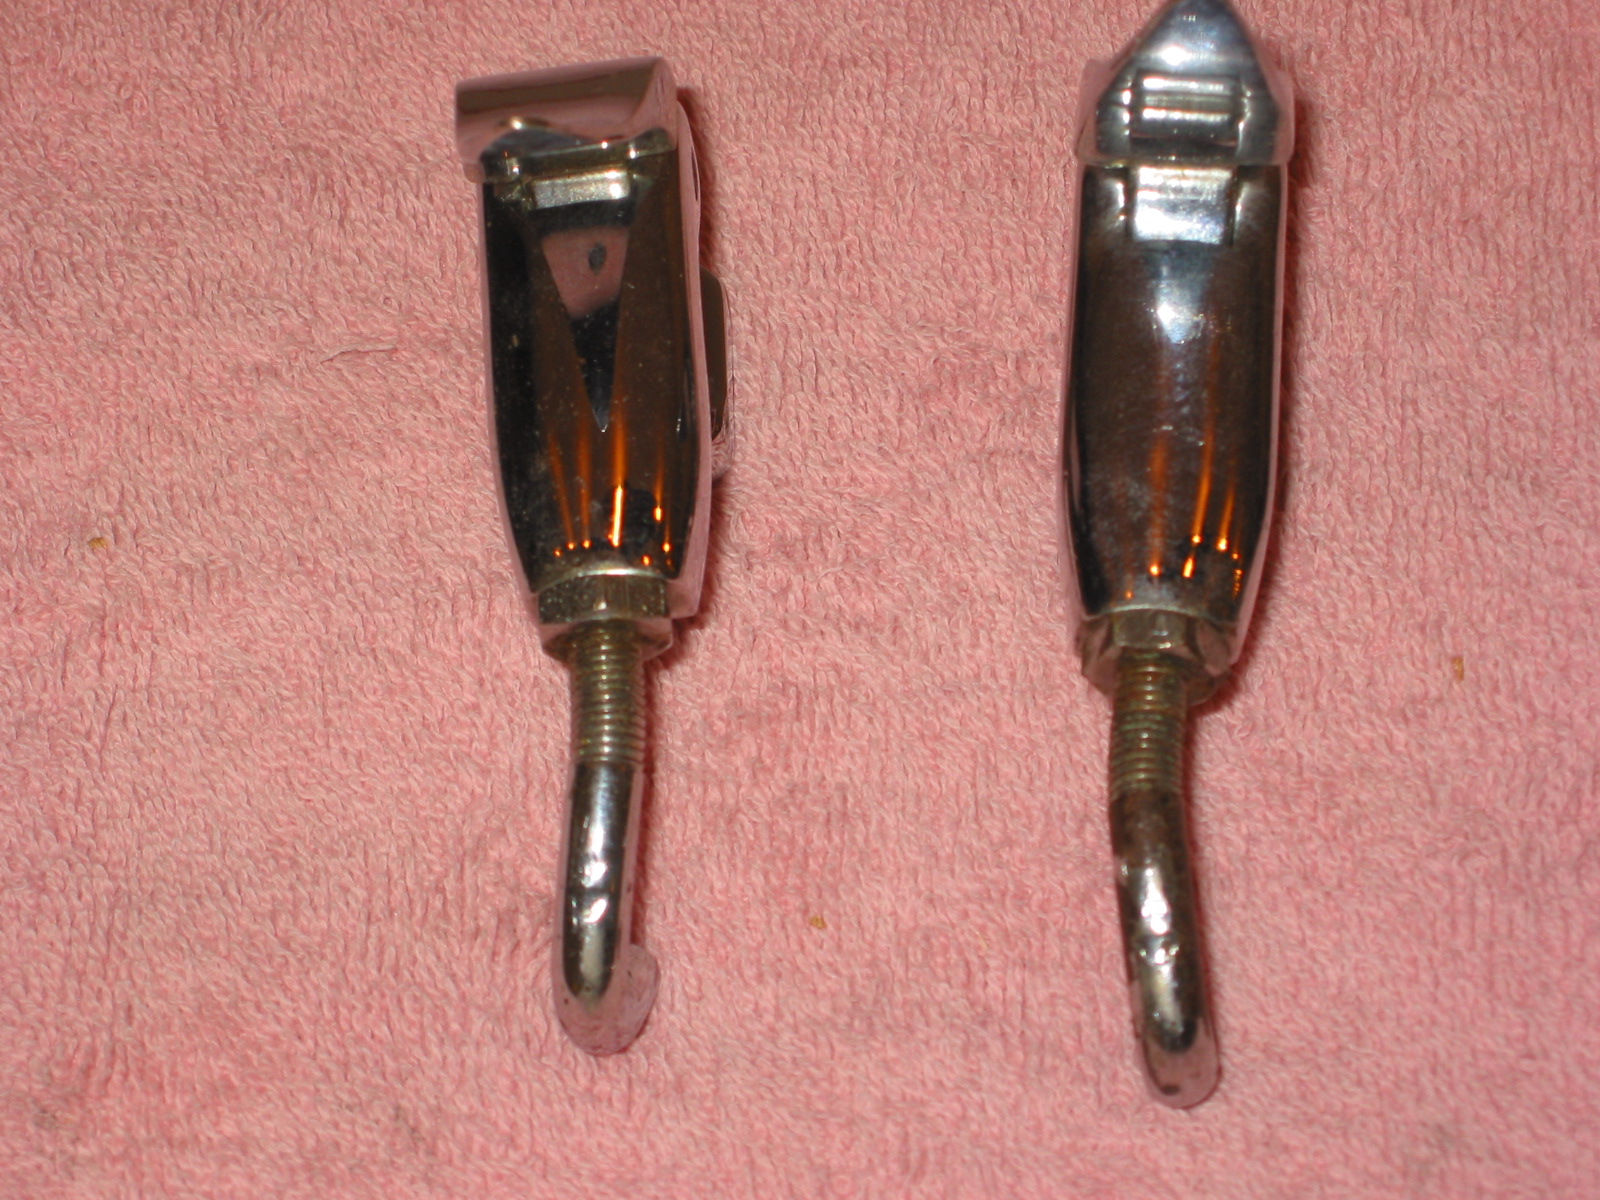
Soft Top Front Rail – Finished the assembly of the convertible top front windscreen bow. Fastened the aluminum front rail with 15 1/2” flat head stainless screws. Cleaned and reassembled the two fastener clasps and mounted them to the bow with 3/4” #10 pan head screws.

Soft top bow rail
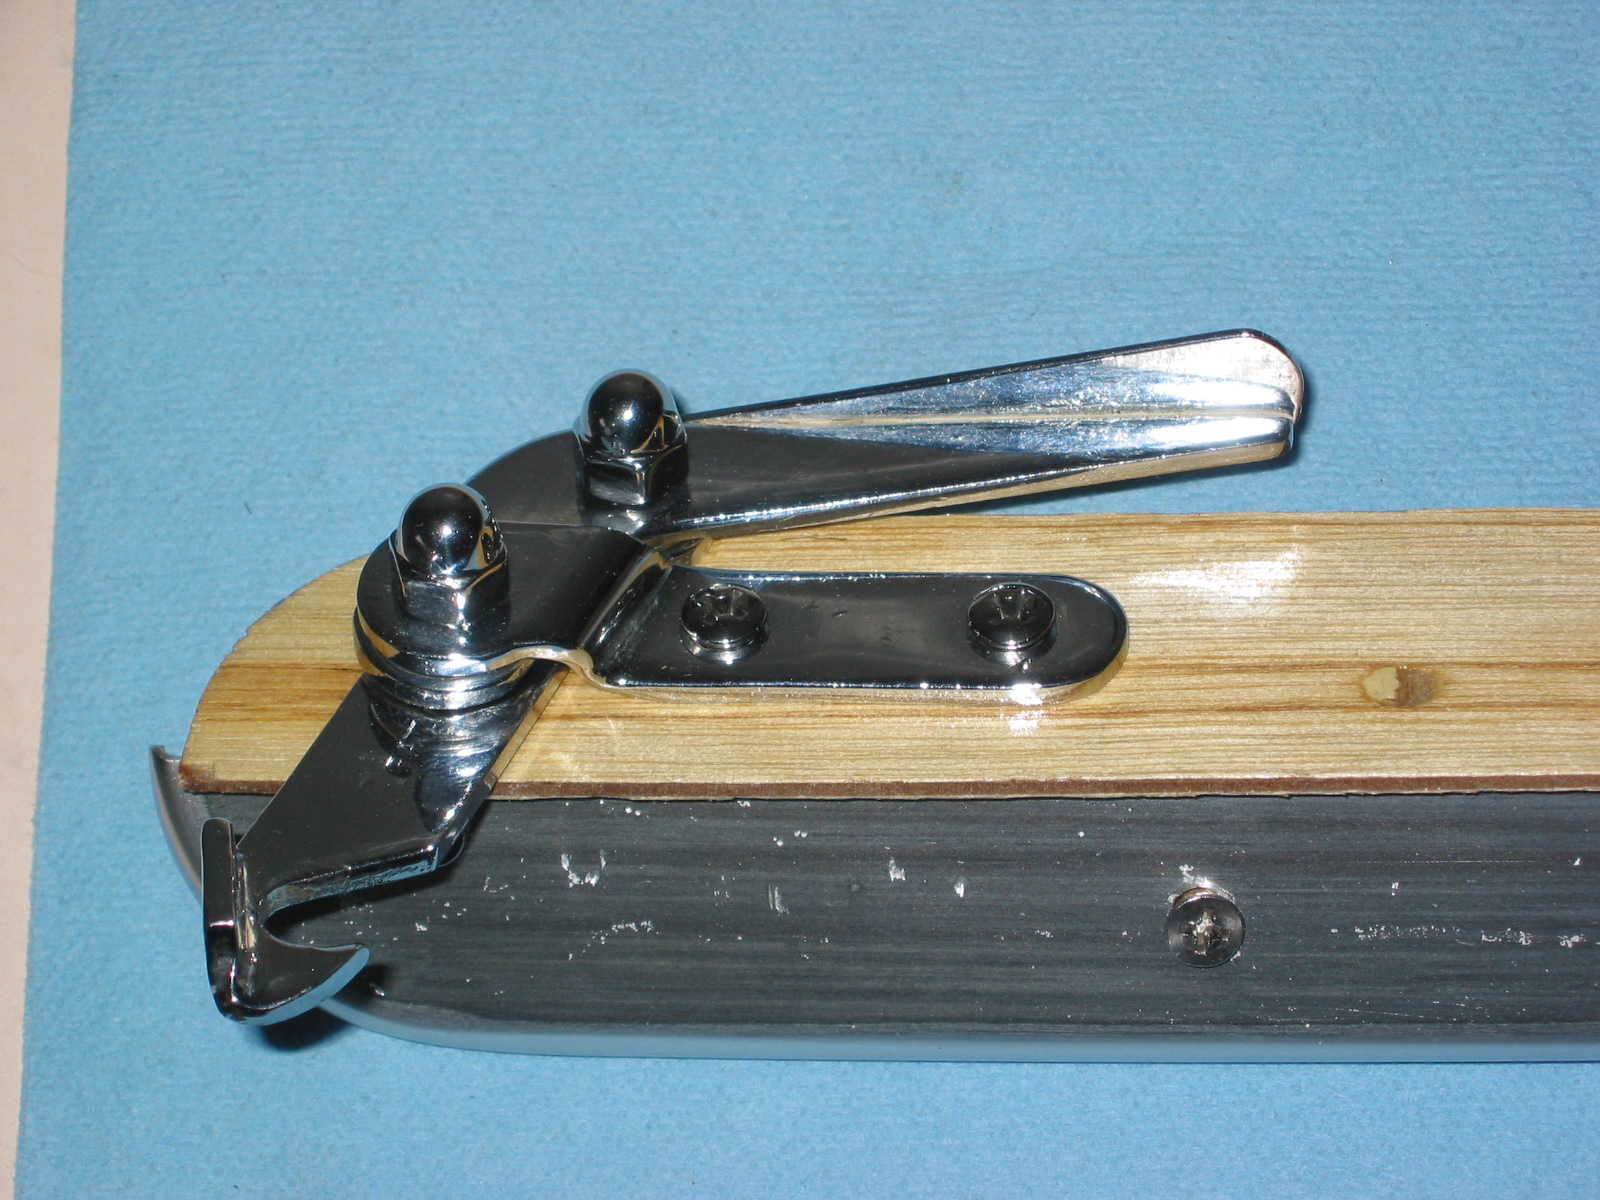
Soft top bow clasps 1
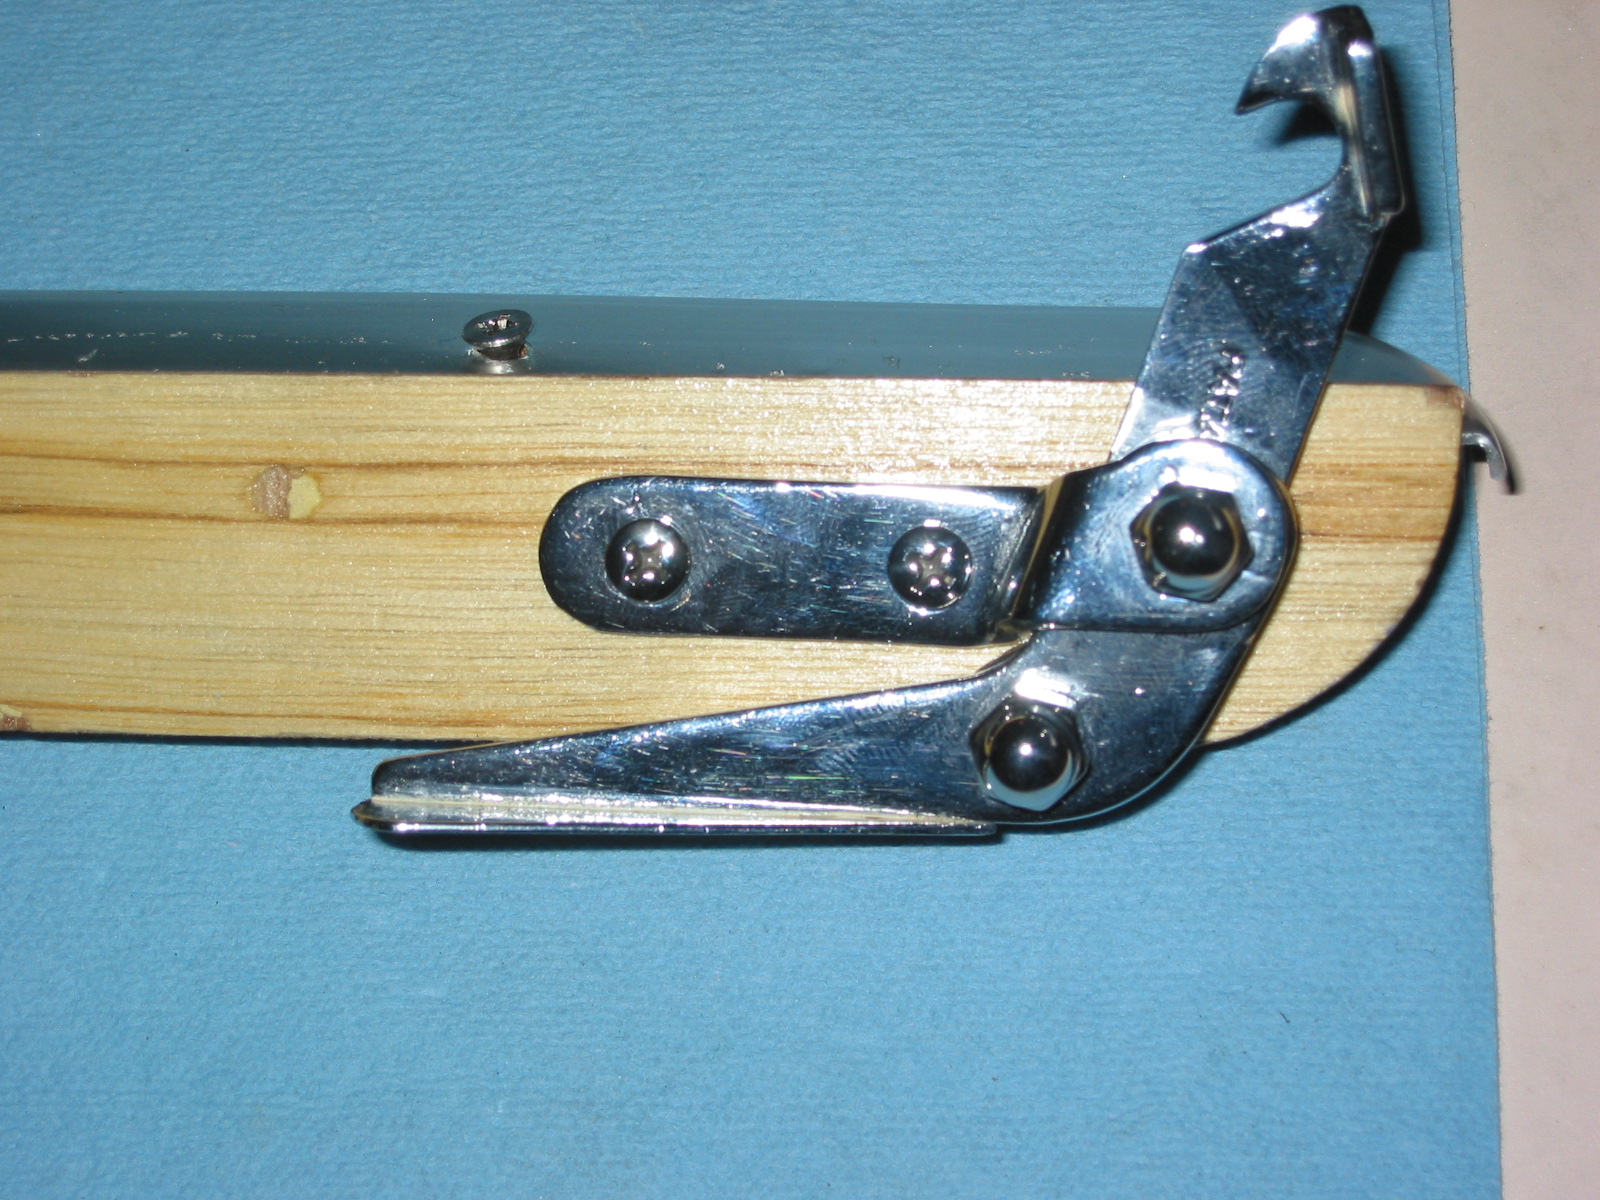
Soft top bow clasps 3
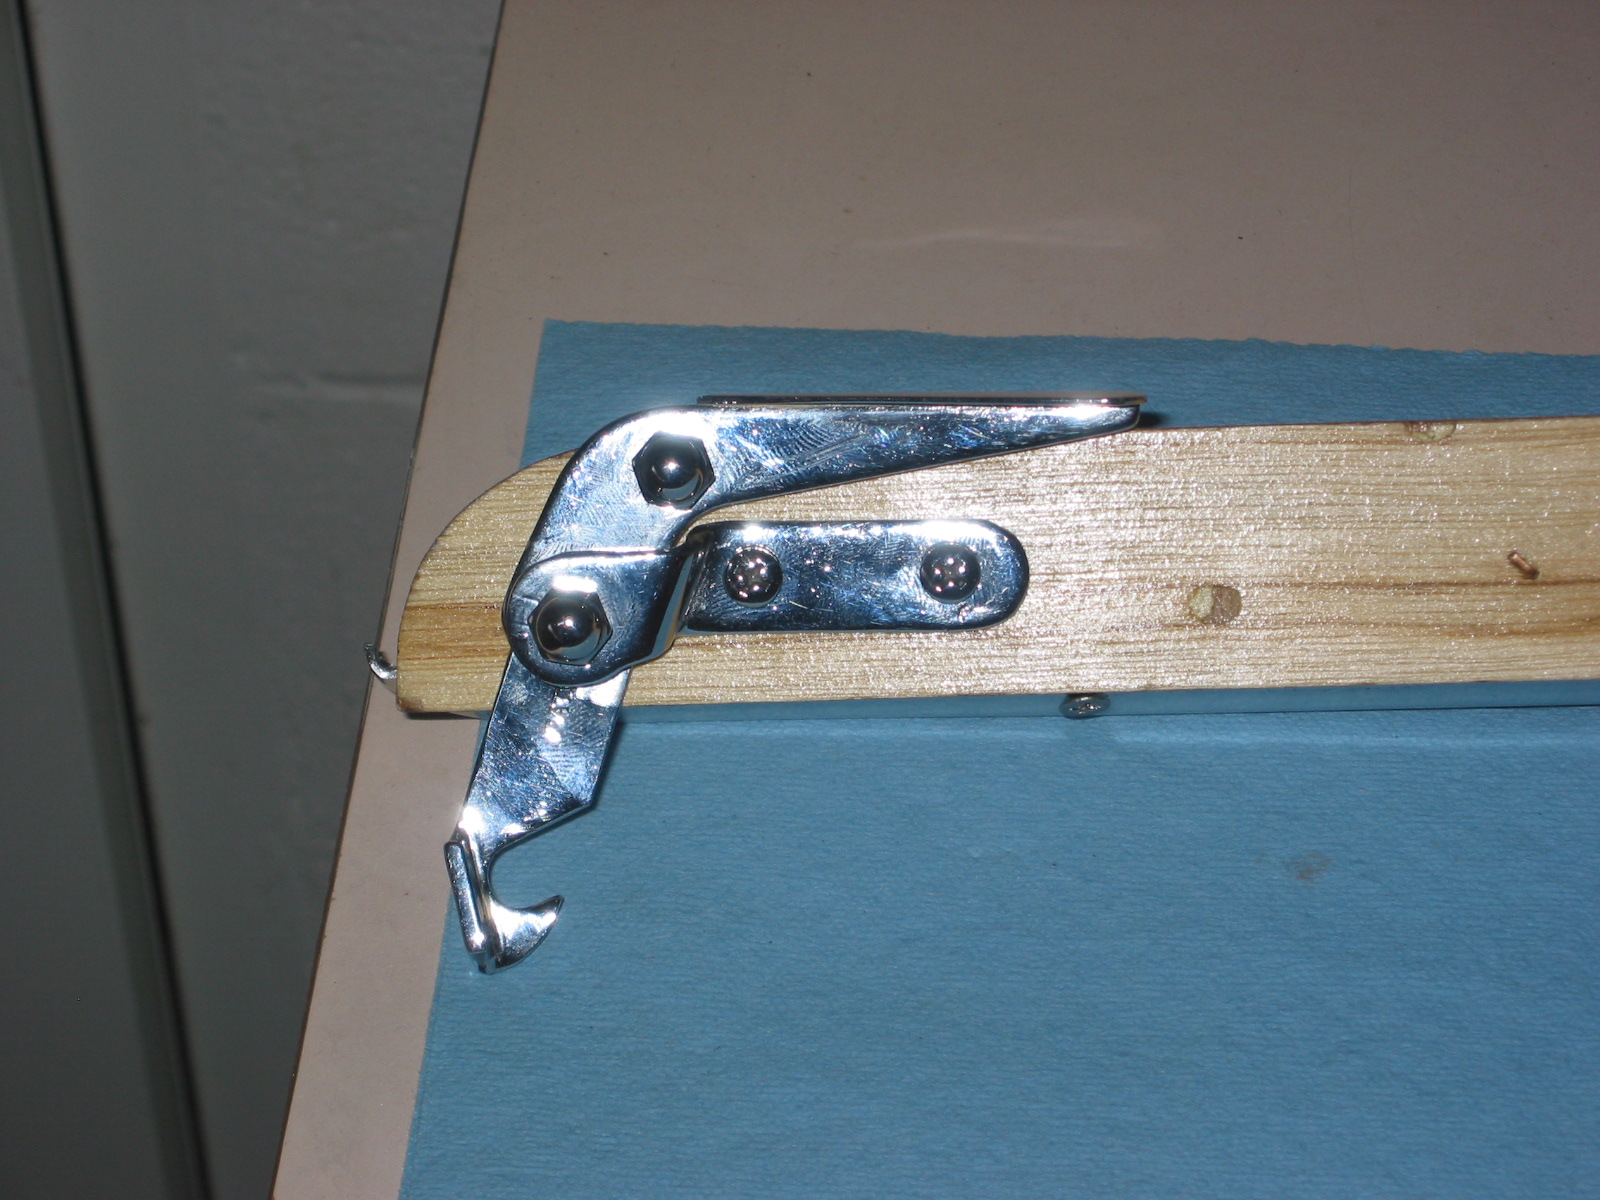
Soft top bow clasps 2
January 2, 2005
Interior Courtesy Lights
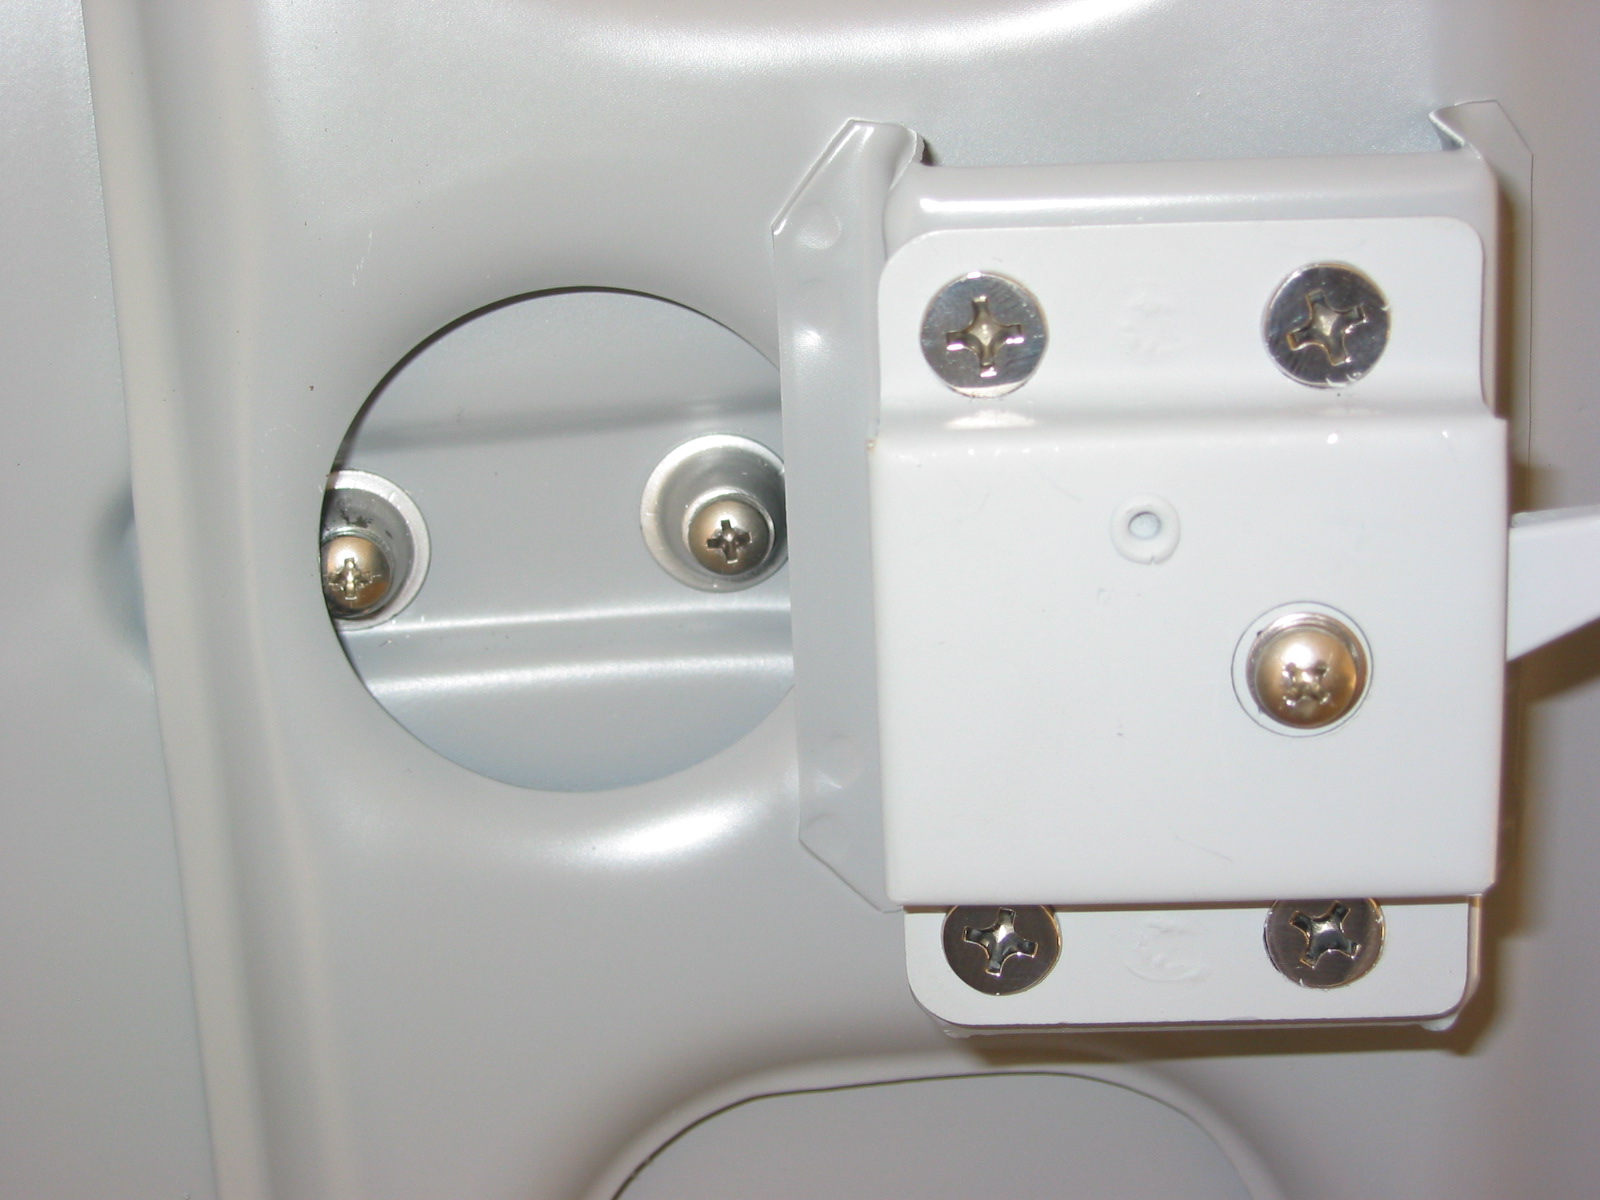
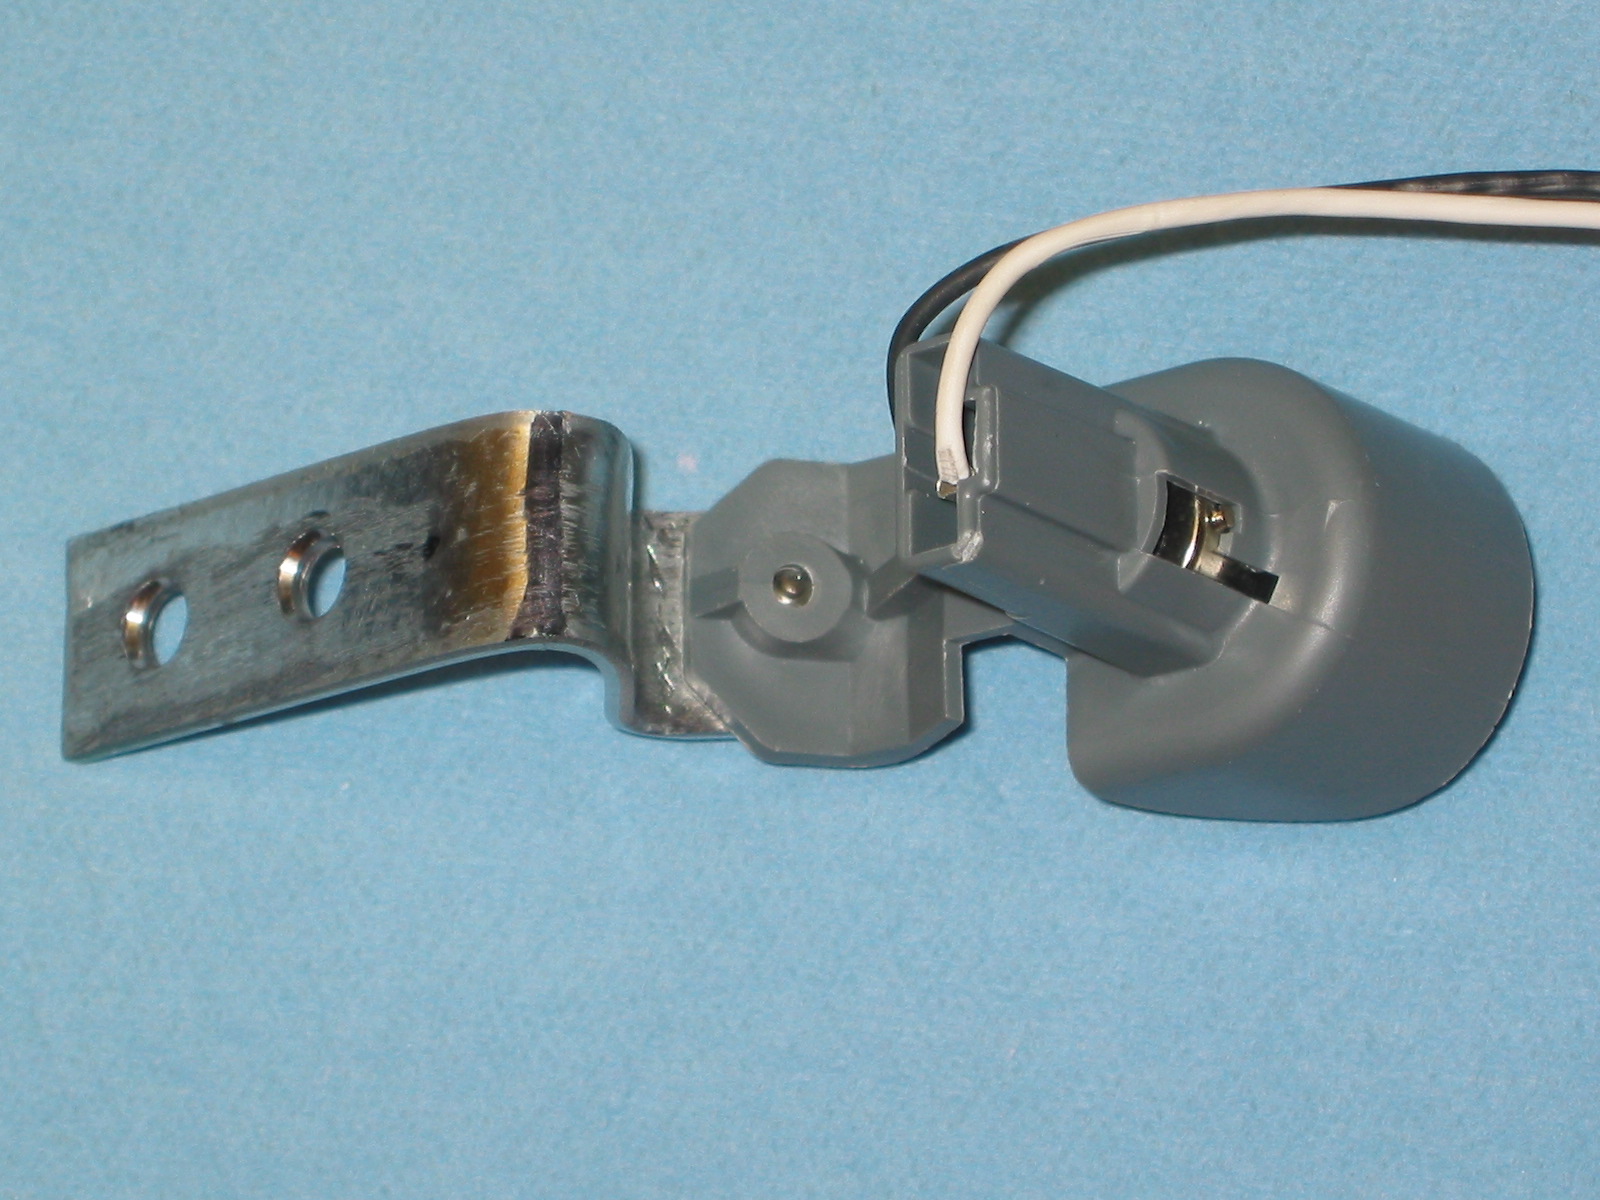
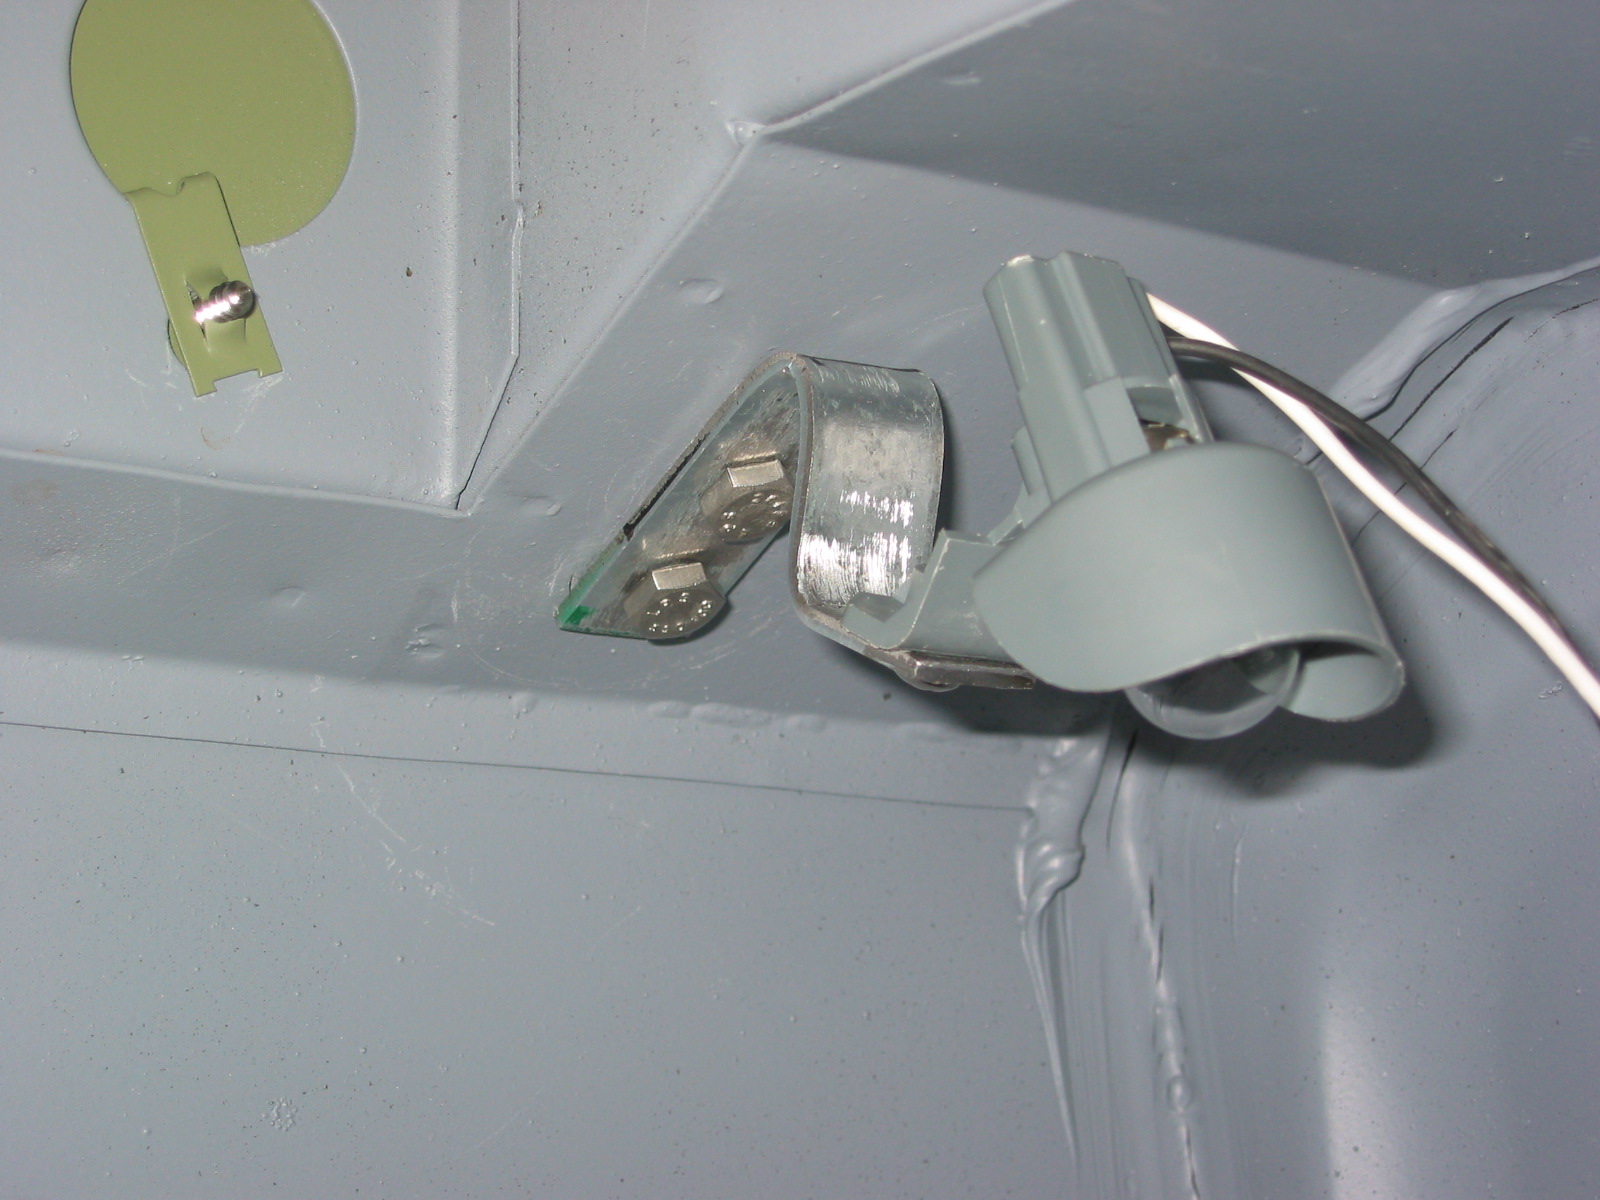
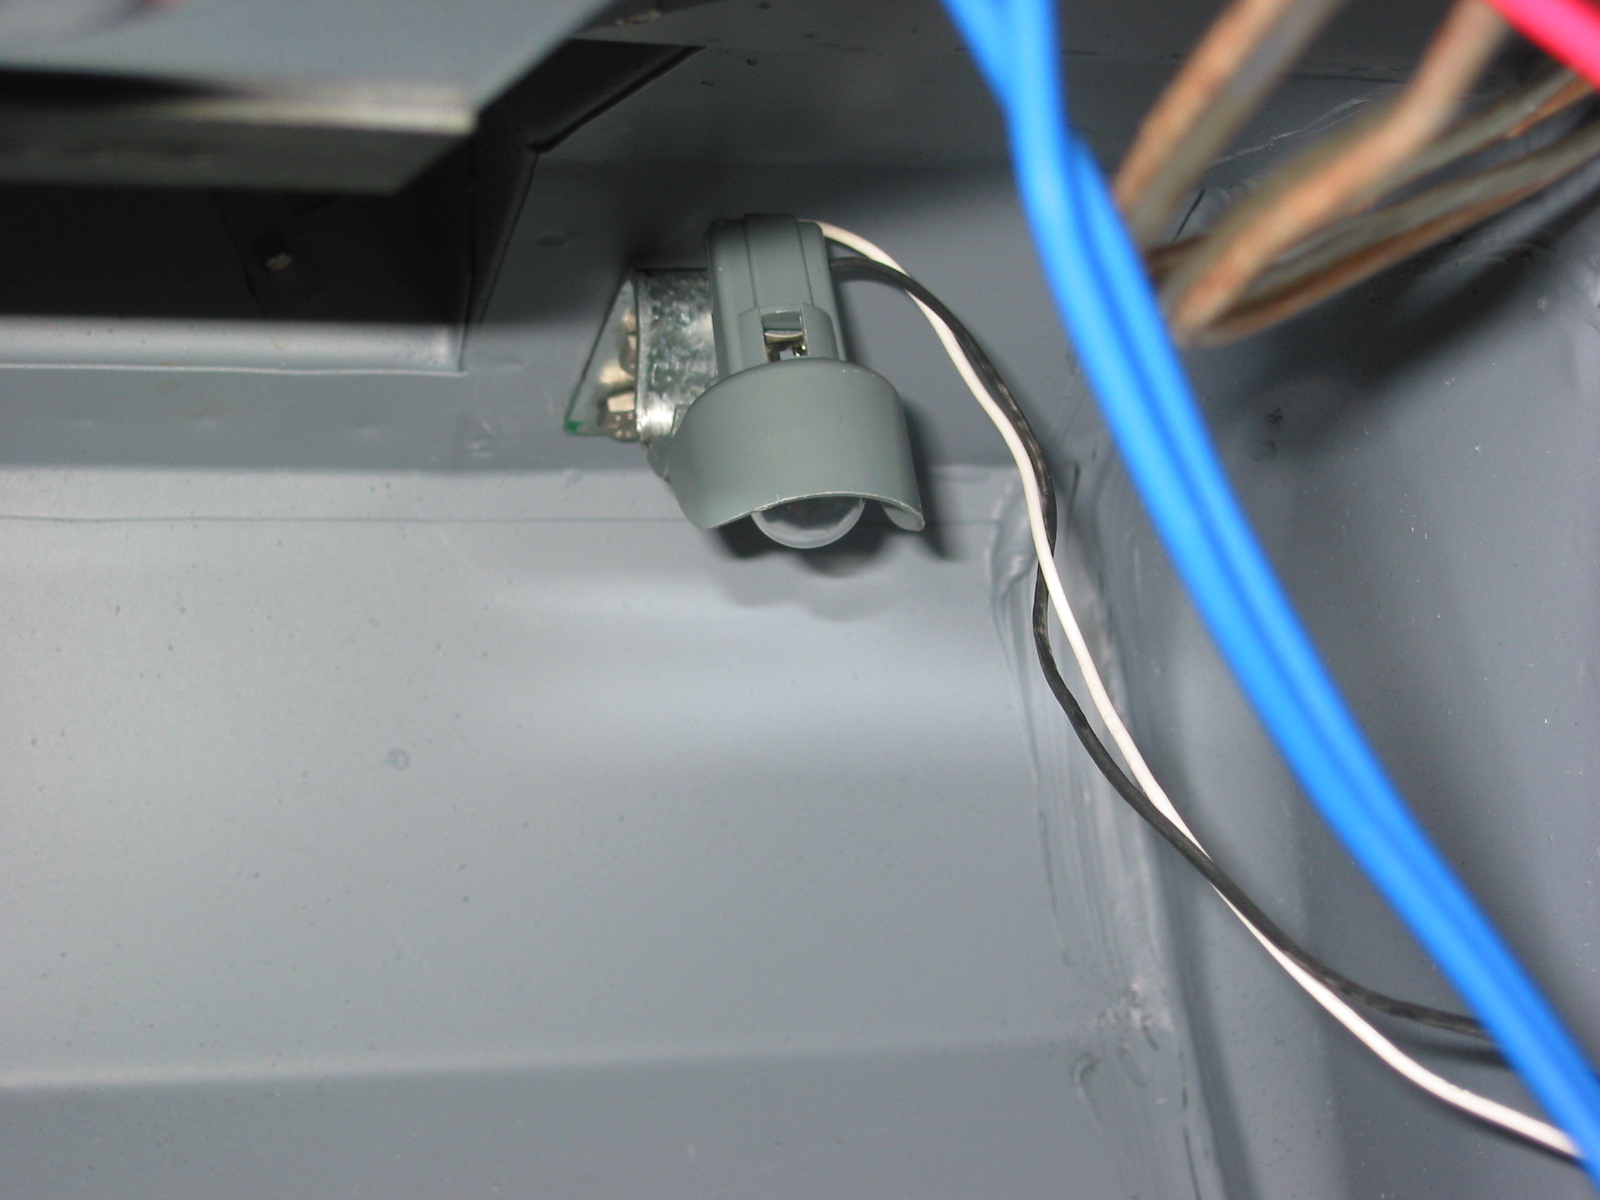
I fabricated mounting brackets for each of the lights for the interior footwells. I mounted the driver’s side bracket to the clutch master cylinder lower mounting bolt to avoid having to drill any new holes in the car. This required using a 11/2” 5/16” bolt rather than the customary 1” bolt. The right courtesy light bracket was mounted to the 2, 1/4” fixed nuts for RHD throttle pedal mounts. Also done to avoid drilling any new holes.
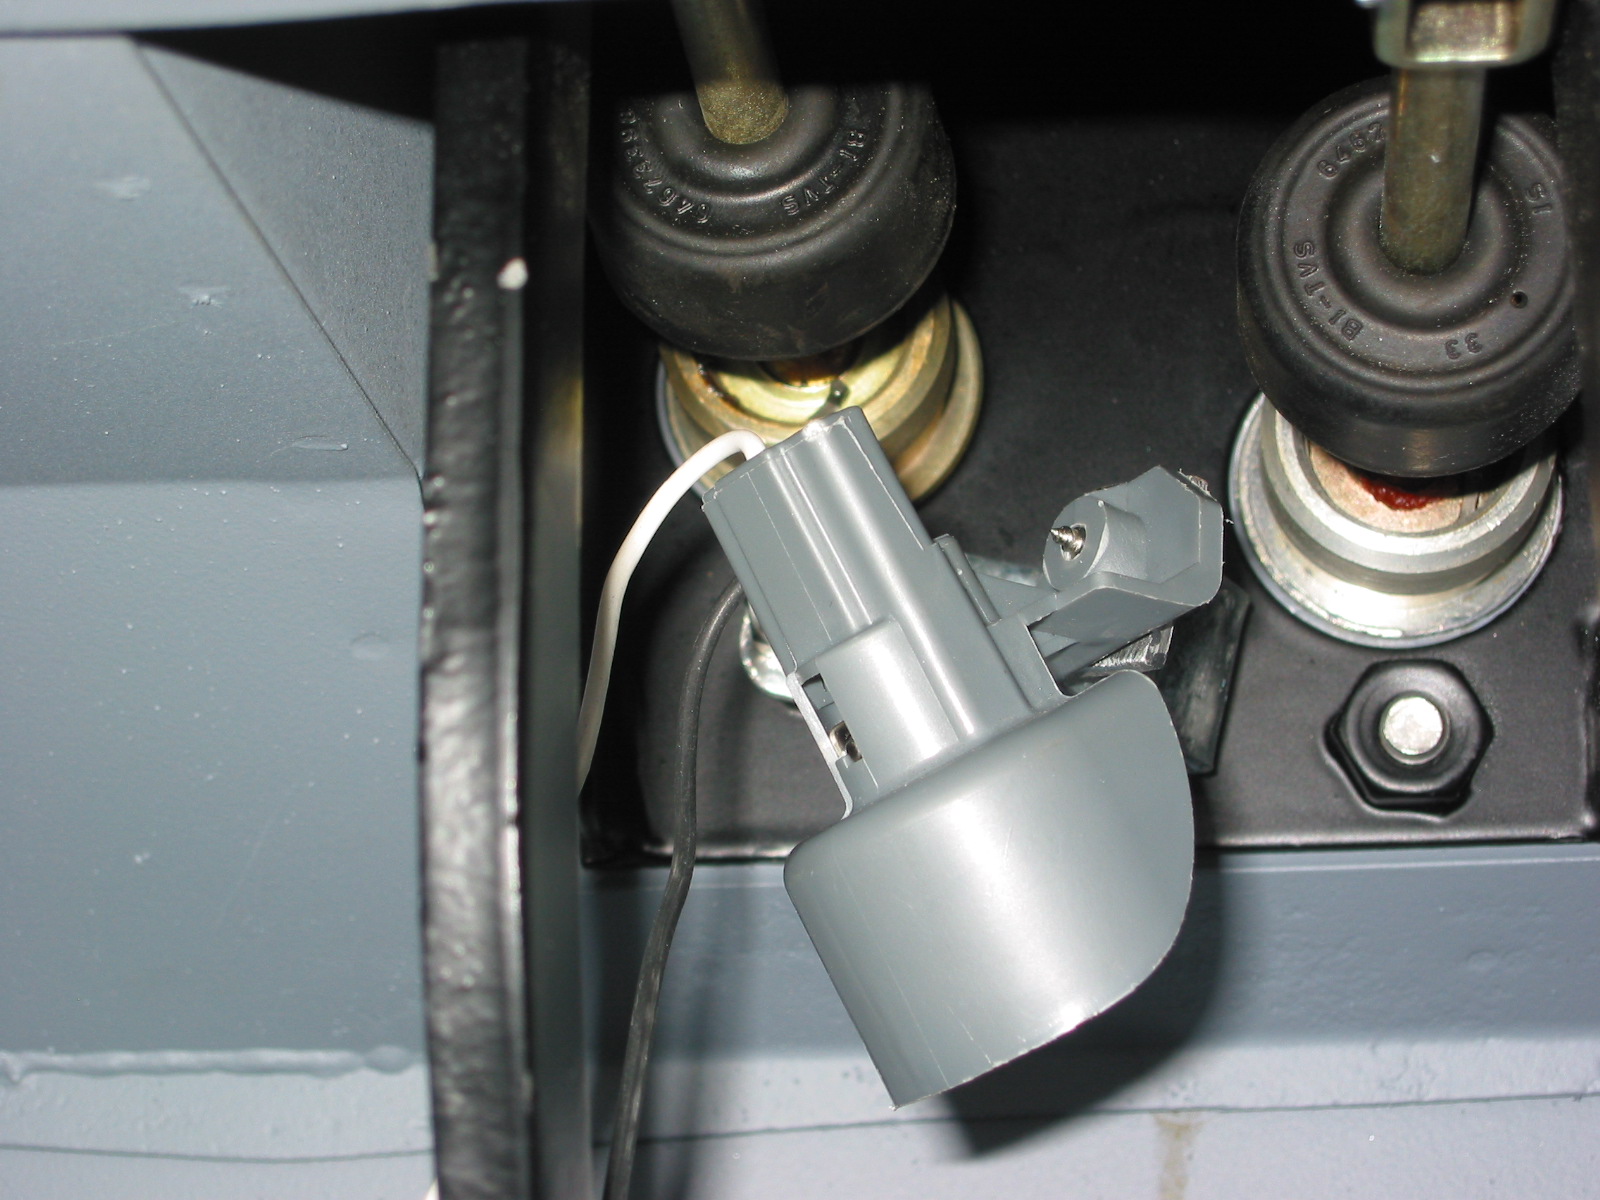
Courtesy light left 1
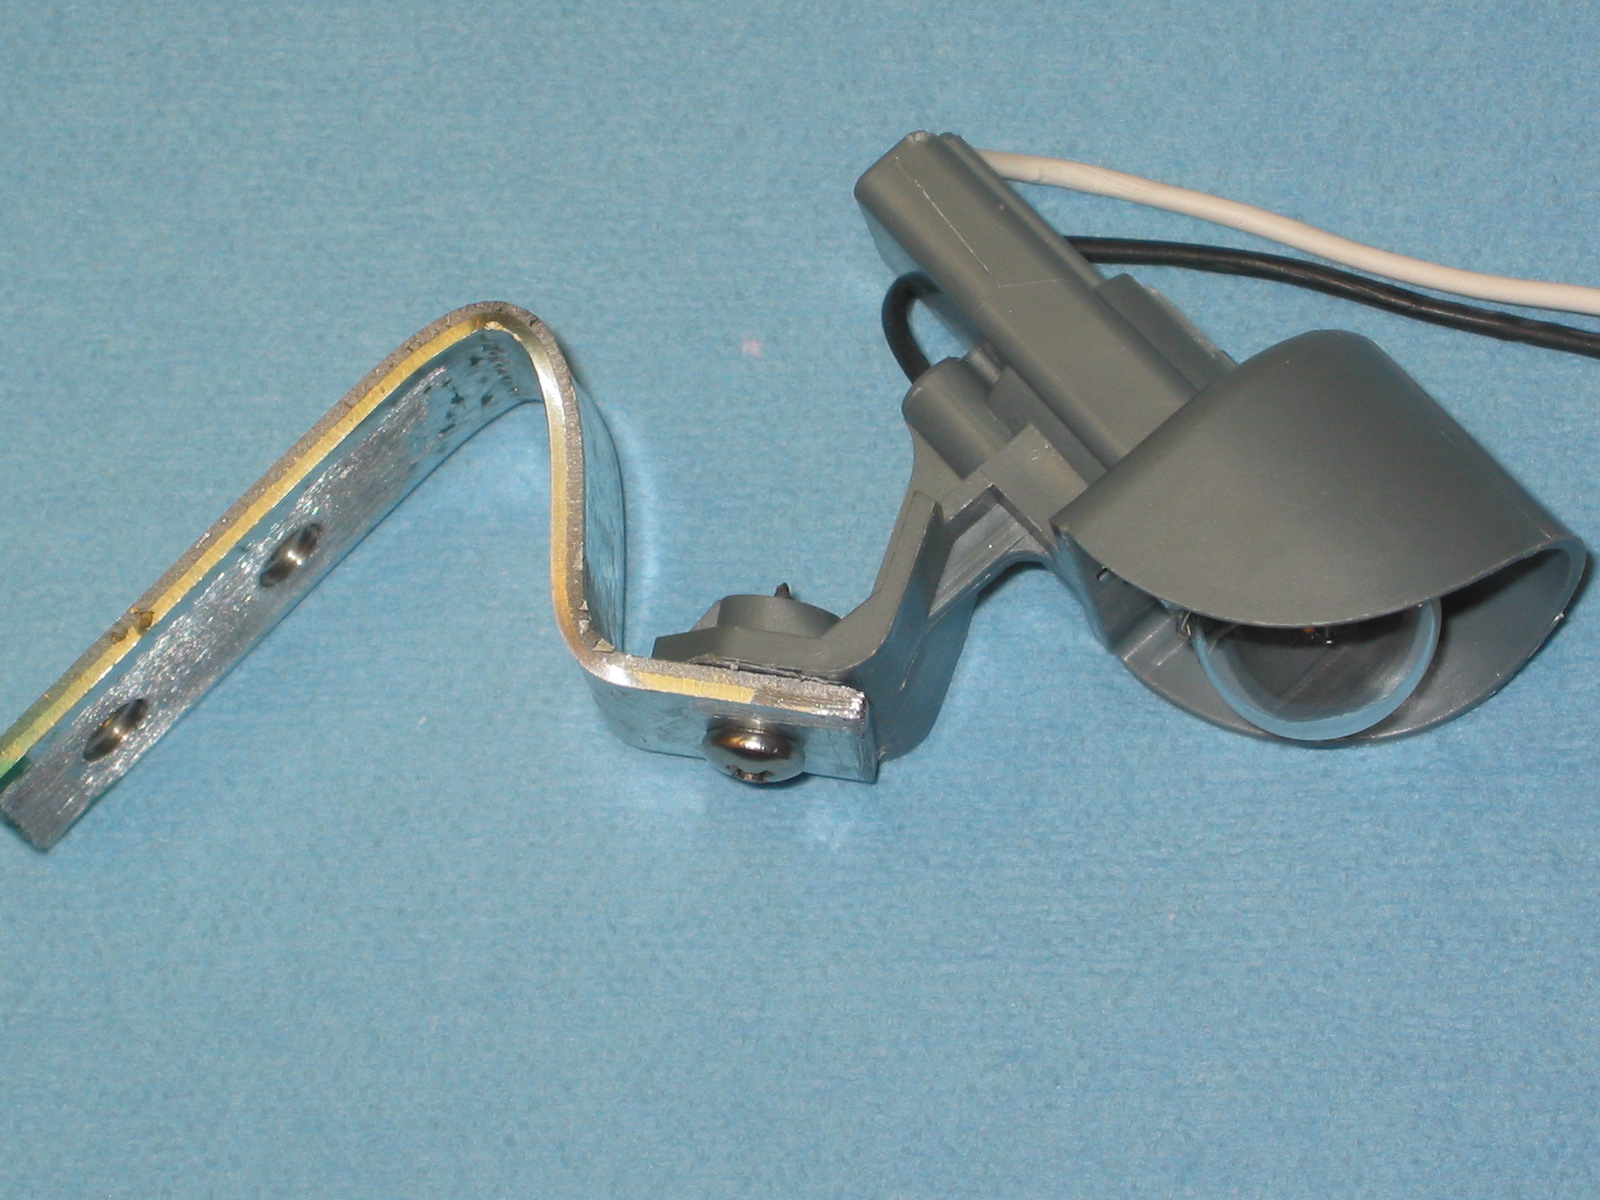
Courtesy light right 1
Courtesy light right 2
Courtesy light right 3
Courtesy light right 4