September 4, 2006
Initial Work on the Engine and Driveline
Clutch and Flywheel – Many who have used the Smitty gearbox conversion have suggested fitting a later BJ8 diaphragm clutch rather than the the spring actutated clutch originally used on the BT7. Now seemed to be the time to do it, so I ordered the clutch plate assembly from Moss. I also took the suggestions of others and sent my flywheel to Bill Bolton in exchange for a lightened (now 24 lbs.) BJ8 flywheel. The wheel that came back from Bill was pretty rusty in the non-contact surface area so a little time was spent with rust remover and the drill and wire brush. Even after cleaning, I still think I will give it to Jeremy to media blast the non-contact surfaces.
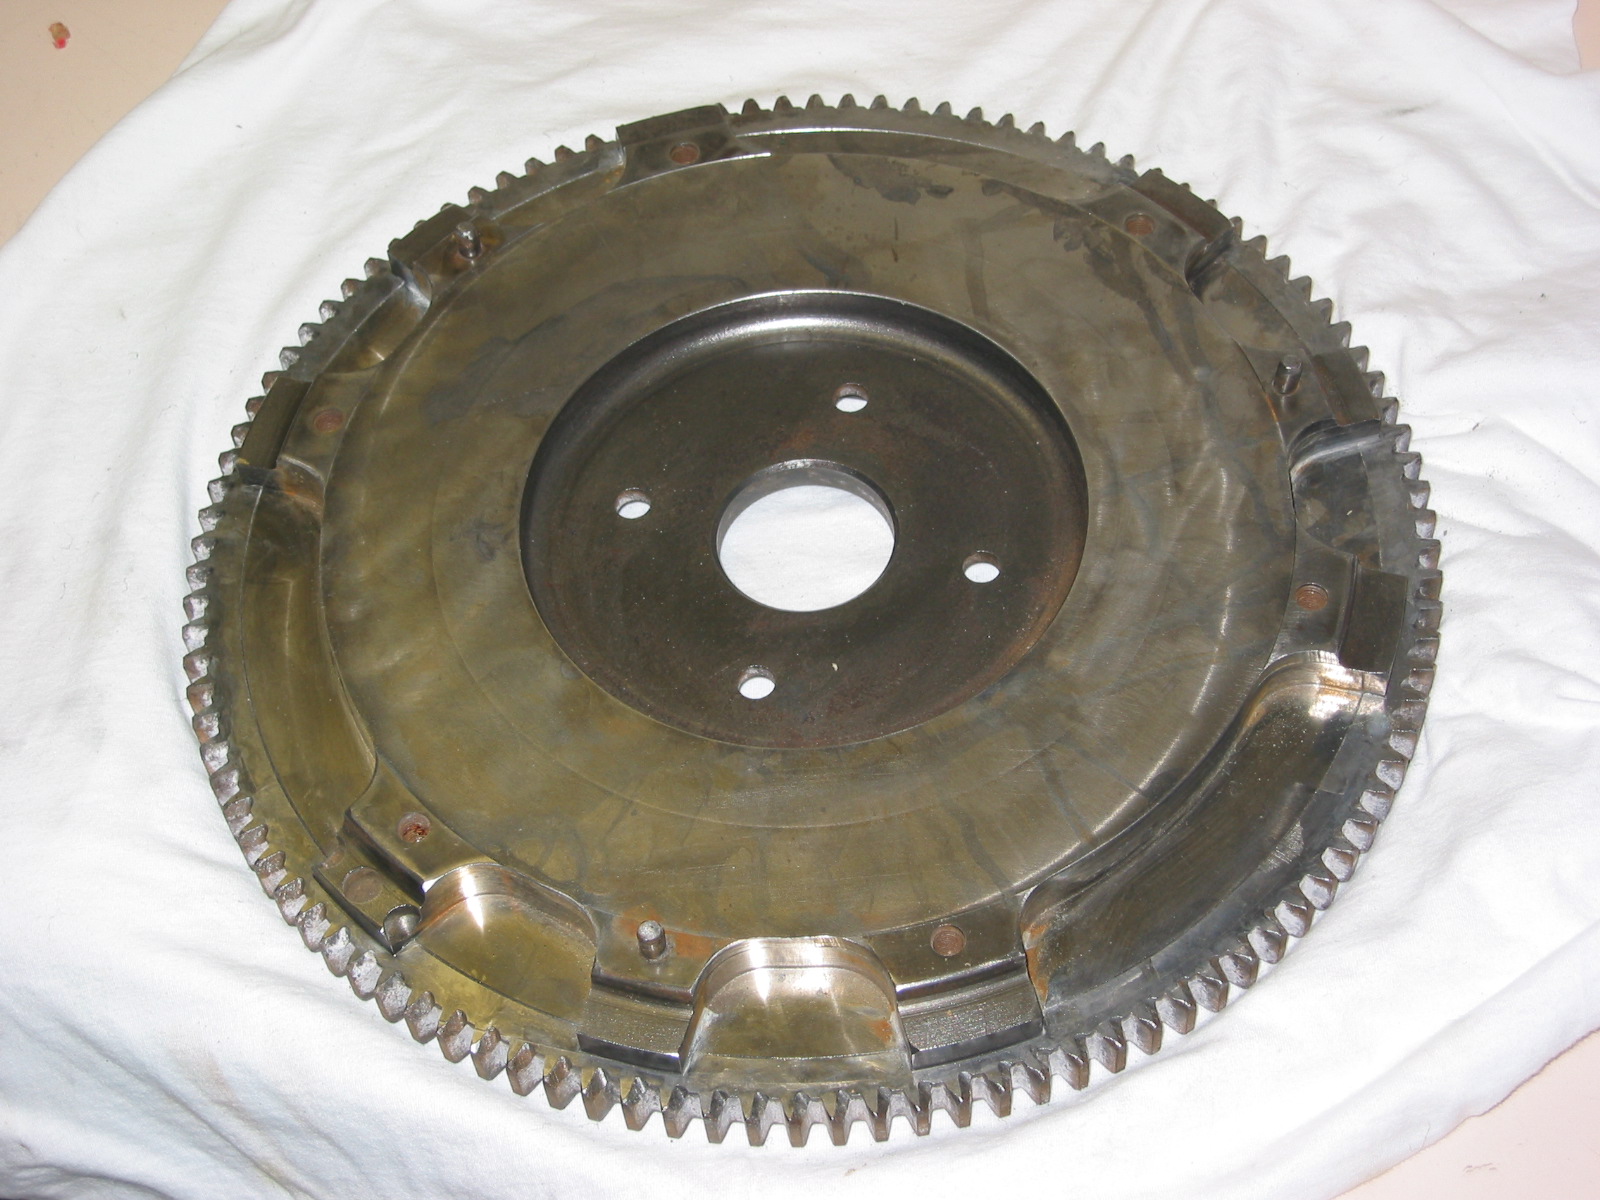
BJ8 lightened Flywheel 1
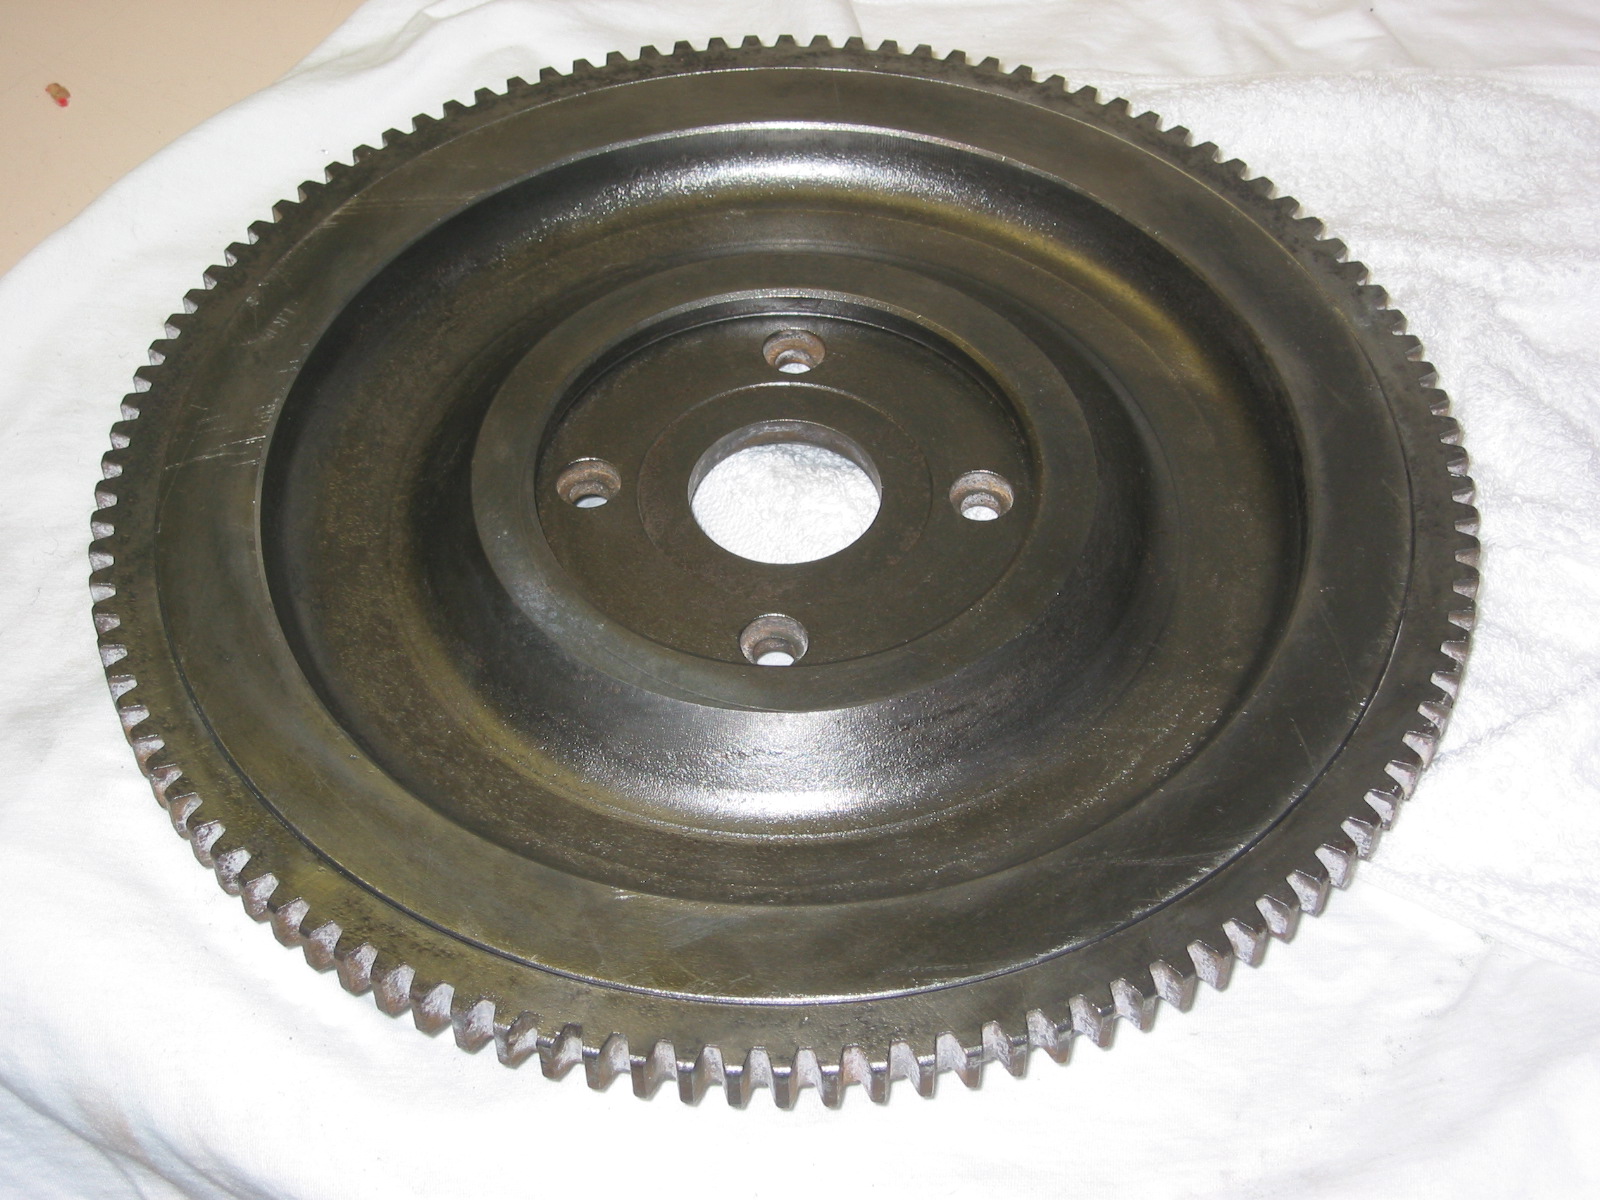
BJ8 lightened Flywheel 2
September 6, 2006
Jeremy Turner’s Work Continues
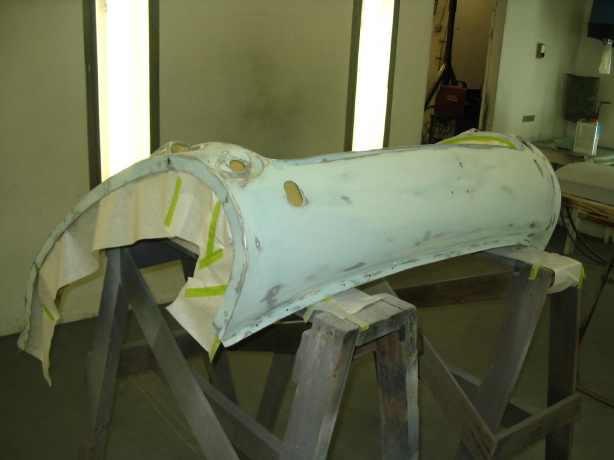
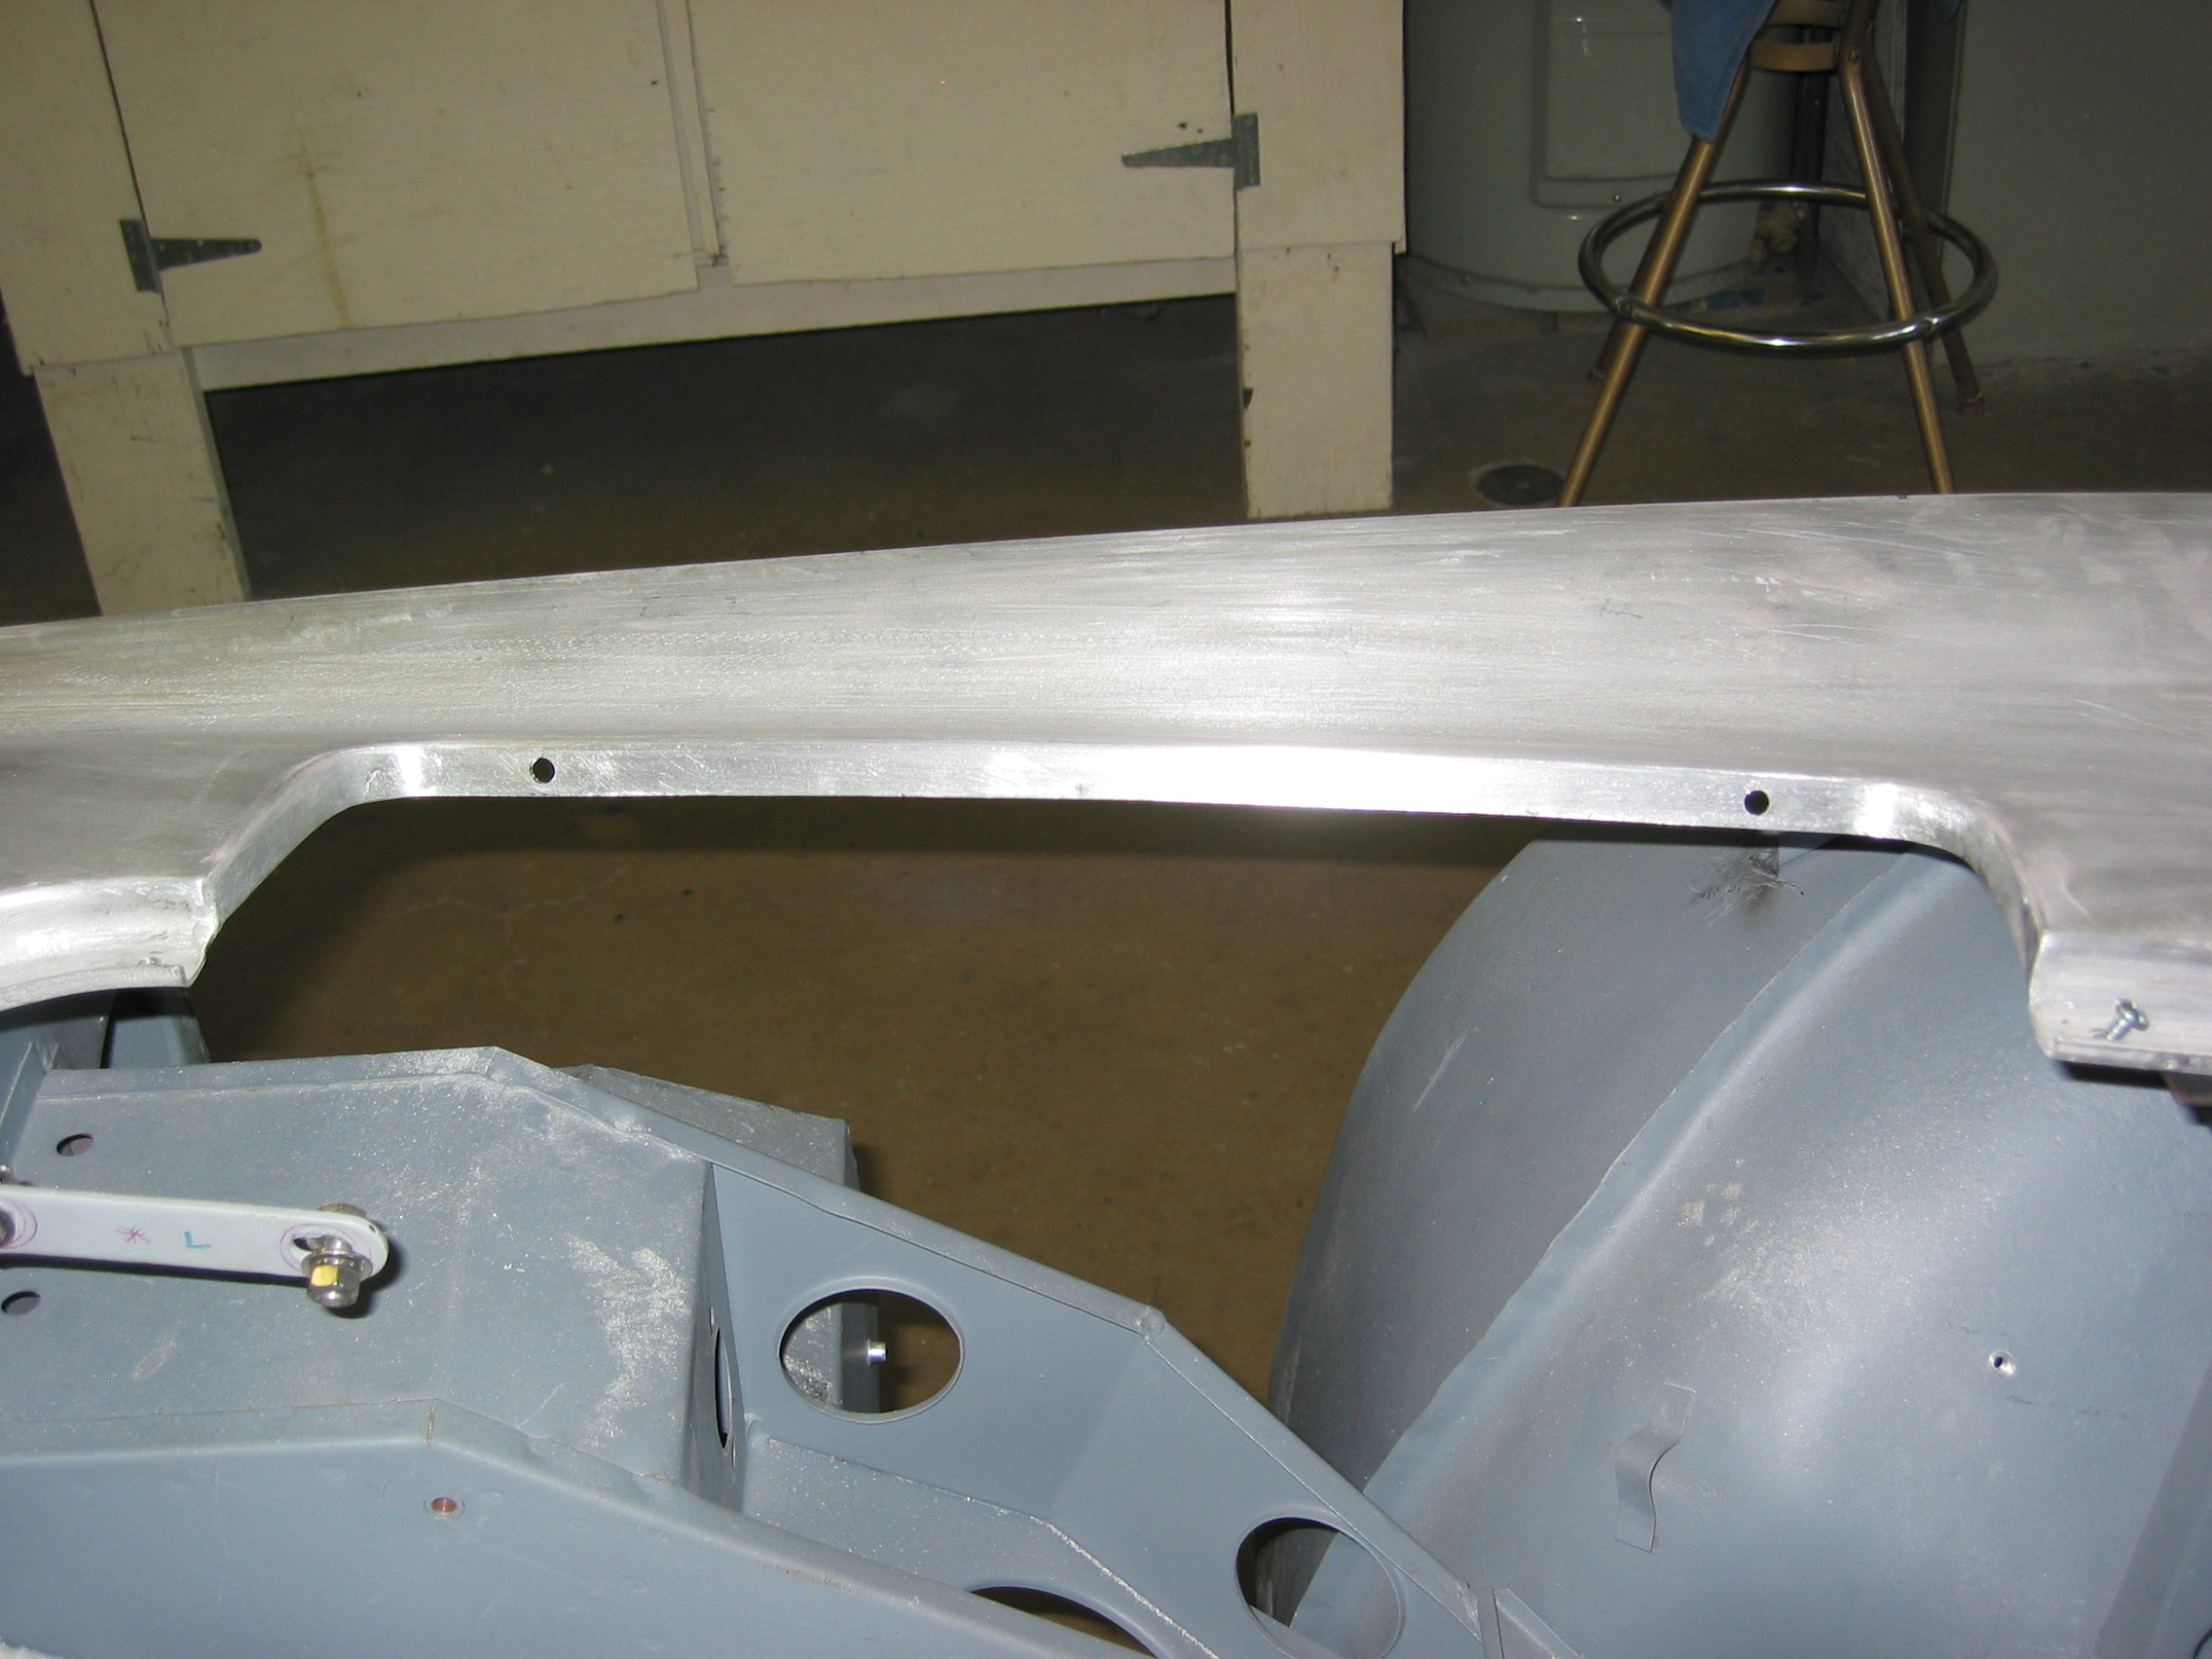
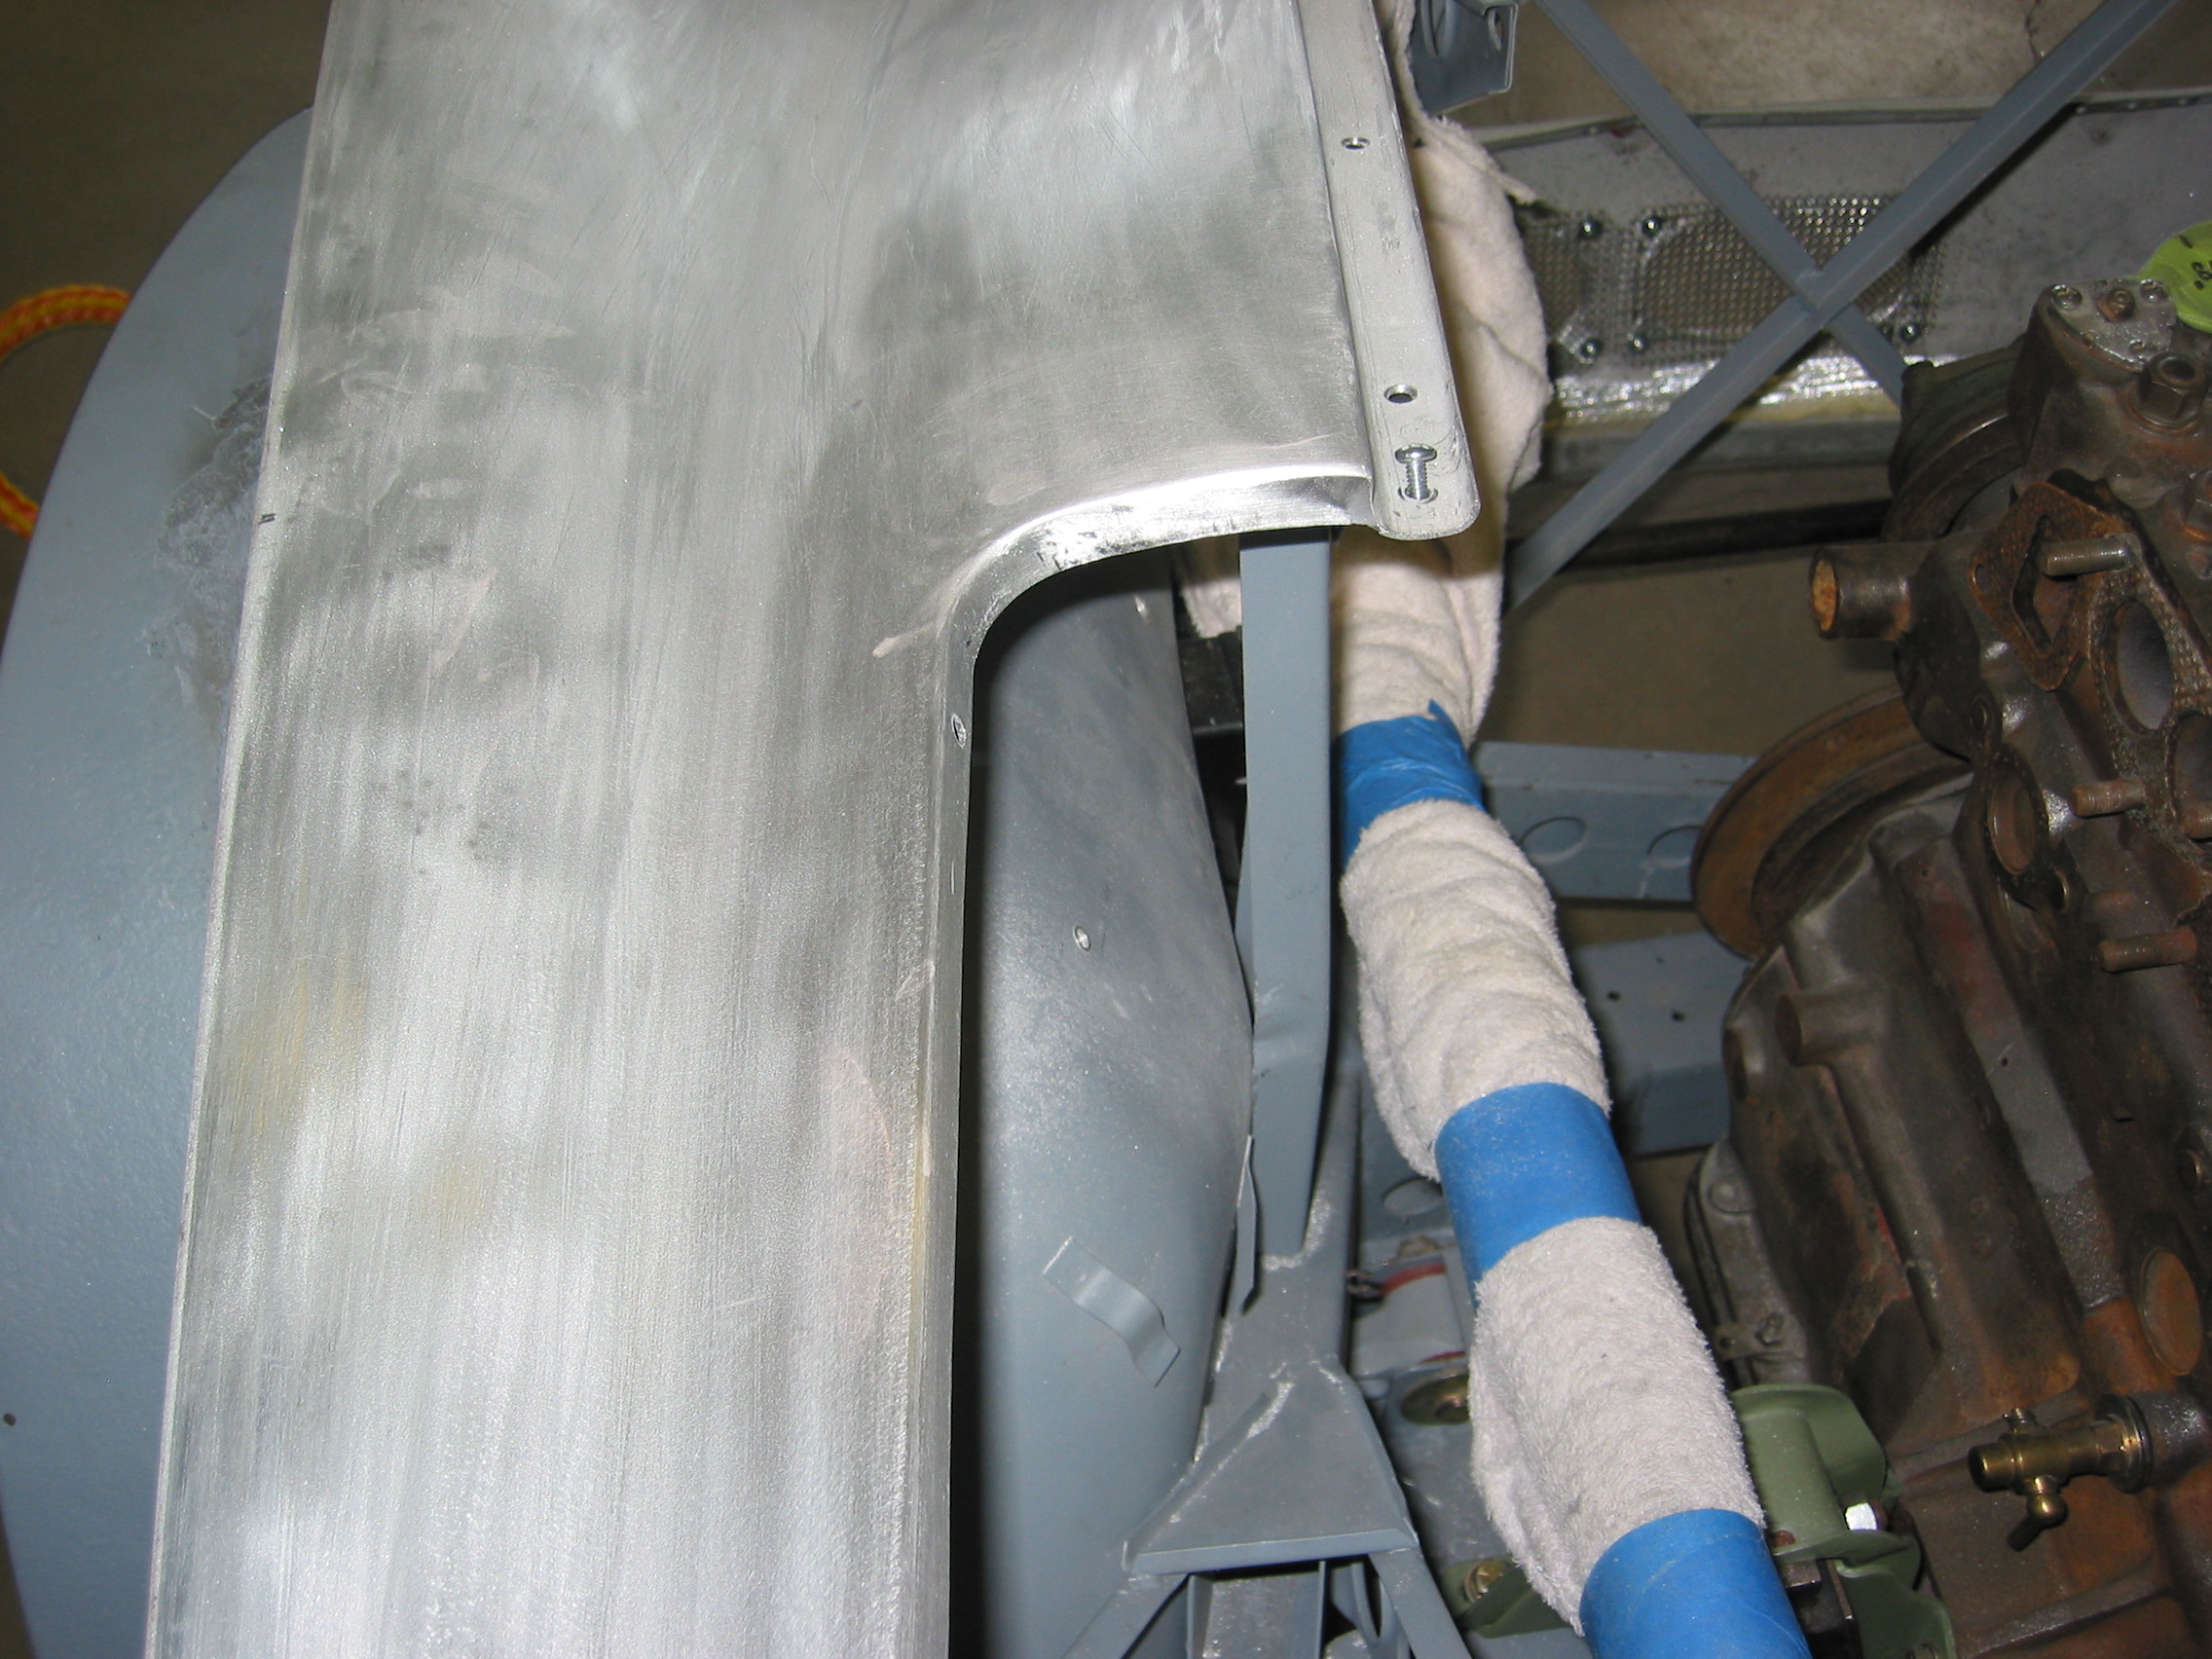
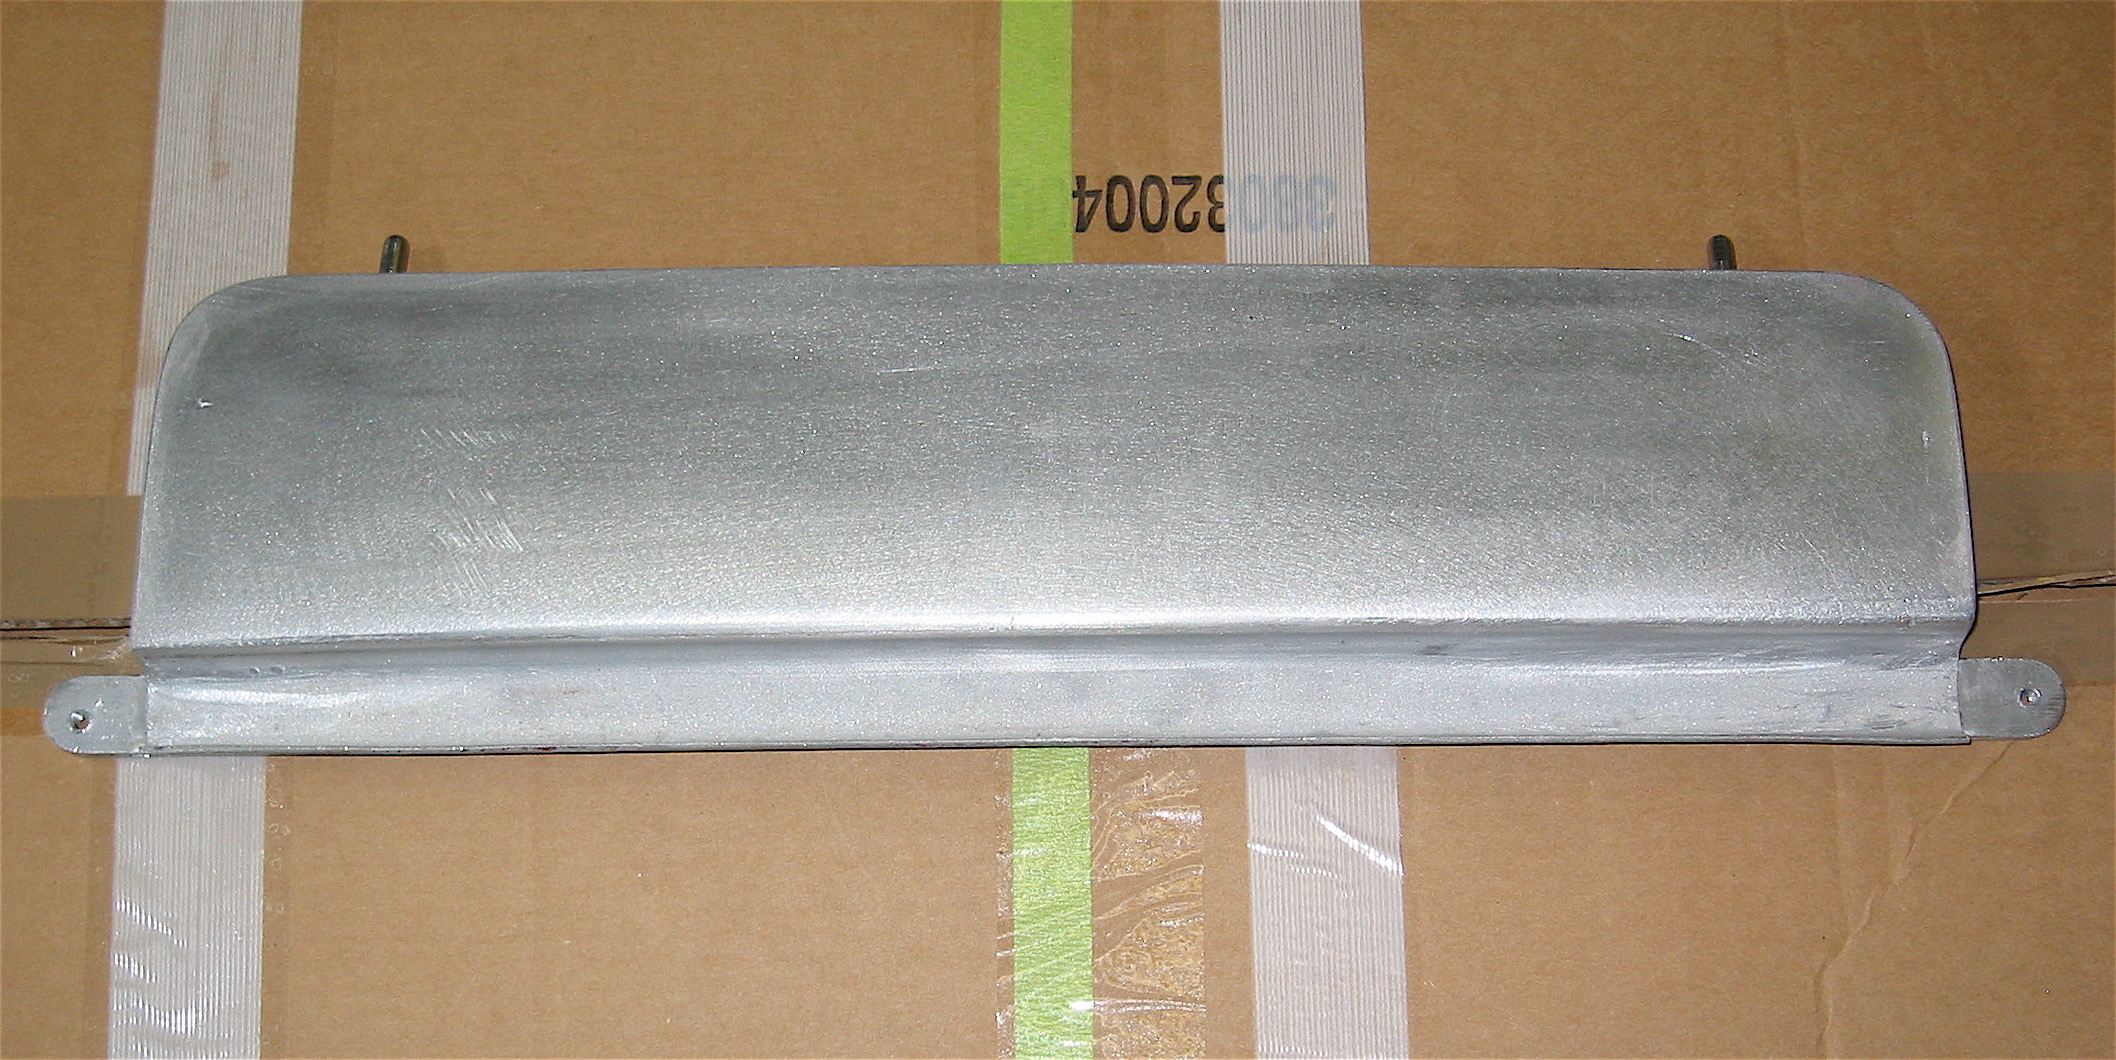
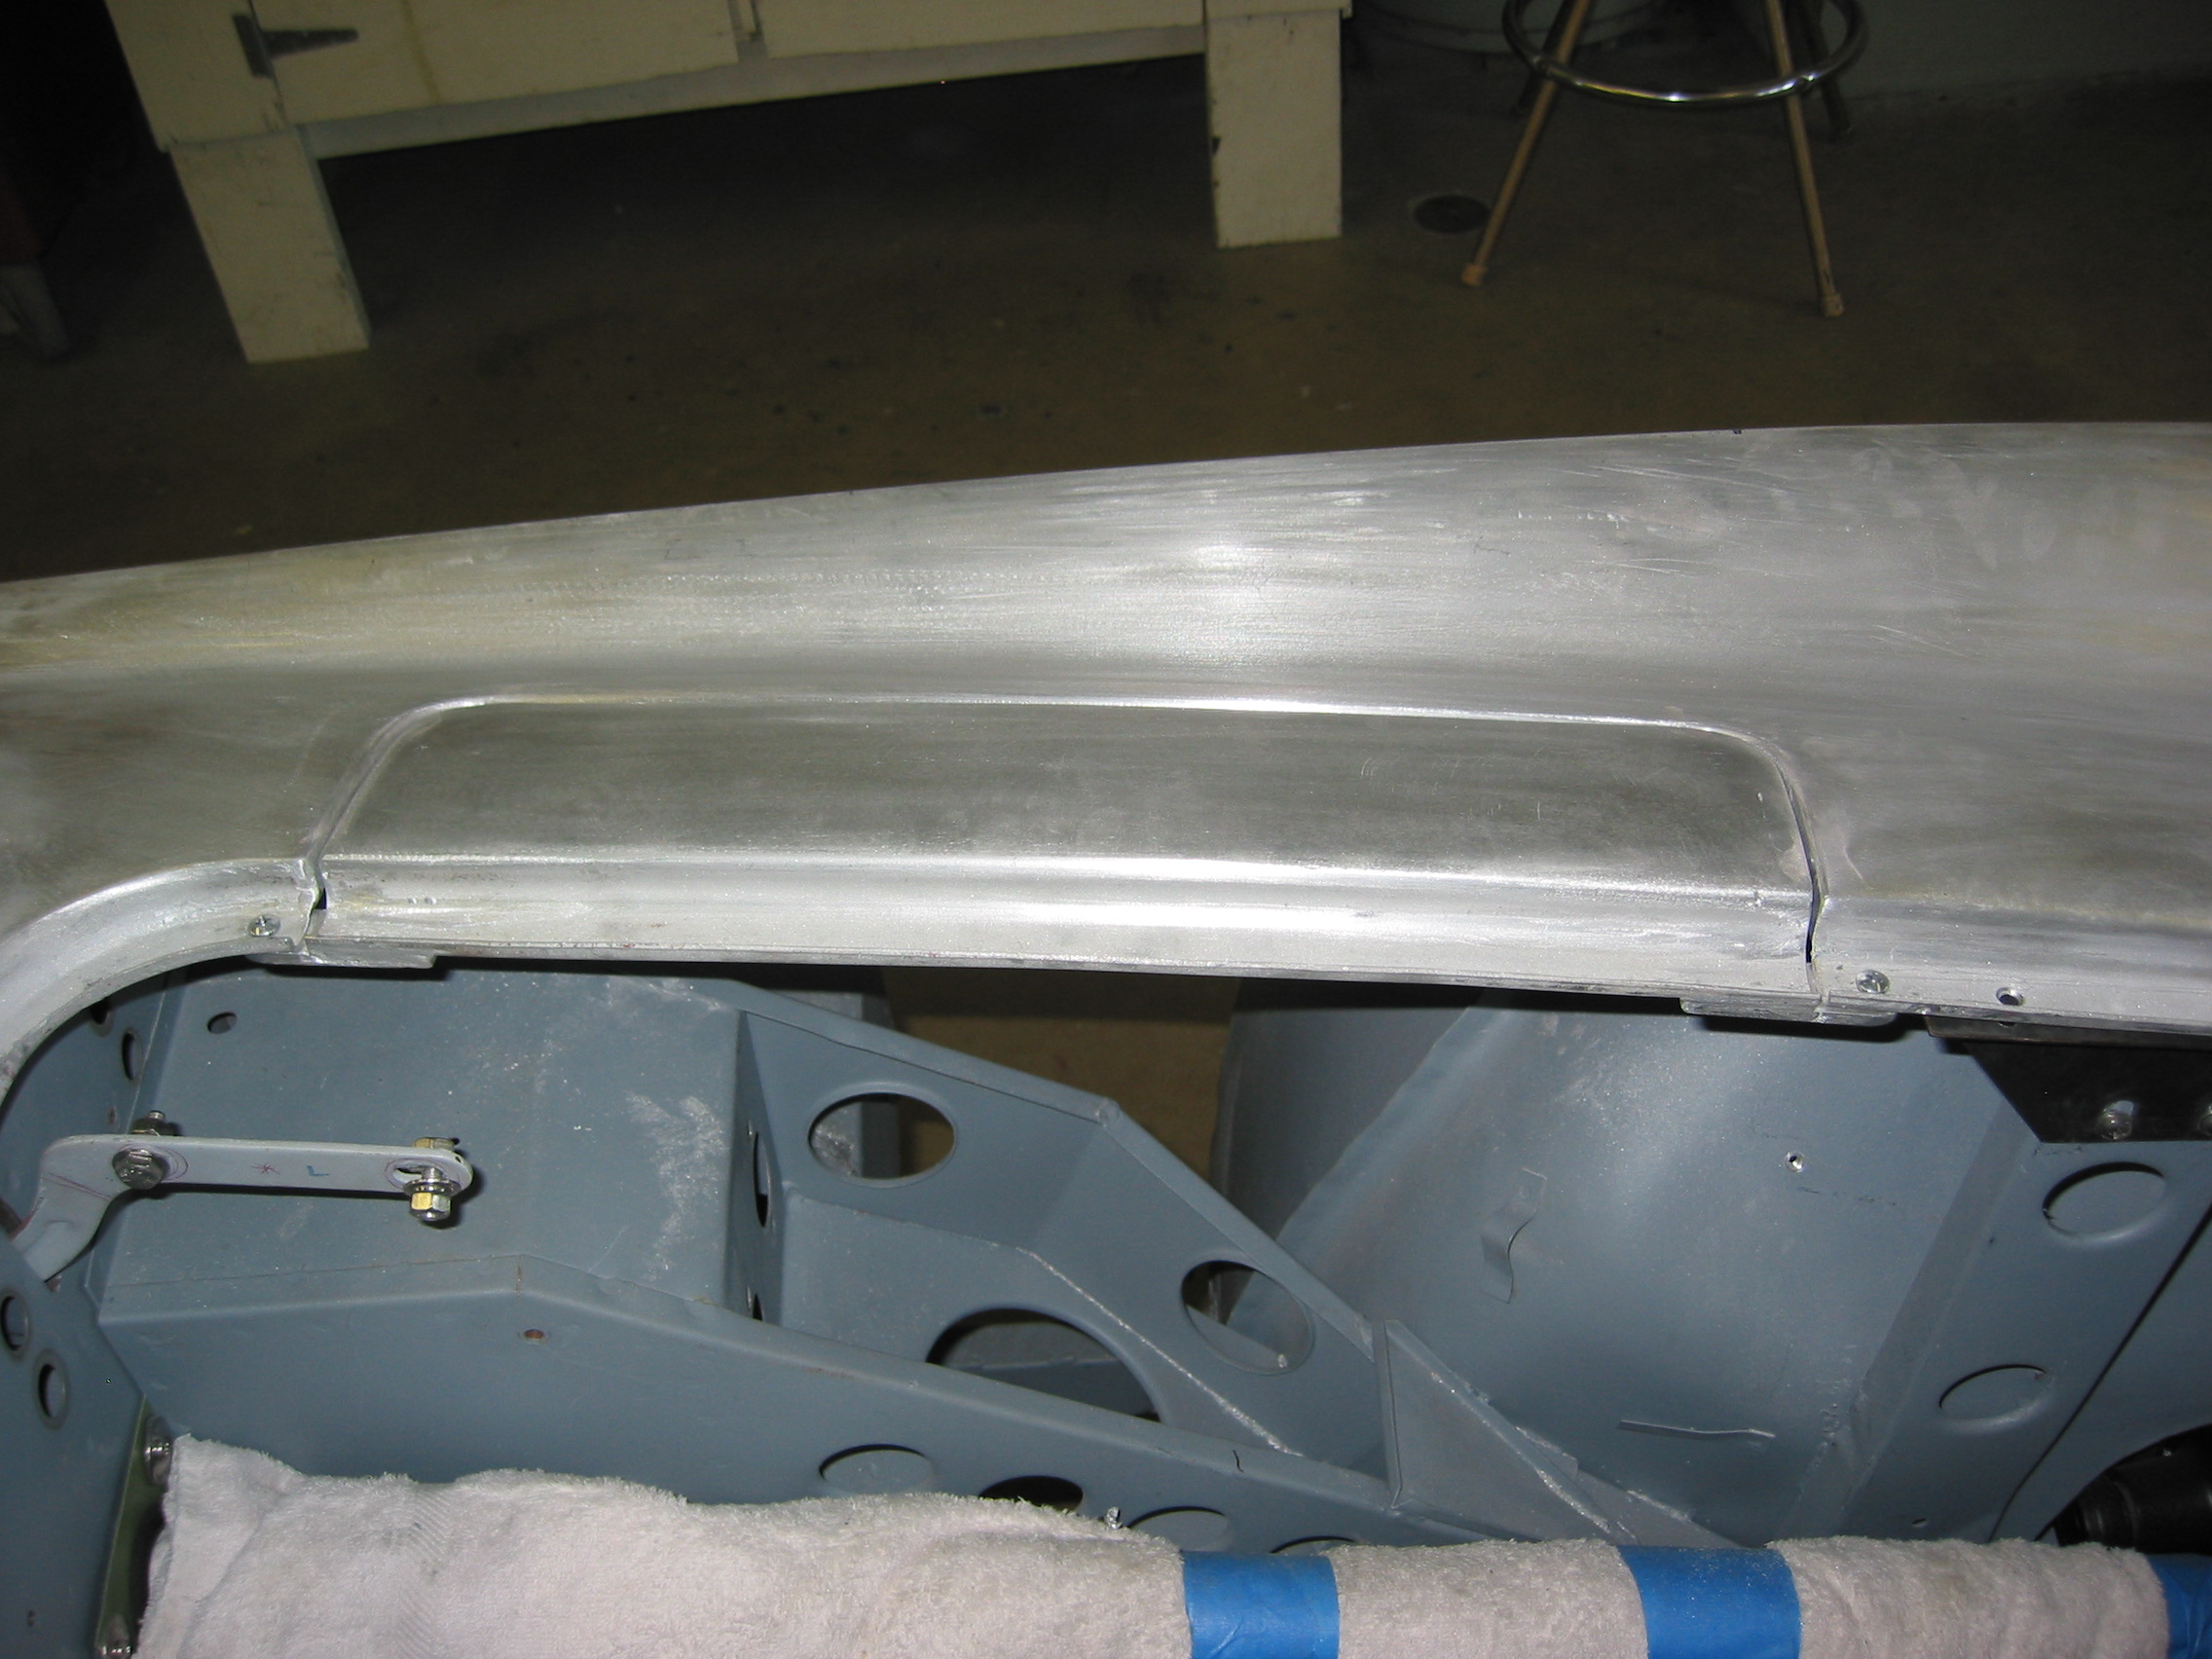
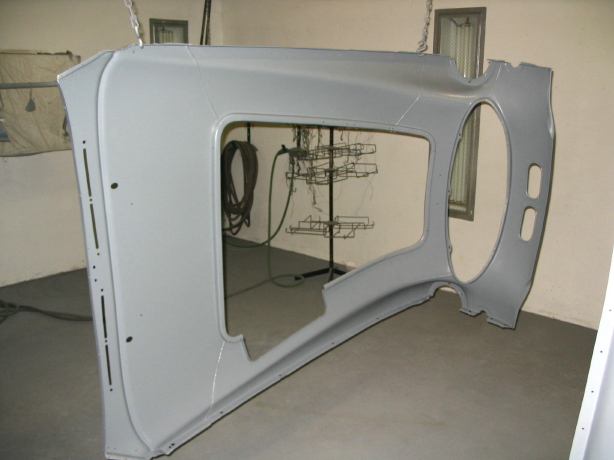
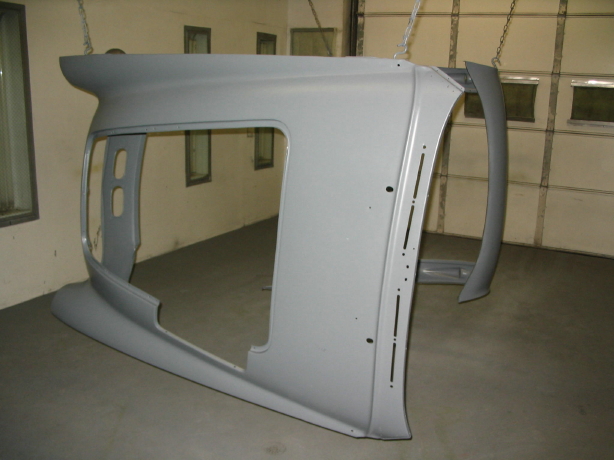
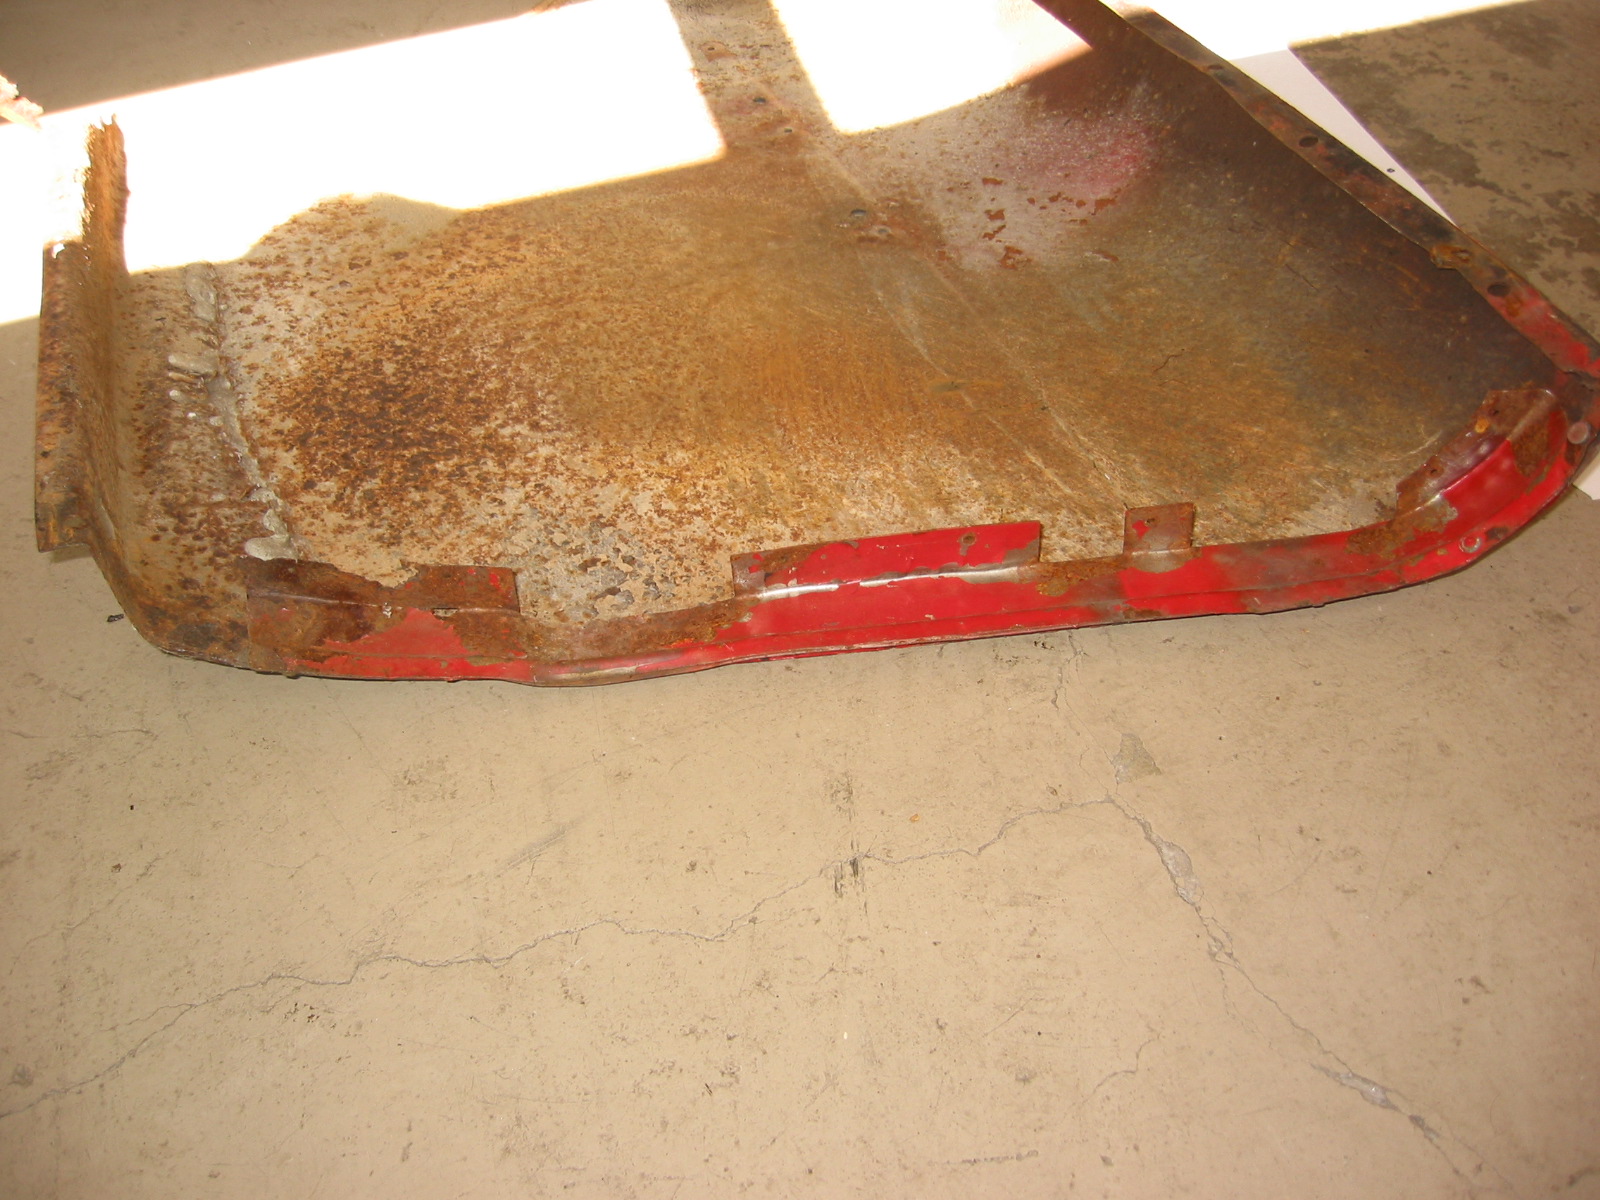
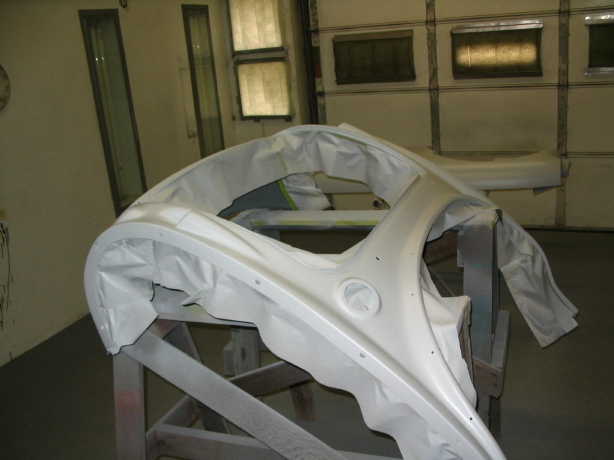
Rear shroud with filler 2
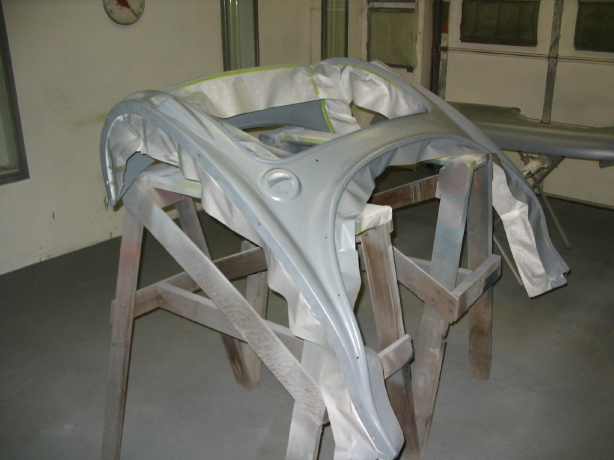
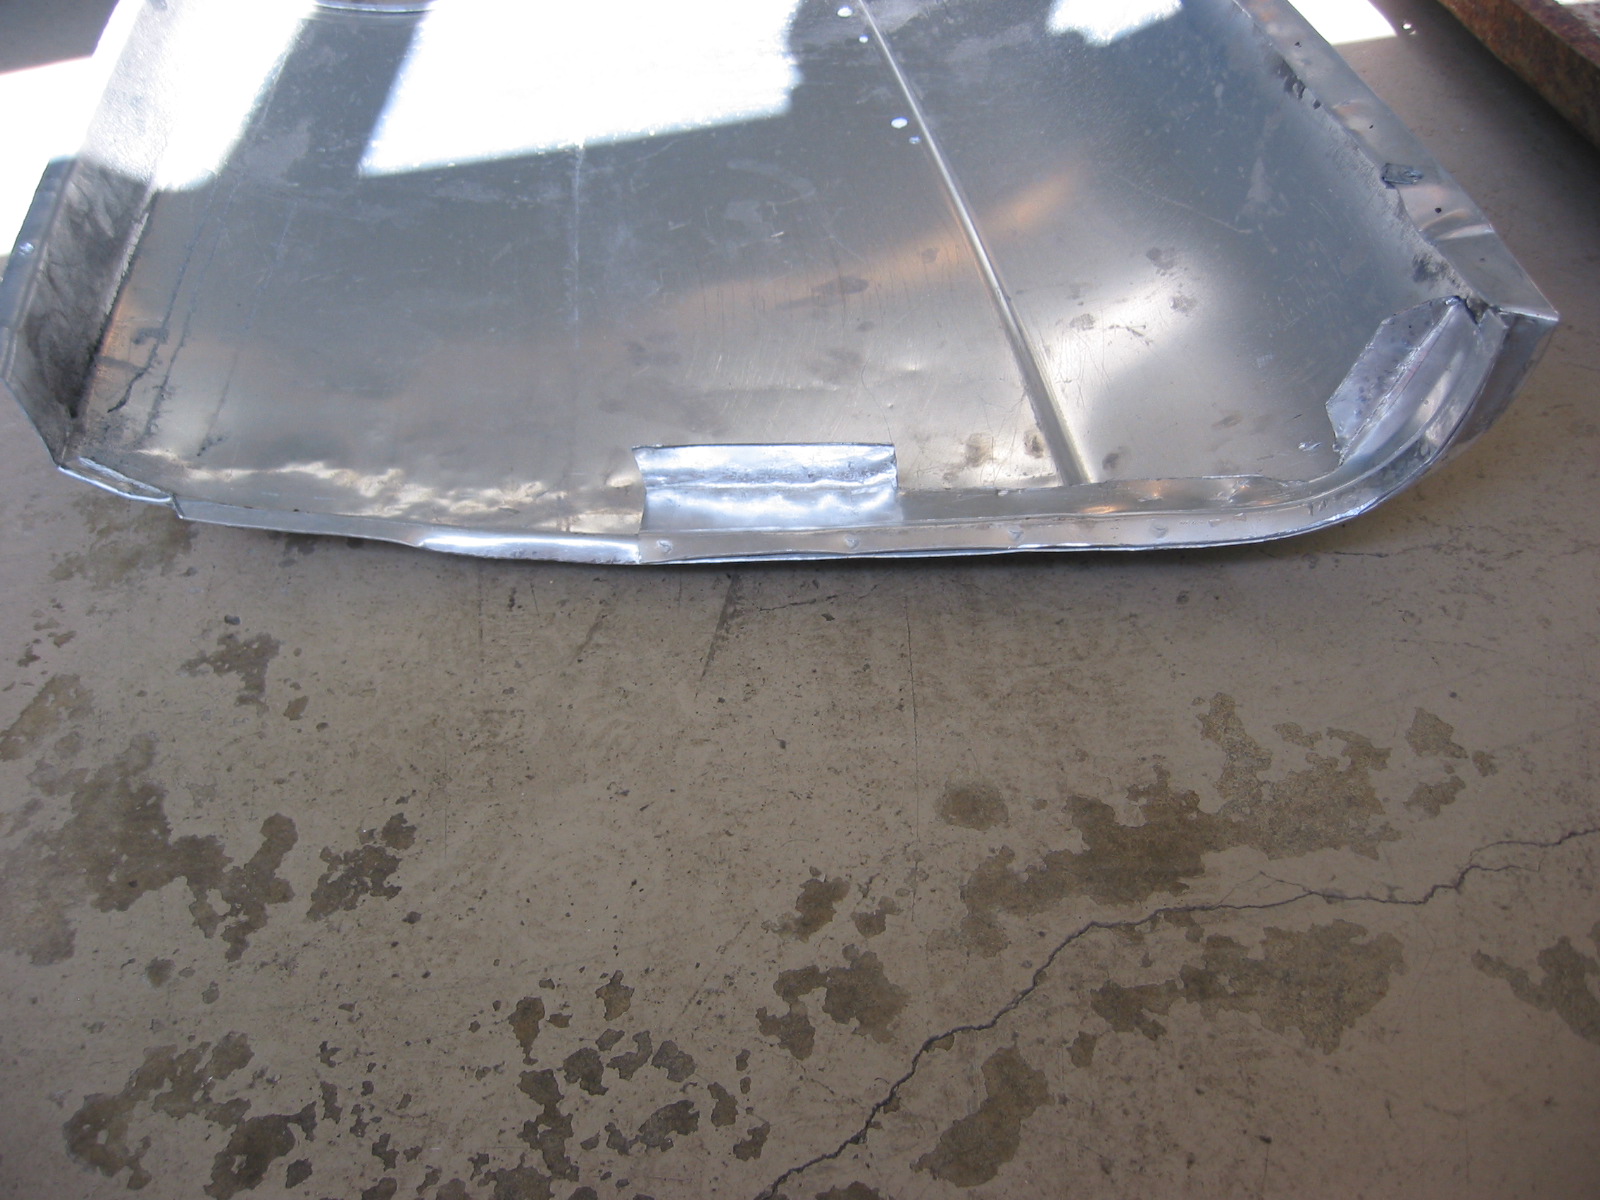
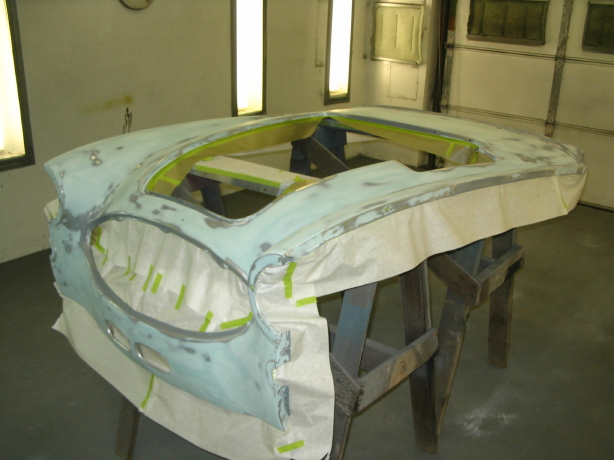
Rear shroud primed 1

Rear shroud primed 2
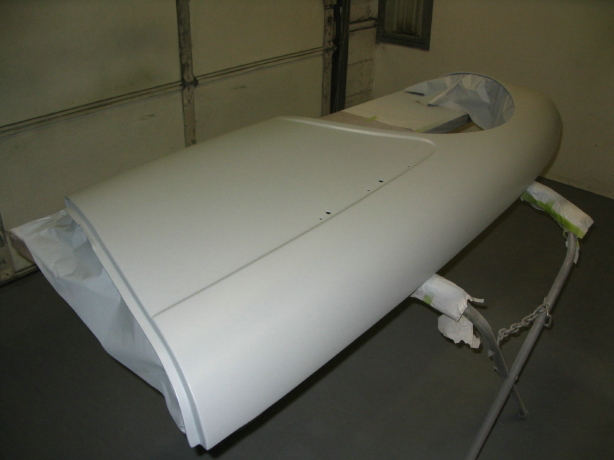
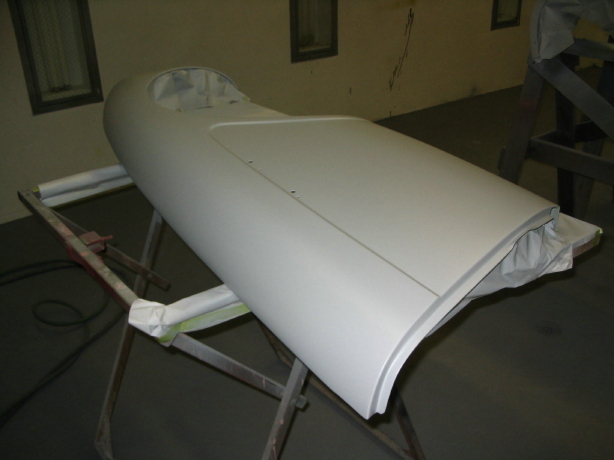
rear shroud final primer
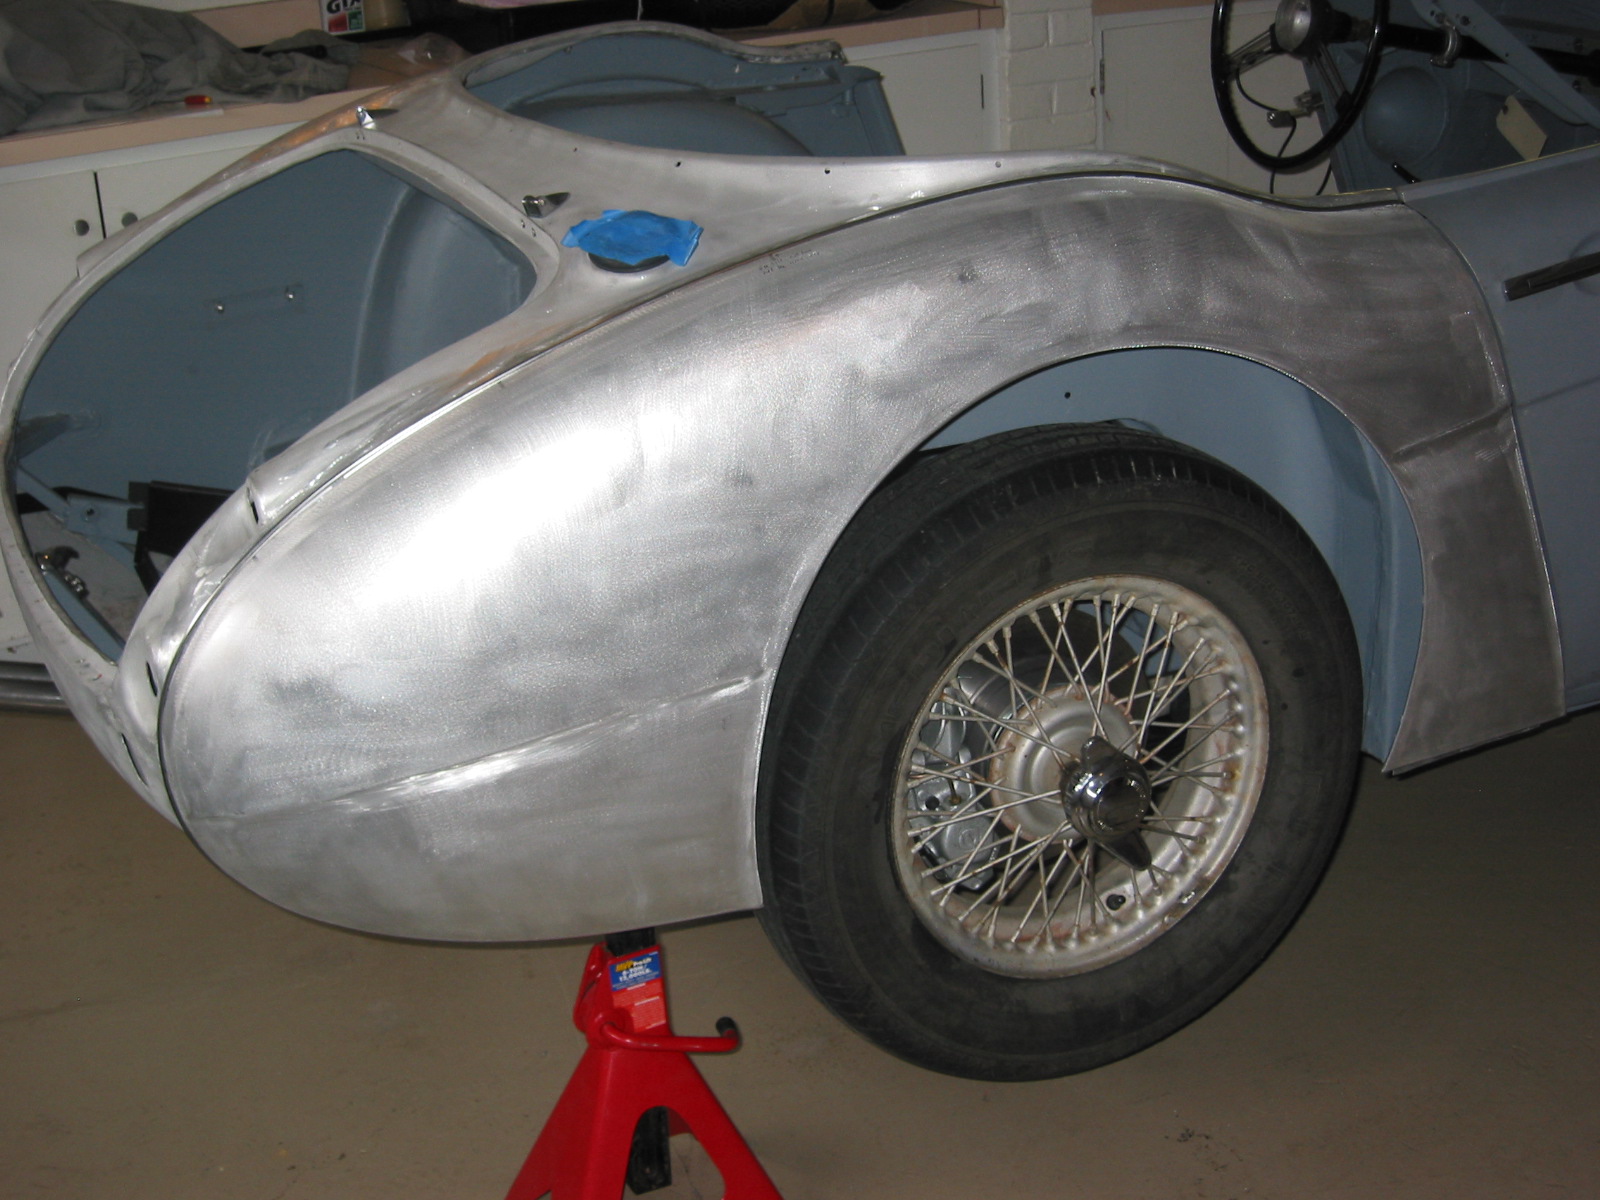
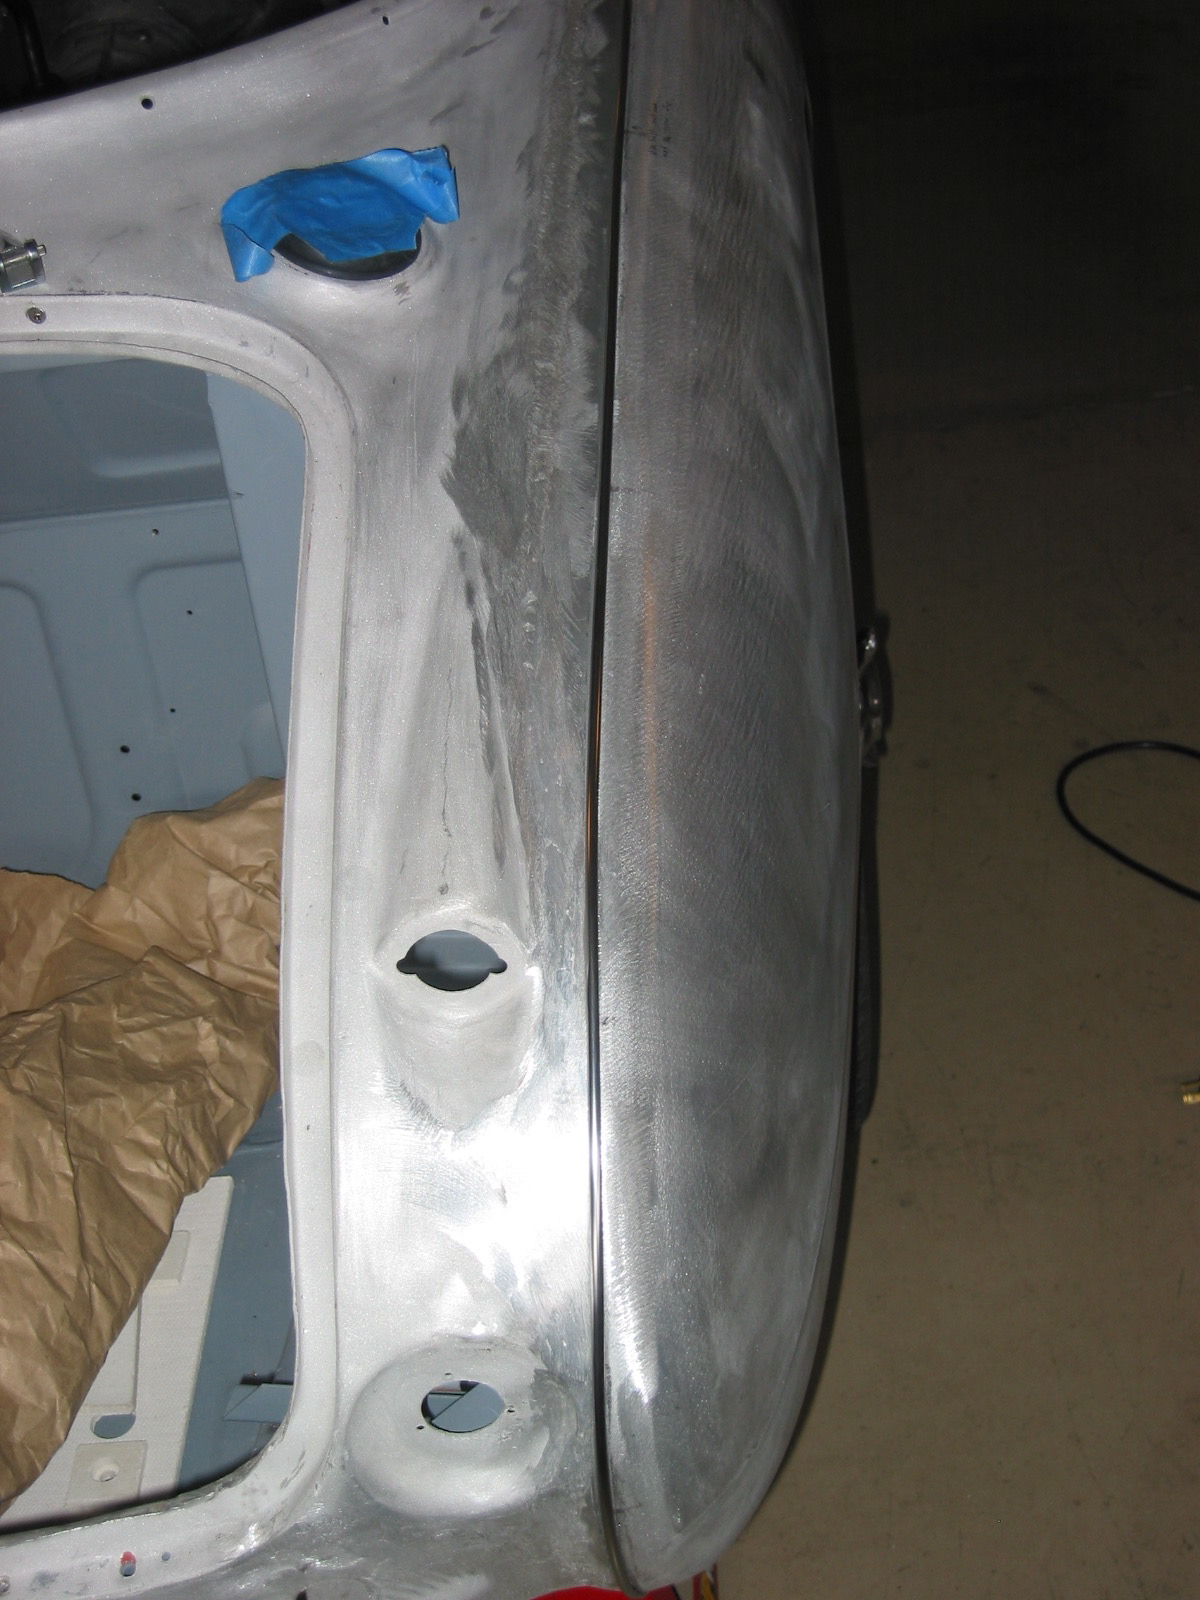
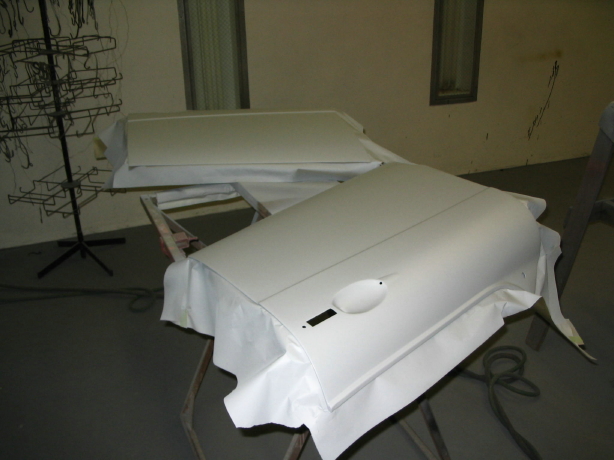
Shrouds – Jeremy is working on the “Bloody Beast” with the idea of completing all the priming and final panel fitting withn two weeks. He is focused on my car completely. He has just completed the body filler and priming for the front and rear shrouds.
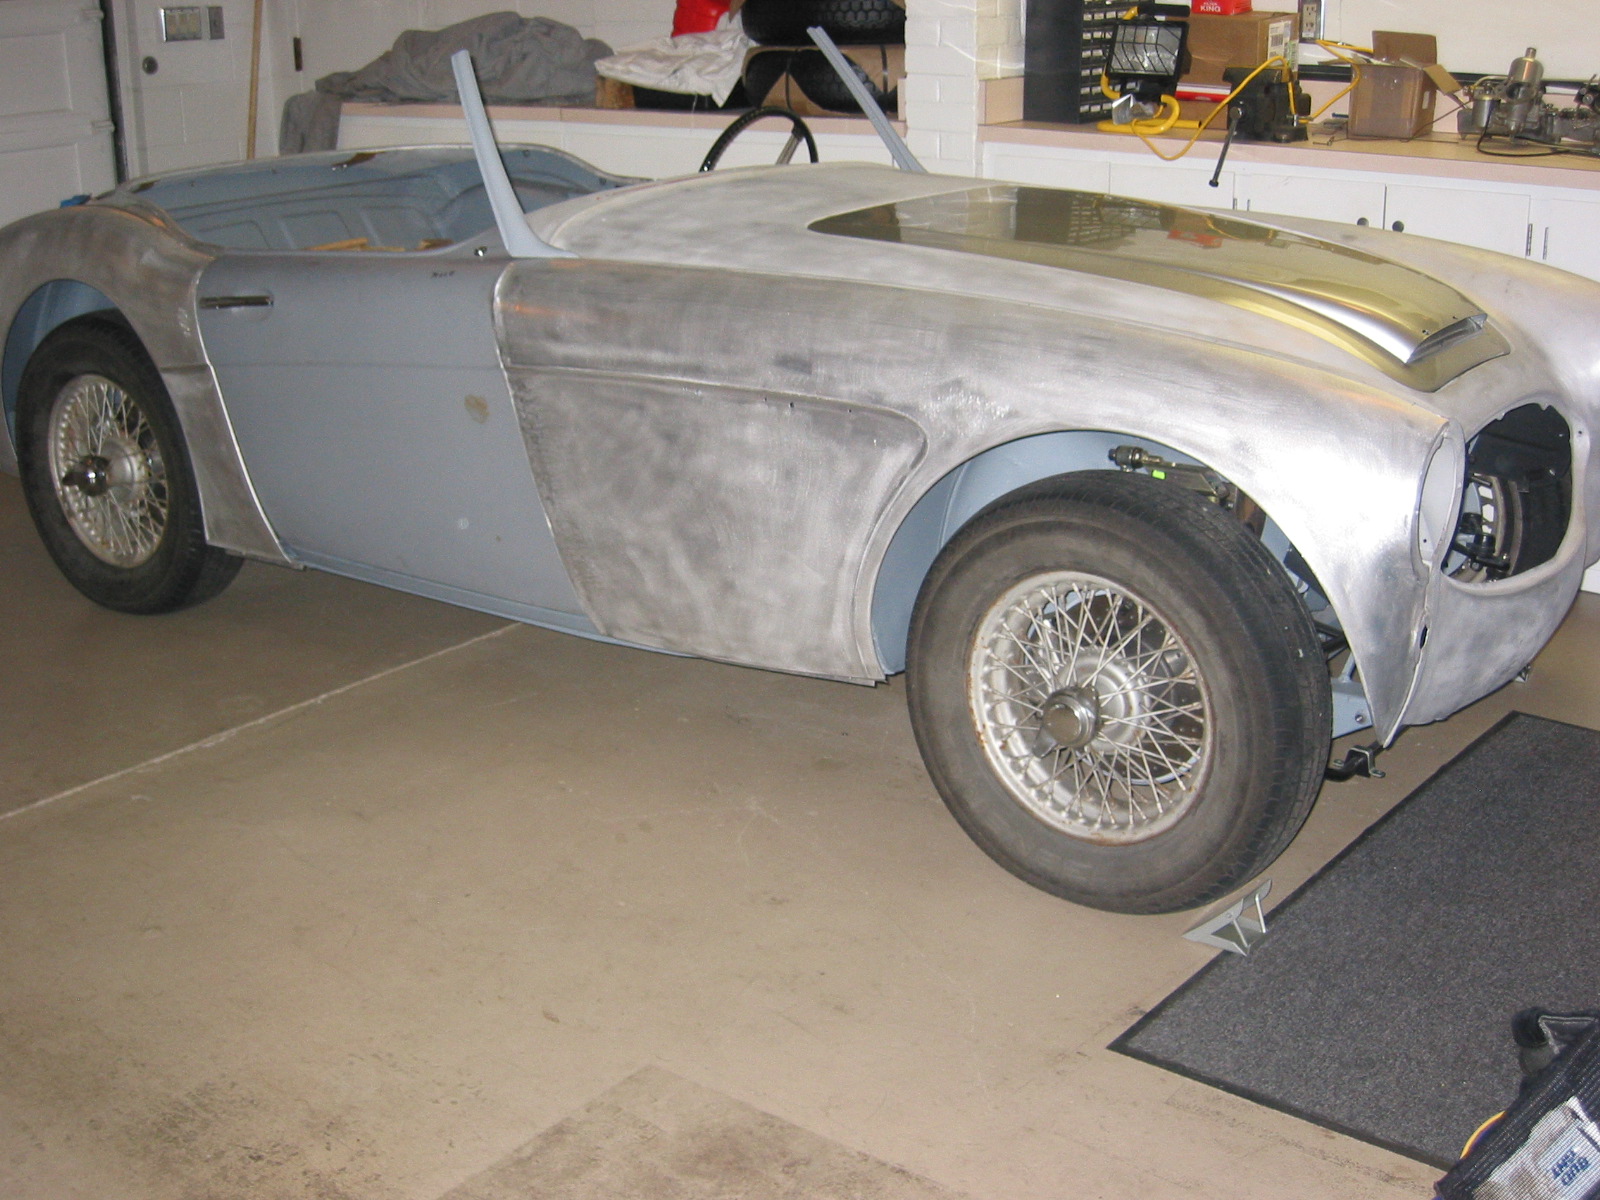
Front shroud bodywork 2

front shroud poly primed
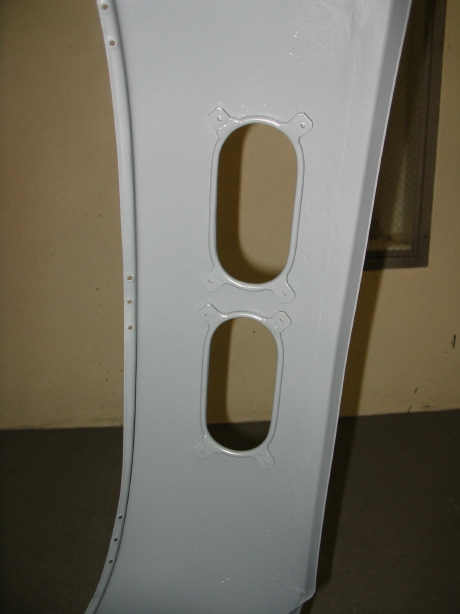
Front wing final primer
right front wing final primer
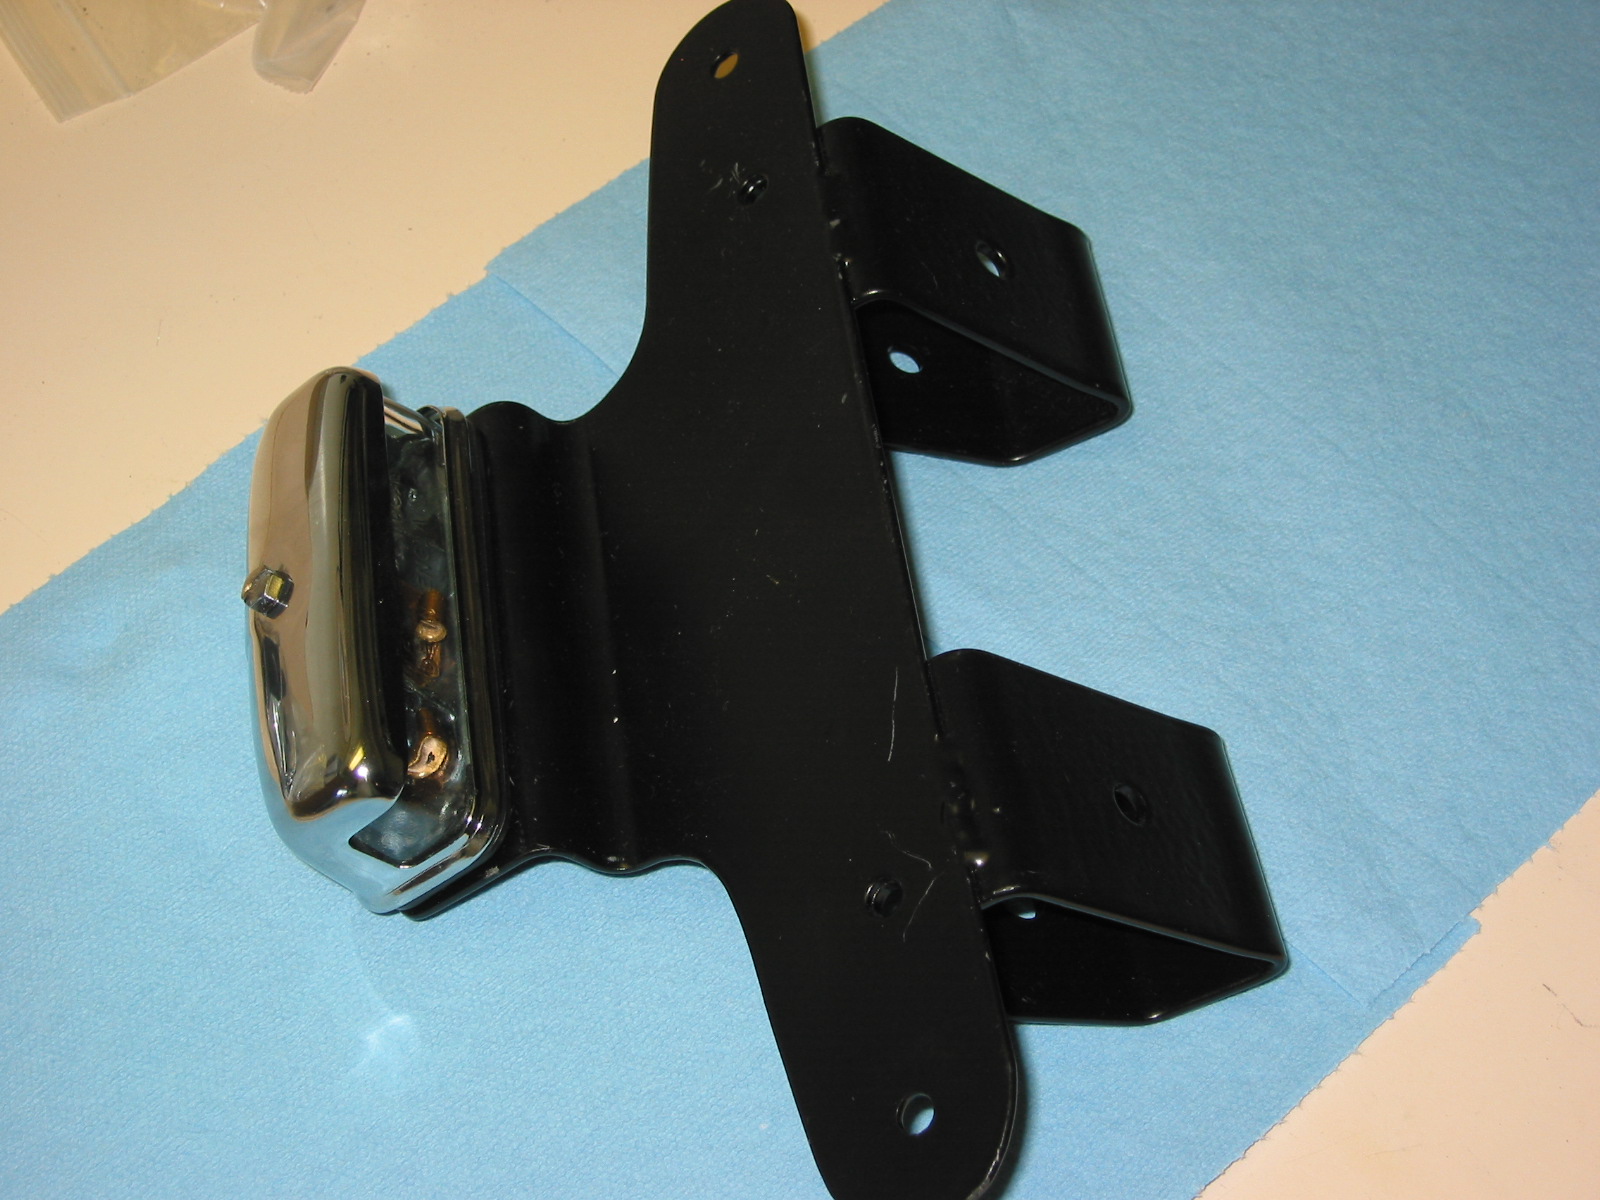
Because Martin Jansen did not put the bumper bracket mounting tubes all the way through the frame, Jeremy needed to weld some short tubing into the inside of the frame rails to mount the Cape International driving light/tow hook.

tow hook mount

tow hook mount 2
And now, don’t those Lucas drving lights look nice!
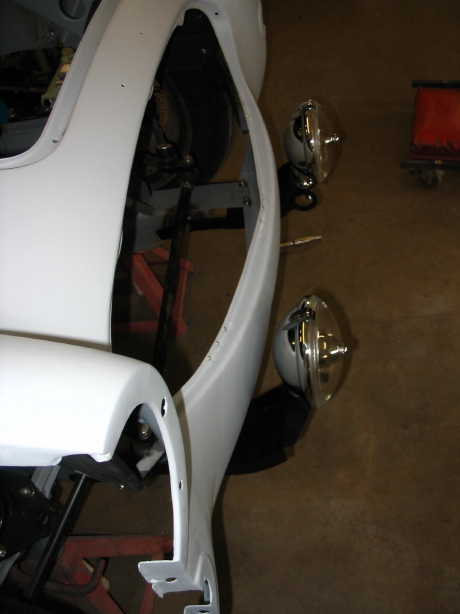
Fitting driving lights 2
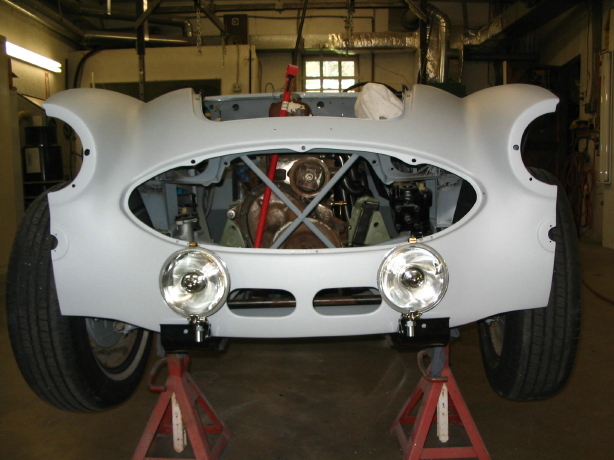
Fitting driving lights 1

Fitting driving lights 3
Final priming on doors and rear wings.
Doors final priming

Rear wings final priming
September 11, 2006
Jeremy Turner’s Work Continues
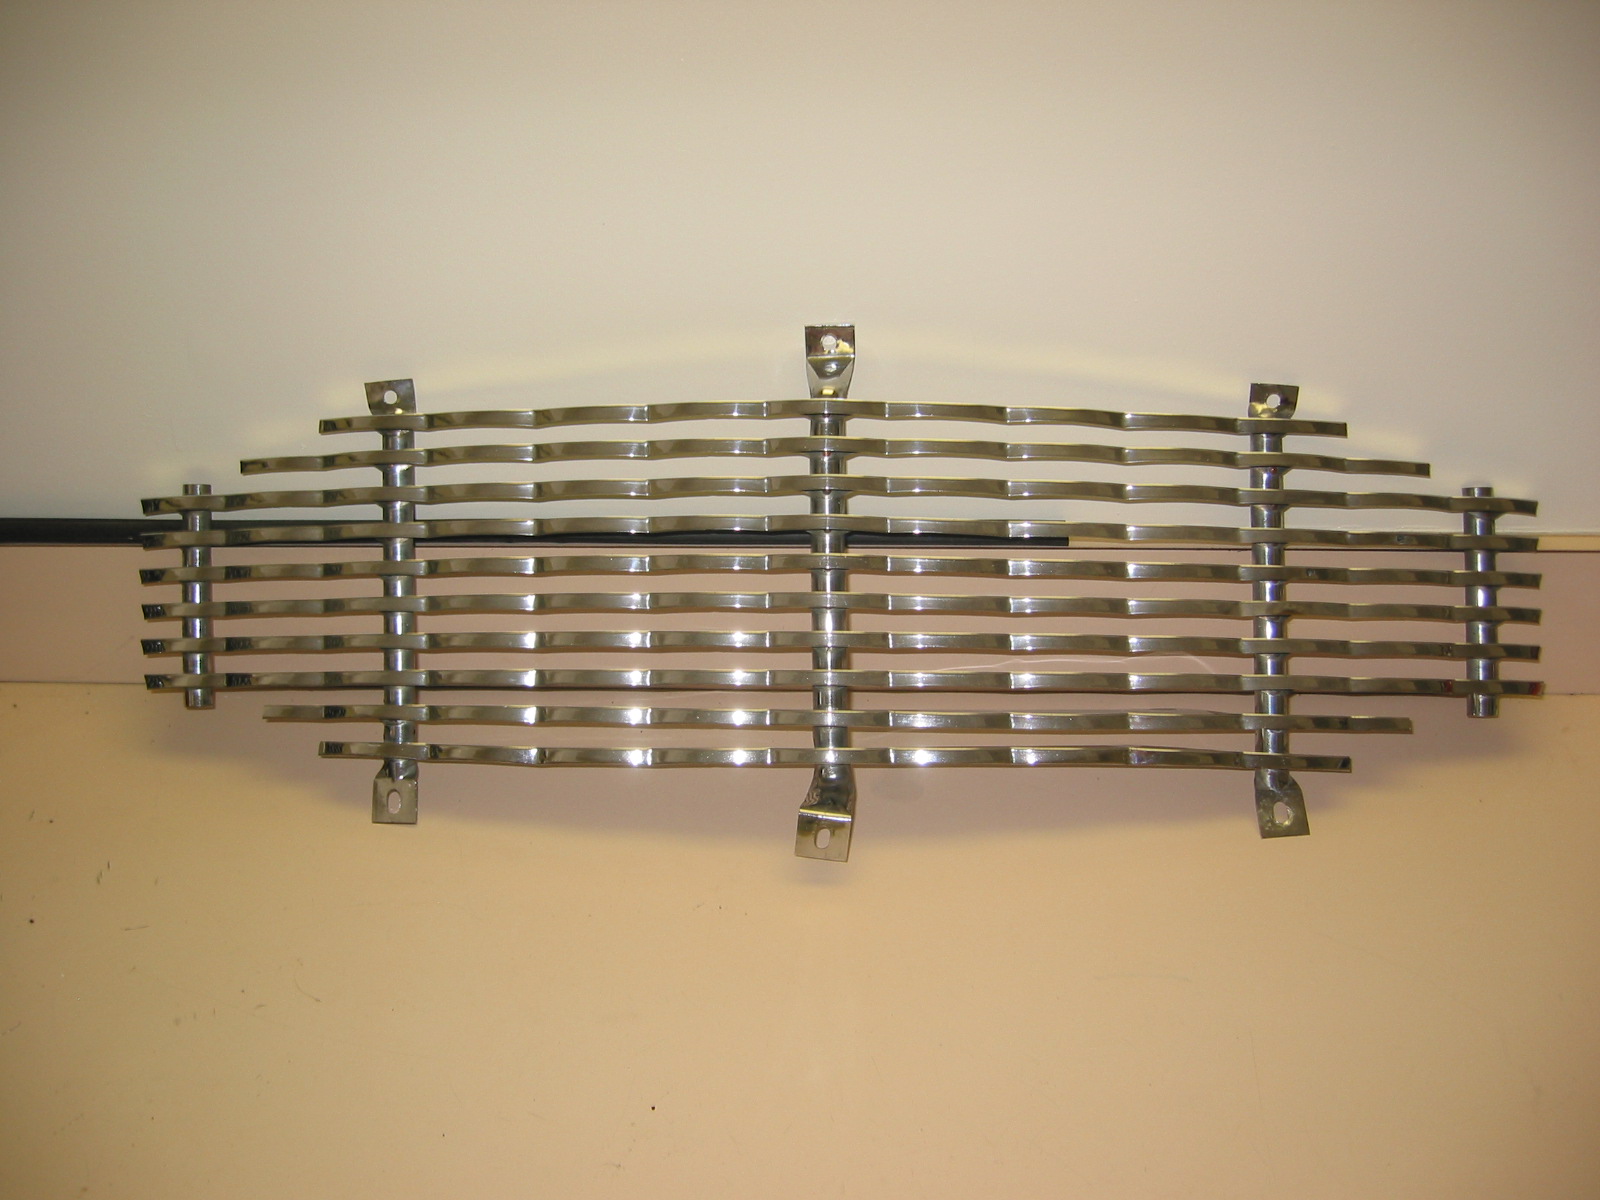
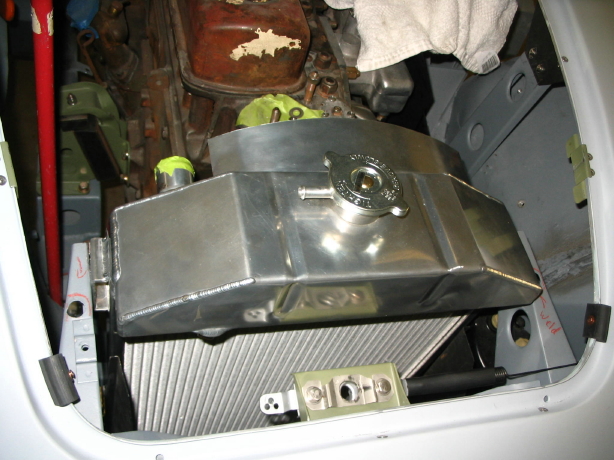
Before going any further, it was a good idea to check the fit of the radiator, fan and the body and bonnet grilles to ensure a good fit. The radiator cap did hit the bonnet so some more work was required to adjust the radiator and shroud. We ended up with about 1/8” clearance between the radiator cap and the bonnet. The bottom trim piece on the body grille wold not fit properly so it was decided to have the original rechromed.
Radiator installed
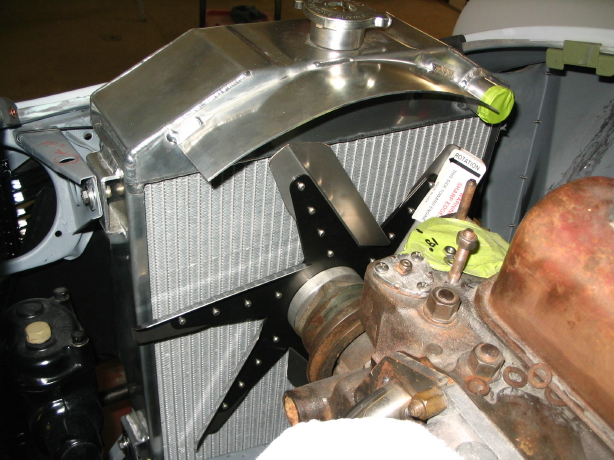
Fan installed

Bonnet grill installed
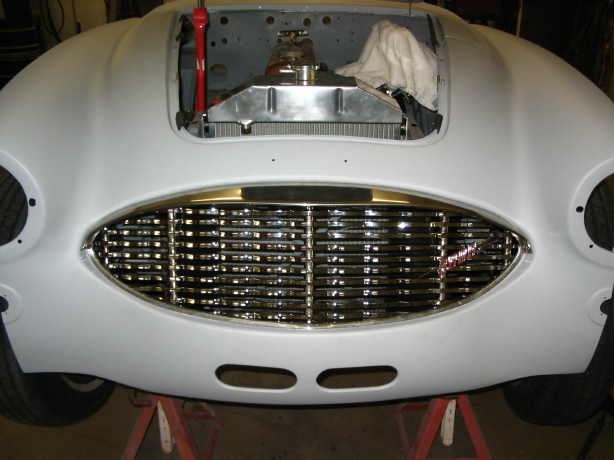
Shroud with grille