March 28, 2006
Jeremy Turner’s Work Continues
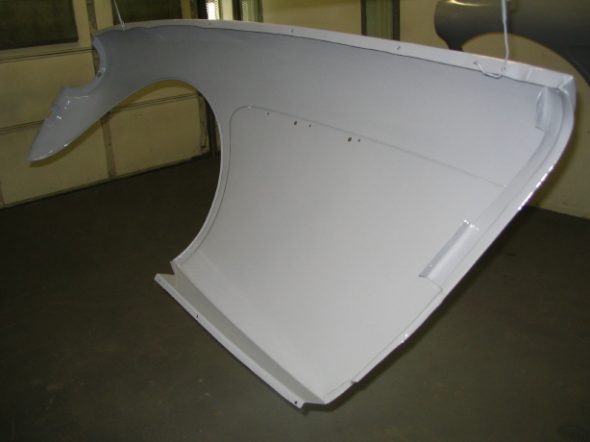
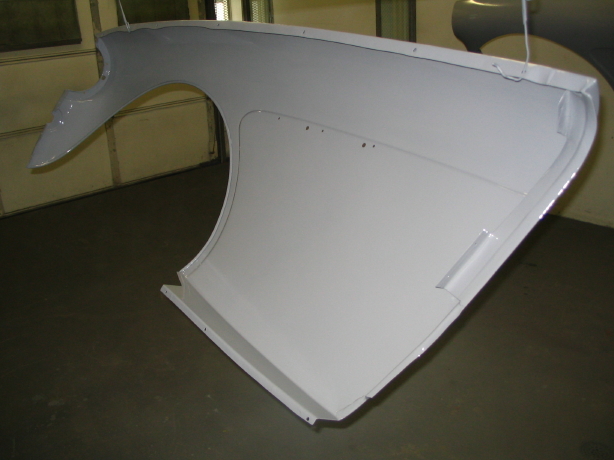
front wing body work 5
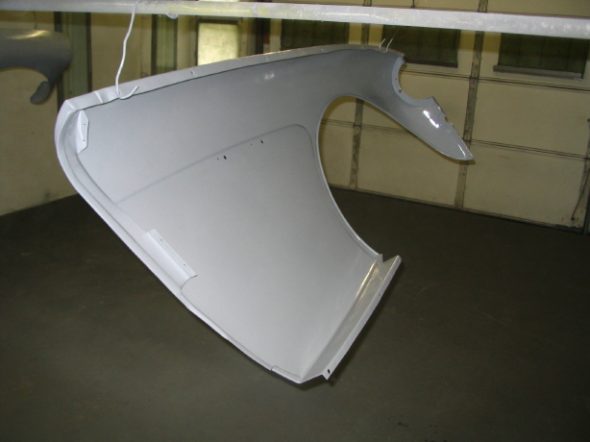
front wing body work 6
Interior and Boot Courtesy Lighting
Earlier in the Blog I referenced the installation of courtesy lamps. To avoid switches in the door jams, I purchased a keyless remote. The one I acquired from Pyle was about $40.00. It included two remote “clickers”, the control module, and the wiring. I grossly underutilized all that the Pyle system makes possible, but I was after simplicity. I just cut off all the extra wires, but I can imagine a few other very practical uses. For example, the fuel pump could be wired in and the remote could be used as an anit-theft device by controlling the activation/deactivation of the pump.
The button on the remote to unlock the car (obviously not needed on a BT7 roadster!) is now pushed to activate the interior/boot lights. As I approach the car at night I can click the remote and my interior and boot lights will come on for about 30-40 seconds and then they extinguish on there own with no other action required.
I wired in a toggle switch located under the dash (unseen by others) which will overide the remote that I can switch “on” if I want the interior/boot lights to stay on.
All very simple, clean and unobtrusive. Now if I can just figure out how to disguise that much-to-modern looking remote to look like a british key fob!
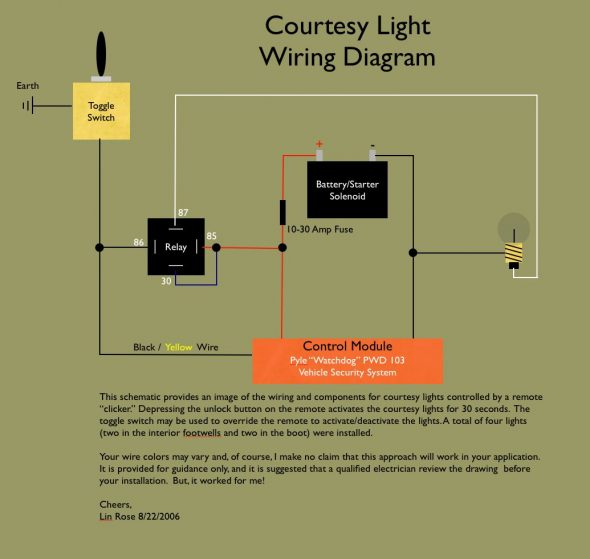
Courtesy Light Install
Jeremy Turner’s Work Continues
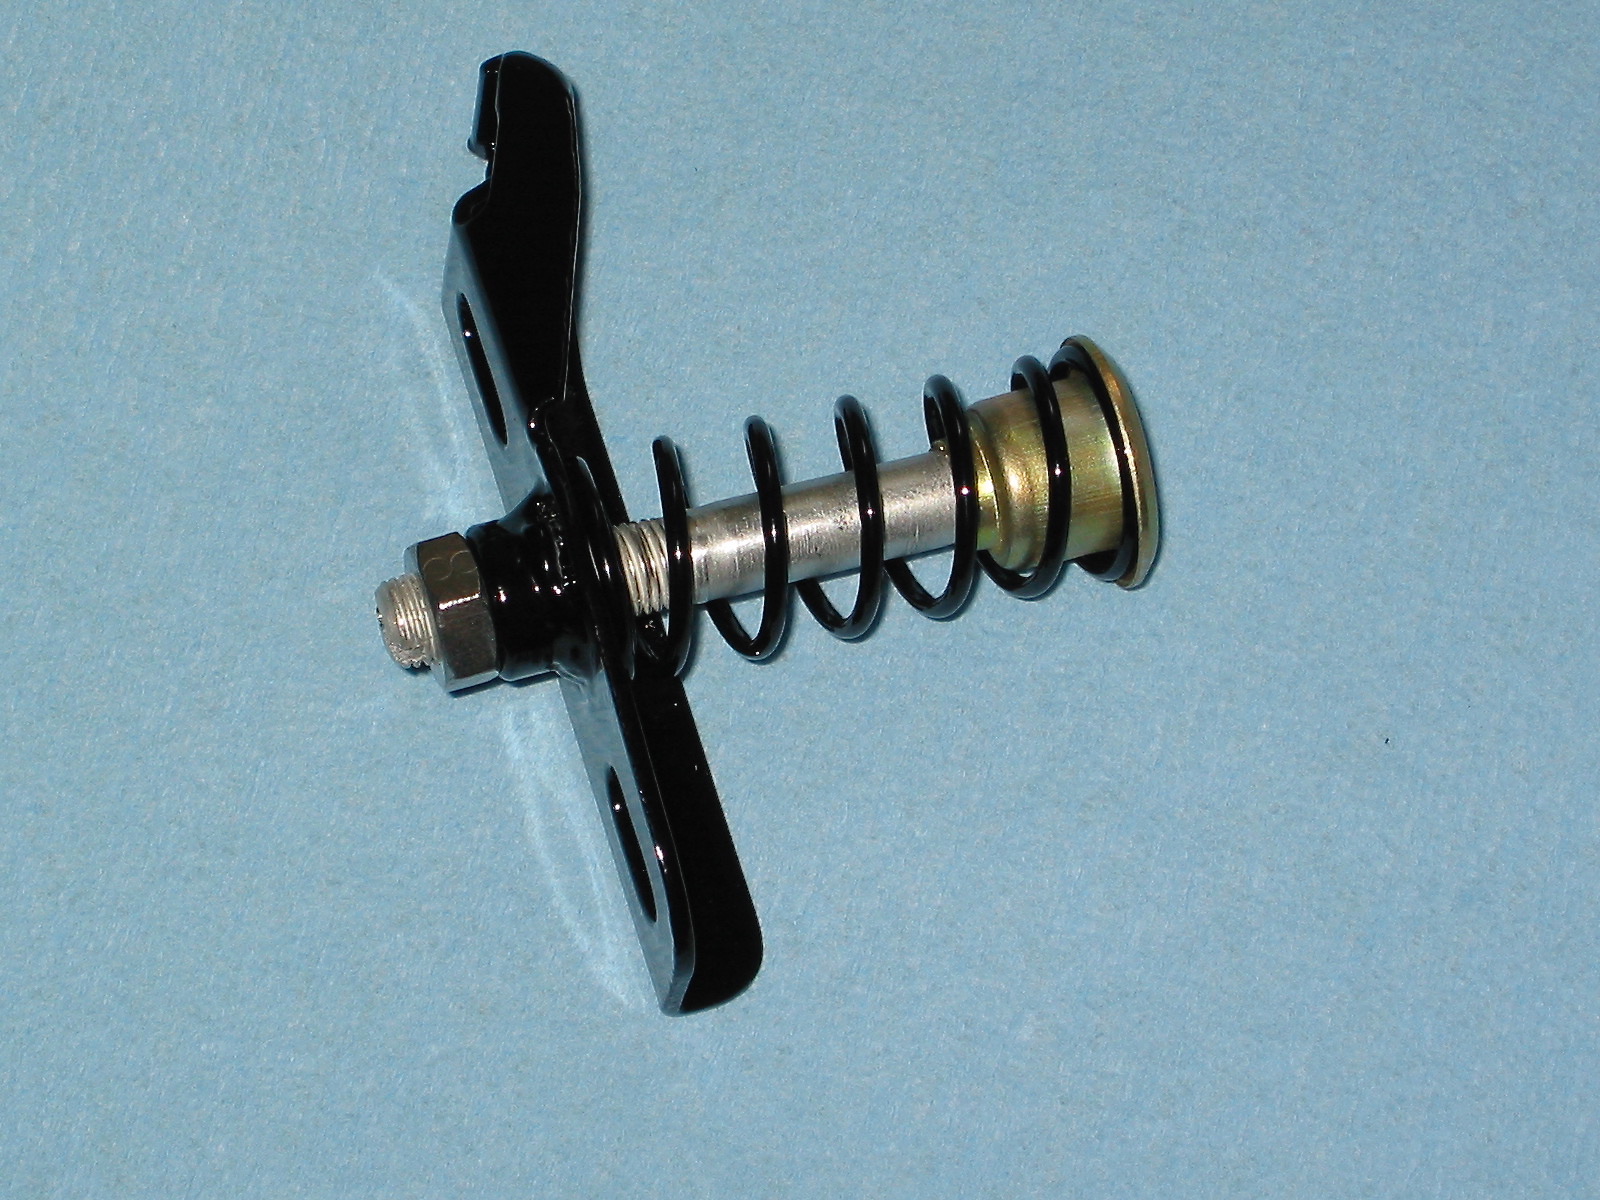
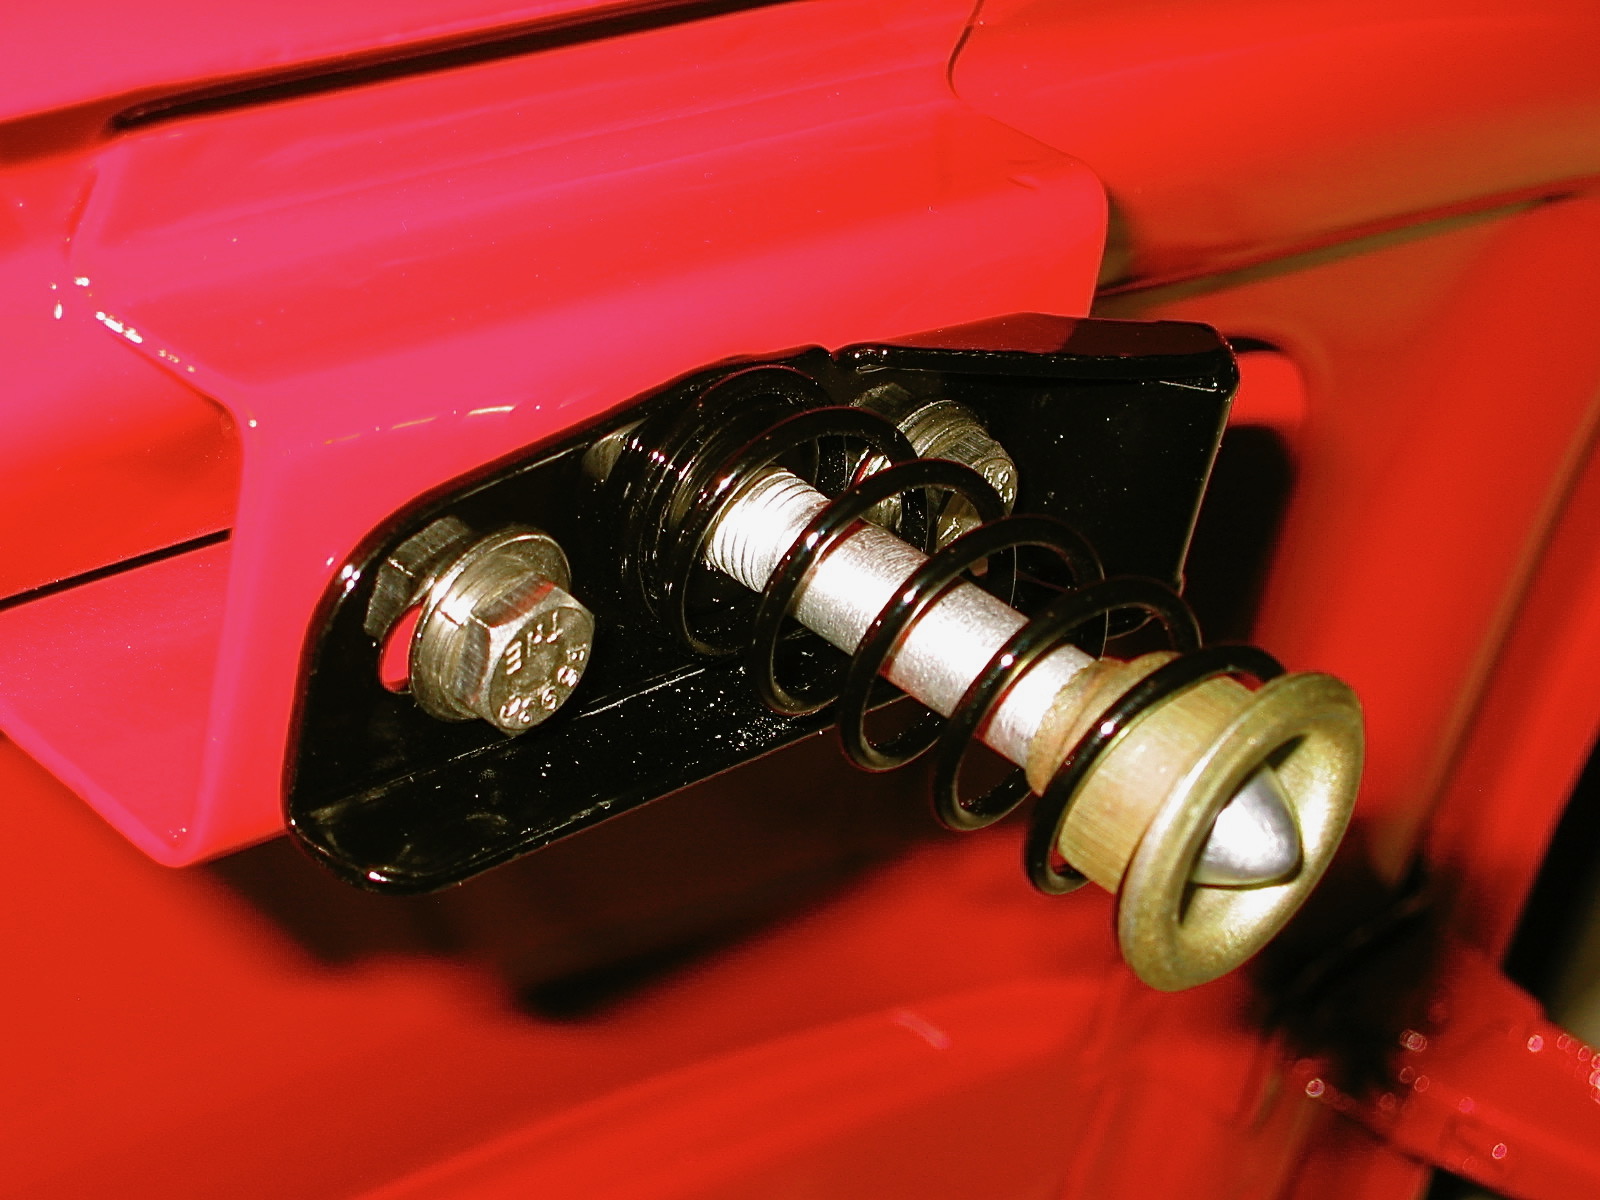
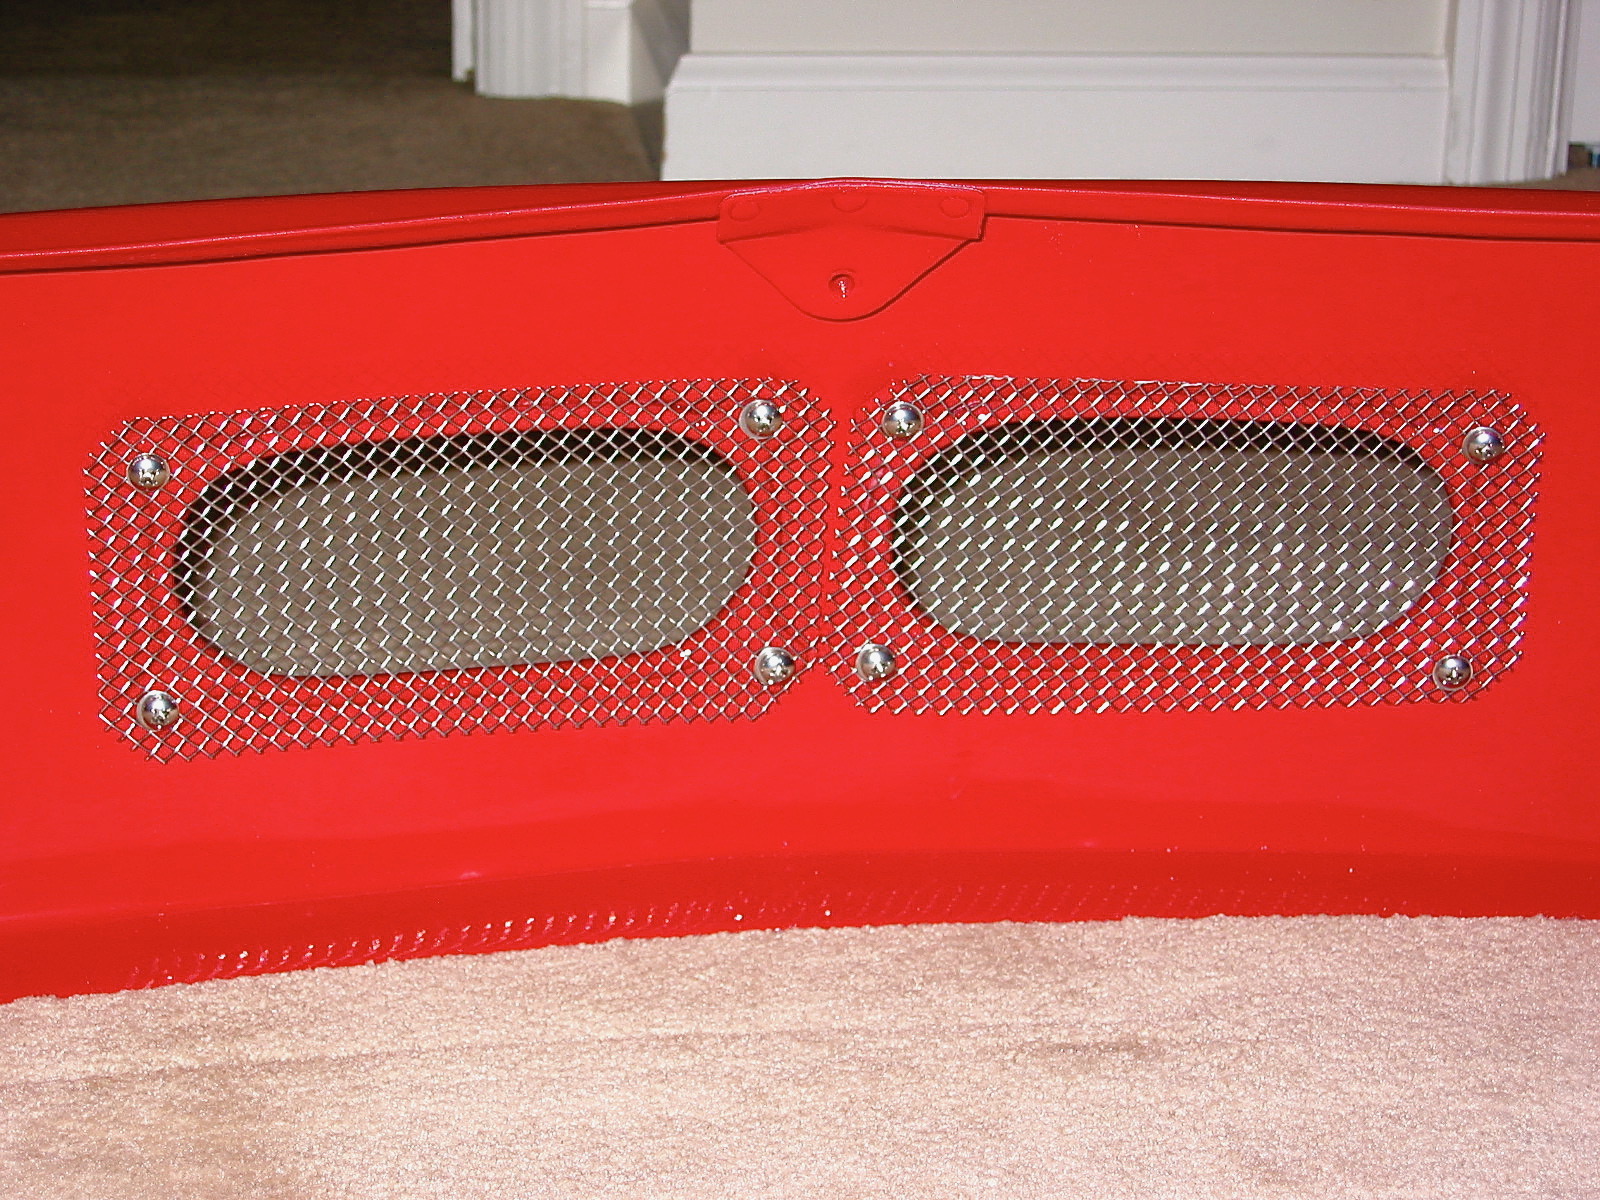
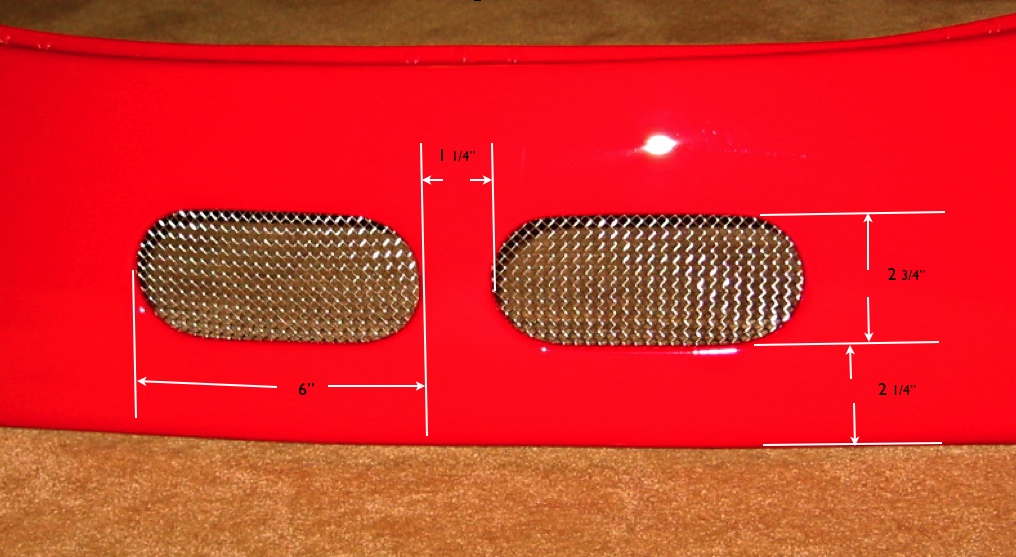
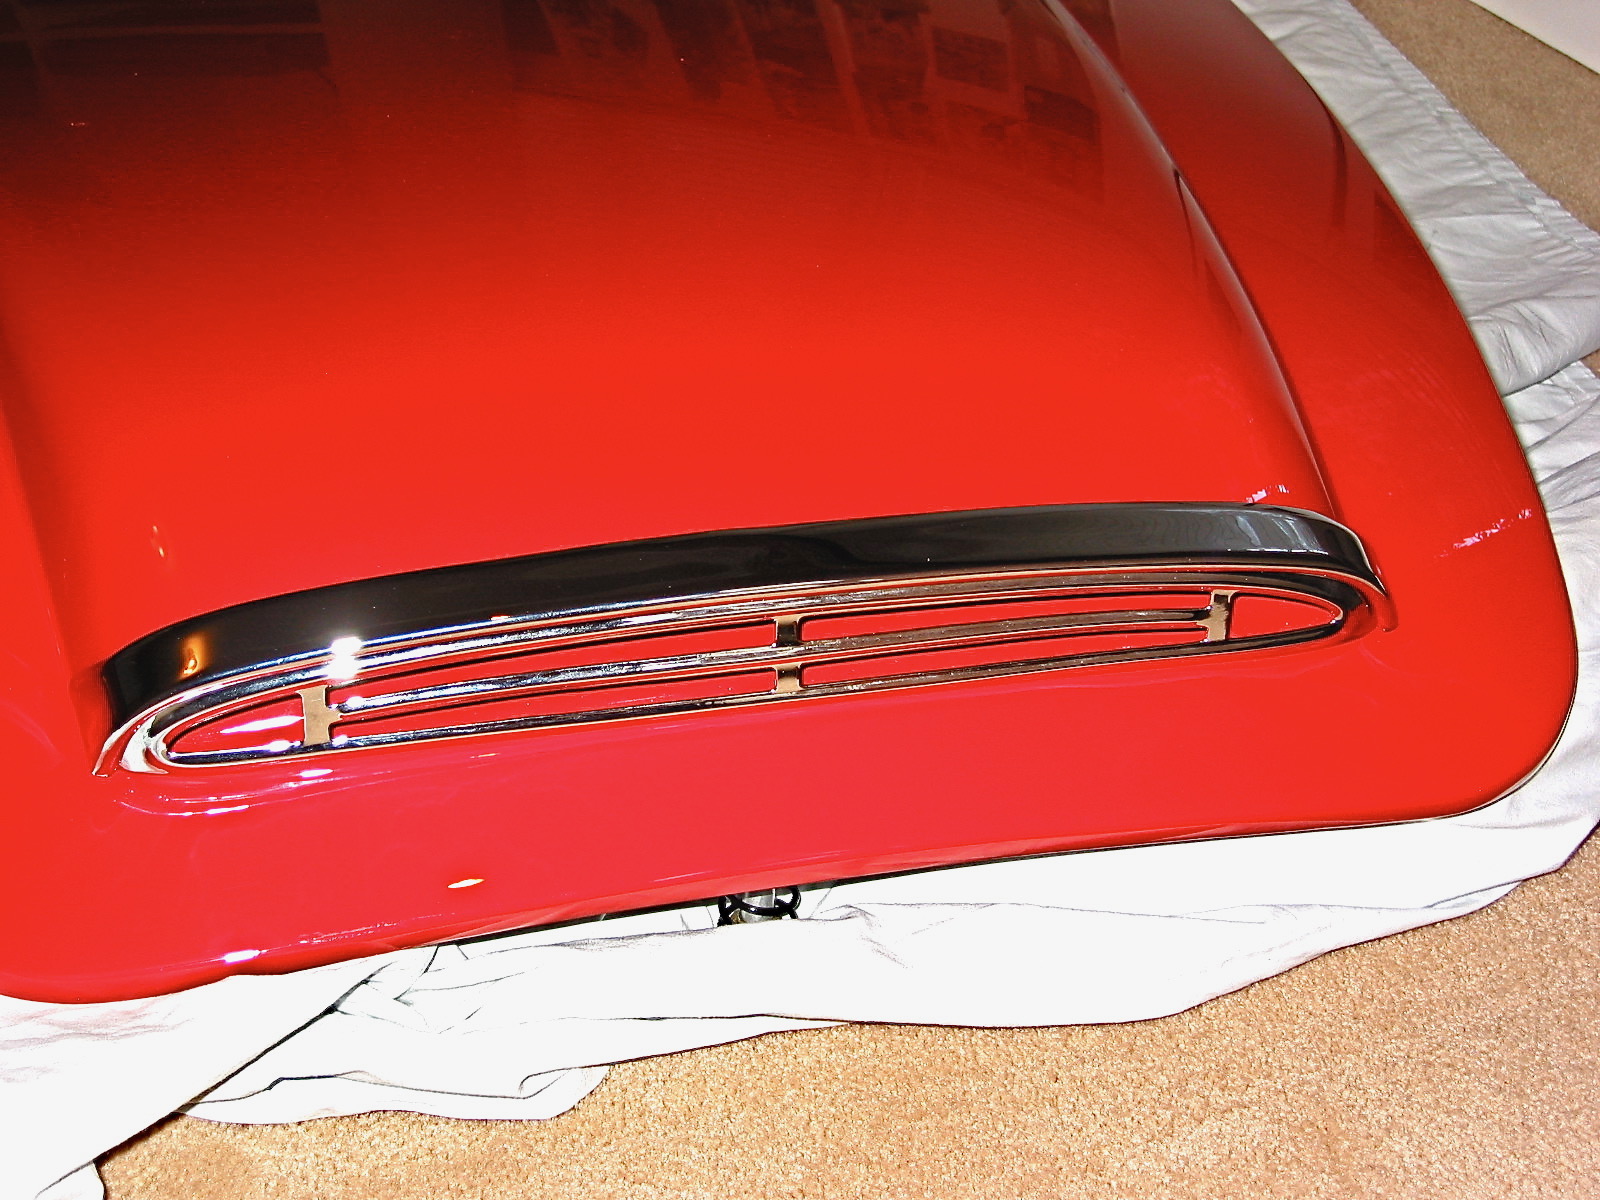
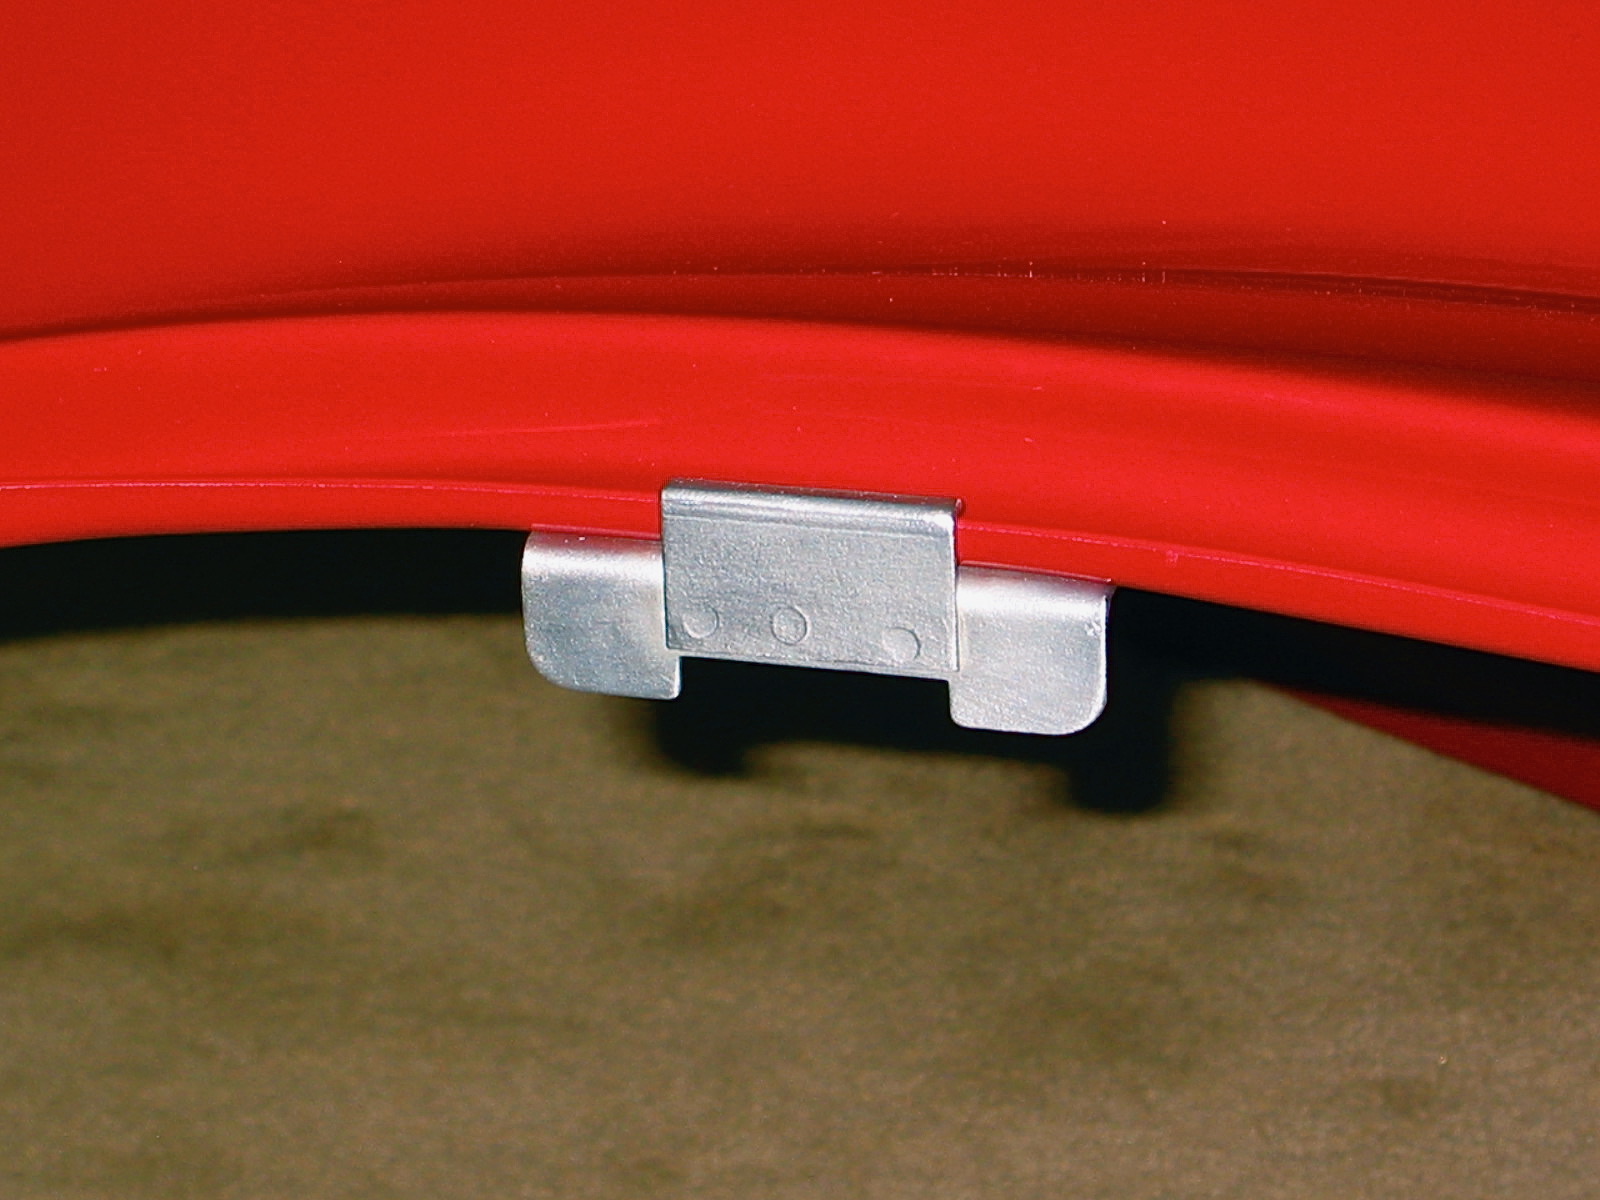
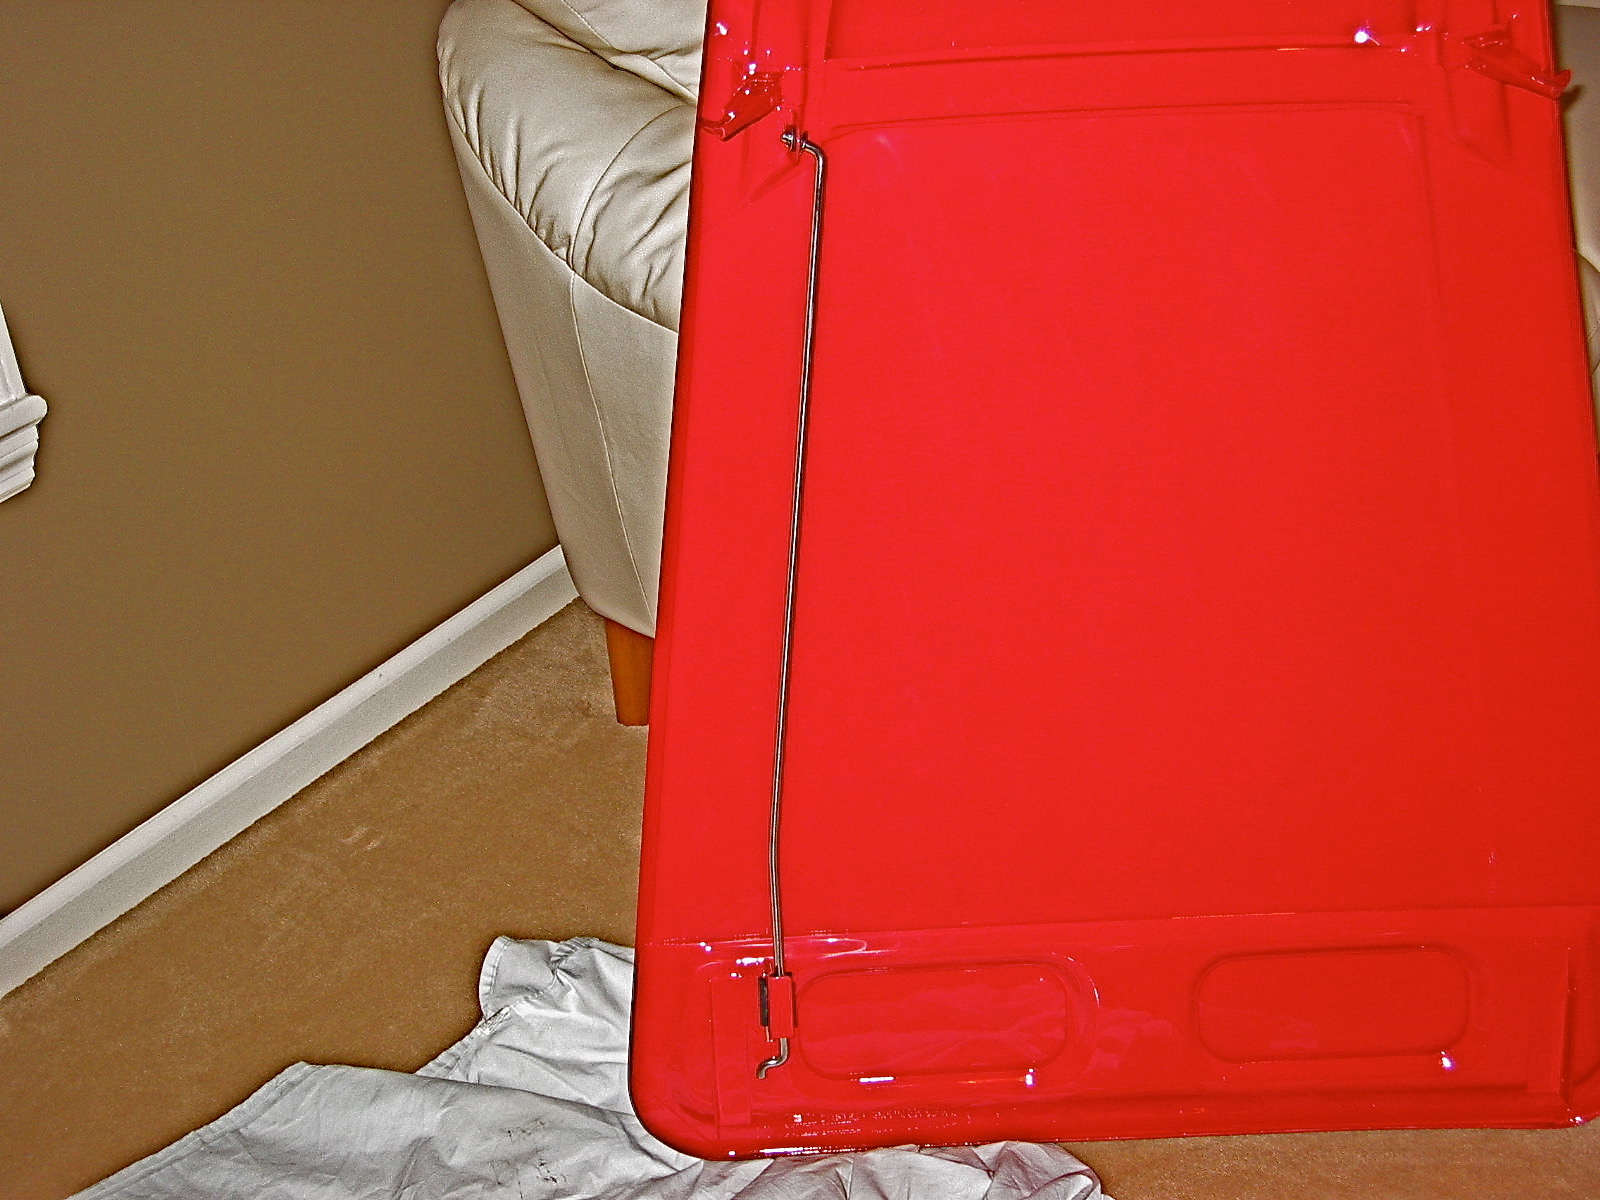
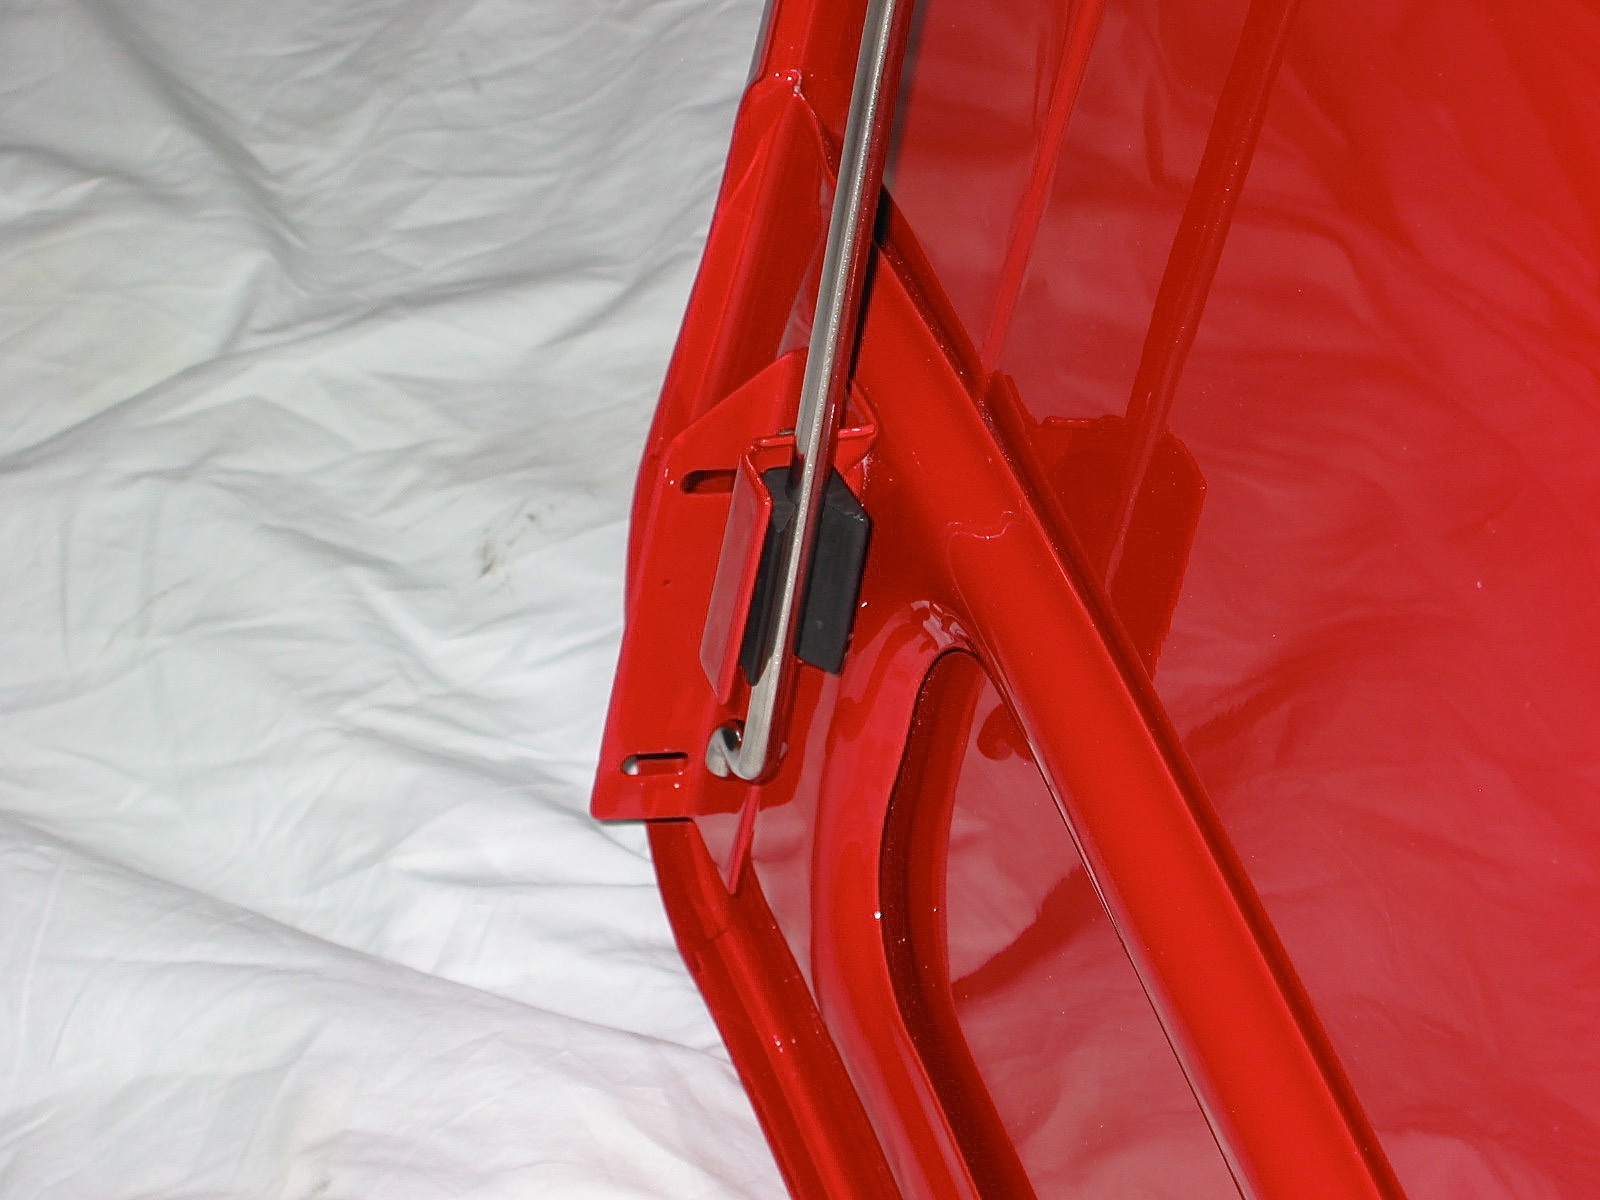
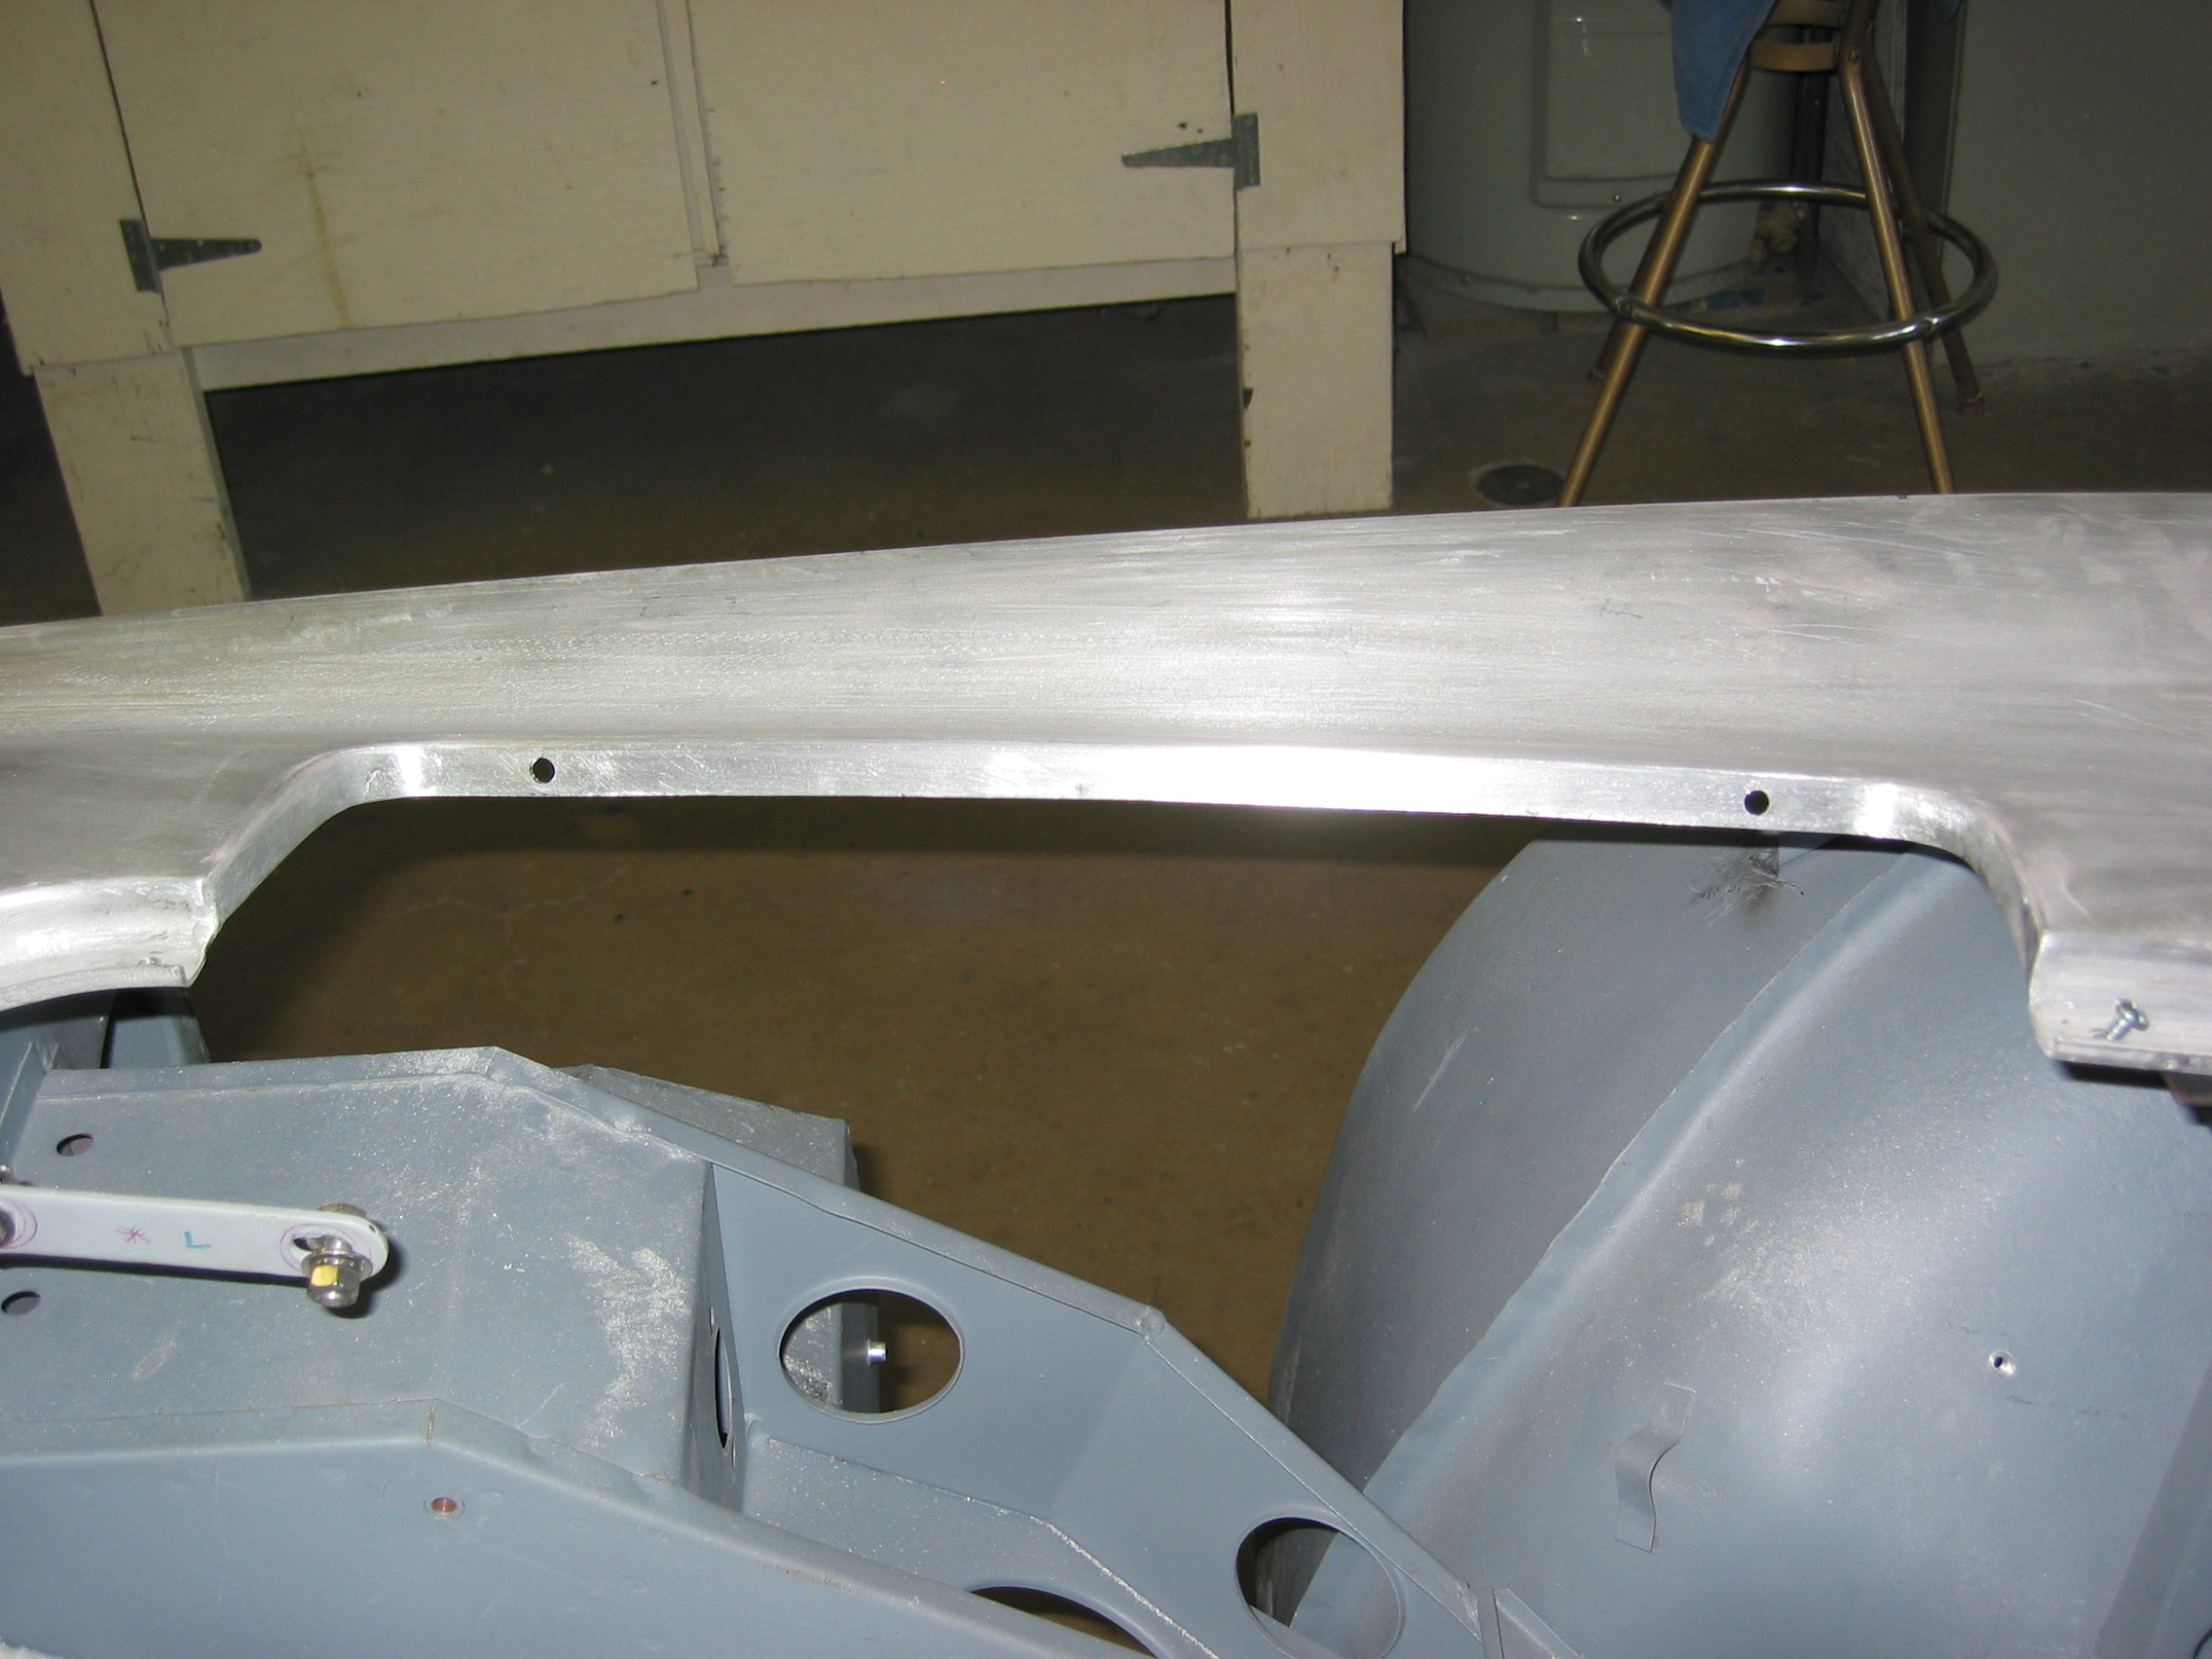
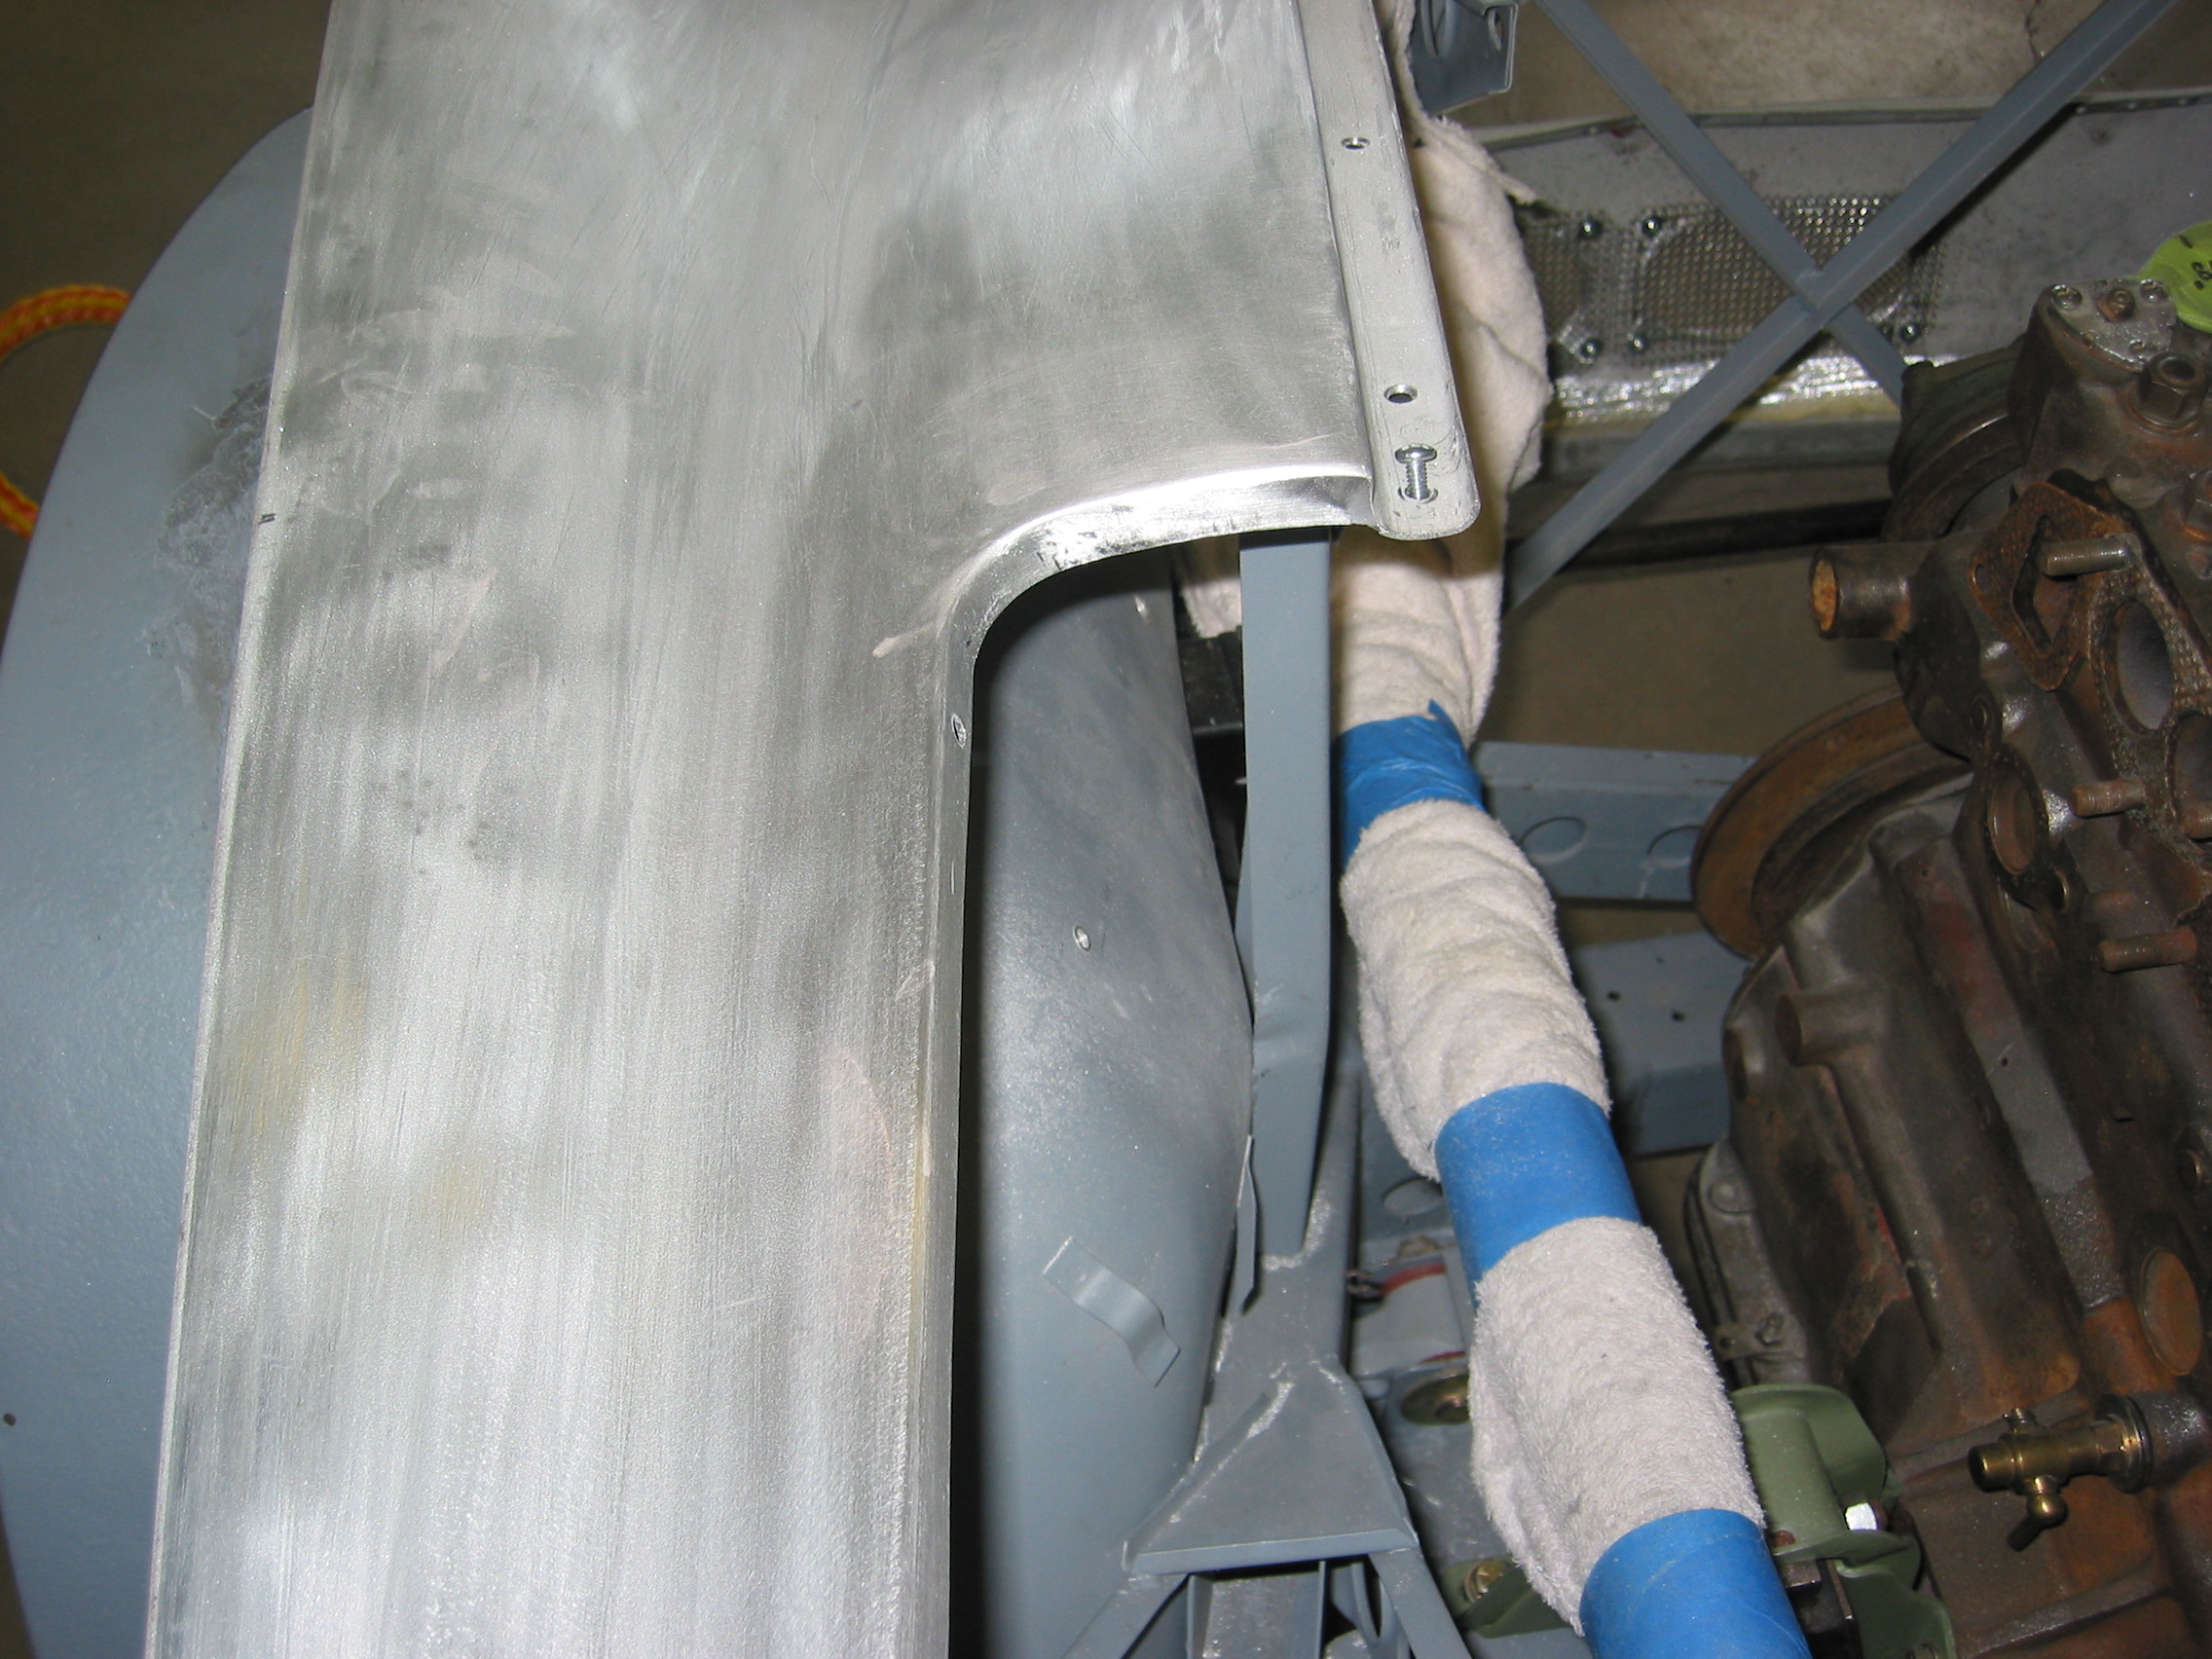
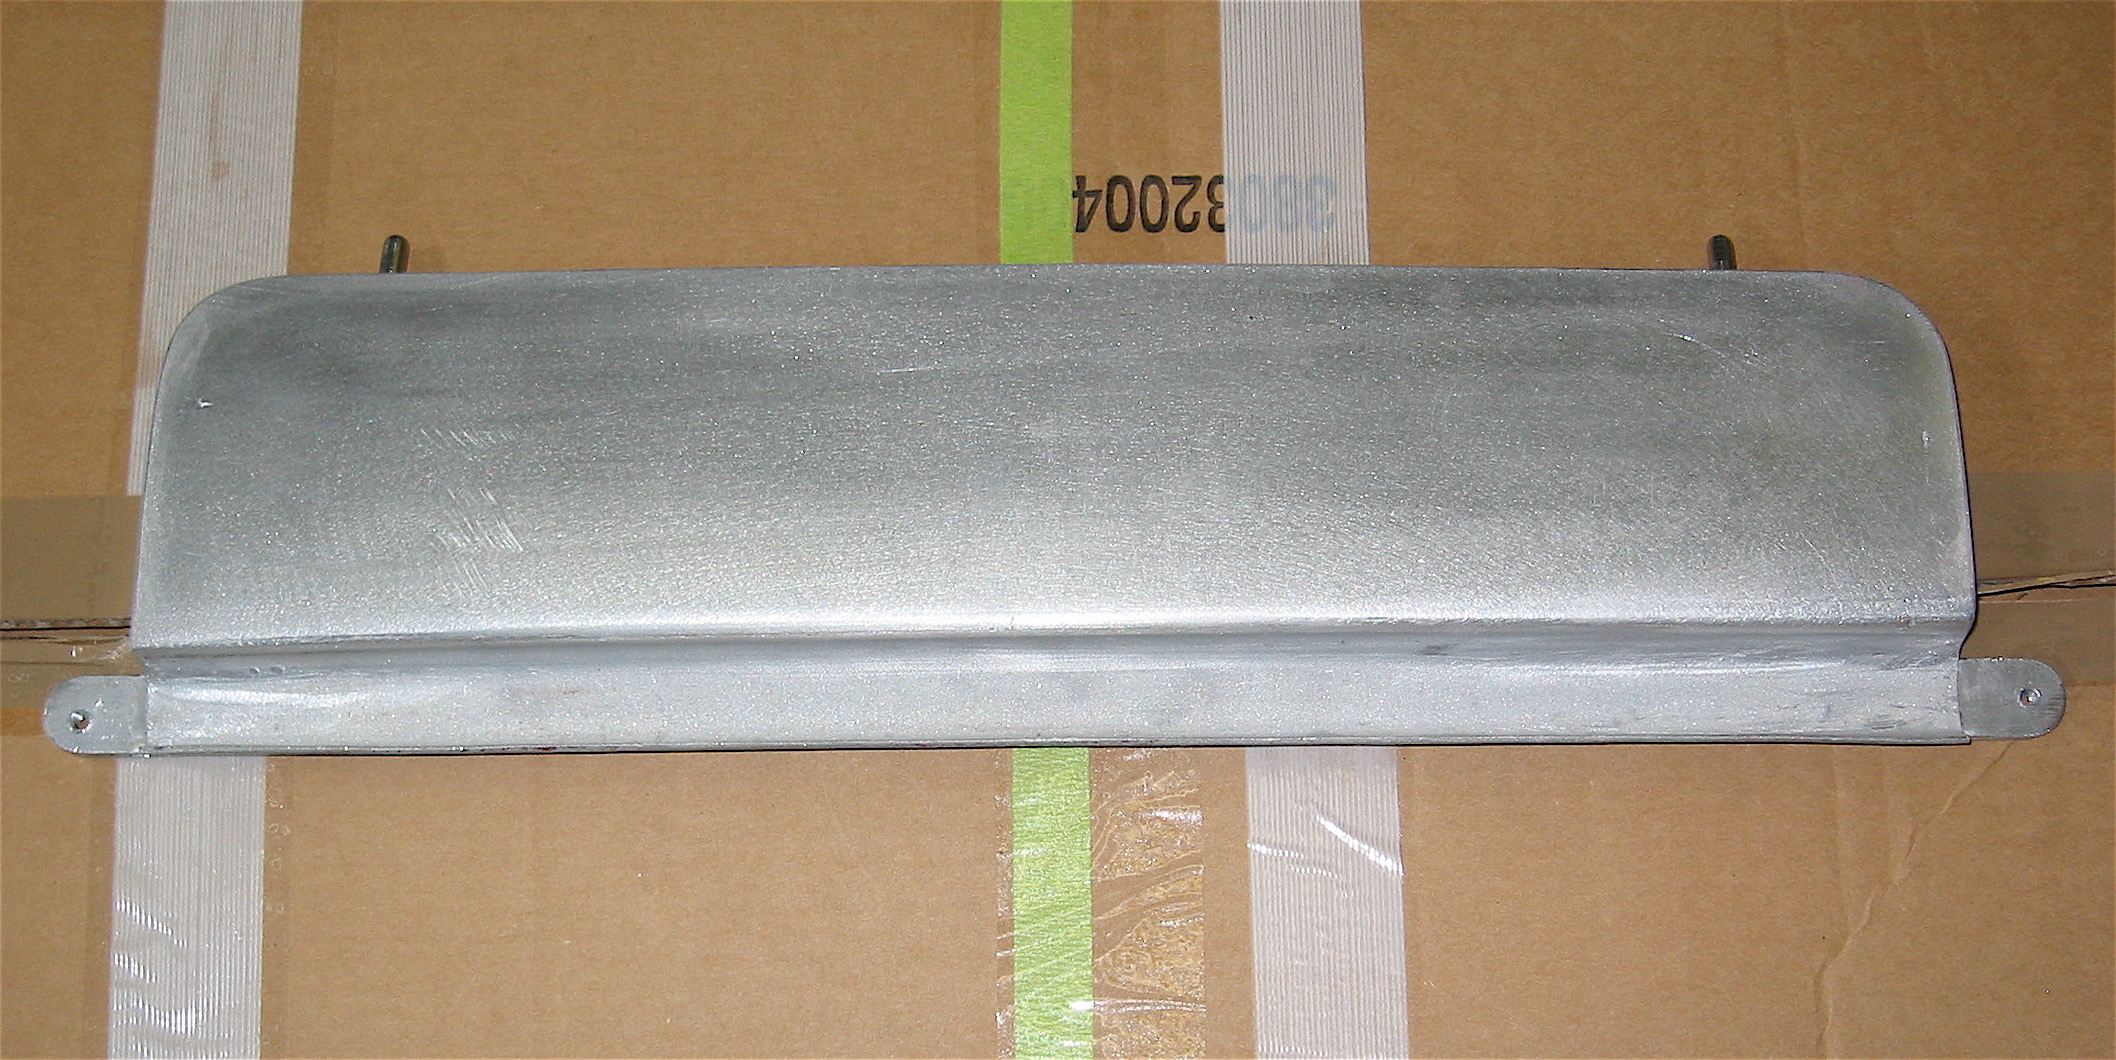
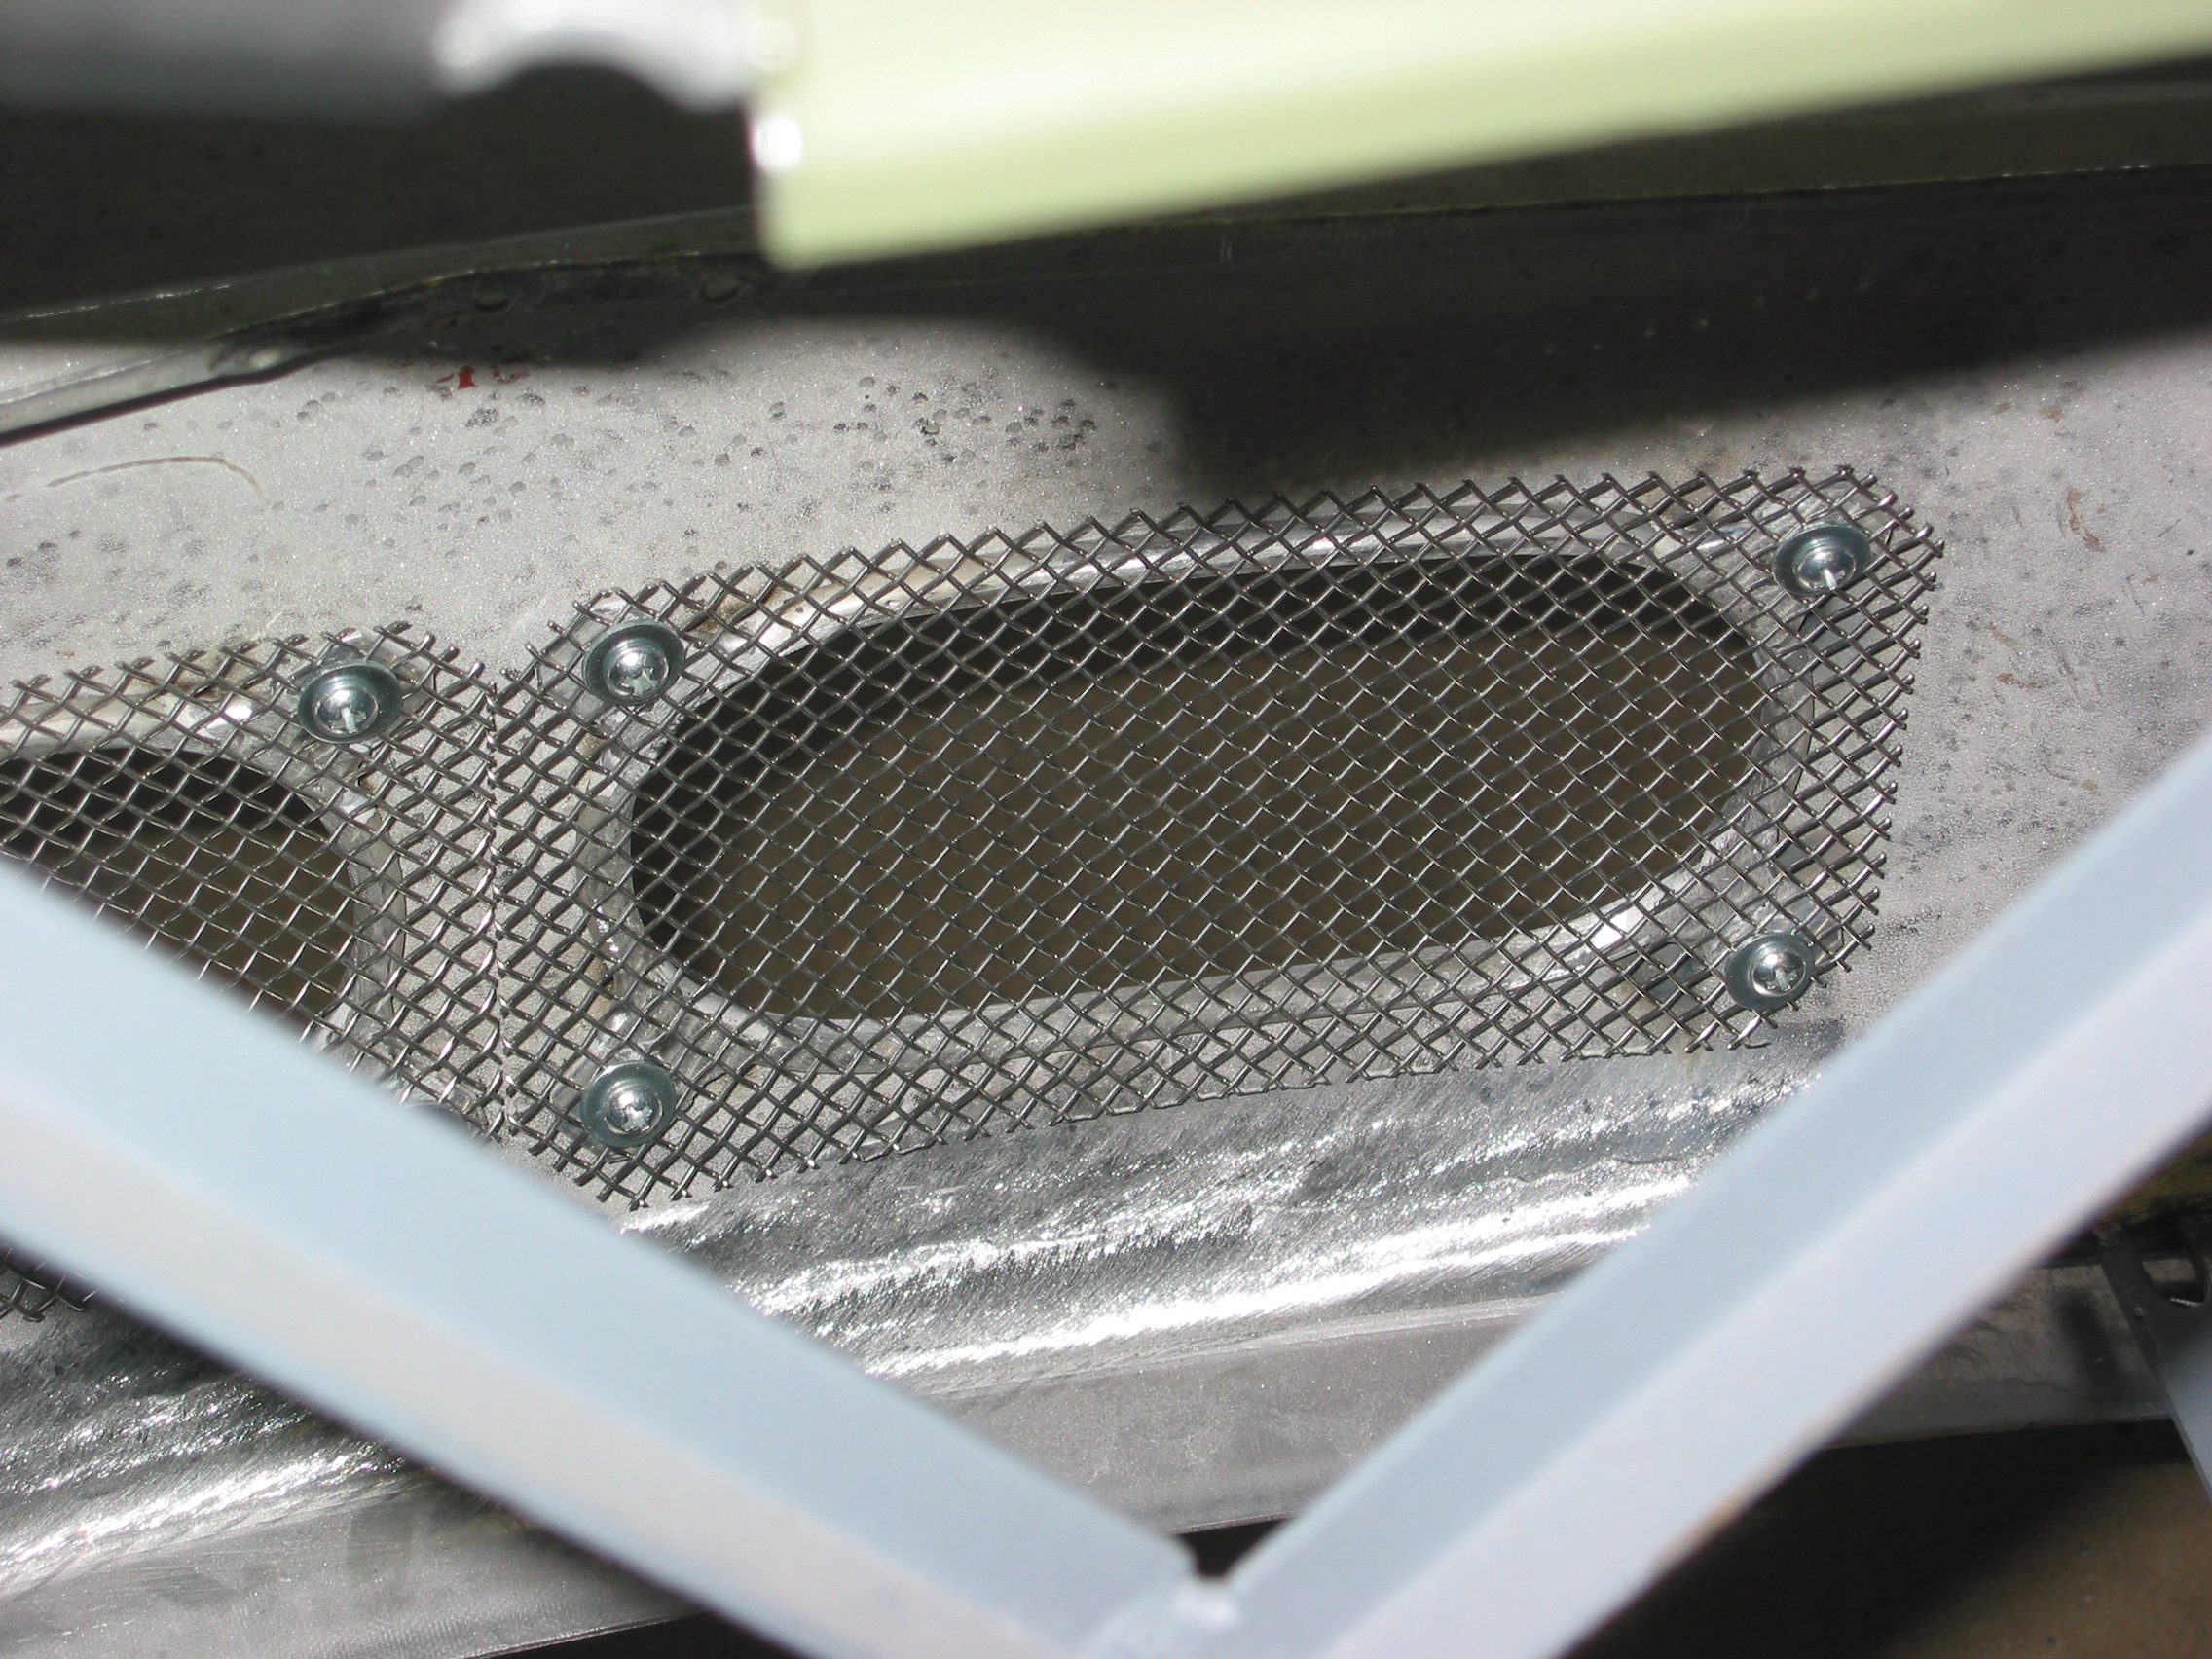
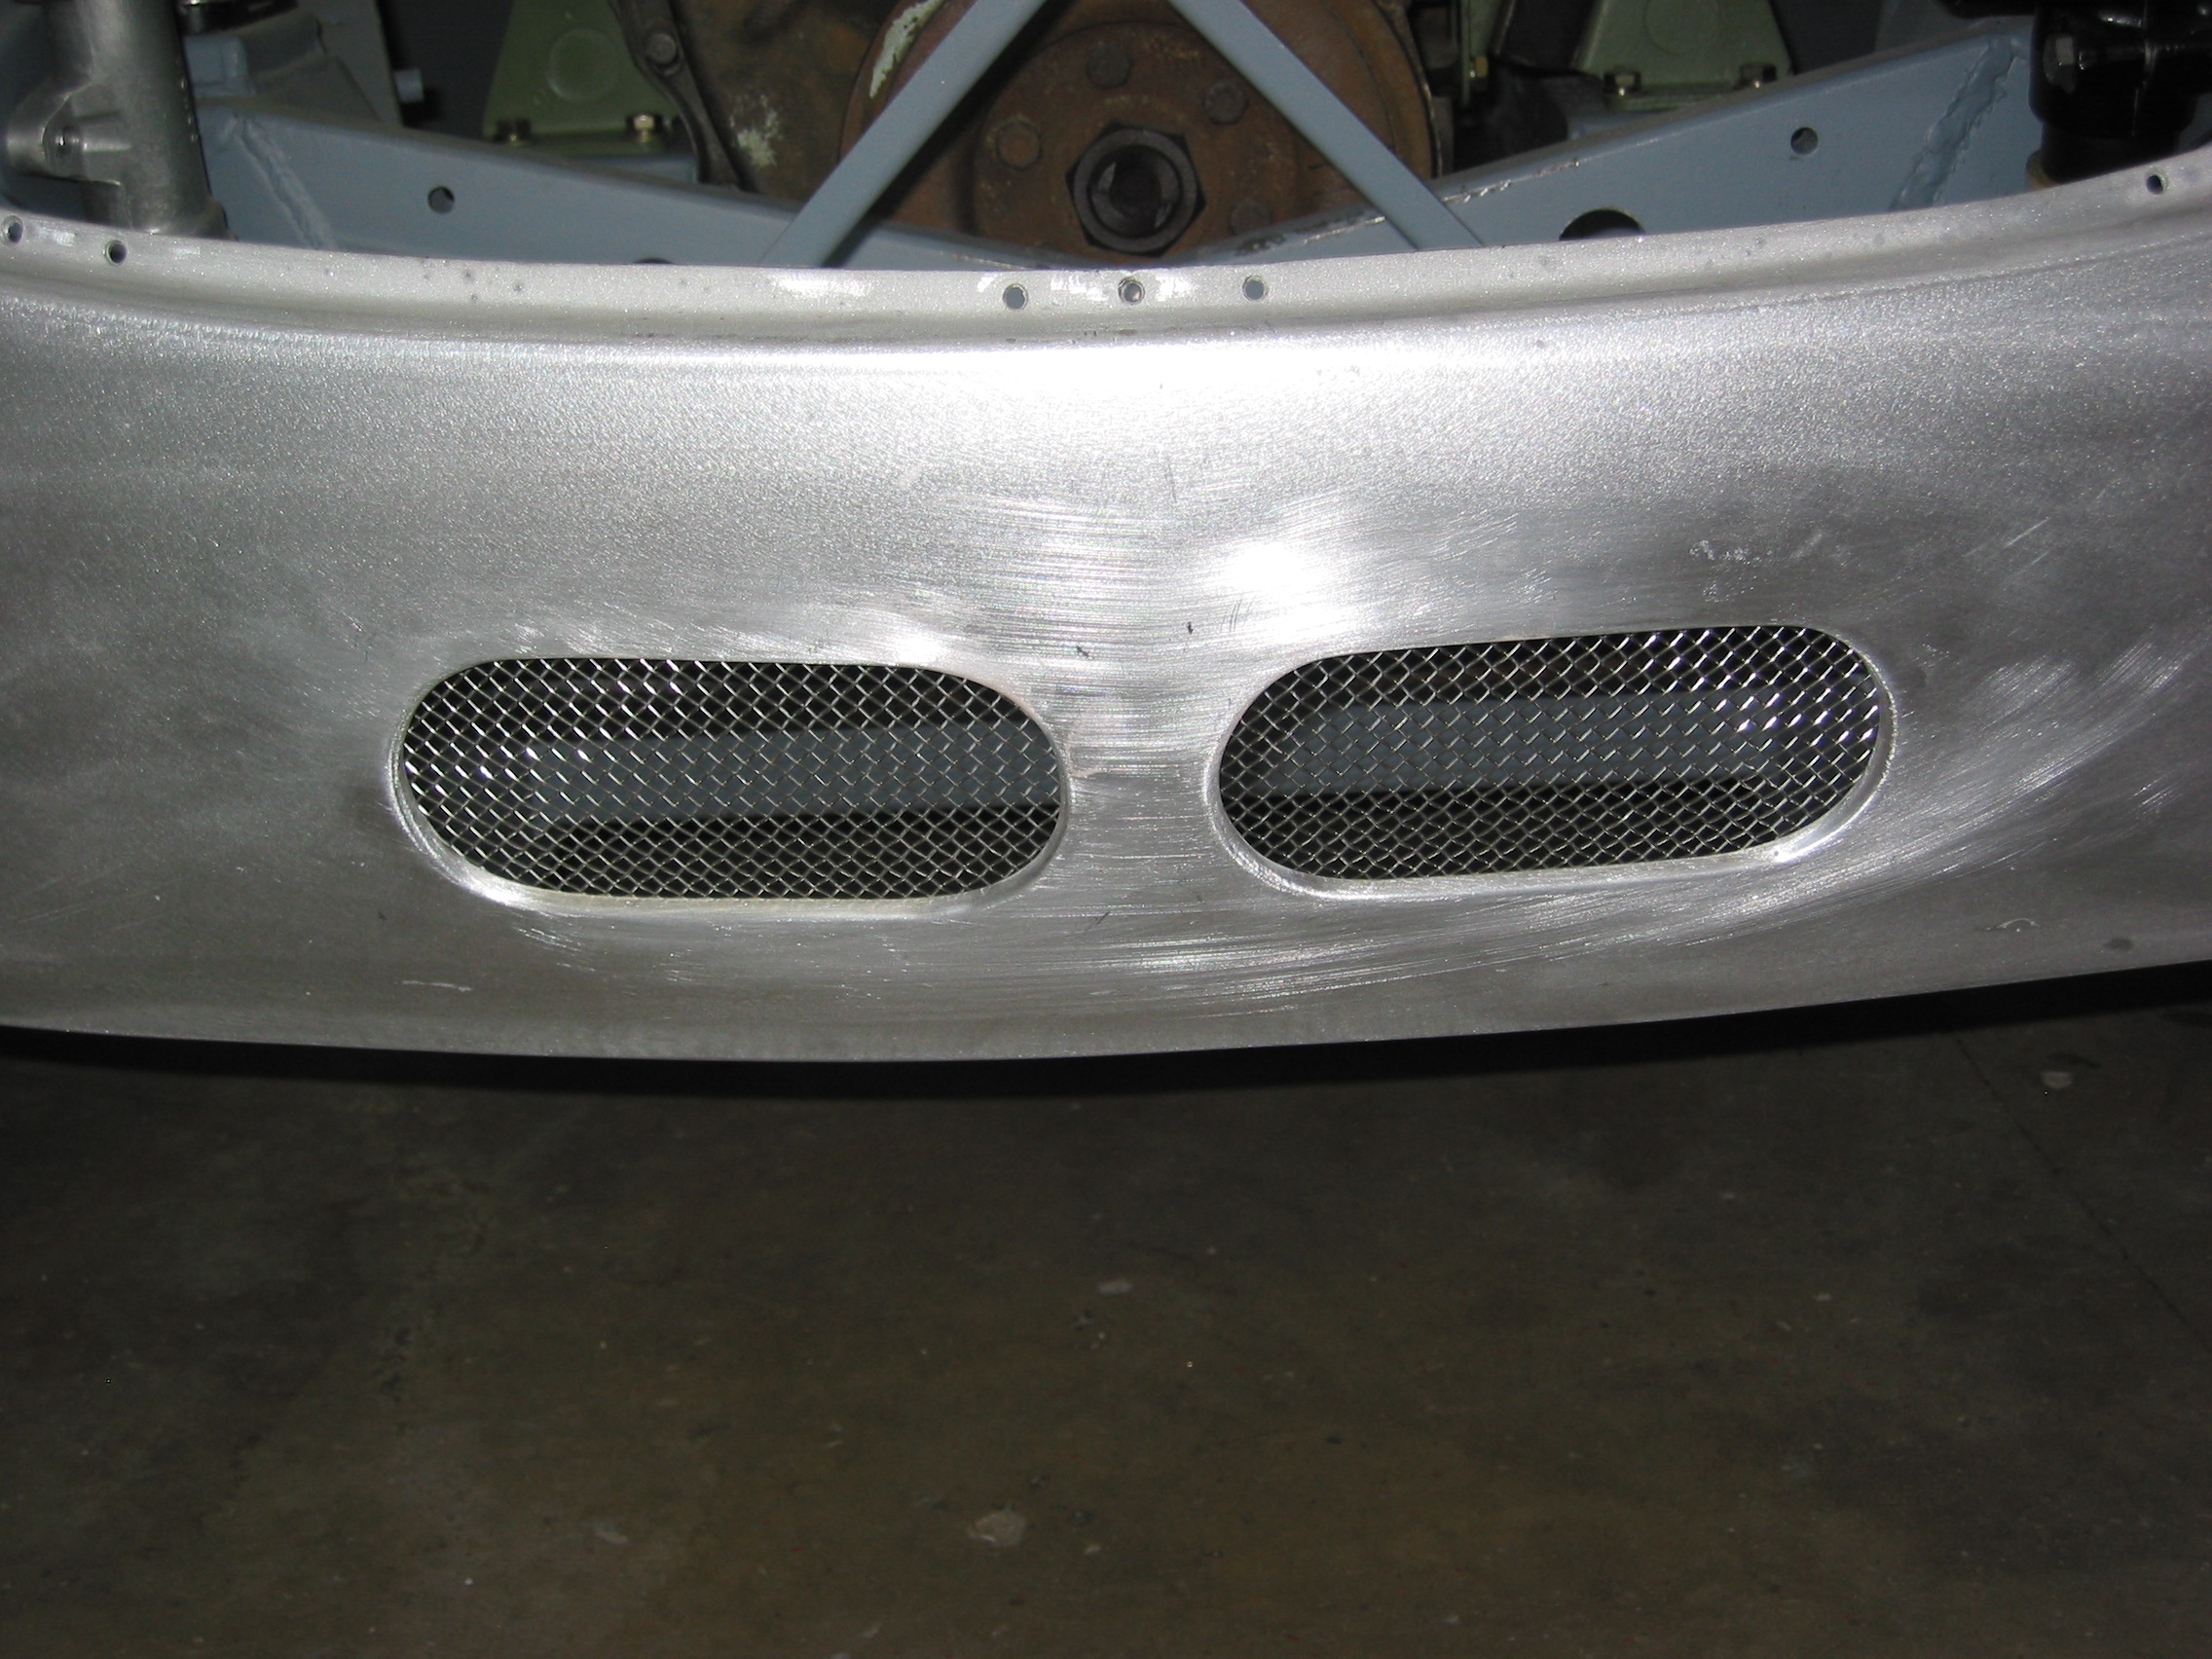
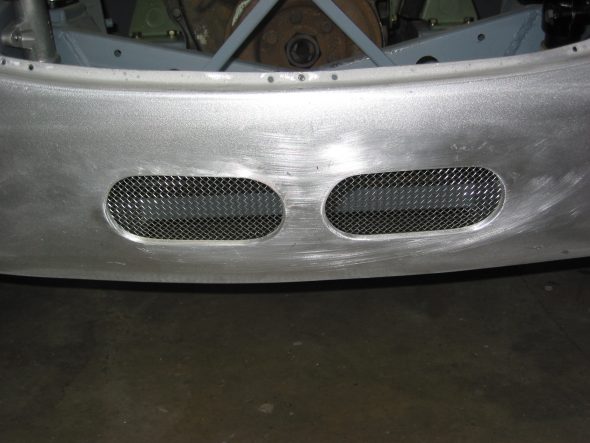
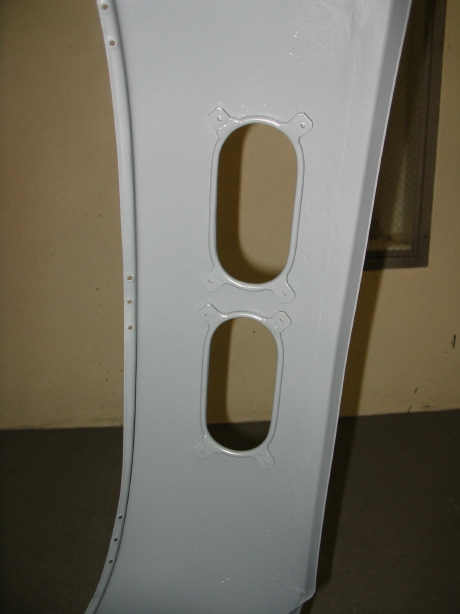
Shroud Modifications – Jeremy called to say that Craig Naff had finished his work and as I had hoped, it was worth the wait! We had asked Craig to cut two oil cooler vents in the the lower valance of the front shroud and to make some repairs in the same area caused by improper towing. In addition, I wanted to create a carb/master cylinder access panel. Unlike the panels you often see on rally cars, I desired something that would appear as original bodywork, fitting flush in the shroud rather than sitting on top. Finally, the rear shroud needed some welding where Martin Jansen has installed new flanges to mount to the rear wings. It turned out the Craig was as good as Jeremy had suggested. I am very pleased with his work.
EDITOR’S UPDATE – April, 2020
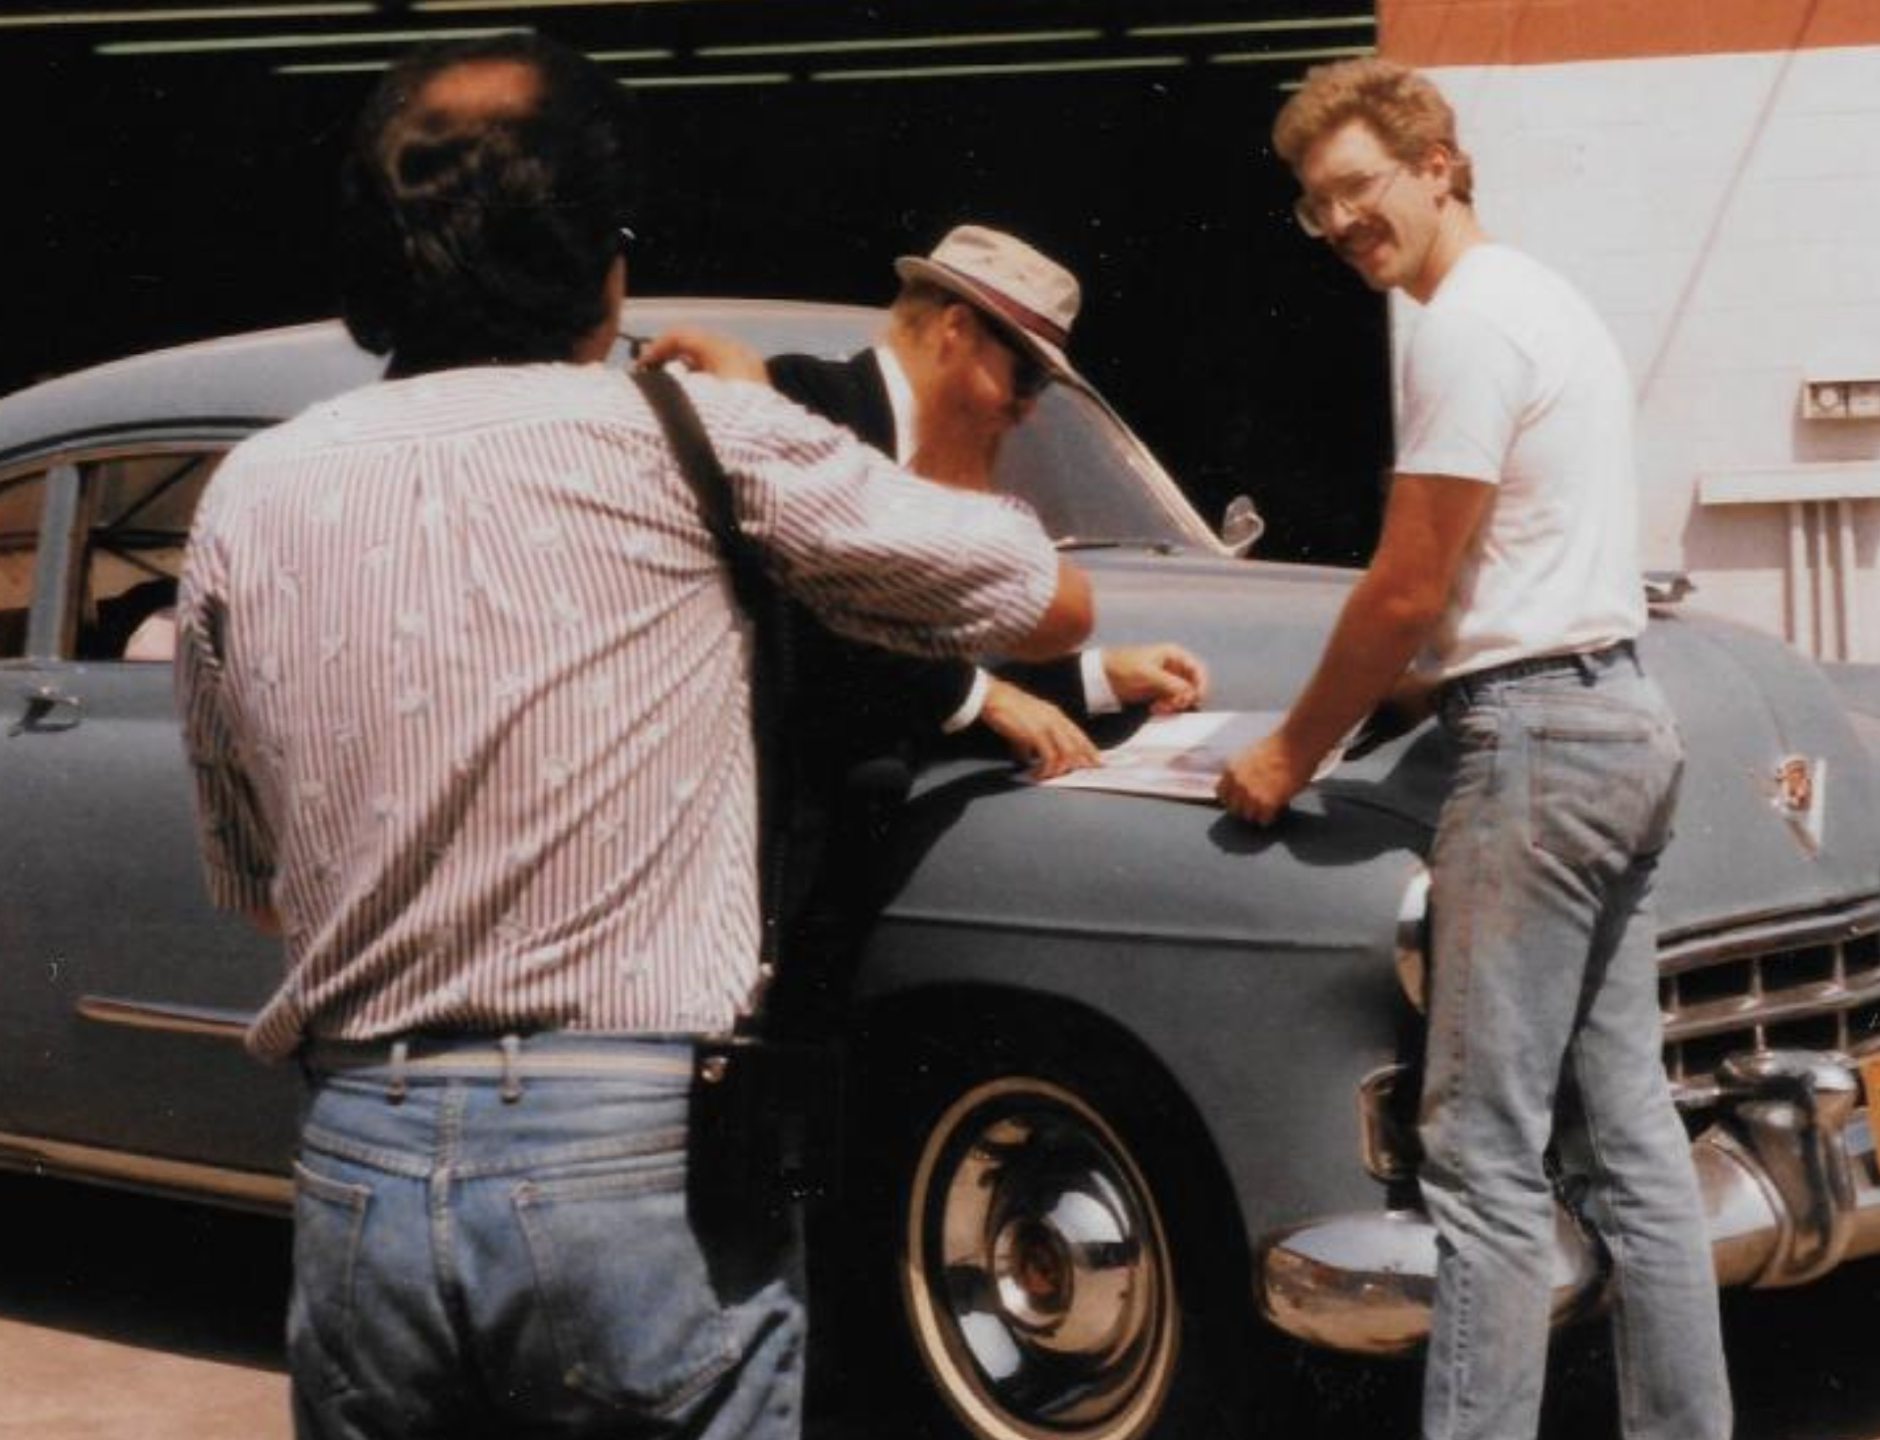
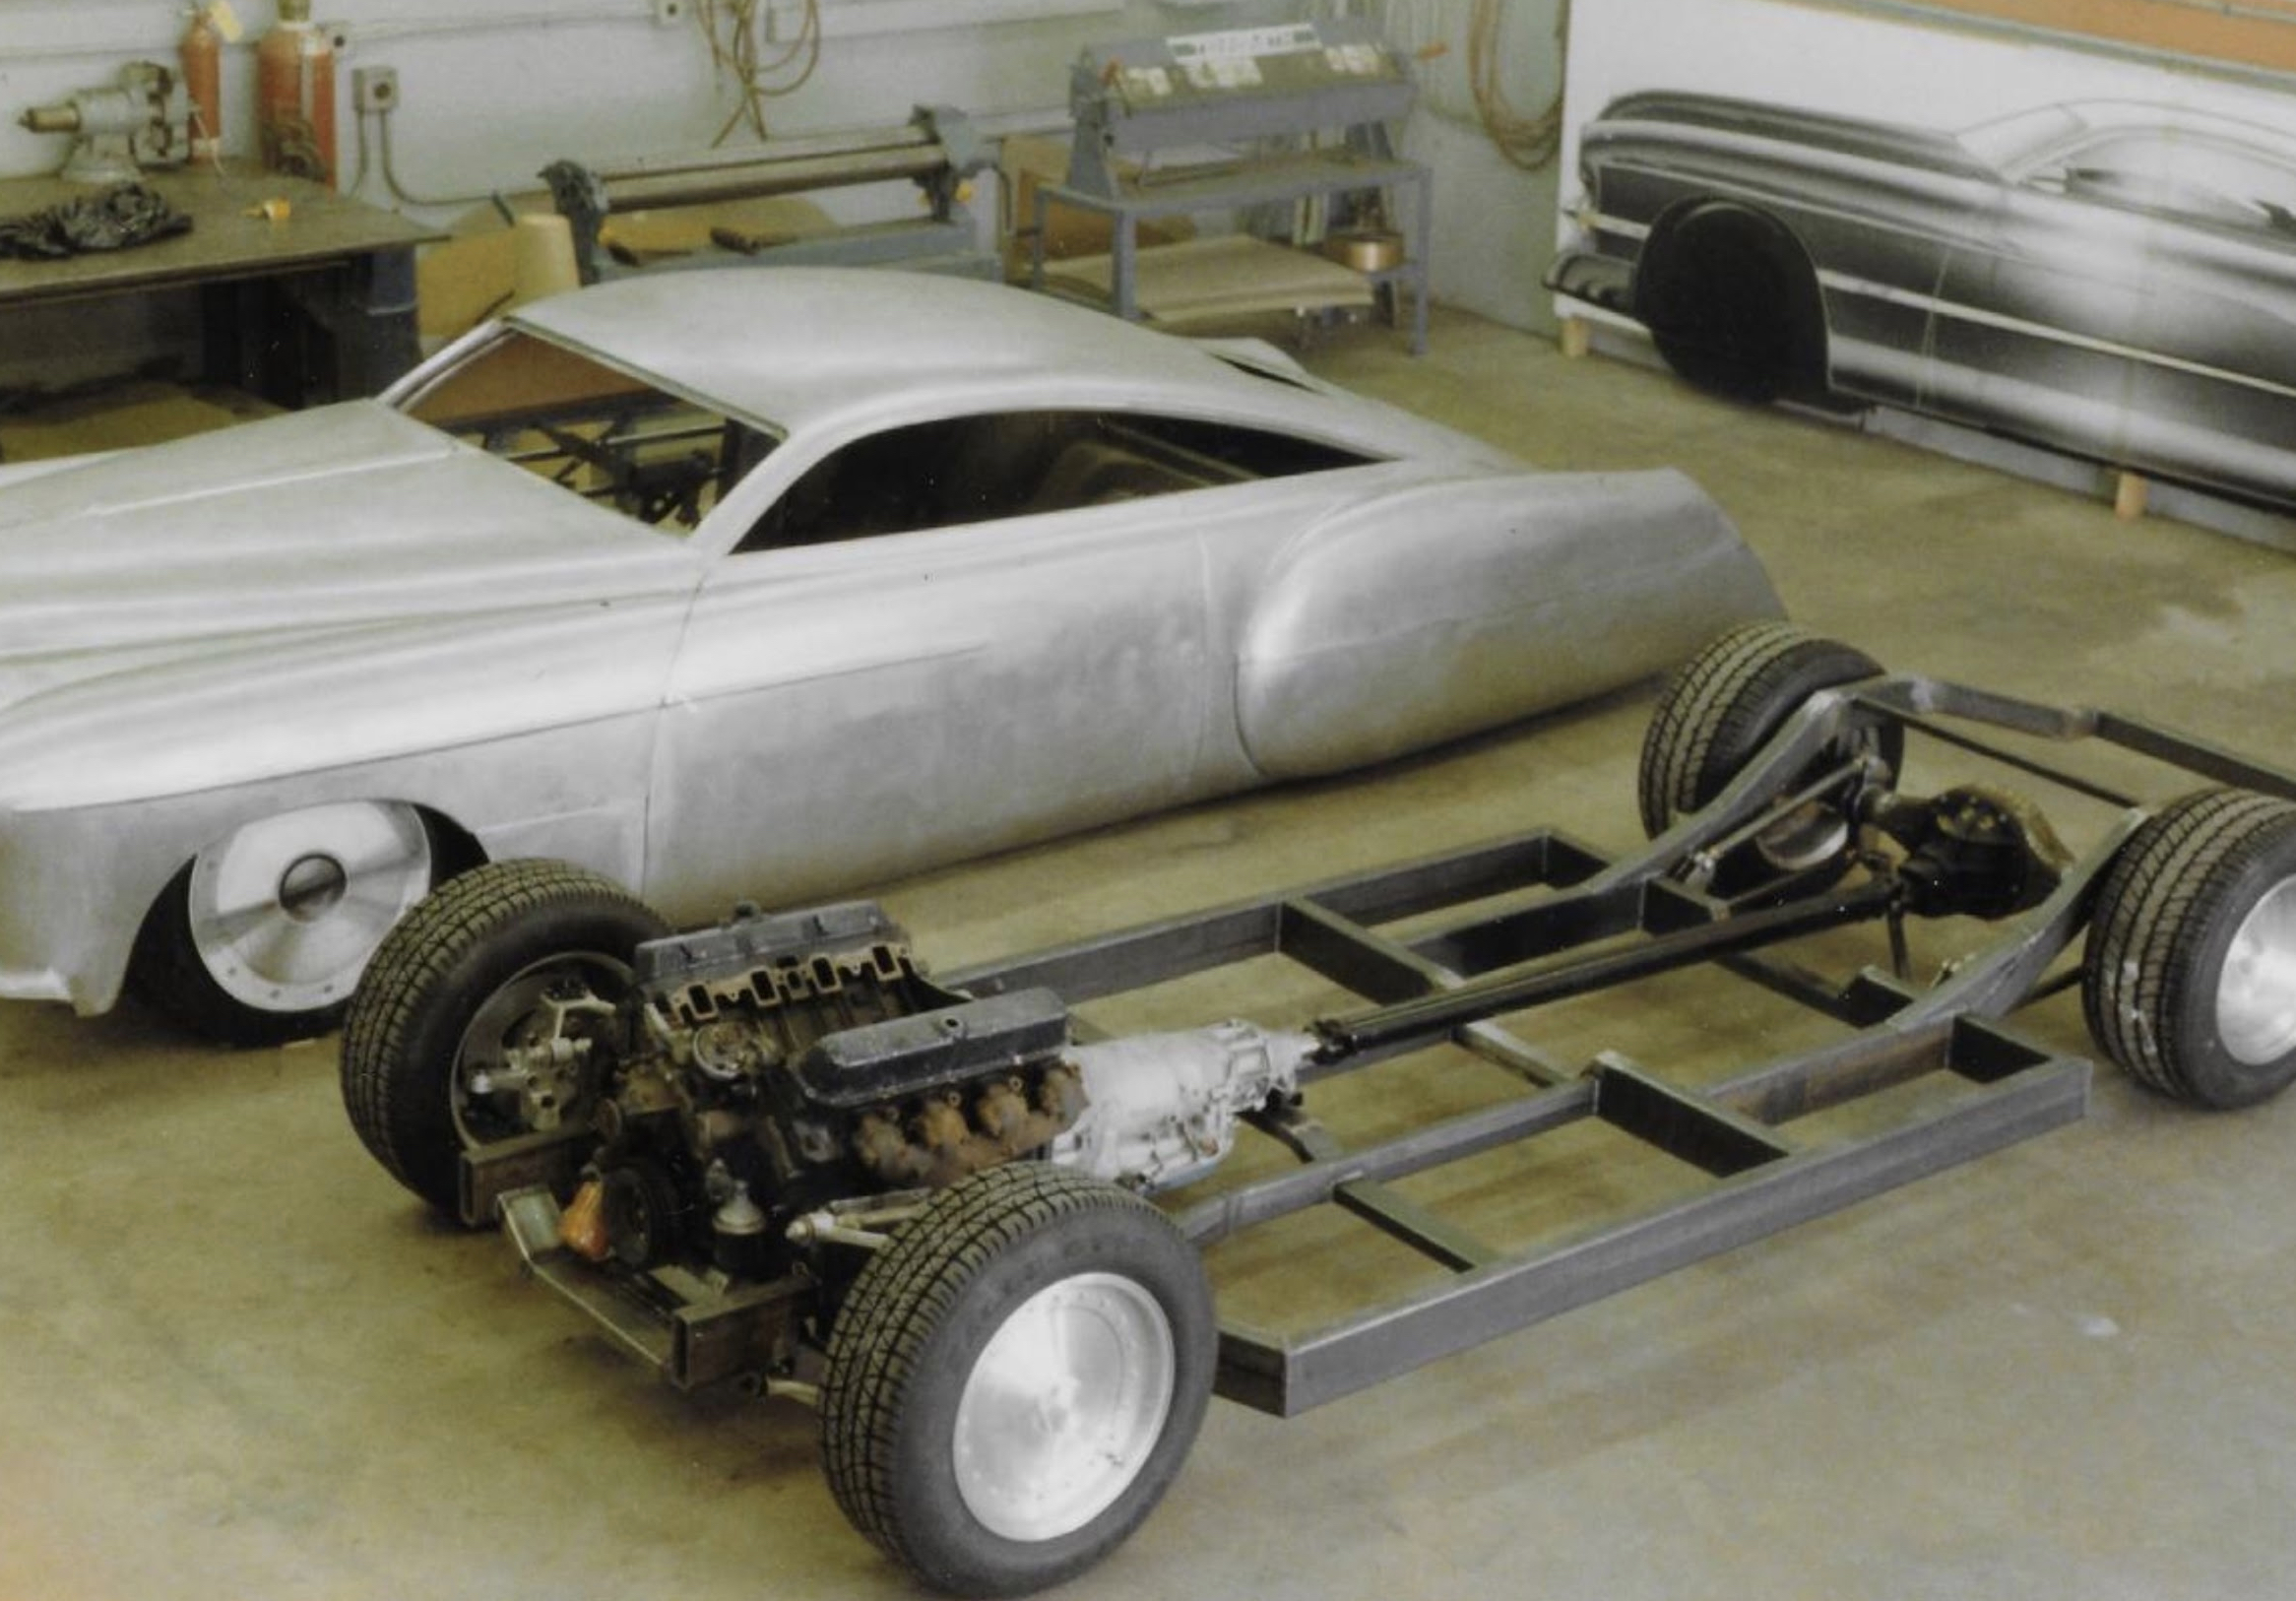
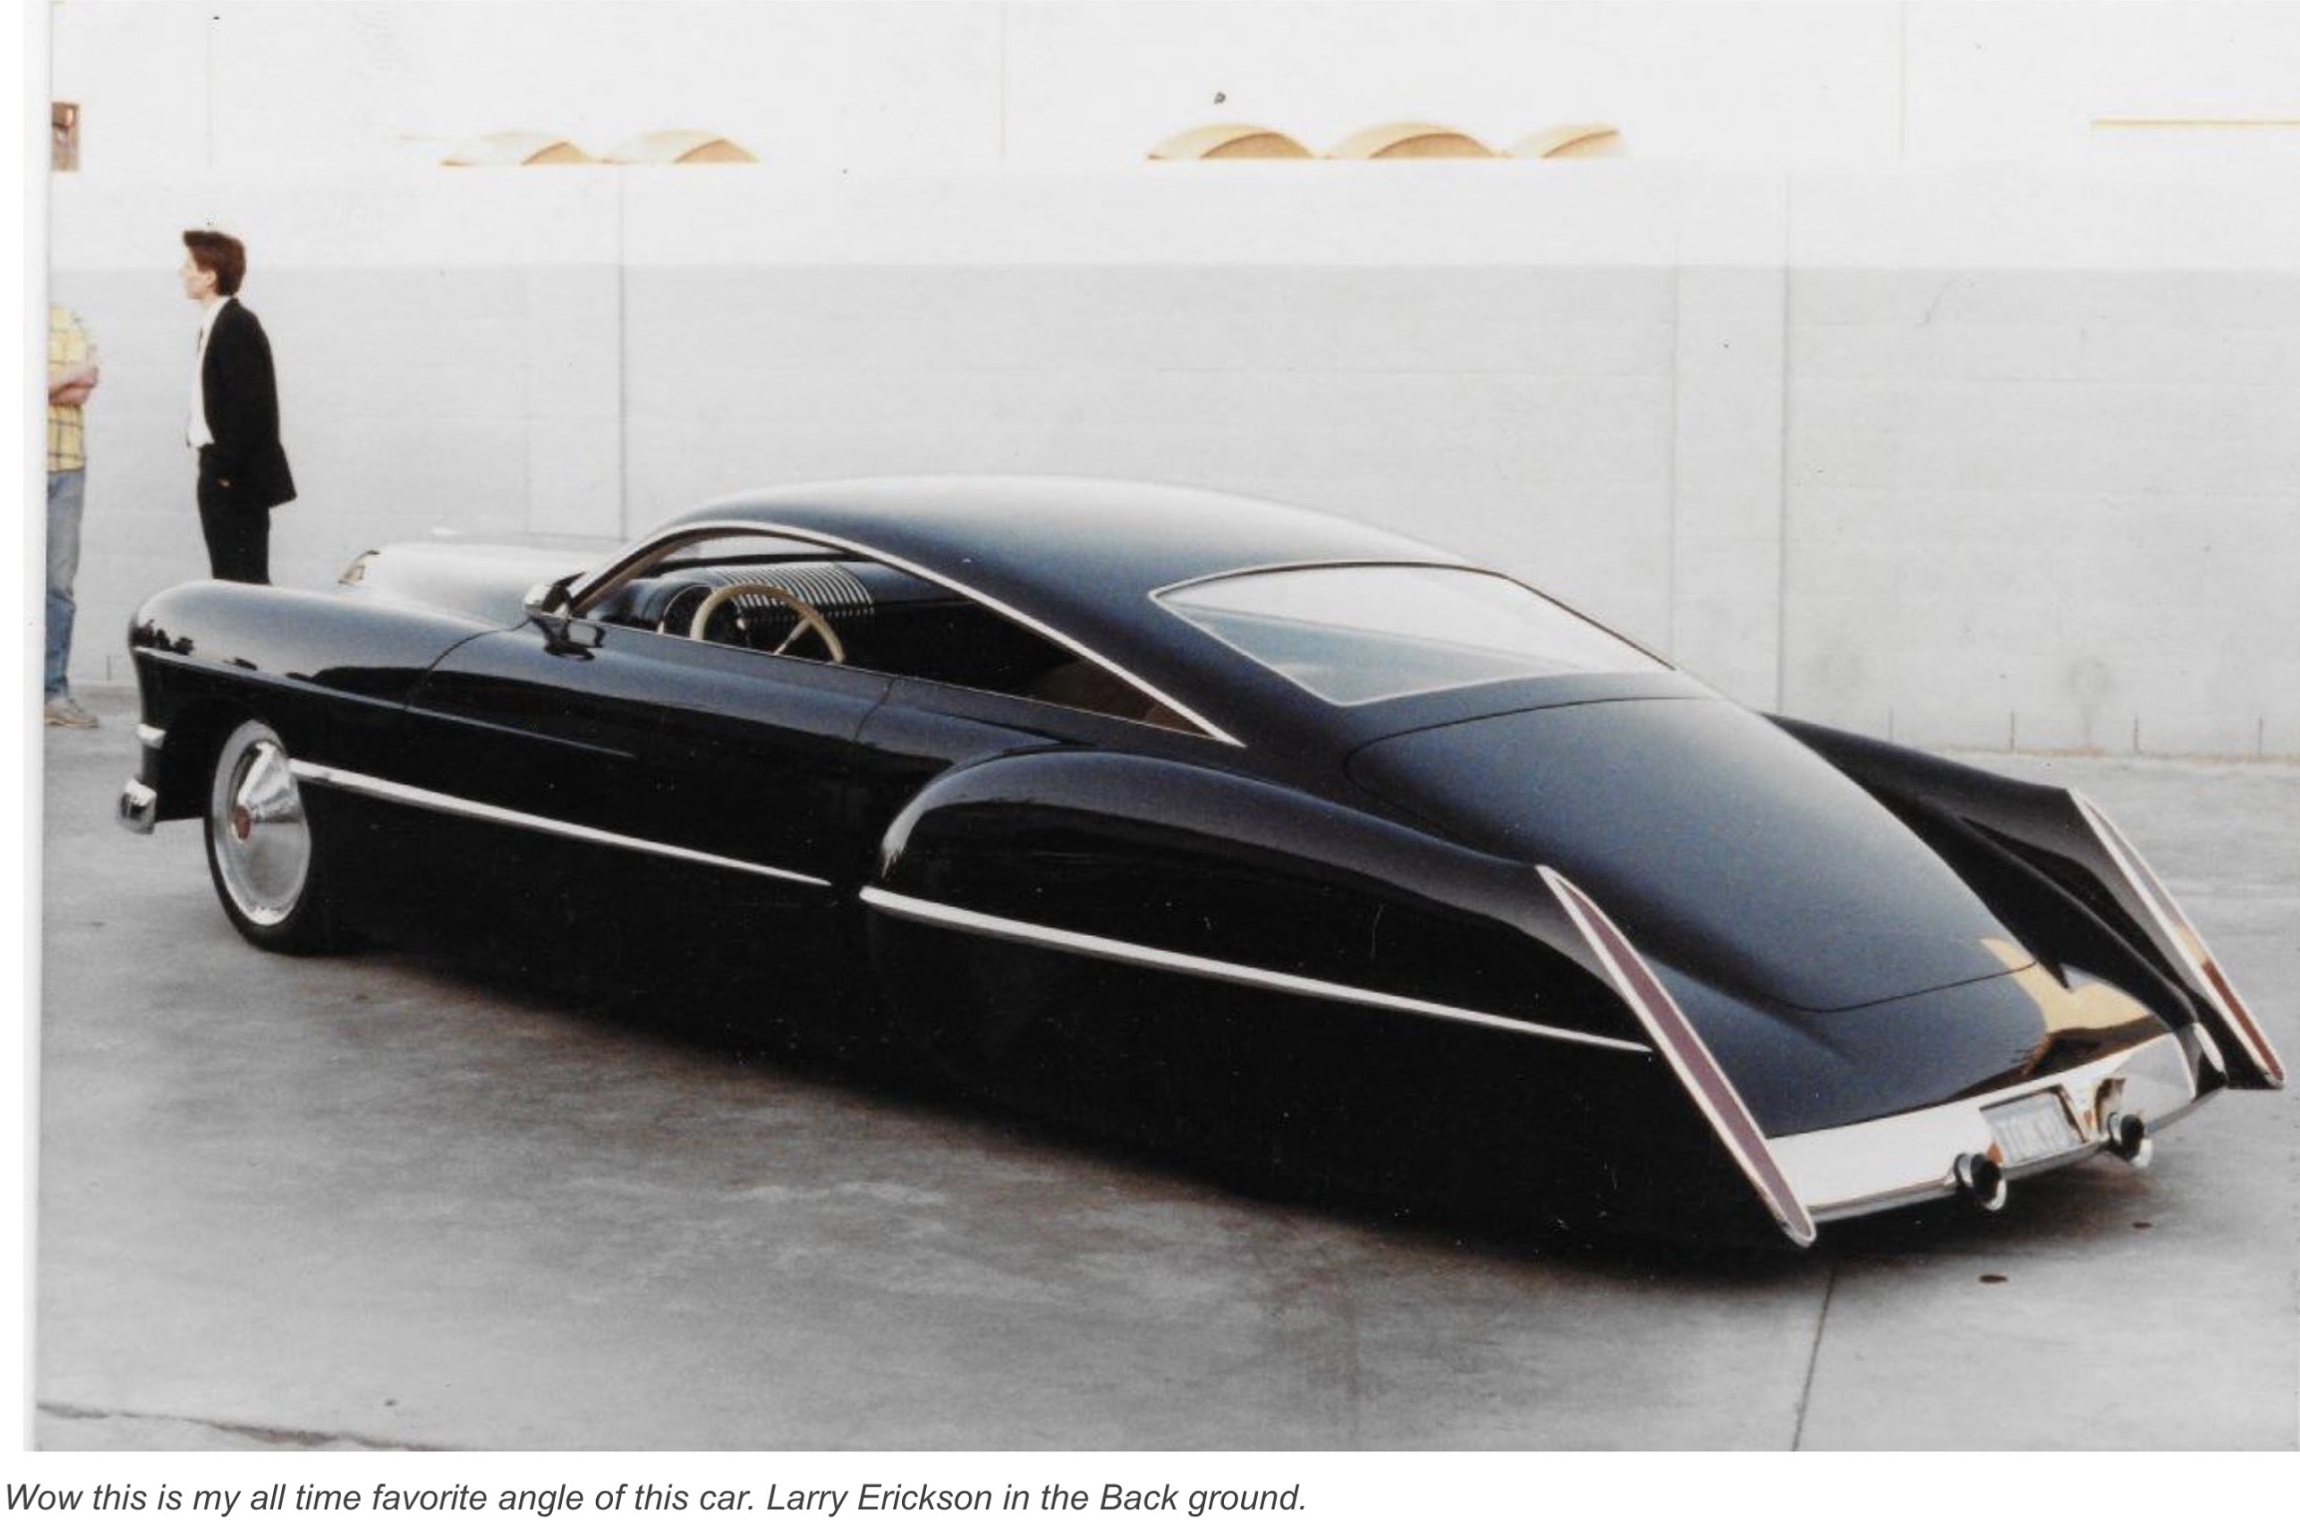
At the time Craig Naff made the modifications to my Healey, I had no idea that he was such an accomplished metal-craftsman with such an impressive portfolio! It is now 2020 and I know that I should have appreciated who was working on my car at the time! Whether he would claim it to be his best work or not I do not know, but his metalwork on Billy Gibbon’s (ZZ Top) 1948 Cadillac is what made him famous. It was about 1989 and Craig was working for Boyd Coddington in California and undertook the job of bringing Larry Erickson’s custom design to life. The world knows the final product as Cadzilla.
Some time later, Craig apparently wasn’t crazy about California life and he returned to his roots in the Valley of Virginia and now has a shop and home outside of Woodstock, VA. Even though I didn’t fully appreciate who Craig was at the time, when Jeremy and I took my Healey to Craig’s shop and I saw the other projects with which he was occupied I did recognize that he was a special talent. Judging by his Facebook Page Craig has stayed busy and is in high demand with a waiting list, but this modest man never boasted about his accomplishments he just turned out outstanding work. Personally, I would consider him to be an artist who happens to work in sheet metal.
Thank you, Craig, for adding your touches to my car!
https://www.caranddriver.com/features/a15132614/the-candy-man/
https://www.customcarchronicle.com/forums/topic/cadzilla-the-craig-naff-files/#.Xpsfzy2ZOd0

Caddy Before Modification with Craig in the White Tee Shirt and Billy Gibbons of ZZ Top in the Hat

Cadzilla before paint
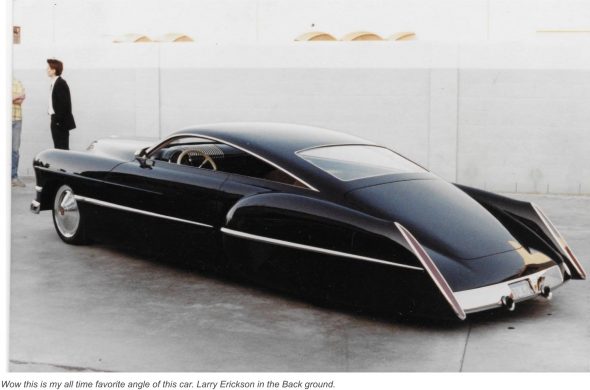
Cadzilla
I concluded some time back that the placement/look of the front vents is all a matter of personal opinion, as long as they accomplish the mission of getting air into the cooler. In my collection of images from cars with vents taken at shows and races, I have seen about as many variaties as there are cars. Craig did hit what I wanted spot-on, so I am pleased. The access panel is, in my opinion, the best arrangement I have seen on any car previously. It will make working on the carbs much easier.

carb access panel 1
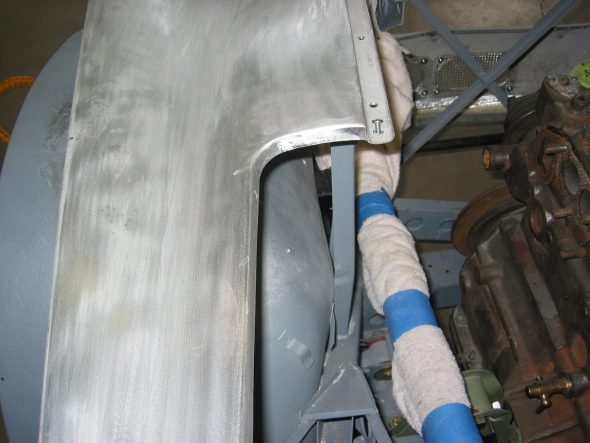
carb access panel 2

carb access panel 6
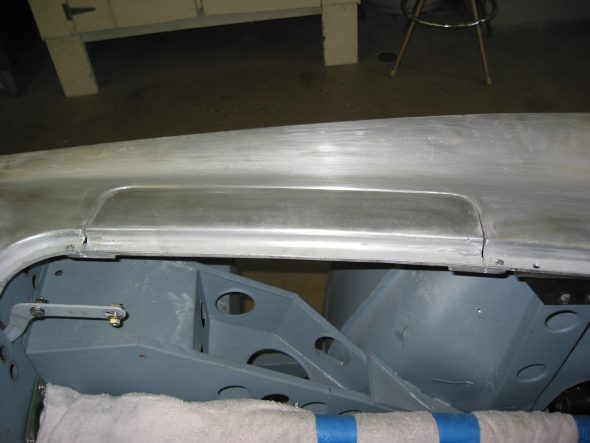
carb access panel 8

carb access panel 7
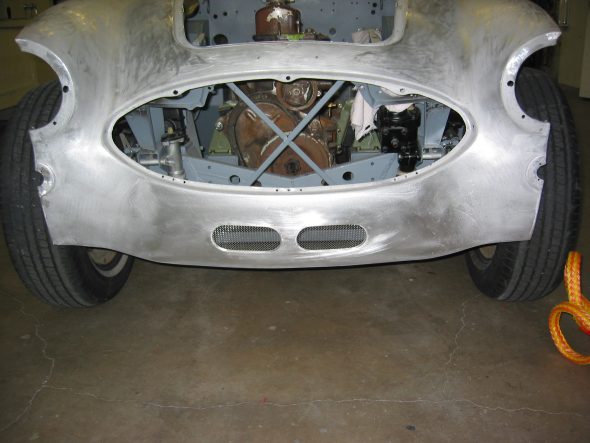
oil cooler vents 2
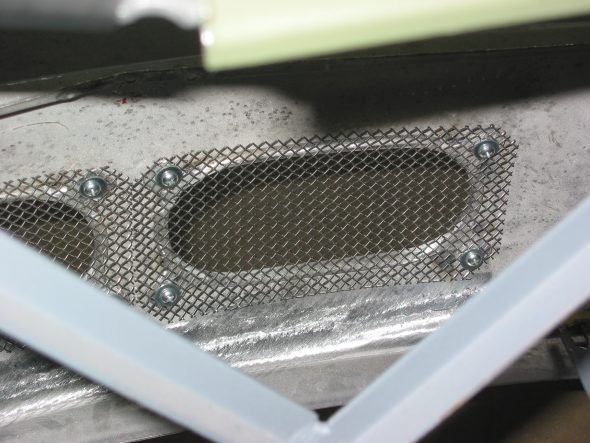
oil cooler vents 3
oil cooler vents 1
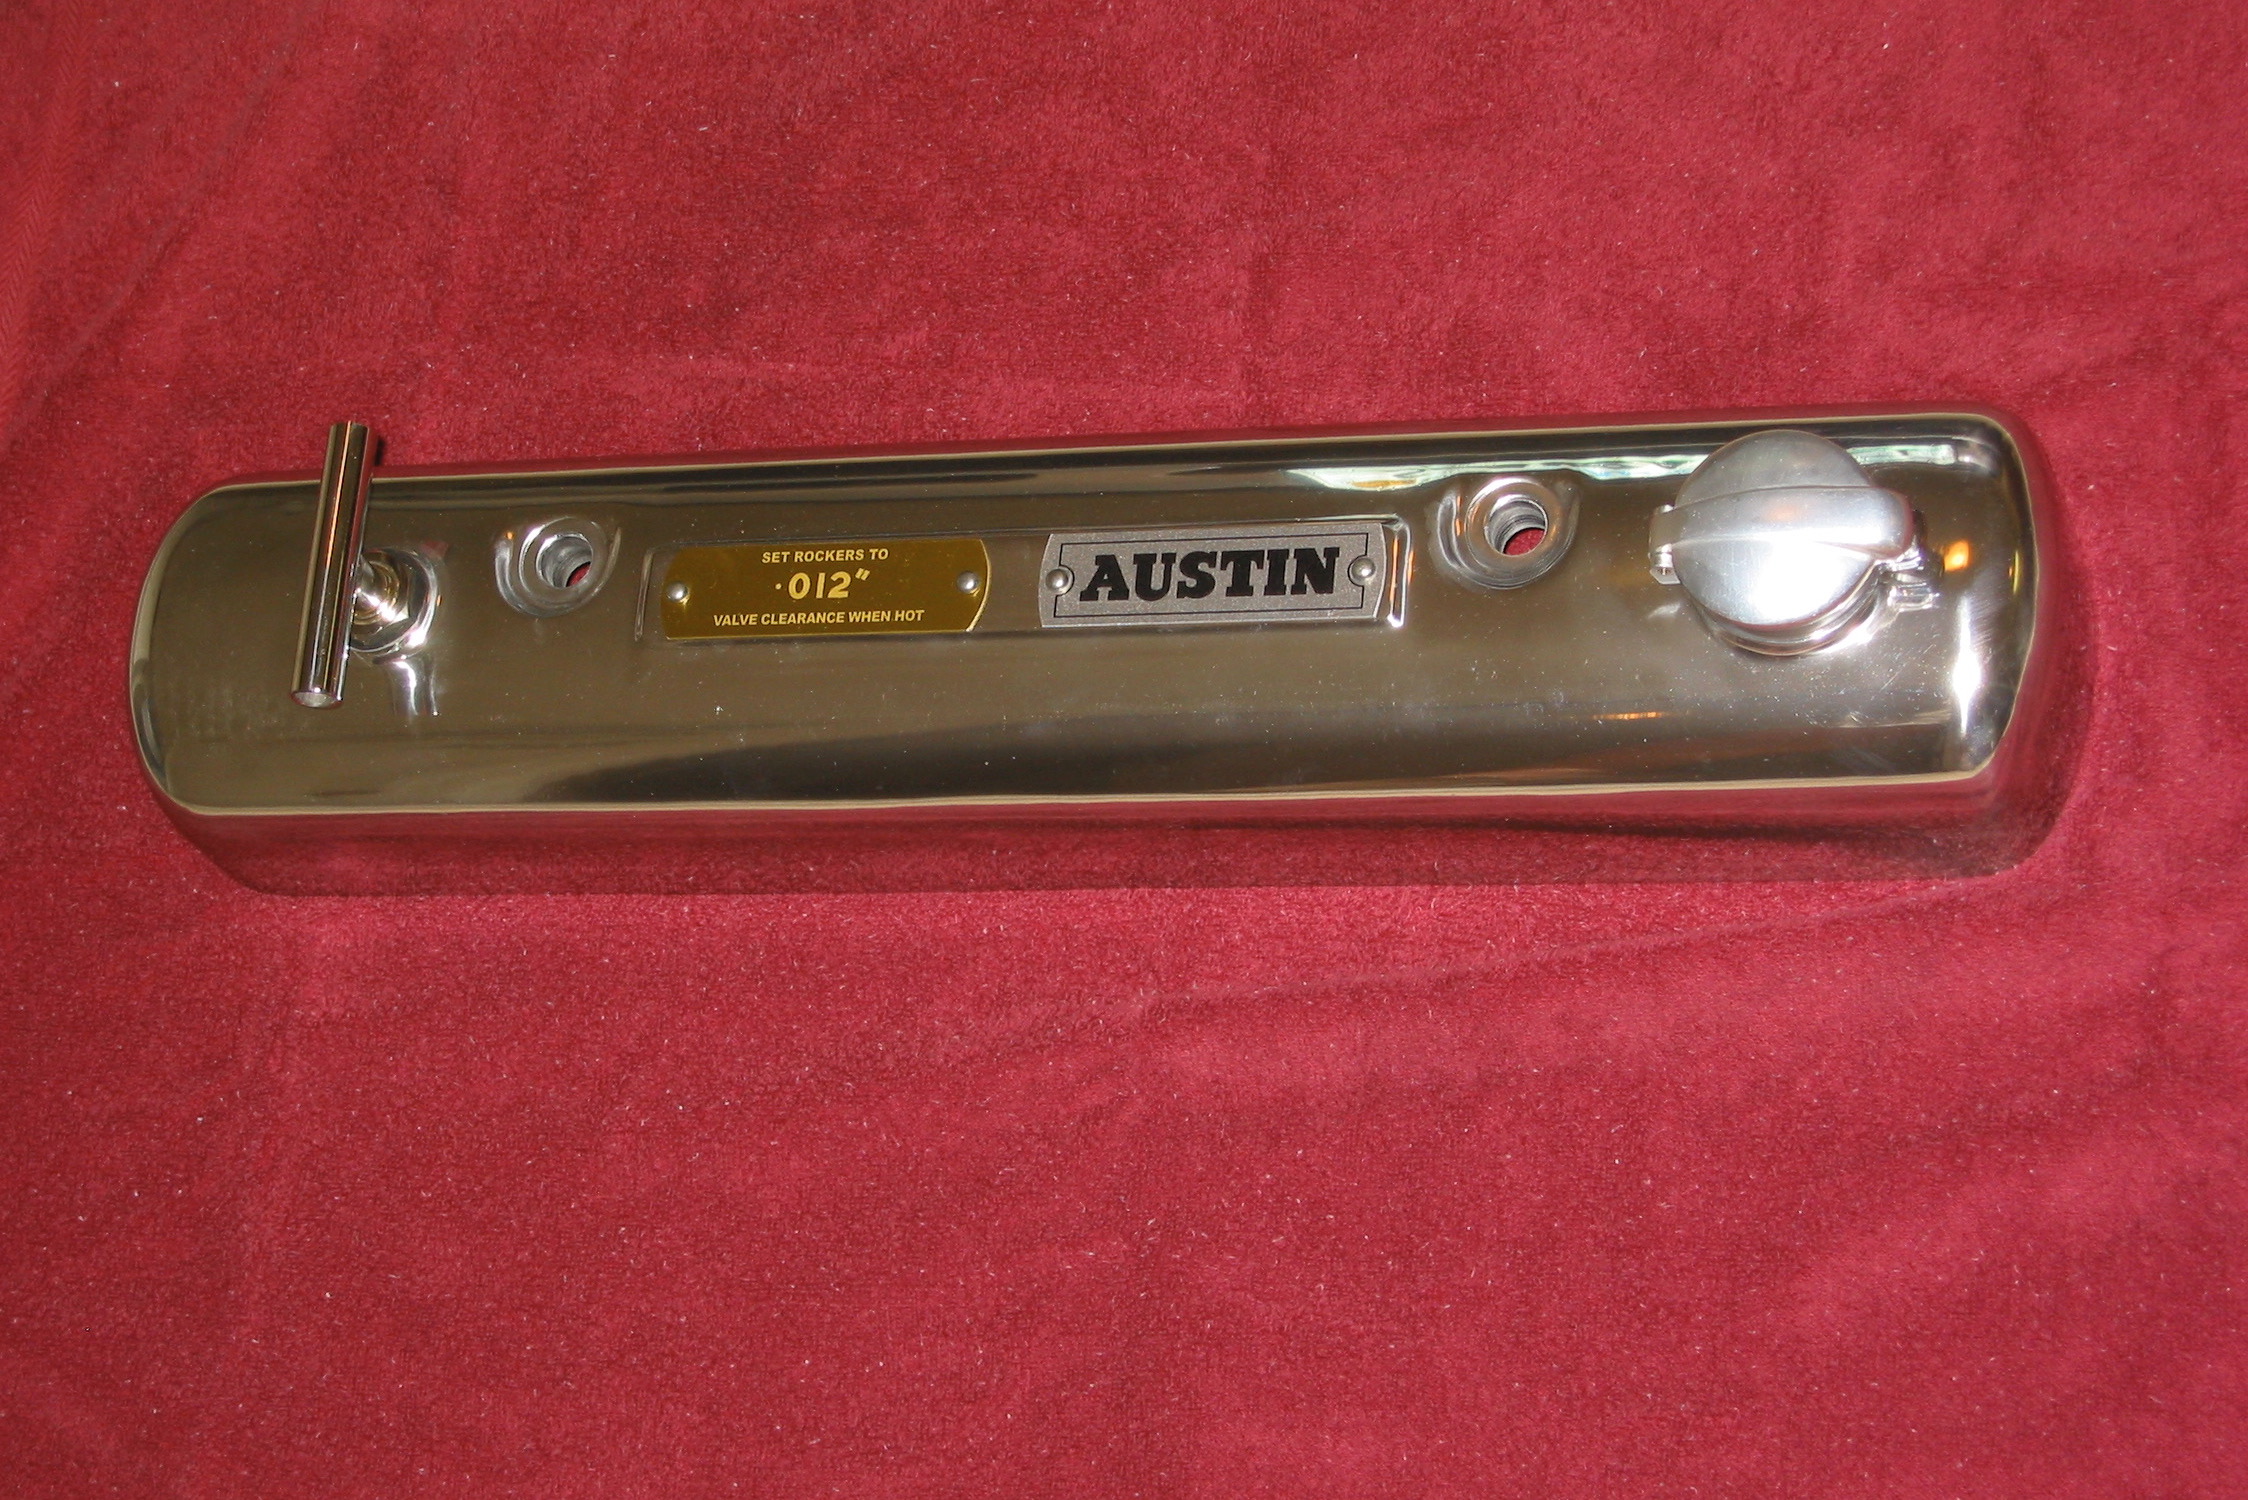
Rocker Cover and Carb Dashpots – The polisher finished his work about the same time the shroud work completed. Again, I was quite pleased with the quality of workmanship.

Capesport Rocker cover Polished
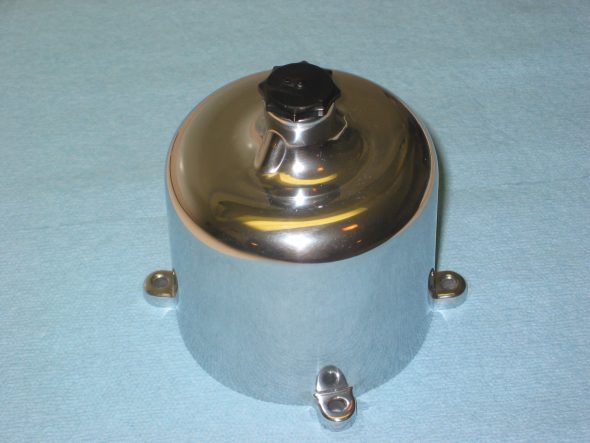
Carb dashpot polished
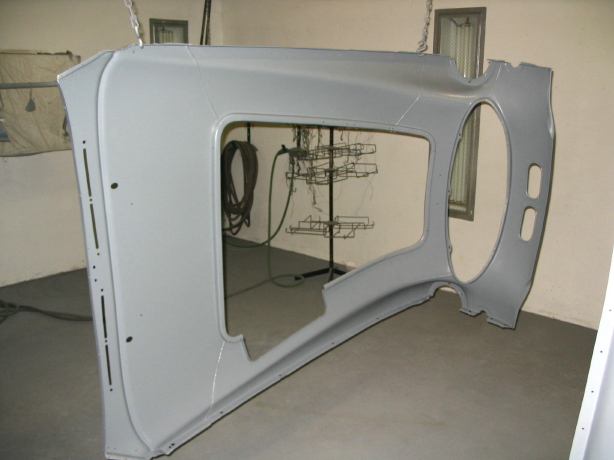
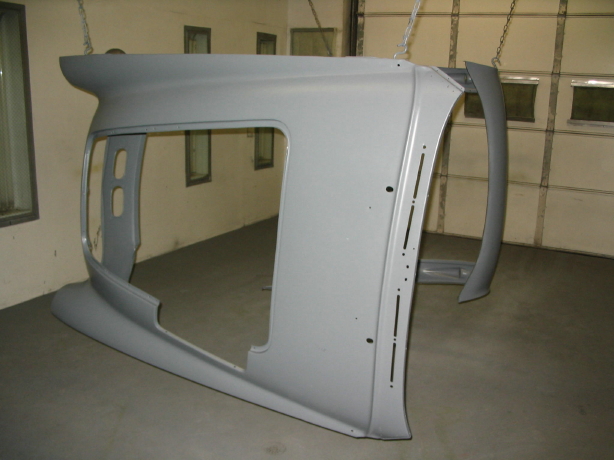
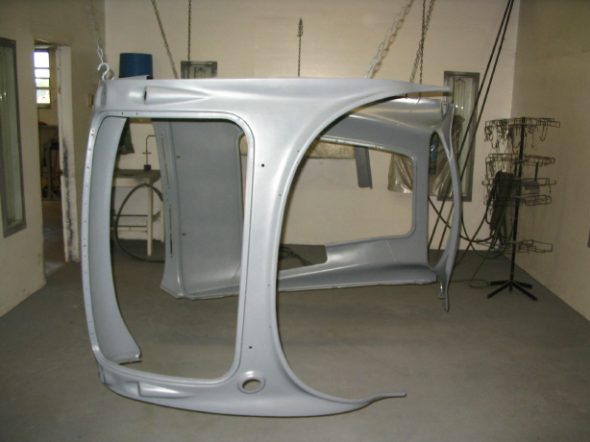
Shroud bodywork – Jeremy made some quick progress on the front shroud after getting it back from Craig. It is great to see some filler and primer on the aluminum!

shrouds primed 2

shrouds primed 3
shrouds primed 4
shrouds primed 1