Chapter 73 Week Forty-Three October 8, 2007

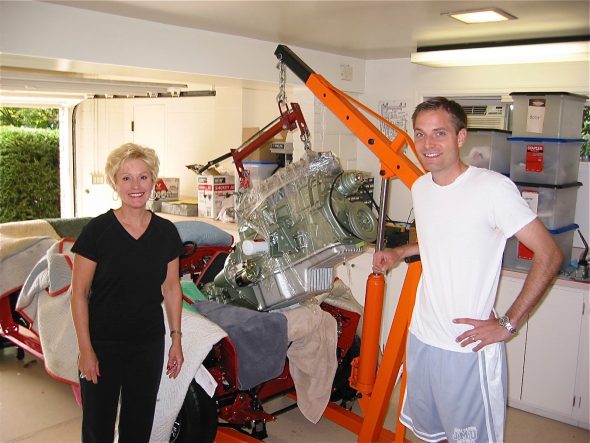
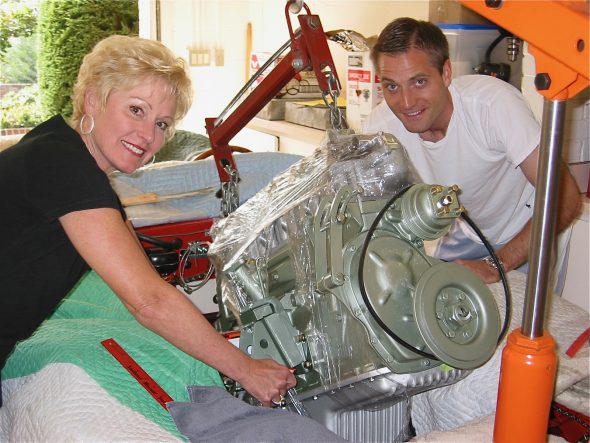
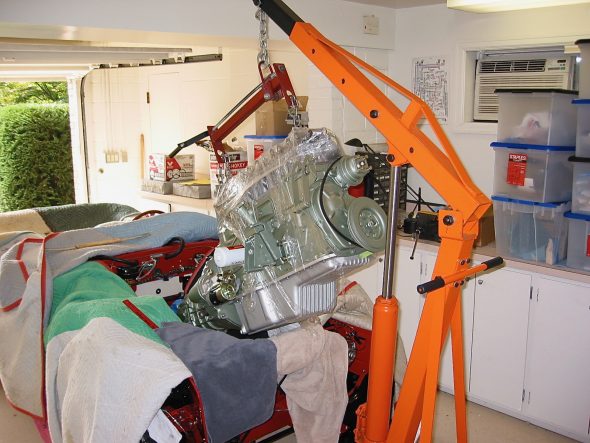
I returned from Europe with a renewed commitment to get the Healey completely finished by Christmas. With help from my wife, I pulled the engine. The Smitty bell housing was removed from the backplate and refitted to the Toyota gearbox. I used Copaslip on the fulcrum pin and arm as well as the shaft on which the throw out bearing rides. The assembled bell housing and gearbox was then bolted to the rear of the engine. Dowel bolts at 11:00 and 5:00 o’clock.

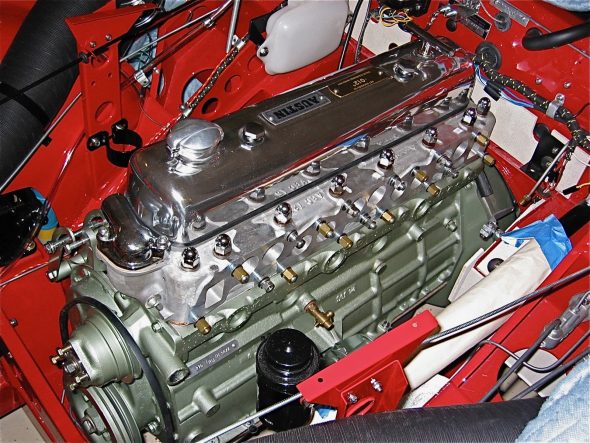
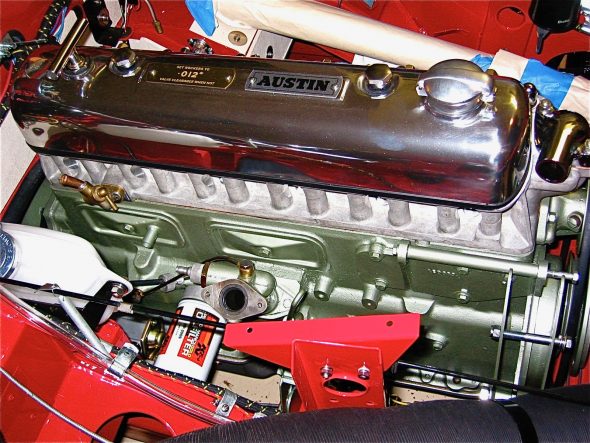
Again with help, the engine/gearbox was installed in the car.

Engine going in

Engine Installers

Engine Installers 2

Engine installed

Engine installed 2

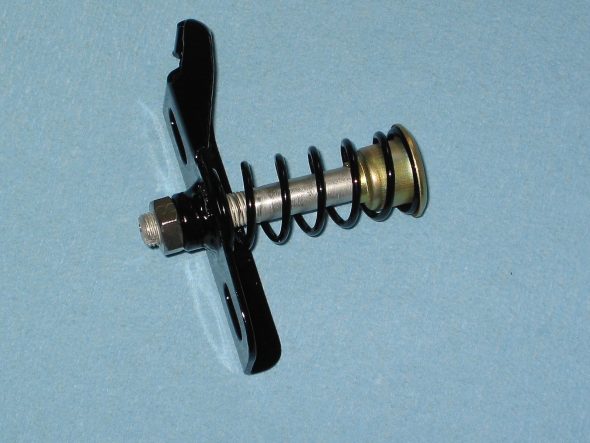
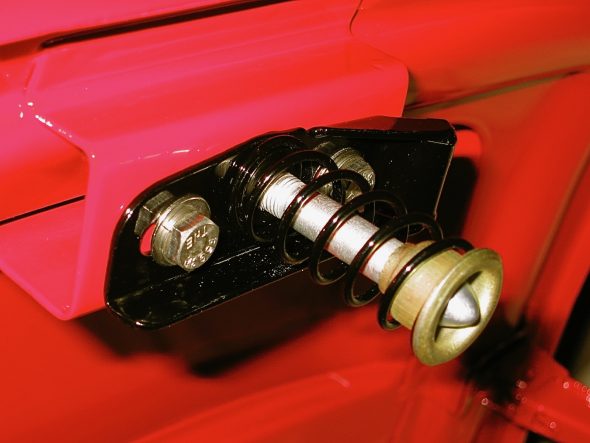
Just as a change of pace, I installed some small trim pieces to body components. The striker pin assembly was put together and then mounted on the inside of the bonnet.

Striker Pin Assembly 1

Striker Pin Assembly 2

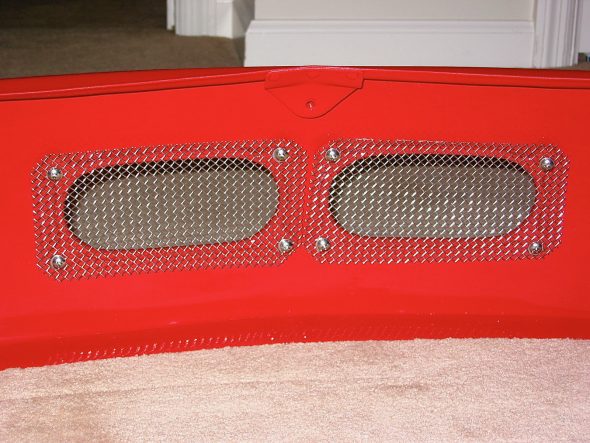
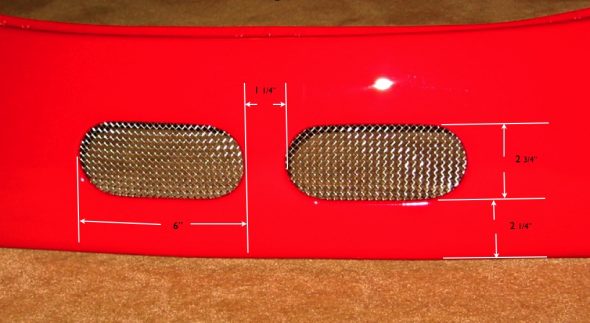
The stainless steel screens were fixed to the custom brackets made for the oil cooler vents. I purchased the steel mesh screen from Pegasus Racing.

Oil Cooler Vent Screens 1

Oil Cooler Vent Measurements

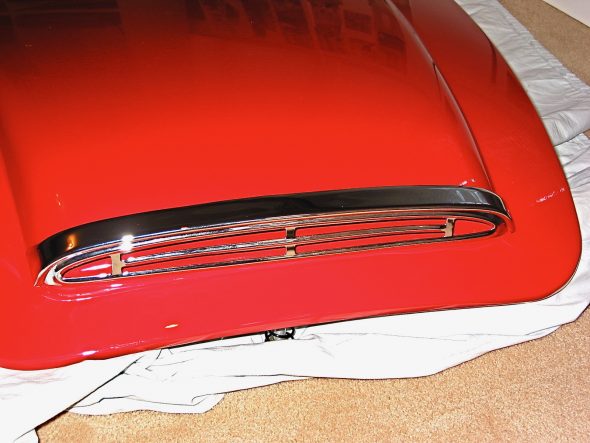
Next was the bonnet grill. The key with this grill is to not overtighten and dimple the brow. I used some leather padding from British Car Specialist between the components. This was followed by the installation of the chrome flashes or spears on the front wings.

Bonnet Grill

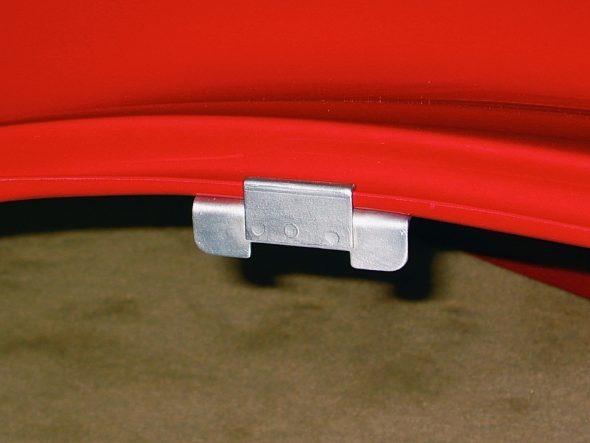
I decided to finish the two striker bonnet safety catches in clear zinc rather than paint them since the paint is scratched off of just about every car I have seen. I installed both of these with a loose fit so that they could be adjusted later.

Striker Hood Safety Catch

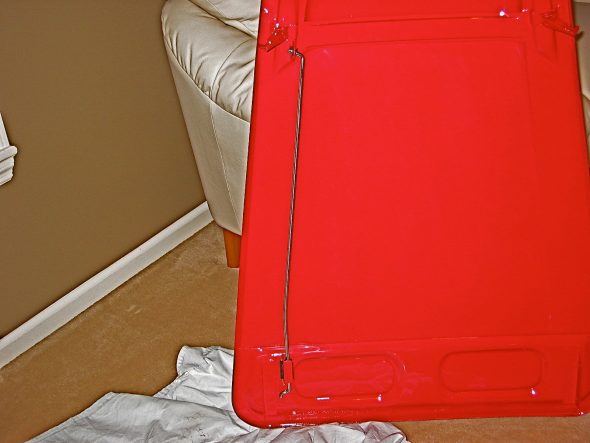
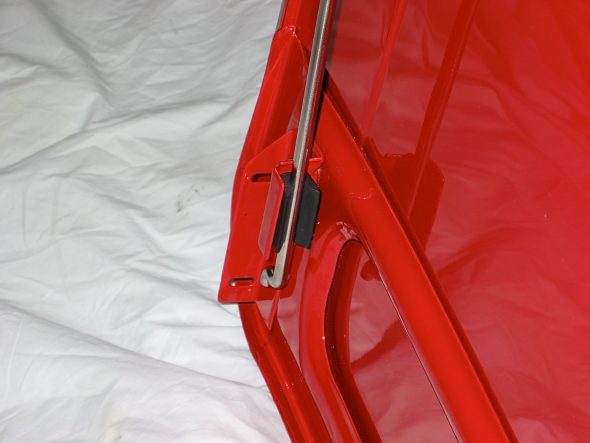
Next was the bonnet prop rod andrubber catch. As with the boot lid prop rod, I elected to use a stainless steel version custom made by Wicker’s Body and Paint Shop, Inc. (Unfortunately, no longer in business)

Bonnet prop Rod 1

Bonnet prop Rod 3


Chapter 67 Week Thirty-Seven August 27, 2007

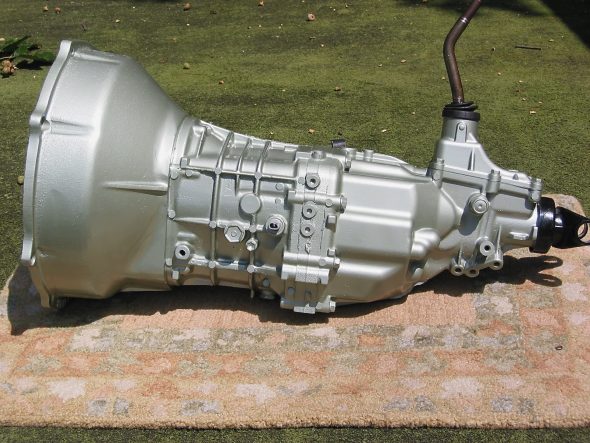
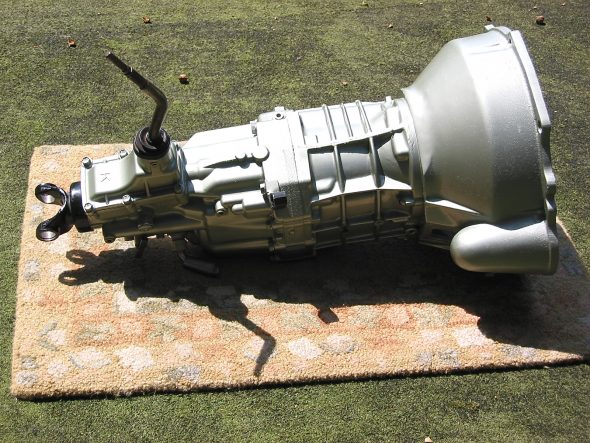
I cleaned up the Toyota W57 5 speed gearbox that I will be using with my Smitty conversion kit and painted it. Attaching the Smitty bellhousing makes it easy to stand the gearbox on end to clean and paint.

Toyota gearbox 2

Toyota gearbox 4

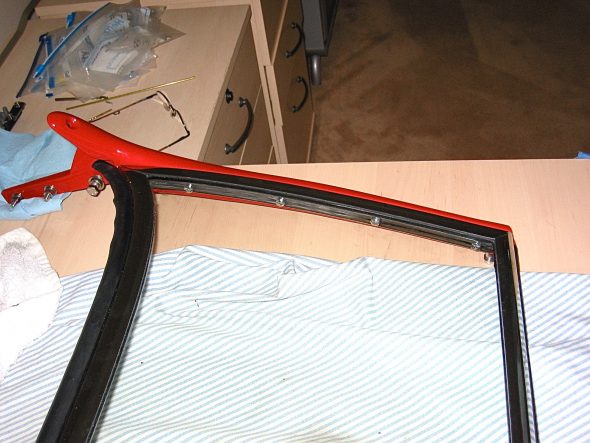
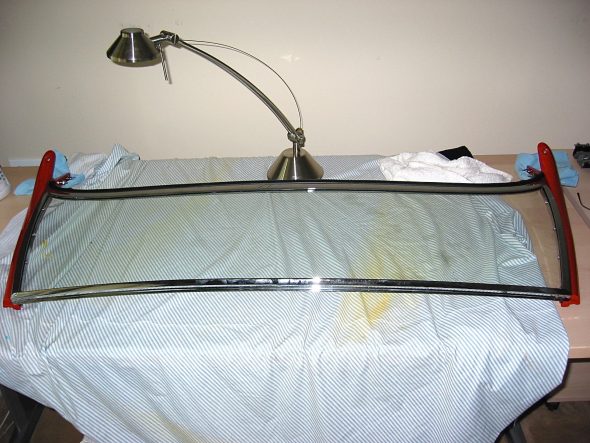
I used some 3M black rope caulk to seal the edges of the windscreen frame and then installed the painted windscreen posts to the frame with the 8 chrome #10 screws. The toggle clamp retaining studs were then also attached.

windscreen mounting

Assembled windscreen

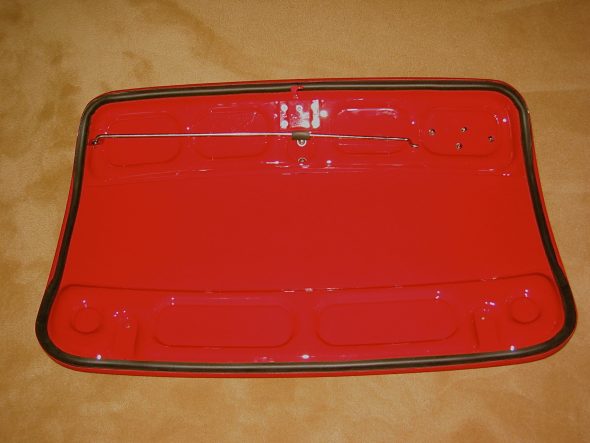
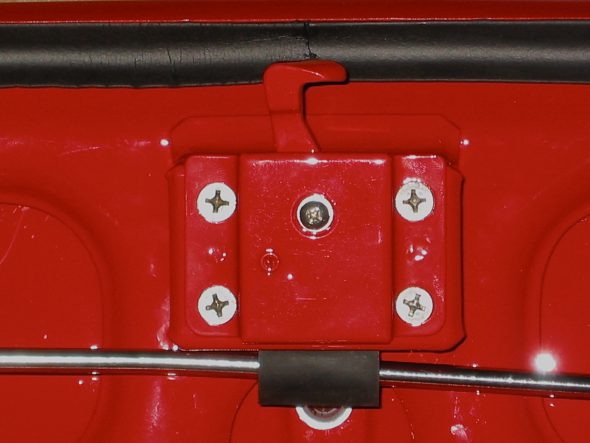
I returned to the boot lid and installed the boot lock with four flat head phillips, 1/4” x 3/4” screws. The lock was adjusted at this point as far down as allowed. Next was the boot rubber seal that is glued to the lid. The seal came from British Car Specialists and seems to be pretty close to original. I glued it with 3m black weatherstripping adhesive. I applied the adhesive to the lid and the gasket in approximately 6-8” sections, waited for it to get tacky, pressed together and then moved to the next section. The seal ends were glued together just below the lock.

Boot Seal

Boot Lock and Seal

There are six #10 flat head machine screws that fasten the rear shroud to the superstructure. I installed the six through the back of the boot opening in the shroud.