Chapter 77 Week Forty-Seven November, 5 2007

In final preparation for starting the Bloody Beast, I installed the propshaft and filled the Toyota gearbox with just shy of 3 quarts of MT-90 oil using the side filler hole and filling until oil started to dribble out of the filler opening.
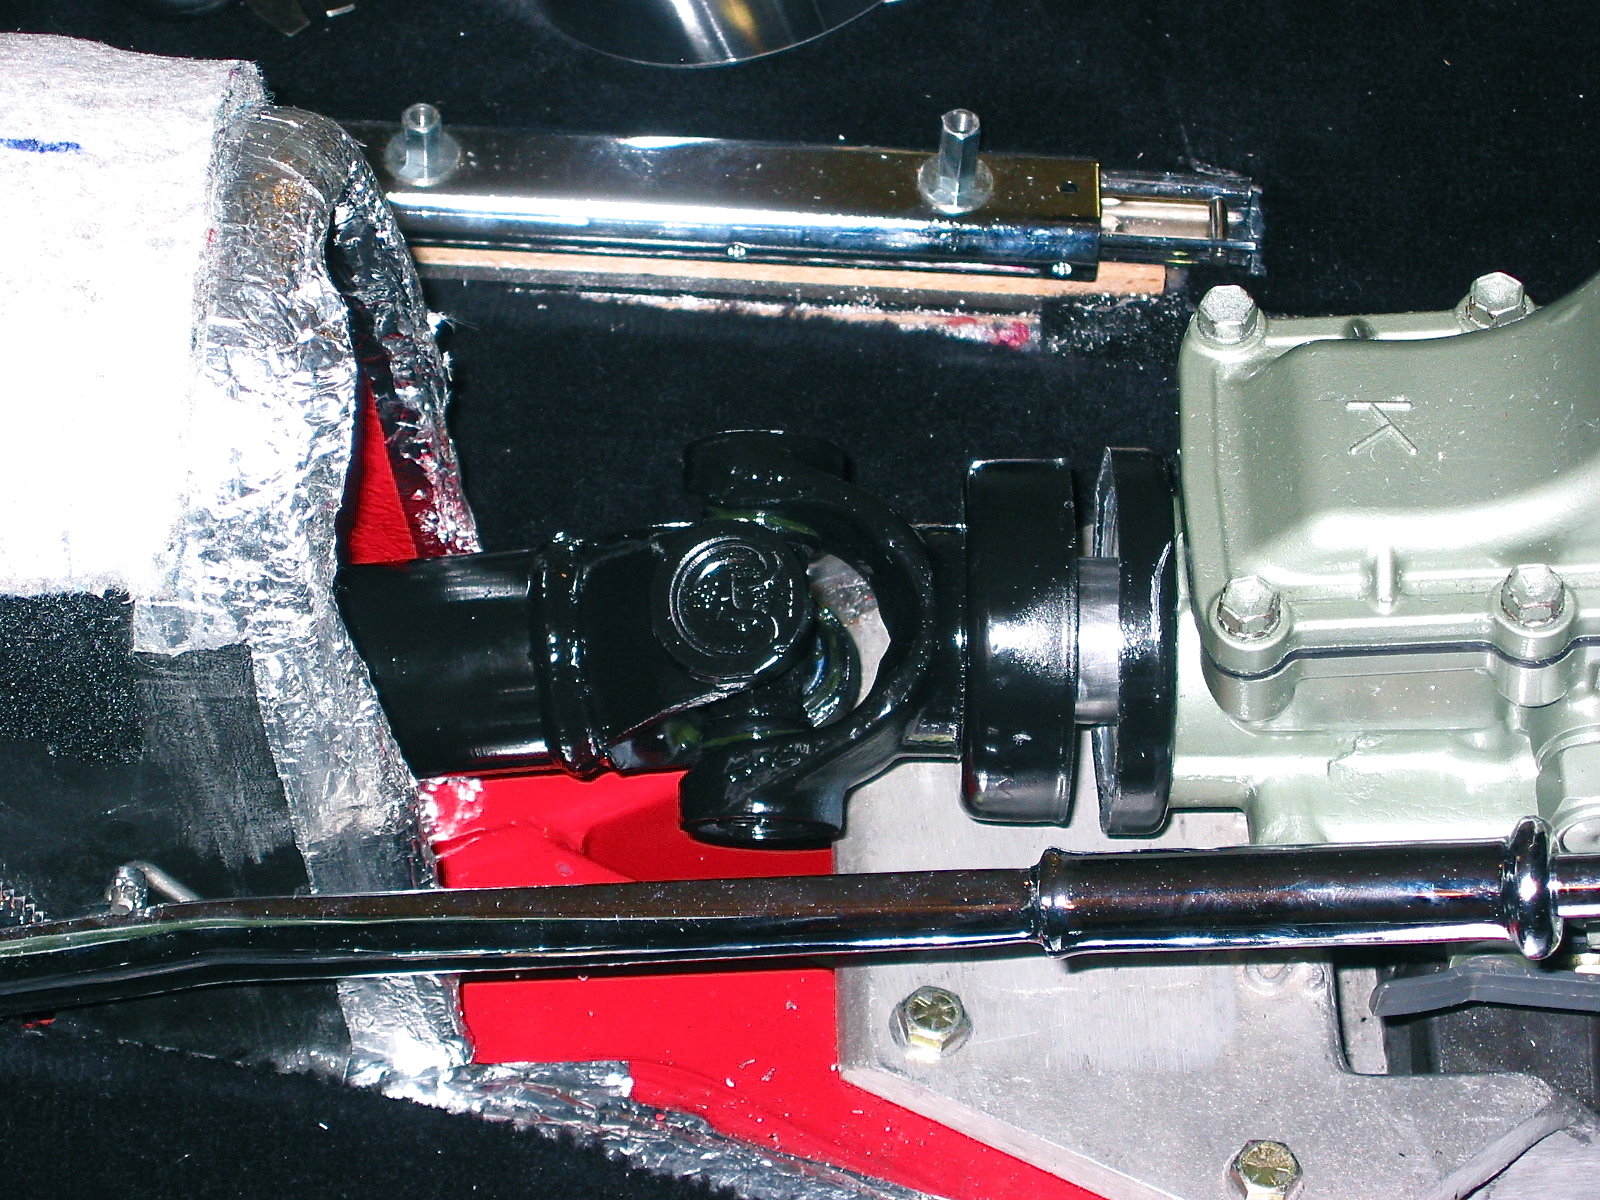
Propshaft installed

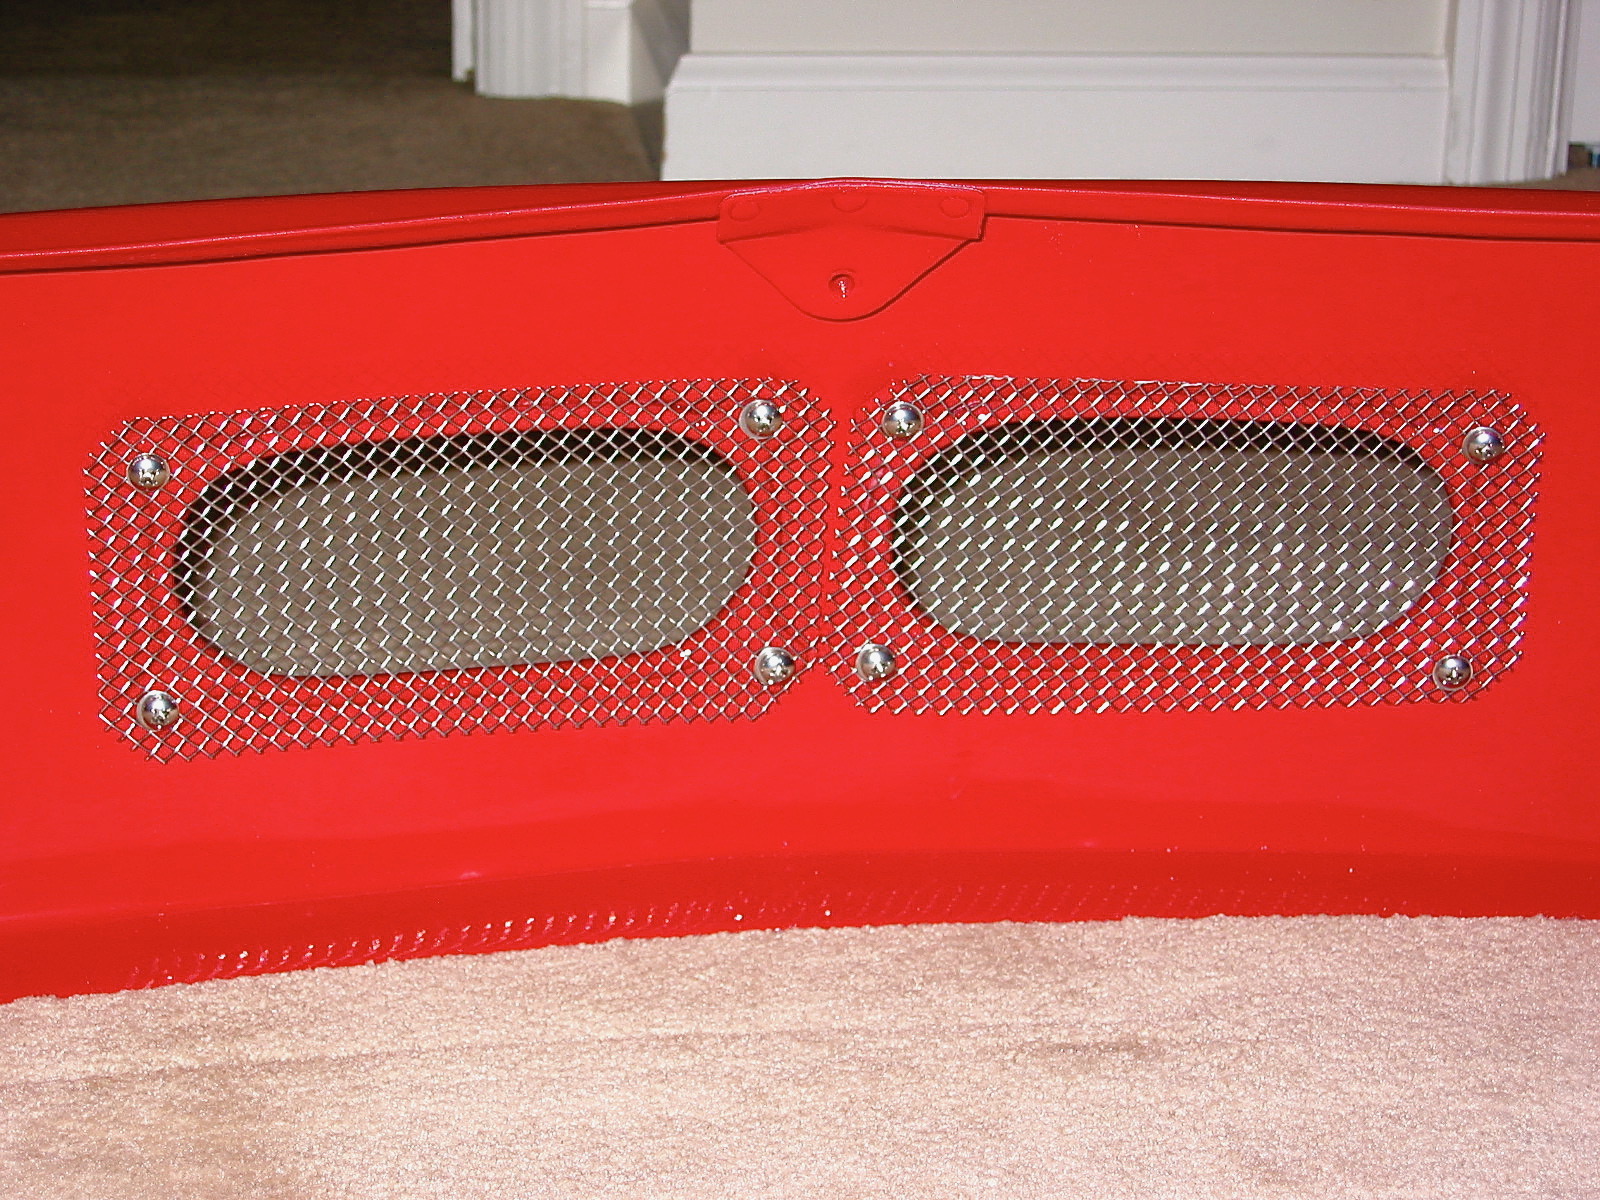
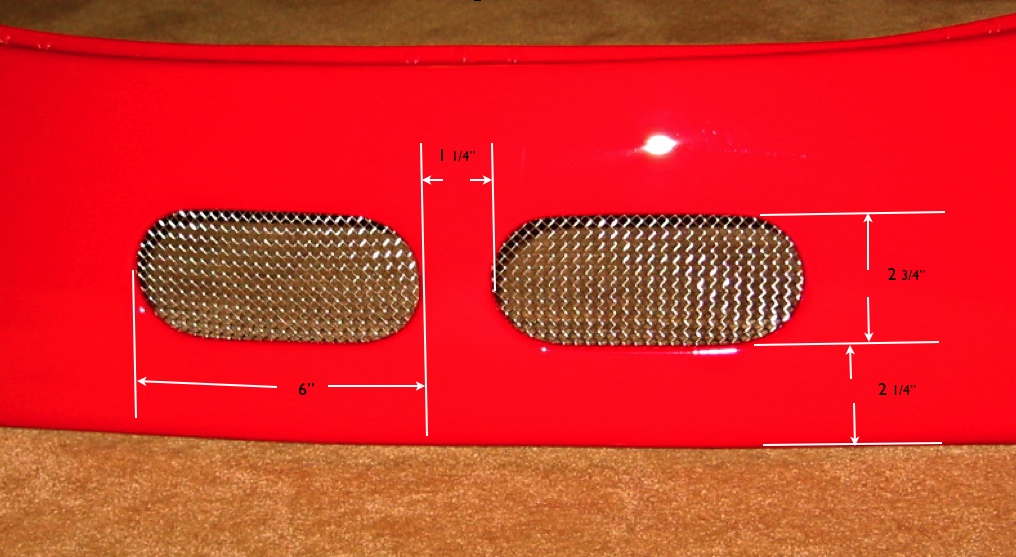
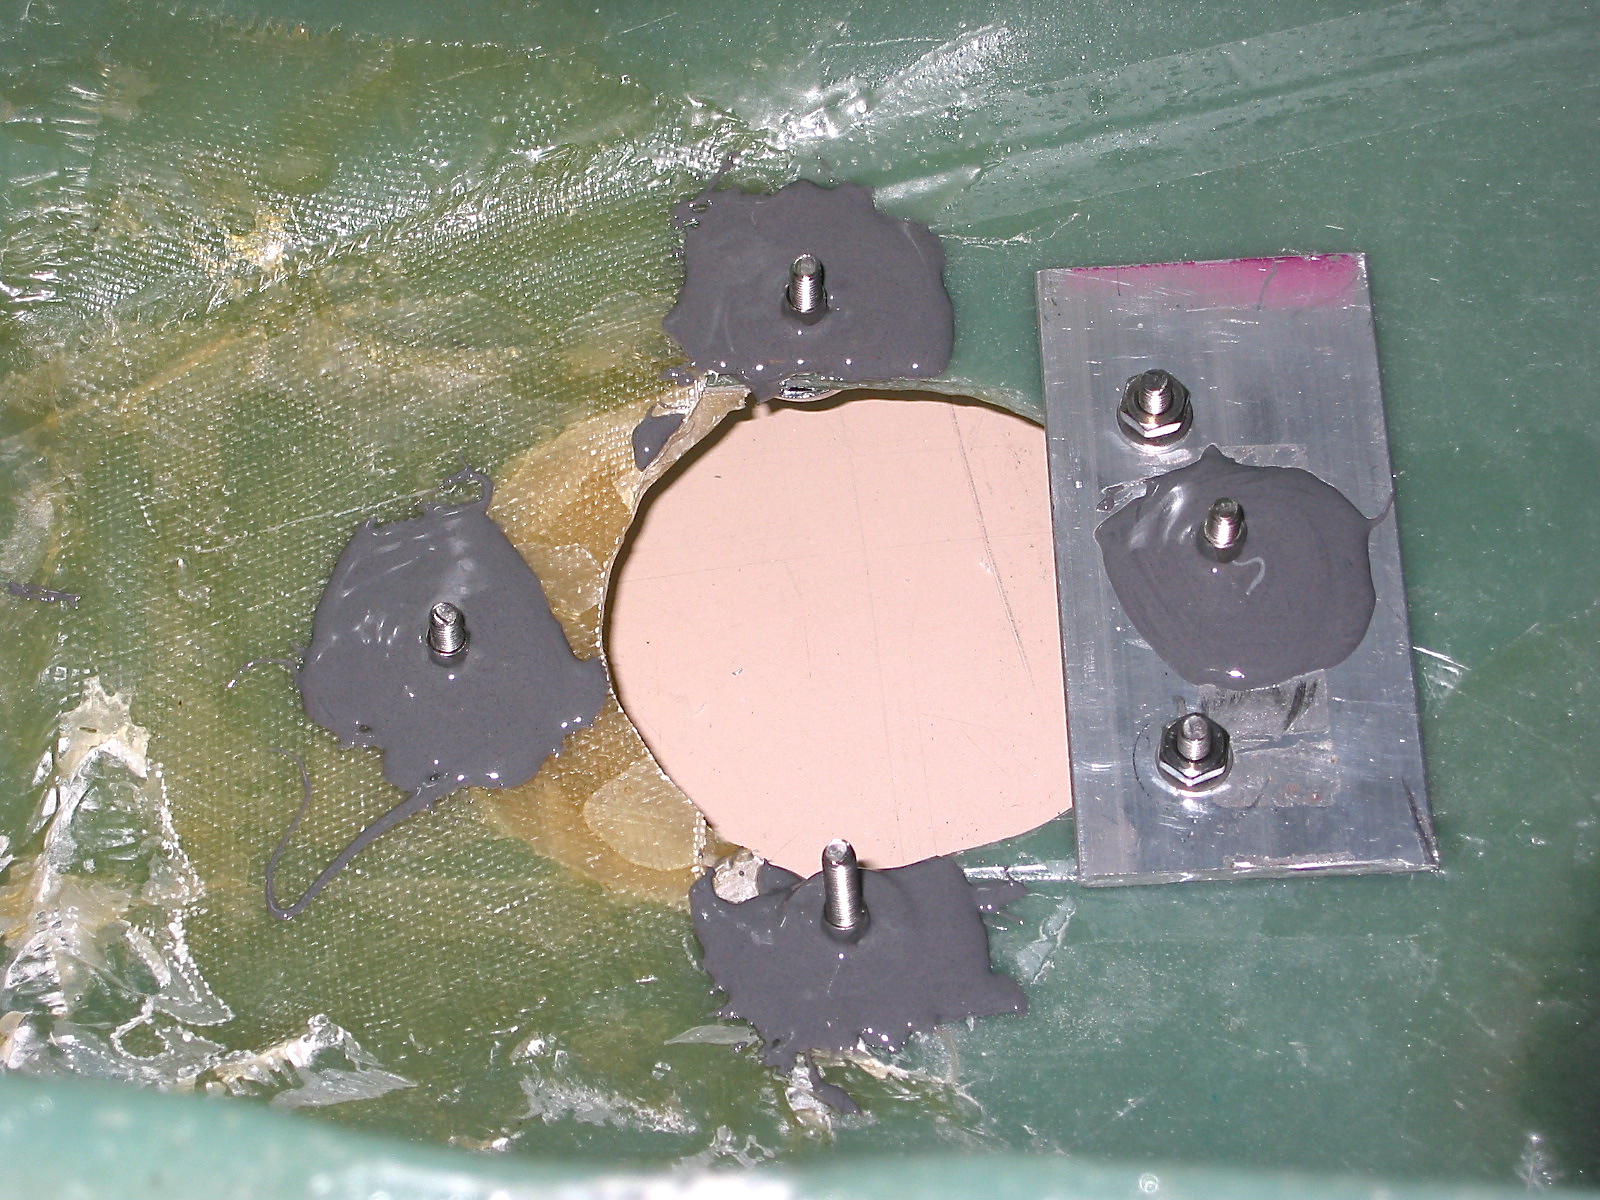
I had been waffling on whether or not I would install the ash tray in the gearbox cover, but I decided to go ahead and do it. If I equip the car with cruise control, it will serve as a great location for the control module. I cut a hole in the fiberglass cover an JB welded the bracket to the cover. The next step was to cover both sides of the gearbox cover with Dynamat Extreme.

shift ring JB Weld

Gearbox cover with Dynamat 1

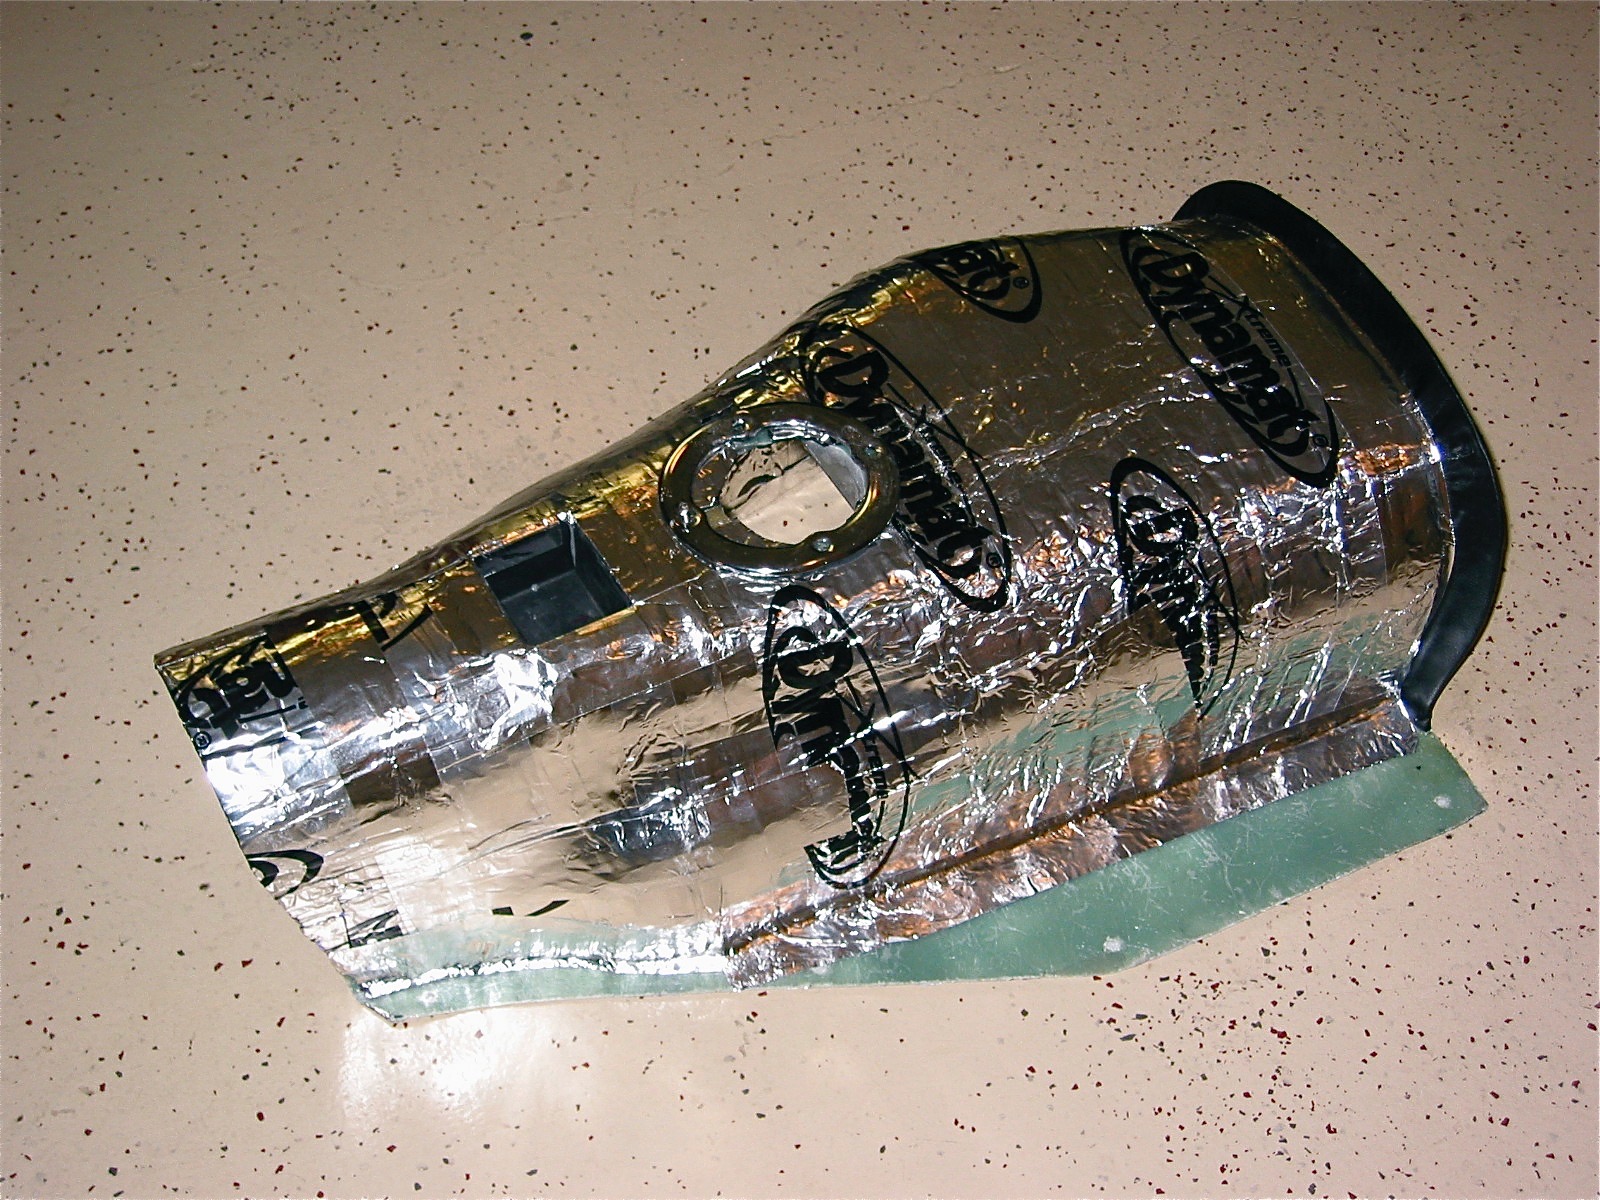
Gearbox cover with Dynamat 2

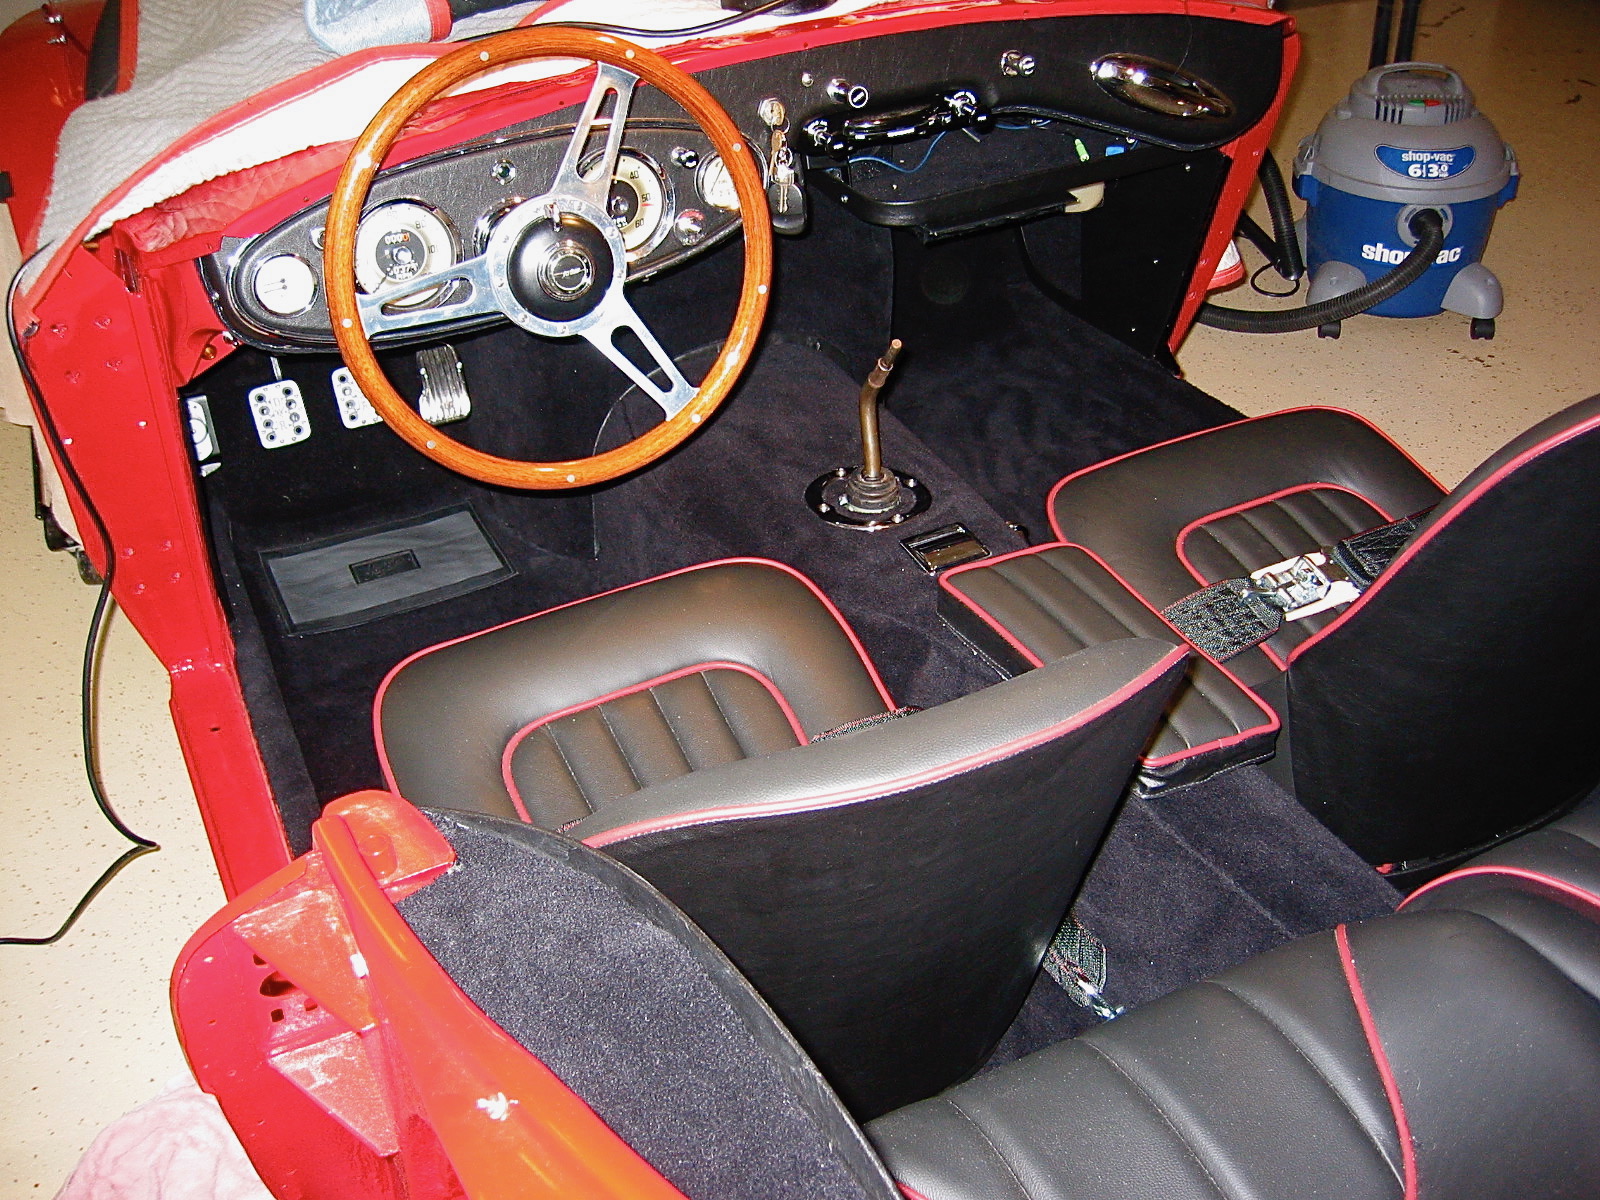
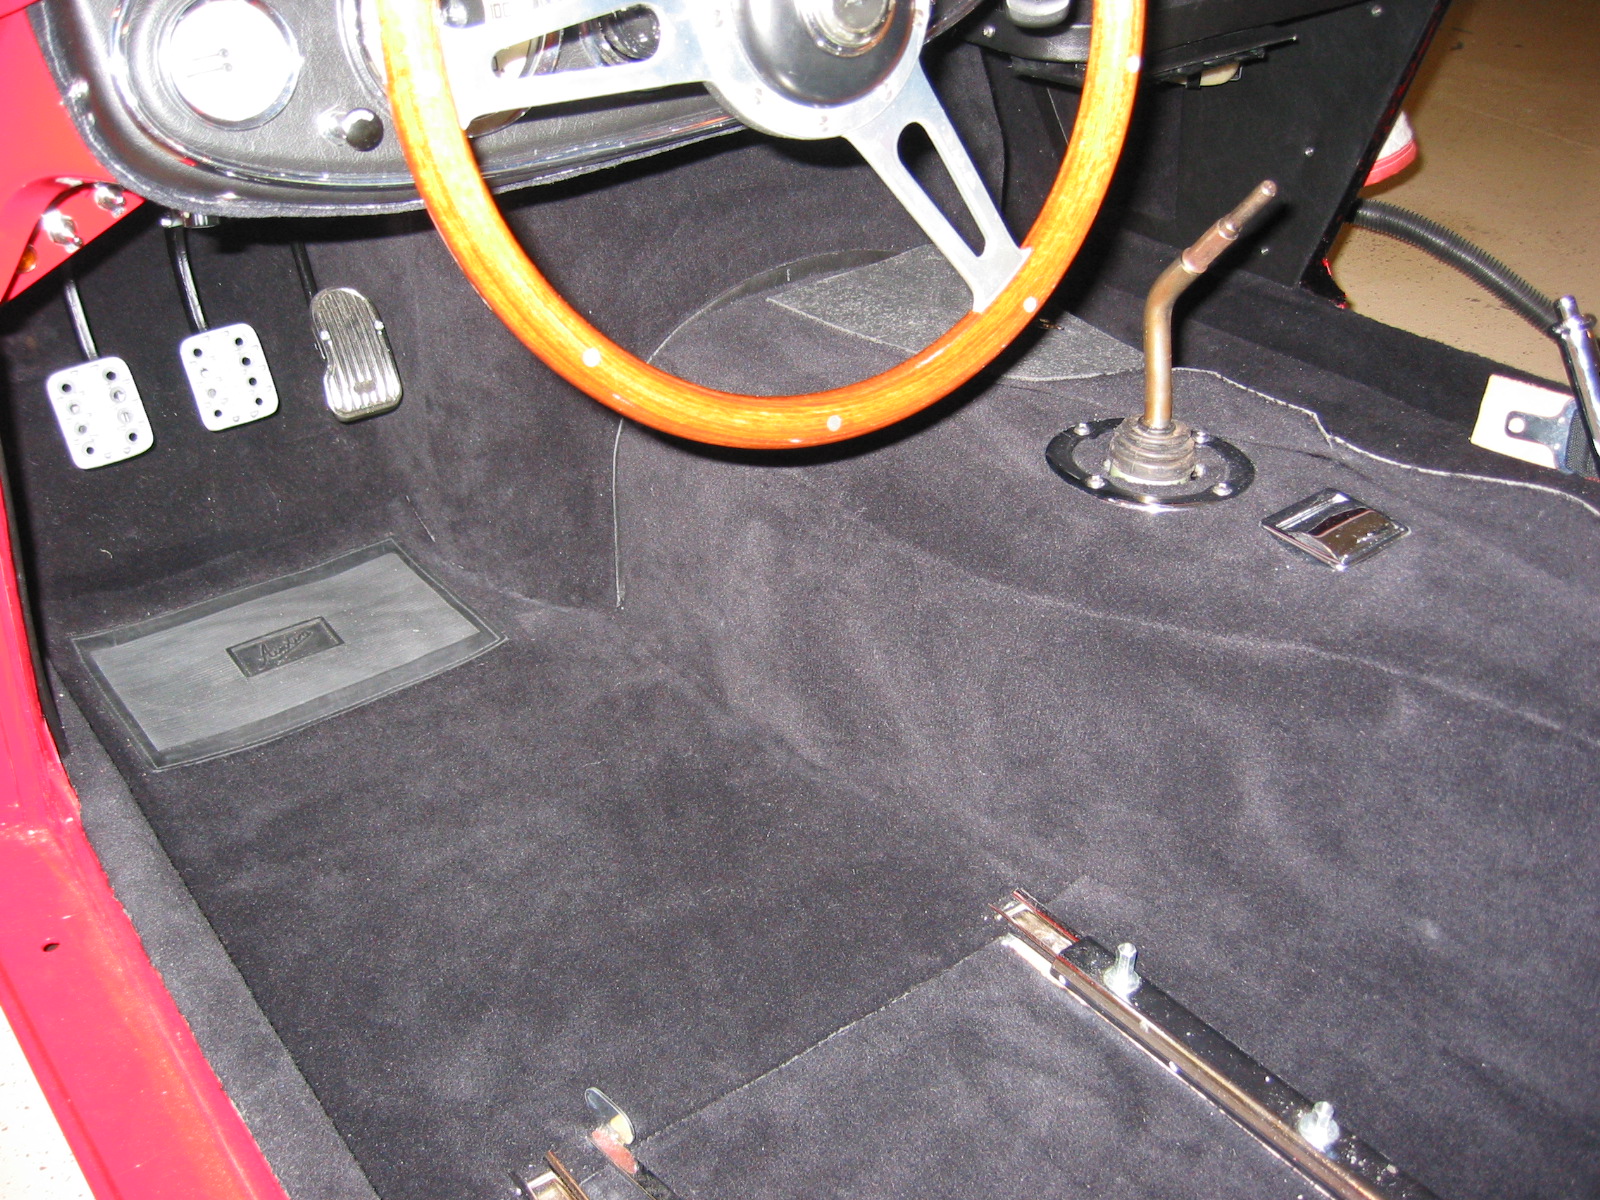
Fitting the carpet and padding to the gearbox cover was not a job that I had been looking forward to doing. Not so much hard as awkward. I installed two carpet snaps through the padding provided by Heritage Upholstery and Trim on each side of the fiberglass gearbox cover. I installed these with #6 machine screws with large washers and nuts, rather than with self-tapping screws since I was fastening to fiberglass instead of metal.
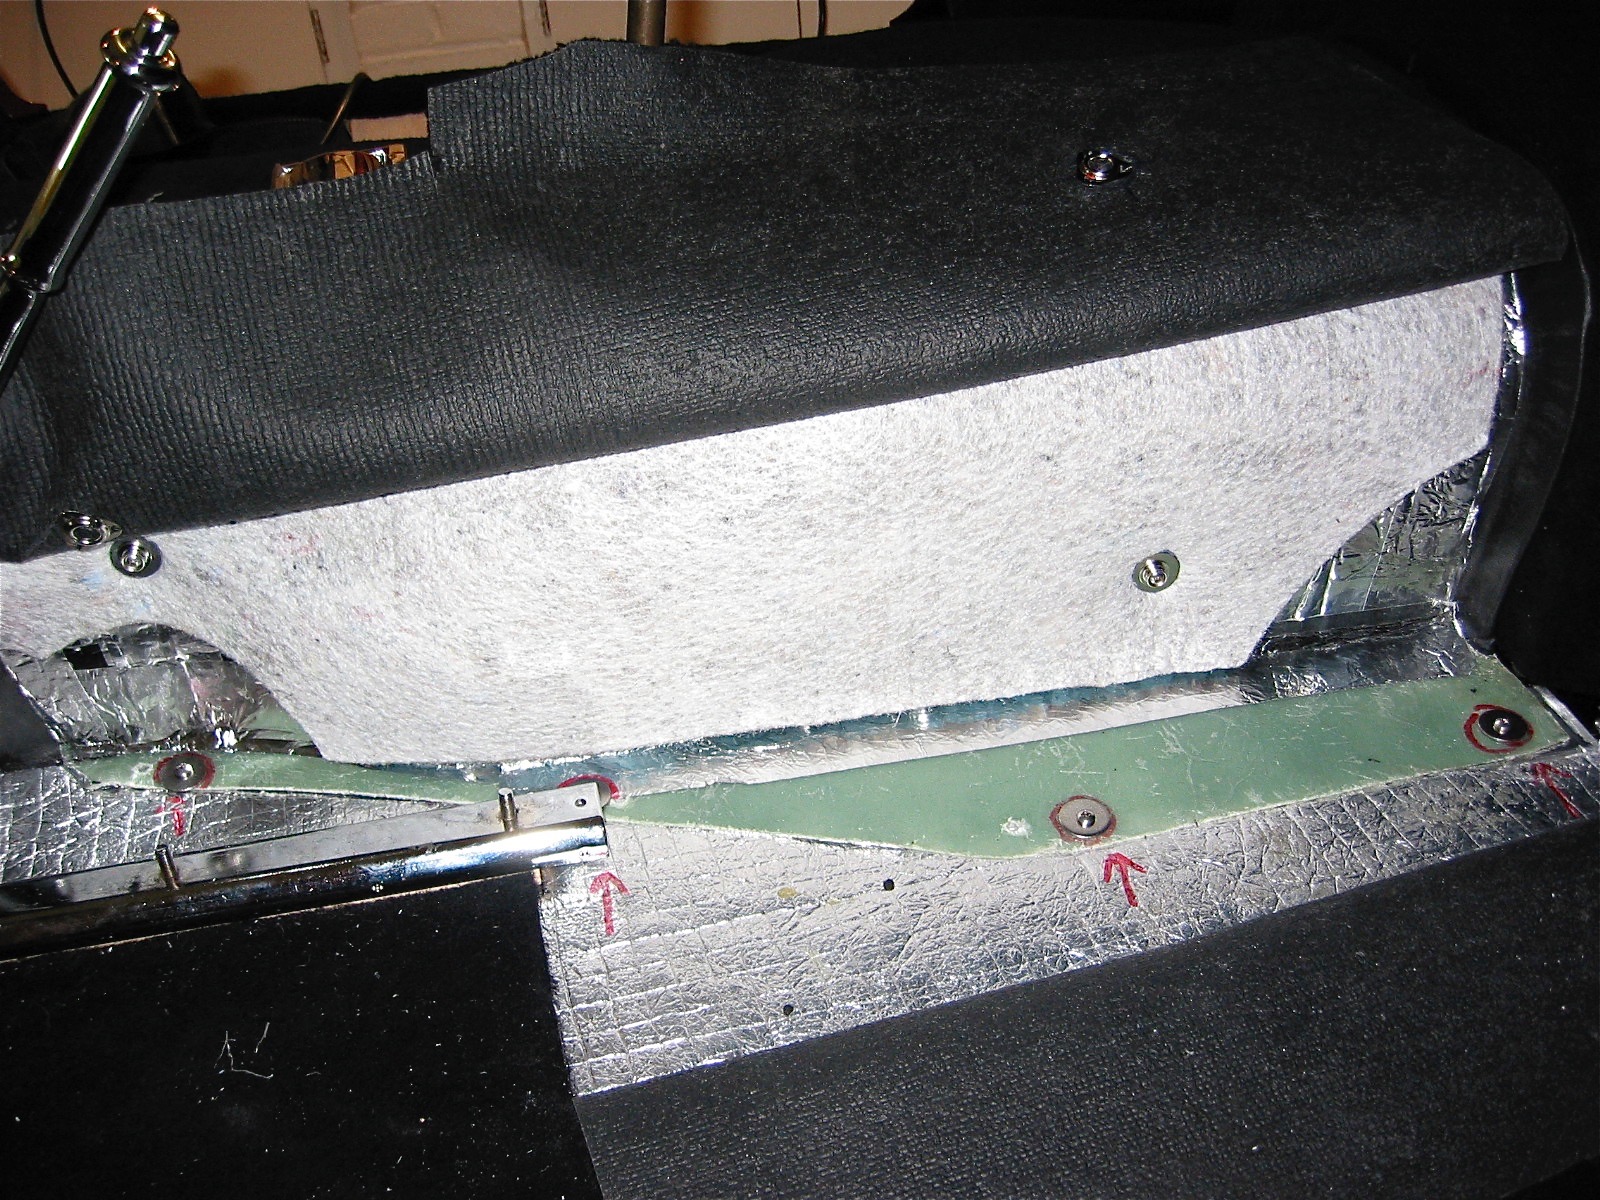
Gearbox padding

I also cut some padding to go over the end of the gearbox tunnel and I fit it with velcro. The carpet was carefully cut to fit through trial and error with the help of some chalk. Holes were drilled in the gearbox cover flange and the assembly was mounted to the car. Everything seemed to be nice and tight, although I will do some seam sealing to the underside of the assembly before completing the job. I was satisfied with the final product!

Carpet installed 3

LH carpet installed 2

Chapter 73 Week Forty-Three October 8, 2007

I returned from Europe with a renewed commitment to get the Healey completely finished by Christmas. With help from my wife, I pulled the engine. The Smitty bell housing was removed from the backplate and refitted to the Toyota gearbox. I used Copaslip on the fulcrum pin and arm as well as the shaft on which the throw out bearing rides. The assembled bell housing and gearbox was then bolted to the rear of the engine. Dowel bolts at 11:00 and 5:00 o’clock.

Again with help, the engine/gearbox was installed in the car.

Engine going in

Engine Installers

Engine Installers 2

Engine installed

Engine installed 2

Just as a change of pace, I installed some small trim pieces to body components. The striker pin assembly was put together and then mounted on the inside of the bonnet.

Striker Pin Assembly 1

Striker Pin Assembly 2

The stainless steel screens were fixed to the custom brackets made for the oil cooler vents. I purchased the steel mesh screen from Pegasus Racing.

Oil Cooler Vent Screens 1

Oil Cooler Vent Measurements

Next was the bonnet grill. The key with this grill is to not overtighten and dimple the brow. I used some leather padding from British Car Specialist between the components. This was followed by the installation of the chrome flashes or spears on the front wings.

Bonnet Grill

I decided to finish the two striker bonnet safety catches in clear zinc rather than paint them since the paint is scratched off of just about every car I have seen. I installed both of these with a loose fit so that they could be adjusted later.

Striker Hood Safety Catch

Next was the bonnet prop rod andrubber catch. As with the boot lid prop rod, I elected to use a stainless steel version custom made by Wicker’s Body and Paint Shop, Inc. (Unfortunately, no longer in business)

Bonnet prop Rod 1

Bonnet prop Rod 3