The Bloody Beast “To-Do” List

Rear Disc Brakes

Caliper Modification

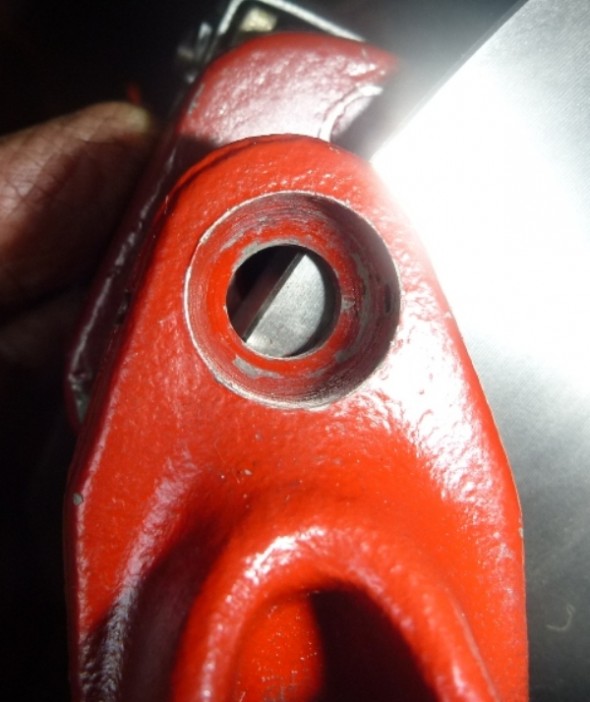
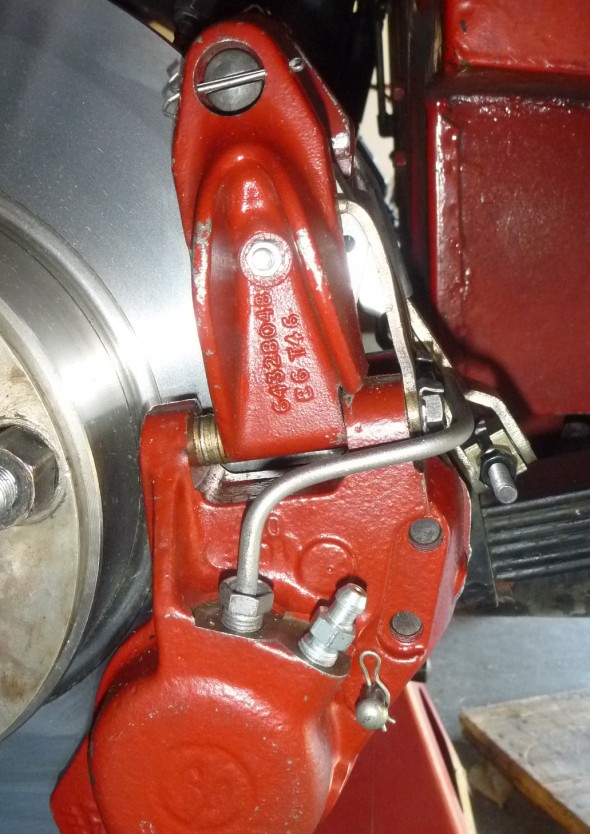
I have never been pleased with the fit of the rear brake rotors with the handbrake calipers. Steve Gerow ran into the same problem – the diameter of the rotor is about 1/4″ to great to fit the calipers properly. I like how he “fixed” the problem and when I have time I think I will take the same approach.

The Problem - Handbrake Needs to Be Modified

The Problem – Handbrake Needs to Be Modified

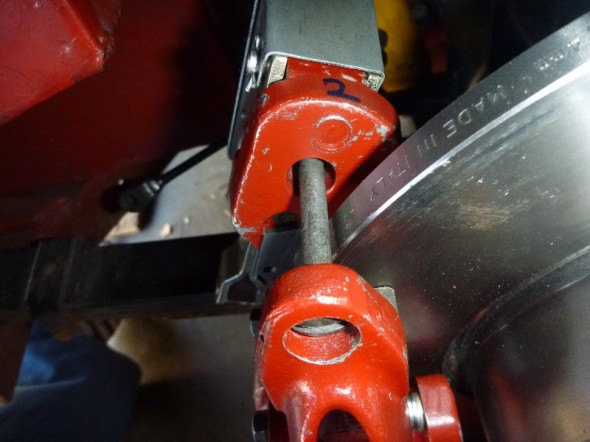
The fix - grind the housing back about .0275" and add washer stack

The fix – grind the housing back about .0275″ and add washer stack

Resolution

Resolution

Proportioning Valve

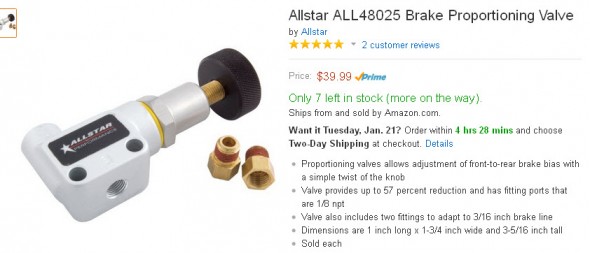
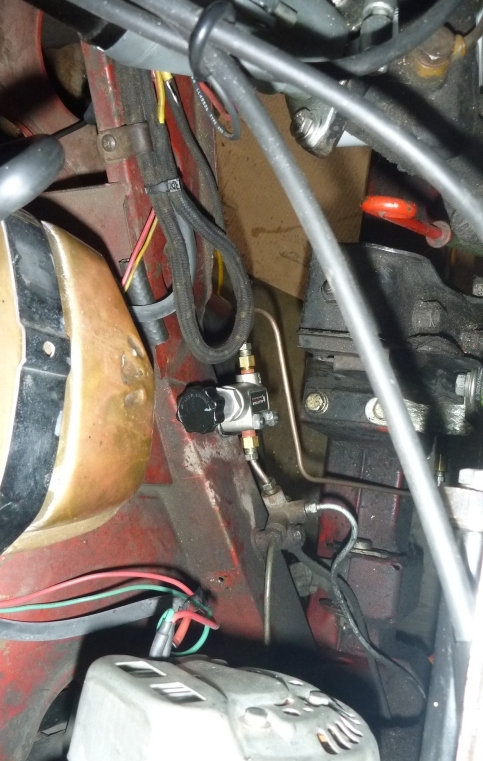
While I do not have a significant problem with the front/rear proportioning of the brakes after installing the rear disc system, some slight modification might yield a little improvement. Steve Gerow used a proportioning valve that provides the answer to optimal tuning. This is how he mounted his valve:

Proportioning Valve

Proportioning Valve


“Stock brake pipe wasn’t long enough; I cut and reflared it near the motor mount.

New line shown in photo was attached with a connector.”

“Adjustment – method was suggested with the car on jackstands:
to have an assistant lightly gradually apply the brakes while hand-turning a front and back wheel. Start with 7 turns on adjuster; adjust to the point where front brakes just locked and rears braking but still moveable.”

Valve Installed

Valve Installed


Ignition Modification


Steering Box Upgrade

At some point I would like to install new components form Denis/Welch. There is a question about standard versus high ratio.

Magnus Karlsson recommends the high ratio:

Go for the high ratio and tell your mechanic to look at my homepage. There you can see a modification I do in order to fit a modern and bigger oil seal to
the outgoing shaft of the steering  box. Makes it absolutely leak free and you
can use hypoid oil as intended.

Magnus Karlsson
www.healeyspecialists.com


Brakes

The front drum brakes of the 100-Sixes were replaced by Girling 11” disc brakes on the 3000 in March 1959. Rear brakes were 11” Girling drums that were also controlled by a handbrake lever located on the right side of the gearbox tunnel

 Brake Modifications

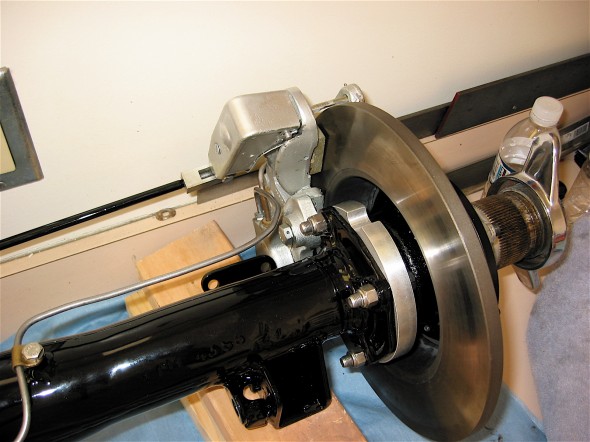
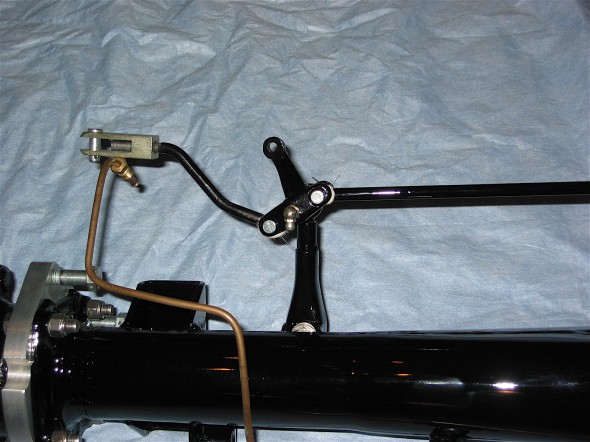
The most significant modification I made to the braking of the 1960 MKI was the conversion of the rear drum brakes to disc brakes. This was accomplished with a kit based on Jaguar calipers coupled with mini-handbrake calipers sourced from Cape International. New rods to connect to the balance lever are supplied so that the handbrake functions as original. This is a pdf file of the instructions provided by Cape International.Cape Int Disc Brake Conversion 1

Rear Disc Brake

Rear Disc Brake

Handbrake Lever

Handbrake Lever

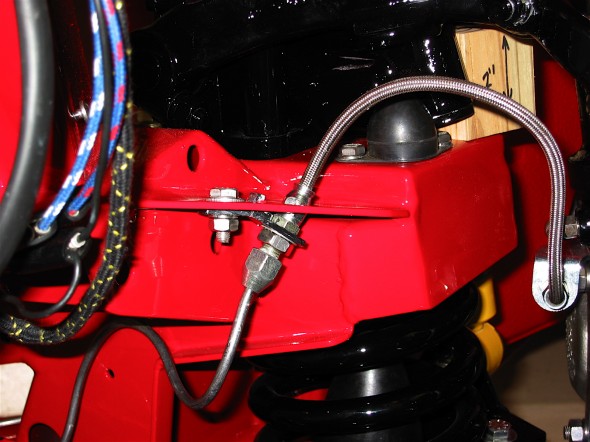
Aeroquip Braided Stainless Steel Hoses

Original-style rubber brakes hoses were replaced with stainless braided hoses also sourced from Cape International.

Stainless & Braided Brake Lines

Stainless & Braided Brake Lines

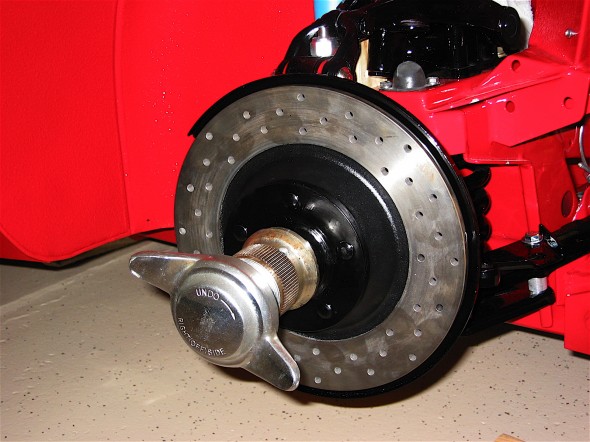
Drilled Front Brake Rotors

While standard rebuilt calipers were used in the front, the rotors were replaced with drilled rotors supplied by Cape International.

Drilled Front Rotors

Drilled Front Rotors

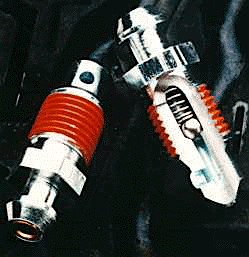
Speed Bleeders

I utilized the new technology for brake bleeders, Speed Bleeders. These bleeders have a small stainless ball in them that close off the release of brake fluid, making the process of brake bleeding much easier.

Speed Bleeders

Speed Bleeders

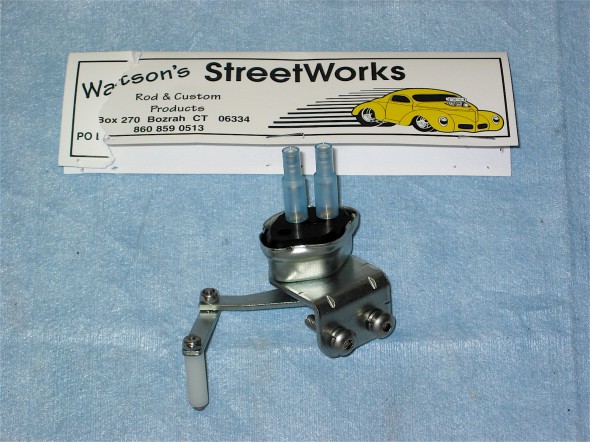
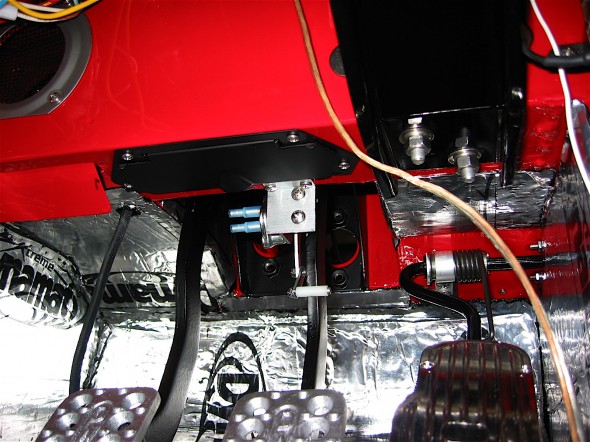
Recent production of the hydraulic brake switch has not produced a reliable switch. A remedy to the situation is to use a mechanical brake switch first developed by hot rodders. I sourced the switch I used from Watson’s Street Works. A description is provided in this Watsons mechanical brake switch.

Watson's Brake Switch

Watson’s Brake Switch

Watson's Brake Switch

Watson’s Brake Switch

 Brake Reservoir Canister Gasket

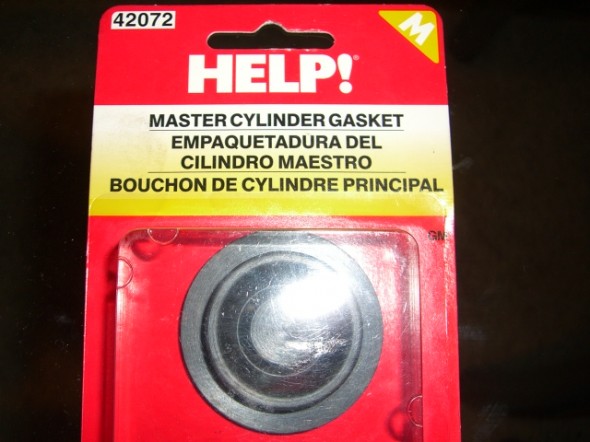
Other Healey restorers had noted that if overfilled, hydraulic fluid could slosh out of the vent hole in the reservoir cap and ruin the paint. Ever resourceful contributors to the British Car Forum discovered that a simple little gasket available in most auto parts stores fit perfectly in the reservoir cap, thereby solving the problem. I used one of the se “HELP” gaskets, #42072 in the Bloody Beast.

HELP Gasket

HELP Gasket

zz

Chapter 48 Restoration Assembly, Week Eighteen 4/16/2007

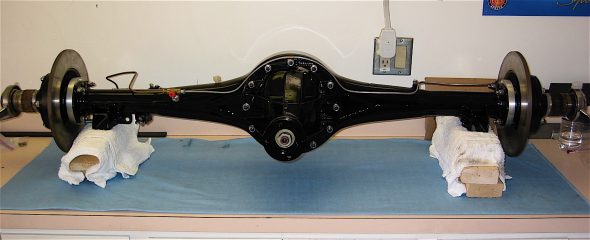
I decided to completely assemble the rear axle for installation into the car. I will recruit four weightlifters to help with placement!

Jeremy Turner worked his magic and made the axle assembly look brand new in its glossy black. I installed the bearing carriers with new bearings, “O” rings and paper gaskets. I lightly coated the gasket between the bearing carrier and the axle half shafts with hylomar sealer.

Rear Axle assembled

Rear Disc Brake Rotor

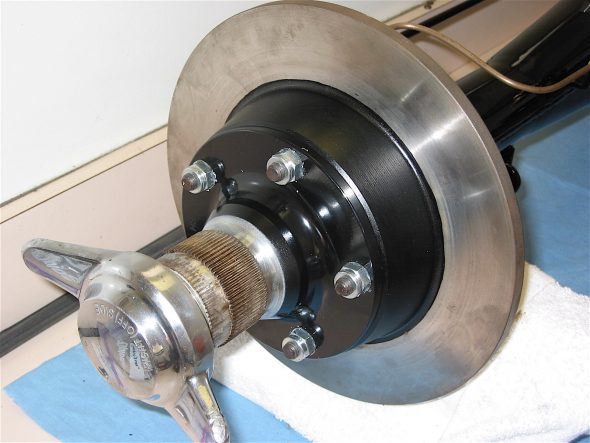
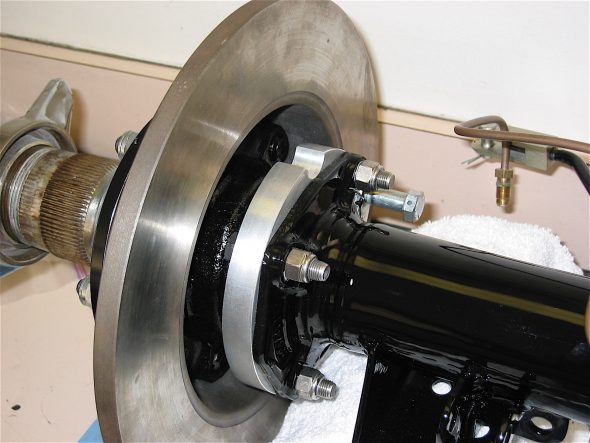
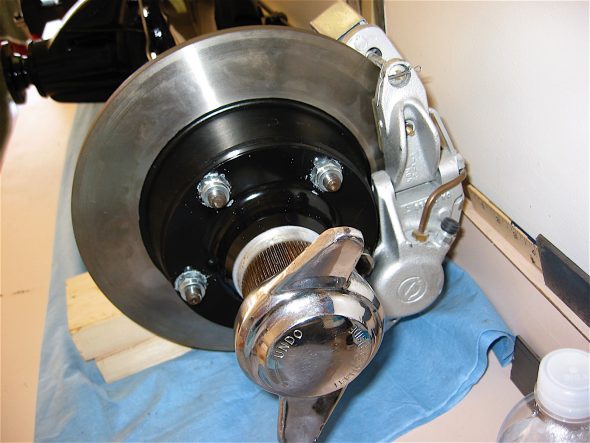
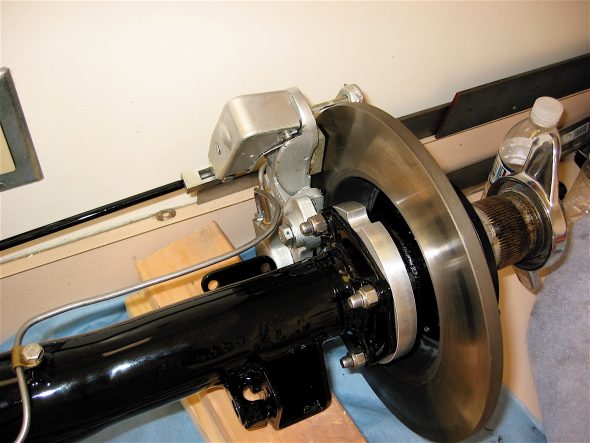
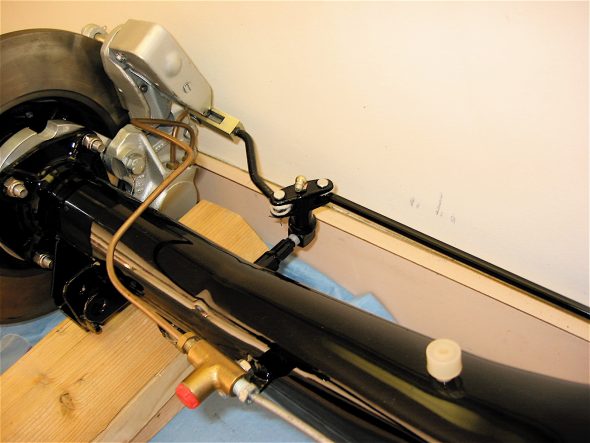
I am using Cape International’s rear disc brake conversion kit to replace the original rear drums. Cape Int Disc Brake Conversion 1 The kit is nicely done including aluminum caliper mounting brackets, drilled mounting bolts (drilled for safety wire), a template for modification of the axle flange,  disc rotors, locking conical hub nuts, jaguar calipers including ancillary handbrake calipers and brake pads, and a threaded rod with end fittings to connect the LH and RH handbrake calipers. I did have to “rework”  the short connecting rod to obtain proper alignment, but otherwise, everything was a bolt-on job.

Rear Disc Brake Adapter Plate

Jaguar Rear Disc Brake

Handbrake Caliper

Cross Rod and Lever