I am not quite ready to start the engine because I am waiting on my custom made propshaft, currently being fabricated by Dale Engineering. However, there were some close to final matters that needed attention as the day to fire up the engine approached. Jack Harper from Coachworks, Ltd. who assembled my rebuilt engine, came to the house to assist with readying the engine.
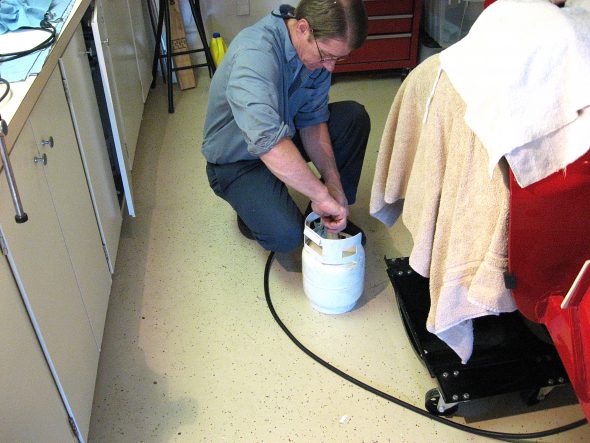
Our first step was to “pump” some engine oil into the engine to ensure that everything was coated. Jack attached a compressed air canister with two quarts of oil to the oil pressure pipe union and then forced the oil into the engine with air pressure. As we neared the end of the oil transfer one could see the oil emerging from the top of the rockers and then the end of the transfer was signaled by a large “burp” that one could easily hear.
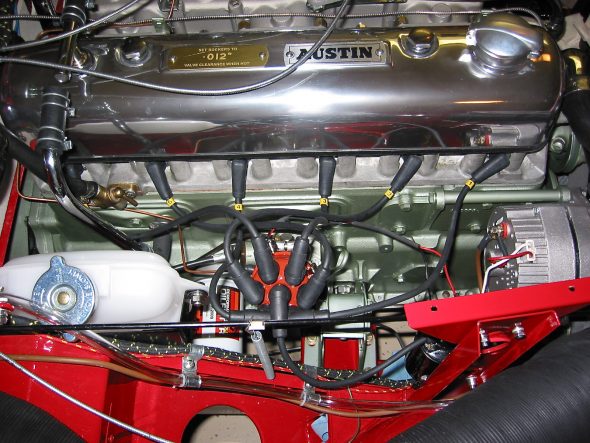
We made sure the pointer and timing mark were aligned and then went about checking the valve gap for the assembly. I used the starter to turn over the crank as we checked each rocker/valve. We then secured the Capesport Alloy rocker cover and added another 5 quarts of oil. The rocker cover was sourced from Cape International.
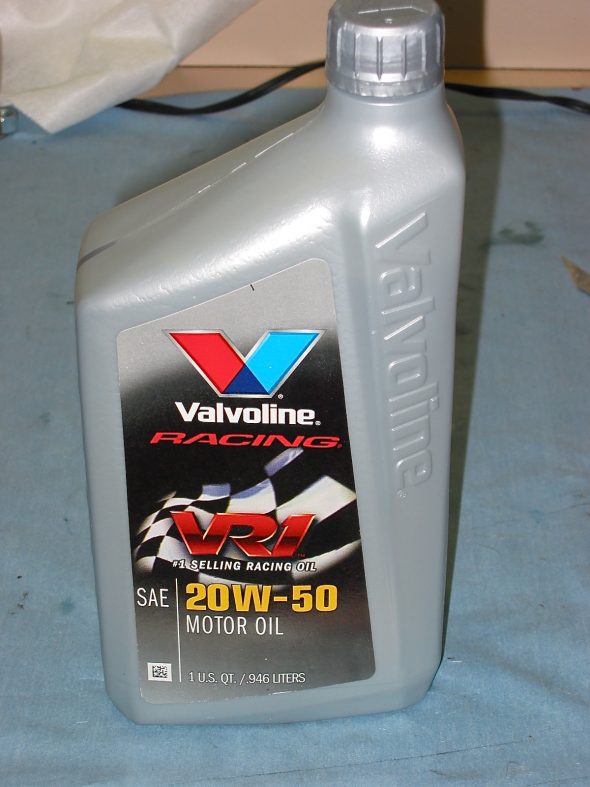
The oil I chose to use is Valvoline racing oil, 20-50 with ZDDP.
I had taken the NGK spark plugs out to rotate the engine. We put a little anti-seize on each plug, checked the gap and re-installed each one.
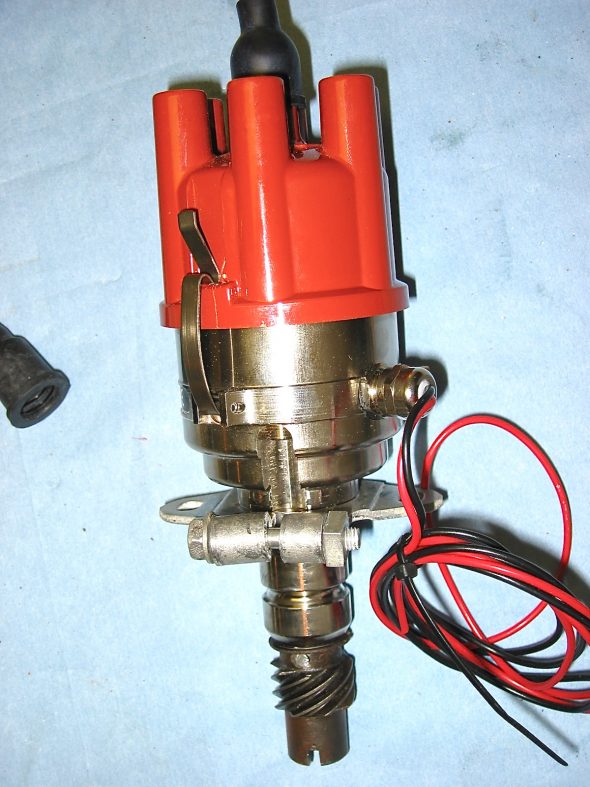
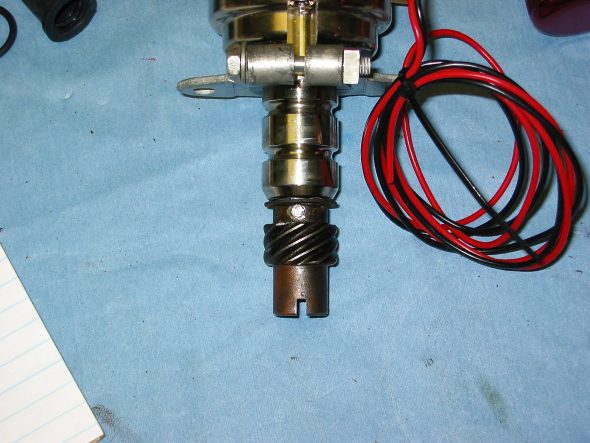
In recent months the 123 distributormanufactured by a Dutch company, 123 Ignition, has received some very good press. I had originally planned to use a Mallory Unilite distributor, but I decided to give the 123 unit a try. One appealing aspect of the 123 is that the advance curve is determined by simply adjusting the settings by turning an adjustment on the outside of the distributor and “clicking” it into place. For initial set-up, I chose the recommended “B” setting. While the distributor is a “drop-in” in for the BJ8 with an electronic tach, a kit is supplied to adapt it for the mechanical tach drive of the BT7. The shaft did need to be drilled and the drive dog from the original Lucas unit installed with a few spacing washers. My unit was supplied by a German vendor Brits’N’Pieces. Jack installed the distributor and I installed the Pertronix igntion wiring to the plugs and to the Pertronix “Flamethrower” coil. The coil was previously mounted vertically on the shroud brace. Several of the wiring leads on the original wiring harness for the ignition were no longer needed so I simply used plastic ties to fold them down and secure them, in case they might be needed at some point in the future.
123 Distributor. Purchase Information and instructions.
My next step was to add coolant to the radiator. I used Prestone 50/50 premixed formula. Fortunately no leaks!
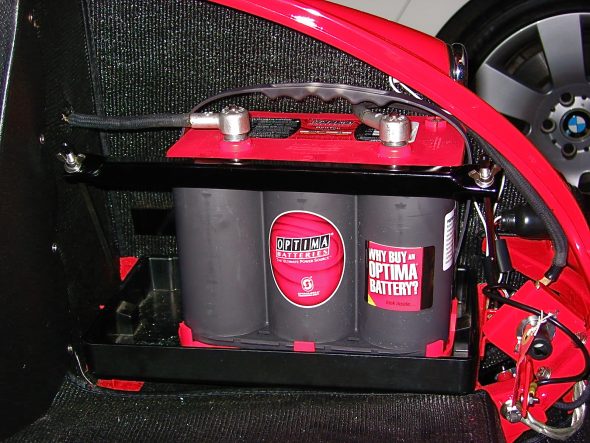
I had been using an old battery for checking out electrical function throughout the restoration process, but it was now time to buy the battery I would be using in the vehicle when it was a road car and not a garage car! I decided on the Optima. I purchased it at the local Batteries Plus store. They are not cheap at about $160 dollars, but I like the idea of the no-leak gel in the boot of a car. The model number I purchased was: Part Number: 34 (8002-002) RedTop®; Battery; Group 34; Cold Crank Amps 800; Crank Amps 1000; Reserve Capacity 110; Ampere Hour 50; Top Terminal; L-10 in.; W-6 7/8 in.; H-7 13/16 in.; UNBOXED. The battery was secured in place with the battery fixing bar and rods.
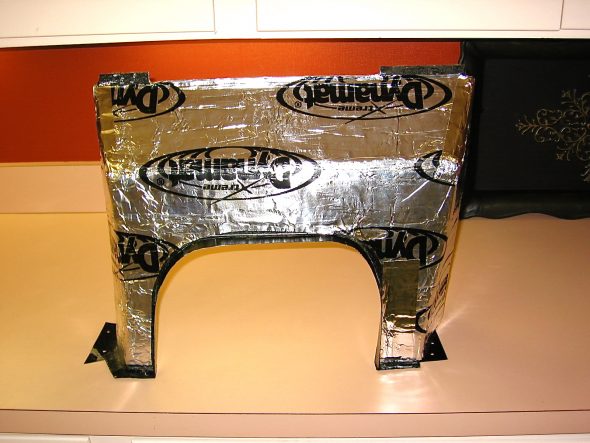
Because the Smitty Bell housing fit a little high in my car????, I custom fabricated a gearbox cover extension to provide a little more room for the housing. This also required custom fitting carpet. I had ordered a couple of extra yards of carpet when I ordered my interior from Heritage Upholstery and Trim for this purpose. I first covered both sides of the cover with Dynamat Extreme and then cut and glued the carpet to the cover.
To assist with interior cooling and weight, I ordered a fiberglass gearbox and propshaft cover from British Car Specialist. The original cover was metal and mine was too far gone from rust. Using a fiberglass cover also made it easy to fill the original hole for the side shifter and cut a new hole in the center for the Toyota gear shift. I used an MGB trim ring and rubber seal for the gear shift lever sourced from Moss Motors. Using a helpful hint from Doug Reid, “Mr. Finspanner,” some JB Weld was used to glue four “T” nuts to the bottom of the fiberglass cover so that machine screws could be used to mount the ring, rather than sheet metal screws that overtime would fail to secure tightly in the fiberglass.

