
September 12, 2005
Jeremy Turner Begins His Work
We took the car to Jeremy in April, but he got stacked up during the summer months with the work of previous customers who wanted a few things done to ready their cars for shows of various types. Unfortunately, that meant pushing the BT7 off to the Fall.
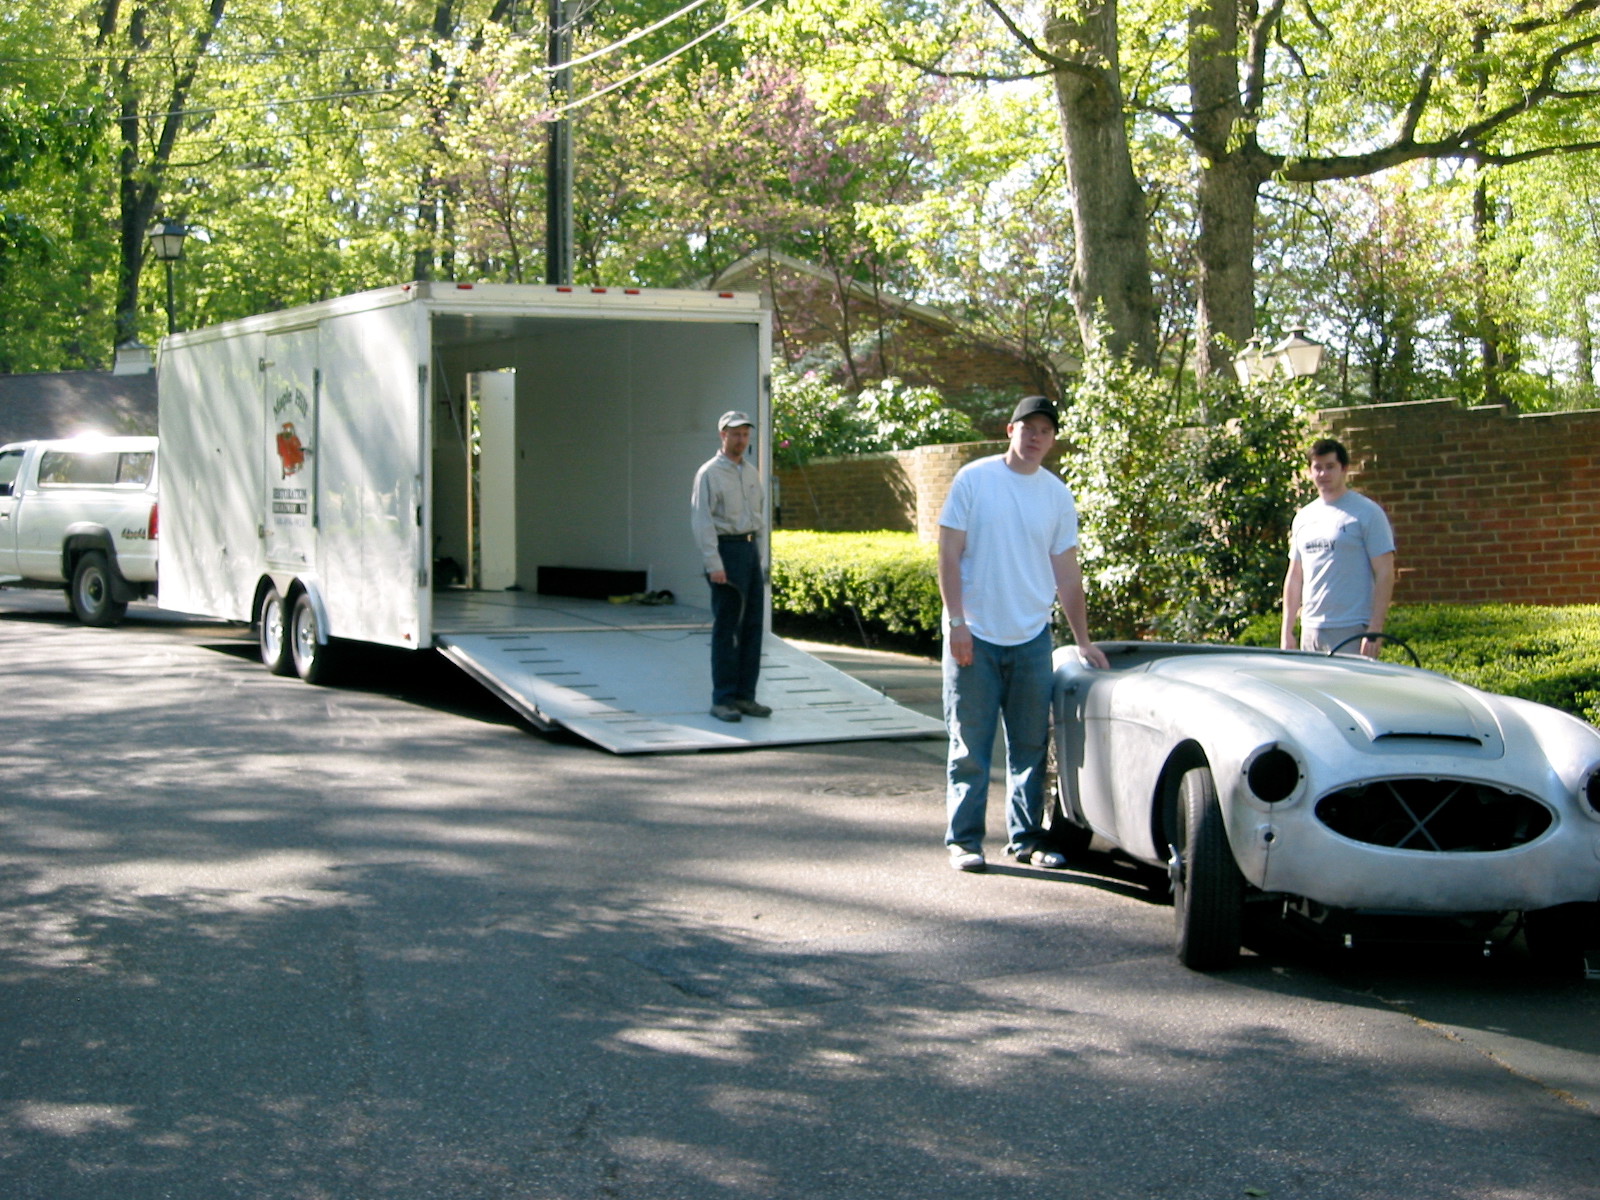
To Maple Hill Restorations 1
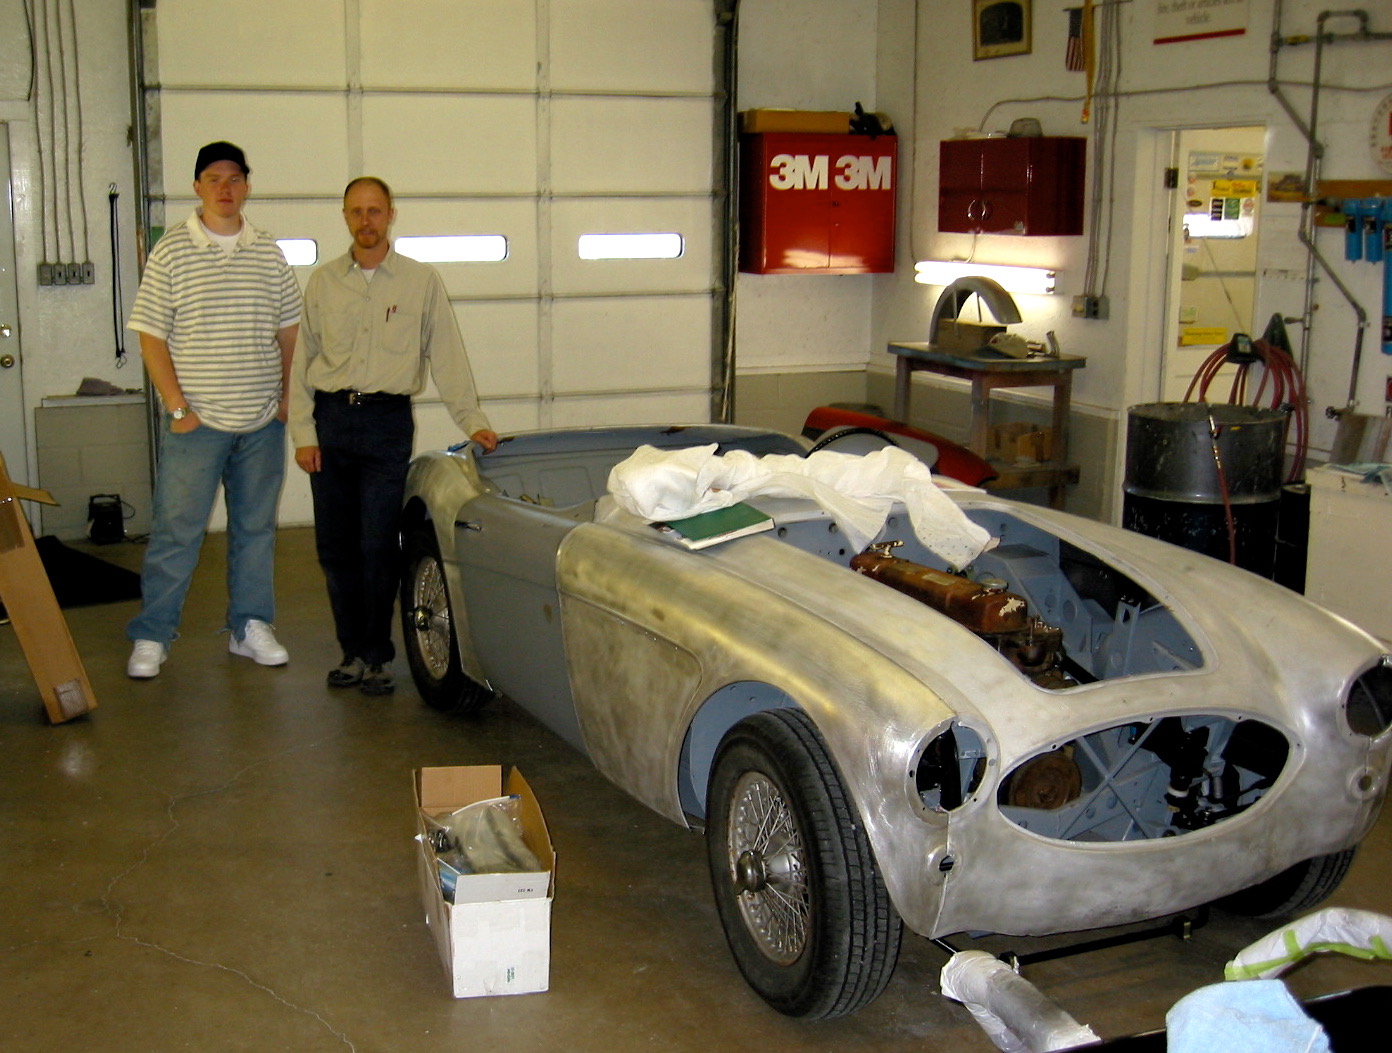
Maple Hill Restoration Arrival 1
This week Jeremy got to work. First he media blasted and painted the seat backs and frames so that they could be sent to Heritage Upholstery for finish upholstery work. After I get Rick Kiser to build a new rear seat squab I will be ready to begin the waiting process for the interior work. I expect at least 2-3 months for that job.
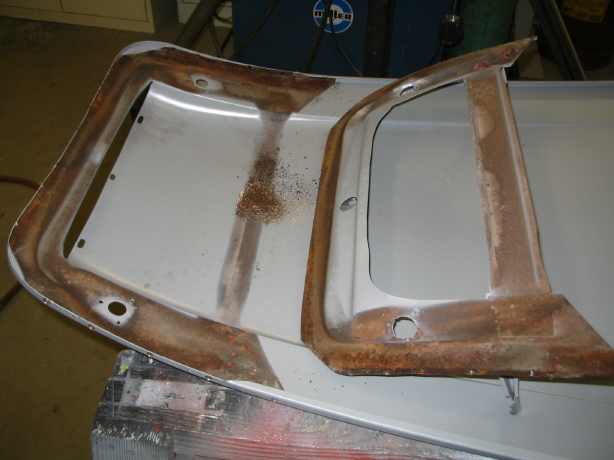
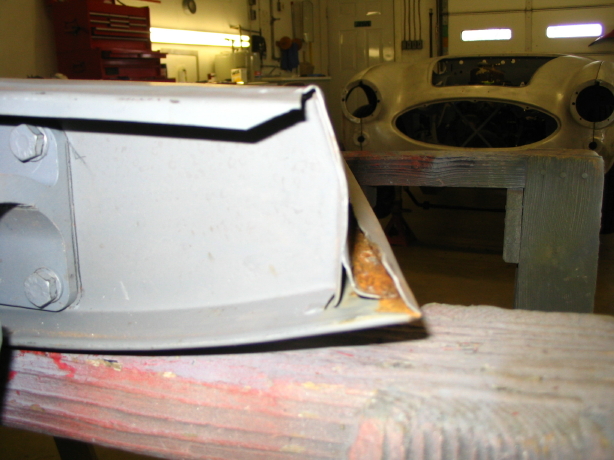
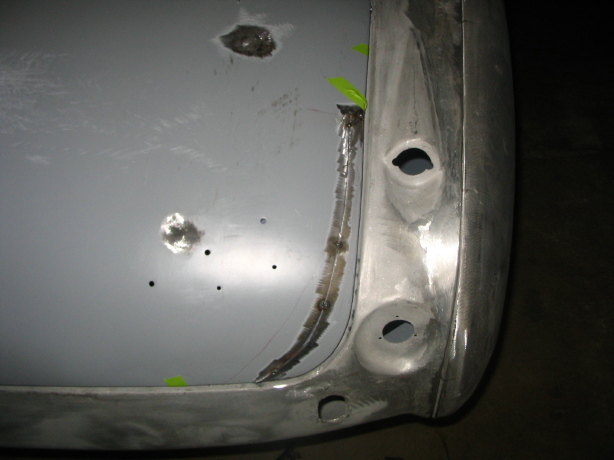
Jeremy began by fitting the doors and wings. Not as easy as it might have been since I am using new aluminum wings that don’t fit quite as nice as the originals, but the originals were consumed by rust. The bonnet had two holes punched in it for the installation of hood locks and we agreed that the holes needed to be filled. He cut the reinforcing frame off of the back of the bonnet to blast any rust from the skin, welded the holes closed and primed.
Latch brace removed_4

Underside of hood rust_7
Outside of latch brace repaired and cleaned_6
He also bent back the skin on the bottom of the doors to again get all the rust blasted out and primed. This will alleviate problems in the future. It is all a slow process, but it is what must be done to end up with the quality job I want!
Rust exposed on bottom door edge_4
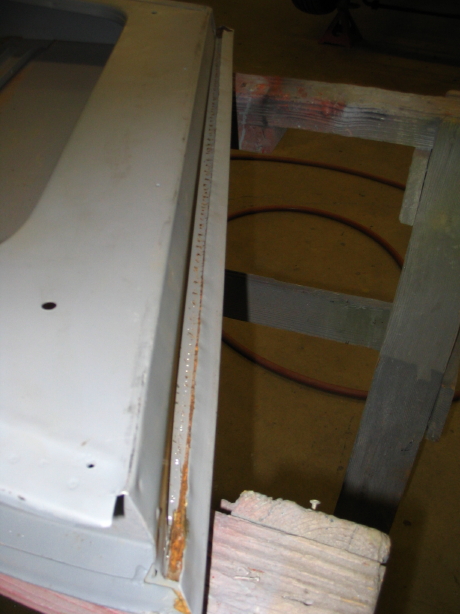
Door edge lip pulled out to expose rust_3
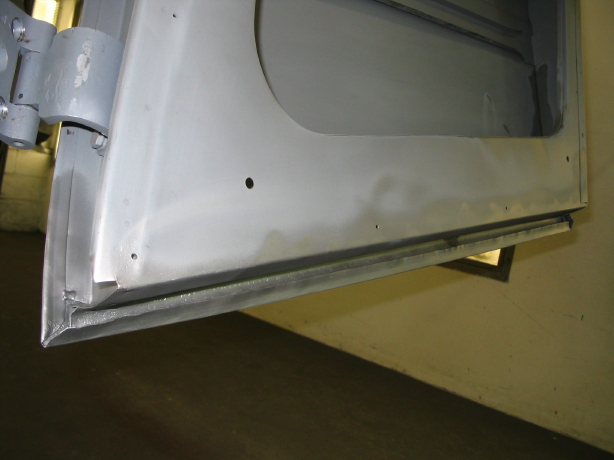
Door edge glassbeaded to remove rust_2

Door edge epoxy primed_1
I received the windscreen frame from Custom Chrome Plating in PA. It was a beautiful chrome replating job. It should have been for $500.00 for four frame pieces! I took it and glass and hardware to Village Auto Center in Harrisonburg for assembly. I am nervous about their care, but I expect everything will come back fine.
September 20, 2005
The windshield came back and was nicely assembled except the corners don’t meet as tightly as they need to to prevent leakage. I will work on that later before final assembly. I put the pillars on the frame and will take it to Jeremy for fitting to the body.
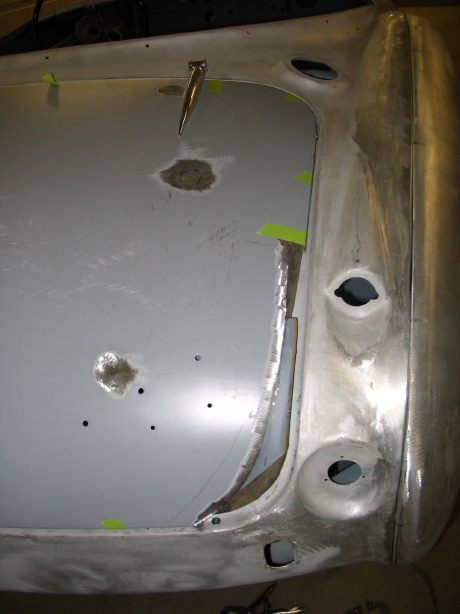
Jeremy sent some new images of his latest work that focused on cleaning up the bonnet, fixing a dent and filling the lock holes.
Rear hood brace removed_4
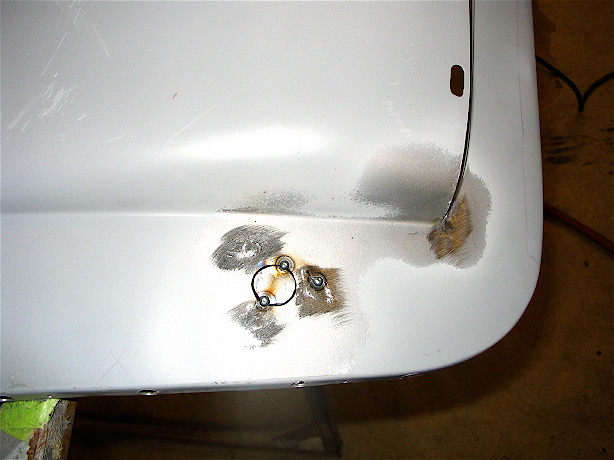
Hood pin holes being welded_6
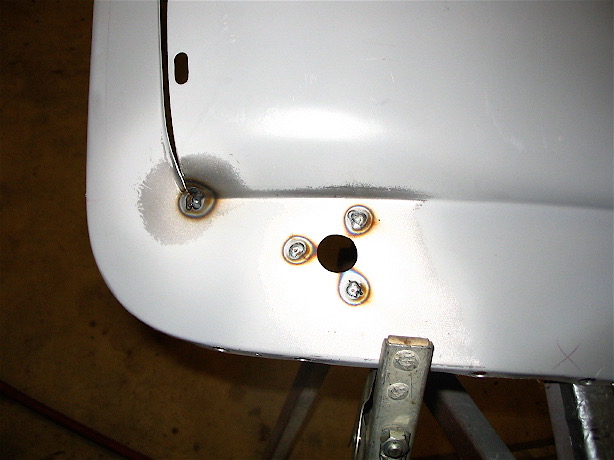
Screw holes welded up_2
Right hand hole welded up_1
Left hand hole shut up_3
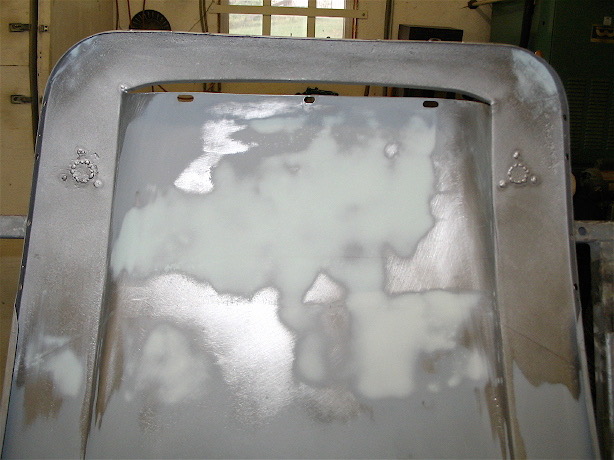
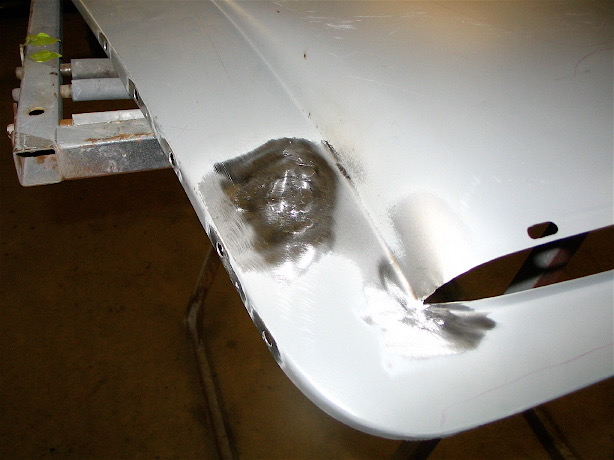
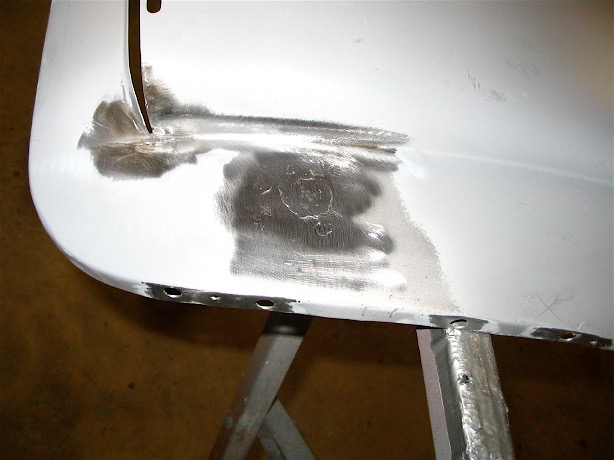
Rust cleaned from underside of hood and dents removed._3

Body work done on underside of hood in areas that would be hard to get to when the braces are welded into place
Rear hood brace removed_4
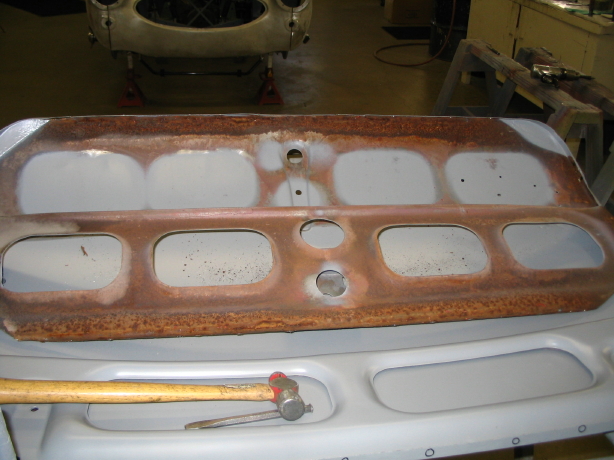
Trunk brace removed_6
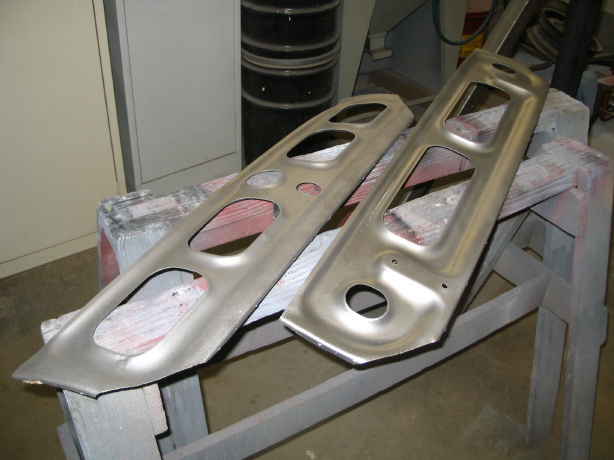
Trunk braces cleaned_8
Underside trunk lid cleaned
December 10, 2005
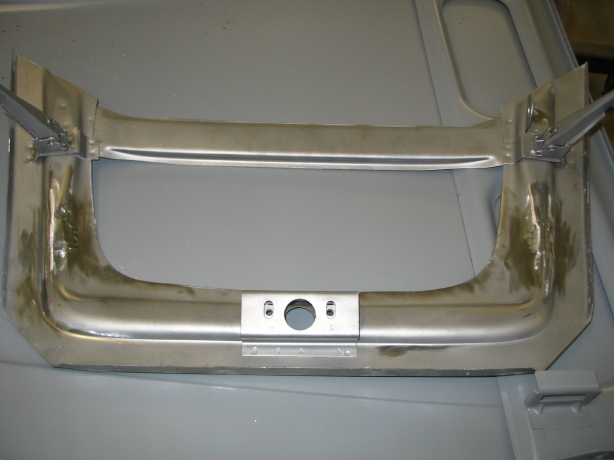
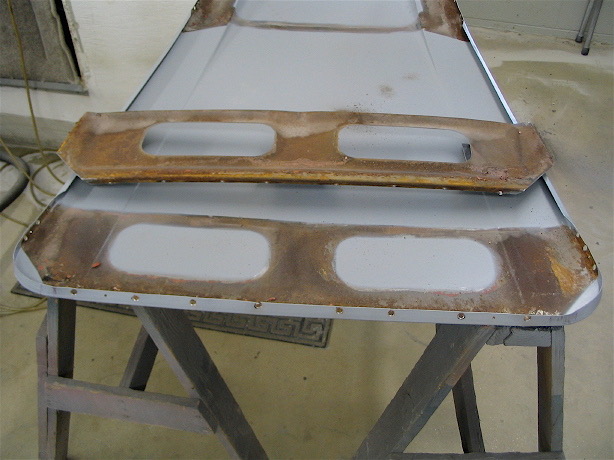
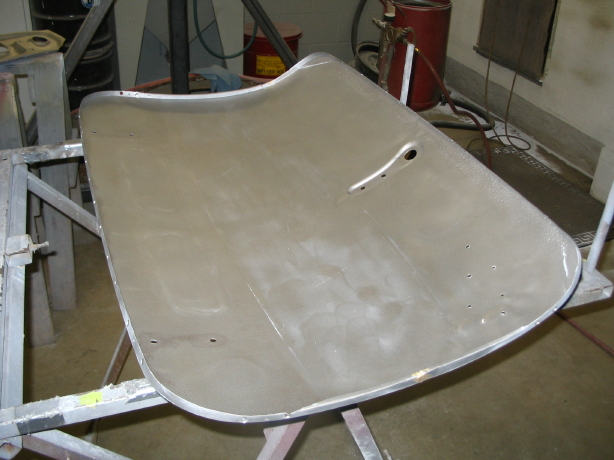
I have been disappointed that after a good start in September, Jeremy began working on other projects and didn’t make much progress with the Healey. He got back to work after Thanksgiving and forwarded the following photos of work done on the boot lid. It was badly deformed, cracked on the top side edges and didn’t fit the shroud particulalry well. I was pleased to see his skill with cutting and welding. Things are looking up!

adjusting LH trunk gap_4

adjusting RH trunk gap_5
new trunk edge to adjust gap
trunk edge removed
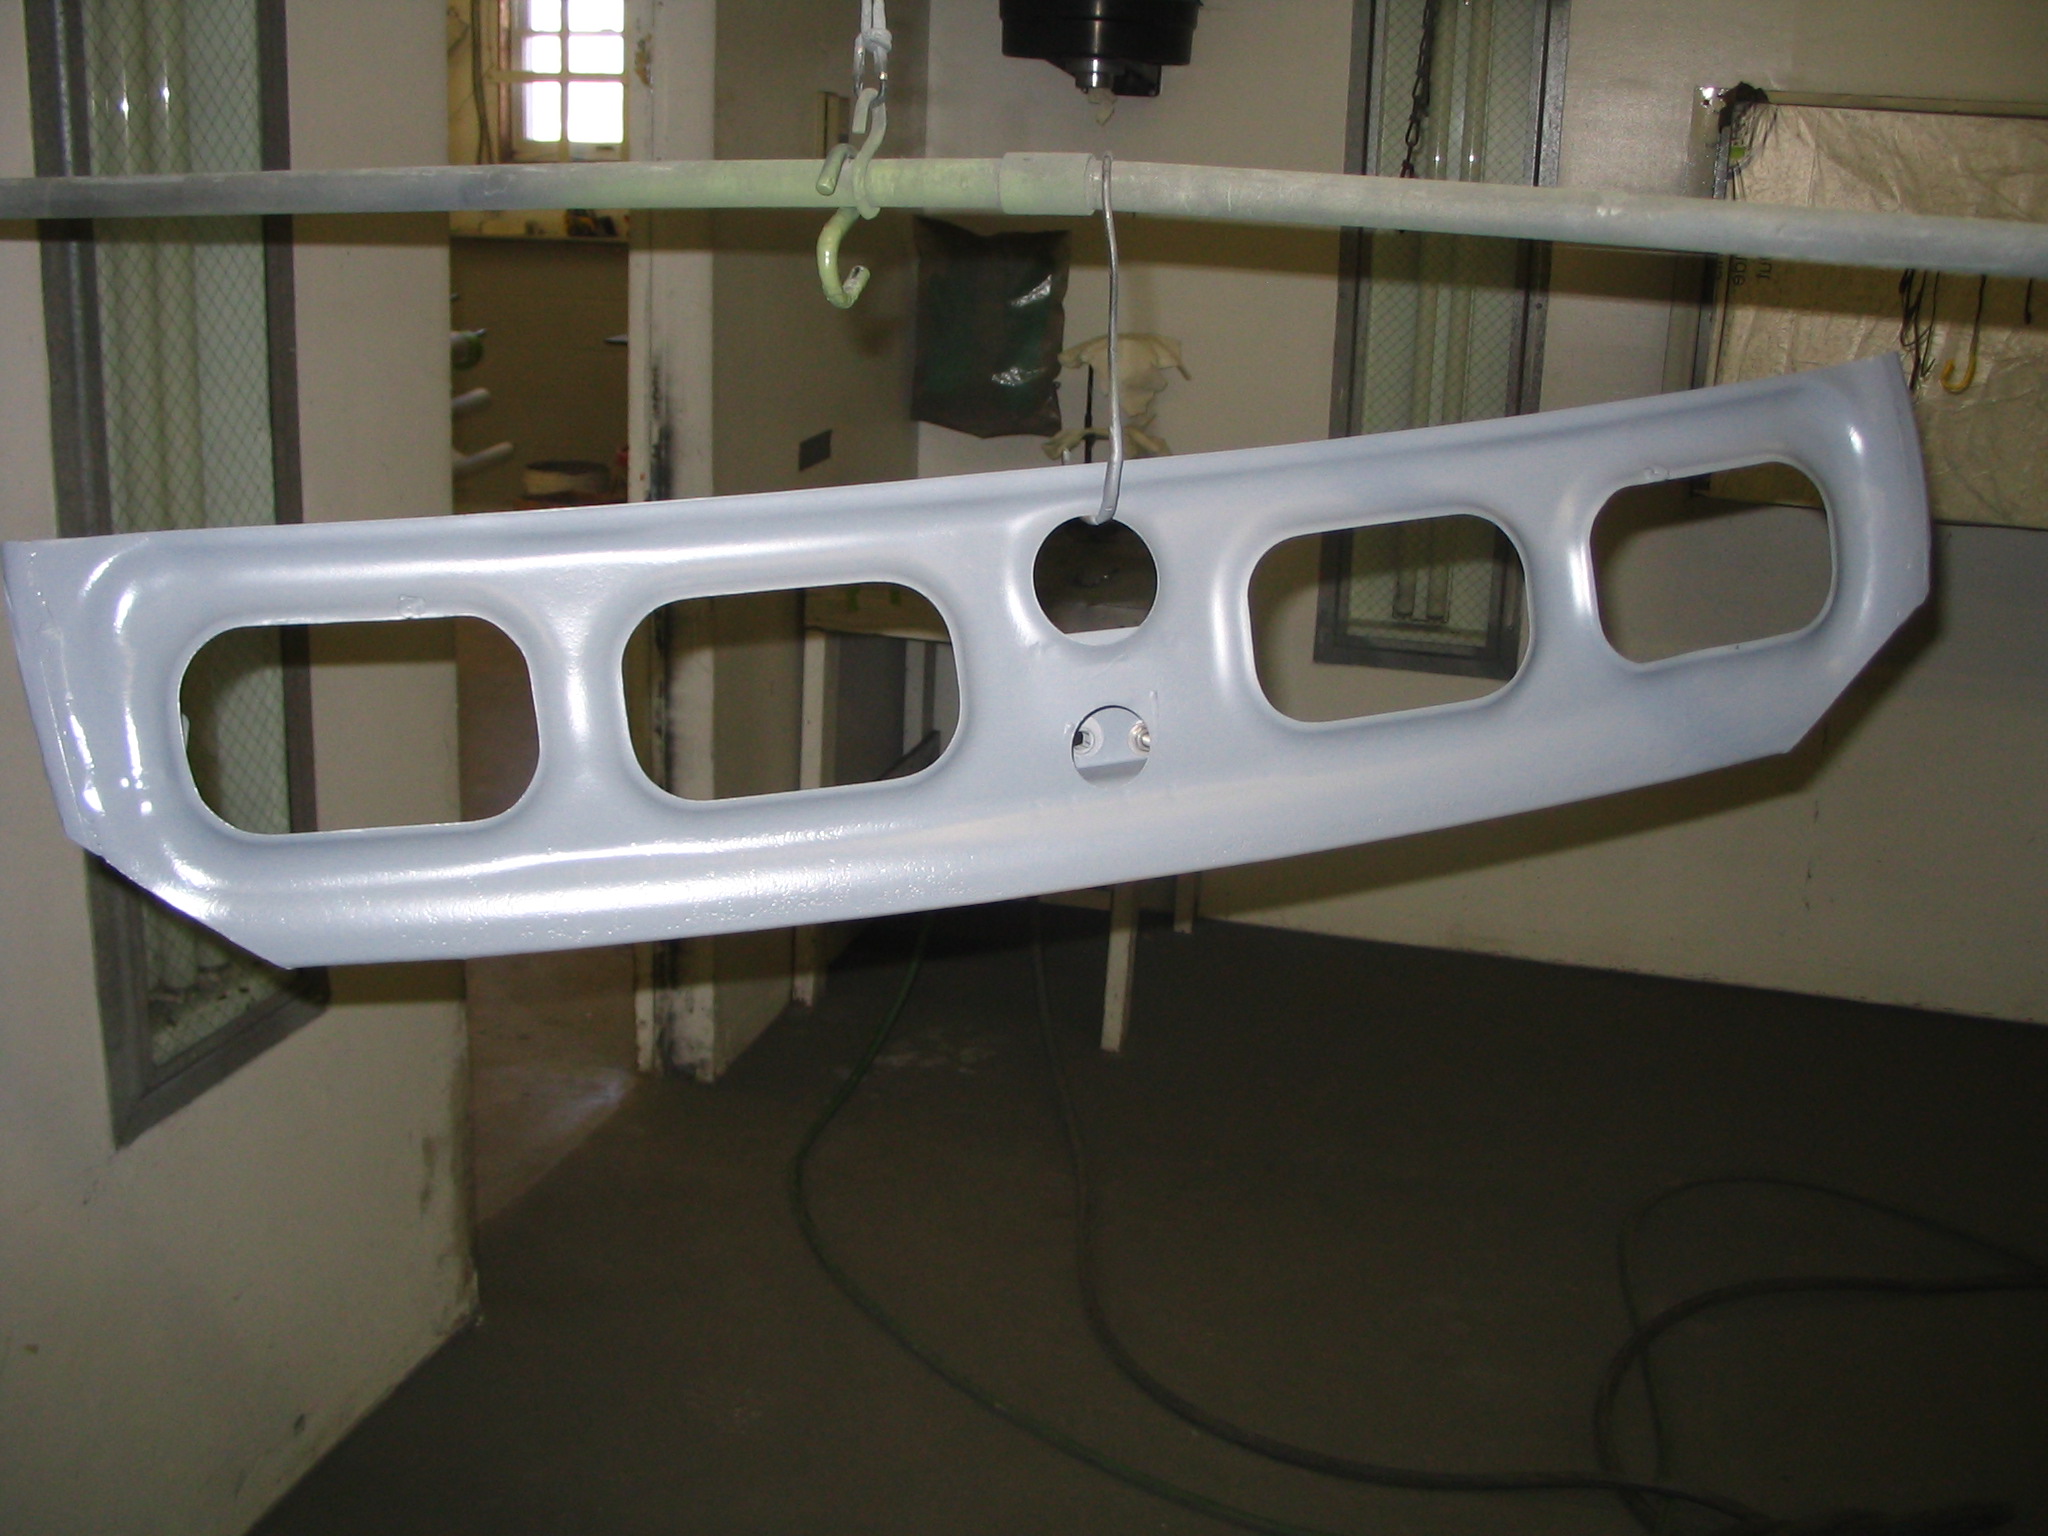
epoxy primed latch brace

underside epoxy primed
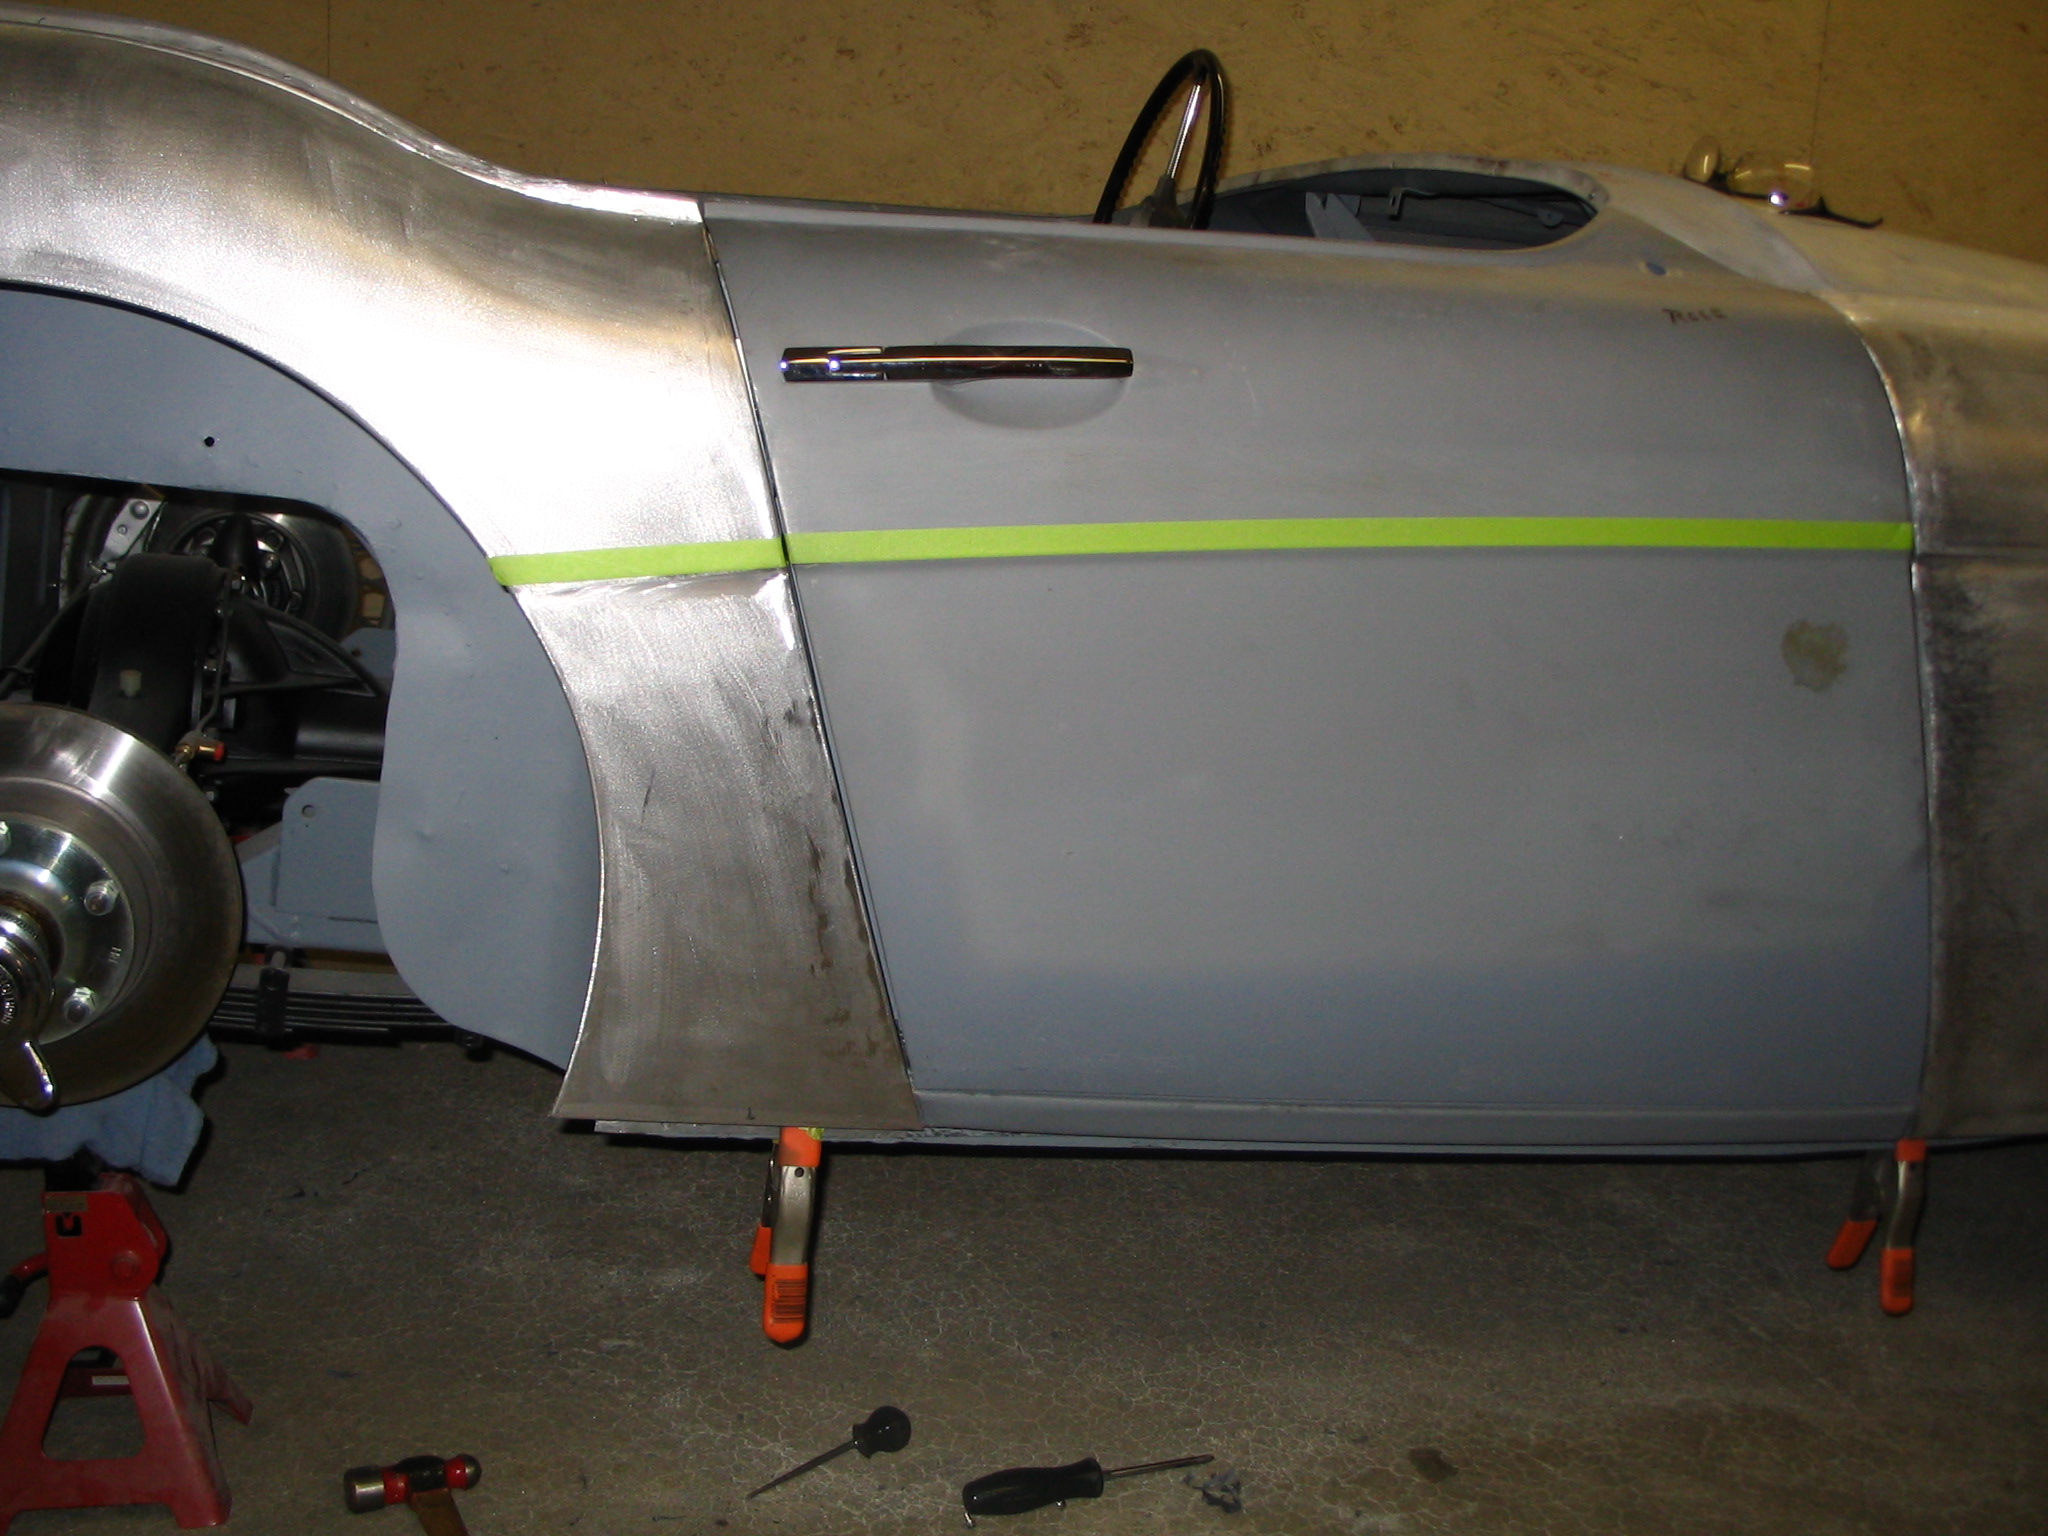
aligning the door and quarter gap
February 19, 2006
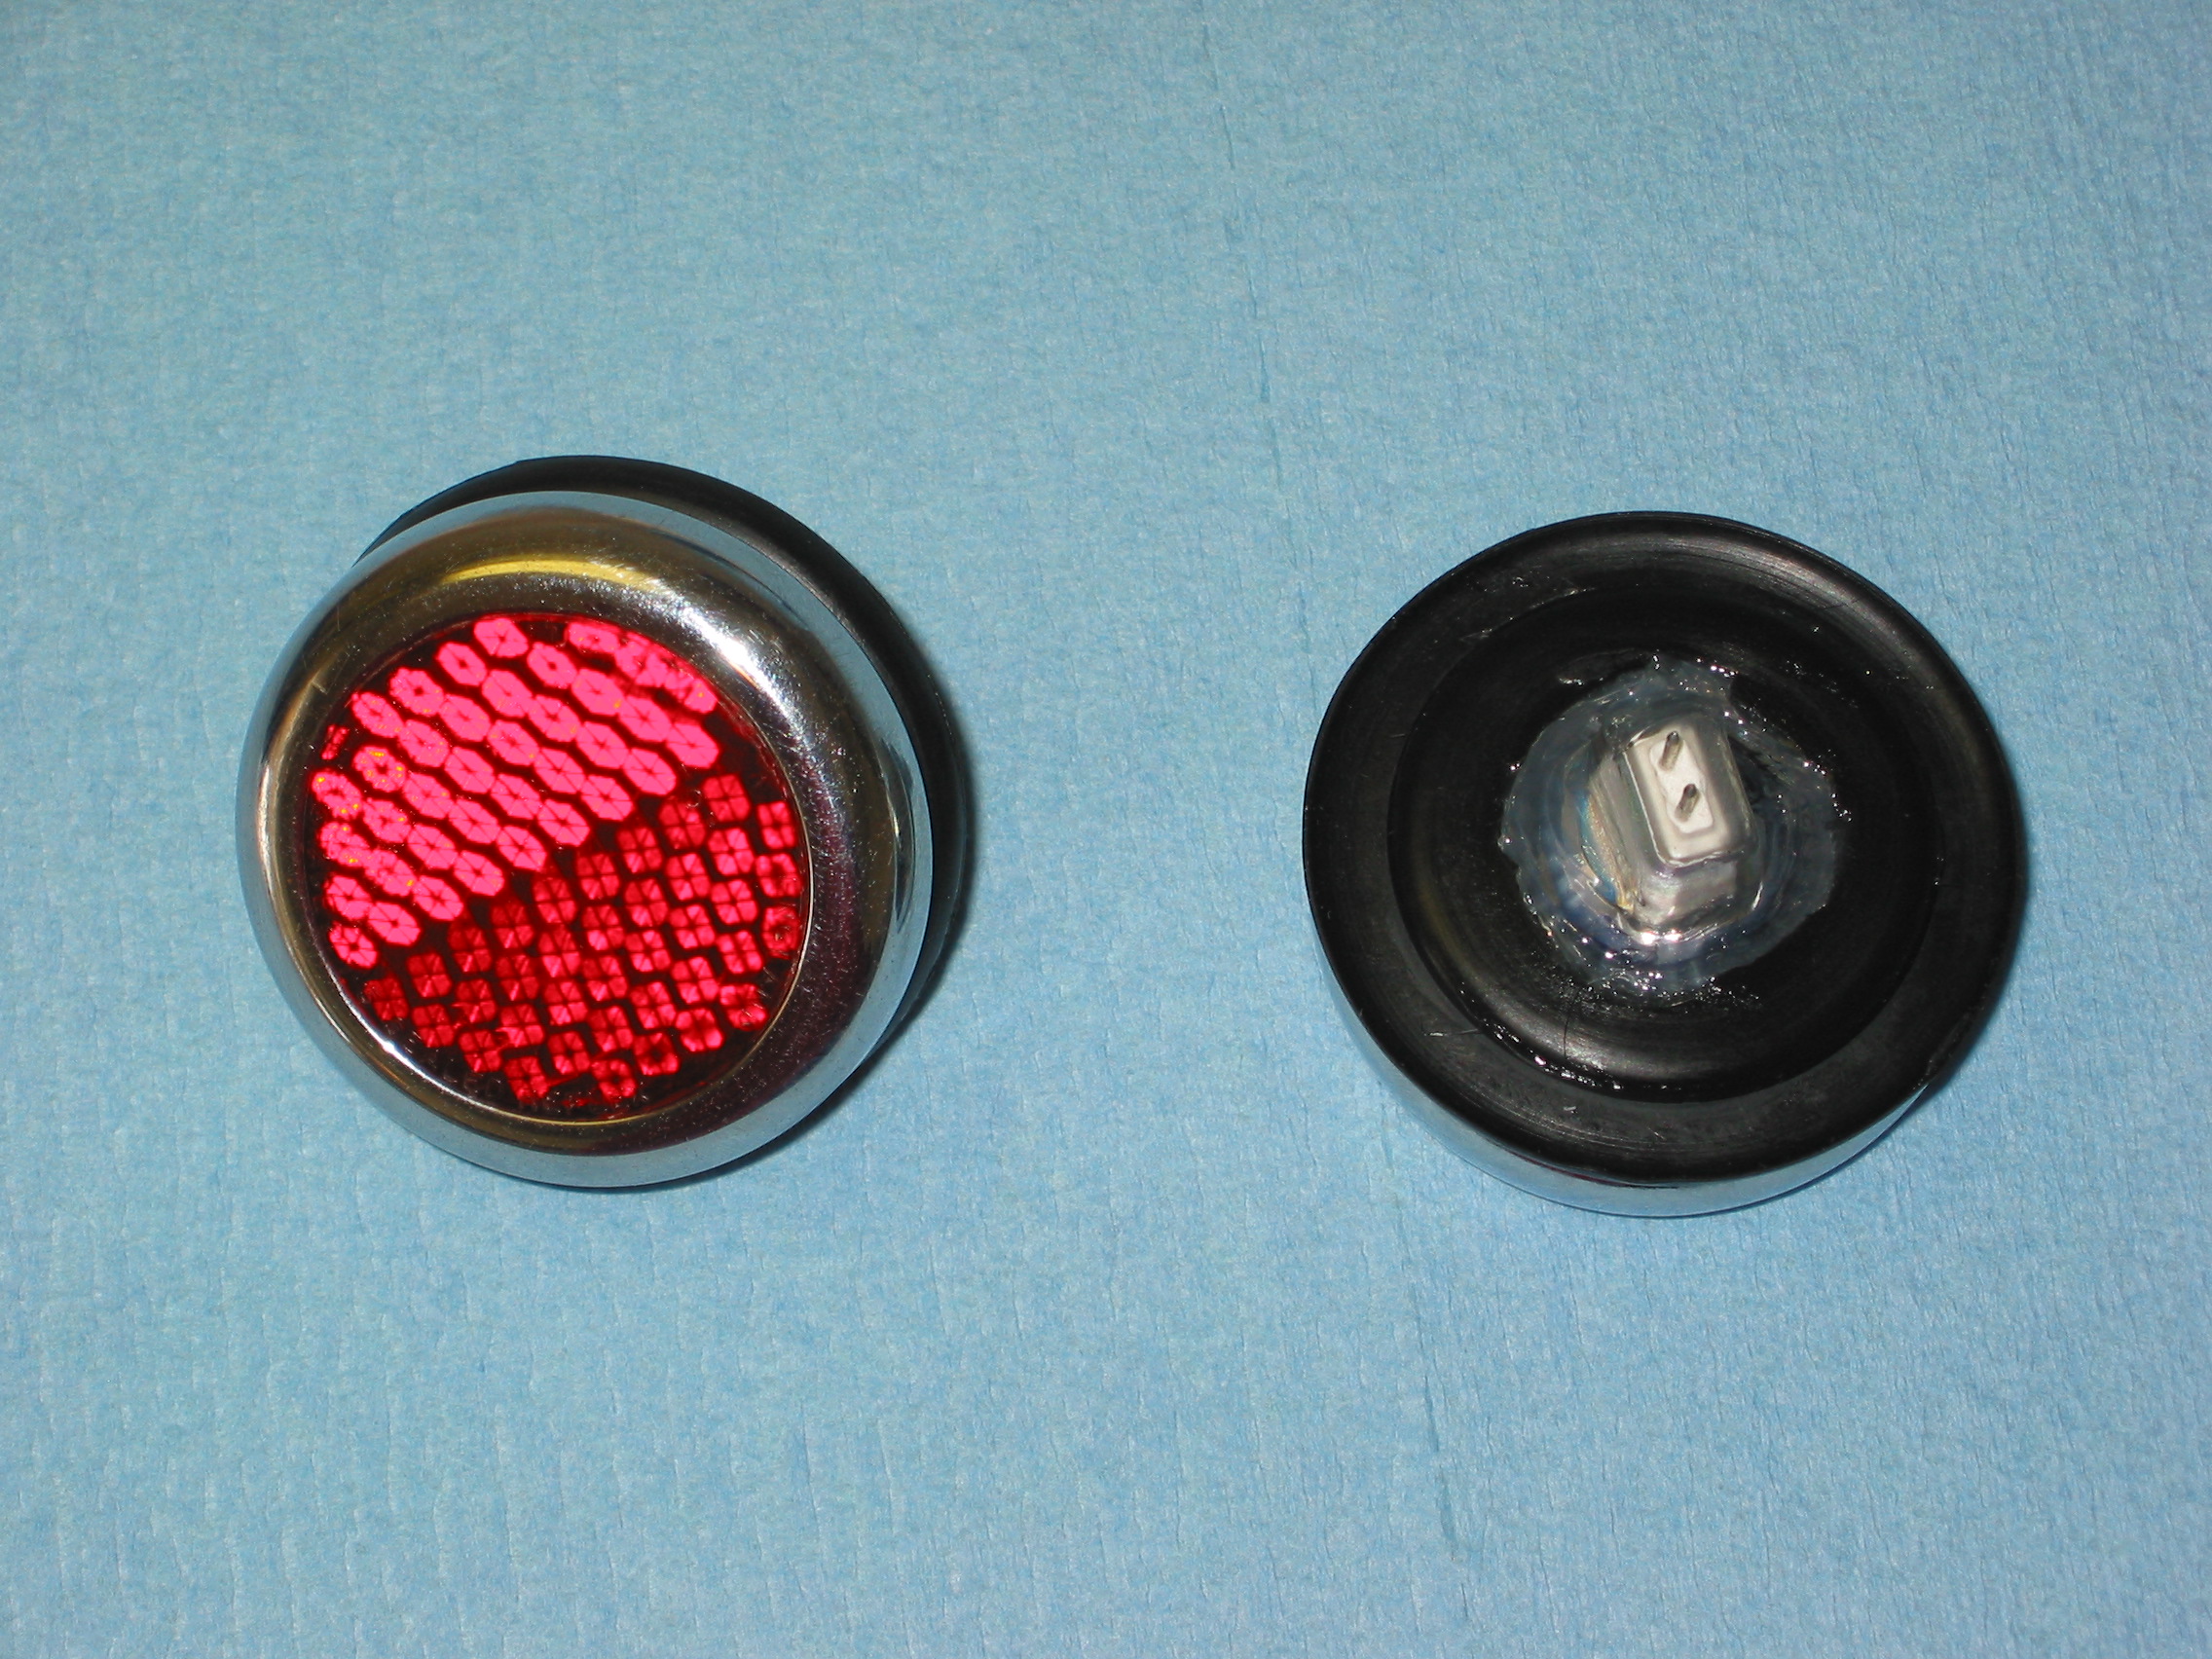
Rear lights on Healeys leave something to be desired. I came upon a web site that offered a good idea for adding some rear illumination without any obvious physical modifications. It involved converting the rear reflectors to working lights using a pair of 10 watt,12 volt MR11 halogen bulbs that I found at a local lighting store. I also ordered two connecting terminals on-line since the connectors are very small and somewhat delicate pins.
As per the directions on the Healey Club of Ontario web site, I removed the rear reflectors from their pods. I dicovered that this works with the original reflectors but not with those currently available! The reproductions are not as deep and do not have the foil reflector. The easiest way is to carefully insert a small screwdriver between the chrome bezel and the rubber ring. Pull the chrome bezel off, remove the red reflector, and the rubber body will easily pull out of the hole.
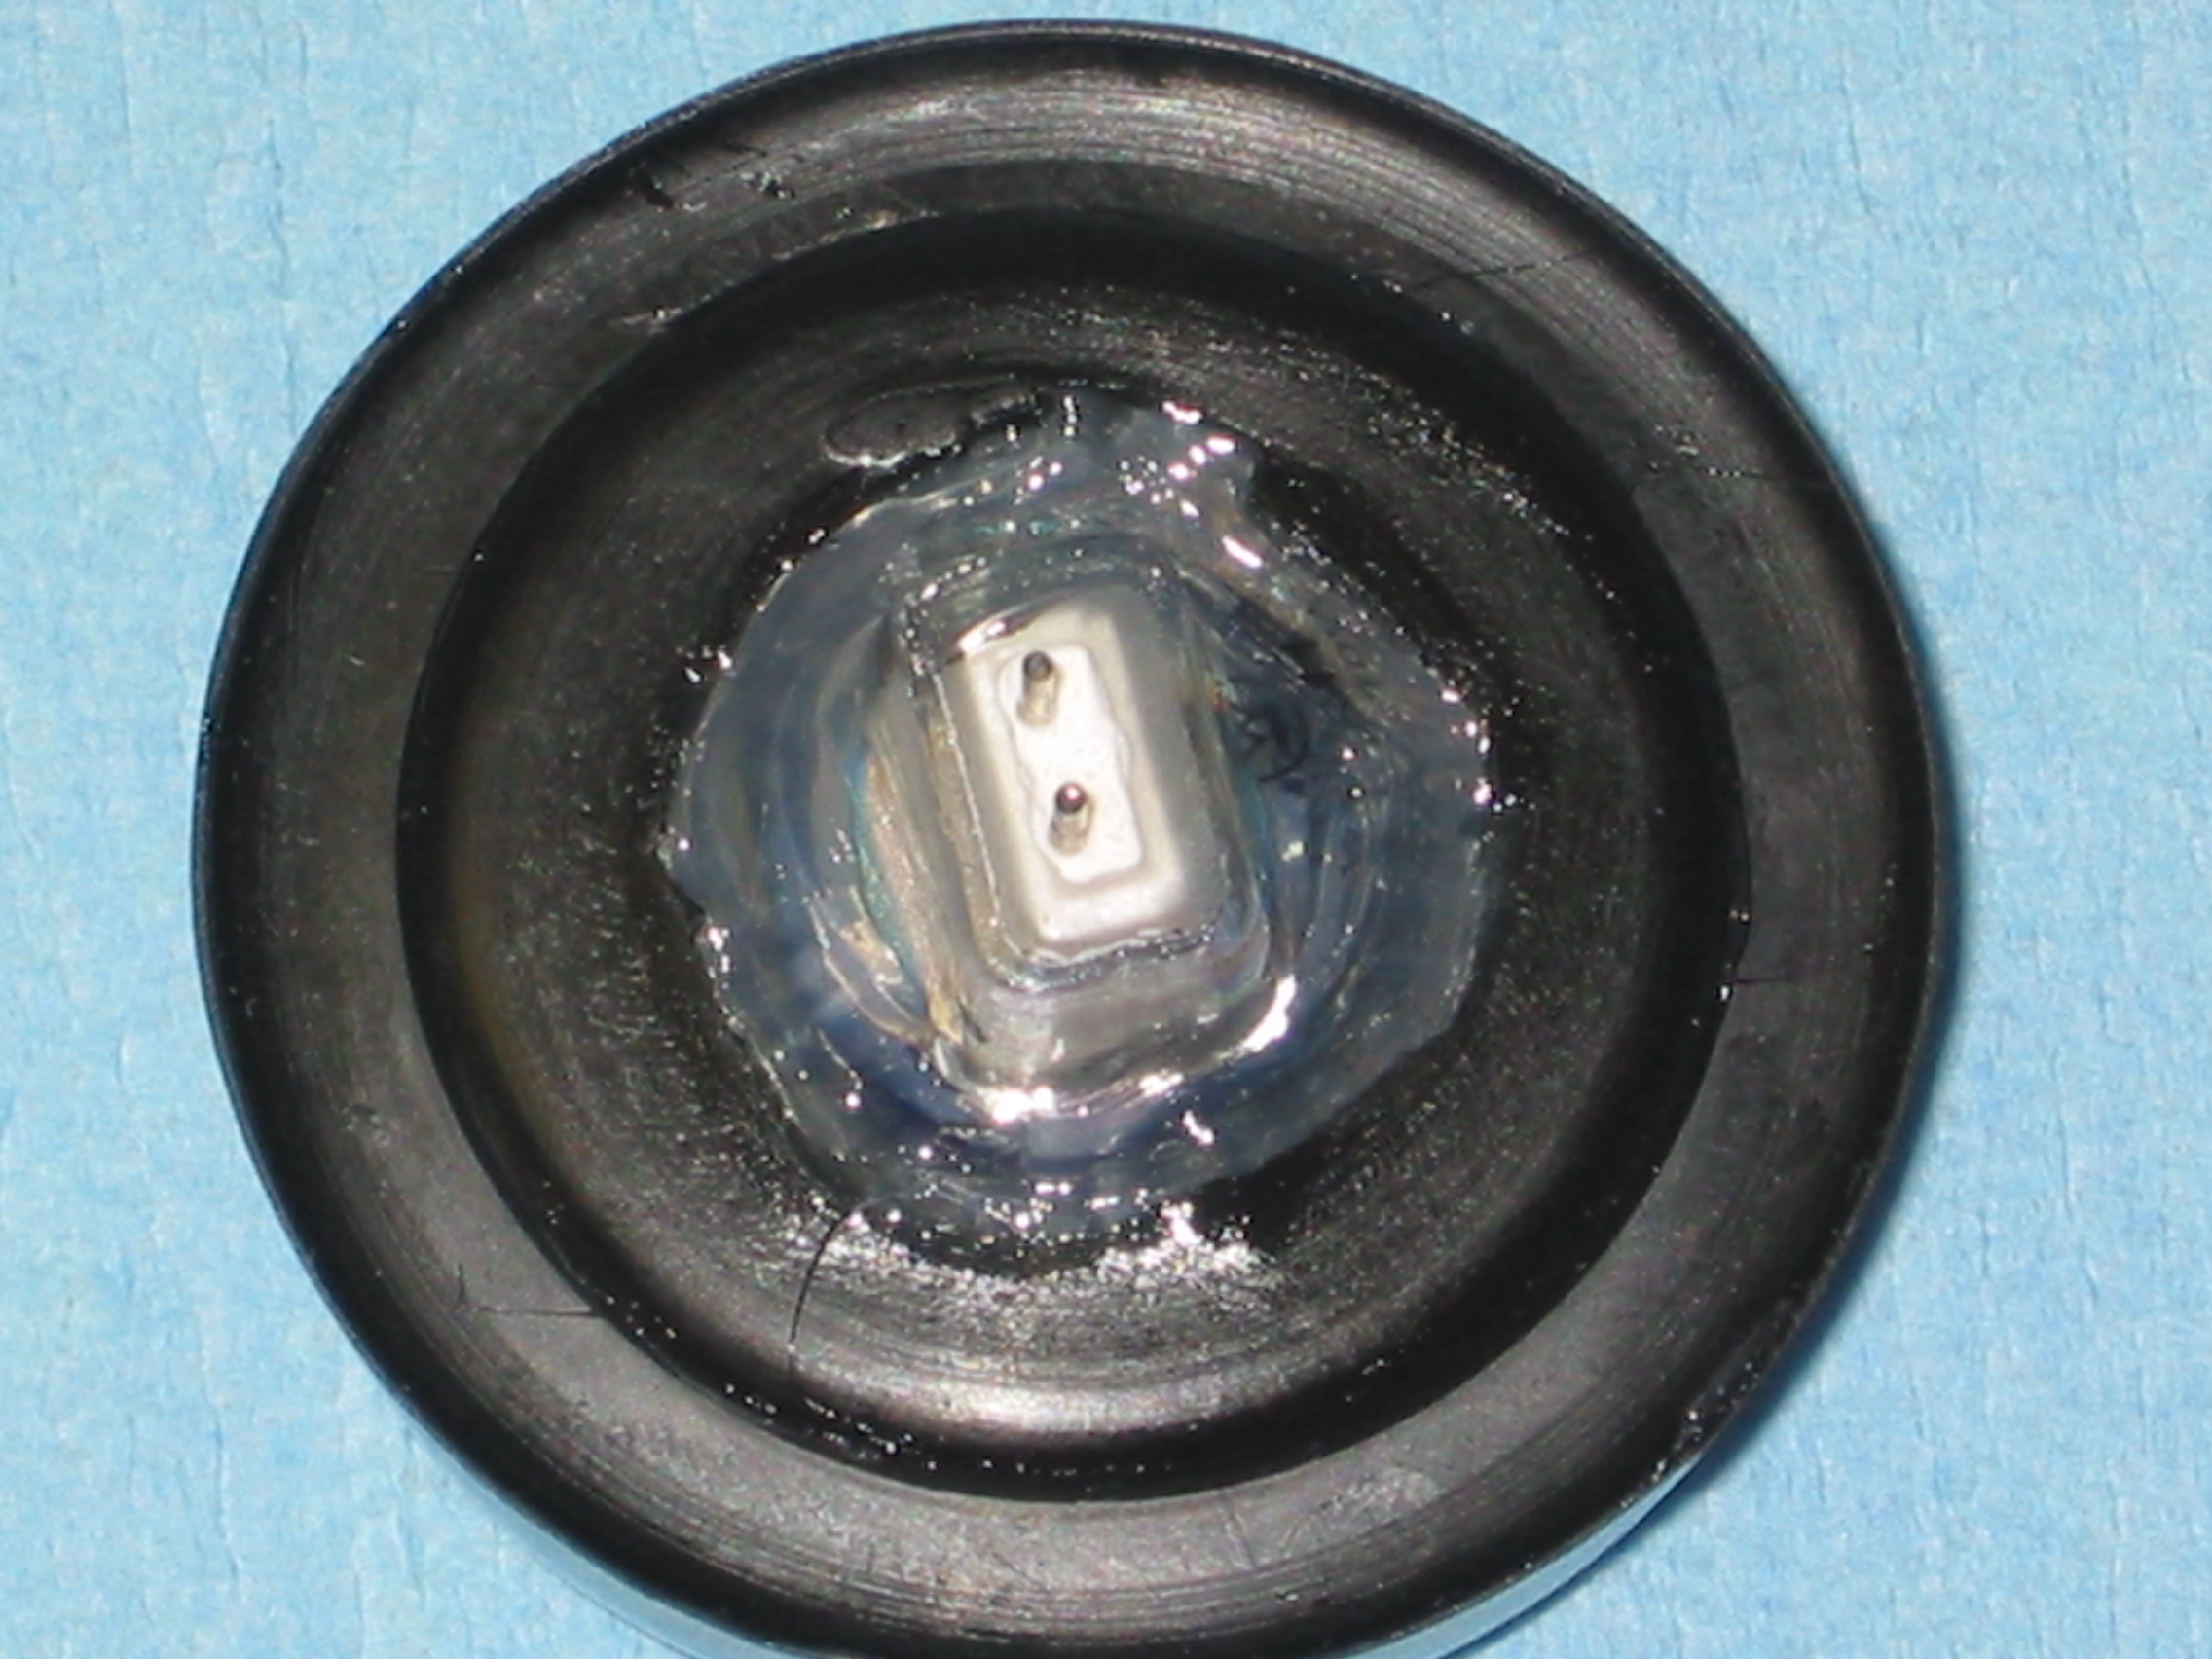
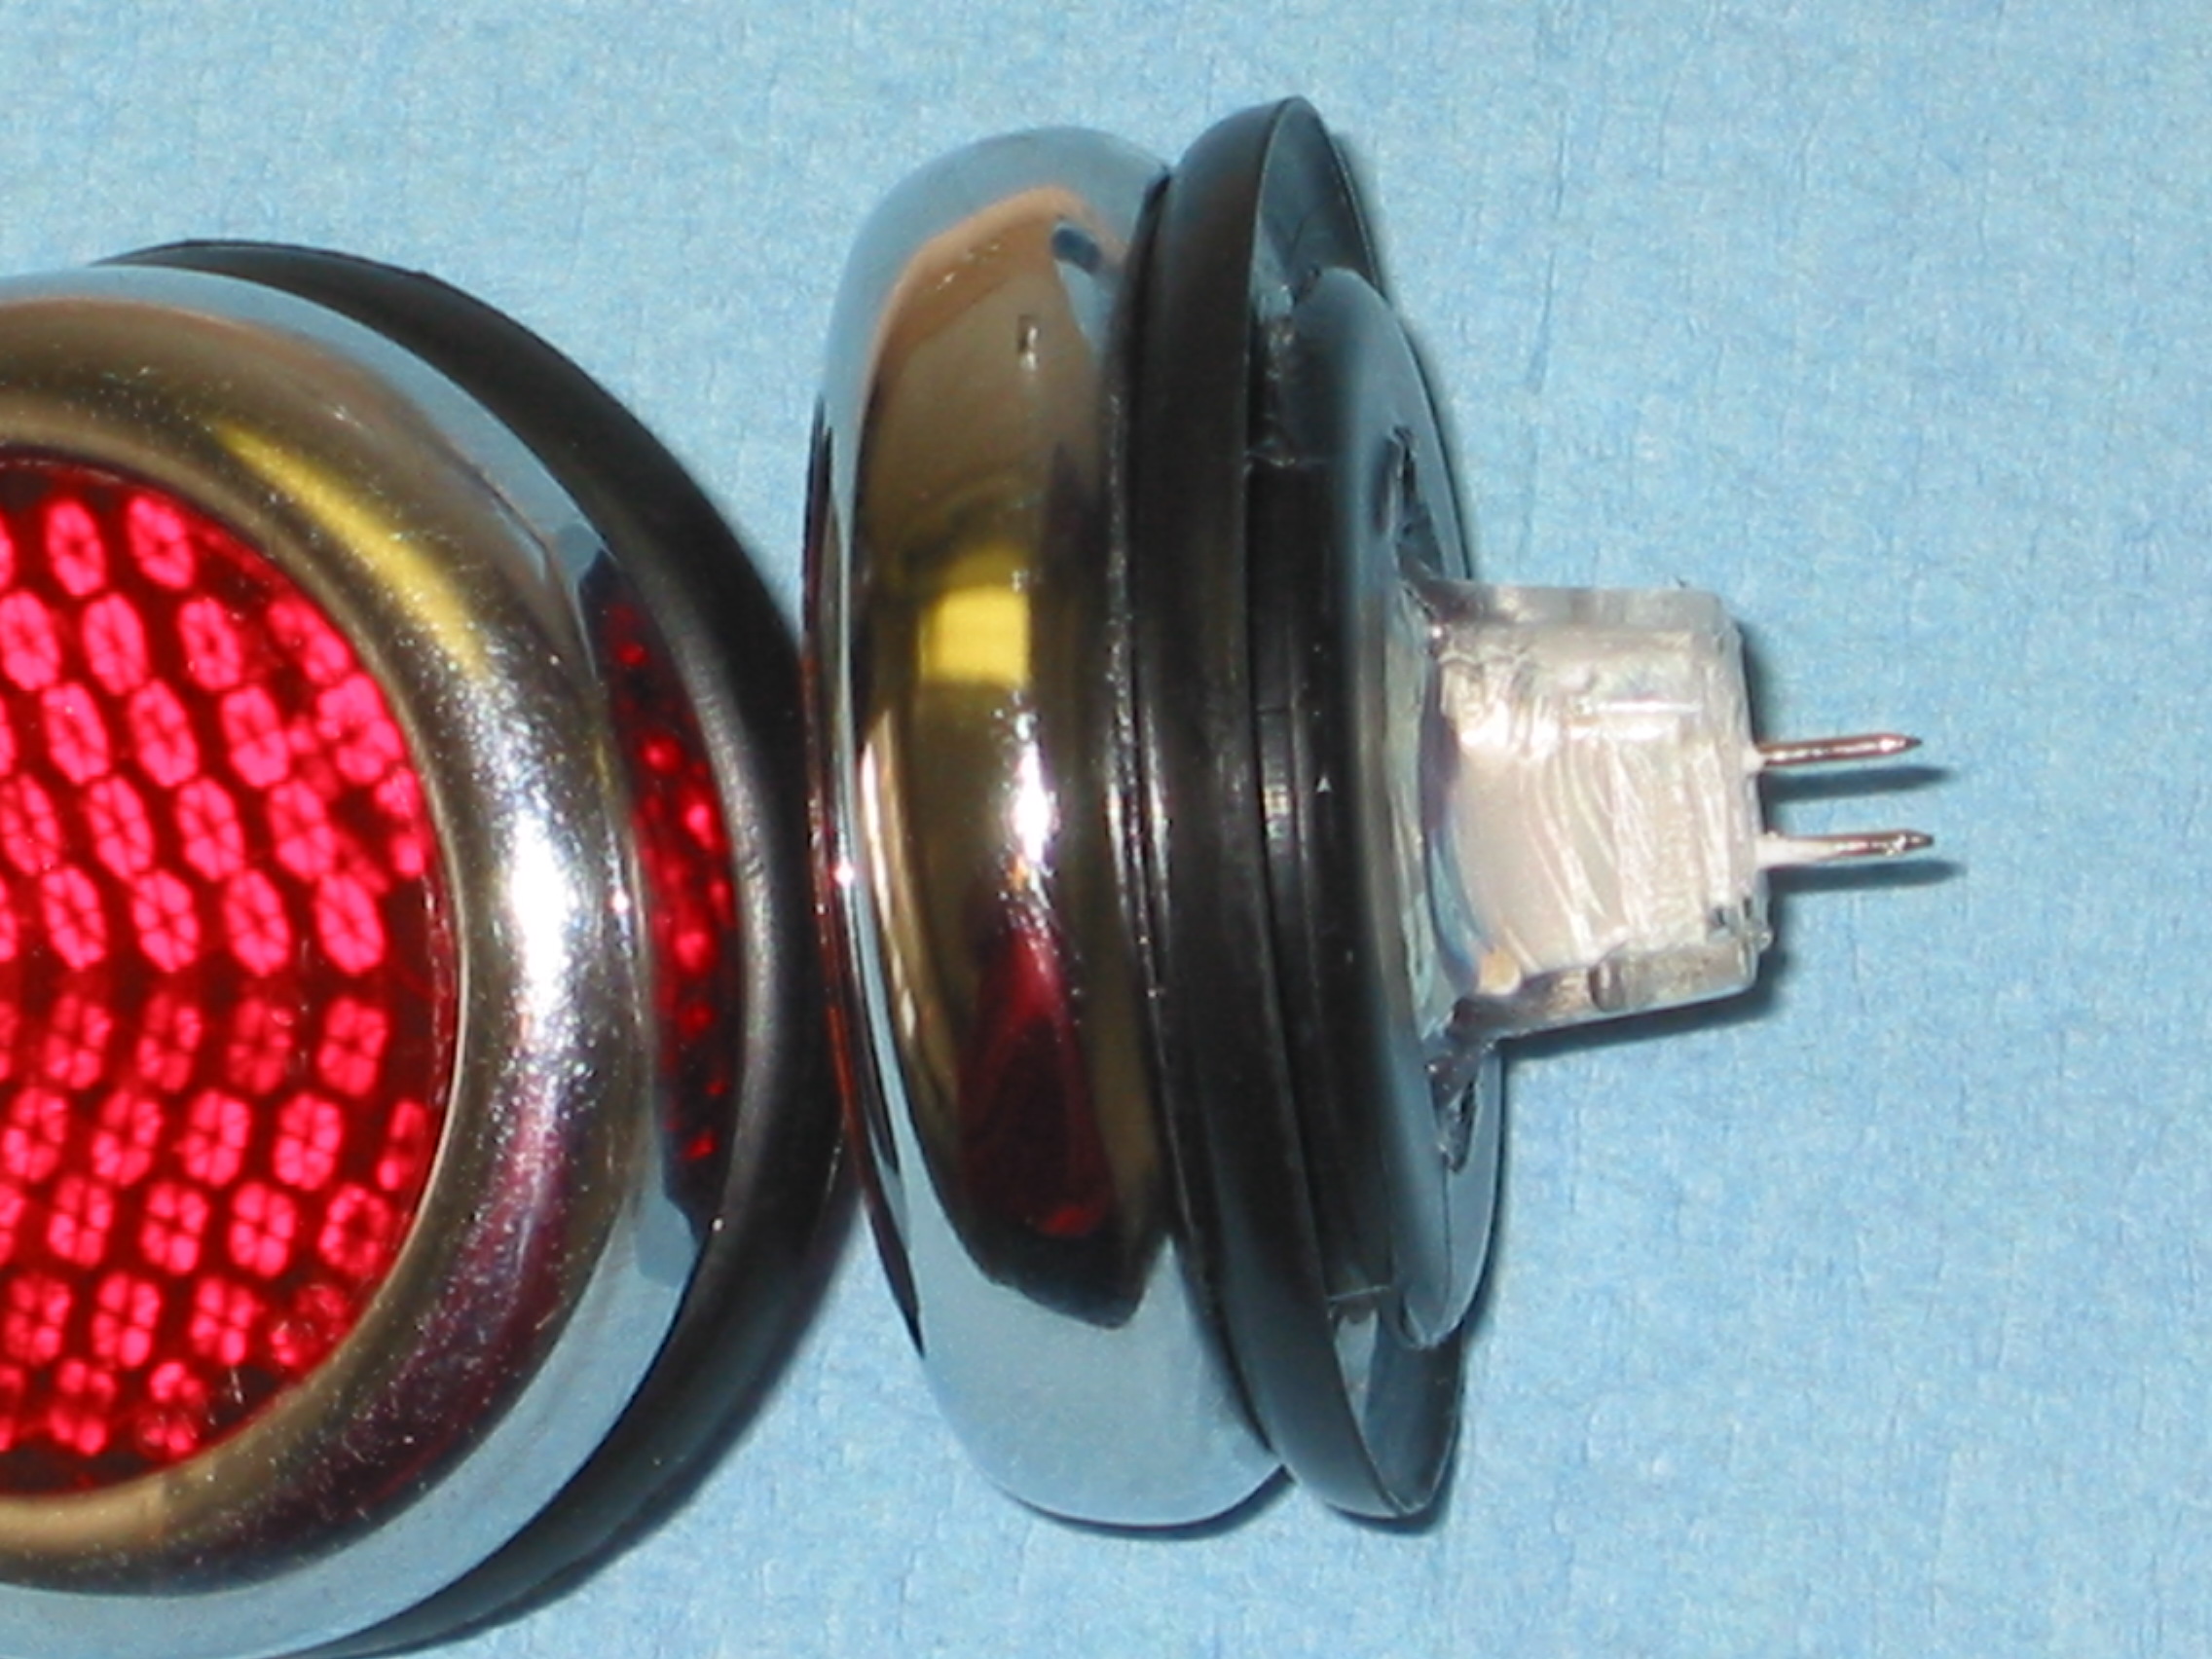
I removed the silver foil from the reflector and drilled a 1″ hole in the center of the rubber grommet. I then trimmed the hole to create an
inward taper into the reflector body to match the cone of the new bulb. Then I secured the red reflector to the grommet, sat the halogen bulb inside and pressed the assembly together. This is not real easy to do. I added a little dishwashing soap to the rubber to make it simpler to press things together. After assembly, I used a bead of silicone to seal the new bulb to the rubber grommet.
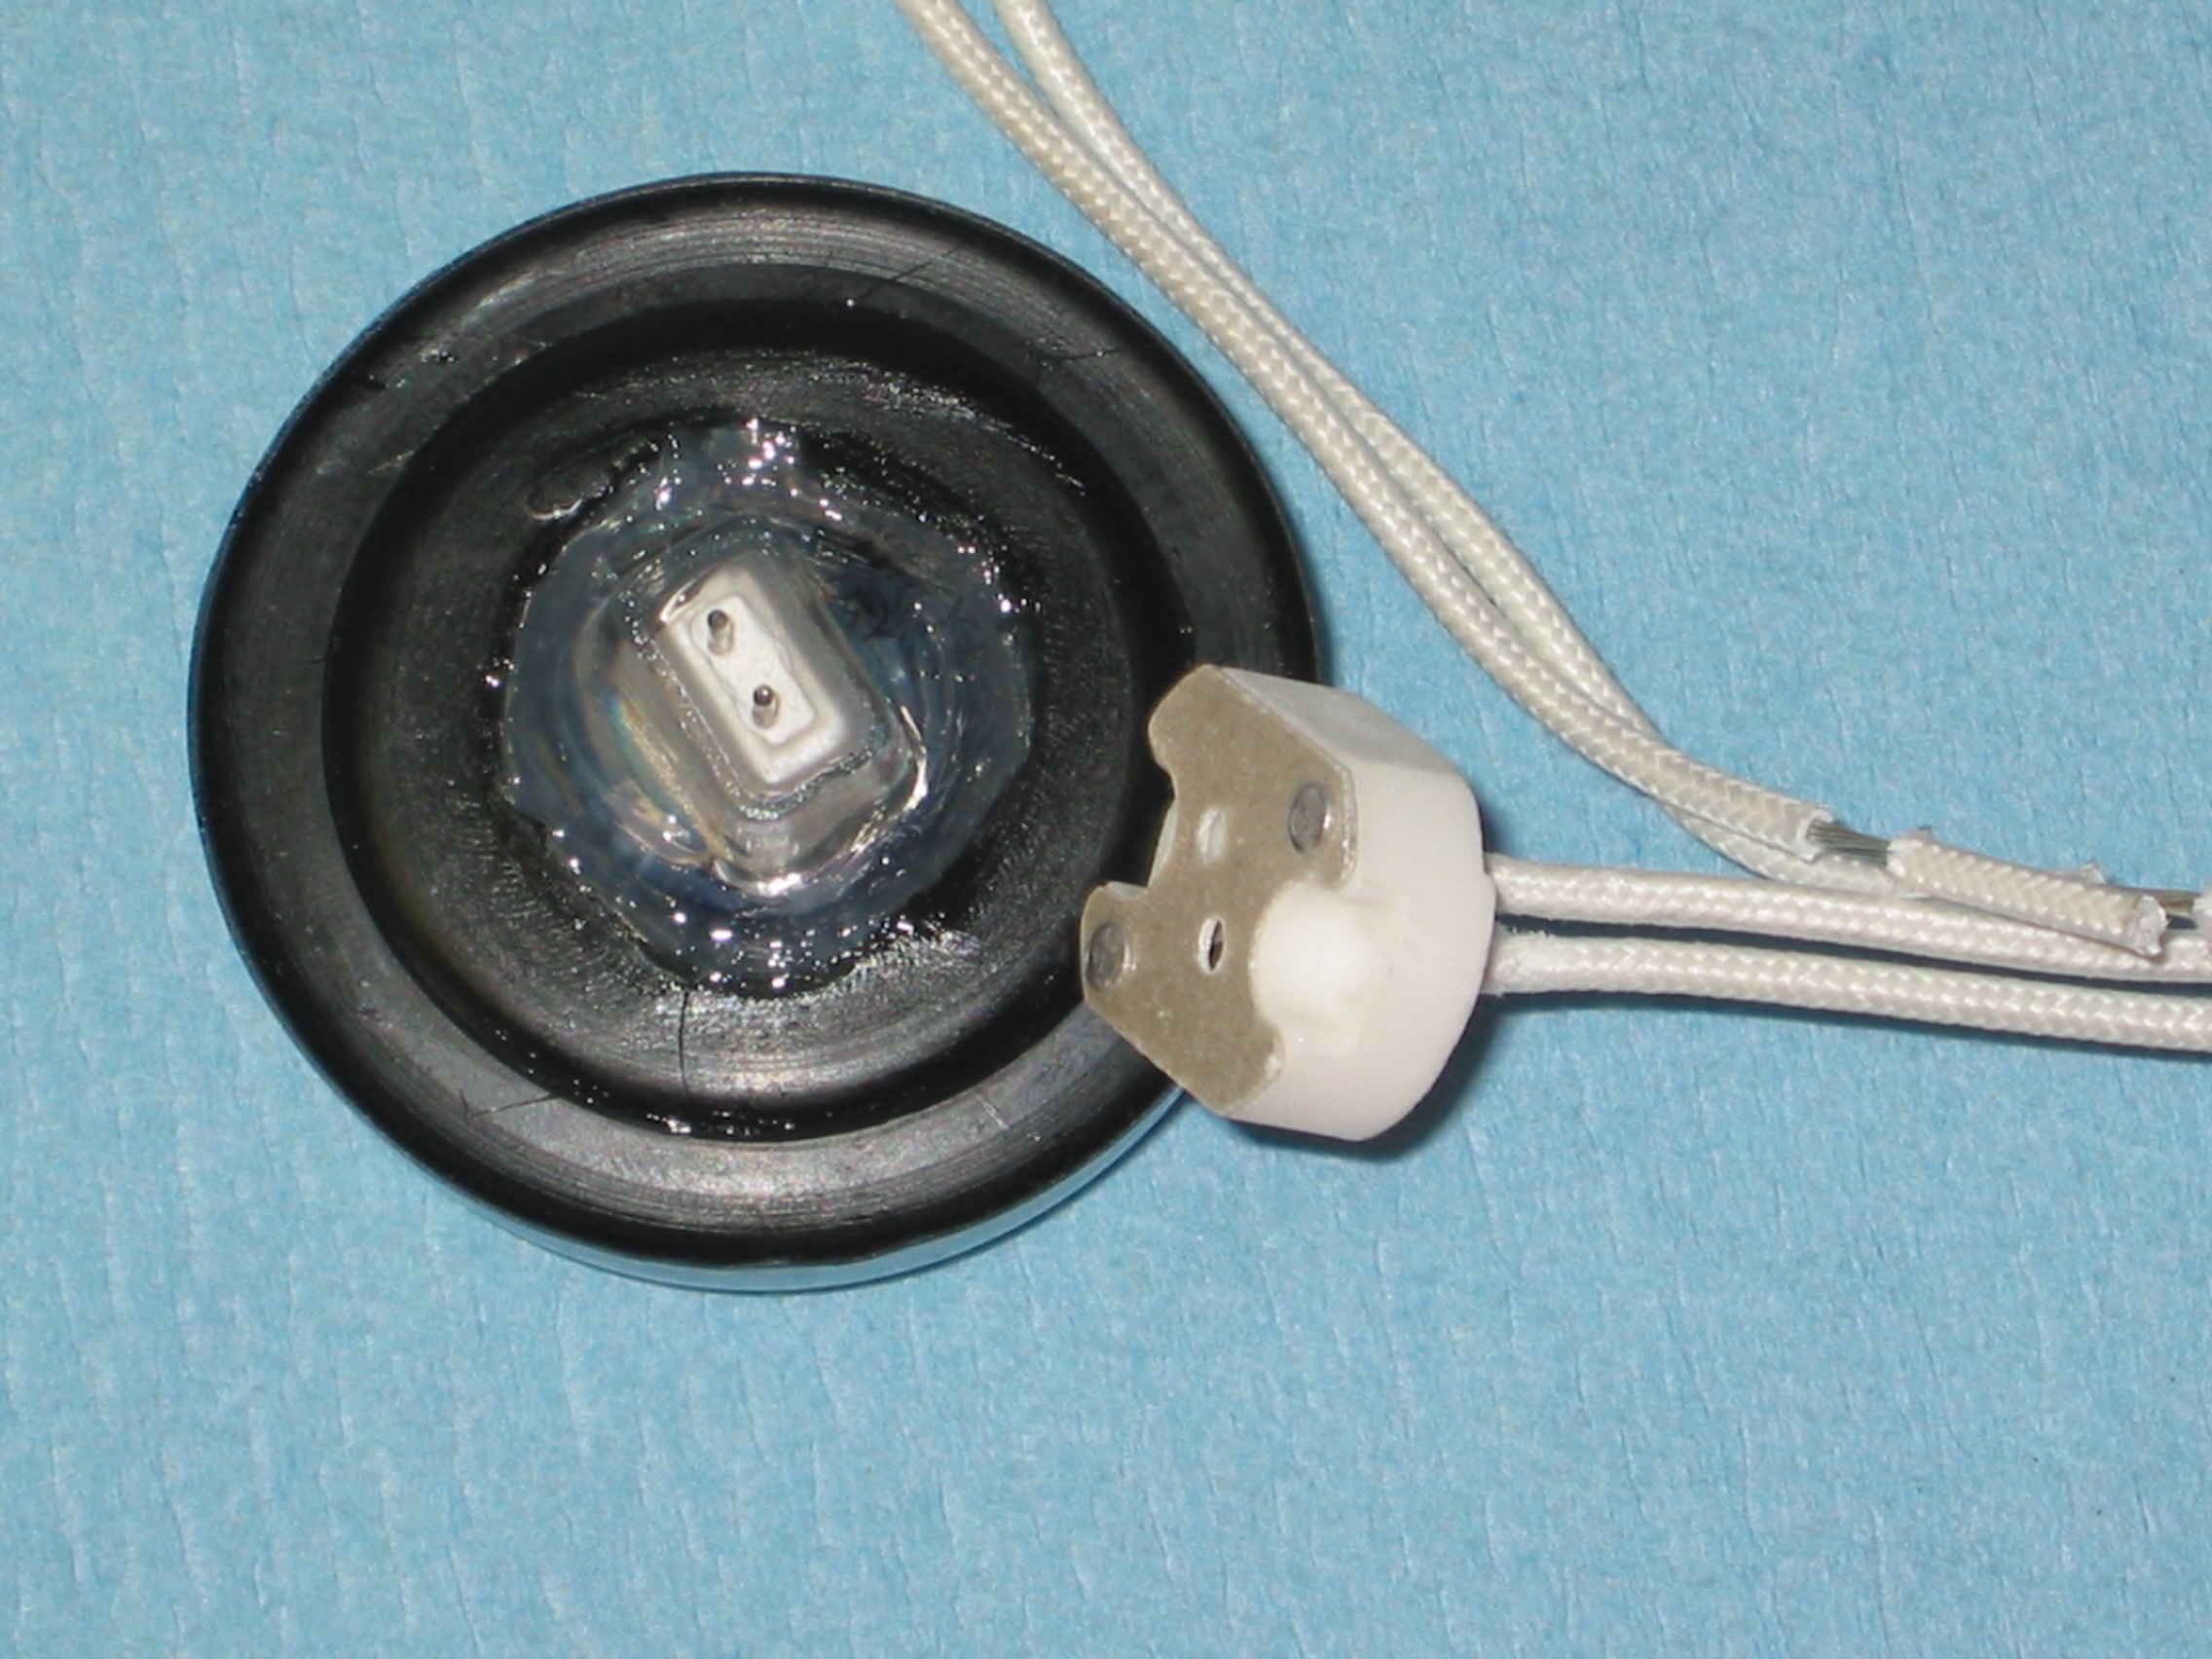
After installation on the car, run wires from the two brake light terminals in the trunk to each reflector pod and from the wire ground screws on each side to the same pod. The bullet connectors for the brake lights are in the boot on the driver side at the rear. I used bullet connectors and changed the single bullet holders to double so I did not have to spice into the wires. Driver side is White with Purple trace and Passenger side is White with brown trace. Since these will
light both with brake and turn signals this is important.
Rear modified reflectors 2
Rear modified reflectors 3
Rear modified reflectors 4
Rear modified reflectors 5
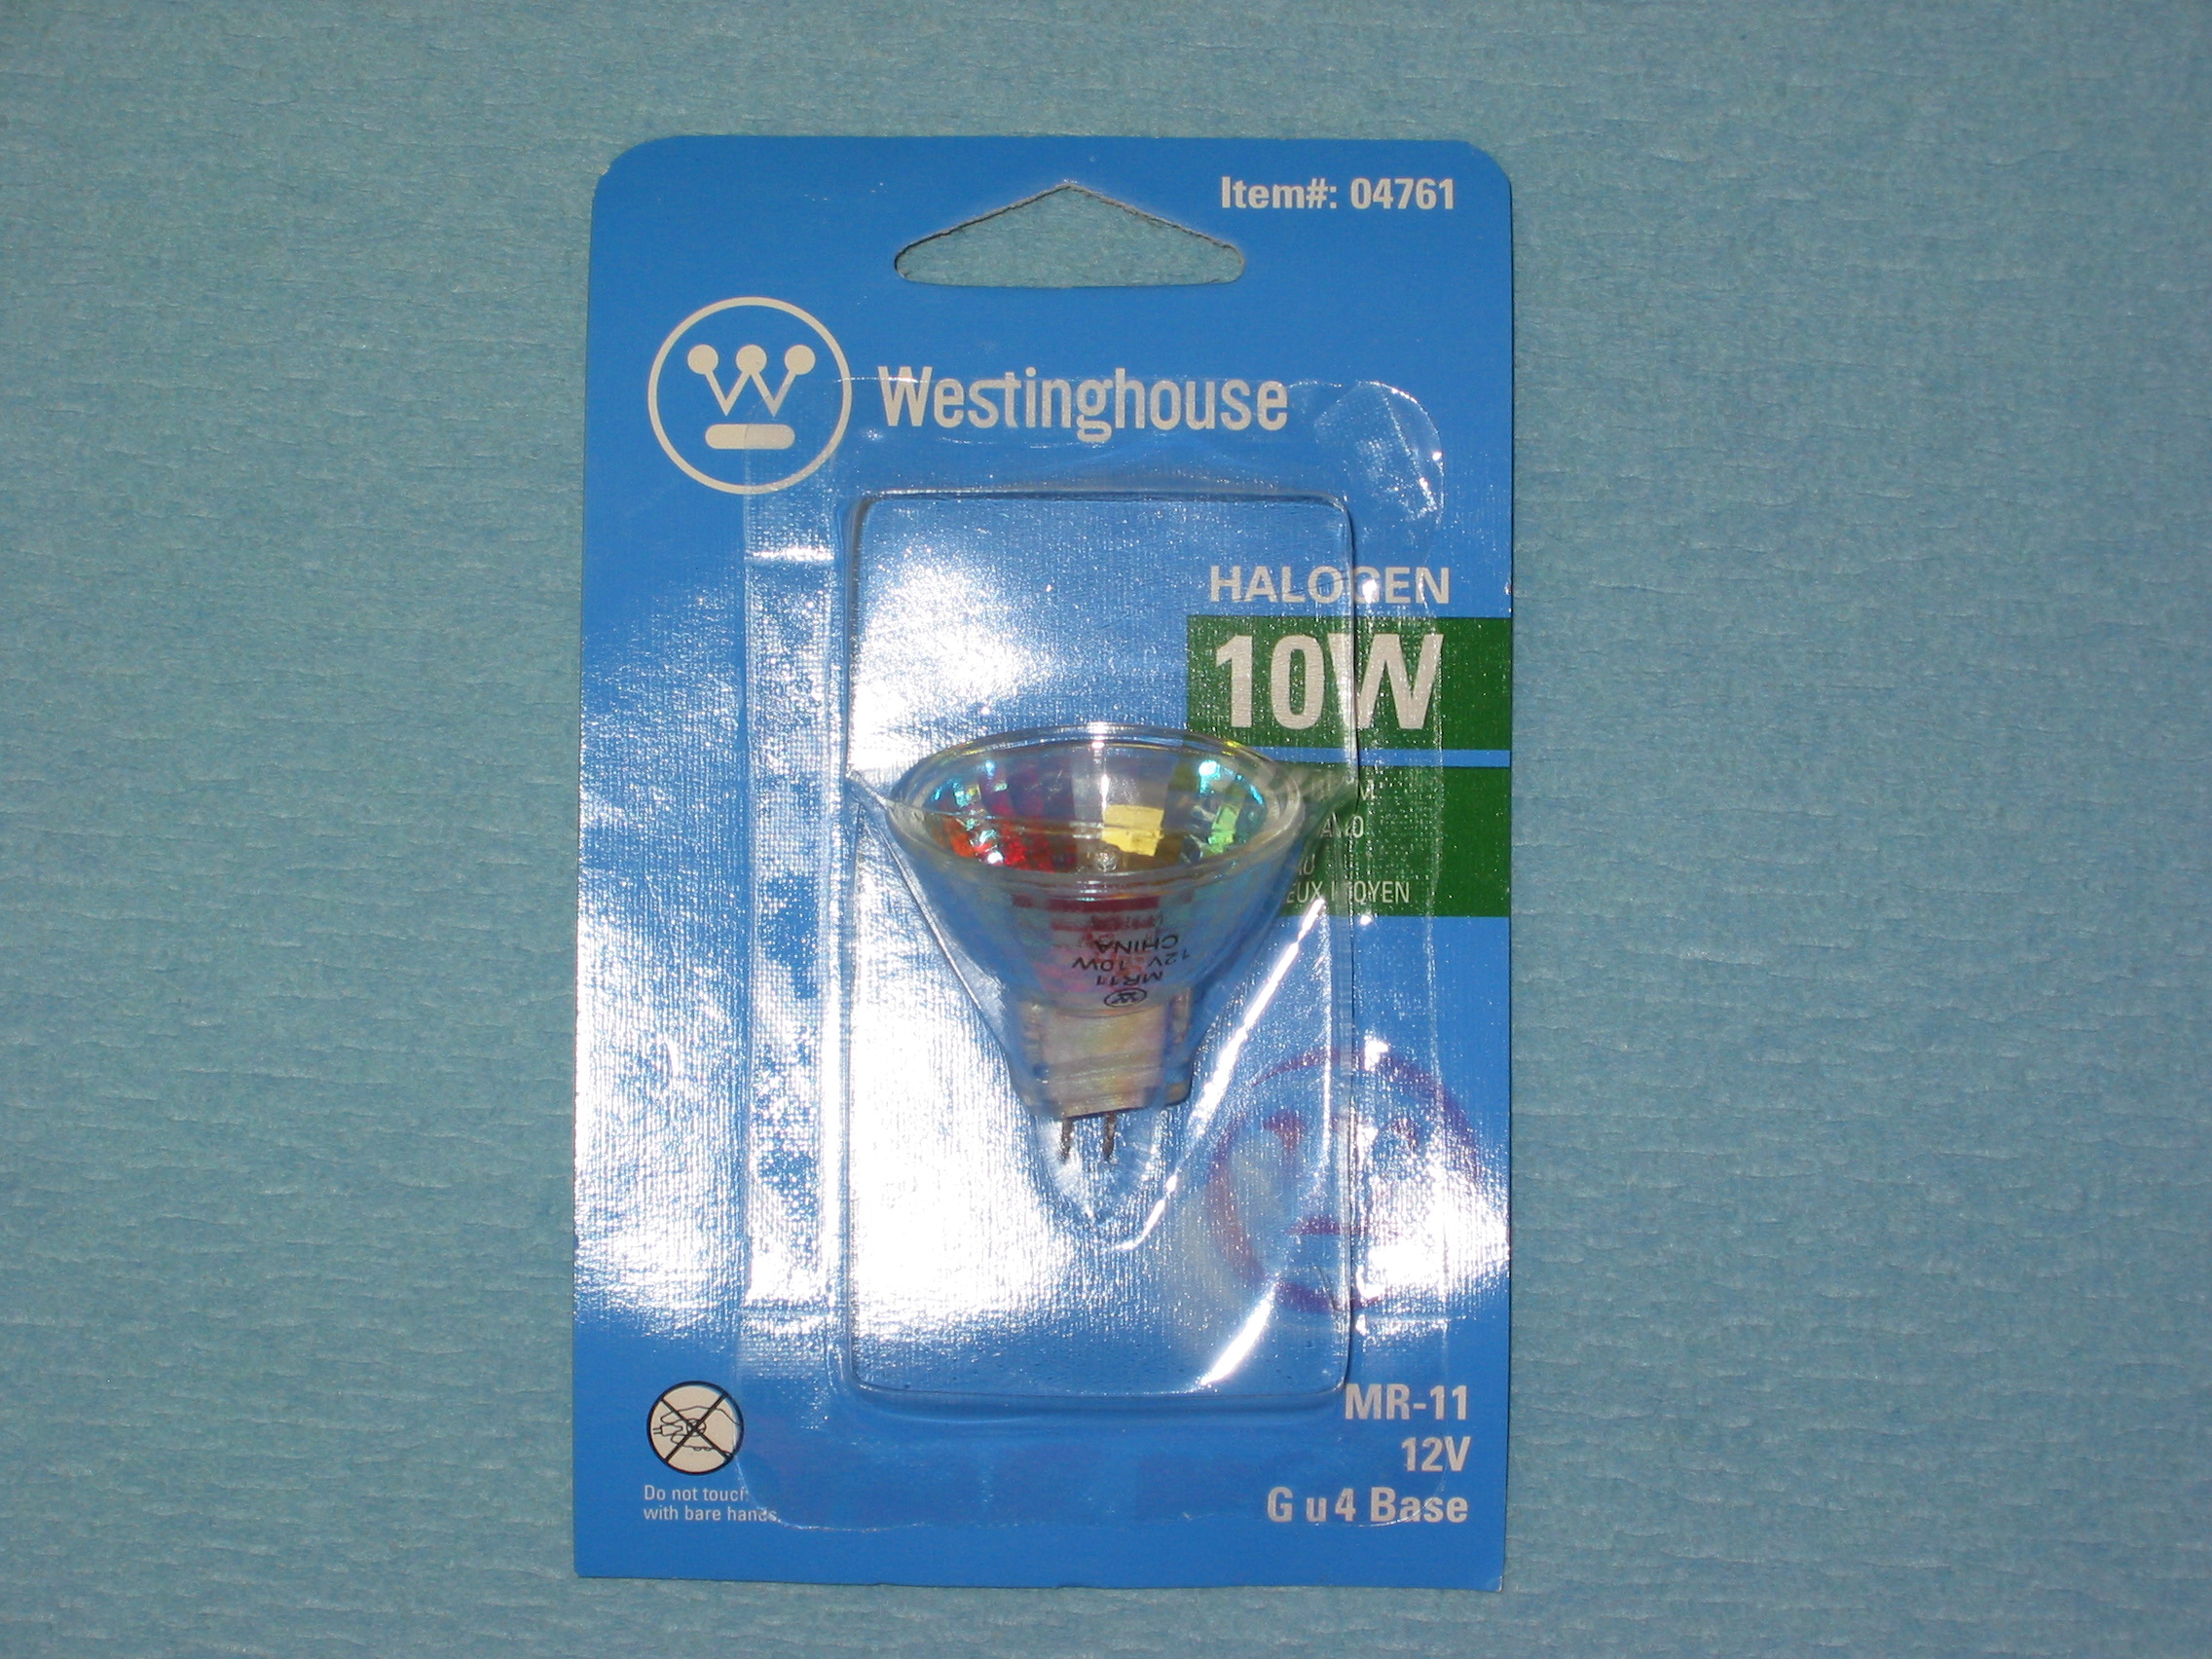
Halogen bulb