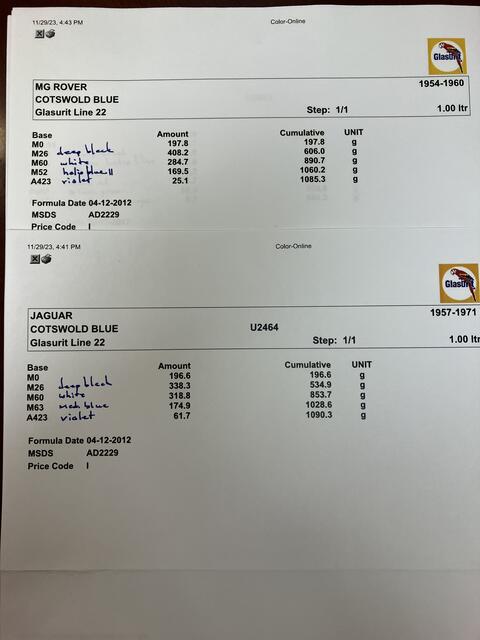
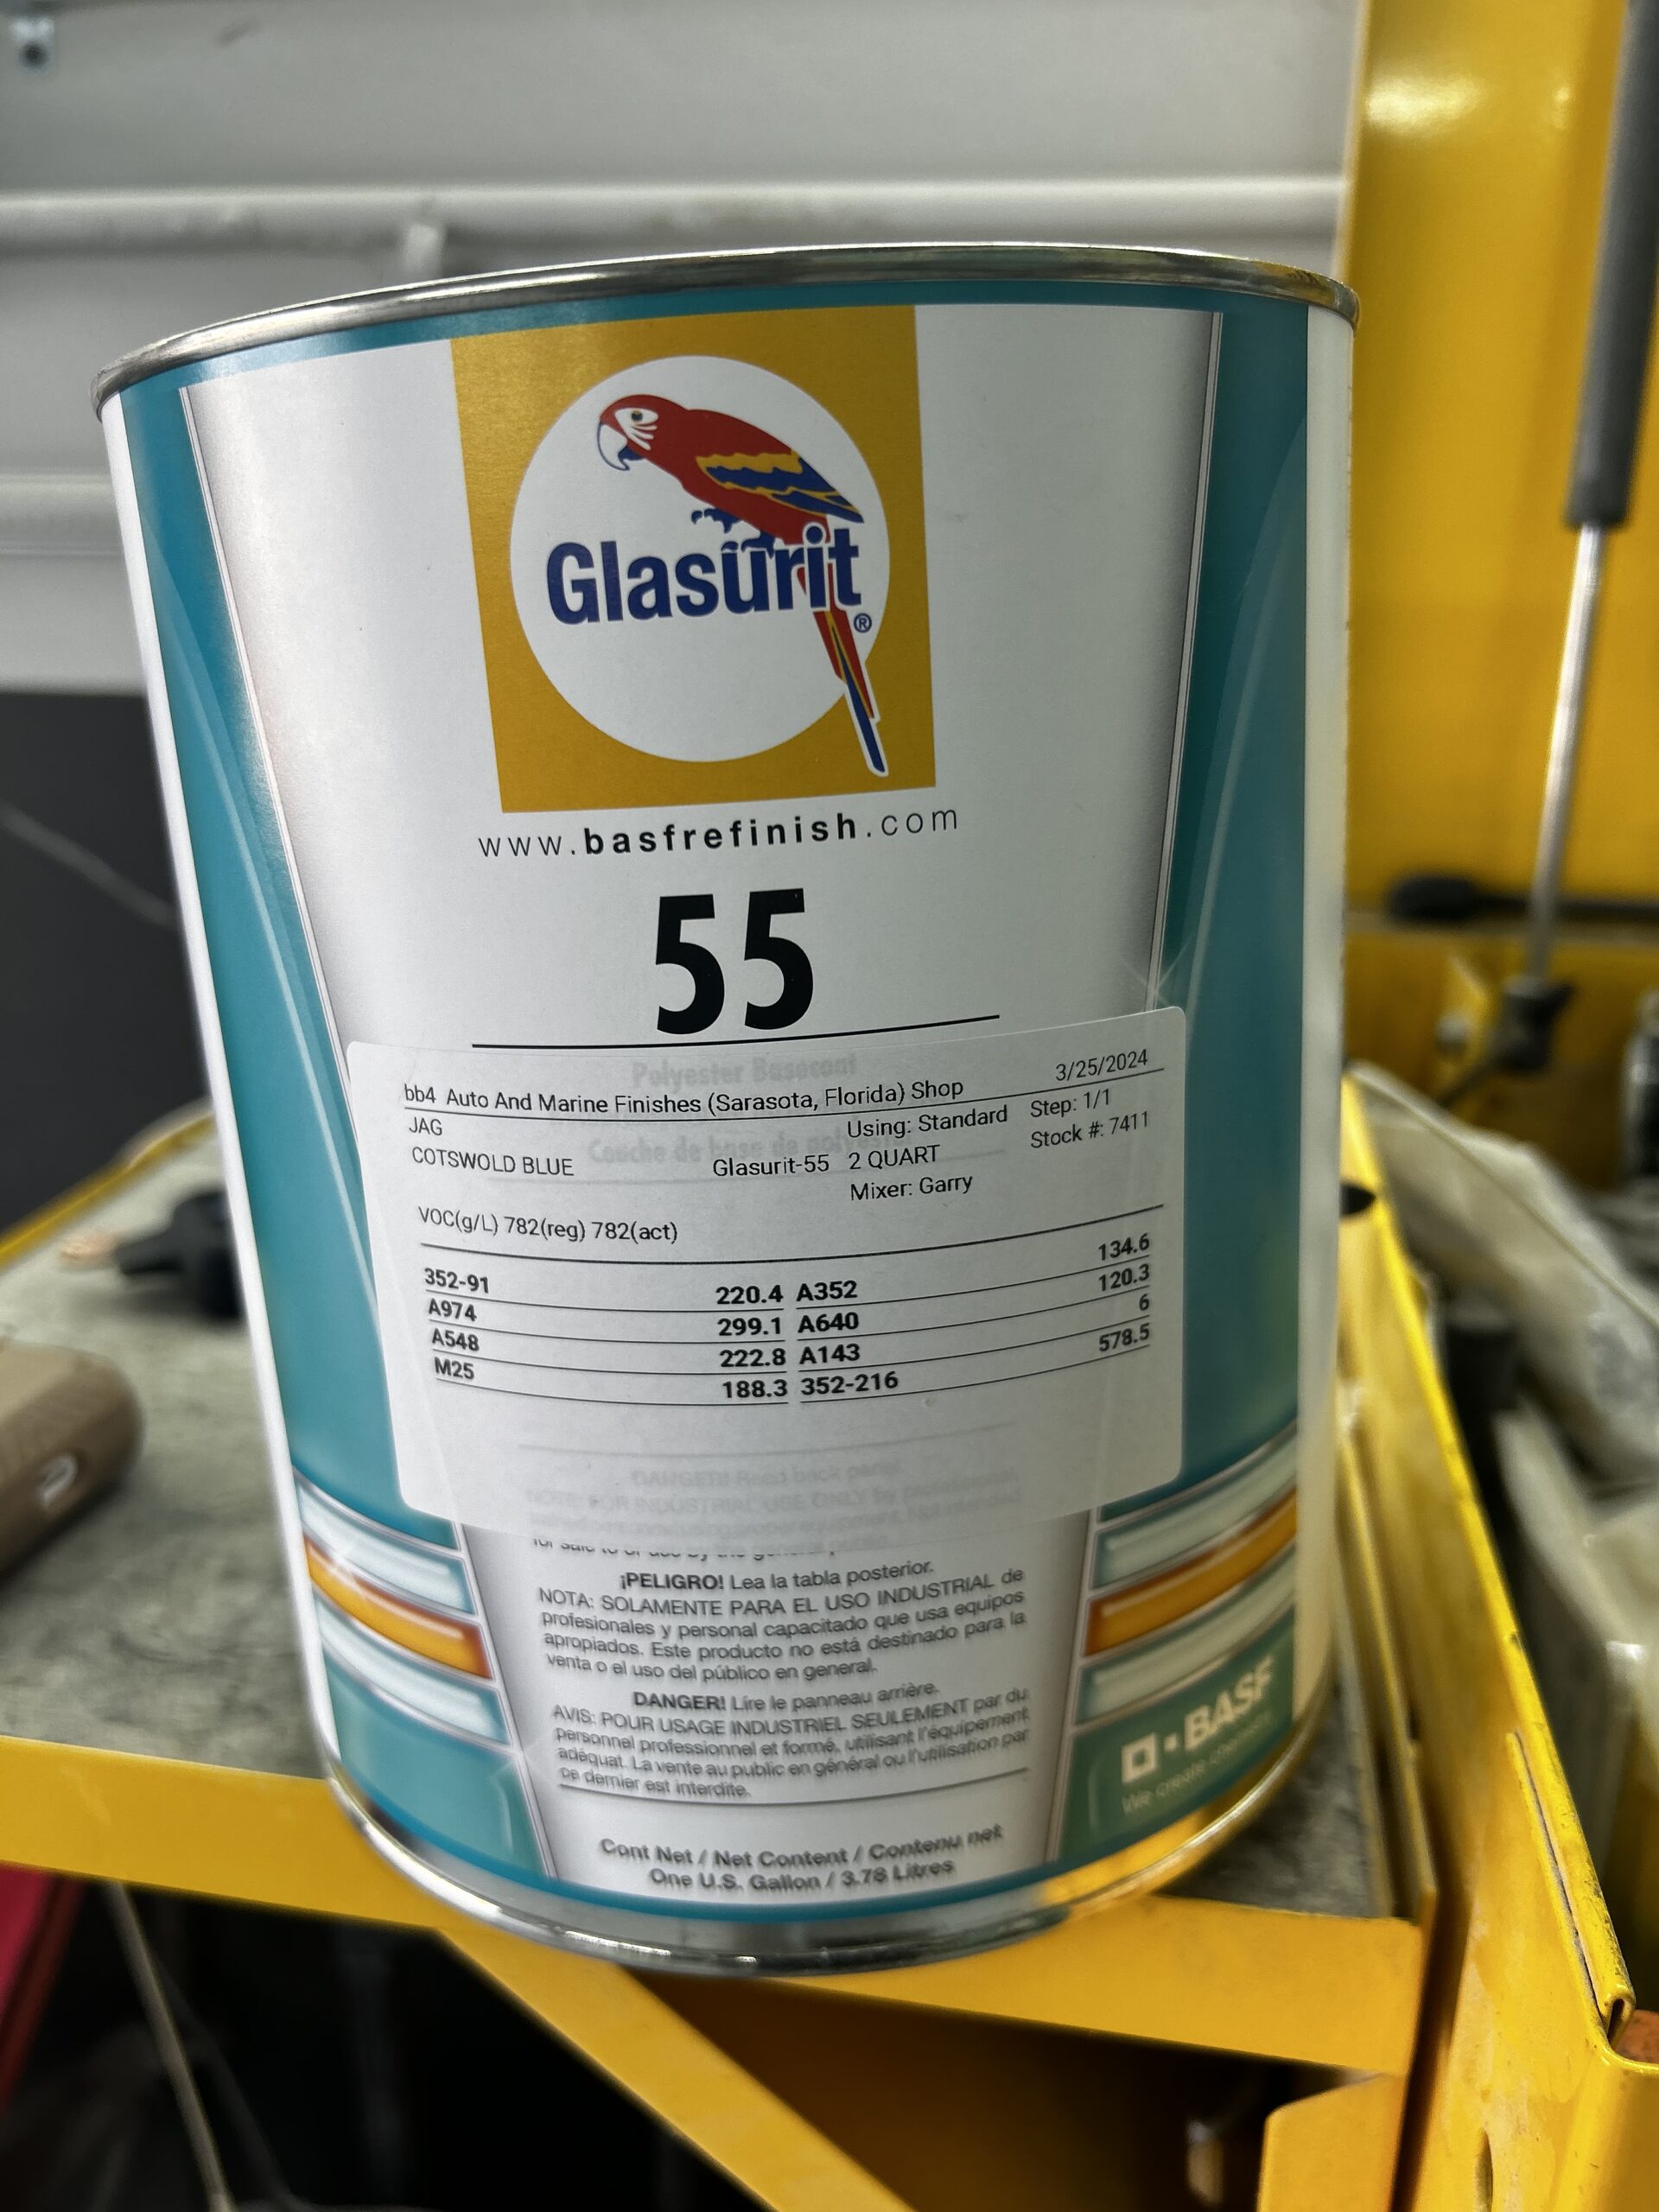
October 1, 2006
Jeremy Turner’s Work Continues
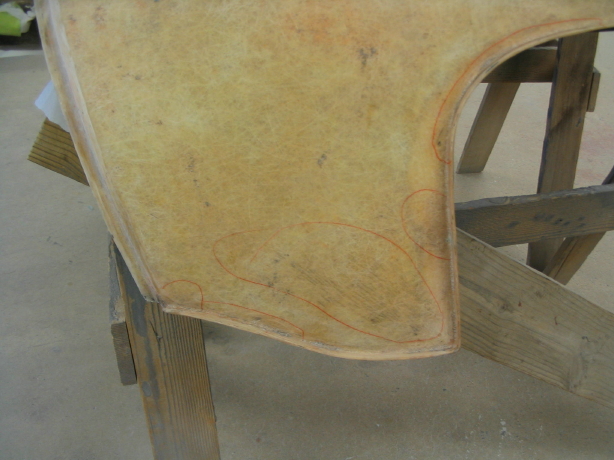
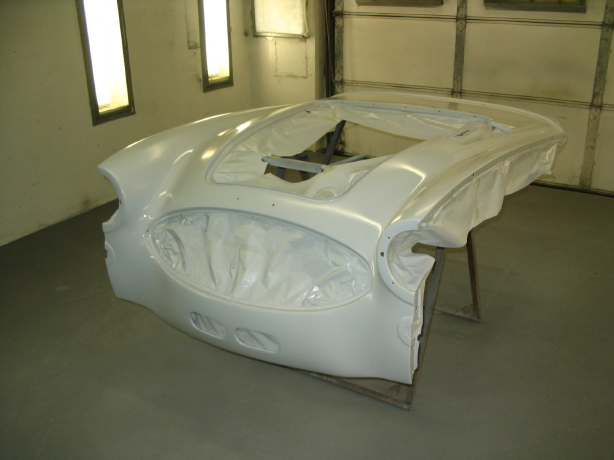
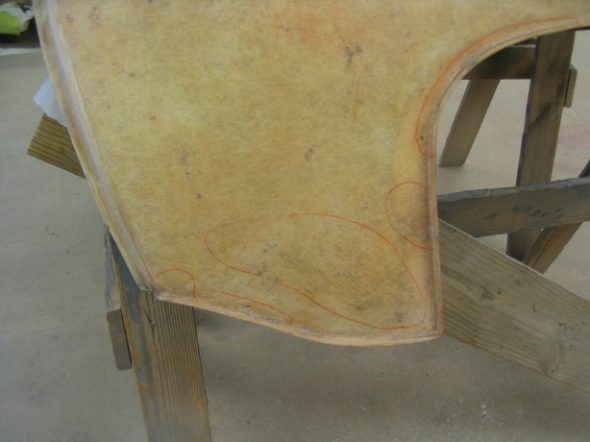
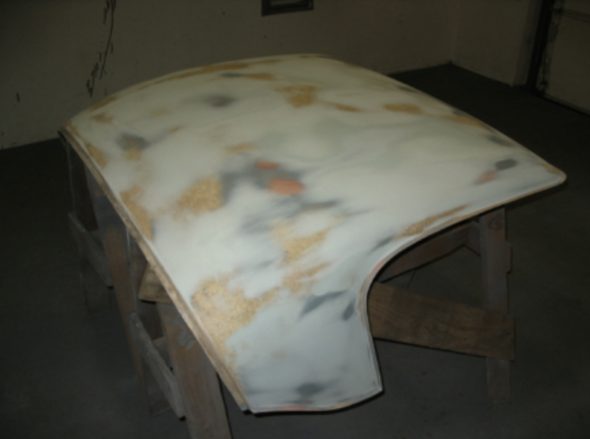
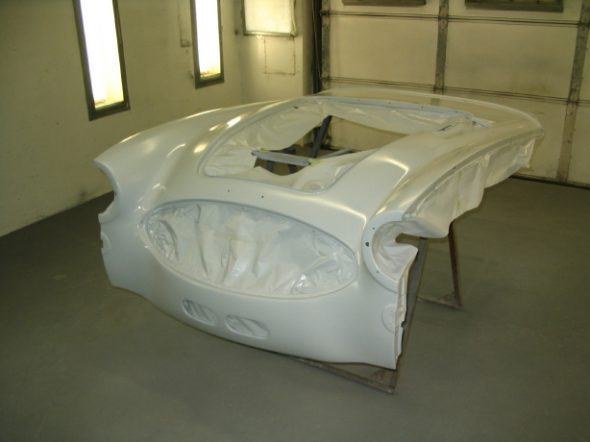
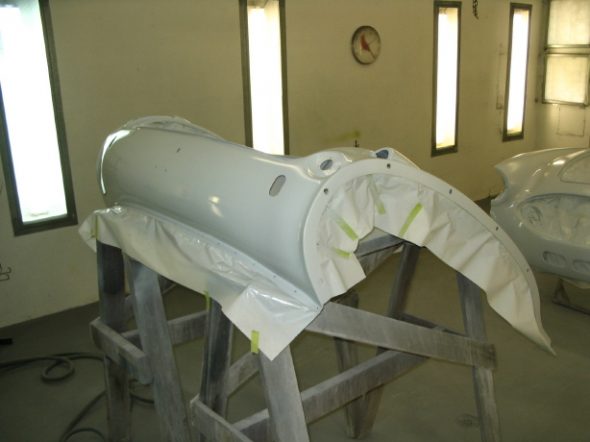
Hardtop – Jeremy packed up the car and got everything in his trailer to bring back to me. We were delayed a day because of rain, so in the meantime he began bodywork on the hardtop. Then it was final priming for the body panels.
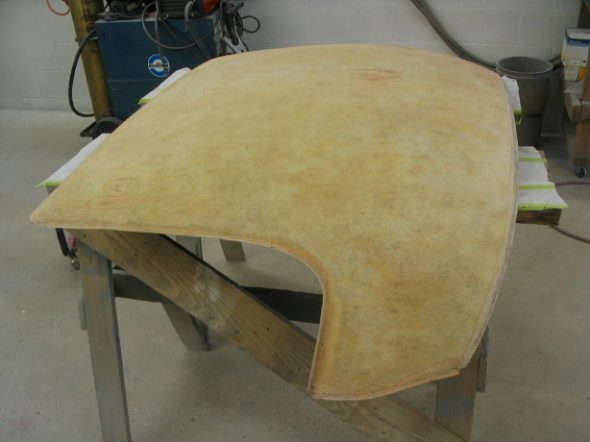
Hardtop 1
Hardtop 4
Hardtop with Filler

Hardtop Prep
final primed front shroud
final primed rear shroud
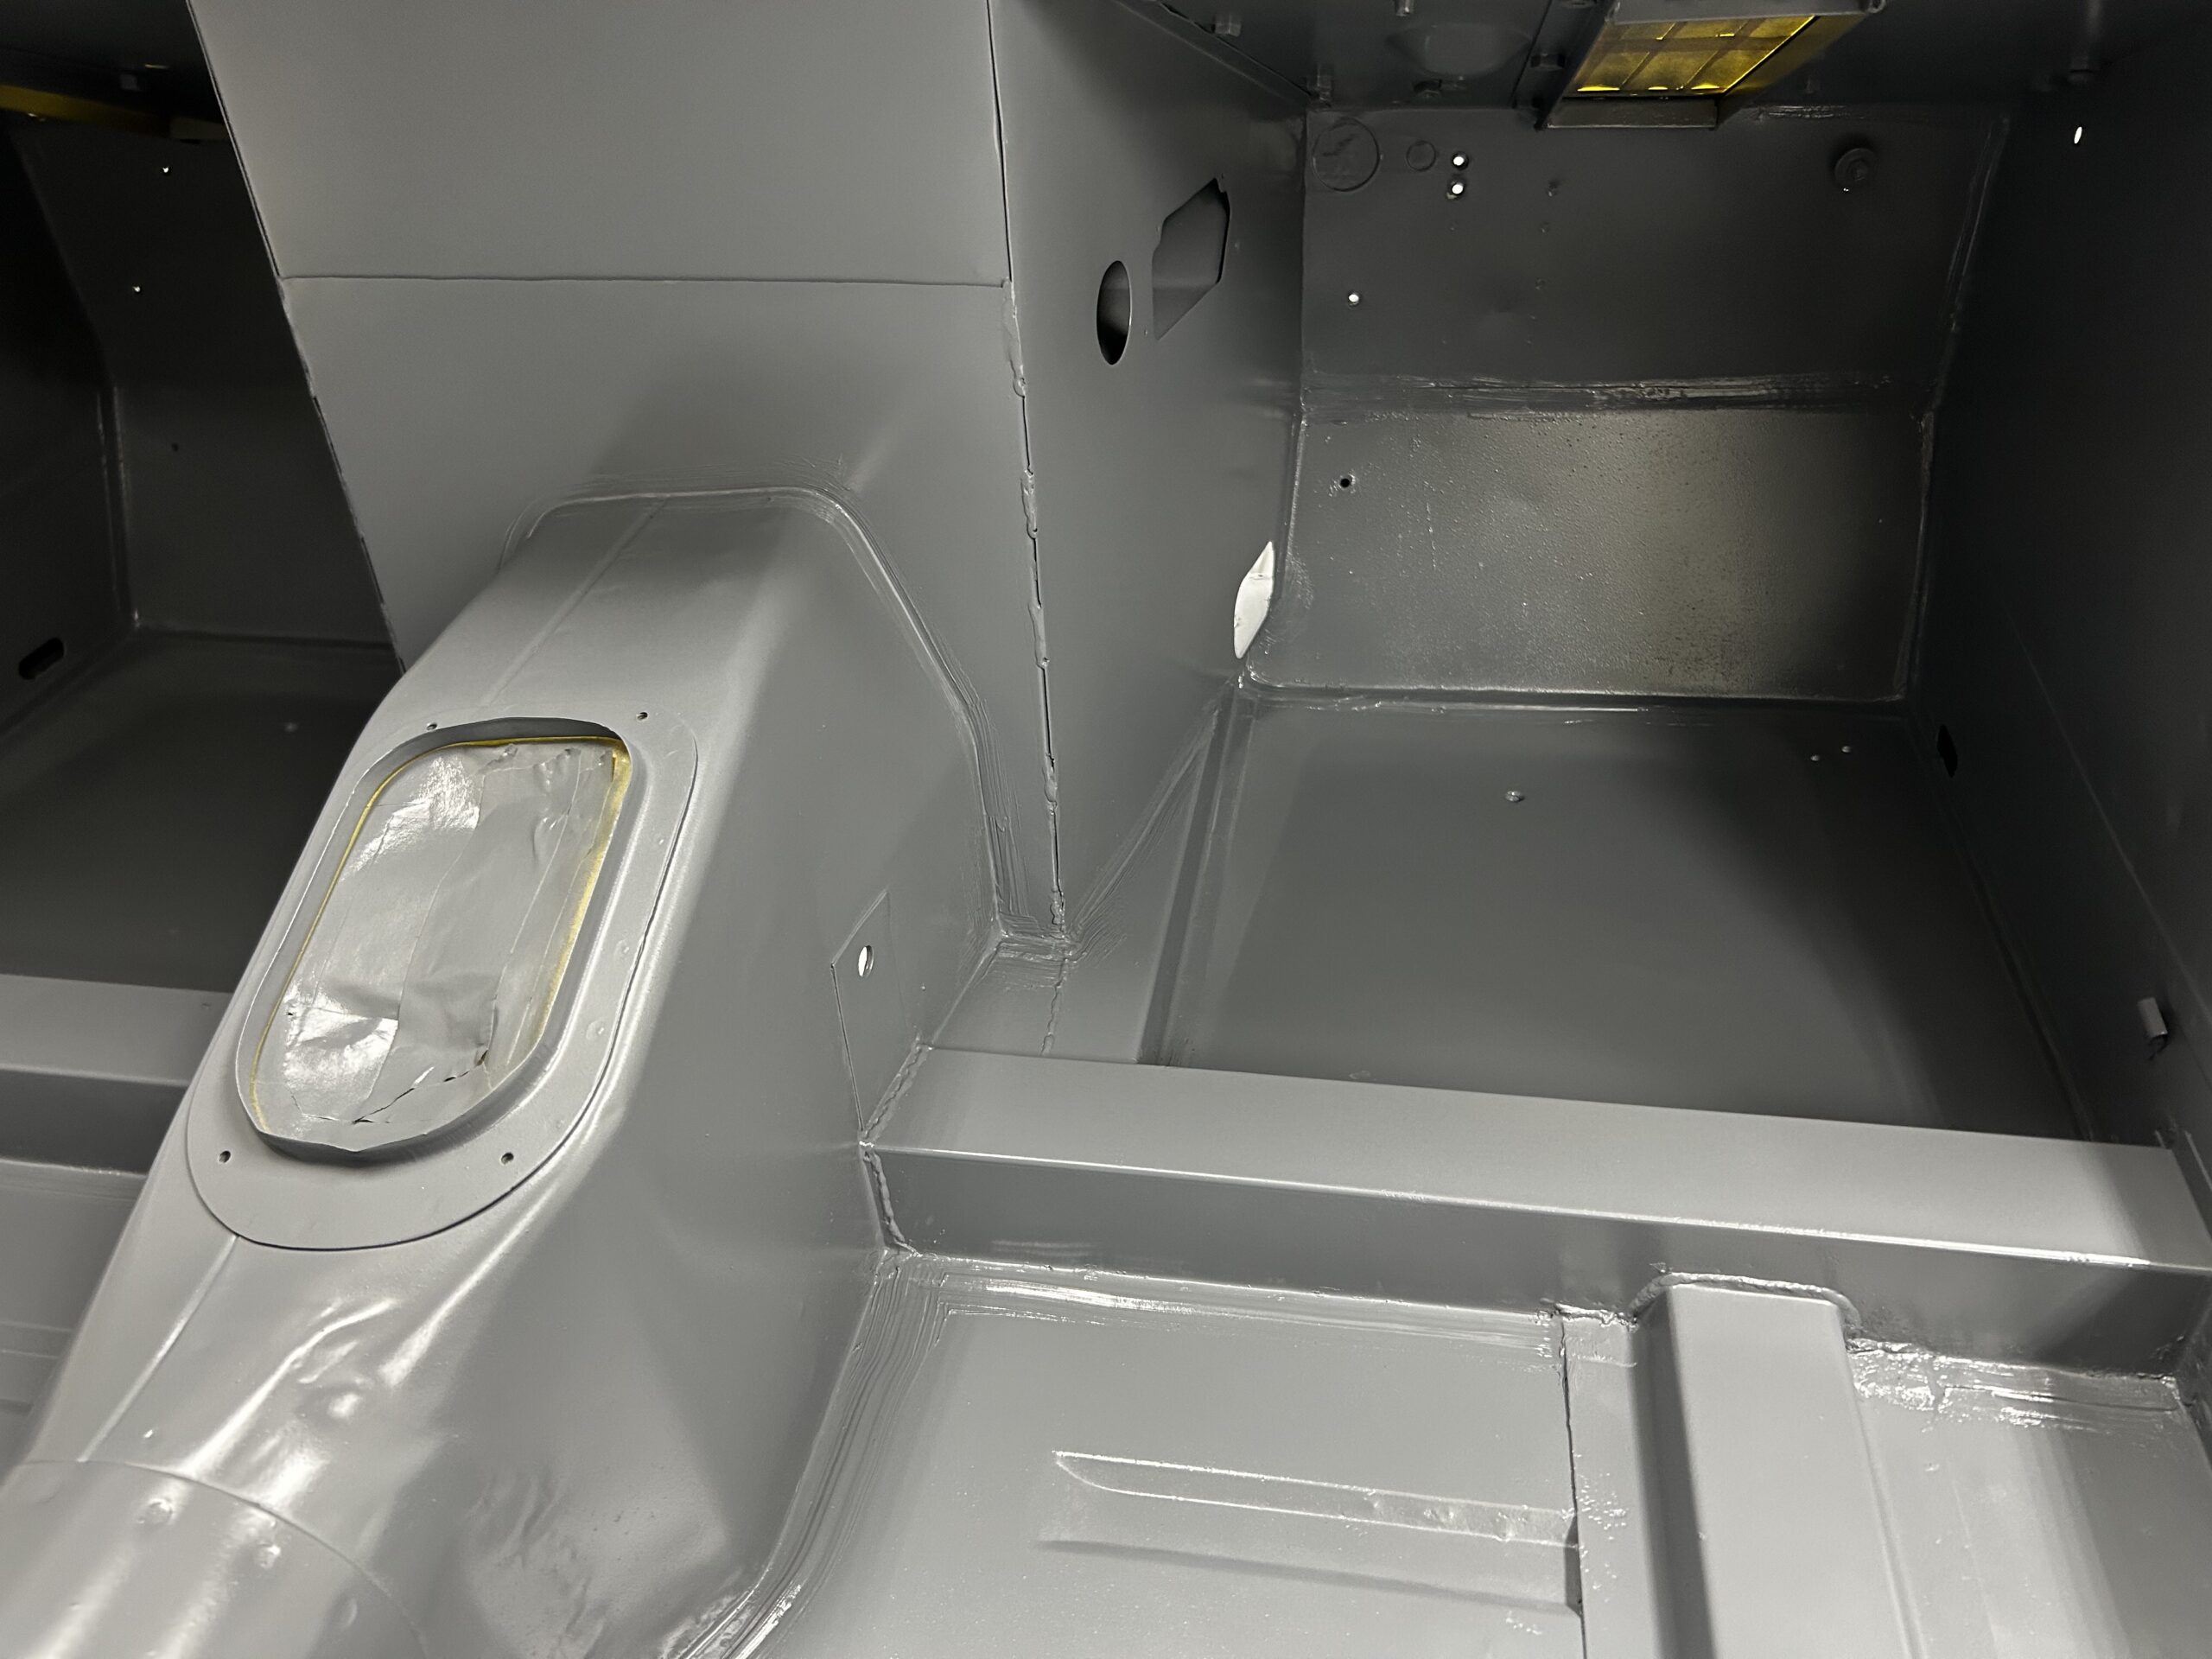
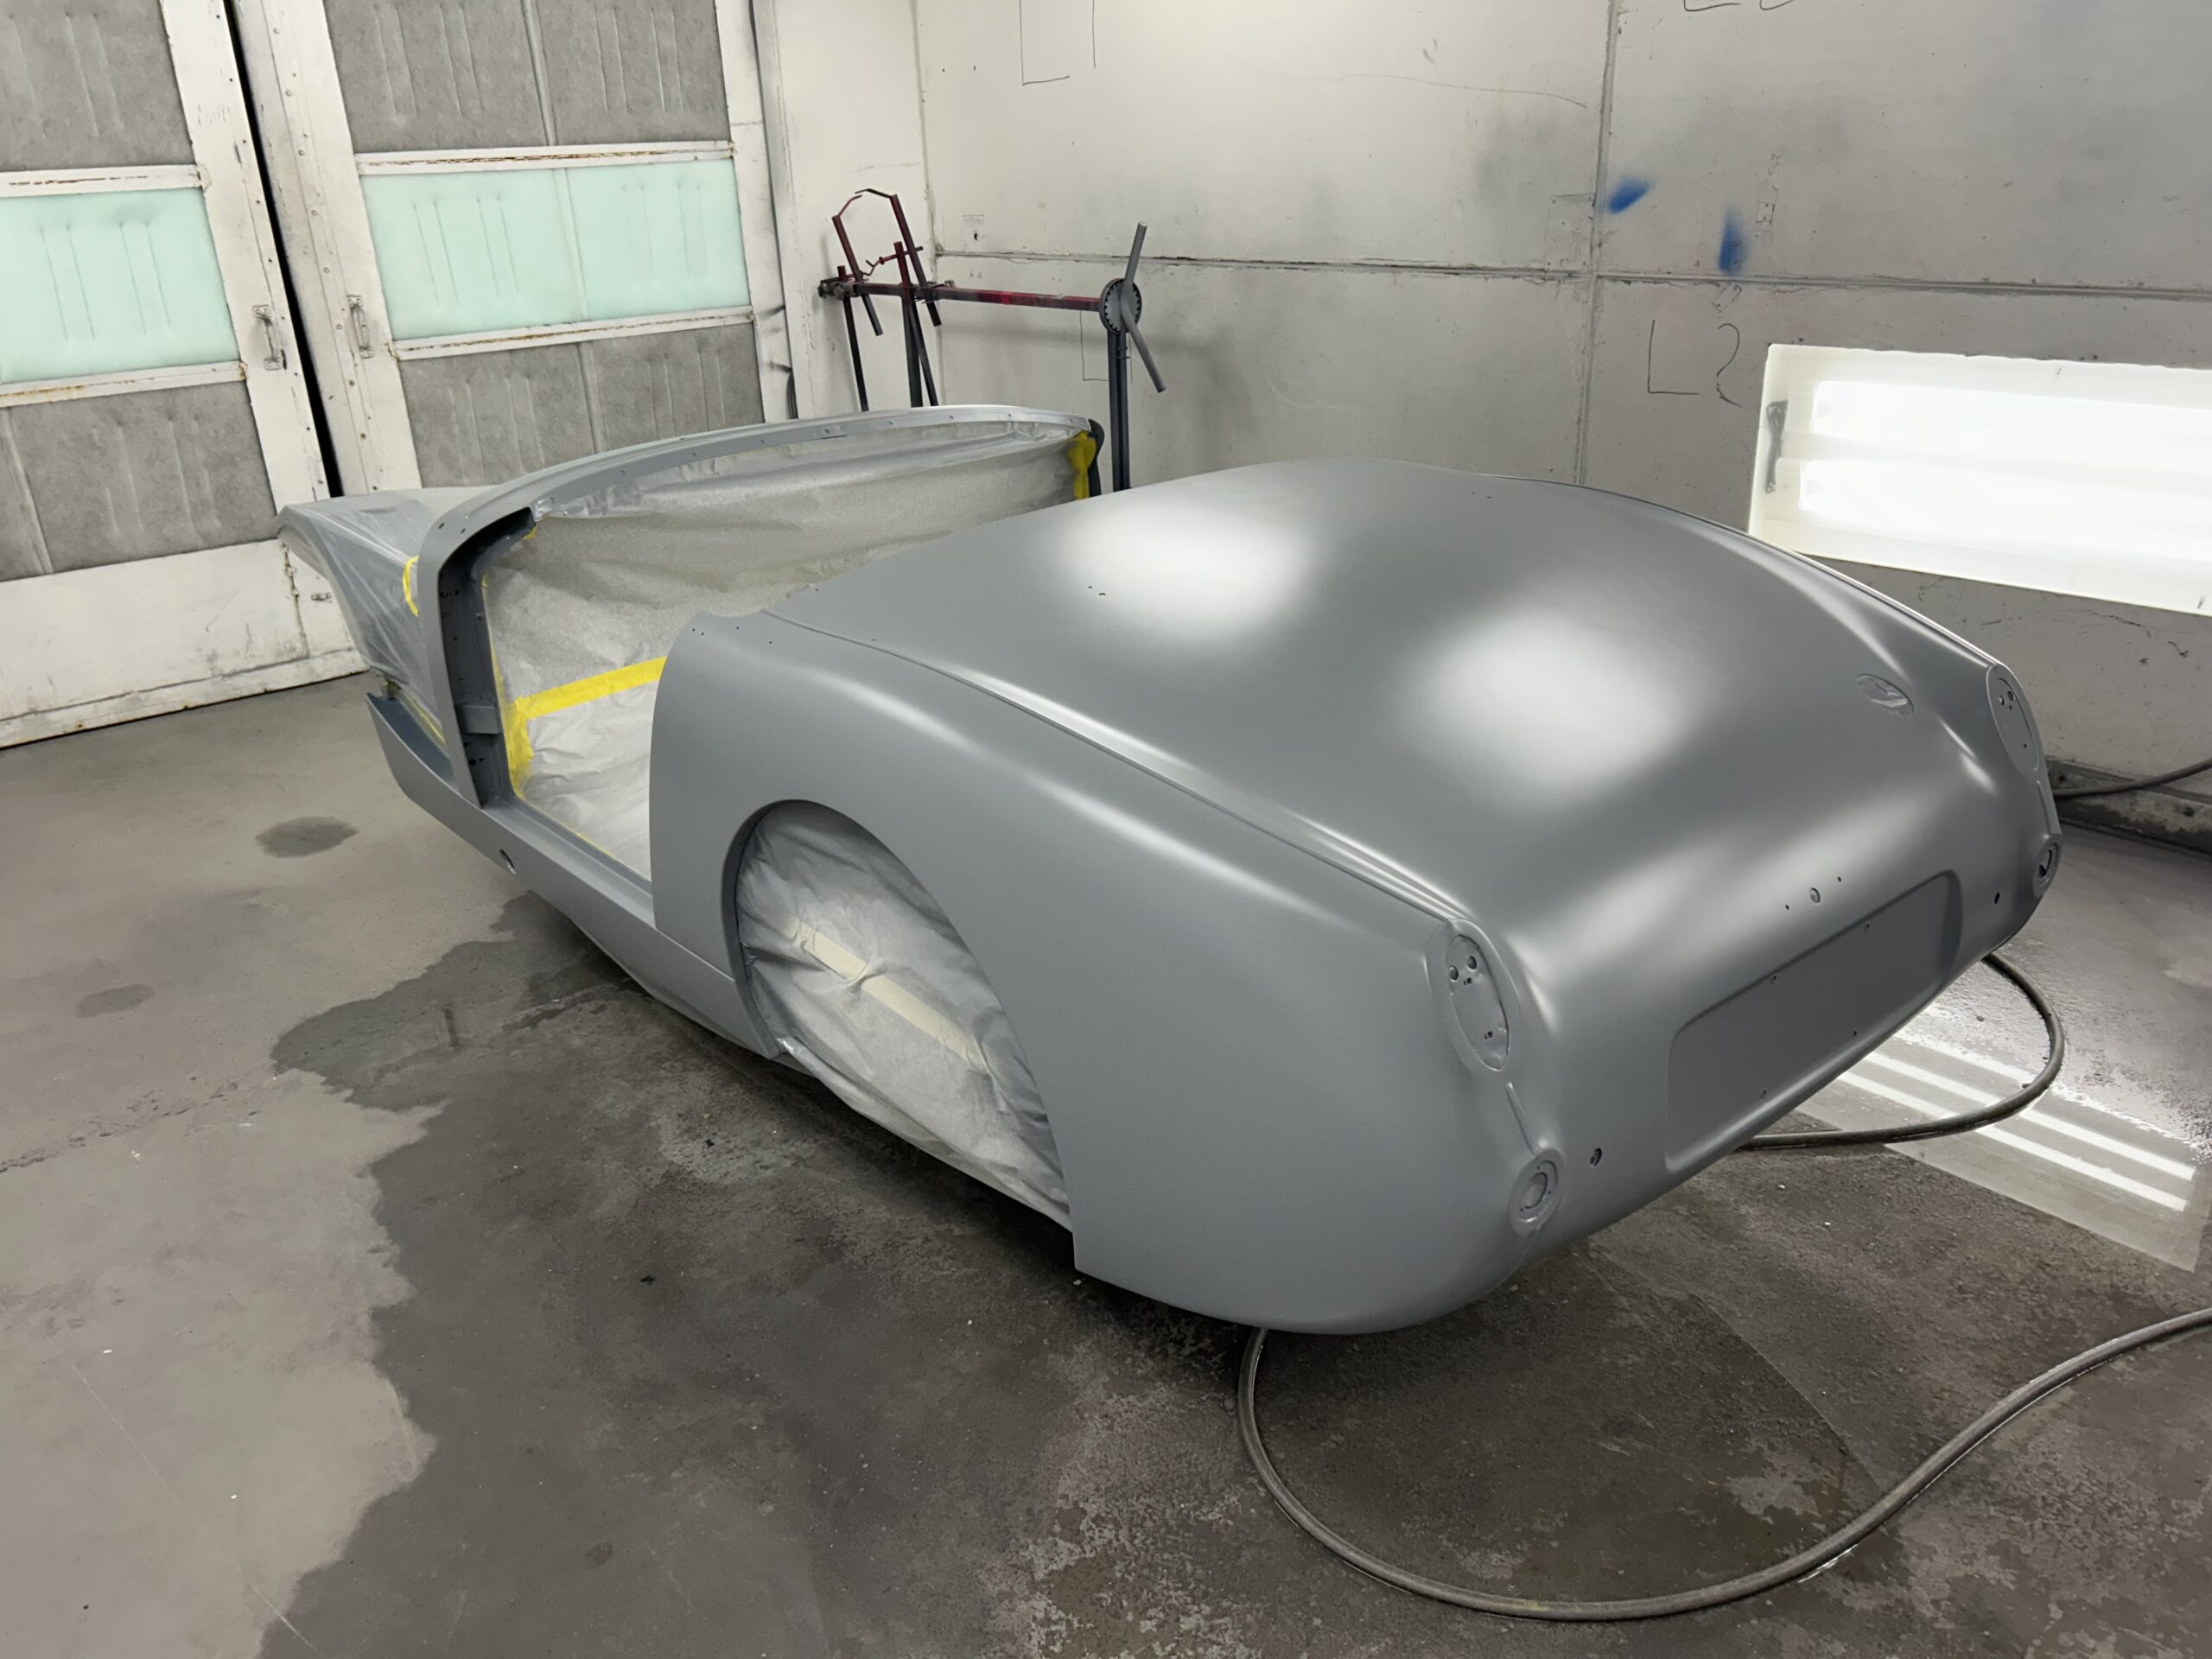
Frame disassembly – With all the exterior panel fitting and bodywork complete, I now have the car to disassemble. I need to remove the engine, and suspension components and put the car on the rolling cart I made. Jeremy will then complete bodywork on the frame and we will be ready to paint.
Before I can begin the disassembly there are a few things to be done. First, is finalizing the throttle cable set-up. I also want to check the aluminum radiator baffles that Schickel’s fabricated to see if they are going to fit properly.
October 12, 2006
Work Continues in the Rose Garage
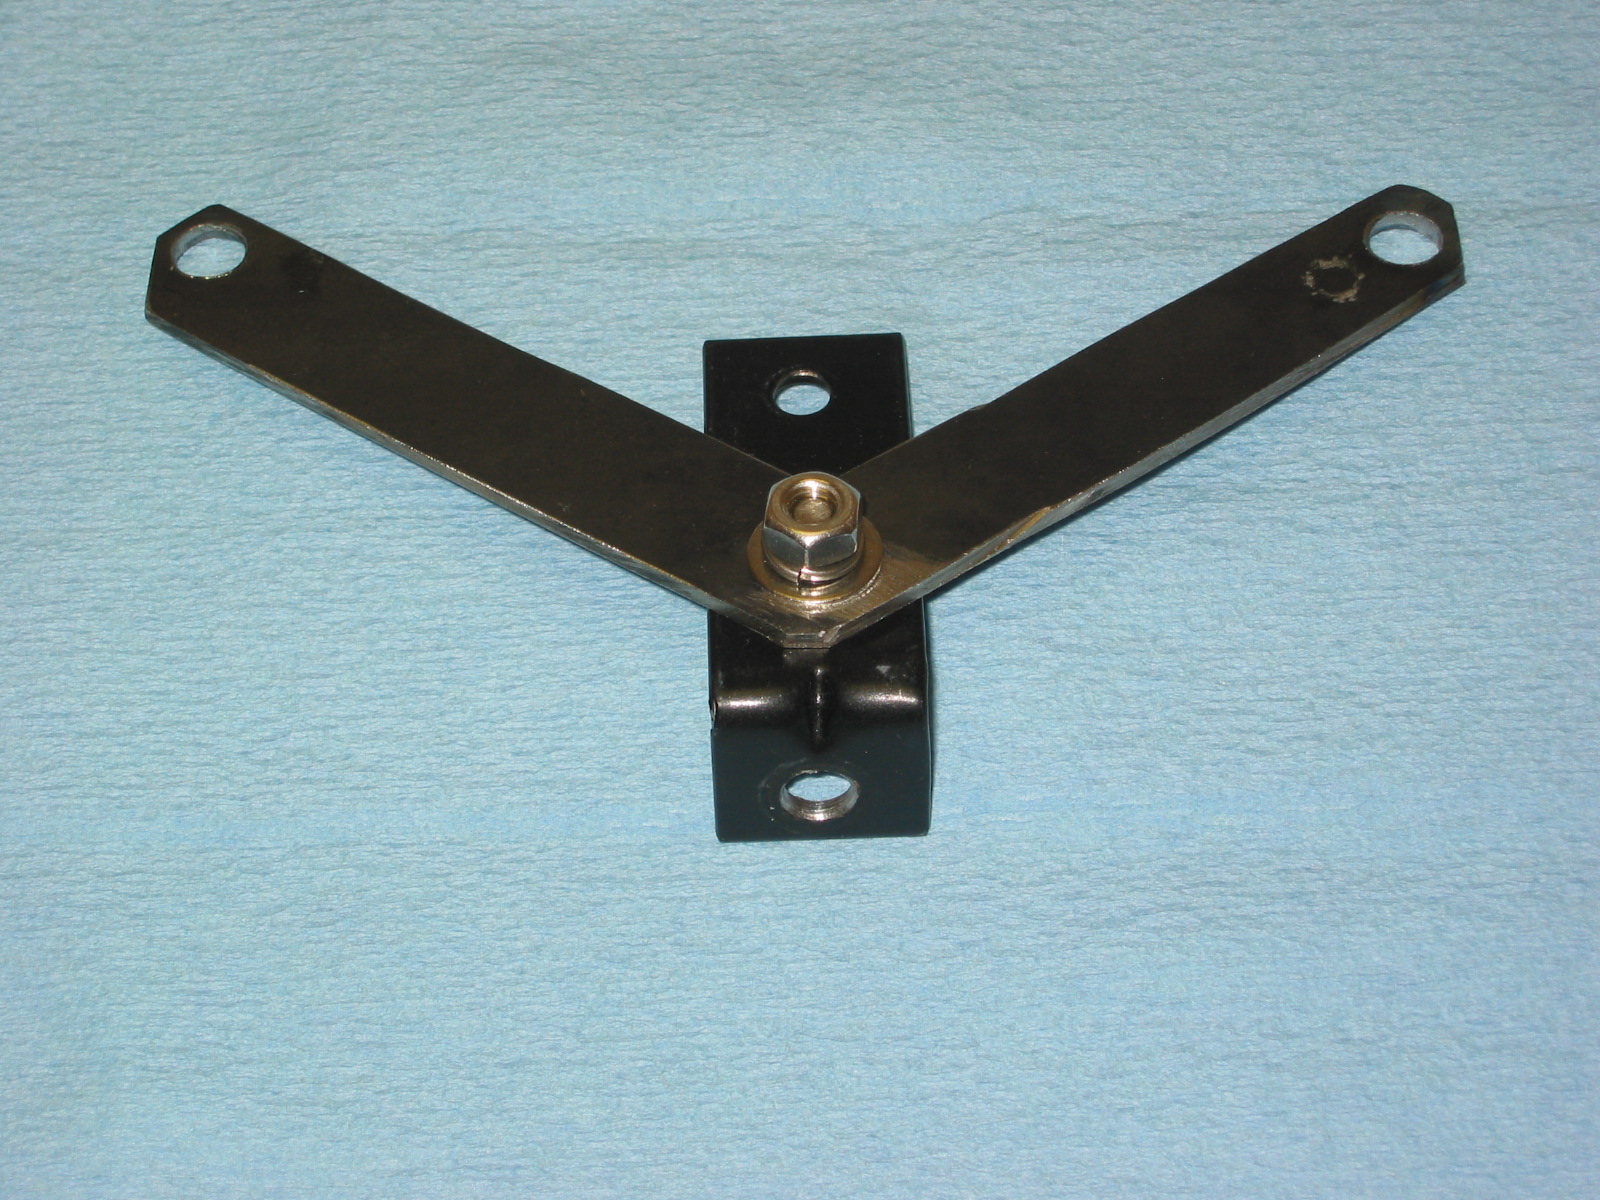
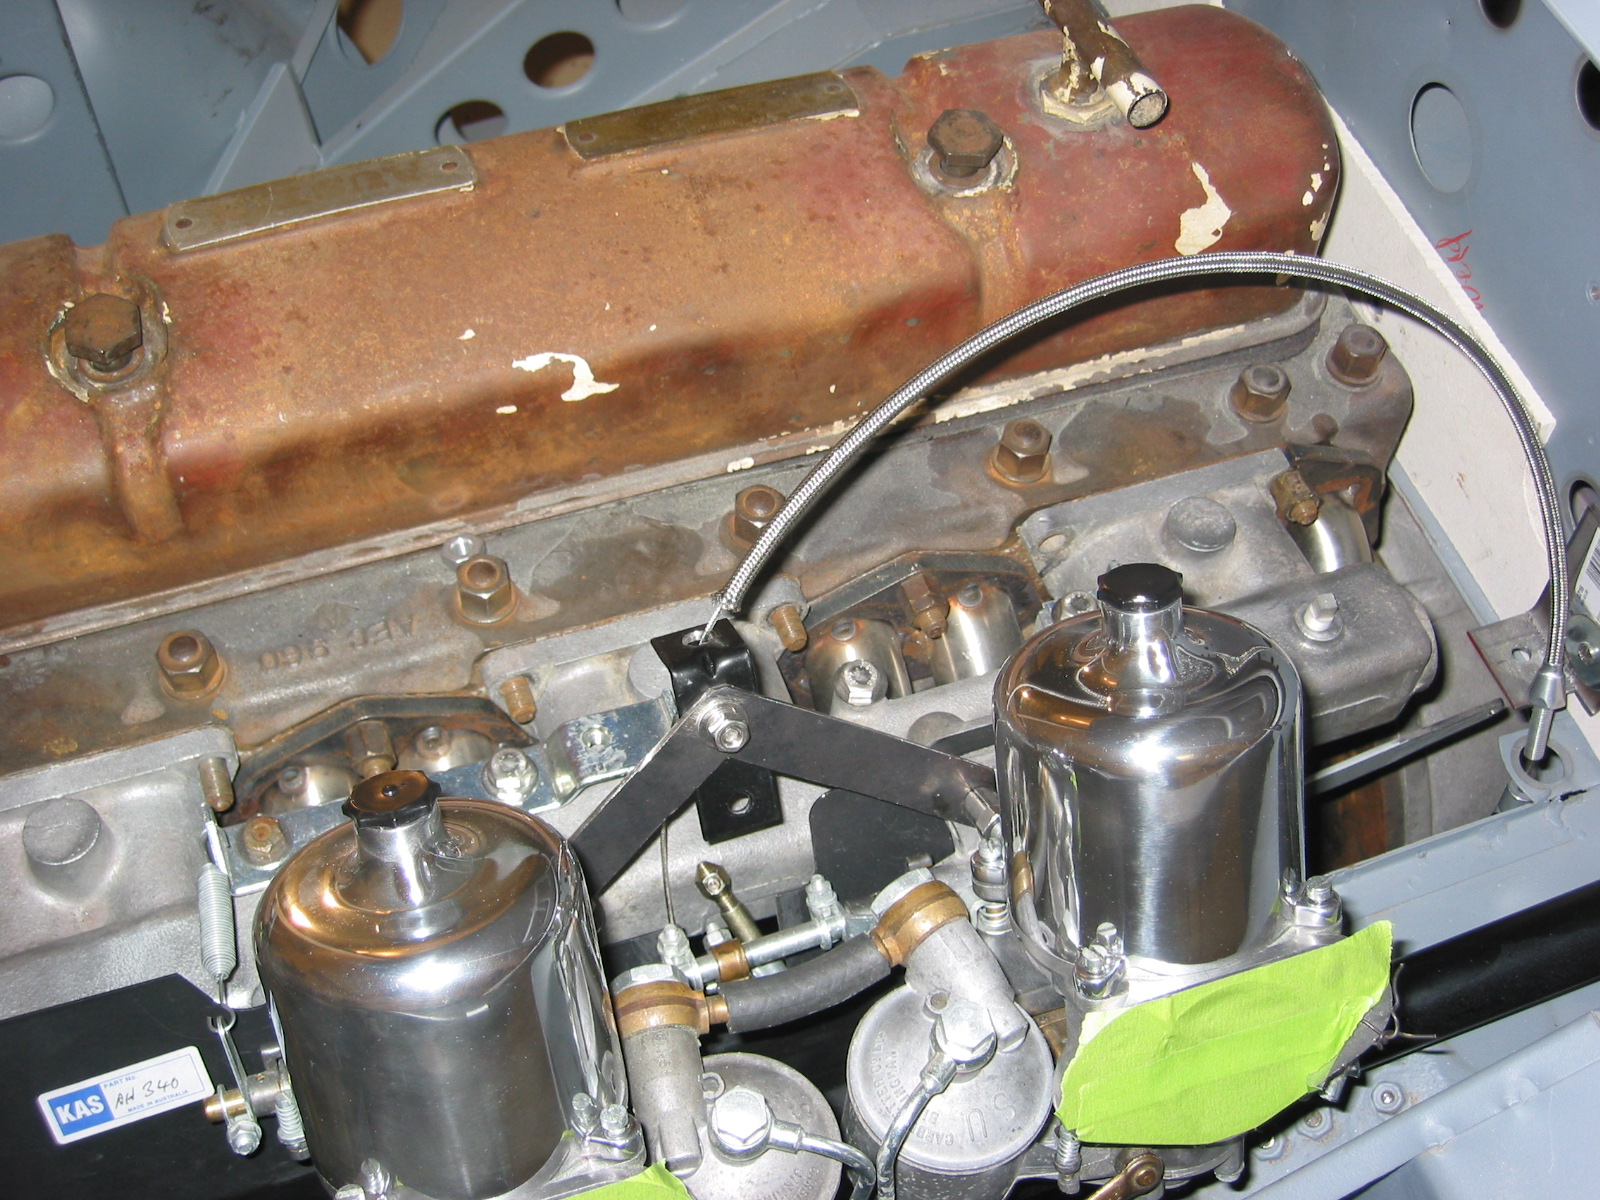
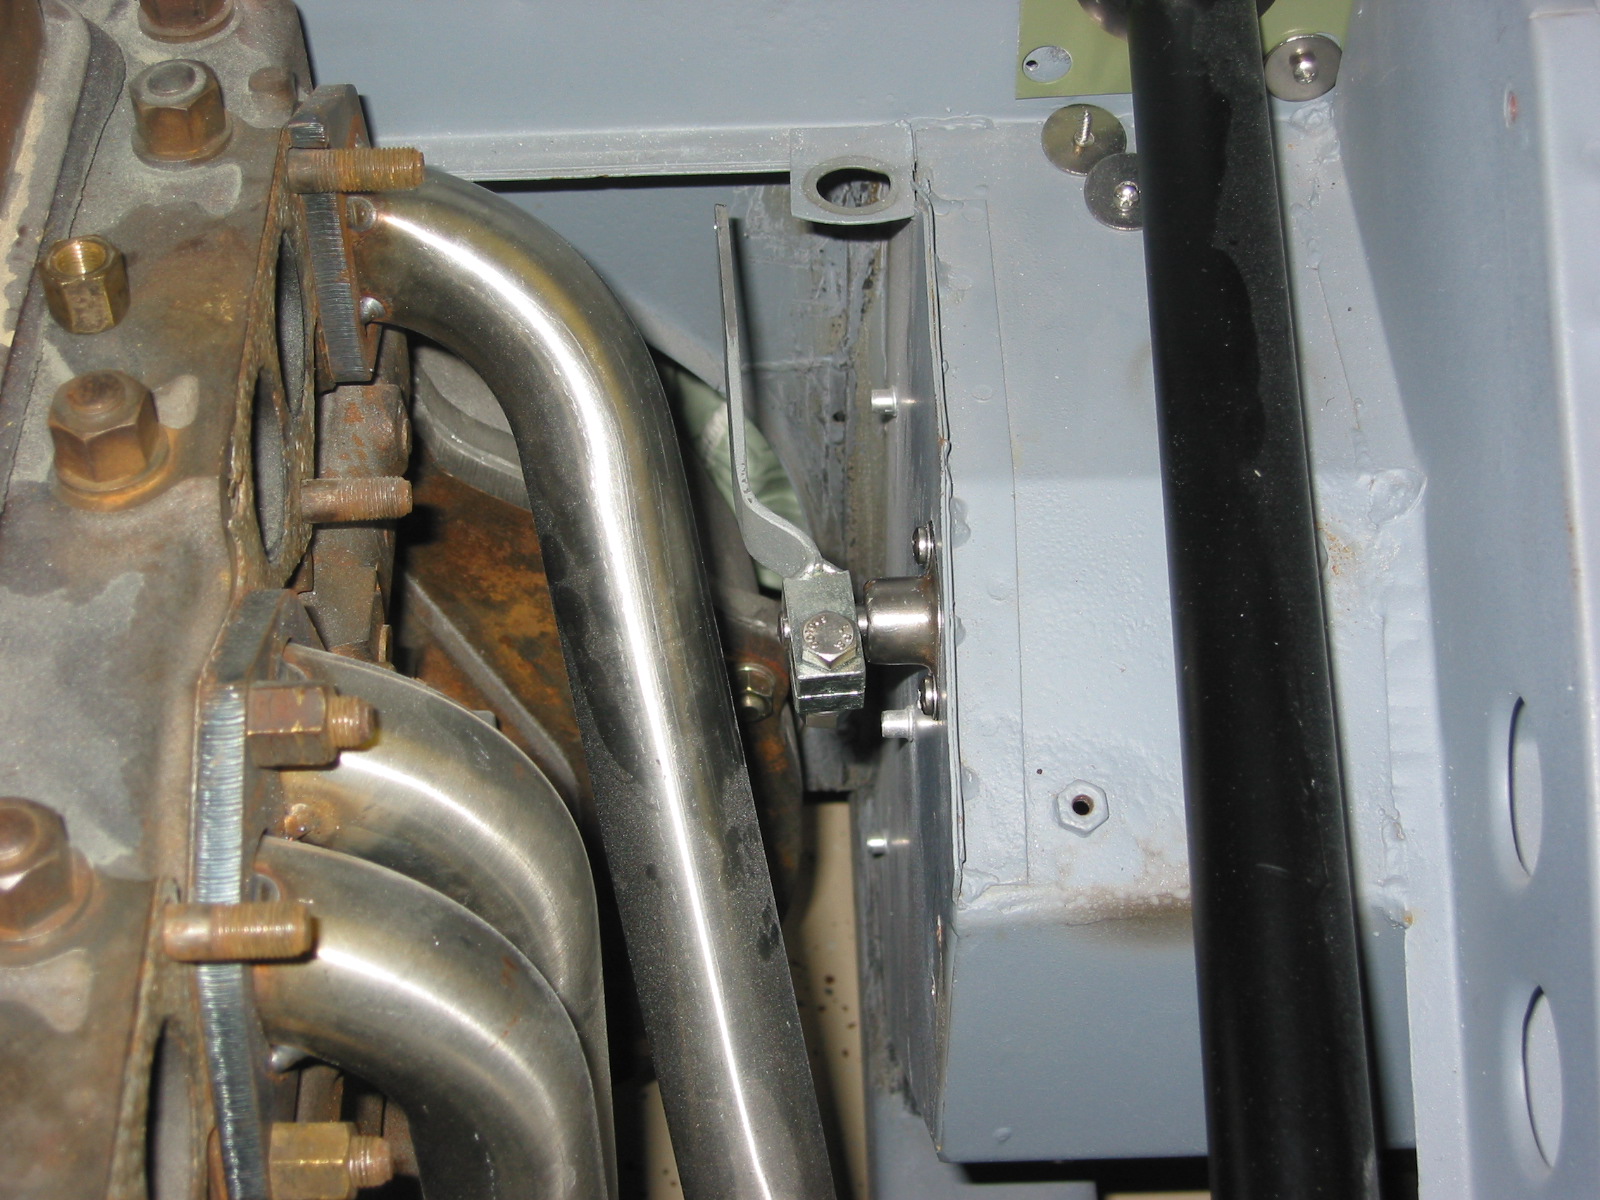
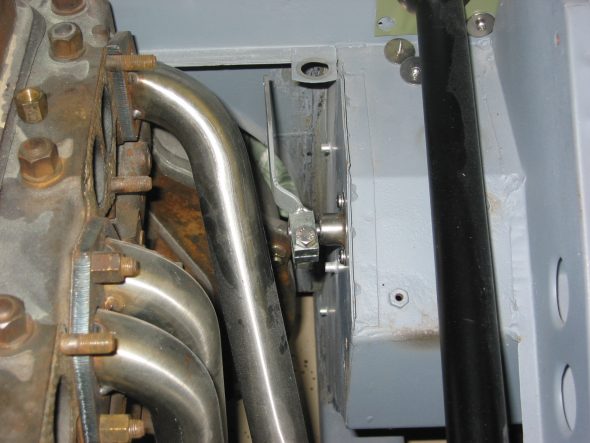
I completed the development of the throttle cable components and fit them to the carbs and the body firewall. This required fabricating a couple of brackets – one at the carbs and one for the firewall. Per Jack Brashear’s instructions, I also modified a stock BJ8 accelerator lever to make it longer (5 1/8”). I used a stainless steel braided cable from Lokar.
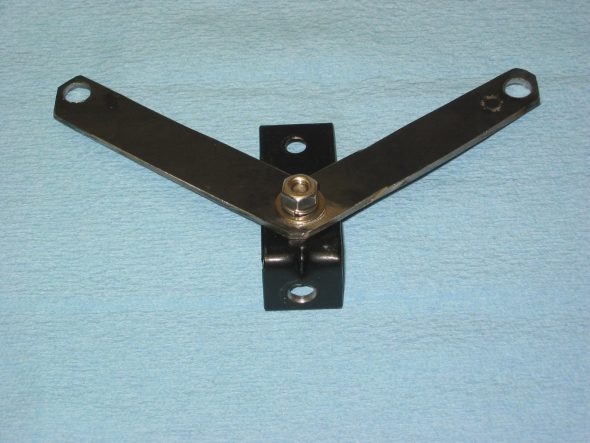
Fuel throttle bracket 3

Fuel throttle bracket 2
Fuel trottle lever modified 2
I also purchased some cheap flexible 2” exhaust pipe and cut it to fit so that I knew the lengths needed to order the stainless steel flexible pipe from Epiflex. Being considerably more expensive, I didn’t want to “learn” on the Epiflex pipes!
My next job was to install the brackets for the rear seat squab. I installed the rear quarter panels, the rear seats and the squab to make sure the assembly would fit properly on final assembly.
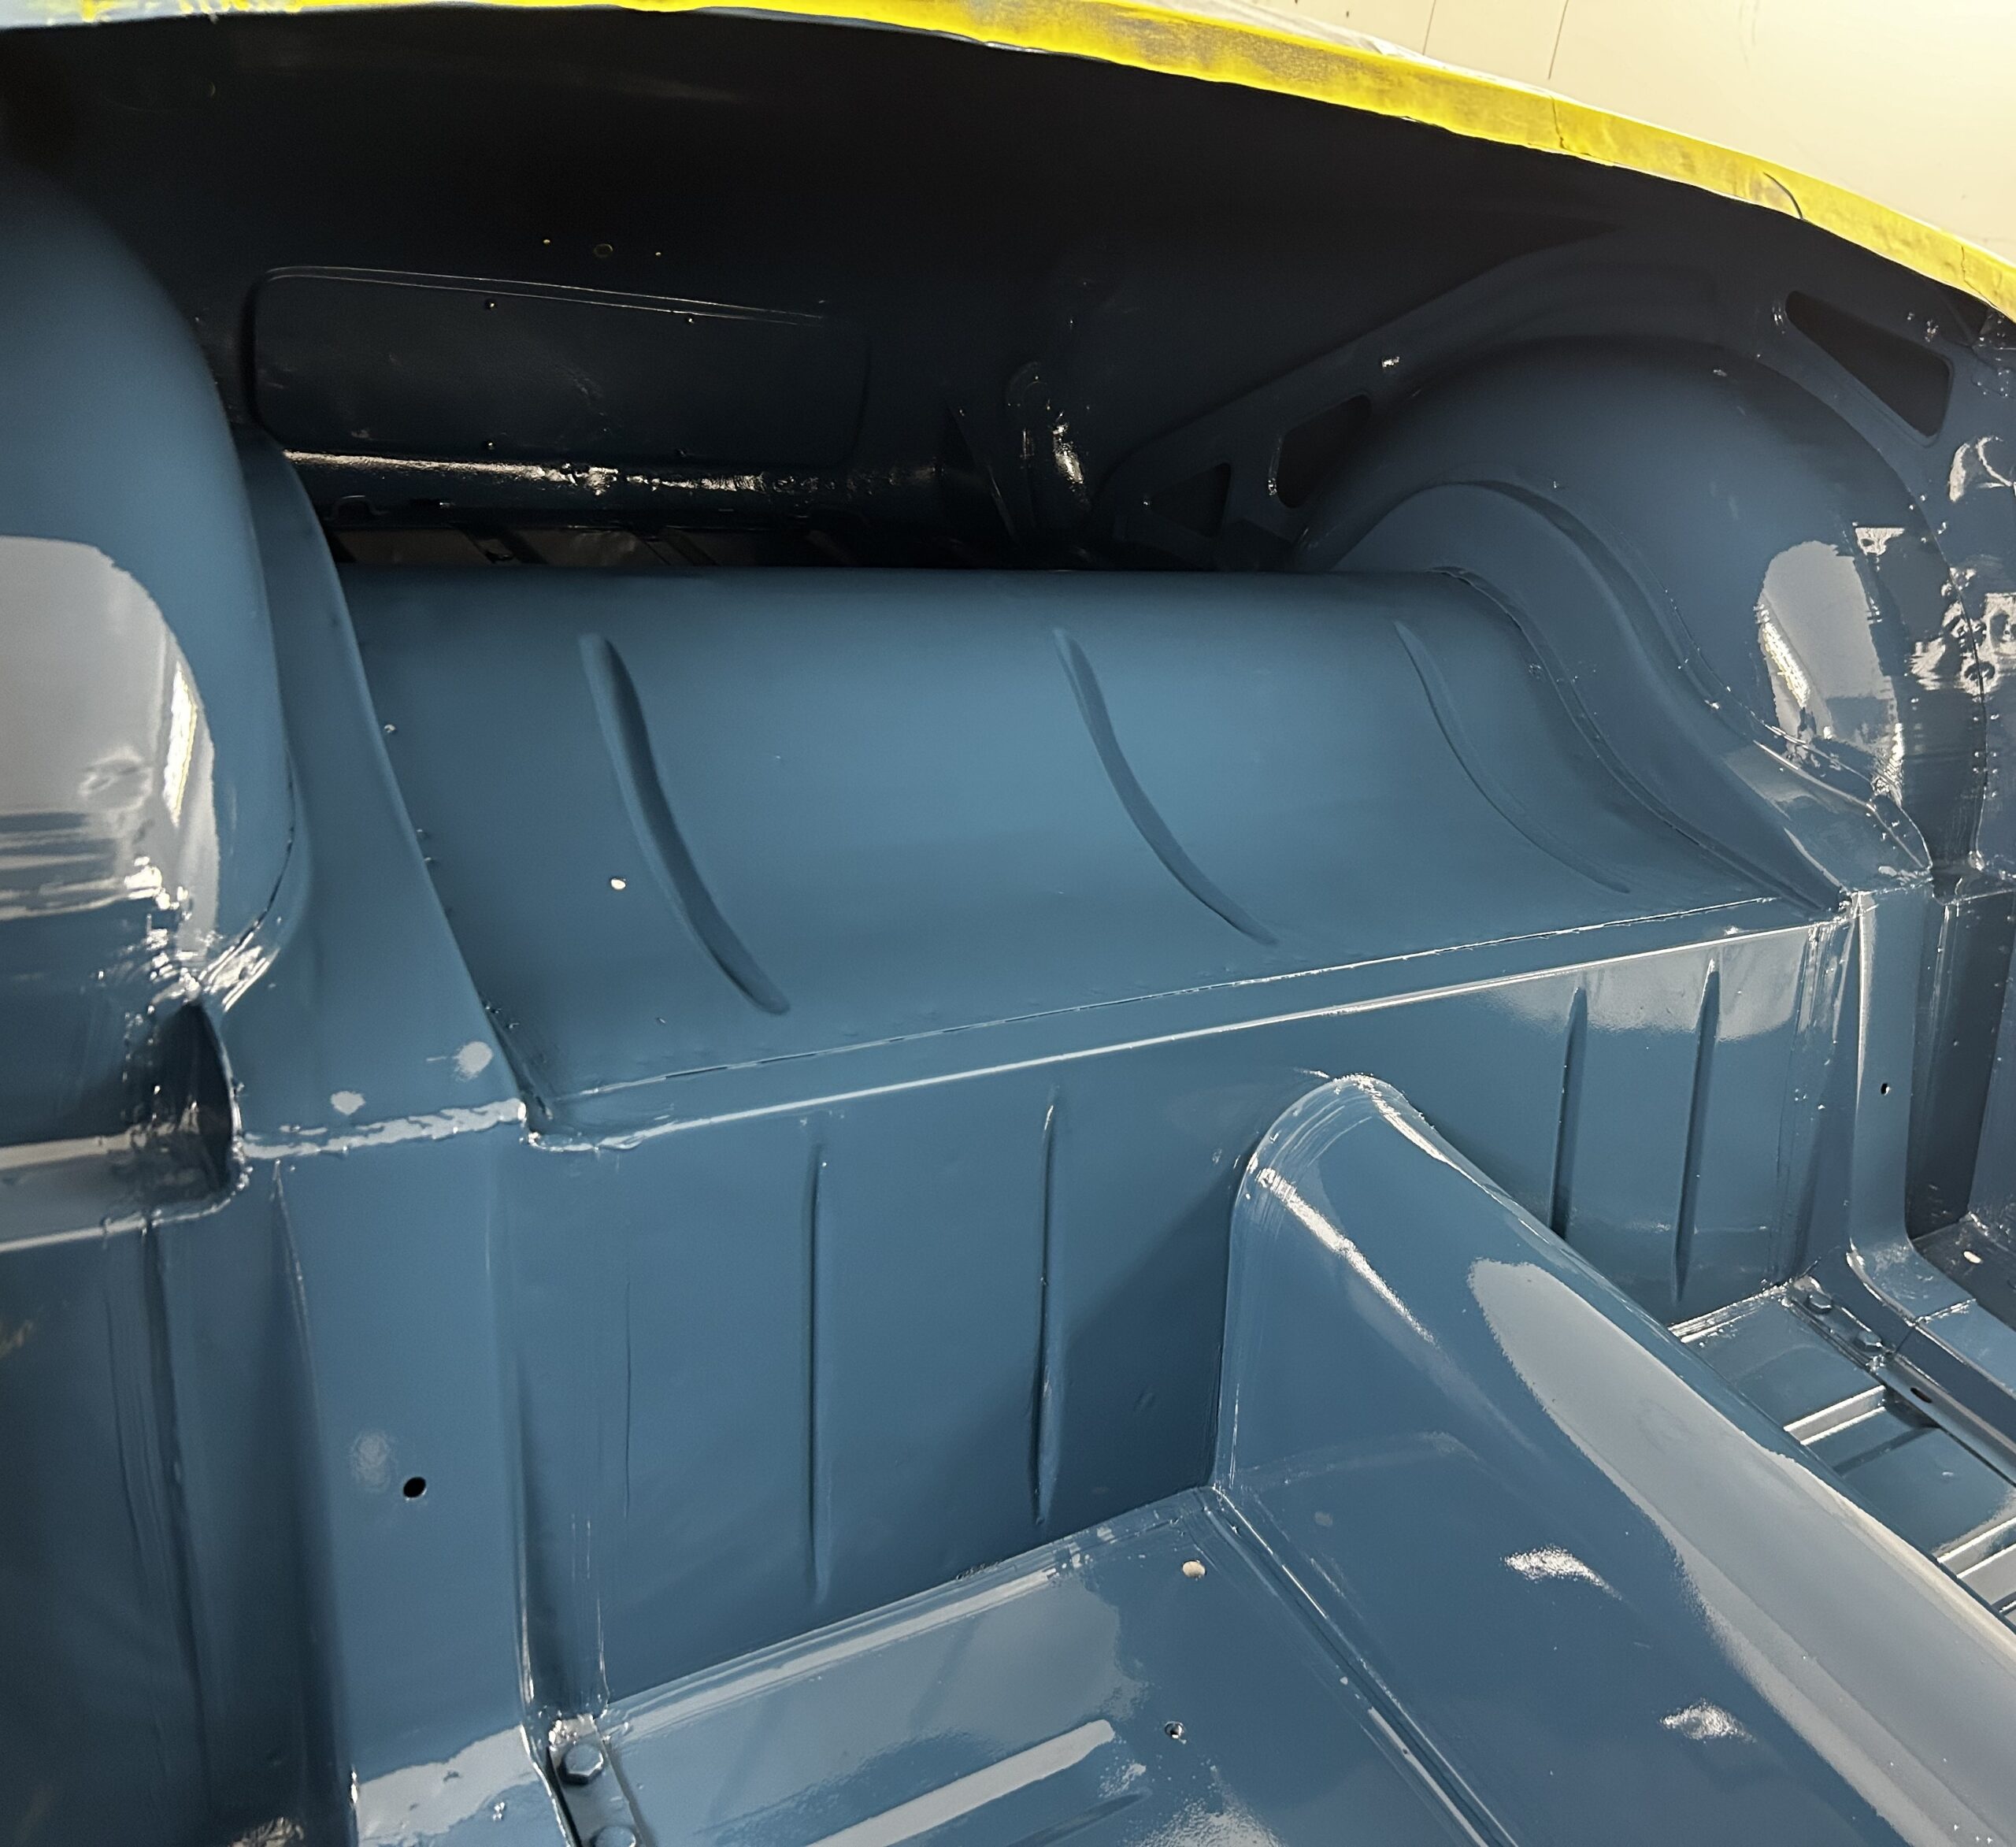
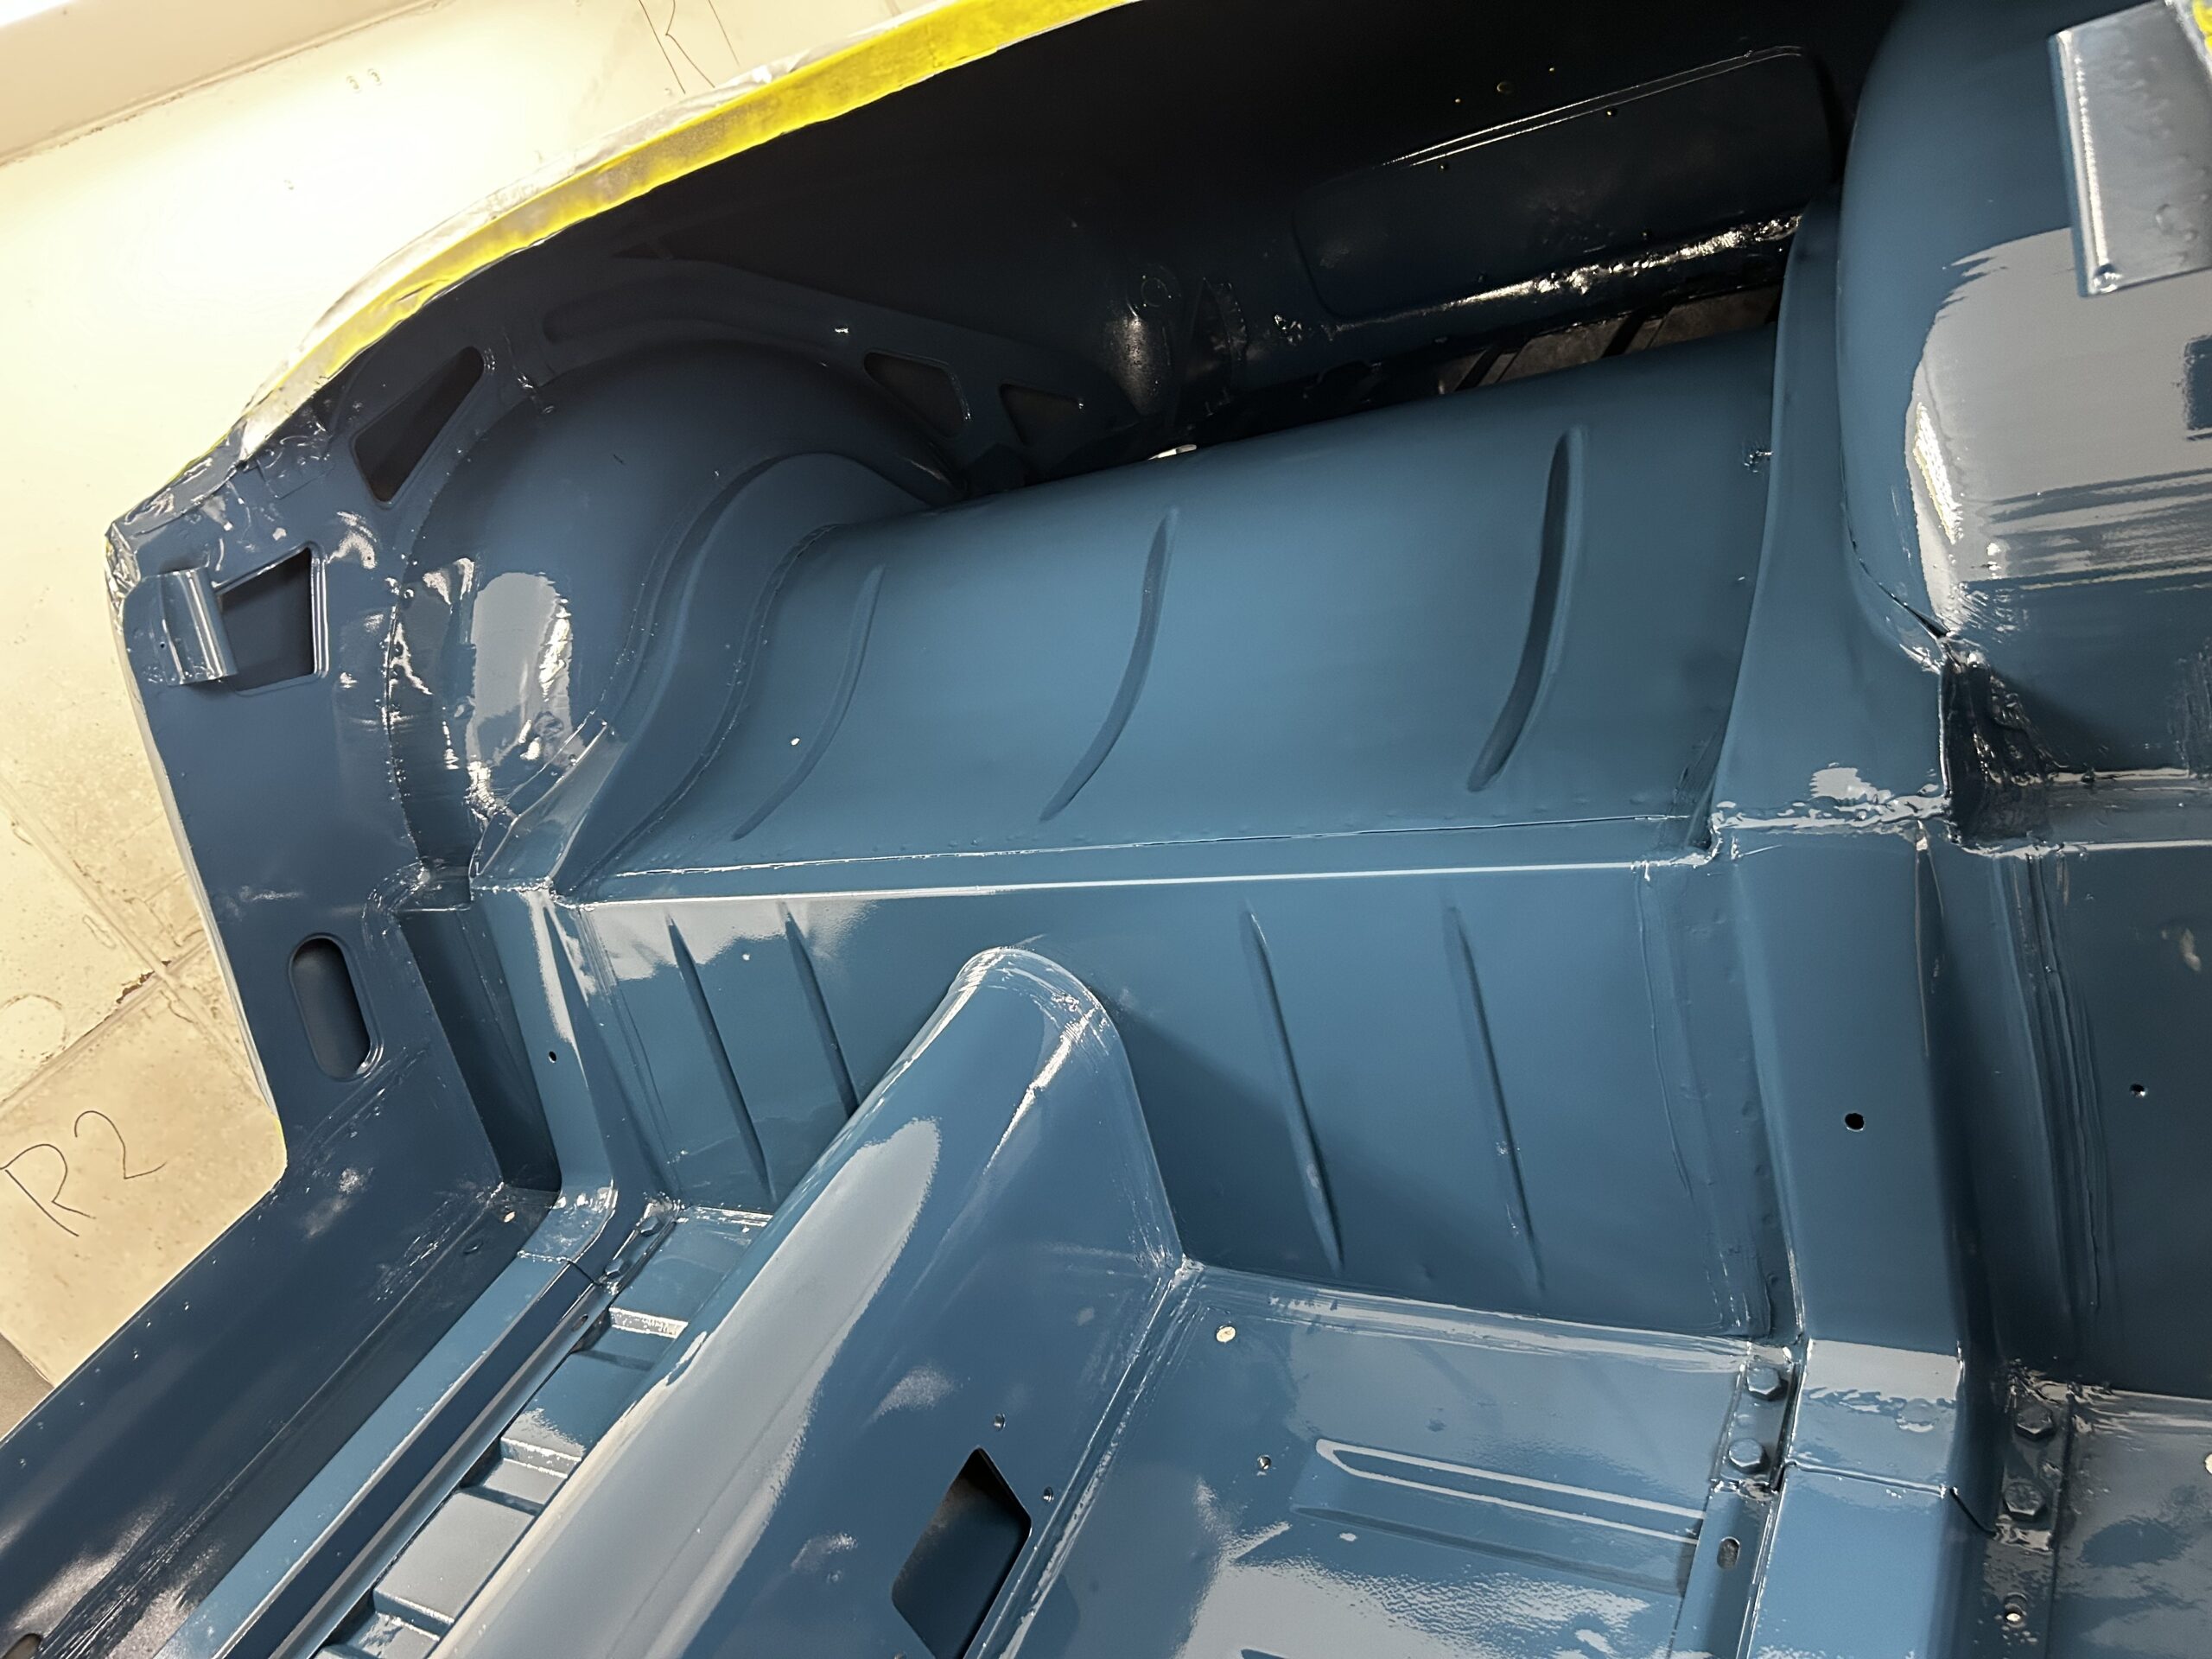
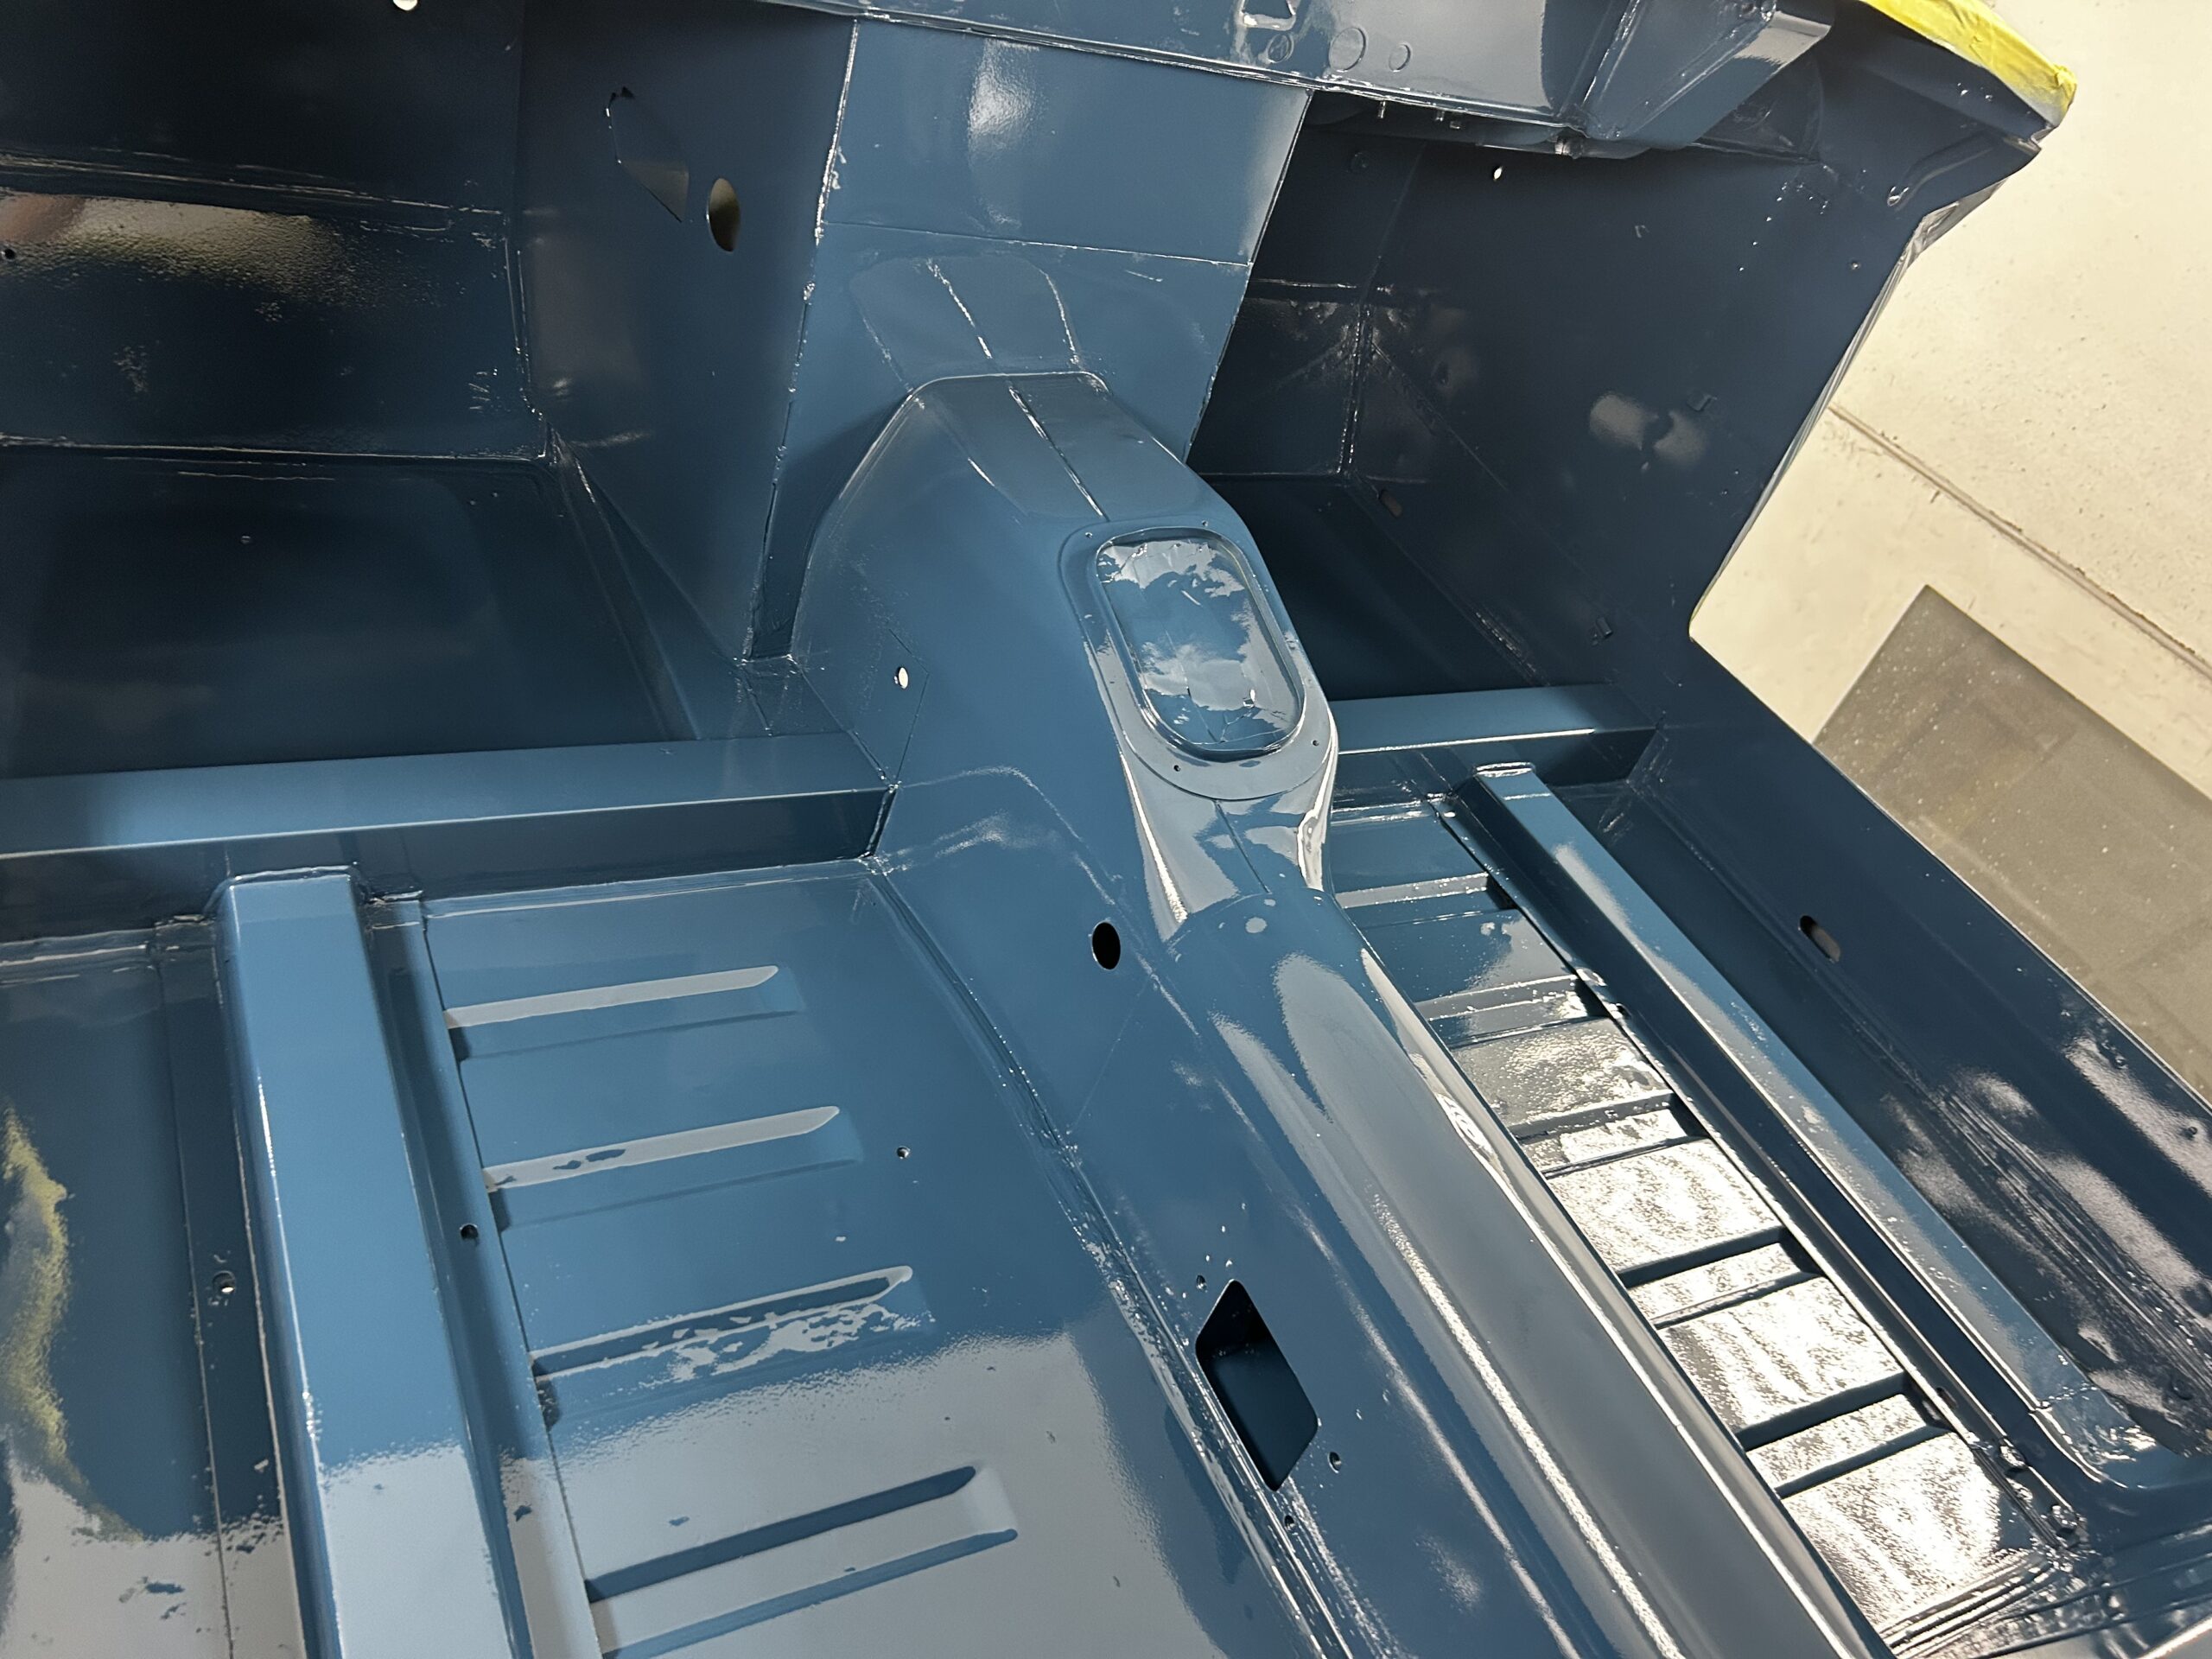
Then removing everything from the superstructure was in order so that I could return it to Jeremy for media blasting, a little body work, priming and painting. After four long years, the next time I see the superstructure it will be RED! One added complication and expense is that I have changed my mind and will use gloss rather than a matte black finish on those components that should be painted black. Therefore, larger pieces such as the axle and the steering box will need to be resprayed. Everything was stripped by October 12 and Jeremy again picked up the car. I then separated all smaller compenents into those items to be sprayed gloss black, red, or engine green and prepared them for delivery to Jeremy. Now I await the return of the red frame and superstructure.
October 22, 2006
A Jeremy Turner Update
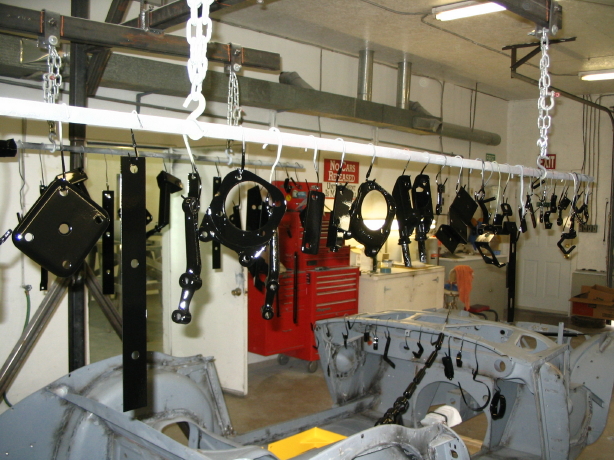
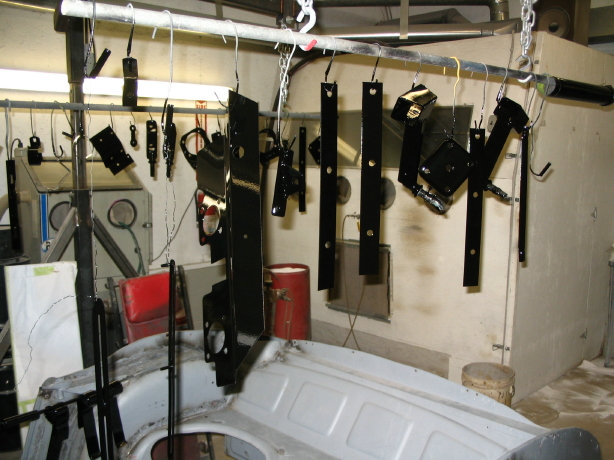
Jeremy took some time from the worst task in the painting preparation process: sanding, and blasted and painted the bits I gave him to be painted black.
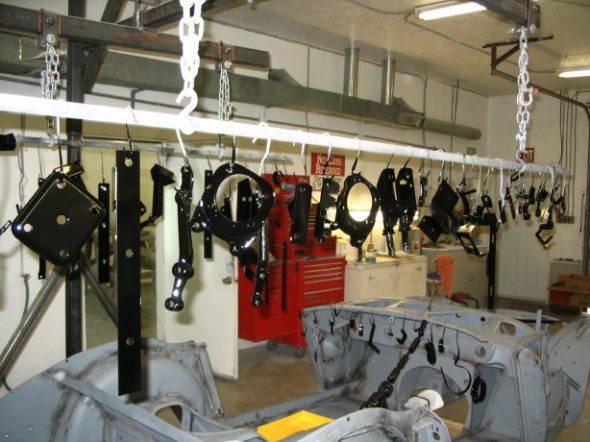
Black Painted Parts

More Black Painted Parts
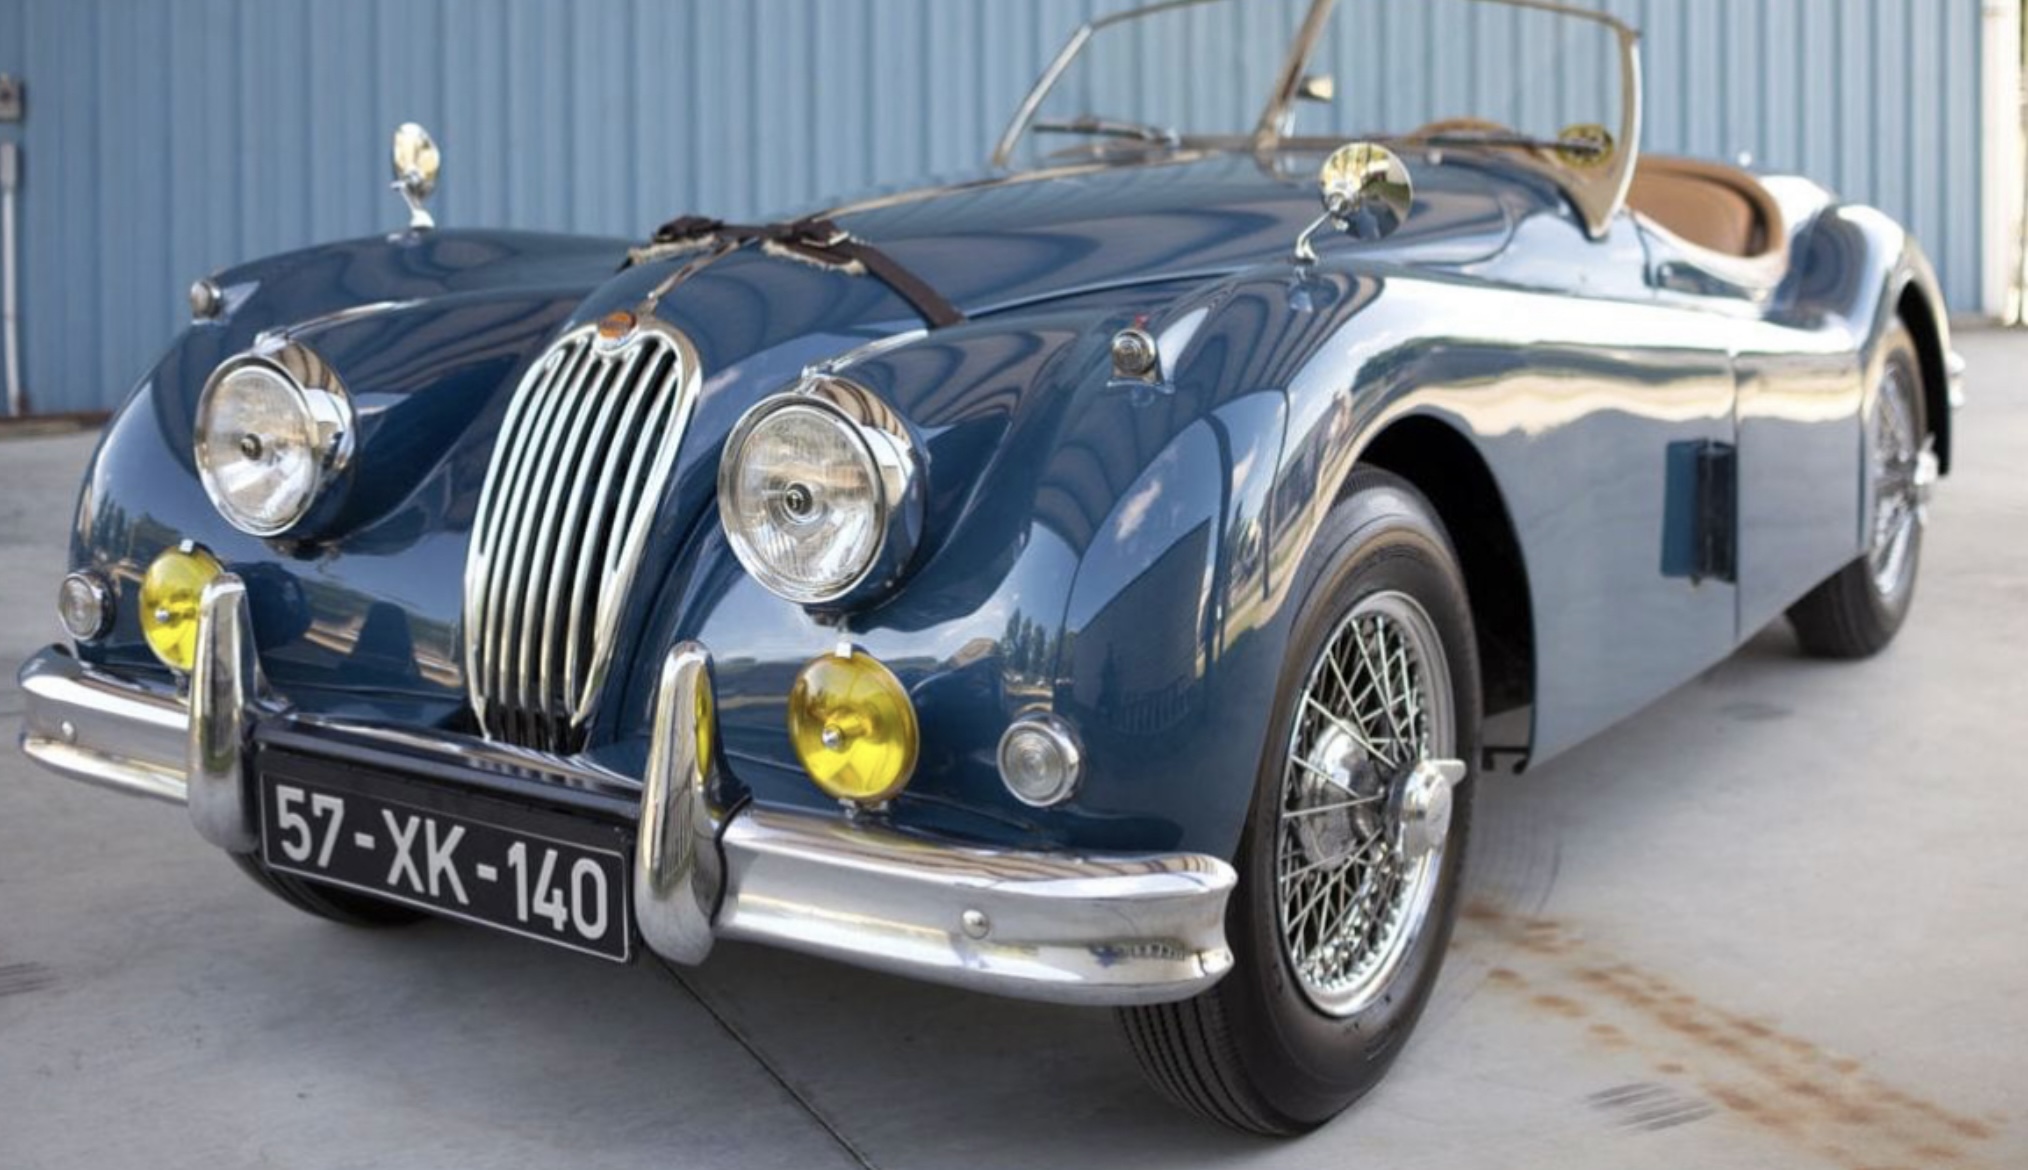
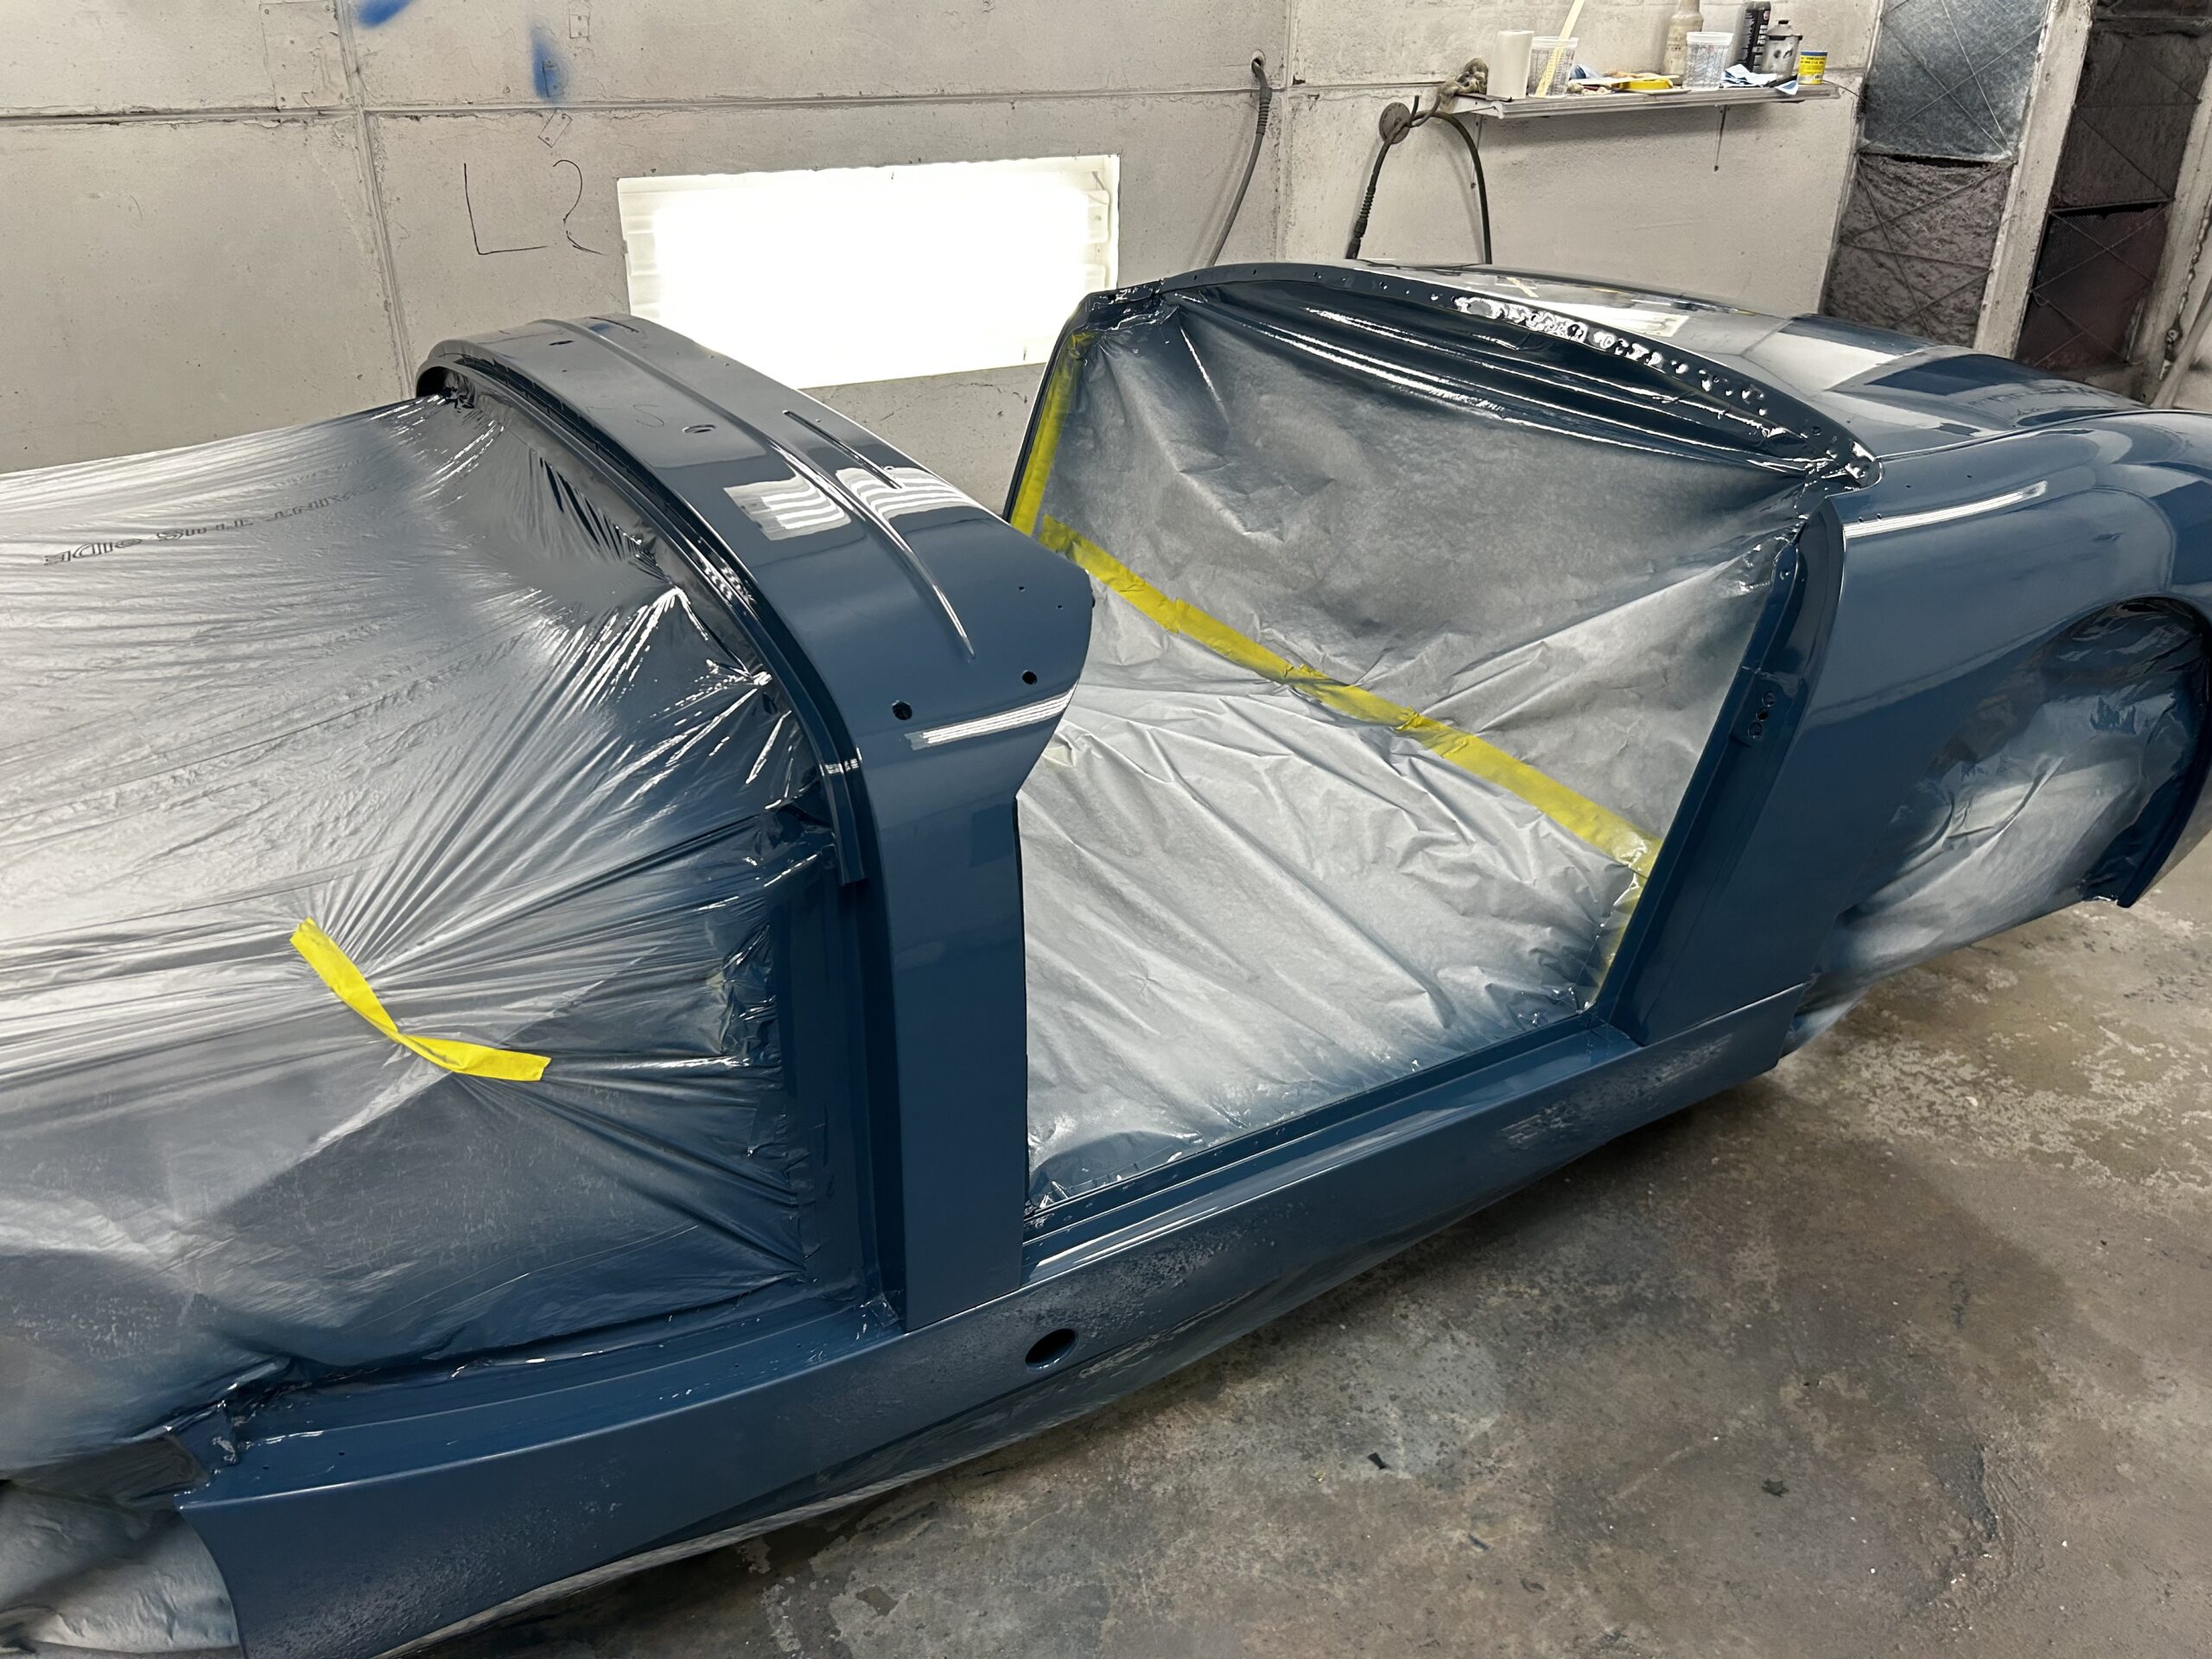
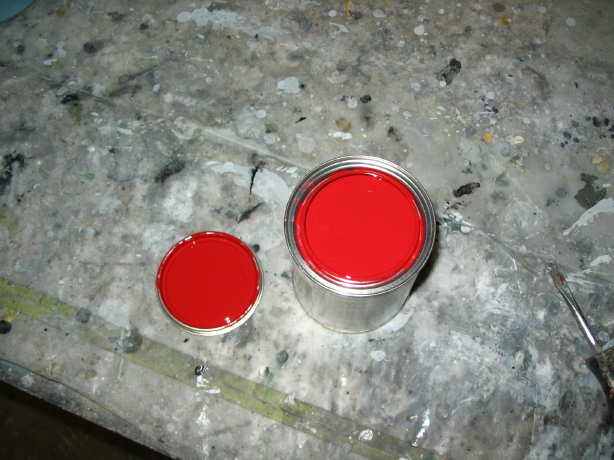
While I remained positive about my choice of exterior paint, we decided to paint a sample just to see what the final color would turn out to be. Jeremy orderd a pint to try. Judging from the open can it will be a very red car! I love it, but it will be good to see it on a bonnet to get a perspective on a larger sample than a paint can top.

Corsa Rossa ferrari red paint
October 22, 2006
Engine Work Begins
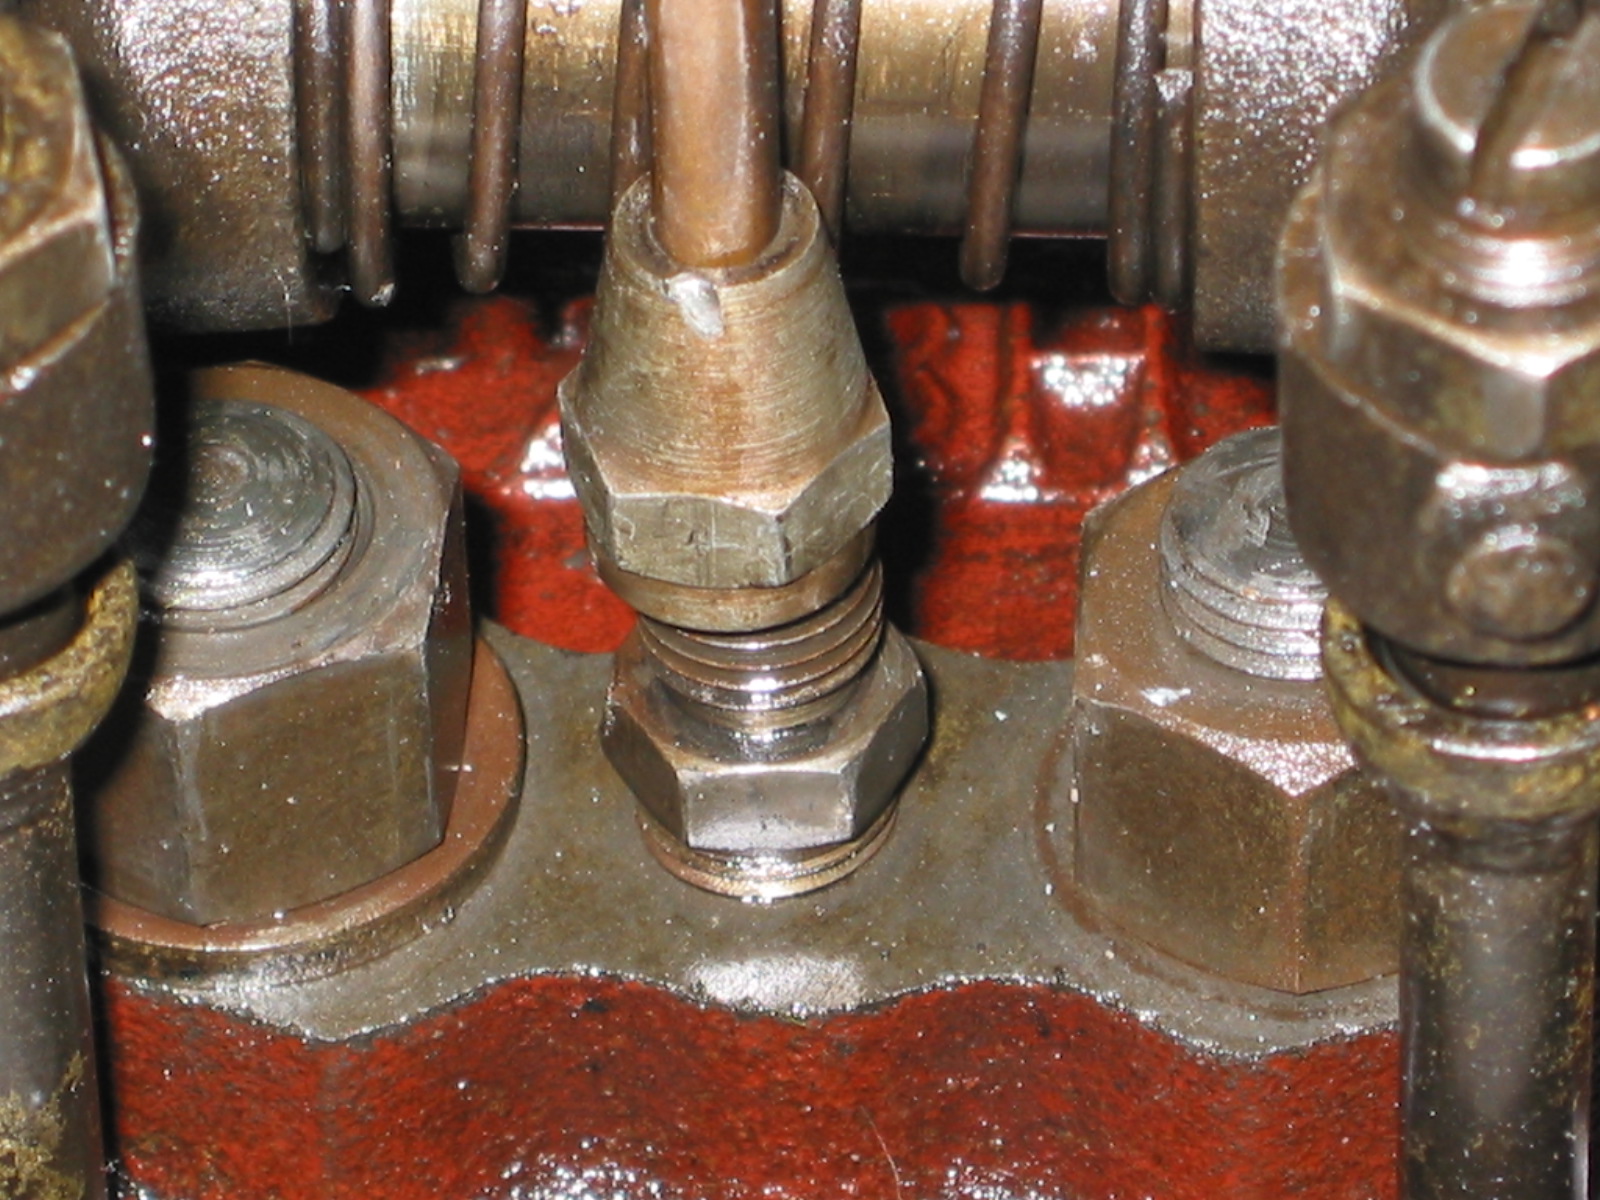
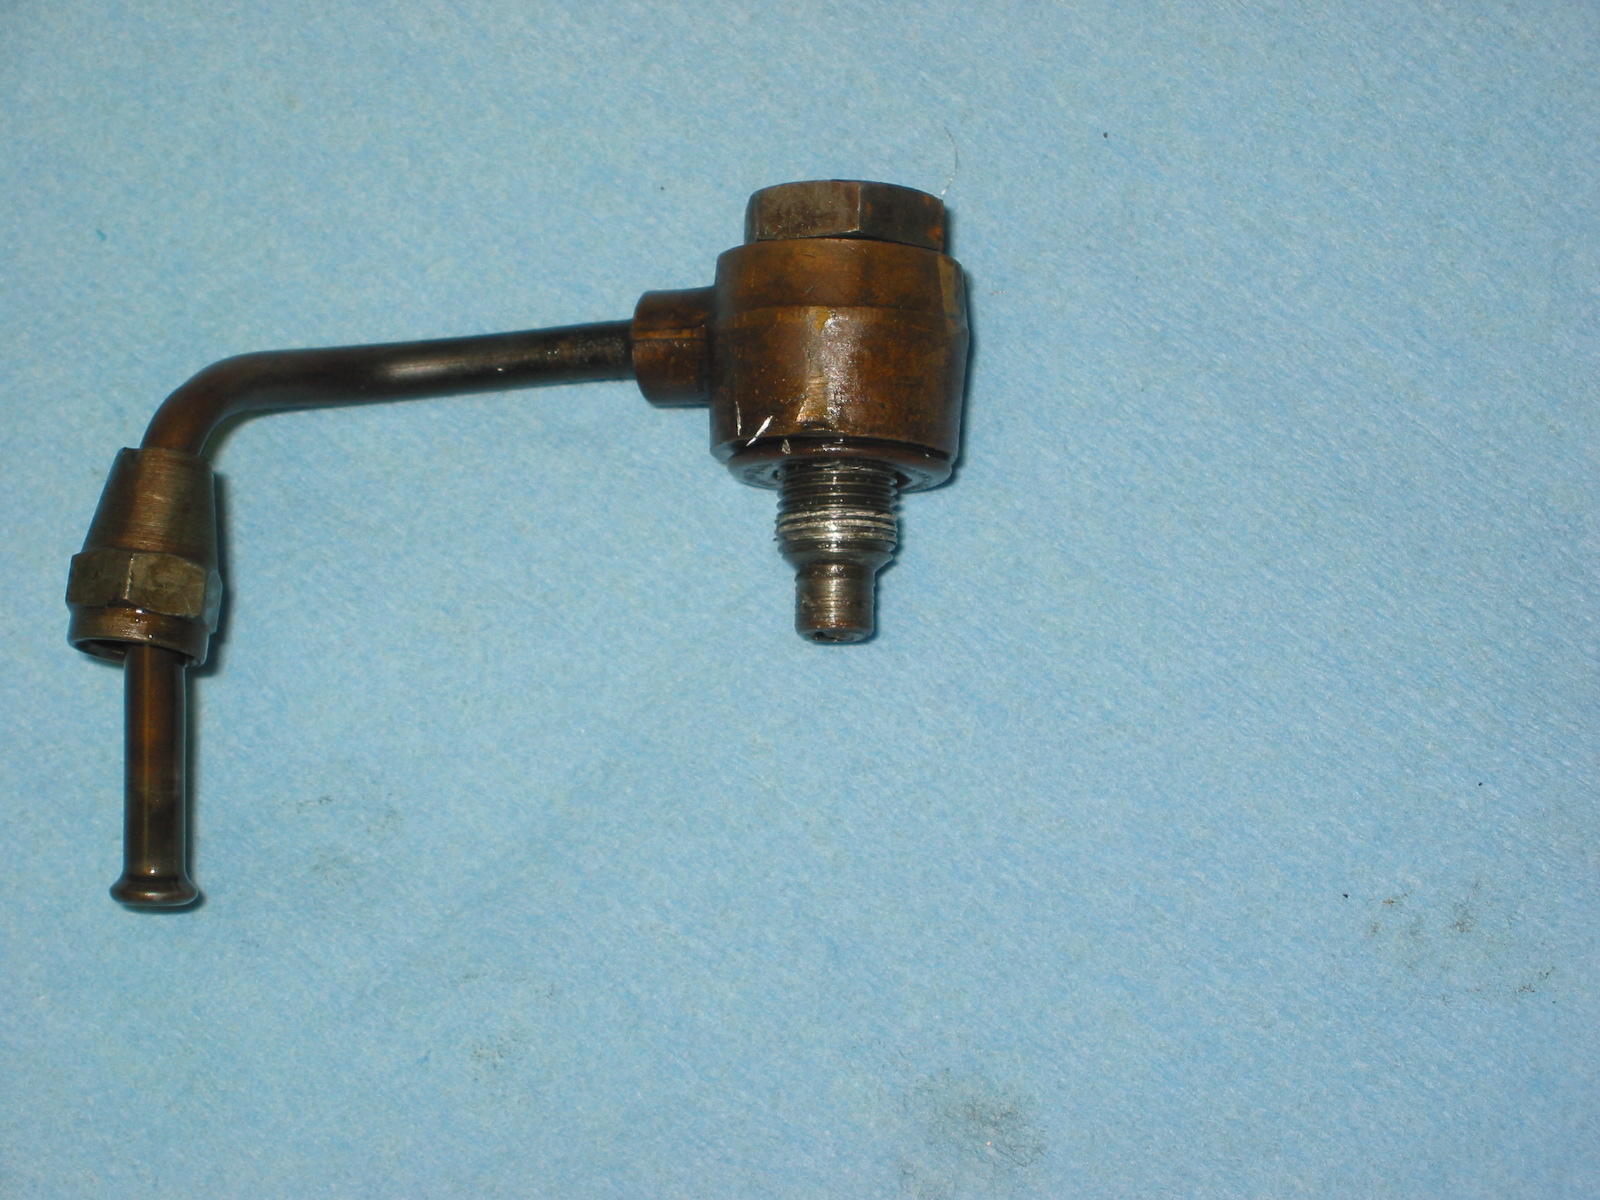
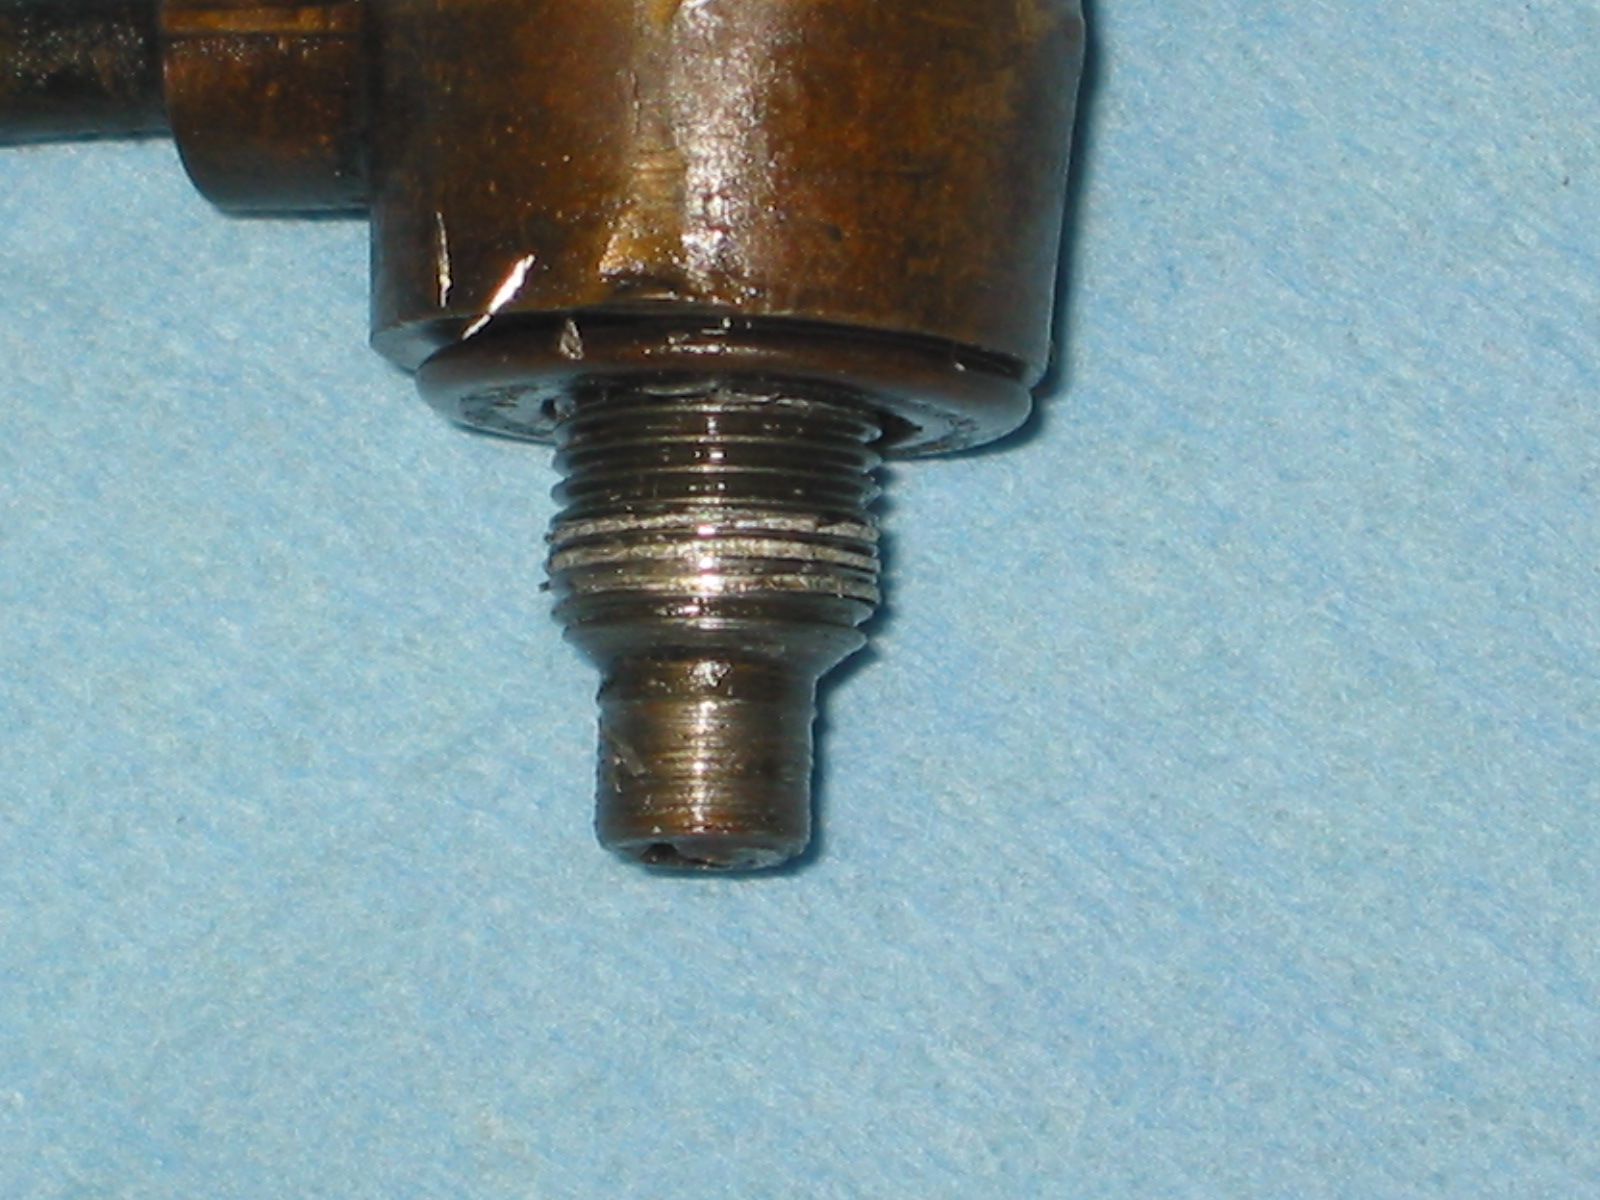
Rocker Assembly – I plan to send the rocker assembly to Rocker Arm Specialists to have it rebushed, so I removed it for cleaning and mailing. First step was to lossen the fitting of the oil feed pipe to the head. Then removed the 12 nuts securing the assembly to the head. When replacing the assembly one MUST fit the oil feed pipe banjo bolt to the assembly BEFORE fastening the assembly to the head! This had apparently not been done previously which resulted in the stripping of the aluminum pedestal. I ordered a new pedestal.

Rocker oil feed 1
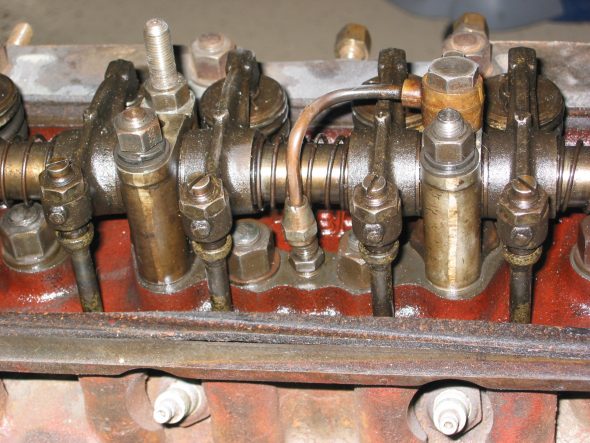
Rocker oil feed 2
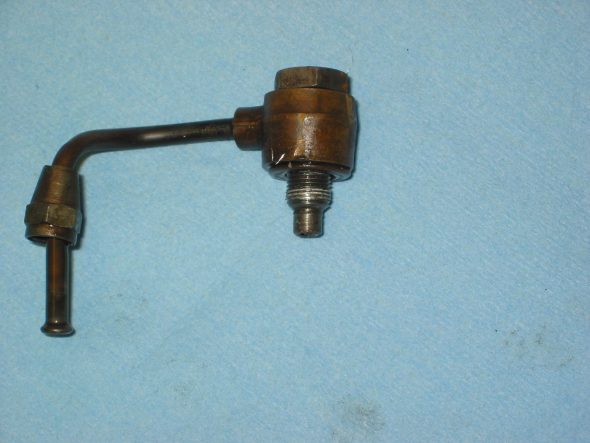
Rocker oil feed 3_2
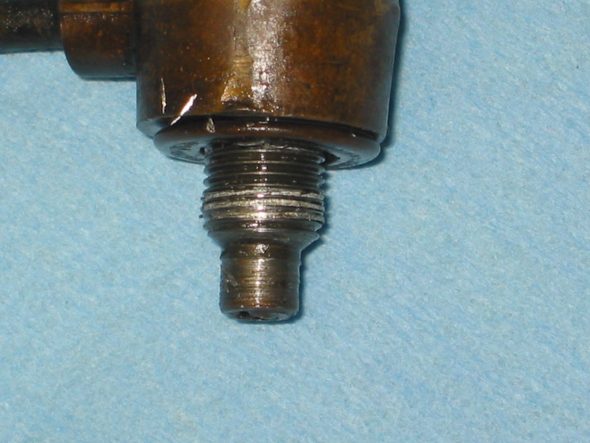
Rocker oil feed 4
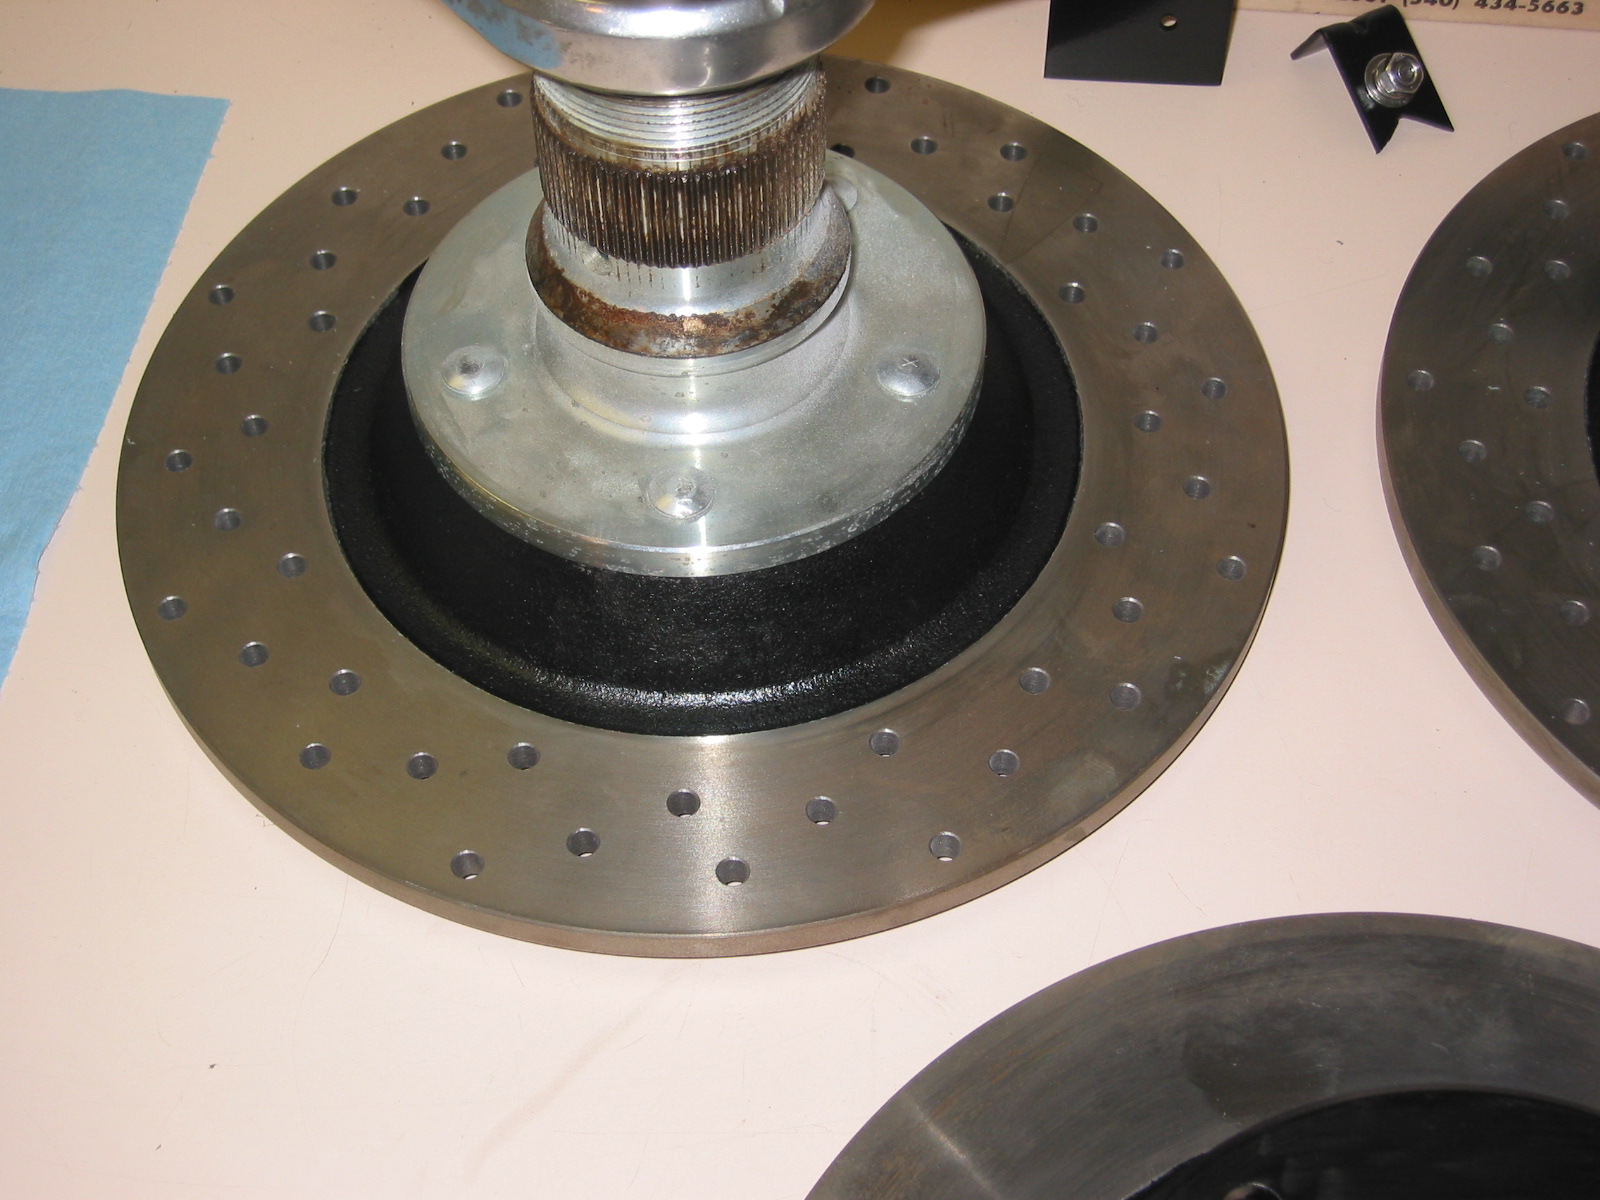
Brake Discs – To prevent rust on the brake rotors I painted the centers of the front and rear rotors.

Brake disc paint
October 26, 2006
Back to Jeremy’s
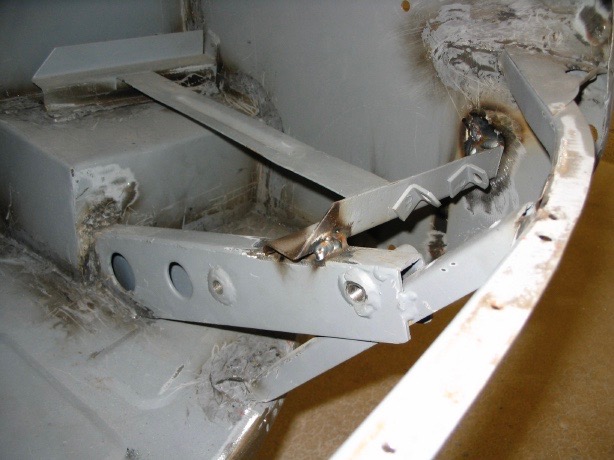
The battery tray – as assembled by Martin did not have enough support at the rear brace, so Jeremy did a little modification so that it would have a solid mount.

battery tray brace
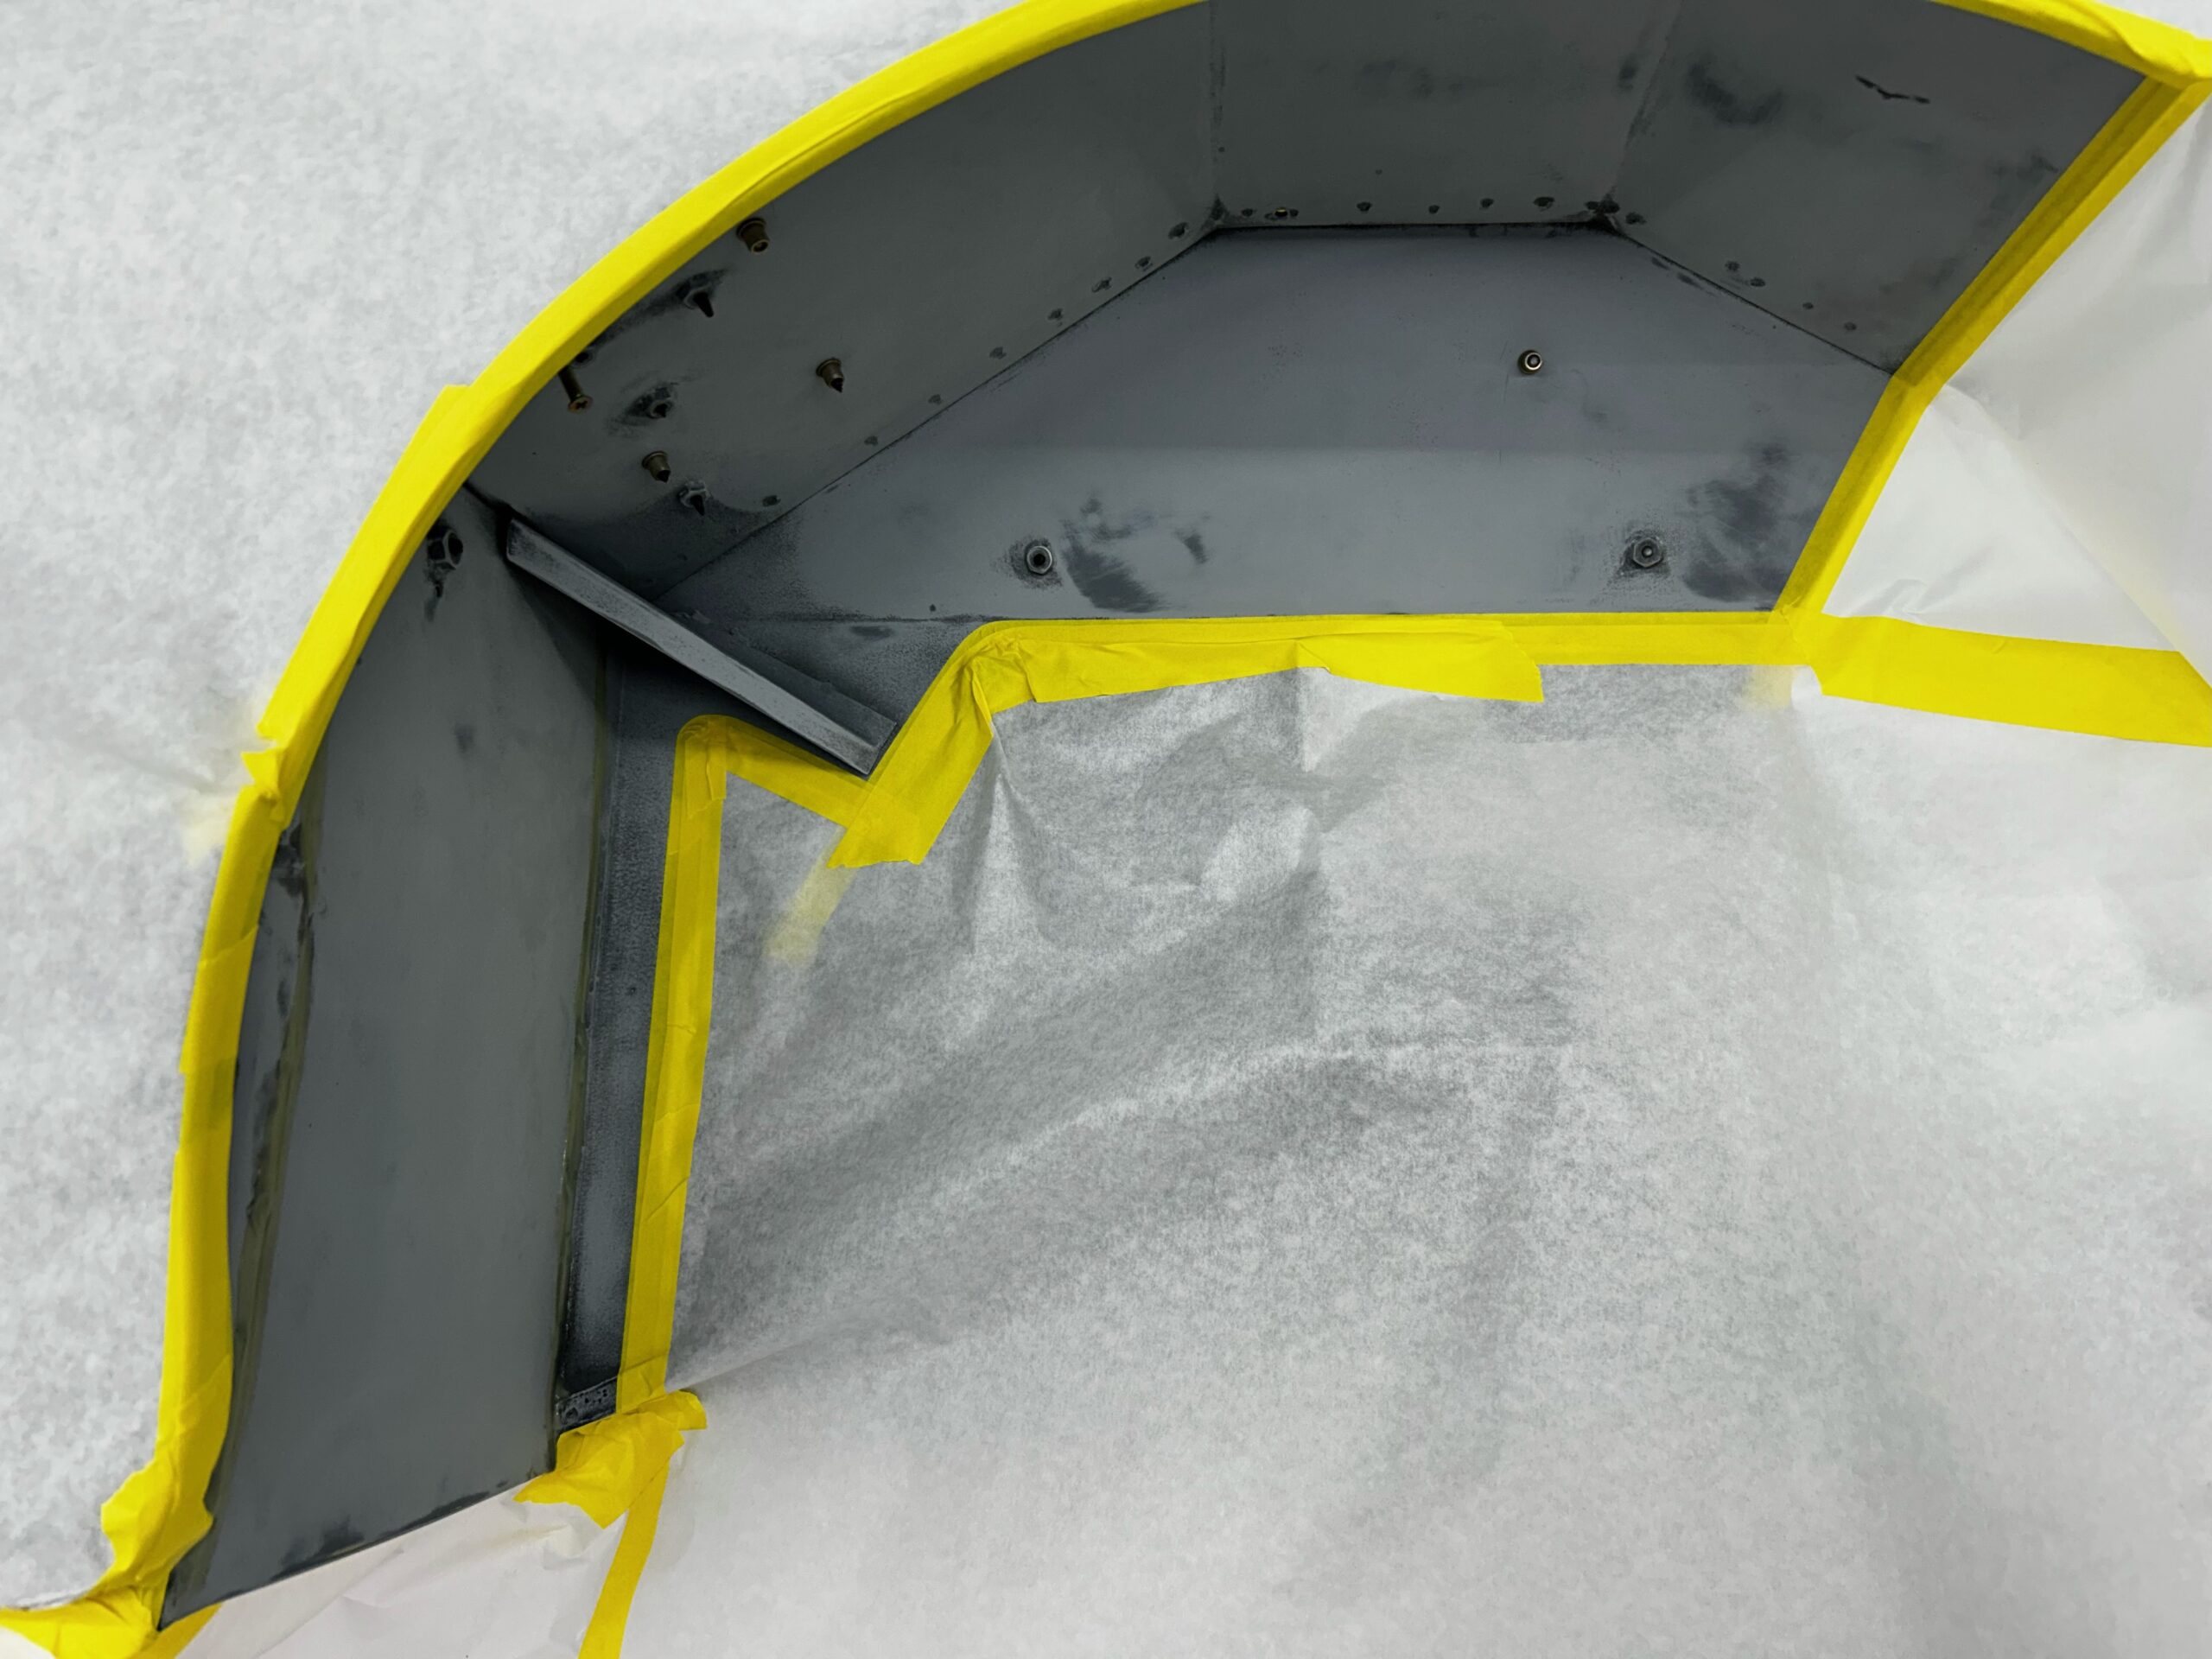
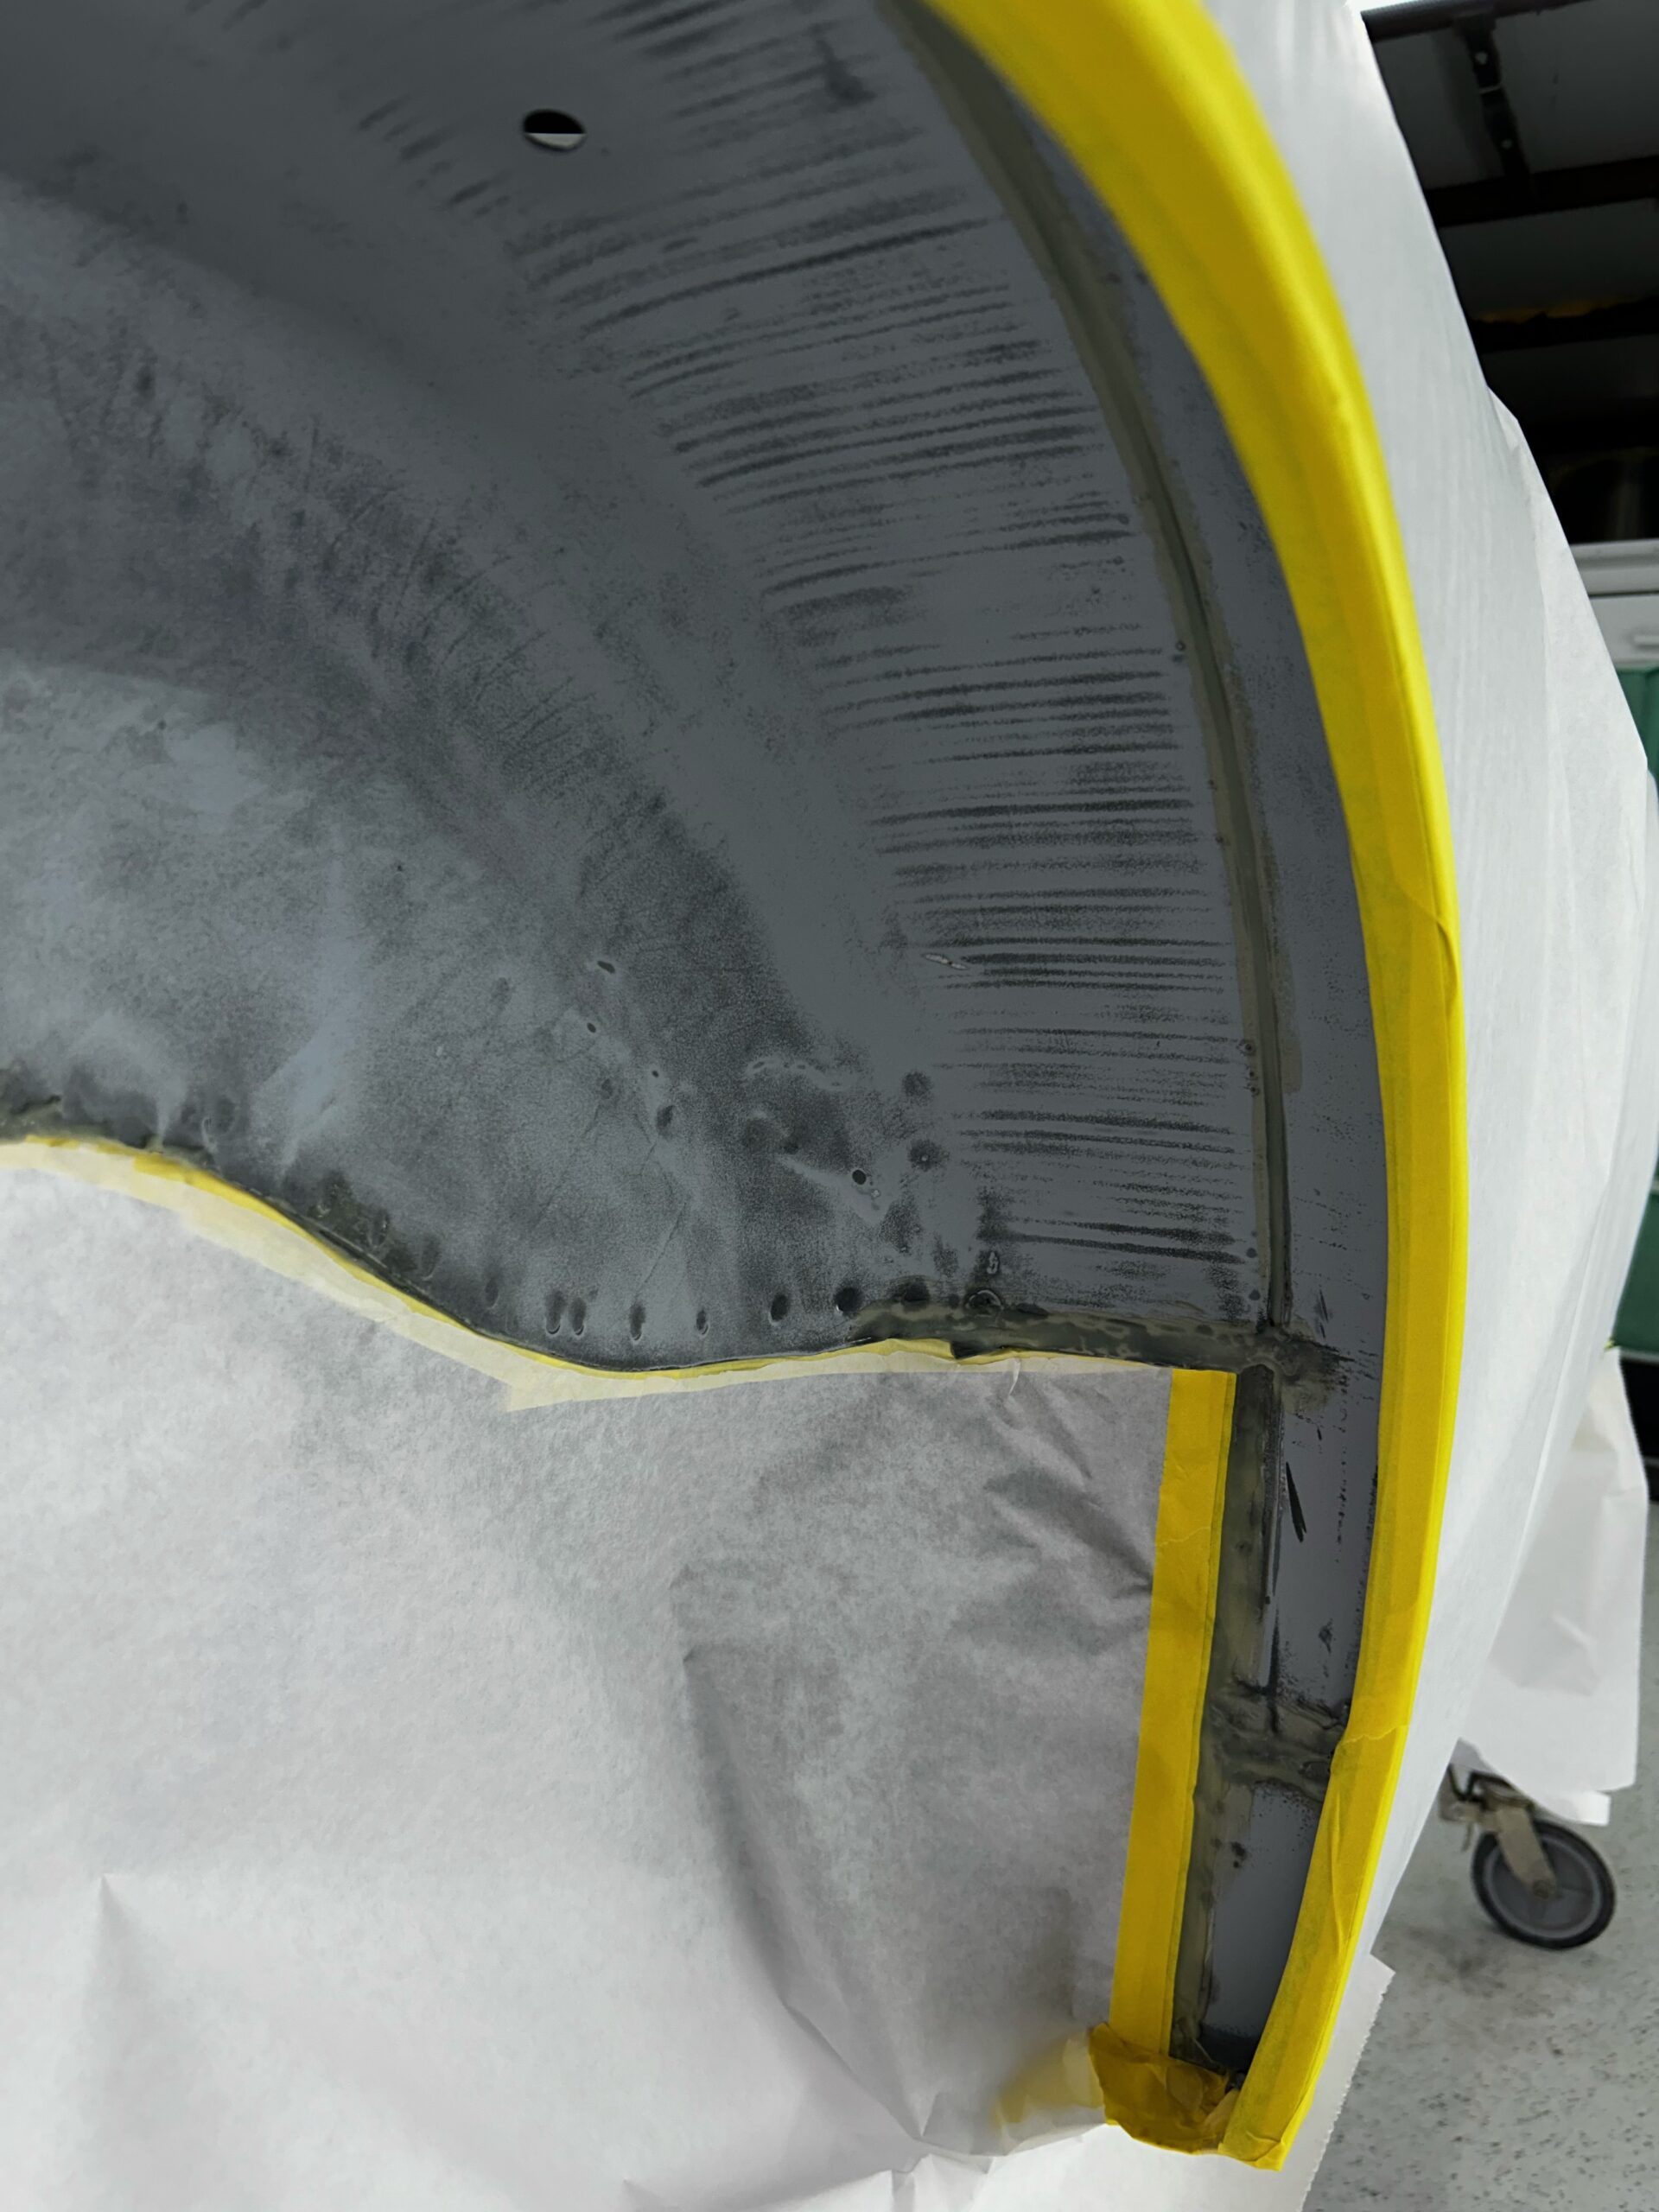
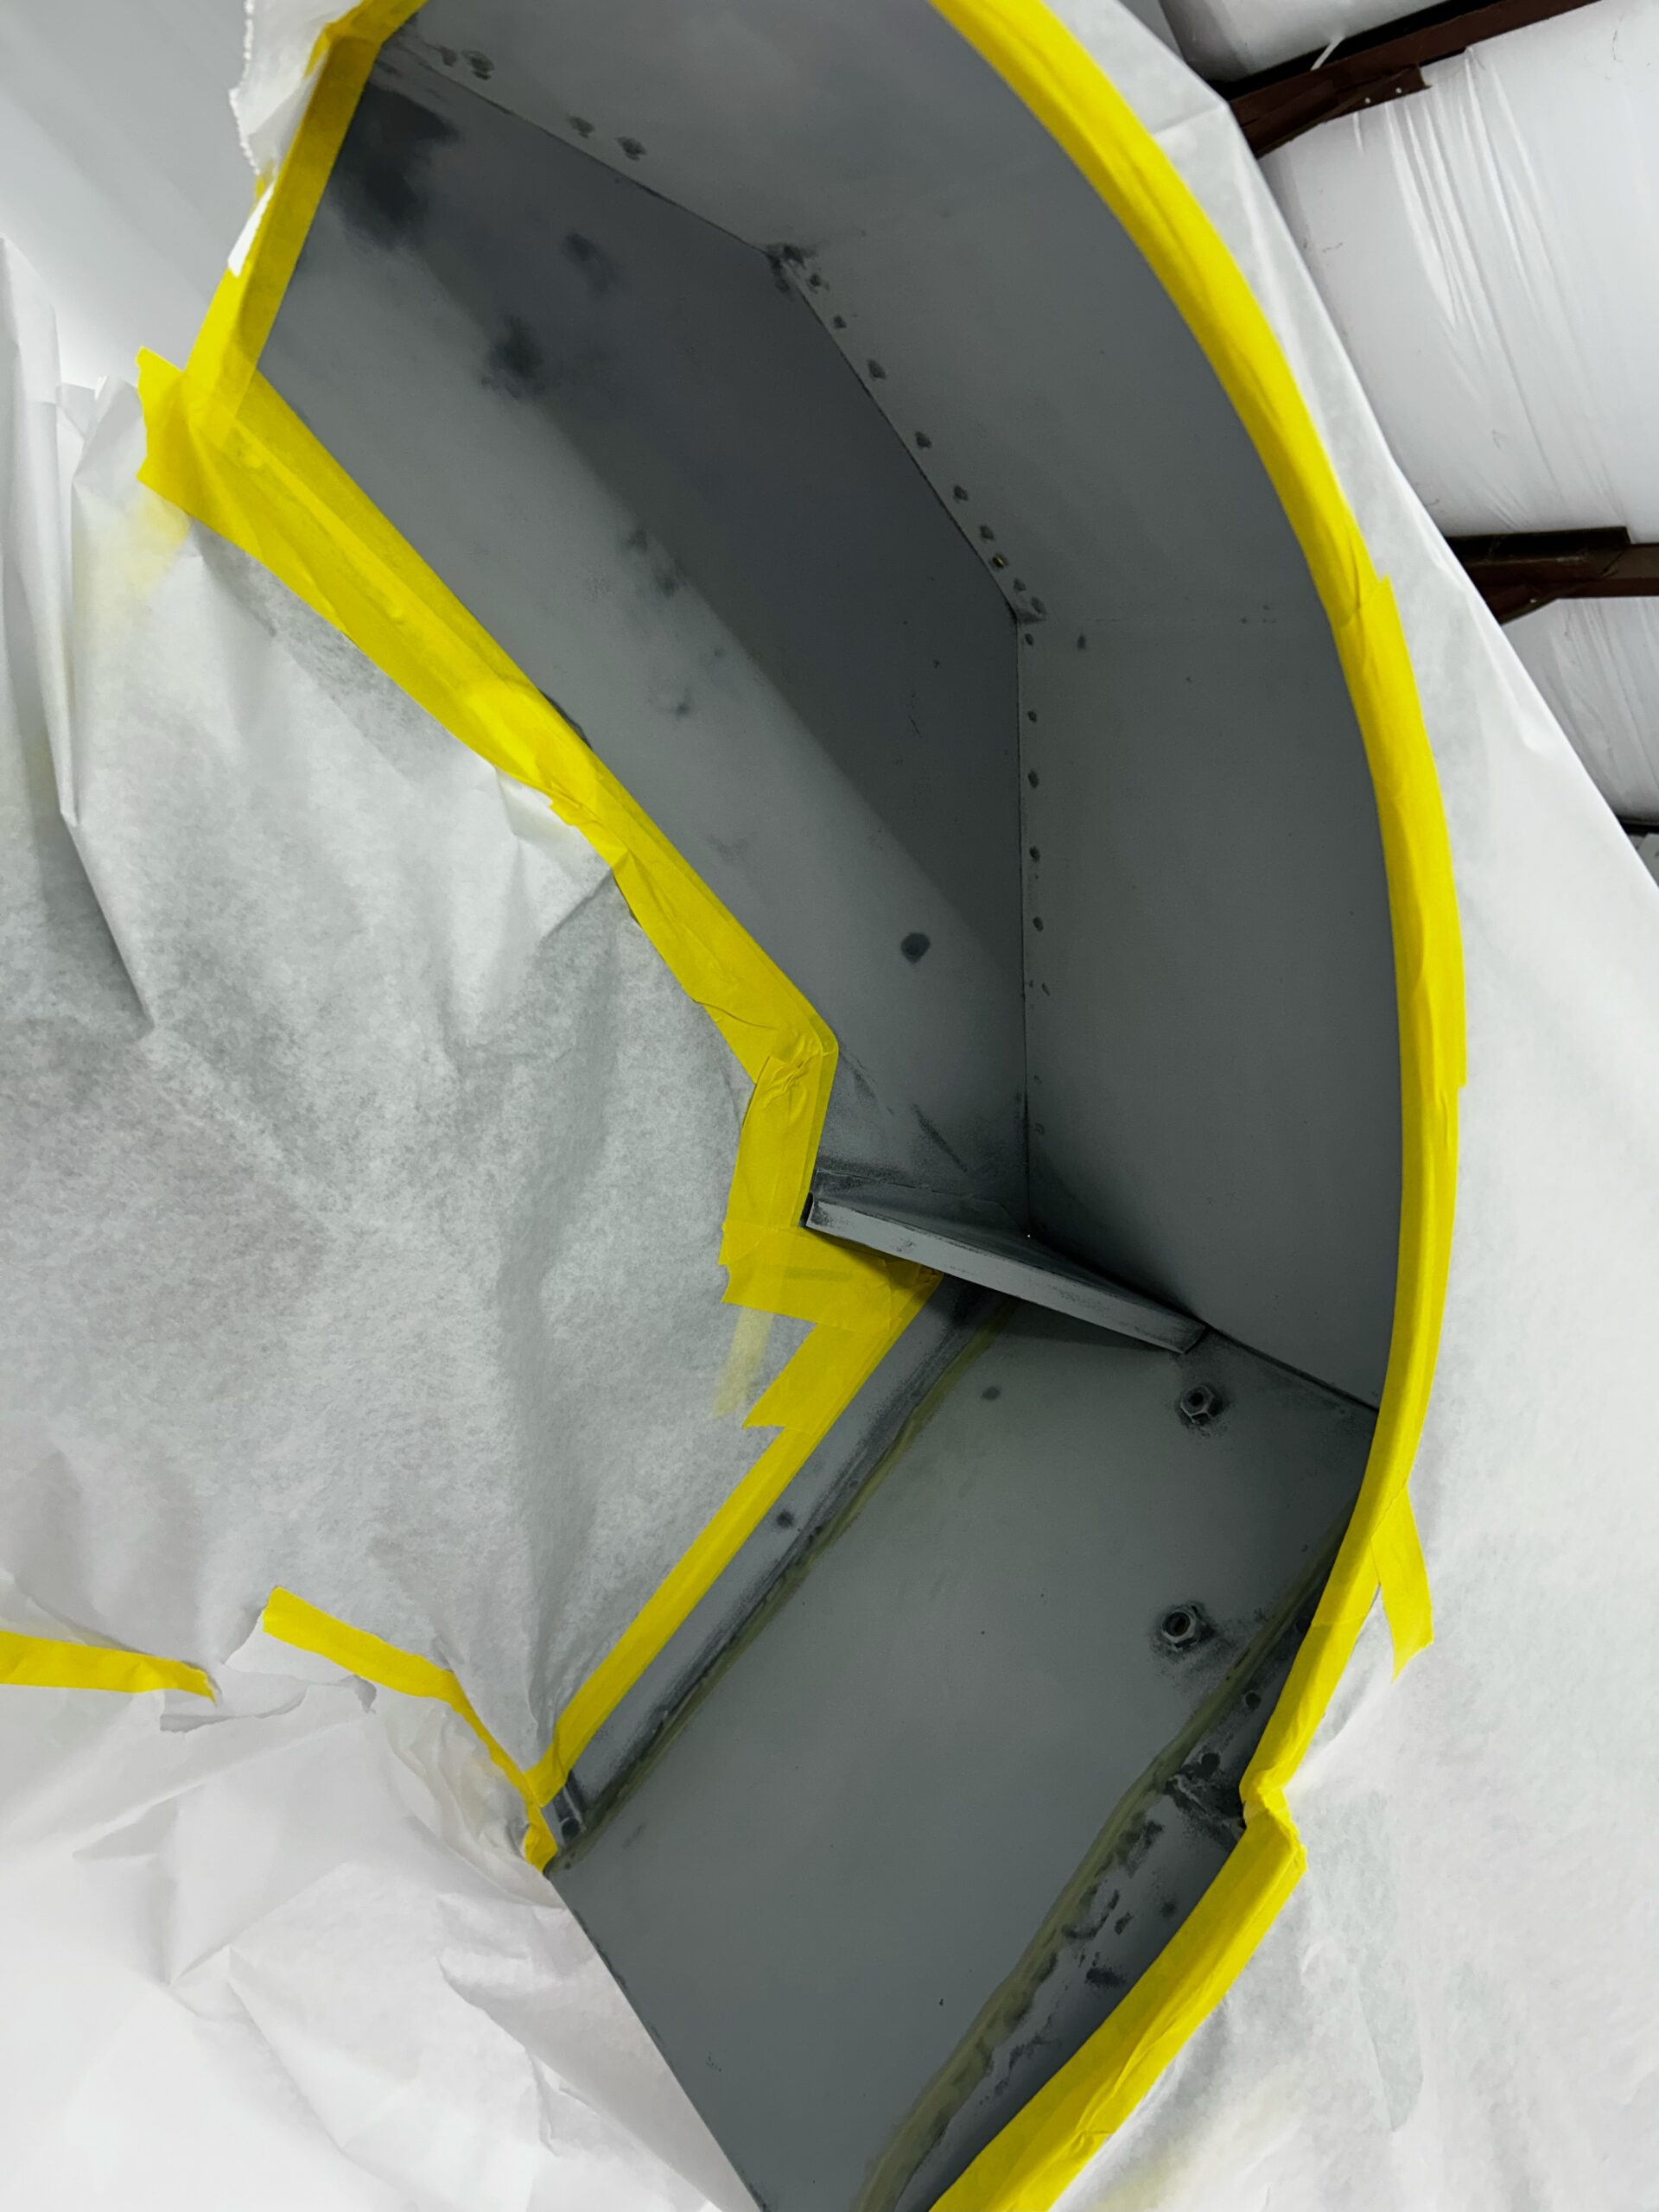
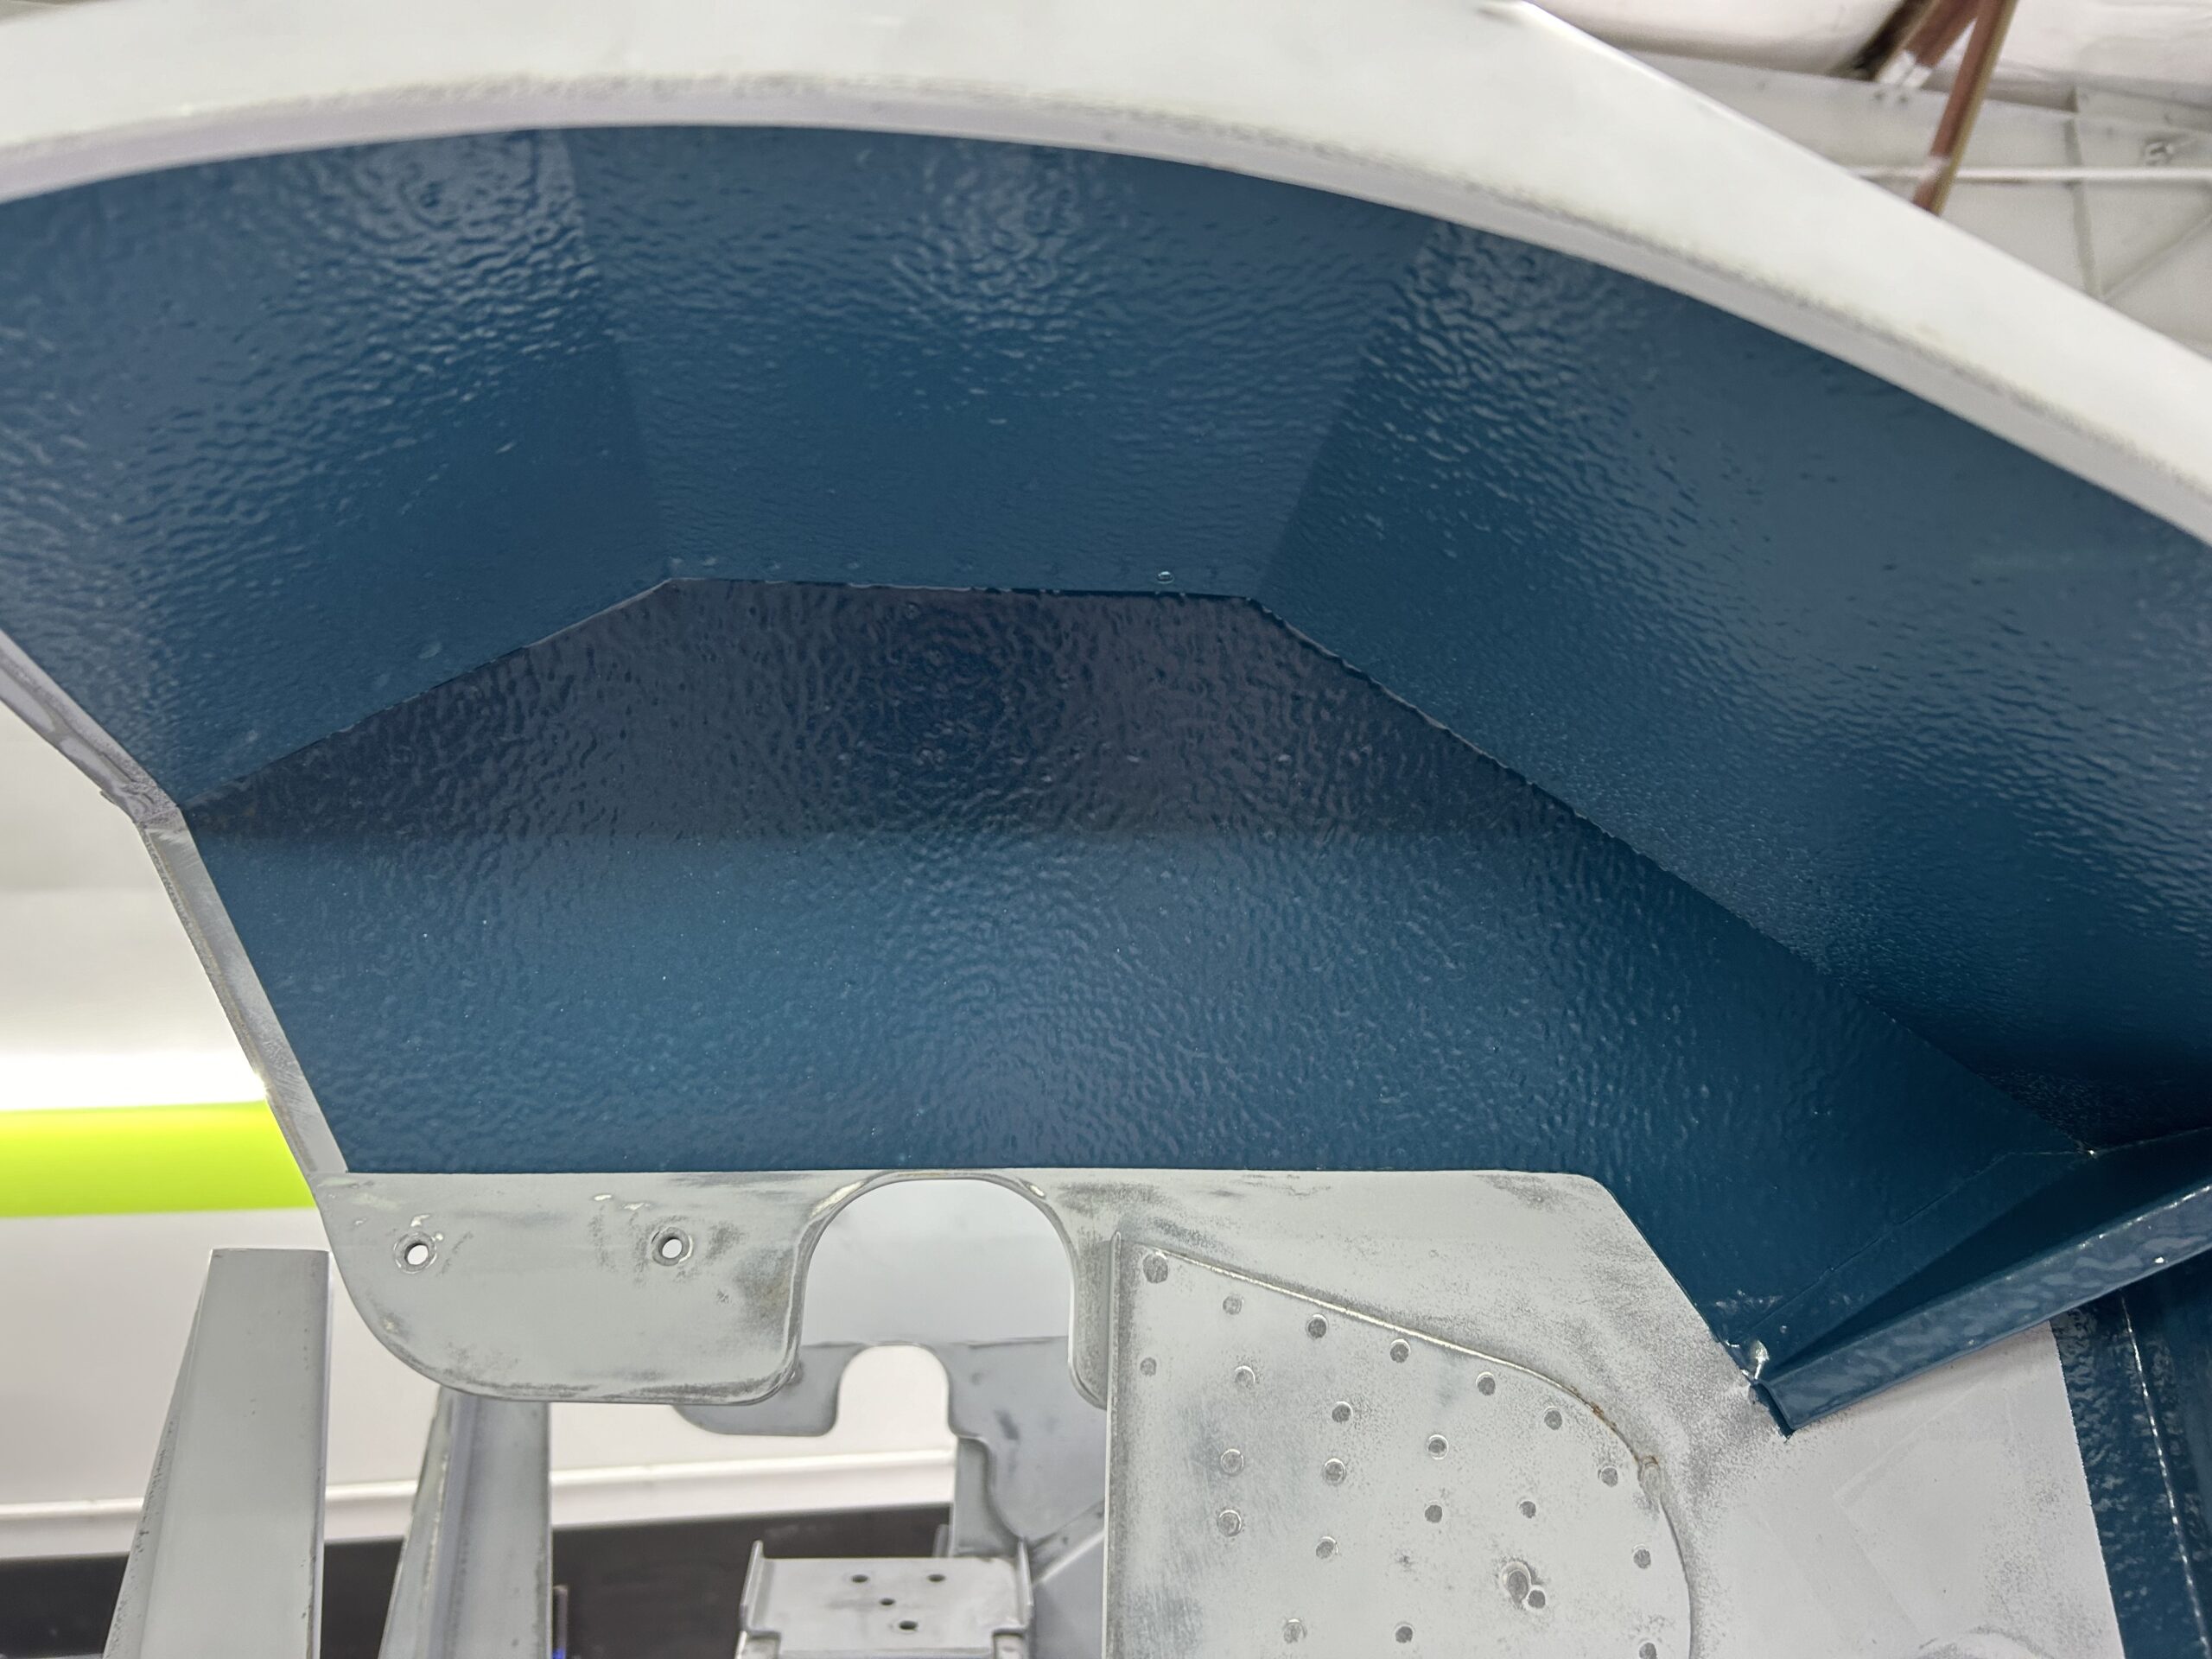
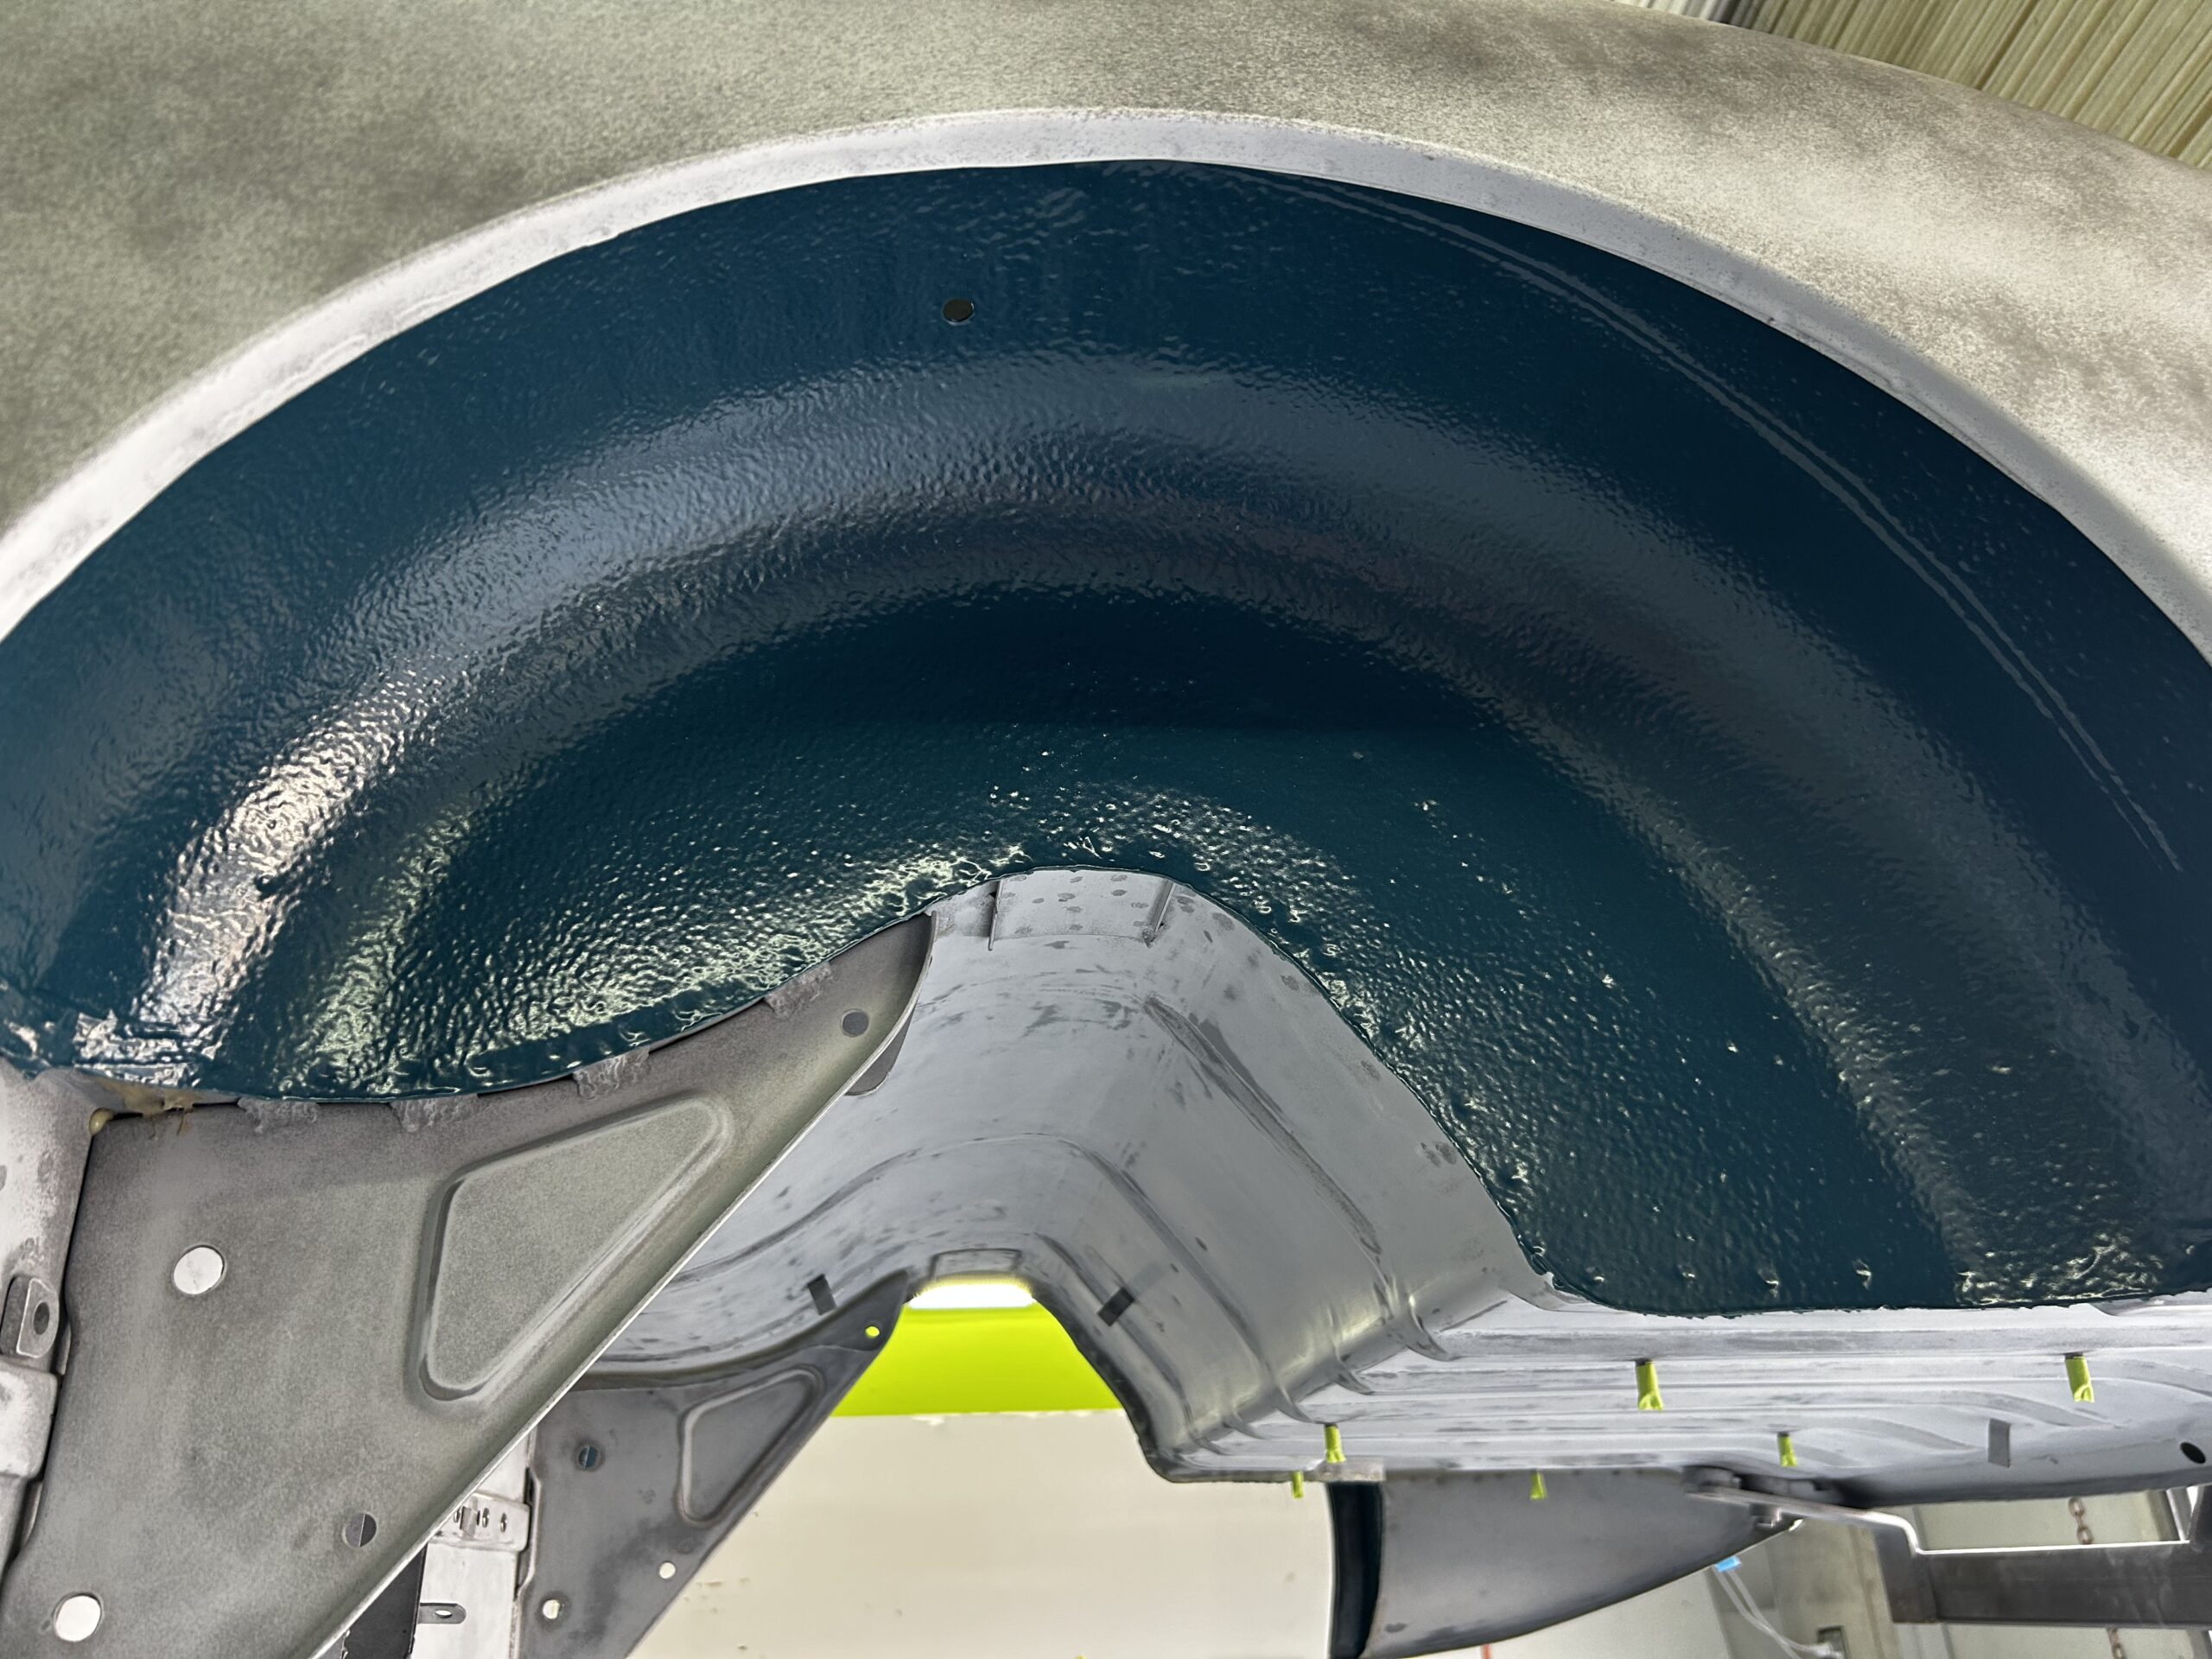
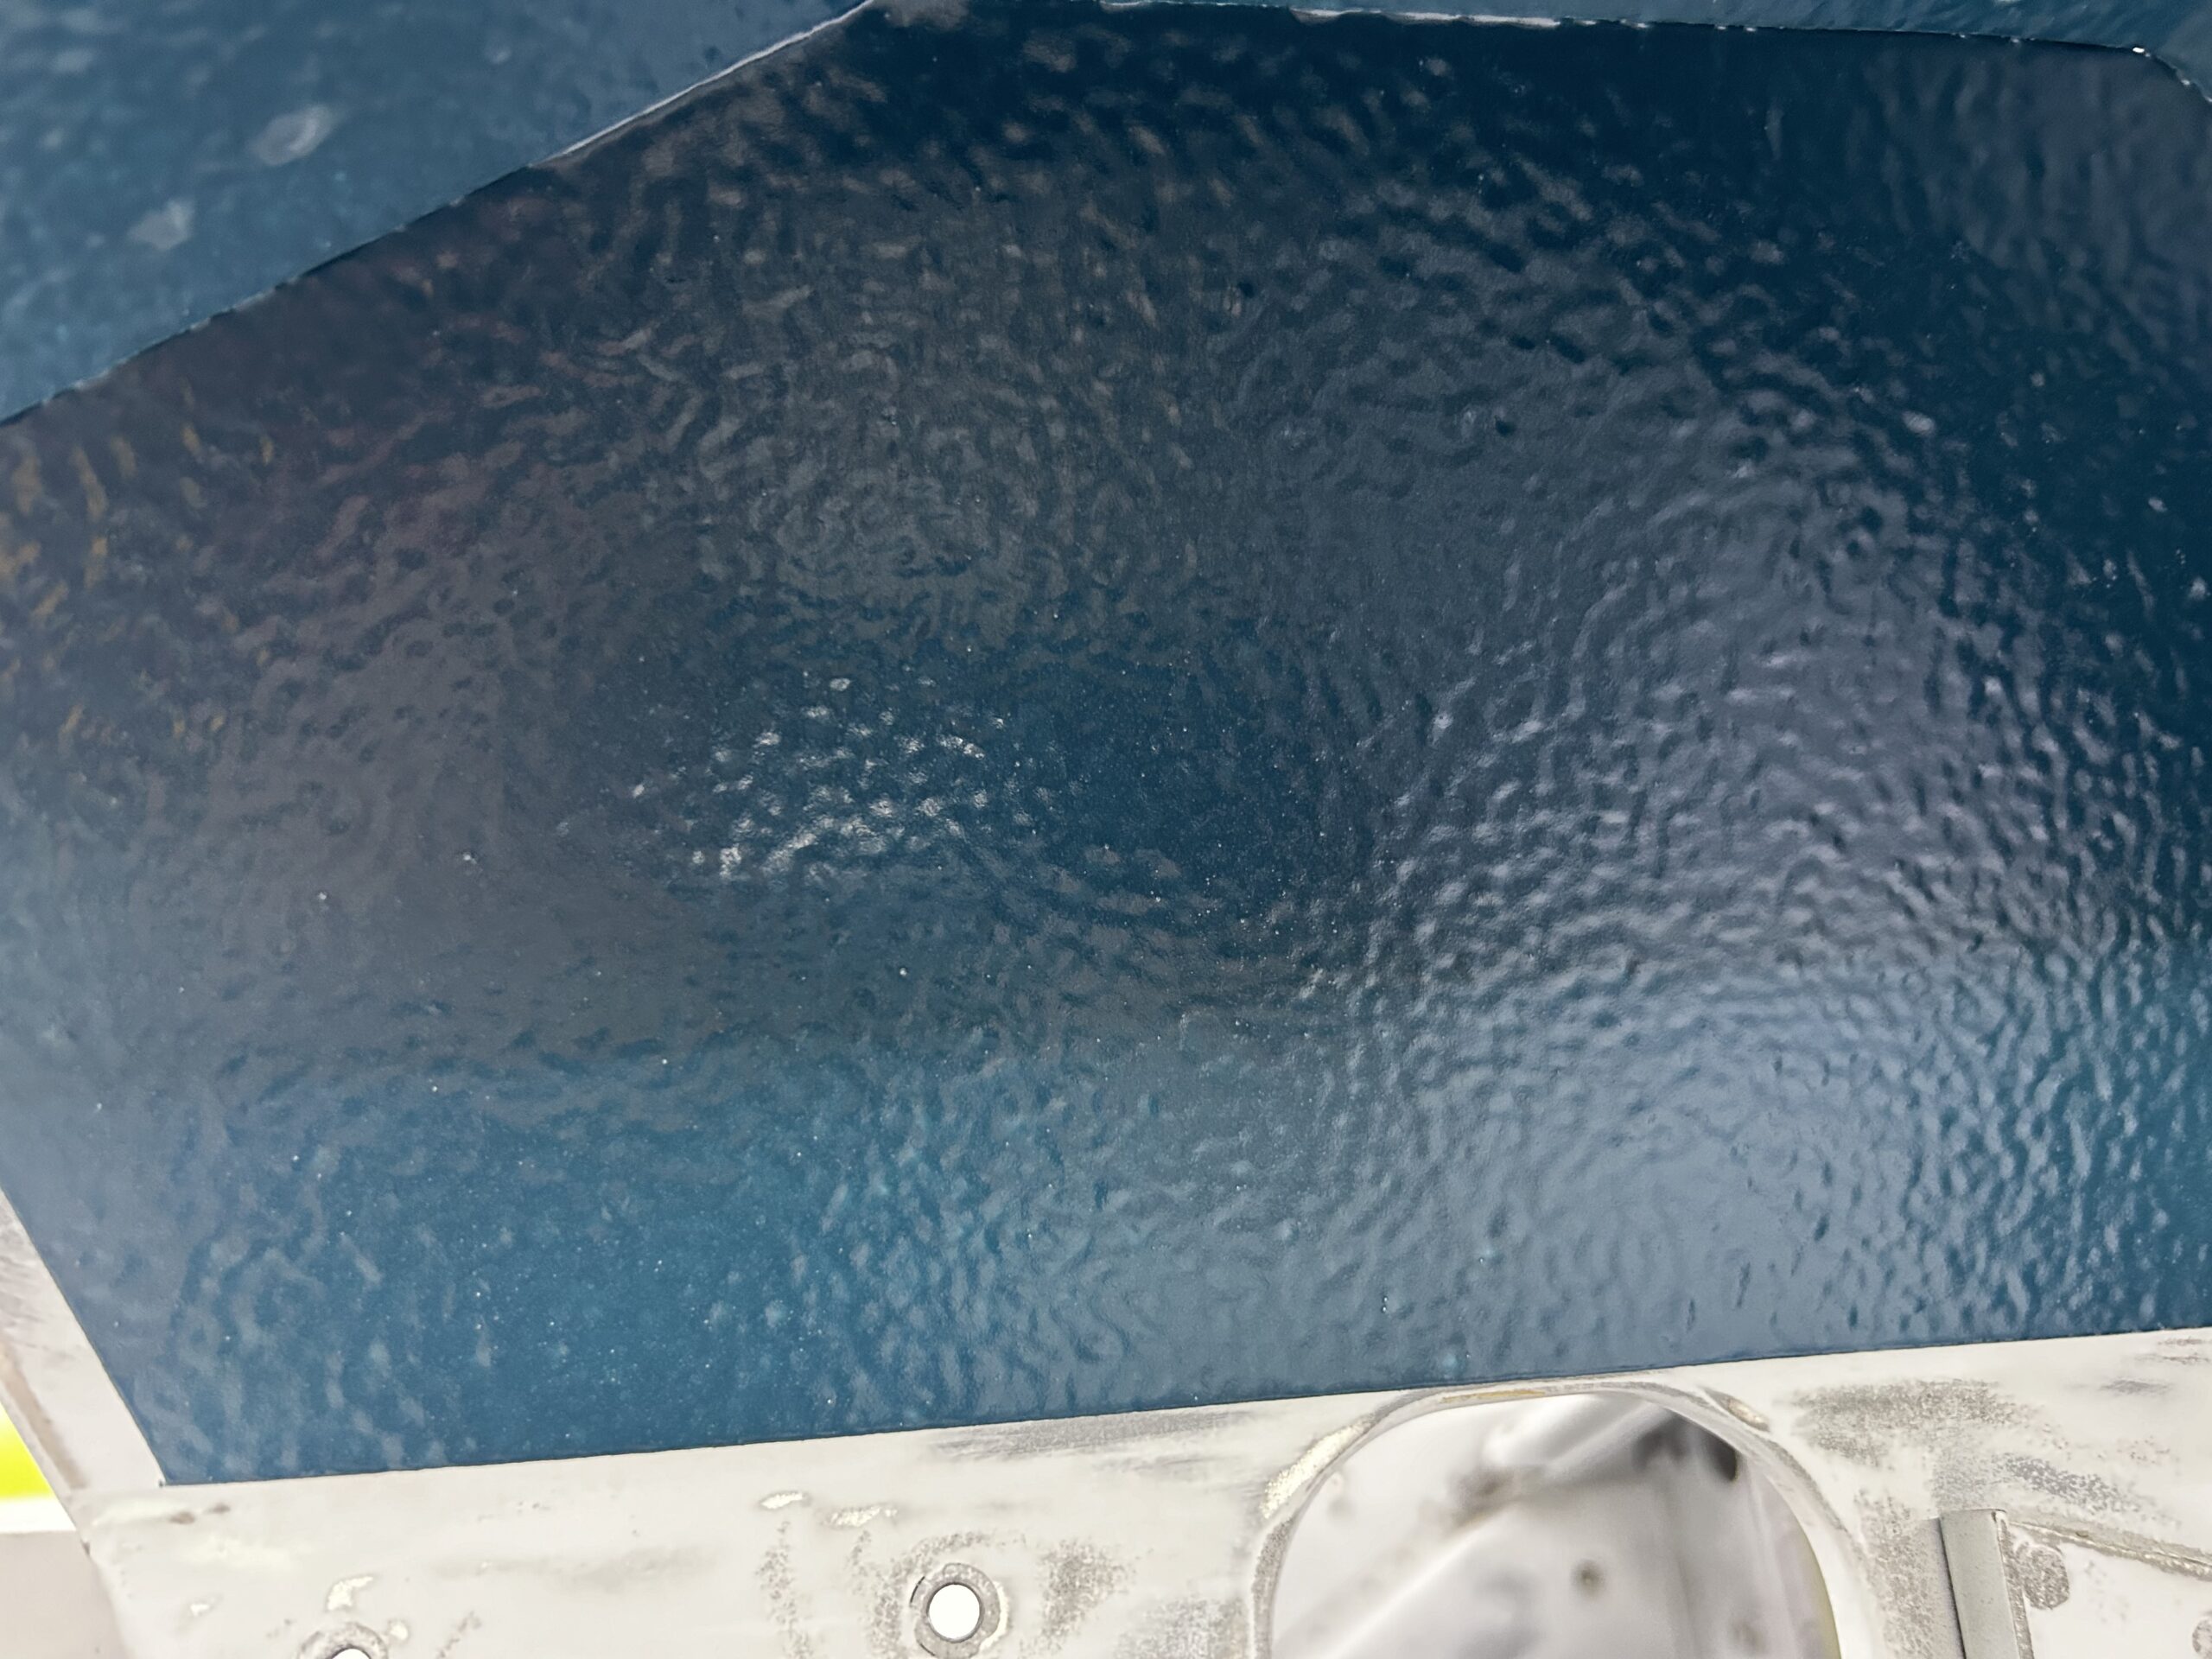
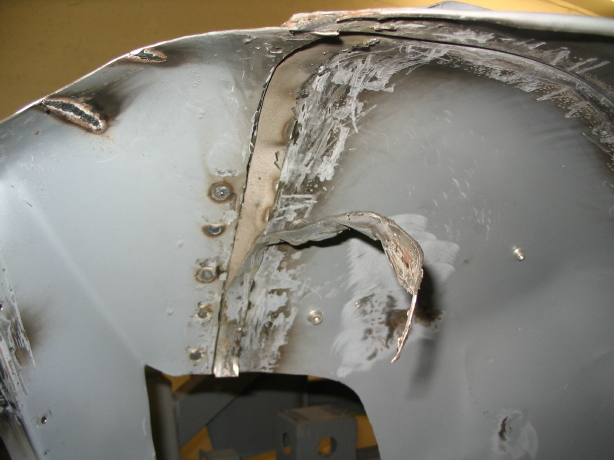
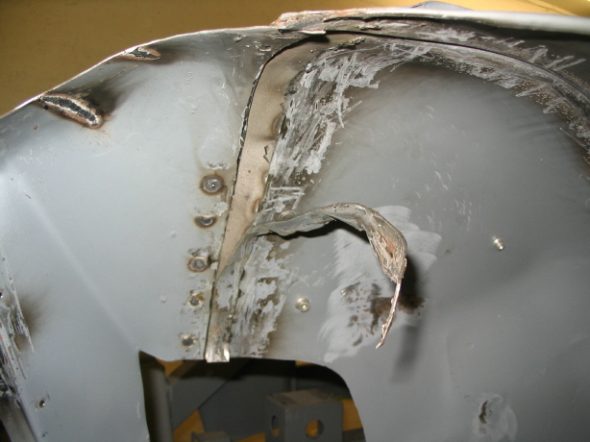
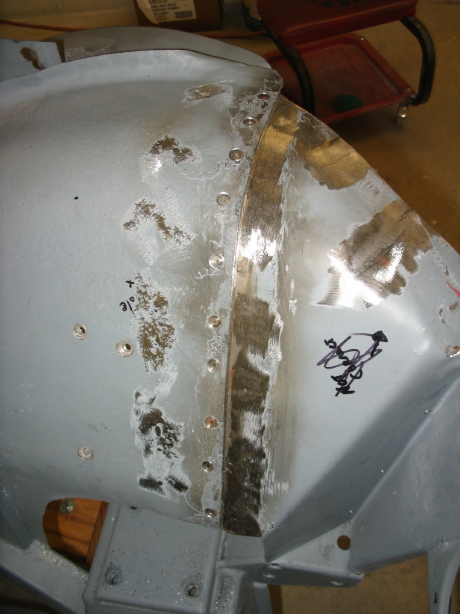
Martin had stitch welded the two pieces of the front inner fenders, and it wasn’t a pretty site. Jeremy took the pieces apart. Cut out some unneeded metal and welded the pieces back creating a much neater appearance.
Inner Fender Repair
Left inner fender repair
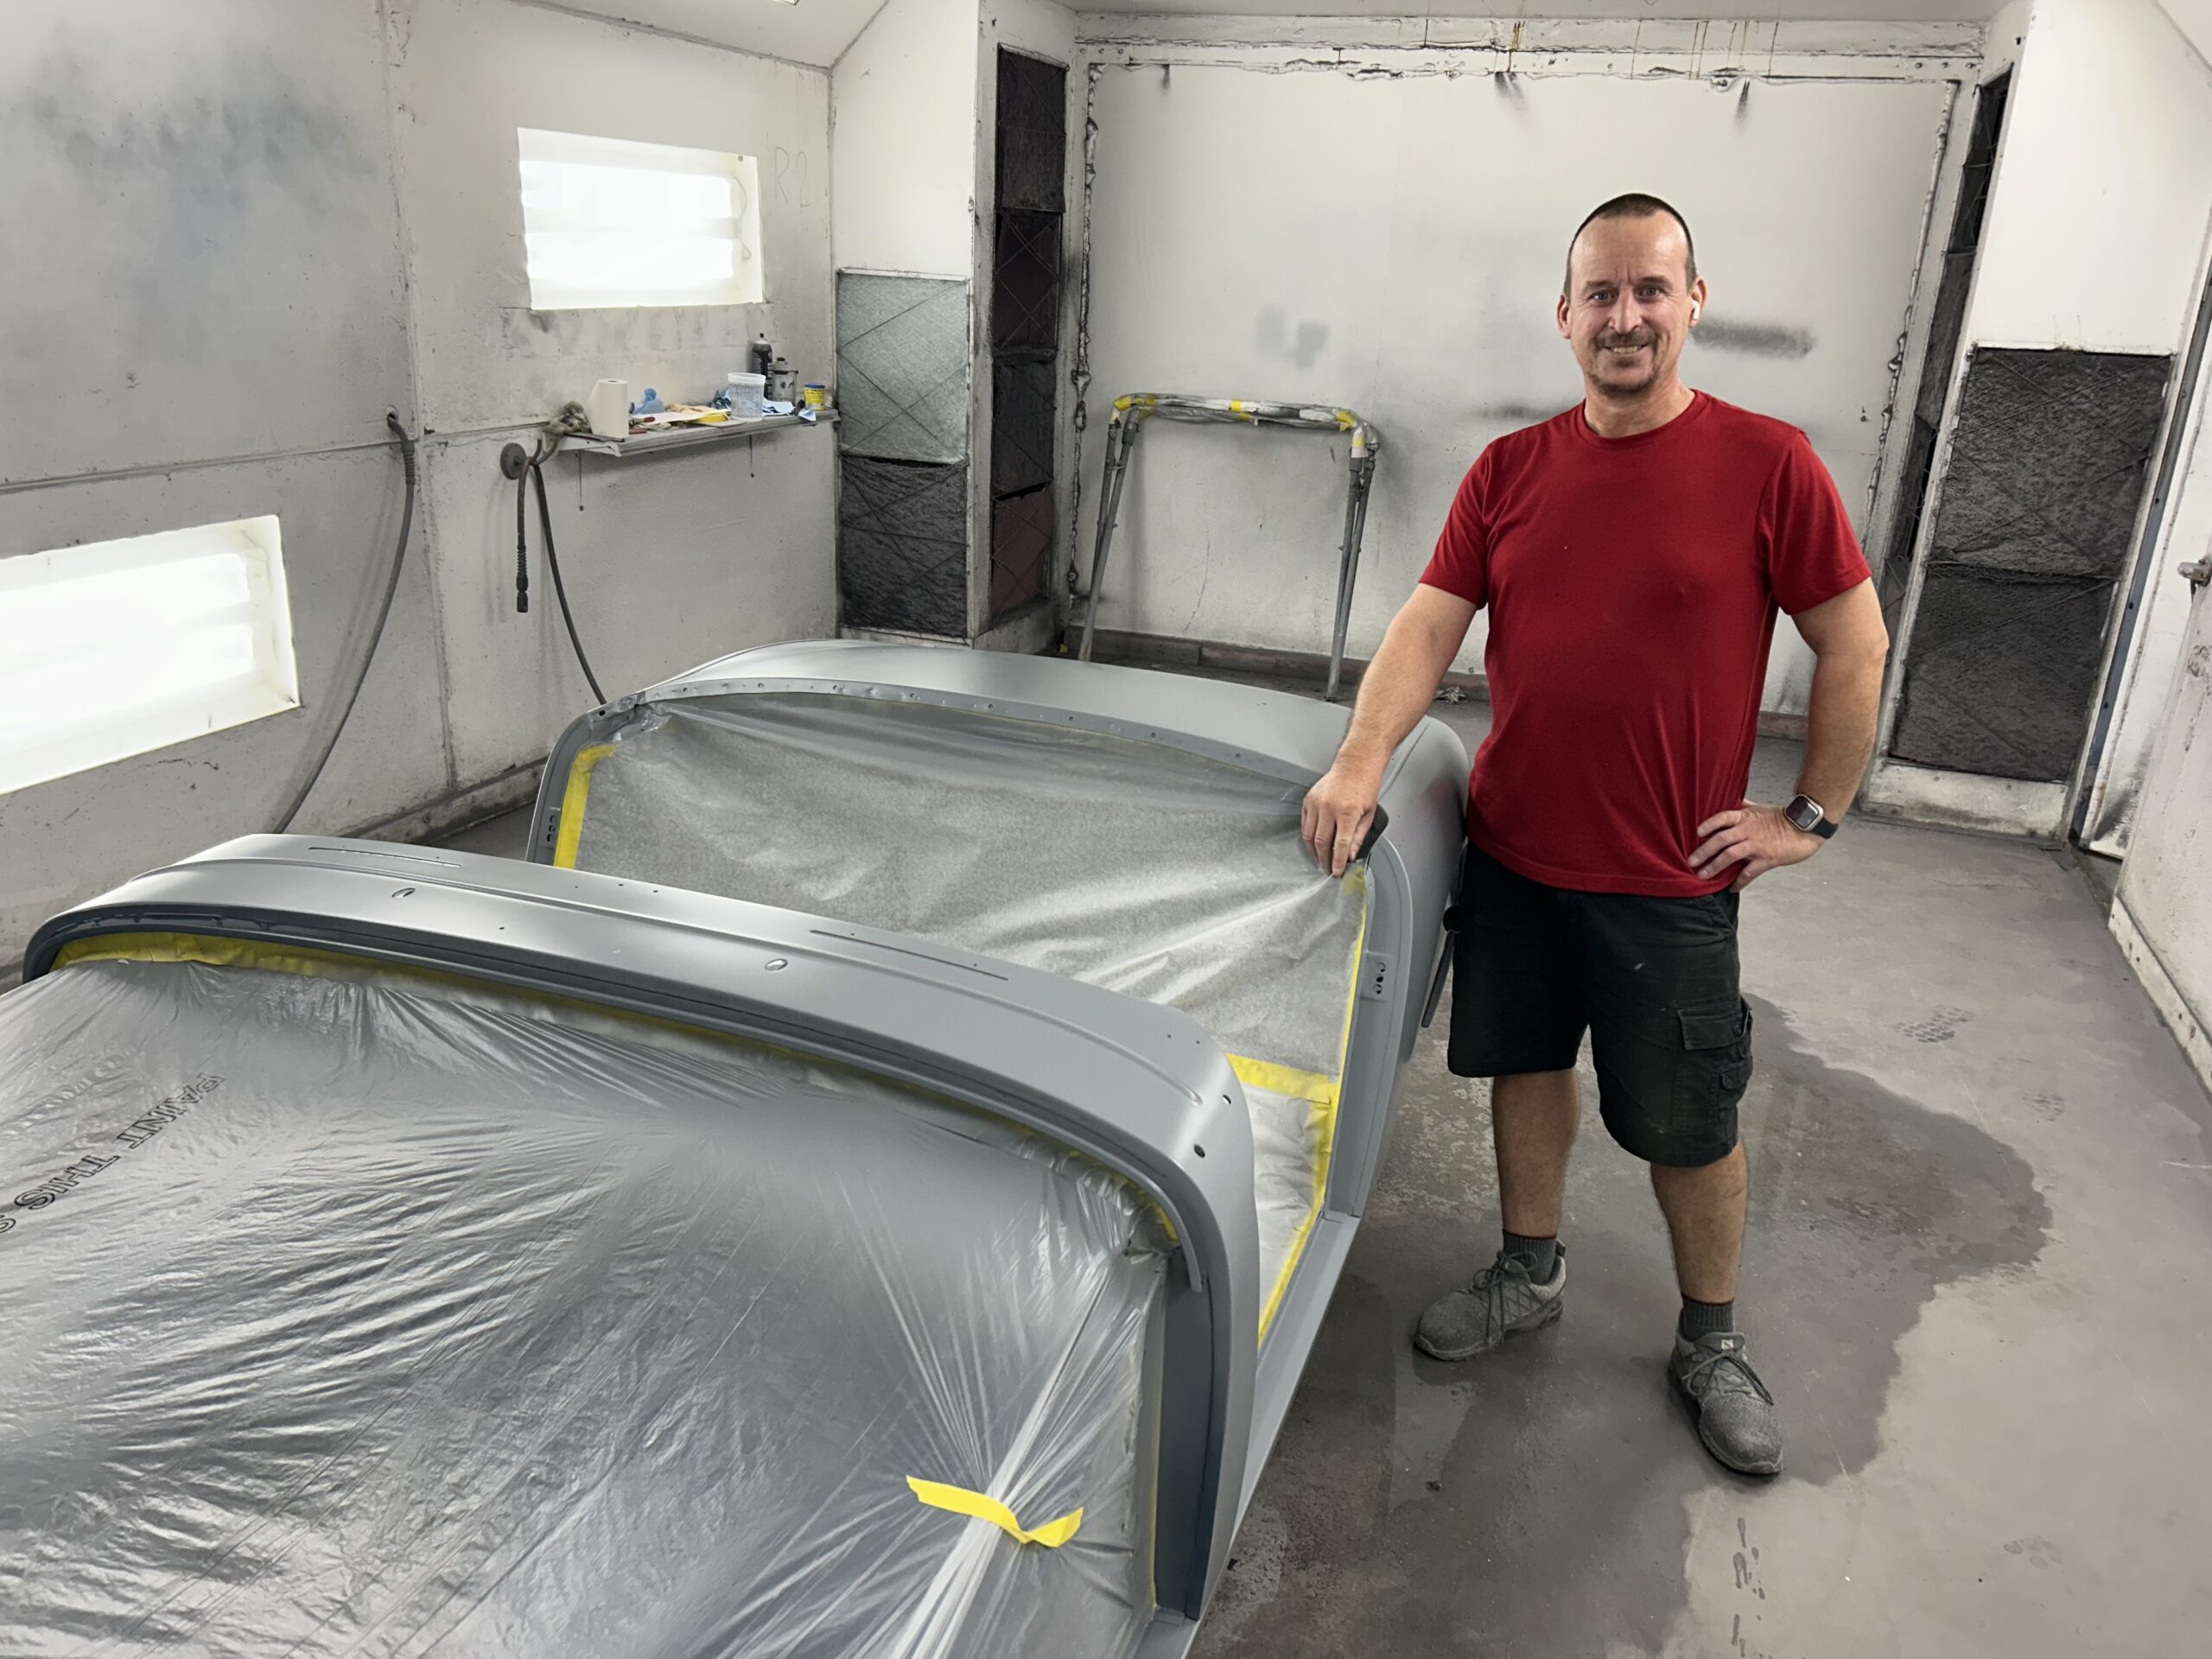
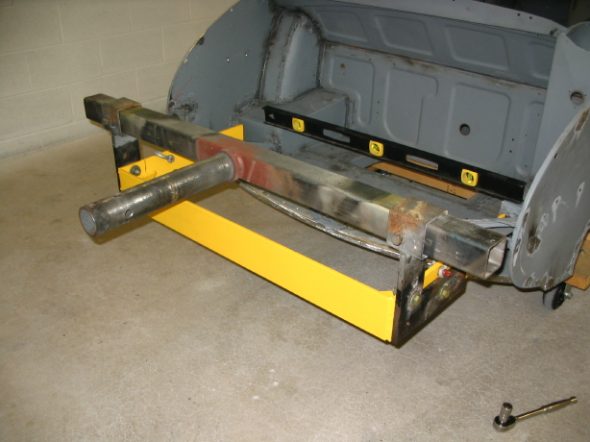
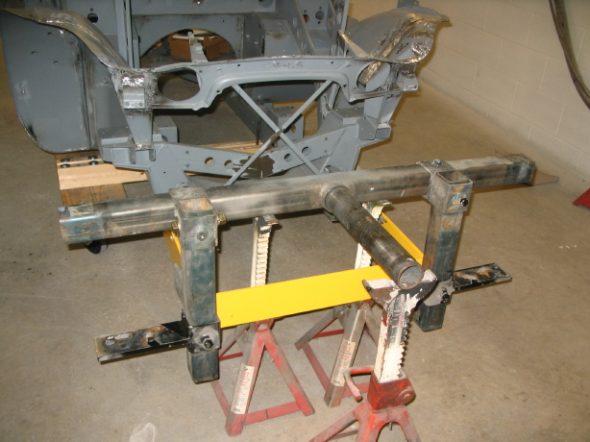
The Rotisseri – I had the yellow brackets in the photos made to fit Jeremy’s rotisseri. This week he got the two together and got the superstructure on the rotisseri. It turns quite easily.
Rotisseri 1
Rotisseri 2
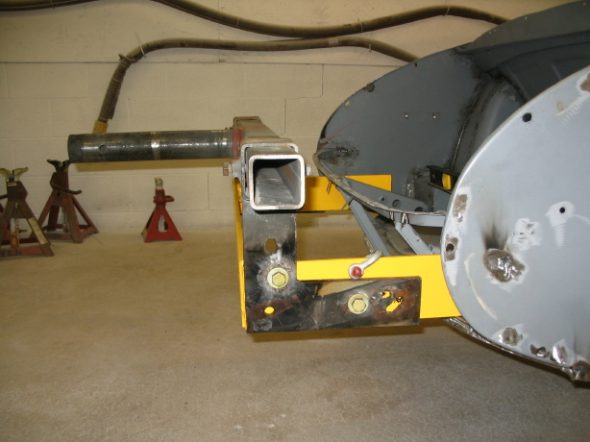
Rotisseri 3
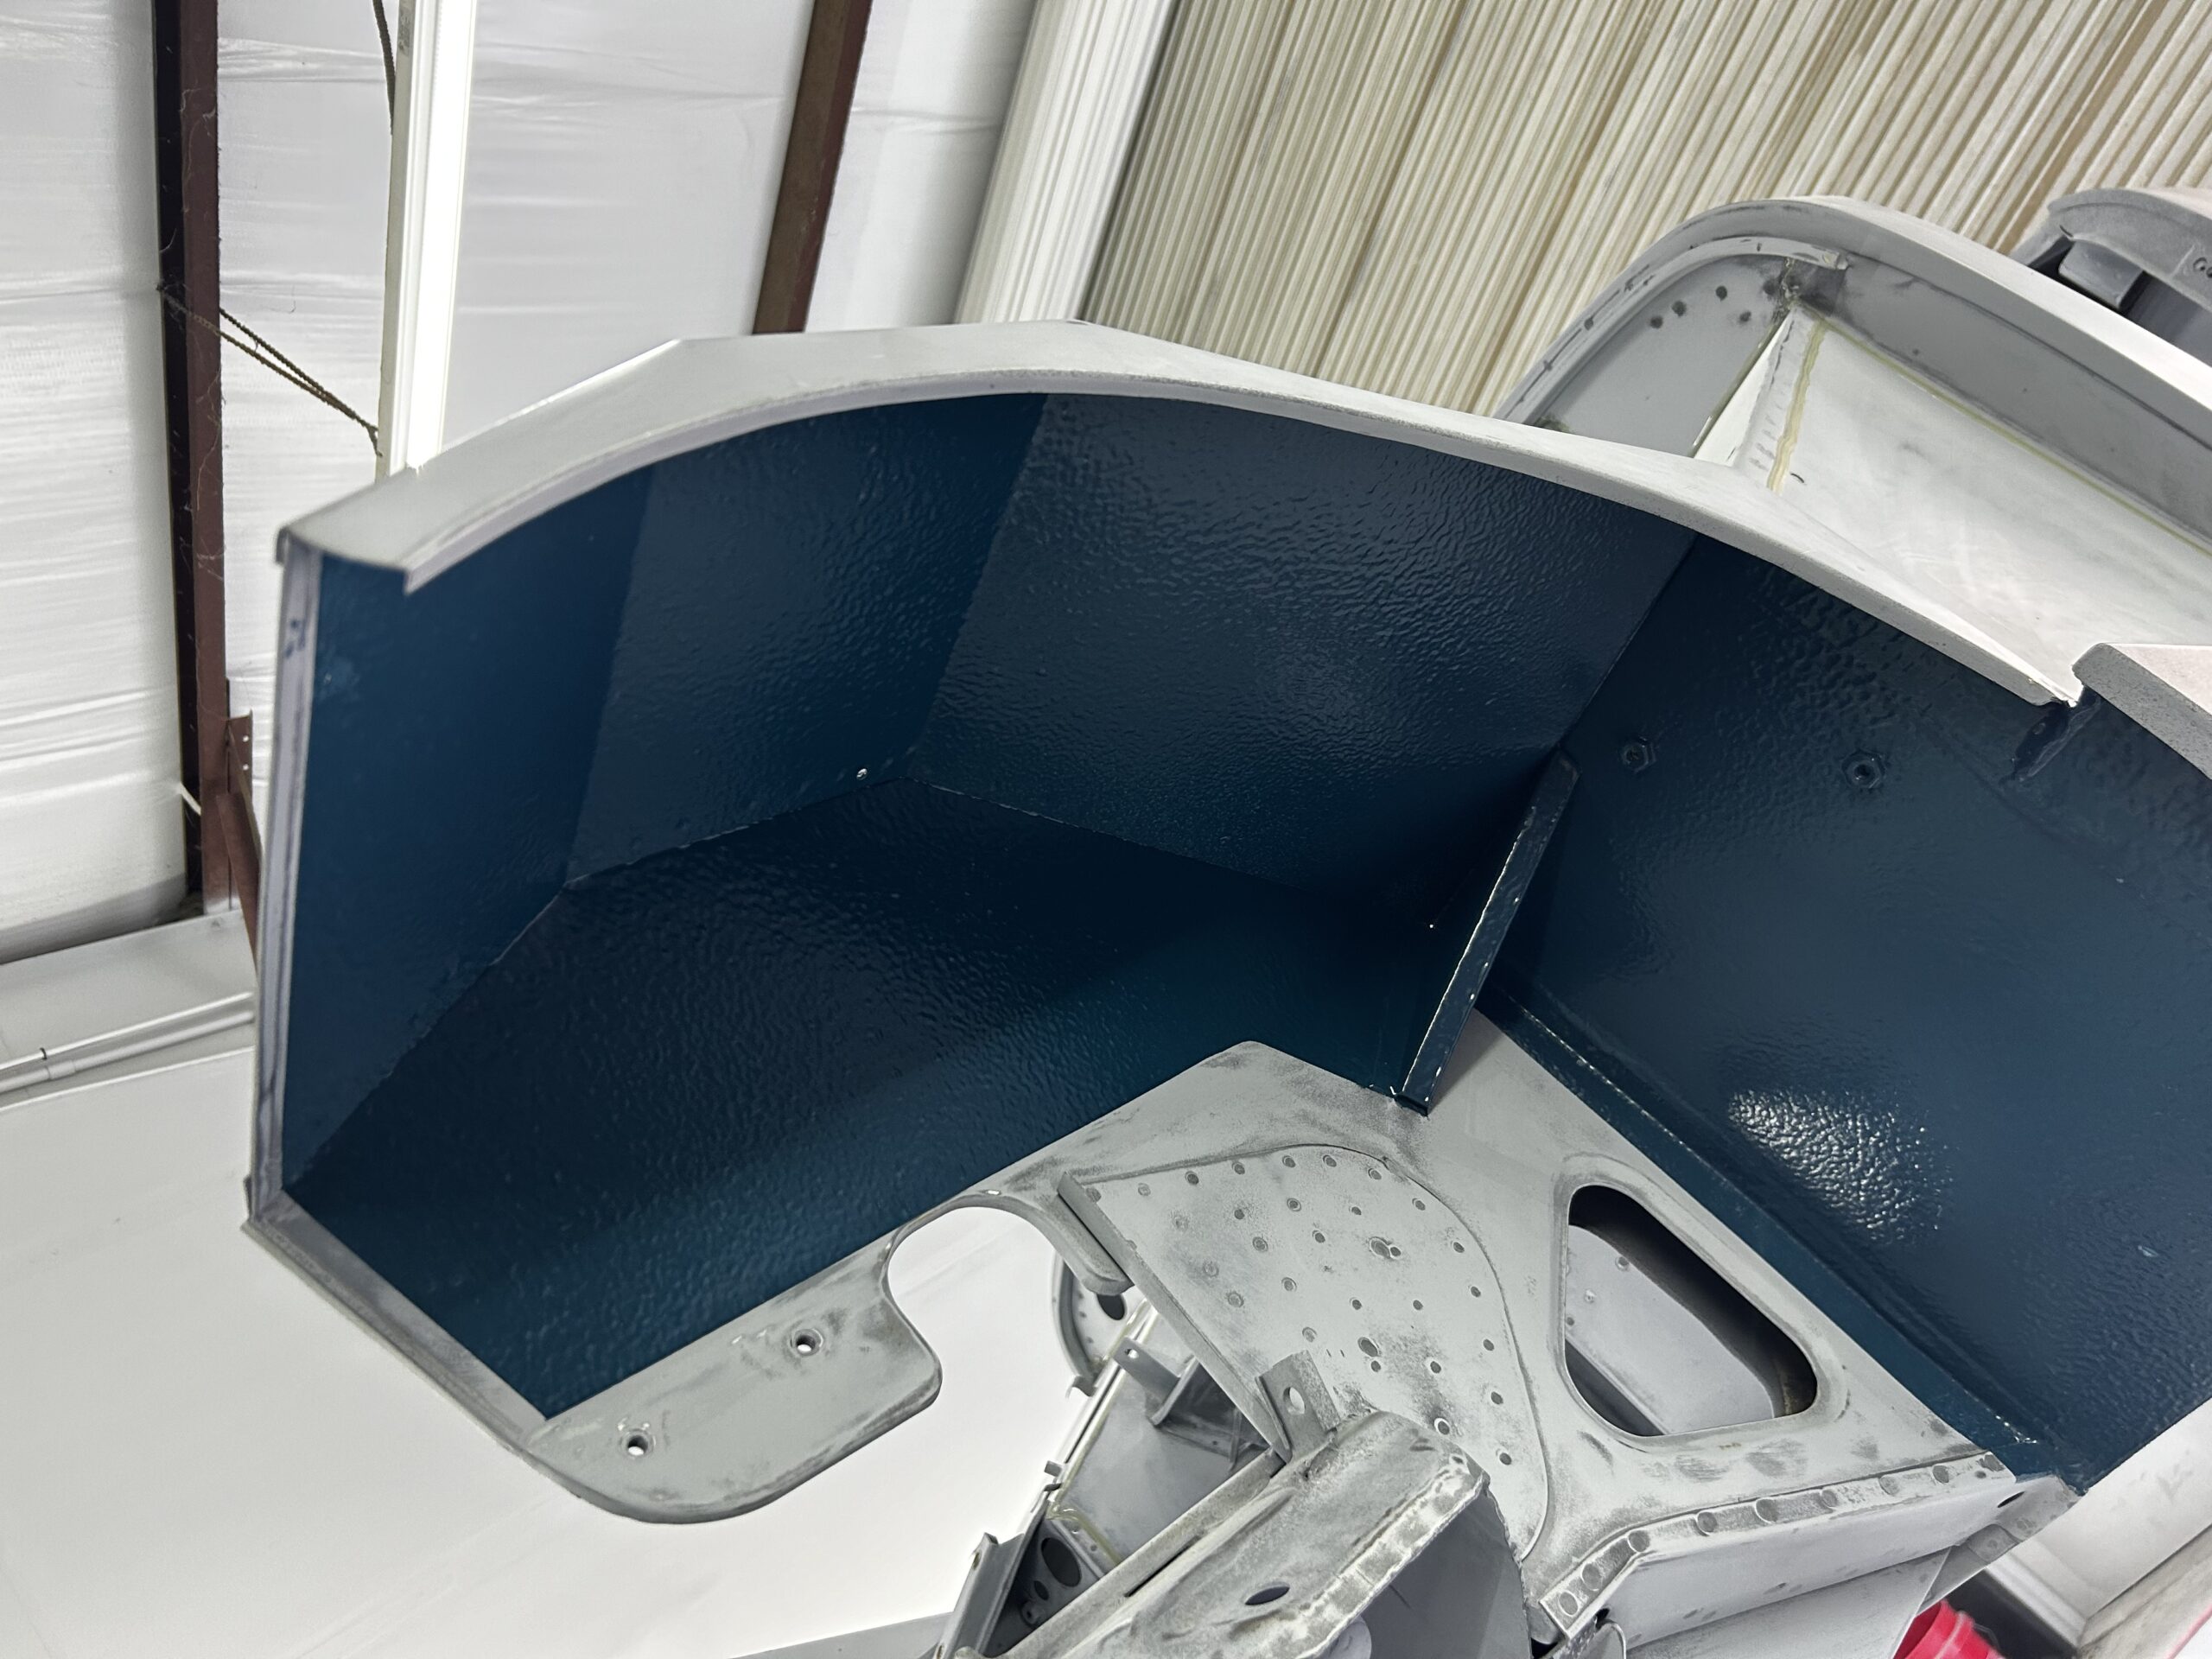
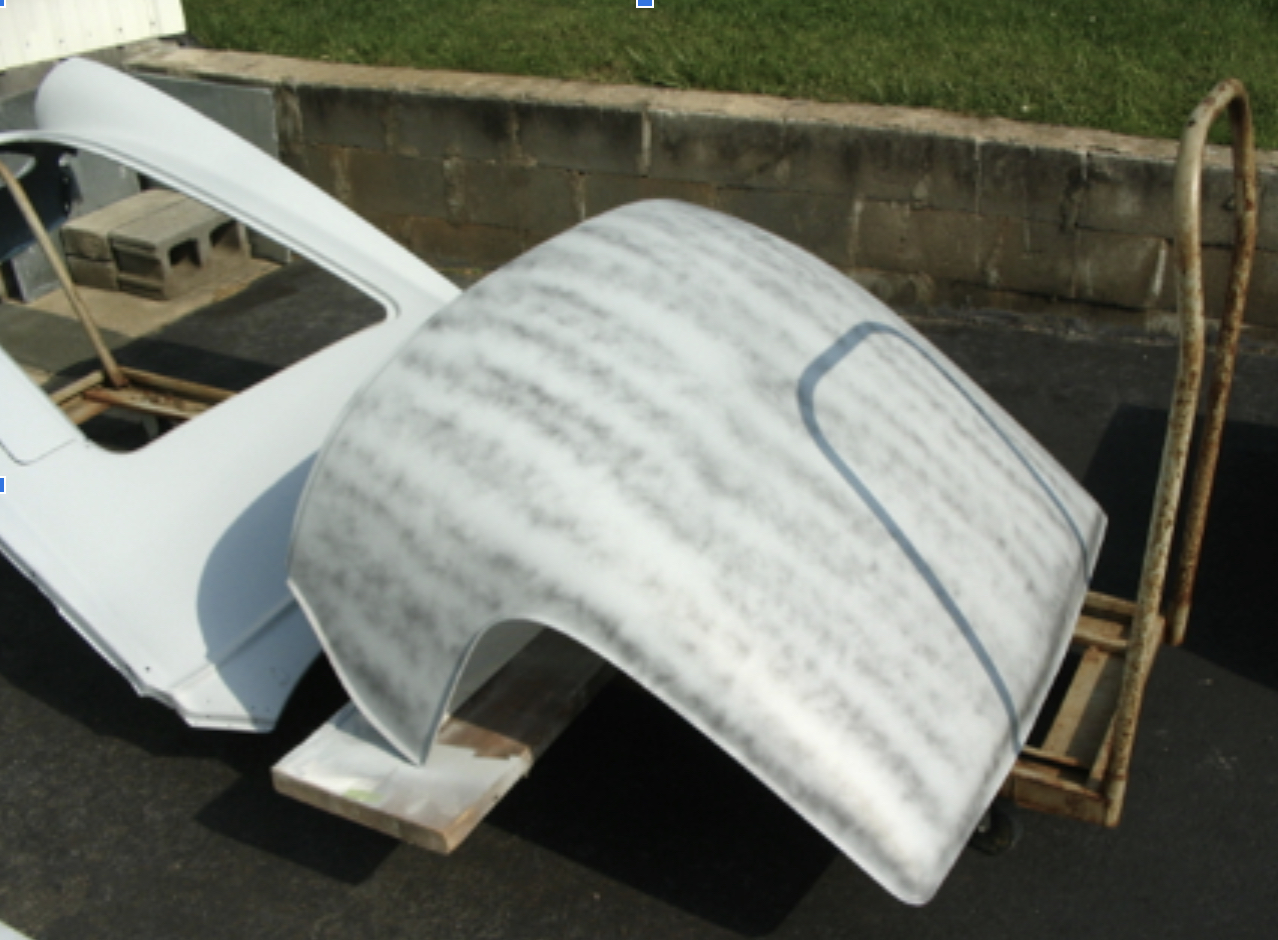
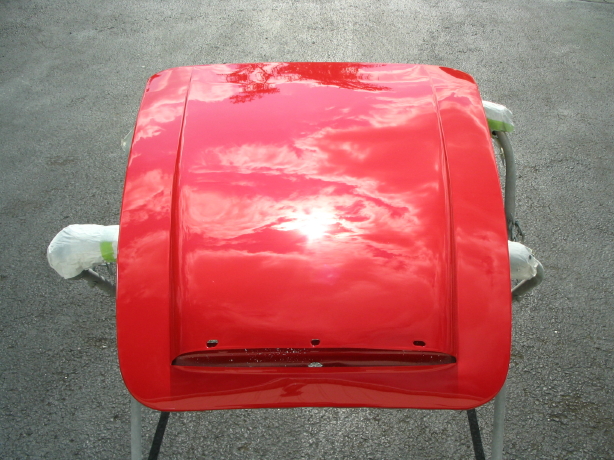
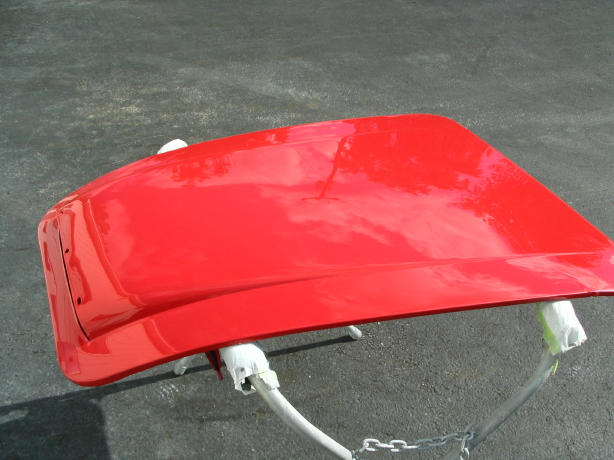
Painting – We ordered a pint of the Rosso Corsa Red paint to try a test panel. We painted the extra bonnet I had. It is beautiful! No modifications to paint formula required. It is definitely a Ferrari Red.
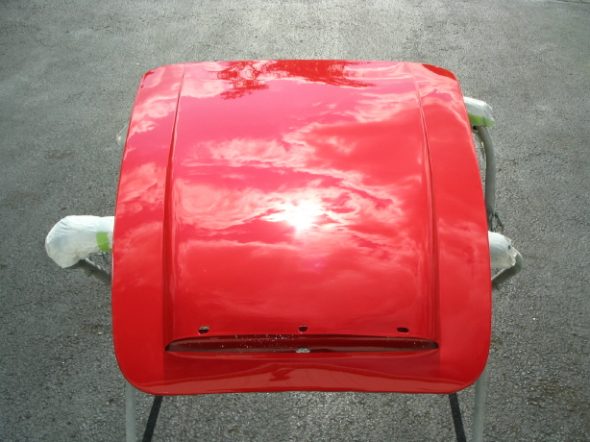
Ferrari Red 1

Ferrari Red 2
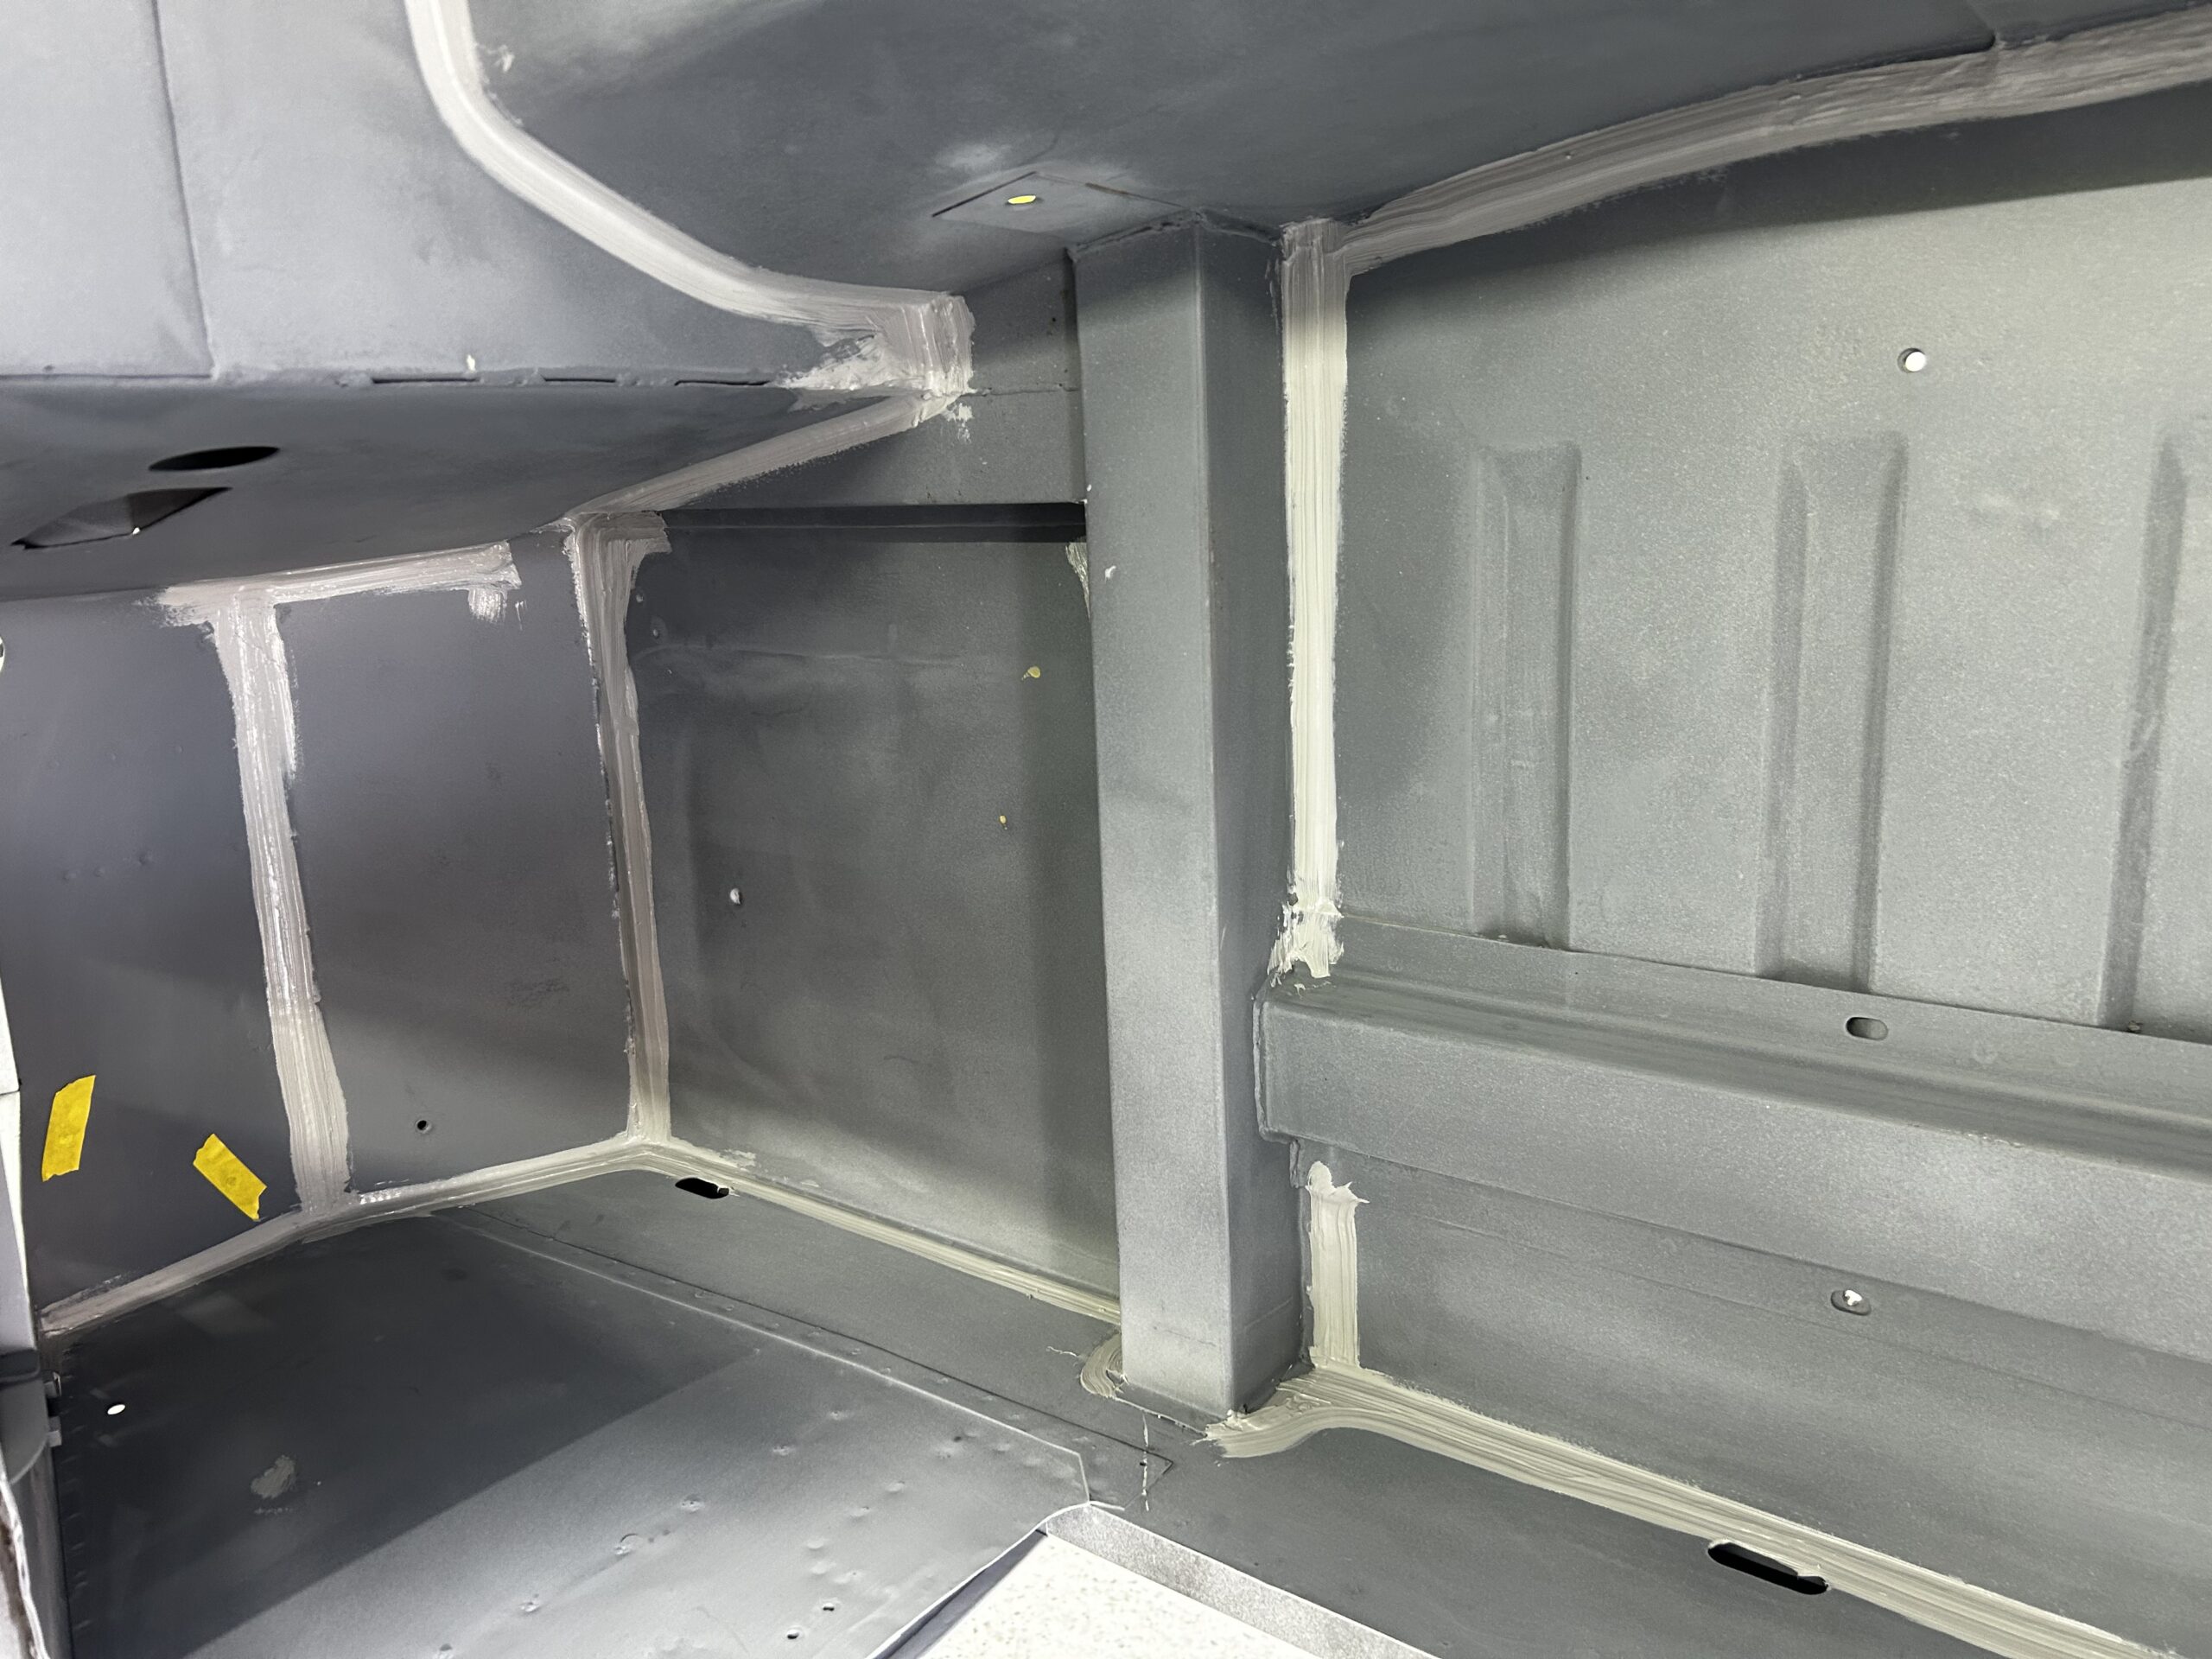
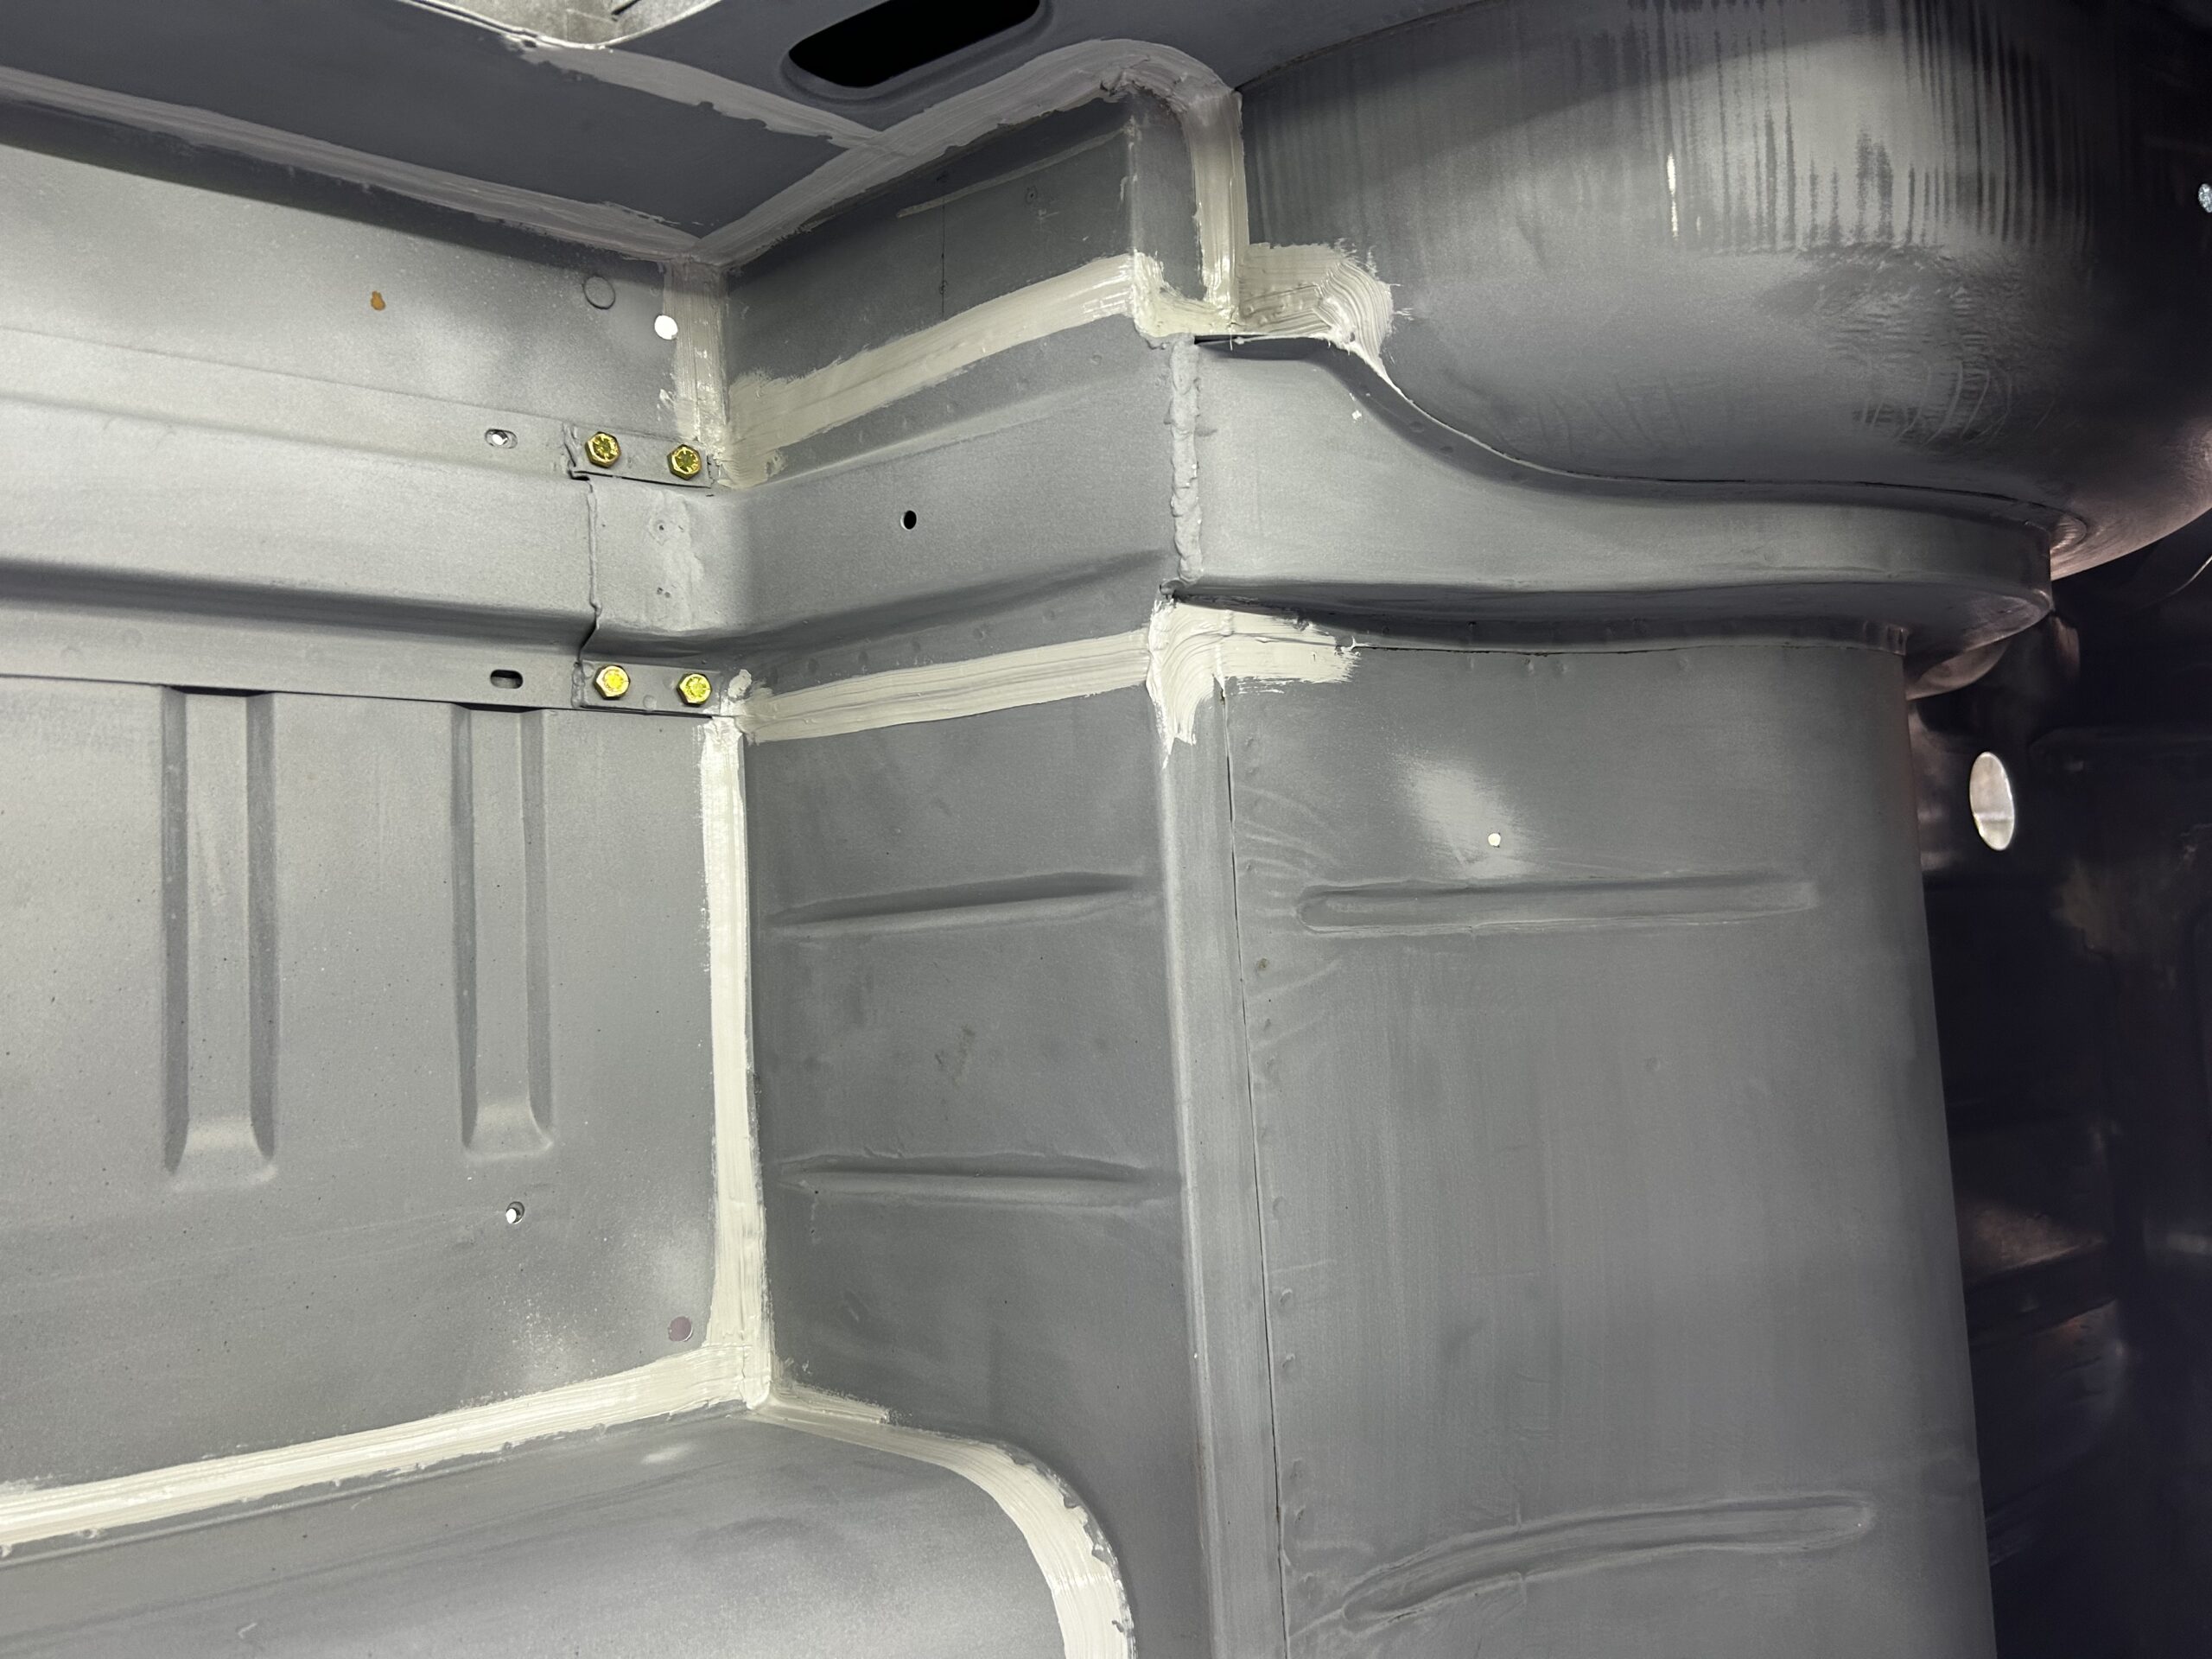
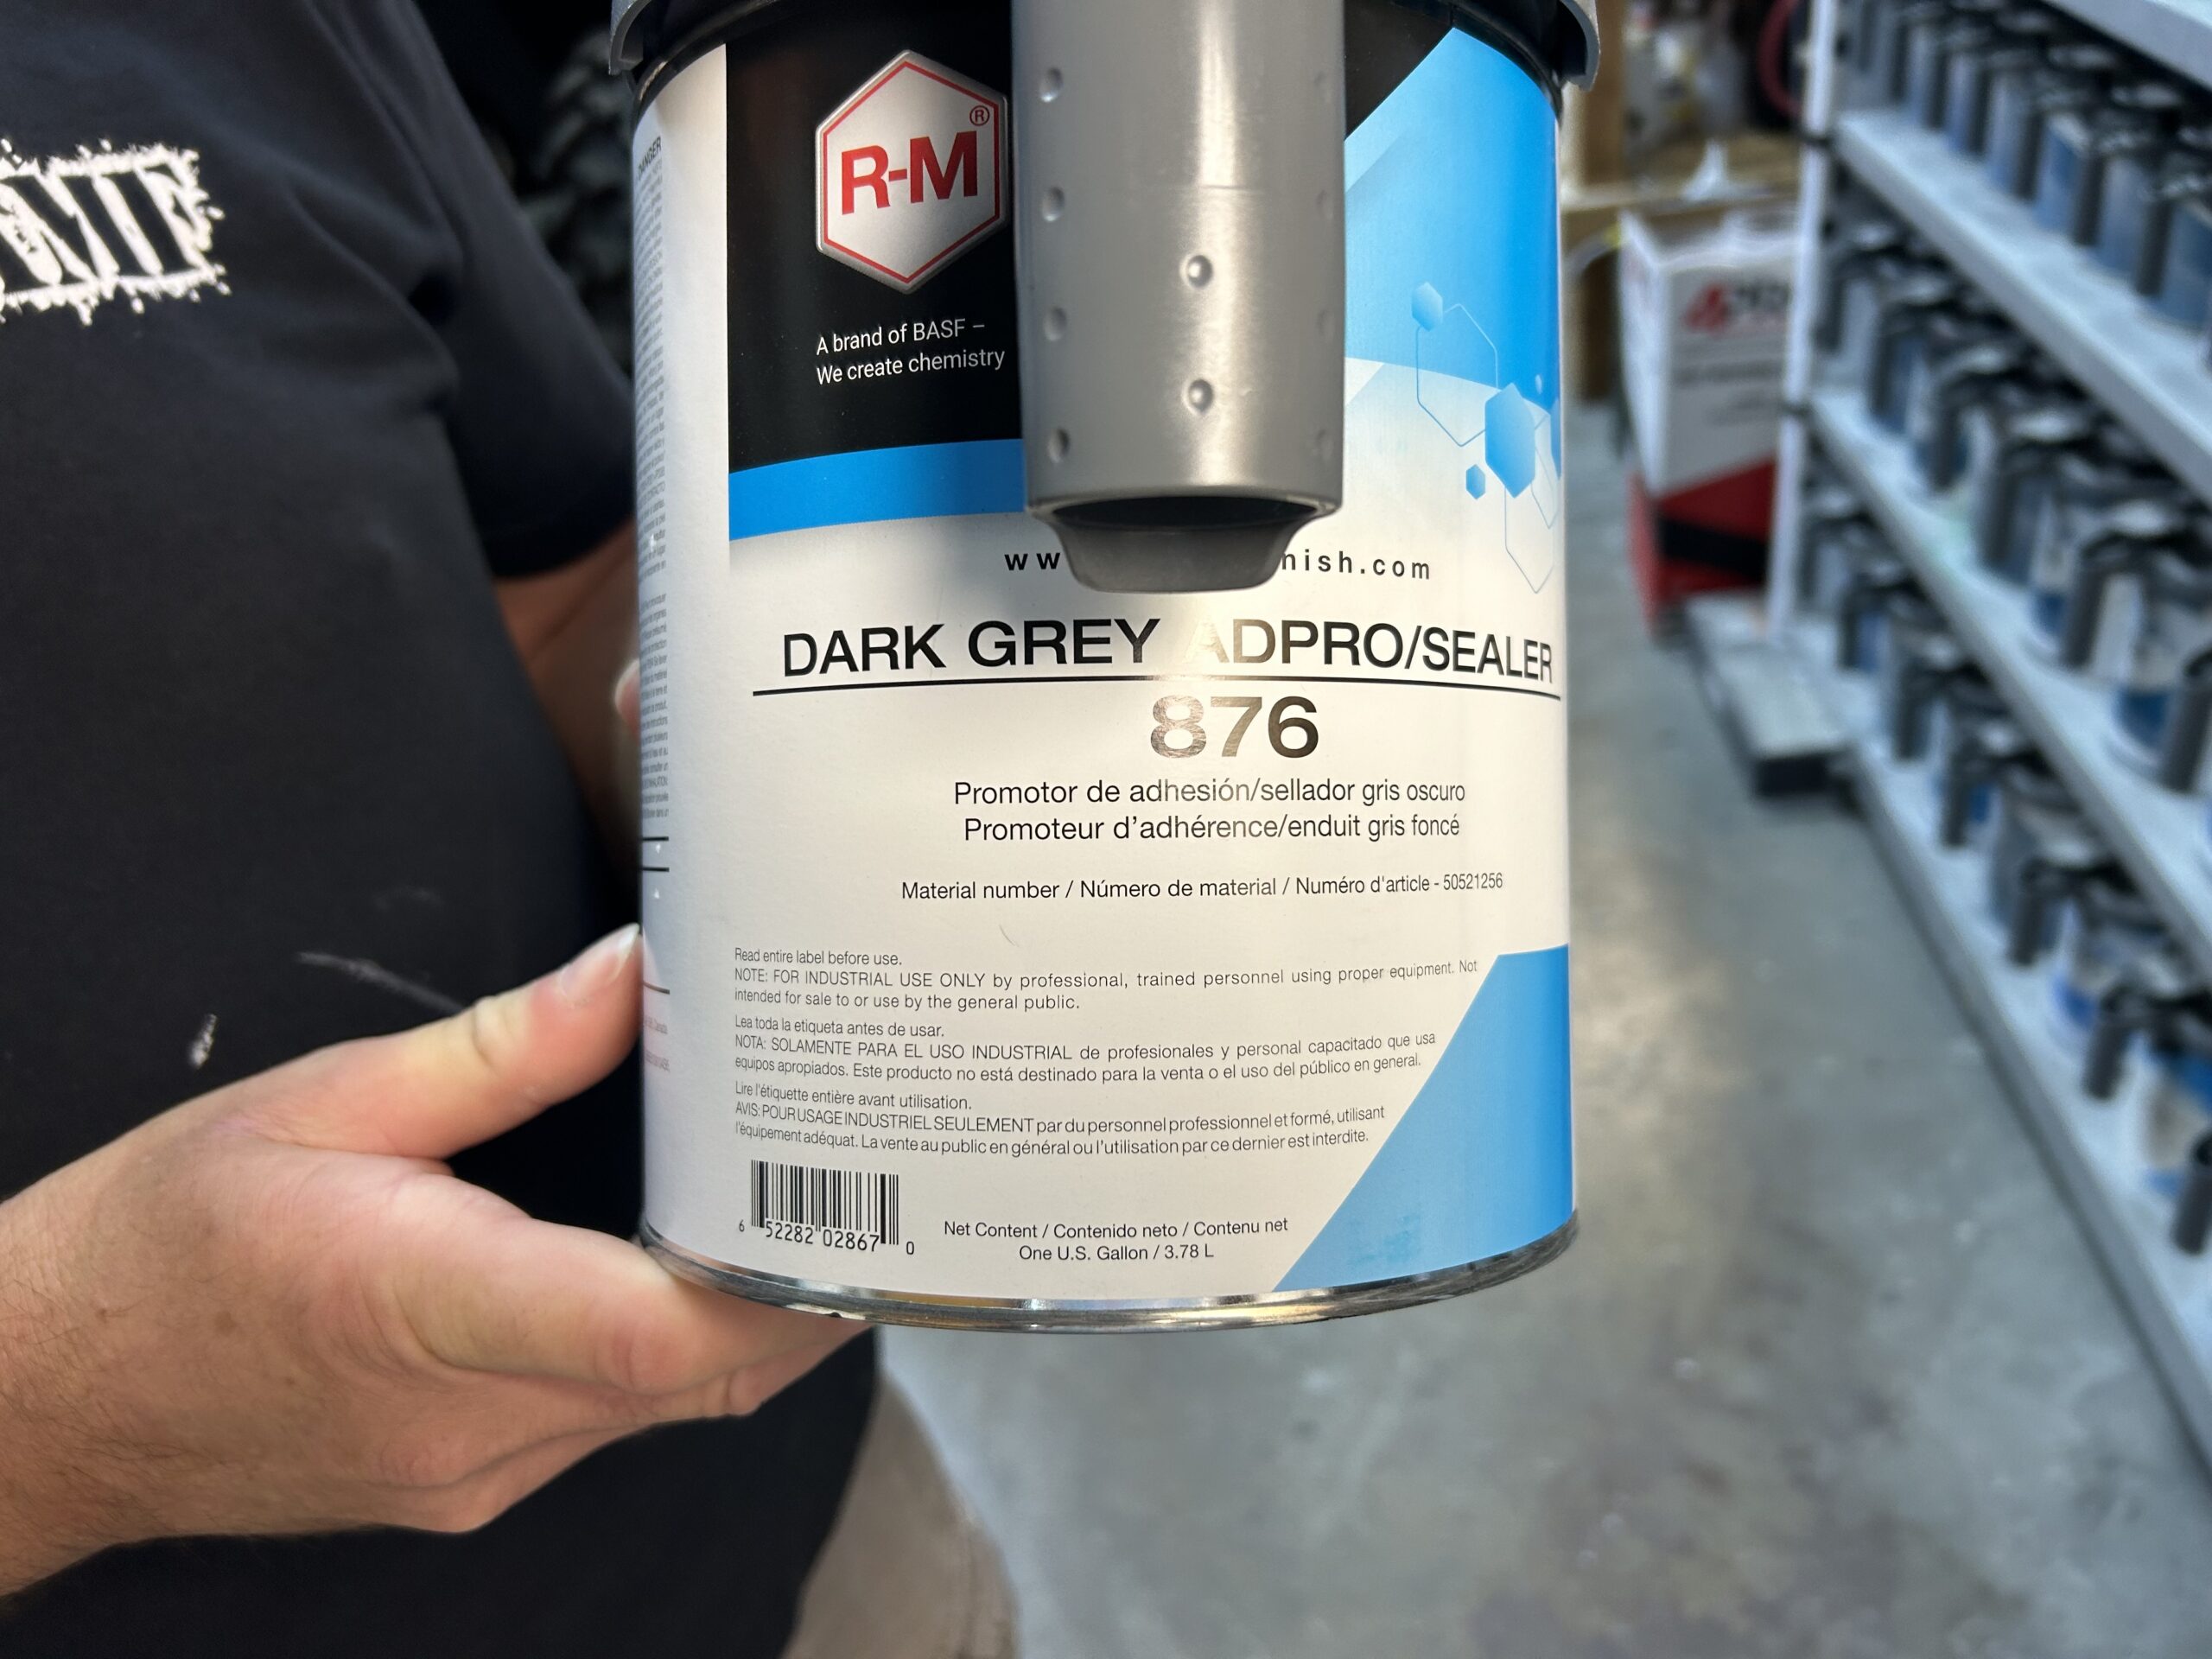
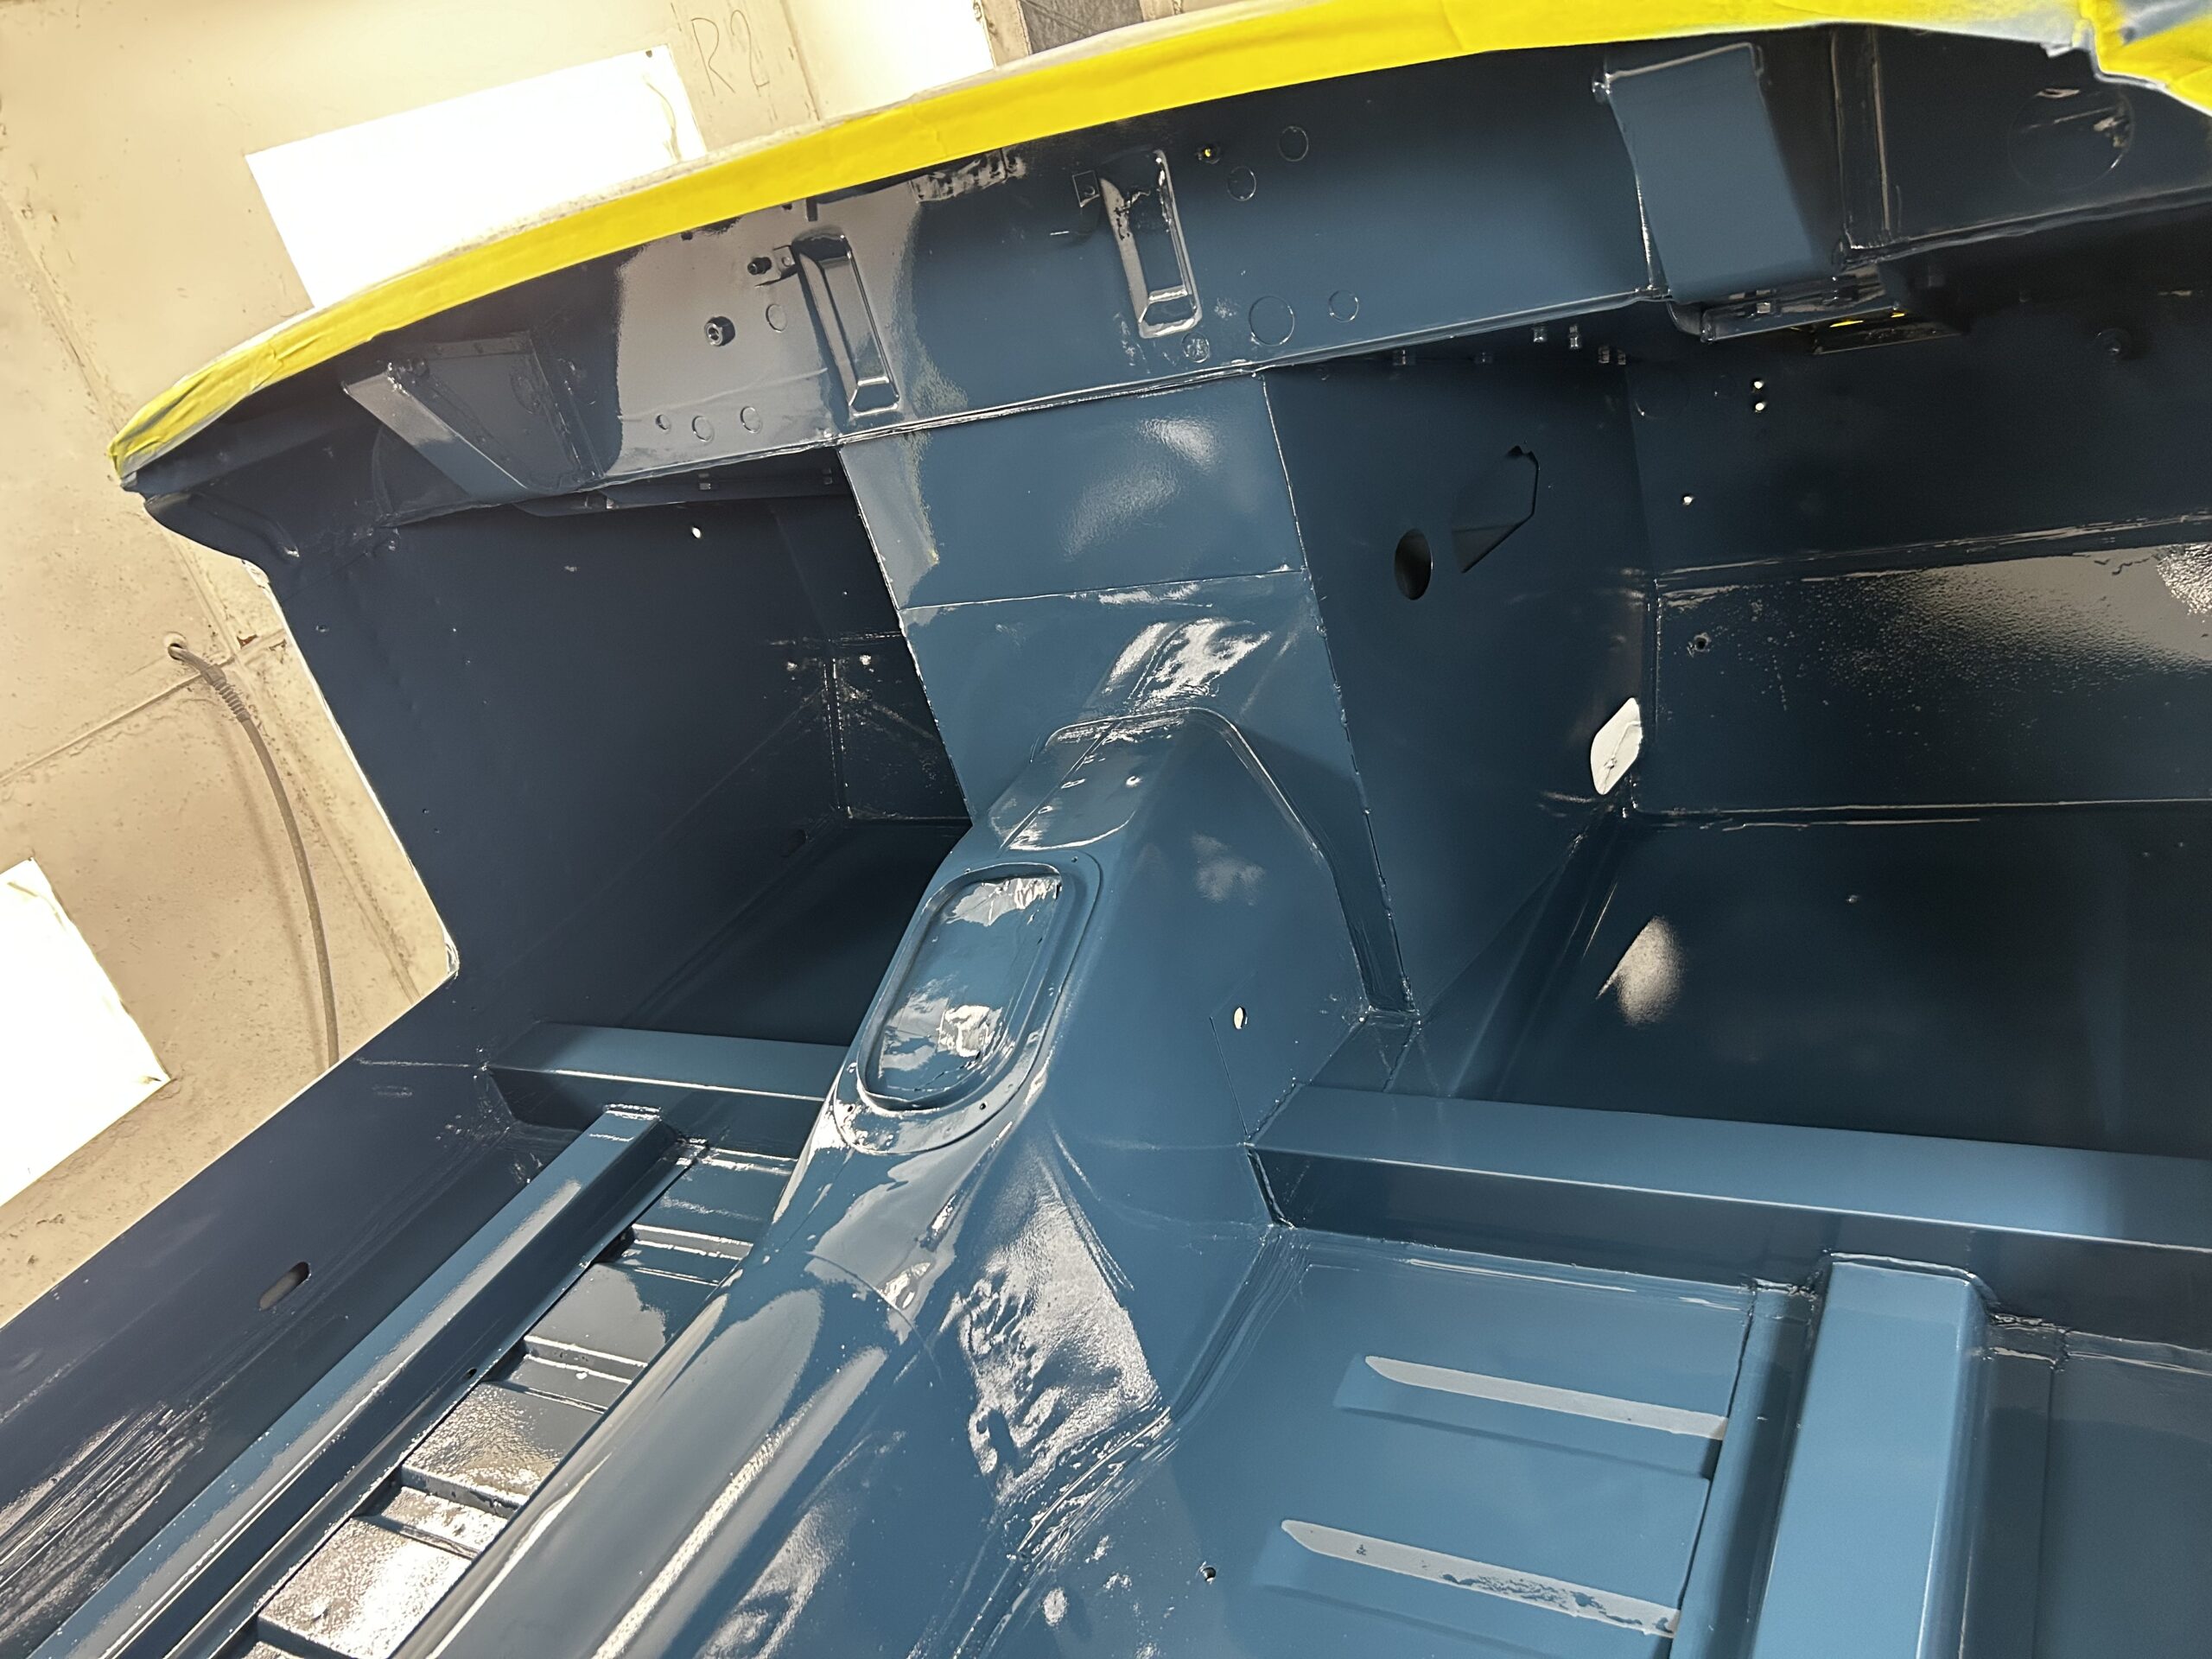
Seam Sealer – I spent a half day at Jeremy’s stripping out the seam sealer Martin had applied to the bottom of the car. The rotisseri made the job fairly easy, but it is a dirty, smelly job. Jeremy will now do a little more welding to fix a few places and then he will be ready to glass bead blast the assembly, do some body work to cover old pitting, and prime and paint.