RH Front Suspension Removal

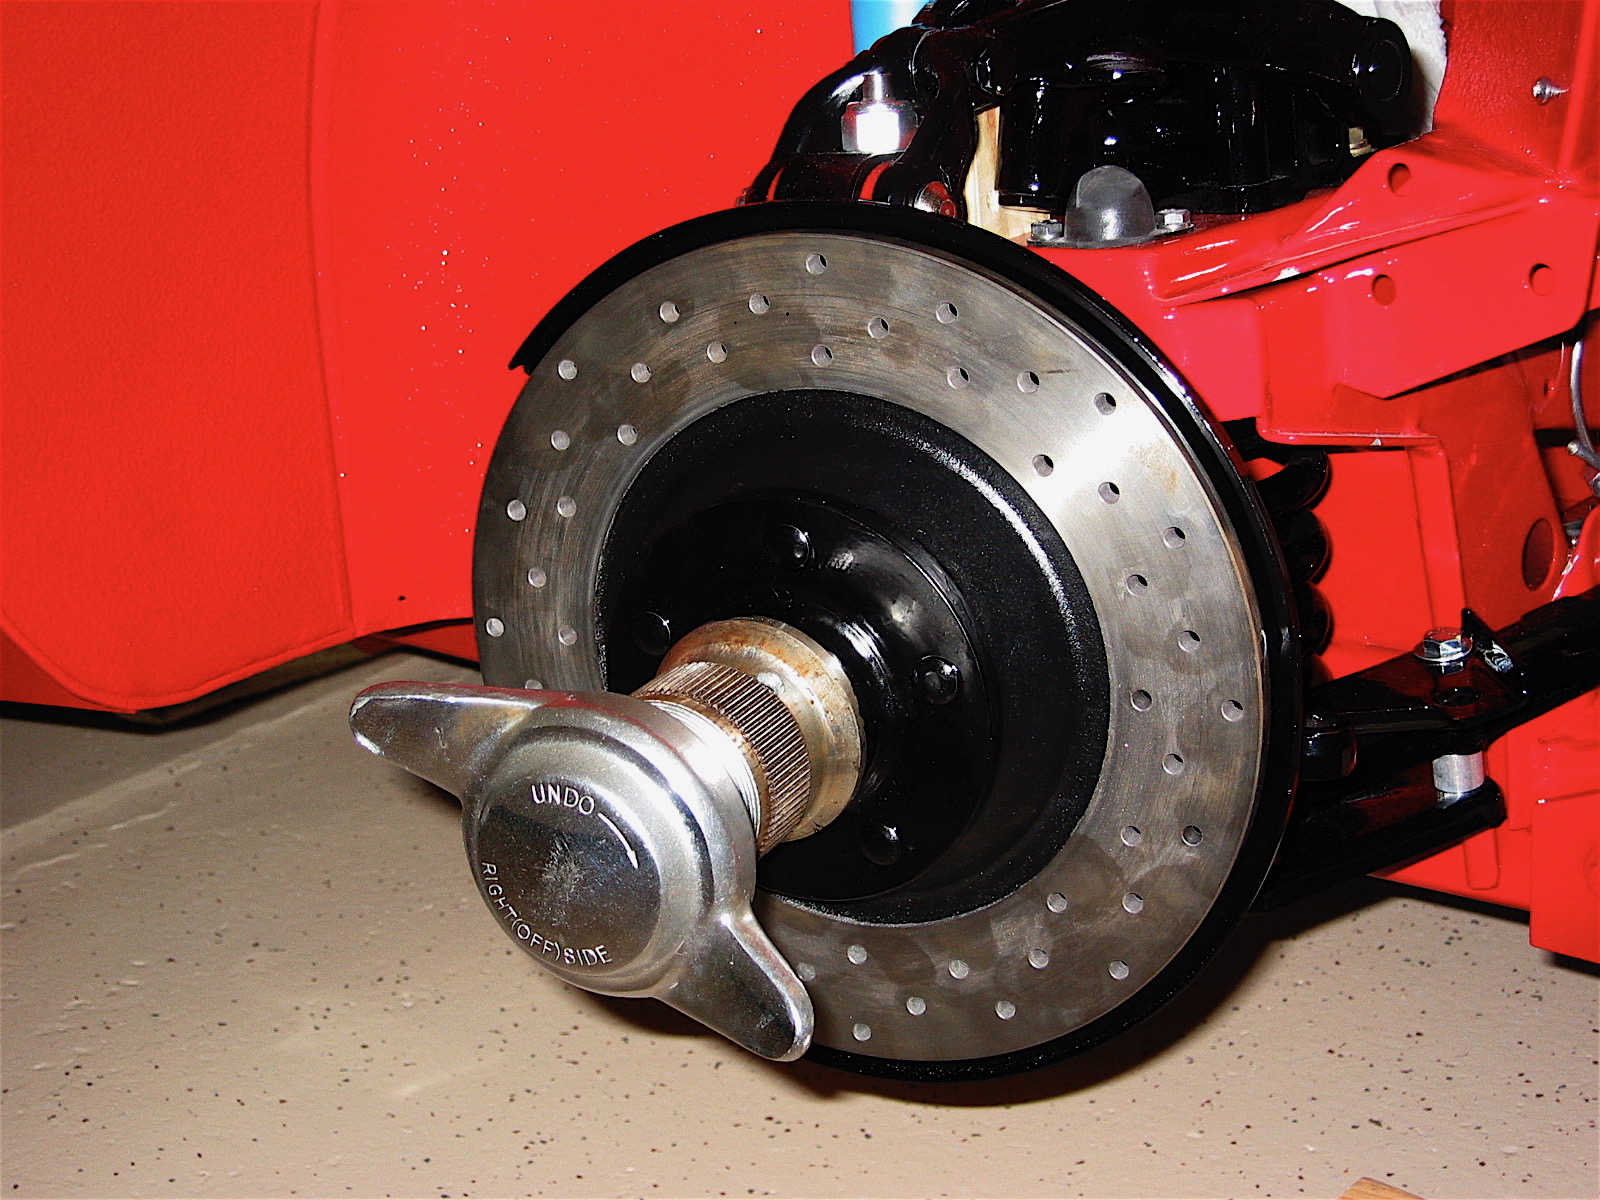
Having completed the work on the refurbishment of the rear axle and suspension it is now time to turn to the front suspension. Our plan will be to remove and refresh or replace the suspension components on the right side of the car, then after building back the passenger side of the car we will go through the same process on the LH side. My car was converted to front disc brakes shortly after we purchased it around 1999.

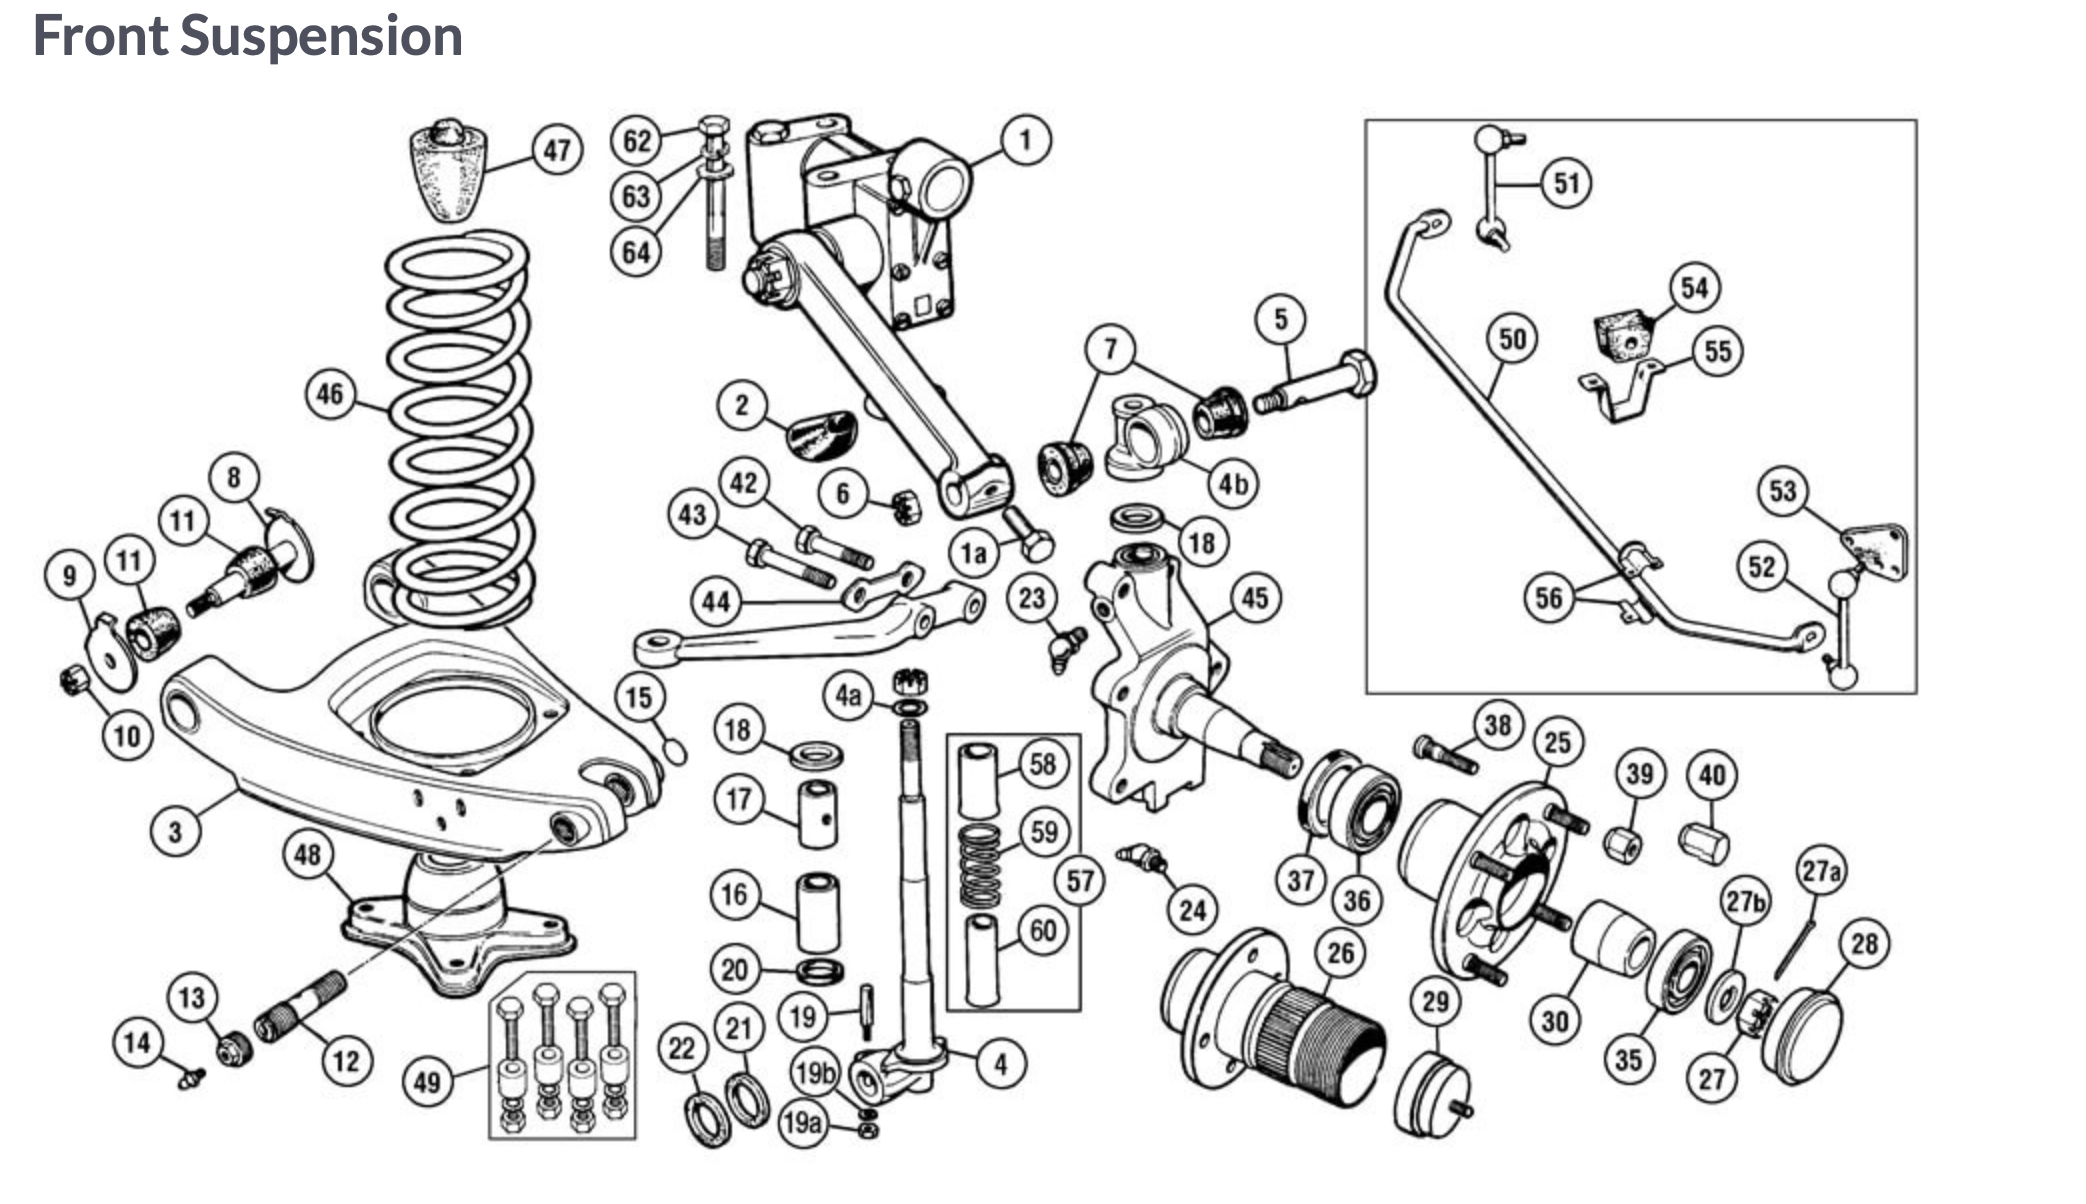
Bugeye Front Suspension Components


https://vimeo.com/777904083/768f53fb47

The Episode Twenty-seven video shows the deconstruction and removal of the RH front suspension. The following steps are addressed in the video:

1:00 – The proper tie rods

1:45 – Draining and removal of radiator

4:00 – shock absorber removal

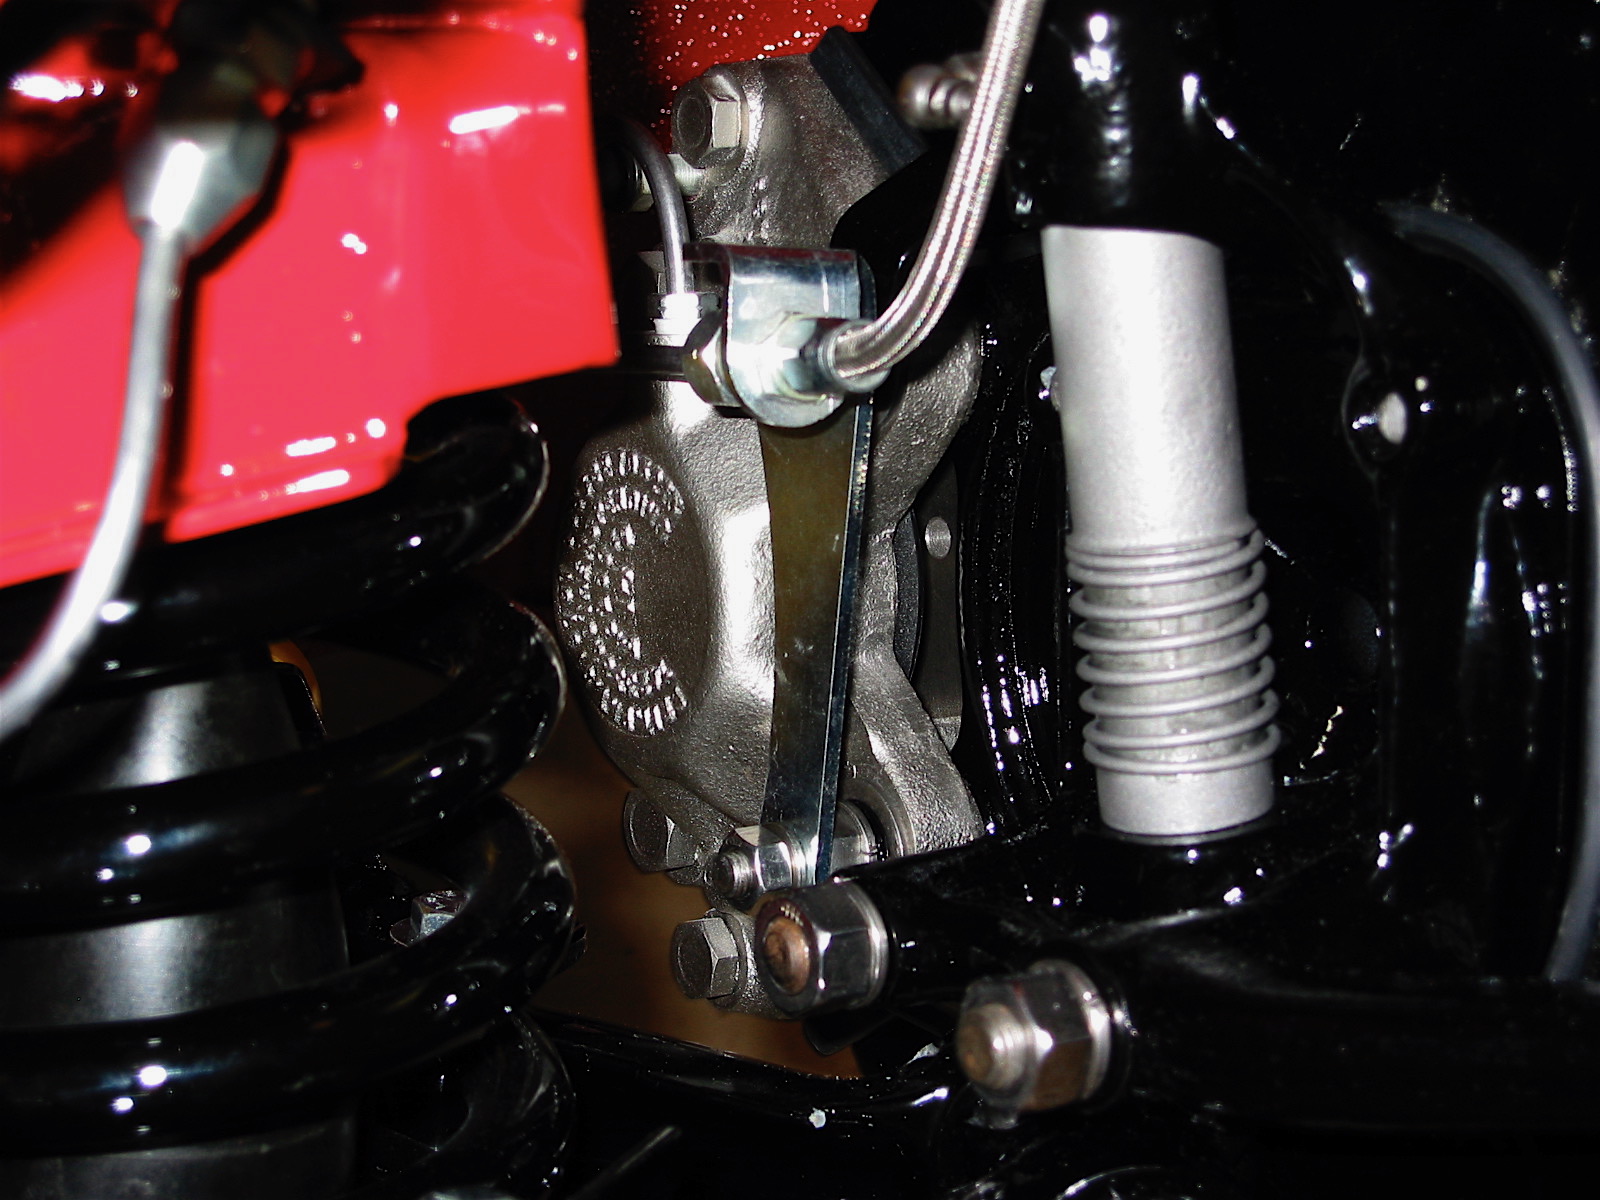
4:40 – Brake caliper removal and stowage

5:45 – Grease cap, split pin, castle nut, tab washer and brake rotor/hub removal

6:40 – Dust shield removal

7:20 – Upper Trunnion/bolt

8:00 – Coil spring, spring perch, and lower shock mounting plate removal, tie rod end separation

11:20 – Fulcrum bolts, washers and bushings

11:20 – Cotter pin, fulcrum pin and king pin removal from the “A” arm assembly

Now it is time to order some parts and clean and paint some of the components we will be reusing.

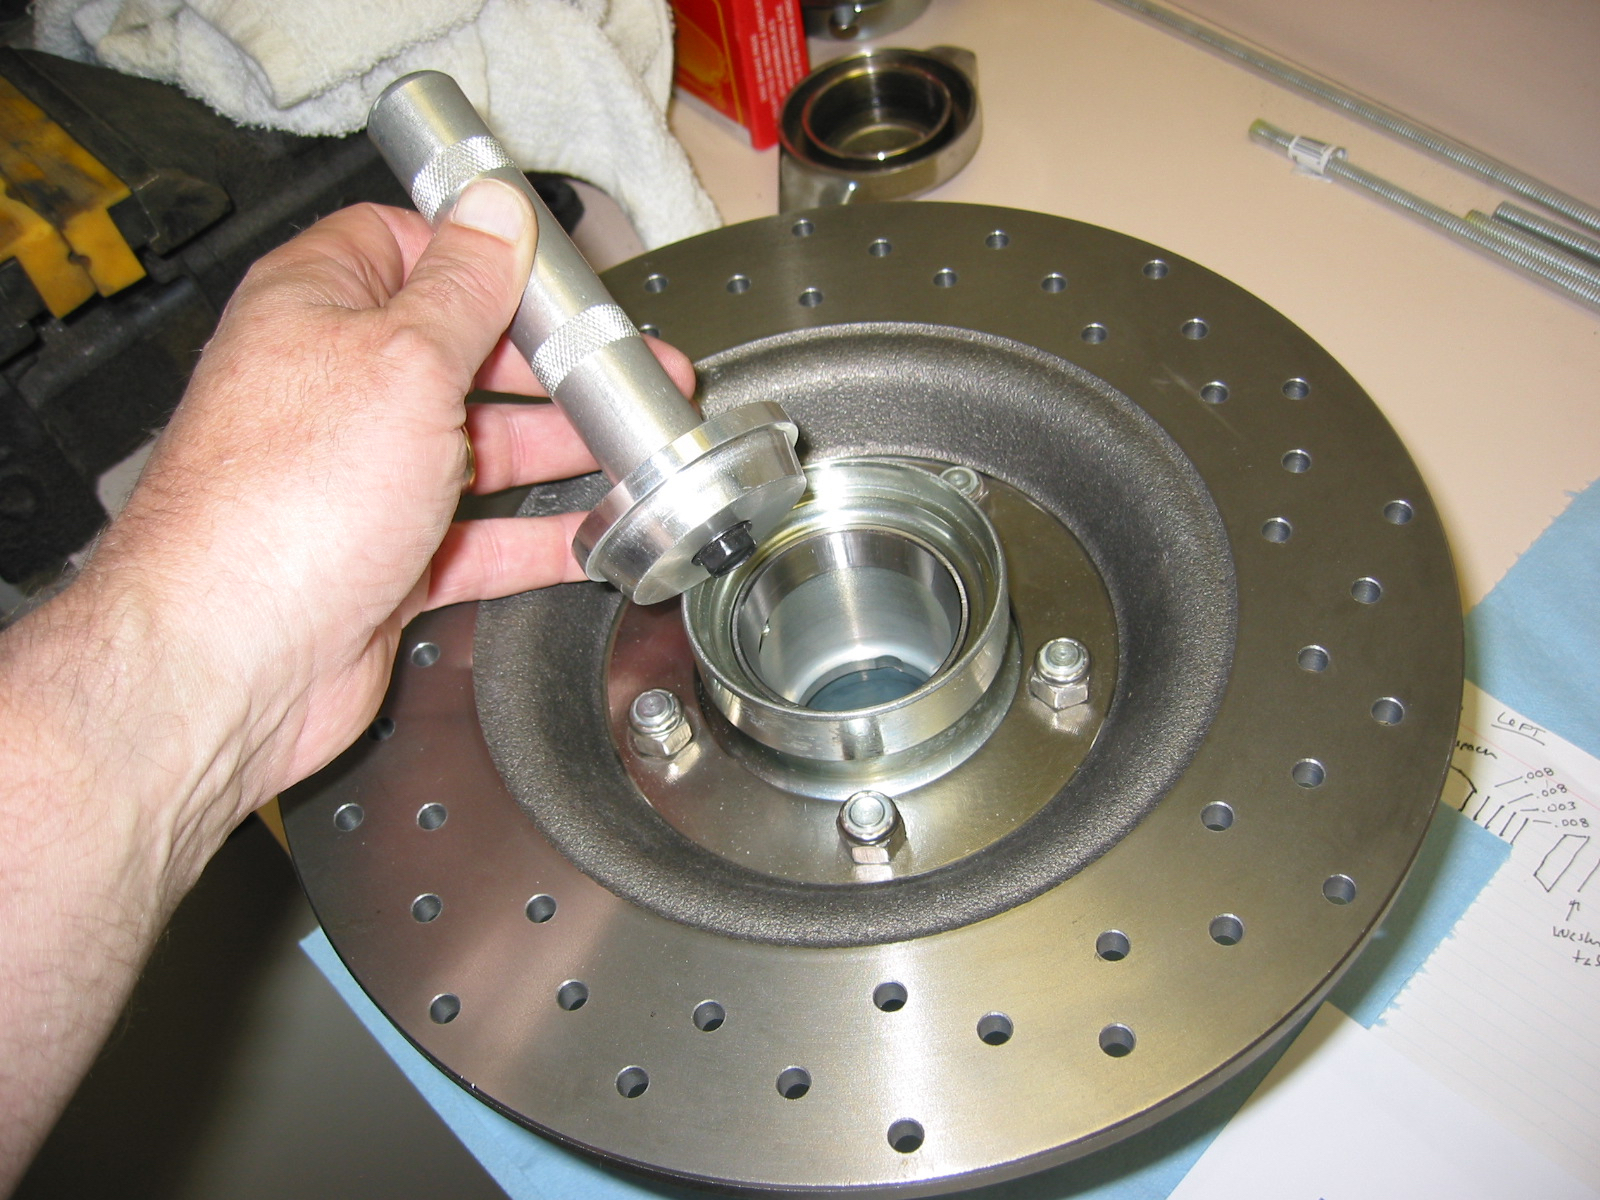
The RH suspension components that were not completely disassembled as they were removed from the car were dismantled on the work bench. All parts were cleaned and painted with POR 15. A hub puller was purchased and used to separate the brake rotor and hub.

Hub Puller

After the hub was separated from the brake rotor, the oil seal and bearings could be removed from the hub. New bearings and seals will be installed in the rebuild.

Video Episode Twenty-eight shows the completion of the dismantling process for the RH front suspension and the removal of the LH front suspension is begun.

https://vimeo.com/780172337/d31b642b97

The following steps are addressed in the video:

0:00 – Steering arm removal from the stub axle

1:05 – Spring dust tube

1:25 – Spring pan and bolts

1:45 – Upper Trunnion

2:00 – Hub separation from rotor

3:00 – Oil seal and bearing removal

3:38 – Bushing removal from the “A” arm

4:05 – Hub puller is used to separate hub and rotor

4:28 – Begin RH side front suspension removal


Chapter 37 Restoration Assembly, Week Four 1/8/2007

The front hub assemblies were the next parts to tackle. I had previously assembled new hubs to new drilled rotors. I fastened the rotor disk to the hub extension with 5 nylock nuts. Placed bearing races in the freezer so they would be easier to install in the front hub extensions. Then inserted inside bearing race with proper driver with the careful application of a hammer!, being careful to keep the race/driver straight. Turned the hub over and did the same procedure with the outside bearing race.

Bearing Race Install

Front Hub Bearings – Norman Nock and Doug Reid Doug Reid’s Front Wheel Bearings.pdf have produced some pieces that were very helpful for this process. I followed directions from Bruce at Healey Surgeons and put 90 weight oil on the inner bearing and offered it up to the spindle. The oil provided protection from damage due to the bearing running dry but at the same time, not give a false reading when trying to shim the bearings.

I then placed the spacer (cone) on the spindle followed by the hub extension. I then put an oil filled outer bearing on the axle followed by the tab washer and castle nut. The seal and shims were NOT added at this stage. The nut was tightened down to seat everything and then the works were disassembled. It can be difficult to get the outer bearing and the tab washer off – I used a magnet that worked quite well.

I then put the inner bearings, the spacer and selected shims on the axle. Starting with the thickest one .030, then .010, .050, .030, ( one of each ). I then put the hub extension on the axle followed by the outer bearing, tab washer and nut. I tightened to 40 lbs of torque and determined if one of the castle nut slots lined up with the hole in the axle for the split pin. I took care that the shims were all the way up on the shoulder of the spindle axle so that they did not get mangled when the nut was tightened. The final proper adjustment is correct when you can tighten on the nut and the wheel does not show any reduction in ease of turning with no play.

Bruce indicated that if the rotor drags when you tighten the castle nut, then you need to add shims. If it is to loose, you need to remove the shims. When it is correct, re-tighten to the correct specs. At this point, the hub should be turning freely, with no end float and no pre-load. This was a trial and error process and took a while to complete.

Once I was satisfied that I had the bearings set up correctly, I removed everything, keeping careful track of the shims! I then packed the wheel bearings with wheel bearing grease and installed the front seal. The seal has the spring facing the bearings. I then placed the spacer in the hub extension and bearings in first, and then reassembled unit.

I torqued the nut to the 40-70 lb setting, lining up the hole in the axle with the nut and placed the split pin through the hole in the spindle axle, and then pulled one tab of the pin forward and bent it back over the axle end. I then pushed the grease cap on to the axle ( do not fill it with grease) and gave it a tap with a drift.

Rotor and Hub Install

The time has come to install the front brake calipers, the hose brackets and the brake pads. The calipers mount through the brake dust shield and into the swivel axle. My calipers were rebuilt by Healey Surgeons. I used stainless steel flexible brake lines rather than the stock rubber lines.

SS Brake Line RH 2


Brake Caliper

Mintex pads, MGB 520, were used initially, although I may switch to “greenies.” Shims were used between the pads and the pistons with an application of Permatex Ultra Disc Brake Caliper Lube #24110. All hose and pipe fittings were checked and tightened with teflon tape used on all threads.

I converted the overdrive relay into a relay for the driving lights. The image to the right illustrates the mounting location, again, using nutserts.

Driving light relay 1