
I have read many “how to” documents concerning the tuning of the SU HD8 carburetors including the “Bible” – SU Carburetters Tuning Tips & Techniques
SU Tips
 and Des Hamill’s The SU Carburetter High-Performance Manual. But, The summary put together by Steve Byers is about the best single document specifically for HD8 carbs that I have reviewed. Byers Adjustment of the HD8 Carburetor
Steve’s document describes the process of tuning the carbs in layman’s terms in an easy step-by-step process. So, here is what I did:
As Steve indicates, the first thing to do is run the engine until it is at normal running temperature and then begin the tuning process. Of course, in my case, I am making the initial settings before actually operating the vehicle. Following my installation in the car I will do as Steve says and get the car to operating temperature and then I will essentially repeat the tuning steps.
Next I removed the dashpots from the carbs with piston and springs and carefully stored them aside to insure no damage to the needles. At this point I have no oil in the damper tubes. I make sure that I know which assembly is for the front and for the rear carbs – they need to be returned to the proper location.
I then backed off the Fast Idle Adjusting Screw for each carb to ensure that neither screw is touching its throttle shaft stop lever. I cut a strip of paper from a note card to slide between the screw and its stop to test this and to get both the front and rear the same.

Fast Idle Adjusting Screw
I then loosened the screws/nuts (5/16”) on the interconnecting shaft clamps so that each throttle plate can be rotated independently of the other. I then rotated each throttle plate fully closed by turning its shaft as far as possible. With each throttle plate held fully closed, I re-tightened its shaft clamp screw/nut. Both stops should reach full travel at the same time.
As Steve notes, “There is an extended arm on each interconnecting shaft clamp with a pin that fits into a slot on the carb throttle shaft lever. The pin is smaller in diameter than the slot, so it’s possible to adjust the clearance between the pin and slot (by rotating the clamp) to occur at the upper edge of the slot, at the bottom edge, or both. I adjust mine on both carbs so that most of the clearance occurs at the top. Clearance anywhere except at the top will allow some throttle shaft rotation before the throttle plate begins to open. The SU carburetor manual specifies 0.006 clearance between the bottom of the pin and the edge of the slot, but this is pretty much impossible to measure due to poor access.”
Steve then suggests, using a small straight edge to determine flushness (I use the end of a 6” steel scale), turn the Jet (Mixture) Adjusting Screw for each carburetor until the jet is flush with the bridge of the carburetor (the bridge is the part in the carburetor throat that the piston sits on when it is down). Turn the Jet (Mixture) Adjusting Screw (#2) counterclockwise to raise the jet (leaning), clockwise to lower it (richening).
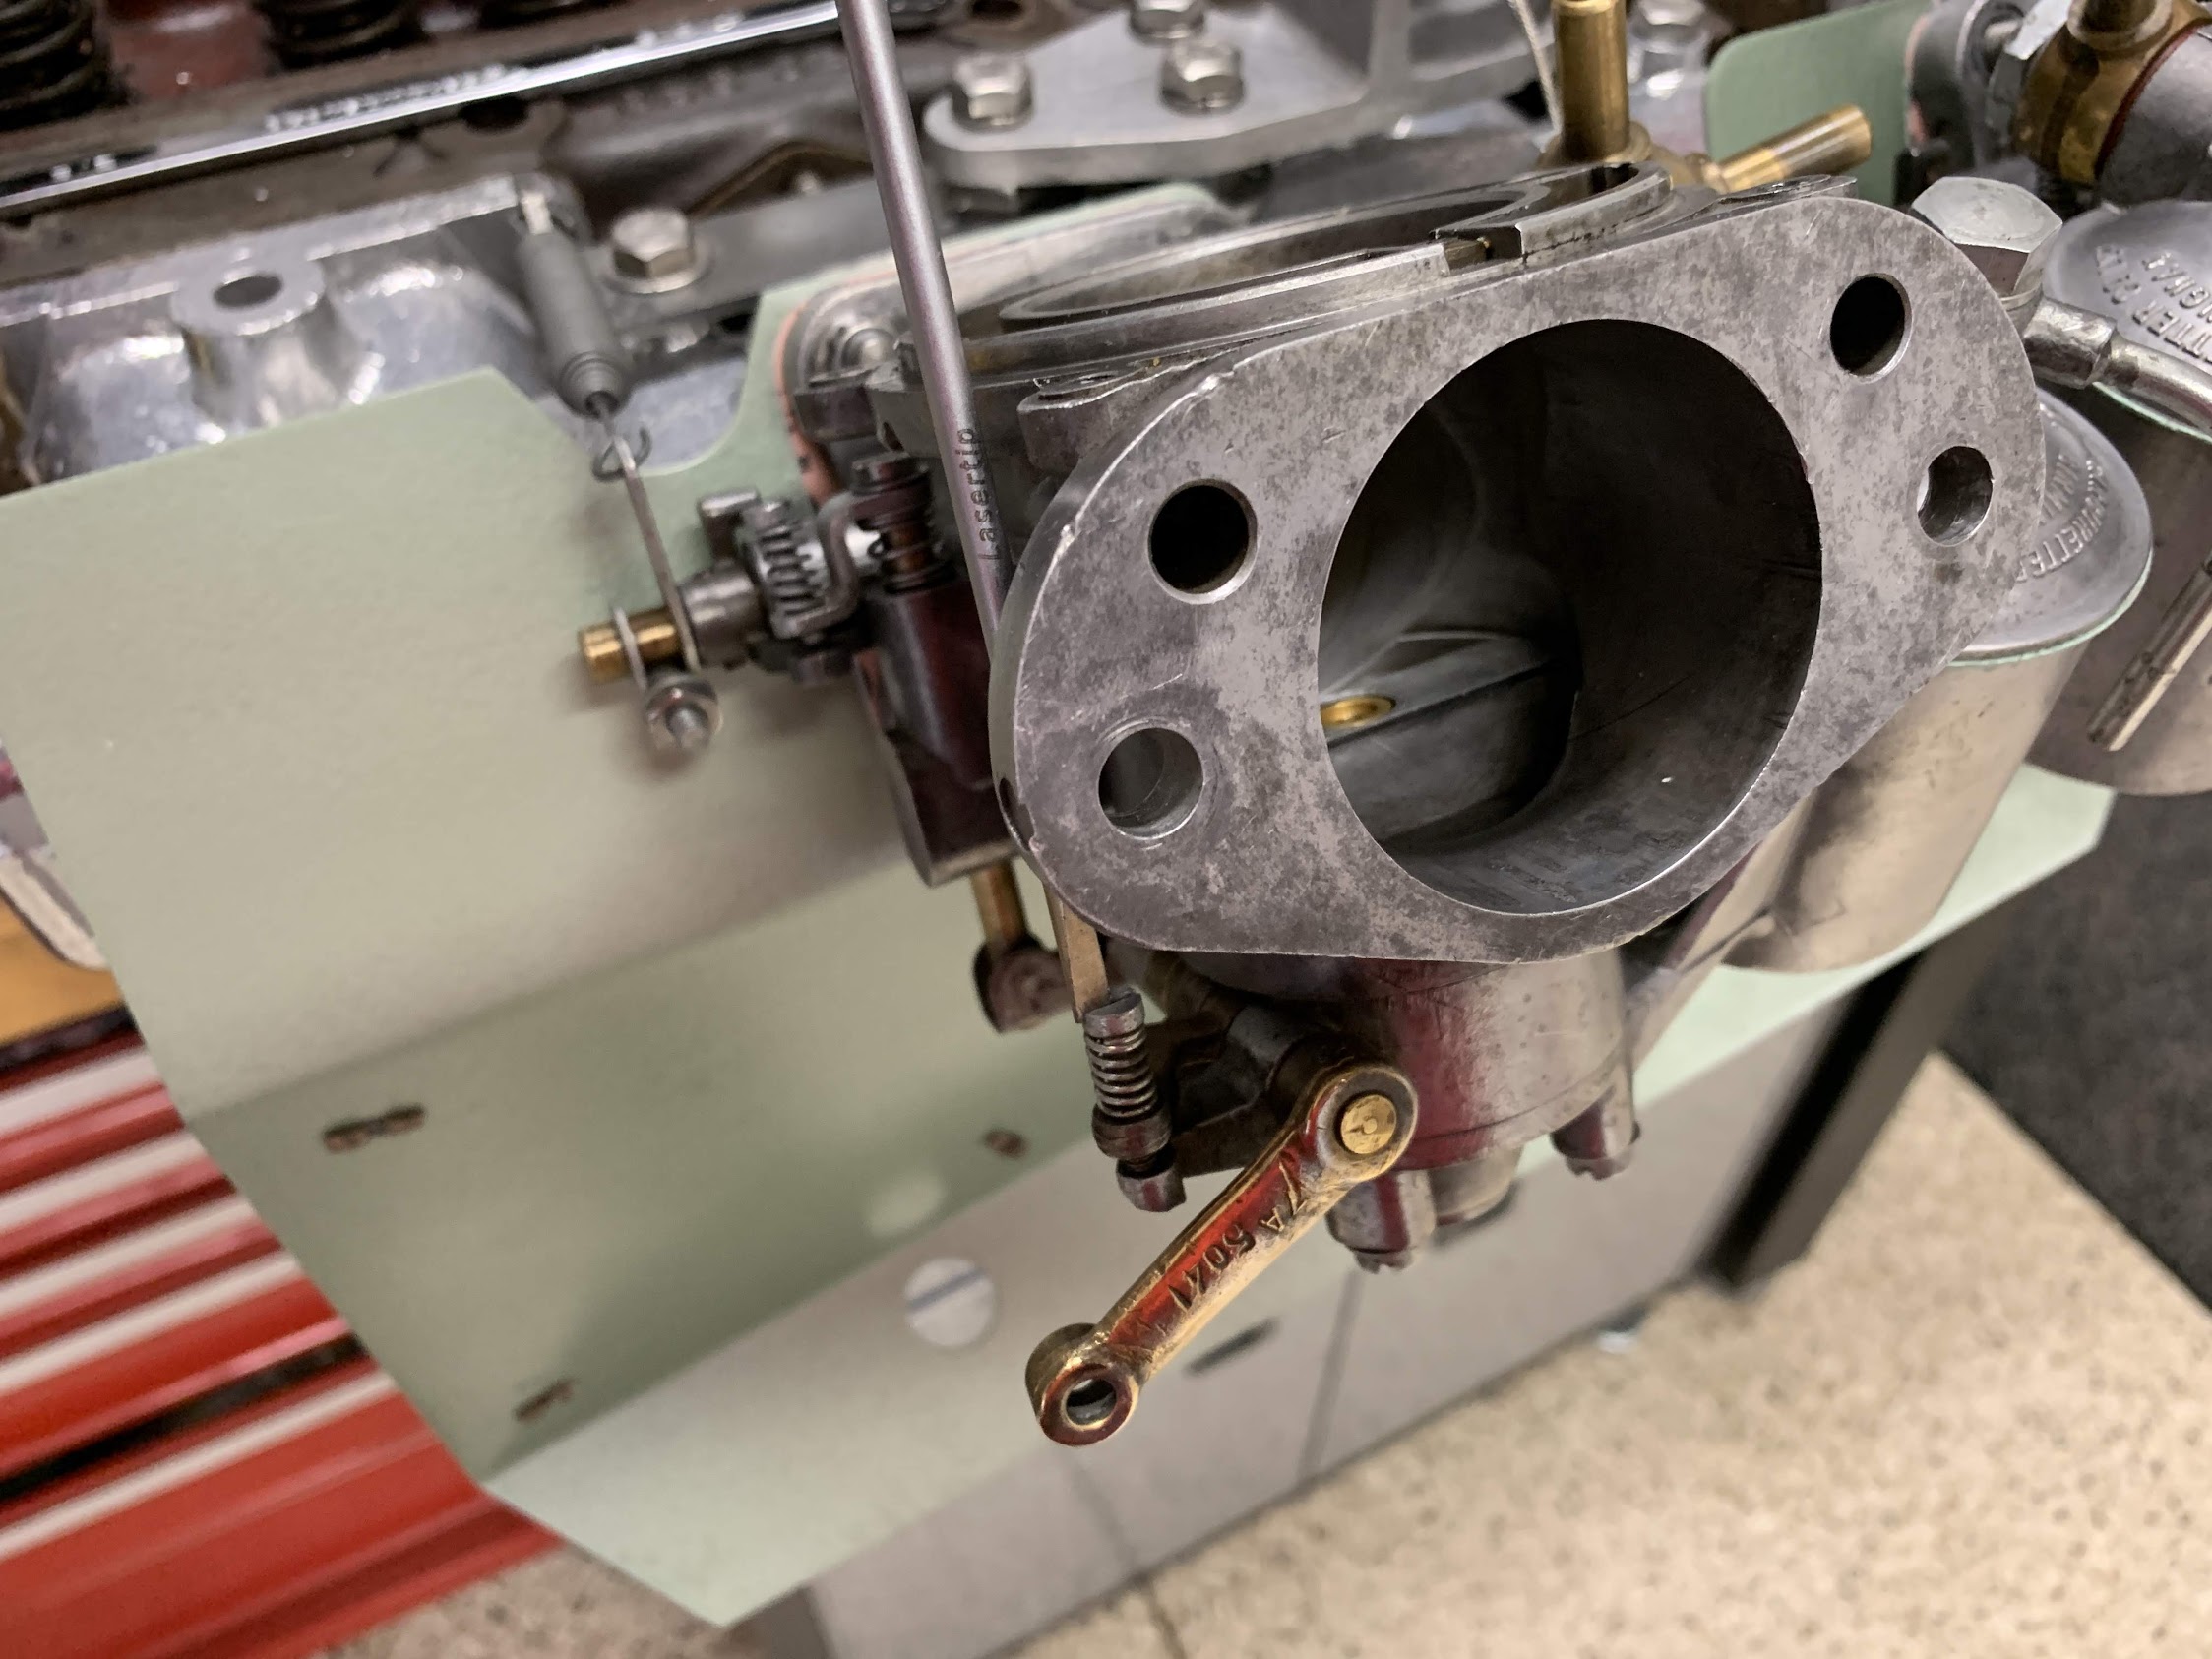
Jet Adjusting Screw
Once the jet is flush, turn the Jet (Mixture) Adjusting Screw three turns clockwise (rich) as an initial setting. Where I depart from Steve just slightly, is that I did not worry so much about the number of turns of the jet adjusting screw. Instead, I use a micrometer to adjust both jets the same amount – .0625″ or 1/16″.
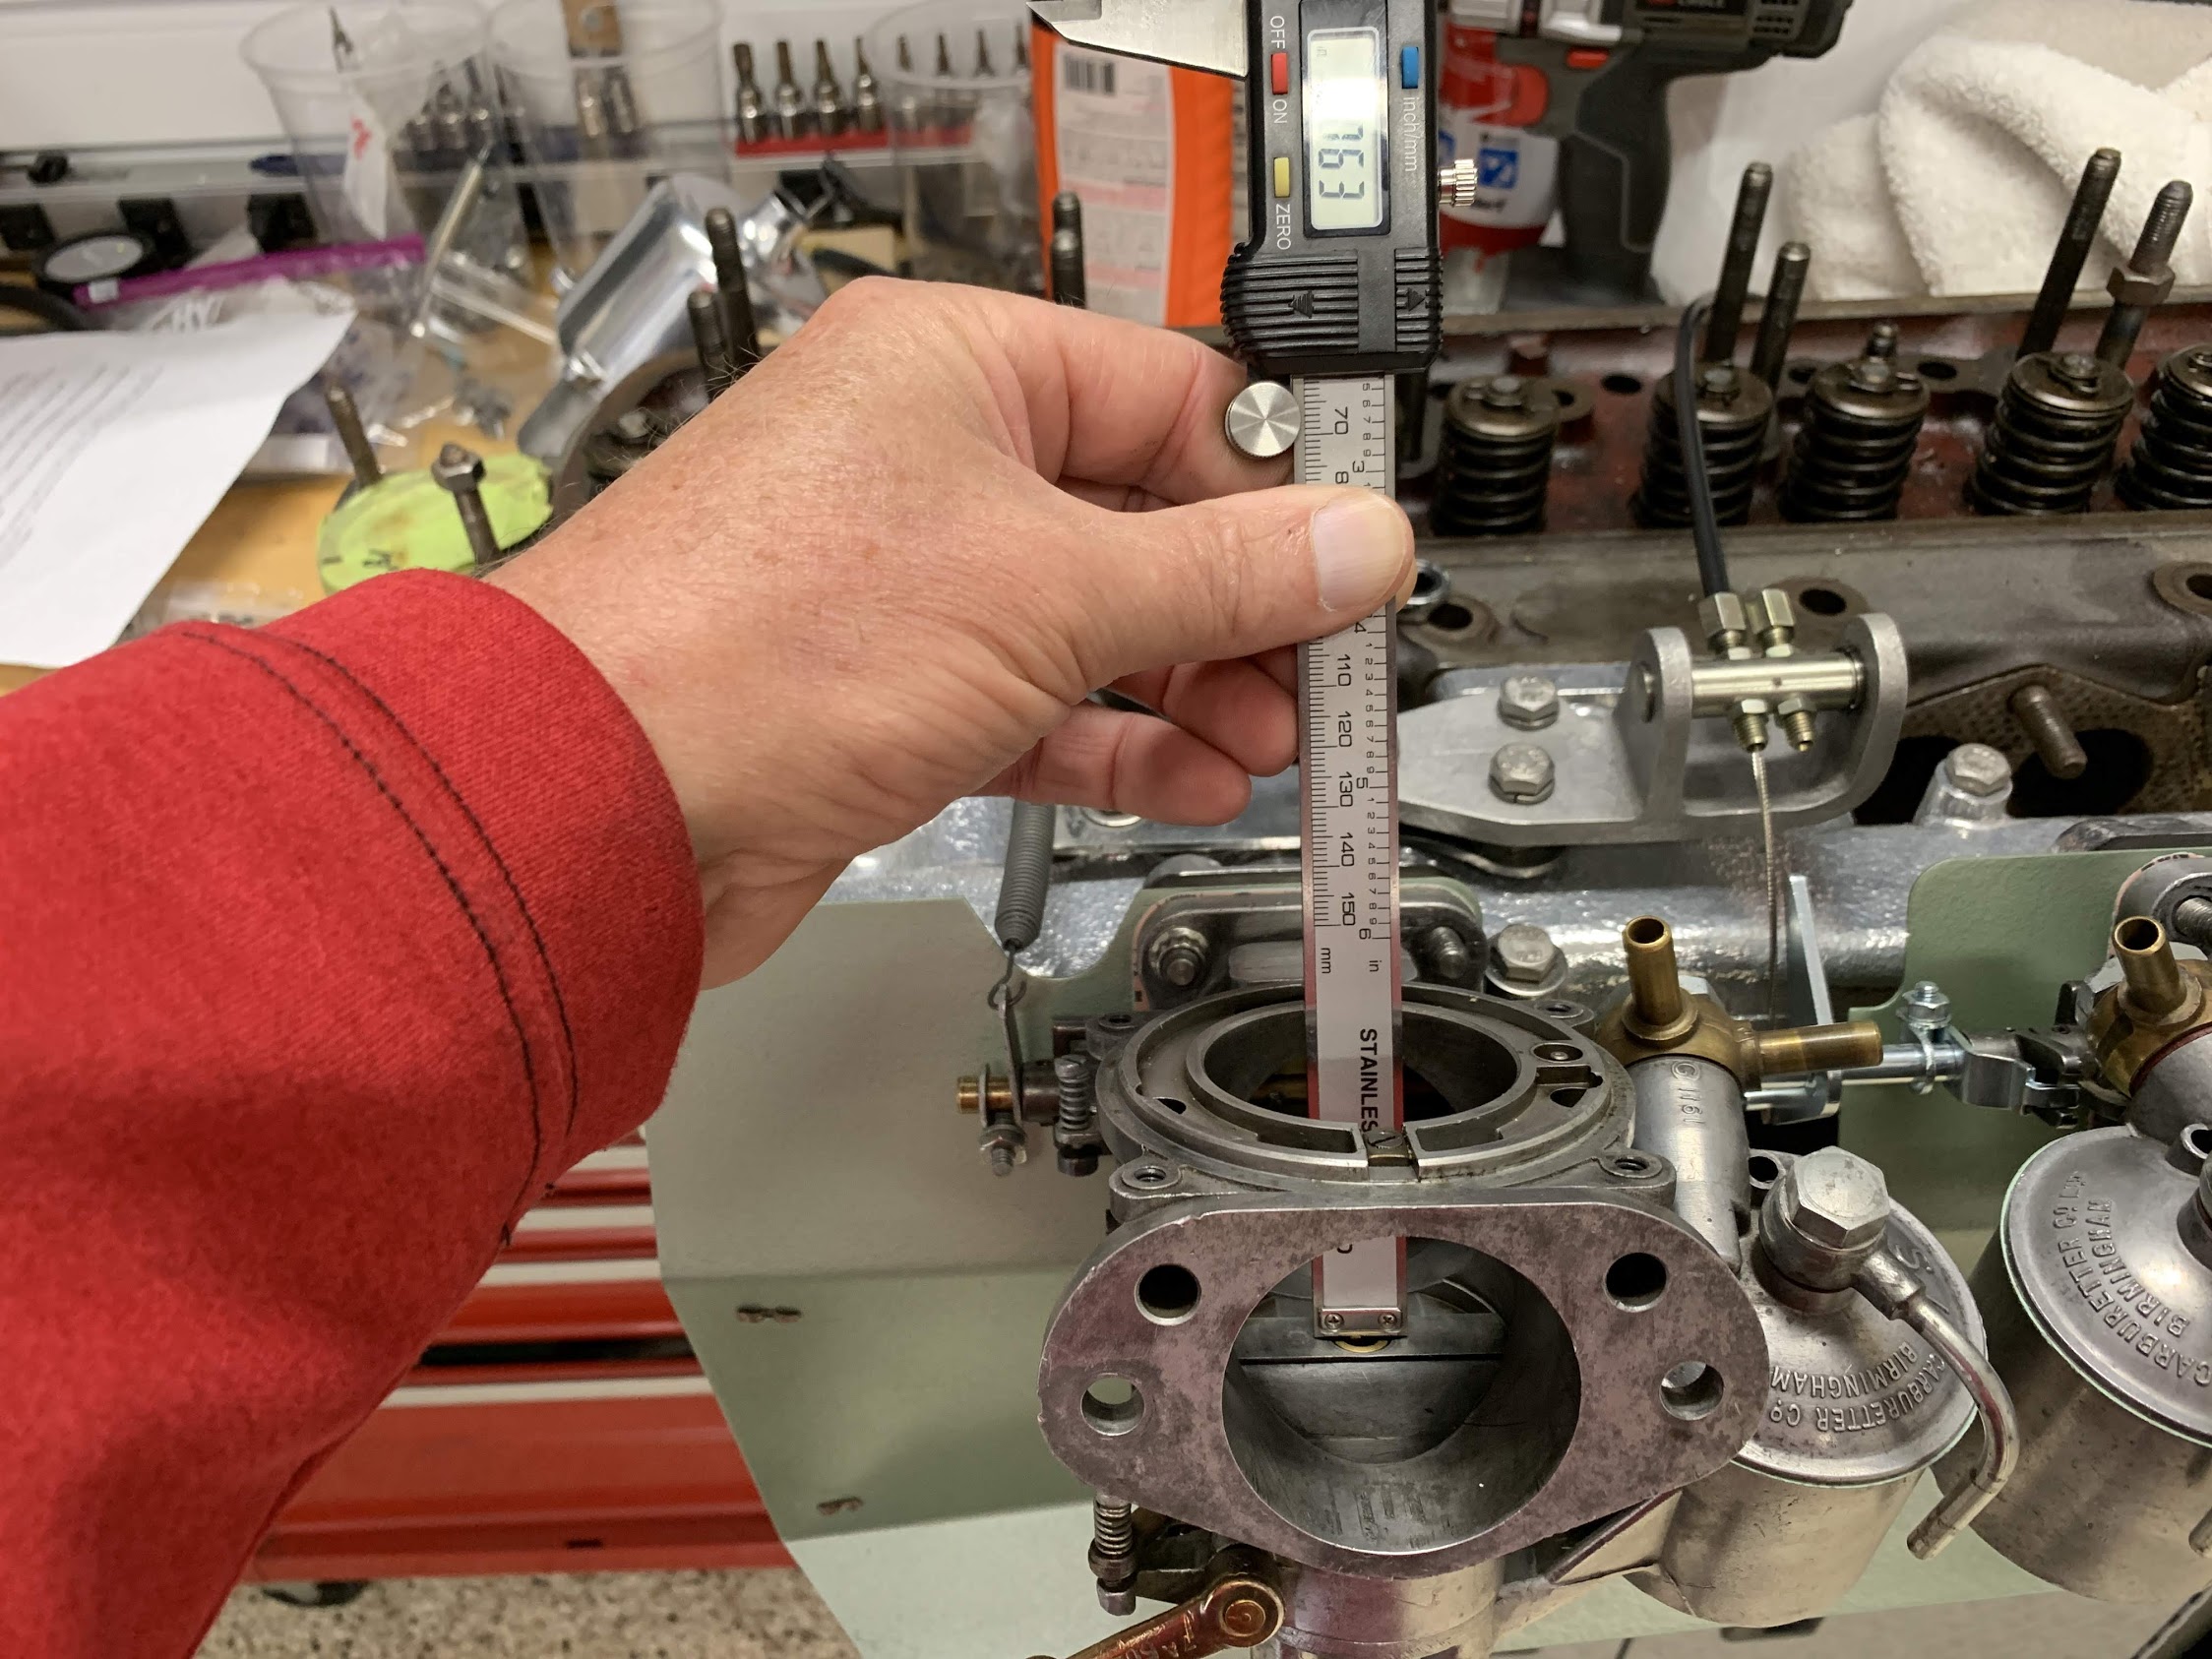
Jet Adjustment with Micrometer
I then re-installed the carburetor pistons, springs and suction chambers.
I replaced the original Whitworth screws with number 10–24×9/16 inches stainless socket screws. With a 5/32″ Allen wrench these are much easier to access than the original screws.
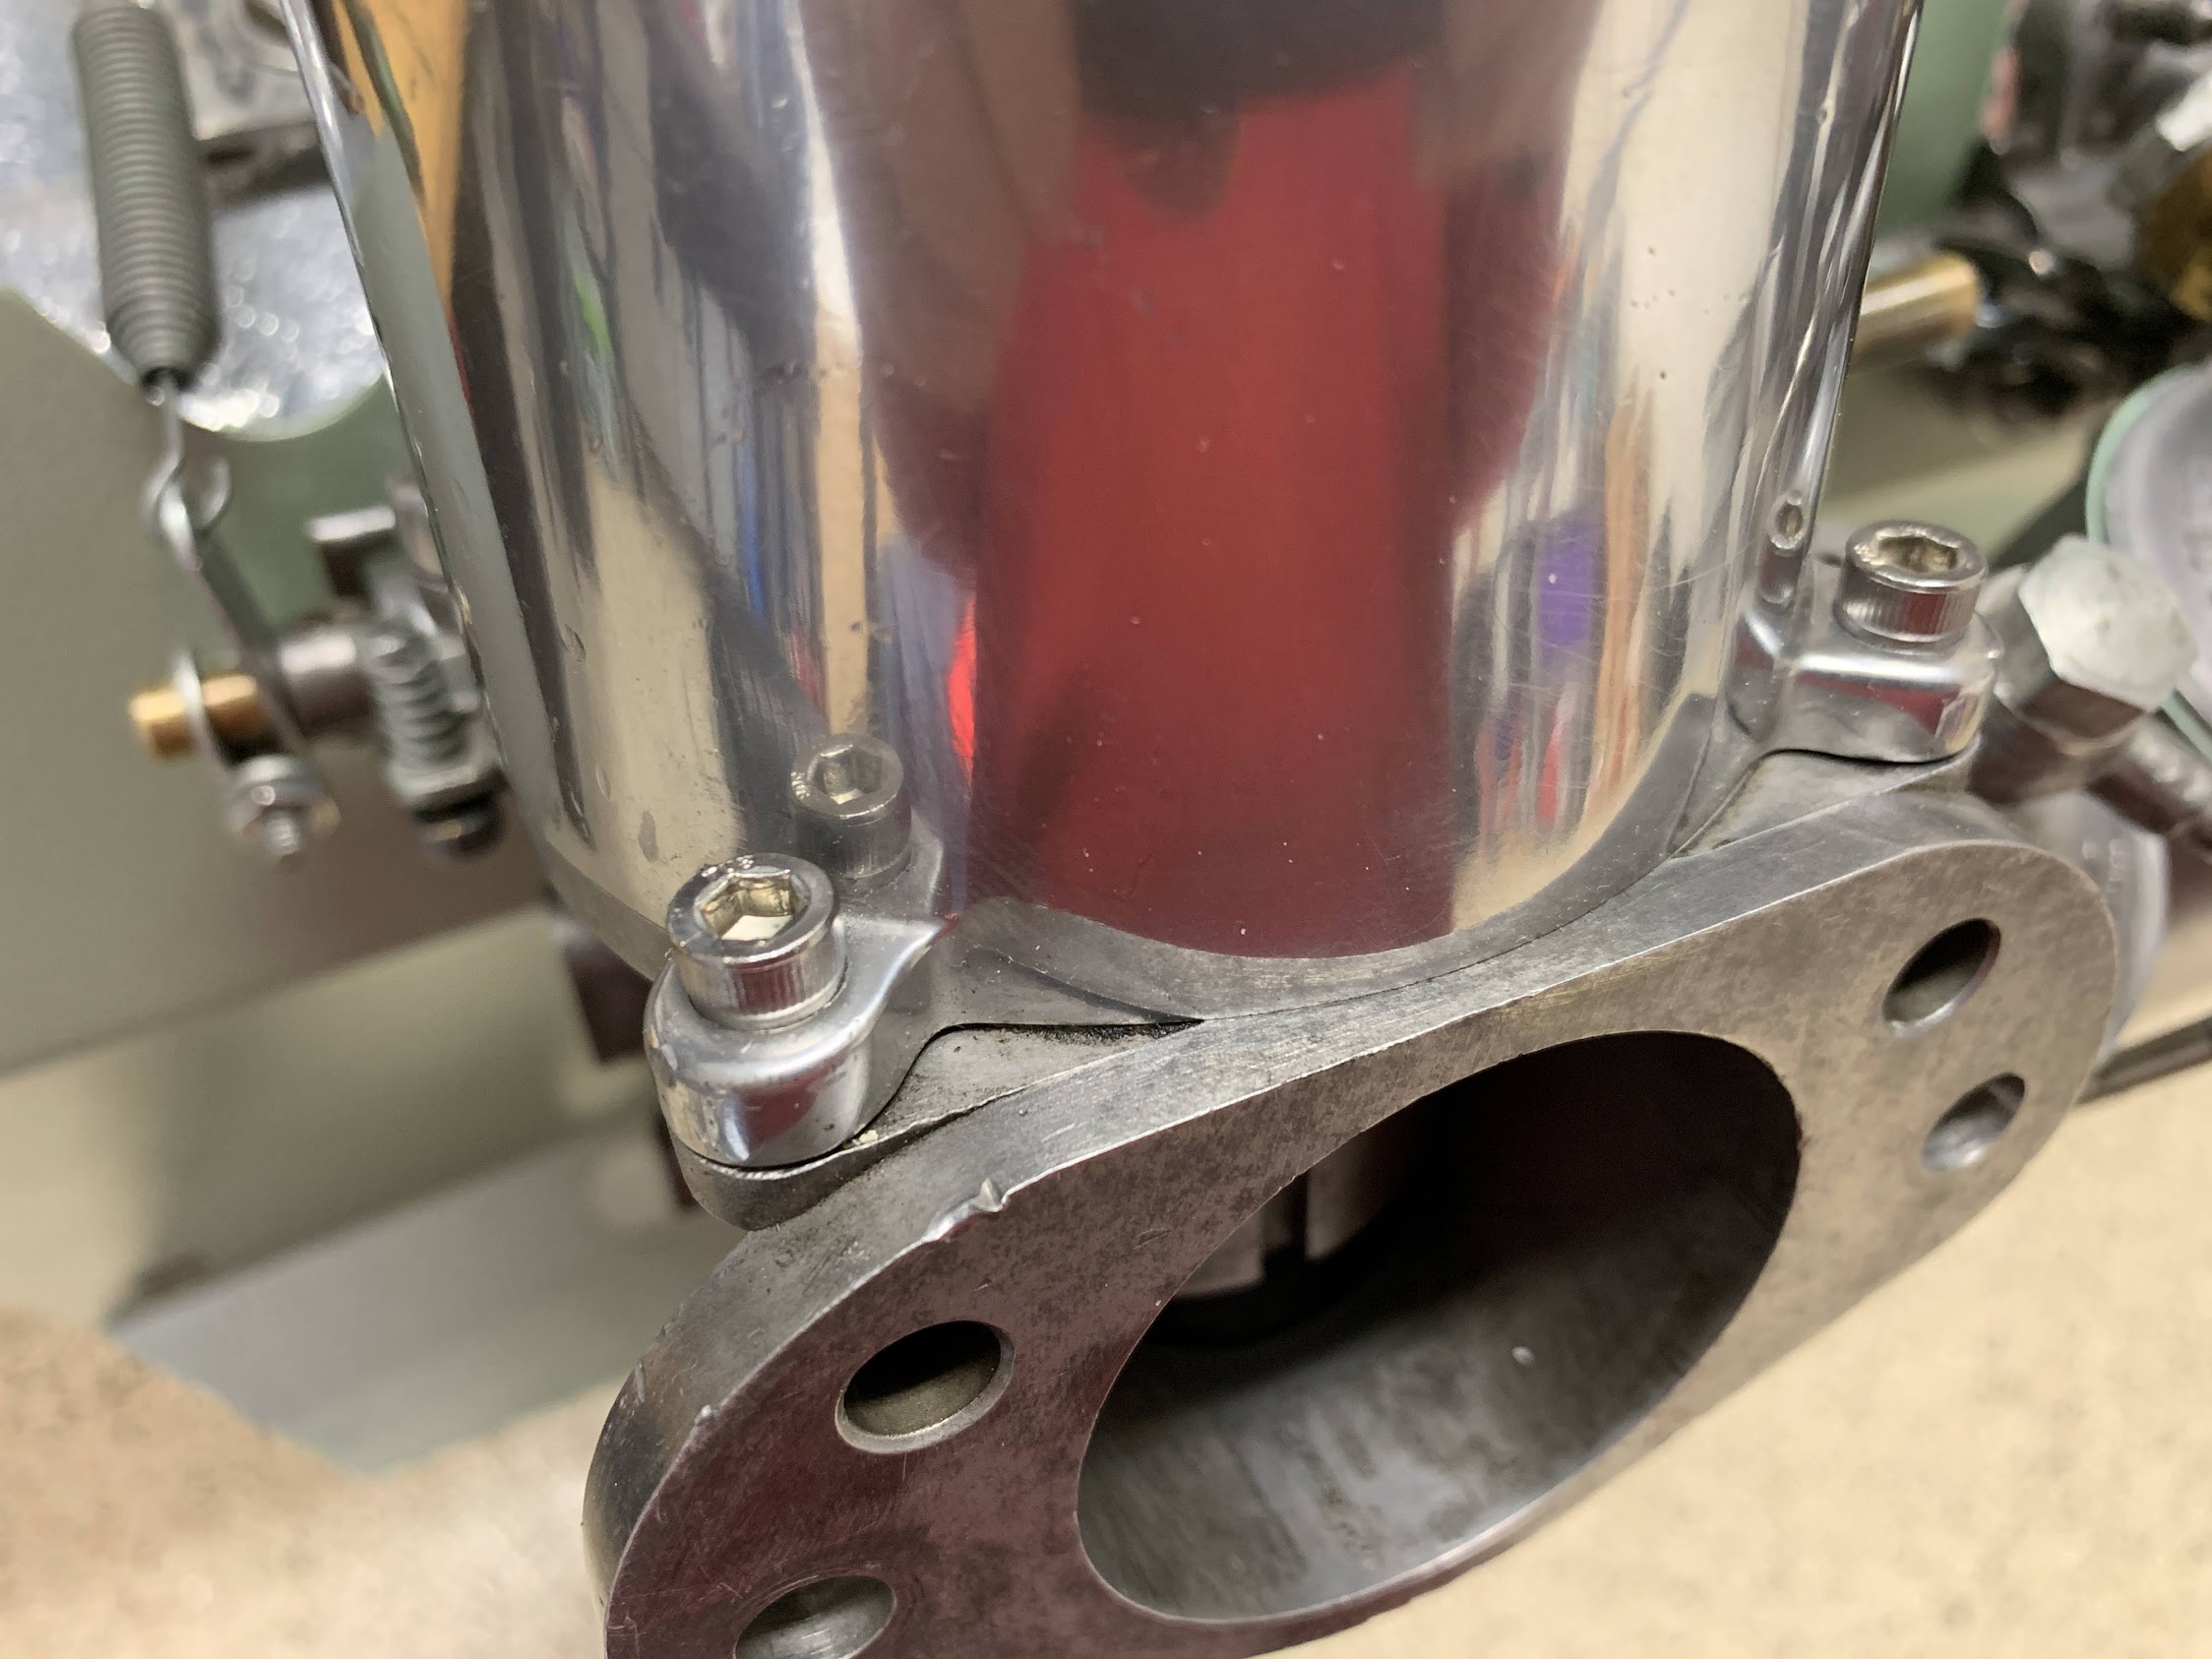
10-24 socket head screws for Dashpots
Again for initial setting, I turned the Slow Run Valve (Slow Idle) Adjusting Screw for each carburetor clockwise as far as it will go until it bottoms lightly on its seat. Then, I turn it back counterclockwise two and one-half turns.
I then installed everything onto the car and assembled all of the components as described here. Once in the car, I reattached the choke cables and their mounting brackets as well as the throttle cable.
The next step is to install the new fuel delivery system from the hard fuel line coming from the fuel pump up to the carburetors before I can start the car and make final carb adjustments.