It has been a little more than three months since we began the work on the front suspension, brakes and steering in the Bugeye, but we have now completed the rebuild and have the car back on its tires and on the ground!
Everything has been updated and documented in previous posts in this blog:
New hub bearings and seals
New king pins and bushings in the spindle axles
New rotors, calipers and brake pads, new Goodridge stainless brake hoses, new cunifer hard brake pipes, new “Sebring-type” pedal box and pedal pads with separate master cylinders
New “A” arms, fulcrum pins and poly bushes throughout
New steering rack, shims and rod ends and the proper steering arms were sourced and installed
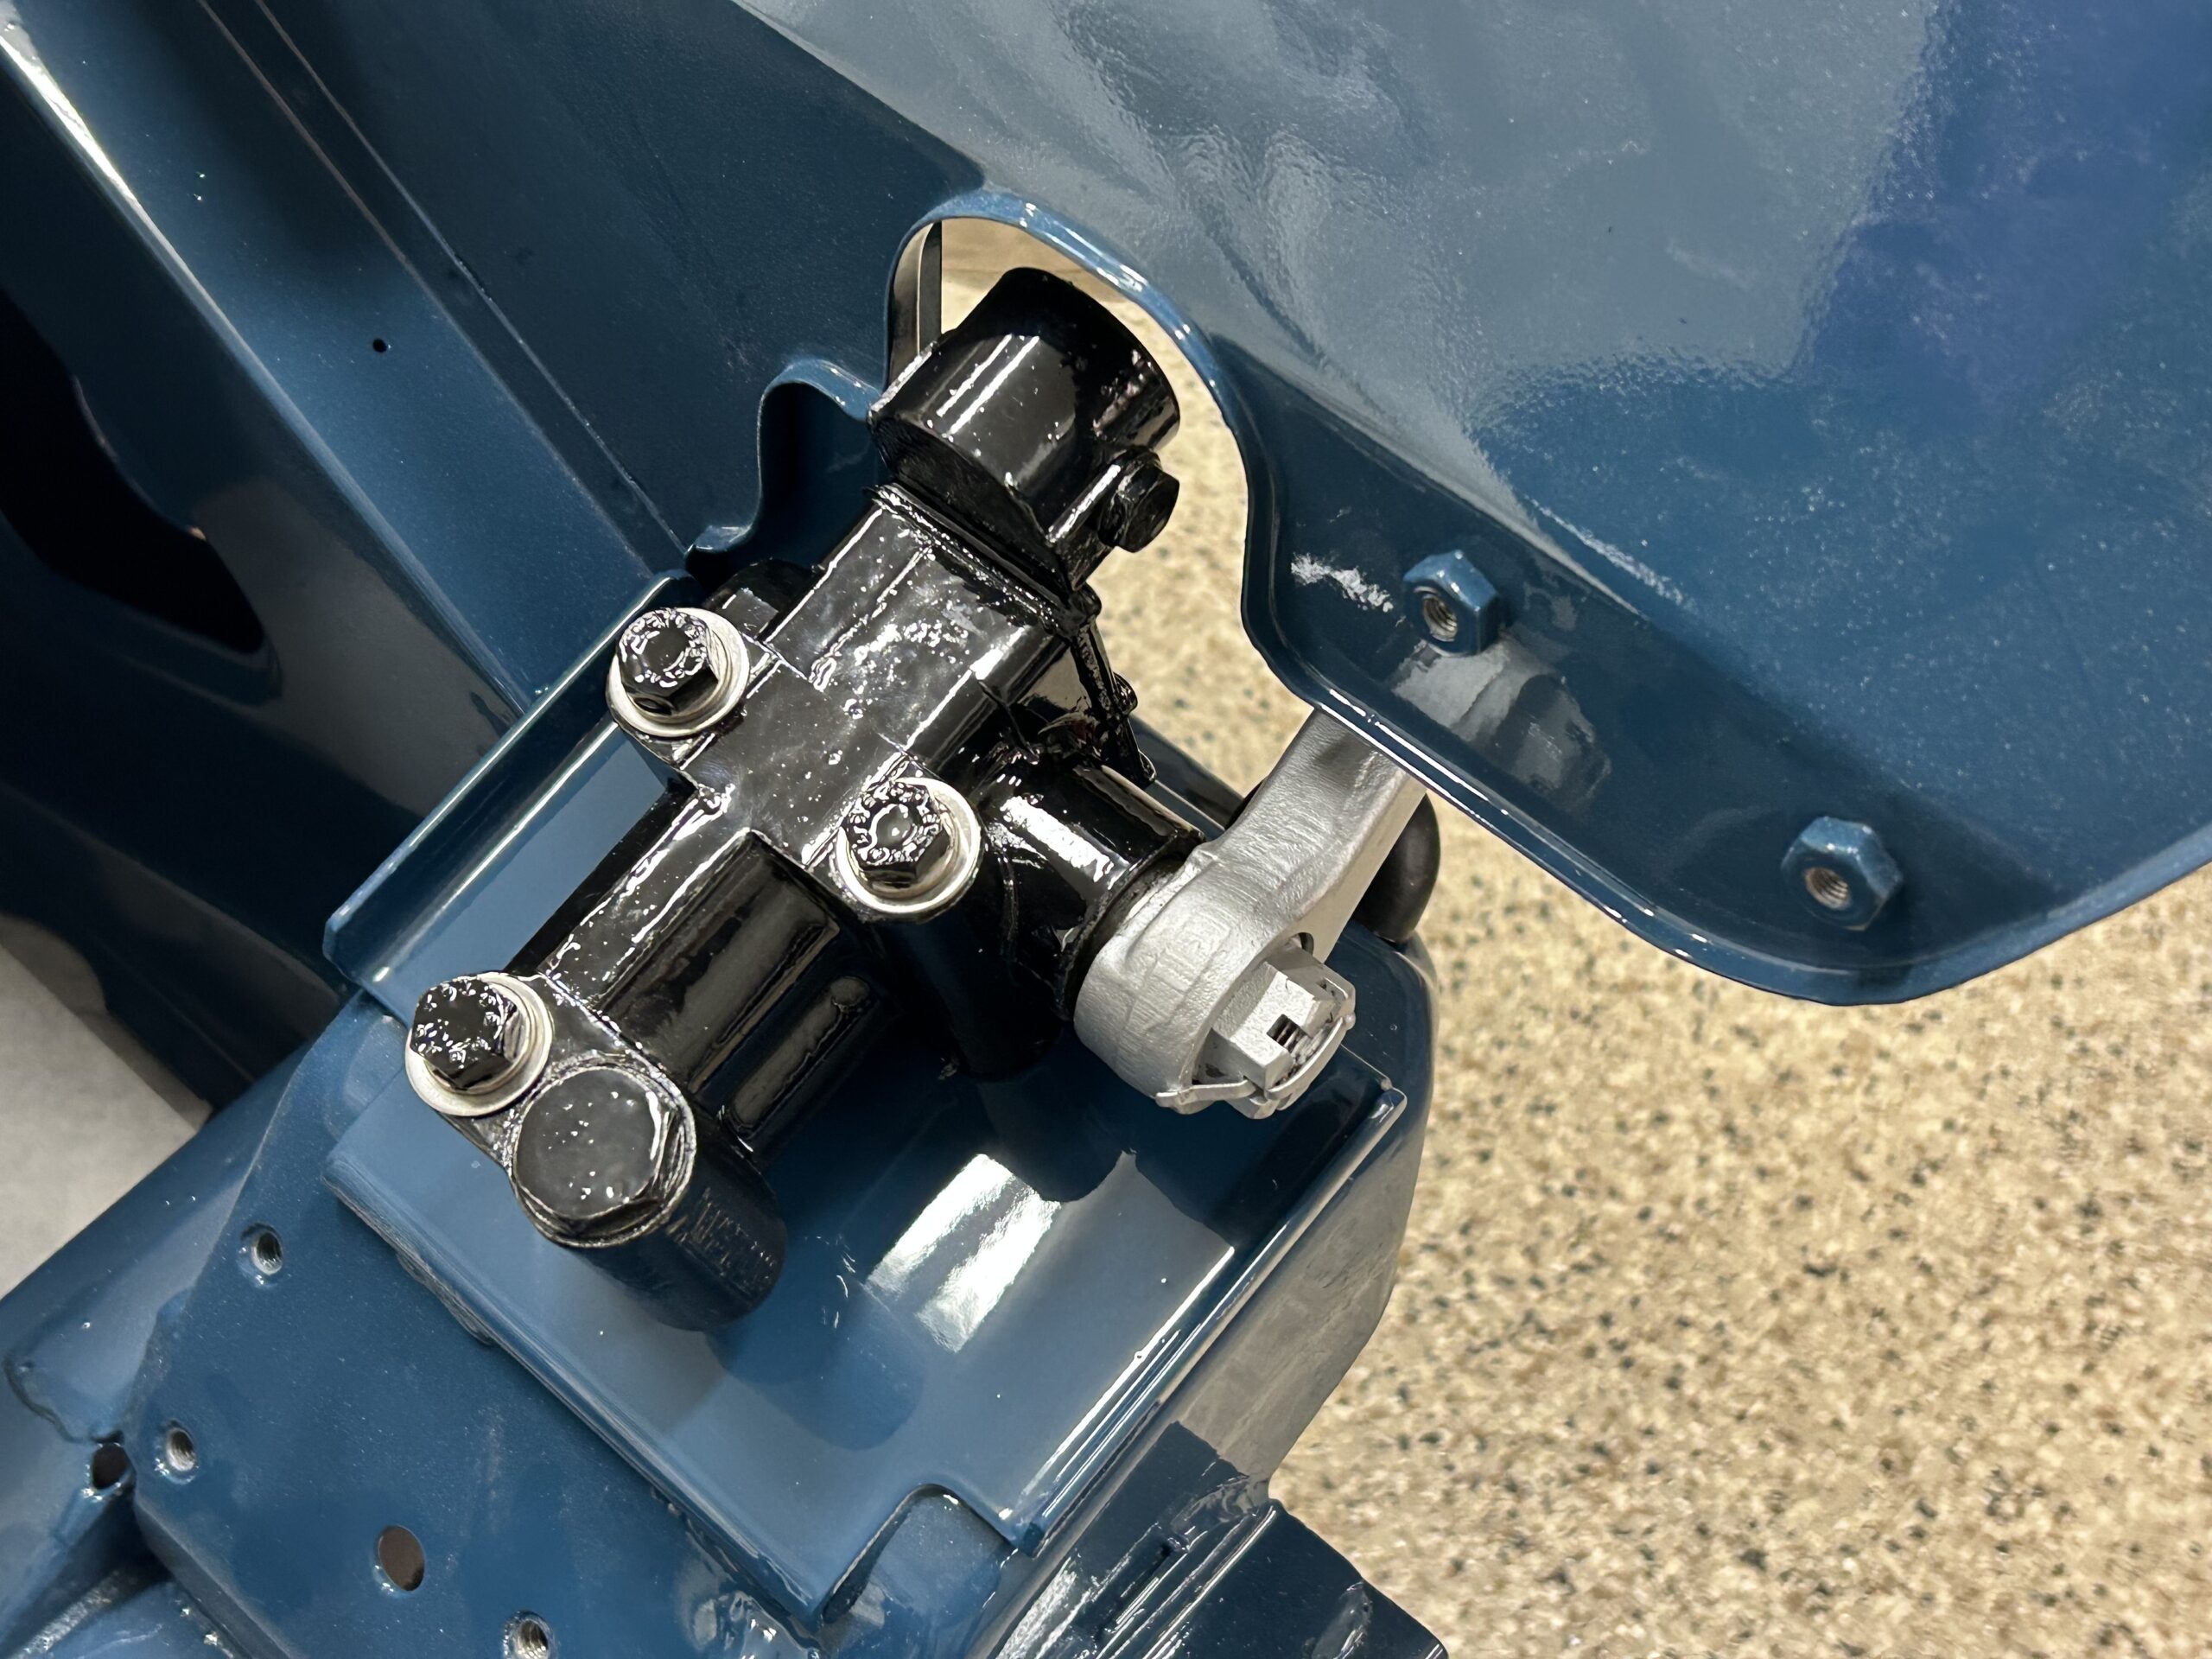
Rebuilt lever shocks and new rubber bump stops
New coil springs
Everything cleaned and painted
The Bugeye Restoration Episode Thirty-five video shows the final steps in completing the work described above.
https://vimeo.com/810655660/46123c8339
The following steps are addressed in the video:
0:00 – Torquing the hub nuts and installing split pins
0:44 – Hub grease caps installed
0:48 – Front caliper banjo bolts installed
1:20 – Goodridge Stainless Steel flexible brake hoses installed
1:35 – Making brake pipe bubble flares
4:42 – Master cylinder to brake union brake pipe installed
5:00 – Steering rack installed
5:52 – Steering rack bracket shims installed
6:14 – Steering column to steering rack pinion shaft mating
6:50 – Steering rack mounting clamp bolts torqued
7:17 – Tie rod ends fitted and torqued
7:30 – Toe-in adjustment
7:50 – Front tires mounted and car placed back on the ground
9:12 – Inner fulcrum pins tightened