Healeys, as they came from the factory, did not have a rear main oil seal. The factory must have anticipated oil leaks from the crank because they put a small hole in the bottom of the bell housing to provide a place for the leaking oil to go other than to accumulate and potentially get thrown onto the clutch – not good. They even placed a small split rivet in the hole so that the hole was kept clear from any clogging. As the car moved around while driving the split pin would vibrate and move around keeping the hole free for drainage. The image below is not my car but you can see the split rivet in the bell housing.
Bell Housing Drain Split Rivet
Some Healey owners install rear main seal kits available from a couple of different vendors to help keep the oil in the engine. I did that when I restored my car and used the Dennis Welch kit. Some Healey owners also install PCV valves to help with reducing oil leakage by pulling air from the rear of the engine into the crankcase. I did that too! These changes do seem to help but some Healey owners report that even with these changes they still have some leakage. I did.
I decided to take the PCV valve off of my engine. Some controversy surrounds the use of the valve particularly as it relates to leaning out the rear cylinders. I figured that after removing the PCV valve I would get some more oil leaks and I have. Not bad, but definitely more than I used to see.
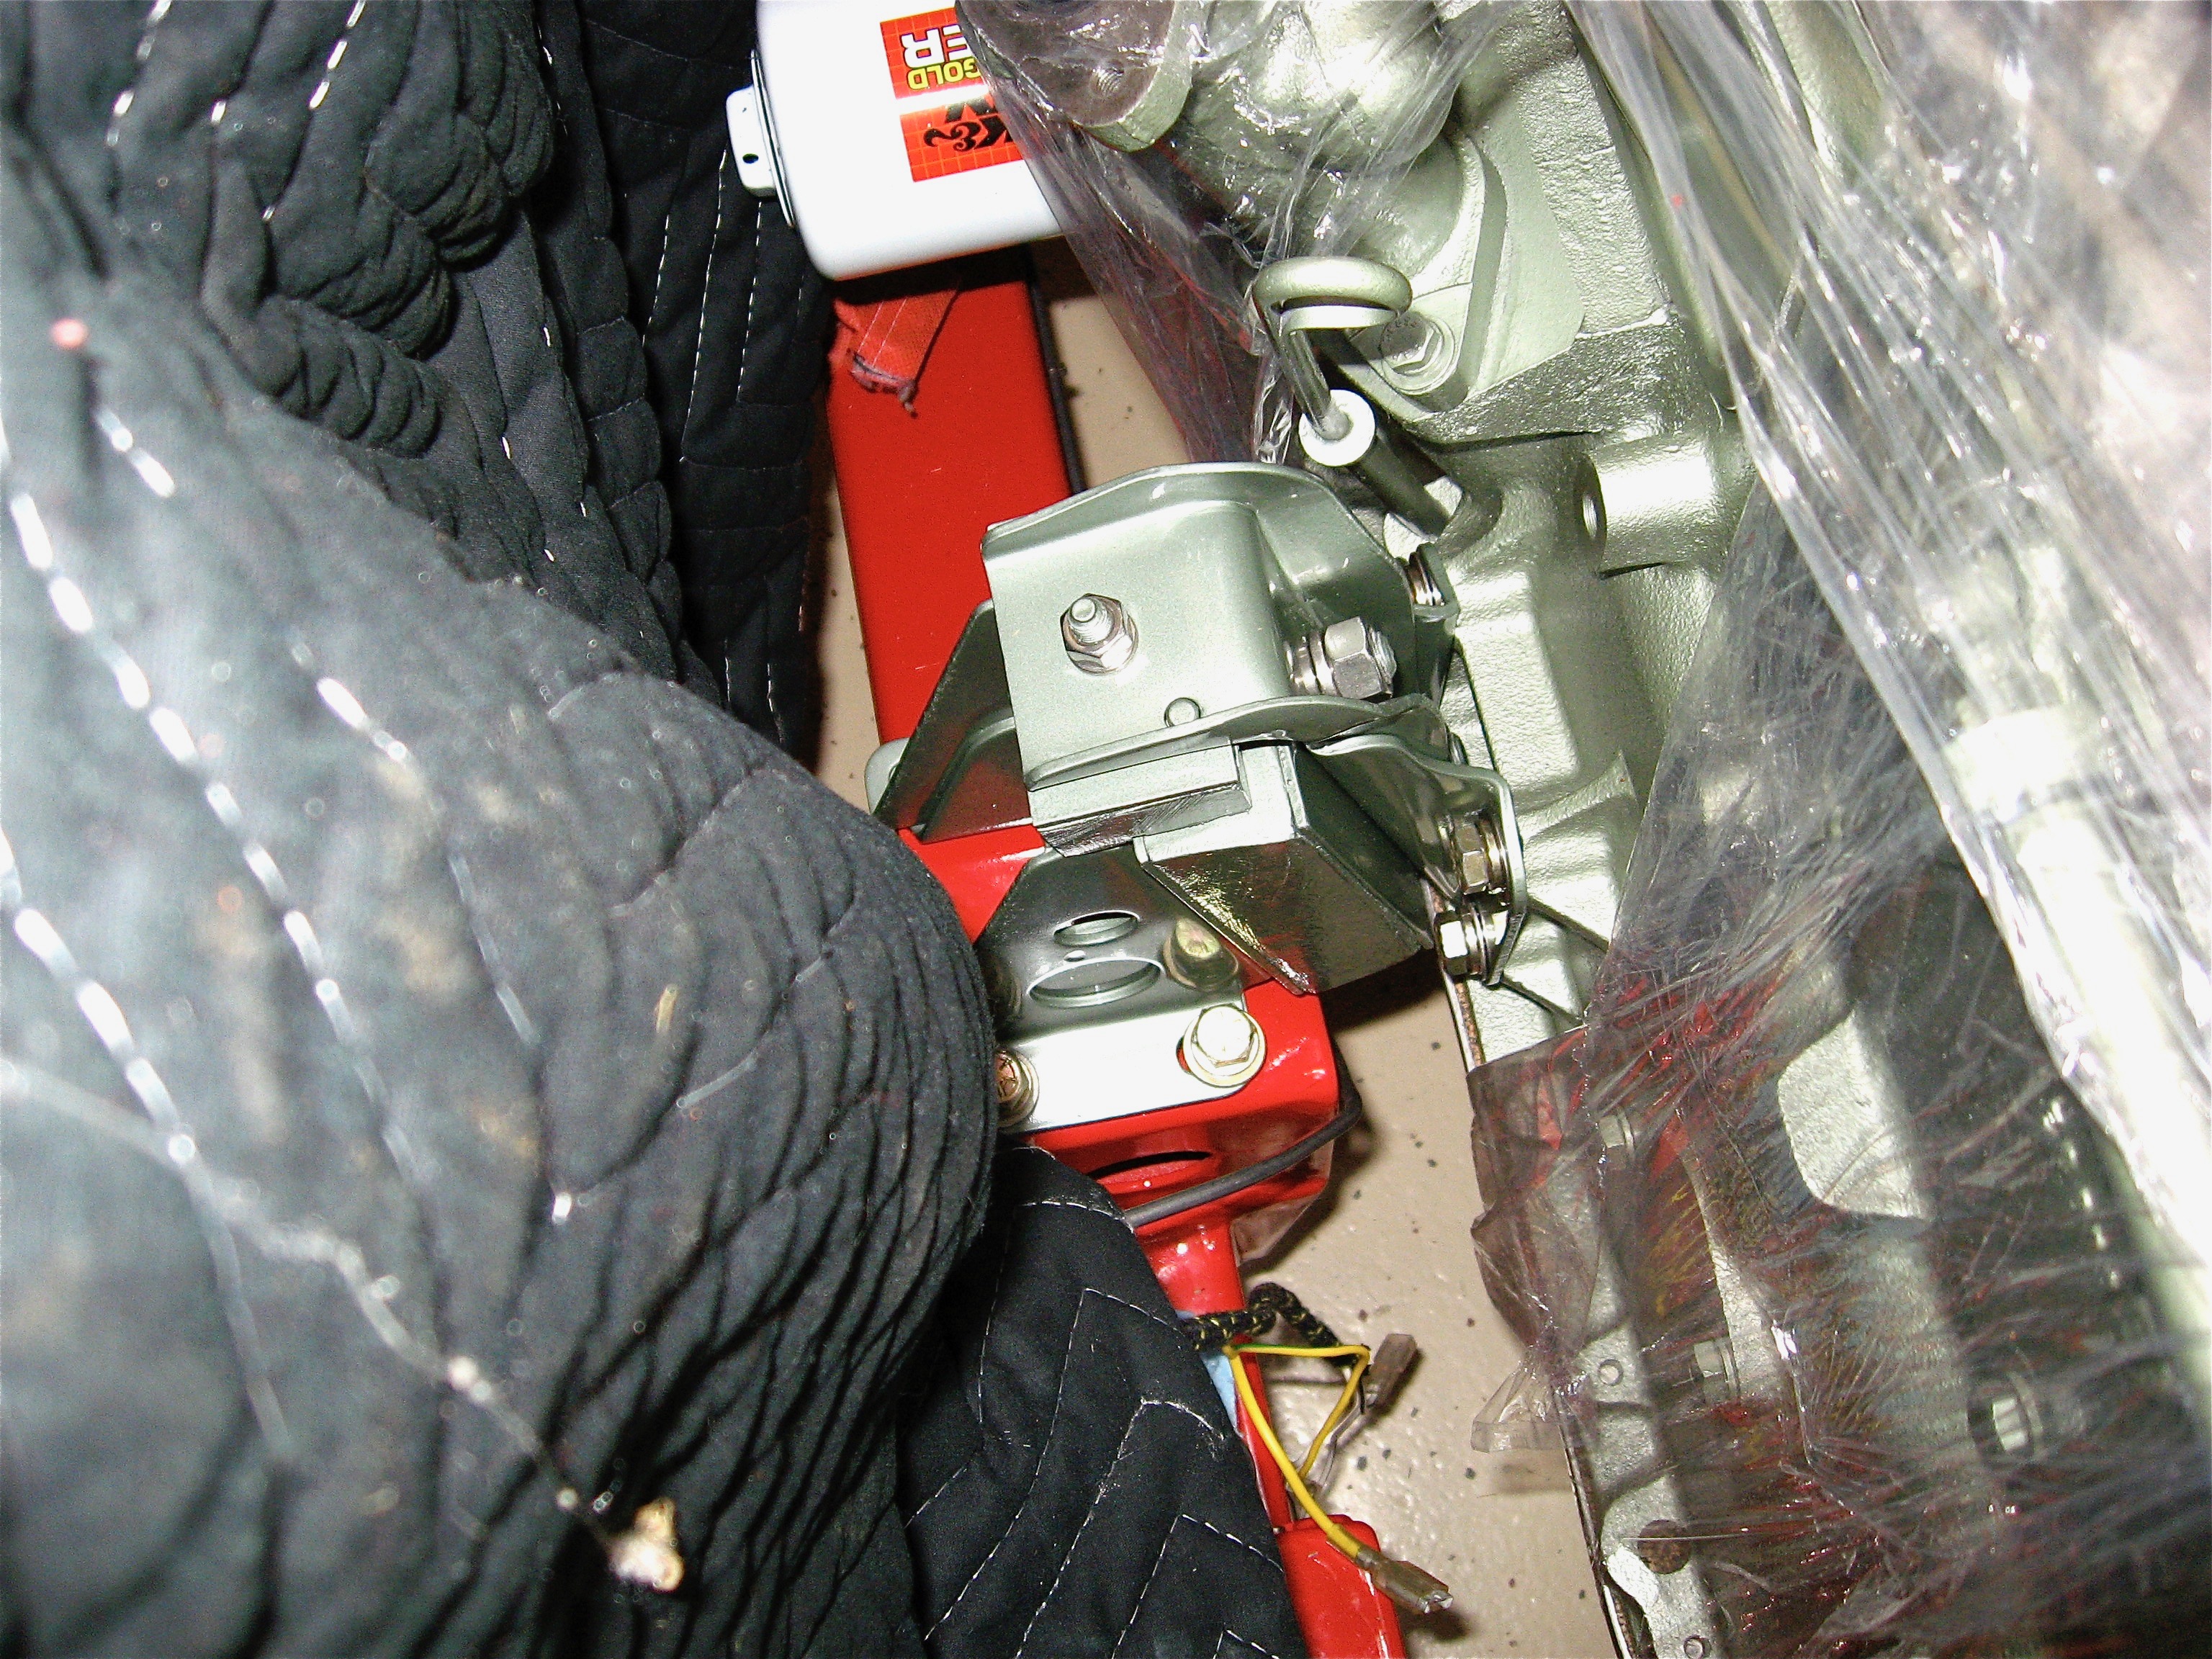
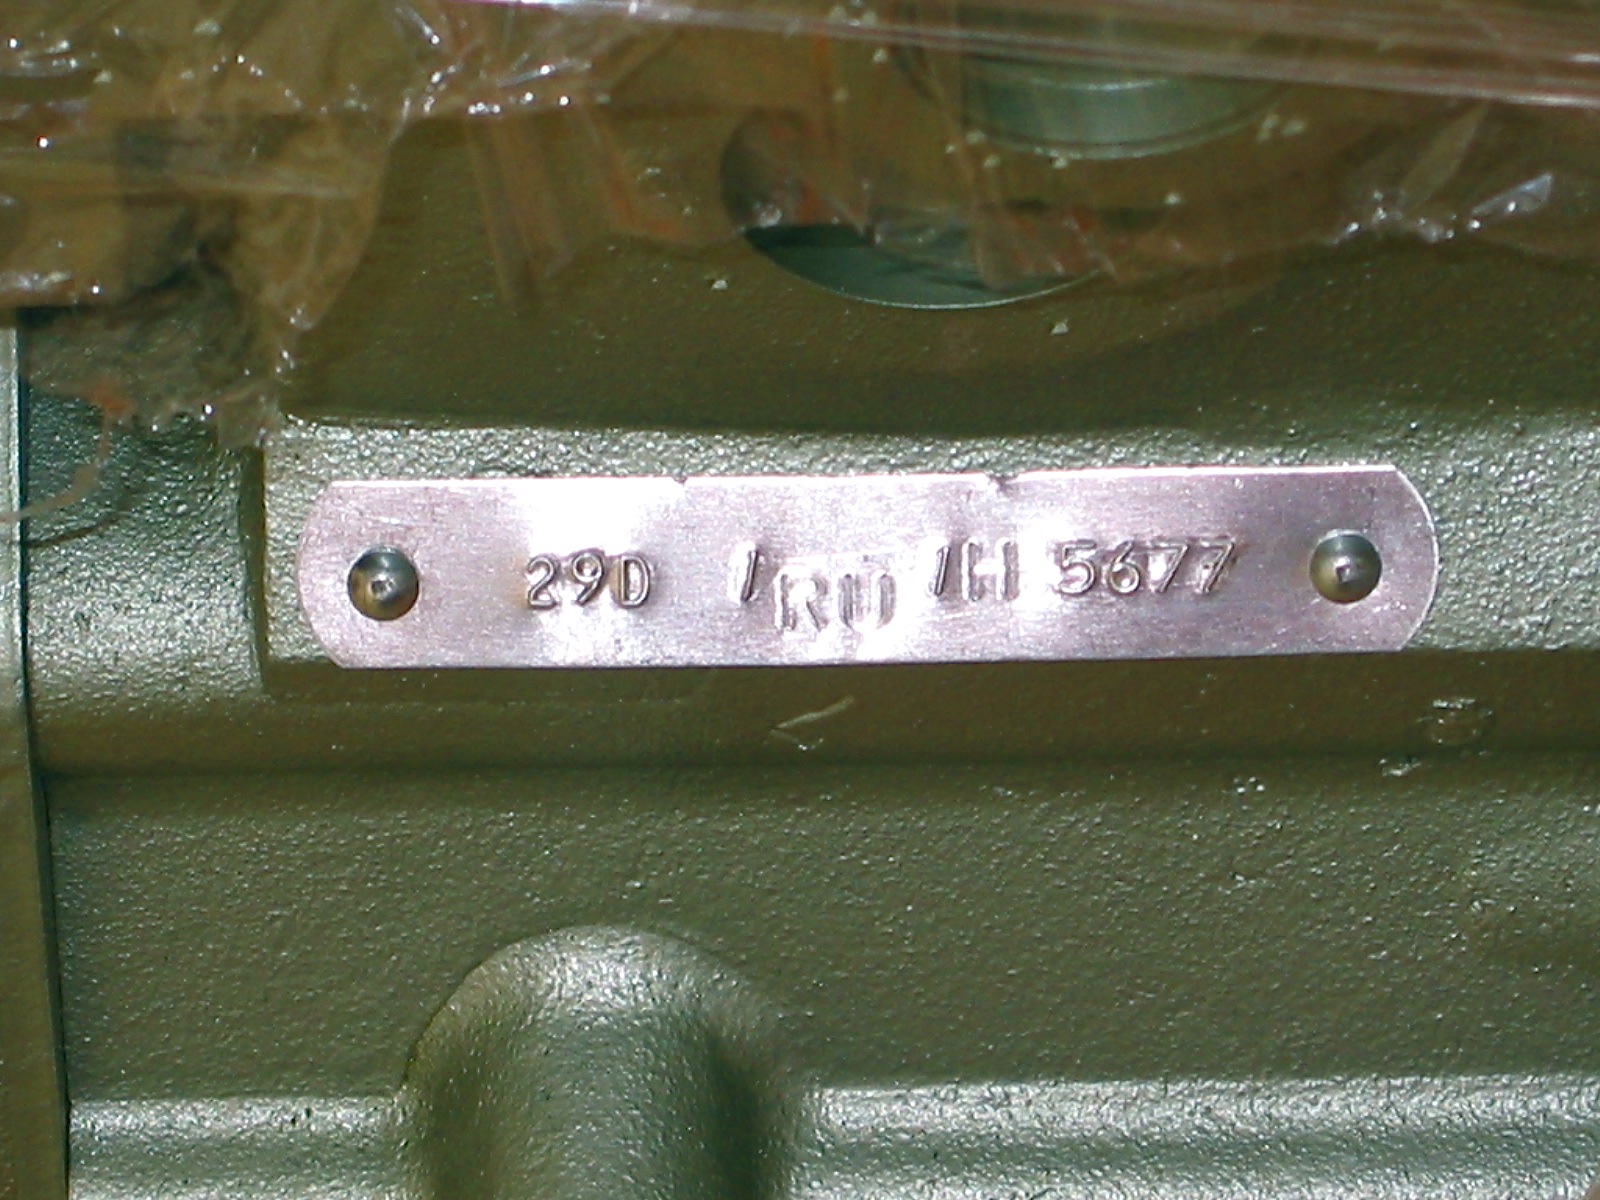
I have a Smitty 5-Speed gearbox on my car. The Smitty bell housing does not have the little drain hole the factory included. I checked in with the guys on the British Car Forum and Steve and Dave were particularly helpful. They were ahead of me in that they had both already incorporated a small drain hole in the Smitty bell housing on their cars. Steve suggested a 3/16″ hole drilled right between the mating of the steel backplate of the engine and the flange lip of the aluminum bell housing. As the photos show below, I drilled my hole at the low point of the bell housing right where Steve and Dave suggested. The depth of the flange is approximately 1 1/4.”
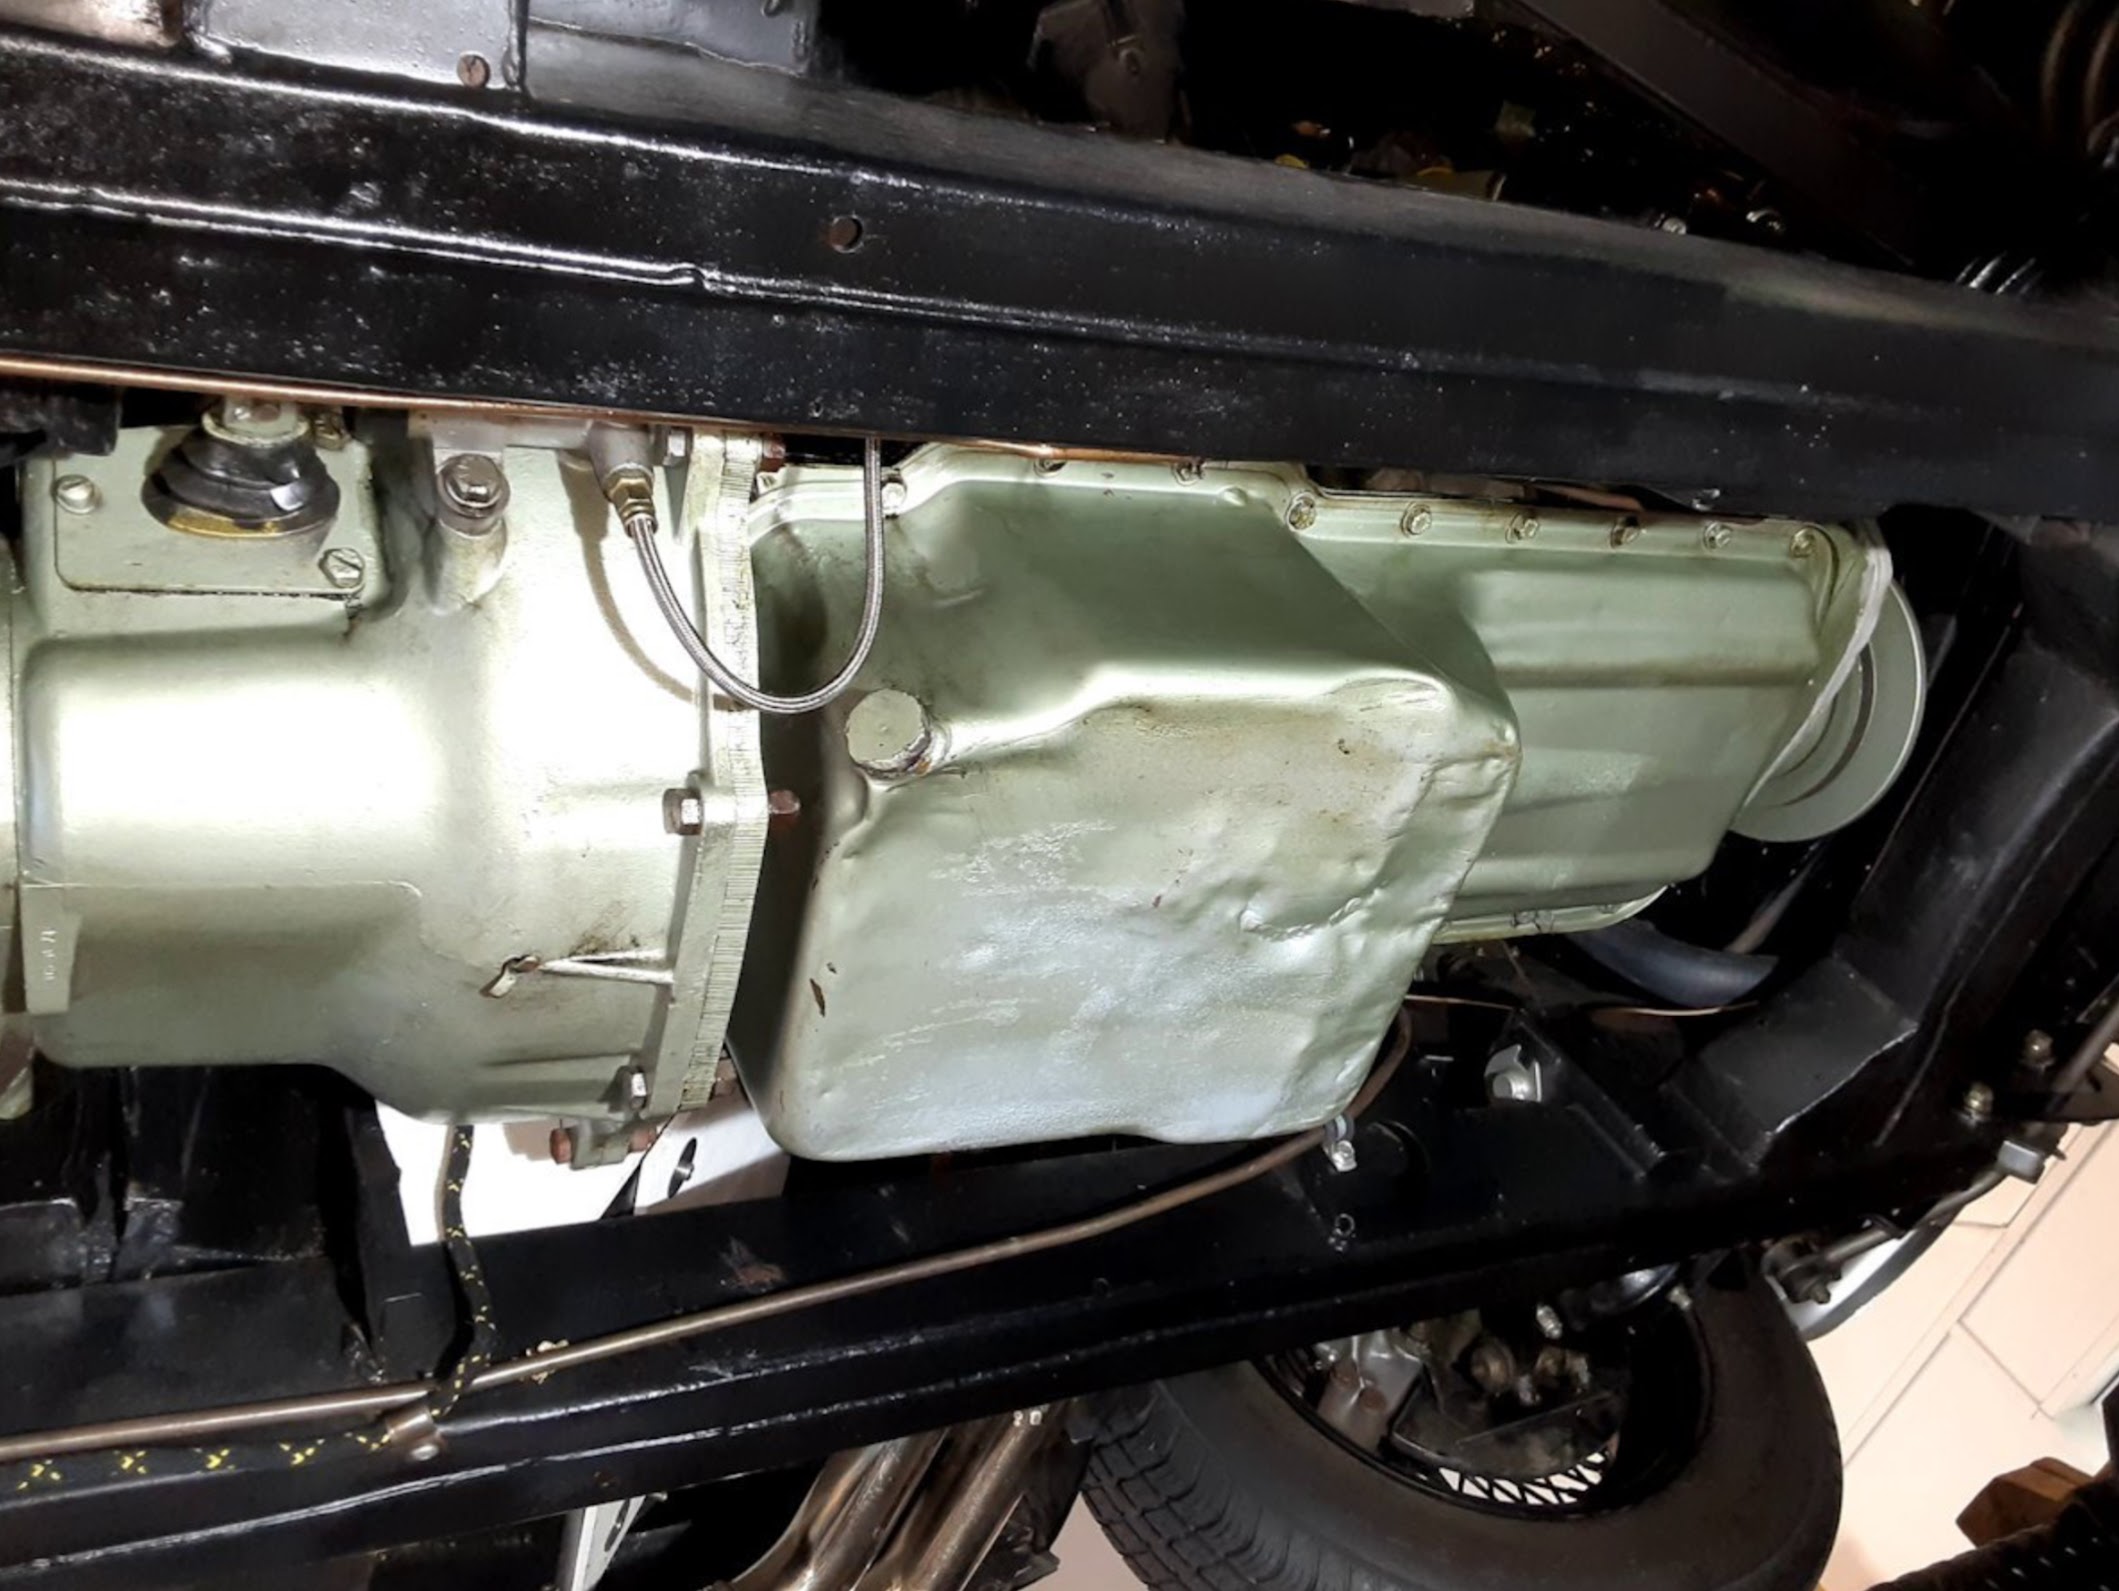
Oil began to drip out immediately, so much so that it got me a little worried. However, it stopped almost as quickly as it started so I didn’t seem to have too much oil accumulation. You may recall that I had already installed a little catch pan under the mating point of the bell housing and backplate. I removed the pan to drill my hole and then reinstalled. This will make it easy to monitor how much oil I lose from my new drain.
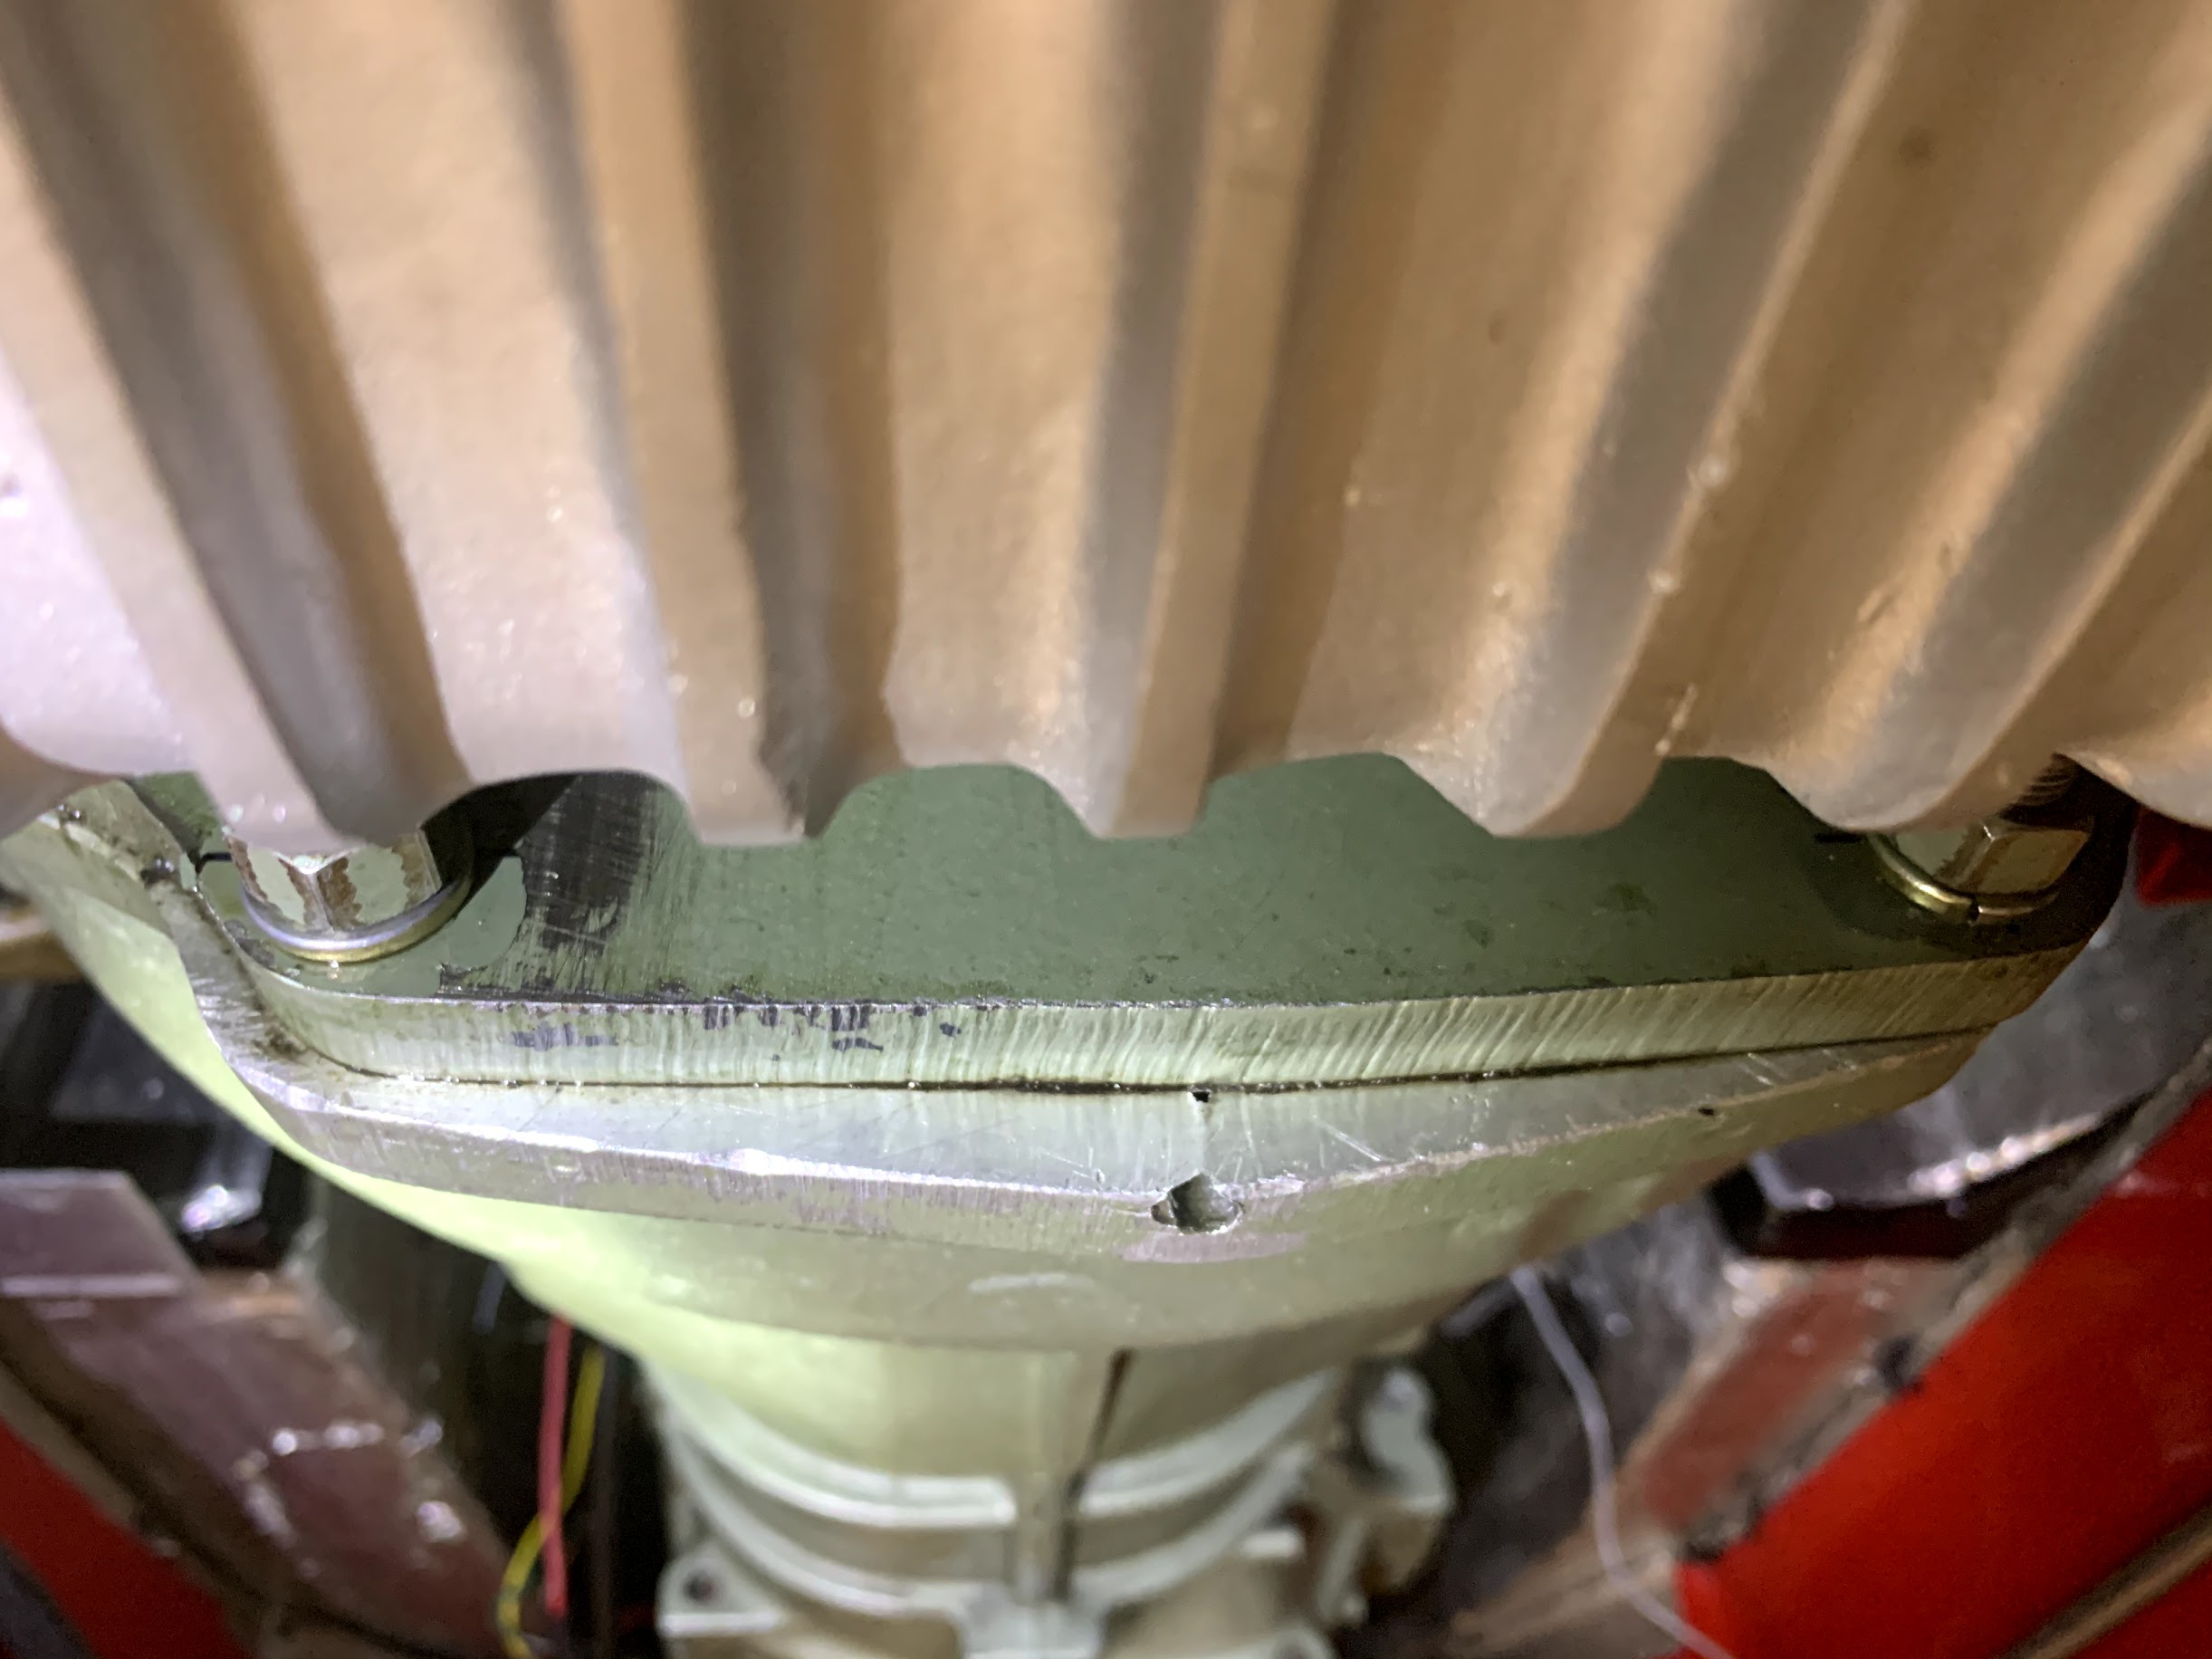
Smitty Bellhousing Oil Drain
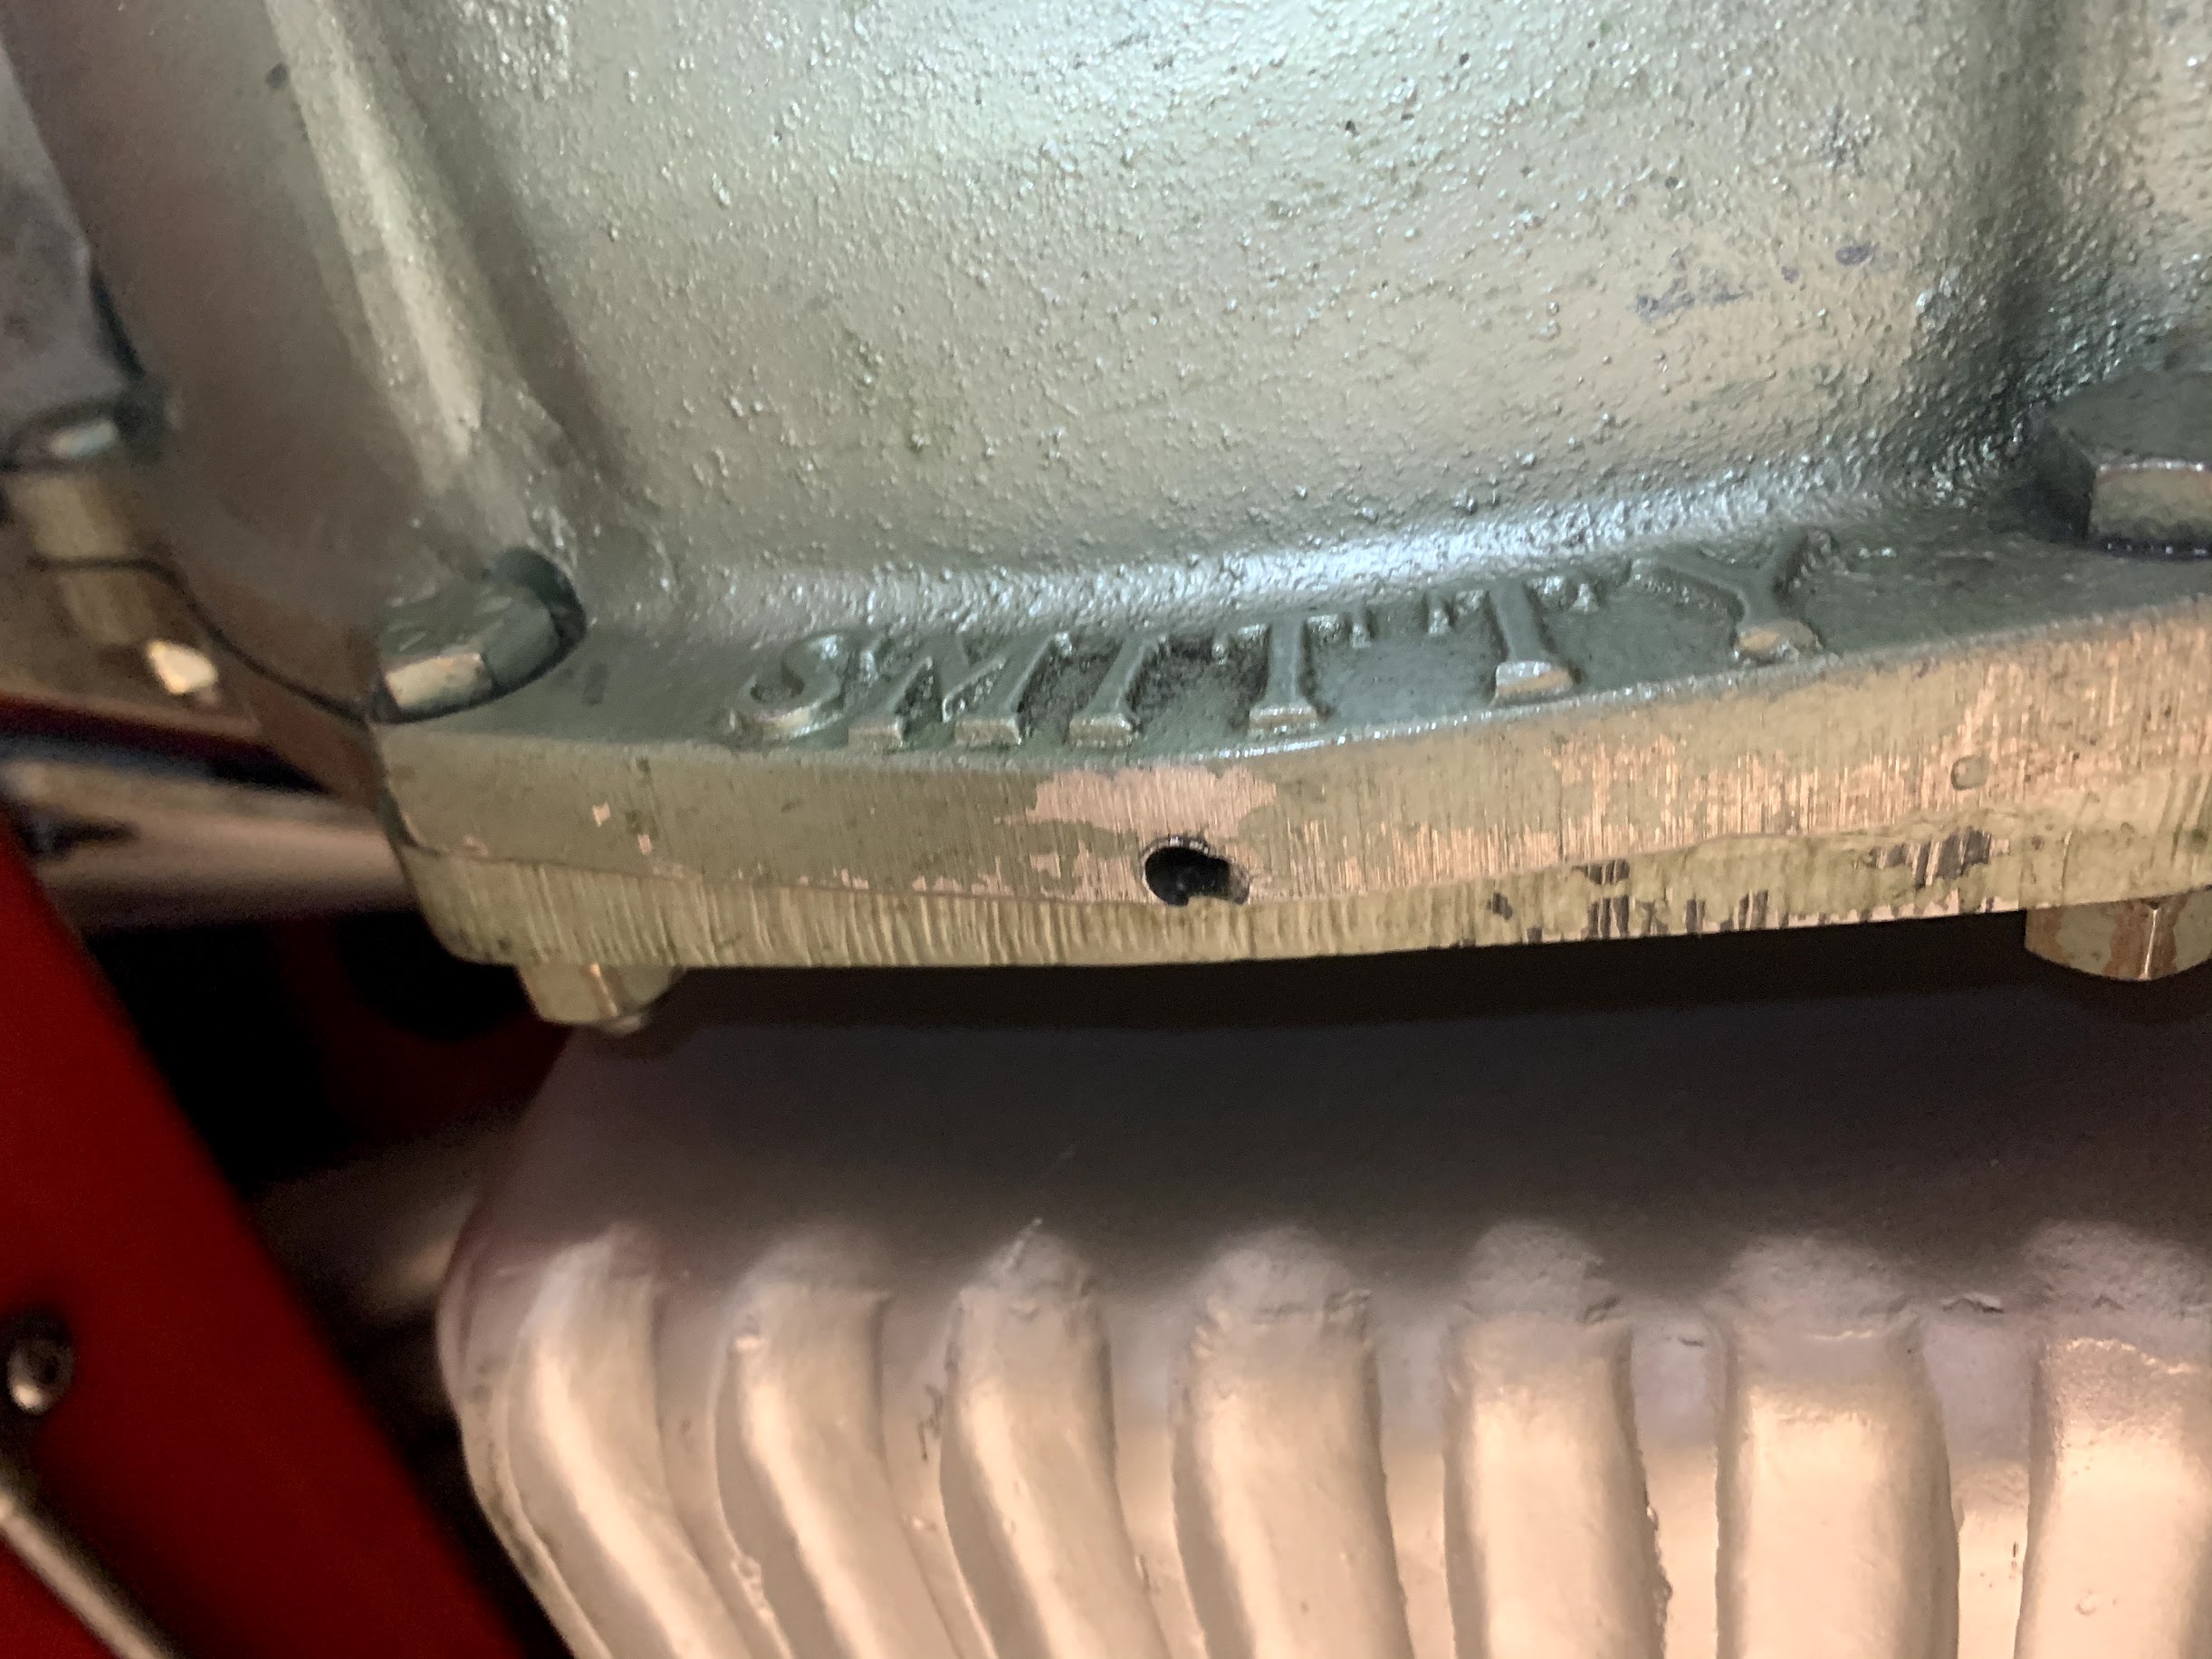
Smitty bellhousing Oil Drain Closeup

Initial Oil Drainage

Main Seal Diaper in place