With the steering behind me, I thought it was time to install more of my electrical accessory items. Most of the bits fasten behind the dash in one form or fashion, so I wanted to get them all located, mounted and wired before the dash fascia was installed.
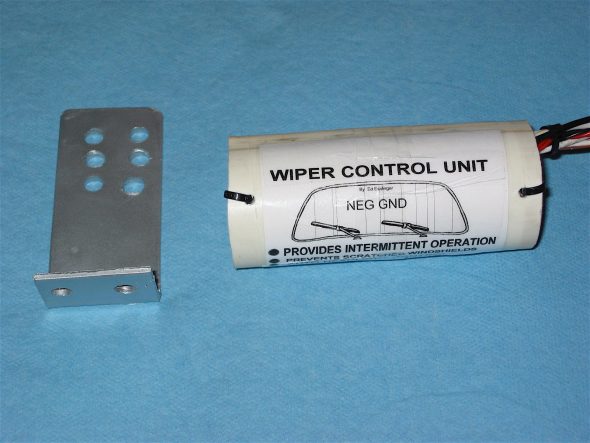
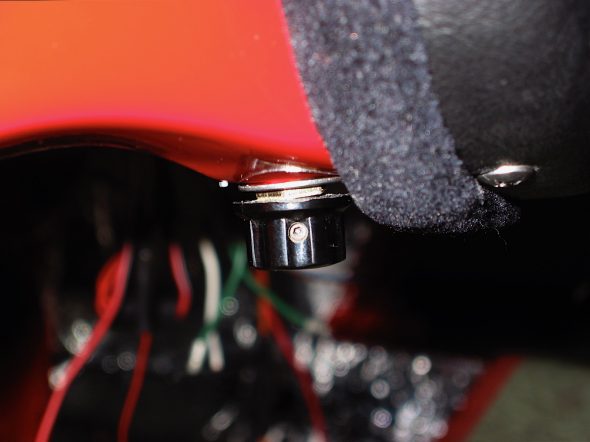
Intermittent wiper control – The big Healey came standard with a one speed (slow) windscreen wiper motor. Ed Esslinger, a member of the Tiger United Club designed and built a wiper control unit to provide intermittent wiping of the windscreen and made them available for sale. edstiger@charter.net 334-774-5155. I purchased the kit to install in the Bloody Beast. Ed’s directions are detailed and easily followed. Intermittent Wiper Control
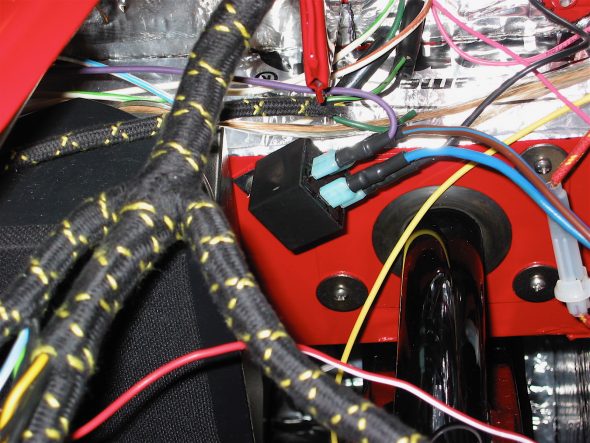
Ed provided for a mechanism to connect the wiper control with the lights so that the lights are on when the wipers are working – now a requirement in many states. The wiring from the relay (shown to the right) connects to the control unit, ground, and to the lighting switch. Including an optional rectifier diode between the S1 and S2 terminals on the switch provides for operational parking and tailights while the wipers are working as well.
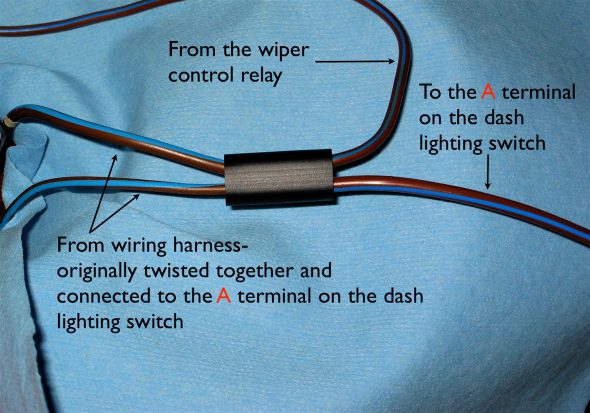
I used a double wiring connector to join the two brown/blue wires that originally linked to the A terminal on the switch with the brown wire from the relay, and then ran one brown wire to the A terminal on the light switch.
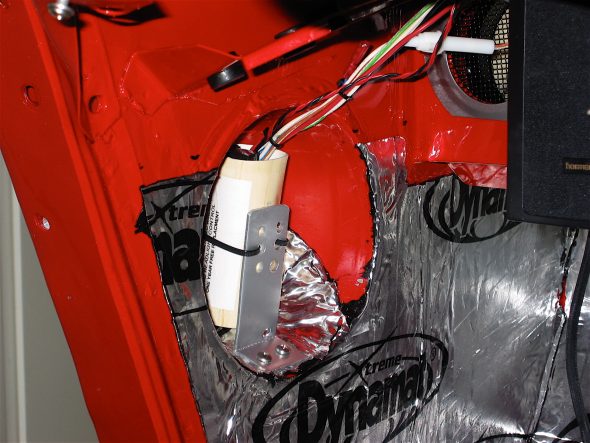
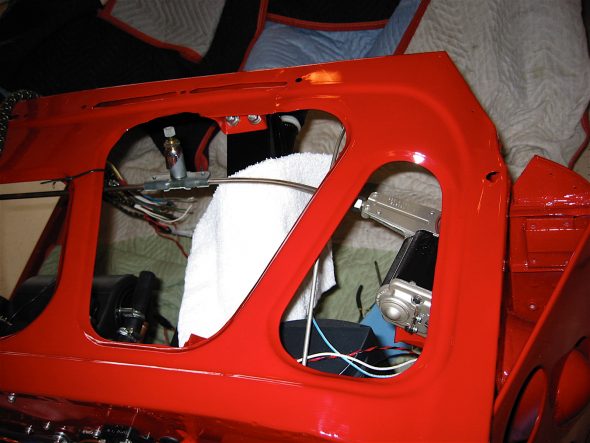
I had Martin Jansen install headlight buckets in the holes in the scuttle side panel assembly to use for mounting speakers, but decided against using them for that purpose, but they make a nice “hiding place,” so I decided to use the one on the left side of the car to “hide” the control unit for the intermittent wiper control module. I made a little bracket to secure it and then mounted the assembly with two stainless self tapping screws into the bottom of the headlight bucket.
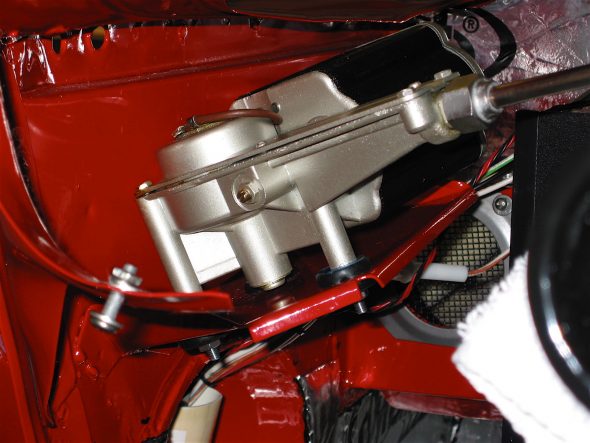
The wiper motor installed fairly easily. It mounts on three posts with rubber buffers. I temporarily tied the rod to the scuttle with plastic ties.
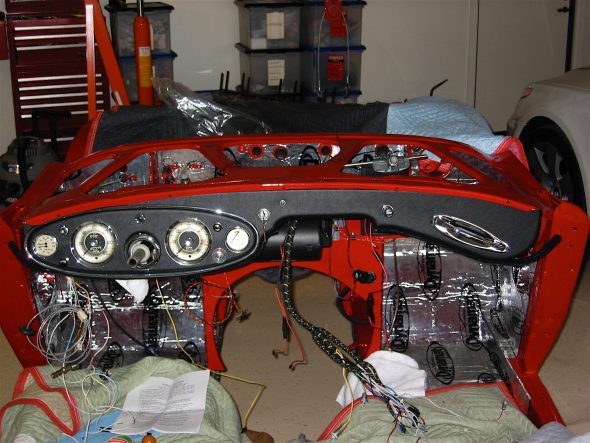
Next came the dash fascia. I mounted it with the four #10 machine screws on the outside edges and one through the dash in the middle. I held off on the two support braces until after I finish all electrical and heater work behind the dash.

